Farm table

Gray and easy build
Built from Plan(s)
Gray and easy build
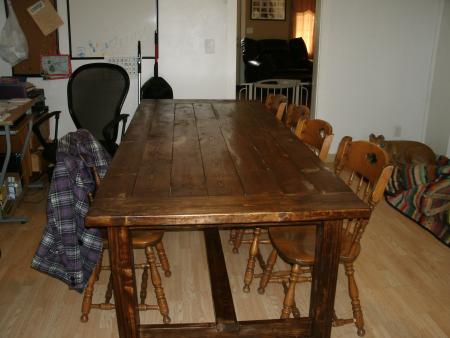
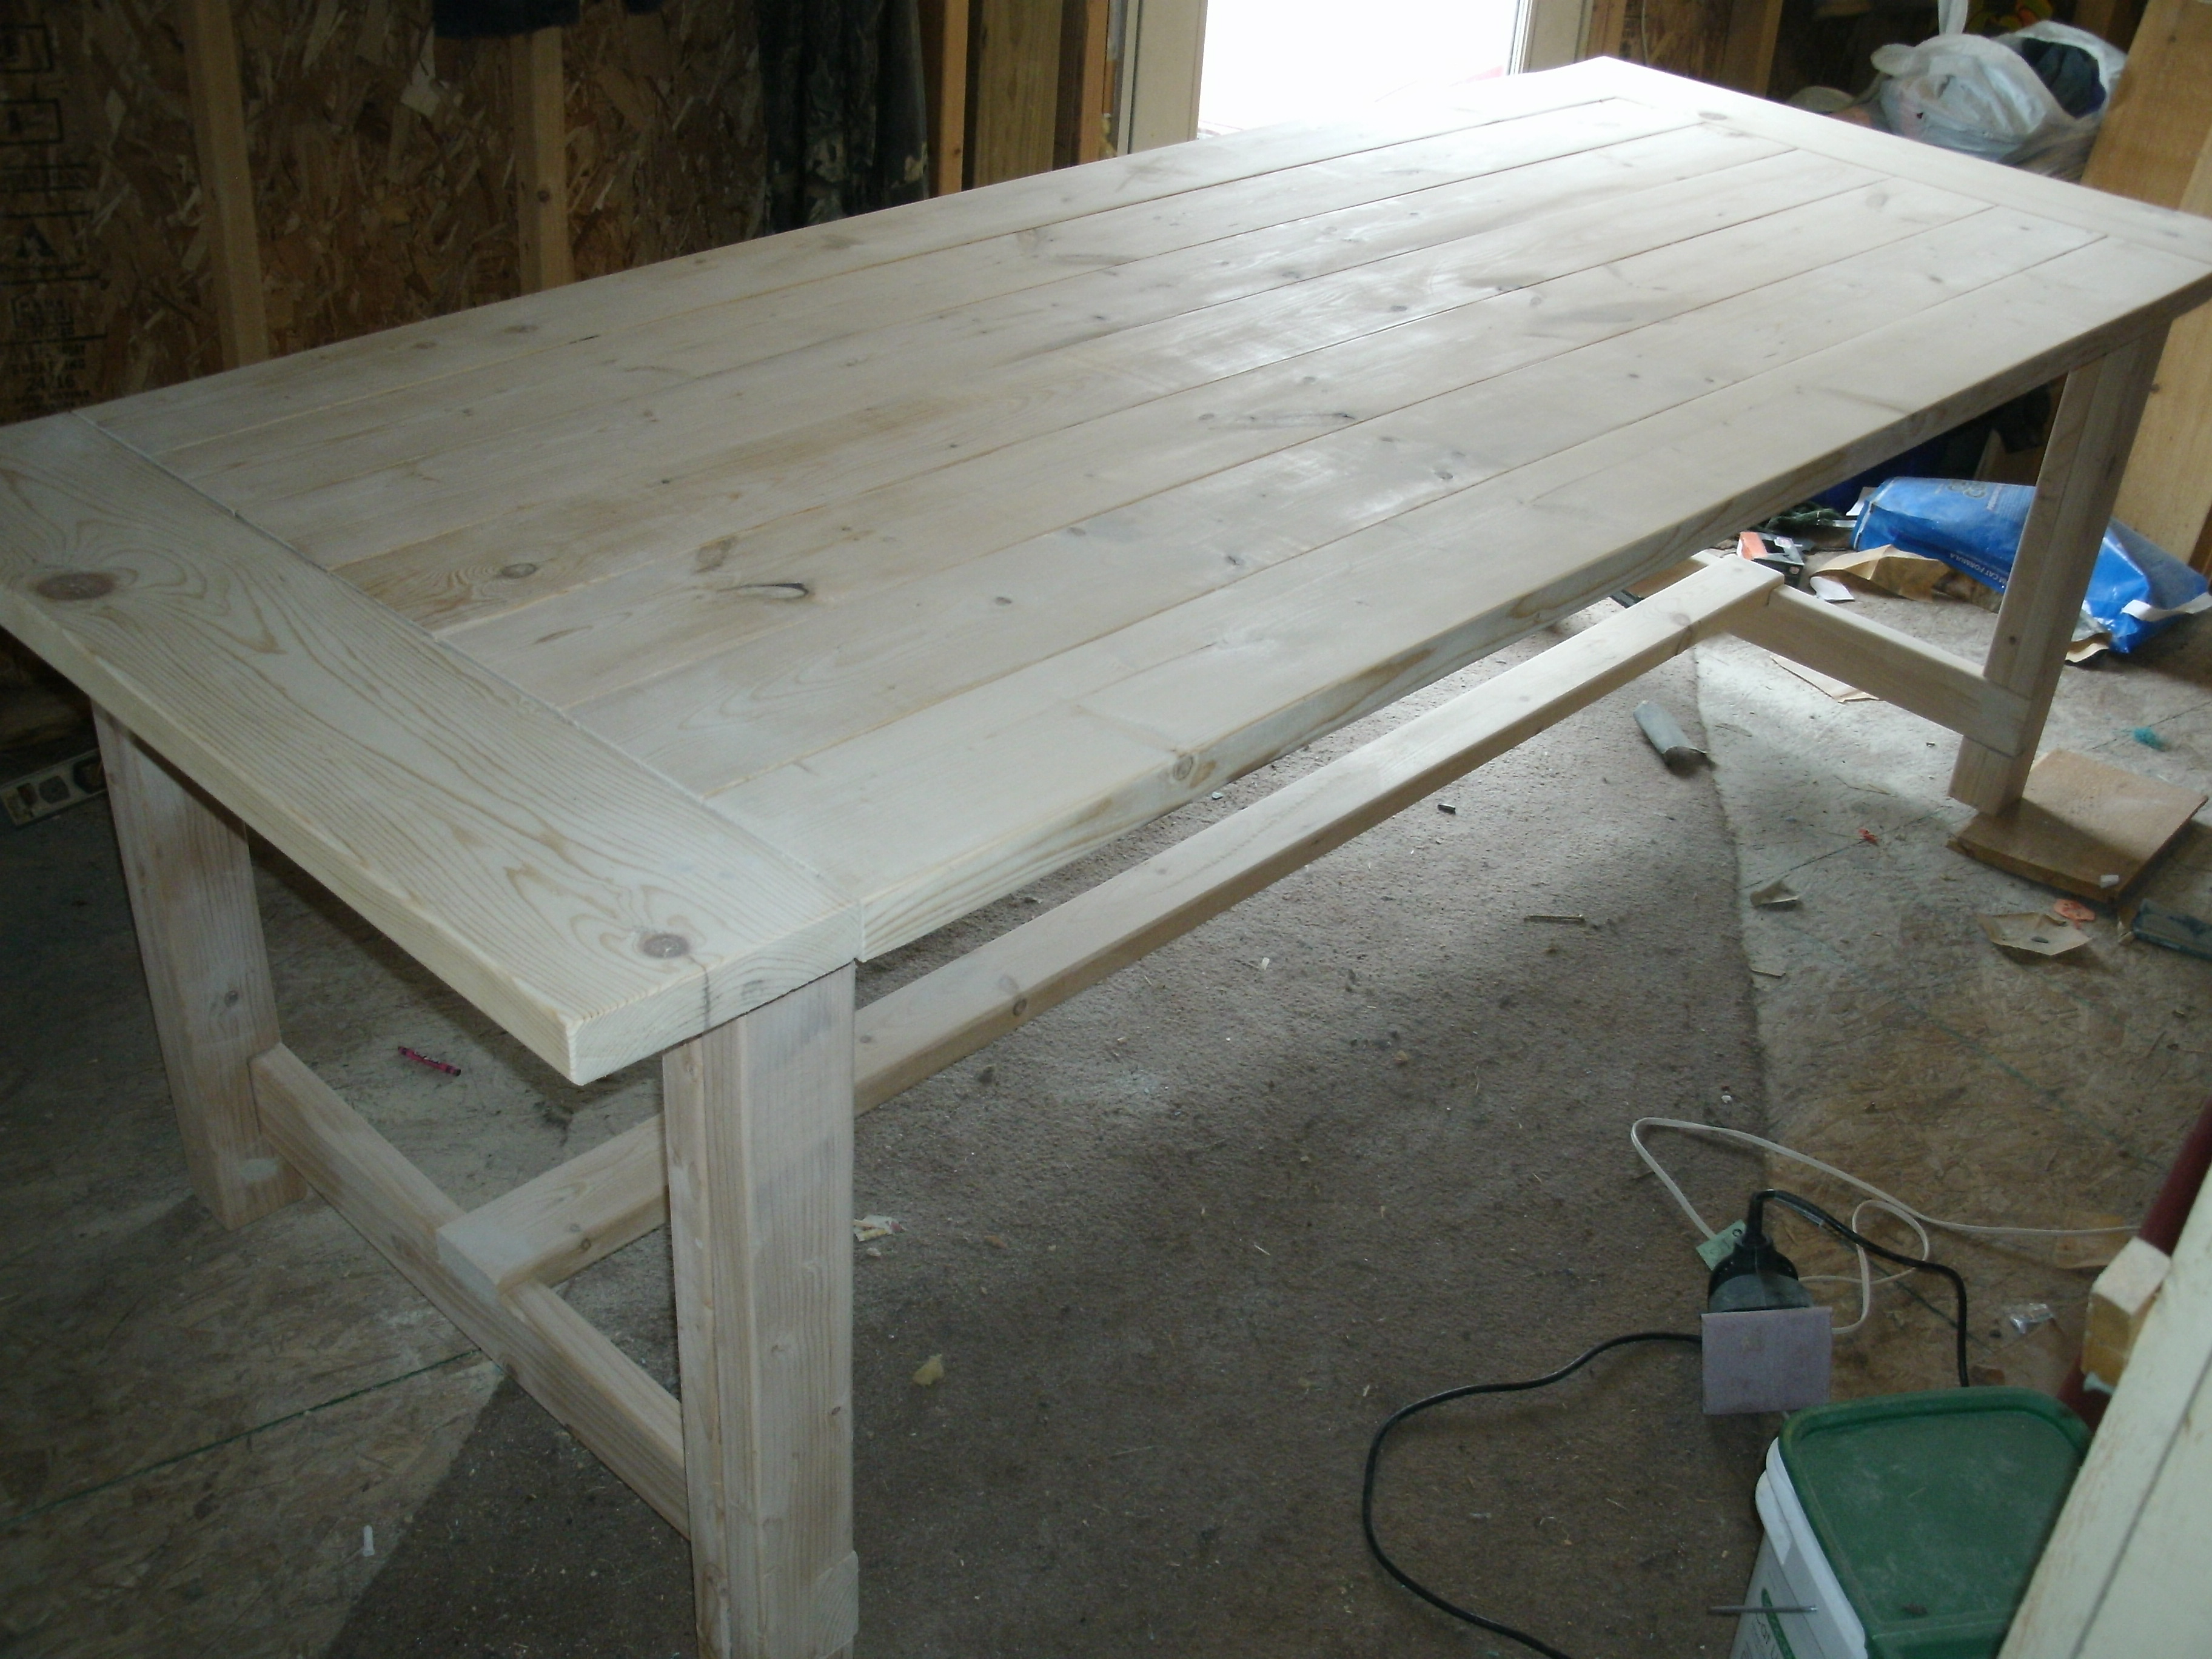
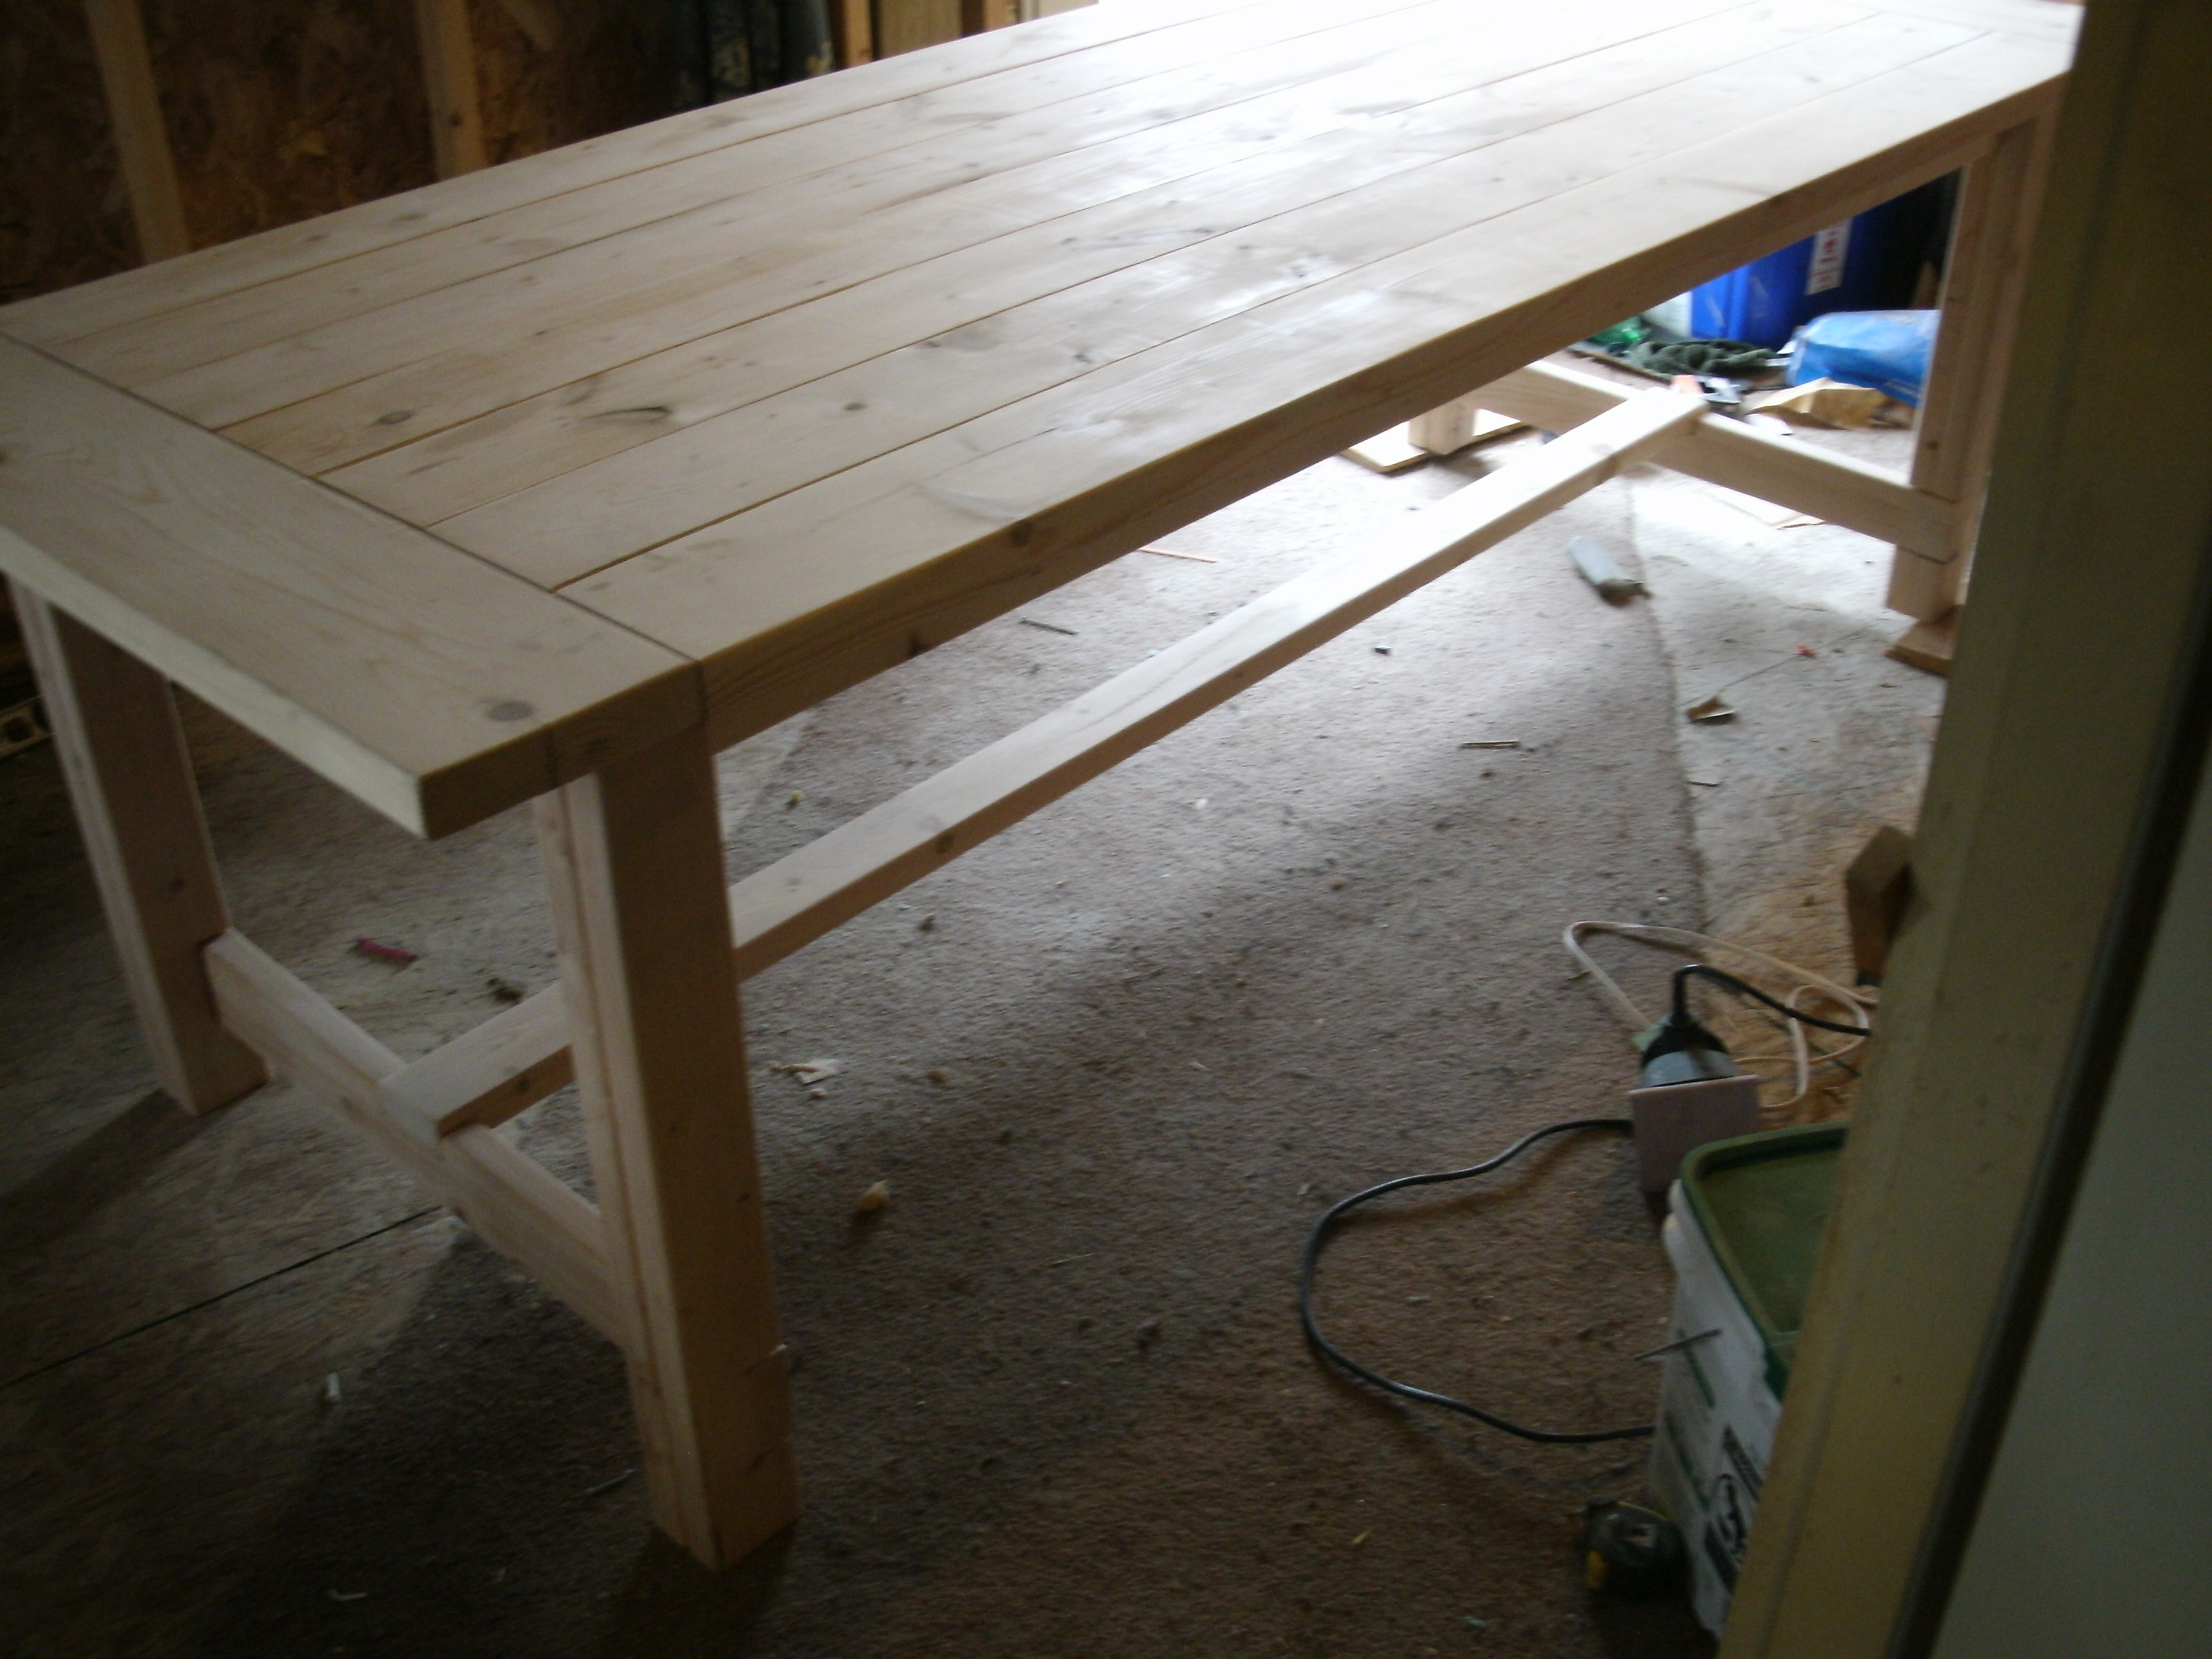
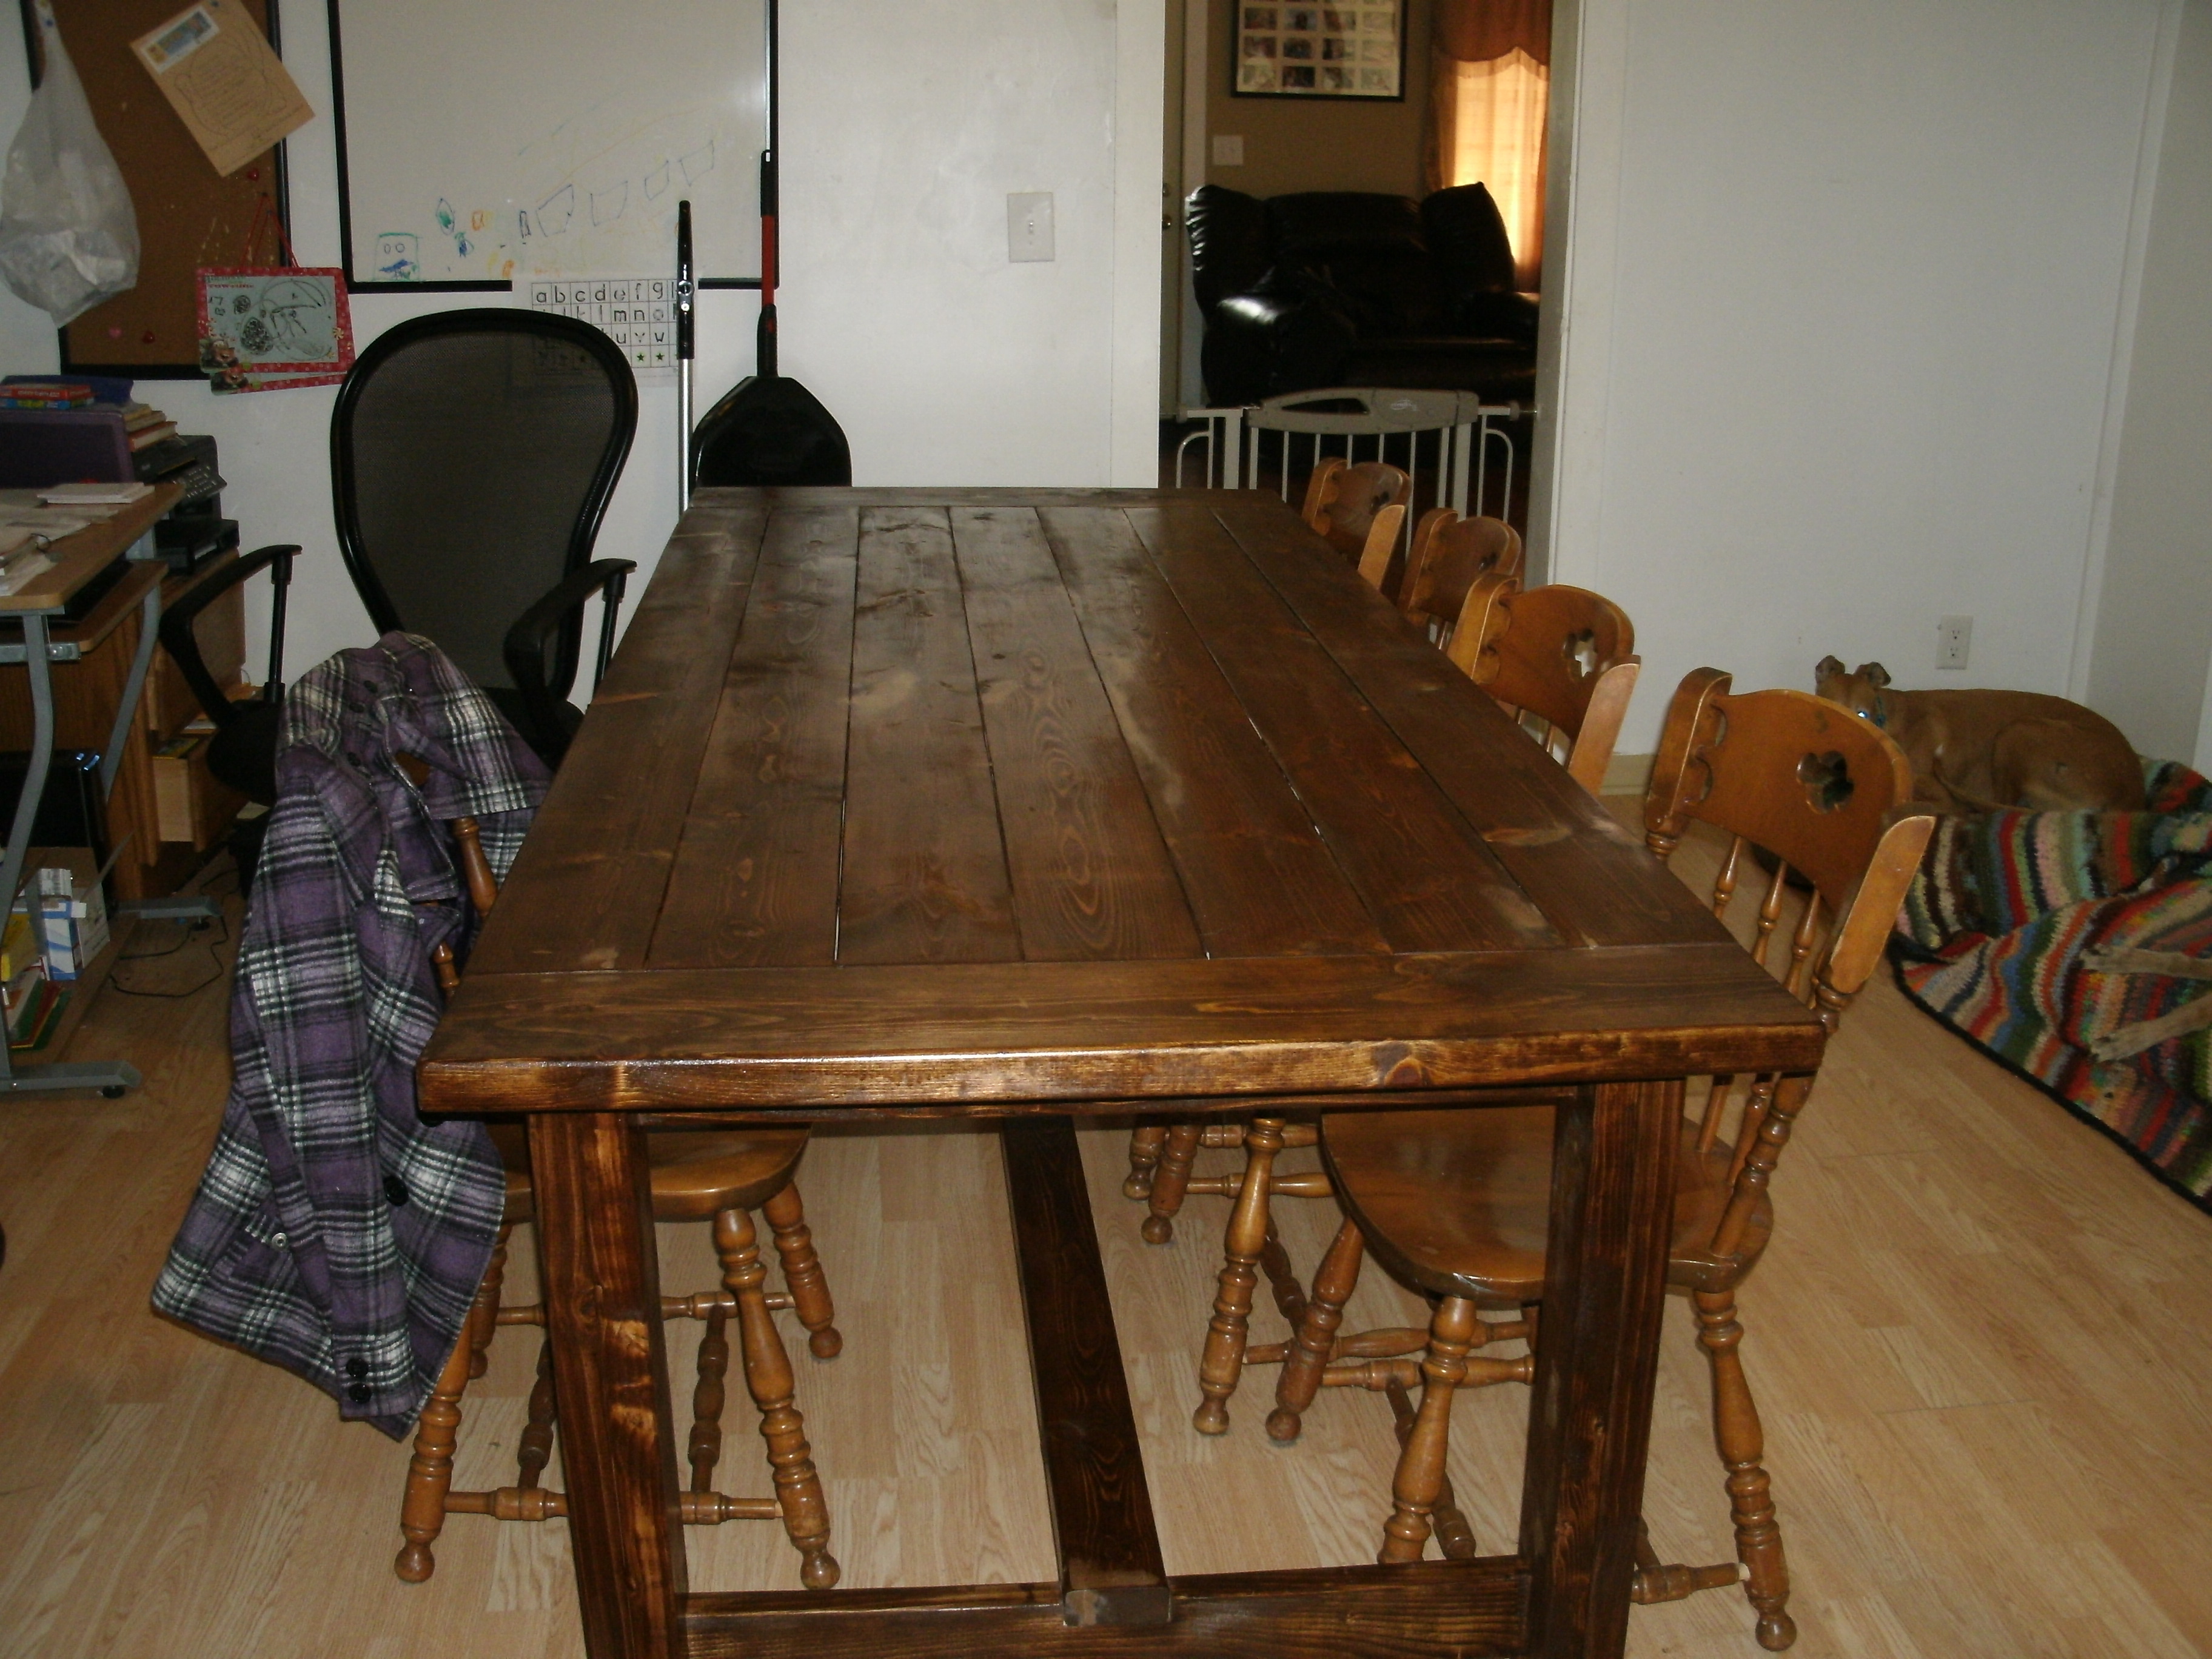
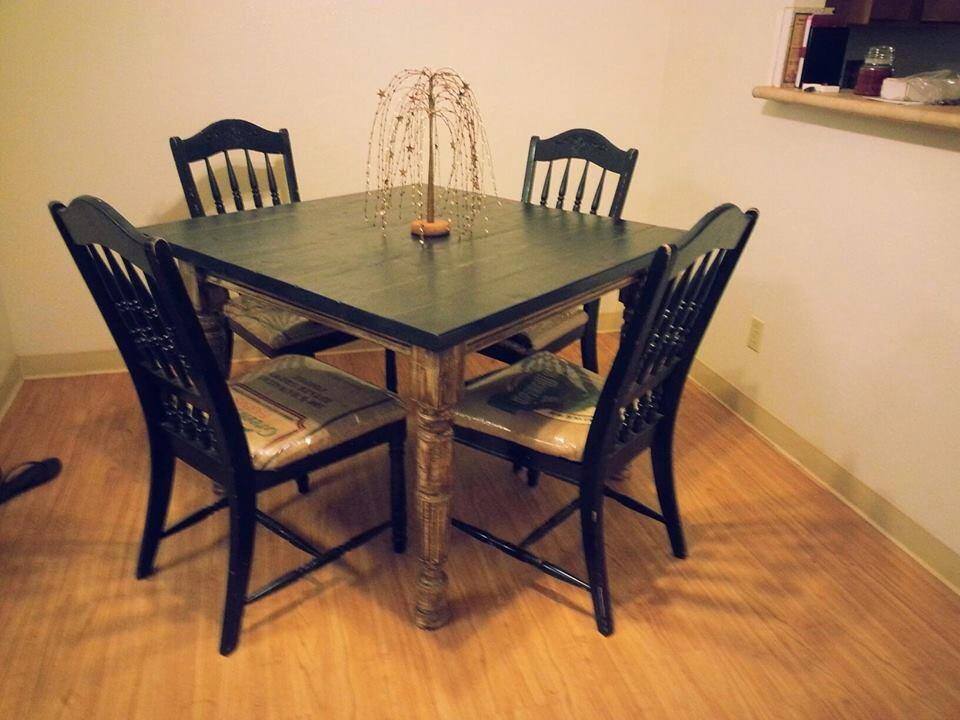
My husband and I created this using farmhouse table plans and we're very excited. It took us longer to get done than most because we all ended up sick. :o) Total cost was under $100 and it is awesome!! Thank you so much for the plans!!
Sun, 12/11/2011 - 09:29
We are currently making a bench and a version of the stackable chairs for our 8 foot table. WE are so excited. I have work to do but only want to help build now. :o)

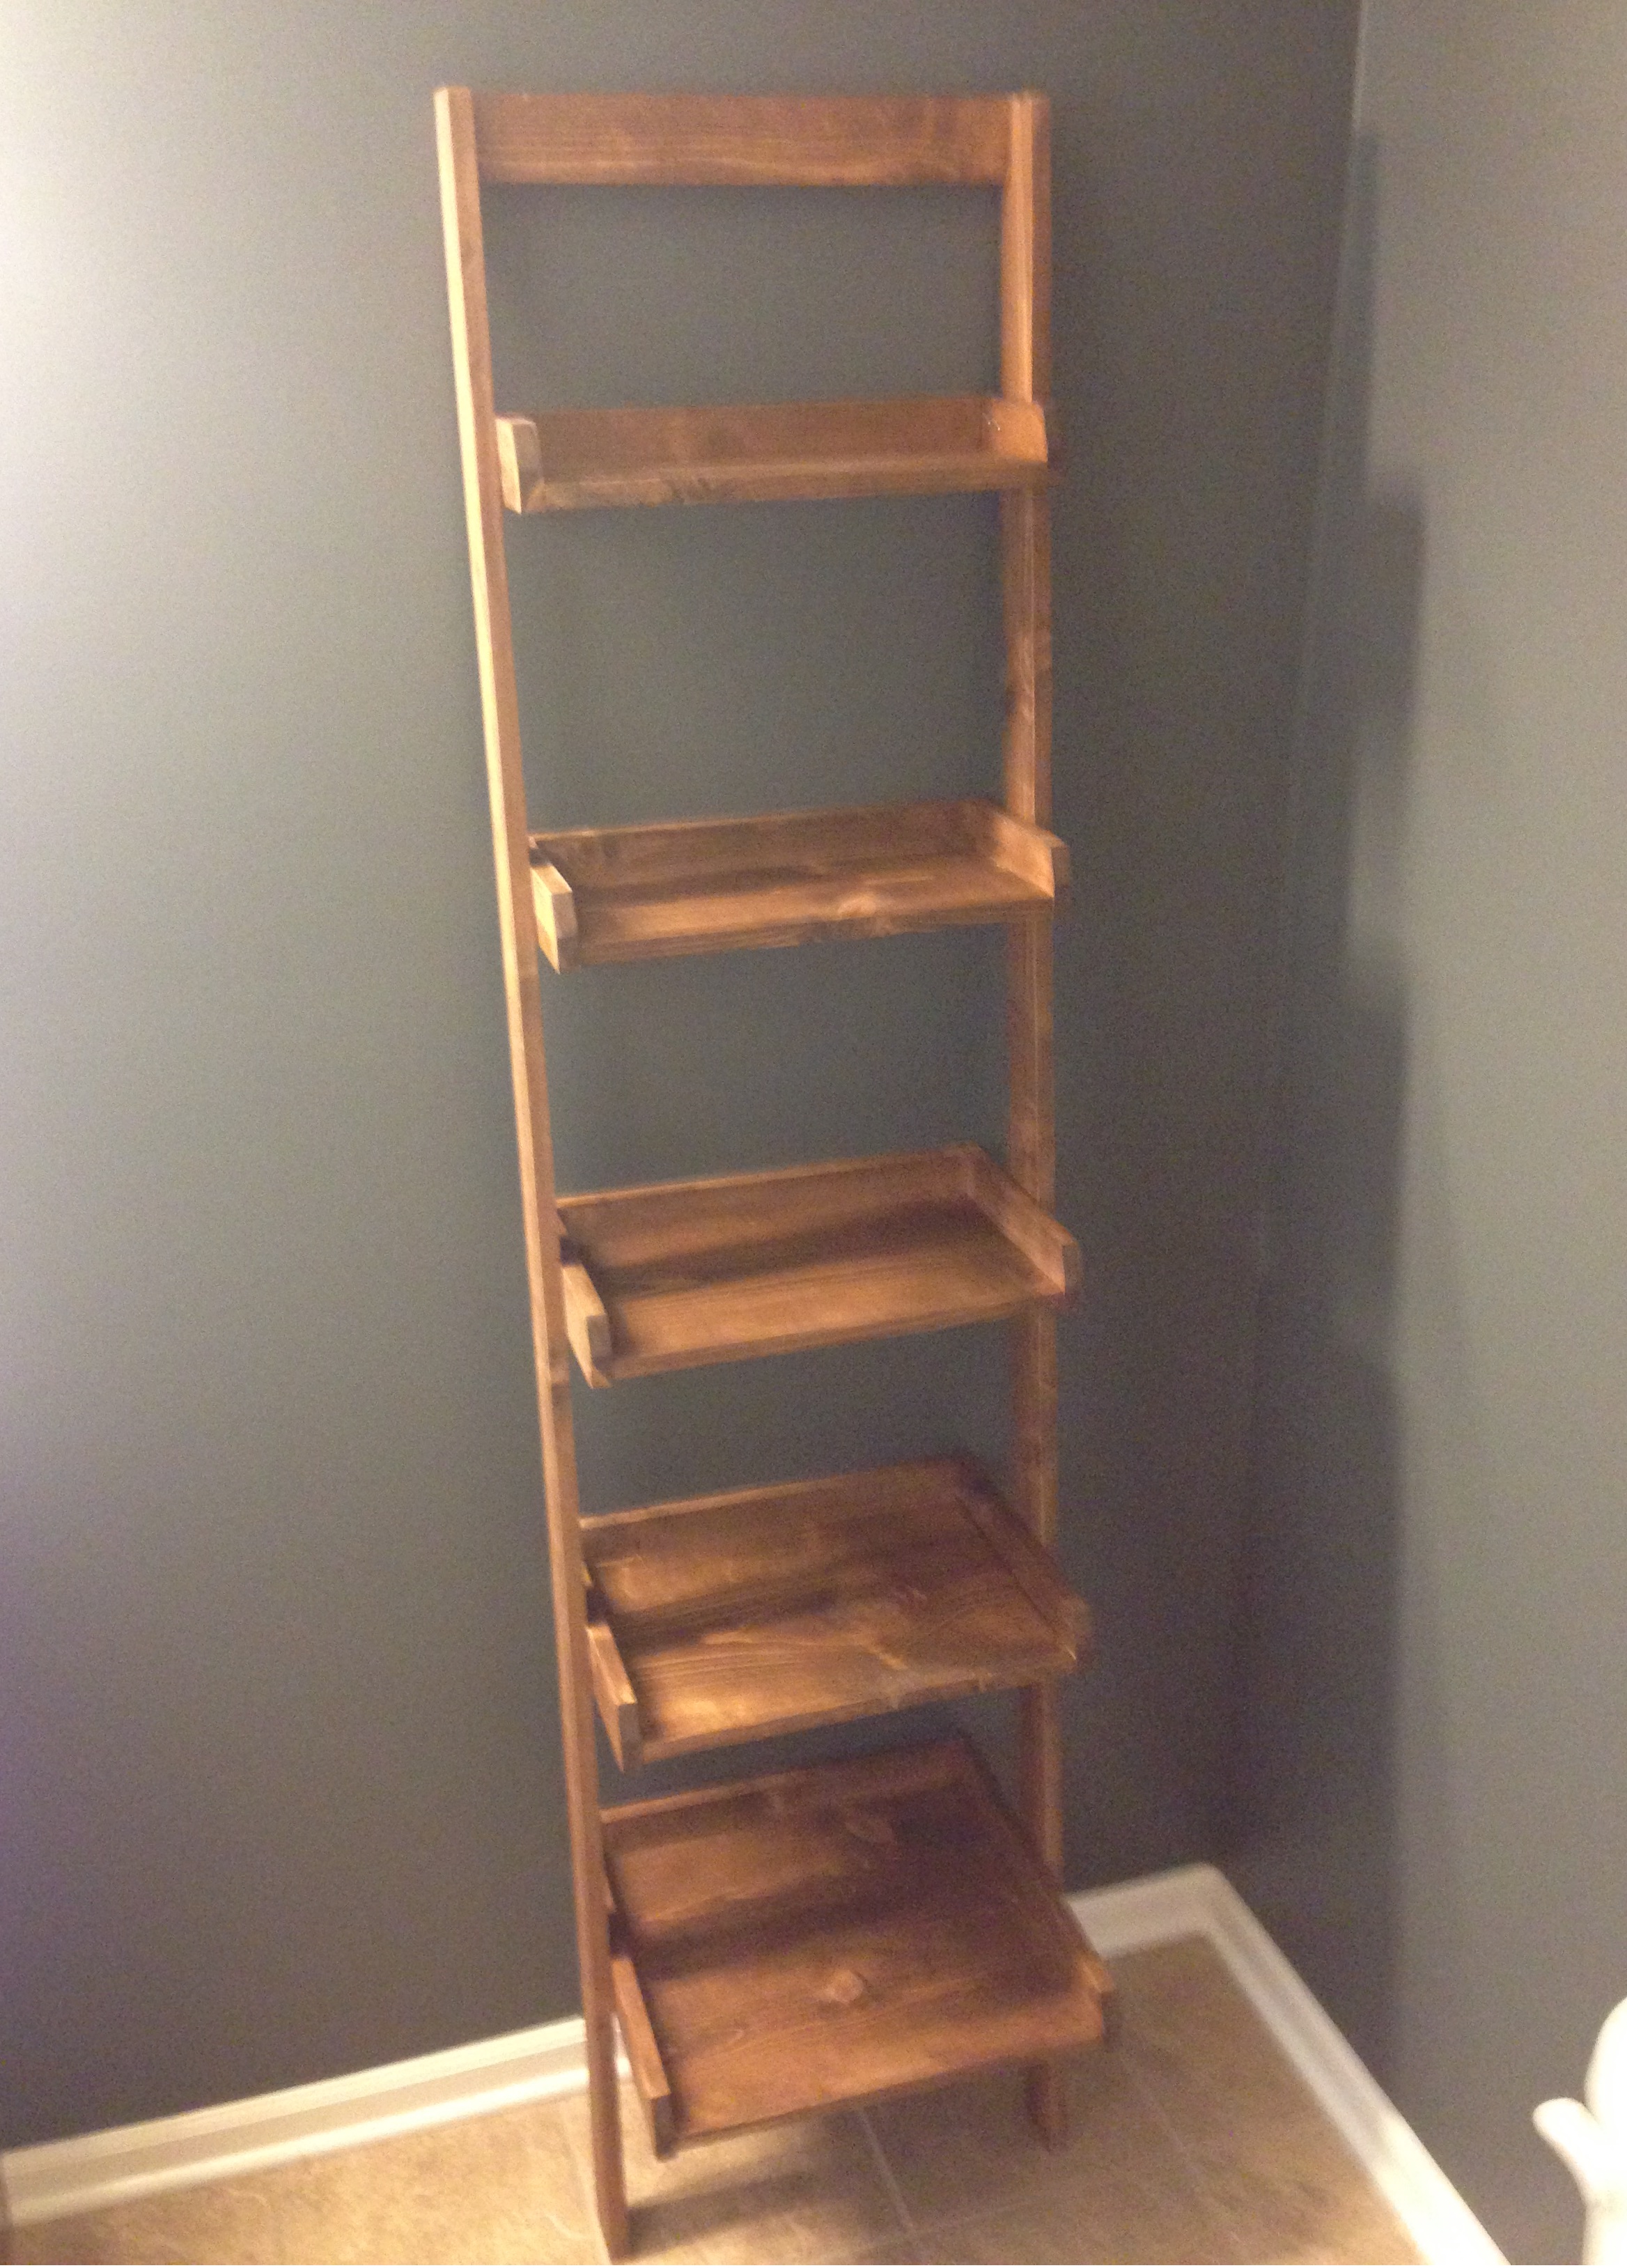
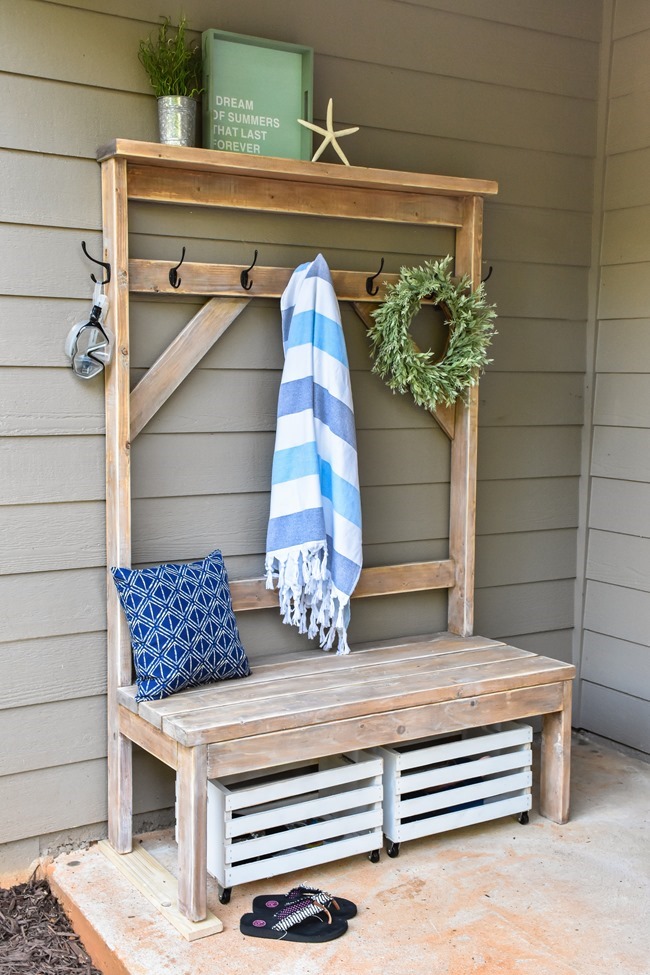
Thank you for the fantastic tutorial to build this laundry pedestal. I was able to have the the pieces cut at my local Lowes store. After making the pedestal I would make a few adjustments to make it more sturdy. I would attach the four posts to the inside corners and cut the bottom platform corners to fit around the posts instead of attaching them to the platform with brackets. I made my posts a little taller too because my laundry baskets were taller. I love my new addition to my laundry room! The link to Saushas Laundry Pedestal that I followed is here, http://ana-white.com/printpdf/2011/01/sausha’s-washerdryer-pedestals.

Built this over 5 days, around my son's naps (including 2 days for sealant to cure). Actual time was probably around 8 hours total. Not too bad for my third project! I only built one shelf and am using it for storage in our master bathroom. I love the way it turned out. Thanks again, Ana, for a great project plan. :)
I have been looking at your blog and always been interested in making my own furniture. However, I was scared to try. Your diagrams and measurements were awesome. Thank you! Gave me the encouragement to try!


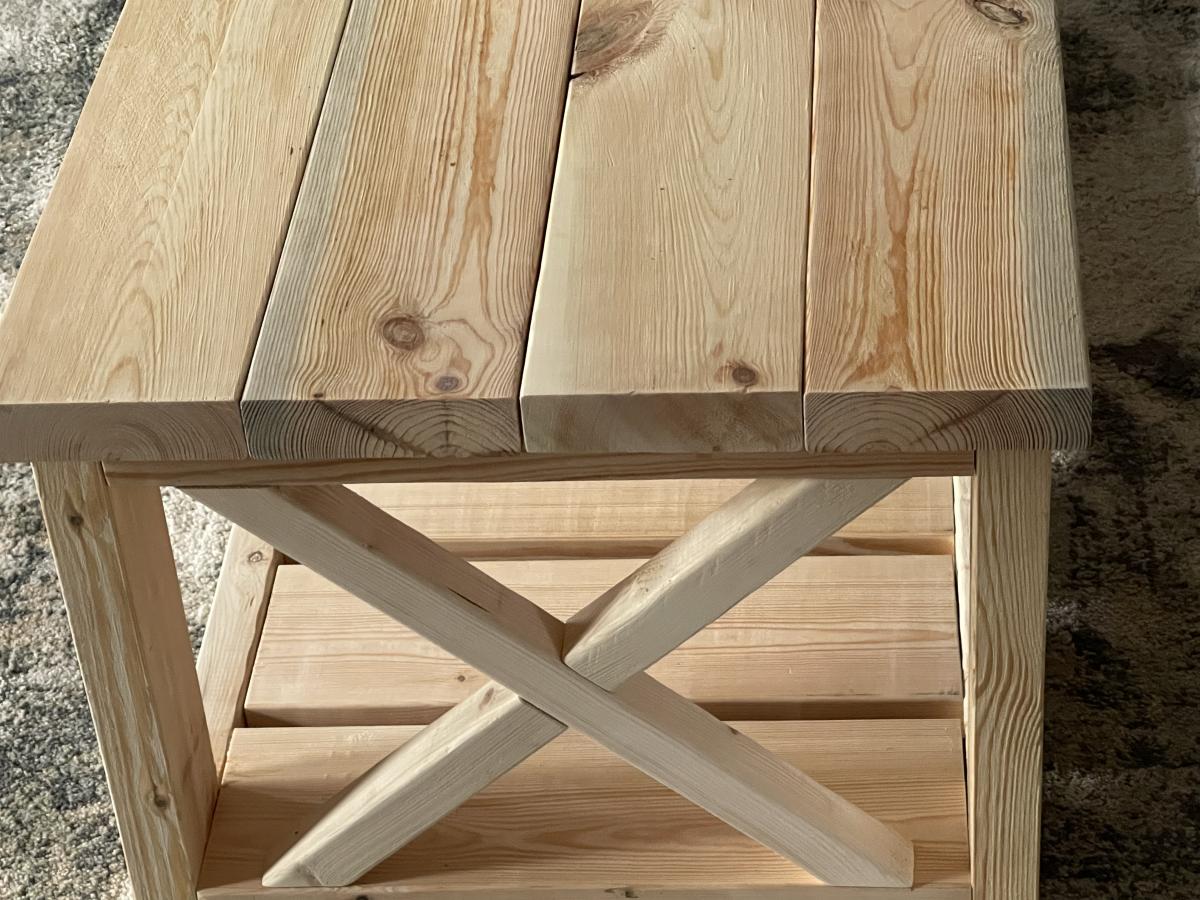
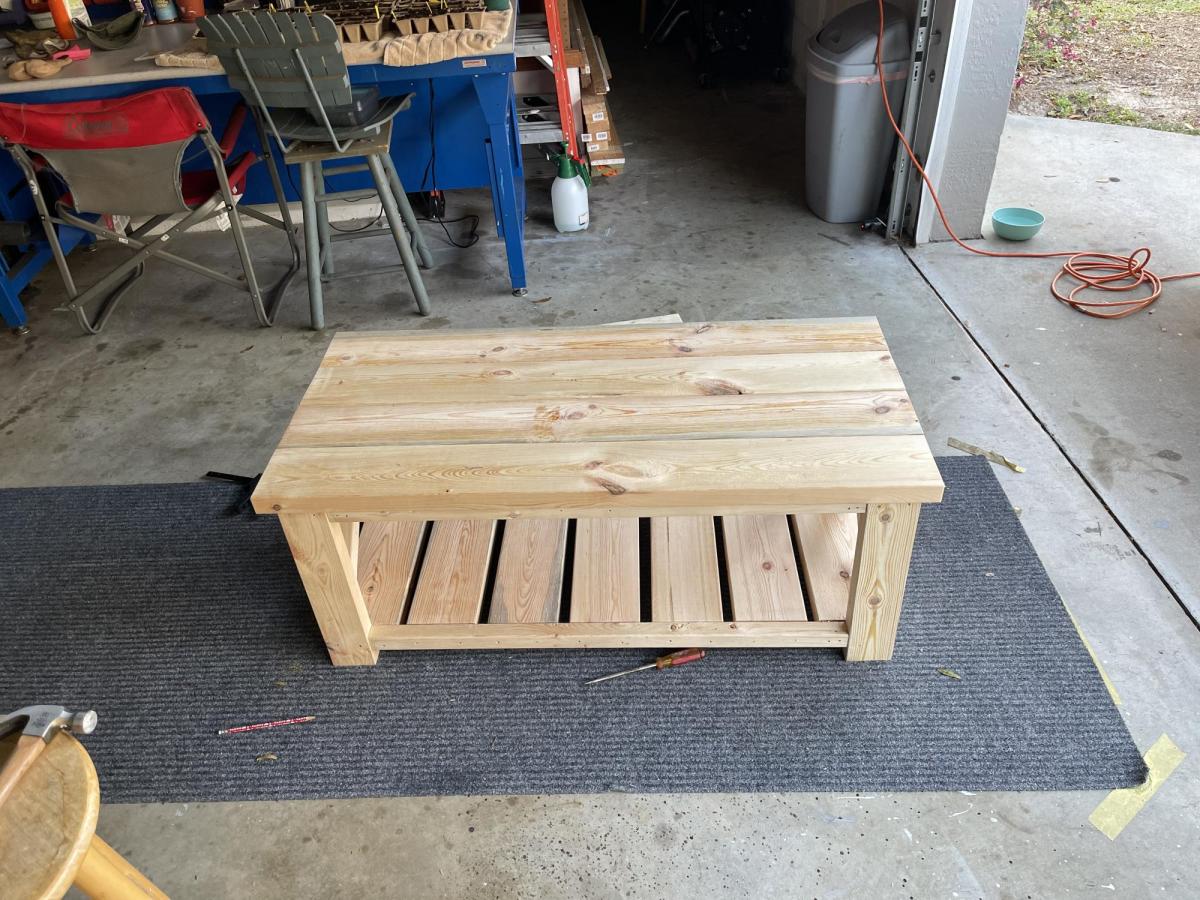
I built this coffee table for a friend. It is a square version of the Tryde coffee table with a shelf underneath. The dimensions of the tabletop are 42" x 42." It took a couple of weeks of working at night to complete, but she loved it.


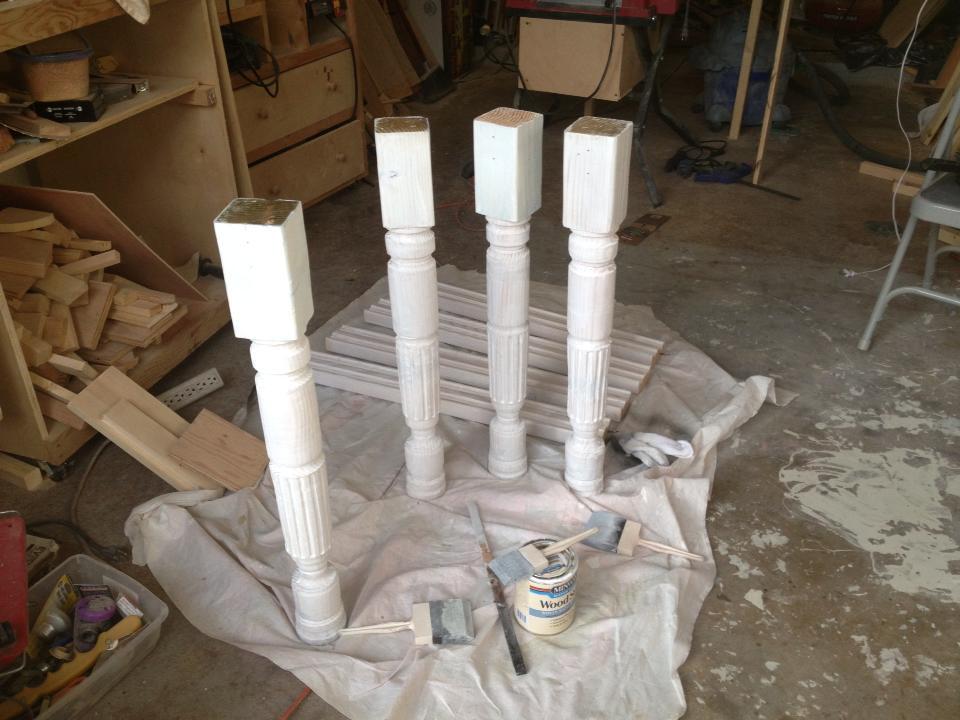
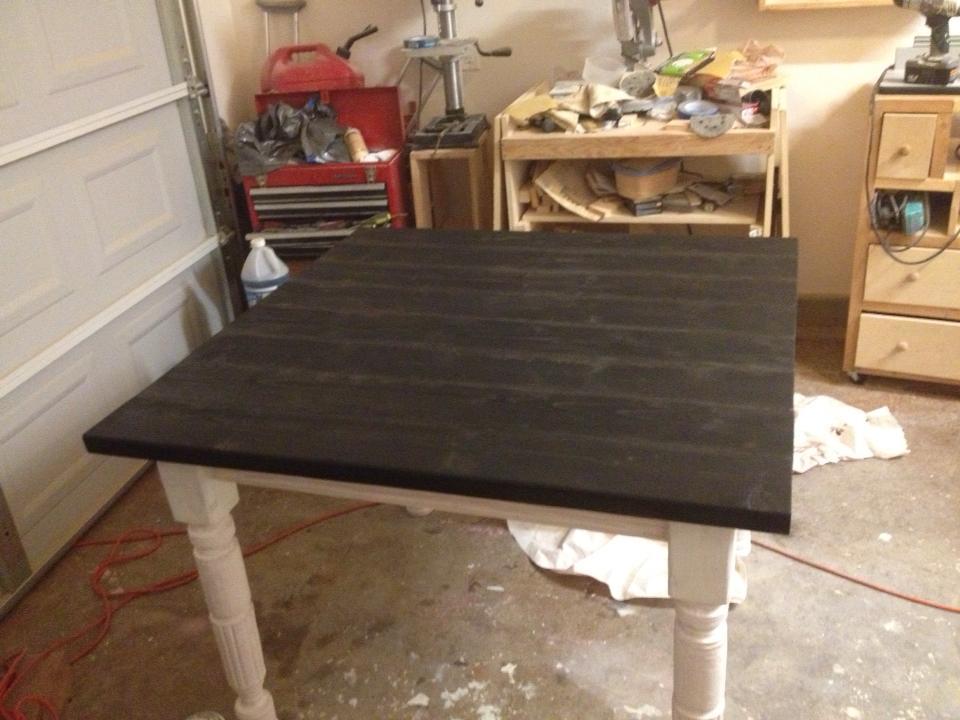
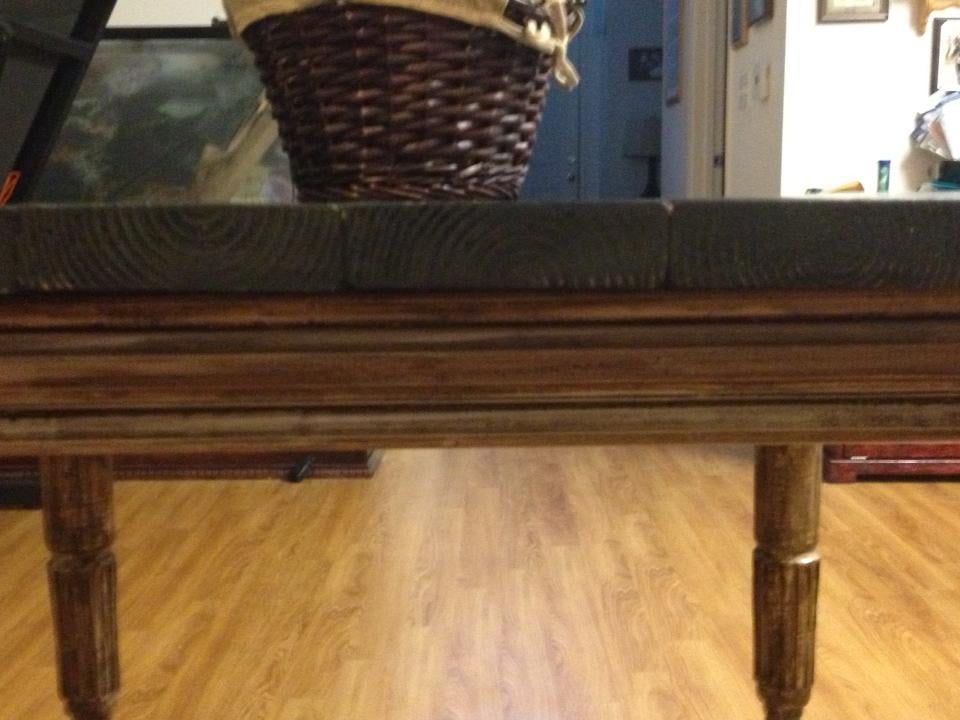
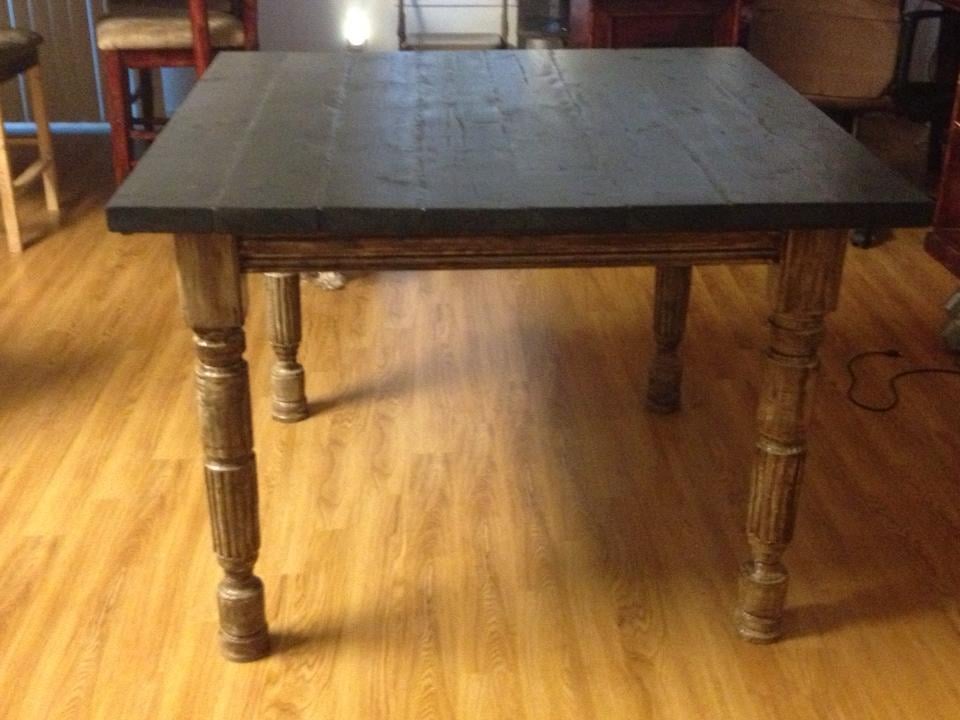
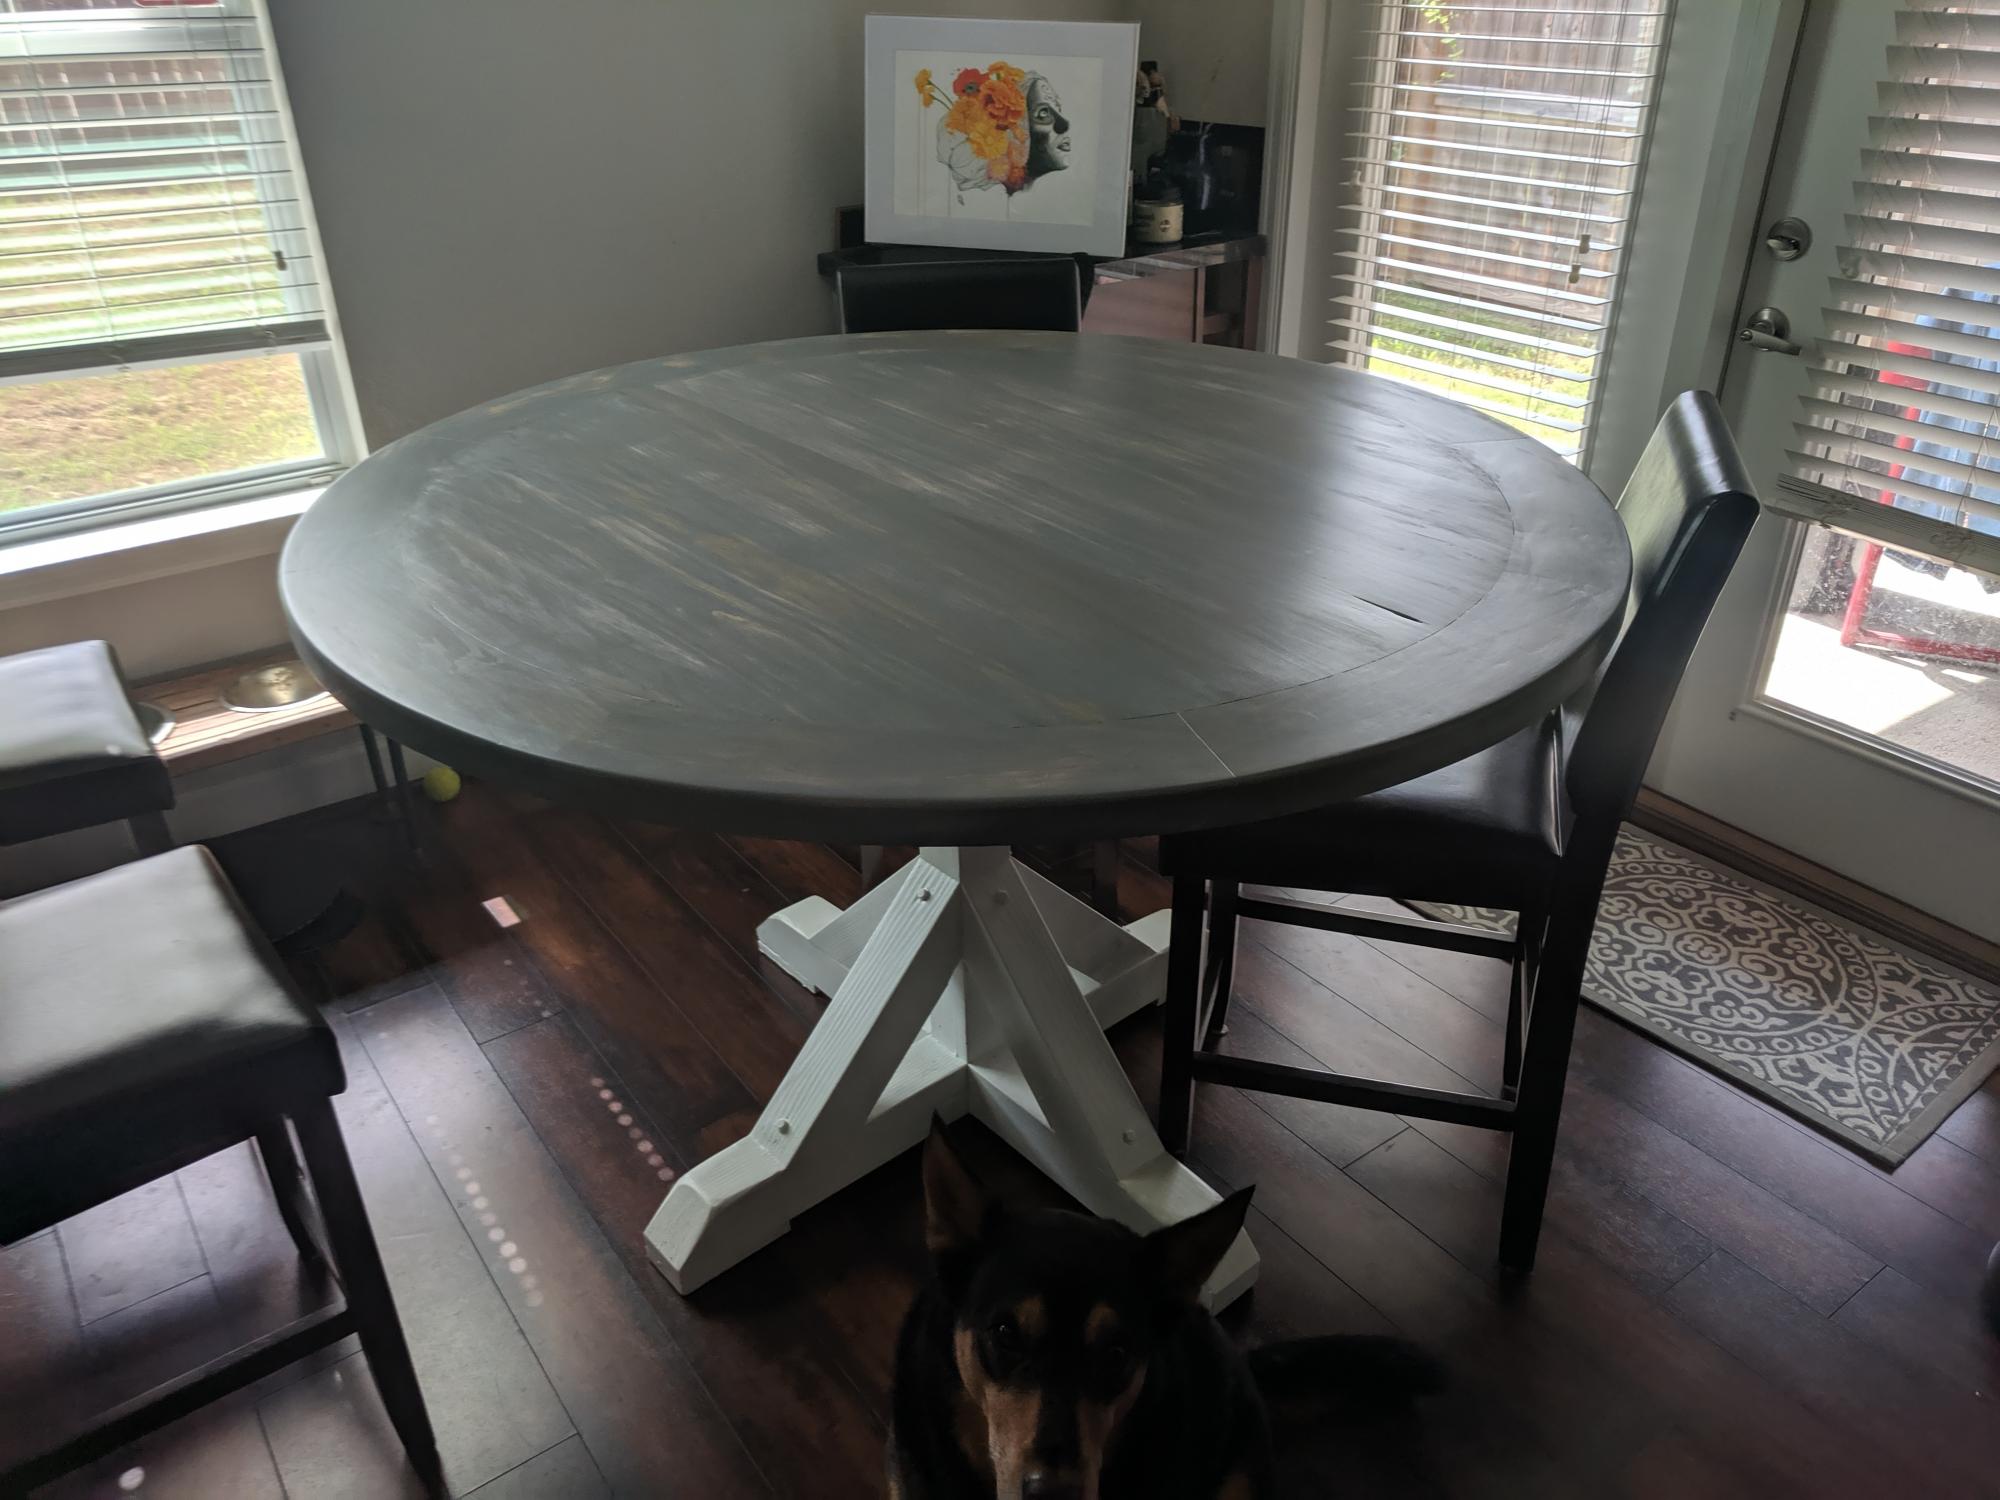
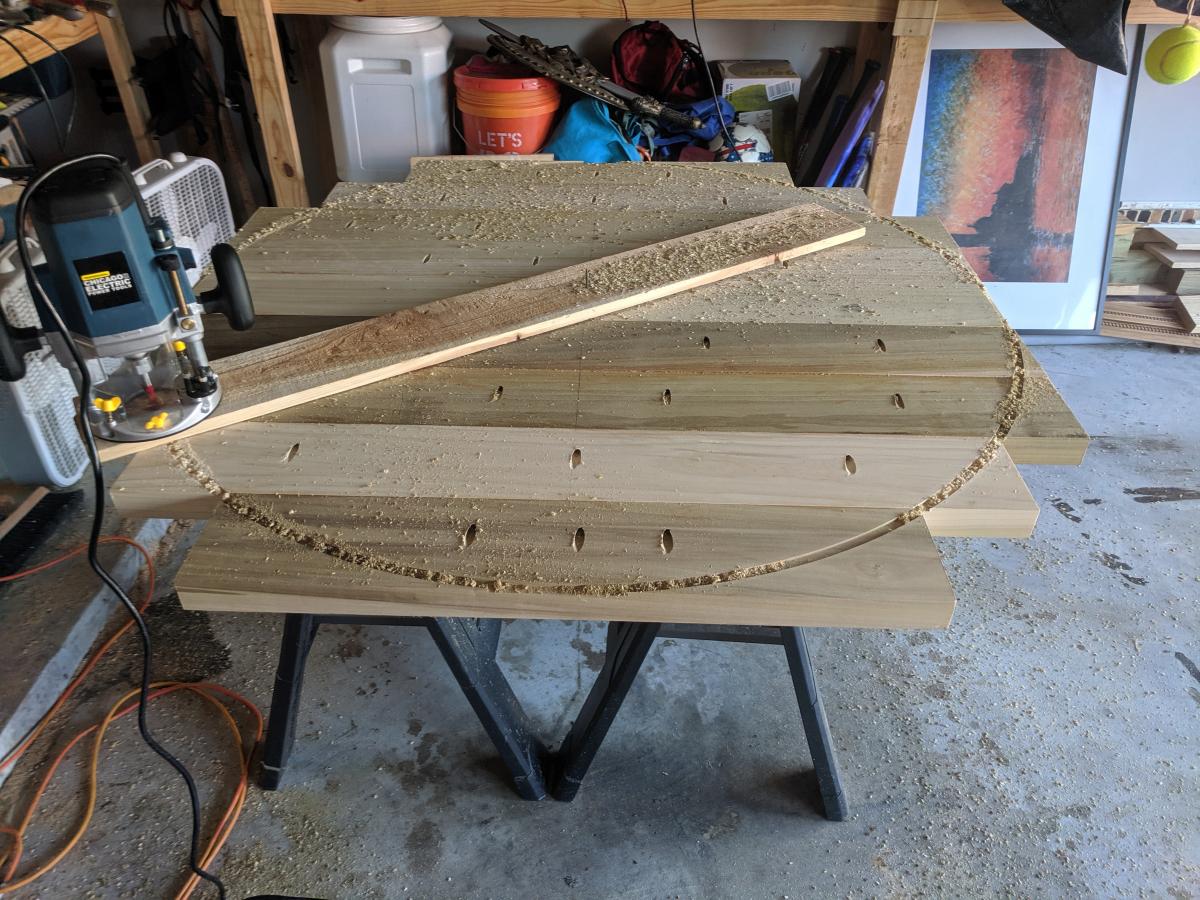
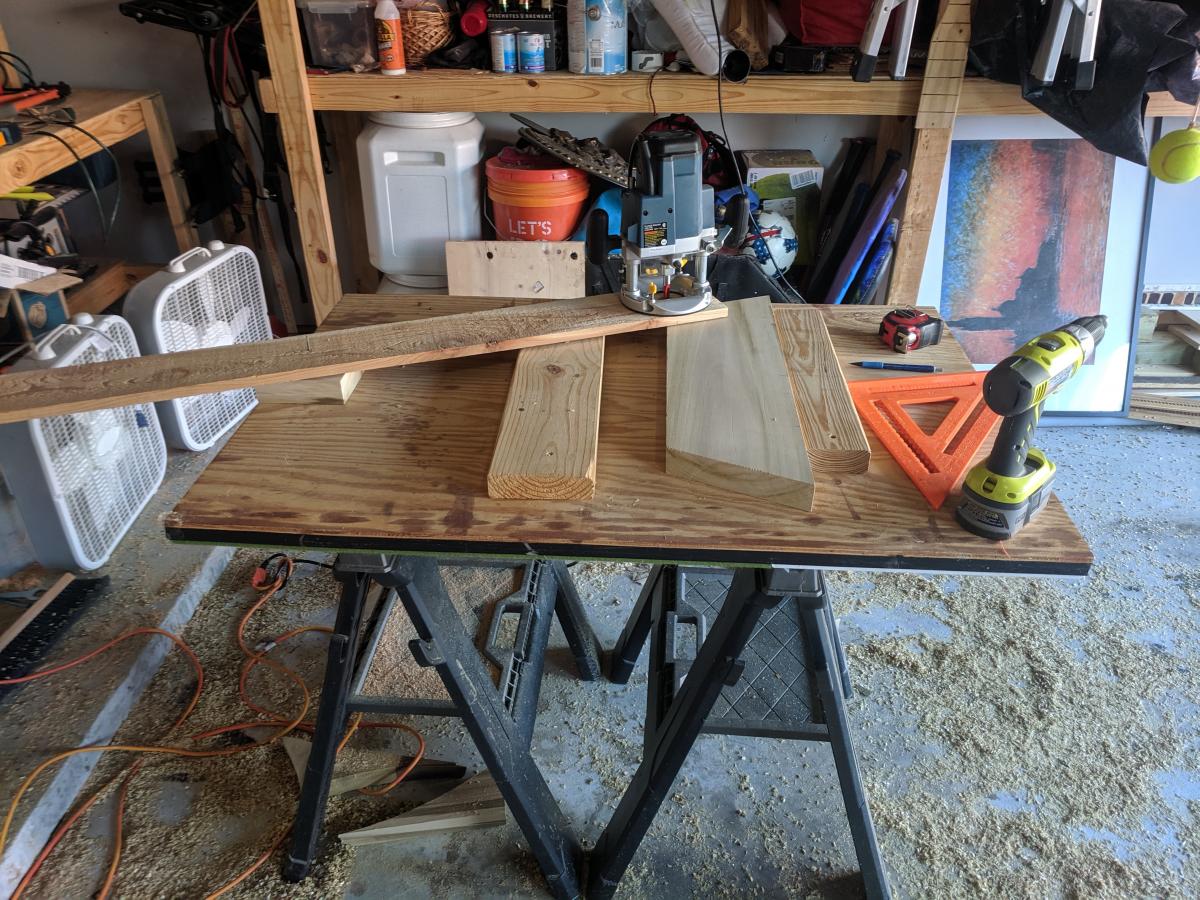
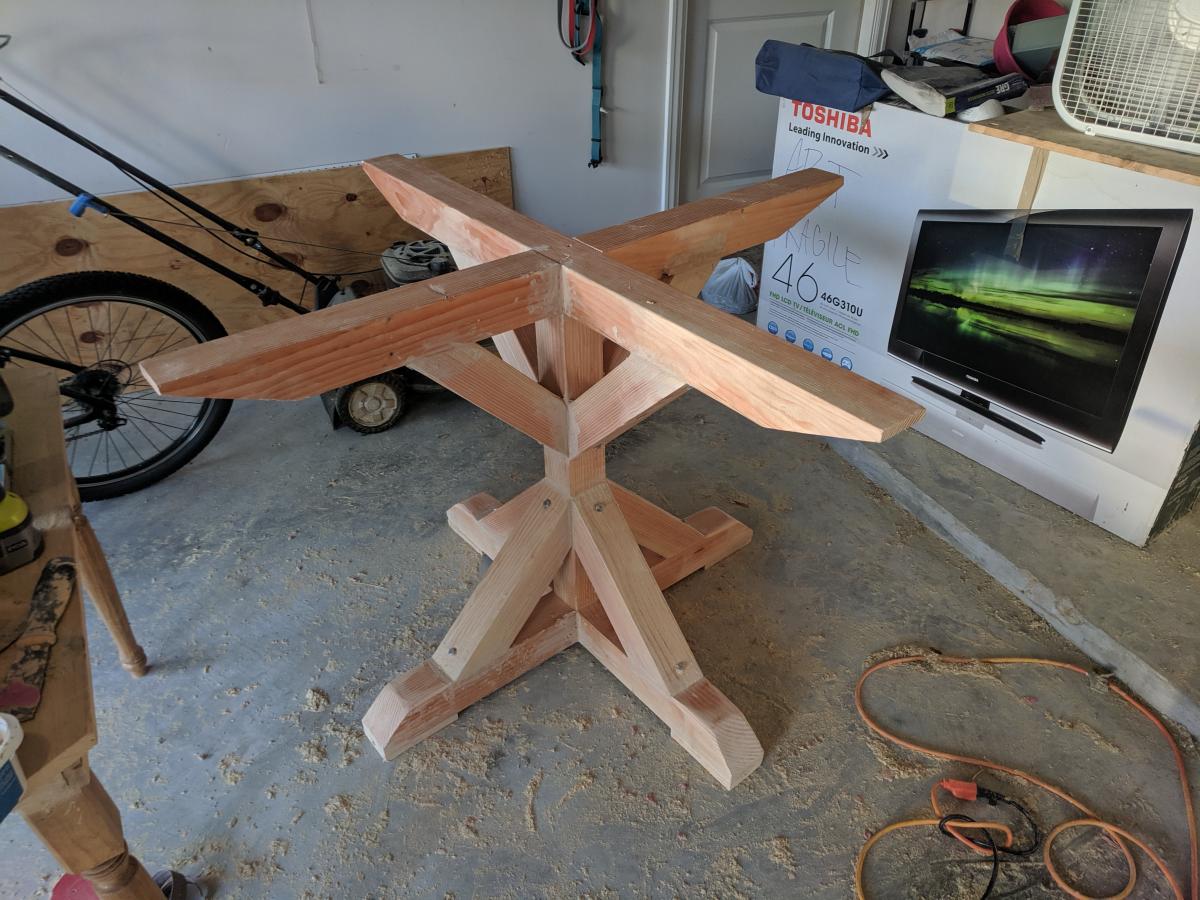
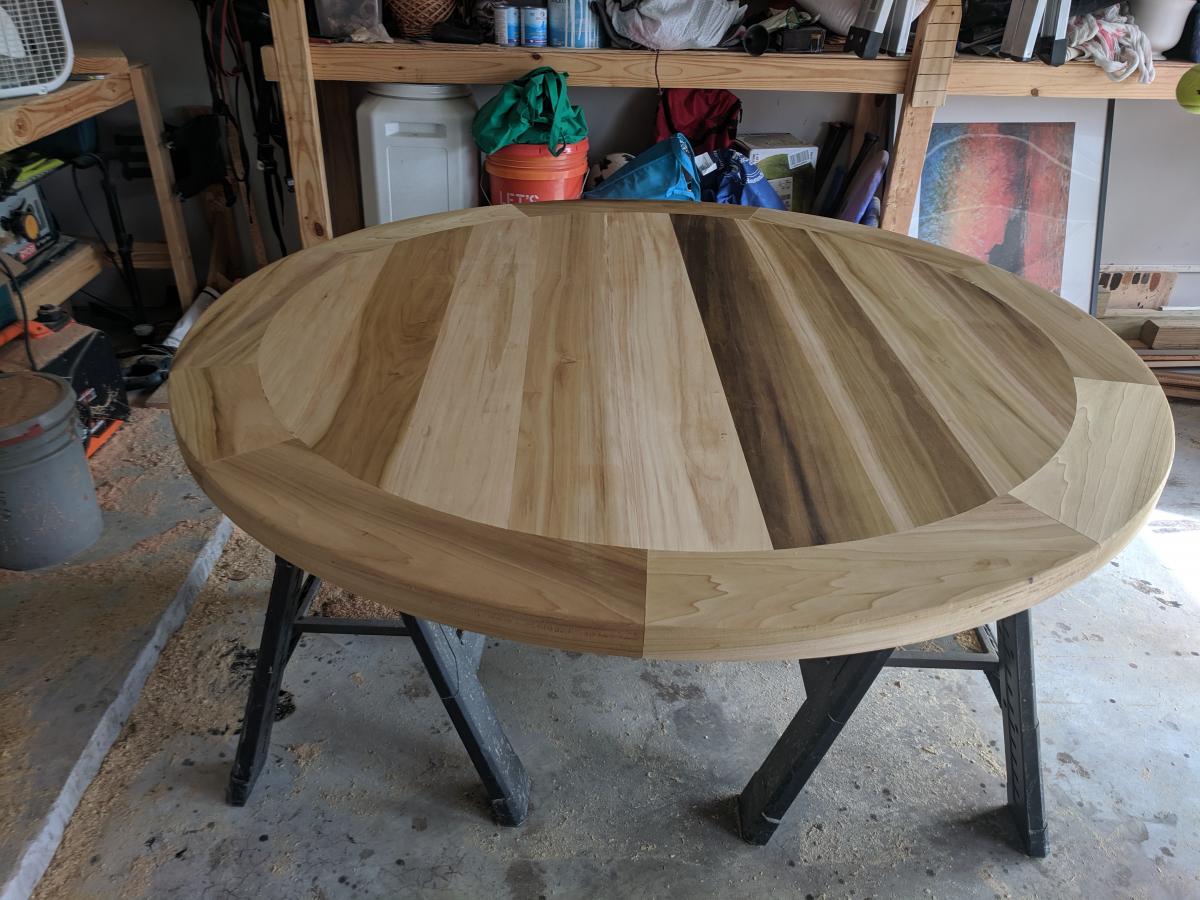
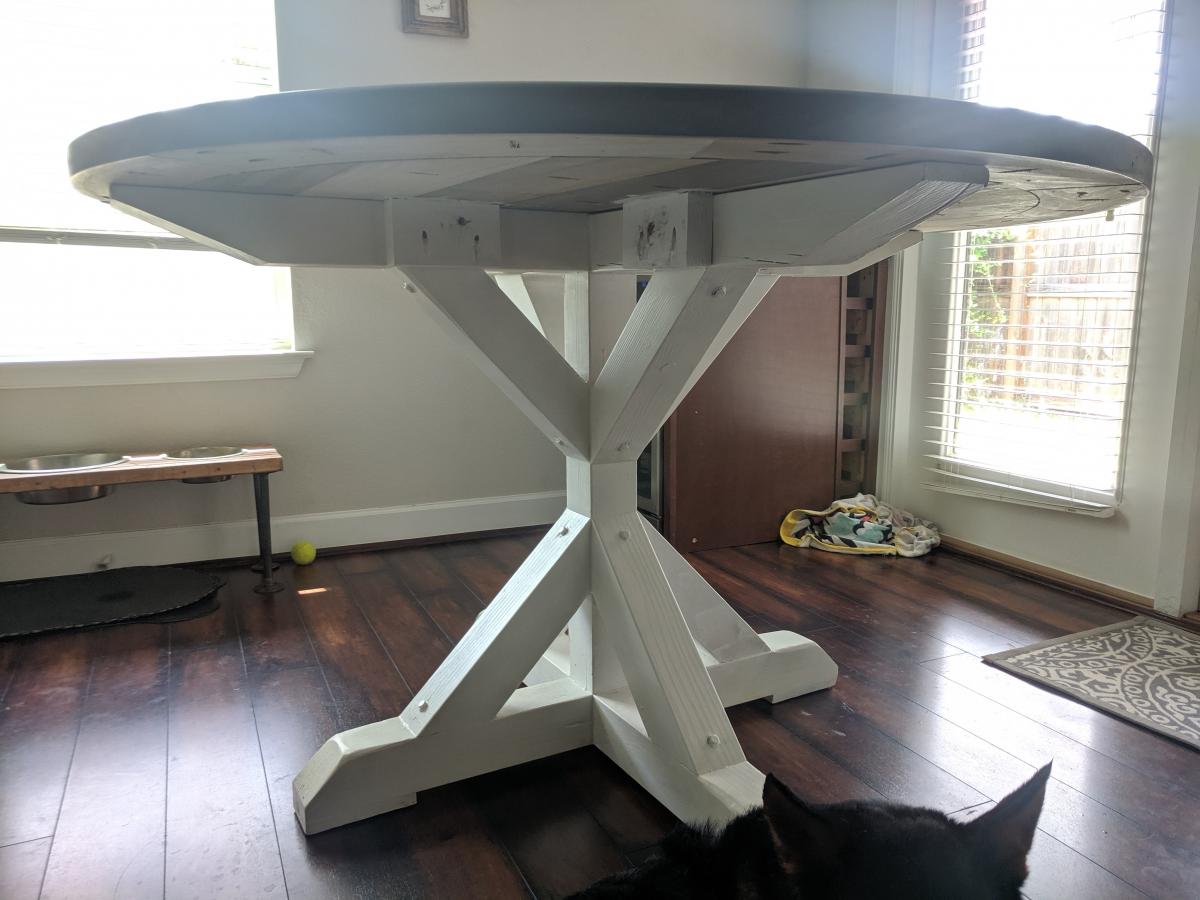
Small Farmhouse table with custom made husky legs and side trim. I used my router to create the legs and trim.It was my first attempt at turned legs. I used minwax white wash pickle, then I went over with a mixture of minwax of dark walnut and golden oak.

Thu, 11/07/2013 - 12:23
Your table looks awesome! What an amazing job you did turning the legs, and the finish is fab! Beautifully done!
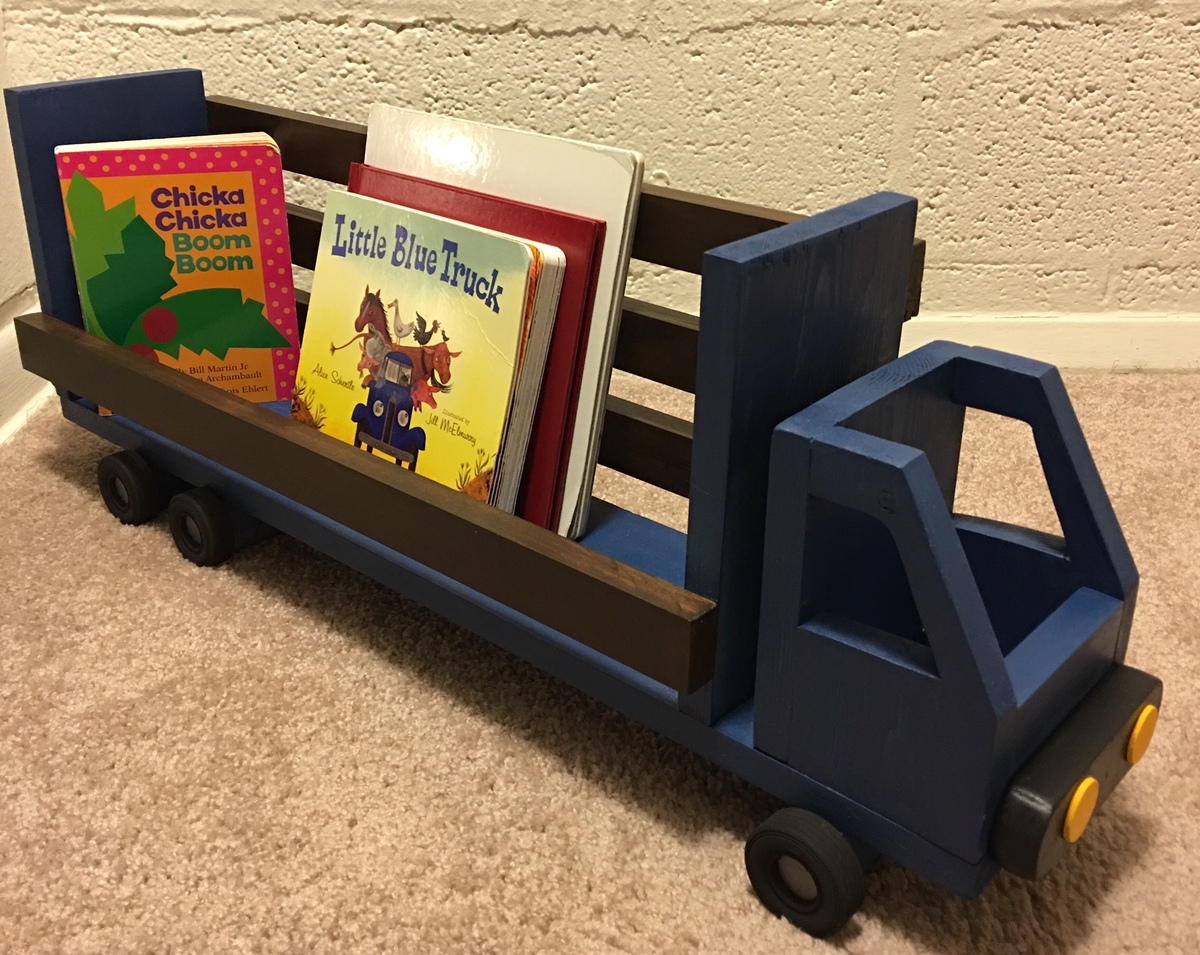
Loved making this shelf!
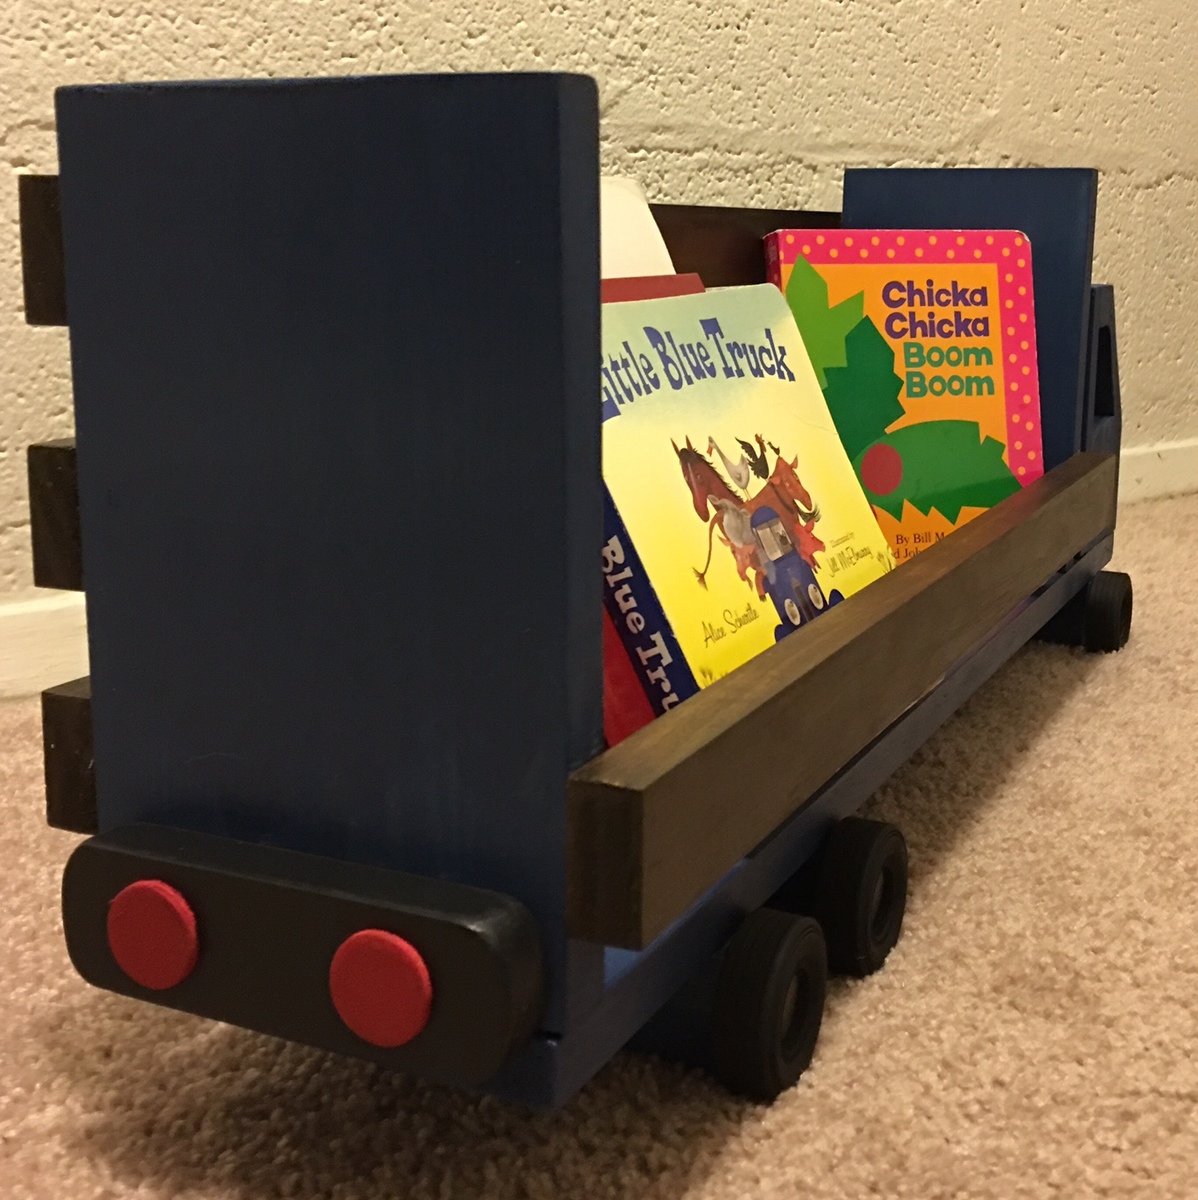
I modified a couple of plans I found on this site. If anyone is interested in instructions or cut list, I can post it later.
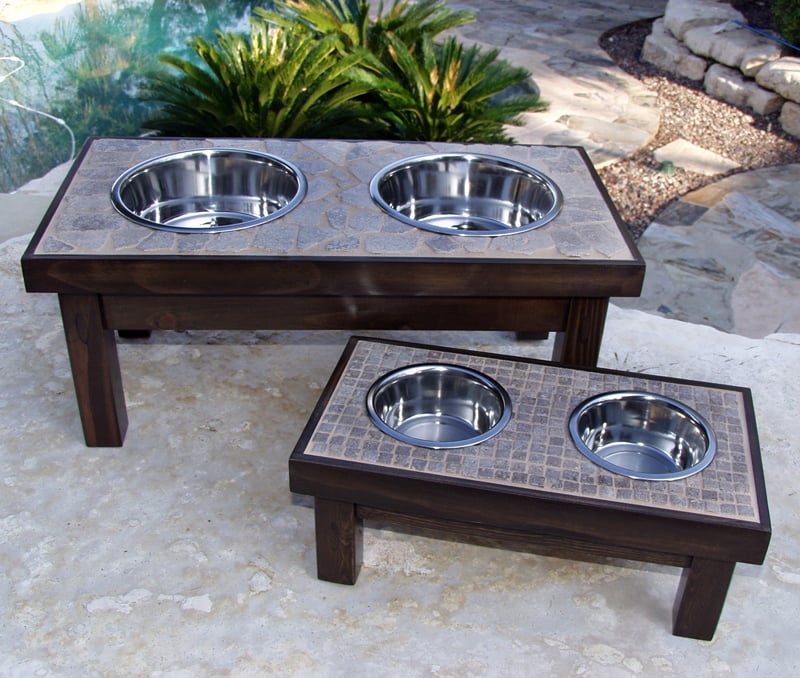
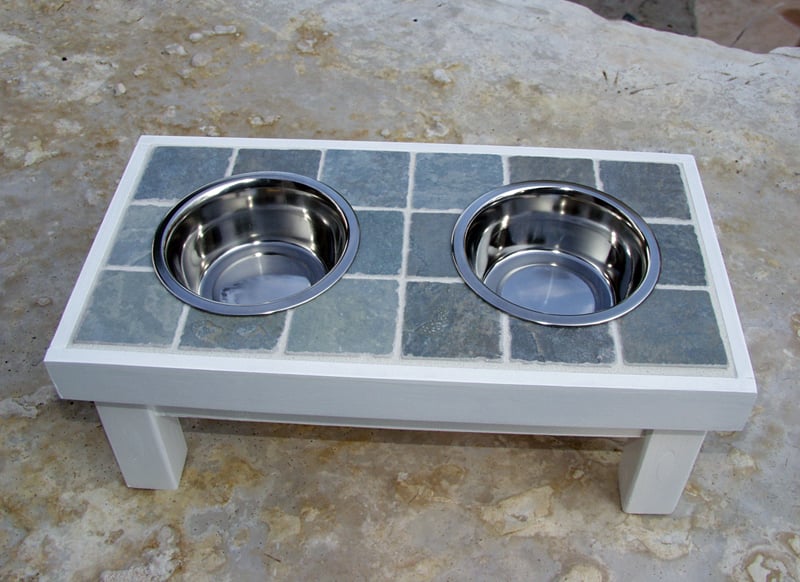
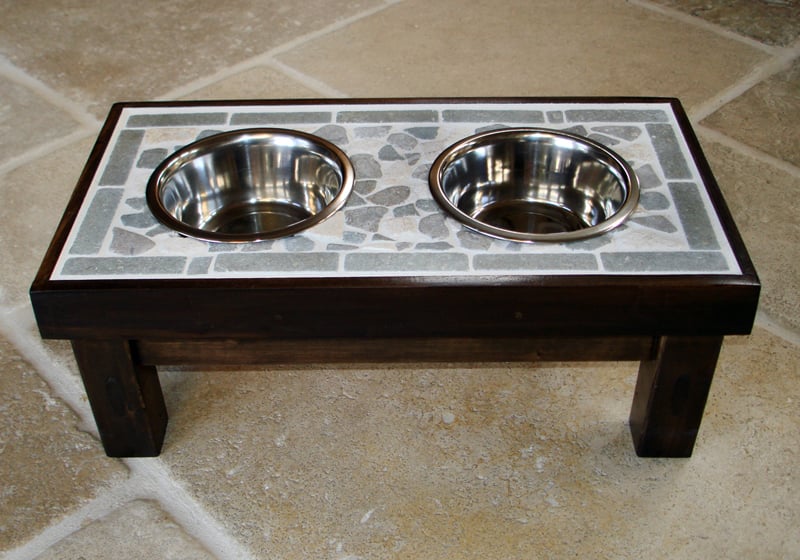
I modified the single bowl raised pet feeder by adding tile over hardibacker cement board (over the wood platform). Then, I trimmed it with a thin border of wood. These are pretty addictive to make, as you can see from the pictures!
Wed, 12/21/2011 - 09:41
I love the tile top! I made a double raised feeder all out of wood and the top gets so filthy! This tile top is a great idea!
Mon, 12/26/2011 - 13:12
I love the tile look you used! I have been looking everywhere for attractive raised pet bowls and have found nothing I like. I do have a few questions: is the cement board necessary? What size and type of wood did you you use for the trim and how did you attach it?
Thank you for posting I would have never thought of this myself!

In reply to Perfect for my pup! by BrennaLiz
Wed, 01/04/2012 - 12:59
Thanks for the feedback. According to the guys at Lowe's, you could skip the cement board and use liquid nails to attach the tiles. But the grout/adhesive that I was using would not bond to wood (and I think that may be true for many, if not all of them), so I went ahead with the cement board. This required a special drill bit for my roto-zip (to make the circle), and a special drill bit for my screwdriver (in connecting the cement to the board). I used "craft wood" trim (available at Lowe's in Pine). It's 3/8" thick and 1 1/2" wide. It's the perfect size for covering a 3/4" frame, cement board and the tile. I glued the boards together and then nailed thin brads in to secure it.
In reply to Response to "Perfect for my pup" by Joni
Fri, 08/15/2014 - 20:22
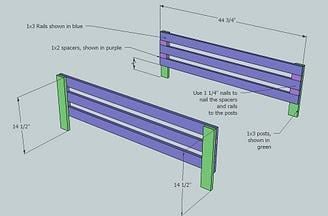
can you please help me sure up the measurements for a double bowl? I have a 1x12 (3/4 x 11 1/4), which is 24 inches long. I need the measurements for the 1x3's. Thanks
Fri, 12/30/2011 - 12:28
I love these! I've been trying to find a plan to make one for my 80lb dog!
Fri, 03/02/2012 - 20:11
Hi. I love your post! Did you lay the tile and then cut it or cut the holes first? What tools do you need to cut the tile?
Thanks,
Katie
In reply to How do you cut tile? by katieevans140@… (not verified)
Sun, 03/04/2012 - 10:38
Katie, I didn't have a tile cutter. I purchased a tile nipper from Lowe's, and was surprised at how easy it is to snip off the parts you don't want. I nipped it first and got it all laid out around the circular hole prior to putting the adhesive down. It helps to put the tile pieces in a vice, and then nip it. -Joni
Fri, 03/16/2012 - 10:11
this is awesome. our great dane has a massive drool issue (to be expected) so i've been trying to find a plan that isn't JUST wood top. problem solved. i think i just found my new christmas present gifting tradition too! thanks!
Wed, 03/12/2014 - 12:10
What kind of tile did you use? Where did you get it? Thanks!
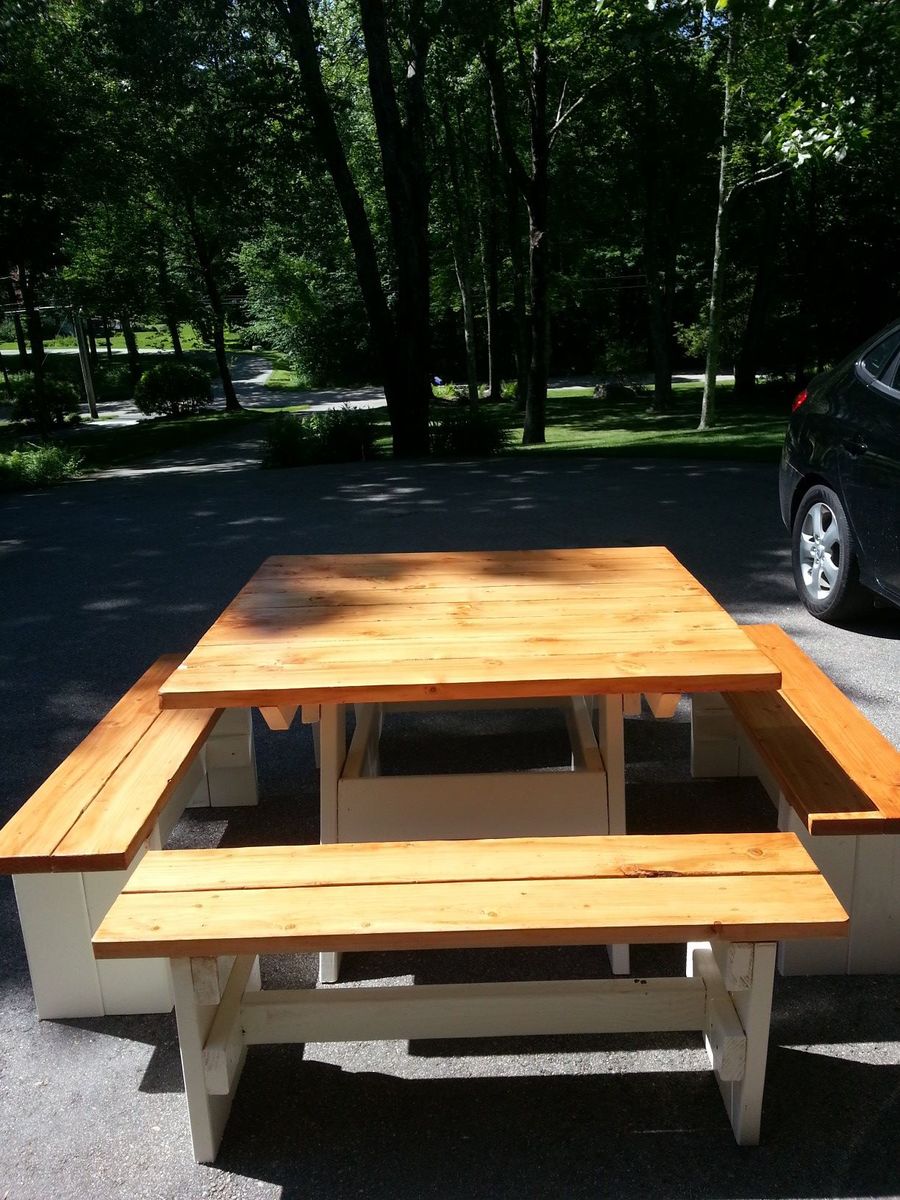
Picnic table and benches from an original (as far as I know) design I copied from my father-in-law. It is roughly 4'x4' and can comfortably seat 8 people, and is very sturdy.

Thanks for the great plan!
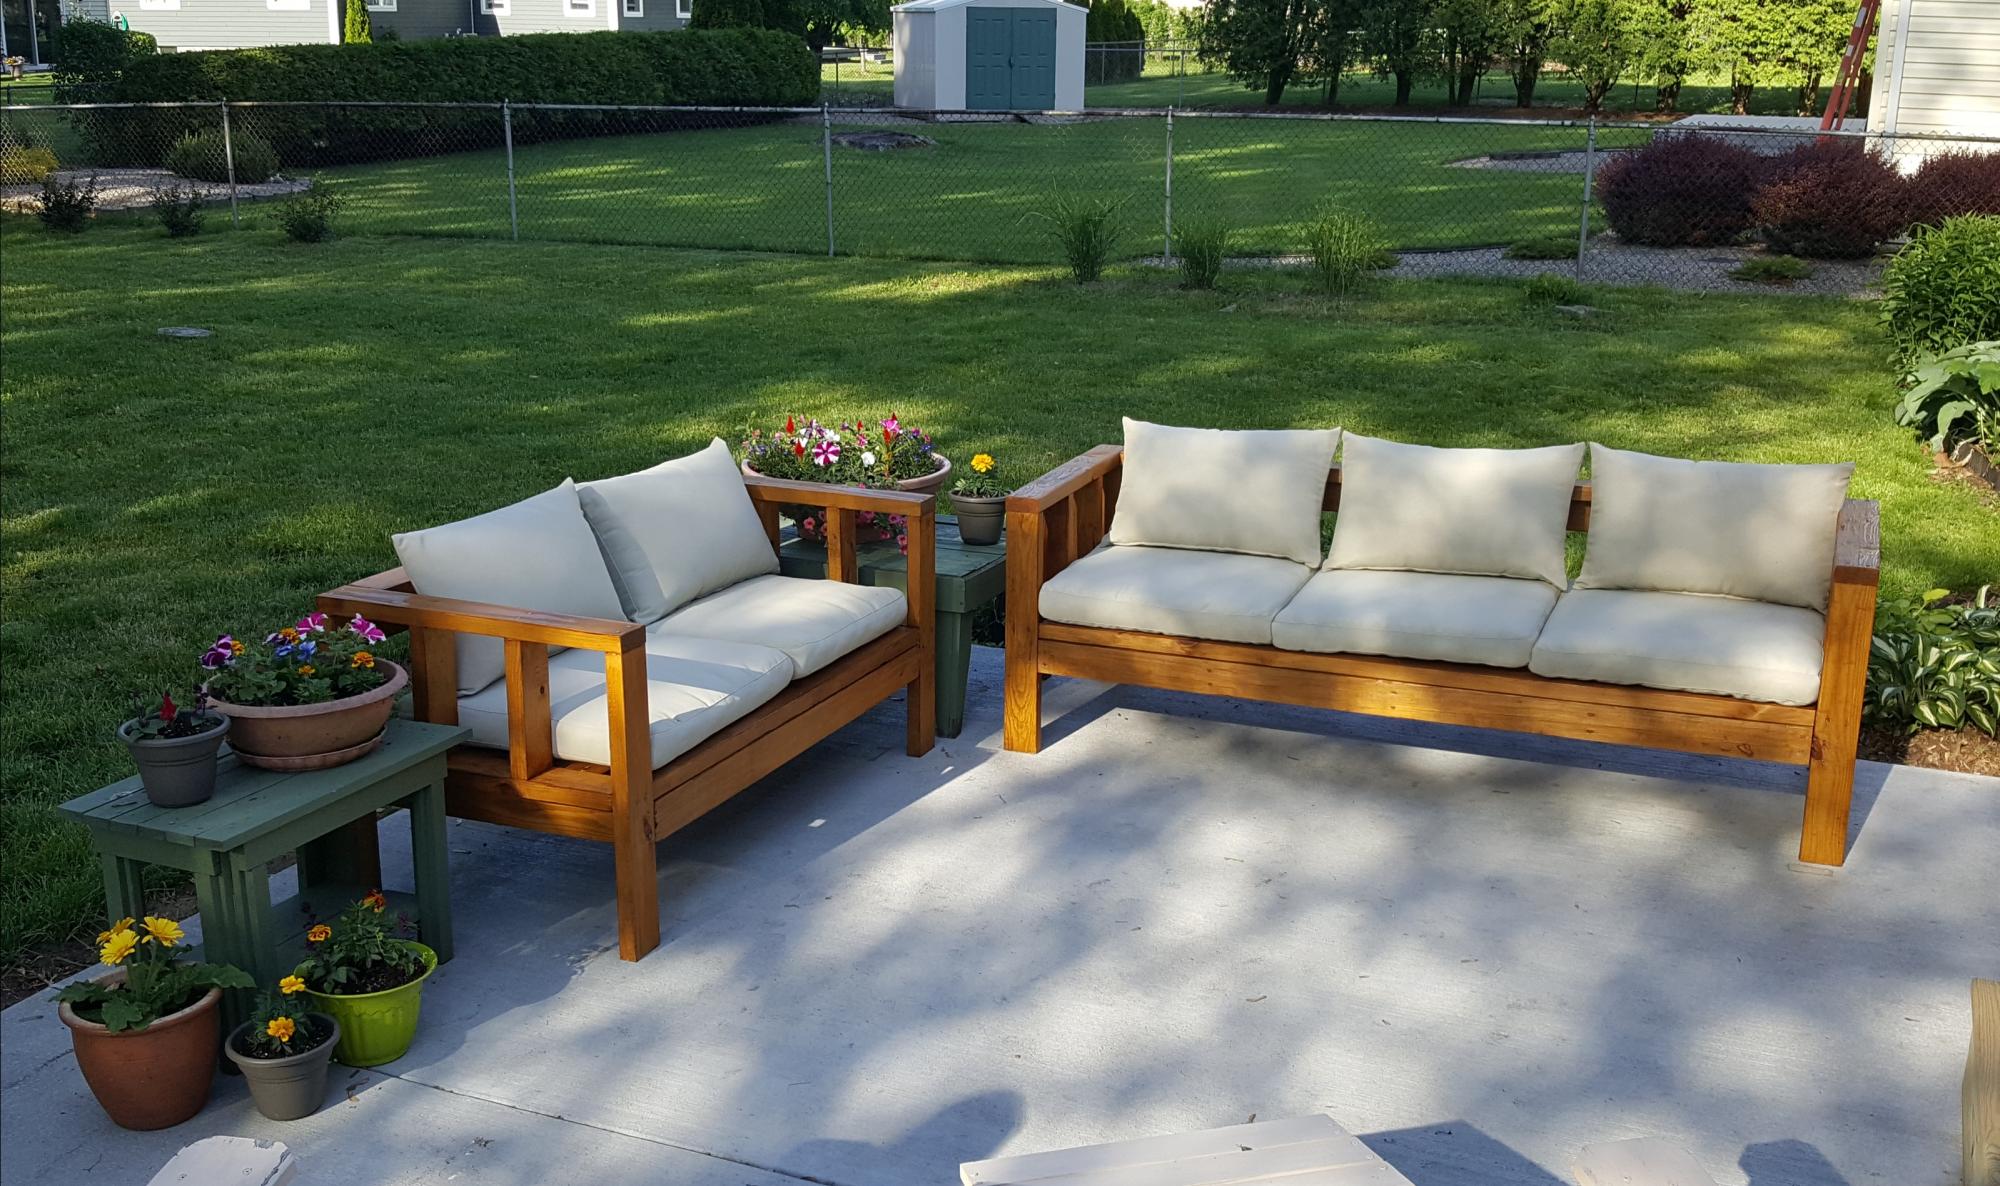
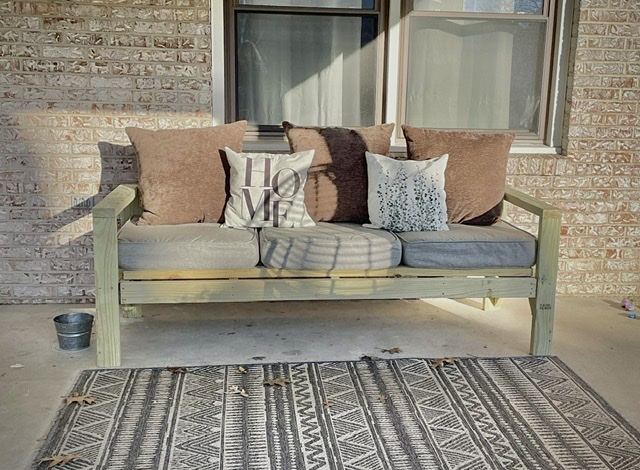
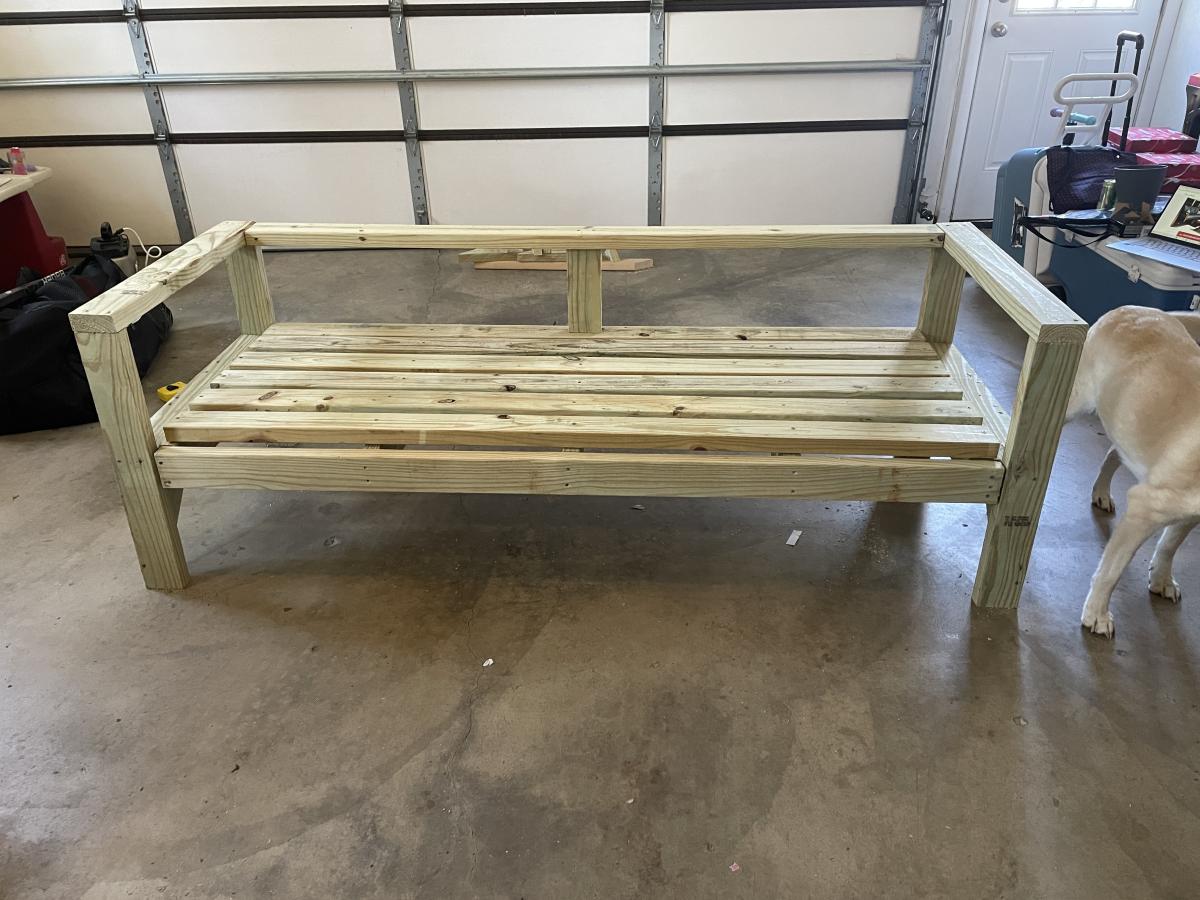
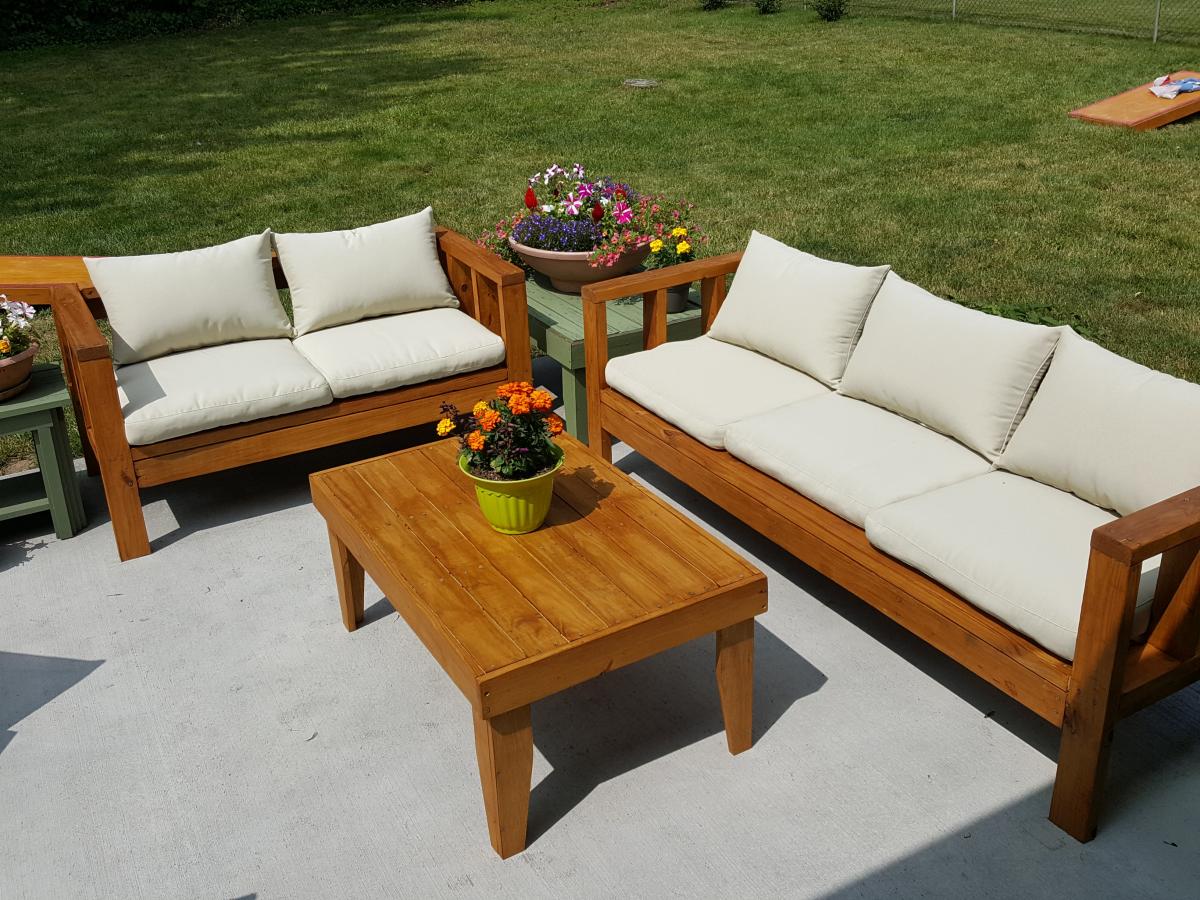
I decided for my patio a love seat/sofa combo would work better than the sectional. It was easy to make both and modify the plans to have arms at both ends of the pieces.
Getting inexpensive cushions was a challenge. I ended up getting IKEA HÅLLÖ cushions. I added more foam to the back cushions as was suggested in another post since the IKEA cushions were a little flimsy and tend to fall through the back of the sofa. I might add some bigger cushions at some point
Wed, 07/10/2019 - 17:06
I want to try this as soon as we get into our house.
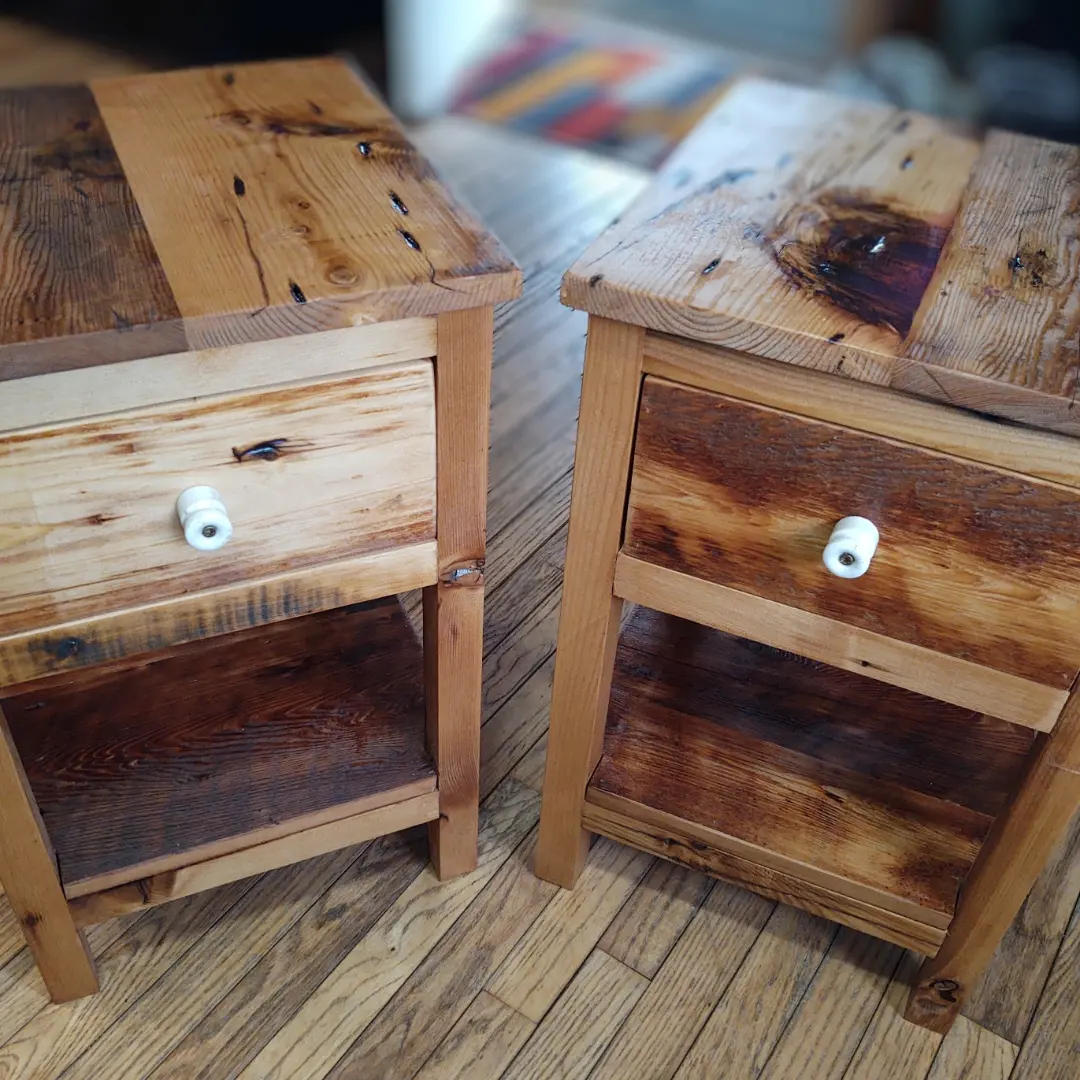
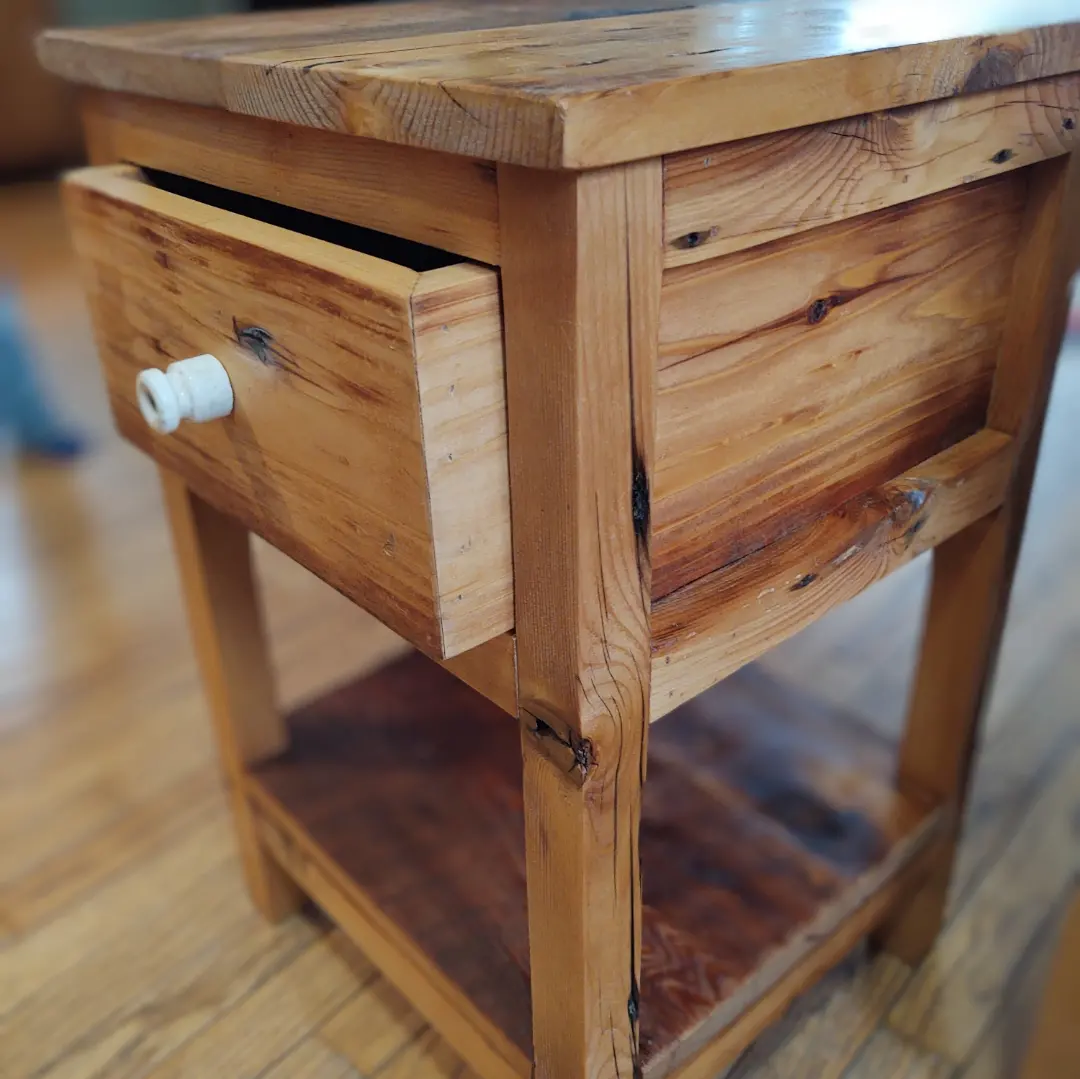
Made from reclaimed Douglas Fir wood I saved from a historical renovation in Northern Vermont. Knob and tube insulators from original electric service are well suited for drawer knobs.
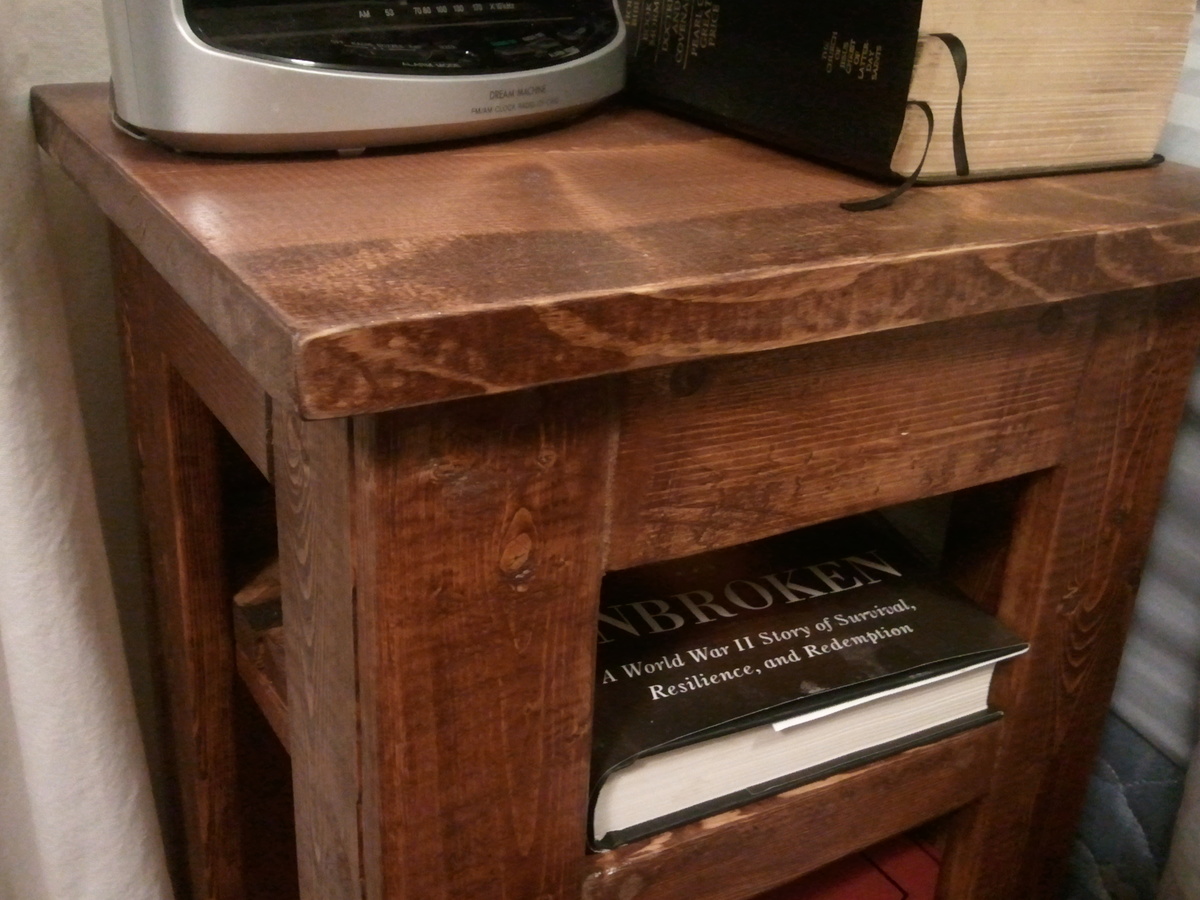
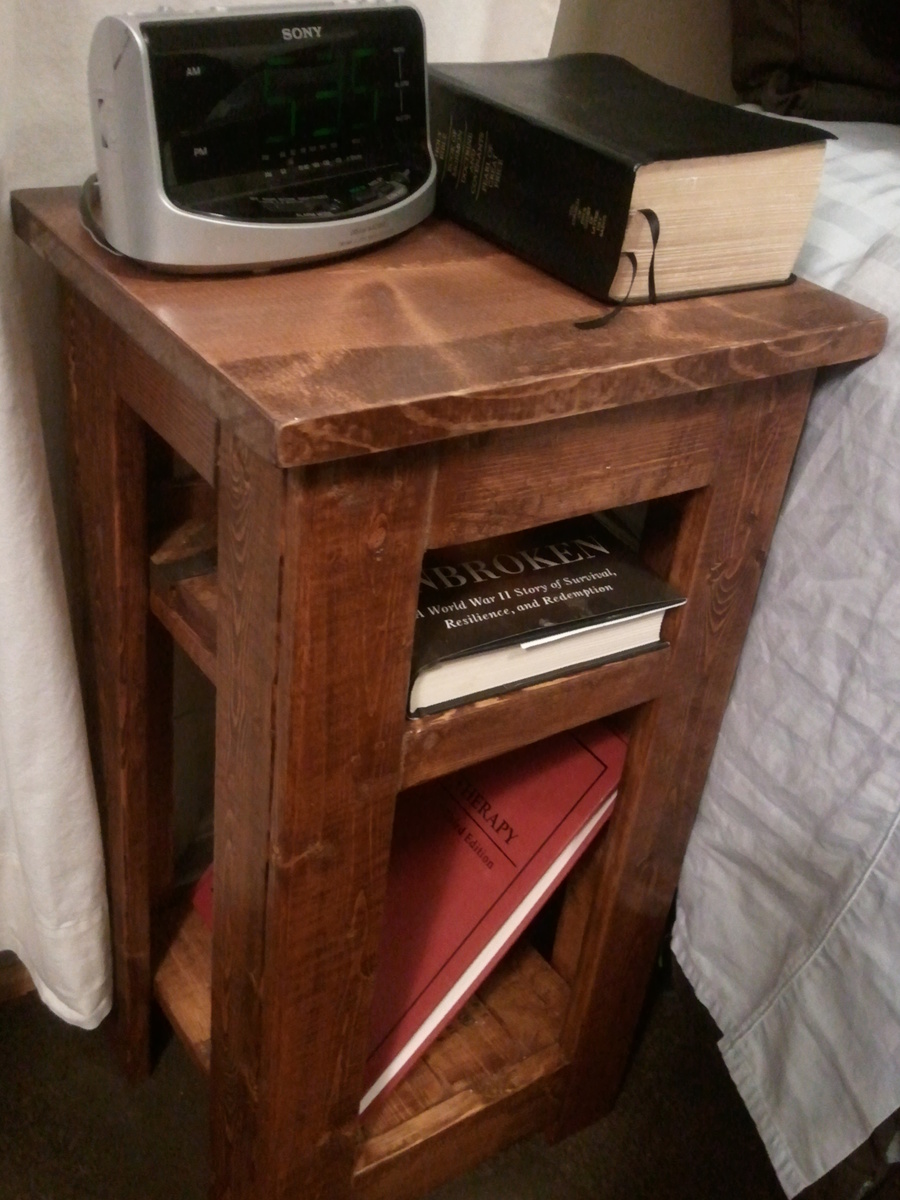
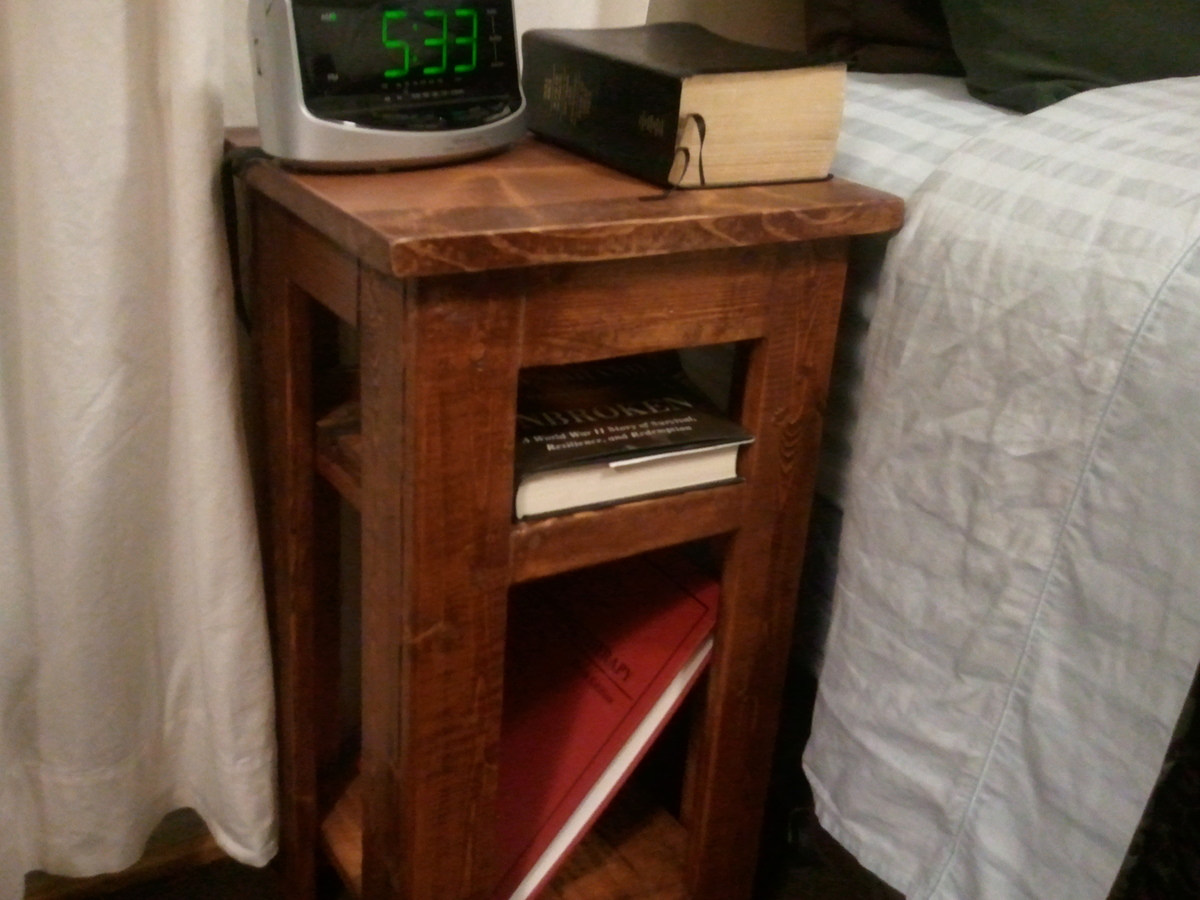
With the extra wood from some earlier projects I was able to make this tiny nightstand. Ive got limited space between my bed and wall and there was no way to find a suitable solution, so I built one.
Did not follow a plan, but used some of the design features from some of the benches on here.
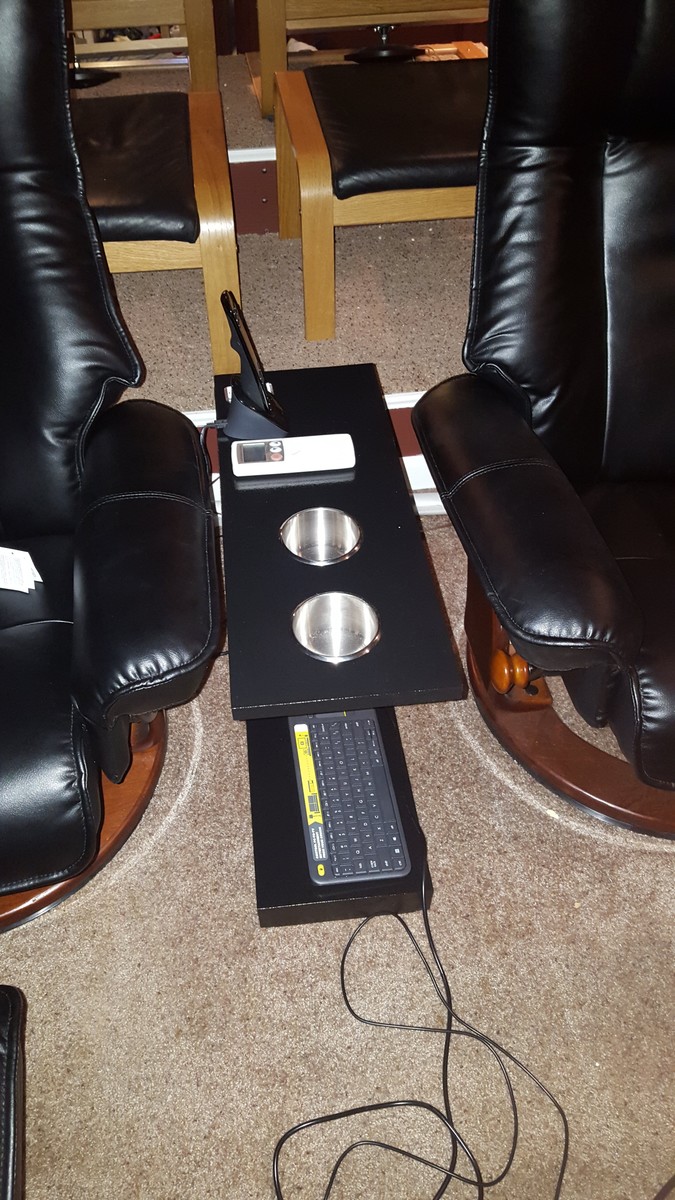
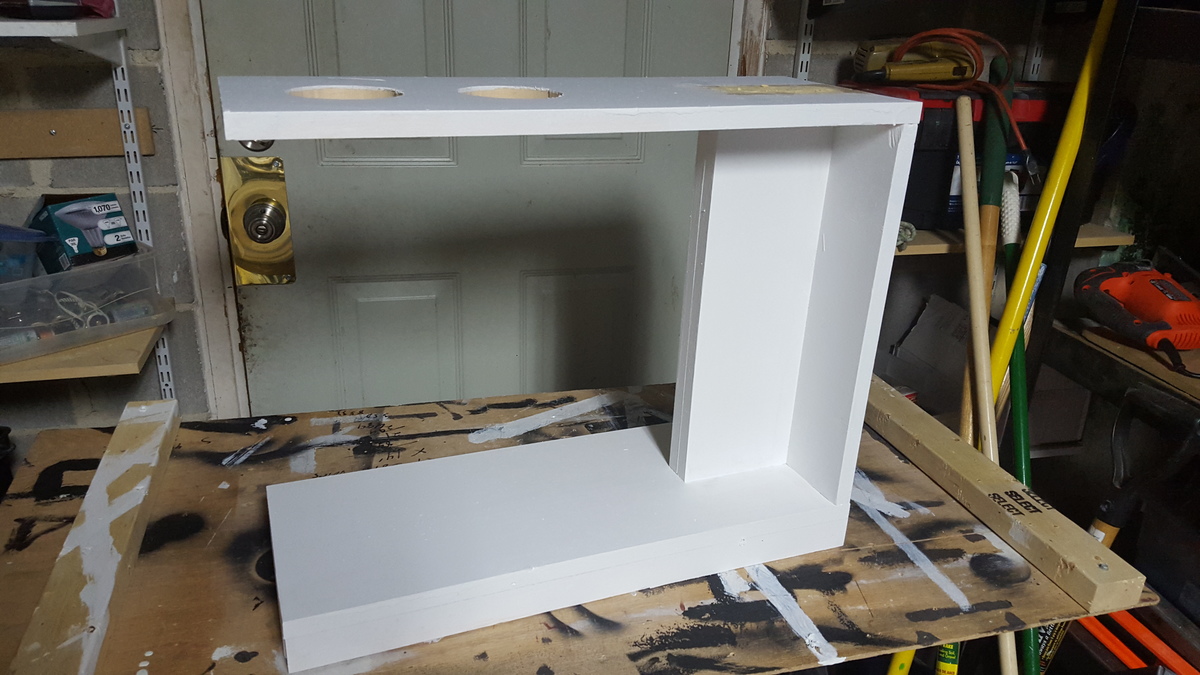
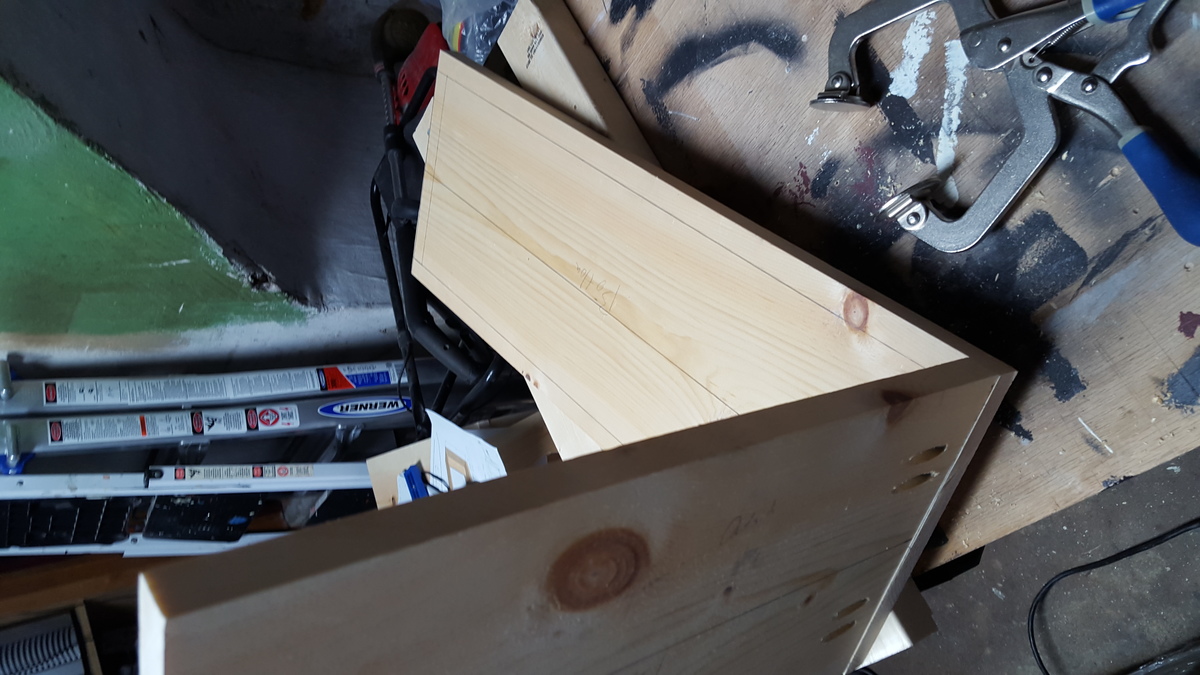
I modified the Rolling C Cart Plan to build this center console for my home theater. My dimensions are a bit different than Ana's. 24" long and 19" high. In order to keep the center of gravity back I doubled the center splines to give it a bit more heft aft of the cup holders. It was made from 1x10's as to not be too wide. I skipped the rolling wheels as it isn't going to be moved once in place. I used 2 coats primer, 3 coats semi-gloss black, and 3 coats of Minwax PolyCrylic to finish it off. All with light sanding with 240 grit paper on my Bosch Oscillating tools to smooth out each layer. It took about 4 days with all the painting, sanding, and drying time involved. I love this build and plan to build 2 more for the back row of theatre seats.
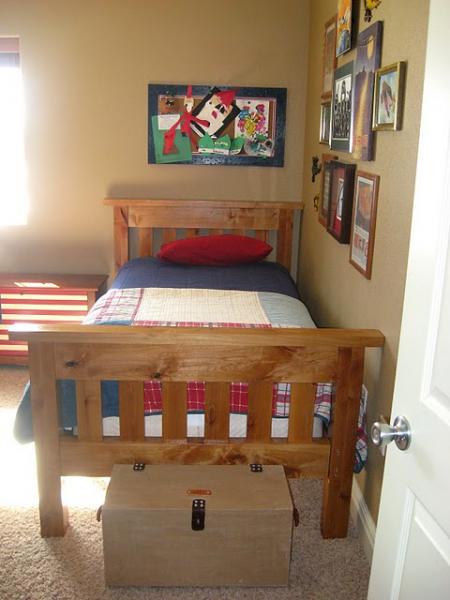
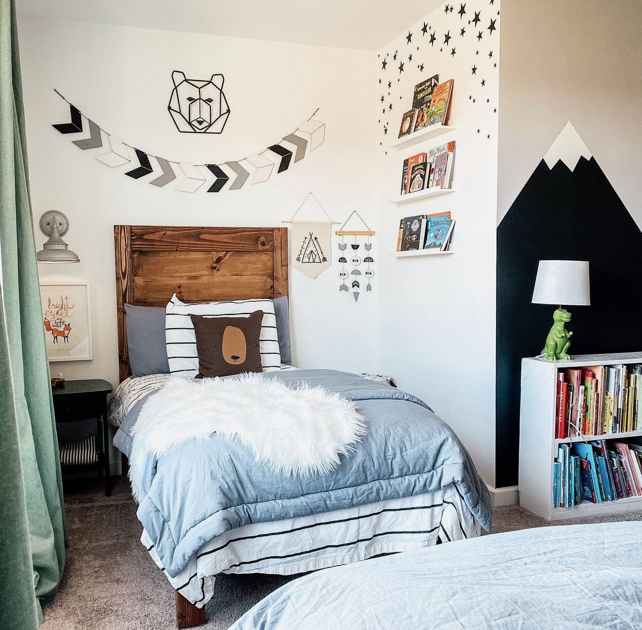
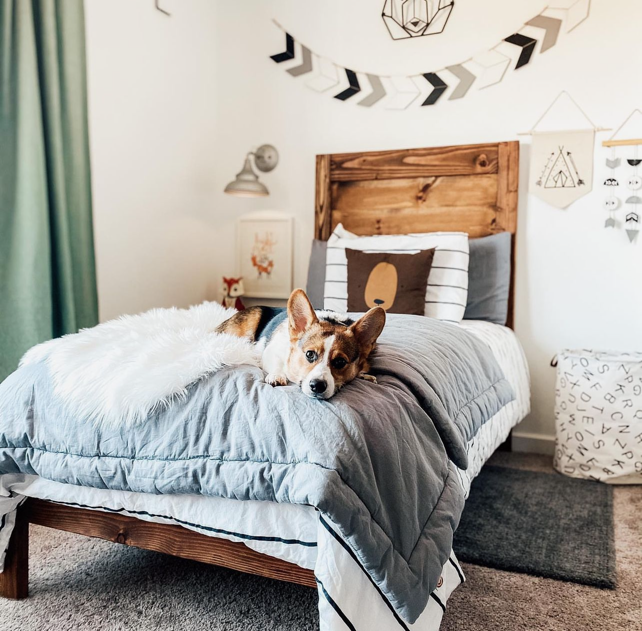
Simple bed built by Jill and shared on our Facebook page
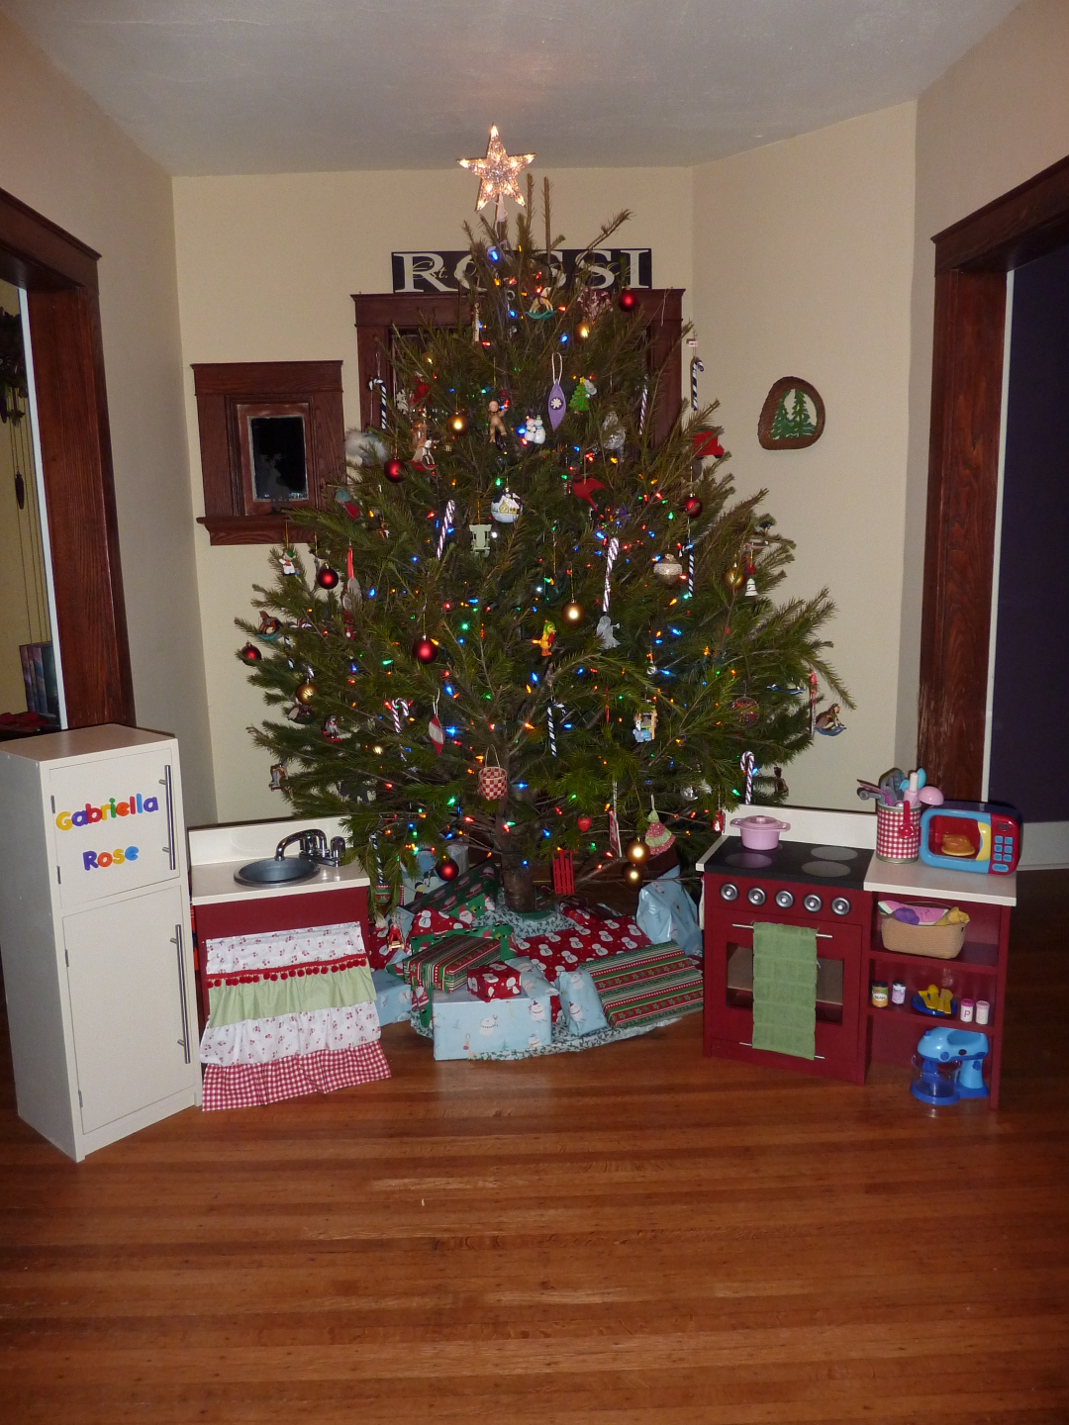
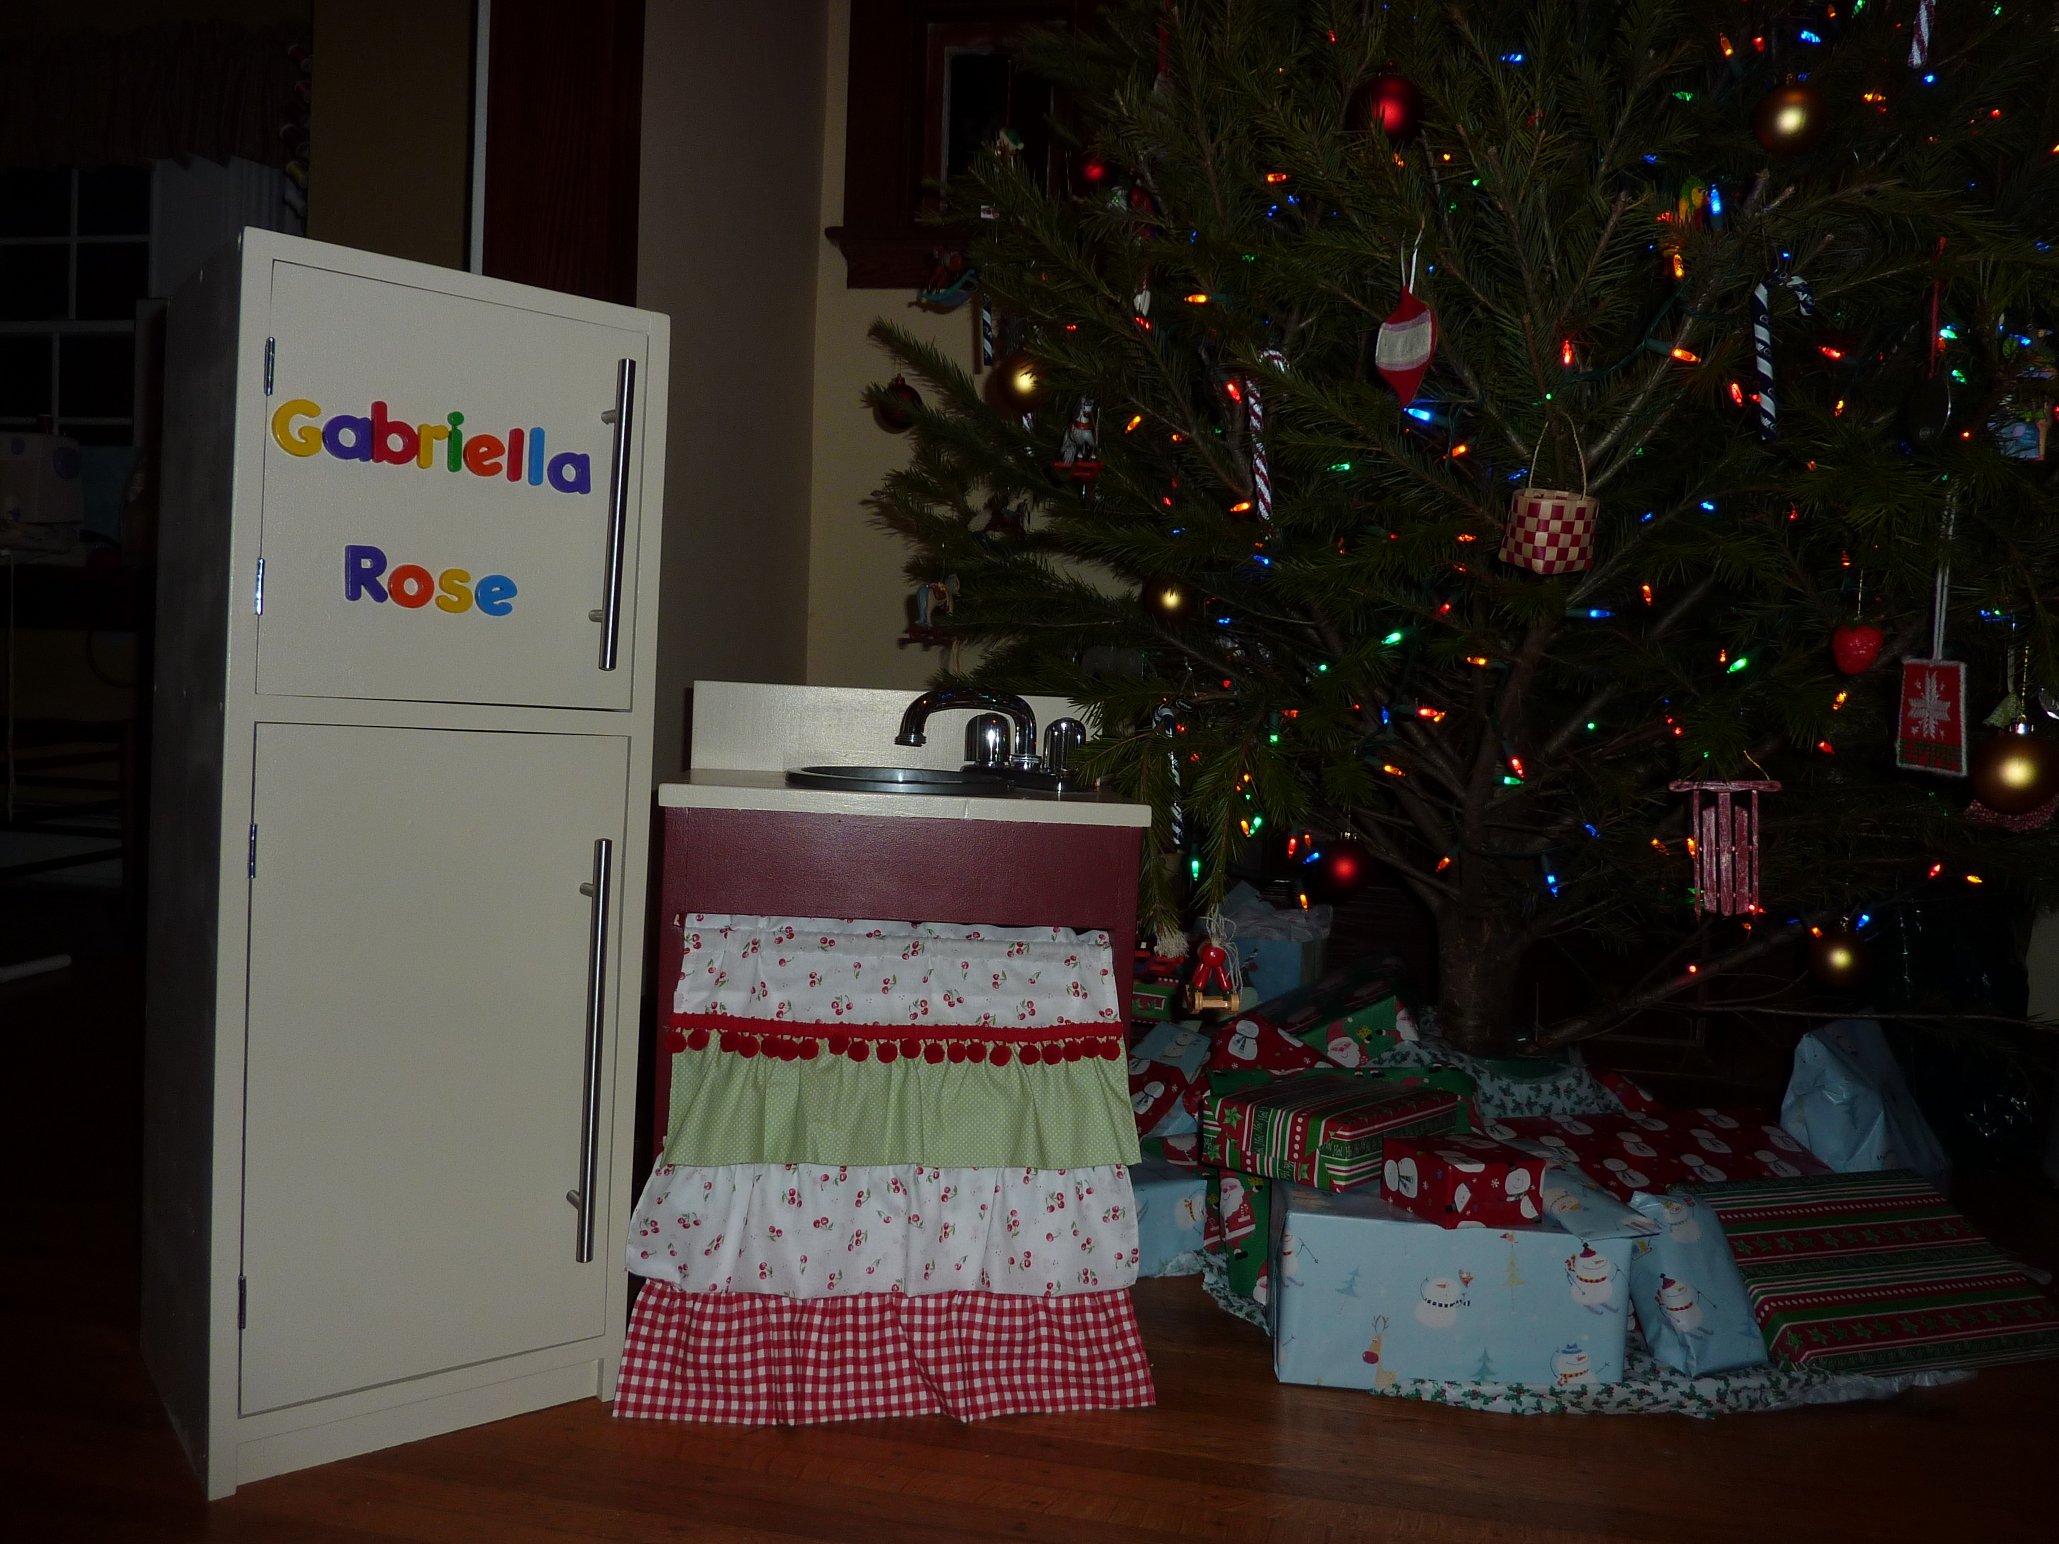
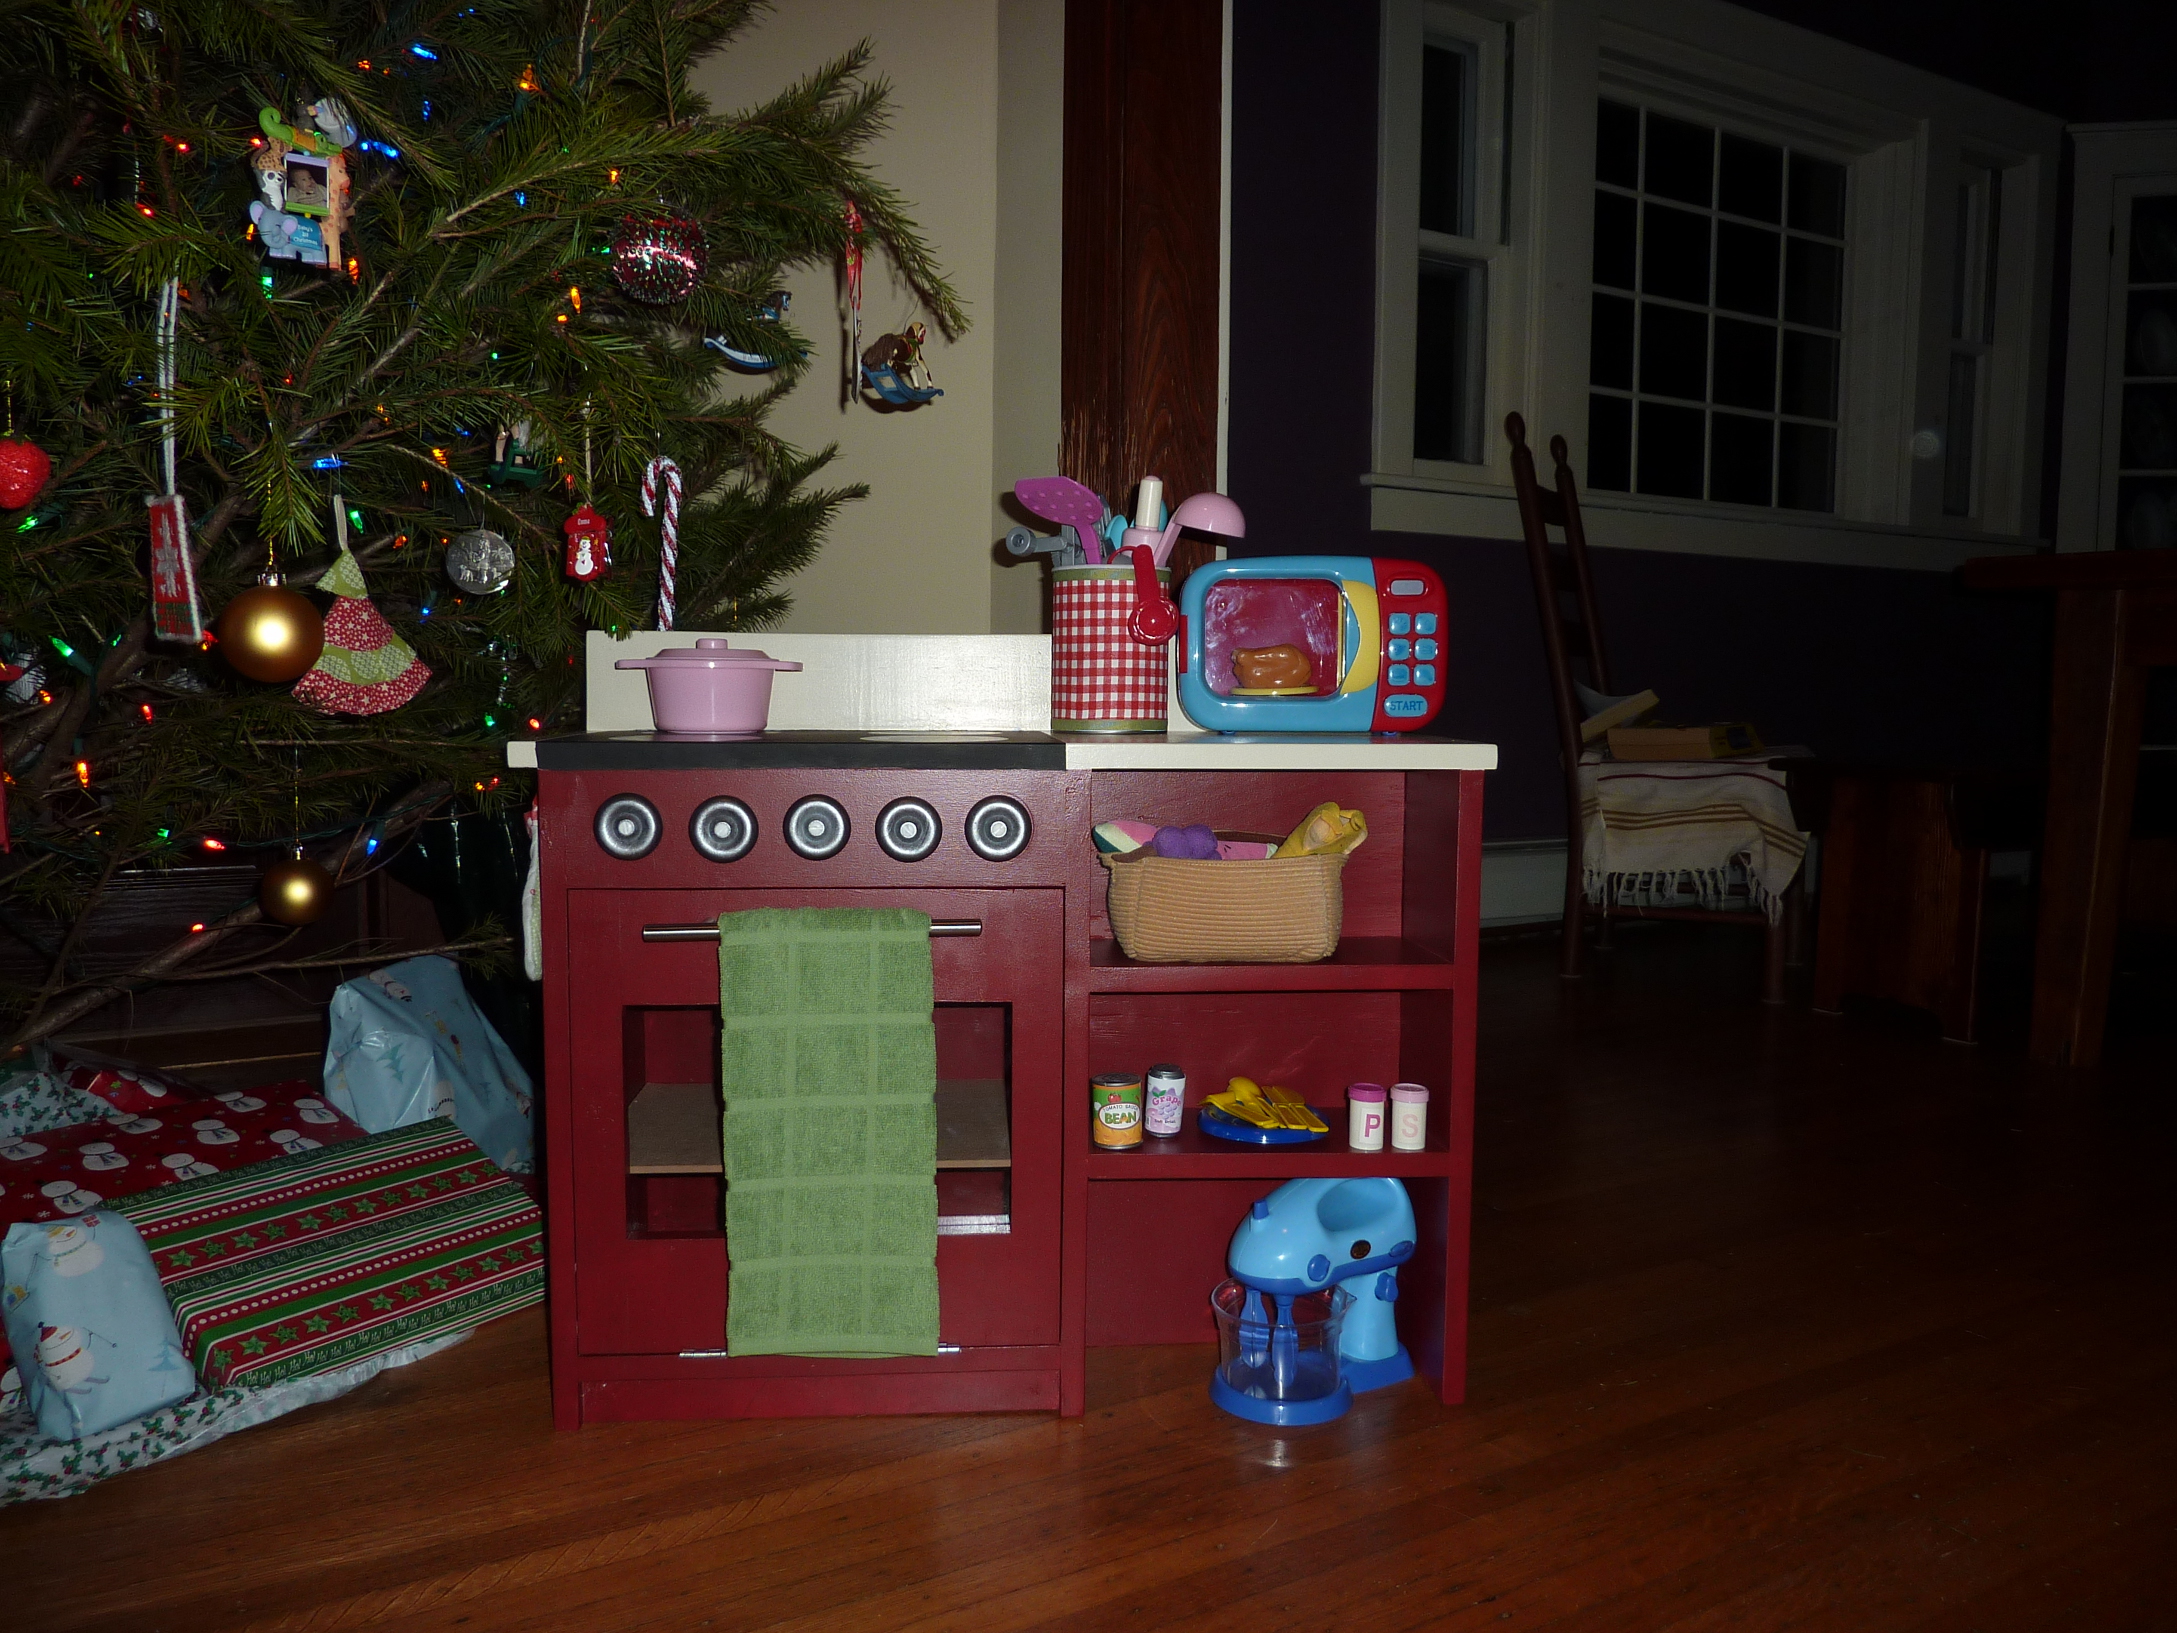
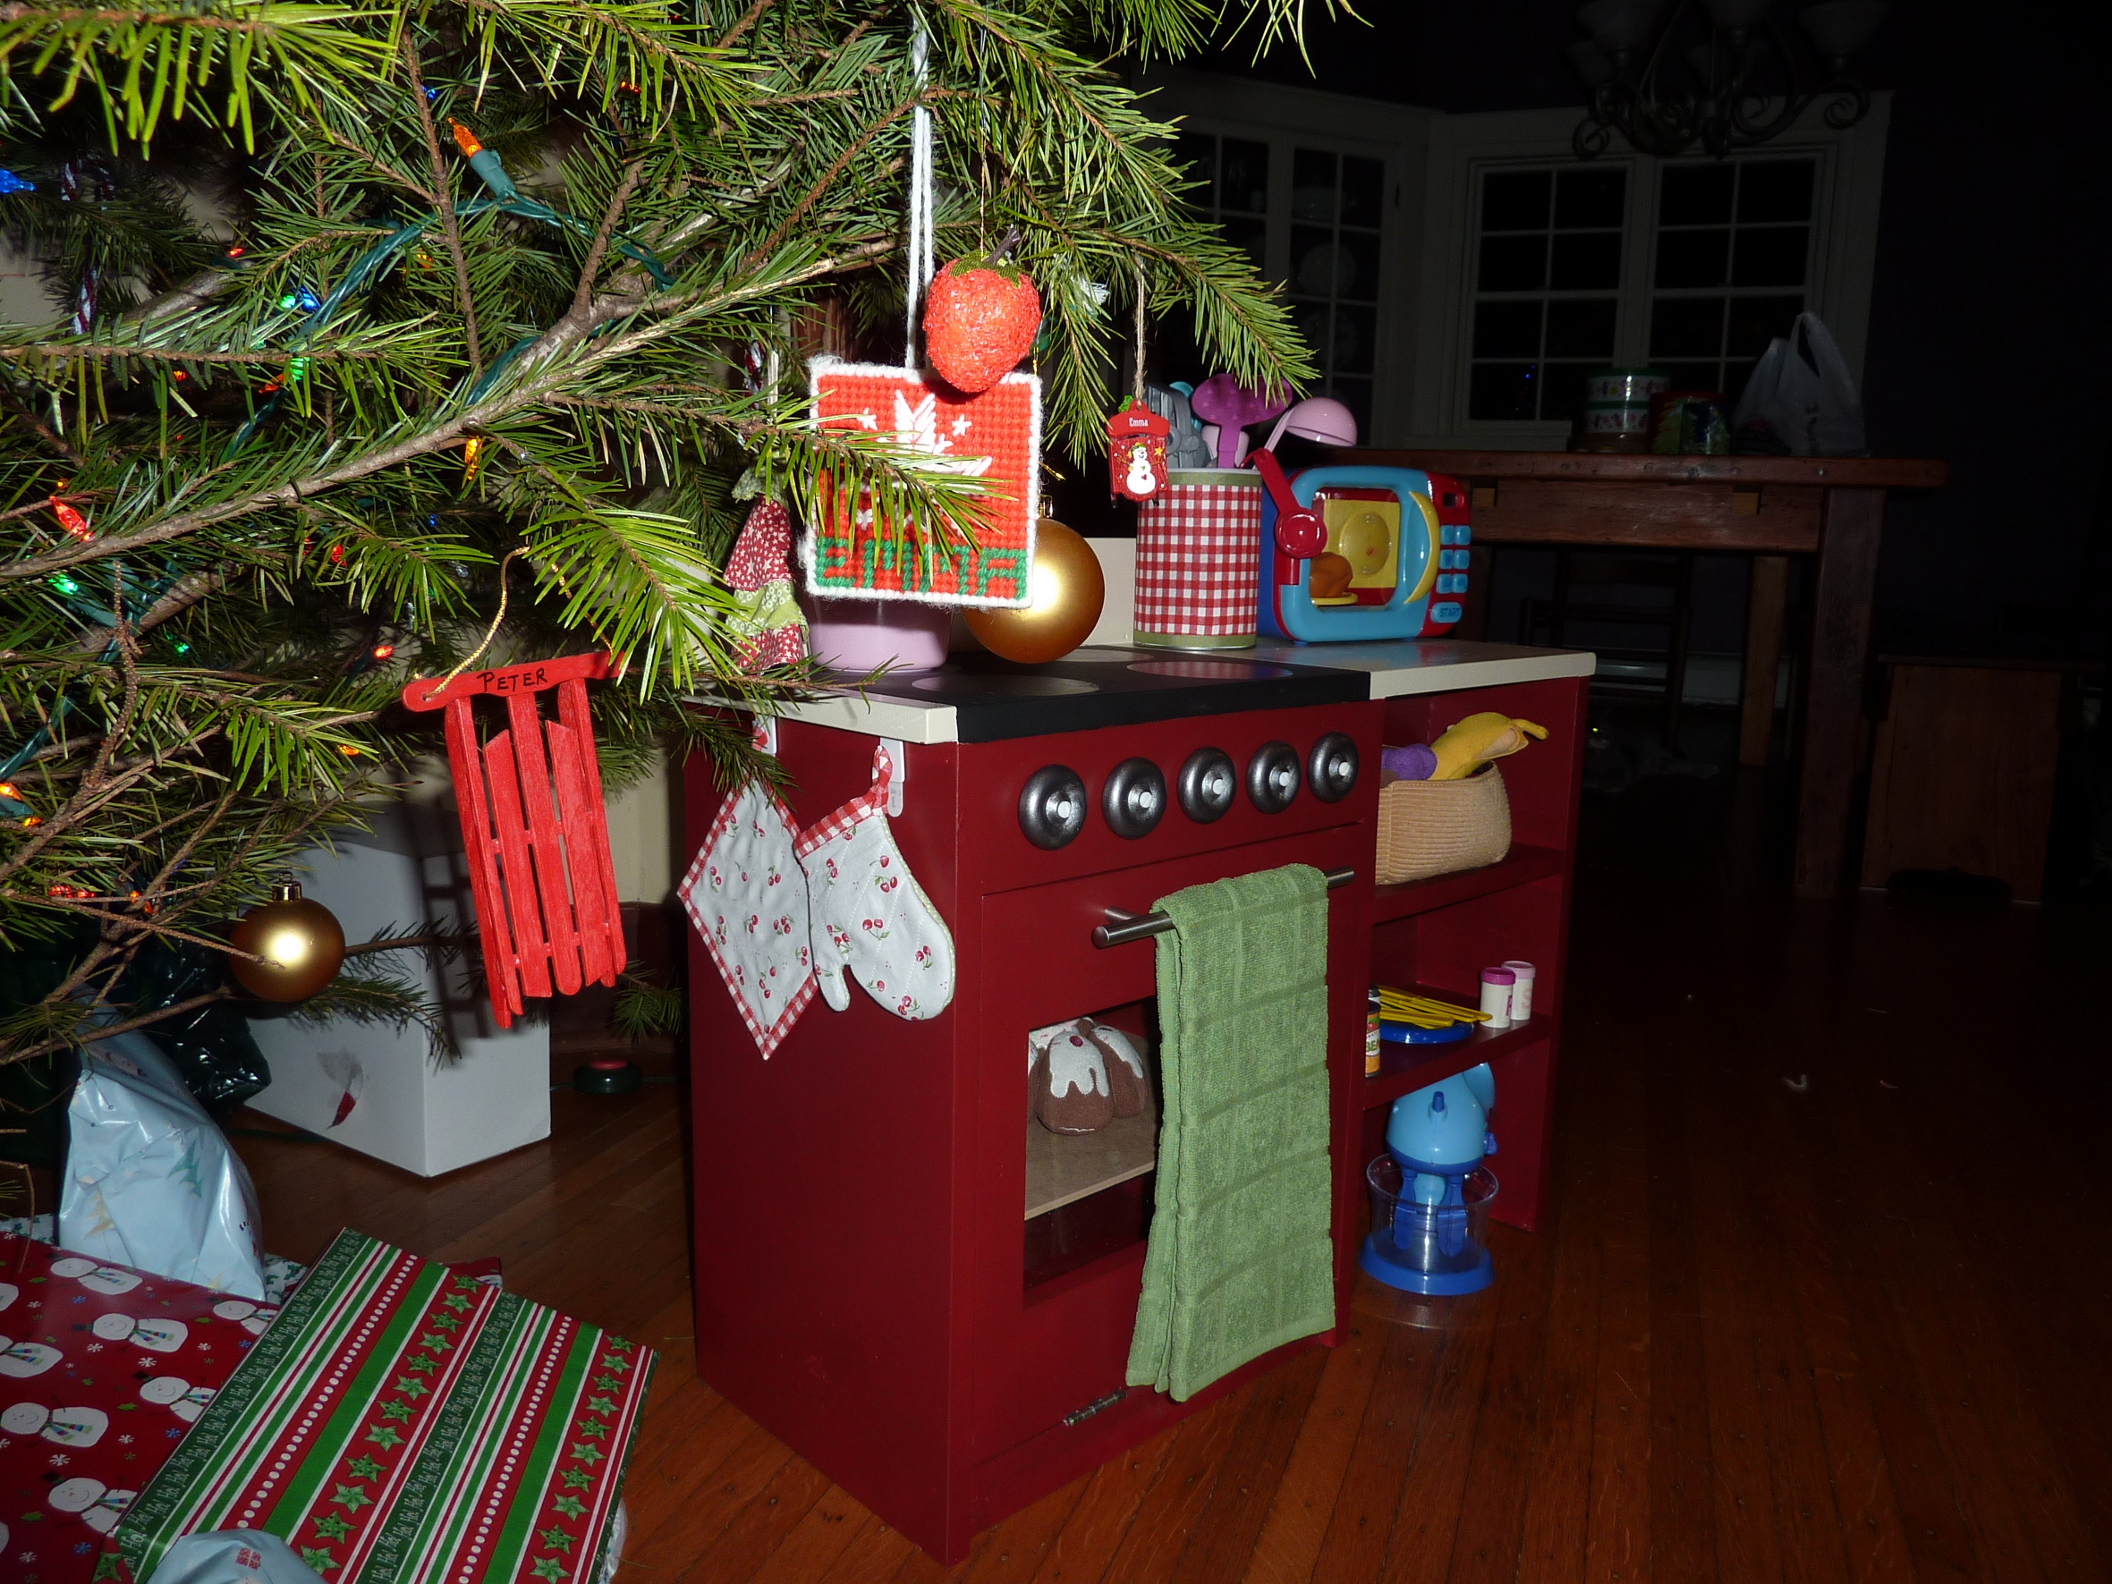
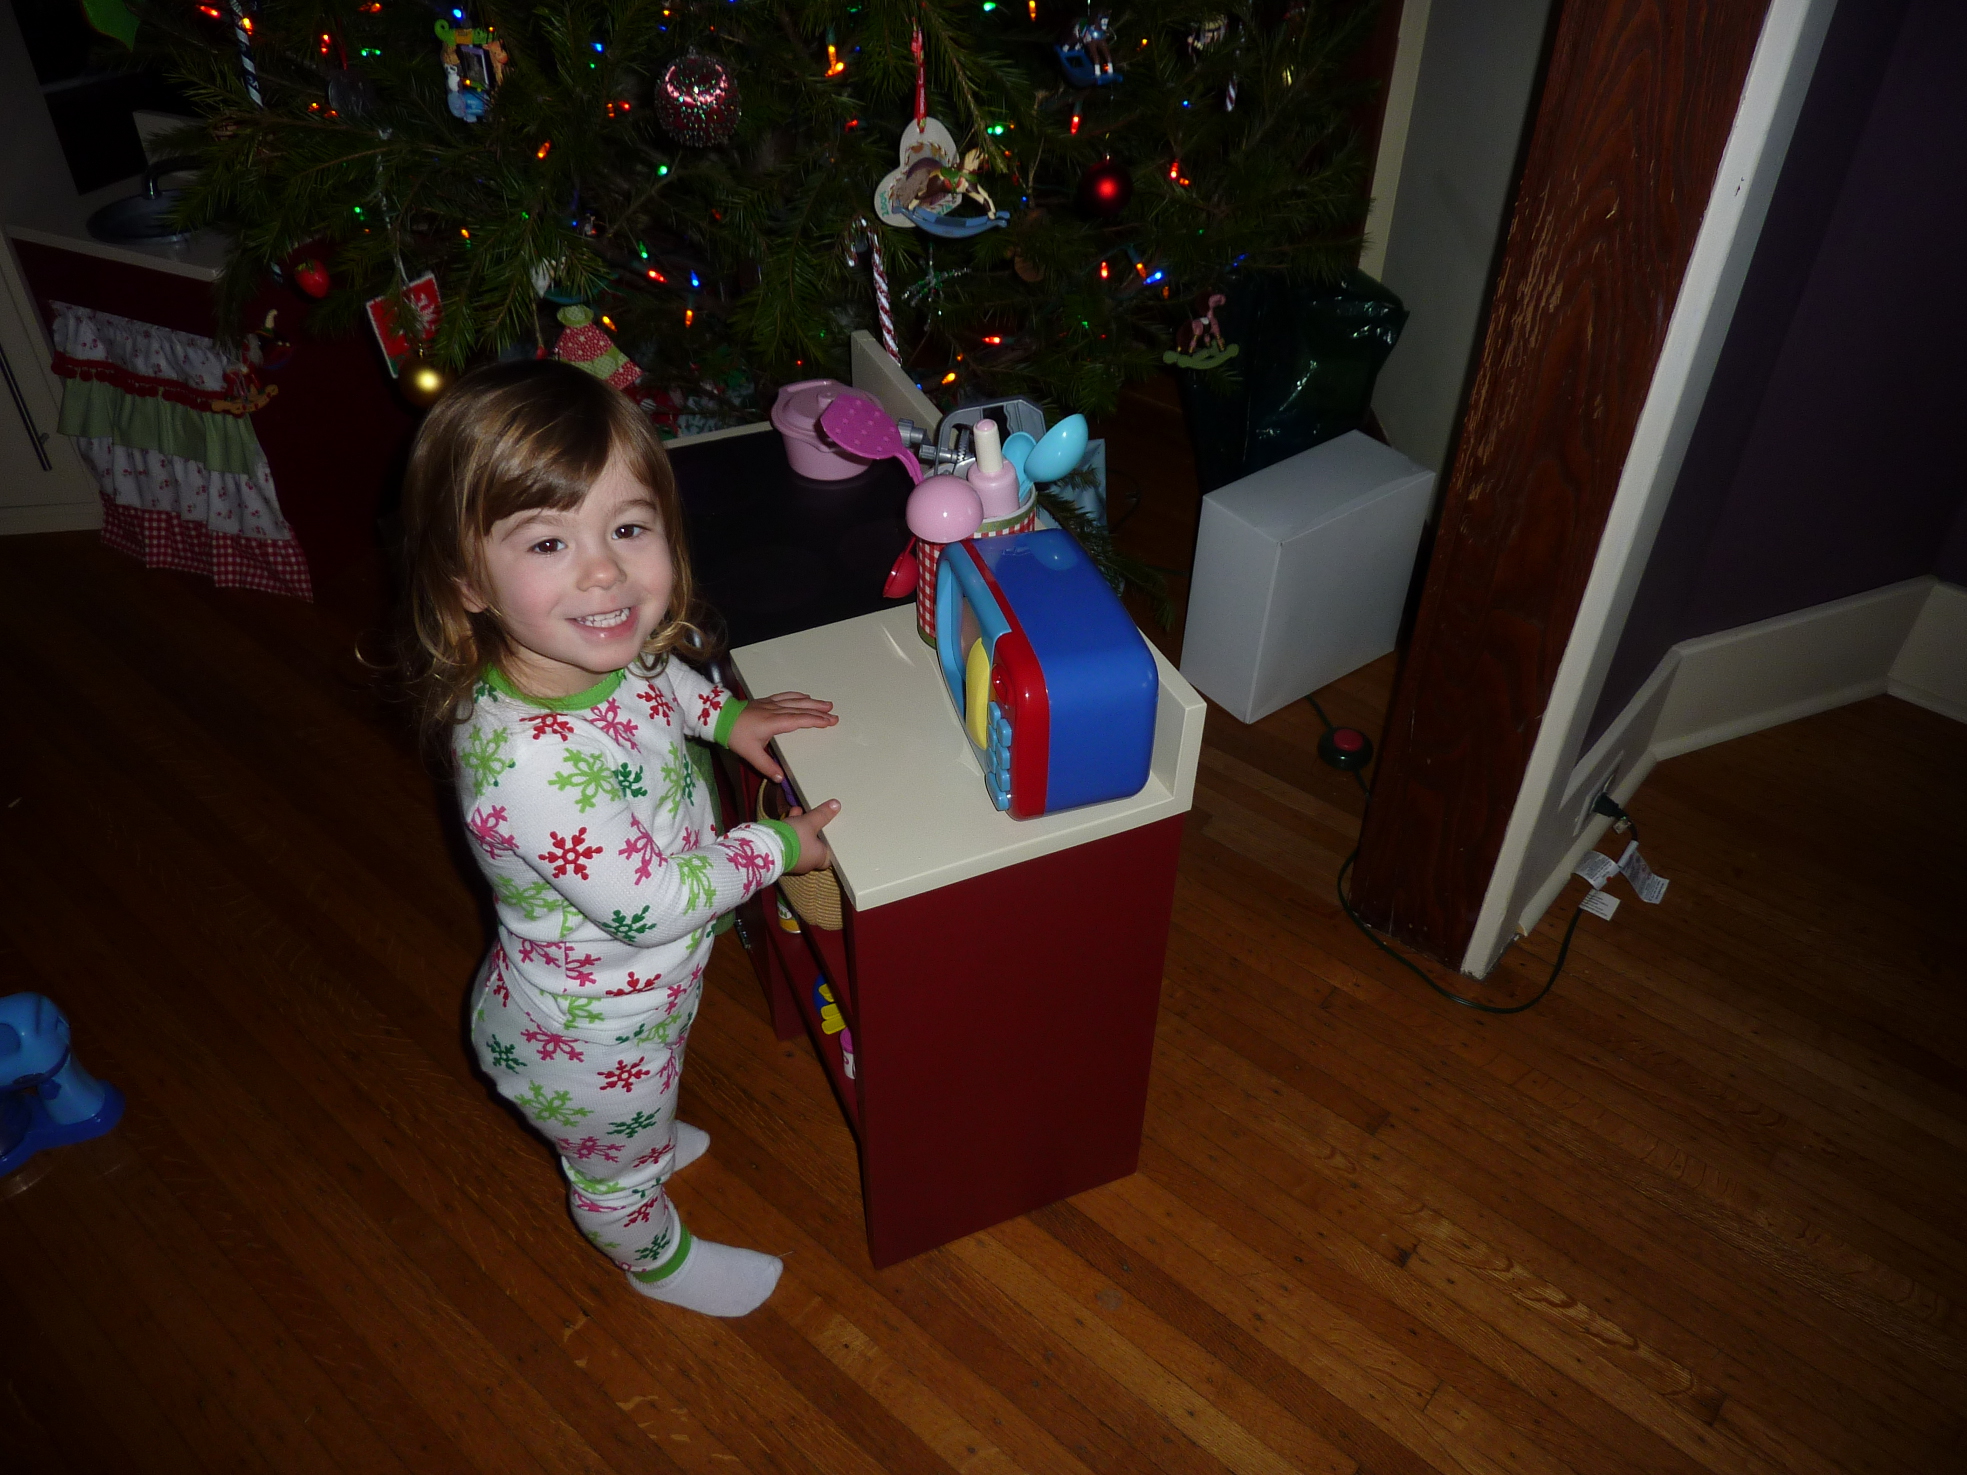
My daughter loves "cooking" so we made her this play kitchen for Christmas. I had so much fun making it that it was worth it even if she never plays with it. Of course, she's been playing with it since yesterday morning.
Mon, 12/26/2011 - 10:22
I ALMOST did the exact same thing to my daughter's fridge doors! I thought about it a lot, but just didn't have the resources or the time to get it by Christmas to do the doors....maybe I will now though :) I love the addition you did to the stove it is adorable and awesome! I also love the little knobs you have on the front of the stove - what did you use for them? Would love to see a picture of the top of the stove as well as the actual sink. I like to see how others do theirs so if I want to make another one for a friend I can have other ideas :)
Fantastic job!
Mon, 12/26/2011 - 11:00
It looks amazing and I am sure your daughter loves it! I was thinking of doing the magnetic paint on my daughter's fridge and now wish I had after seeing your kitchen. I think we got the same pulls :)

Mon, 12/26/2011 - 11:31
You did a fantastic job! I am sure your daughter will love it for years to come!
Fri, 08/16/2013 - 21:00
I love the personal touches you created! Did you scale the pieces up or use original dimensions? And I HAVE to know how you did the extension of counter space on the oven with the shelves! That is exactly what I have been looking for. A girl can't have to much counter space at any age!


Comments
Ana White Admin
Sat, 03/25/2023 - 09:22
Pretty farm table!
Very nice build, thanks for sharing!