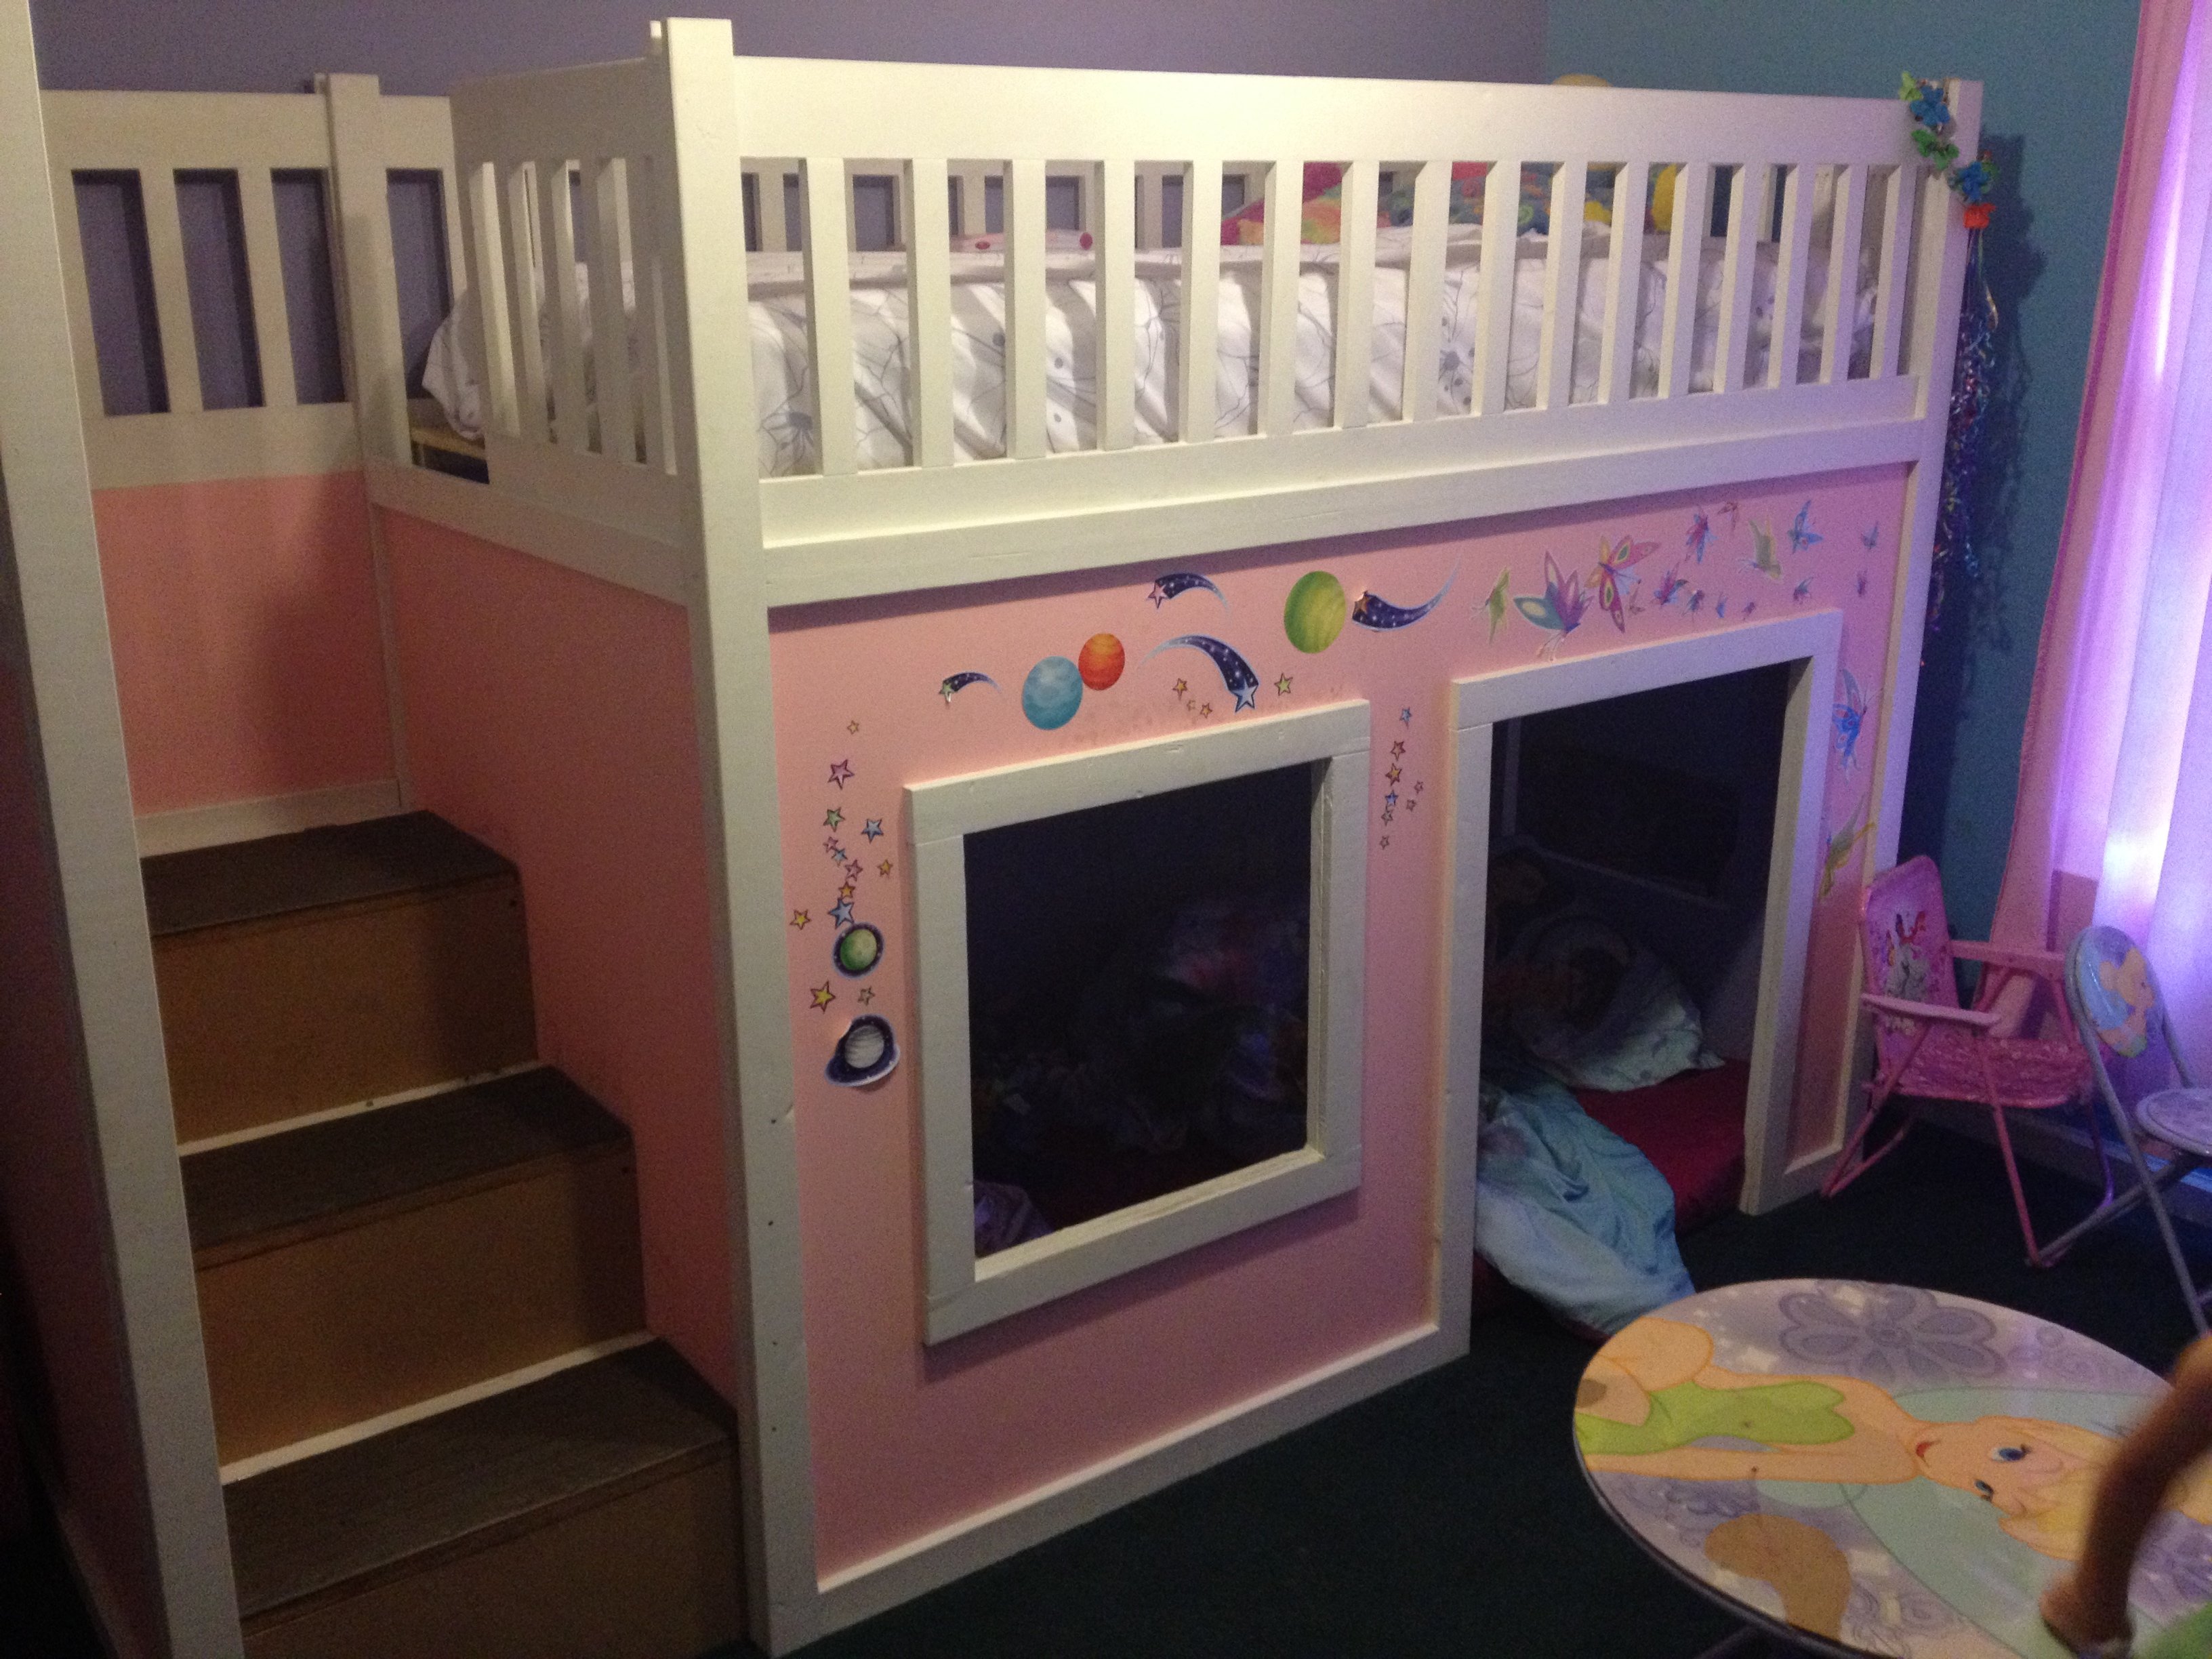
Community Brag Posts

Claire's Loft Bed

Submitted by hook Fam on Thu, 08/11/2011 - 10:00

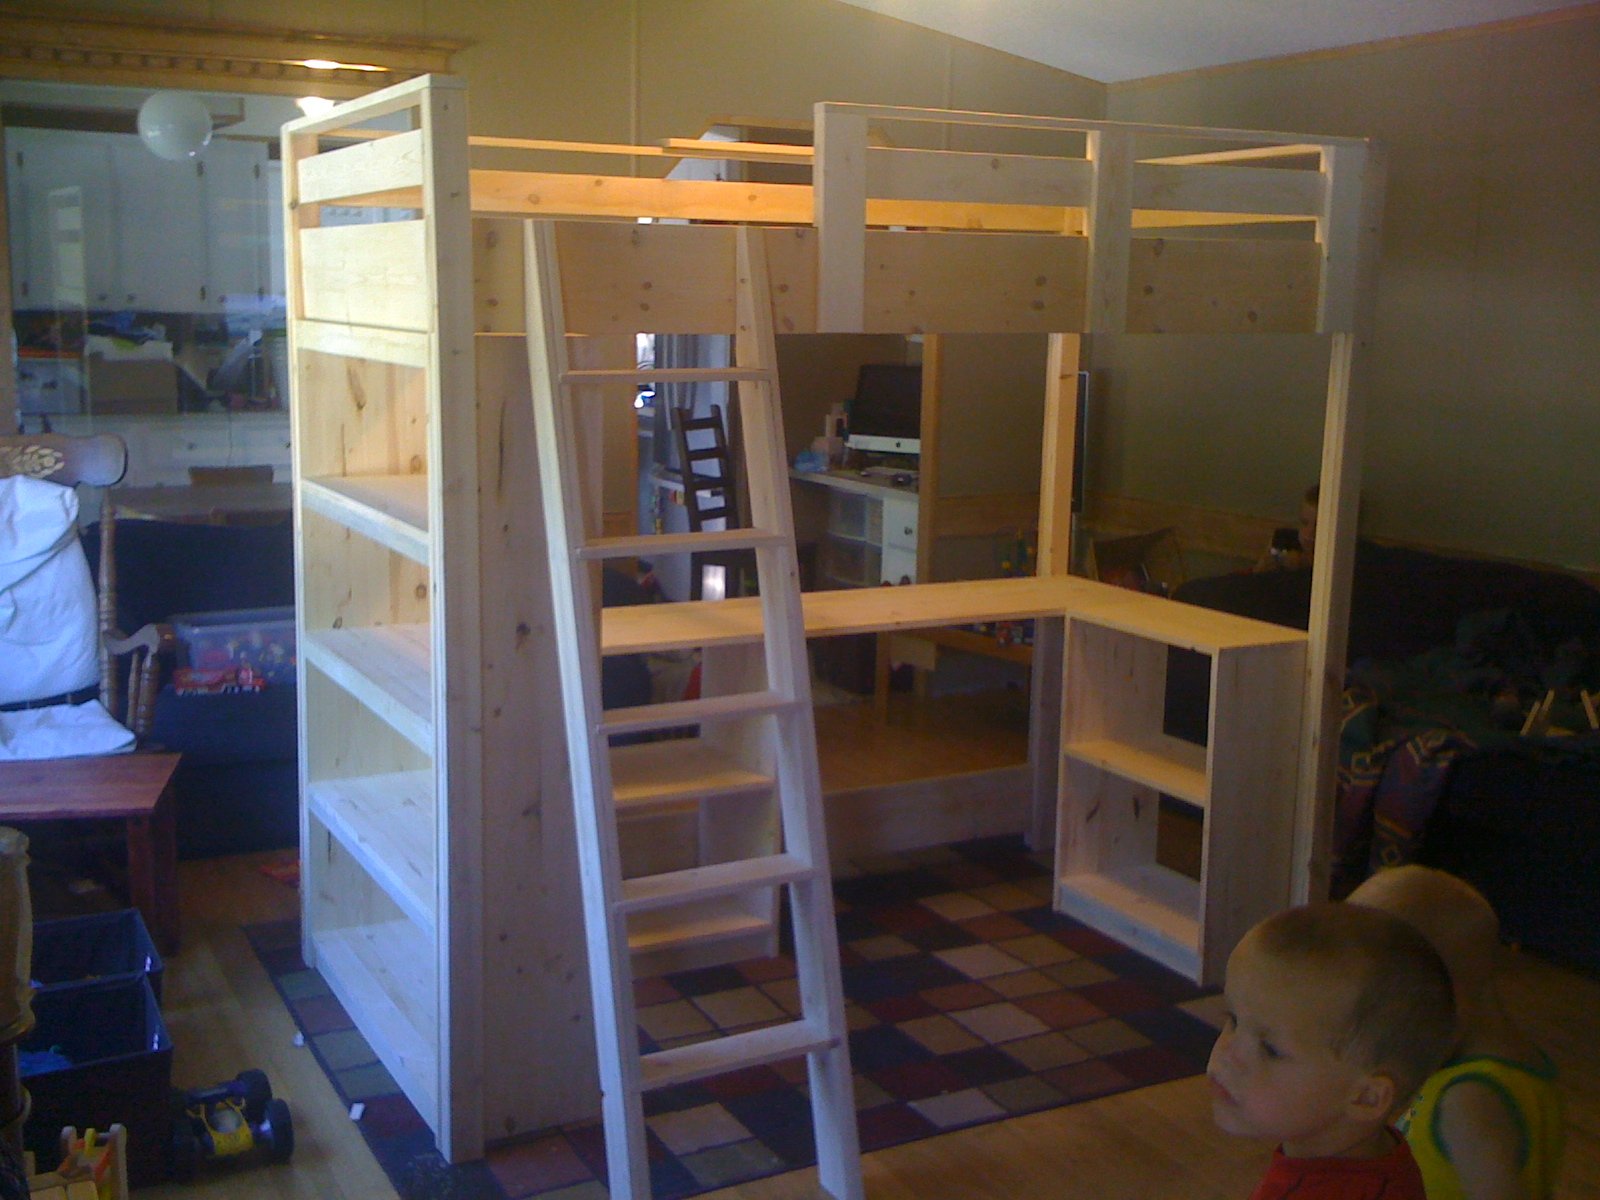
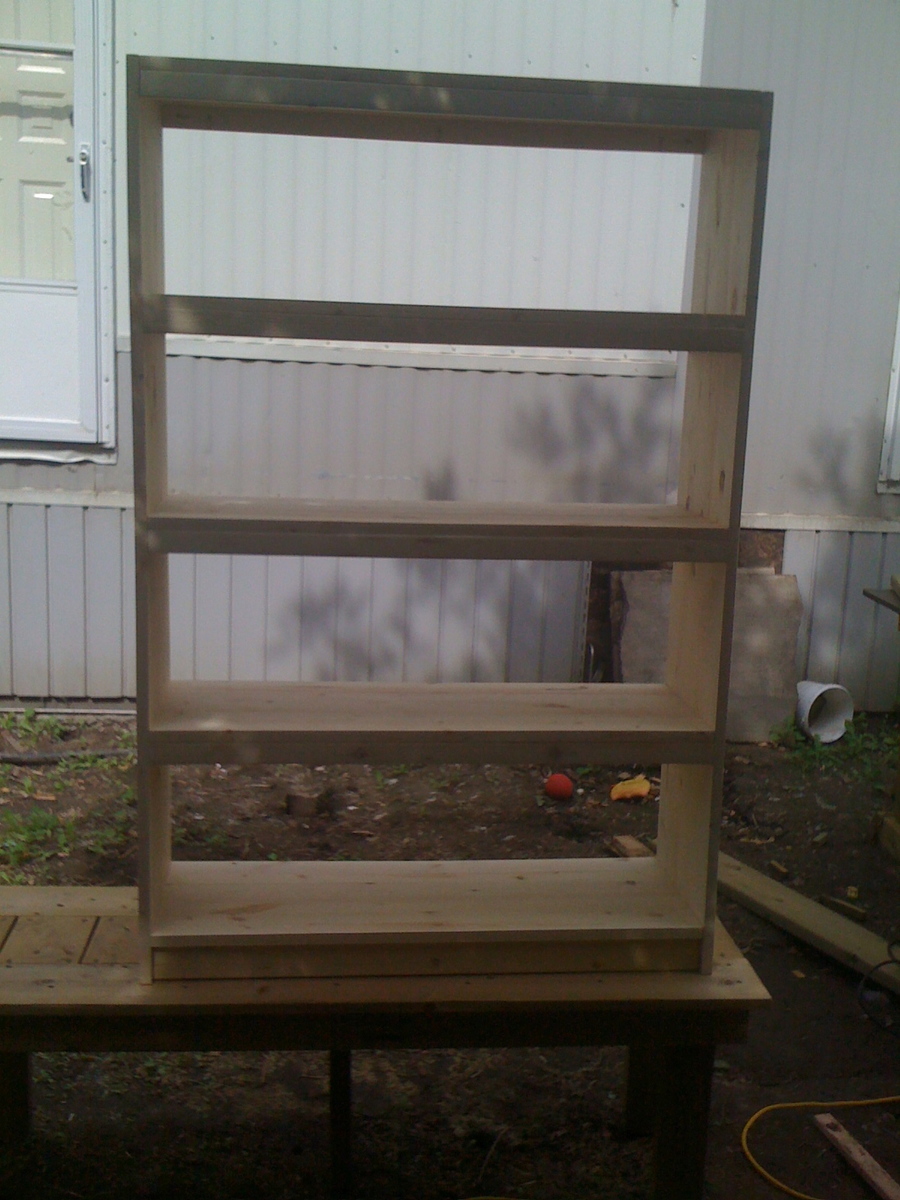
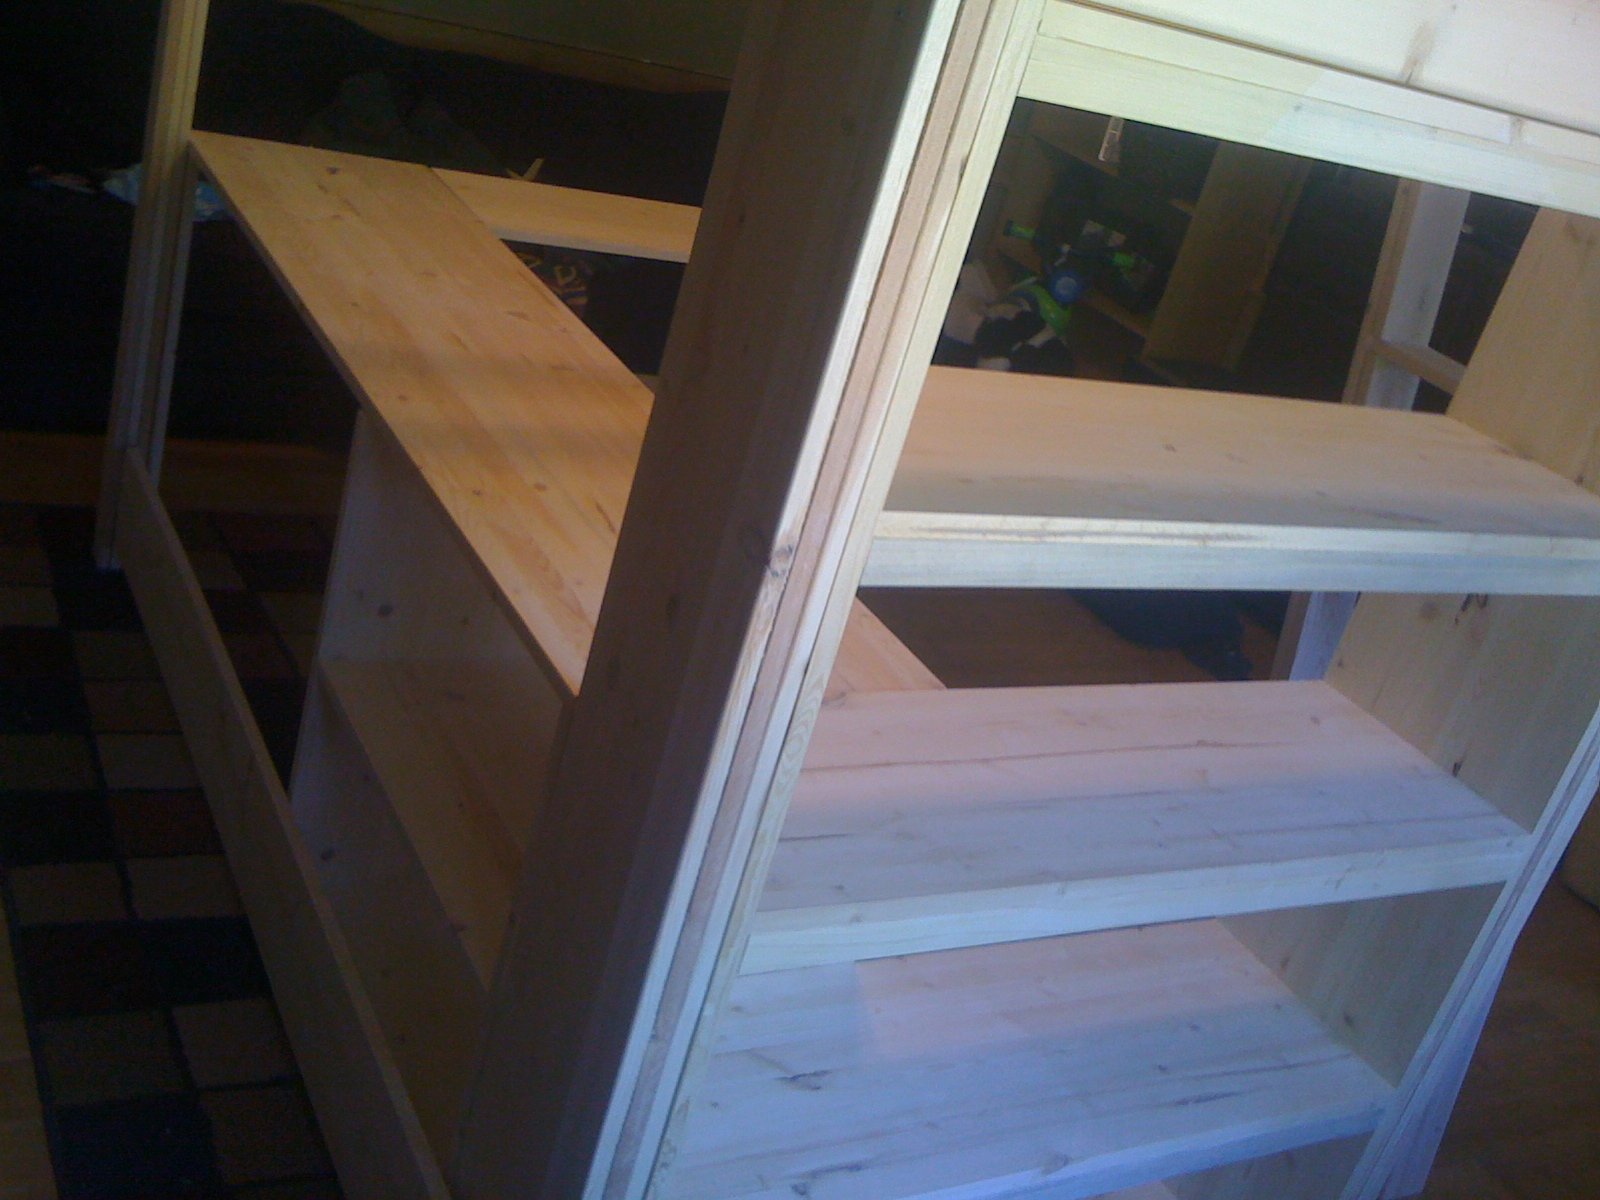
A few months back a friend of my Sister asked if I would build a bed for her 10 year old daughter. I was excited to do it! So I finished up the projects I had already started and then went to work. I had never built bookshelves before. I wanted it clean and "hole-less" on the outside, so we found a Kreg Jig and I started learning. SUPER easy!! I believe it has been painted white. I can't wait to go see it!!
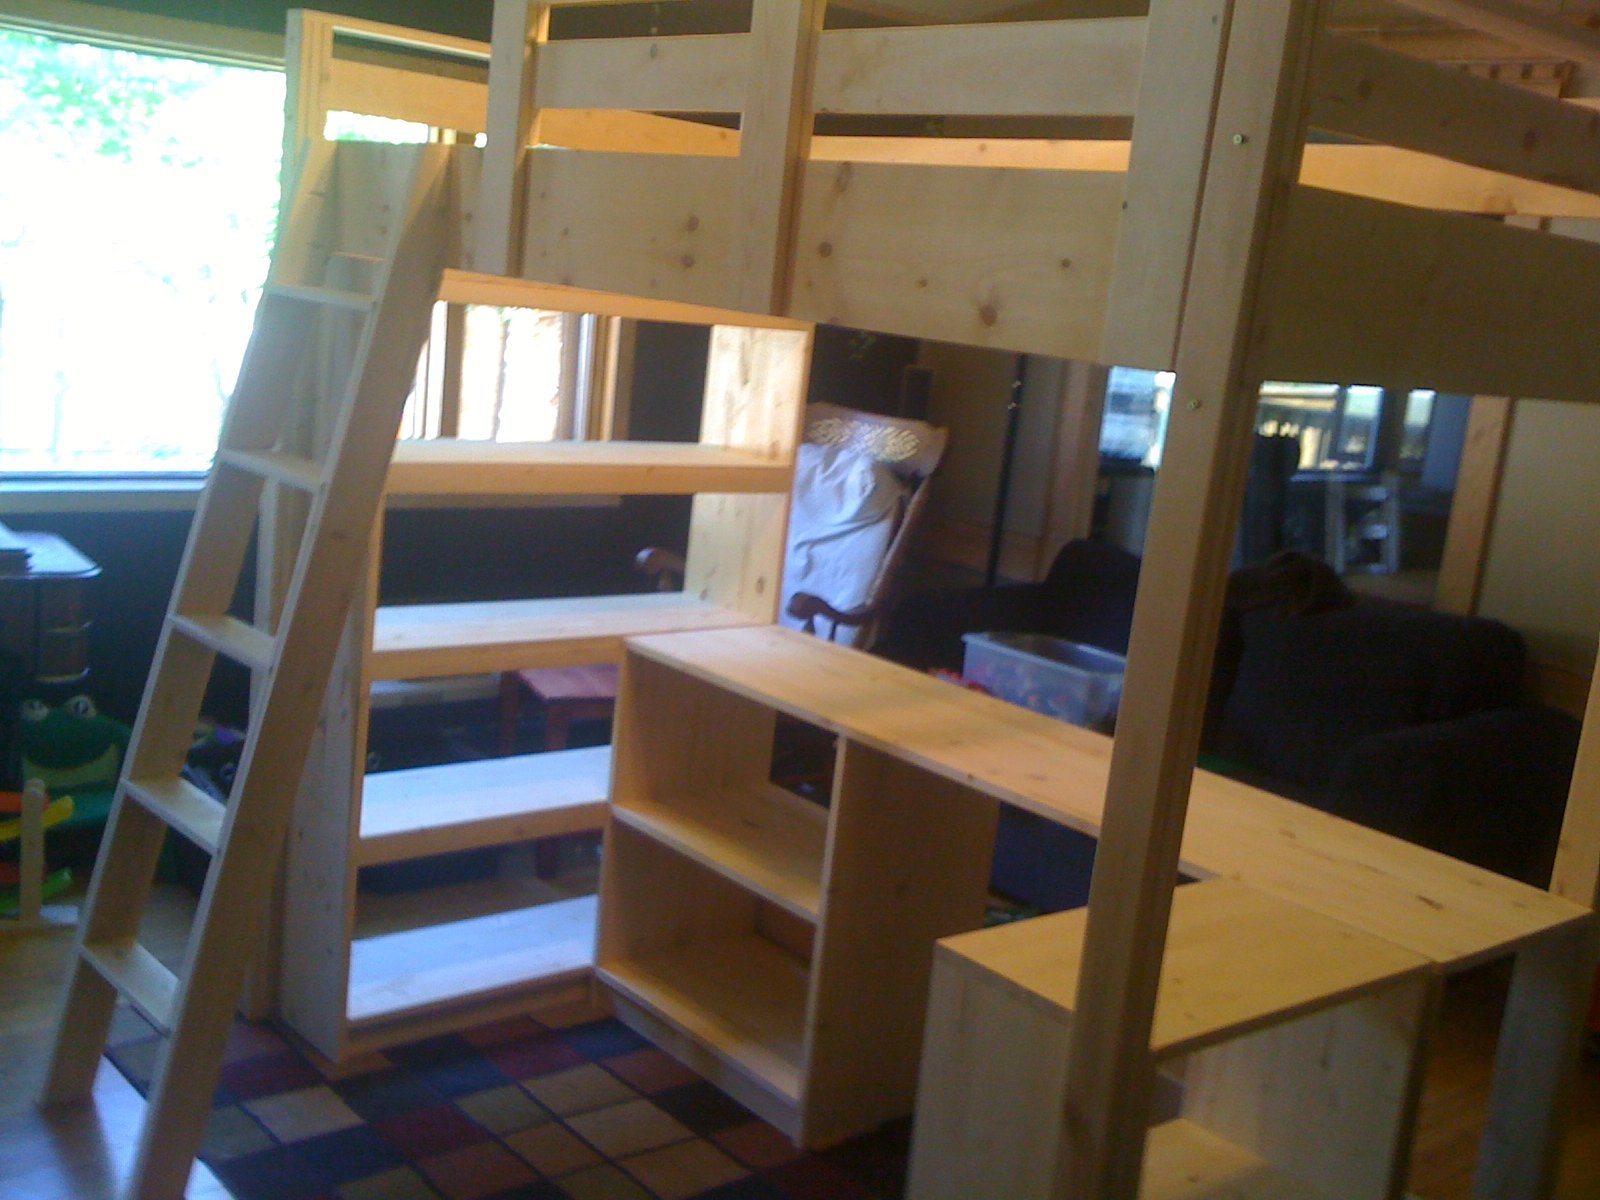
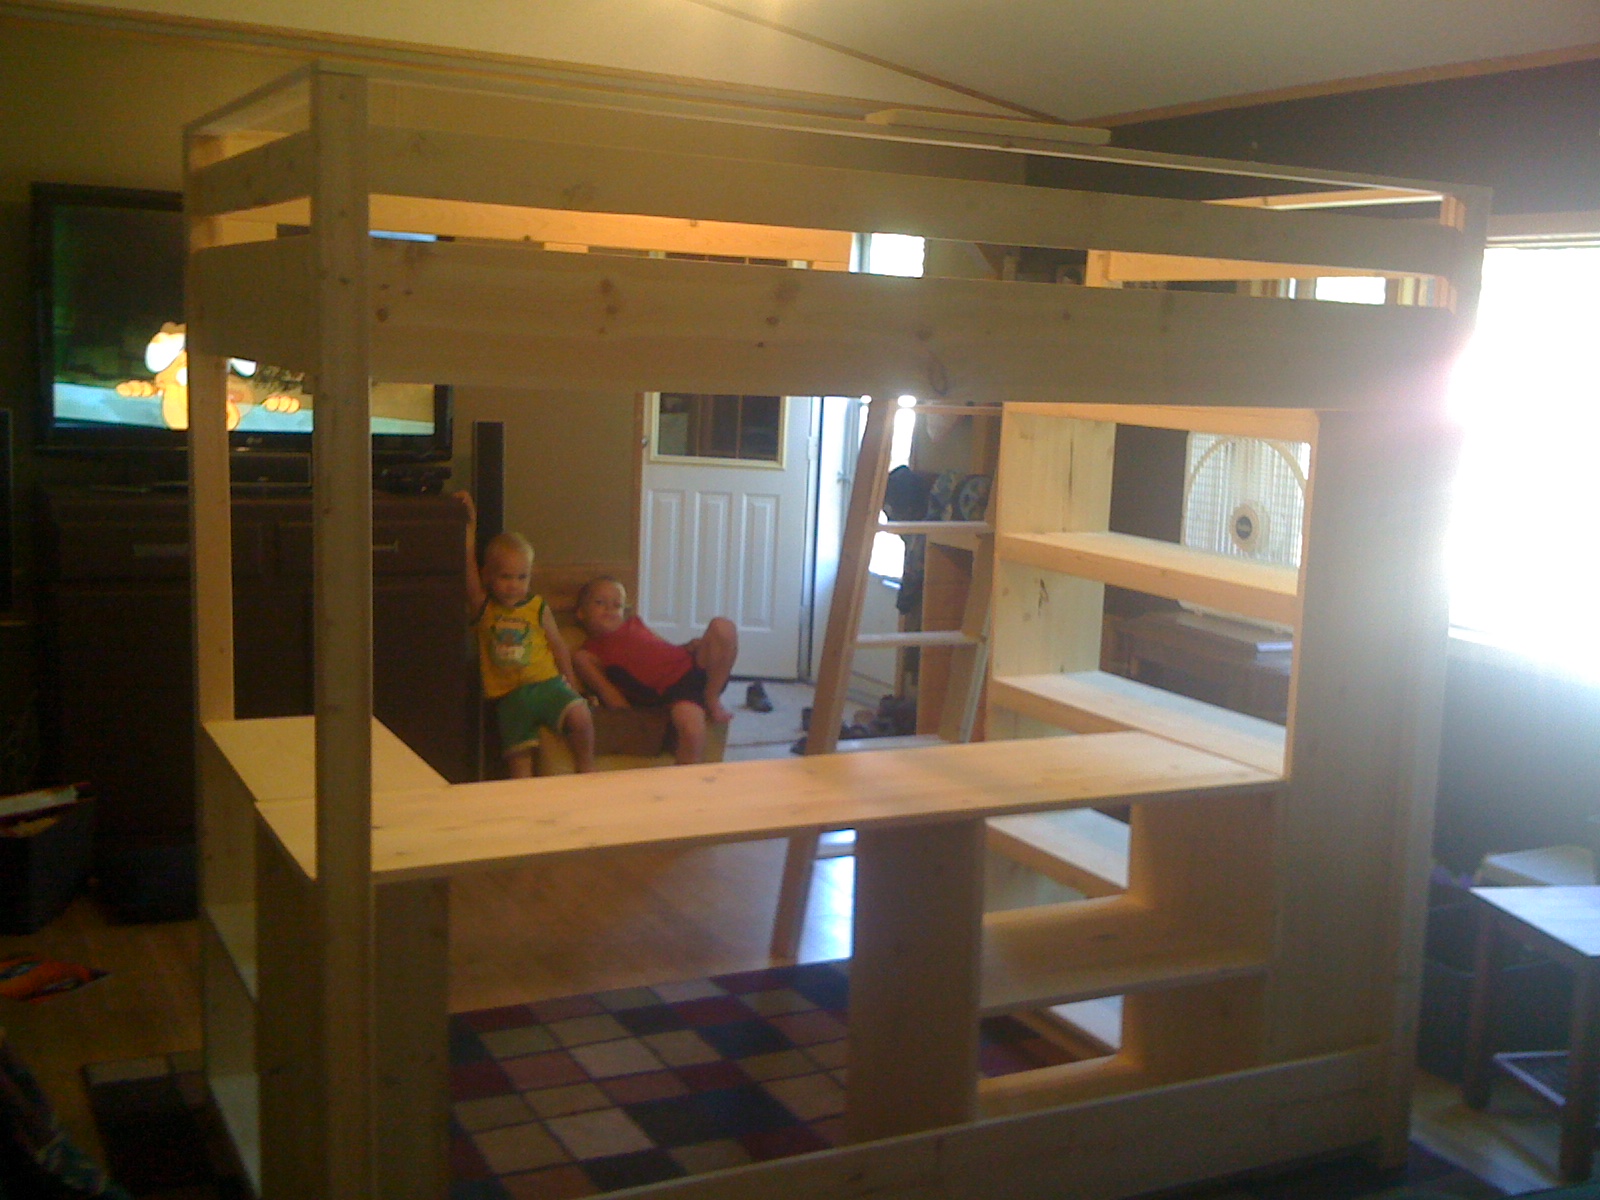
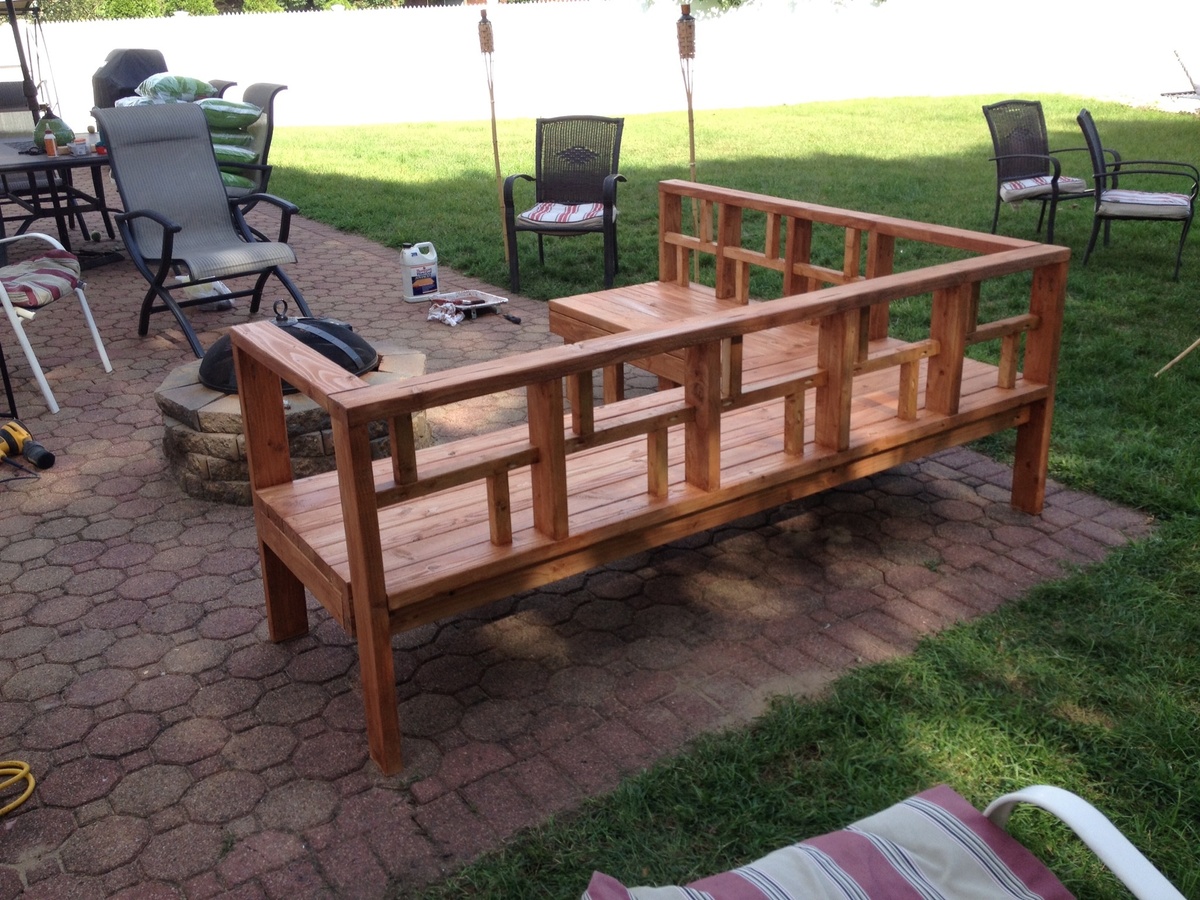
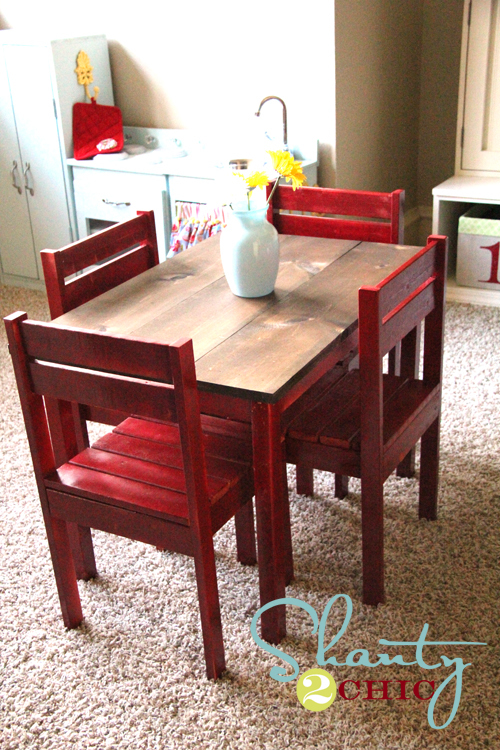
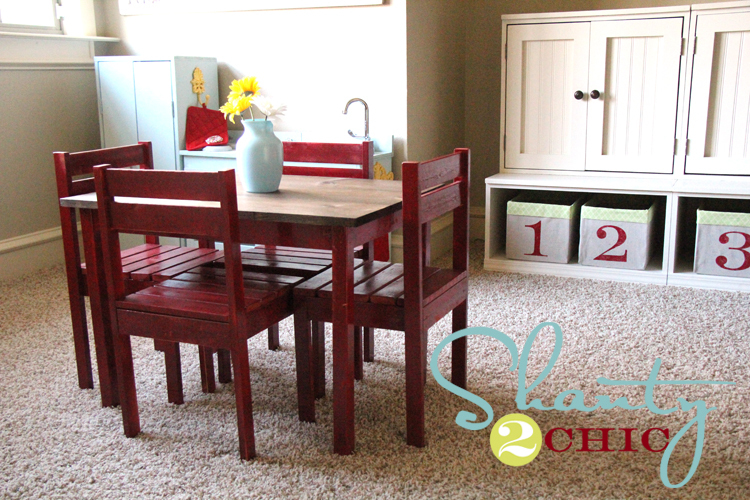
I followed Ana's plans except I used 2*2s for slats and used 16" wide boards for one of the bookshelves and the desk top. I want them to be able to use this for years to come and not out-grow it too quickly.

Estimated Cost
$300
Estimated Time Investment
Weekend Project (10-20 Hours)
Recommended Skill Level
Intermediate

Comments

Cindy from Indiana (not verified)

Sun, 10/23/2011 - 11:08

This turned out fantastic! You did a wonderful job.

judee (not verified)

Sat, 02/25/2012 - 05:56

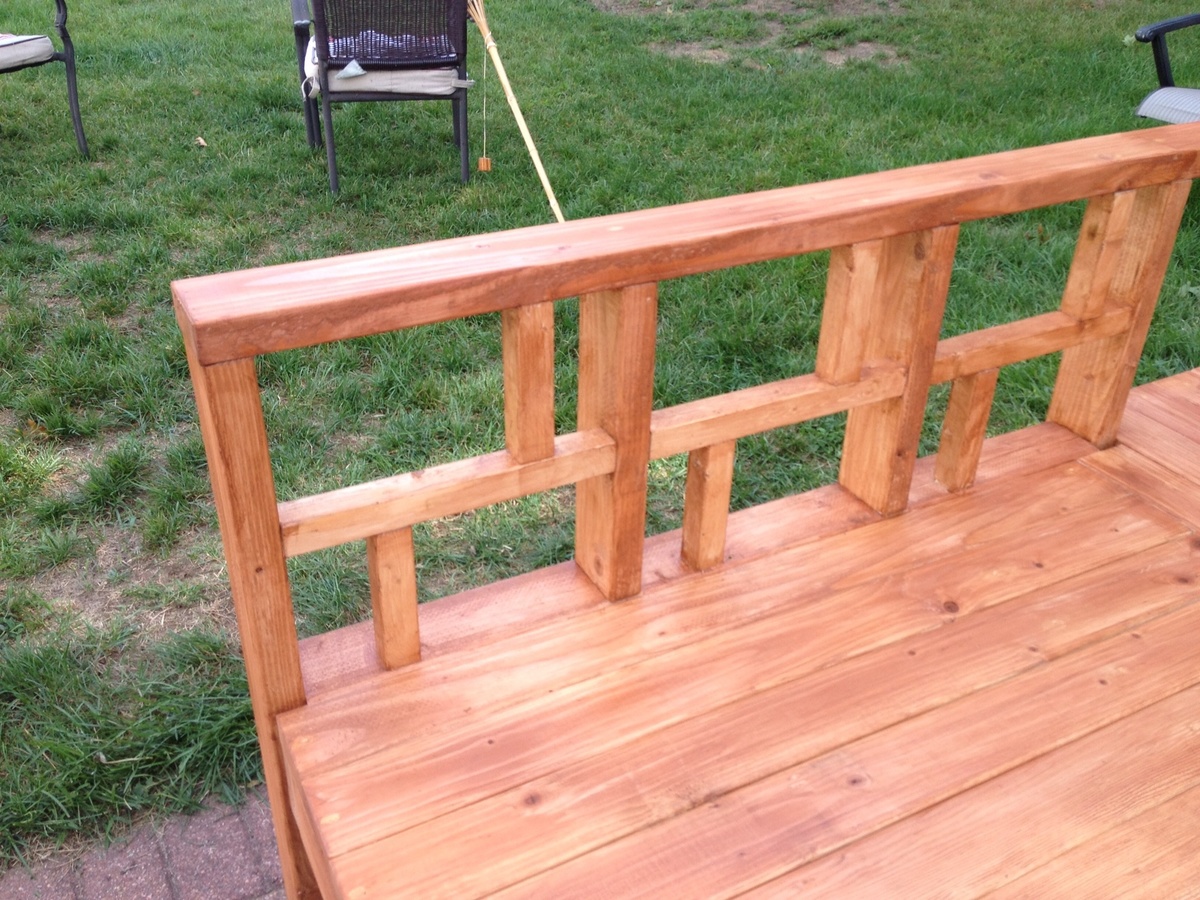
hello just a quick question about the railing. Is it screwed on or is it just sitting over the wood? Very nice bed.

WannaMakeA LOFTBED (not verified)

Tue, 08/07/2012 - 13:35

How many 2x2s did you use? I think I am going to do the same to make sure that I do not outgrow the bed. Also did you have to change the size of the little bookshelves when you changed the desk to 16" instead of 12" ? I'm trying to build the whole set on my own (im 14)

In reply to by WannaMakeA LOFTBED (not verified)

hook Fam

Tue, 08/07/2012 - 15:09

I think I used around 20 2x2's, and did use a center beam to add strength. I only changed the one bookshelf to a 16" (the one under the desk). The other one I left as a 12". Good luck building your bed!

WannaMakeA LOFTBED (not verified)

Tue, 08/07/2012 - 18:29

Thank you sooo much. I have left questions in the comments sections and you are the only one who has answered. I greatly appreciate it.

jvanhorn

Sun, 05/12/2013 - 19:37

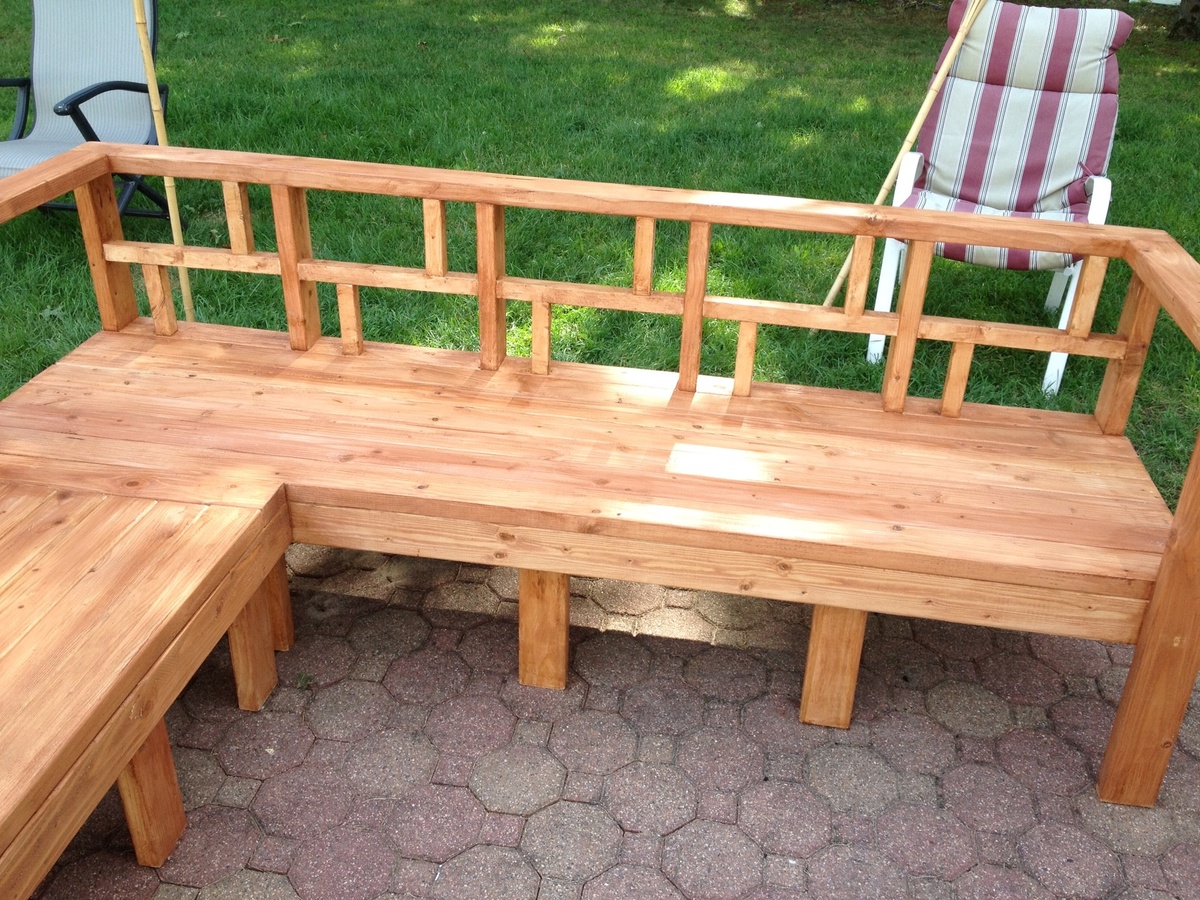
Hook fam, Thanks so much for your work and for the pictures. I really like how you left the lower back side of the big book shelf off and still included the desk behind. Love the 16" too and I think I will go with that for the desktop but leave the 12" for the shelves. Thanks again! This is now my next project!!!

My cedar fence--thank you!

Submitted by NayNay on Tue, 09/03/2013 - 12:48

Thank you for the plans for this fence! So many sites tell you what you need to do to plan for a fence, but don't give you any dimensions, materials, etc.

I didn't do it exactly like your instructions, but close enough to give you all the credit!! I am a 45 year old woman, with only a little do-it-yourself experience. I went to the hardware store, and asked "what are these PH screws?" and felt a little stupid. But my friend Tanya and I built this fence this weekend, with a post level, stakes and string, a chop saw, two 18v drills,a sledgehammer, a string level and a sharpie! We are so proud of ourselves.

I still need to trim off the tops of the posts, and do a few little tweaks. Also, we did not dig post holes. We used oz-posts, and pounded them in with a sledgehammer, attached the wooden posts into the oz-posts with heavy-duty construction adhesive and 8 screws, and straightened them with a huge wood clamp. And next weekend, I'll be putting in raised flower beds along the bottom to cover the lower space. :-))

Built from Plan(s)
Estimated Cost
$76 per panel
Estimated Time Investment
Weekend Project (10-20 Hours)
Finish Used
cedar-toned (pre-finished)
Recommended Skill Level
Beginner

Comments

carongirls

Wed, 09/04/2013 - 06:40

I am excited to hear about these Oz posts. I put up a small fence and dig holes which took me a week and blistered my hands.
I love your fence!

NayNay

Wed, 09/04/2013 - 07:36

If you check out the oz-post website (just google "oz-post"), there are video tutorials. We pounded them in with sledgehammers which kicked our butts. The oz-posts are about $16 each from Home Depot, which adds to the cost of your fence. But renting a jackhammer was $130 per day plus $30 per running hour, PLUS gas. Renting a post hole digger and buying cement is also expensive. So, buy yourself a sledgehammer, and use chunks of pressure treated wood to put in the tops and wack away!! We first used just regular wood, which splintered terribly, and then spent a lot of time trying to pry them out. If you do get the wood stuck in the posts, drill in a couple screws through the top, and pull them out with someting attached to the screws. Use chunks of pressured treated 4x4s and try to hit it square in the middle!! Good luck!

HD

Thu, 10/30/2014 - 12:46

I know this has nothing to do with woodworking or fence buidling...but that water tower in one of the picture reminds me of one I saw during a drive through Wisconsin. 

Bank

Submitted by Bunnie1978 on Tue, 10/27/2015 - 20:40

This is just a simple shadow box with a glass door... took only a couple hours to throw together.  The project itself isn't braggable... but the purpose is pretty cool if I do say so myself...  it is a bank for my son.  There is a slot in the top to put money in, and the door locks with a pad lock.  The orange book sitting on top of it is his bank register.  He gets money for completing his schoolwork on time and chores and his goal is to save $300.  When he does that I will give him the last $100 to buy an Xbox. 

Estimated Time Investment
An Hour or Two (0-2 Hours)
Recommended Skill Level
Beginner

Doll House Book Shelf

Submitted by Anonymous (not verified) on Tue, 12/25/2018 - 19:58

Made this for my little girls room 

Built from Plan(s)
Recommended Skill Level
Beginner

Comments

Woven back bench

Submitted by Lukilla on Thu, 09/01/2022 - 15:47

What a fun project! My 2x2 scraps had started to accumulate, and I couldn't think of anything to do with them. Ana White to the rescue! Built this one for the fun of it, and my wife had fun with the colors. Great plan as always. I added 2x2s to support the seat slats, but im sure it'd be fine without

Built from Plan(s)

Comments

Spa Bench Finished with Milk Paint

Submitted by shaunk on Fri, 08/12/2011 - 13:57

Built this bench over a couple of nights. It was really easy. The most difficult part was deciding on the color and finish. Overall it came out great and looks good by our front door. The finish is Old Fashion Milk Paint in Salem Red. I painted two coats and then sanded the sides and corners. I'm contemplating adding an antiquing glaze to give it an older look.

Built from Plan(s)
Estimated Cost
$32.00 ($21 for the wood and $11 for the milk paint)
Estimated Time Investment
Afternoon Project (3-6 Hours)
Finish Used
Paint two coats of Milk Paint and let dry over night. Sand corners down with power sander. I added distressing marks prior to painting using a couple of nails and a hammer.
Recommended Skill Level
Beginner

simple modern outdoor sectional

Submitted by raflis35 on Thu, 09/05/2013 - 20:35

I utilized a mix of the platform sectional and the simple modern sectional to create this piece. I added the design on the back rather than the simple 1x4. I also made the entire piece out of 2x4s and 2x2s.

Estimated Cost
100
Estimated Time Investment
Weekend Project (10-20 Hours)
Finish Used
thompsons water seal with stain
Recommended Skill Level
Intermediate

Comments

TV Stand

This project was made for my sons room! 

Estimated Cost
$85
Estimated Time Investment
Day Project (6-9 Hours)
Finish Used
Special Walnut
Recommended Skill Level
Intermediate

Workbench console and hutch minibar

Submitted by kwildman on Sat, 12/29/2018 - 05:14

Love my new minibar! Built using select pine for the 1x and stud grade 2x4s. 

I used Ana's plan for the Workbench console which is a pottery barn knock off for the Markham Console.  The hutch is Ana's plan for the Rustic Hutch.  I first stained with dark walnut danish oil and didn't like the color.  It was too yellowish.  I went over that with minwax grey wash and loved the color.  I finished with minwax dark paste wax. 

Estimated Cost
350
Estimated Time Investment
Weekend Project (10-20 Hours)
Finish Used
Dark walnut Danish oil and minwax gray oil based stain. Minwax dark paste wax.
Recommended Skill Level
Intermediate

Apothecary cat box console

Submitted by Anonymous (not verified) on Tue, 09/06/2022 - 06:21

Just used Ana’s plan for apothecary cabinets. Needed mine wider, shallower and taller for use under wall mounted tv and wanted it to reach very high chair rail behind it. As well as hiding tv wires and providing much needed storage I needed to hide a cat box.

Comments

kid clara table modified

Submitted by ajcajj on Sun, 08/14/2011 - 18:35

I made this table for a baby shower gift for my newest niece. I used the clara plan as a starting point and went from there. I ended up using (2) 2x12x36 for the top kreg jigged together and sanded them completely smooth. I used existing legs from an end table and added the aprons.

I also just shortened the cubbie length to make it short enough to fit on top of the table.

Estimated Cost
$12- for the 2x12 and a few 2x2, I already had the table legs and the top for the bench
Estimated Time Investment
Afternoon Project (3-6 Hours)
Finish Used
I stained the table top with some oops stain I had picked up for 50 cents and then put 3 coats of poly on top. I painted the legs/aprons with a bubblegum pink and distressed and lightly wiped with stain. Same colors for the bench.
Recommended Skill Level
Beginner

Georgia's Jewelry Box

Submitted by JoanneS on Sat, 09/07/2013 - 18:04

This build is a little jewelry box for a family friend who just had a baby girl named Georgia. Although I've built this box several times for myself and others to use for storage, I hadn't done a plan for it until now. This is from Georgia's Jewelry Box plan.

The wood is 1x4 and 1x6 whitewood scraps. The hinges are flat "H" style hinges from Lowes. I had them for another project and ended up not using them. The hinge color works very well with the light yellow, which I thought would be pretty for a little girl.

Originally I was going to paint or stencil her name on the front, but ended up printing it on pretty scrapbook paper and attaching with Mod Podge. Also added this paper to the bottom inside the box. Everything is top coated with Mod Podge.

On the inside of the top, I glued a 3" craft mirror (these are available in a 5-pack from Michael's for $1.99).

This was a very easy build. It look less than an hour to cut, build, and sand. The finishing I completed a few minutes at a time throughout the day, but the actual work between drying times wasn't more than an hour.

Built from Plan(s)
Estimated Cost
Wood & Hardware: Free (scrap/already on hand), and I have loads left over from the Finishing materials: $2.98 for paint sample, $1.99 for mirrors, $6.49 for mod podge
Estimated Time Investment
An Hour or Two (0-2 Hours)
Finish Used
2 coats Valspar Hazy Dawn (sanded between coats), name and box bottom are scrapbook paper attached with mod podge, and the top coat is Mod Podge (satin finish)
Recommended Skill Level
Beginner

Comments

JoanneS

Mon, 09/09/2013 - 18:28

Georgia's mommy loved the little jewelry box, and was tickled that I named this plan after her little girl. The best part of the visit was getting to hold adorable 3-week-old Georgia. :0)

Rustic x console

Submitted by A Carew on Tue, 11/10/2015 - 16:46

Fairly easy to build in a weekend.

Built from Plan(s)
Estimated Cost
$150
Estimated Time Investment
Week Long Project (20 Hours or More)
Finish Used
Water, Ebony and dark walnut stain
Recommended Skill Level
Intermediate

Grey on White

Submitted by Anonymous (not verified) on Mon, 12/31/2018 - 16:09

Used your plans, worked perfectly. First time using the Kreg, gonna use that a lot more!

Estimated Cost
$130
Estimated Time Investment
Weekend Project (10-20 Hours)
Finish Used
Semi gloss ploy
Recommended Skill Level
Beginner

Comments

Kids Play Table and Stackable Chairs

I used Ana's plan for the Clara table and the $4 stackable chairs for this project. I spent a total of $30. I used furring strips to save money. My kiddos love it! You can see more details at http://www.shanty-2-chic.com/2011/08/table-and-chairs-for-the-playroom… !!

Built from Plan(s)
Estimated Cost
$30
Estimated Time Investment
Afternoon Project (3-6 Hours)
Finish Used
Rust-Oleum Colonial Red Spray Paint and Minwax Dark Walnut Stain
Recommended Skill Level
Beginner

playhouse loft bed with storage steps

built this a few months ago, but just now getting around to posting it. I could'nt have ever even came close to building something like this without ana. So thank you.

Estimated Time Investment
Week Long Project (20 Hours or More)
Finish Used
pink paint, and white trim paint
Recommended Skill Level
Intermediate

Balustrade Coffee Table

Submitted by Pippa on Sun, 11/15/2015 - 11:39

This table was my first build. Once I learned how to use the Kreg Jig and my husband taught me how to use the table and miter saws, I have fallen in love with building furniture. Since building this table, I have built a twin bed, two farm tables, a bench, the kitchen island/rolling server table from Ana's book, and an awesome workbench with red racing wheels! This past weekend I finished my first custom order - an 8-foot Husky leg Farm table using Ana's plan. I now have orders for another balustrade coffee table and an end table using the matching legs from Osborne. THank you Ana! 

Built from Plan(s)
Estimated Cost
less than $200
Estimated Time Investment
Weekend Project (10-20 Hours)
Finish Used
An experimental mix of Minwax and Rustoleum stains - gray with expresso and special walnut rub. Minwax poly in matte finish.
Recommended Skill Level
Beginner

Comments

Fillman Storage Bed with Drawers

Submitted by Anonymous (not verified) on Thu, 01/03/2019 - 17:25

Utilizing Ana’s plans I was able to build this great bed with a few “ extras”. Box joint drawers..rail/stile drawer frames.. peg joinery to name a few!  So much fun following these plans and achieving results that made one young man very happy!  Thanks Ana!!

Estimated Cost
200$
Estimated Time Investment
Week Long Project (20 Hours or More)
Finish Used
Painted with a non latex paint and finished with a water based poly.
Recommended Skill Level
Advanced

Comments

Wooden Egg holder

Submitted by Lukilla on Fri, 09/30/2022 - 15:31

We've got a friend that basically supplies us with unlimited farm fresh eggs. The instant my wife saw this on ana-white she started asking me for one. Rounded over the holes with the router and rounded the corners of the sides. Took us about an hour total.

Combo of varathane special walnut and weathered oak stain on the finish.

Built from Plan(s)

Comments

Best Lounger Ever

Submitted by teeninyg on Sun, 08/21/2011 - 13:37

This was my second project from the site. I wanted somewhere to read my book on the back deck. This chair is perfect. When I get tired of reading I can lay it down and take a nap. It is very sturdy and easy to put together. I do recommend using pocket holes to assemble it. I found it much easier.

Estimated Cost
$70.00
Estimated Time Investment
Day Project (6-9 Hours)
Finish Used
I sanded the seat and sides of the chair. Then stained it with oak and finished it with polyurethane.
Recommended Skill Level
Beginner