Community Brag Posts

Settlers of Catan board
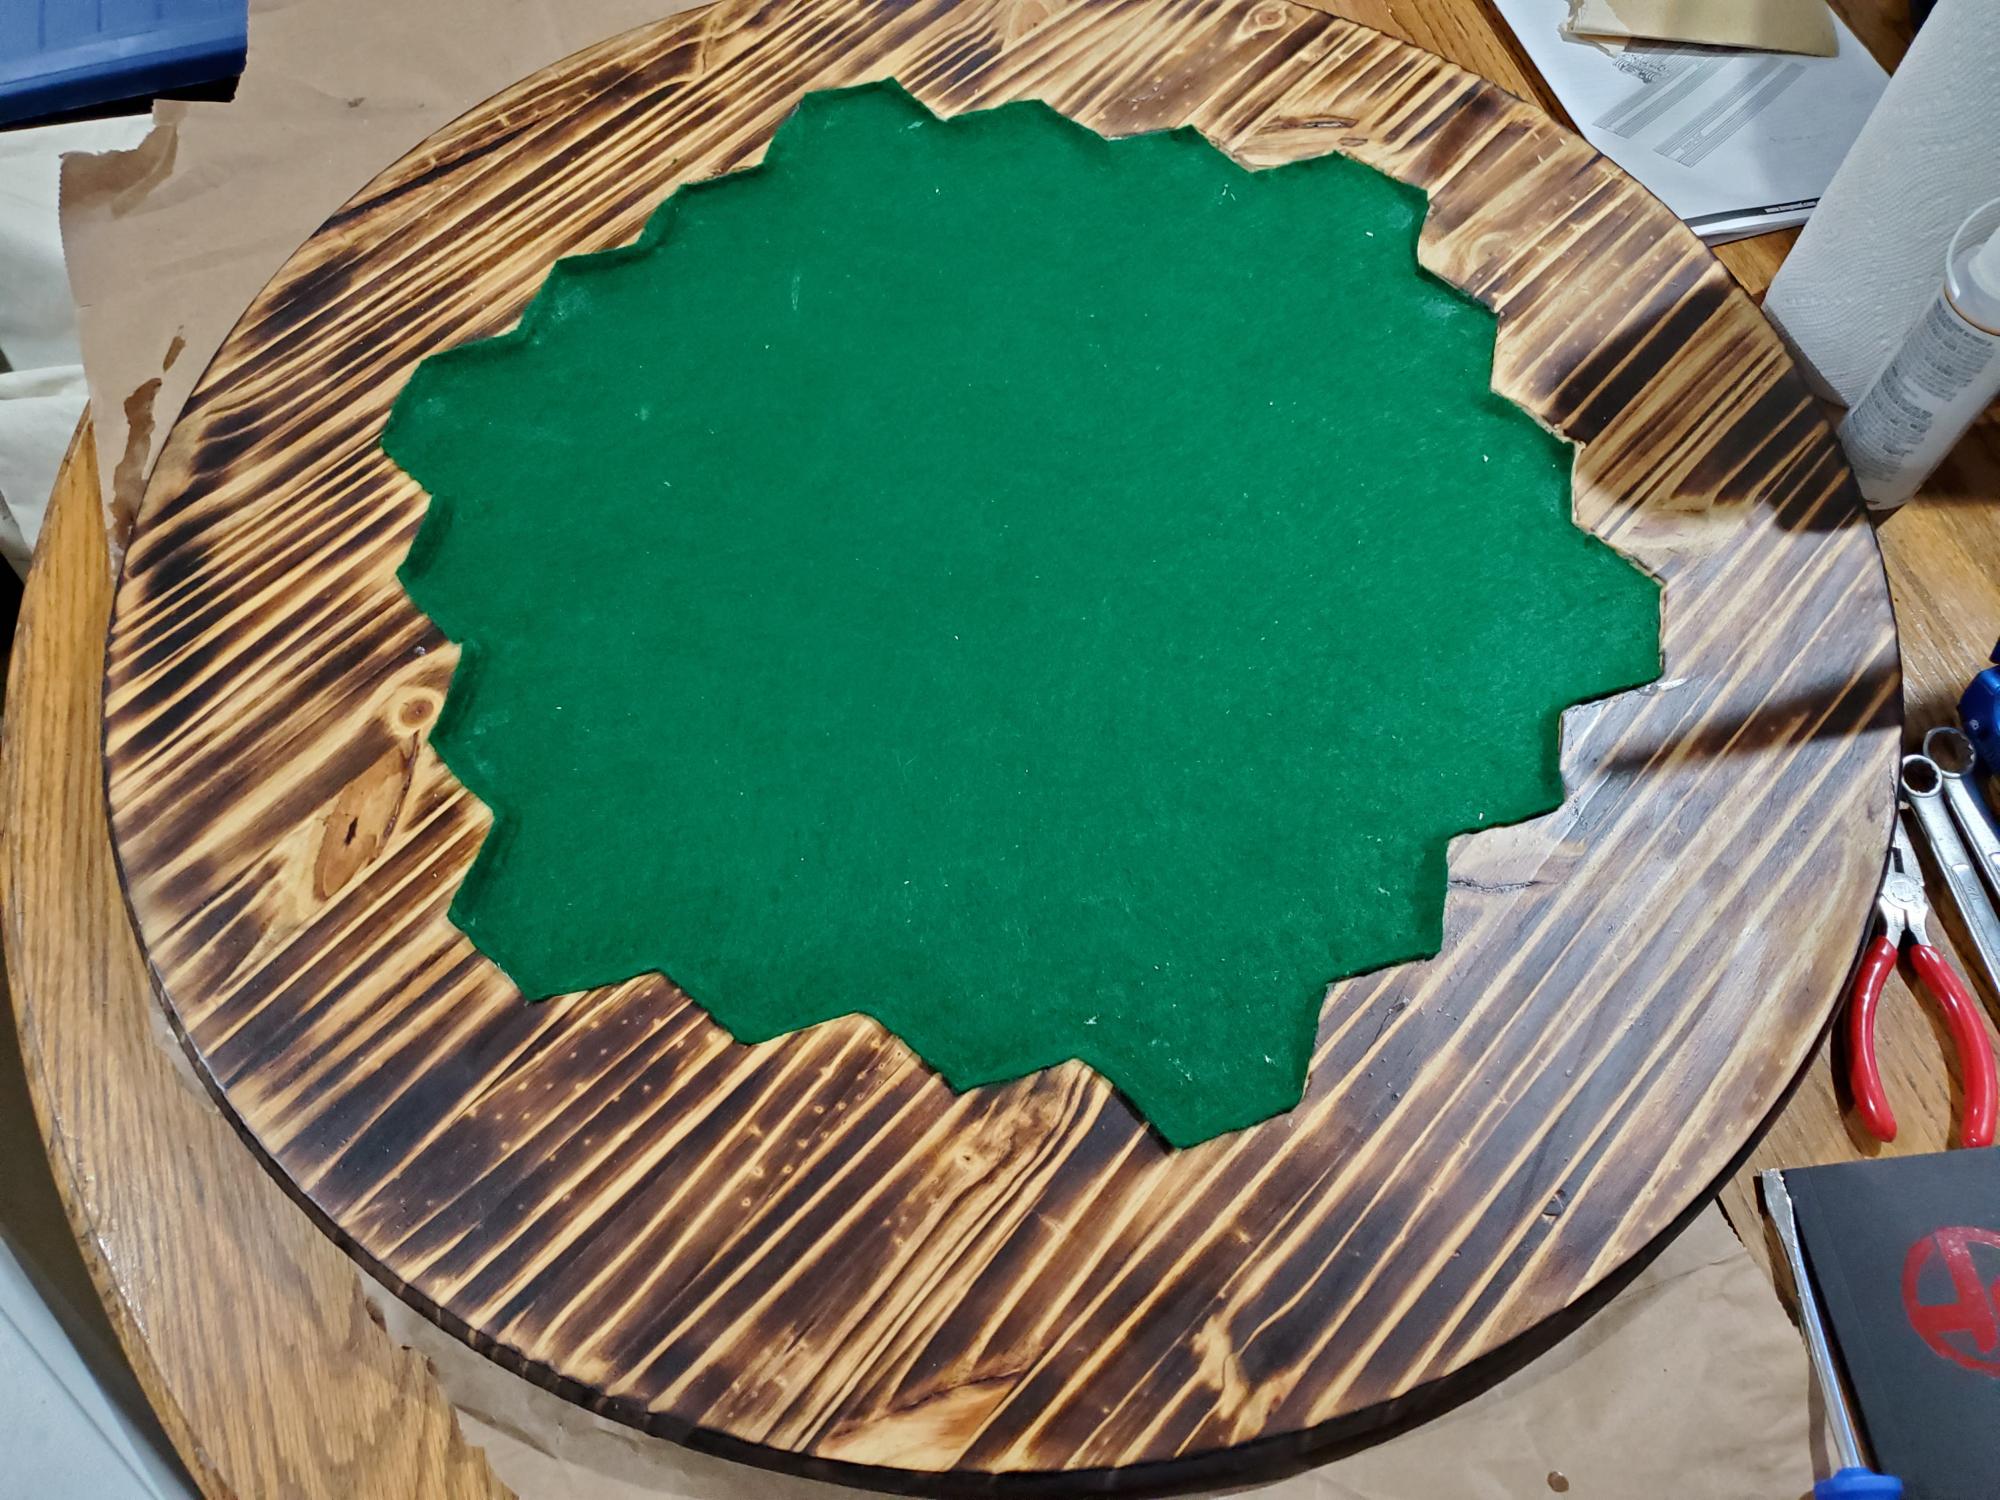
I took an edge glued round board and chisled out the profile of a Catan game board. Then I torched it, added some polyurethane and lined the bottom with felt.
Estimated Cost
$30.00
Estimated Time Investment
Day Project (6-9 Hours)
Finish Used
Propane torched and polyurethane
Recommended Skill Level
Beginner
Comments
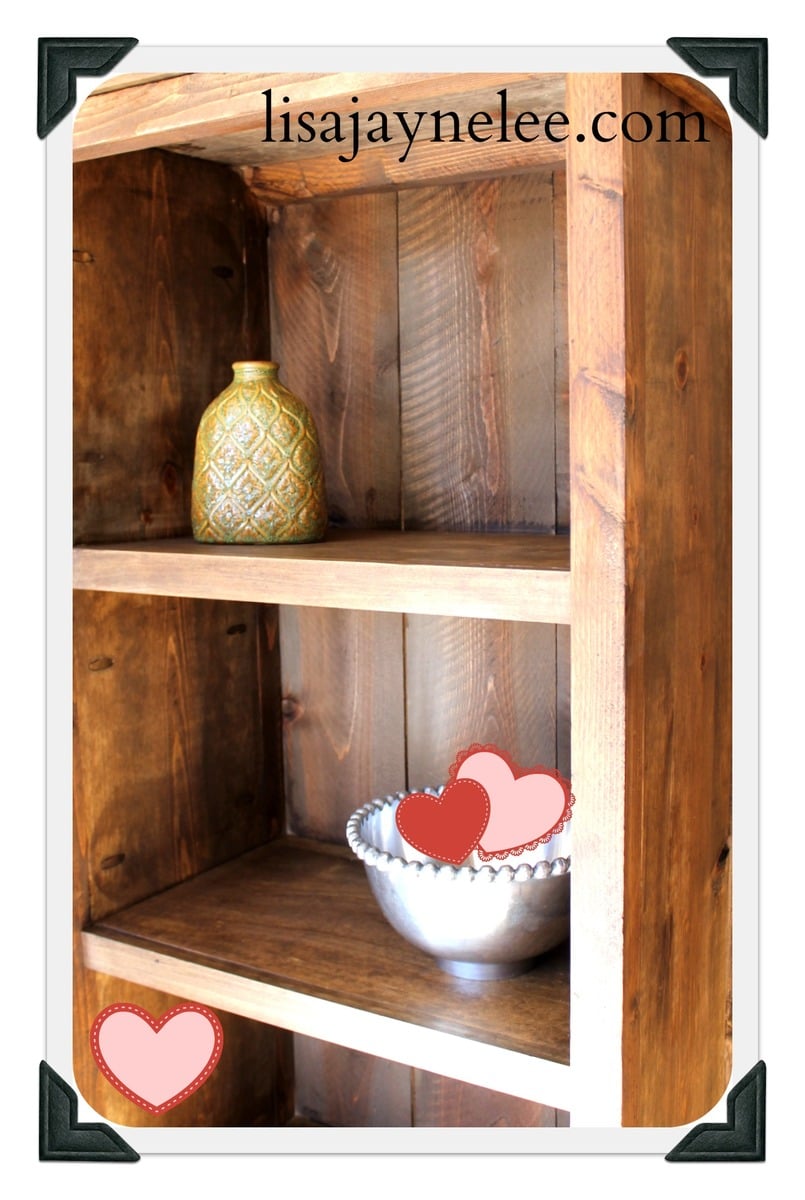
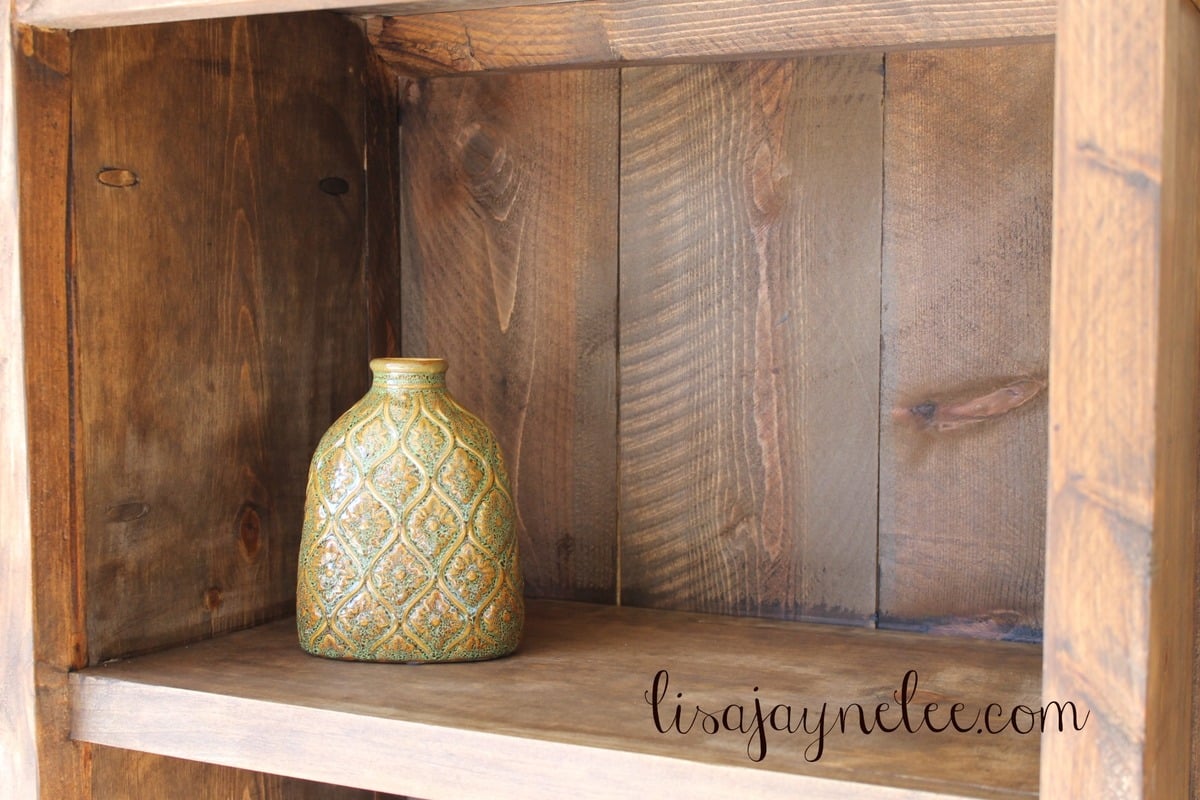
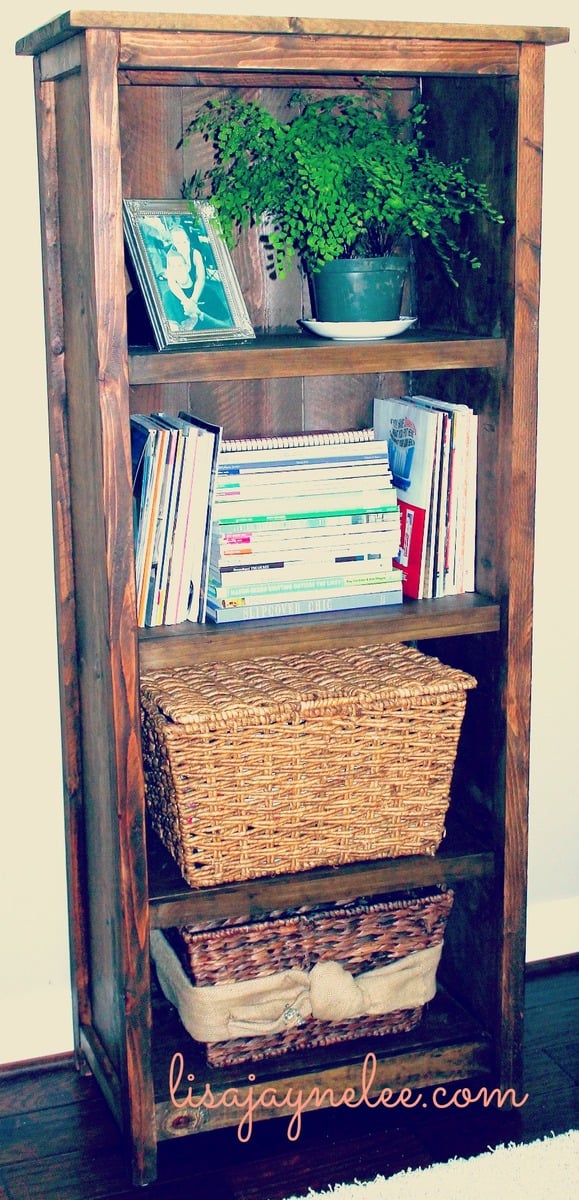
Kentwood Book Shelf
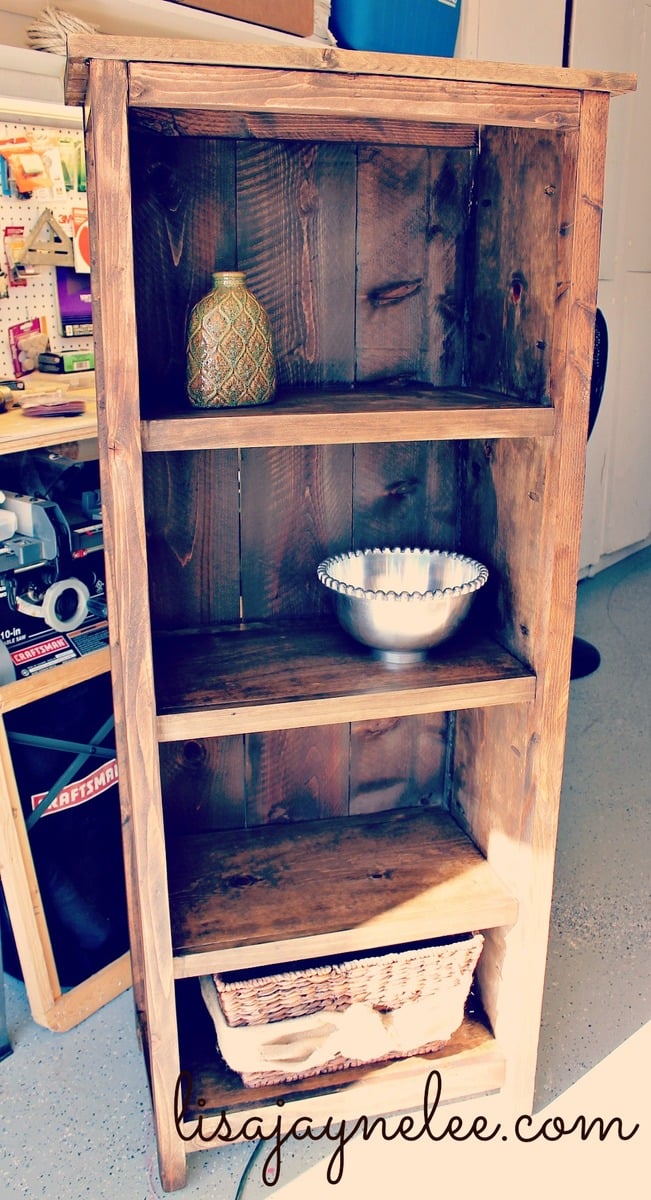
This was my first major build with plans from Ana. I actually found this bookcase via Shanty2Chic. It went smoothly and all in all took me a few evenings about an hour at a time. I have 3 kids so it did take me a little longer to finish. I am so impressed with myself and so is my husband. I used a 10" chopsaw for most of the cuts. I also used my KregJig. Thanks Ana!
Built from Plan(s)
Estimated Cost
$100
Estimated Time Investment
Day Project (6-9 Hours)
Finish Used
Minwax Special Walnut followed by Annie Sloan Chalk Paint Dark Wax Finish.
Recommended Skill Level
Intermediate
Comments
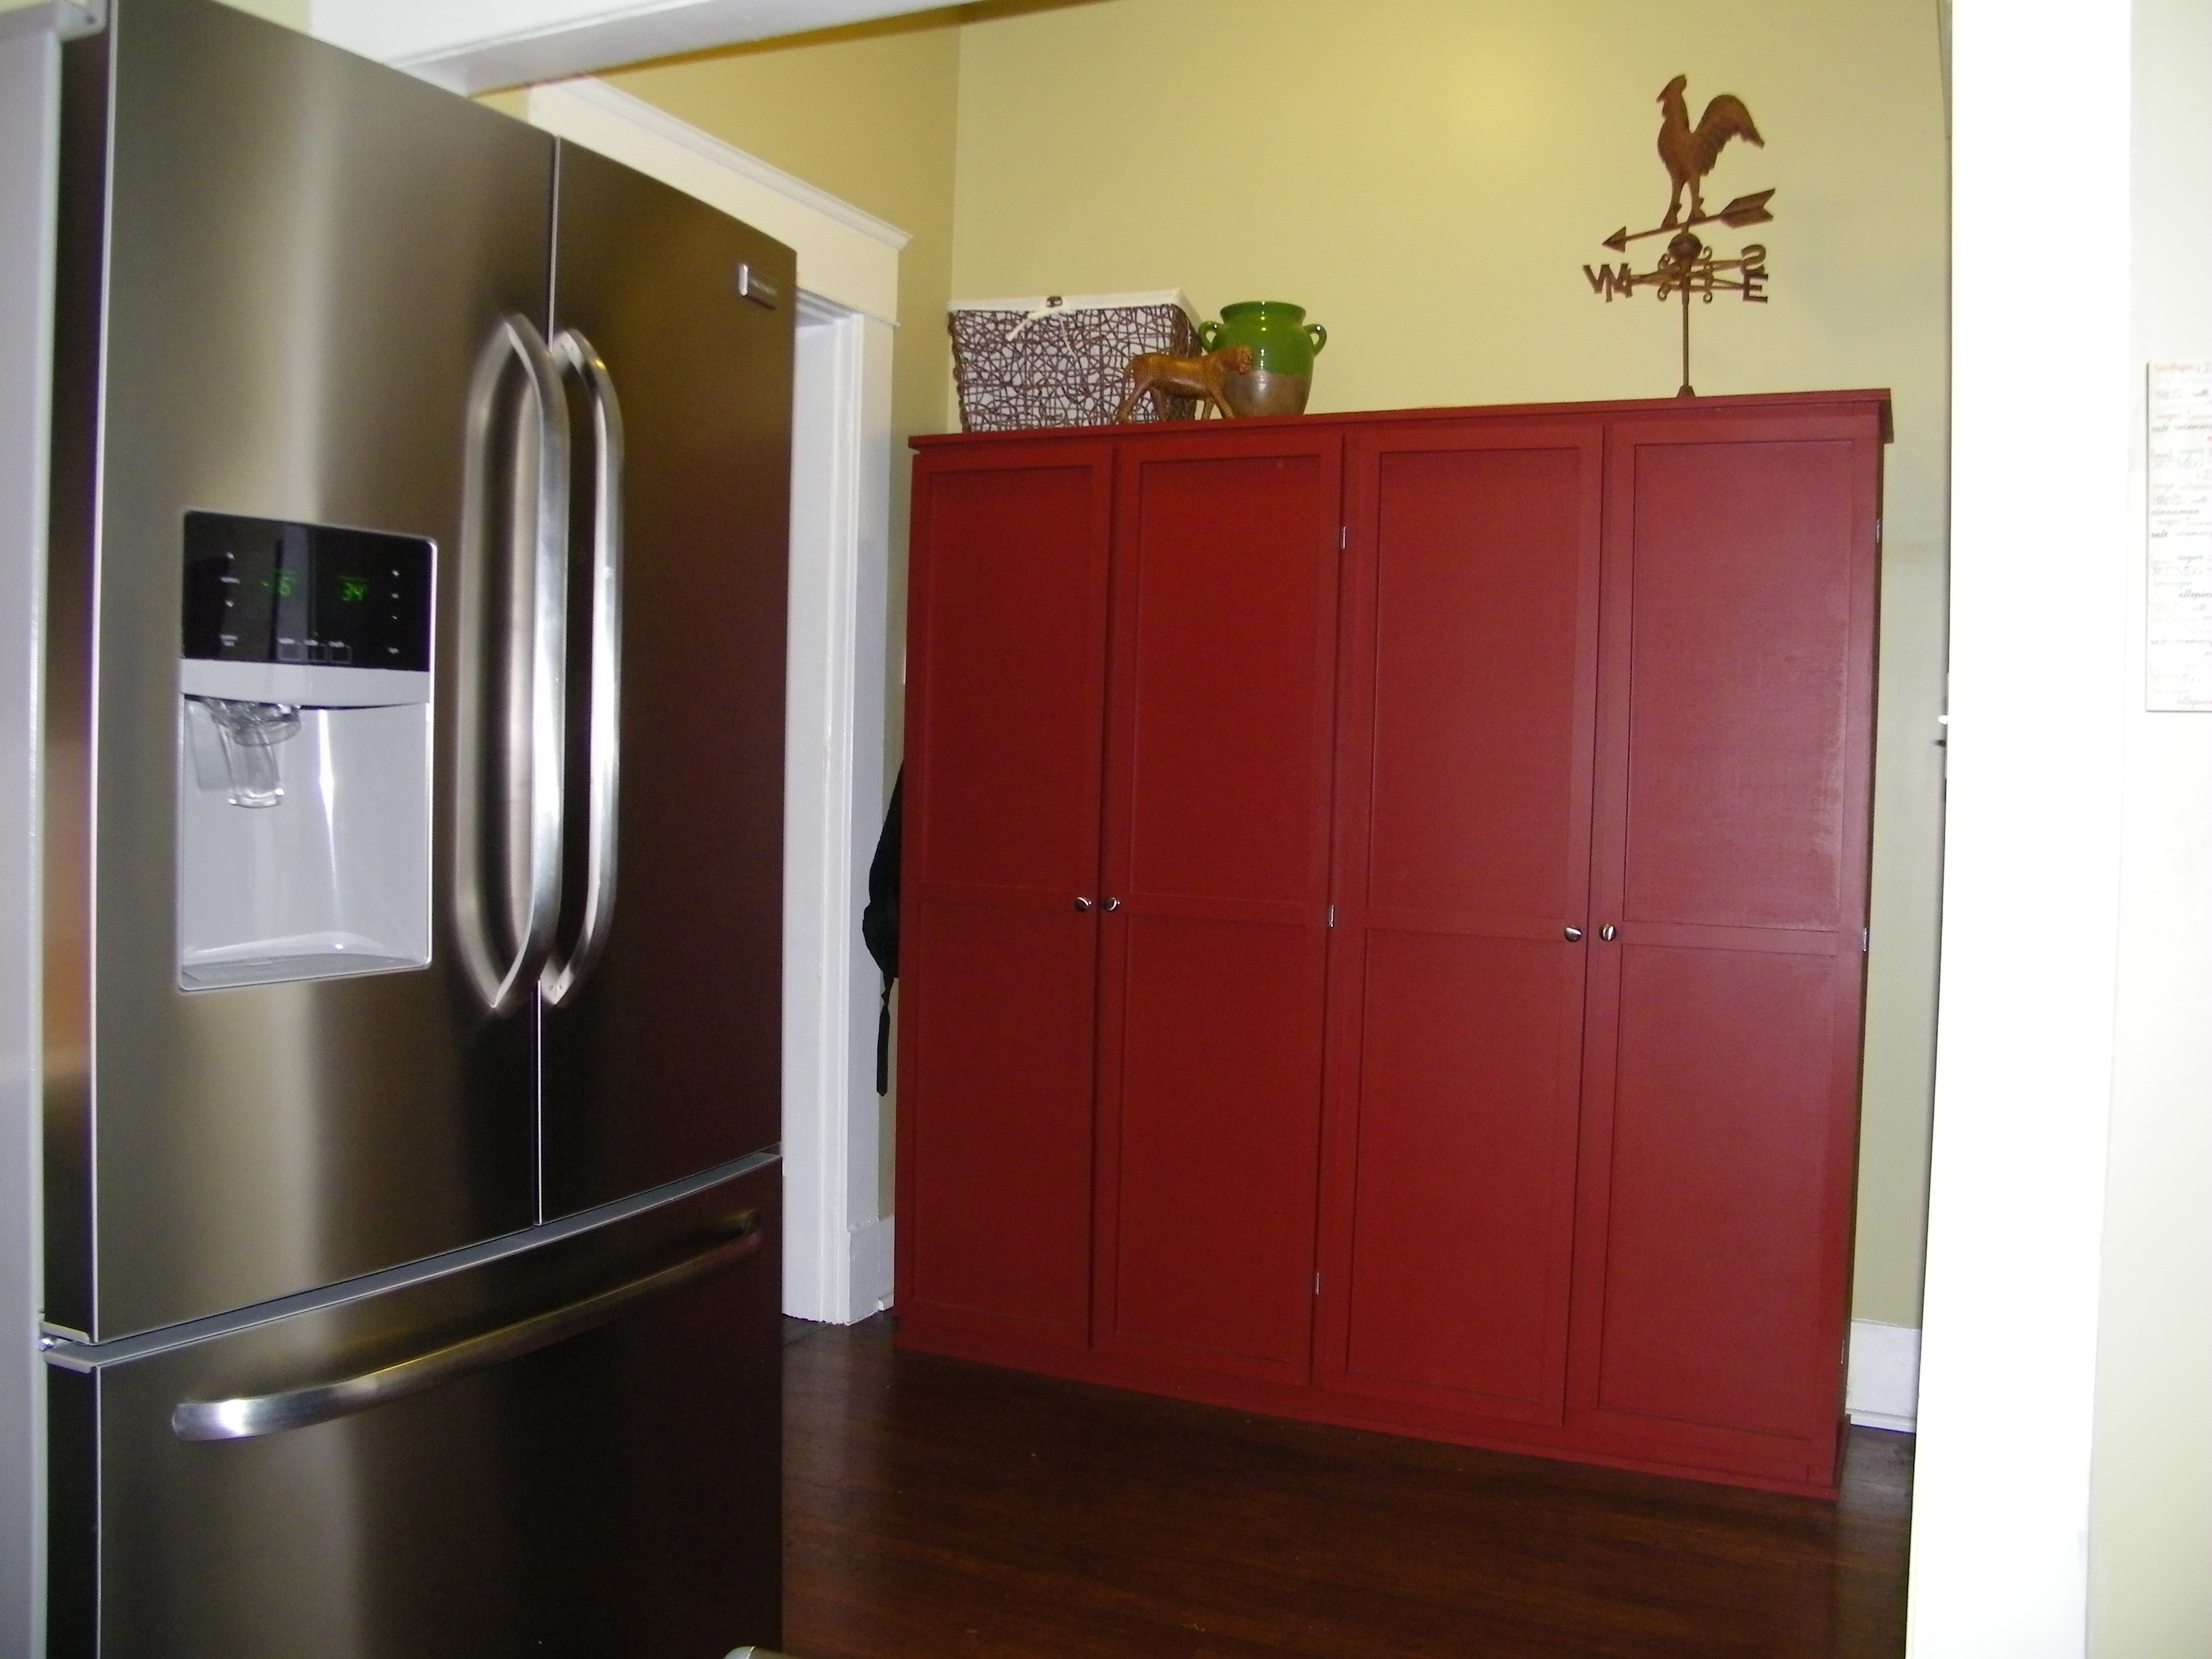
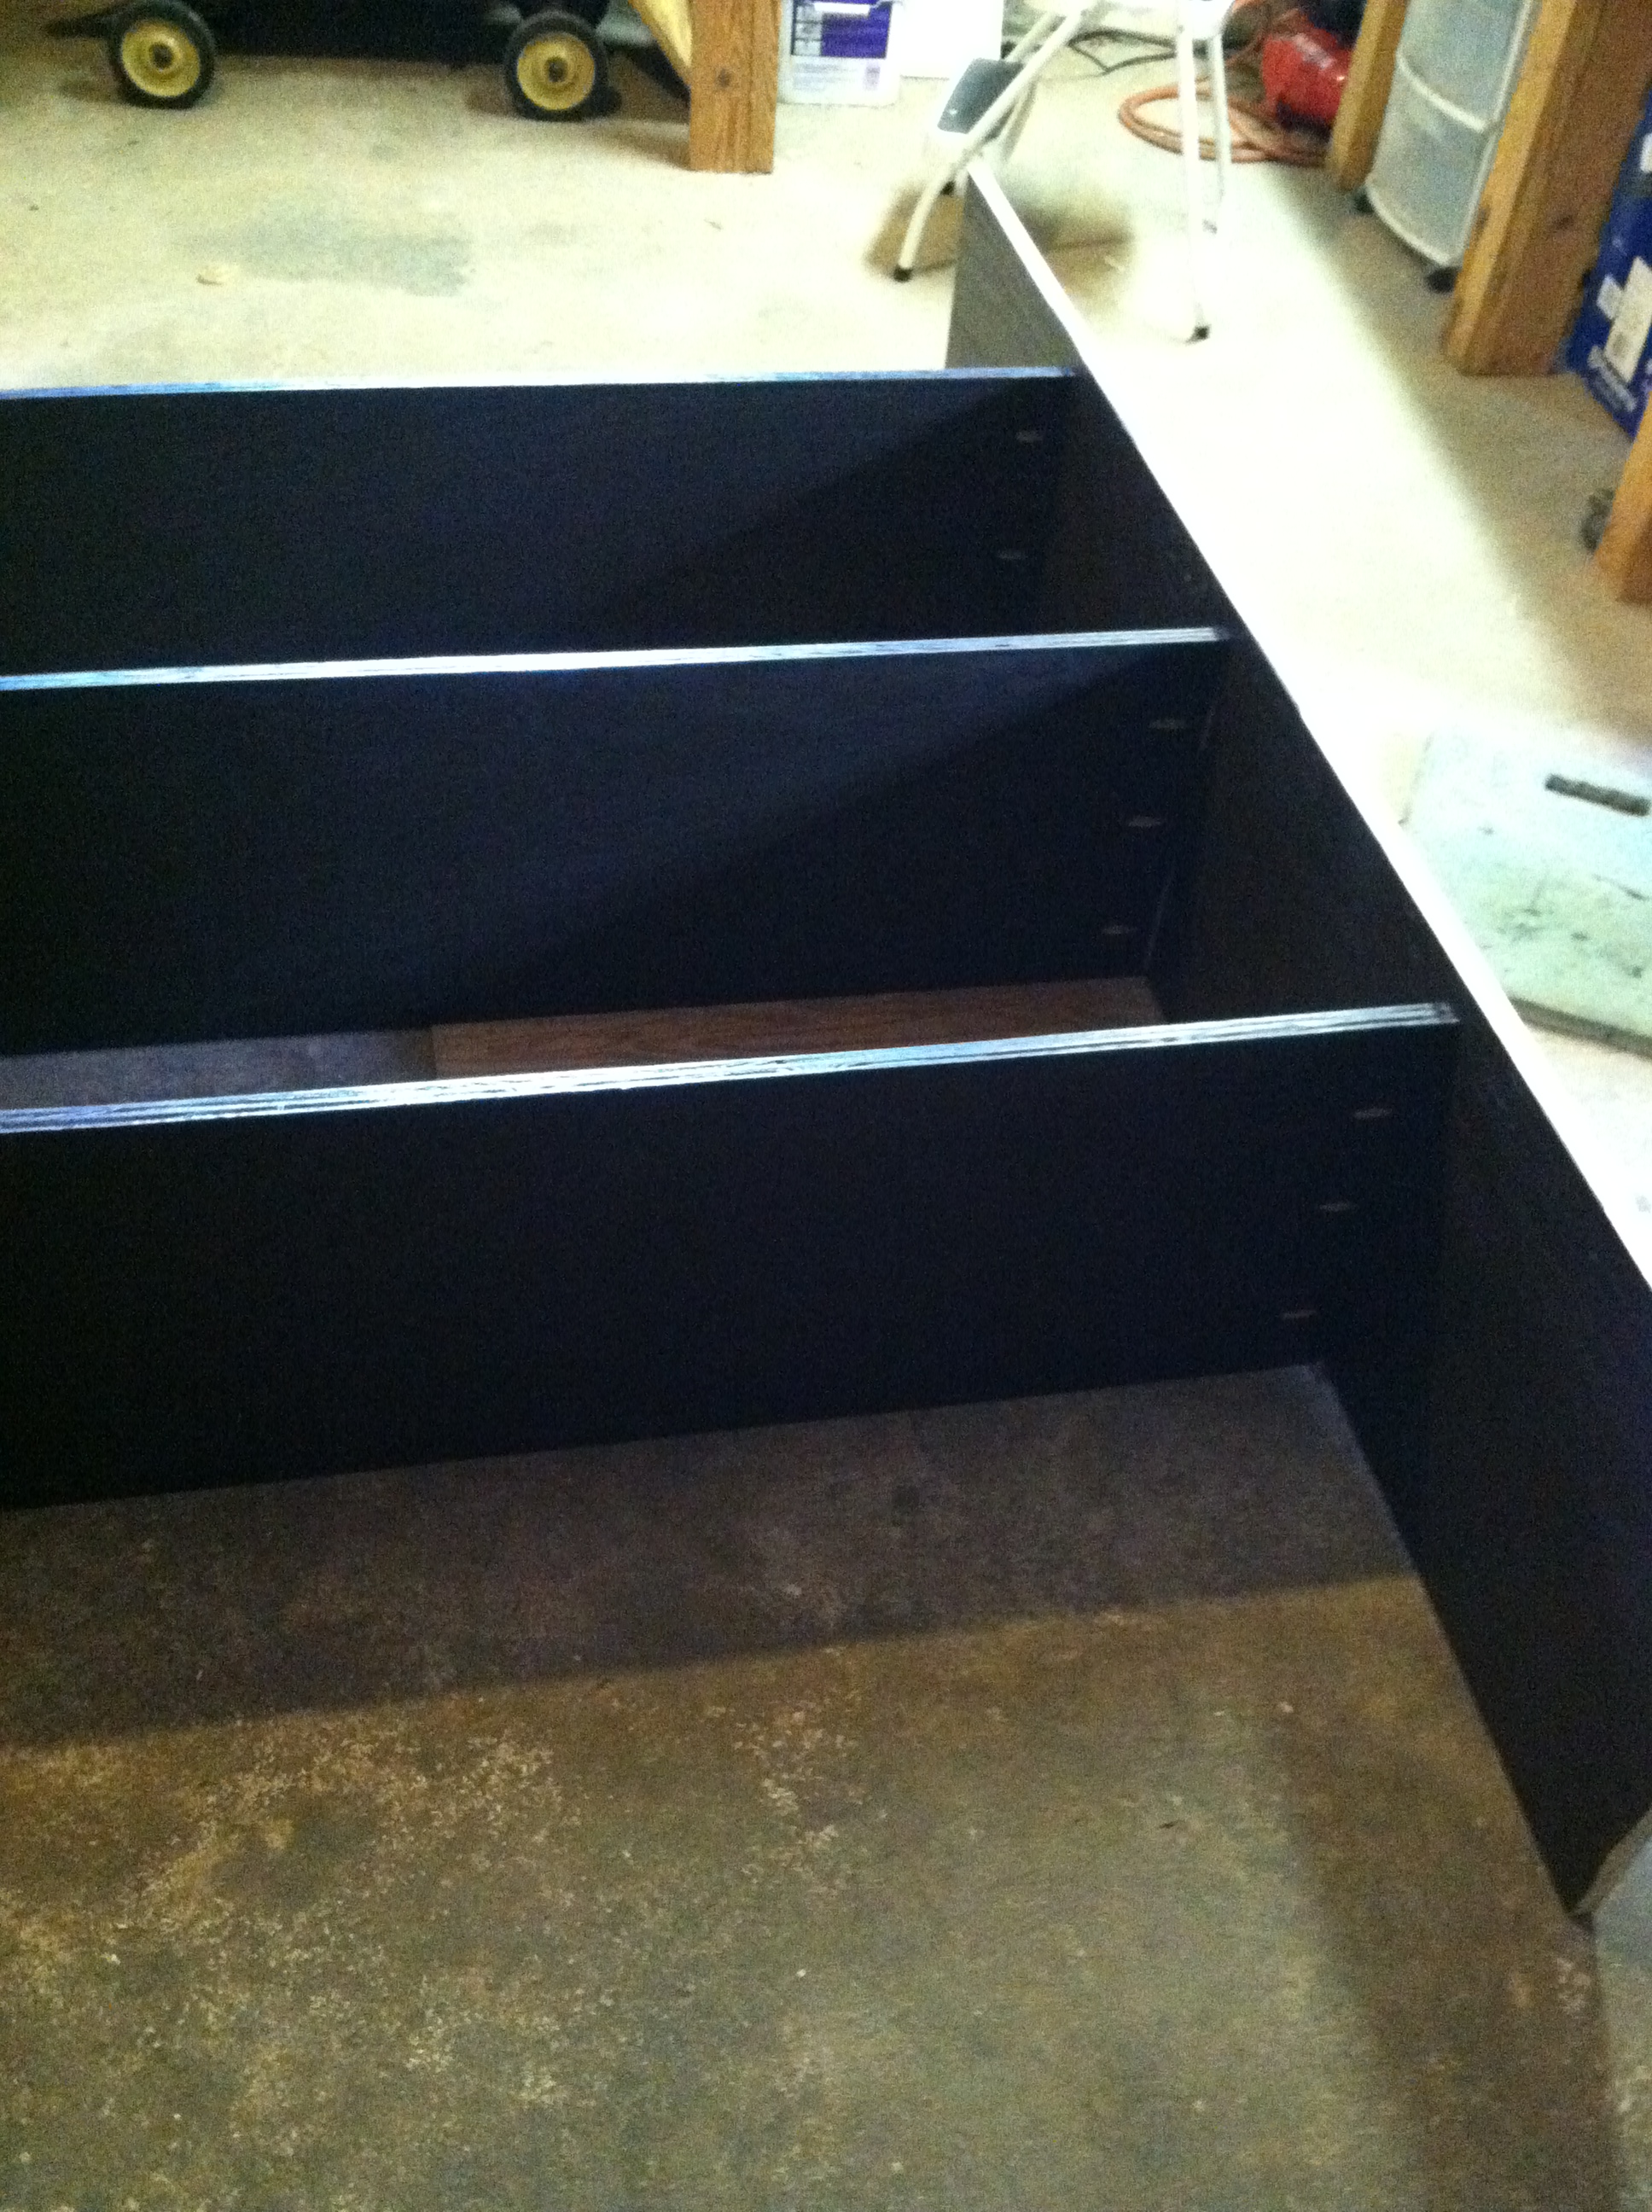
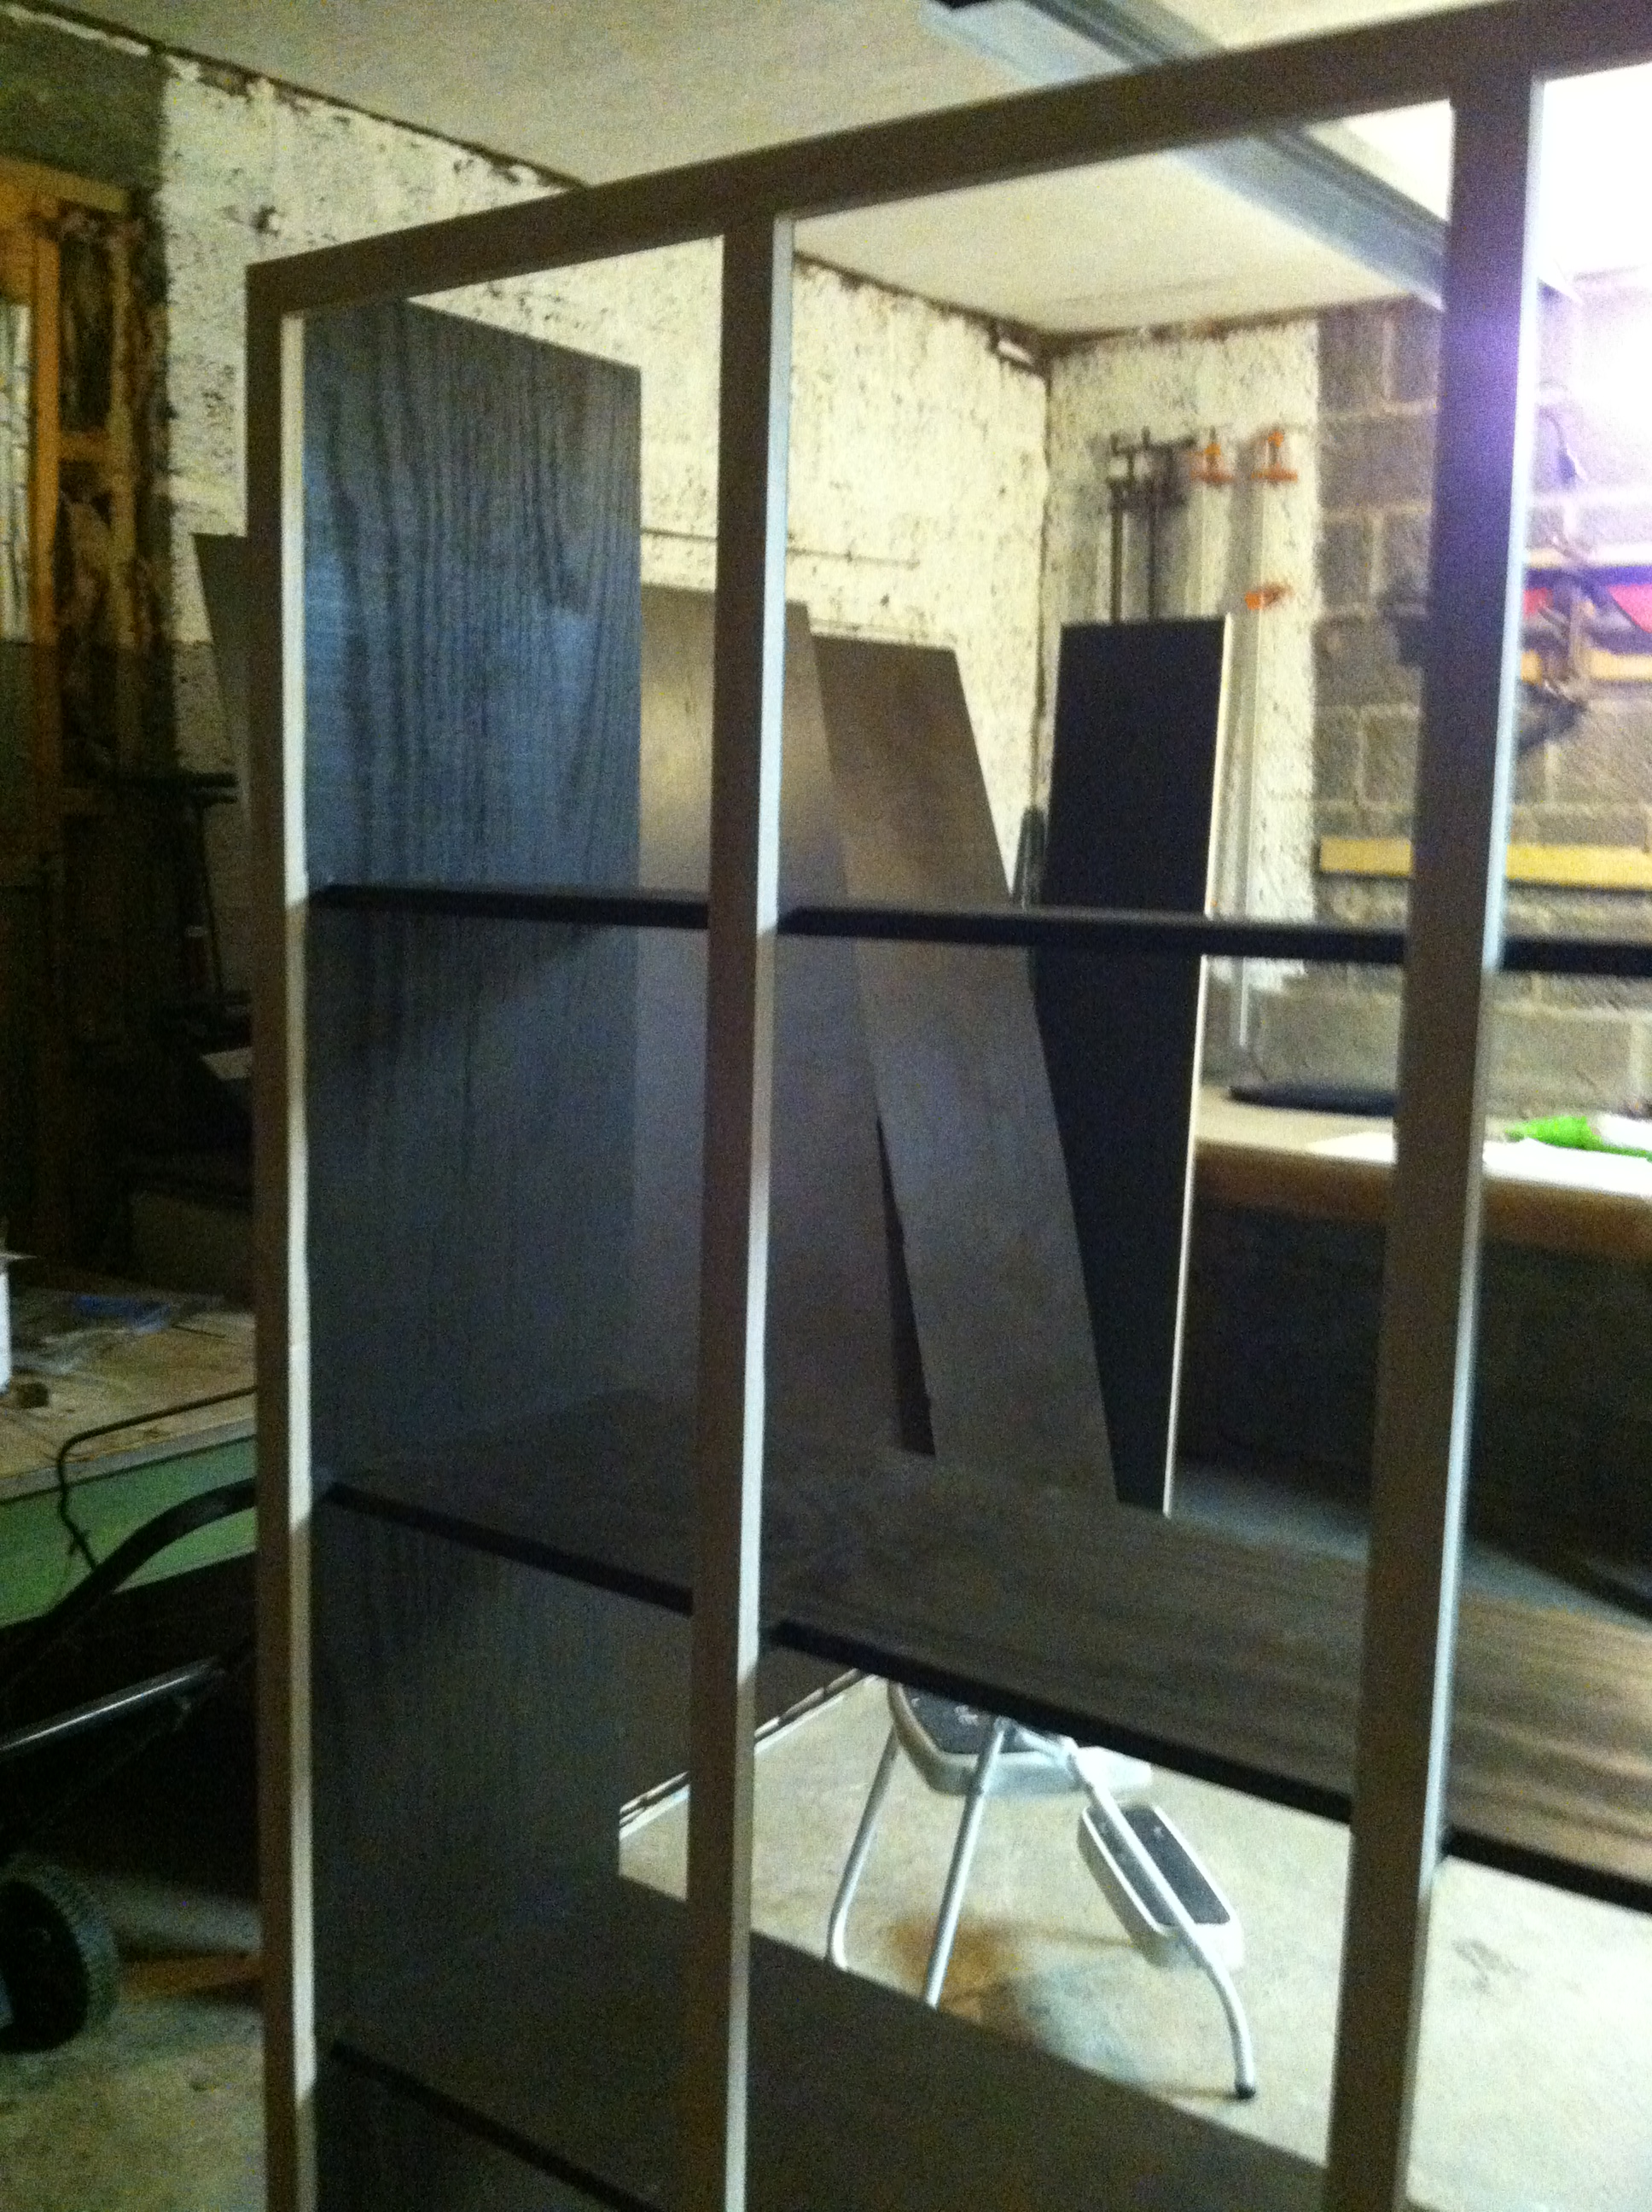
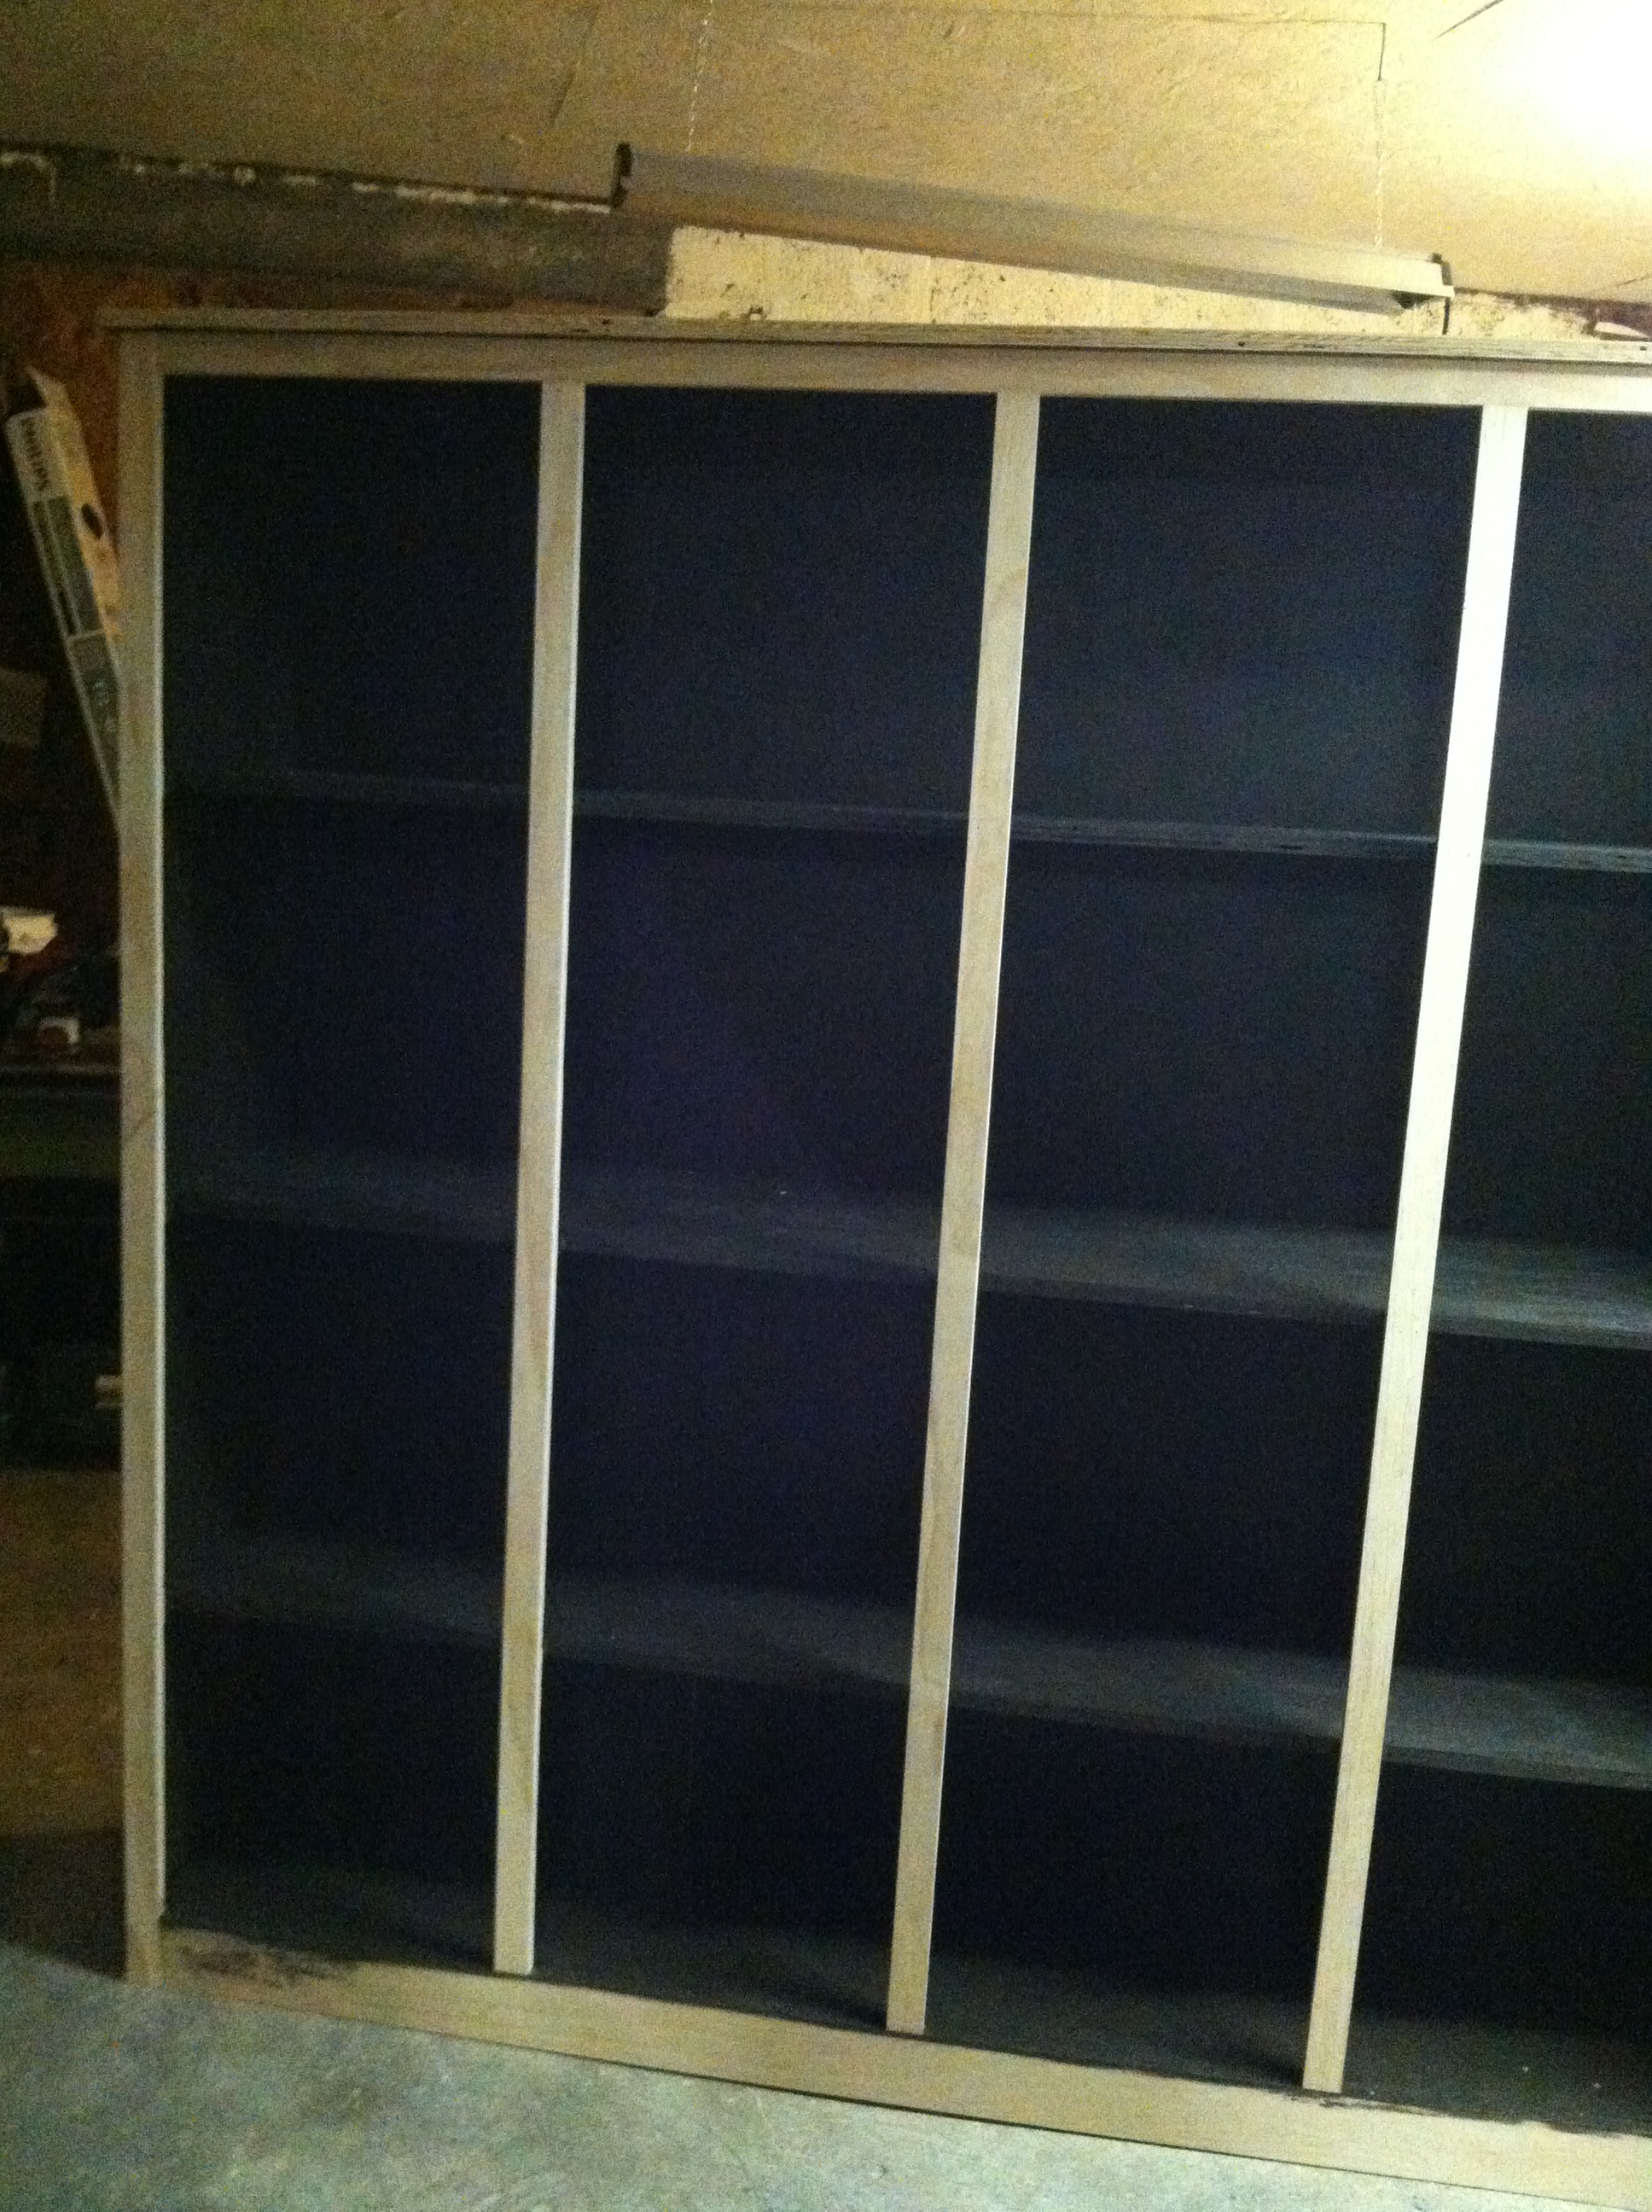
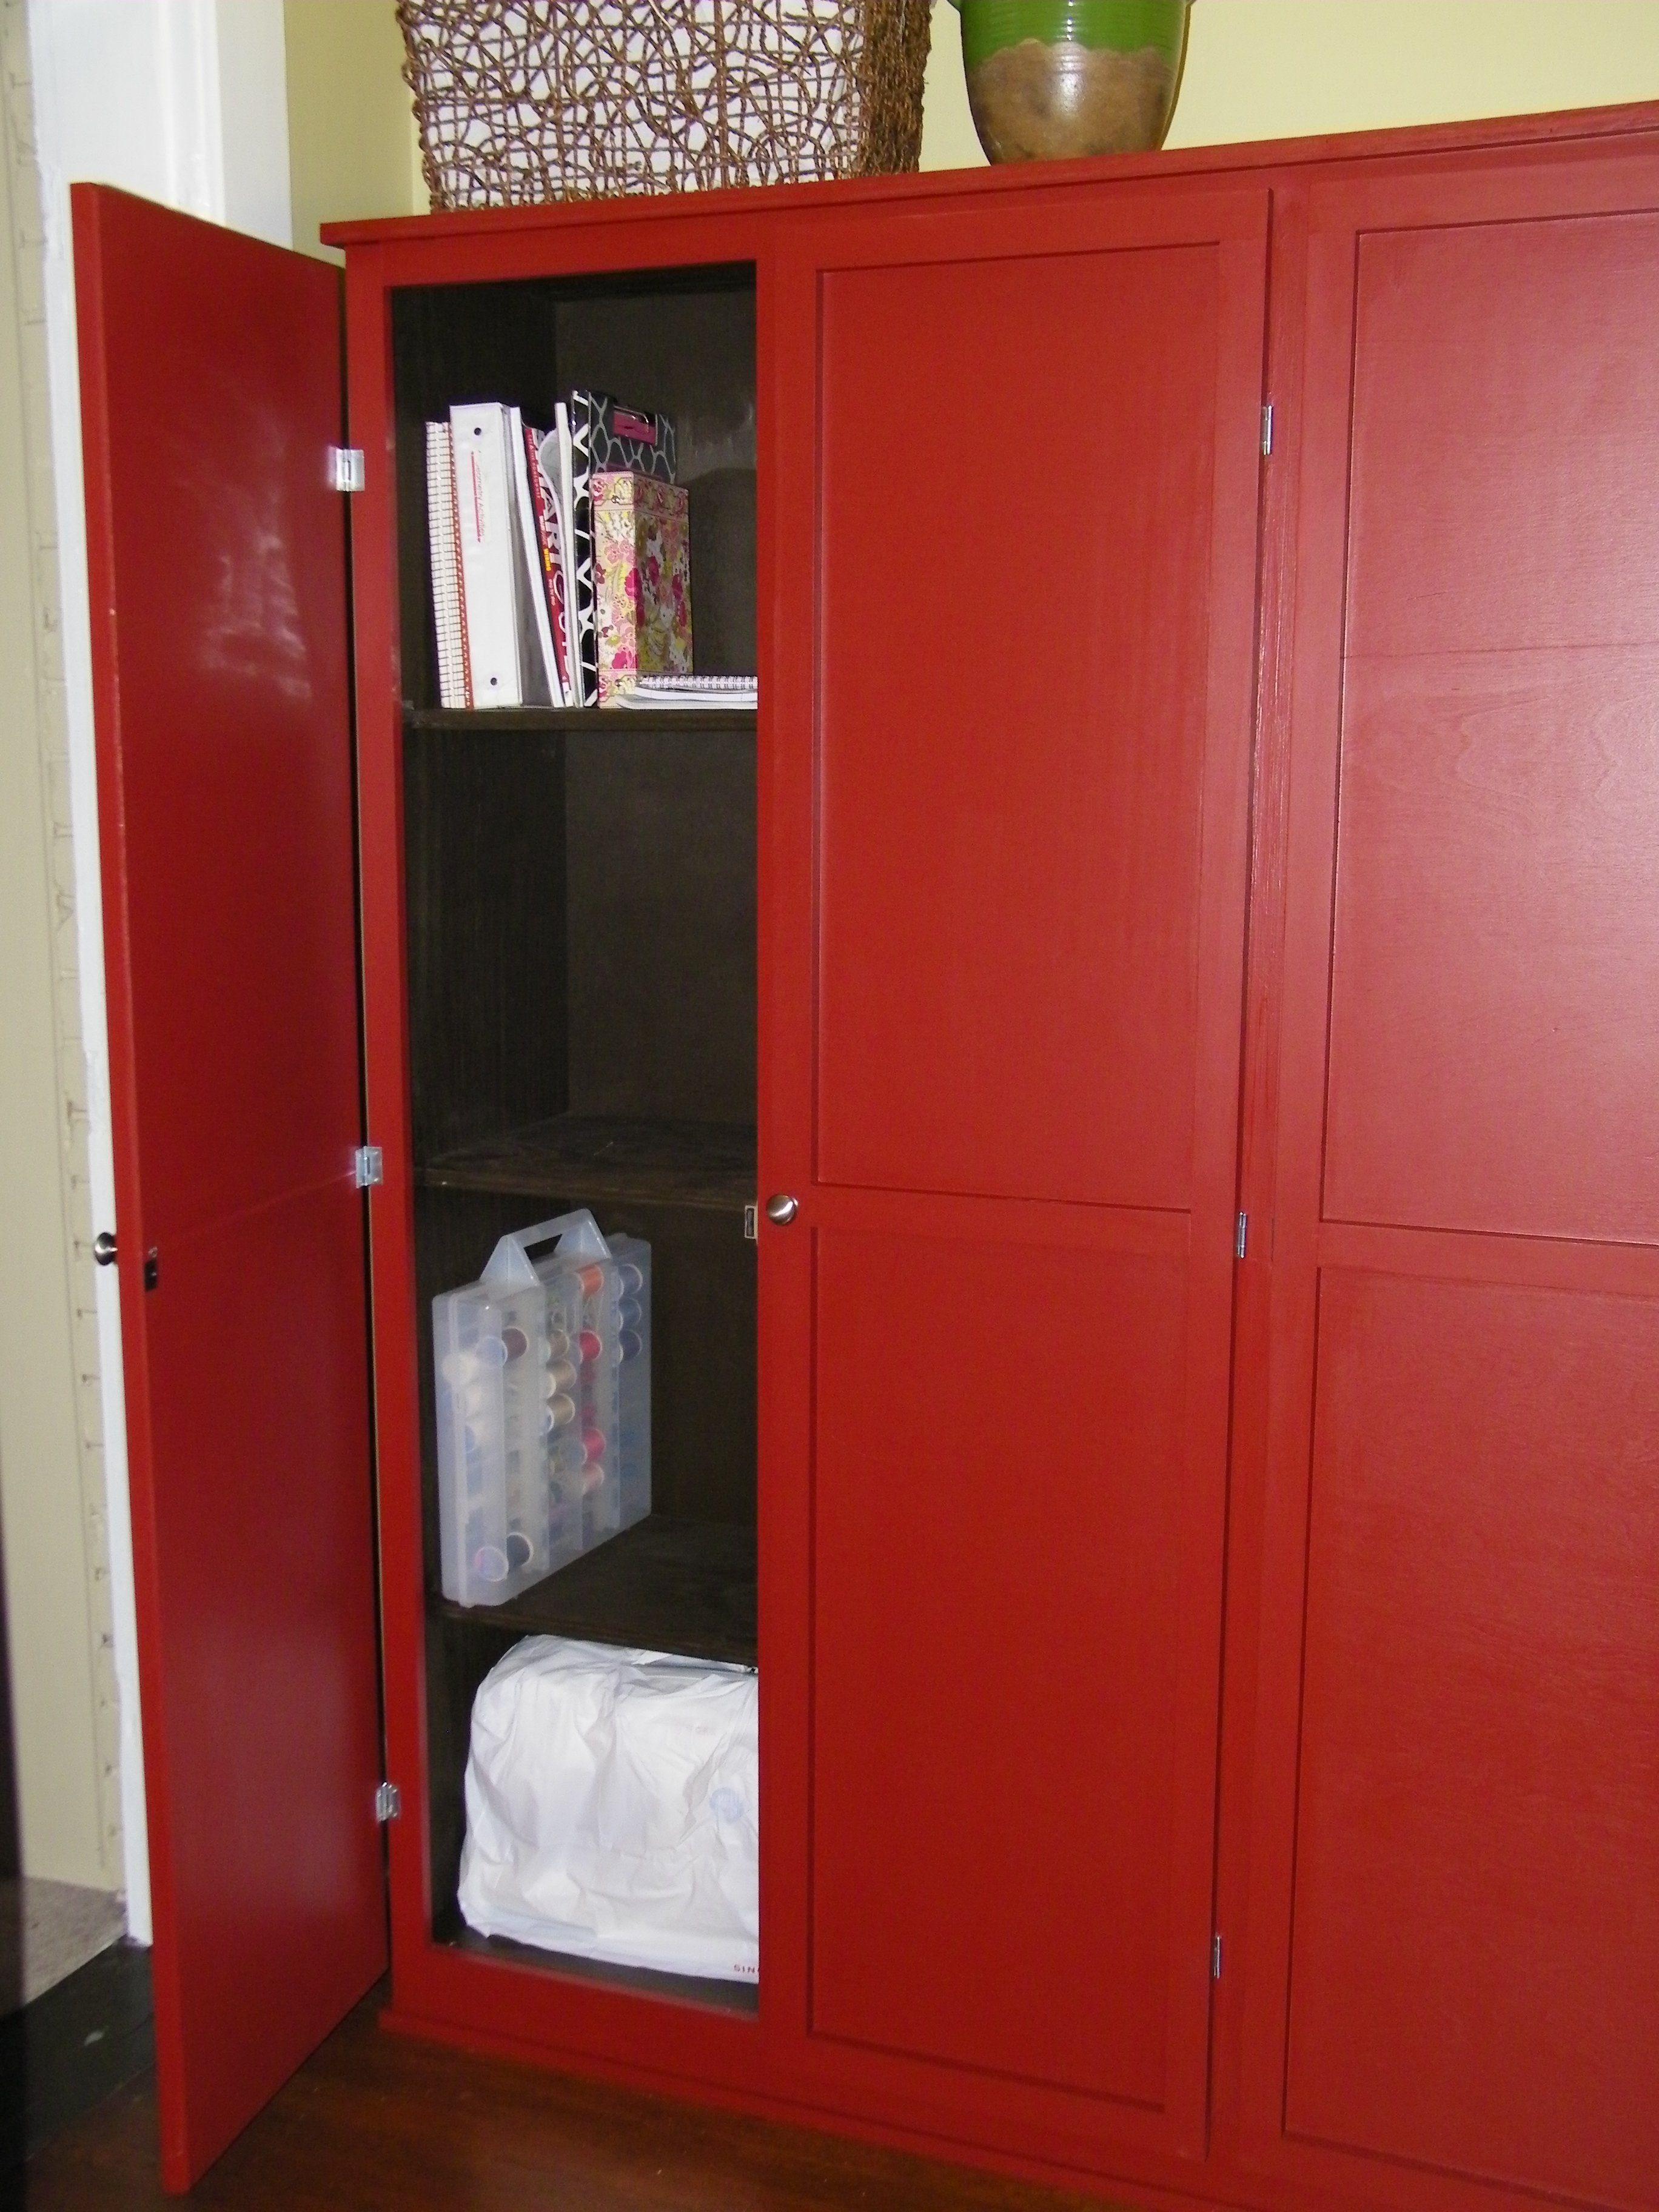
BIG Storage Cabinet
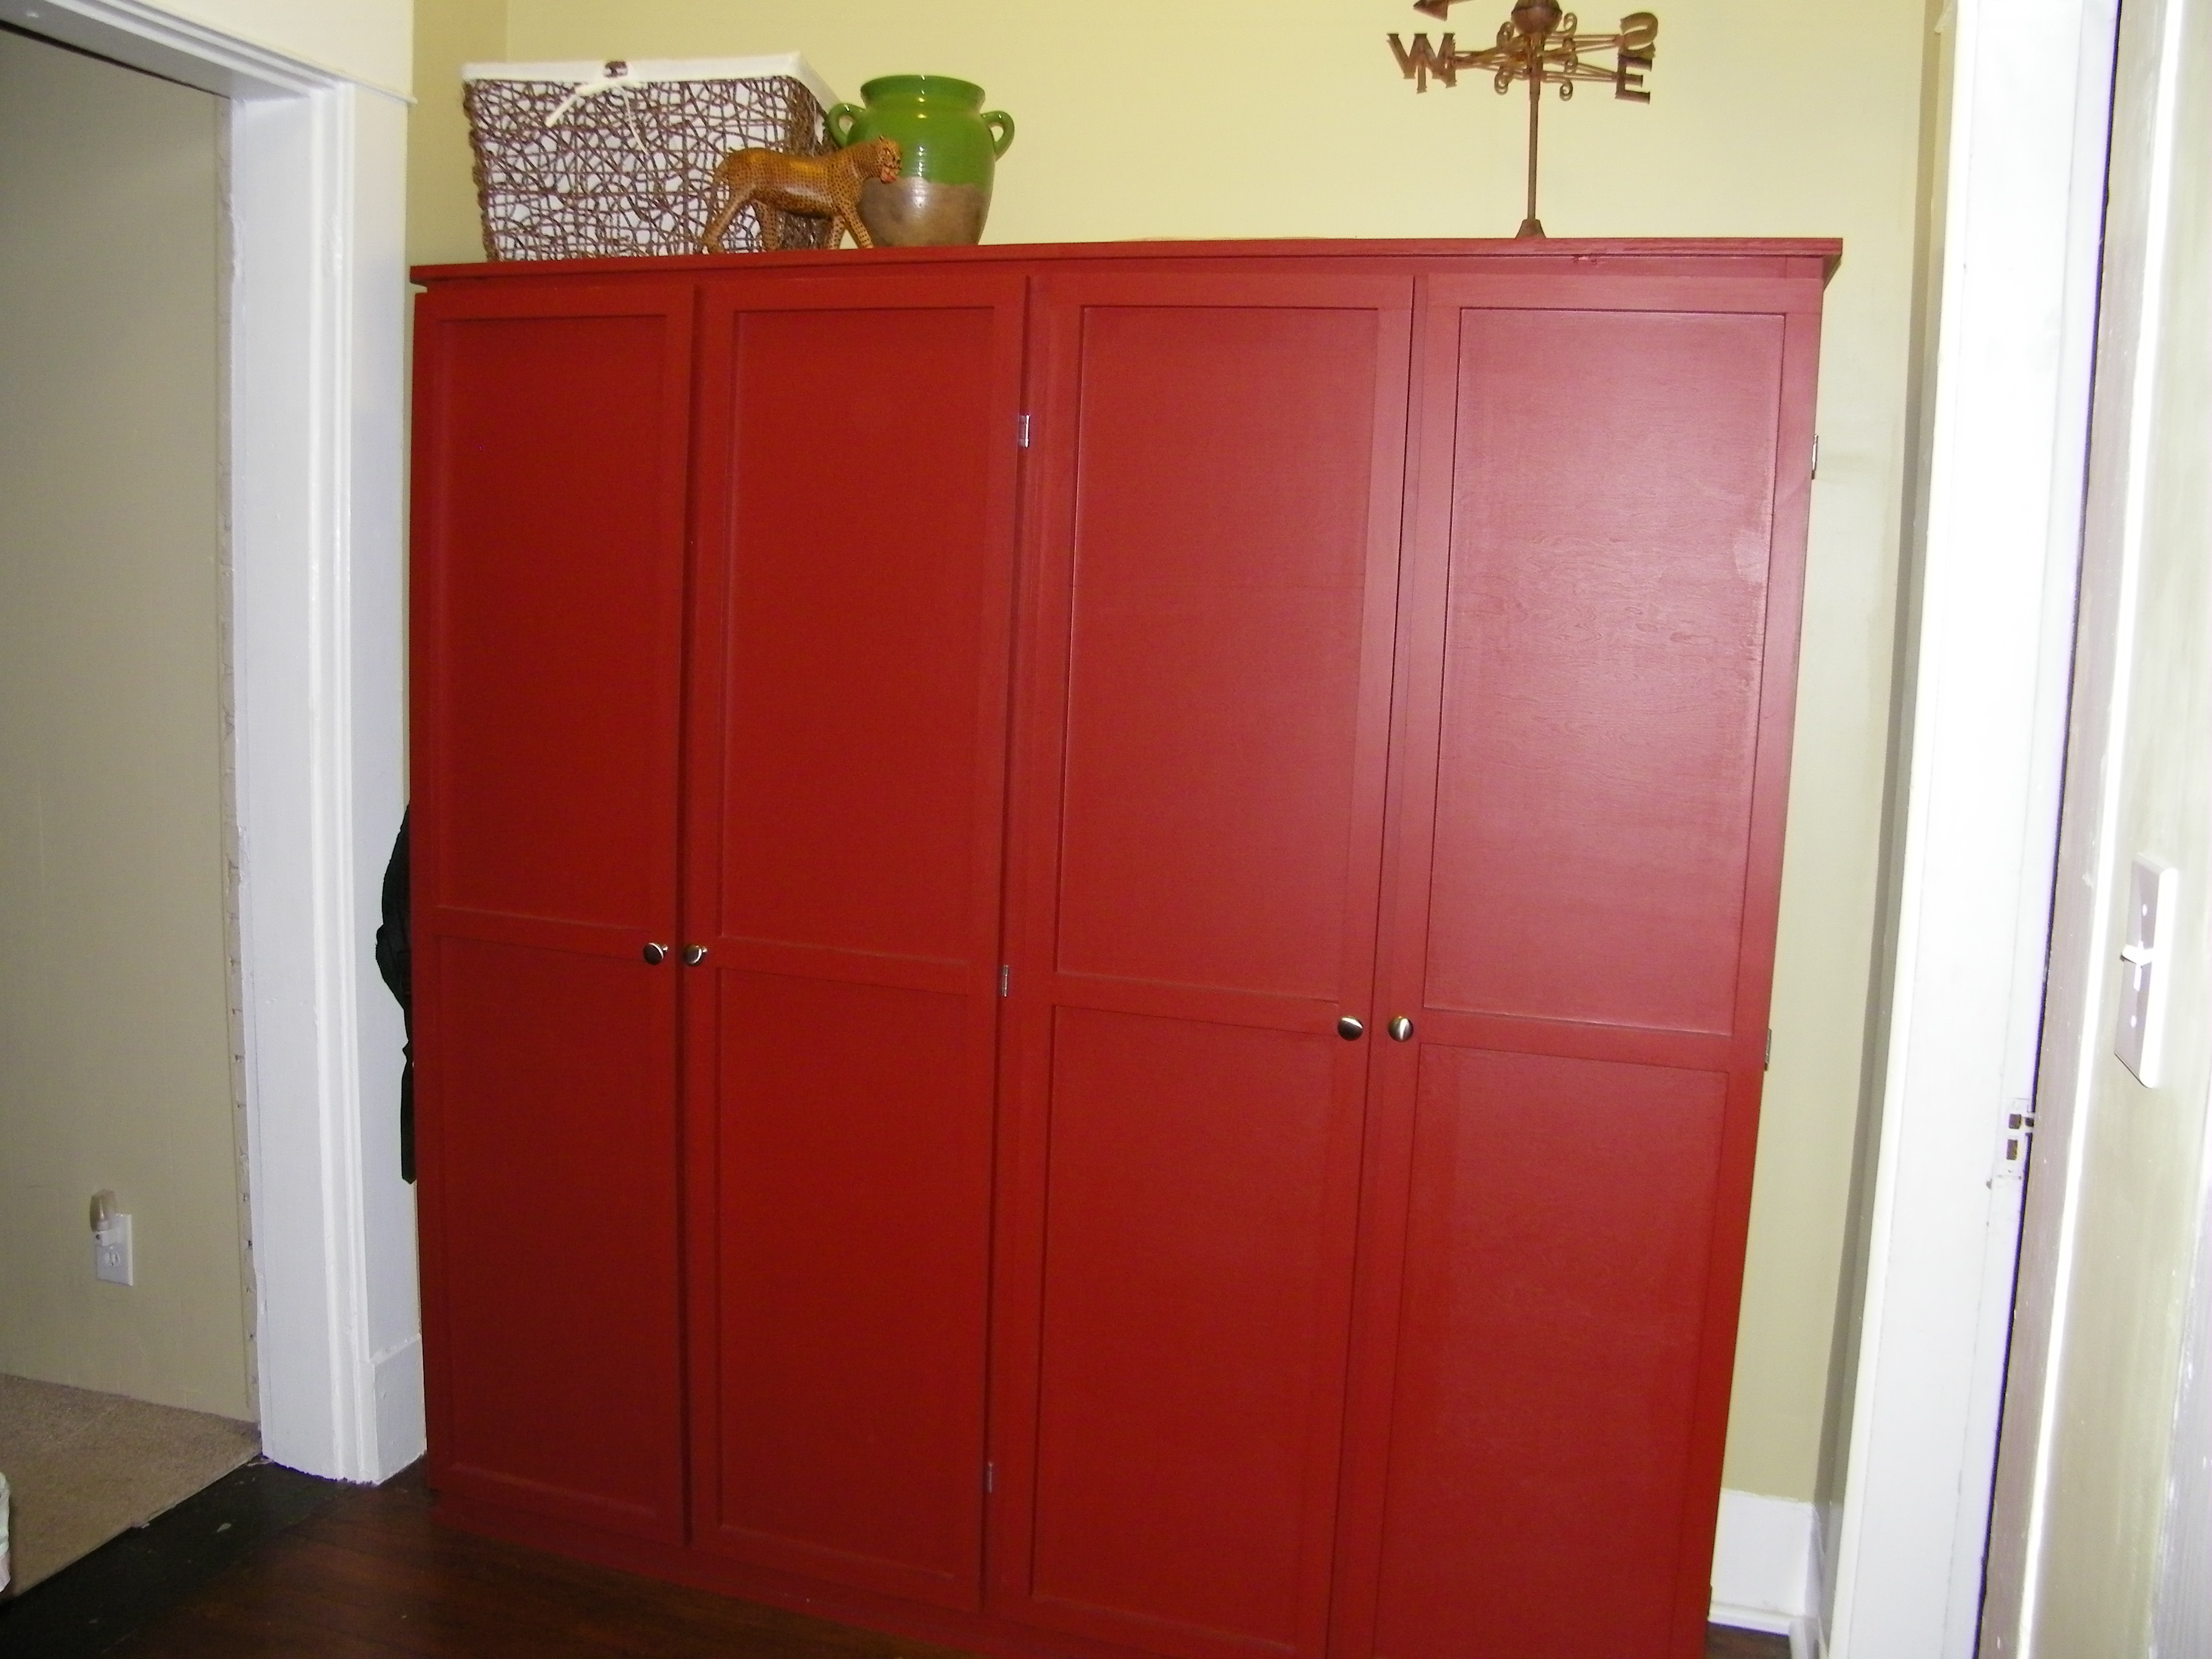
I desperately needed storage in our 1910 house that was not in the basement. I wanted a place to keep my sewing machine and accessories, at-home school supplies, and other odds and ends. We had an alcove in the kitchen that was about 74 inches wide and 17 inches deep, so I decided to build something to fit that space. I really liked the Simplest Armoire plan but I also really liked the Kentwood Bookshelf, so I ended up somewhat combining the two. Since I had a fairly large space, I made the cabinet about 6 ft X 6 ft. The hardest part was getting it into the house. This project was my first big DIY building project without my dad's help. I did call him a few times during the project however, and he helped me hang the doors. I really enjoyed using the Kreg Jig and I appreciated having all of the Kreg Jig instructions for the Kentwood Bookshelf. It was a huge help, as I had only used the Kreg Jig a little and with my dad in the past. My husband has been a great support as I have ventured into building furniture. He works from home, but any time that I needed him to help hold a large sheet of plywood he was quick to help. This was definitely a big project for a beginner, but I enjoy a challenge when it comes to fixing things and creating things. Fortunately, this one worked out in the end! Now what should I build next summer...
Built from Plan(s)
Estimated Time Investment
Week Long Project (20 Hours or More)
Finish Used
paint - Behr Premium Plus Ultra Raw Cinnabar; I added conditioner. 2-3 coats
Recommended Skill Level
Beginner
Comments
Sun, 05/31/2020 - 13:27
Admirable
This is so great, and I can't wait to try my hand at emulating it. I'm buying a place so old there's no record of a date. Still has adobe bricks with straw sticking out stored up in the attic. Not a closet in the whole darn place, so I'll probably end up making more than one, and probably using one as a clothes closet and another as a pantry. Thanks so much for sharing this!
Garage "Mudroom" Organizer
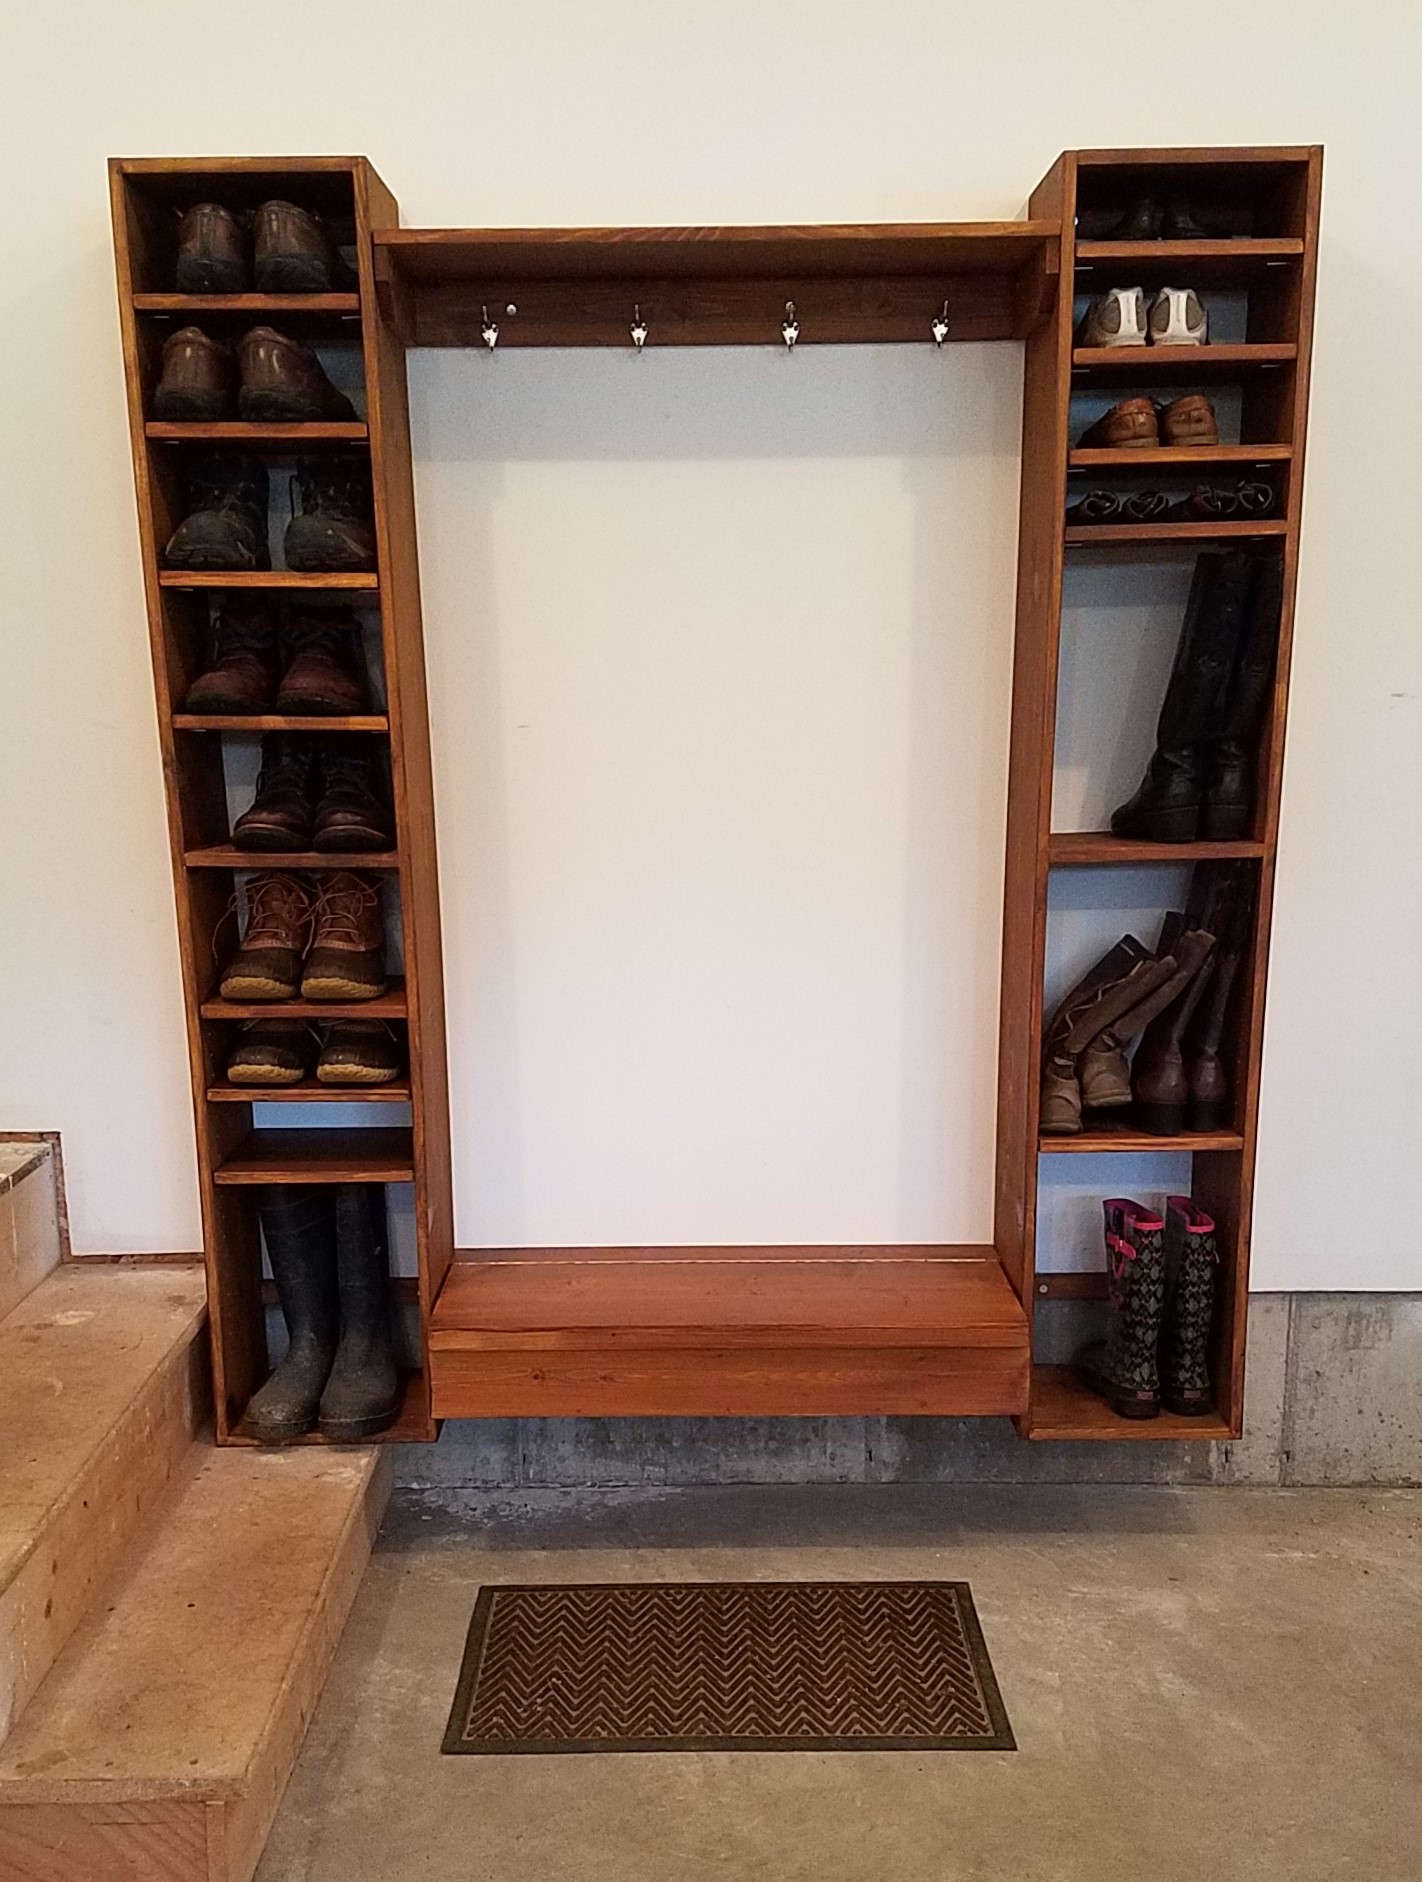
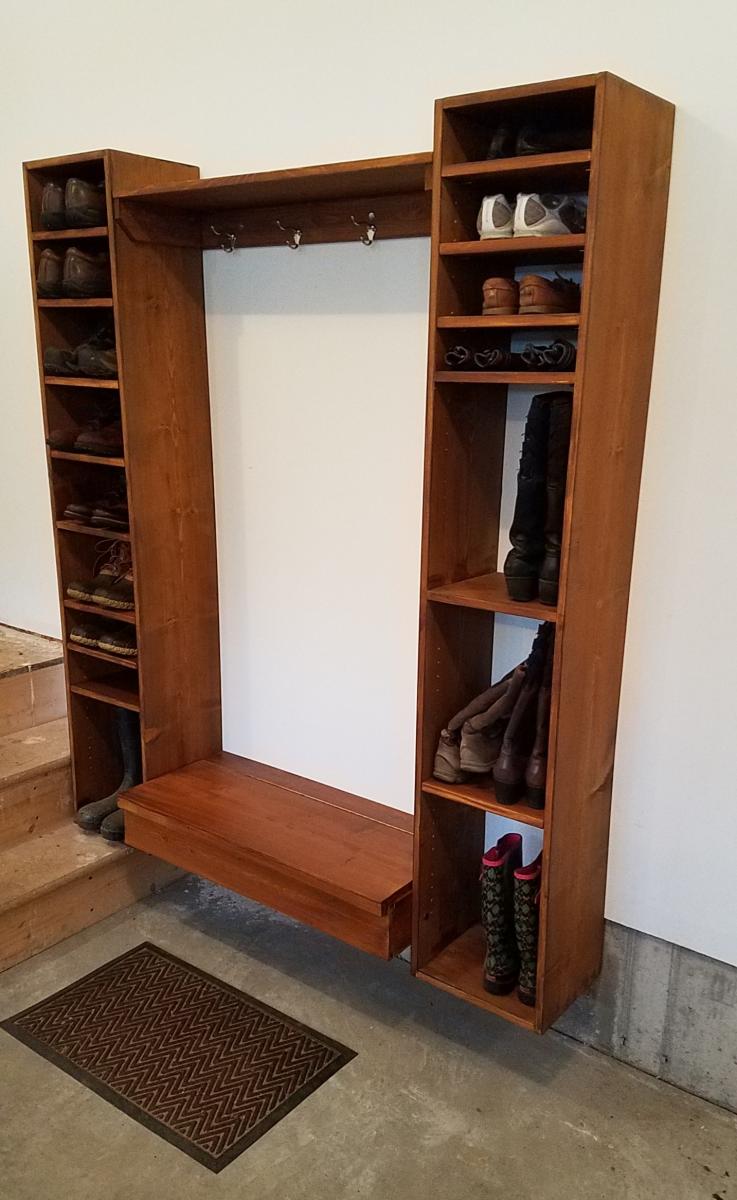
My home doesn't have a mudroom. When guests come to visit, there is no convenient place for them to take off their shoes or to hang wet coats. I saw this plan in a Family Handyman project book and thought it looked like the perfect solution.
The build was easy and straightforward. The hardest part of the entire project was mounting it on the garage wall. When I tried to use a stud finder, I realized that there was a layer of osb between the drywall and the studs, rendering the stud finder useless (even on the "Deep Scan" setting). I ended up having to carefully measure stud locations on the opposite wall (inside the house) and transfer those locations onto the garage wall. It worked out okay, but took a long time!
I carefully positioned this project so that I would have plenty of room for my next project, on the same wall - Ana's Ultimate Roll-Away Workbench and a set of shop cabinets!
Estimated Cost
$222
Estimated Time Investment
Weekend Project (10-20 Hours)
Finish Used
Valspar Pre-Tinted Canyon Brown Transparent Exterior Stain and Sealer (Lowe's)
This was the easiest finish I have ever used. No odor, one coat application. It doesn't provide a smooth or easy to clean surface, but the color is nice, and it seals the wood from moisture. This product is intended for decks and outdoor furniture.
This was the easiest finish I have ever used. No odor, one coat application. It doesn't provide a smooth or easy to clean surface, but the color is nice, and it seals the wood from moisture. This product is intended for decks and outdoor furniture.
Recommended Skill Level
Beginner
Comments
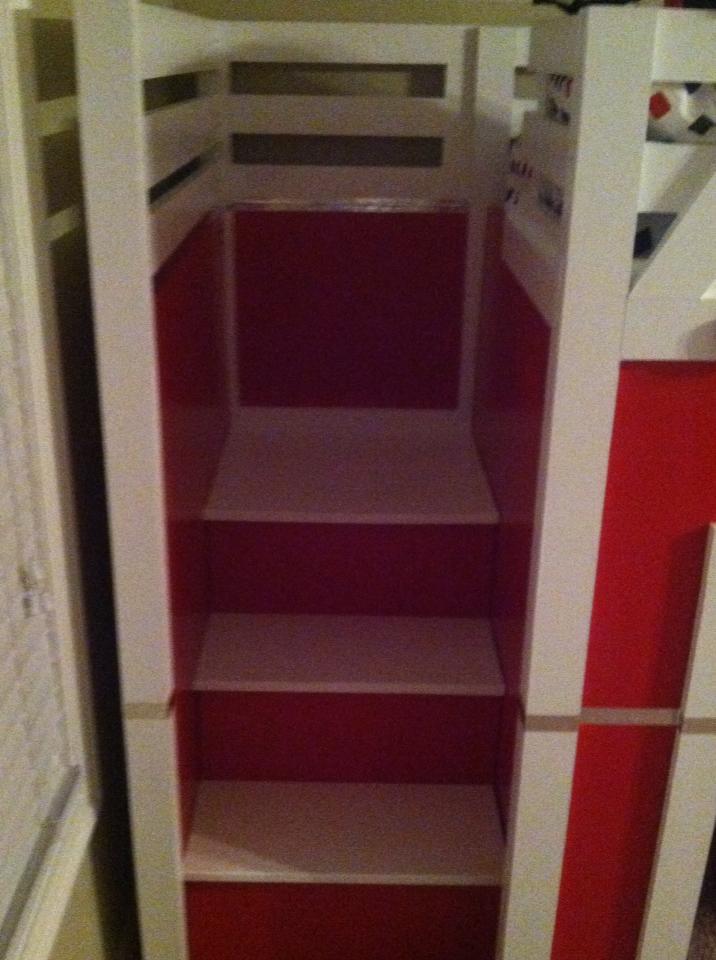
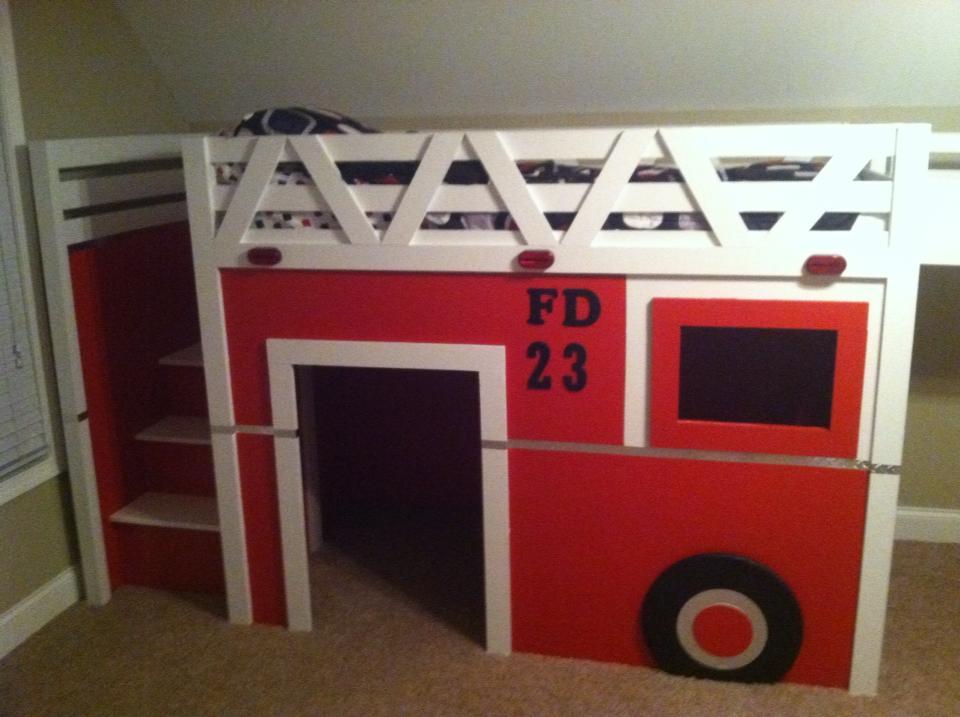
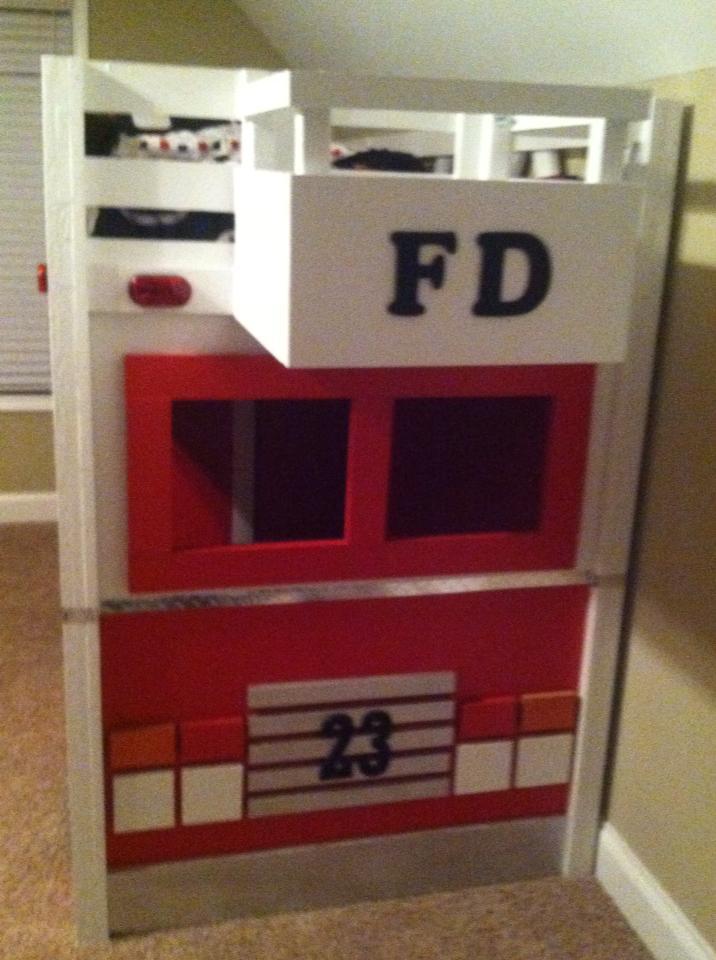
Engine 23 Fire Truck Bed
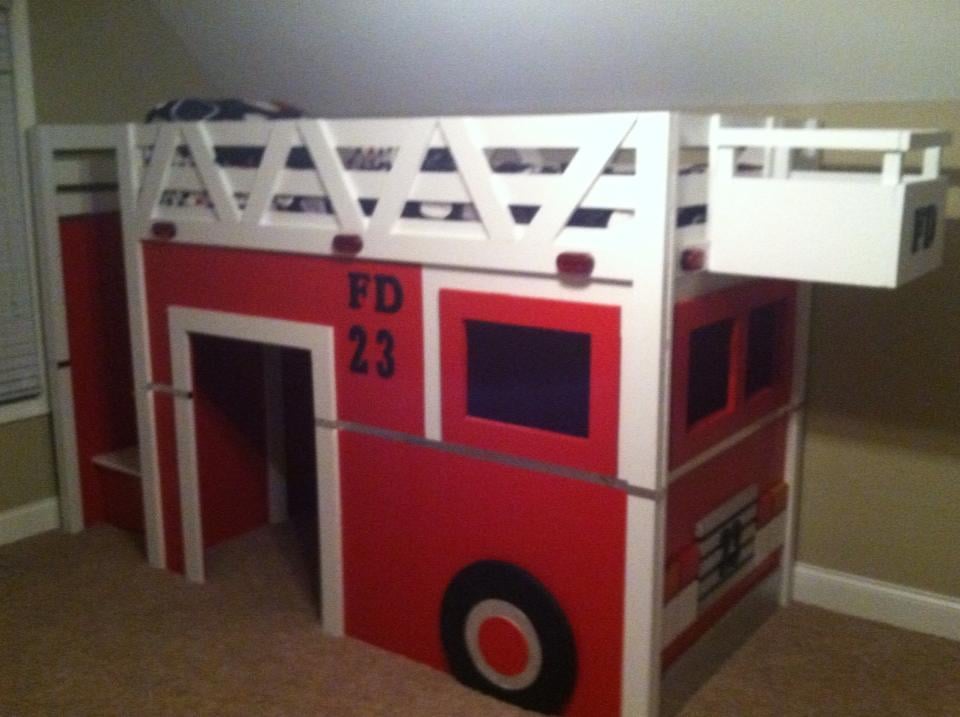
I have always been interested in some kind of projects and just to see what I can do with my hands. I am a father of 3 and hardly have the time to sit down must less pull off a huge project but I set aside some time and worked on this late at night after the kiddos went to bed. I came across this site when my wife was on pintrest one night and have been hooked ever since. I was at work one day and saw all these different projects that I wanted to do and that's when I ran across this bed and I could not wait to start working on it. I called my wife and sent pictures of the plans and said meet me at Lowes we got a project to work on lol. I had a blast working on this and yes I did run into a few problems here and there but overall it came out great. When I went in I originally was going to follow plans to a T but decided that I would make changes here and there as I went. Due to height contstrictions in my son's room I lowered the overall height by two inches which worked out perfect. I did build the steps but I also made the back where it would come apart for east movement. I only used actual pine boards on the steps and the rest is 3/4" MDF board. I ripped everything on a table saw to exact width and length and drilled all my holes with a Kreg Jig. Alot of people are afraid to use MDF but believe me I could shake that bed as hard as I can and it doesn't even budge one bit. It is heavy duty built for a monkey child like I have. The project overall took around 30 hours from start to finish. My only suggestion would be to paint every step of the way instead of waiting to paint until the end like I did. If you have any questions about the build feel free to ask and I will help out the best I can. Thanks Ana for the plans and thanks to atouchofarkansas for the original inspiration for you guys have gave my son years worth of enjoyment. Can't wait for the next project to start.

Built from Plan(s)
Estimated Cost
375.00
Estimated Time Investment
Week Long Project (20 Hours or More)
Finish Used
Valspar Premium Paints
Recommended Skill Level
Intermediate
Comments

TV Media Center
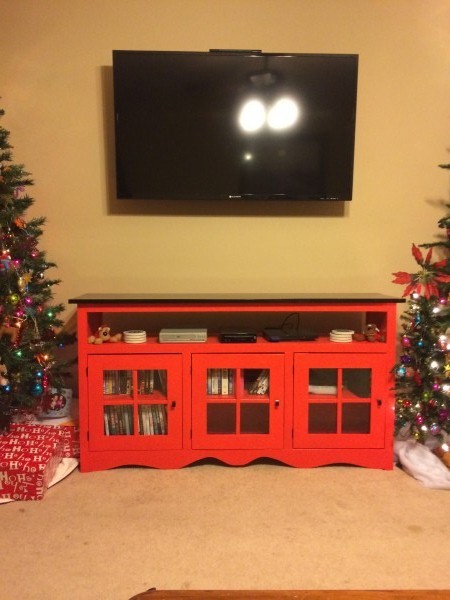
Modified the plans to add a shelf for DVD player and gaming consoles.
Built from Plan(s)
Estimated Time Investment
Weekend Project (10-20 Hours)
Recommended Skill Level
Intermediate
Ladder Garden Planter
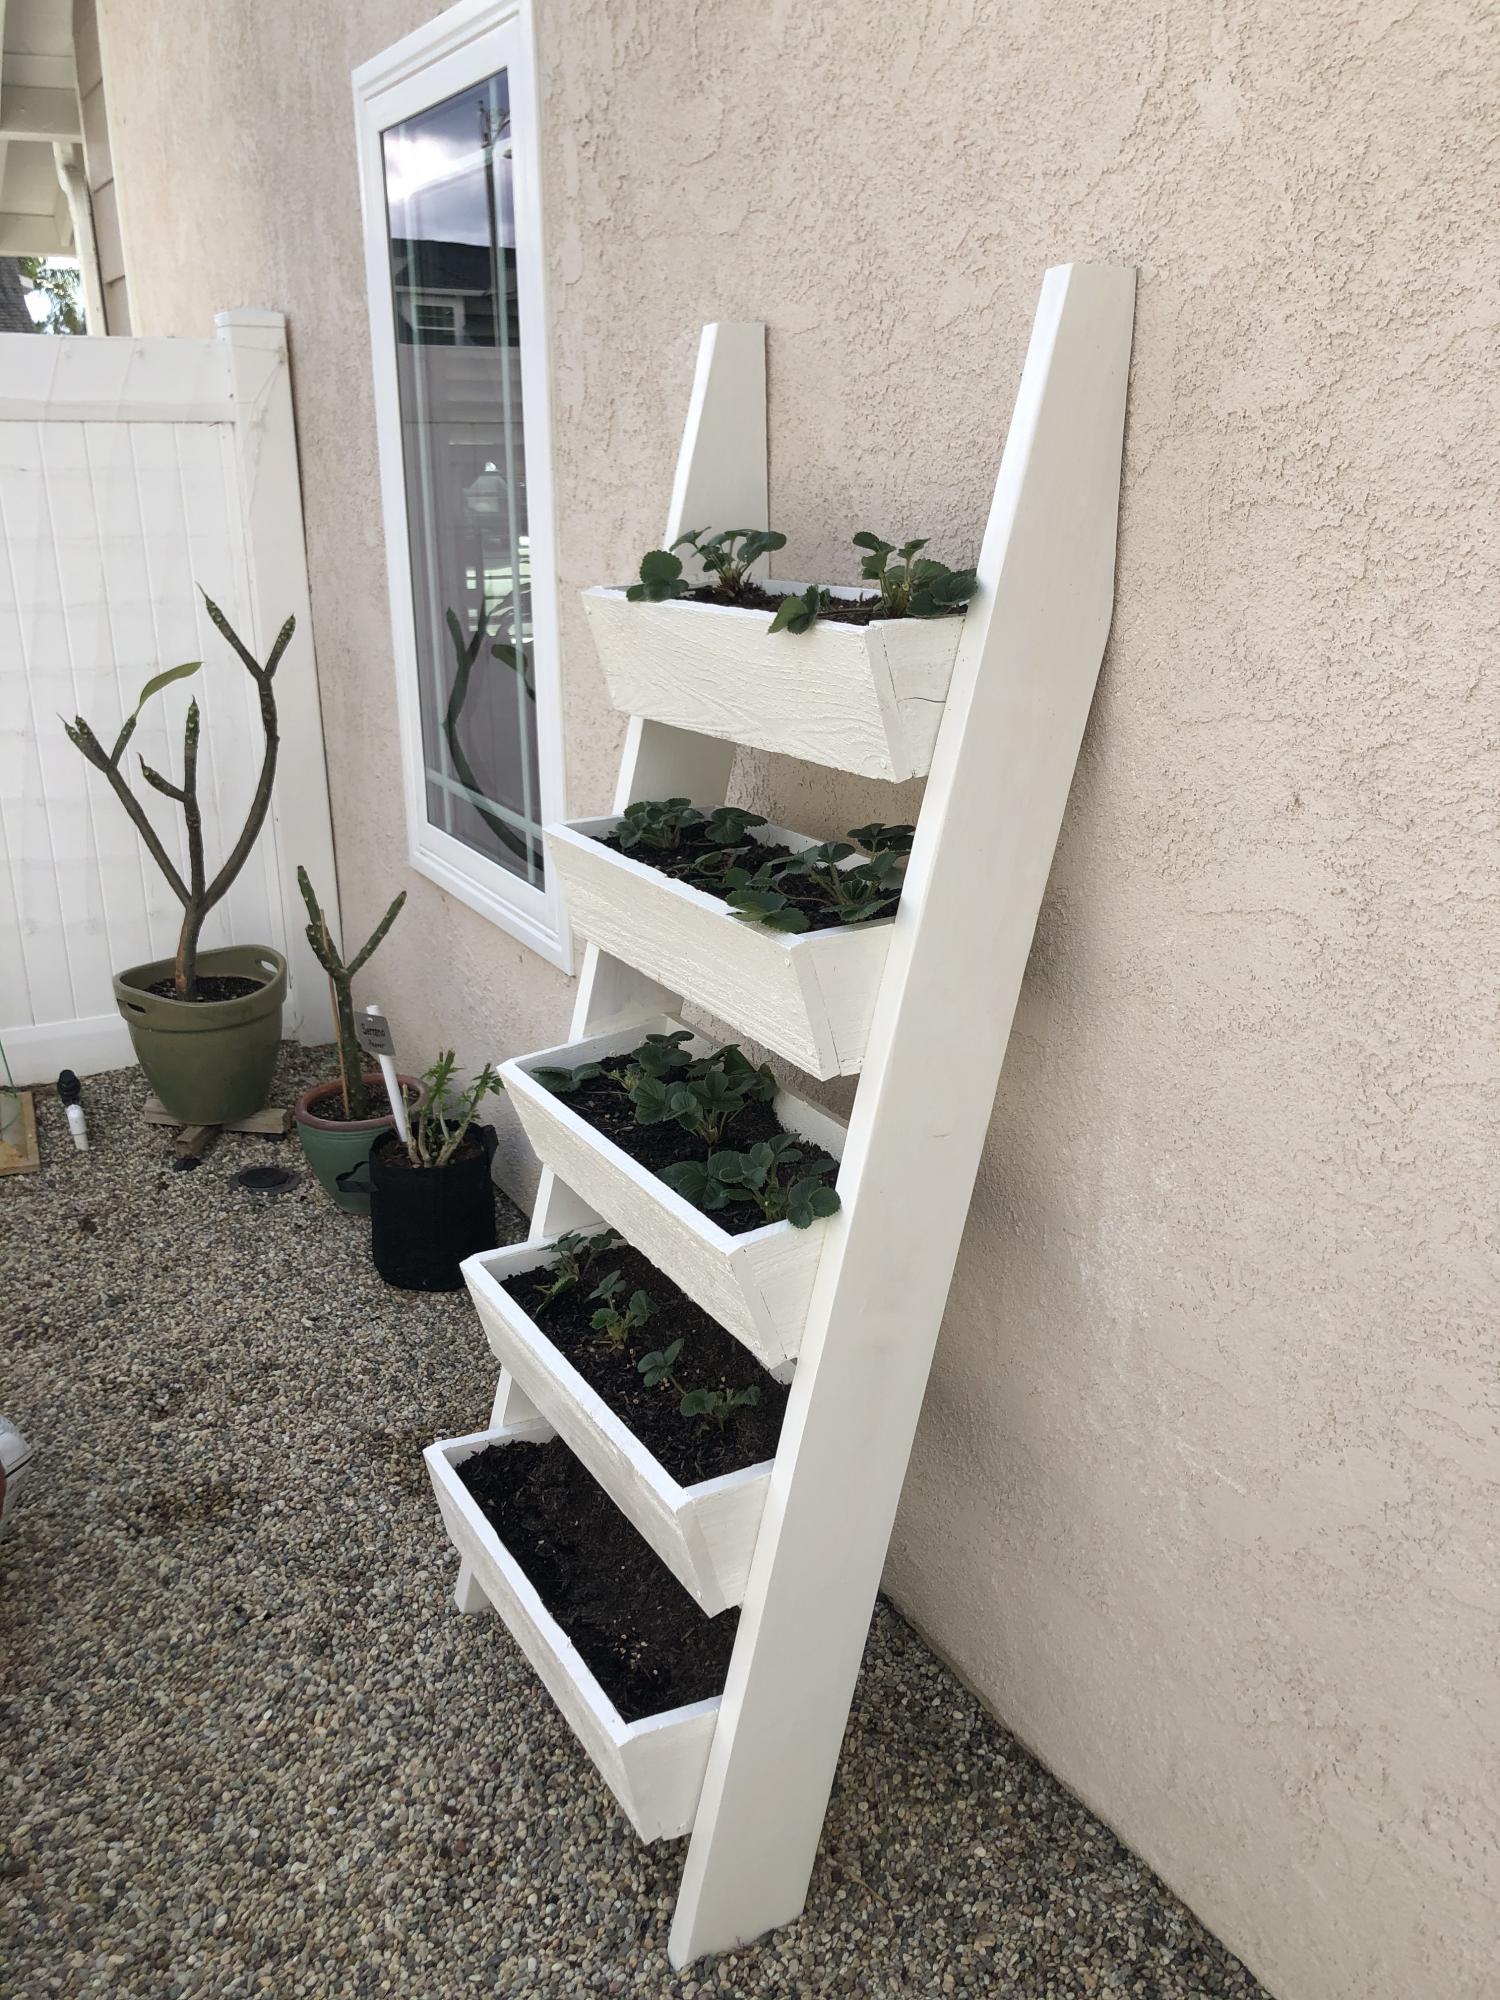
Finally! The cedar pieces for this planter have been cut for a few months, and I assembled it a couple weeks ago. Unfortunately I had to use a lot of wood filler & glue to hide imperfections so it was painted to match our house trim. My strawberry runners from last season were begging to be moved. They should love this new home. I'm learning! Next project is an outdoor coffee table. --Susan
Built from Plan(s)
Comments
My family loves it and so do I!
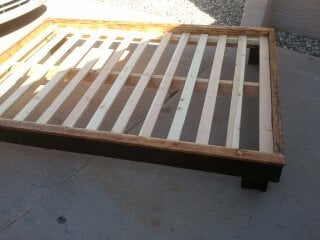
Easy Peasy!
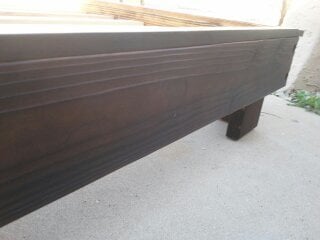
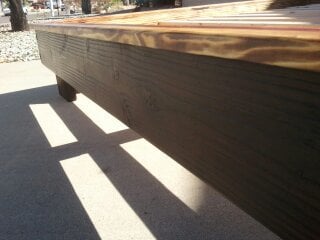
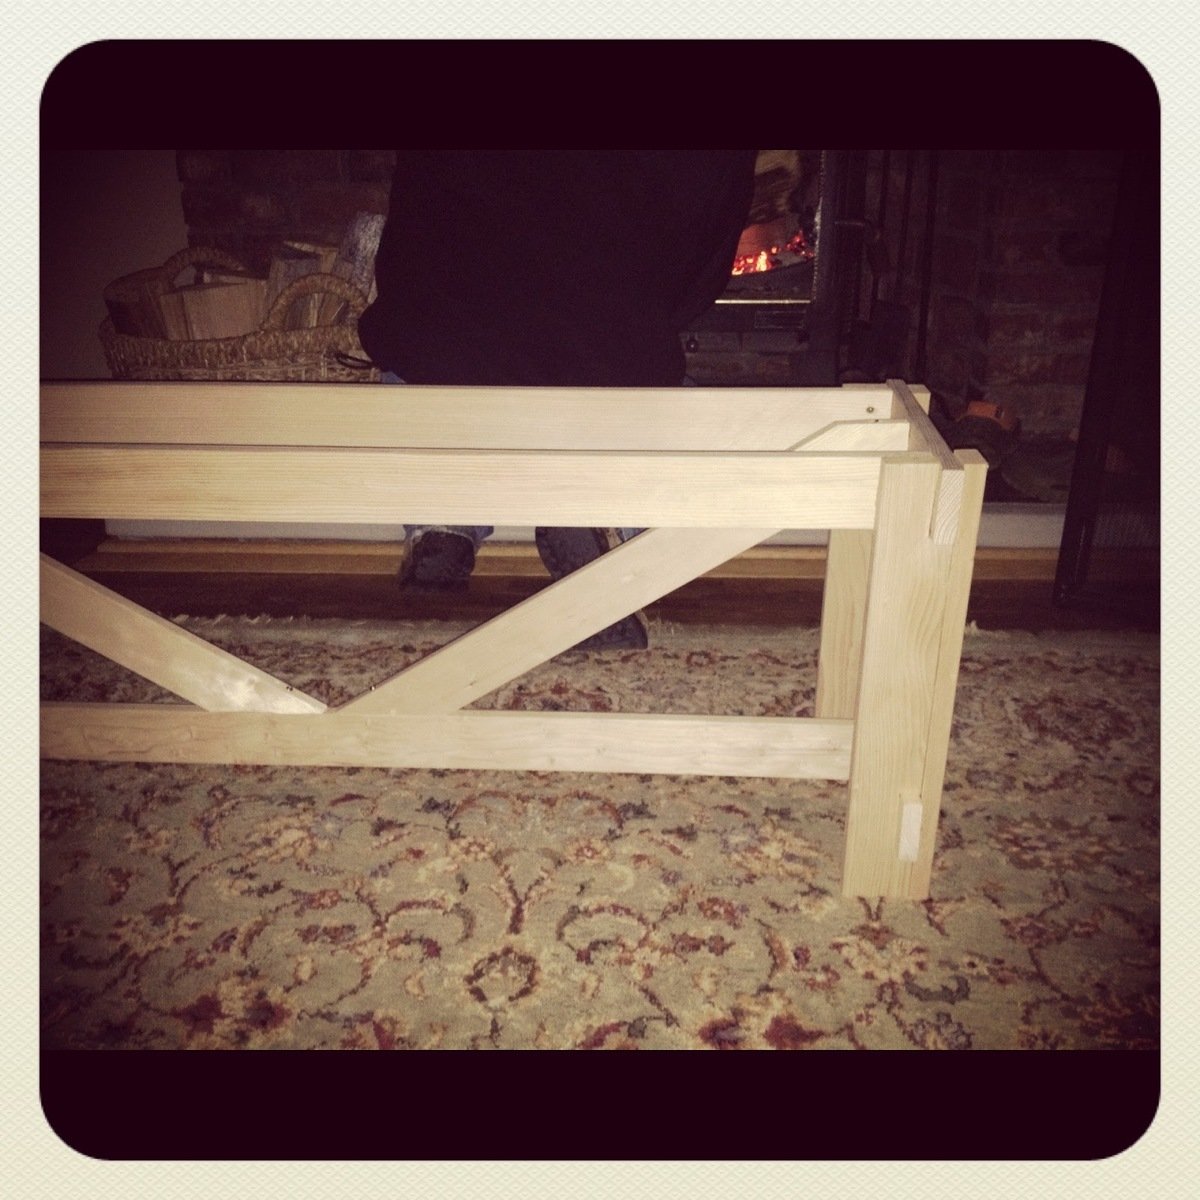
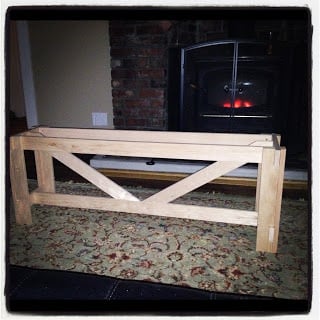
Materials & cost: Framing grade pine and 1x3 furring strips. $110 including finish materials.
I used some of the excess 2 x 6 that I had left over to make the feet square instead of just using 2x4s like in the plans. just cut them to the same length as the 2x4 feet, then butt them up against the 2x4 feet and mount them to the frame.
Also, I made the support beam removable by using face-mount 2x4 joist hangars to hold it instead of bolts.
Total build time = less than one week
Next project will be a custom headboard for it..

Built from Plan(s)
Estimated Cost
110 including finish materials
Estimated Time Investment
Weekend Project (10-20 Hours)
Finish Used
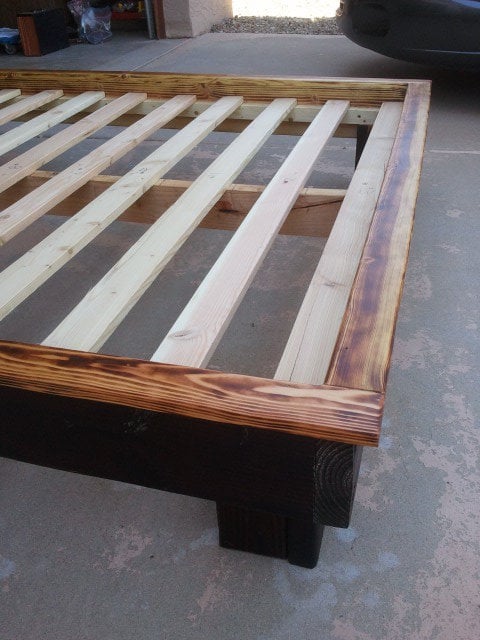
( I didn't use any stain on this project!)
.
.
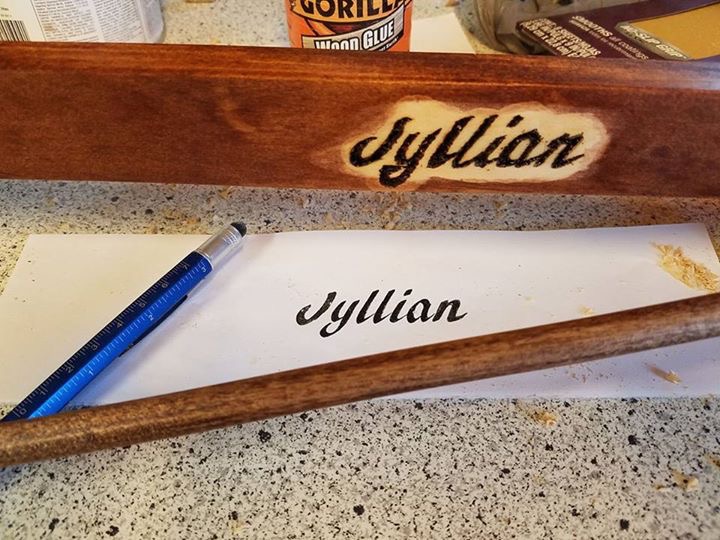
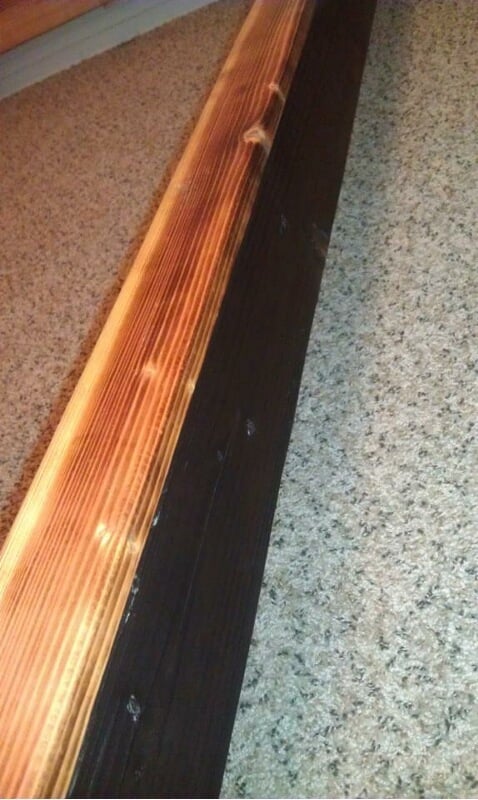
I torched the surface of the pine with a propane burner. Charred the base and feet heavily then brushed off the char with nylon bristle brush. You can't see it in these photos, but it brought out a lot of bronzes and amber in the wood grain. Plus it gave the wood a texture that reminds me of heavily weathered or aged wood.
For the 1 x 3 strips on top, I routed all the edges inside and out, then I used the propane burner, but just scared it a little. I kept the torch moving so that it didn't get too dark. I then coated the whole project with boiled linseed oil (2 coats, wipe on, let soak for 20 minutes, then wipe off. 24 hours between coats, and let dry 72 hours). Then, I used a citrus and beeswax paste wax on top. 2 coats of wax and a lot of buffing later, I like the results.
.
.
I torched the surface of the pine with a propane burner. Charred the base and feet heavily then brushed off the char with nylon bristle brush. You can't see it in these photos, but it brought out a lot of bronzes and amber in the wood grain. Plus it gave the wood a texture that reminds me of heavily weathered or aged wood.
For the 1 x 3 strips on top, I routed all the edges inside and out, then I used the propane burner, but just scared it a little. I kept the torch moving so that it didn't get too dark. I then coated the whole project with boiled linseed oil (2 coats, wipe on, let soak for 20 minutes, then wipe off. 24 hours between coats, and let dry 72 hours). Then, I used a citrus and beeswax paste wax on top. 2 coats of wax and a lot of buffing later, I like the results.
Recommended Skill Level
Starter Project
Scrappy armoire
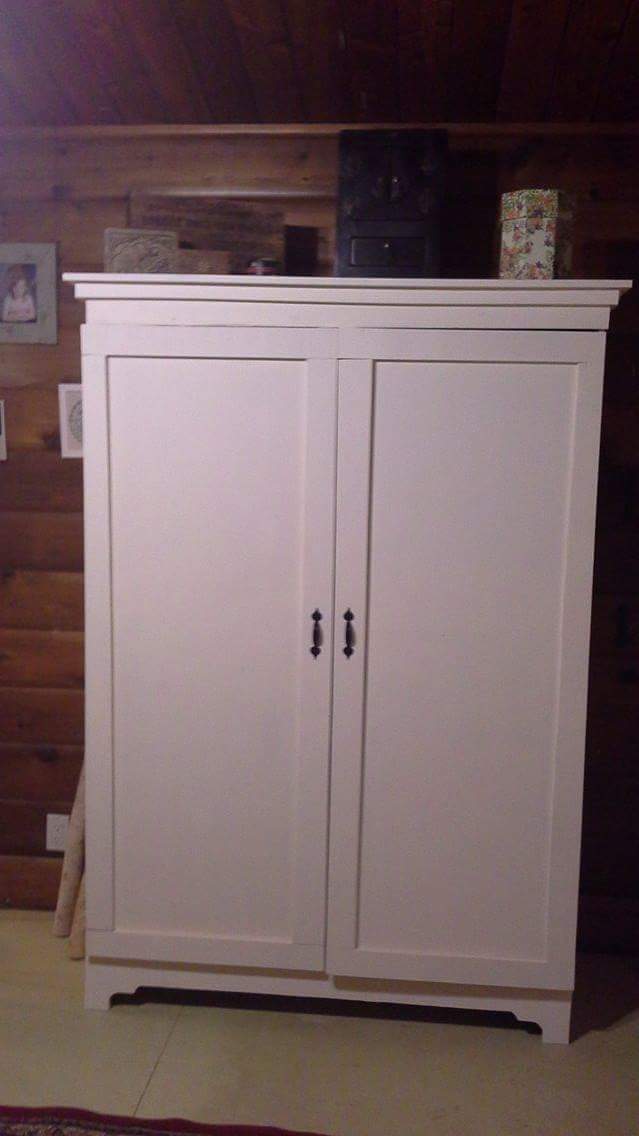
Made this out of a ton of scrap wood I had laying around. On the downside it made the project more difficult, but on the upside all I had to buy was hinges and handles...
Built from Plan(s)
Estimated Cost
$20
Estimated Time Investment
Day Project (6-9 Hours)
Finish Used
Some off white paint I had lying around
Recommended Skill Level
Beginner
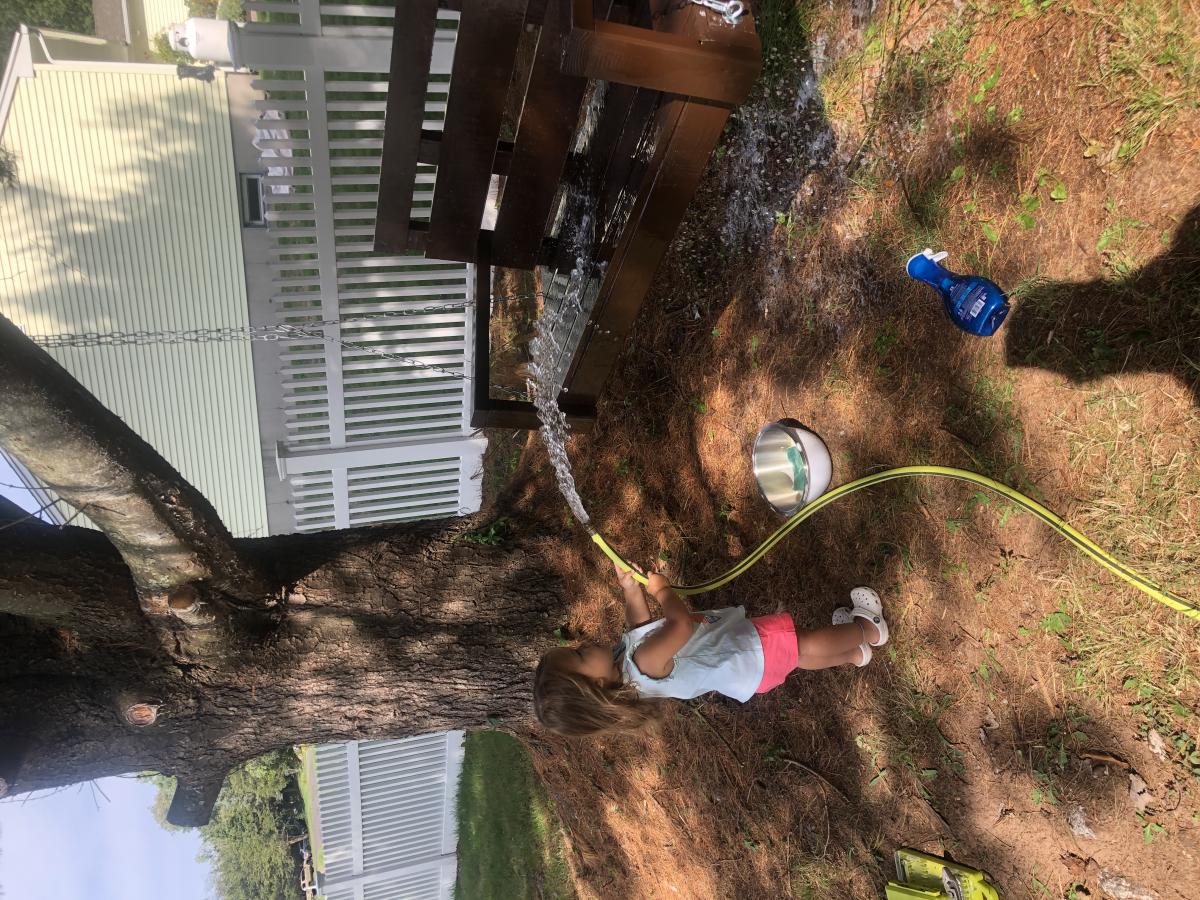
Simple Tree/Porch Swing
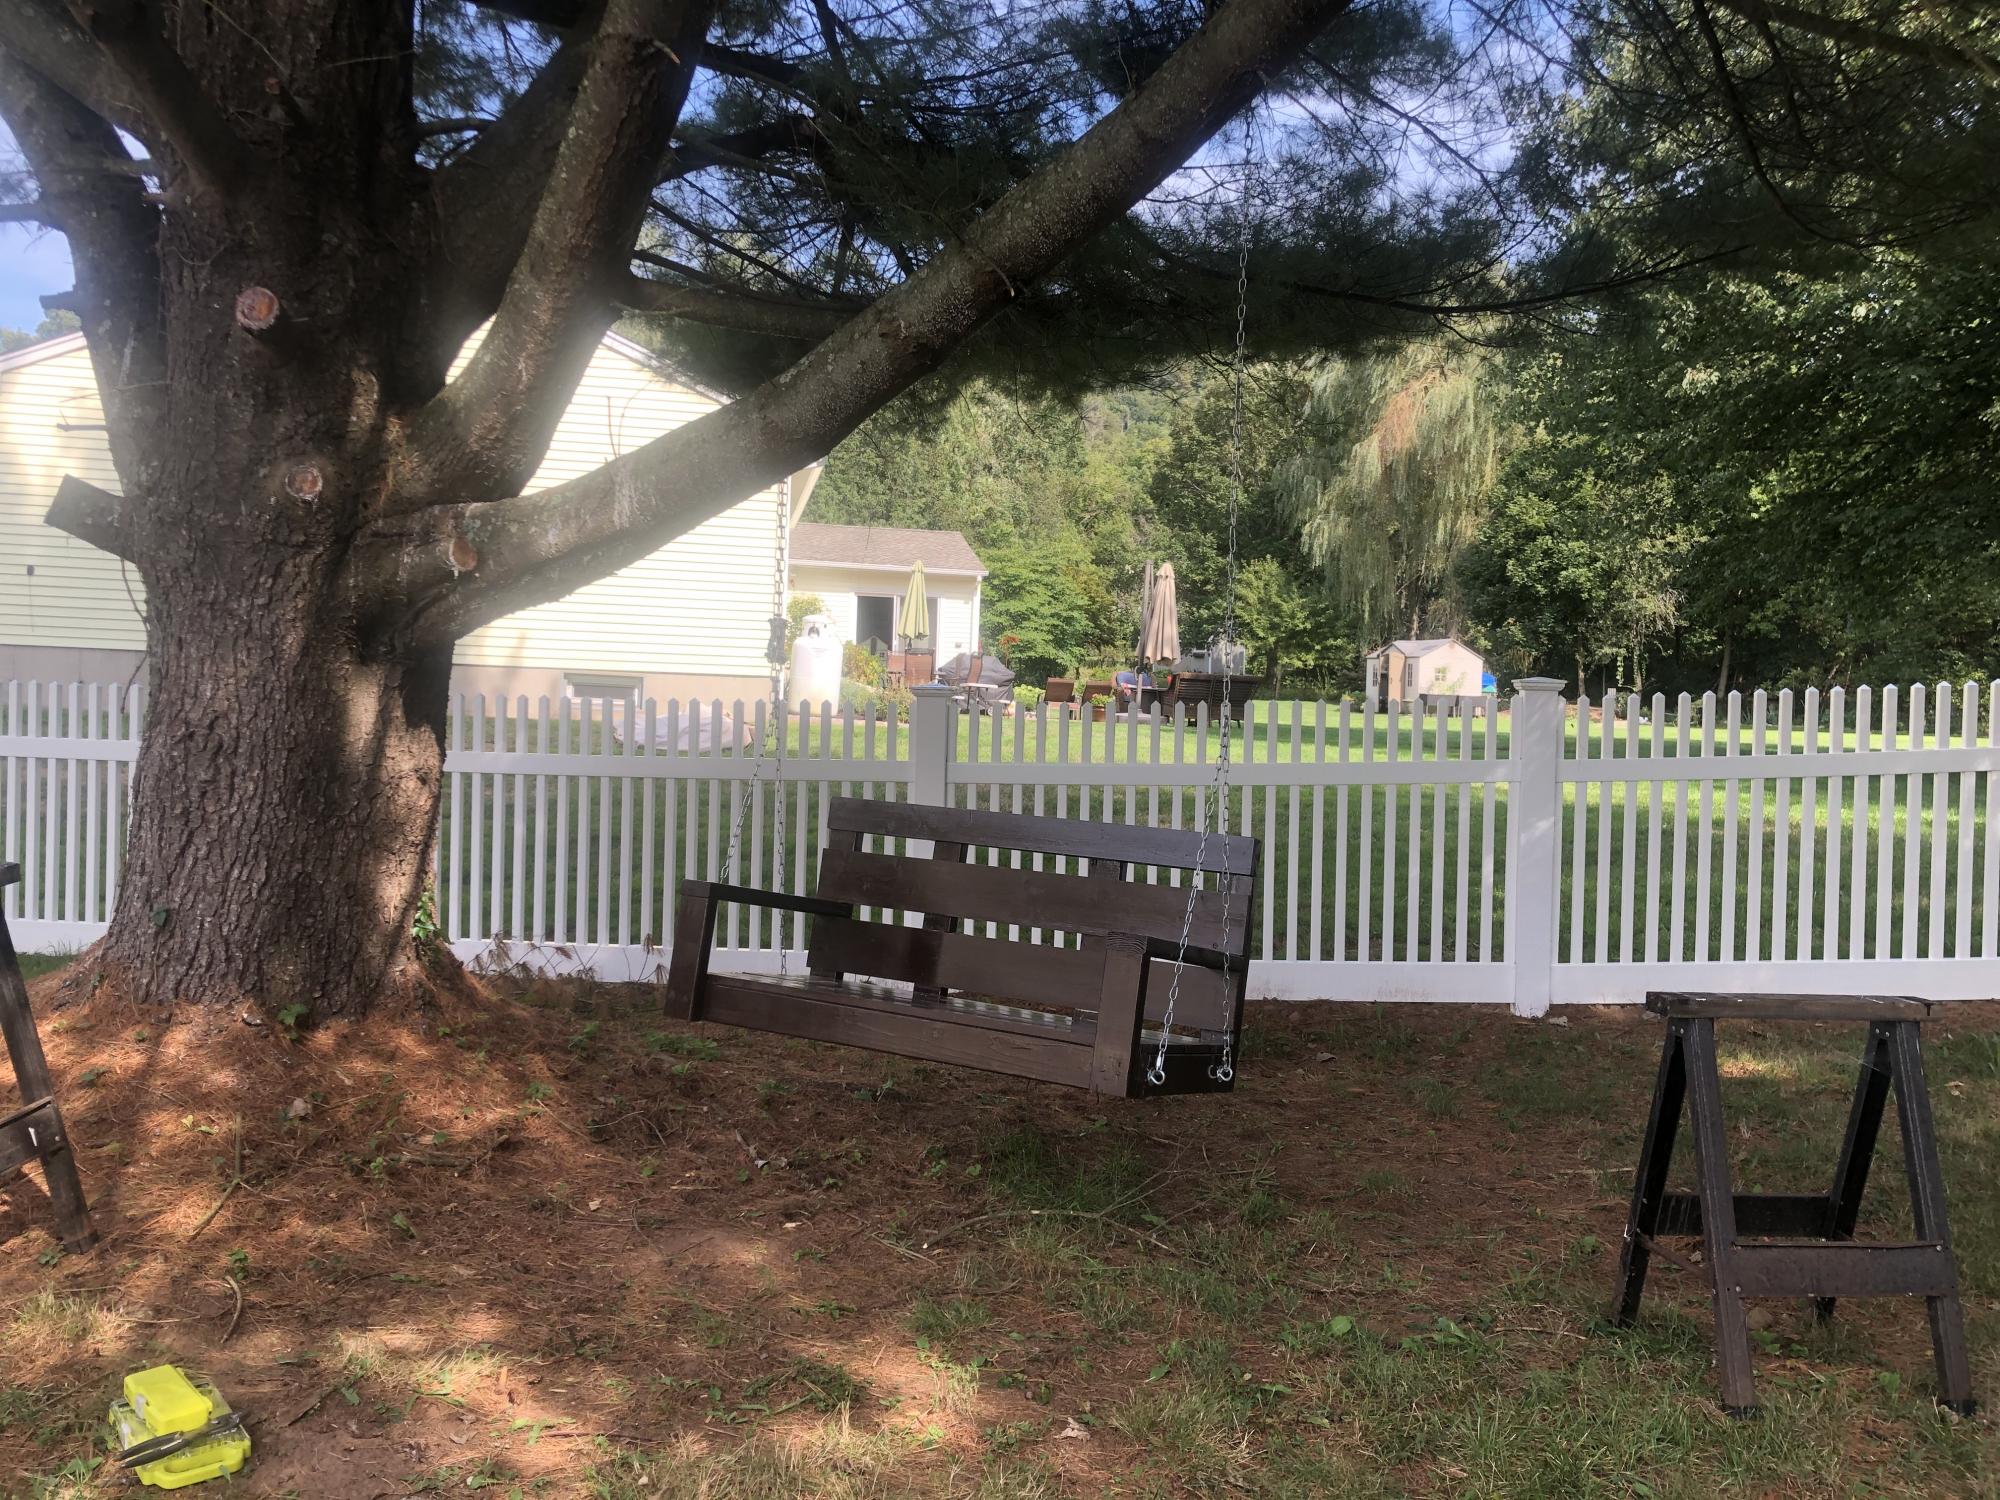
Awesome Tree Swing built in about an hour! Super easy plans to follow. Two quotes of Stain and Three coats of exterior Poly!

Built from Plan(s)
Estimated Cost
$75
Estimated Time Investment
An Hour or Two (0-2 Hours)
Finish Used
Minwax stain and exterior poly.
Recommended Skill Level
Beginner
Comments
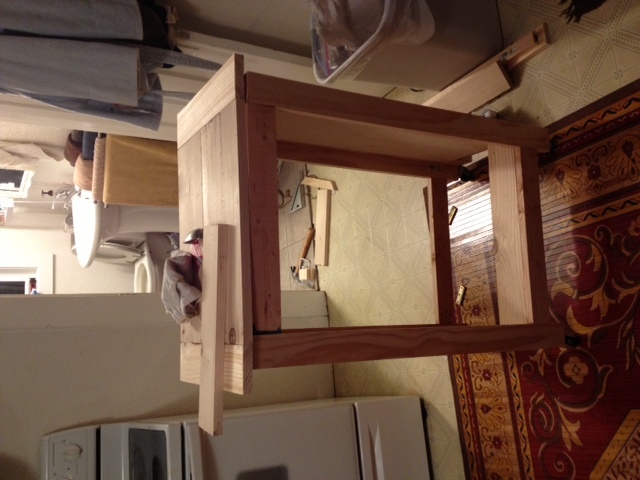
Rolling Kitchen Island with tilt trashcan and Holy cutting board
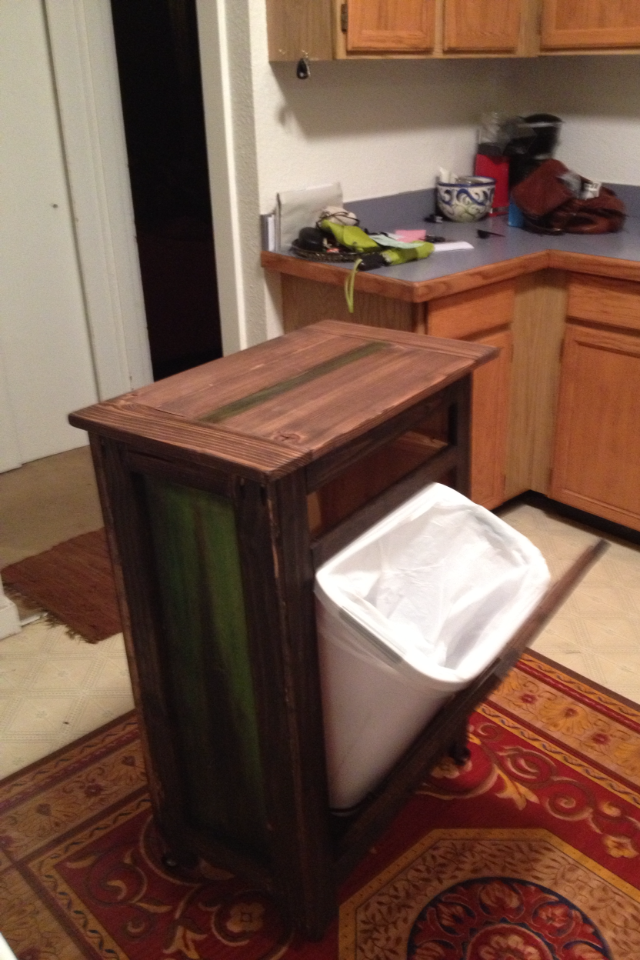
I saw Ana's tilt trashcan plan and I knew that I had to tackle this bad boy. I didn't want anything stationary because my 1910 kitchen is big but also pushed against the walls. My stove is 7 steps from a counter top so prep is kind of a pain.
I modified Ana's original plan to be taller and even (well, close) with the stove's height for extra counter space. I also wanted a slide out cutting board with a hole so that while I'm chopping my ingredients, I can scoop it into the hole that drops directly into the trash.
I'm a very ambitious girl who doesn't like to be told that I can't do something. This is also my second built....my first is a huge craft supply cabinet made from old barn wood that is lovingly referred to as 'The Outhouse'. My tools are limited to a 7in circular saw, drill, and Kreg Gig. I knew this would be tough but after a few head scratches, I have a pretty cool island.
If you have questions about what I asked, please ask. There are all types of wicked little tricks/fixes in this beast.
Built from Plan(s)
Estimated Time Investment
Weekend Project (10-20 Hours)
Finish Used
Rust-oleum Kona Stain for the frame and an acrylic wash for the sides. You can use those little cheap bottles of acrylic paint. Dip your brush in water then a small dip in paint. Brush it on then treat it like stain. Depending on how much paint is on your brush and the longer you leave the wash on the wood, the more darker and opaque the color becomes. Definetly test before applying to a completed project. The whole thing is coated with 6 coates of matte poly since it's a piece of kitchen furniture.
Recommended Skill Level
Intermediate
Comments
Sun, 09/21/2014 - 08:11
more pictures?
we are about to start building and island based off this plan as well and i love the holy cutting board idea. do you have pictures of that or advice on how to accomplish it? we plan to make it twice the width with two trash cans. ( we have 5 kids= lots of trash!)
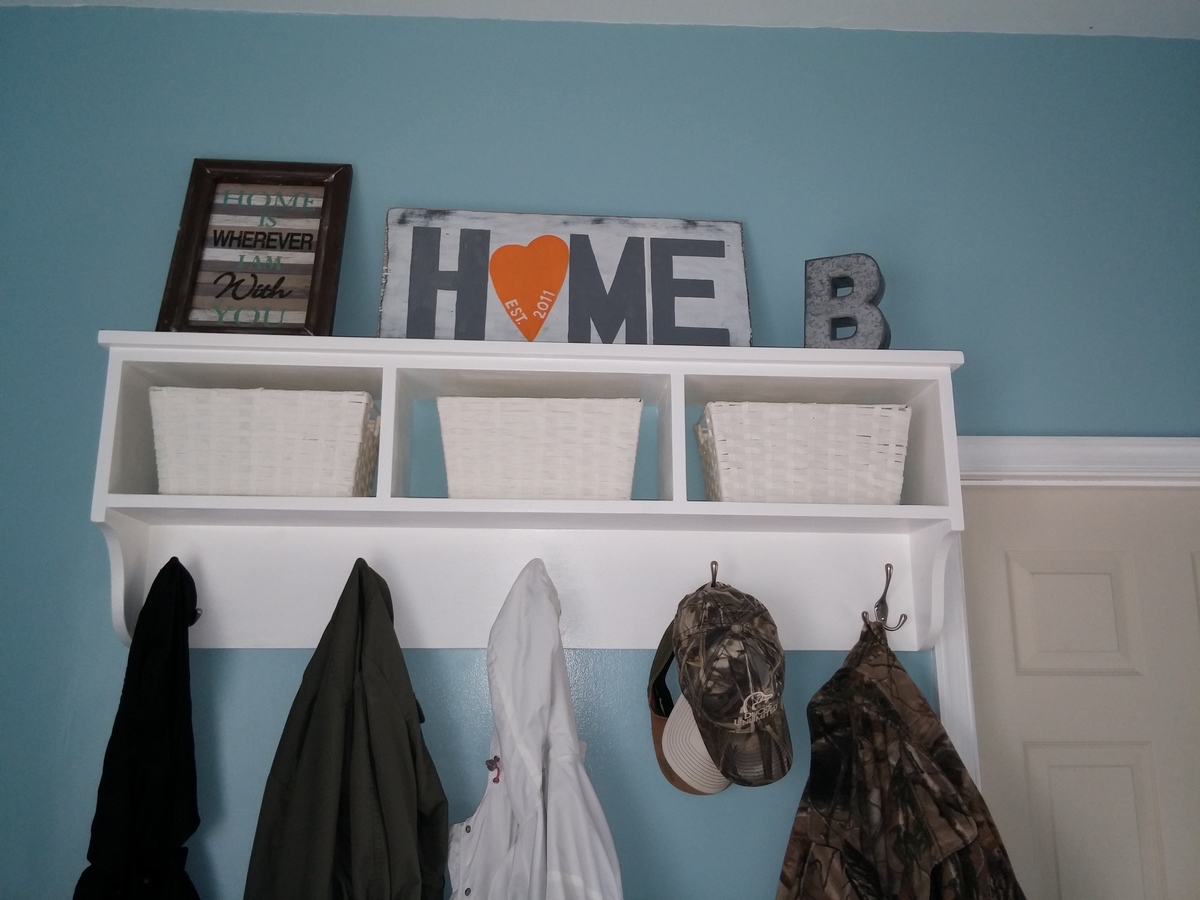
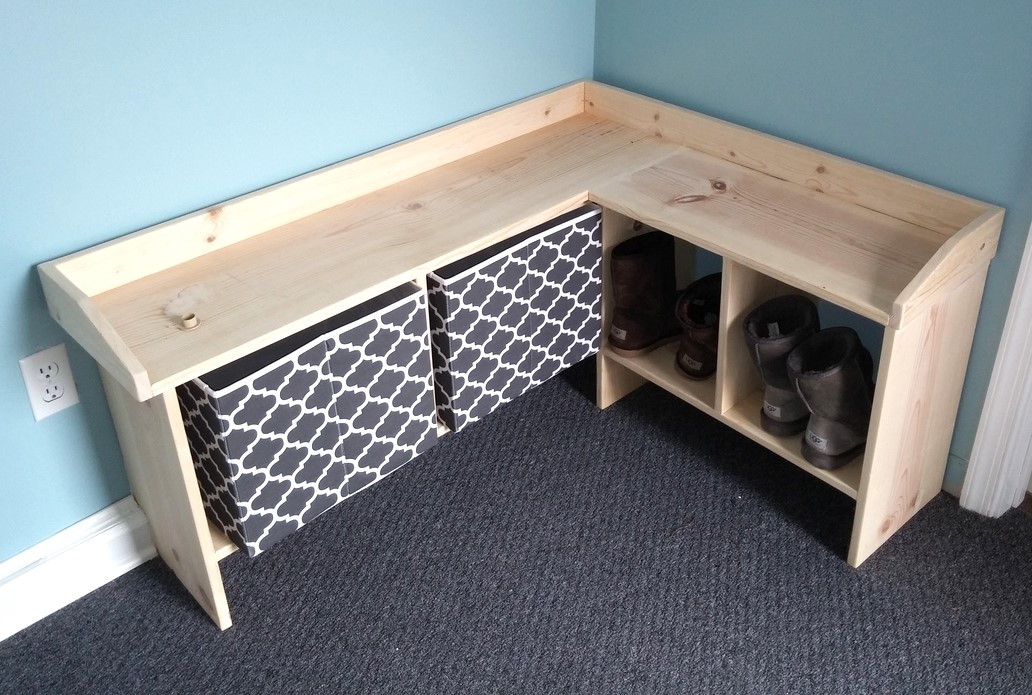
Entryway Bench and Storage Shelf

Used your plans to do these for our mudroom I just remodeled.My wife loved them.Took the original plan and modified it to fit the corner.The bench ended up being white with a grey top.And for xmas my step mother made cushions for it.Love your plans.Thanks
Built from Plan(s)
Estimated Time Investment
Day Project (6-9 Hours)
Finish Used
Gloss white
Recommended Skill Level
Beginner
Comments
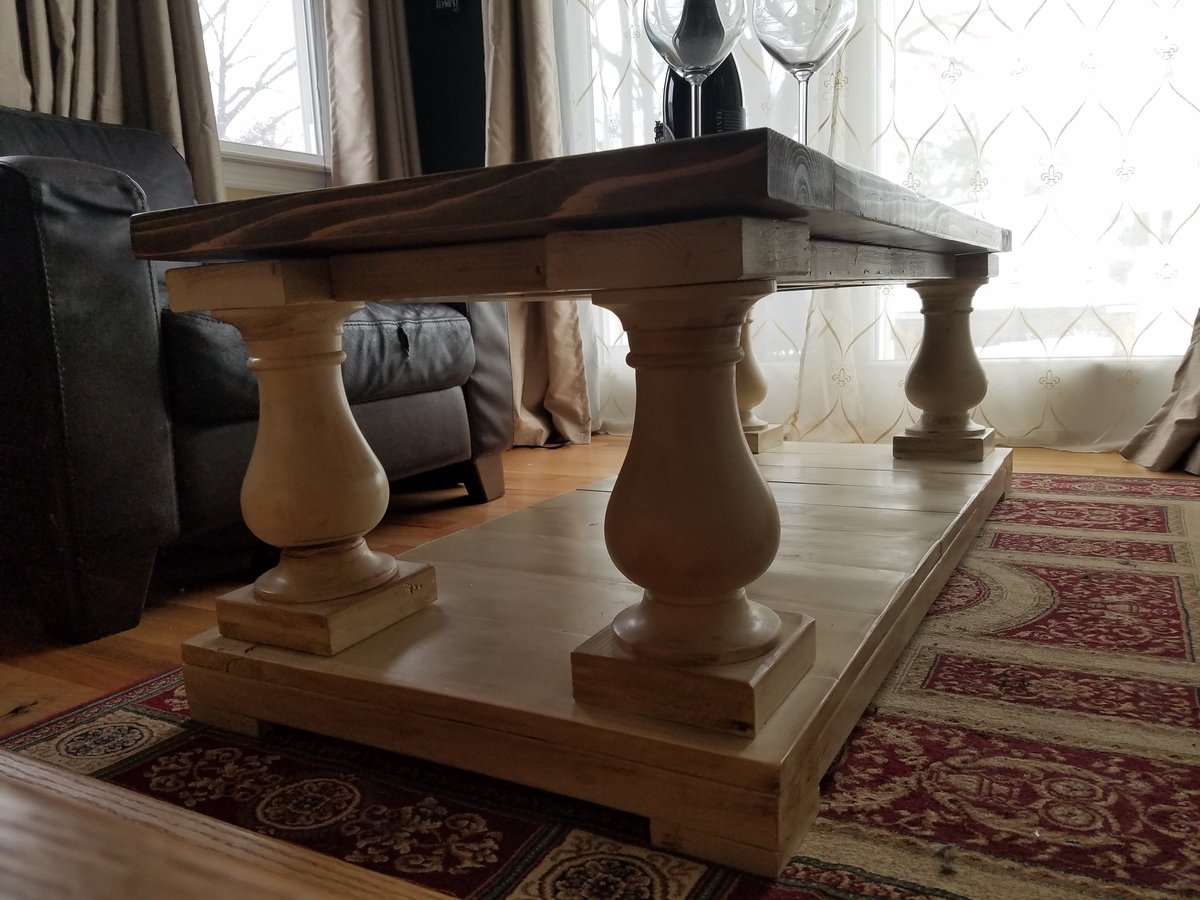
Balustrade Coffee Table
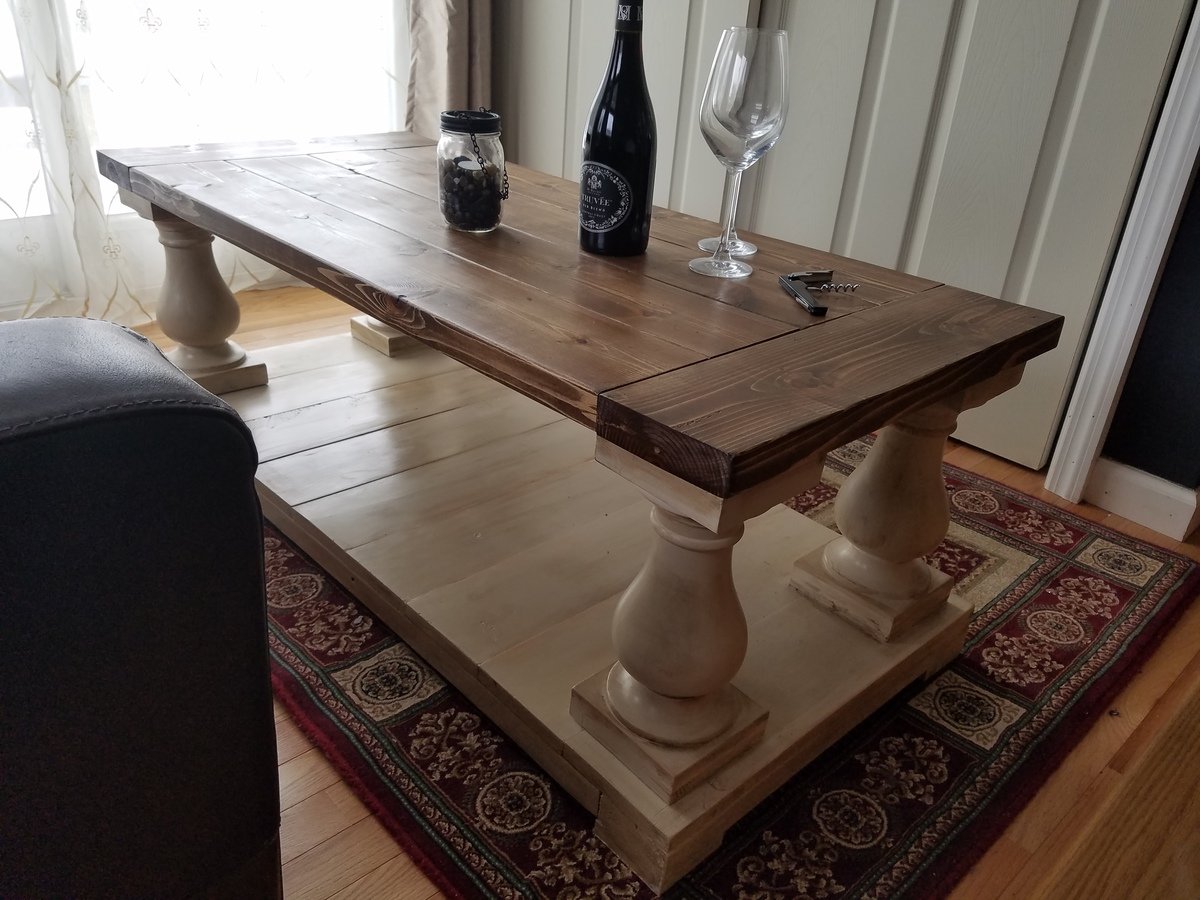
Balustrade Coffee Table made of cedar and pine wood. Approximately 49.5 length. Stained in special walnut and white painted chalk paint base. Used dark wax to distress base and legs.
Built from Plan(s)
Estimated Cost
$200.00
Estimated Time Investment
Weekend Project (10-20 Hours)
Finish Used
2 coats of special walnut stain for top. 2 coats of polyurethane for top. Base has white chalk paint base with dark wax to distress.
Recommended Skill Level
Intermediate
Bathroom tower shelf
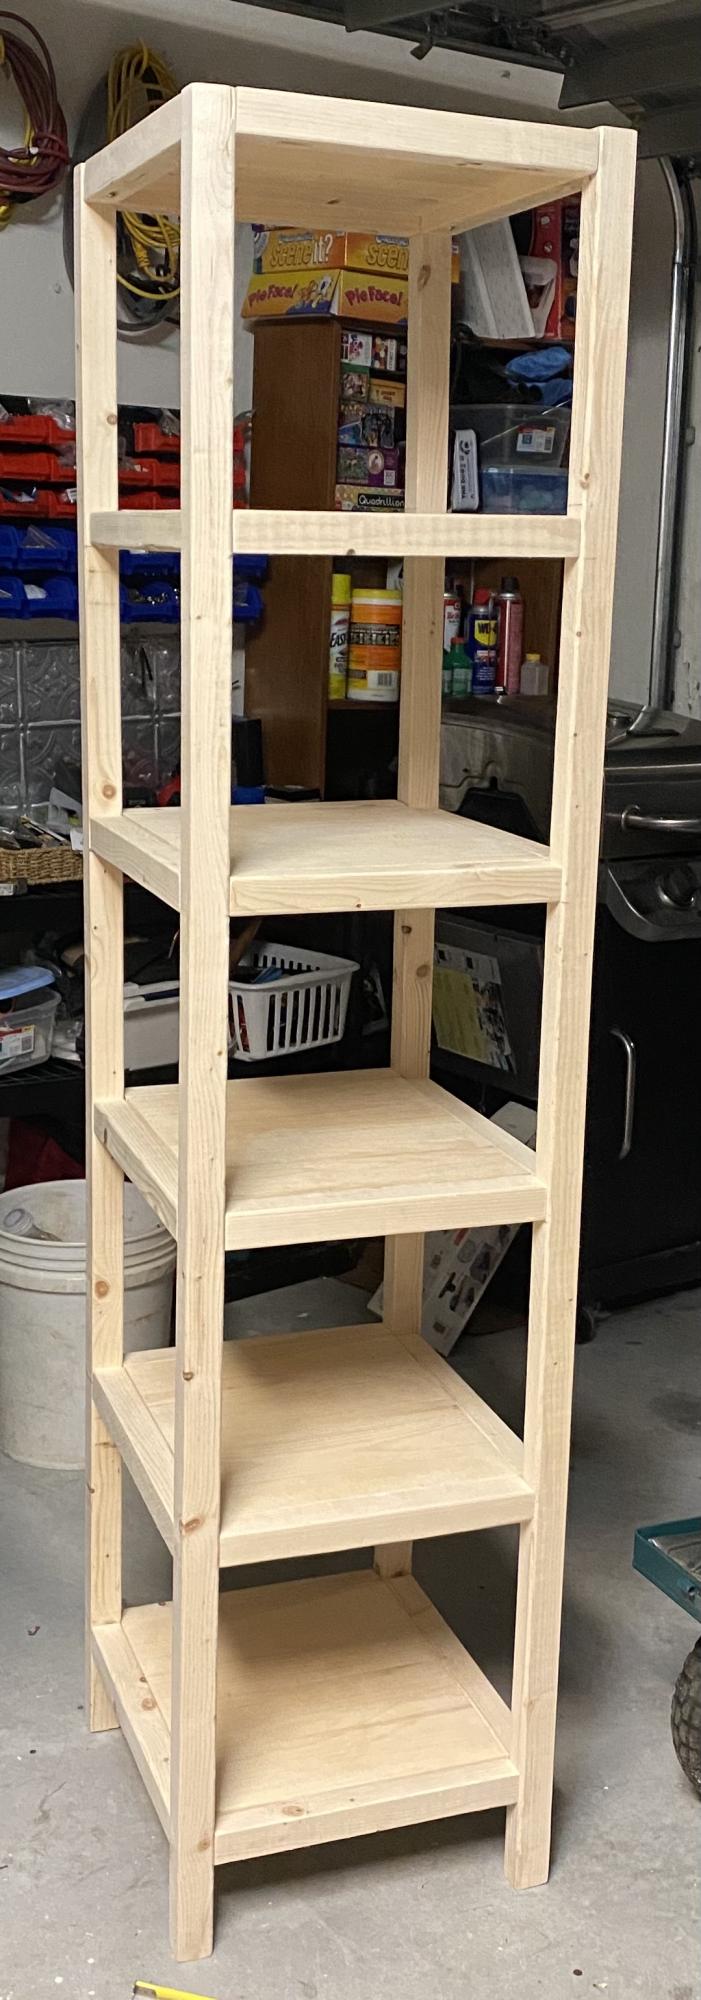
Unfinished pine bathroom tower shelves. I assembled all pieces with kreg jig and pocket hole screws. It was a quick and easy project.
Estimated Time Investment
Afternoon Project (3-6 Hours)
Recommended Skill Level
Intermediate
Comments
Laundry Room Redo

I needed a new laundry system, and thank goodness I found Ana White's projects on Pinterest! I incorporated the laundry sorter and added casters to the bottom as well as a paper towel roll on the side since it is next to the sink. I also used a modified version of the washer/dryer platform into my space. It does not have the bottom platform and the 4x4's are inside the 2x4's and attached to the platform as well as the 2x4's. Sterilite makes organizer drawers that fit exactly in the opening of under the platform. And, voila! New colors, new organization, new light bulbs :0), new laundry room!
Estimated Cost
$170
Estimated Time Investment
Weekend Project (10-20 Hours)
Finish Used
Valspar from Lowe's
Recommended Skill Level
Beginner
Comments

Sun, 02/24/2013 - 12:48
Great job! Looks much better
Great job! Looks much better and I bet it's a lot easier to get laundry done now.

Wed, 02/27/2013 - 19:18
Ah, that looks great!
That looks like it was a lot of work, but totally worth it!
Craft Table
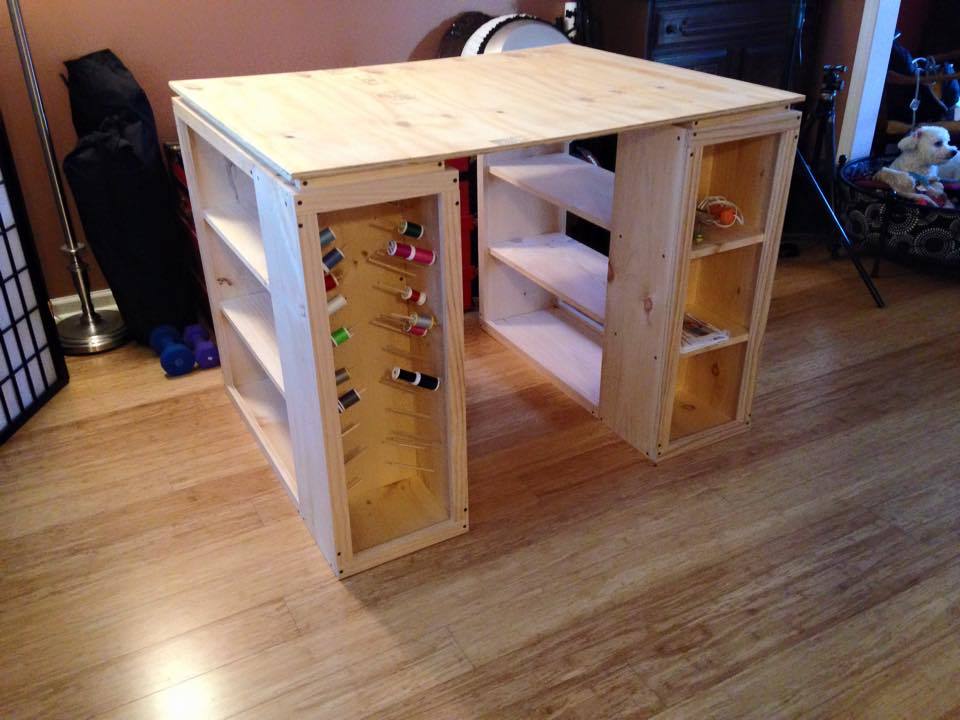
We modified the original plnas to convert one set of front shelves into thread storage. We used 1/4" wooden dowel cut to fit 2 spools of thread on each.
Built from Plan(s)
Estimated Time Investment
Weekend Project (10-20 Hours)
Finish Used
Paint (not finished in picture)
Recommended Skill Level
Beginner
Tennessee Titan themed helper with horn and wheel

Made this for my 14 month old, this was my first ever attempt at making/building anything! Hand painted and assembled with inspiration from the Tennessee Titans. My son loves standing in it by the window watching the trucks go by our house so I added his own jungle gym steering wheel and bike horn.
Built from Plan(s)
Estimated Cost
~$150. The paint bumped up the cost and time
Estimated Time Investment
Week Long Project (20 Hours or More)
Finish Used
Gloss paint with a polyurethane finish
Recommended Skill Level
Beginner
Farmhouse Coffee Table
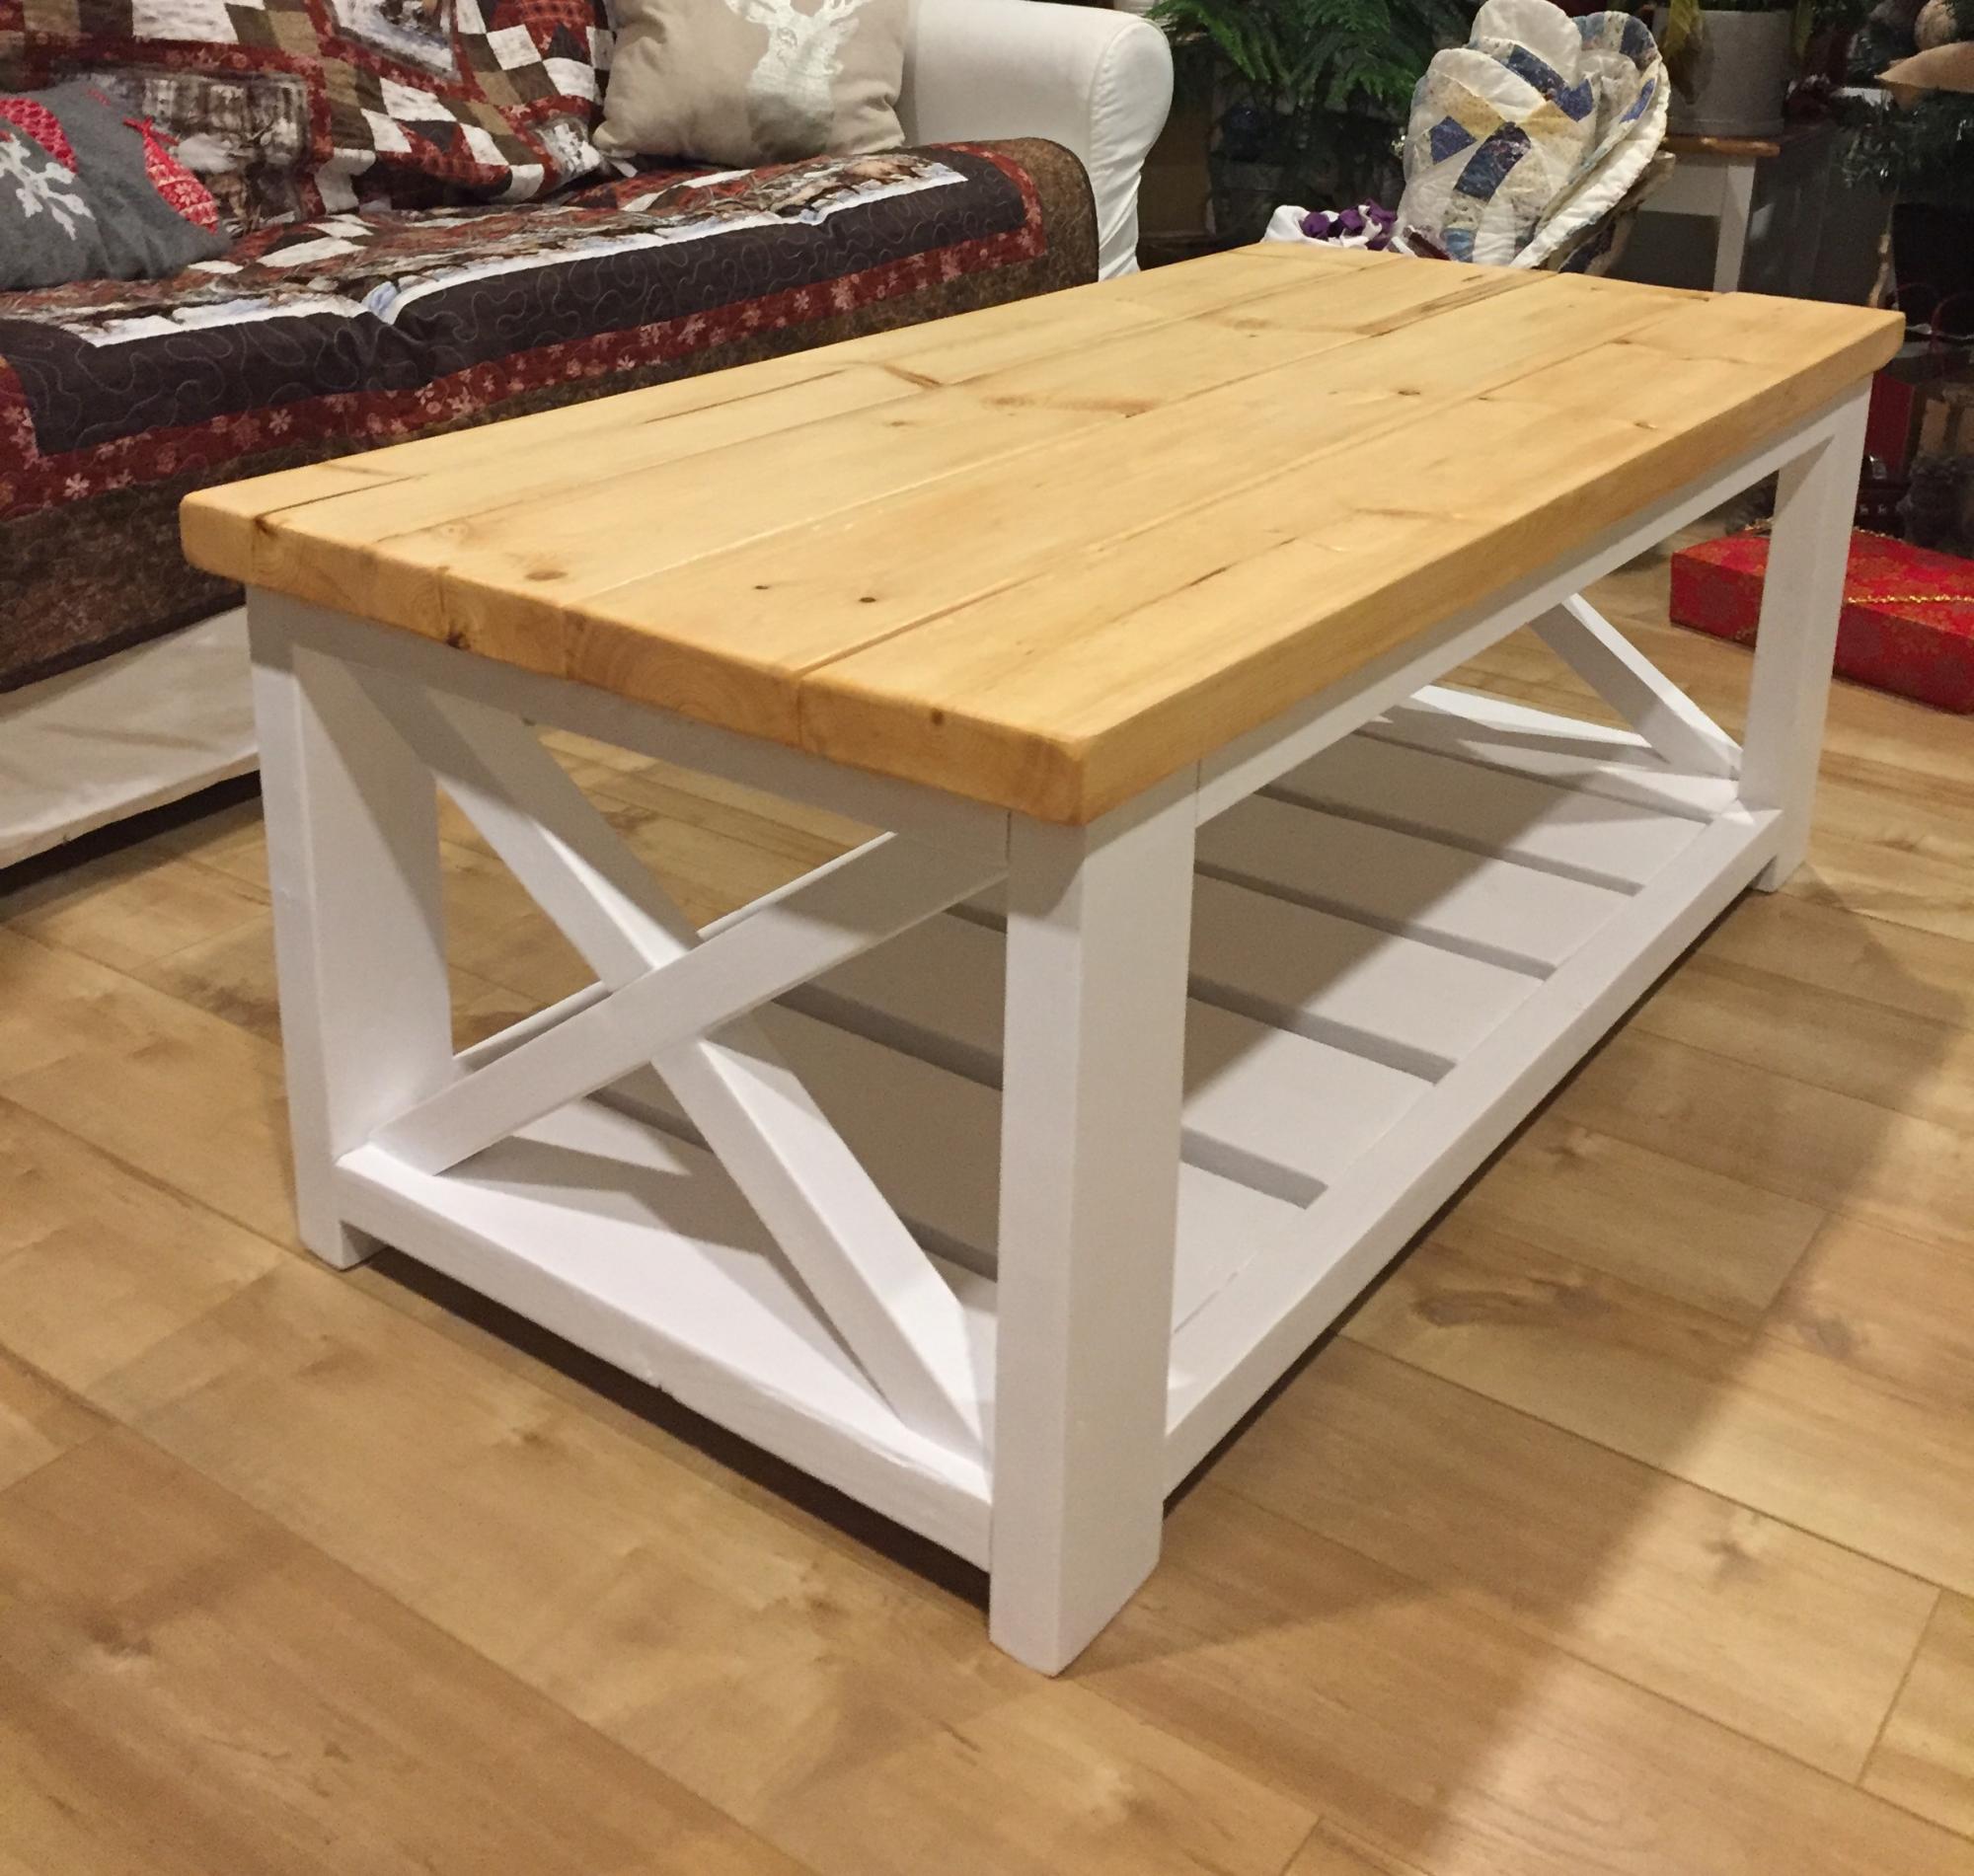
For my first solo project this table had enough challenges to keep it interesting but not overwhelming. I love how it looks in my home.
Built from Plan(s)
Estimated Time Investment
Weekend Project (10-20 Hours)
Recommended Skill Level
Beginner
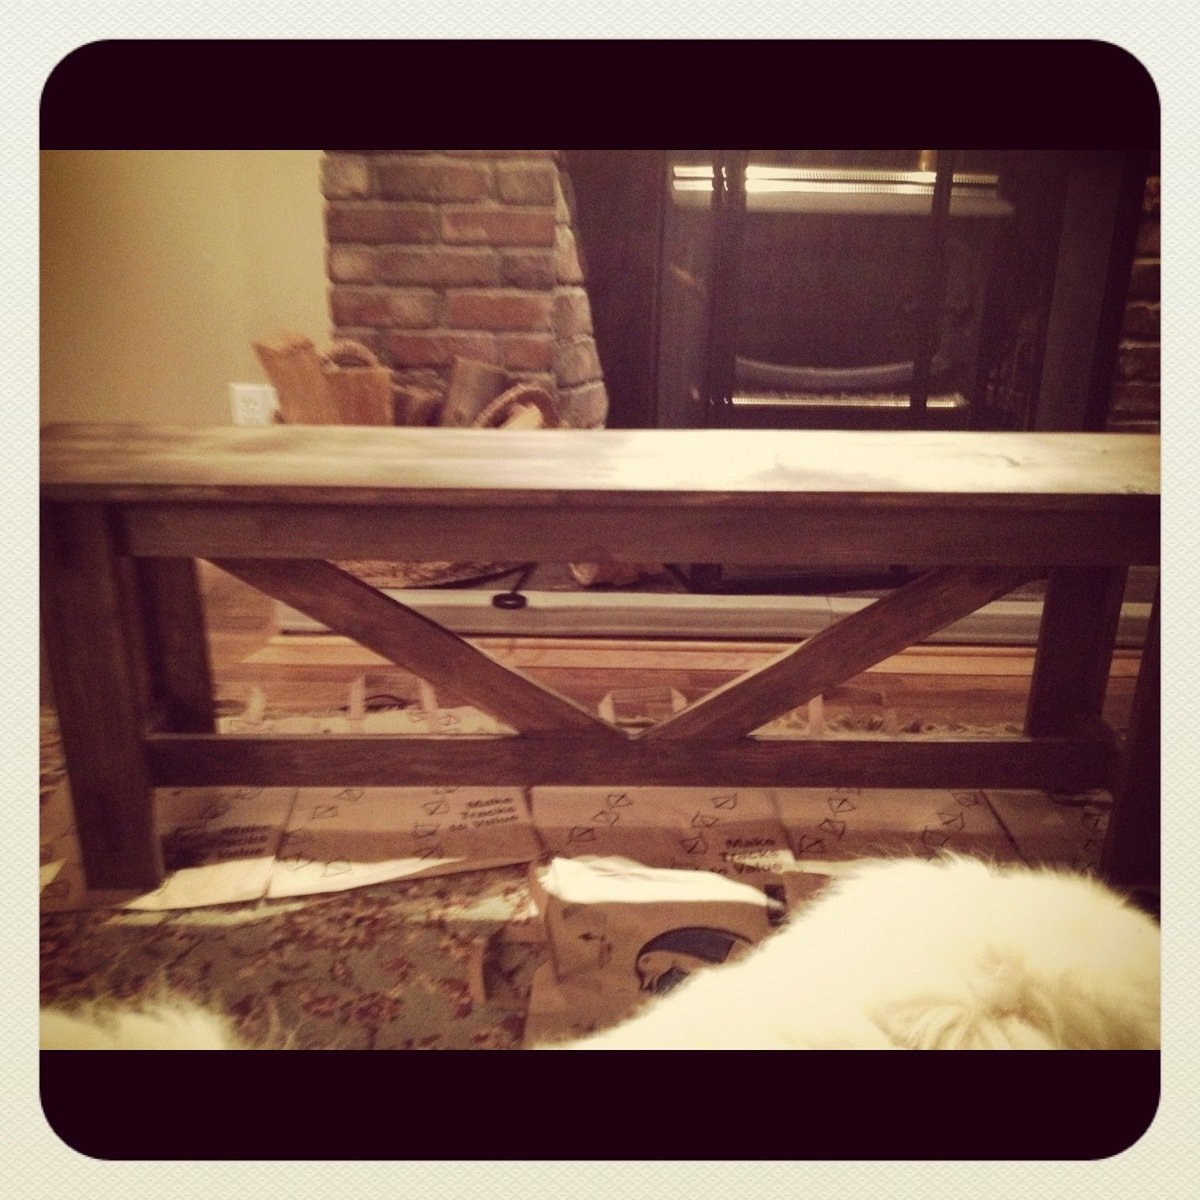
Large Rustic X Bench
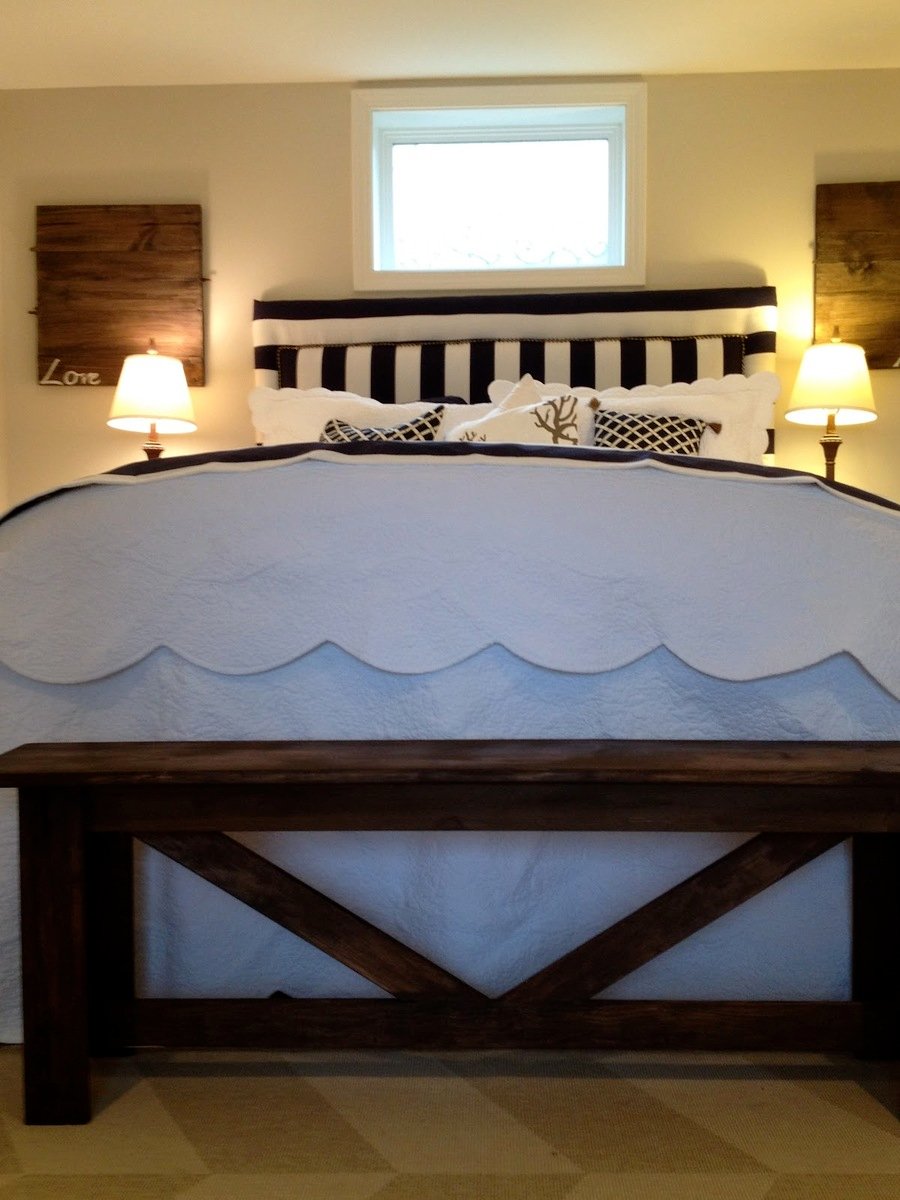
Here it is. Our first building project (not attached to a wall) that we used plans for:) I am so happy with the way it turned out. We had been looking for a bench for months. I was thinking that I would find something I like, refinish it and then upholster the top. But then I came across this post from a wonderful blog (that I will be using TONS more ideas from) and knew that this was going to be our bench:) I am happy to say that I think I have finally found a hobby that we can ALL get use to:) The kids have fun, we have fun...and we actually walk away with a finished piece! Love that!
Built from Plan(s)
Estimated Cost
$45
Estimated Time Investment
Week Long Project (20 Hours or More)
Finish Used
Minwax stain in Dark Walnut
Recommended Skill Level
Beginner