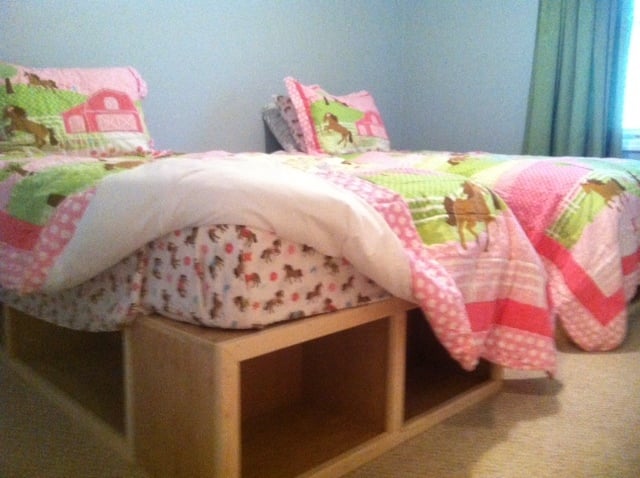
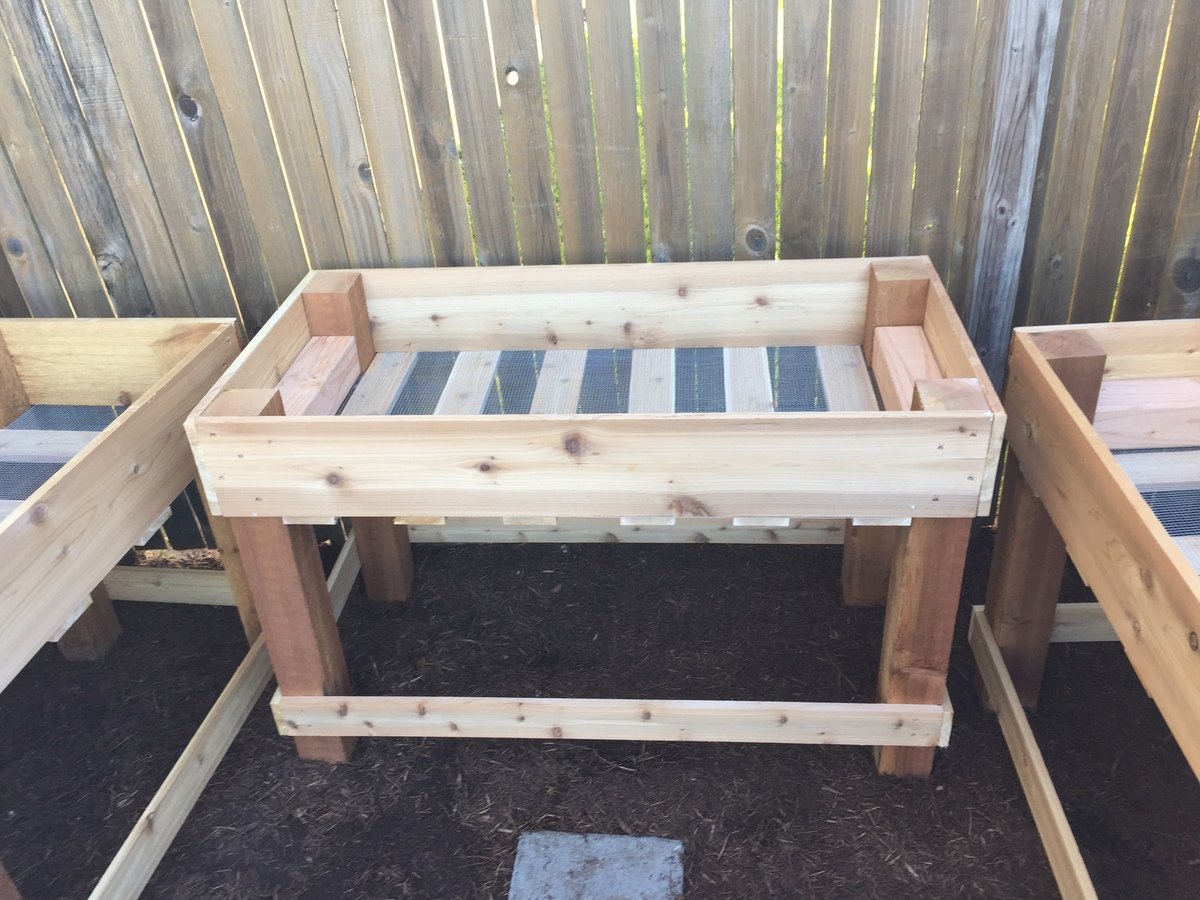
Loft bed

This took me about 1 1/2 week to complete. I'm active duty military so my hours are always crazy.... I didn't get this from any specific plans. If anyone needs guidance feel free to get in touch with me.. you can also follow my work here...
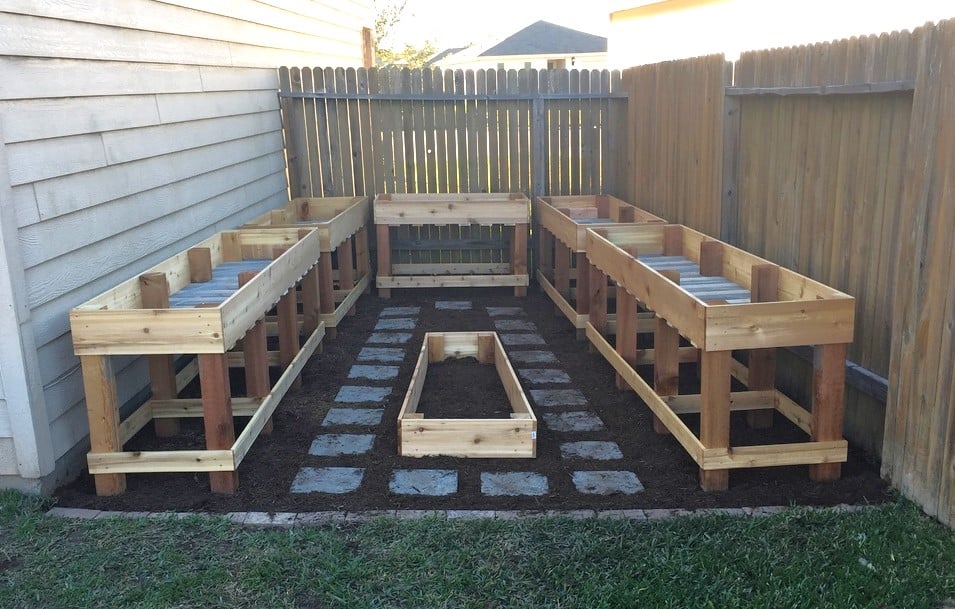
Estimated Time Investment
Week Long Project (20 Hours or More)
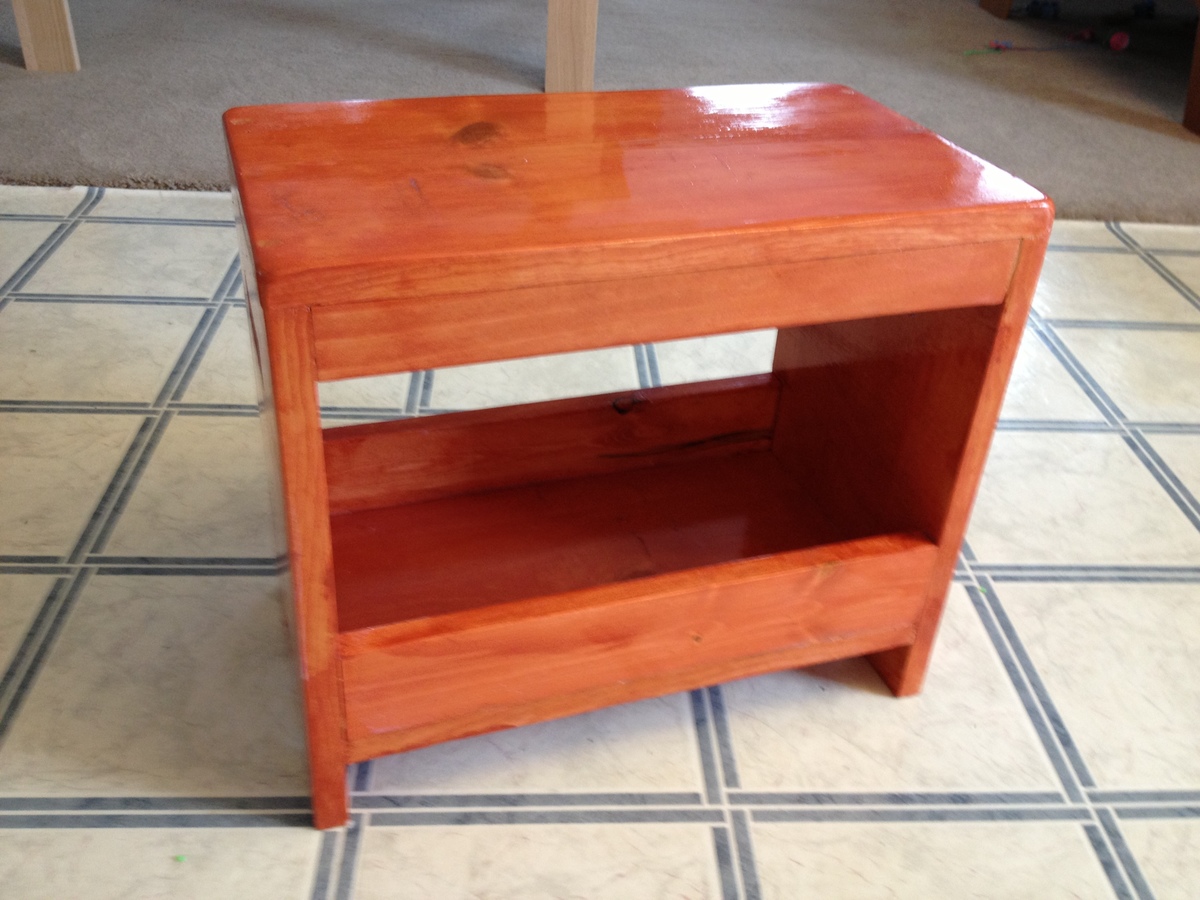
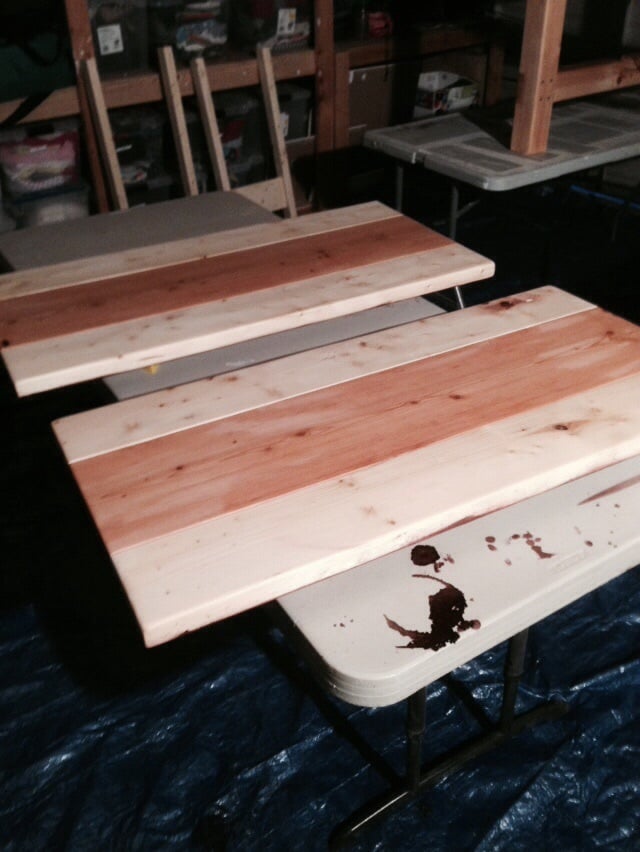
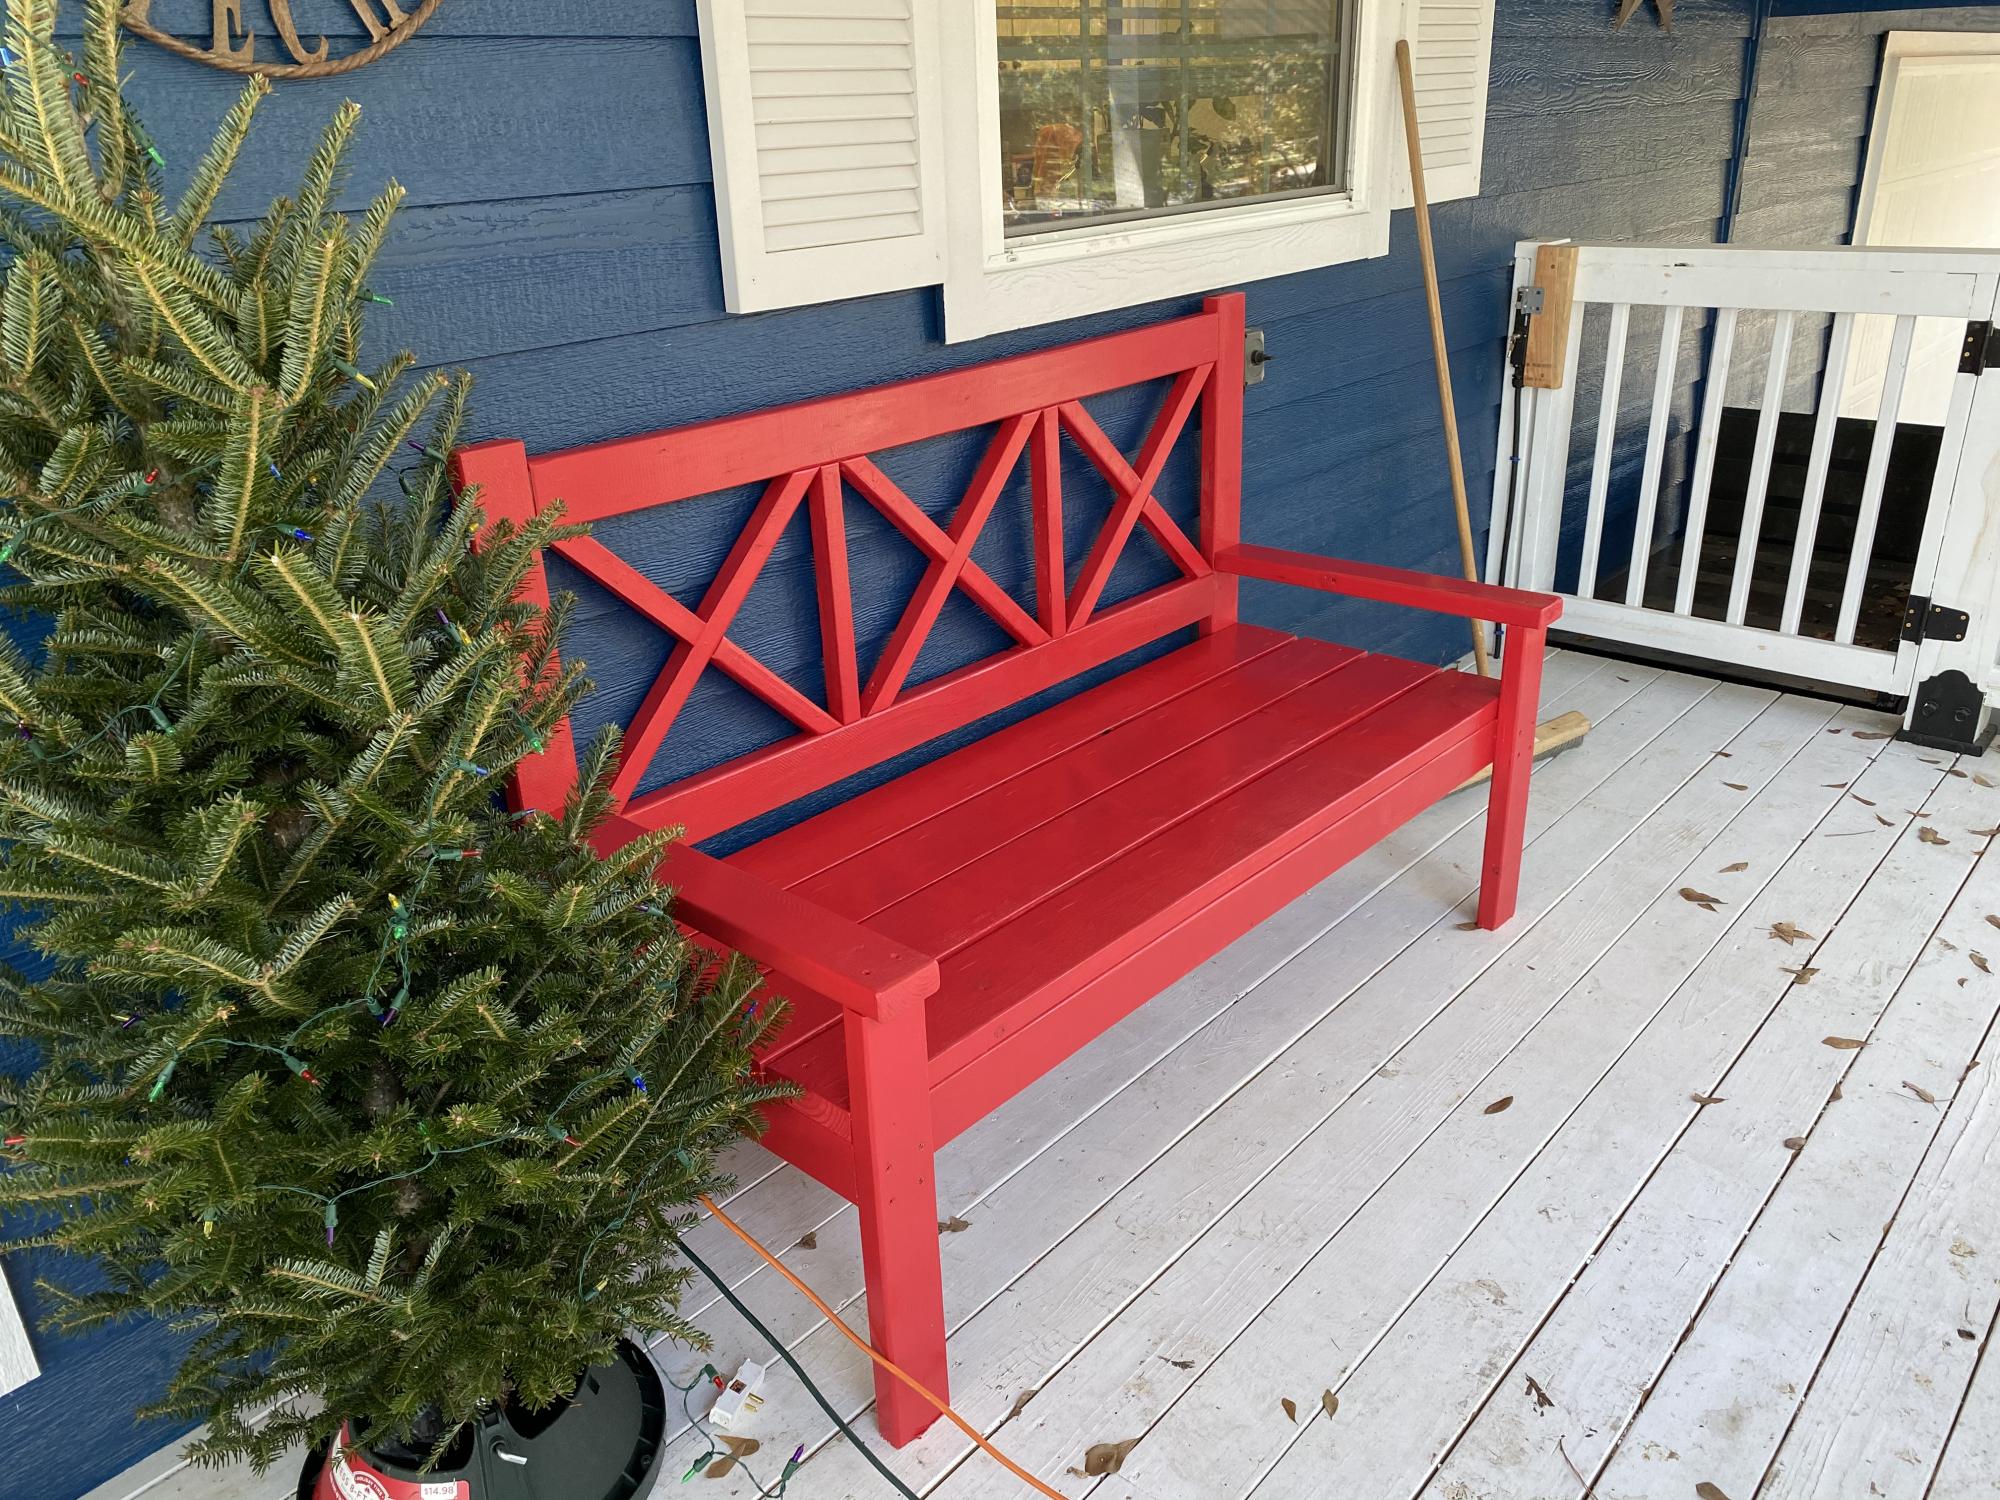
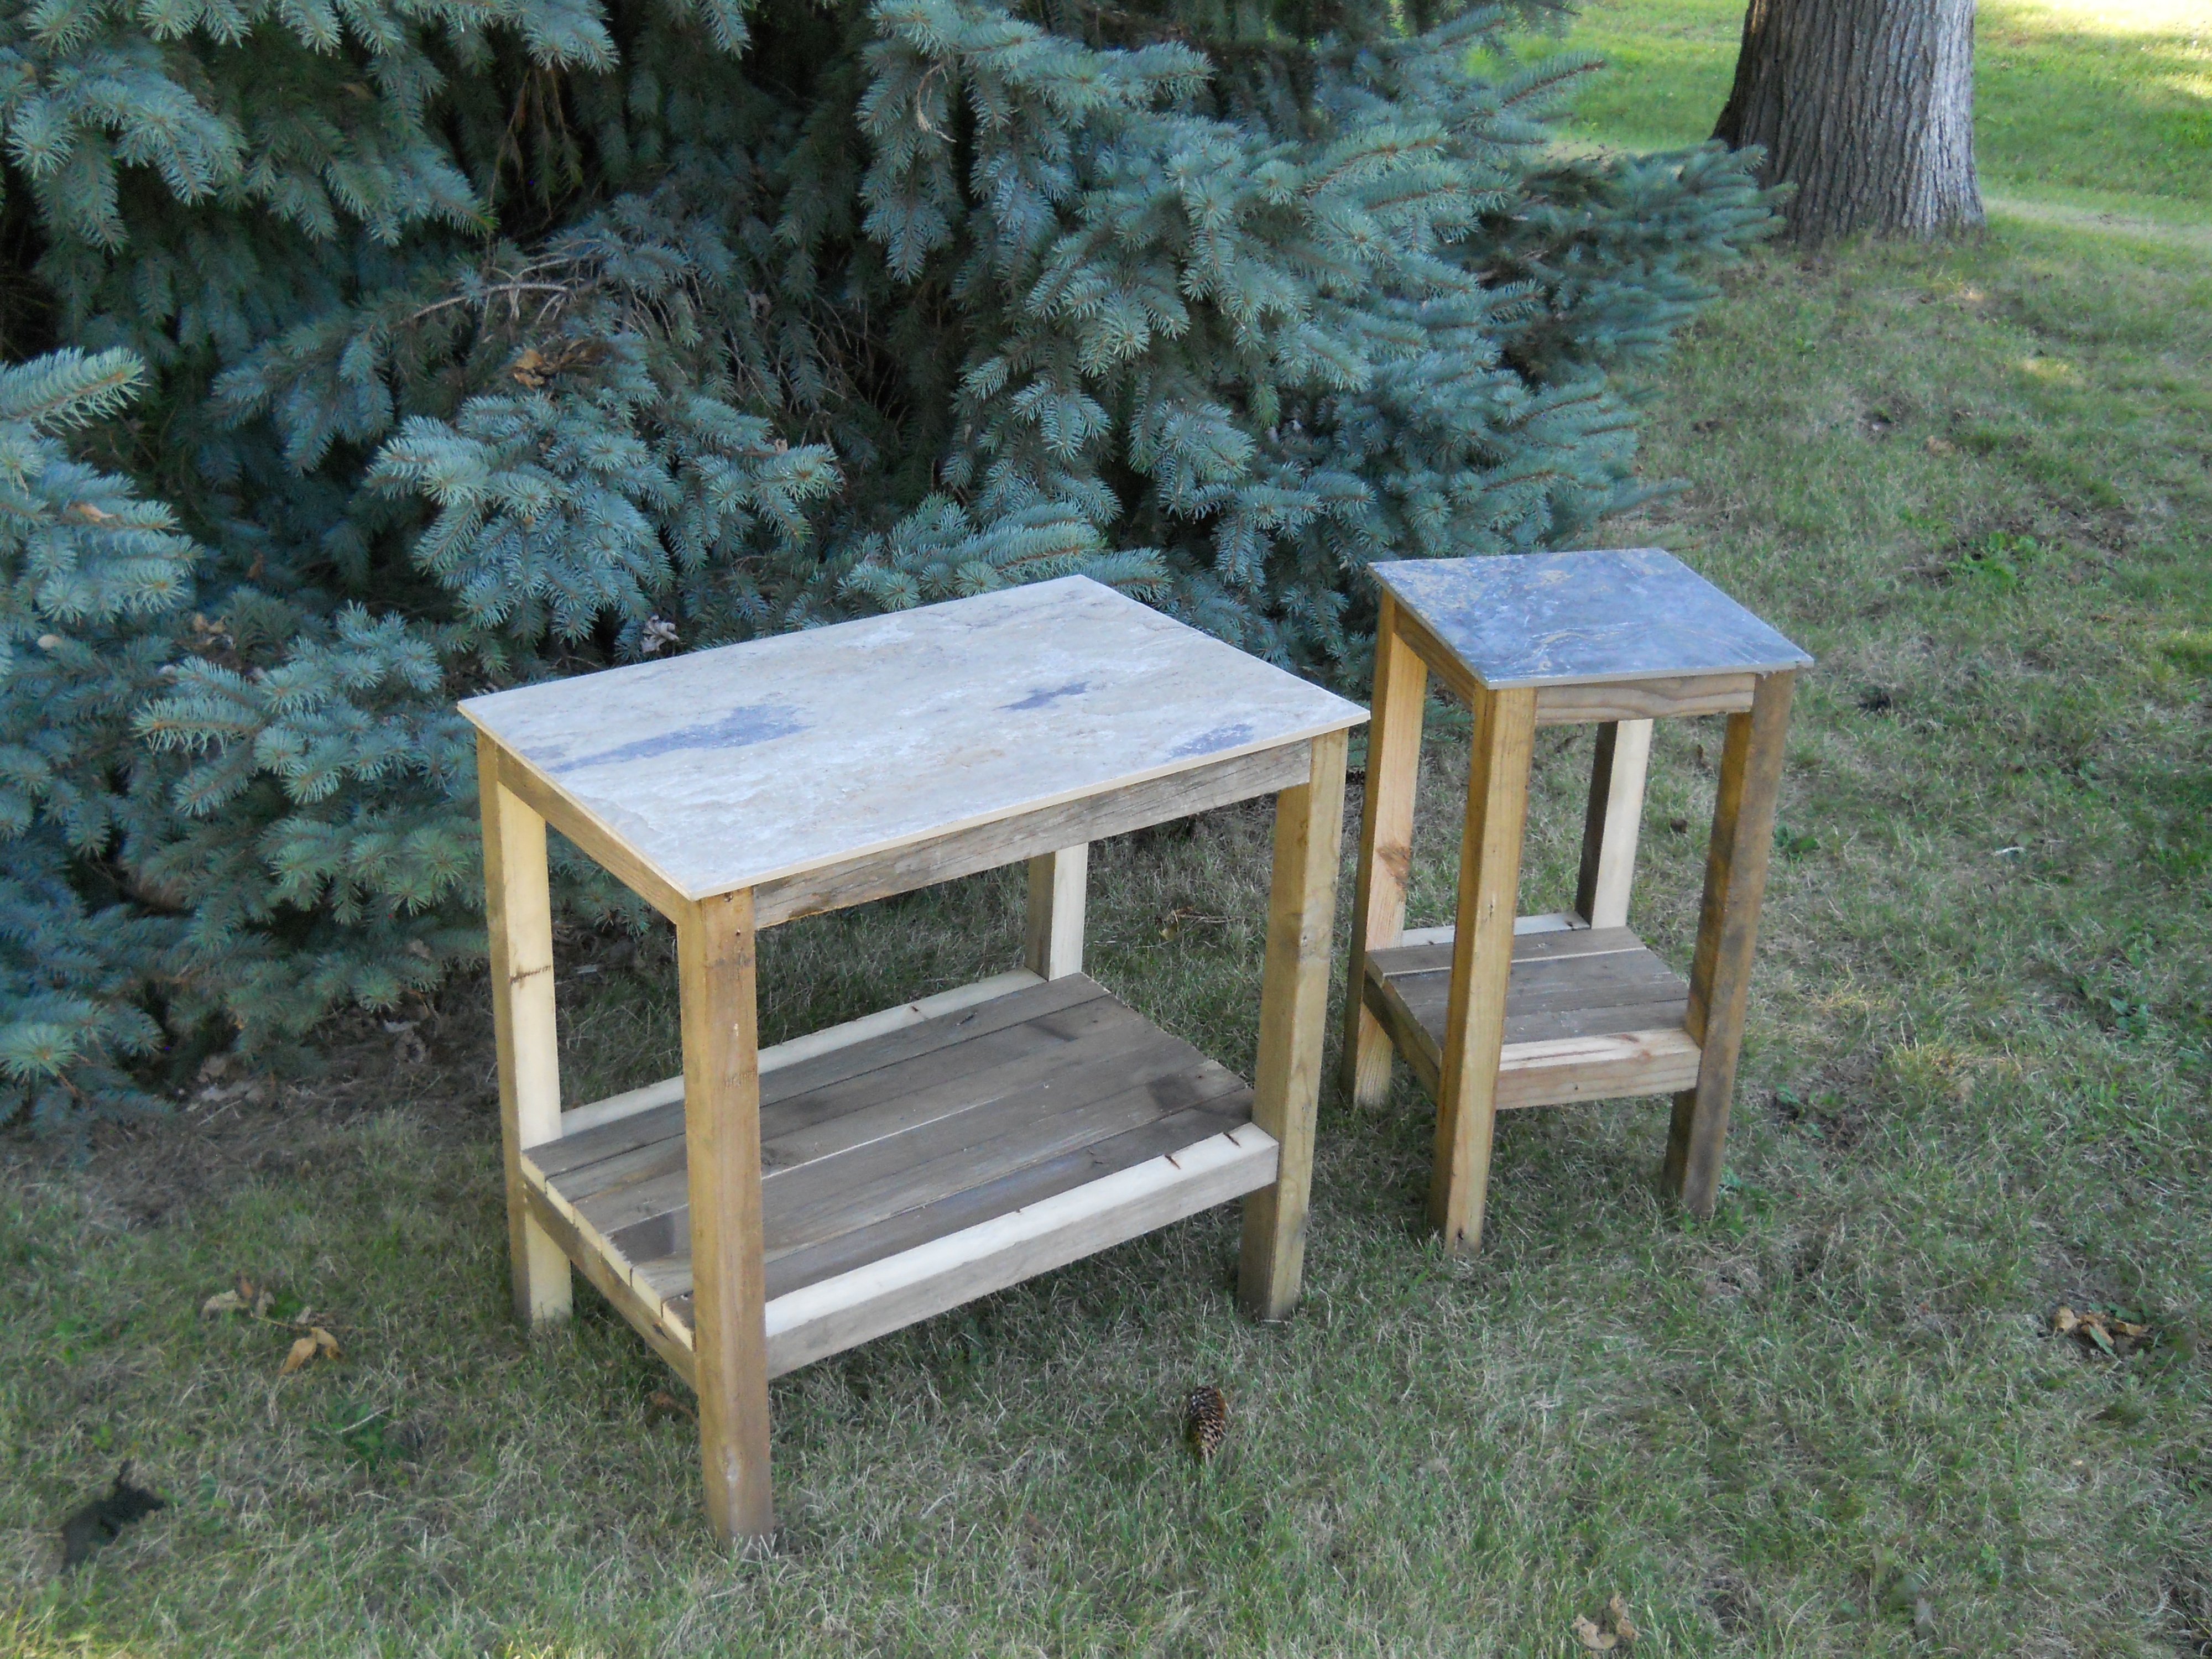
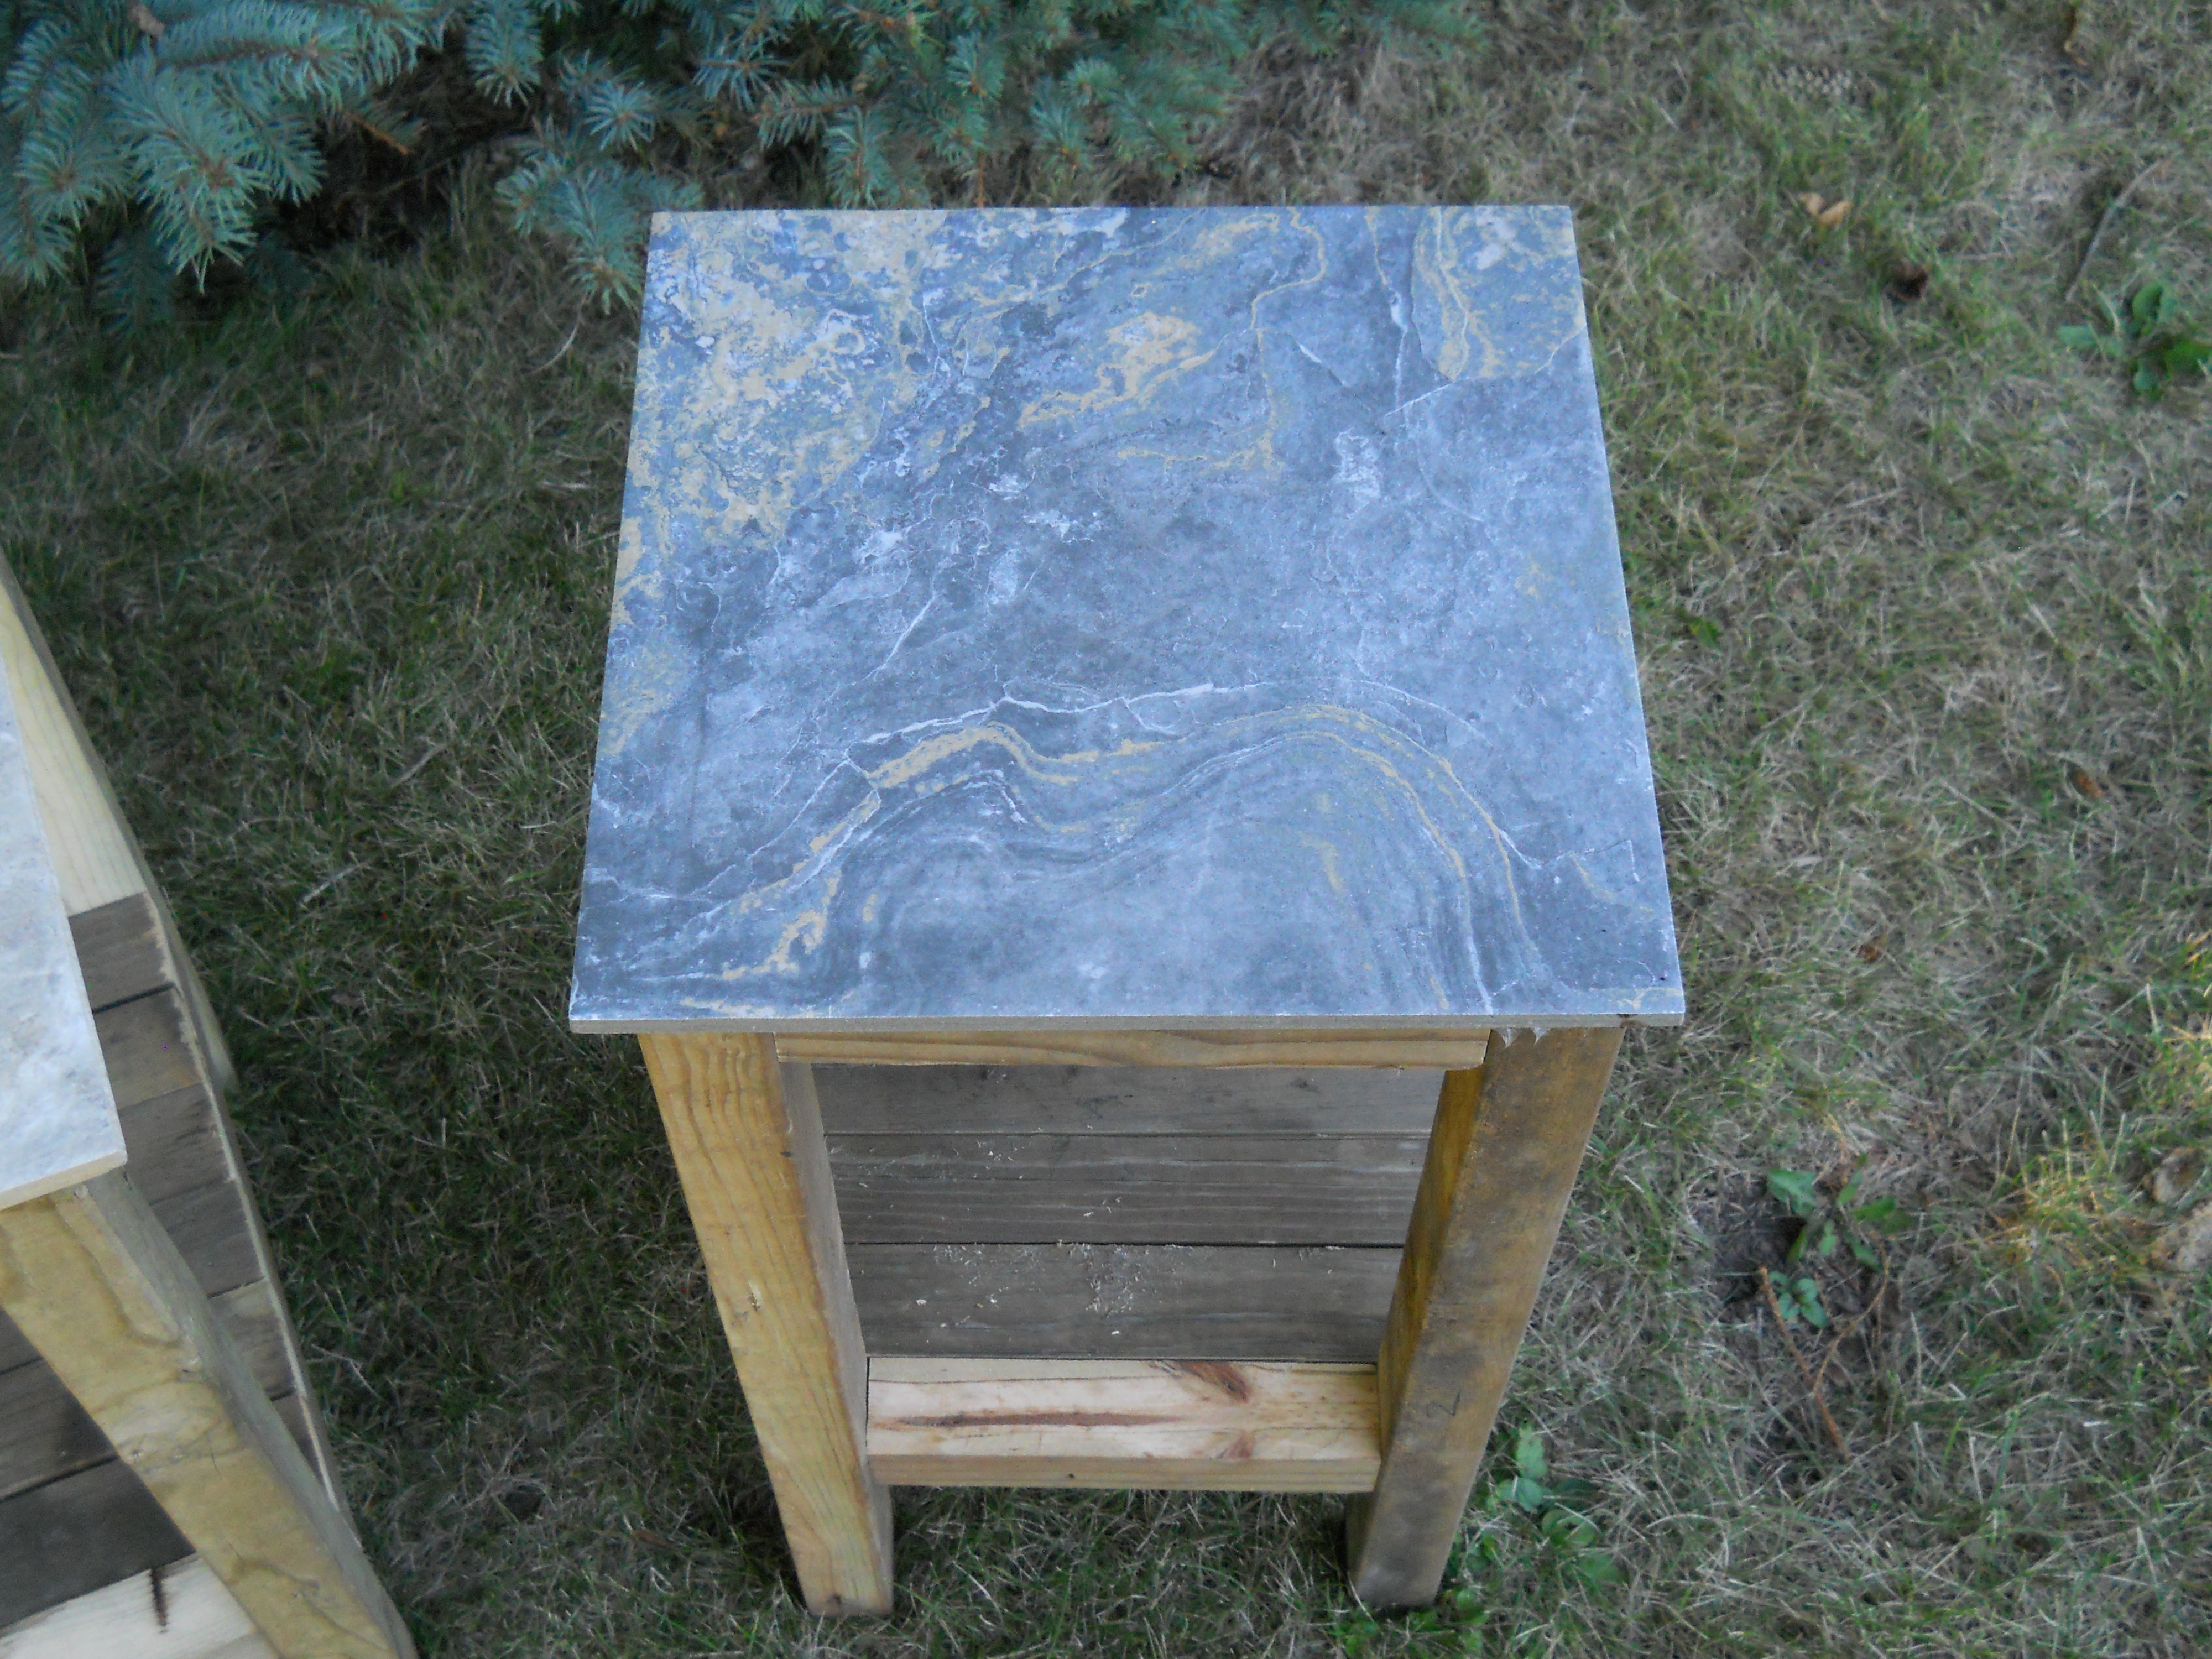
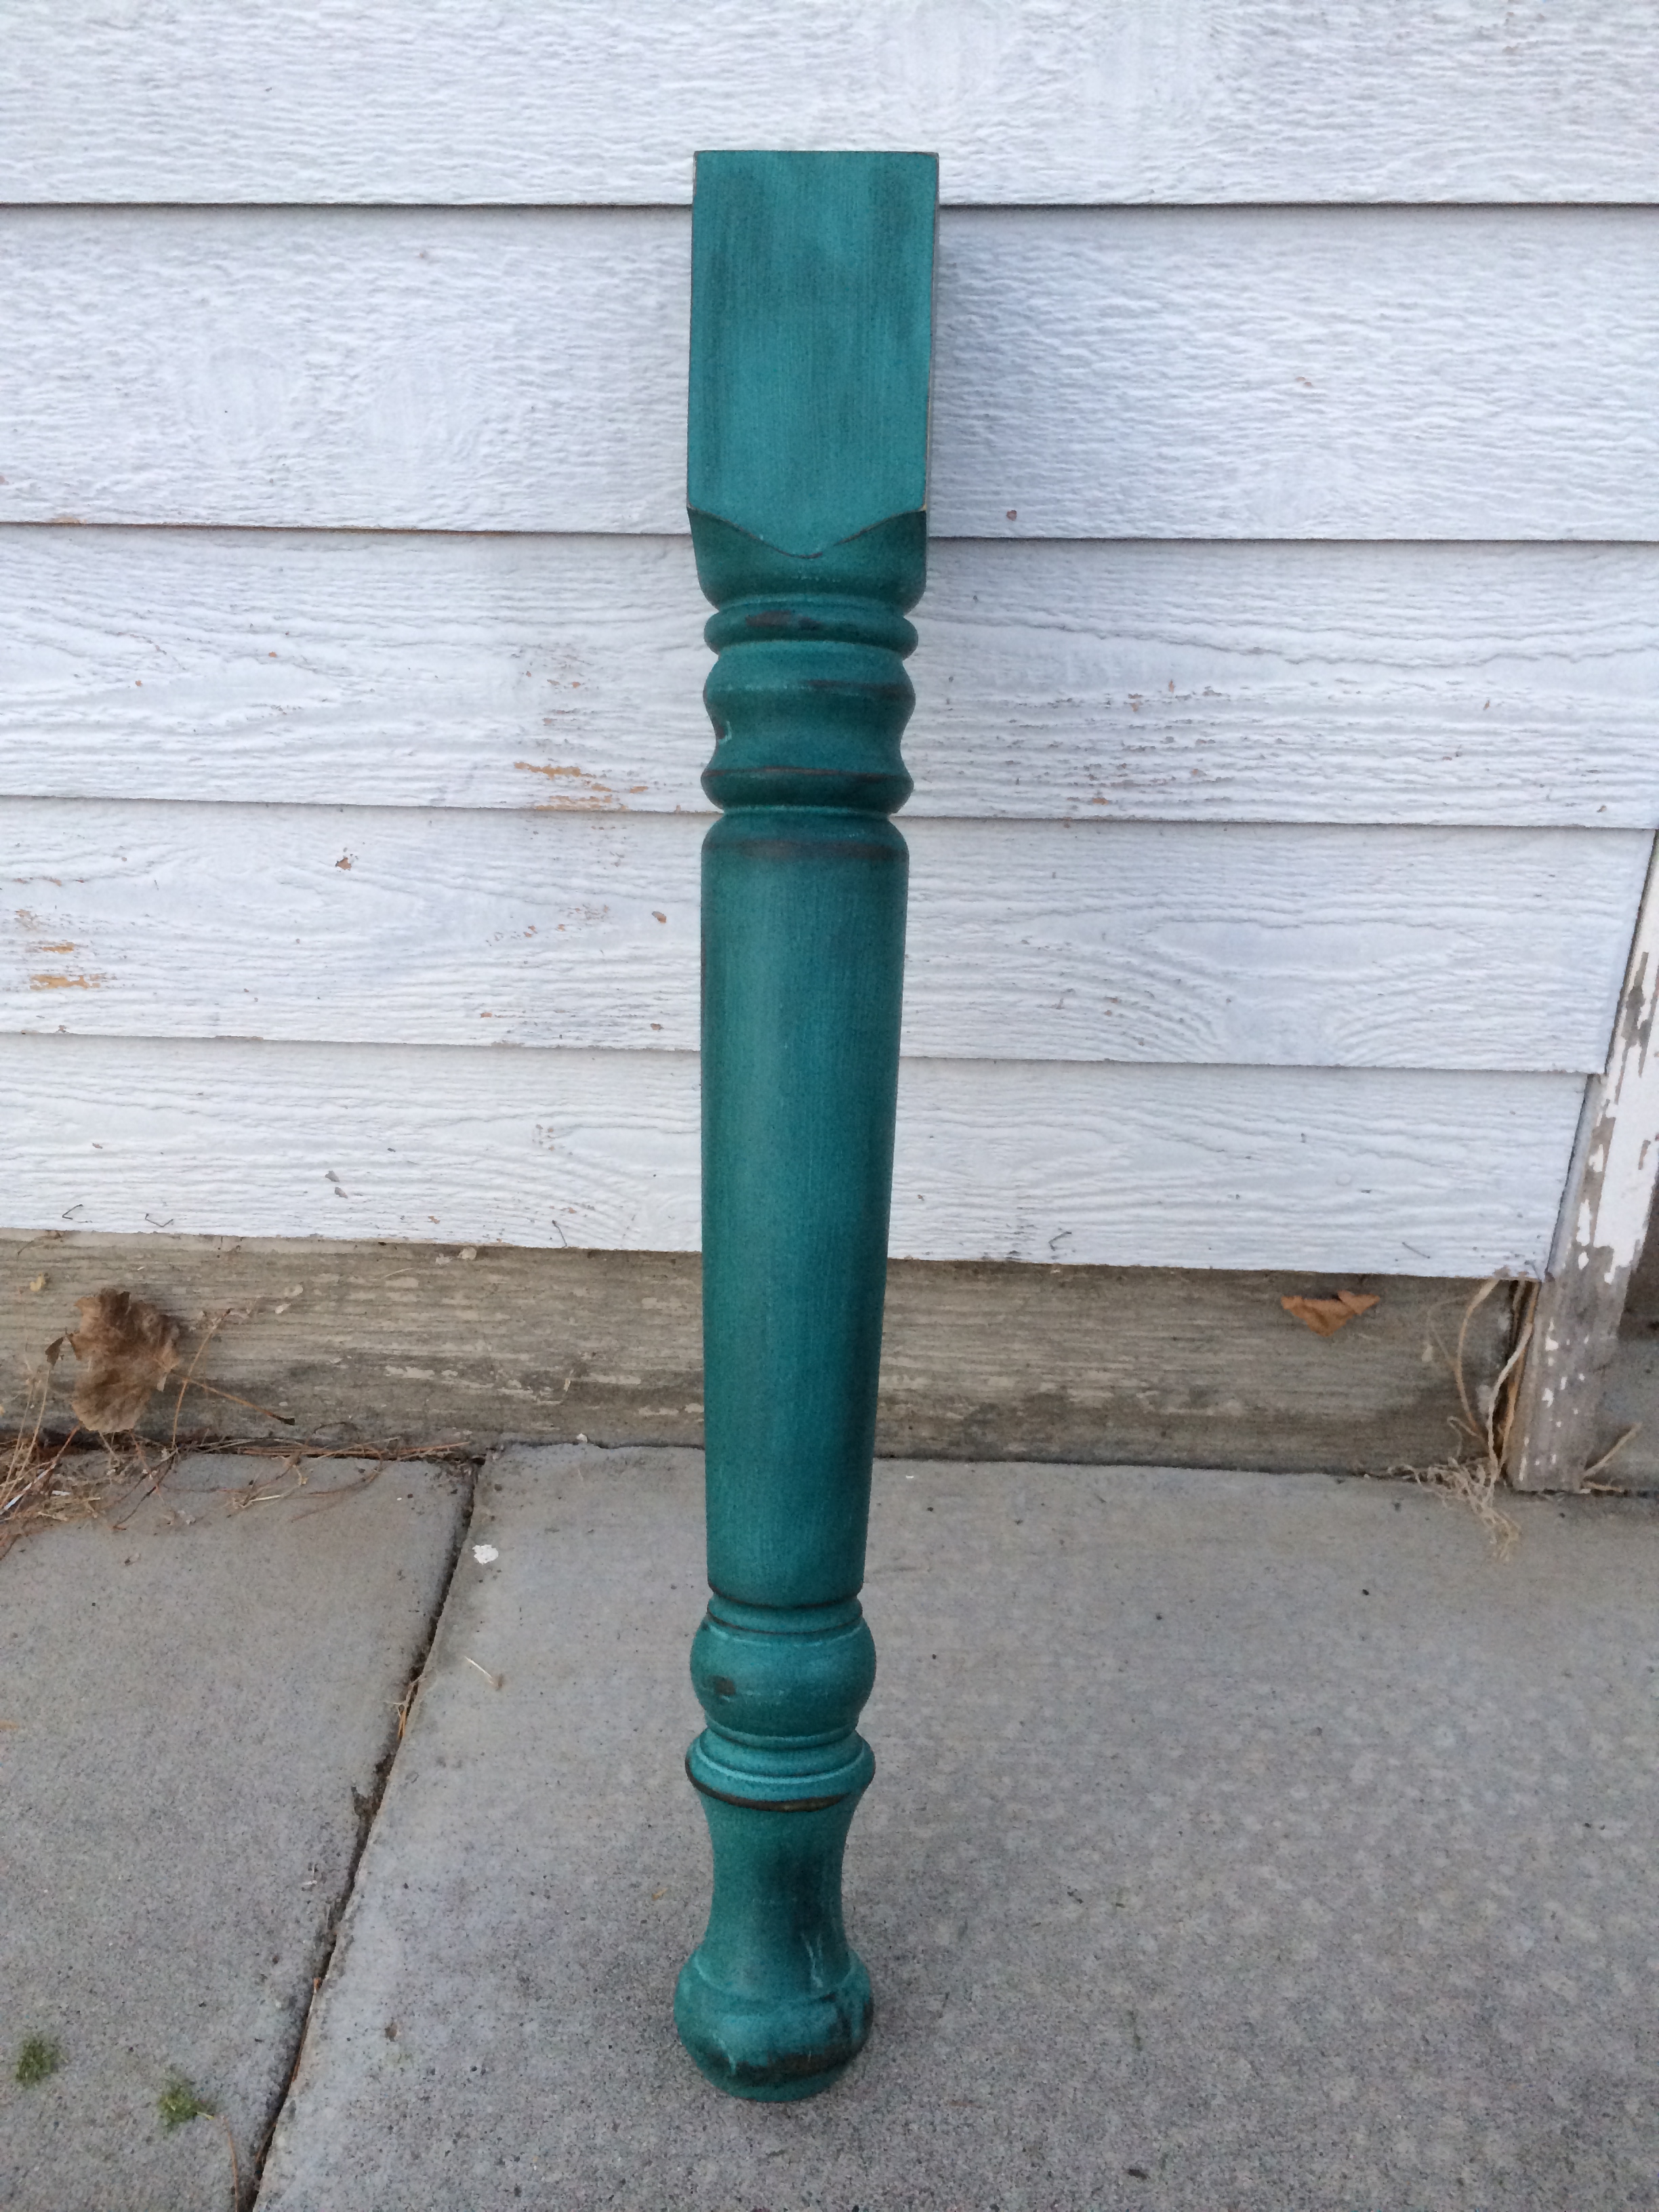
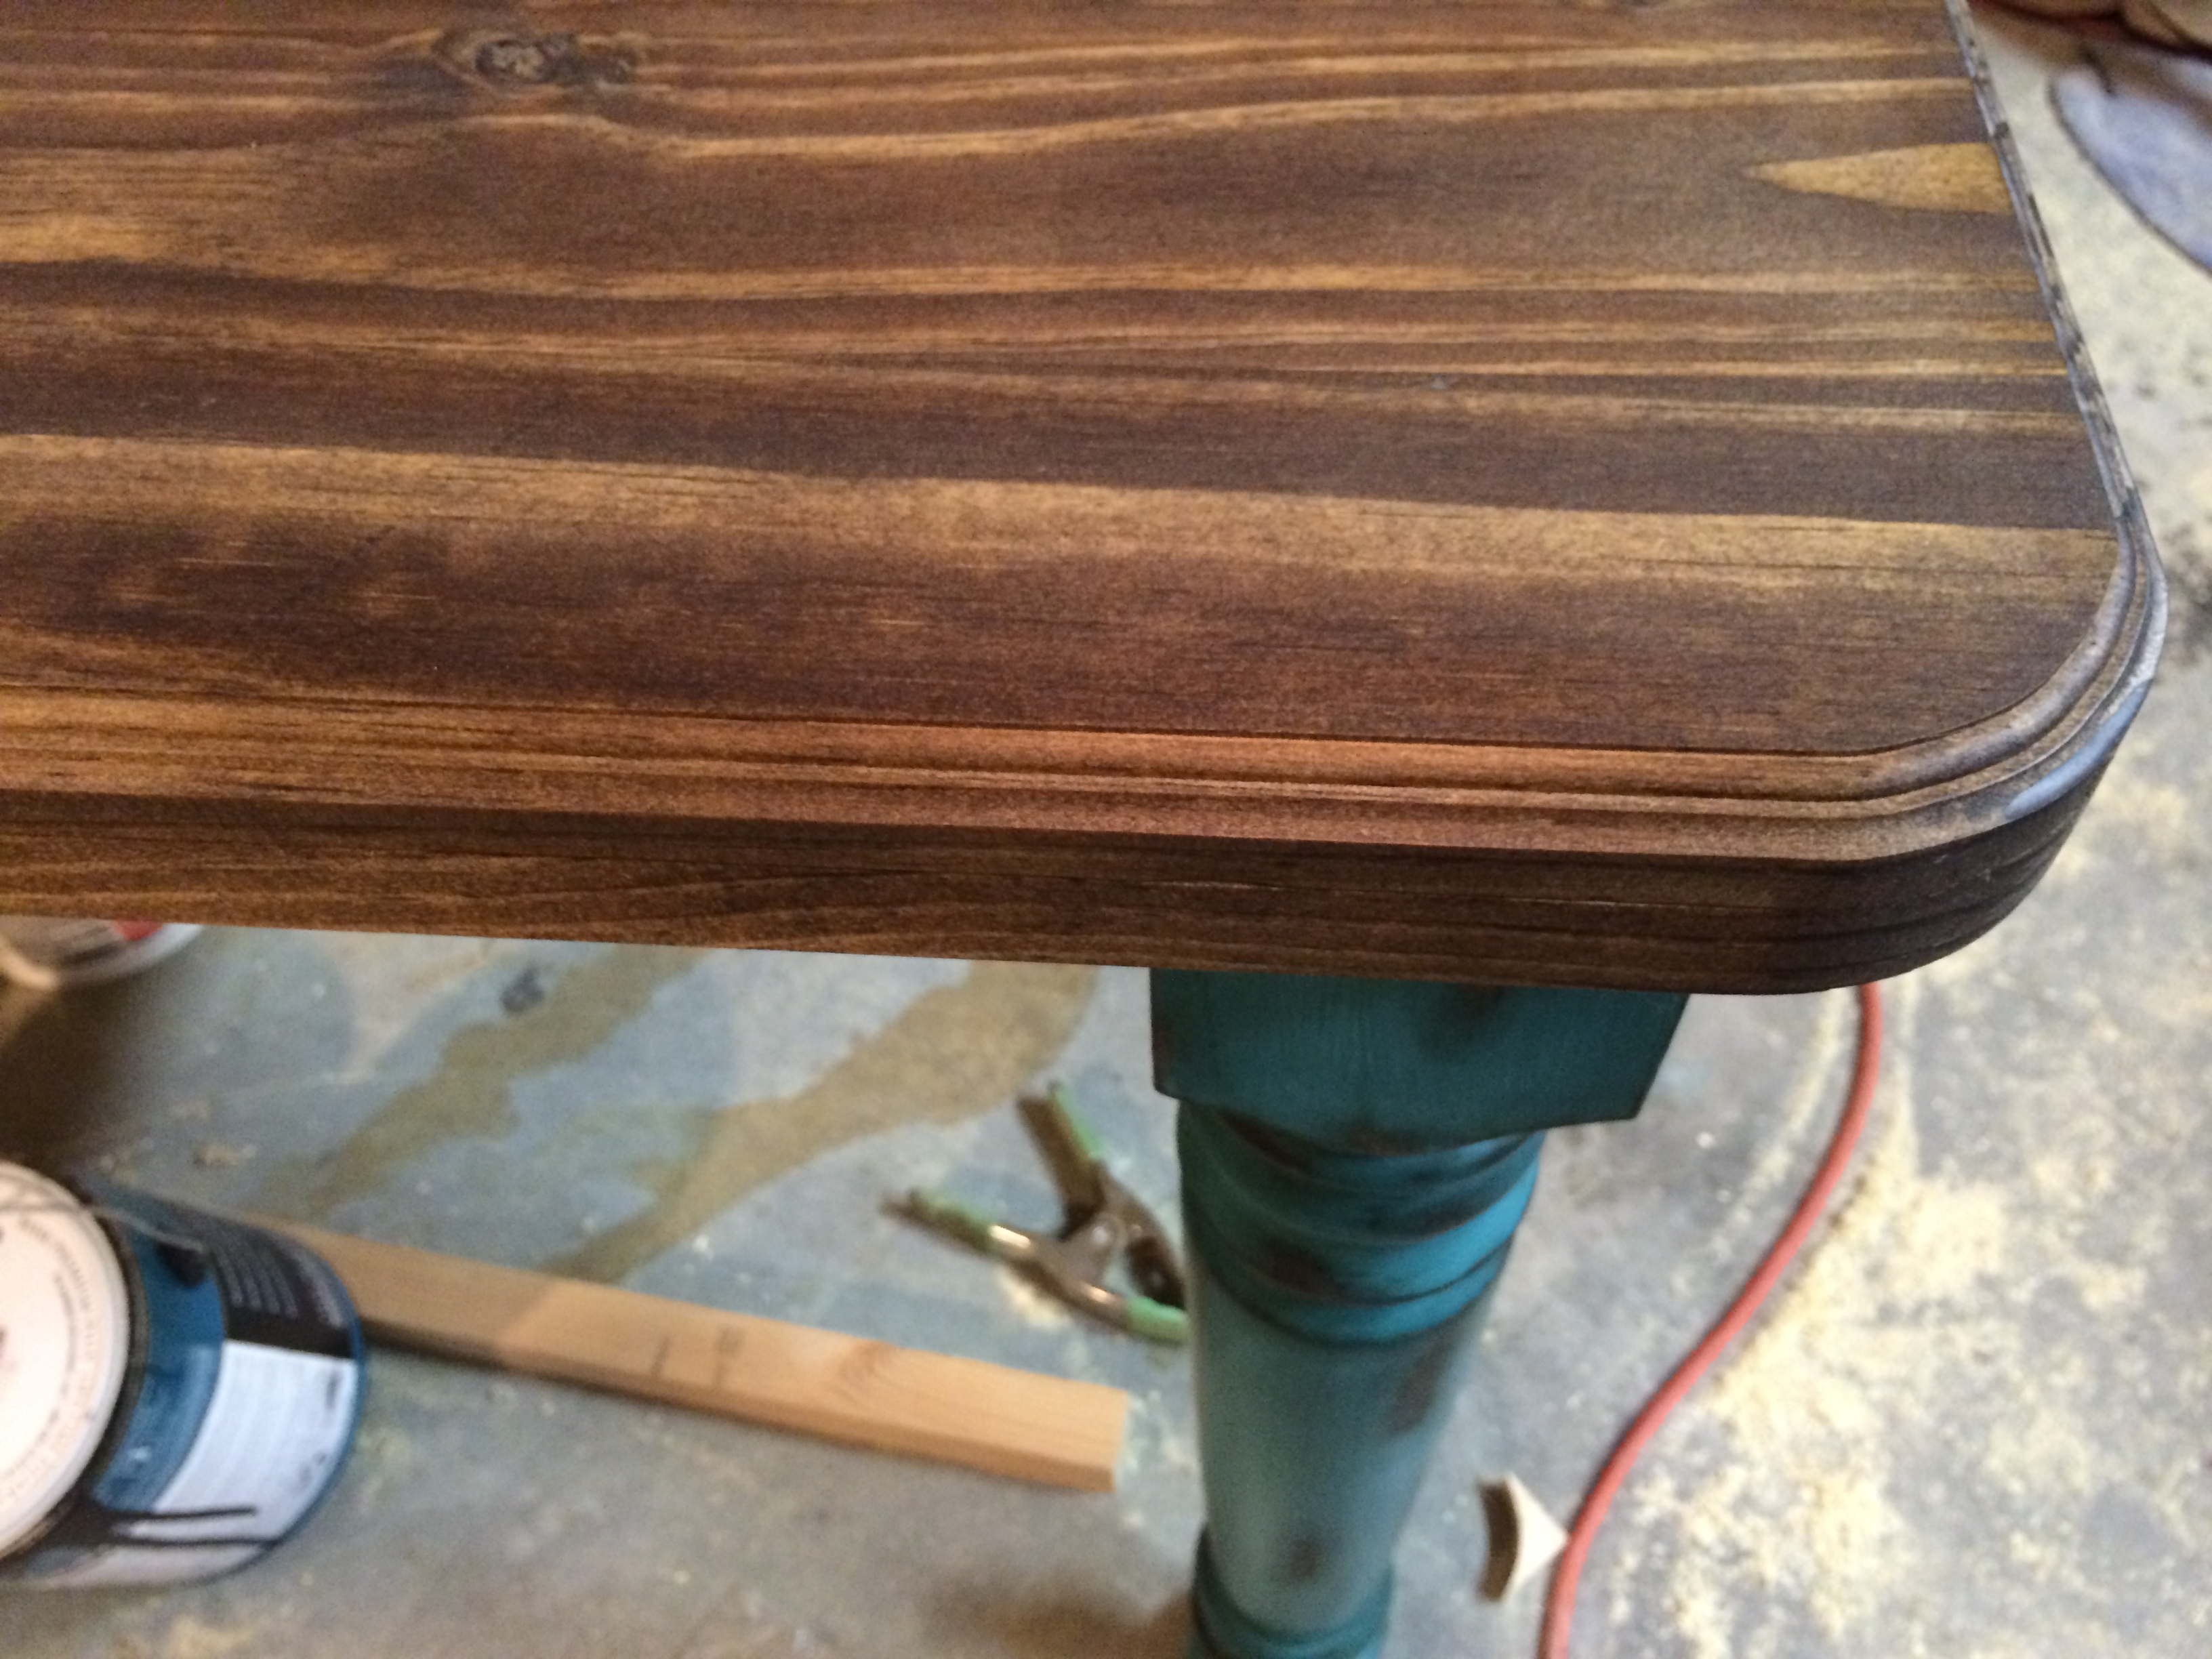
Finish Used
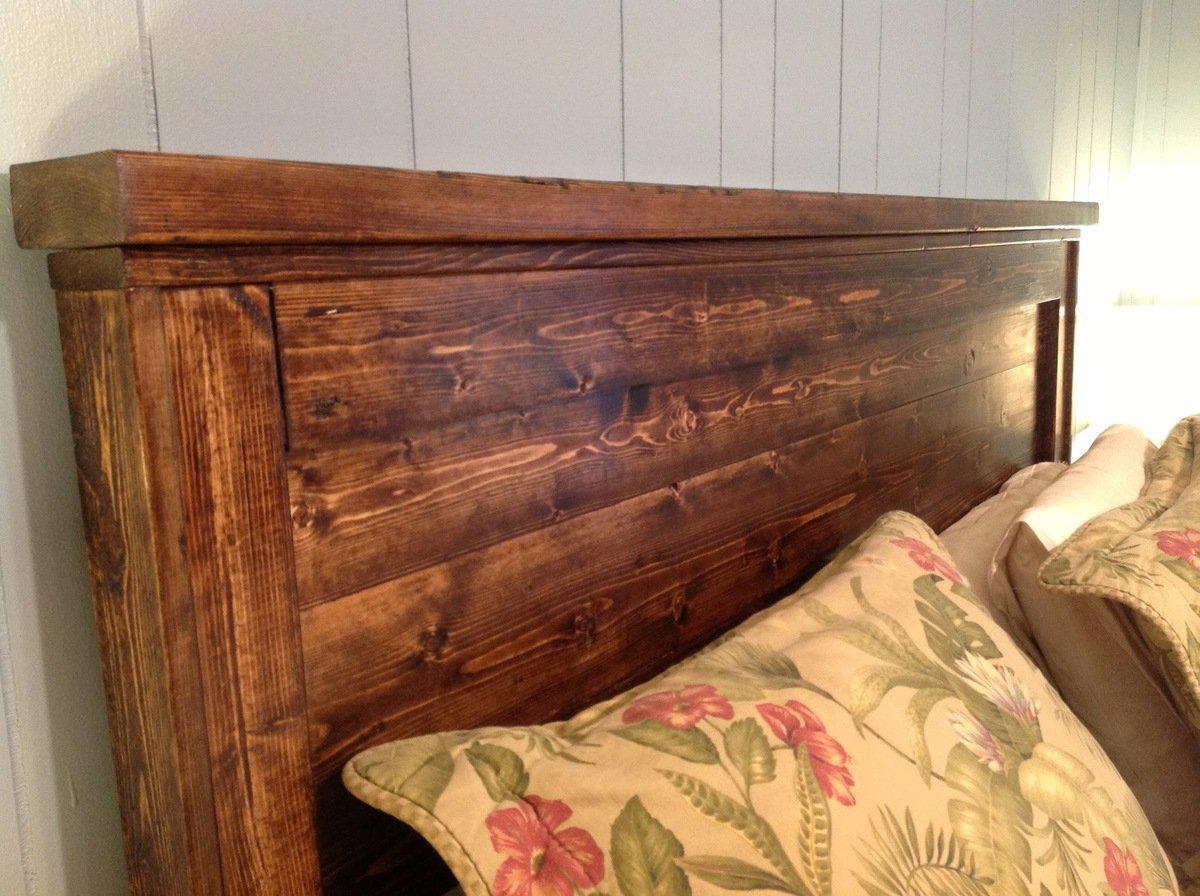
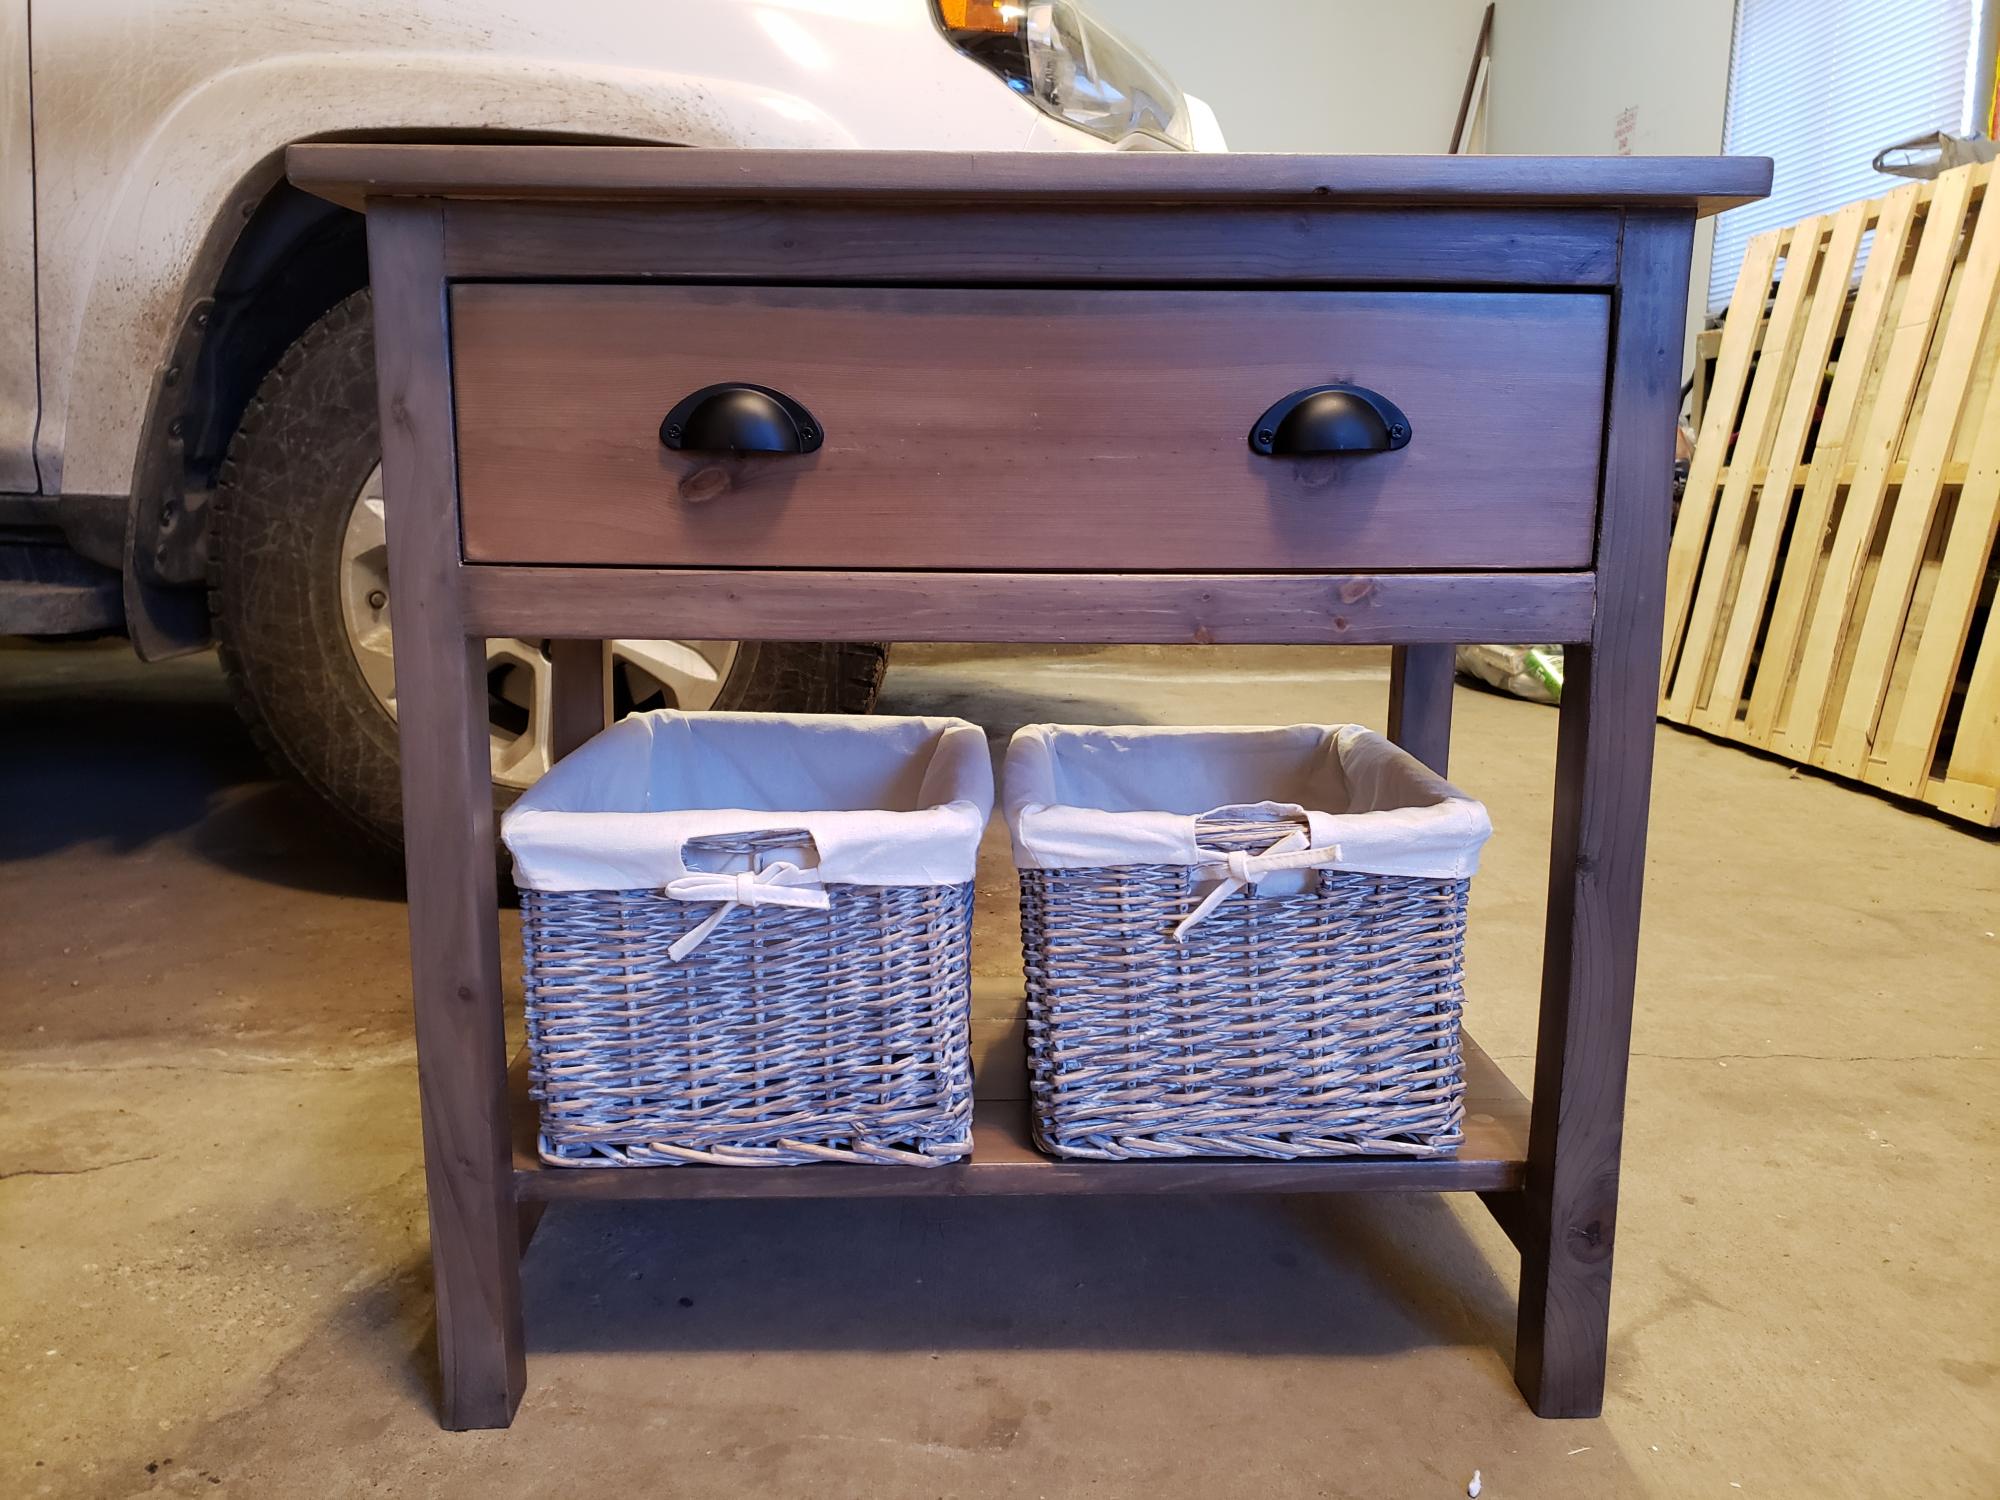
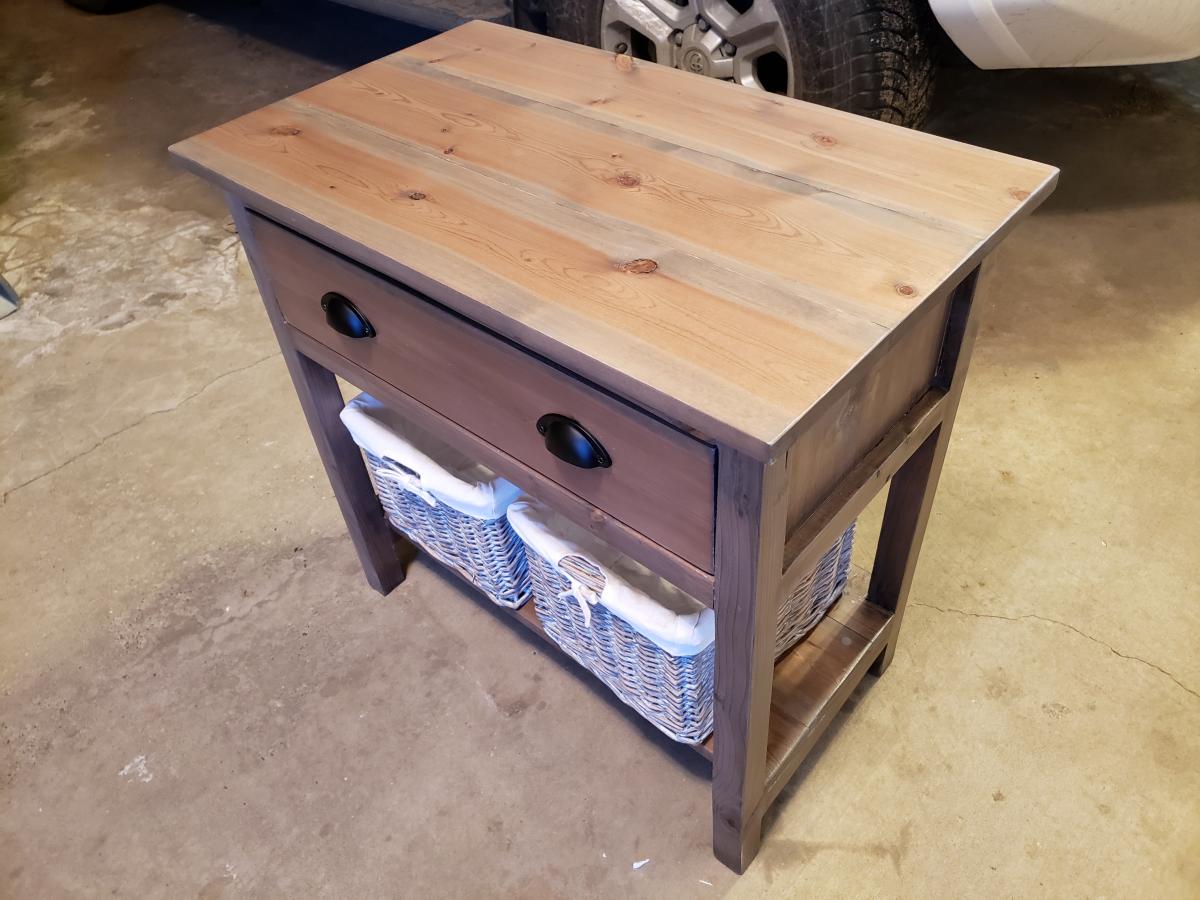
Weathered Grey and Polyurethane
Recommended Skill Level
Intermediate