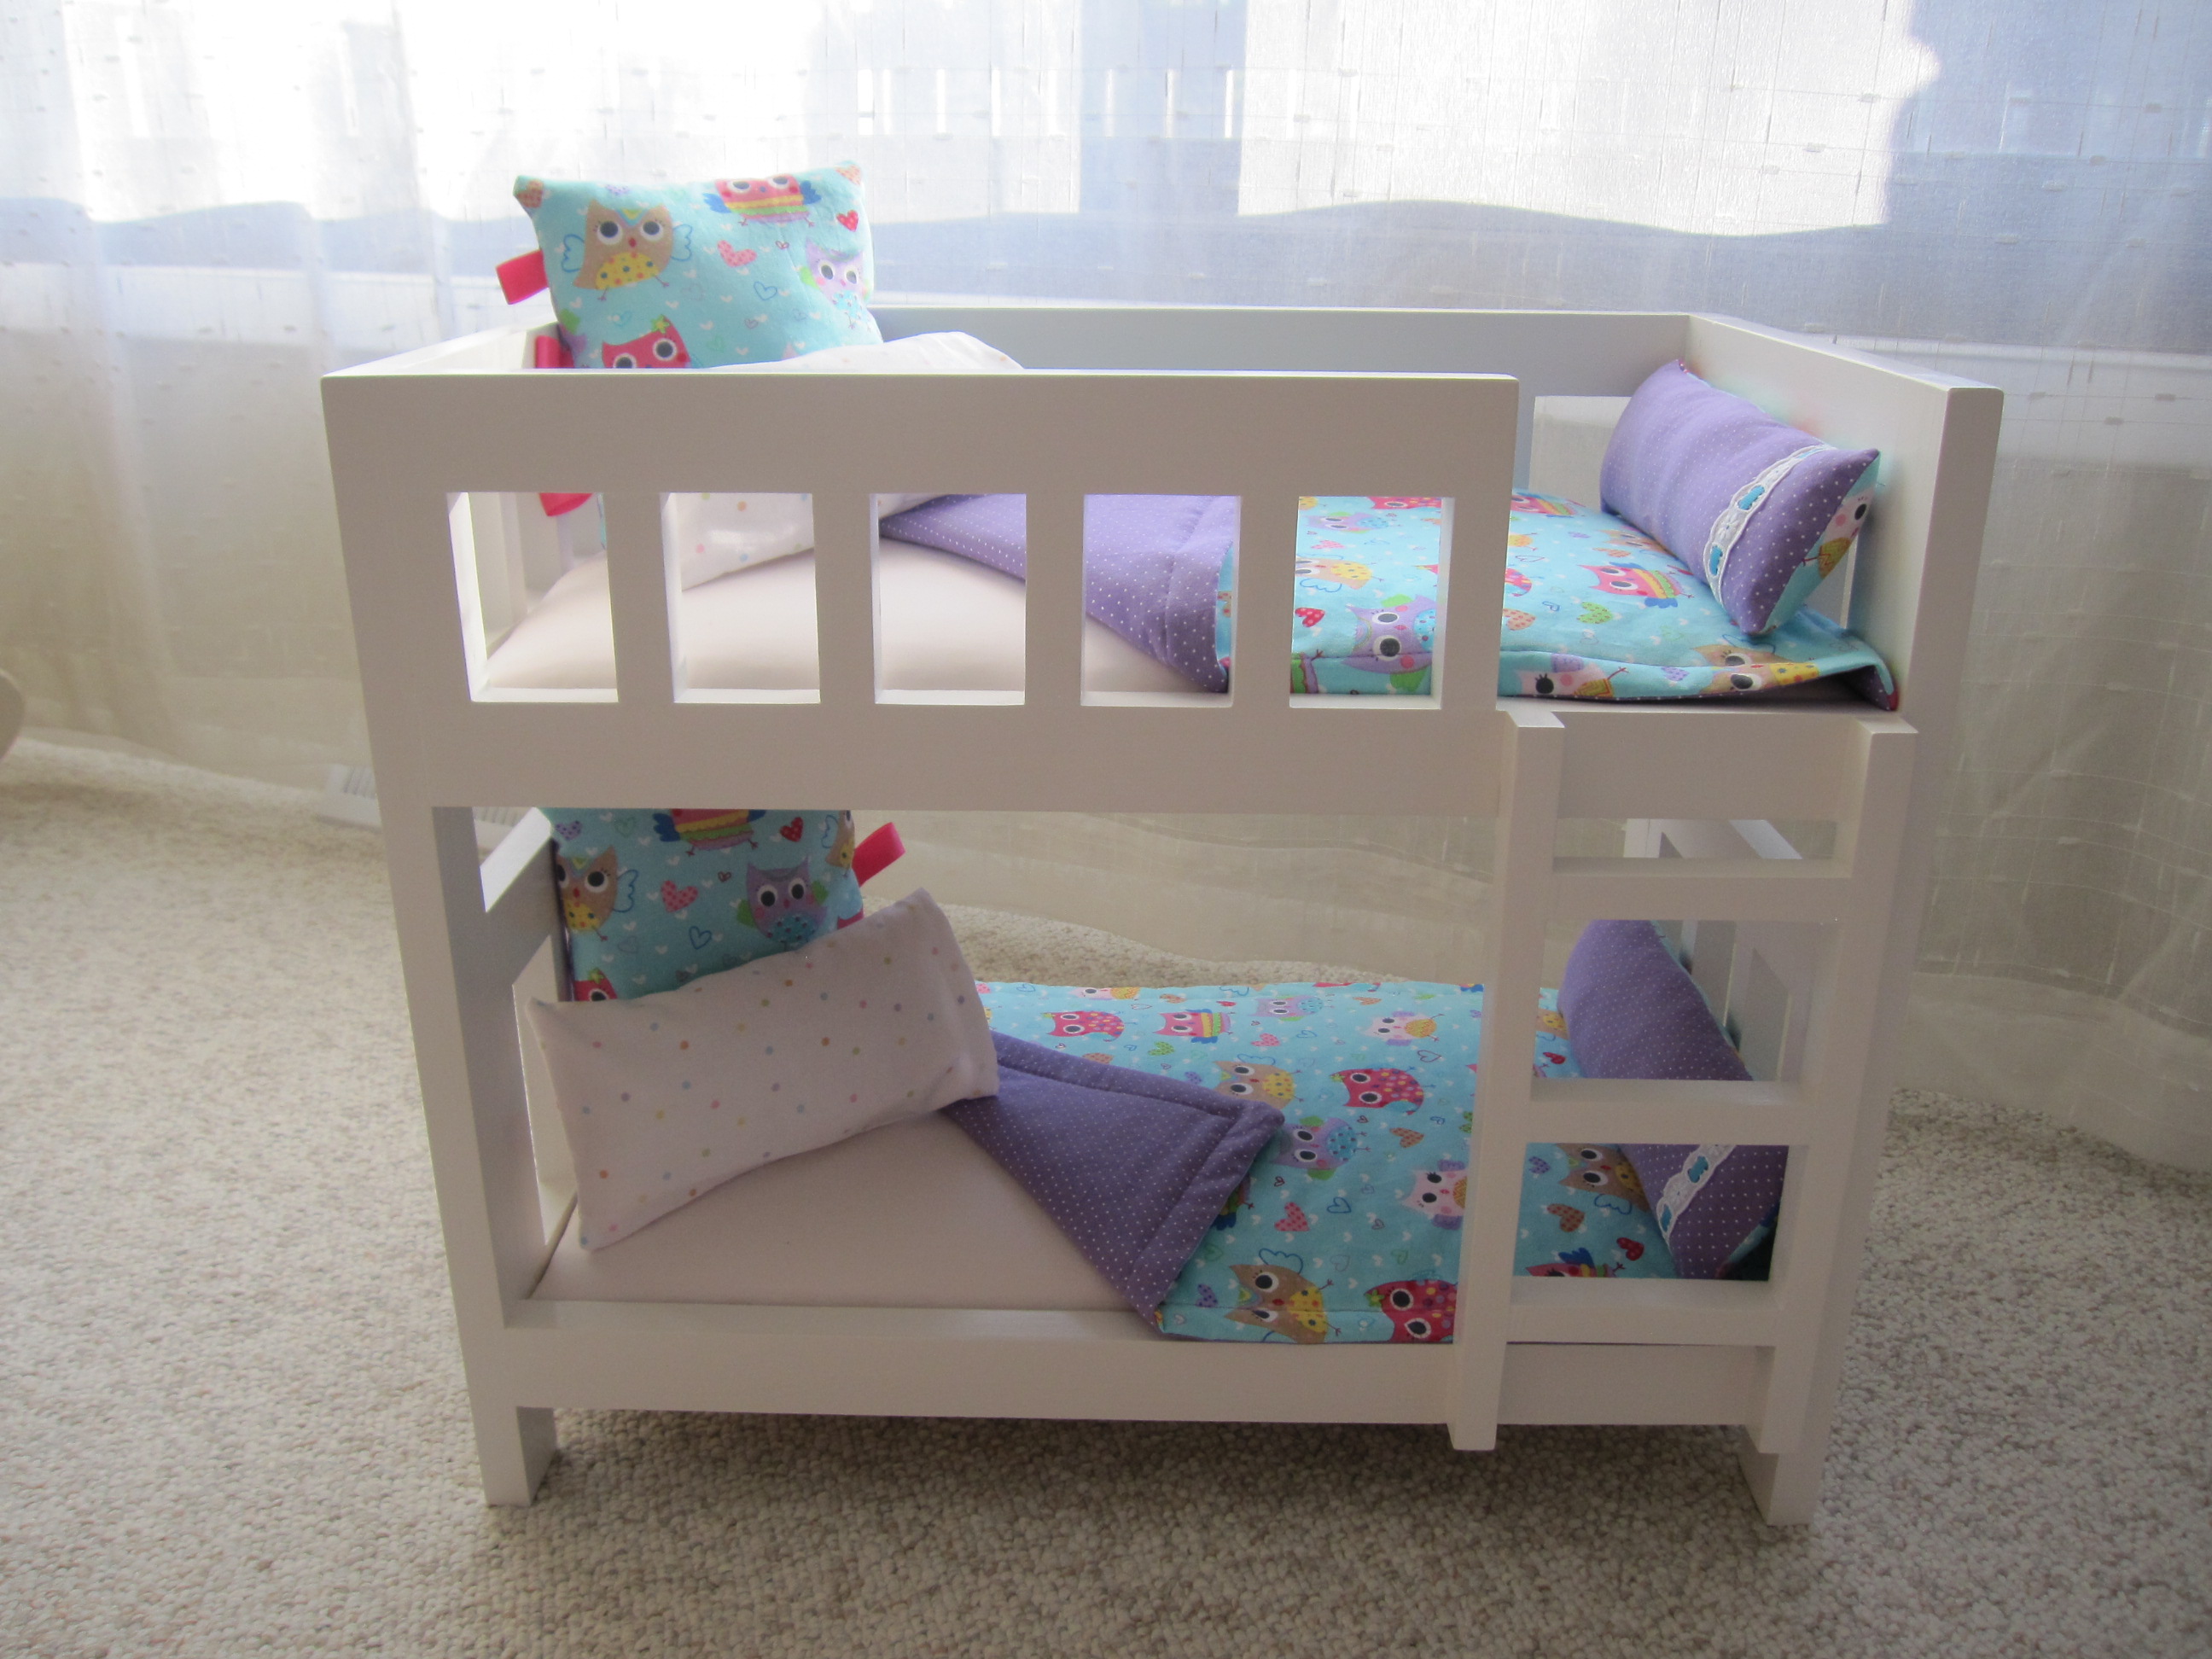
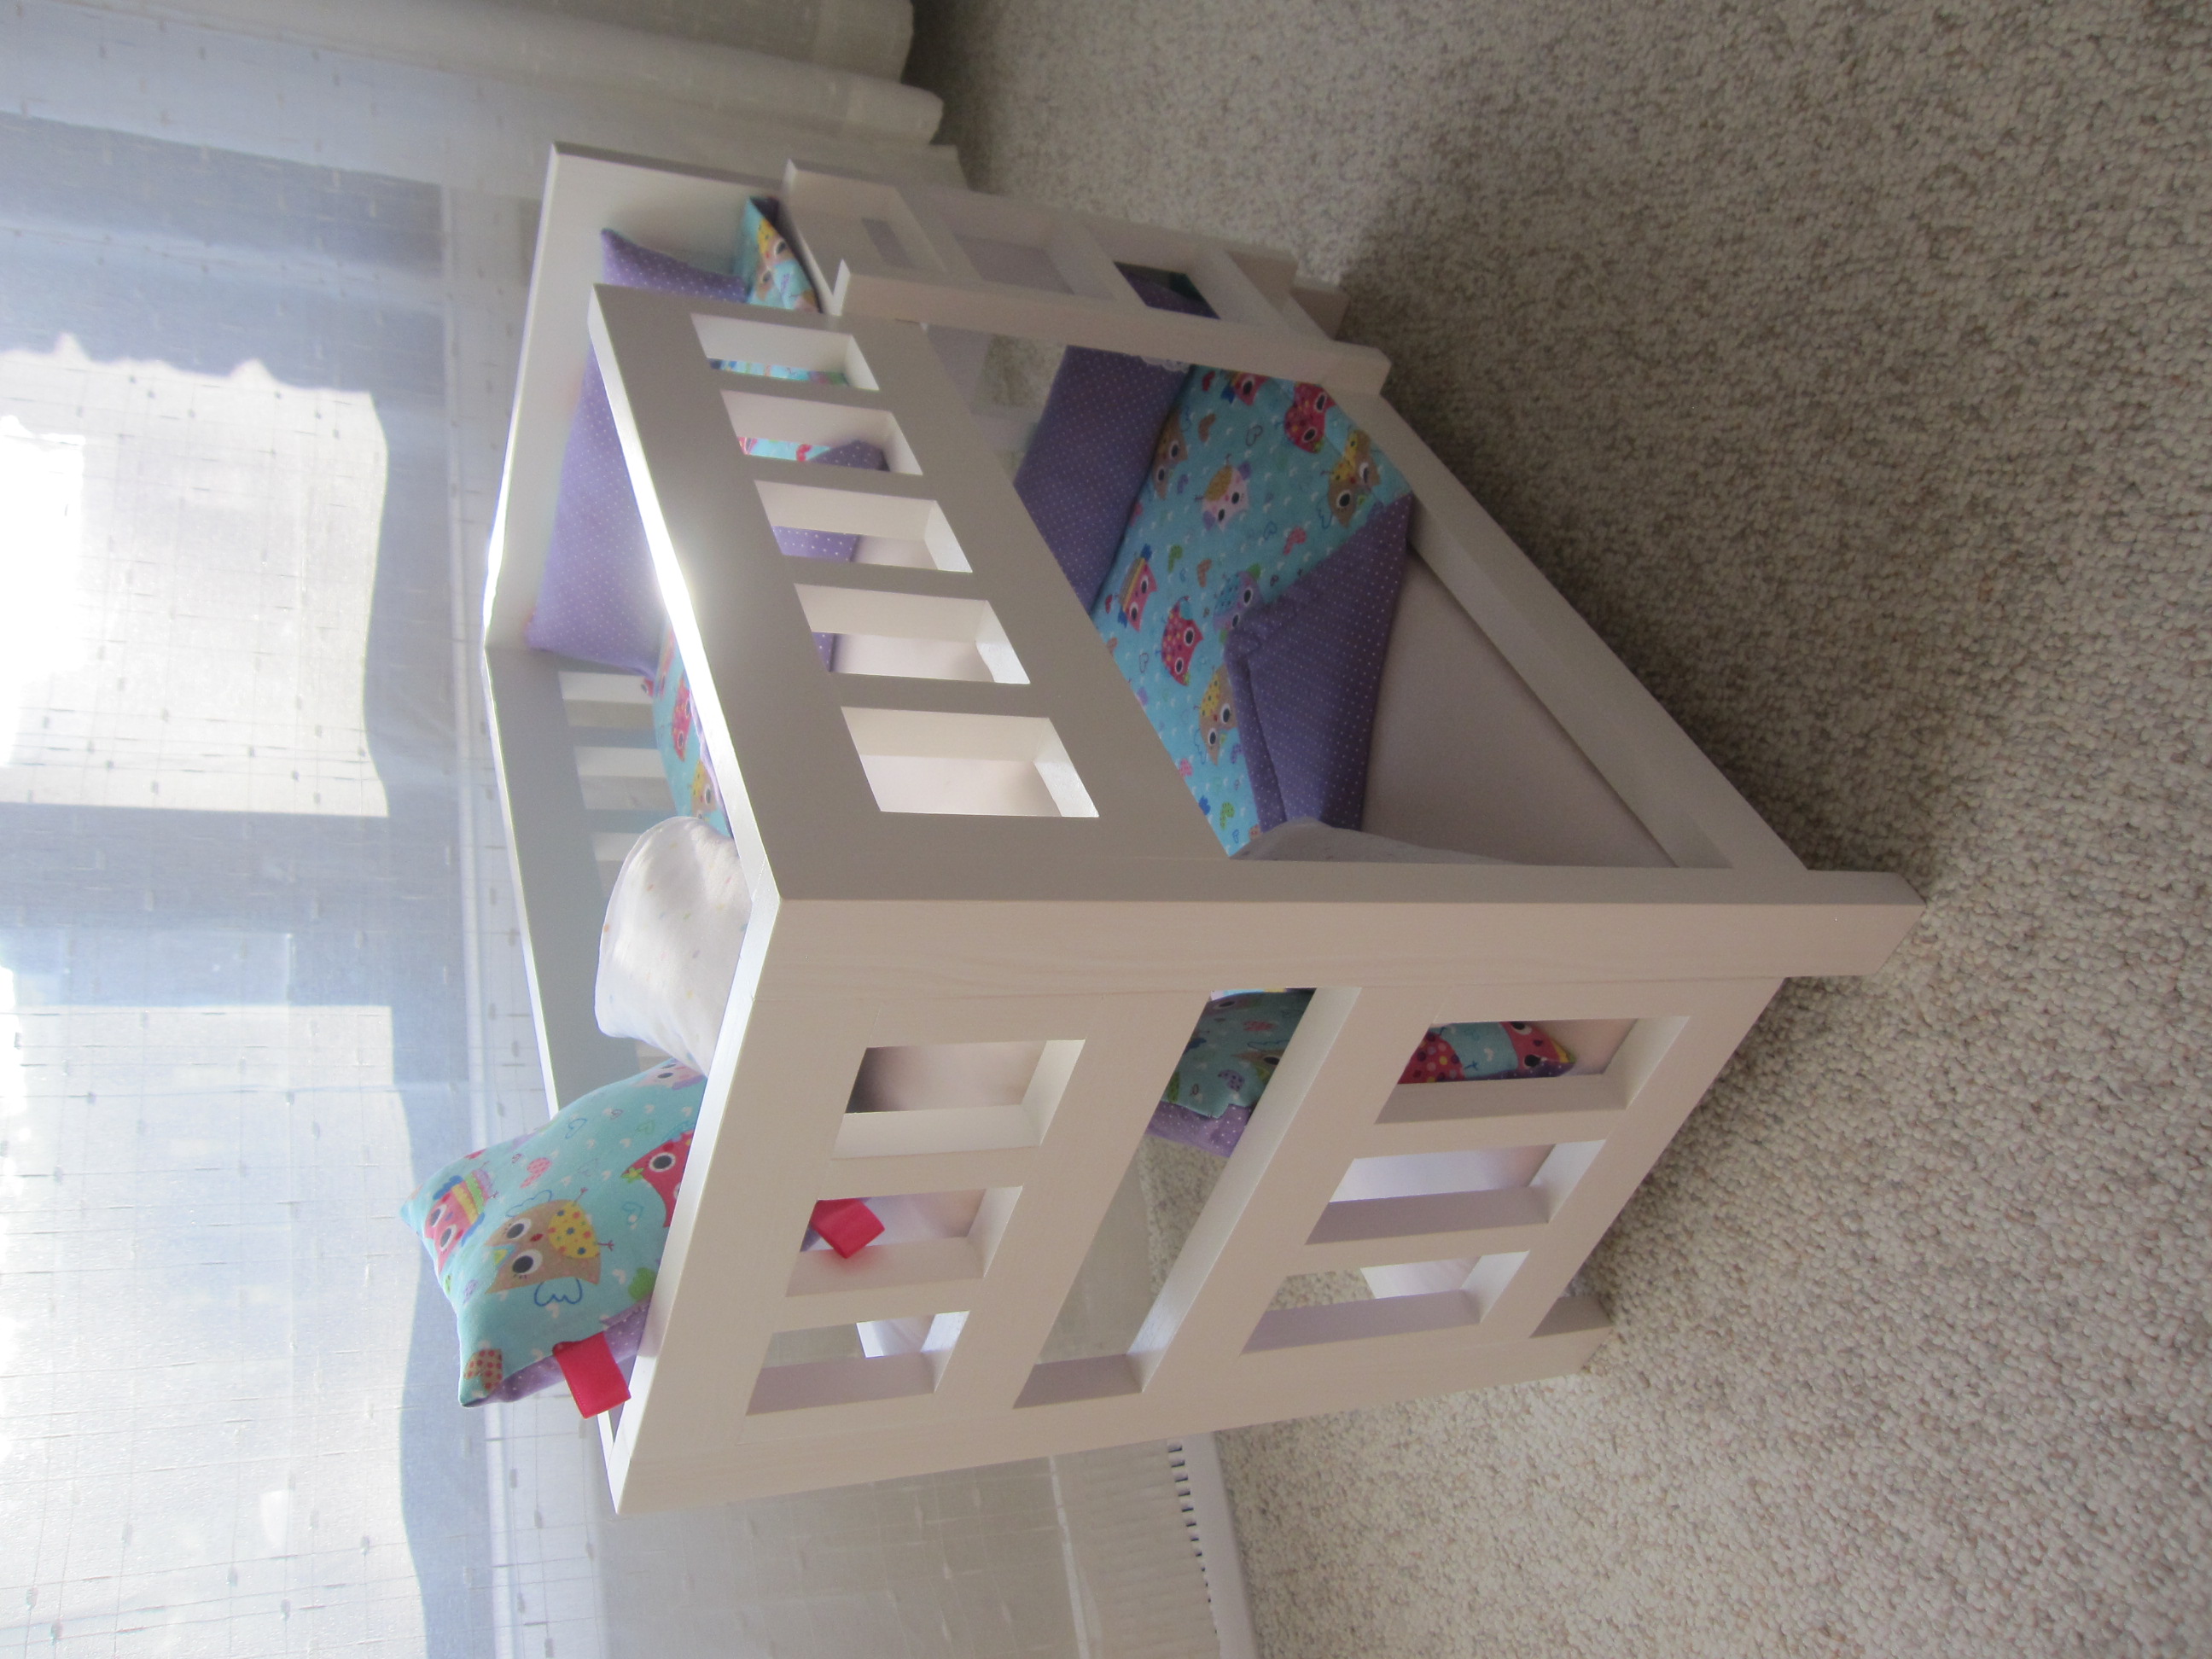
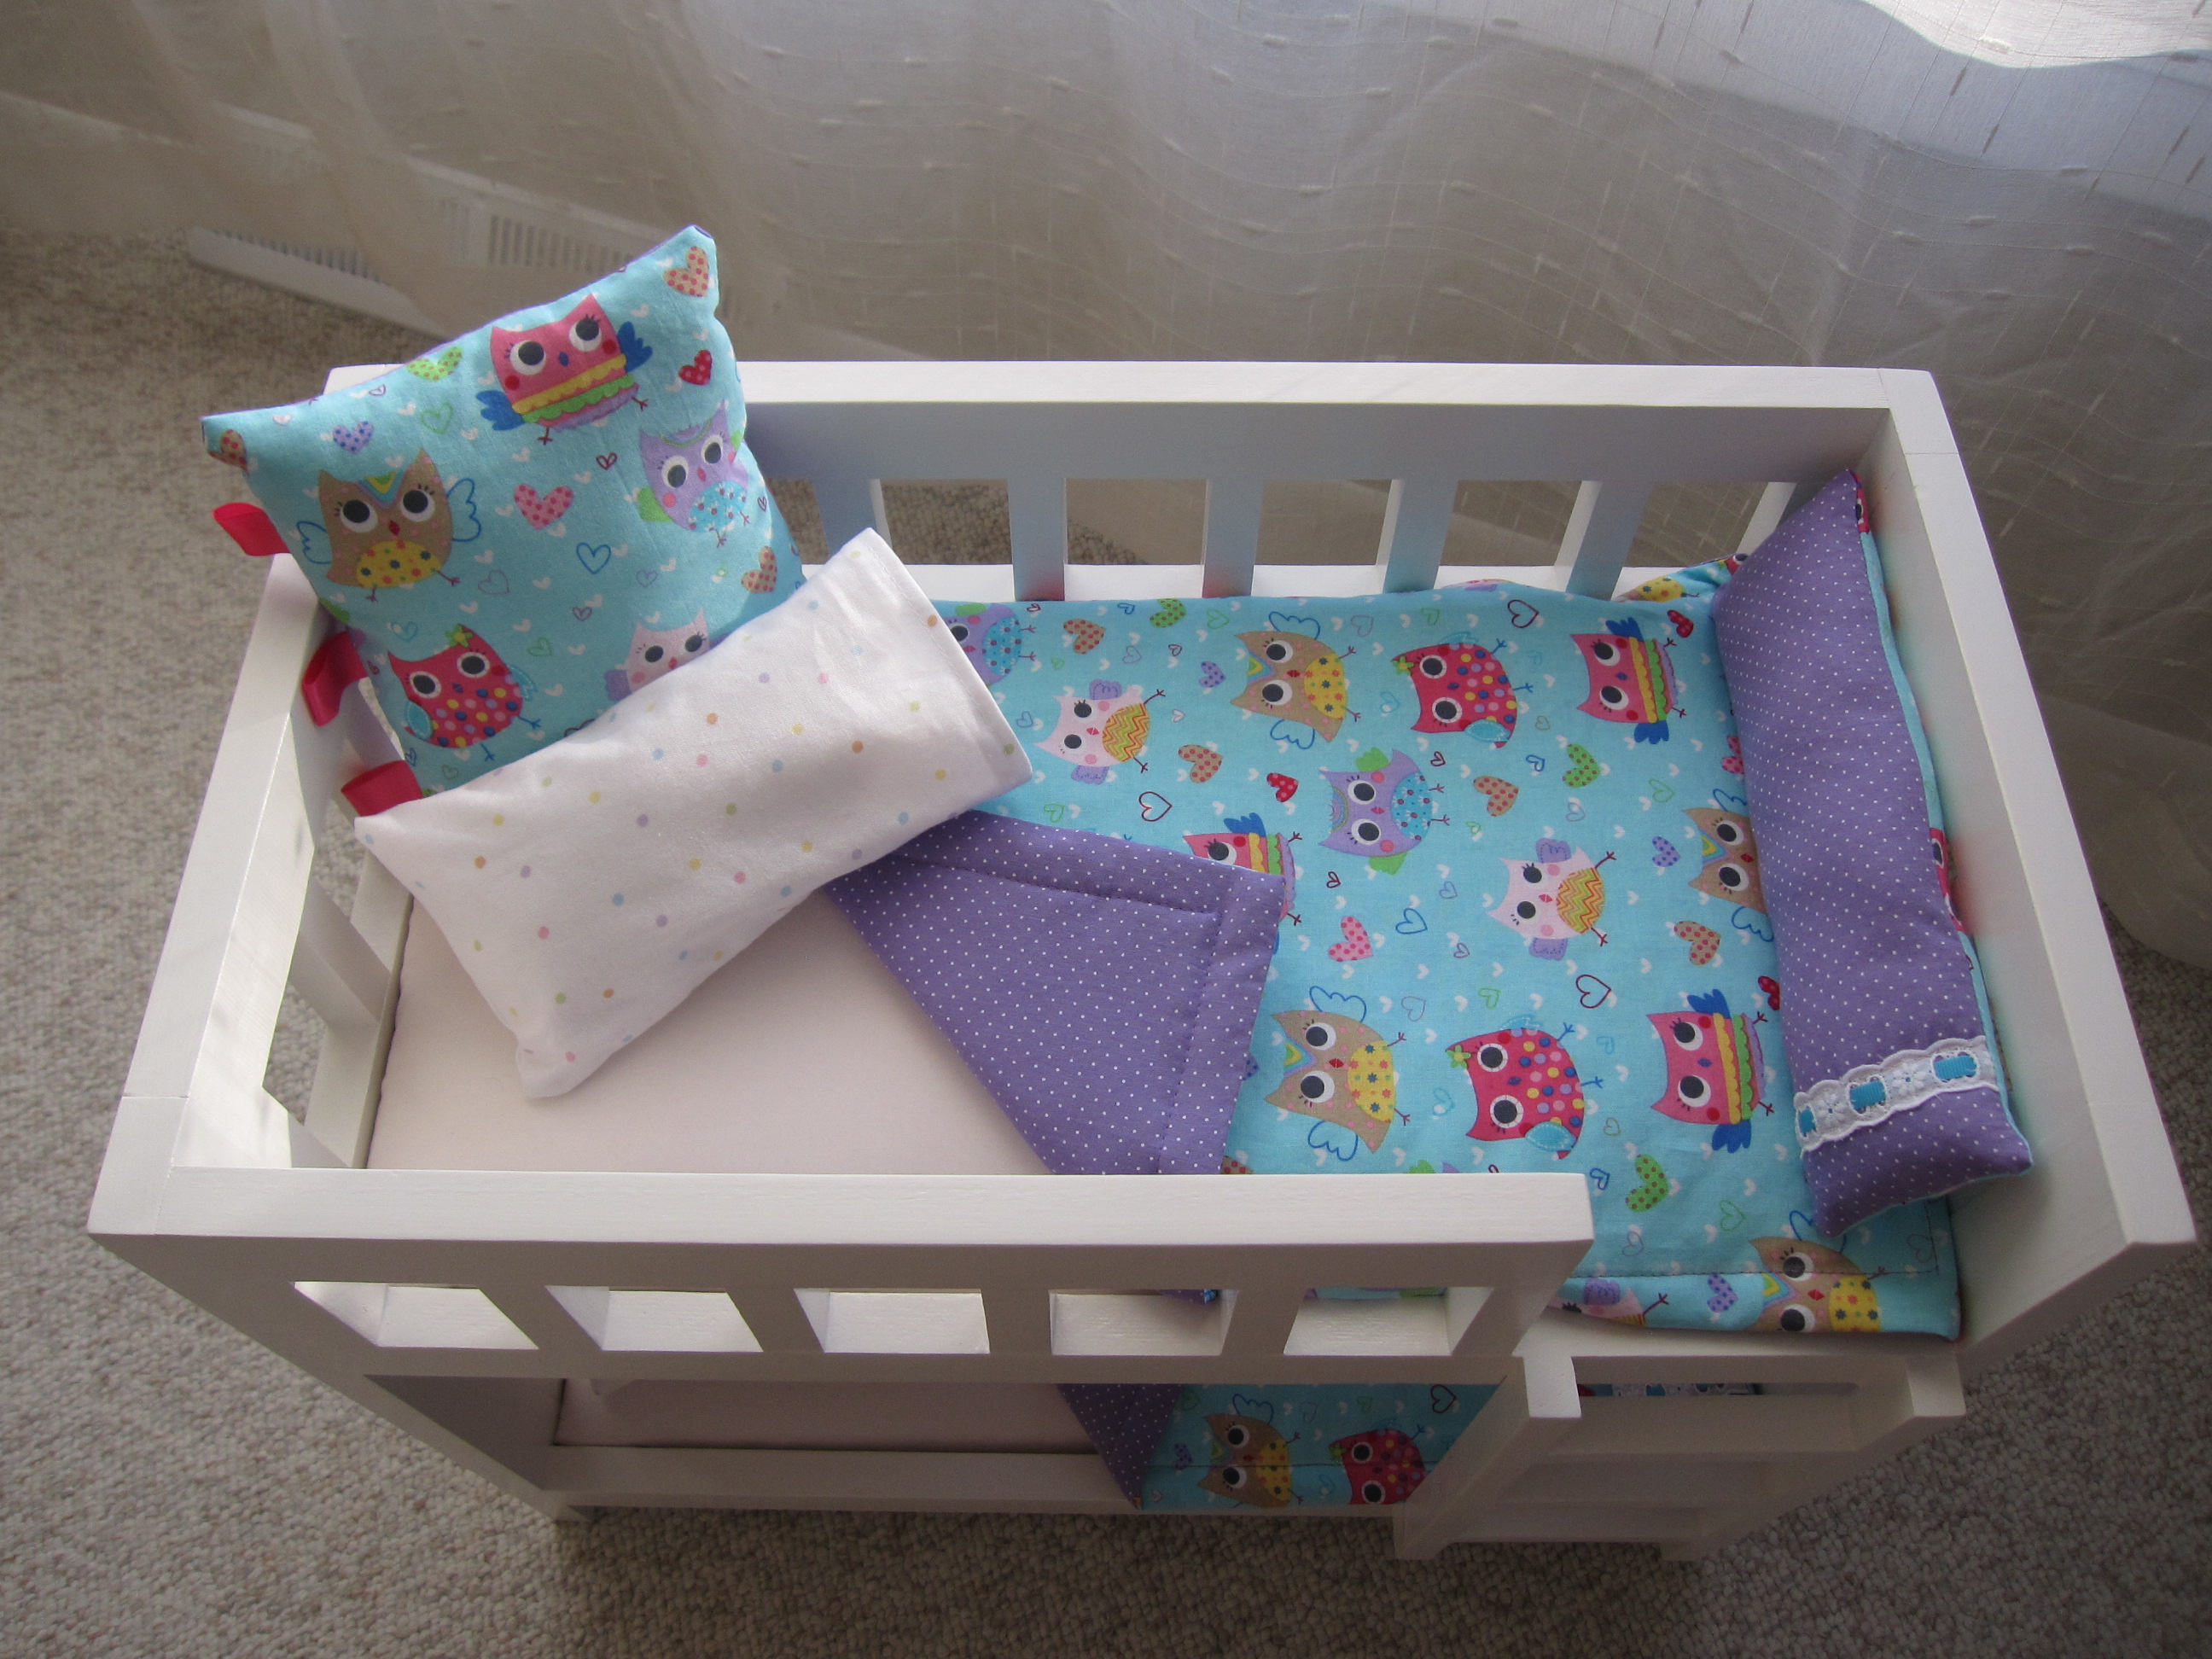
I looked at the doll bed plans forever trying to decide which one to make our daughter. I settled on the camp style bed that Jamie from "that's my letter" made from Ana's plans. There was one error in the cut list, you do not need 7-20" 1x2 pieces, unless I really messed up! You only need 5. It was fun and surprisingly easy to build. The sanding and painting took far longer than the actual building. It took me less than two hours to build, including dry time for the wood glue on the rails (hot glue would be faster) I found craft paint brush #16 (3/4 inch) worked the best and fastest for painting all the rails. Any bigger brush and you'd get runs at all the corners. I put on one coat primer, and three coats of paint, probably about 6-8 hours total time in sanding, painting and applying the finish wax. I made the bedding with some cute fabric from Joann's Fabric, also harder than the building! All said and done the extra hours were worth the finished product, it is beyond beautiful and I am so happy! I can't wait to see Elena's face on Christmas morning. (You can build it in 1-2 hours, I put weekend project b/c of the time to finish it) I worked on it for about an hour at a time over a two week period, as I couldn't let her see me working on it!


Comments
Ecaruso
Fri, 11/28/2014 - 09:46
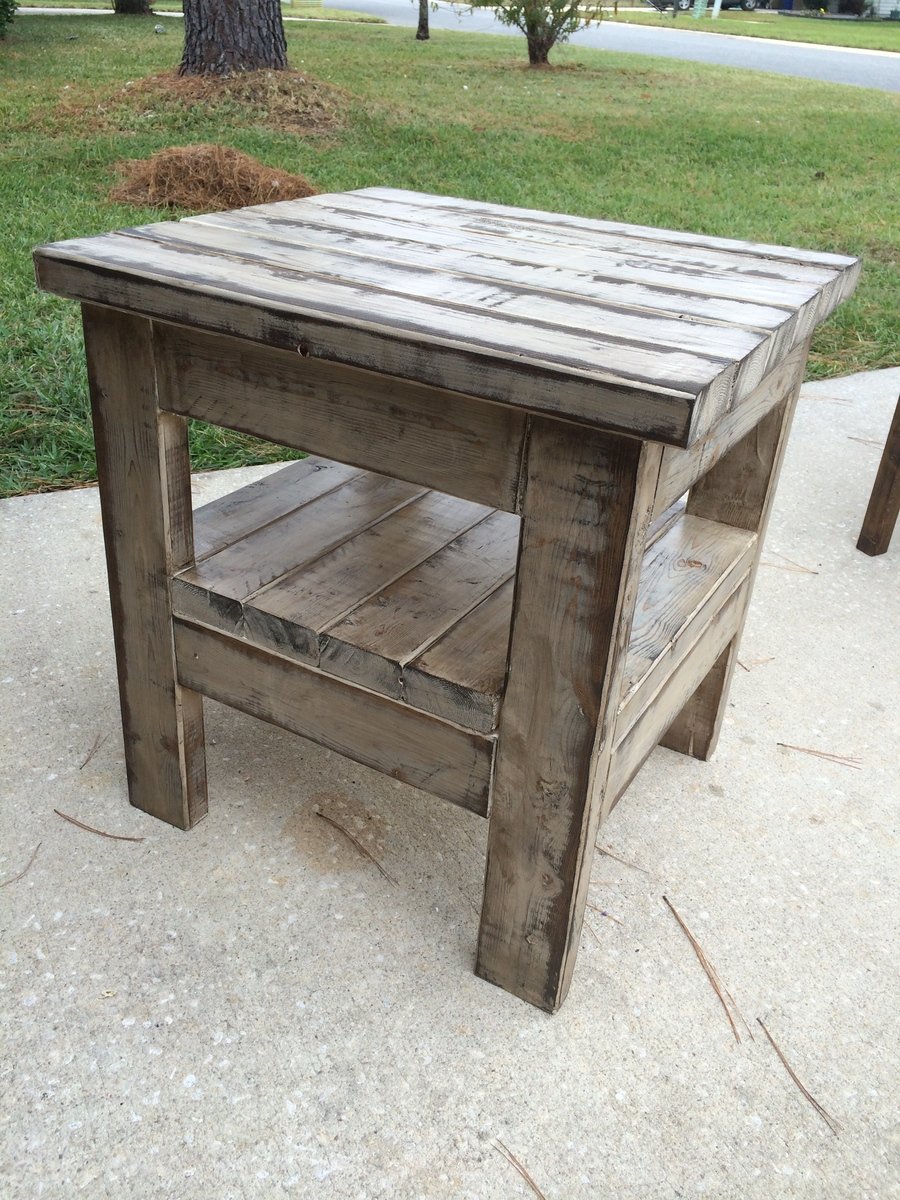
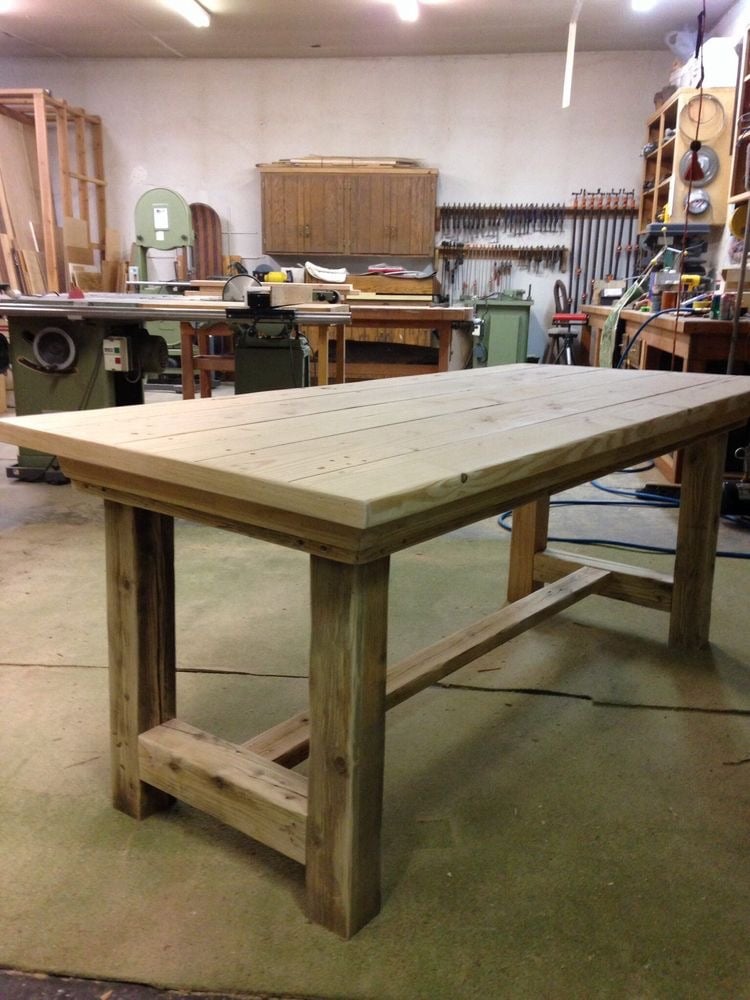
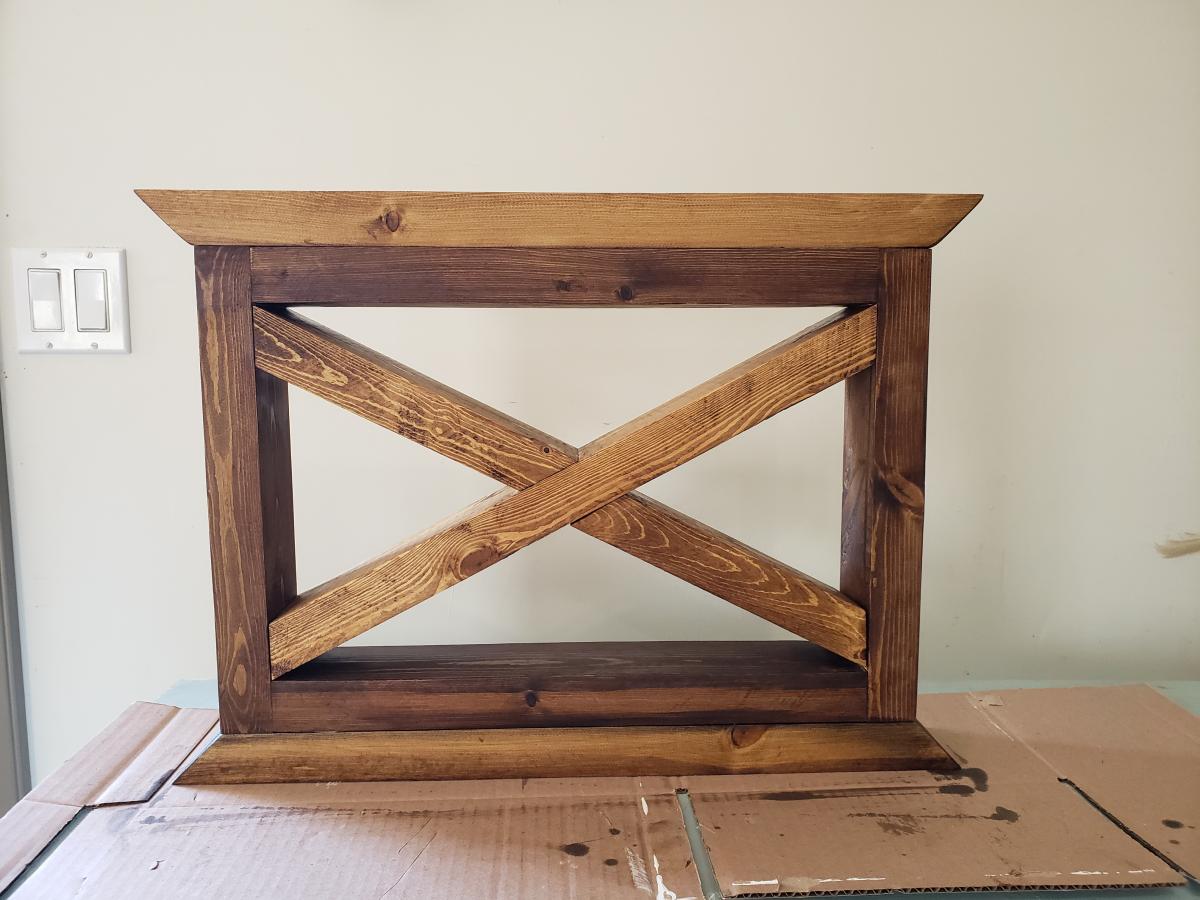
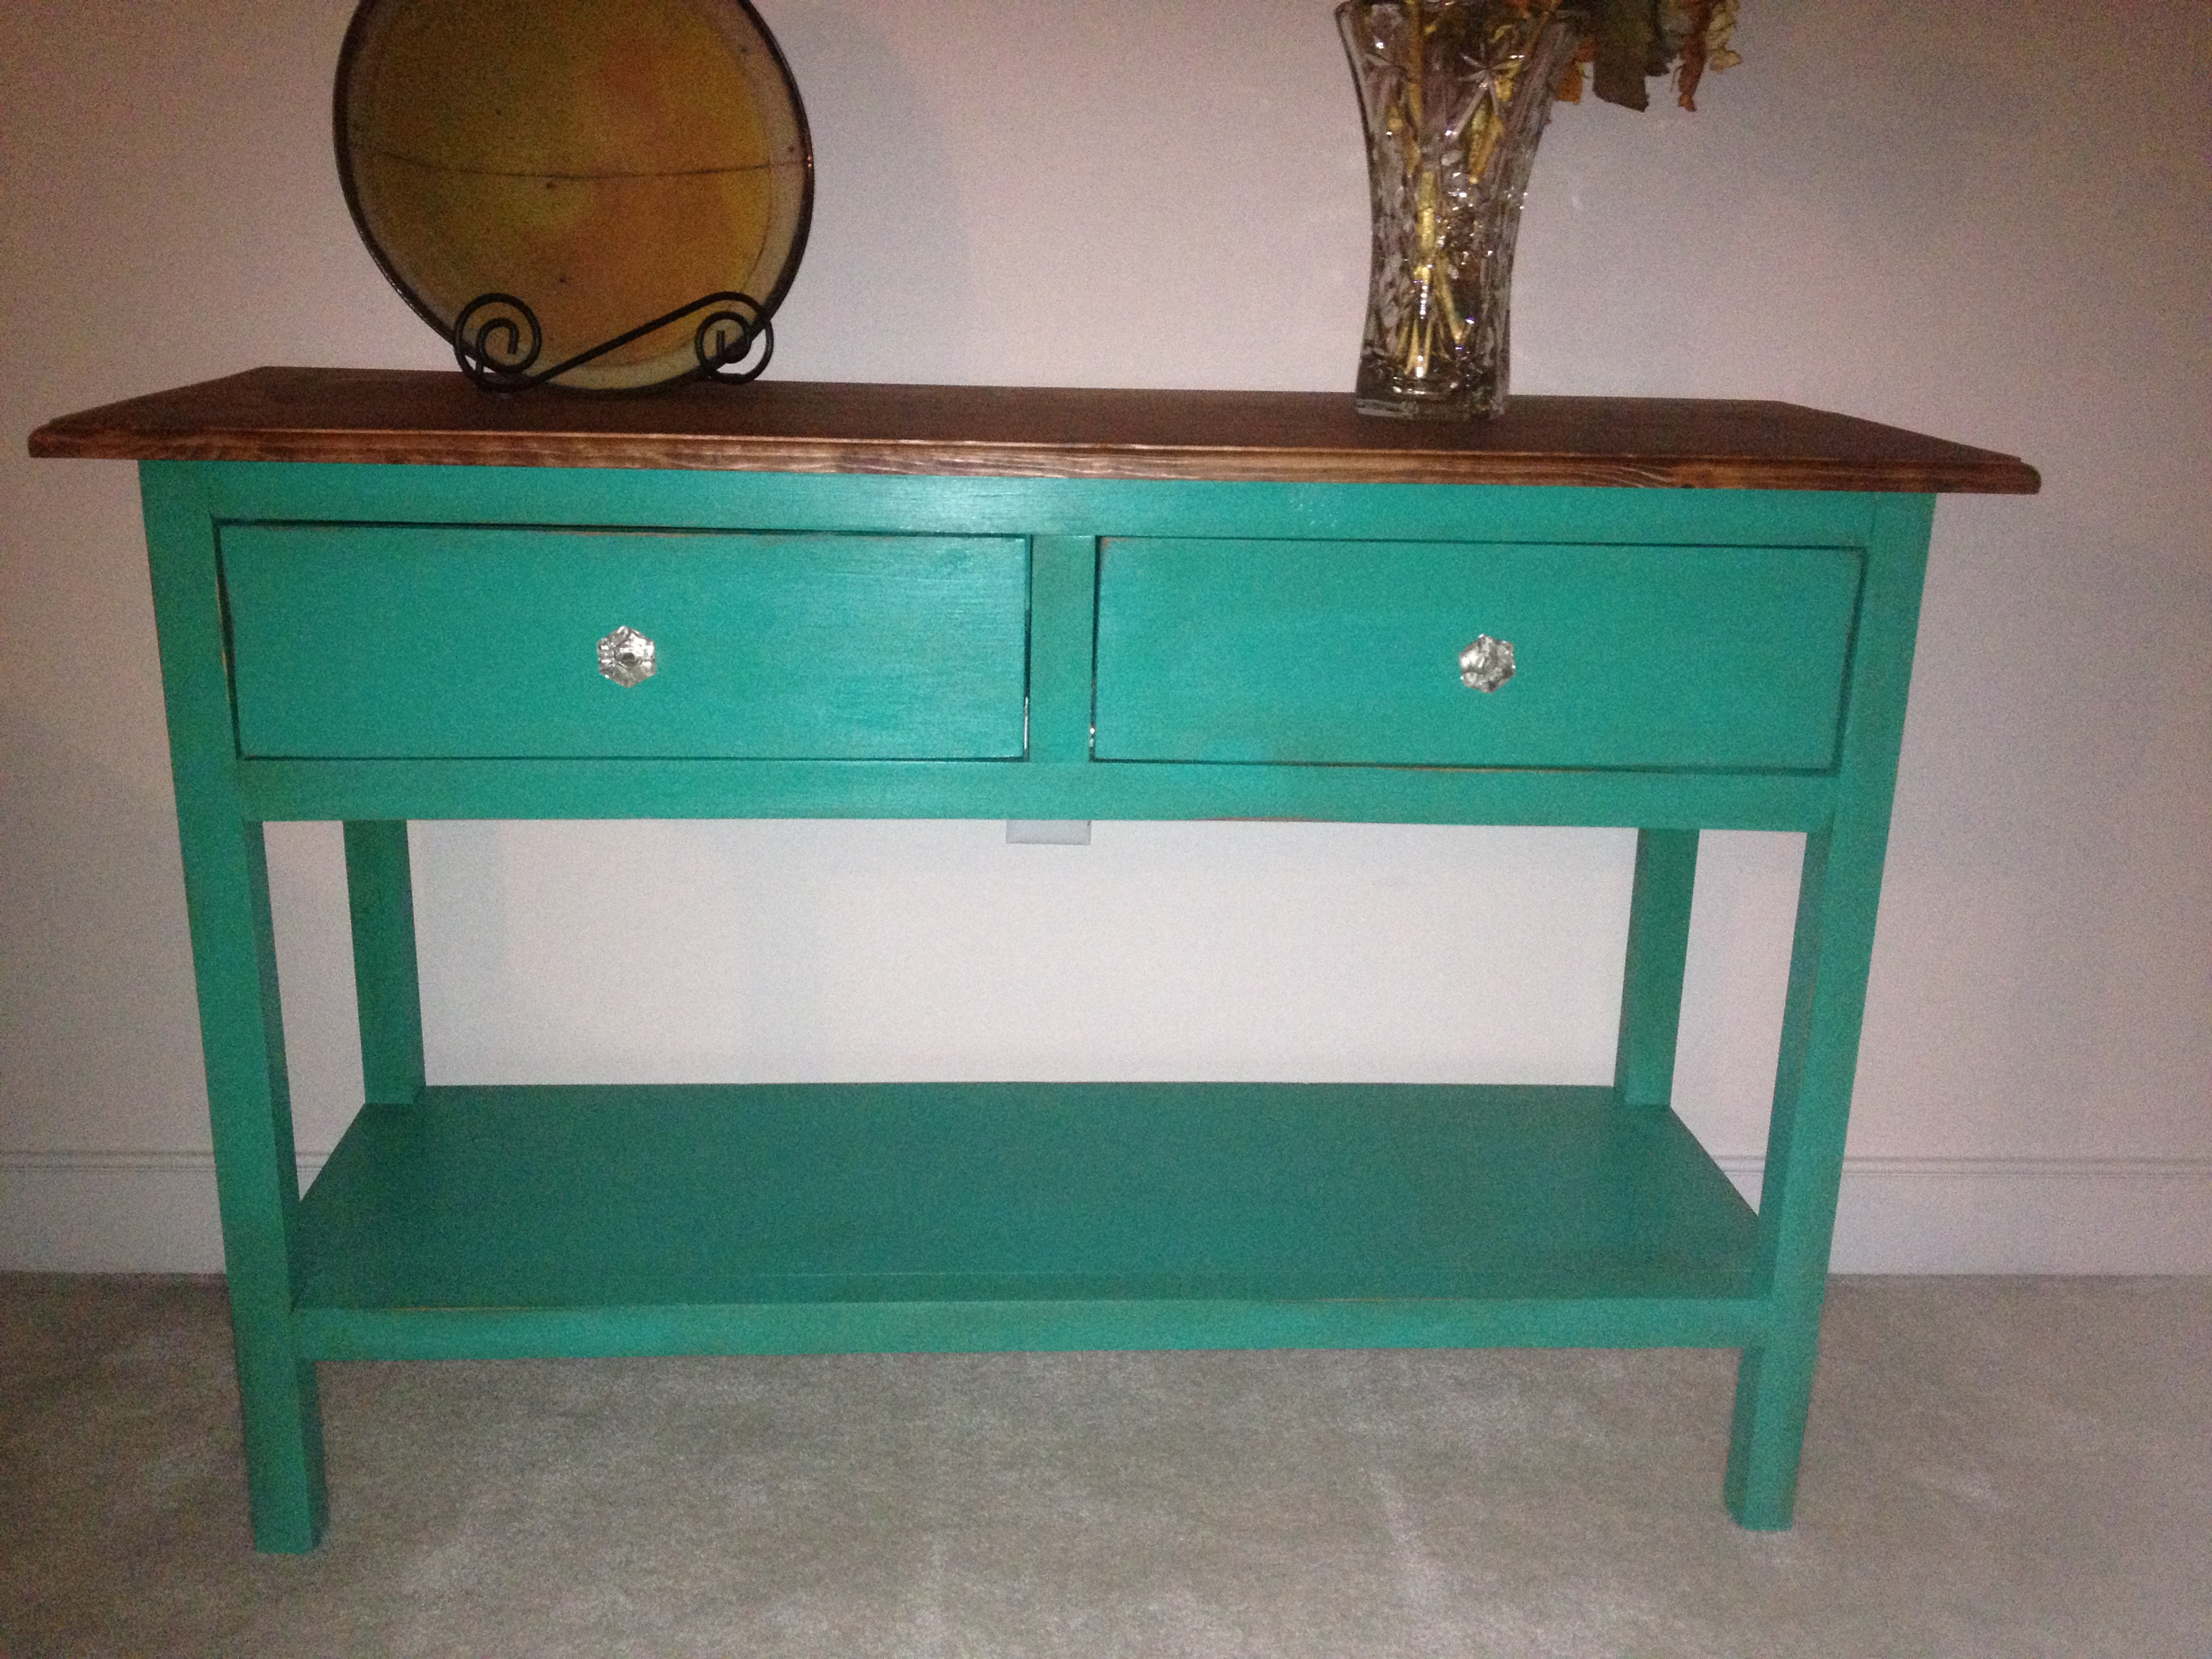
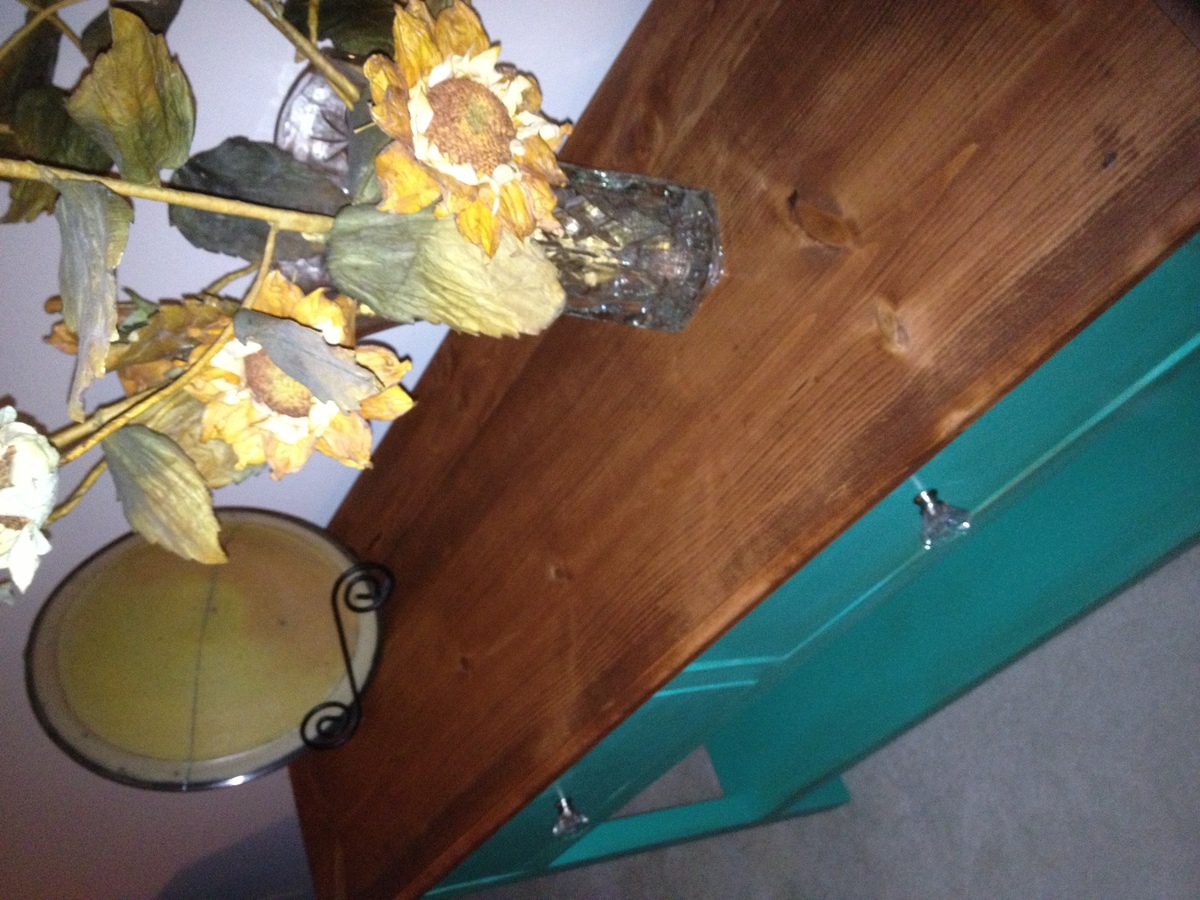
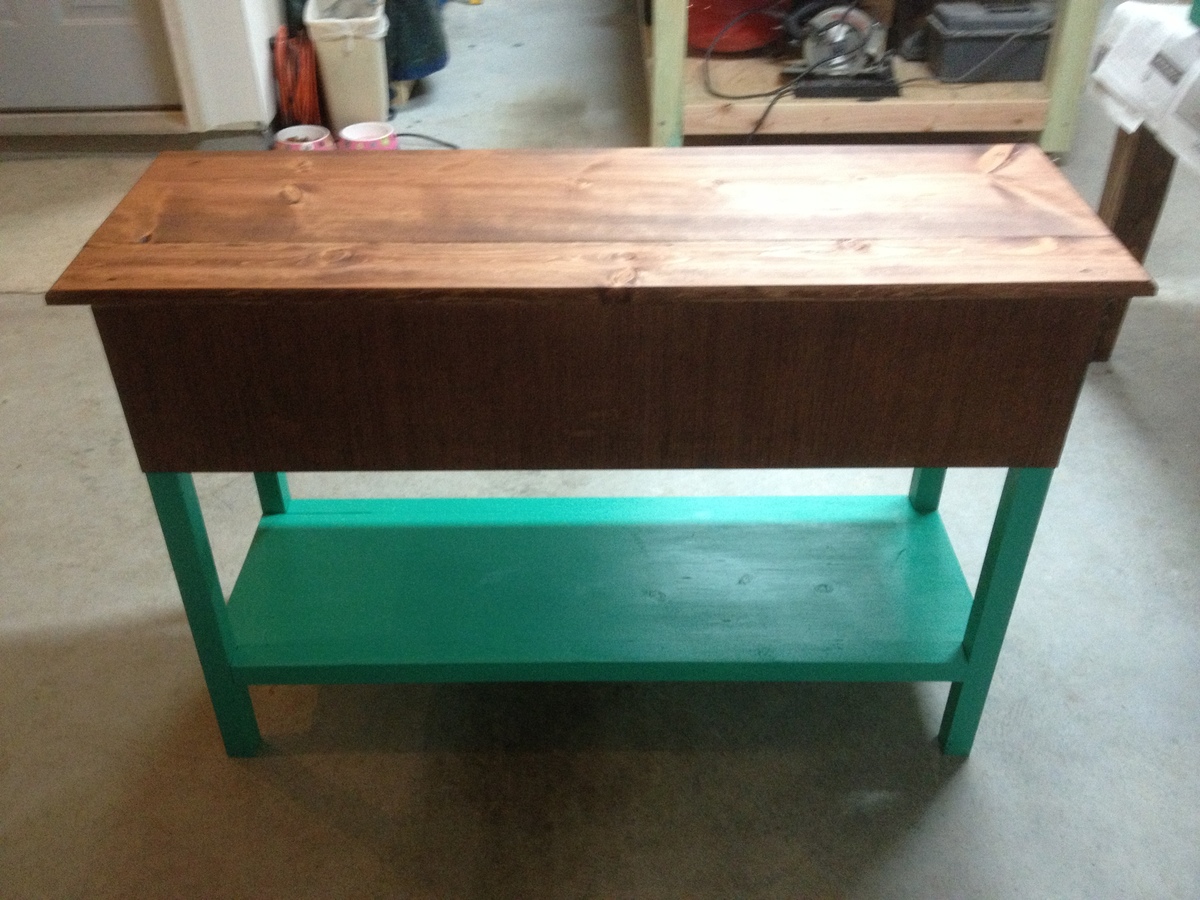
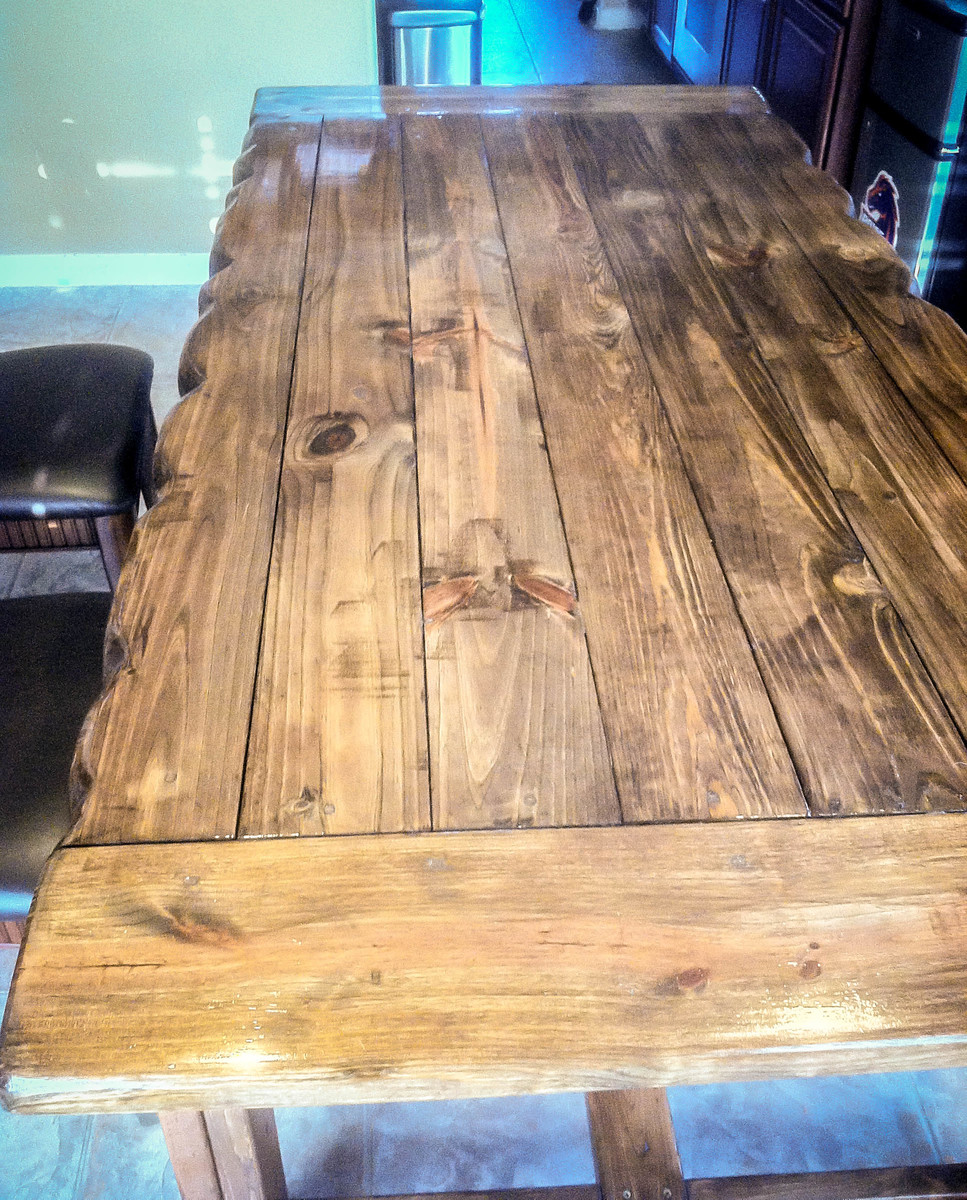
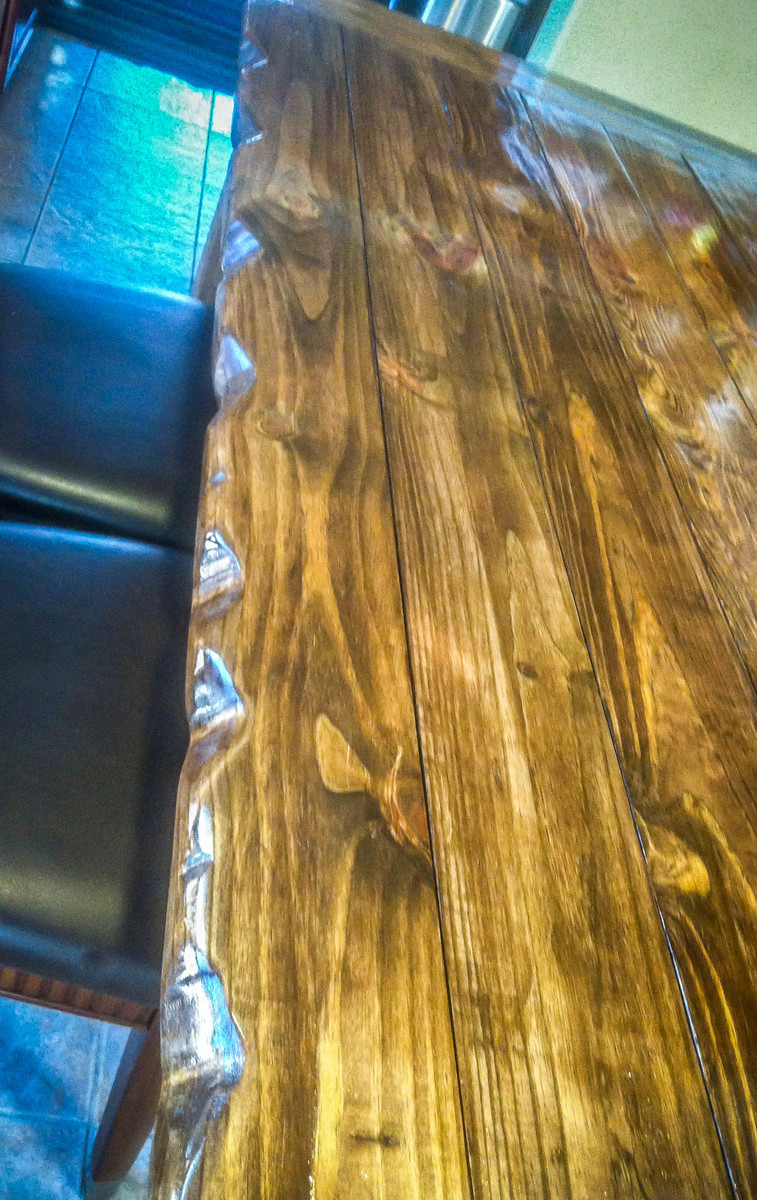
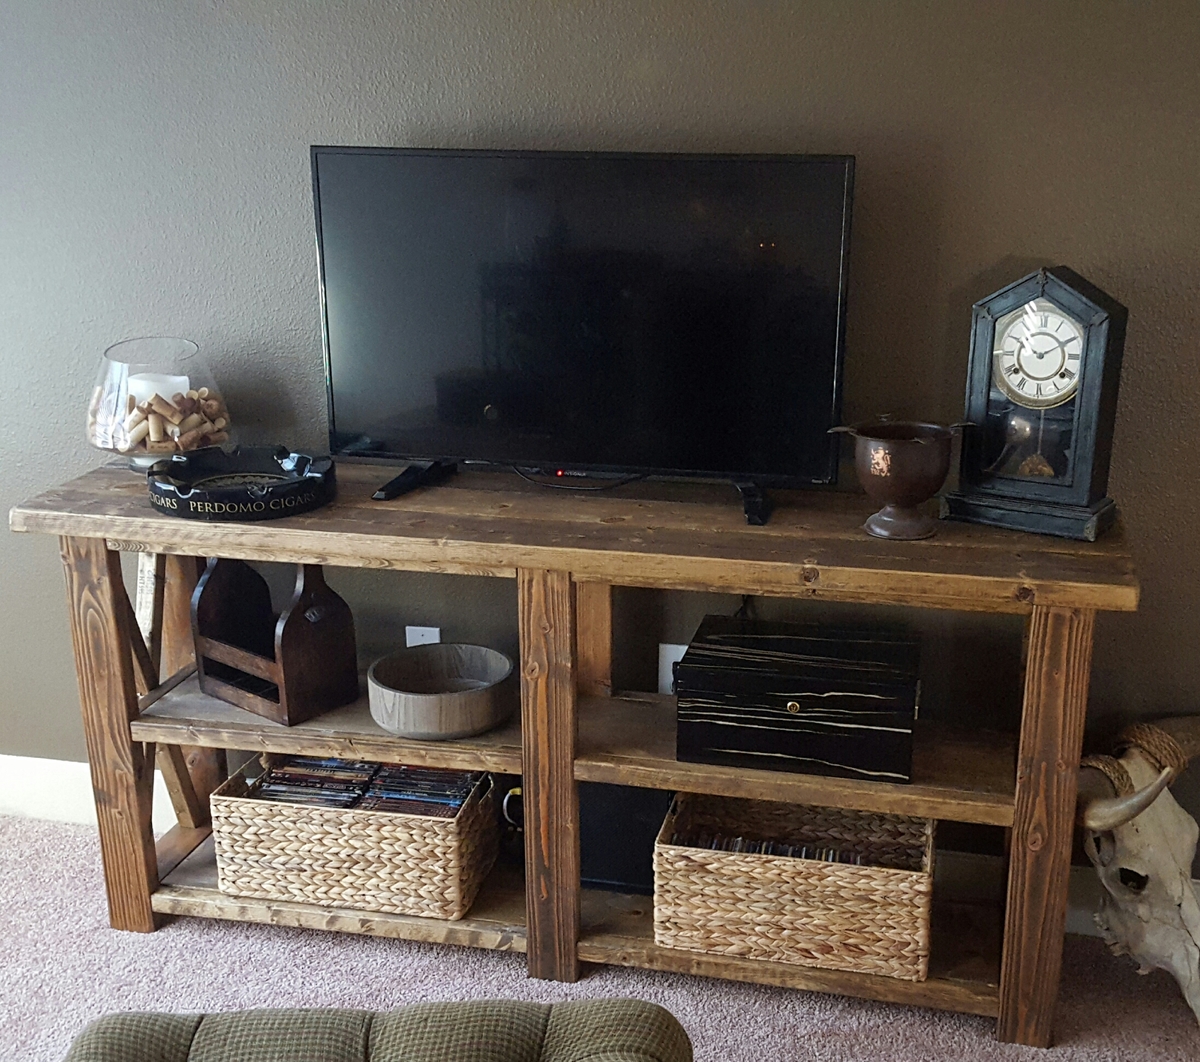
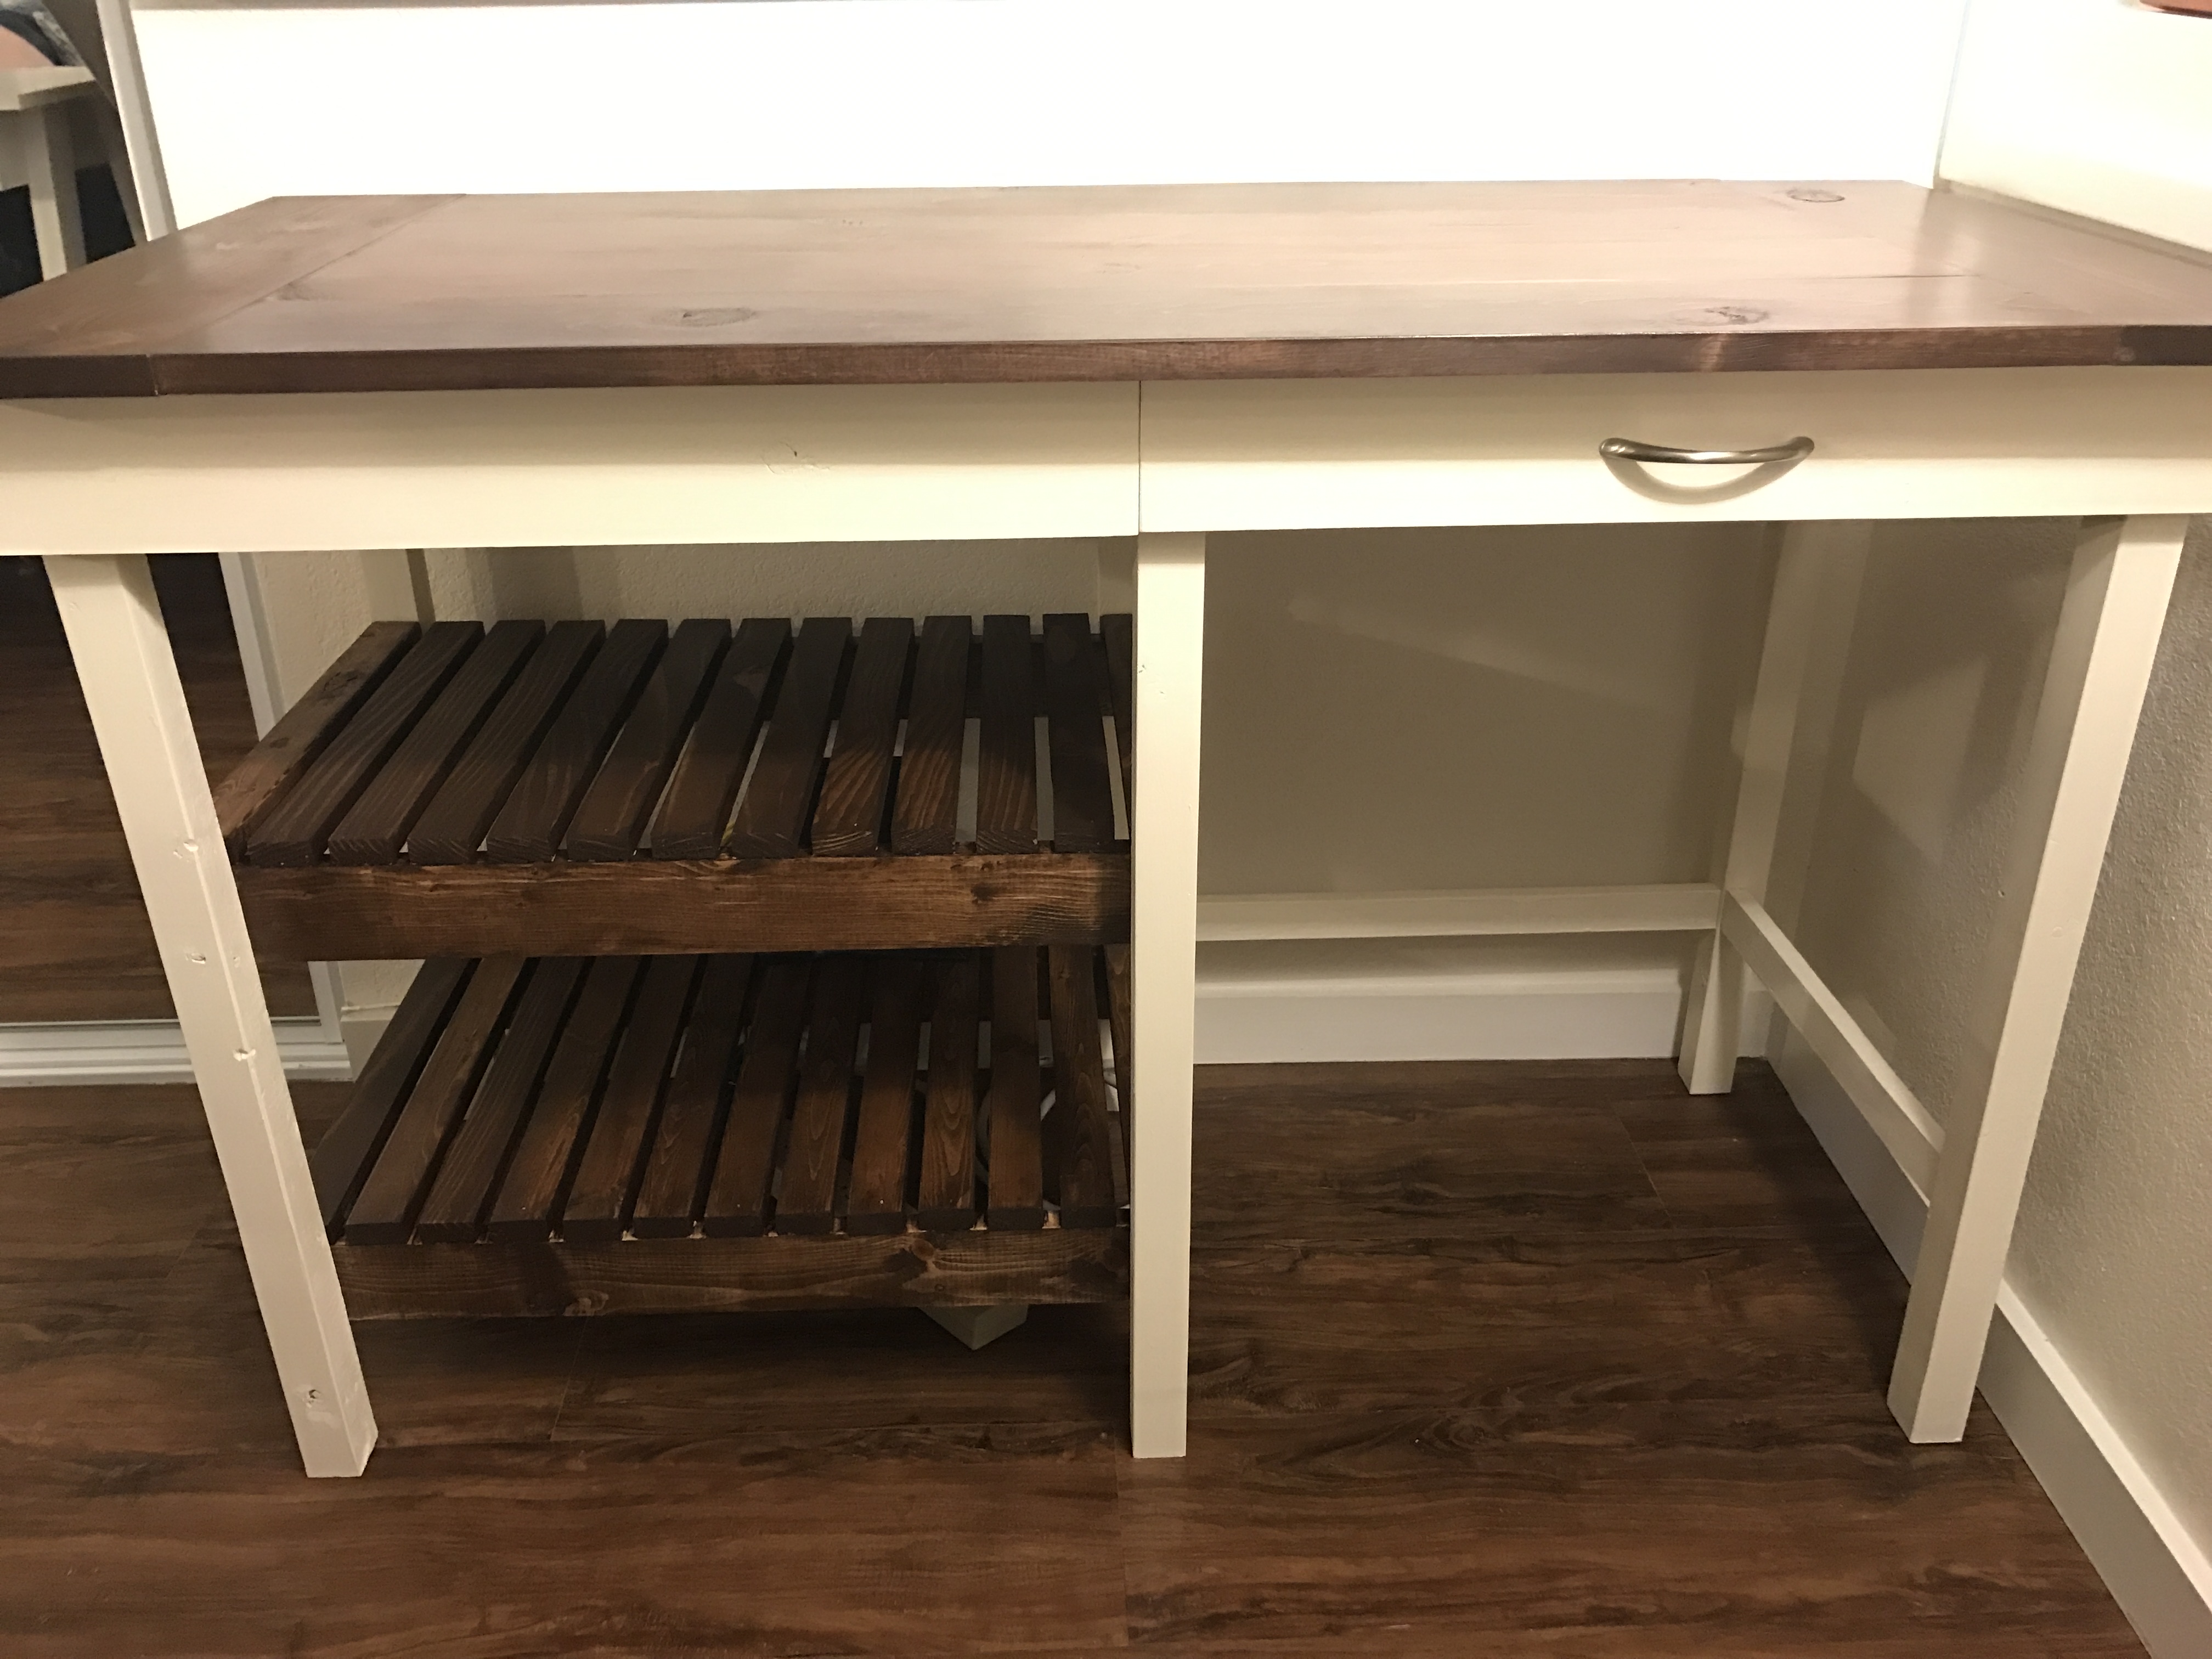
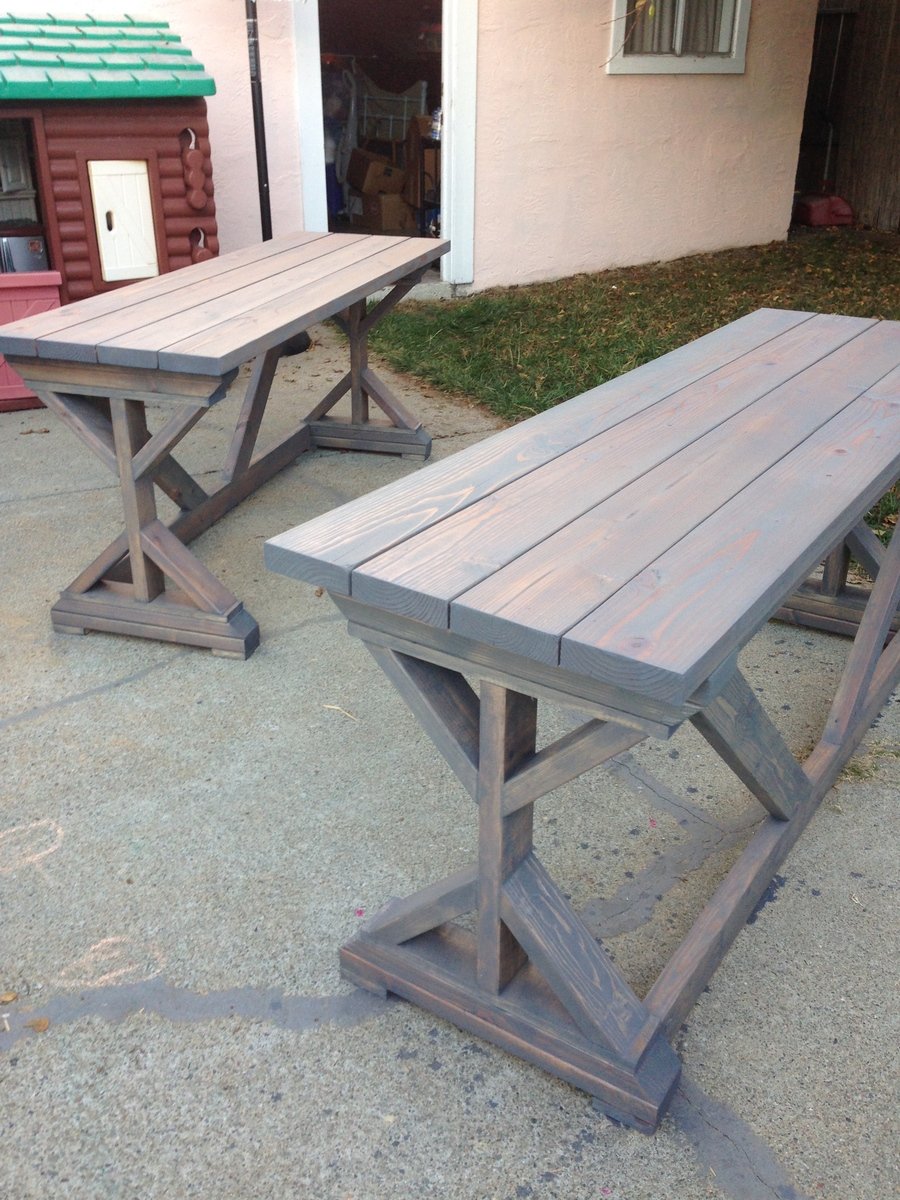
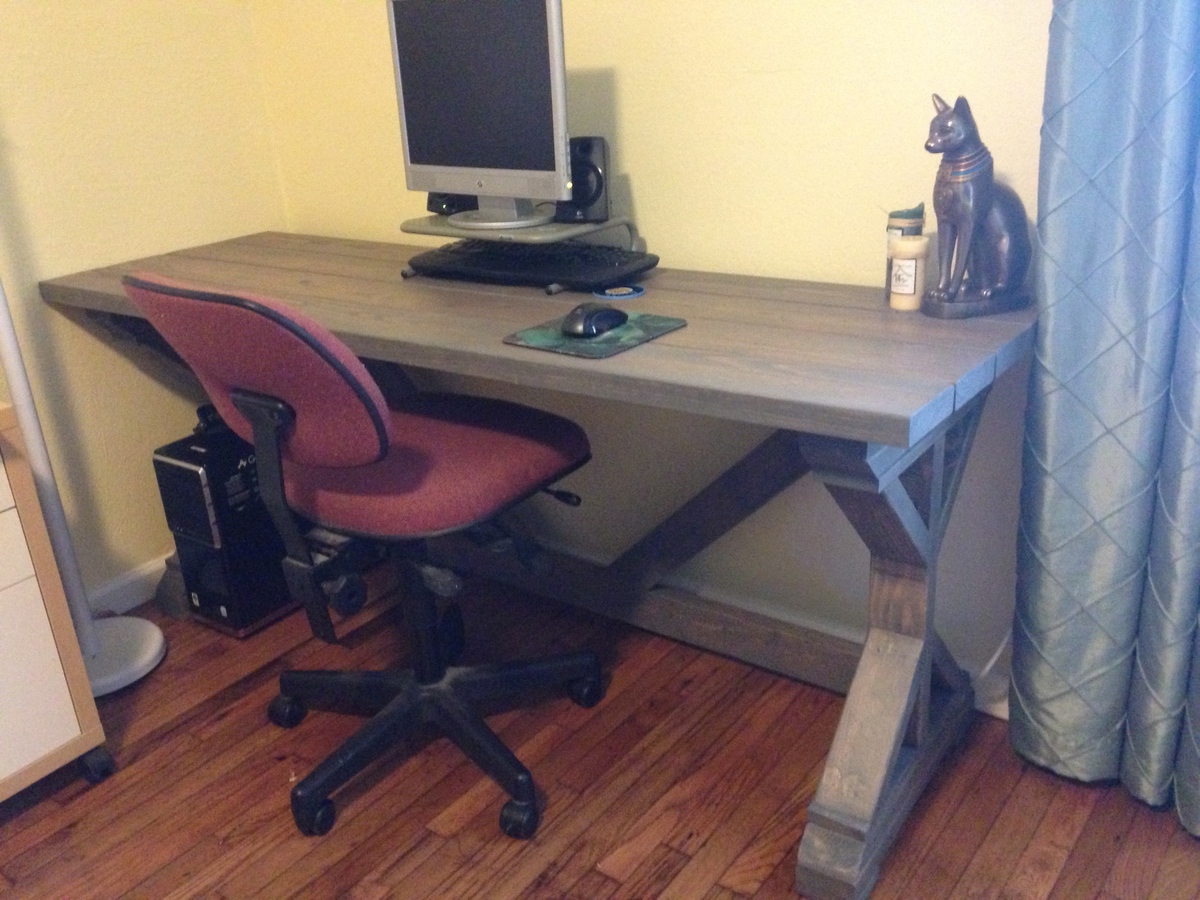
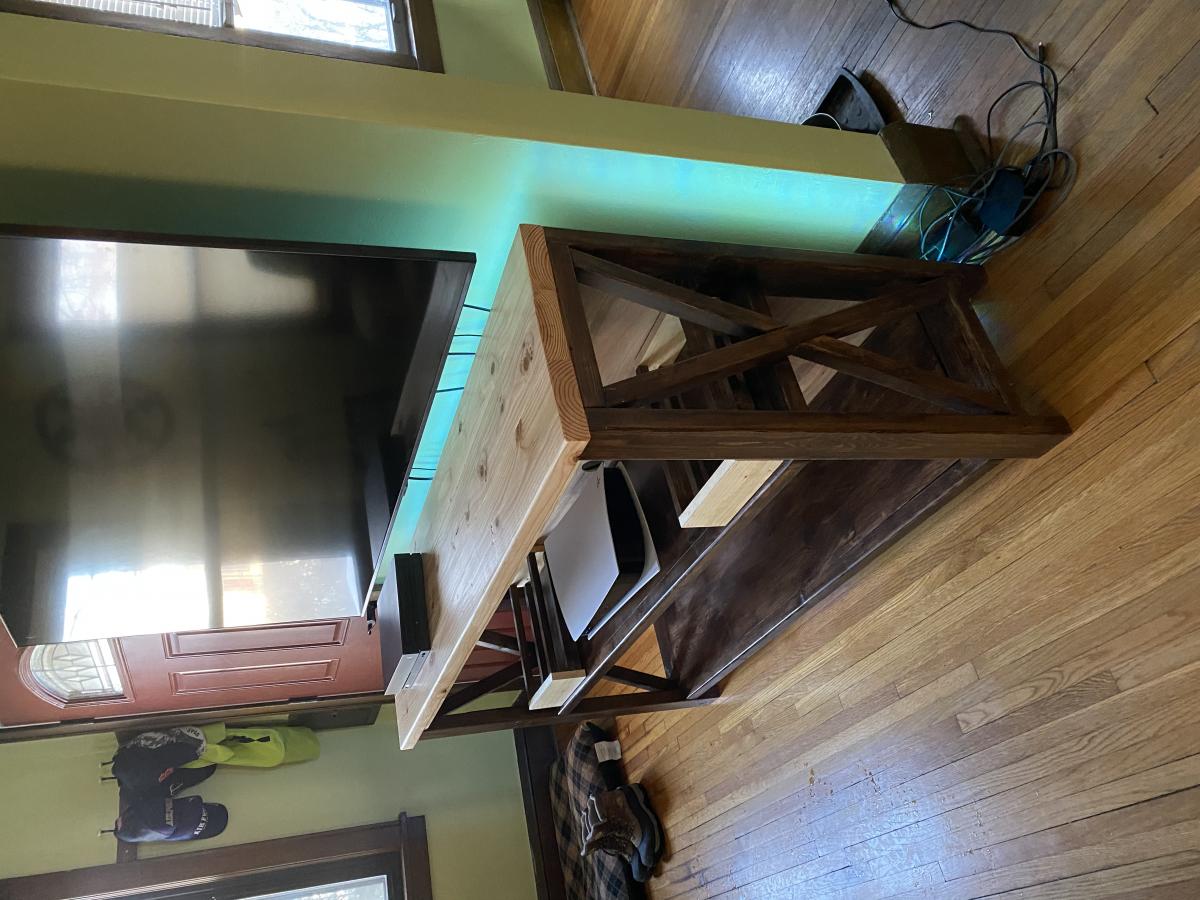
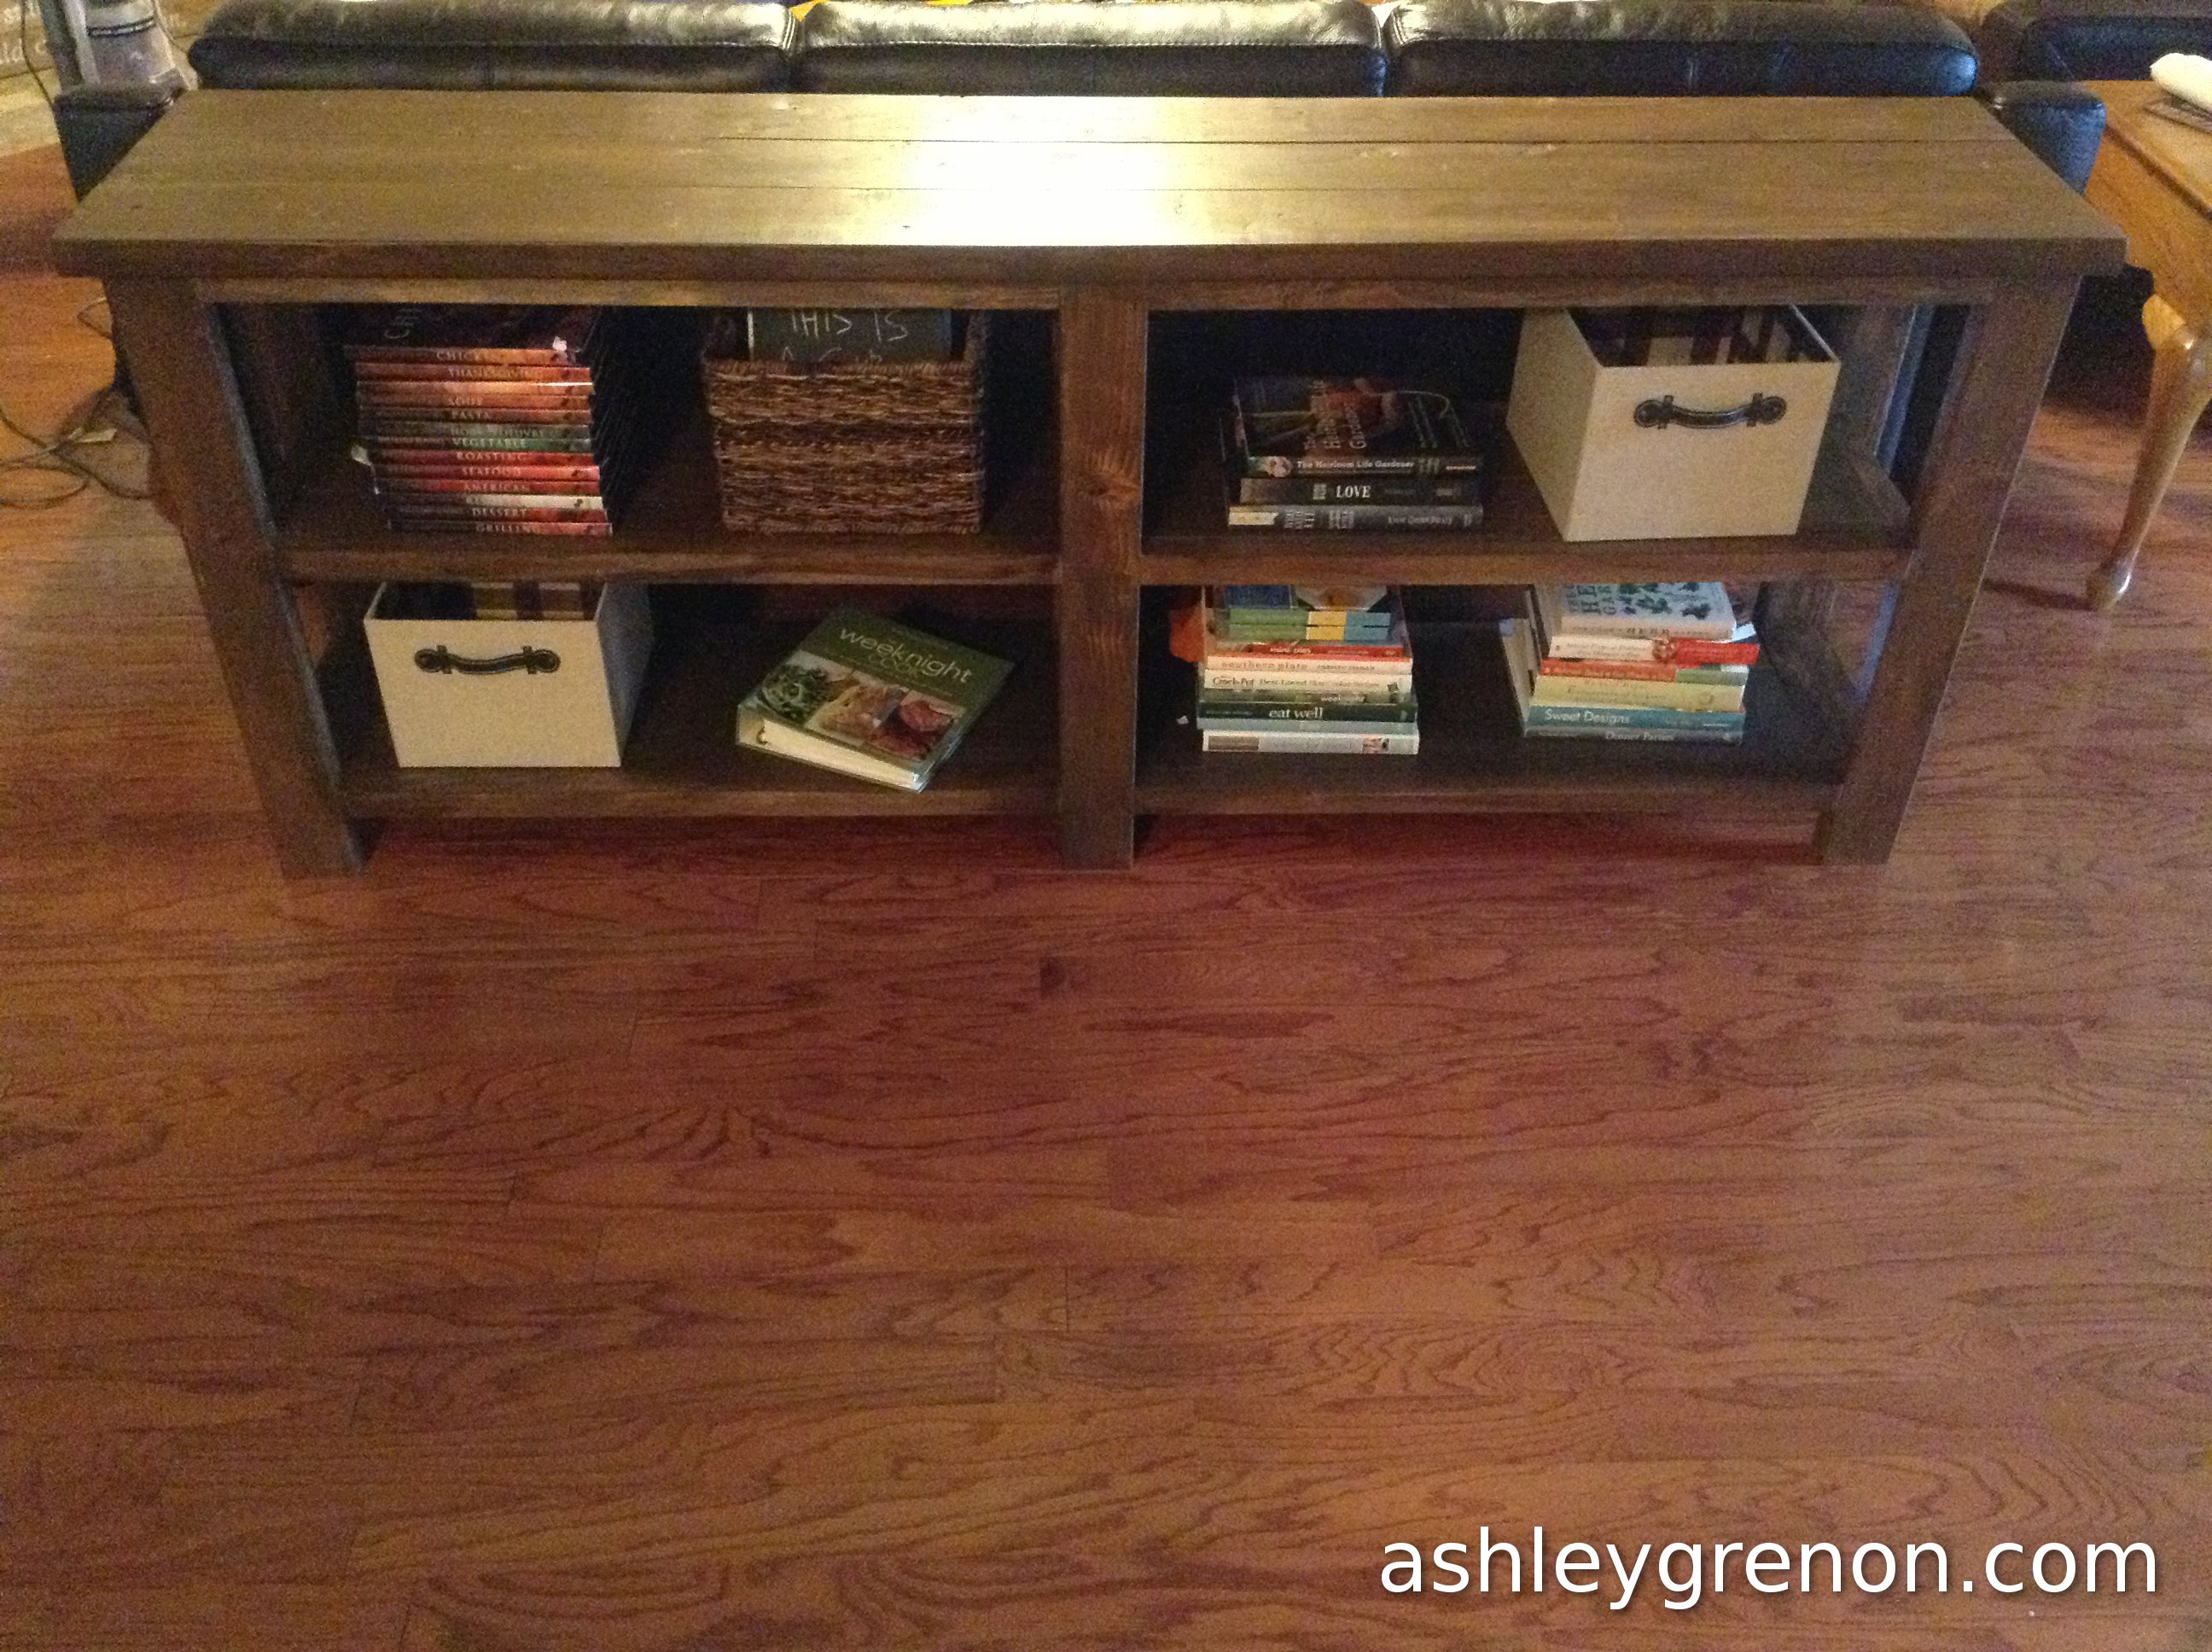
Awesome stain job
Hey there friend,
I must ask for detailed instructions on how you painted/stained your table. It is gorgeous!
Thanks.
Ed
Ana White
Thu, 12/04/2014 - 21:56
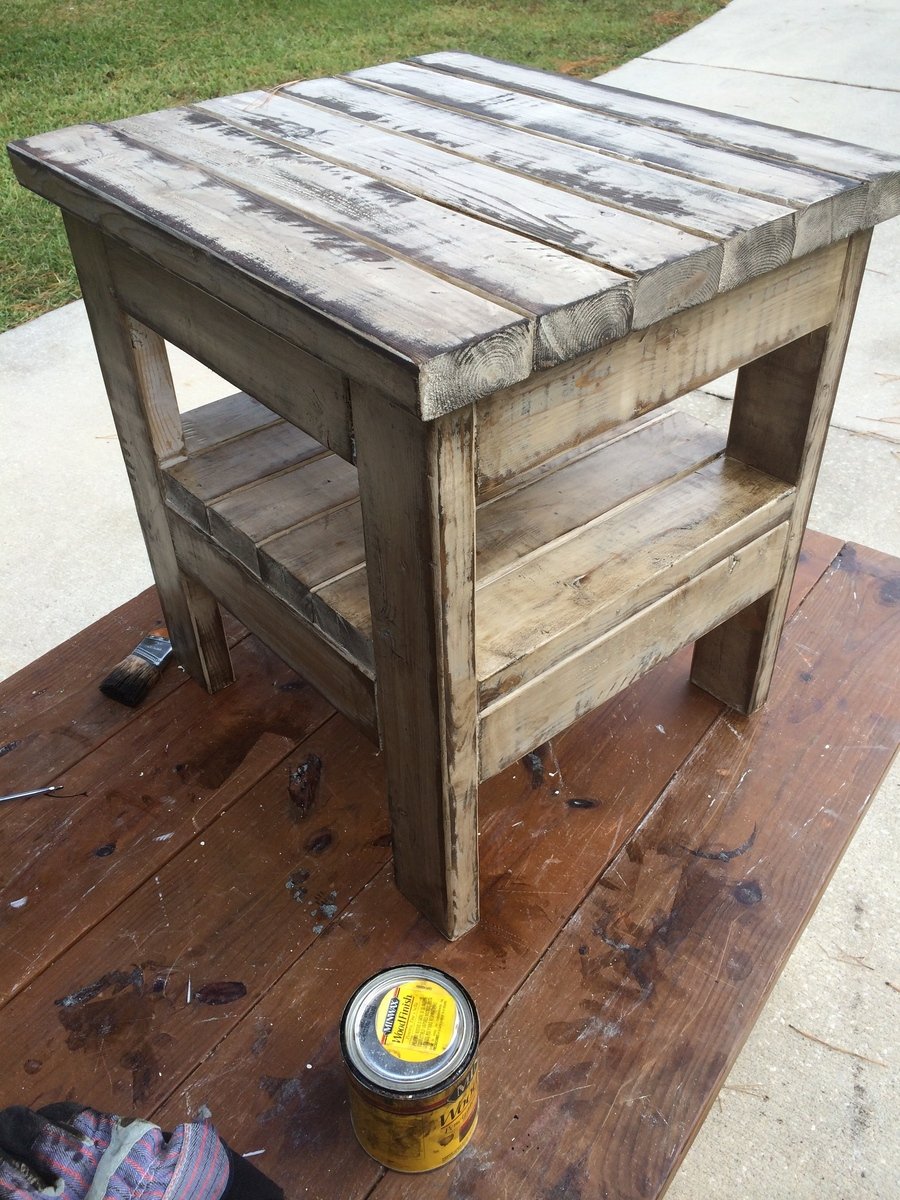
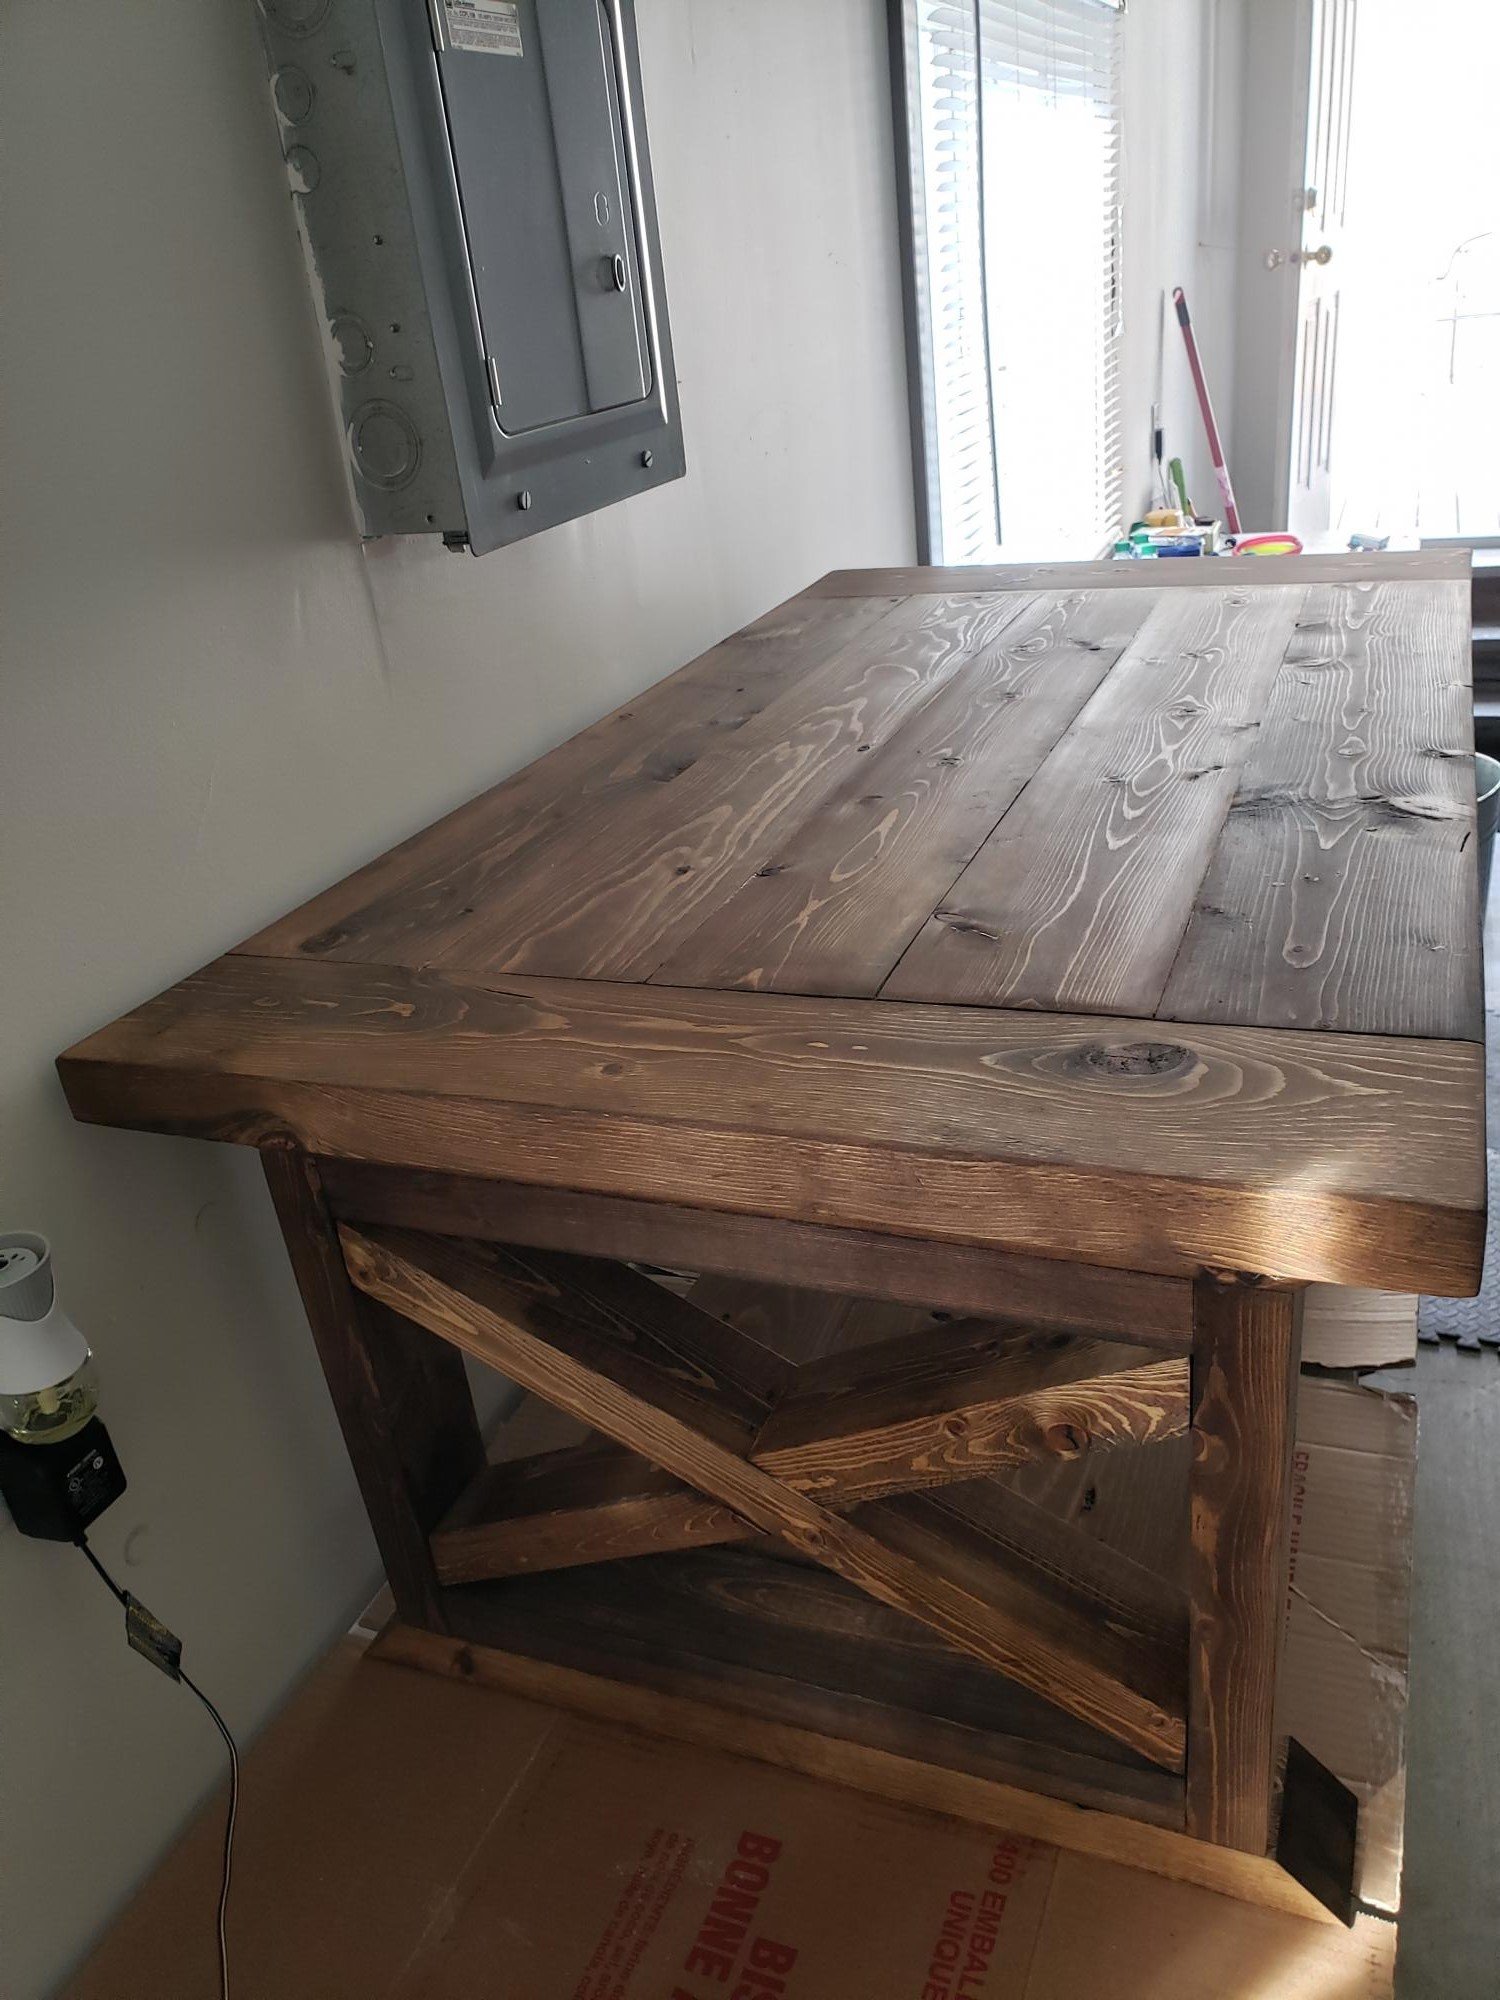
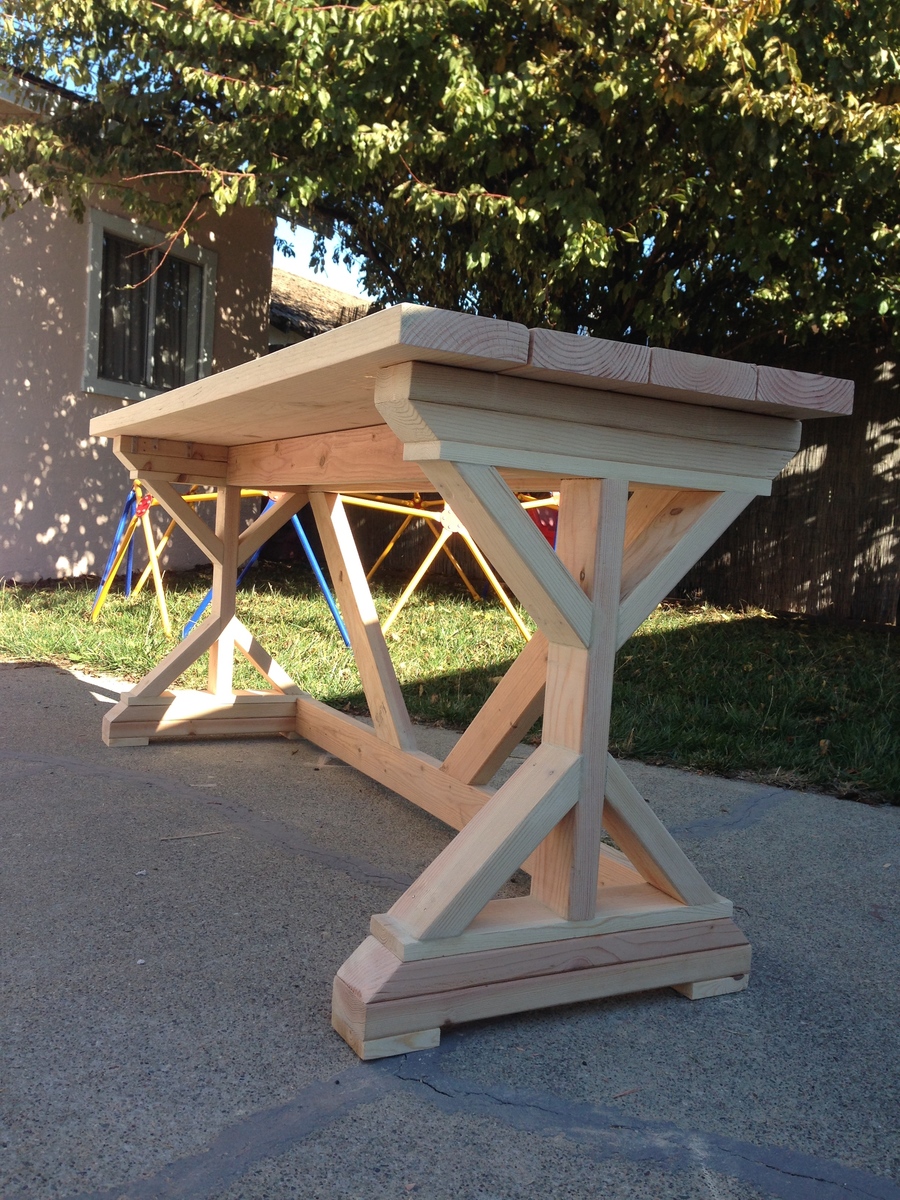
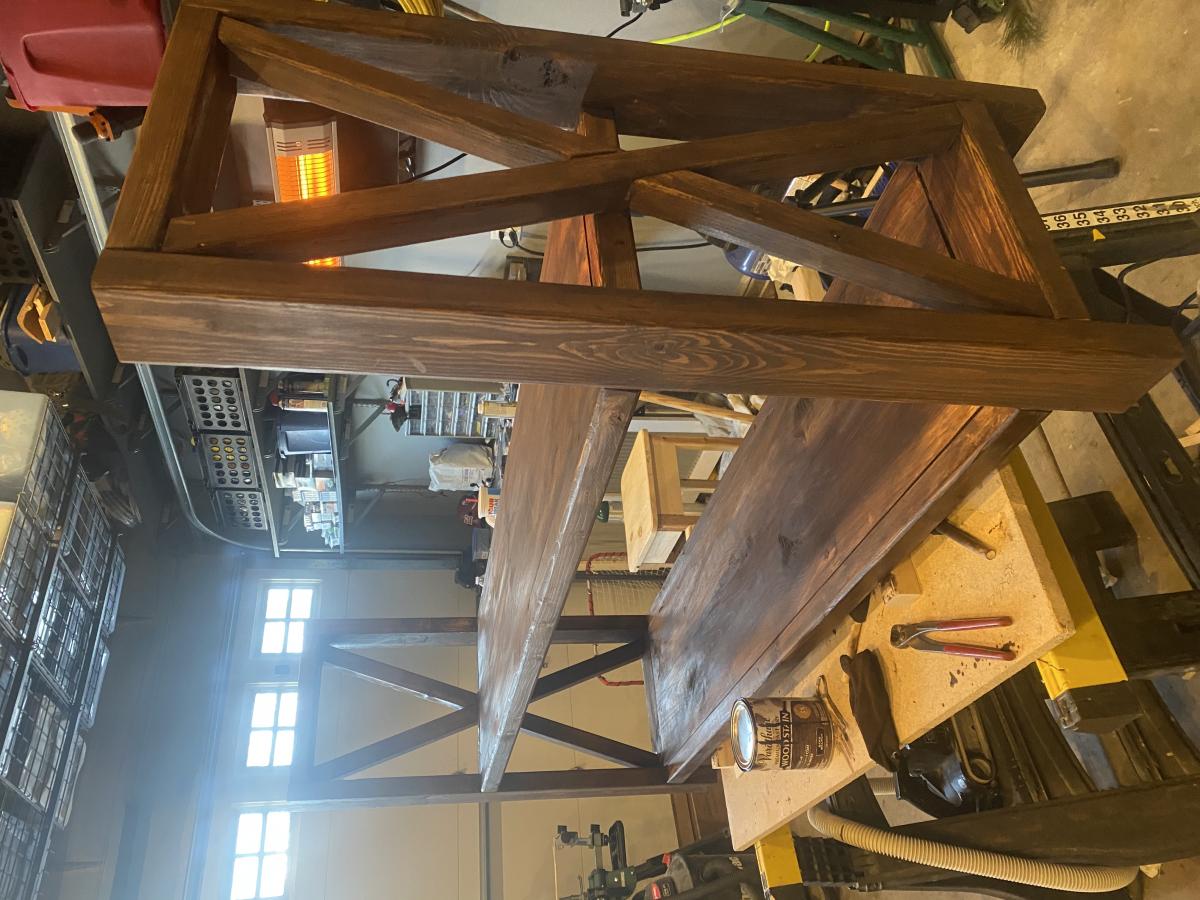
This looks fab! I love the
This looks fab! I love the stain that you chose!