Community Brag Posts

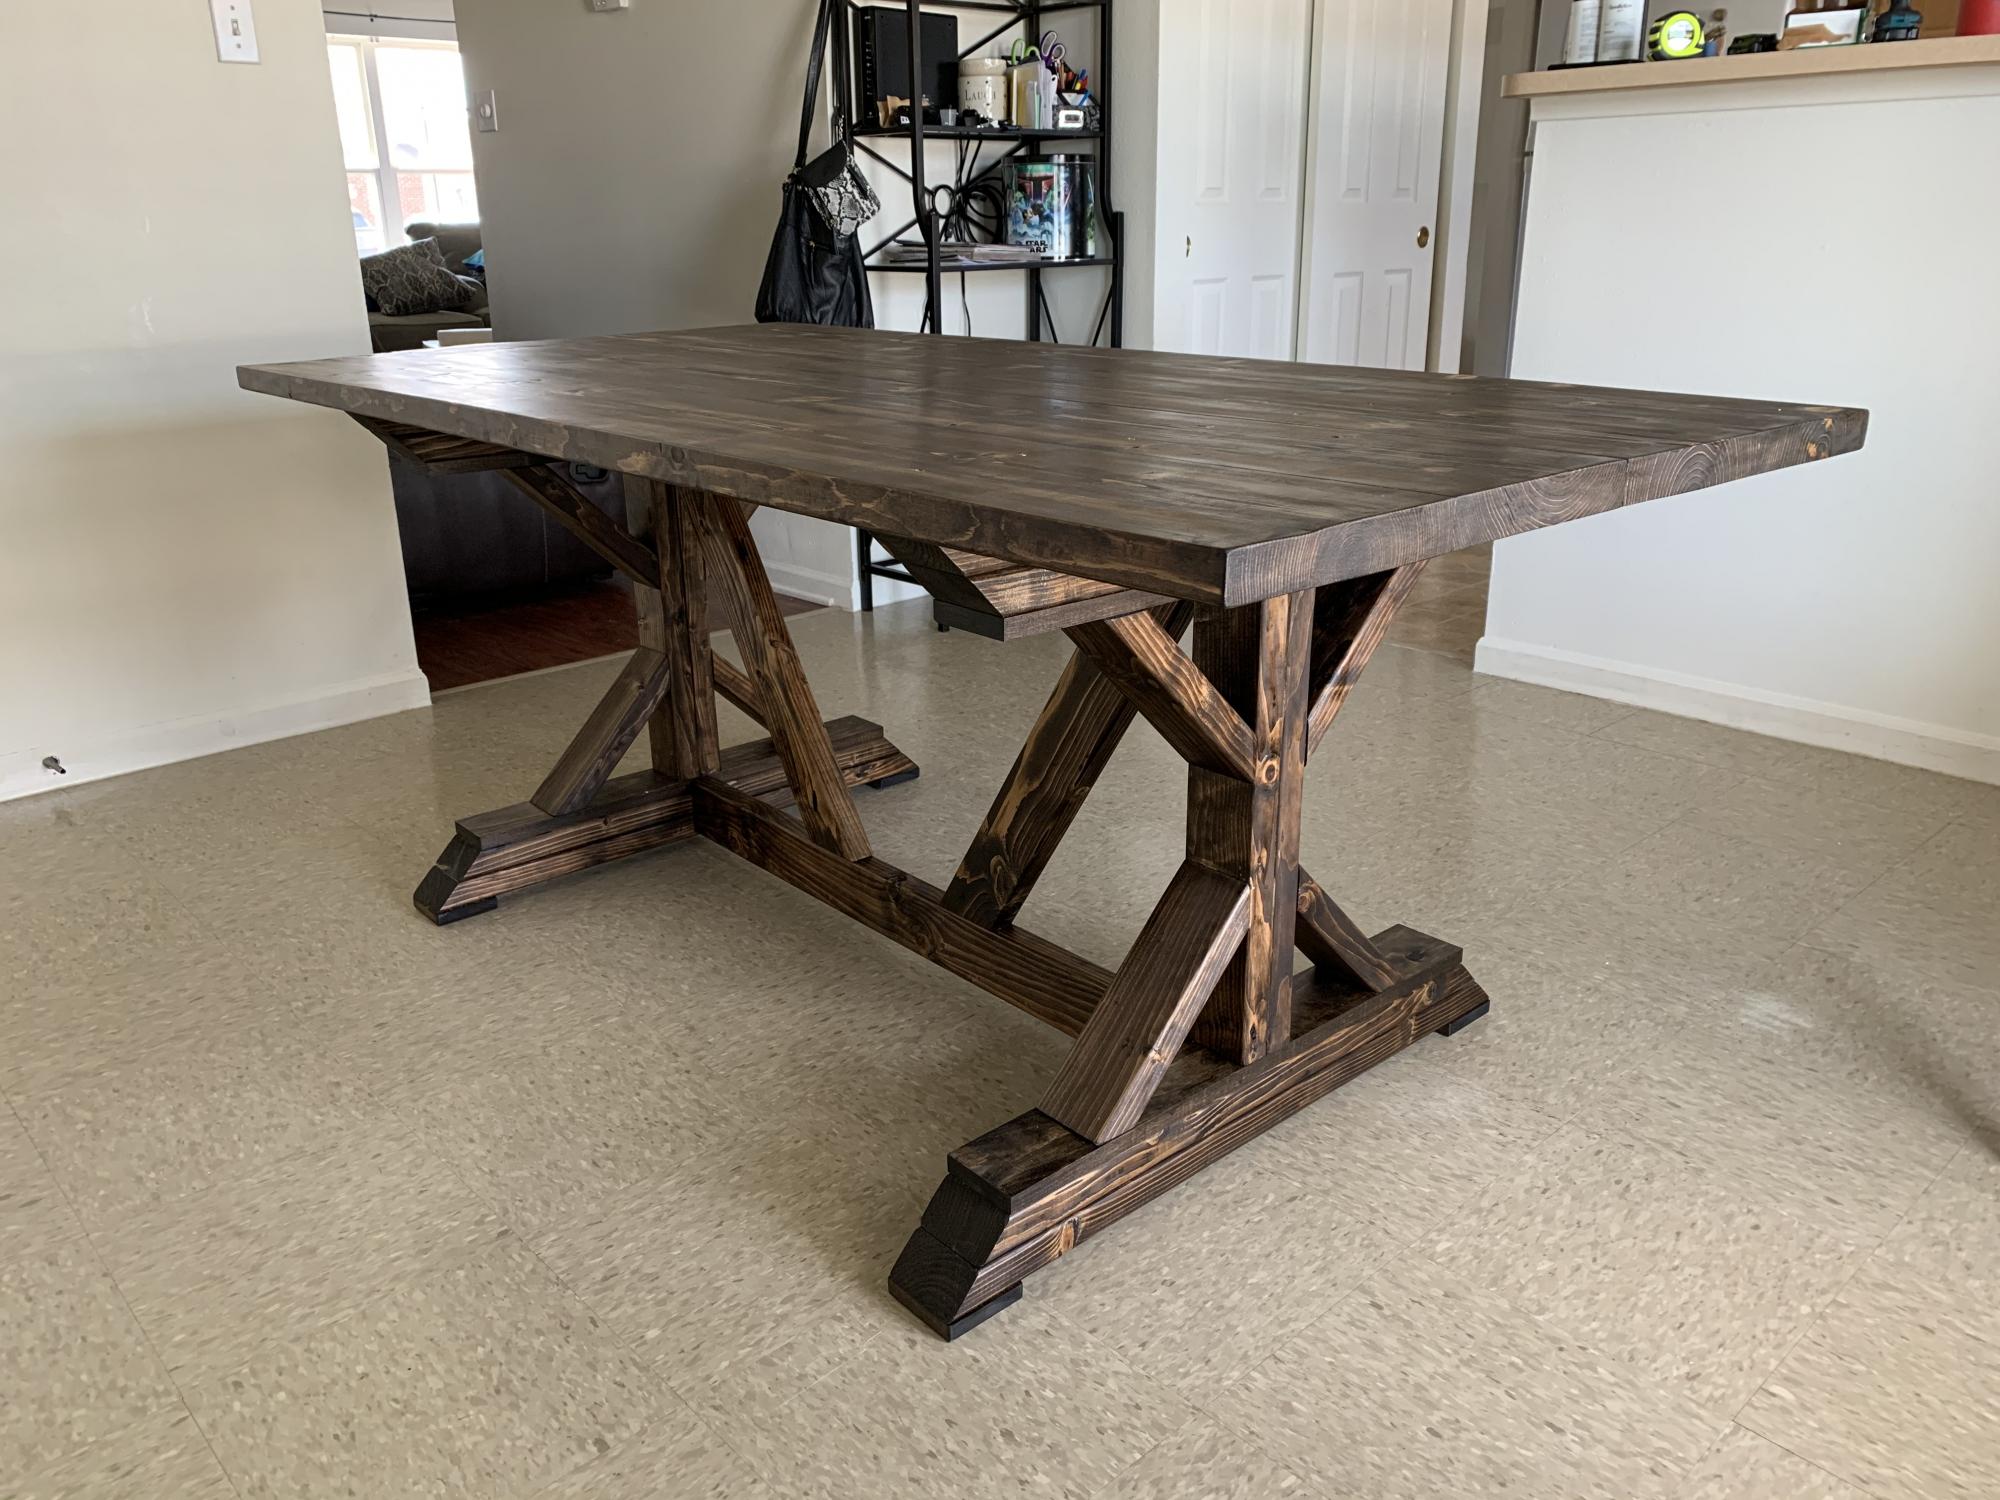
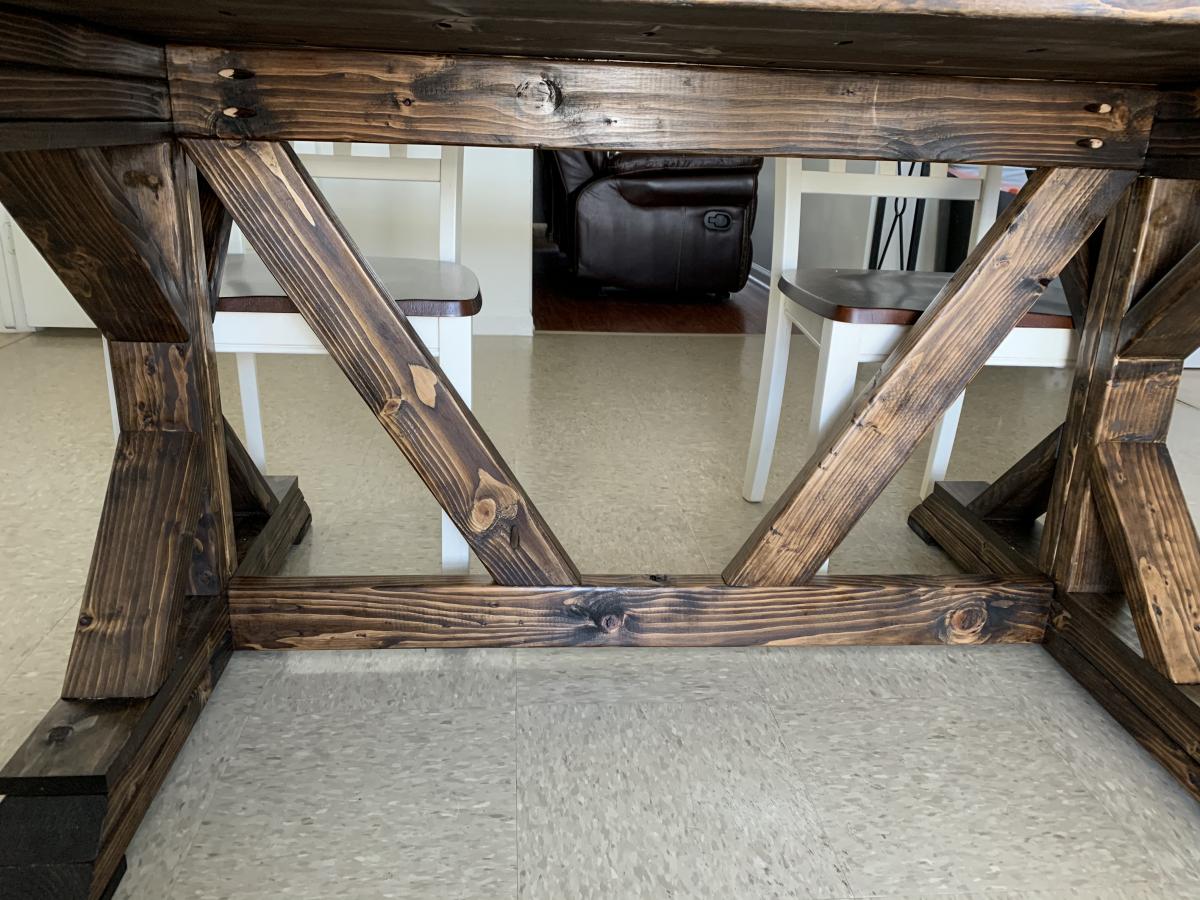
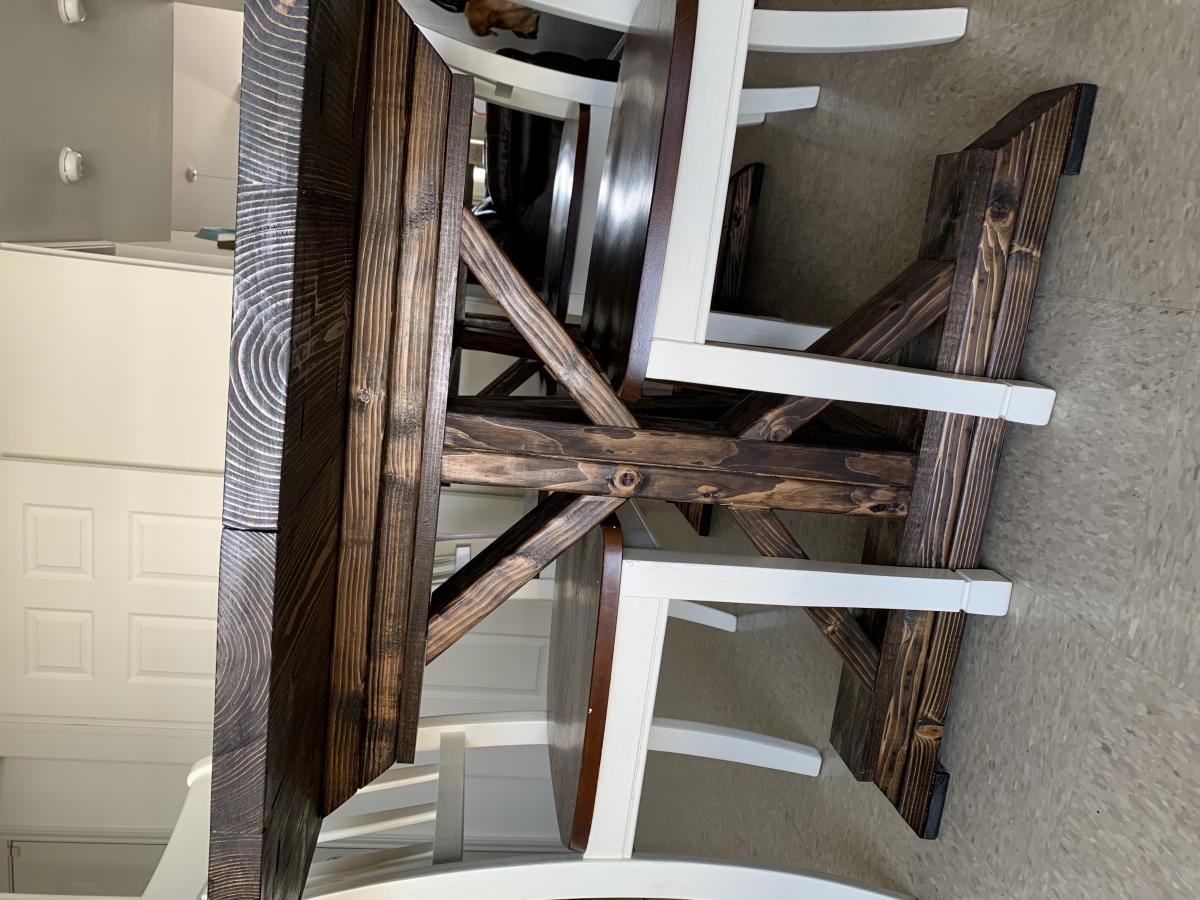
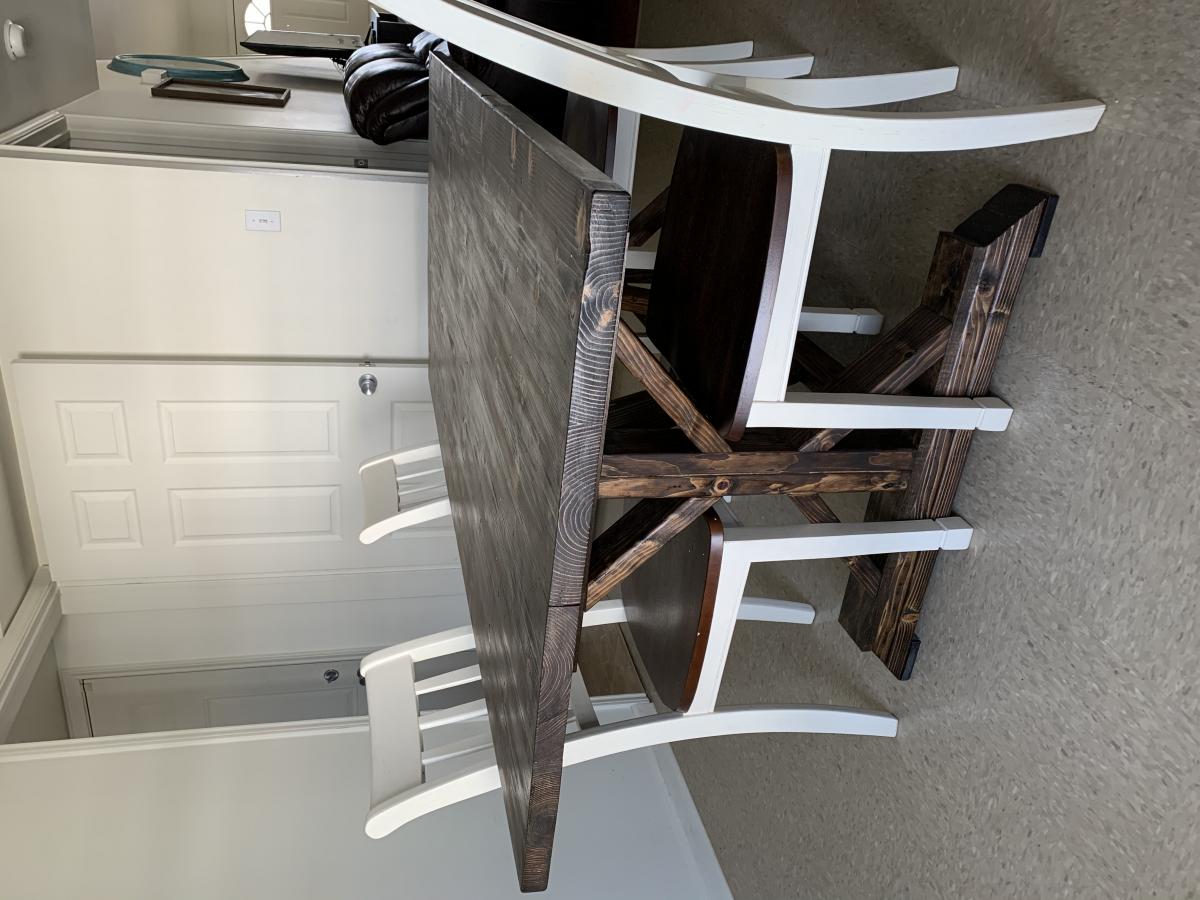
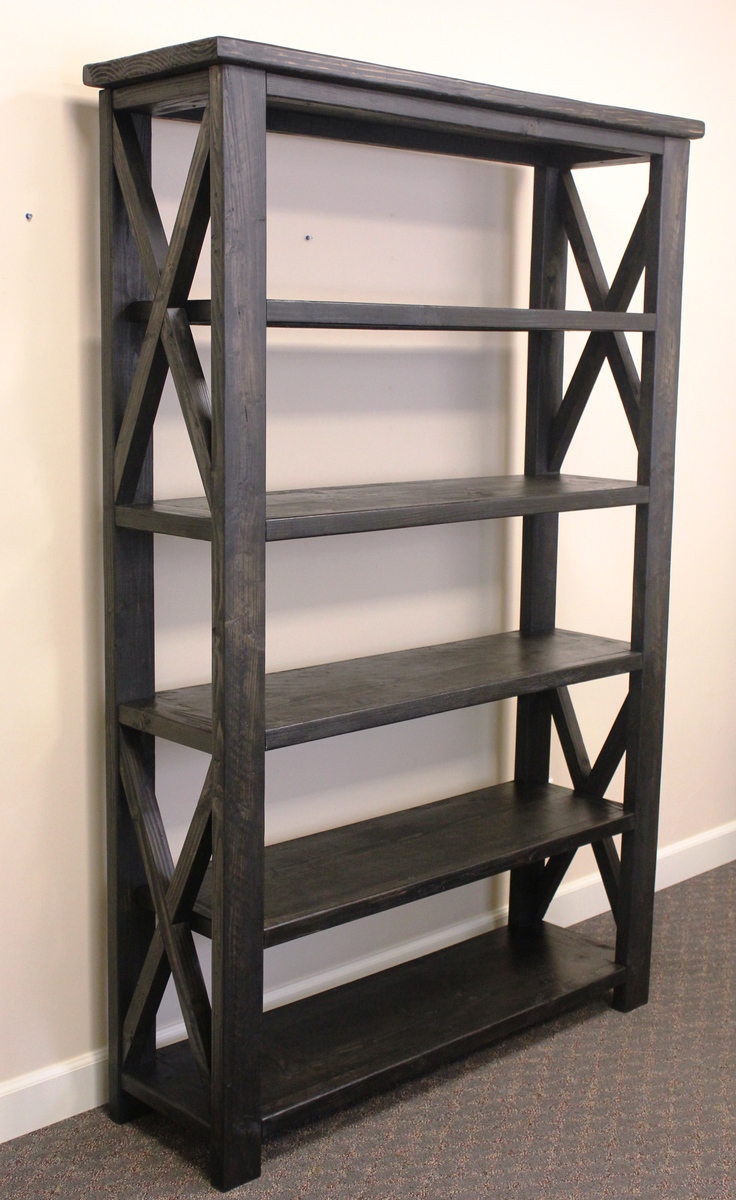
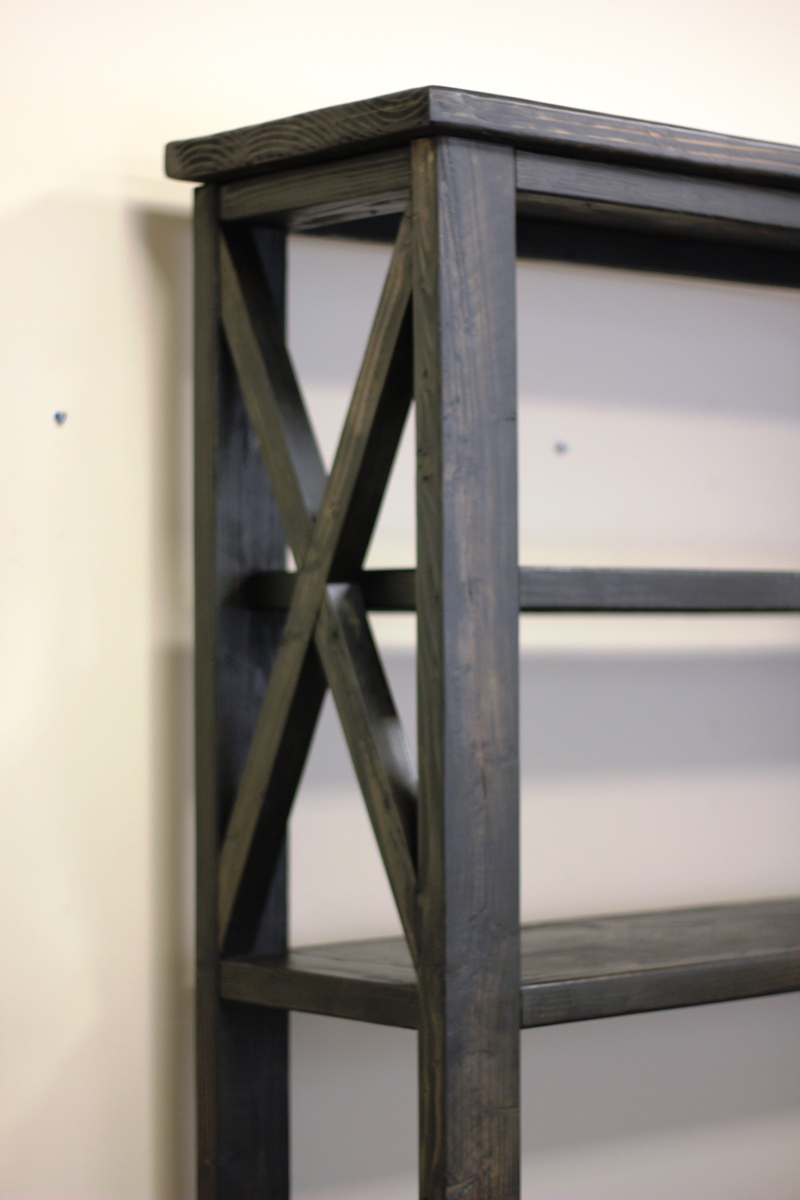
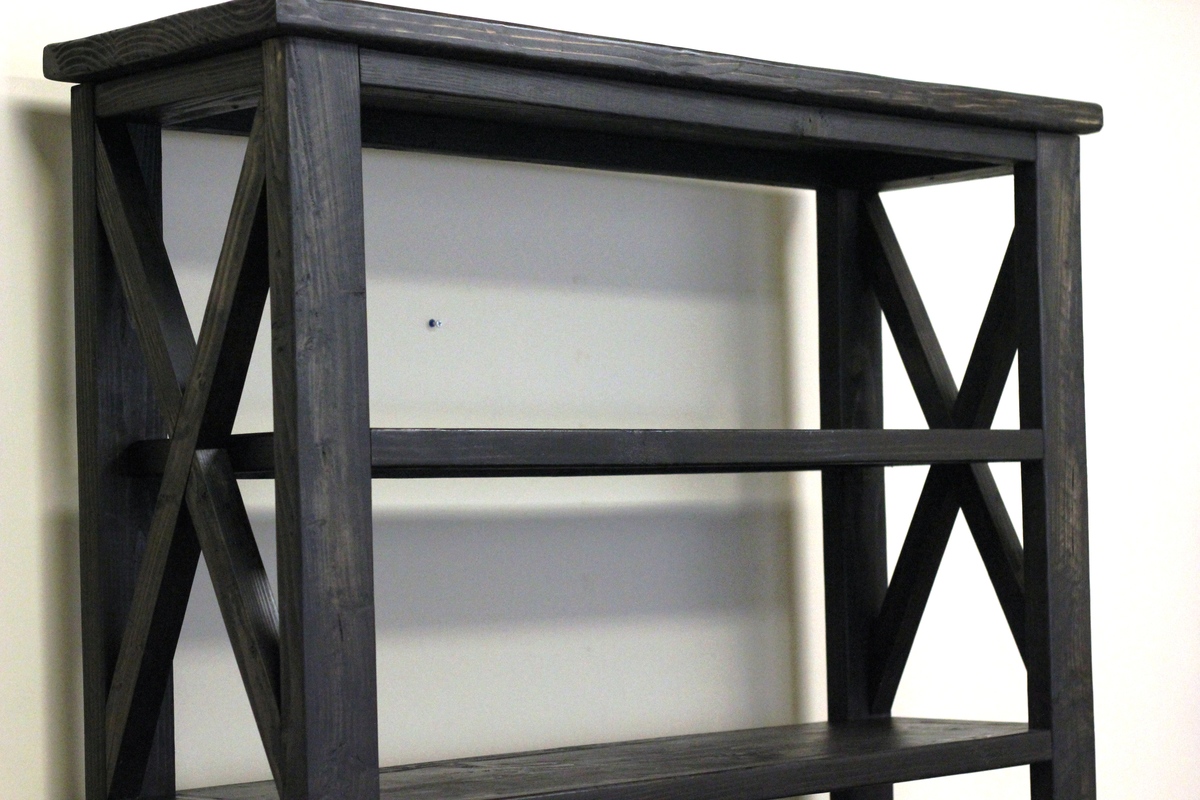
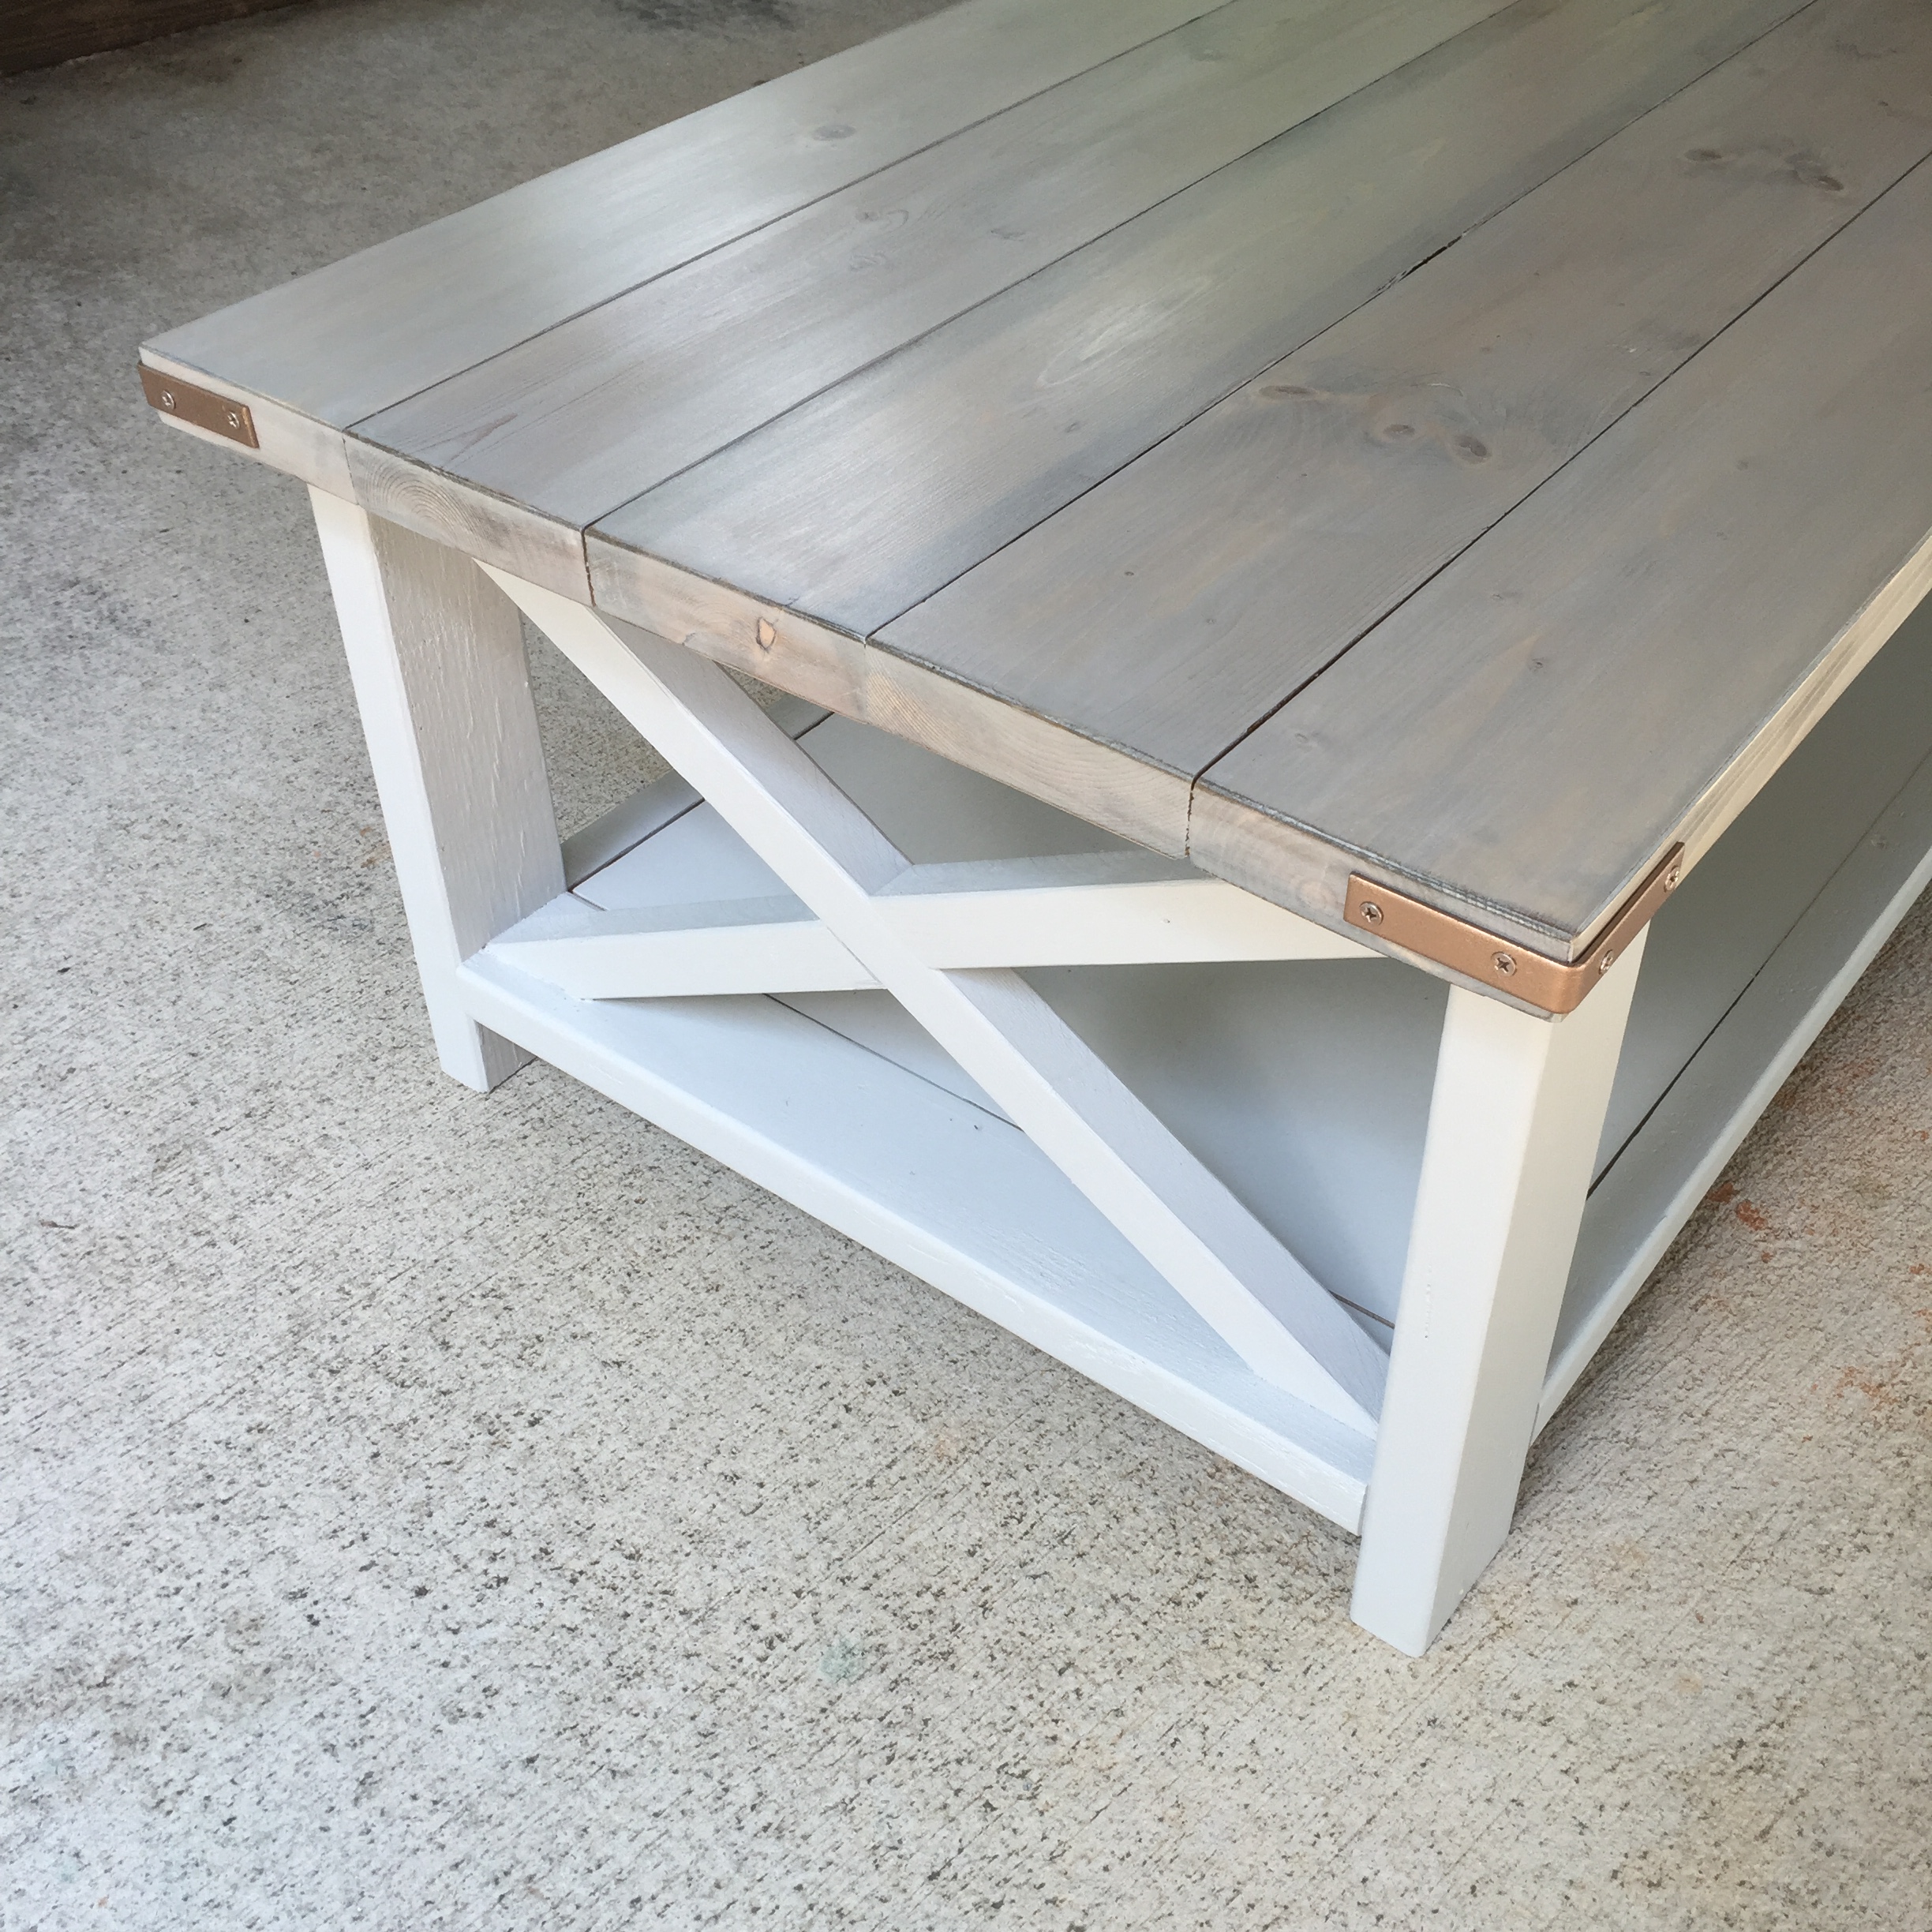
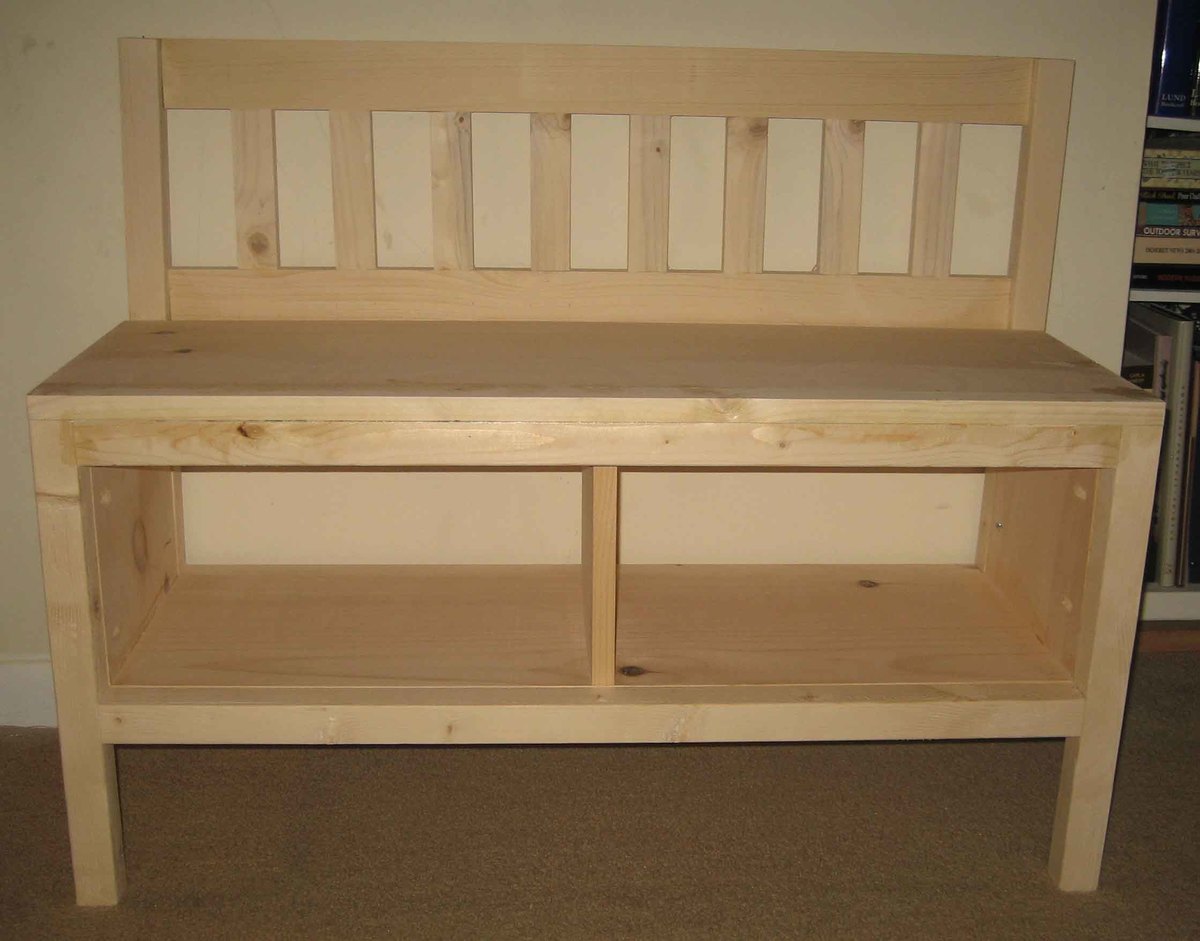
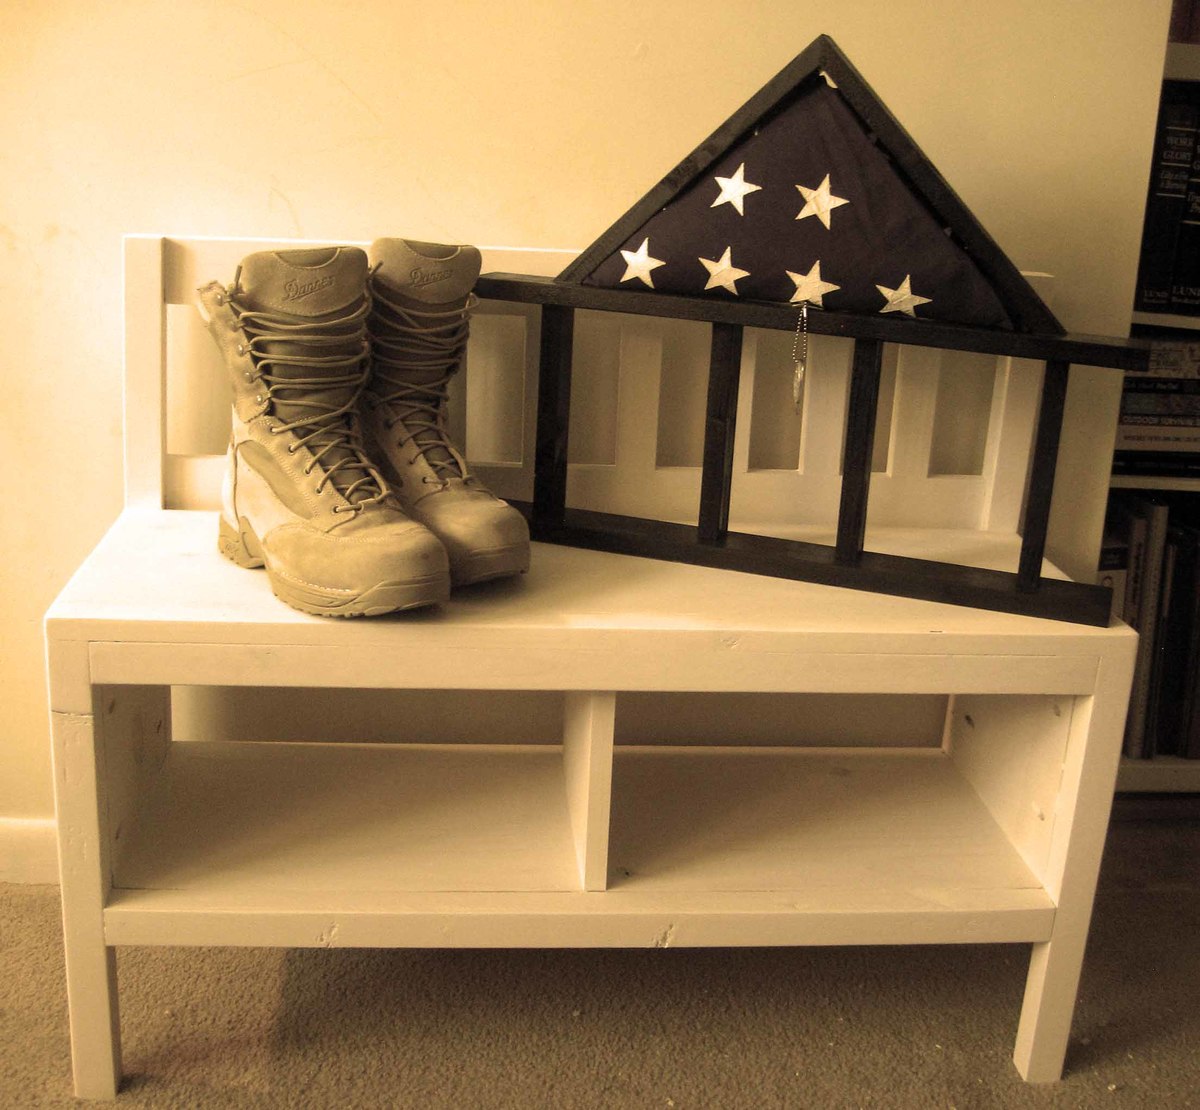
Herb boxes for the deck

Submitted by monster on Wed, 02/26/2014 - 19:01

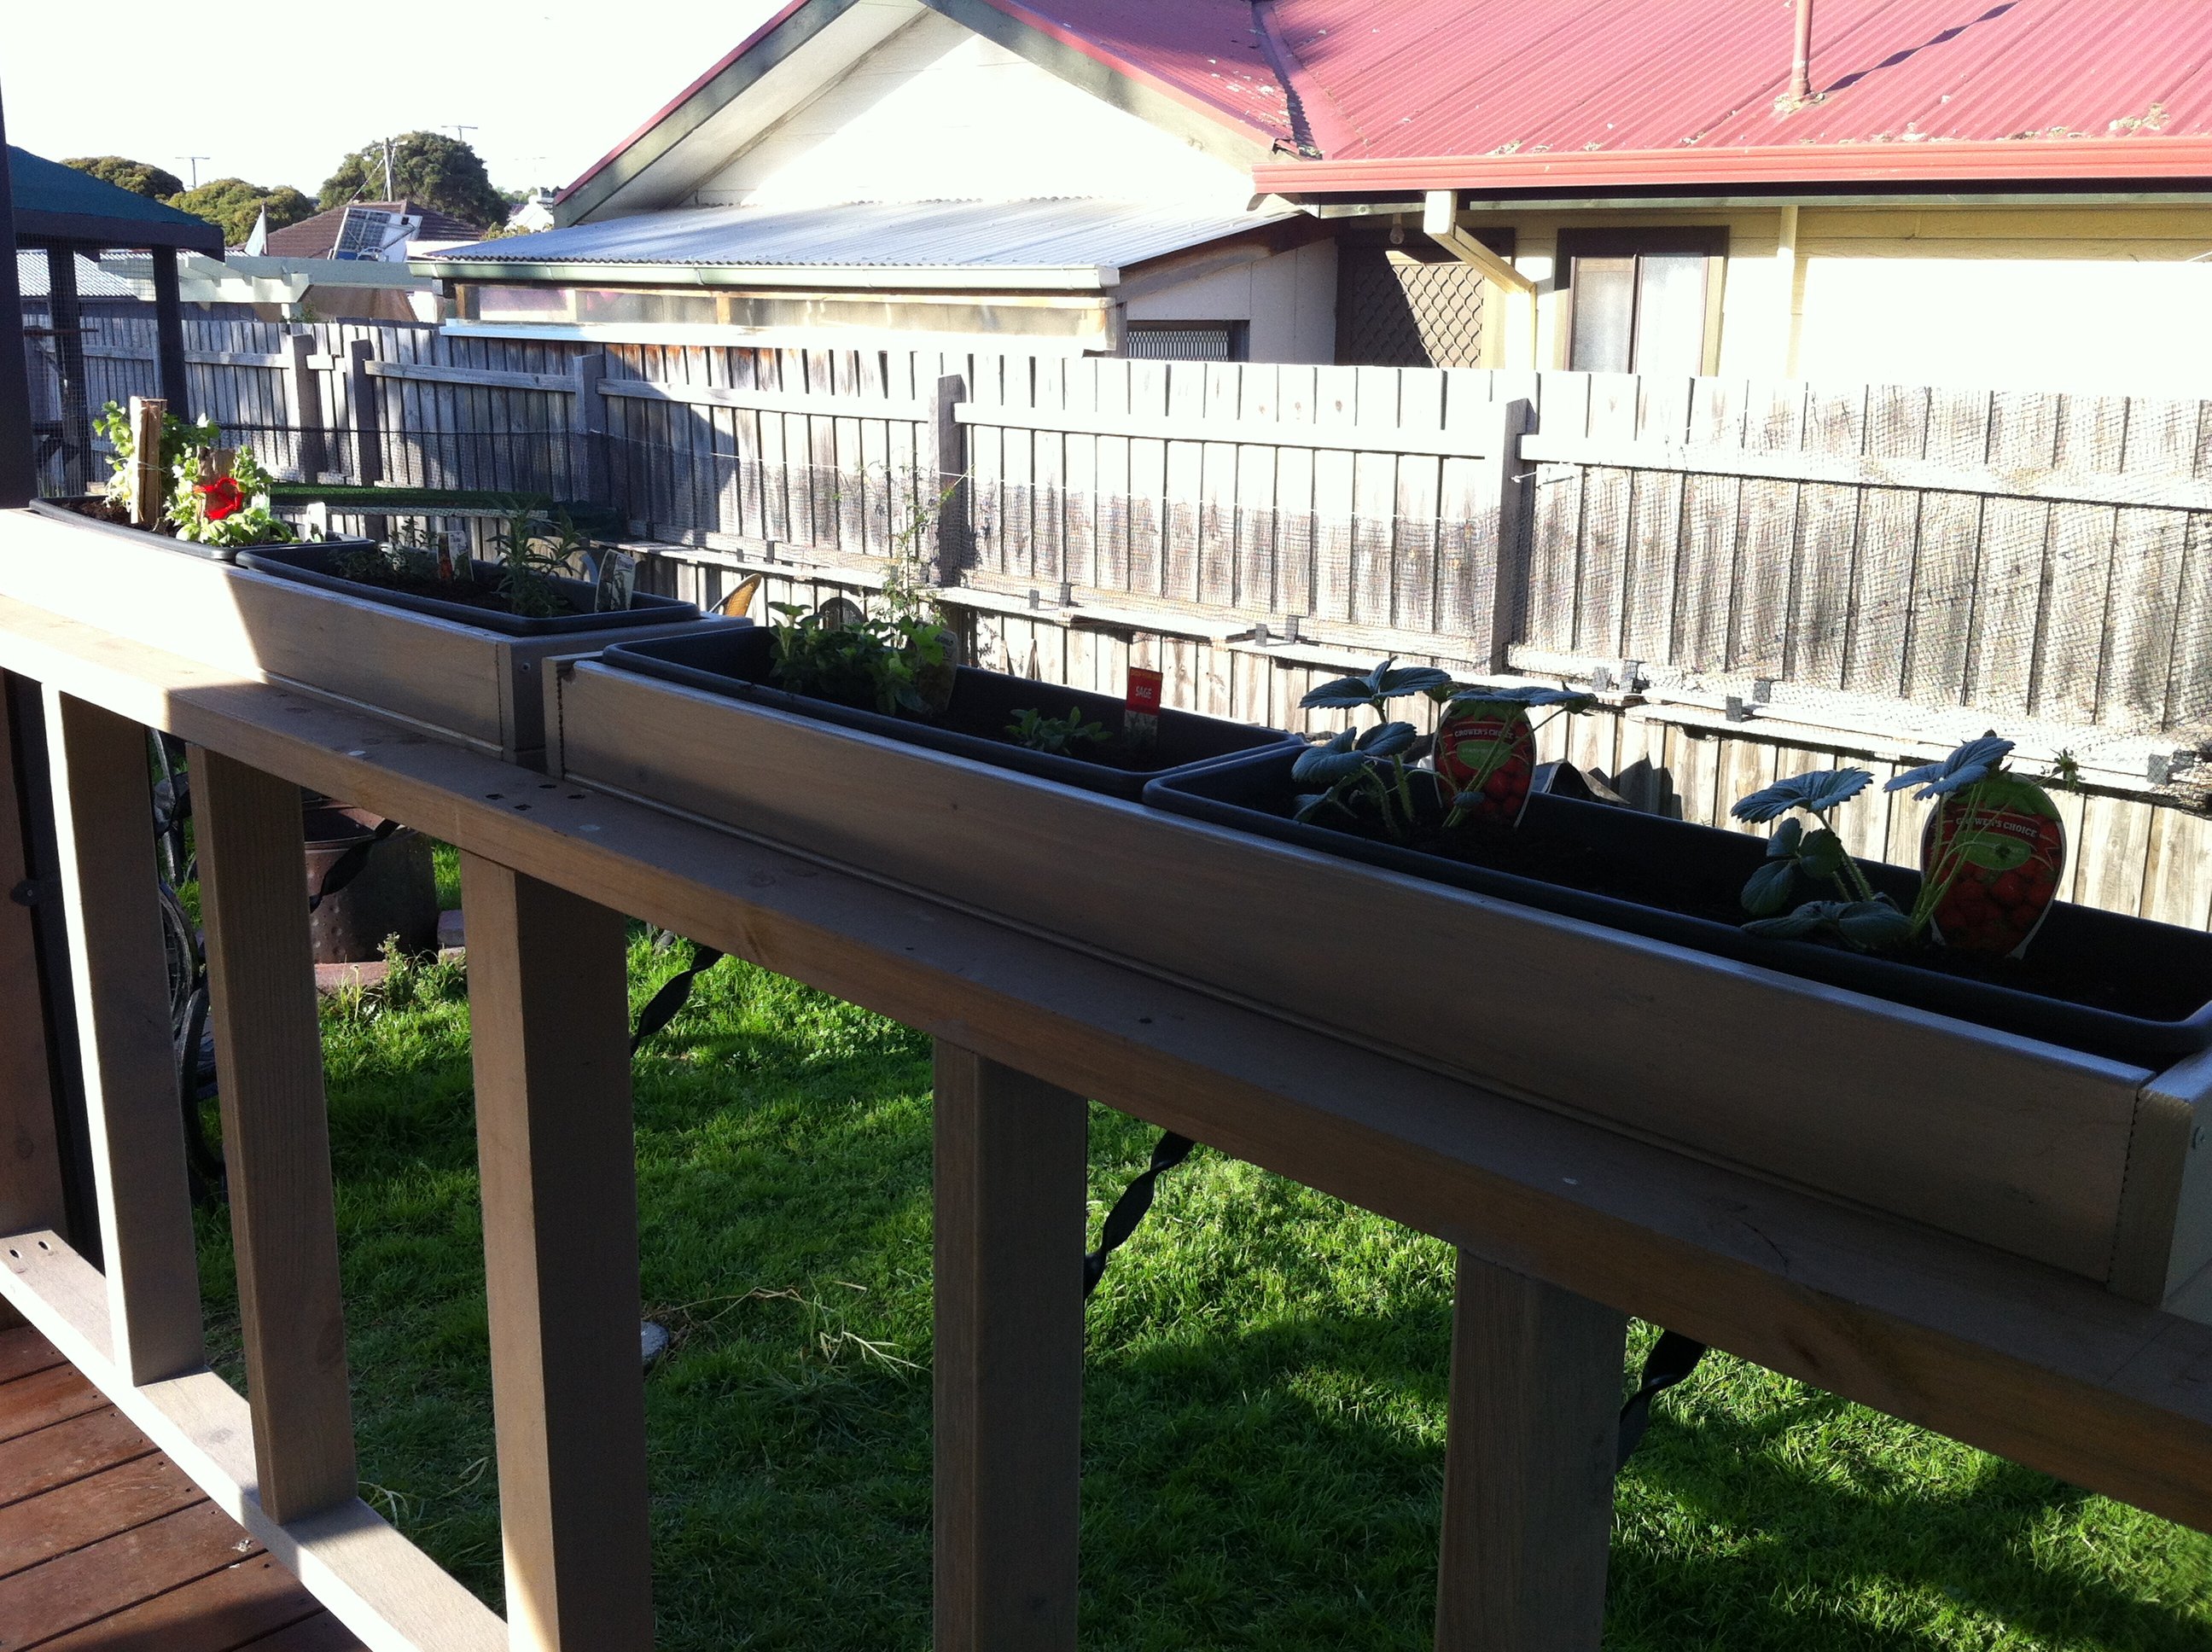
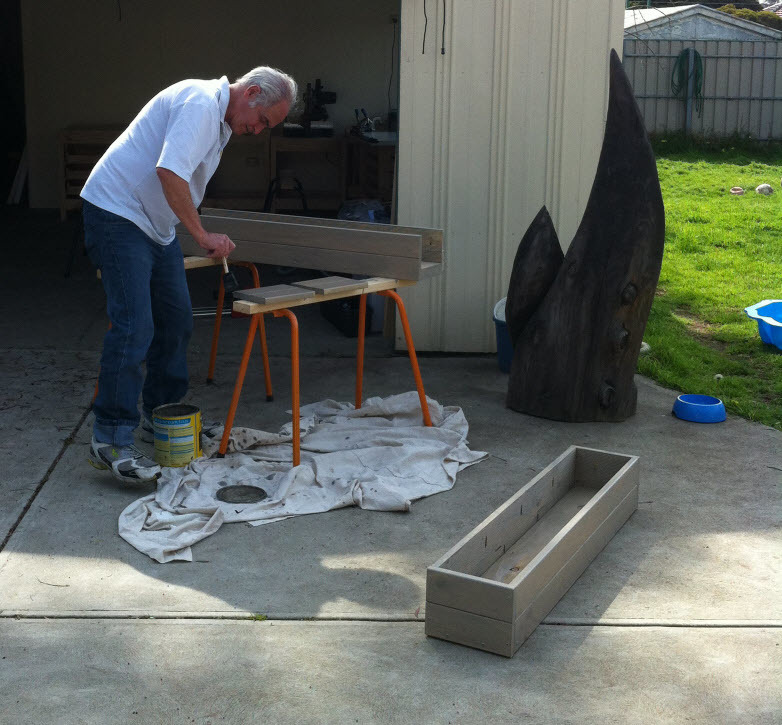
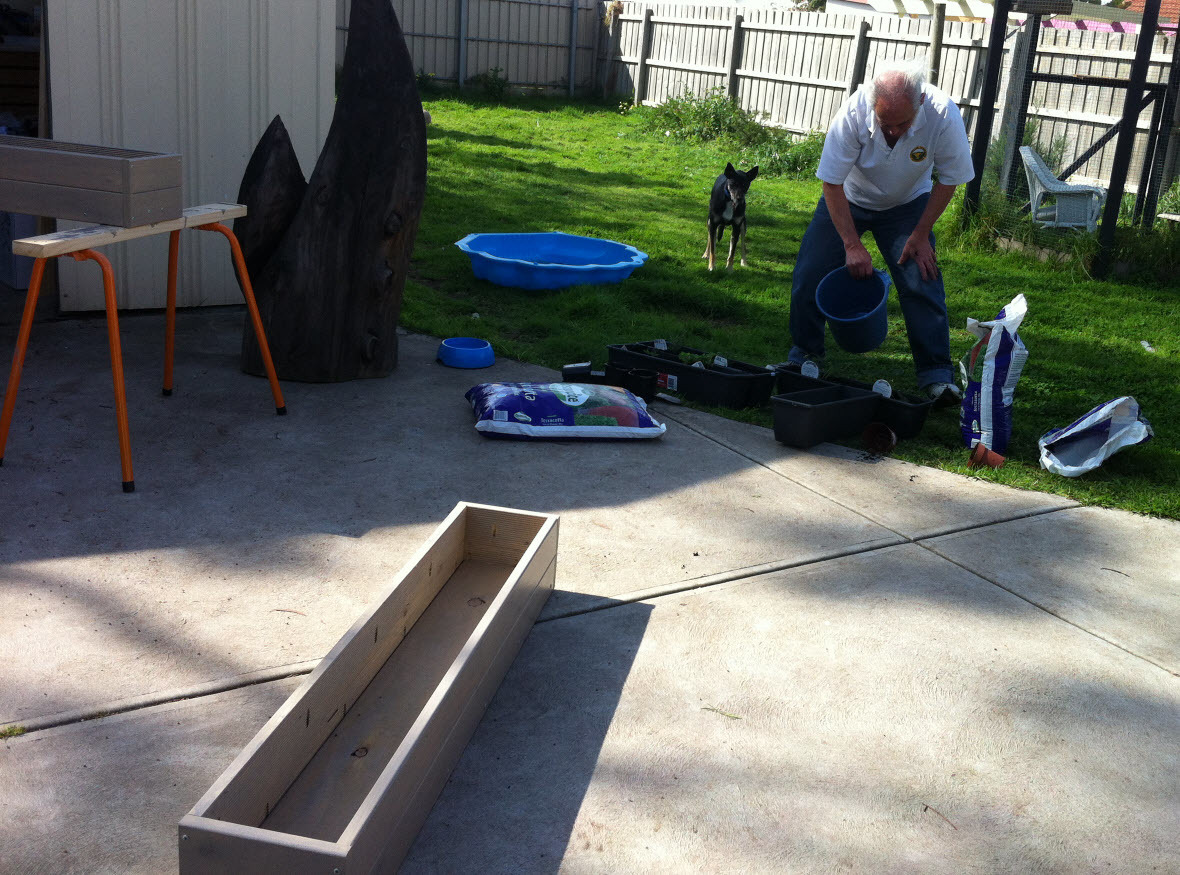
I made these boxes with my dad one afternoon. We had a great time! We wanted our herbs to be close to the kitchen and still get plenty of sun, so attaching them to the deck railing was ideal. I made them out of timber decking with pocket holes, and attached them to the railing with metal brackets underneath.

Built from Plan(s)
Estimated Cost
50
Estimated Time Investment
Afternoon Project (3-6 Hours)
Finish Used
Cabots Deck & Exterior stain
Recommended Skill Level
Beginner

Comments

Sectional seating

Submitted by Anonymous (not verified) on Mon, 05/30/2016 - 06:18

This was by Far The Best Sectional plans on the Net! Very Easy To Make! Thanks Anna white

Recommended Skill Level
Beginner

Comments

Fancy X Farmhouse Table

Submitted by Loaded918 on Sat, 03/14/2020 - 12:01

This is my first big project. It took about 5 days with the help of my 3 yr old little boy. I made a couple of modifications. I took the size down to 6 ft to fit our current dining room. Essentially I just took 24 inches off of the table top and the long cross braces. For the diagonal cross pieces, I just clamped the wood on the side and marked where the cut was needed. Somehow though, I ended up needing 8 2x4’s... It turned out a lot better than I expected. Although I wish it was explained how they attached the table top. I ended just screwing in from the top. Wish there was a way to avoid this, and the ensuing shown screws, but it will do for now!

Built from Plan(s)
Estimated Cost
~120
Estimated Time Investment
Week Long Project (20 Hours or More)
Finish Used
Dark Walnut
Recommended Skill Level
Intermediate

Coffee Table with 4x4 Legs

Submitted by Anonymous (not verified) on Sun, 10/29/2023 - 19:13

My own version, made from this nice plan, from cheap material, ( construction wood ). Tinted with Minwax Dark Oak color, finished with 3 coasts of Polycrilic.

Mario

Playhouse loft princess bed

My daughter was turning 4 and we were expecting our 2nd child in a few months and needed her crib/toddler bed back to start setting up the nursery. After googling fun big girl beds for a few weeks i came across the plans for the cottage bed and decided to sit down with my husband and decide if we could build her this bed. by building instead of buying the bed of her little girl dreams we were creating many fond memories with her and a real attatchment to it so she would actually sleep in it. We went through alot of the other brag posts first and picked out a few things we liked from each and made a few modifcations. I felt the spindles around the bed needed to be taller to keep her from falling out of the bed. We also made a door way under the slide that is now a little secret fort for her to go in and read her books and have quiet time. Under the steps my husband made a closet for her dress up clothes utilizing as much of the space under the bed as possible as it takes up most of her bed room We painted the back wall under the bed with chalk board paint to give her a art space under there as well. In the end it took us about a month to build the bed working on it on the weekends. We spent around 500 dollars including the purchase of a few tools we diddnt have and needed like the kreg jig and all the paint and princess decals. She loves the bed and my very amazing handy husband has been approached by many friends and family members to make one for their children as well.

Built from Plan(s)
Estimated Cost
500$
Estimated Time Investment
Week Long Project (20 Hours or More)
Finish Used
Valspar paint
Recommended Skill Level
Intermediate

Comments

birdsandsoap

Sat, 05/19/2012 - 19:37

I love the little valance over the window, it looks so cozy. You've got one lucky girl. The picture with all of the princess dolls on the steps is adorable.

Rustic X Book Case

Submitted by Casey R on Mon, 03/03/2014 - 09:33

I wanted to build something a little bigger than the Rustic X Console table. So my wife and I came up with the plans for this 5 shelf "Rustic X" Book Case. Took me about 20 hours to build over a three day weekend.

Estimated Cost
$120
Estimated Time Investment
Weekend Project (10-20 Hours)
Finish Used
Rust-Oleum Stain Onix
Minwax Helmsman Spar Urethane
Recommended Skill Level
Intermediate

Comments

HuskyBlue

Wed, 04/16/2014 - 08:18

What dimensions did you end up using?- the proportions look great! Even the shorter legs look great! And did you just use 2x6's for your trip on the top? We would love to follow your design to a t!

HuskyBlue

Wed, 04/16/2014 - 08:37

We were thinking of increasing the overall height to 84" and the width to 48" (keeping the depth) but weren't sure if that would mess up the ratio.

Bown

Tue, 08/27/2019 - 17:53

I think your looks much nicer than the original due to the finished top. It looks complete with the way you've made the overhang. How much of a overhang is it? 

I love the rustic x console and coffee table but hated the bookshelf due to the odd looking top, thank you for your inspiration! 

Rustic X Coffee Table Woes

Submitted by mrcleland on Thu, 06/02/2016 - 05:56

I started this project a few months ago for a friend. The build went easy enough and was complete is less than a day. The only issue I had was with the X's. My miter saw doesnt cut past 55 degrees and it called for 60 degrees. I had to eye it and the X's turned out less than perfect. It did give me a compelling arguement to upgrade from my 10" to a 12" sliding saw (we will see how that pans out). The finishing was the real problem for me. Ive had issues in the past with not liking the final color and having to sand the whole project over and over until I finally just settle. I was hesitant on the vinegar and steel wool finish but went for it anyway. The top turned orange, almost like a fresh cedar color. I whitewashed it the following day and roughed it up with some light sanding. It looked great. I added poly and the top turned orange again. It was horrible. I had to sand it and start over. I then went with a weathered grey with a whitewashed top coat and it looked great but my friend wasnt a fan. I sanded AGAIN and tried another color. Third time was a charm and the sunbleached stain with whitewash came close to what we wanted to acheive. He likes it, I like it, and eveyone is happy!

Built from Plan(s)
Estimated Cost
60
Estimated Time Investment
Weekend Project (10-20 Hours)
Finish Used
Sunbleached Color Stain w/ a whitewash mixture (1/1 white paint and water)
Recommended Skill Level
Beginner

Camp Loft Bed with Video Gaming "Boy-Cave"

Submitted by Anonymous (not verified) on Wed, 03/25/2020 - 08:35

I built this for my 10 year old son. His room is not very big so this loft bed provides the perfect solution to freeing up floor space for playing.

I added some toy shelves to the side for additional storage.

The curtain, TV and gaming chairs turn the under the bed portion into his personal "boy-cave" gaming center.

Thank you for the easy to follow instructions. He loves it!

Estimated Cost
The bed / shelves combo cost me a little less than $200, including sanding, staining, etc...
Estimated Time Investment
Weekend Project (10-20 Hours)
Finish Used
We used a very light minwas stain that my son picked out
Recommended Skill Level
Beginner

Kids Storage Bed

Submitted by Anonymous (not verified) on Sat, 11/04/2023 - 14:34

Grandson needed a bed at our house for when he comes and stays. Designed and built this bed, features a bookcase headboard. Drawers on one side and storage cubbies on the opposite side.

Vanessa's X Picnic Table Modified

Submitted by jessisnapp on Mon, 05/21/2012 - 15:05

This table was built using the Vanessa's X Picnic Table plans but made plenty of modifications to it. We used 3/4 thick boards and made the table 60 inches long instead of 71 3/4". We have a small dining room and wanted a table big enough for four people so this size worked for us. Since we made adjustments to the length we used less supports under the table top. We made the table top using pocket holes and only two joists were needed. We added extra support between the table top and the stretcher because the table wiggled more than I wanted it to. This nipped the problem in the butt! I knew I wanted to build this table but my concern was finding chairs to suit the table. I ended up getting unfinished chairs from Ikea for $19 a piece and finished them myself. I feel like this project took forever, but that table itself was assembled in a weekend. The finishing process took an additional weekend since we had to do the chairs as well.

Built from Plan(s)
Estimated Cost
$135
Estimated Time Investment
Weekend Project (10-20 Hours)
Finish Used
Minwax Pre-Stain Wood Conditioner, Minwax English Chestnut Stain, and Minwax Clear Semi-gloss Polyurethane
Recommended Skill Level
Beginner

Rustic X Console Table

Submitted by jwerne2 on Wed, 03/05/2014 - 12:55

My husband built this Rustic X Console table to plan. We love it so much he is now building the coffee table and end tables to match (and I may convince him to build the bookcase too!)

Estimated Time Investment
Day Project (6-9 Hours)
Finish Used
Rustoleum Dark Walnut, wipe on satin polyurethane, furniture wax
Recommended Skill Level
Intermediate

Alexia Bench modified

Submitted by rkyount on Sat, 06/04/2016 - 15:35

This was a very quick and easy build that was completely finished in an afternoon. My Kreg jig was loaned out, so I have exposed fasteners, but I prefer to let them show instead of filling the holes. I built this with 20" legs to make it a little taller and more comfortable for my height. I also prefer straight lines and angles, so I changed the trim pieces a bit to suit my style. The hardest part was getting the drawer slides lined up. The finish is Rustoleum Heirloom White with a coffee colored glaze. The picture makes one drawer look darker, but it's really just a shadow. I'm in love with this project!

Built from Plan(s)
Estimated Cost
$65
Estimated Time Investment
Afternoon Project (3-6 Hours)
Finish Used
Rustoleum Heirloom White with a coffee colored glaze
Recommended Skill Level
Beginner

Adirondack from Deck leftovers

Submitted by Anonymous (not verified) on Thu, 03/26/2020 - 09:58

We are stuck at home for the Shelter-In-Place due to COVID-19 so we decided to use the scrap wood left over from our new deck. Because we didn't have the materials exactly meeting the specifications in the directions, we had to adapt the design significantly but we're really pleased with how it turned out. My 16-year-old daughter made it with me so it was a great to get her involved in building

Built from Plan(s)
Estimated Cost
$0
Estimated Time Investment
Day Project (6-9 Hours)
Recommended Skill Level
Intermediate

sandbox

This is the first thing I have ever made out of wood in my life! I'm a quilter, I have never even used a screwdriver, but I followed your plans exactly and made this for my grandchild! I am so proud of this sandbox. (I did talk the guy at Lowe's into making the woodcuts for me).
Thank you so much for this plan and thank you for making it so easy to follow. Sherry

Built from Plan(s)
Estimated Cost
$60
Estimated Time Investment
Afternoon Project (3-6 Hours)
Finish Used
was told to wait to paint for six months because pressure treated wood needs to dry out
Recommended Skill Level
Starter Project

Kendra Side Table

Thanks for the GREAT plans. Slightly modified to allow more space on the top shelf.

Estimated Cost
40.00
Estimated Time Investment
Day Project (6-9 Hours)
Recommended Skill Level
Beginner

Comments

Linda7

Sun, 03/09/2014 - 15:23

Lauren,
They are found on this site called the "Kendra Storage Console". Click on "plans" in the tool bar above, type in that title, then hit "apply." The original plans will pull right up.

JoJo Lynn

Thu, 01/29/2015 - 20:01

I too was looking for the plans on this and i clicked on plans but when i entered Kendra Side Table it came up as no results found. Is this not the name listed above? Am i doing it wrong?

Jodi

Queen size farmhouse bed with storage

Submitted by fdfp84 on Wed, 06/08/2016 - 17:11

I made the bed  from the plans on this site, I made the drawers using a dovetail joint.Took a little longer because of that. 

Estimated Cost
cost was around 350.00
Estimated Time Investment
Weekend Project (10-20 Hours)
Recommended Skill Level
Beginner

Comments

Fireplace Mantle

Submitted by advanlente on Sat, 03/28/2020 - 11:37

I really wanted a mantle to hang our stockings and to have some decorations. When we moved in there was just a shelf above the fireplace which was fine but I wanted to make more of a statement. This was a pretty easy project after all of the math was calculated. I made to follow guidelines for the fireplace as well. Thanks dad for that :)

Cottage Bench

Submitted by toosure1 on Sun, 05/27/2012 - 15:17

Saw this bench and loved it. Since its Memorial weekend I thought I would add some personal belongings to it.

Estimated Cost
40
Estimated Time Investment
Day Project (6-9 Hours)
Finish Used
Kilz Primer
Recommended Skill Level
Beginner

Farmhouse Table for house

Submitted by N8Heinrich on Thu, 03/13/2014 - 08:52

My wife wanted a new table for our dining room in our new house. I have been eyeing this project for a couple of years and finally convinced my wife that I could do it since we had the space. The plans on this site were easy to follow and I was able to really put it together. As far as the color of the stain, that is all my wife as she has the eye for colors and matching. Overall, this was a fun project and I can't wait to put the bench together next.

Estimated Cost
$150
Estimated Time Investment
Week Long Project (20 Hours or More)
Finish Used
Minwax Jacobean Stain; then 3 coats of Poly all brush applied
Recommended Skill Level
Beginner