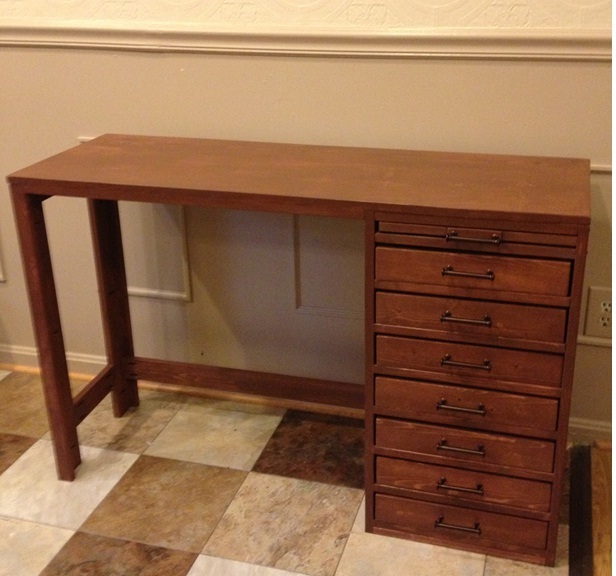
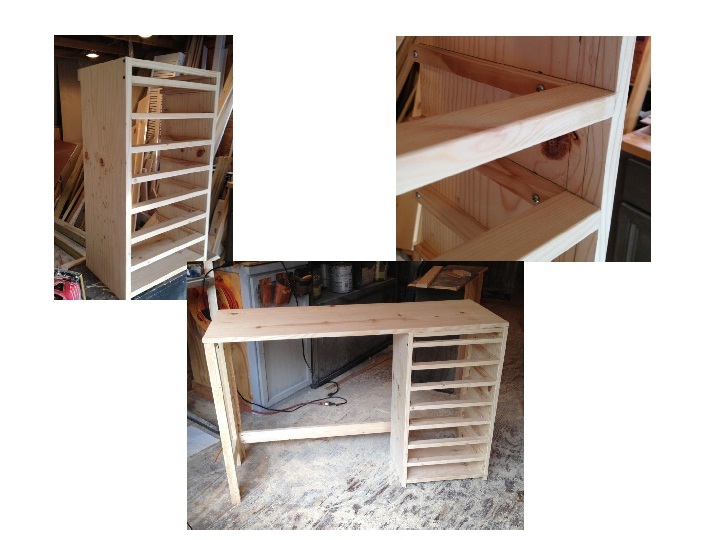
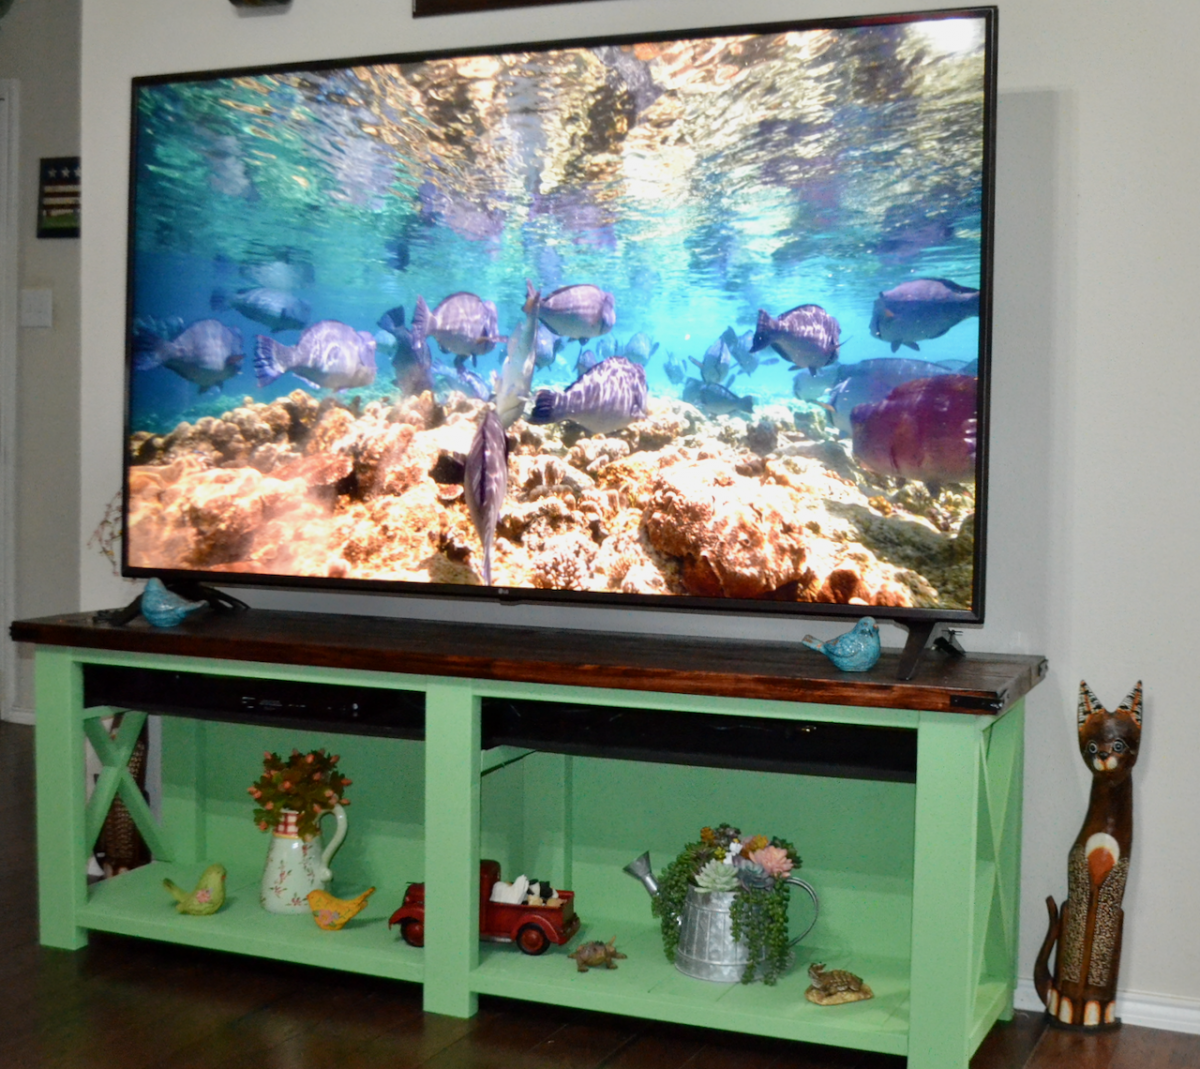
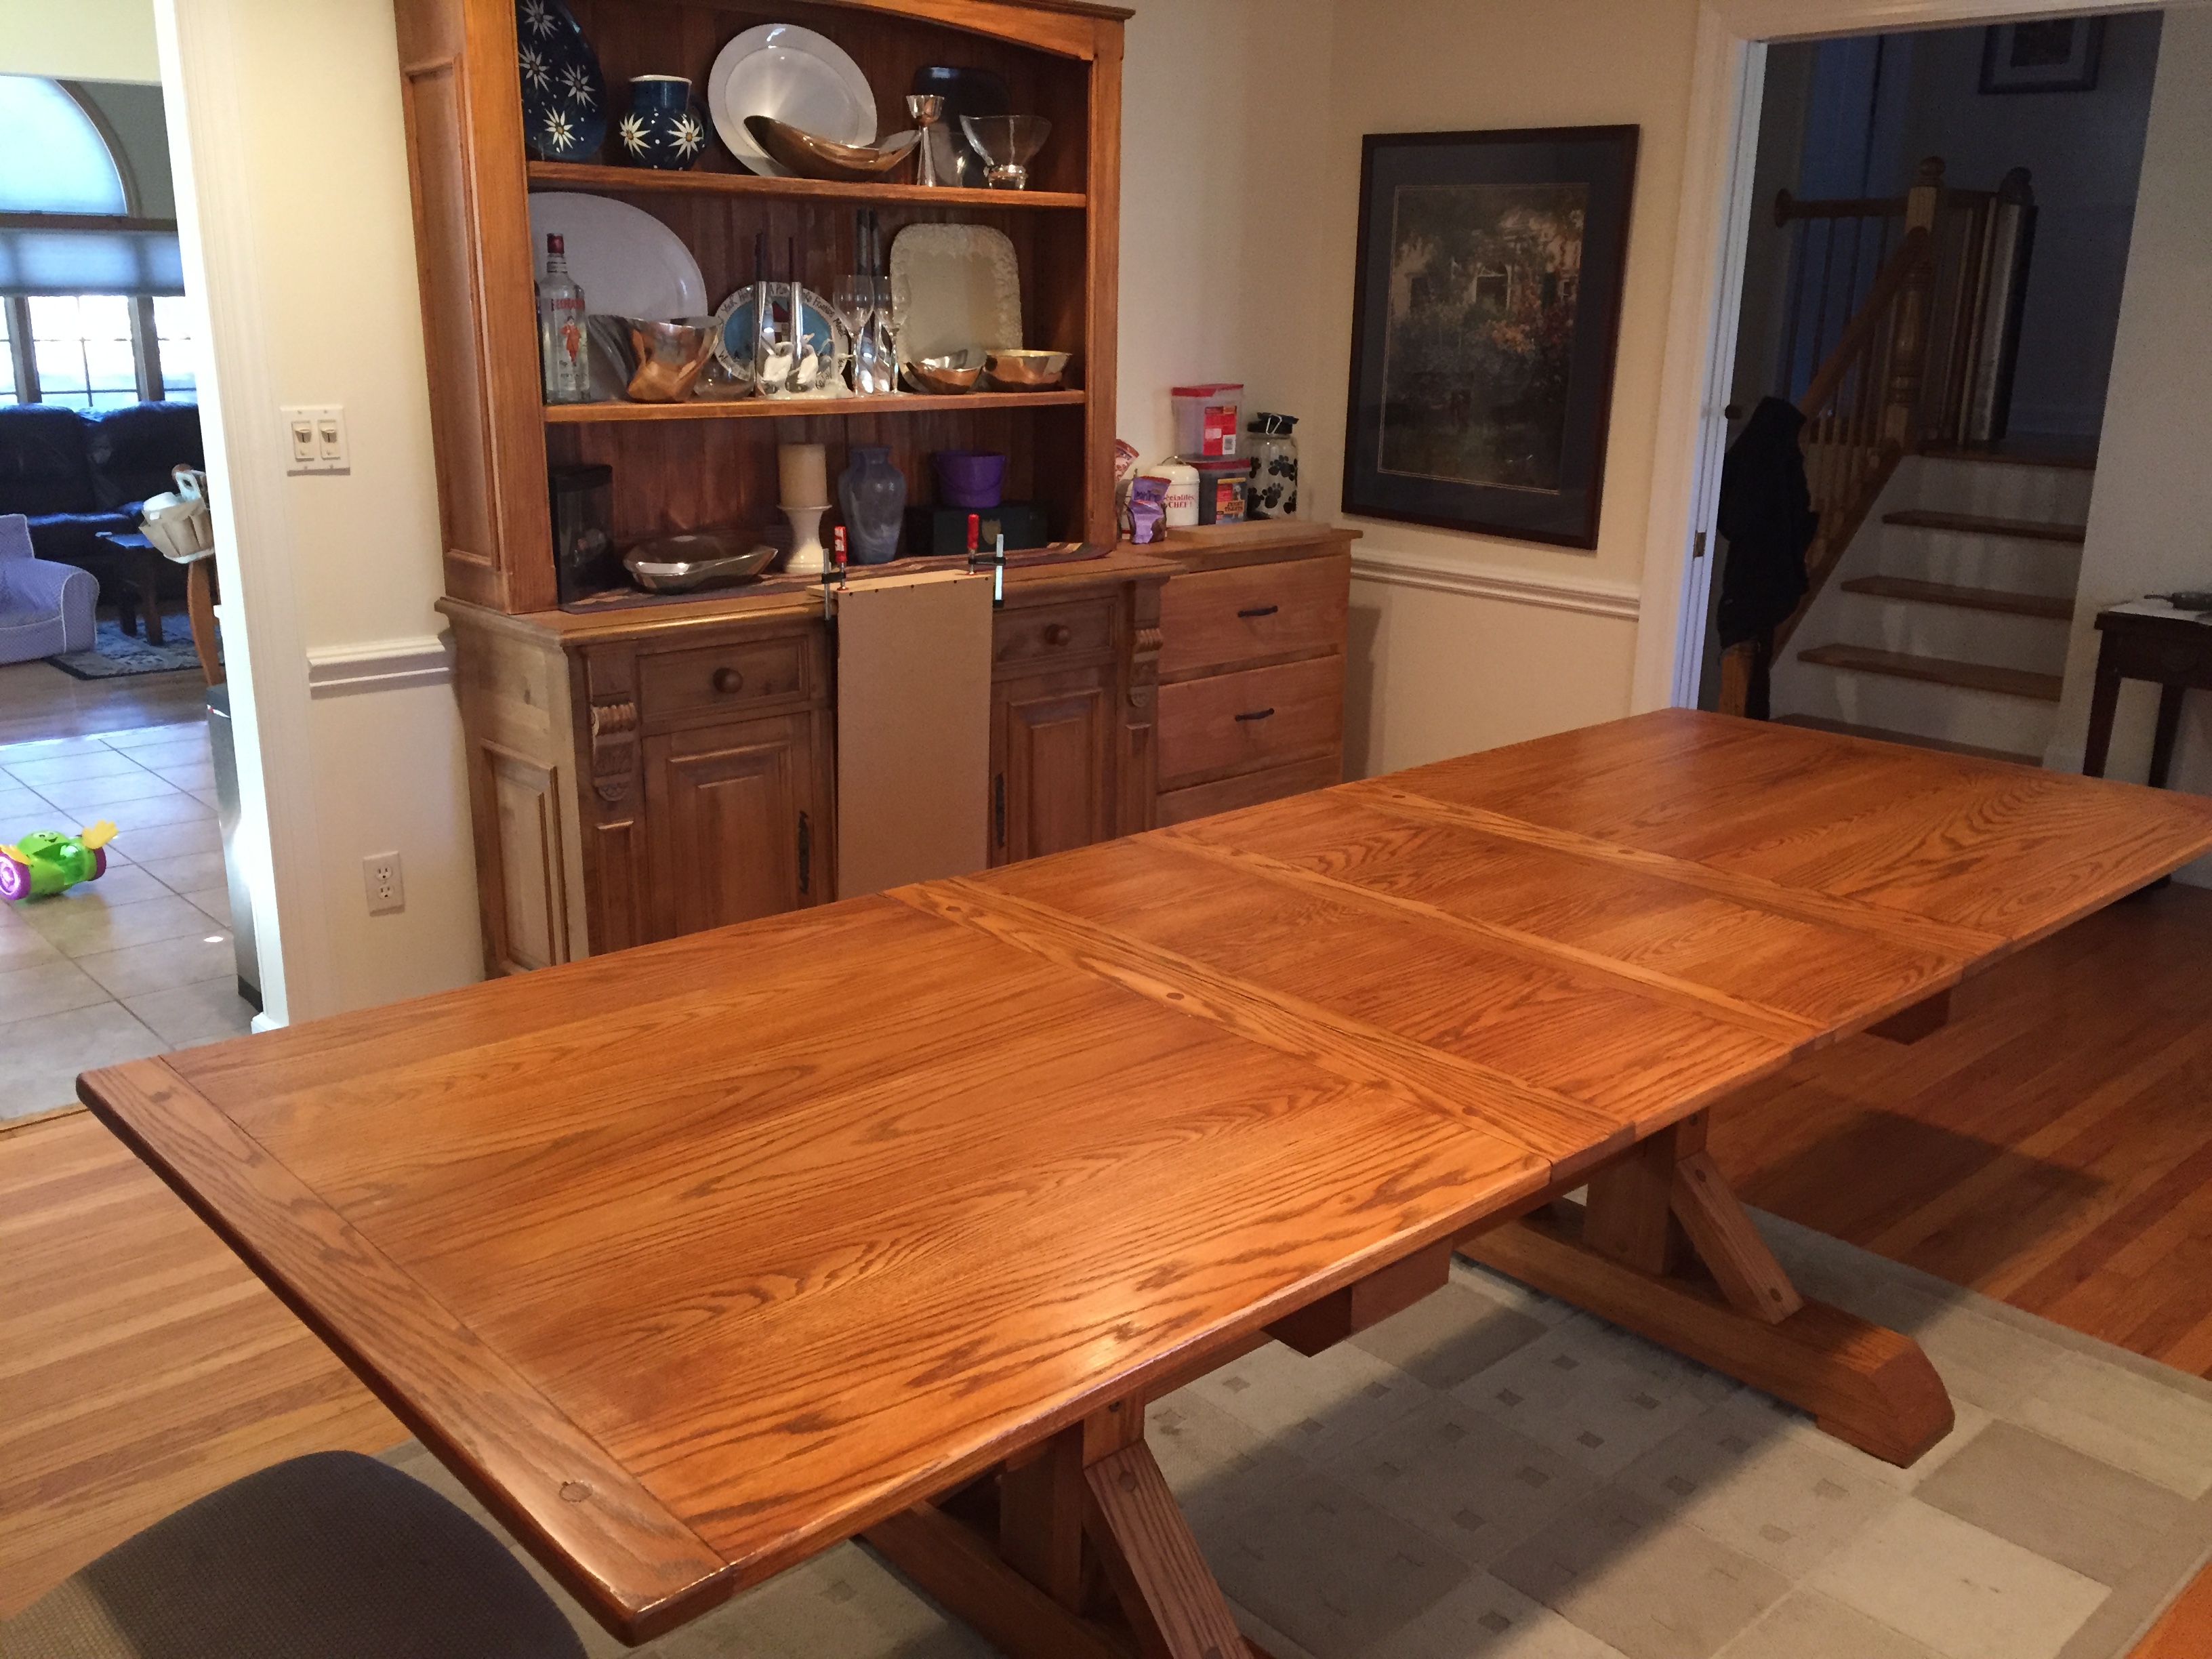
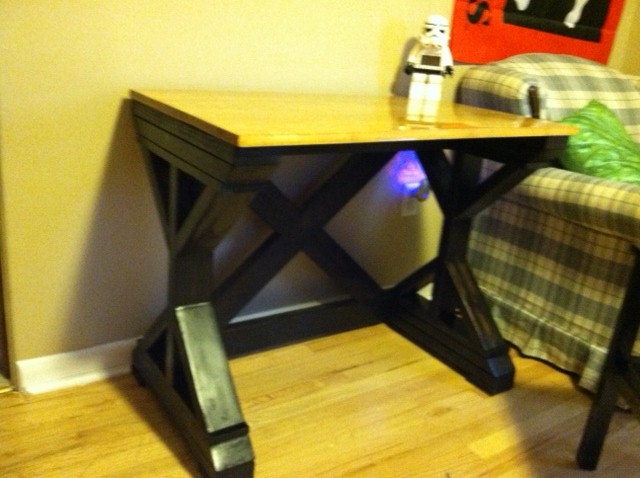
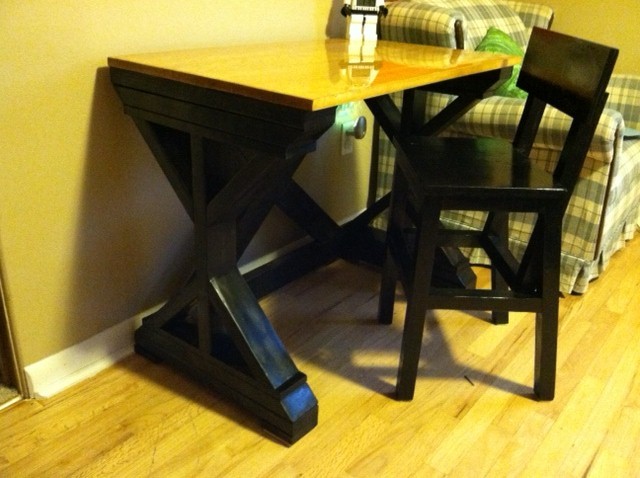
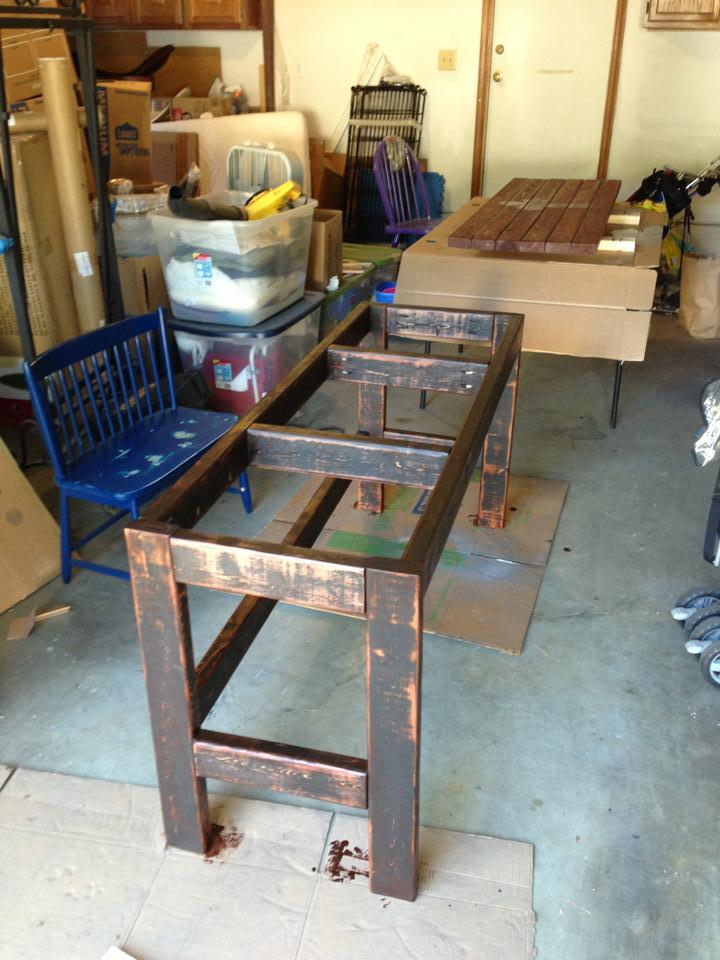
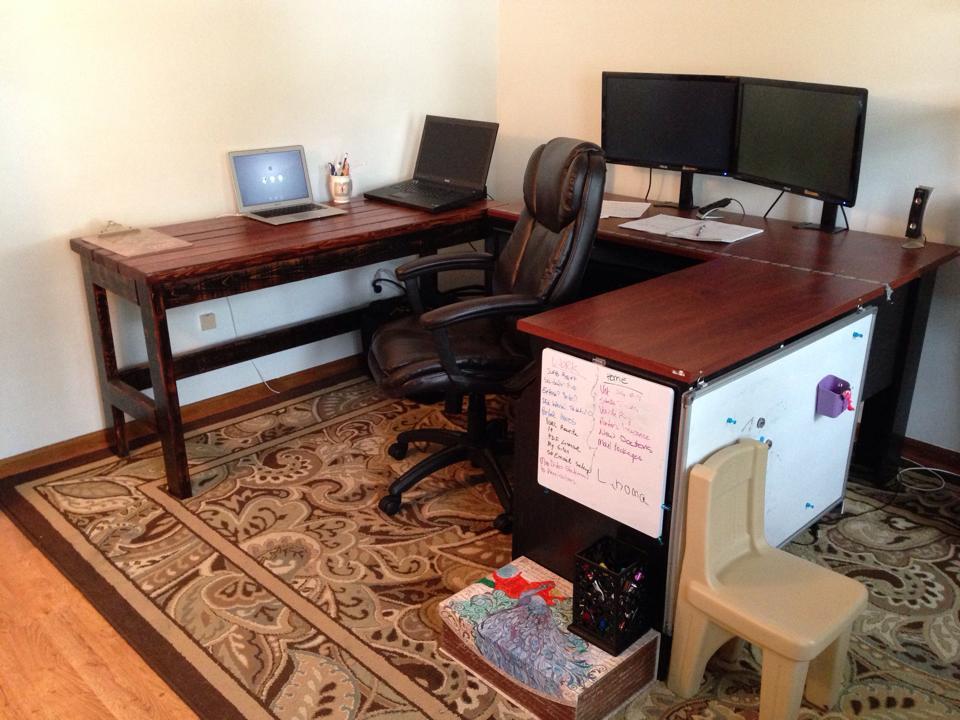
Office Desk

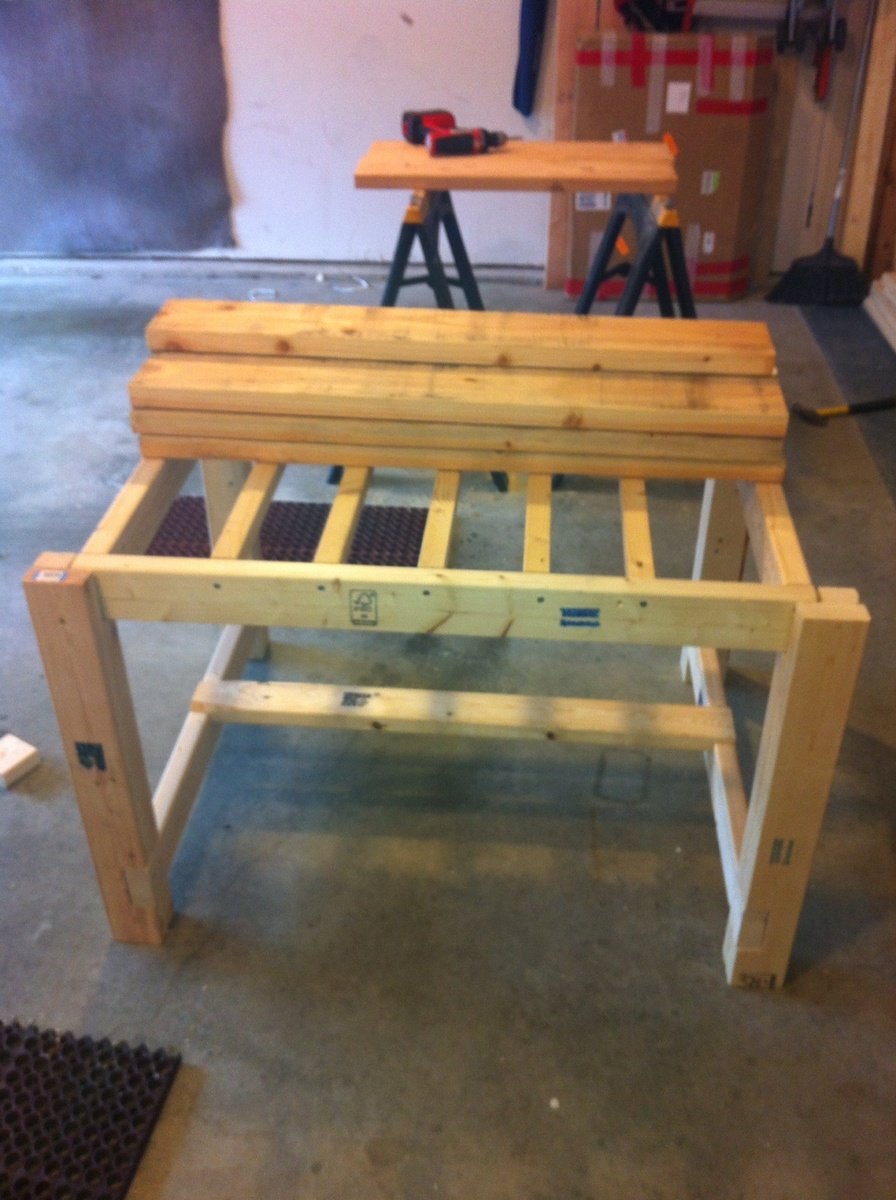
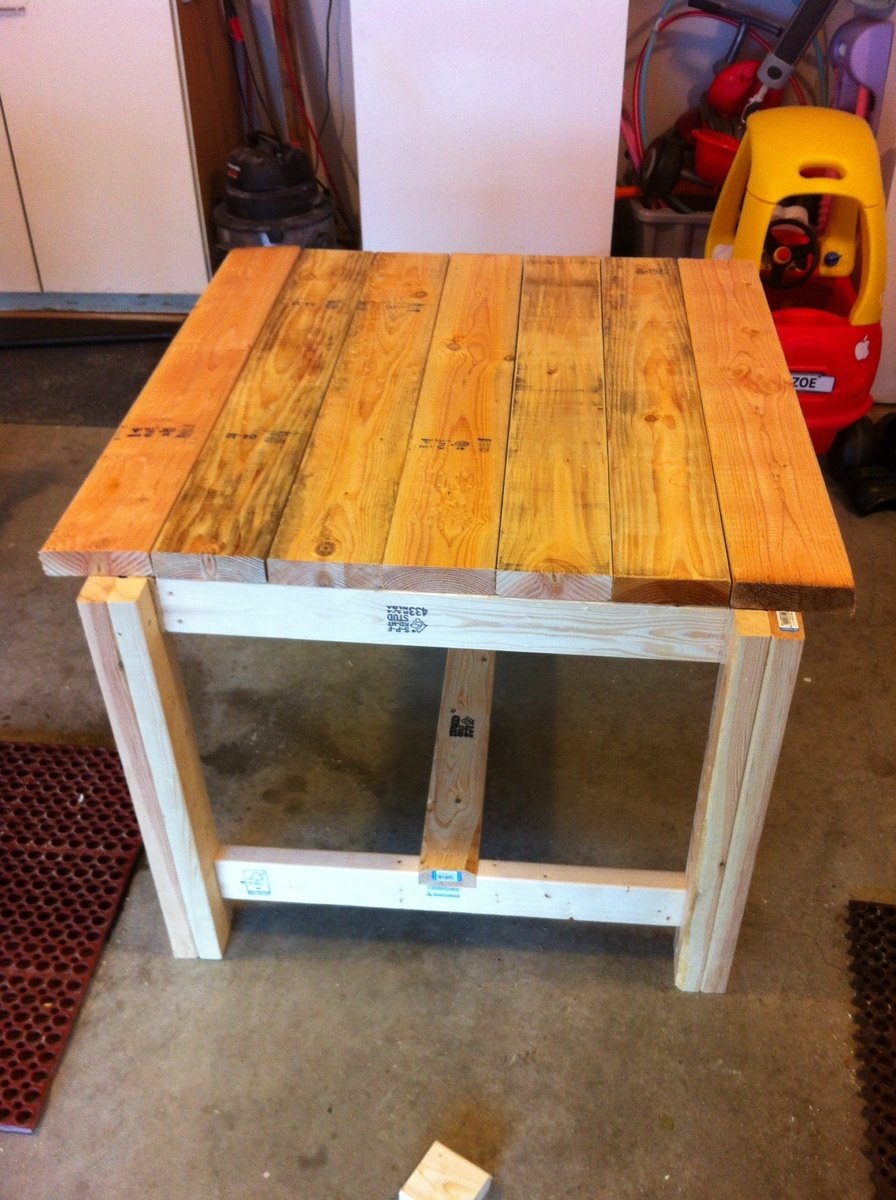
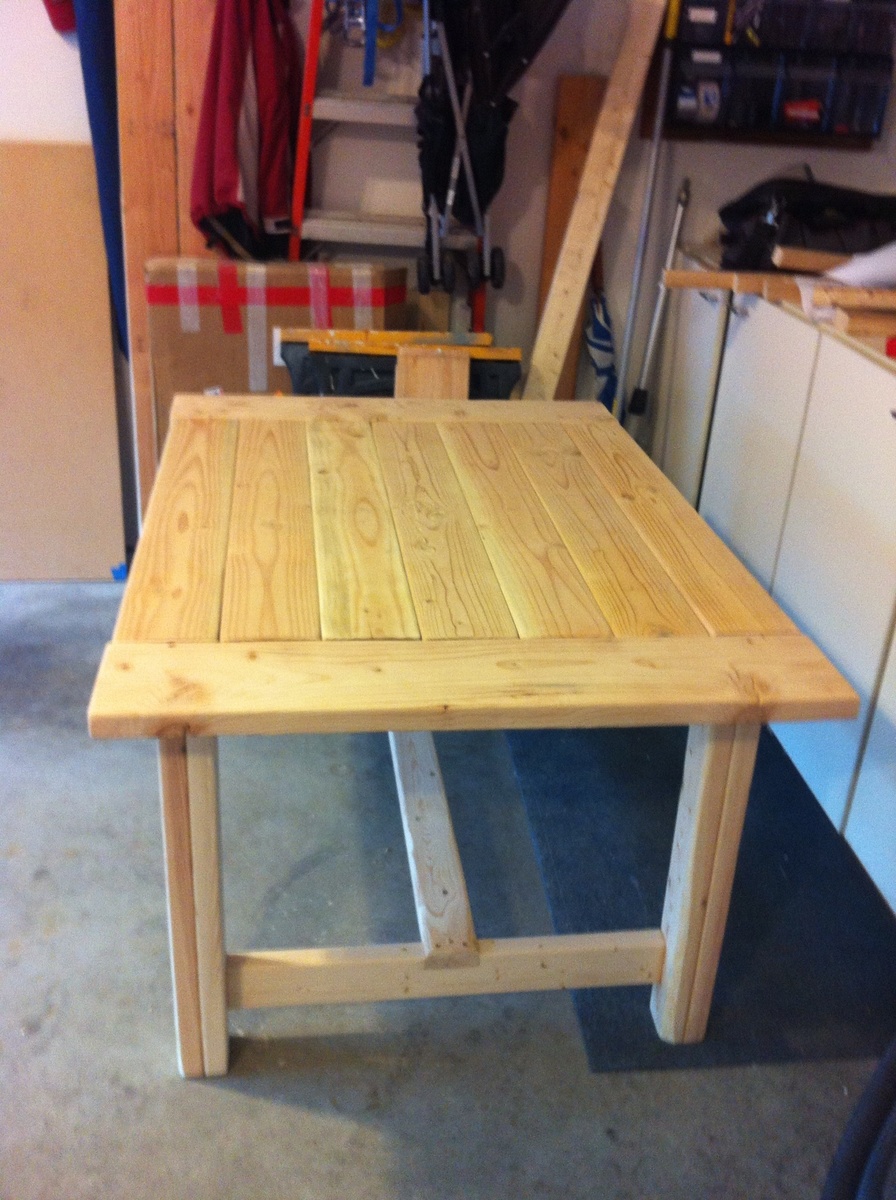
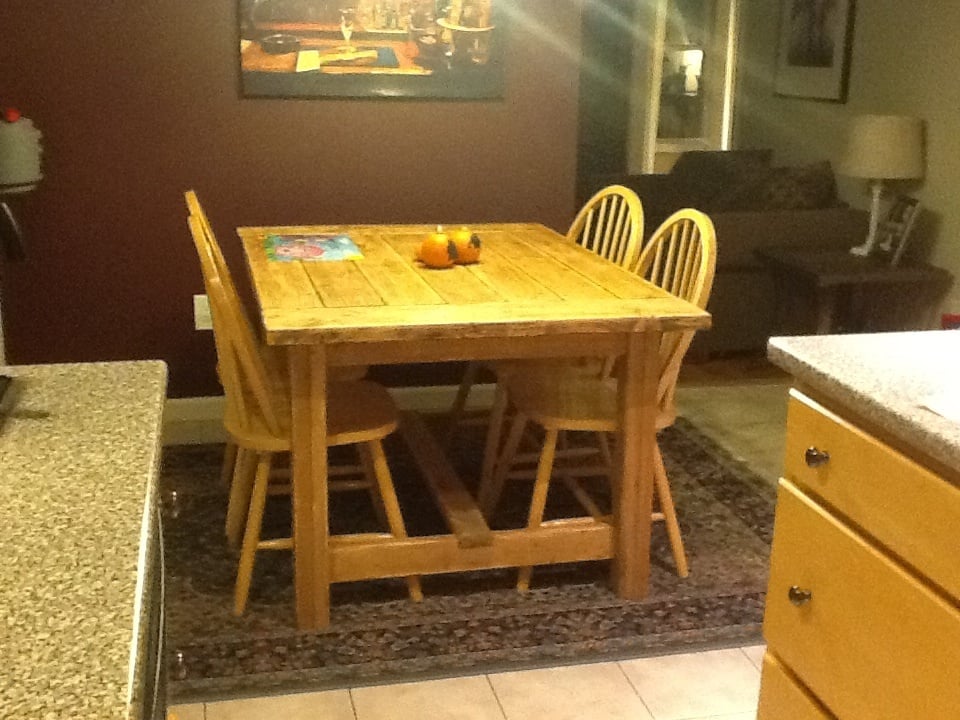
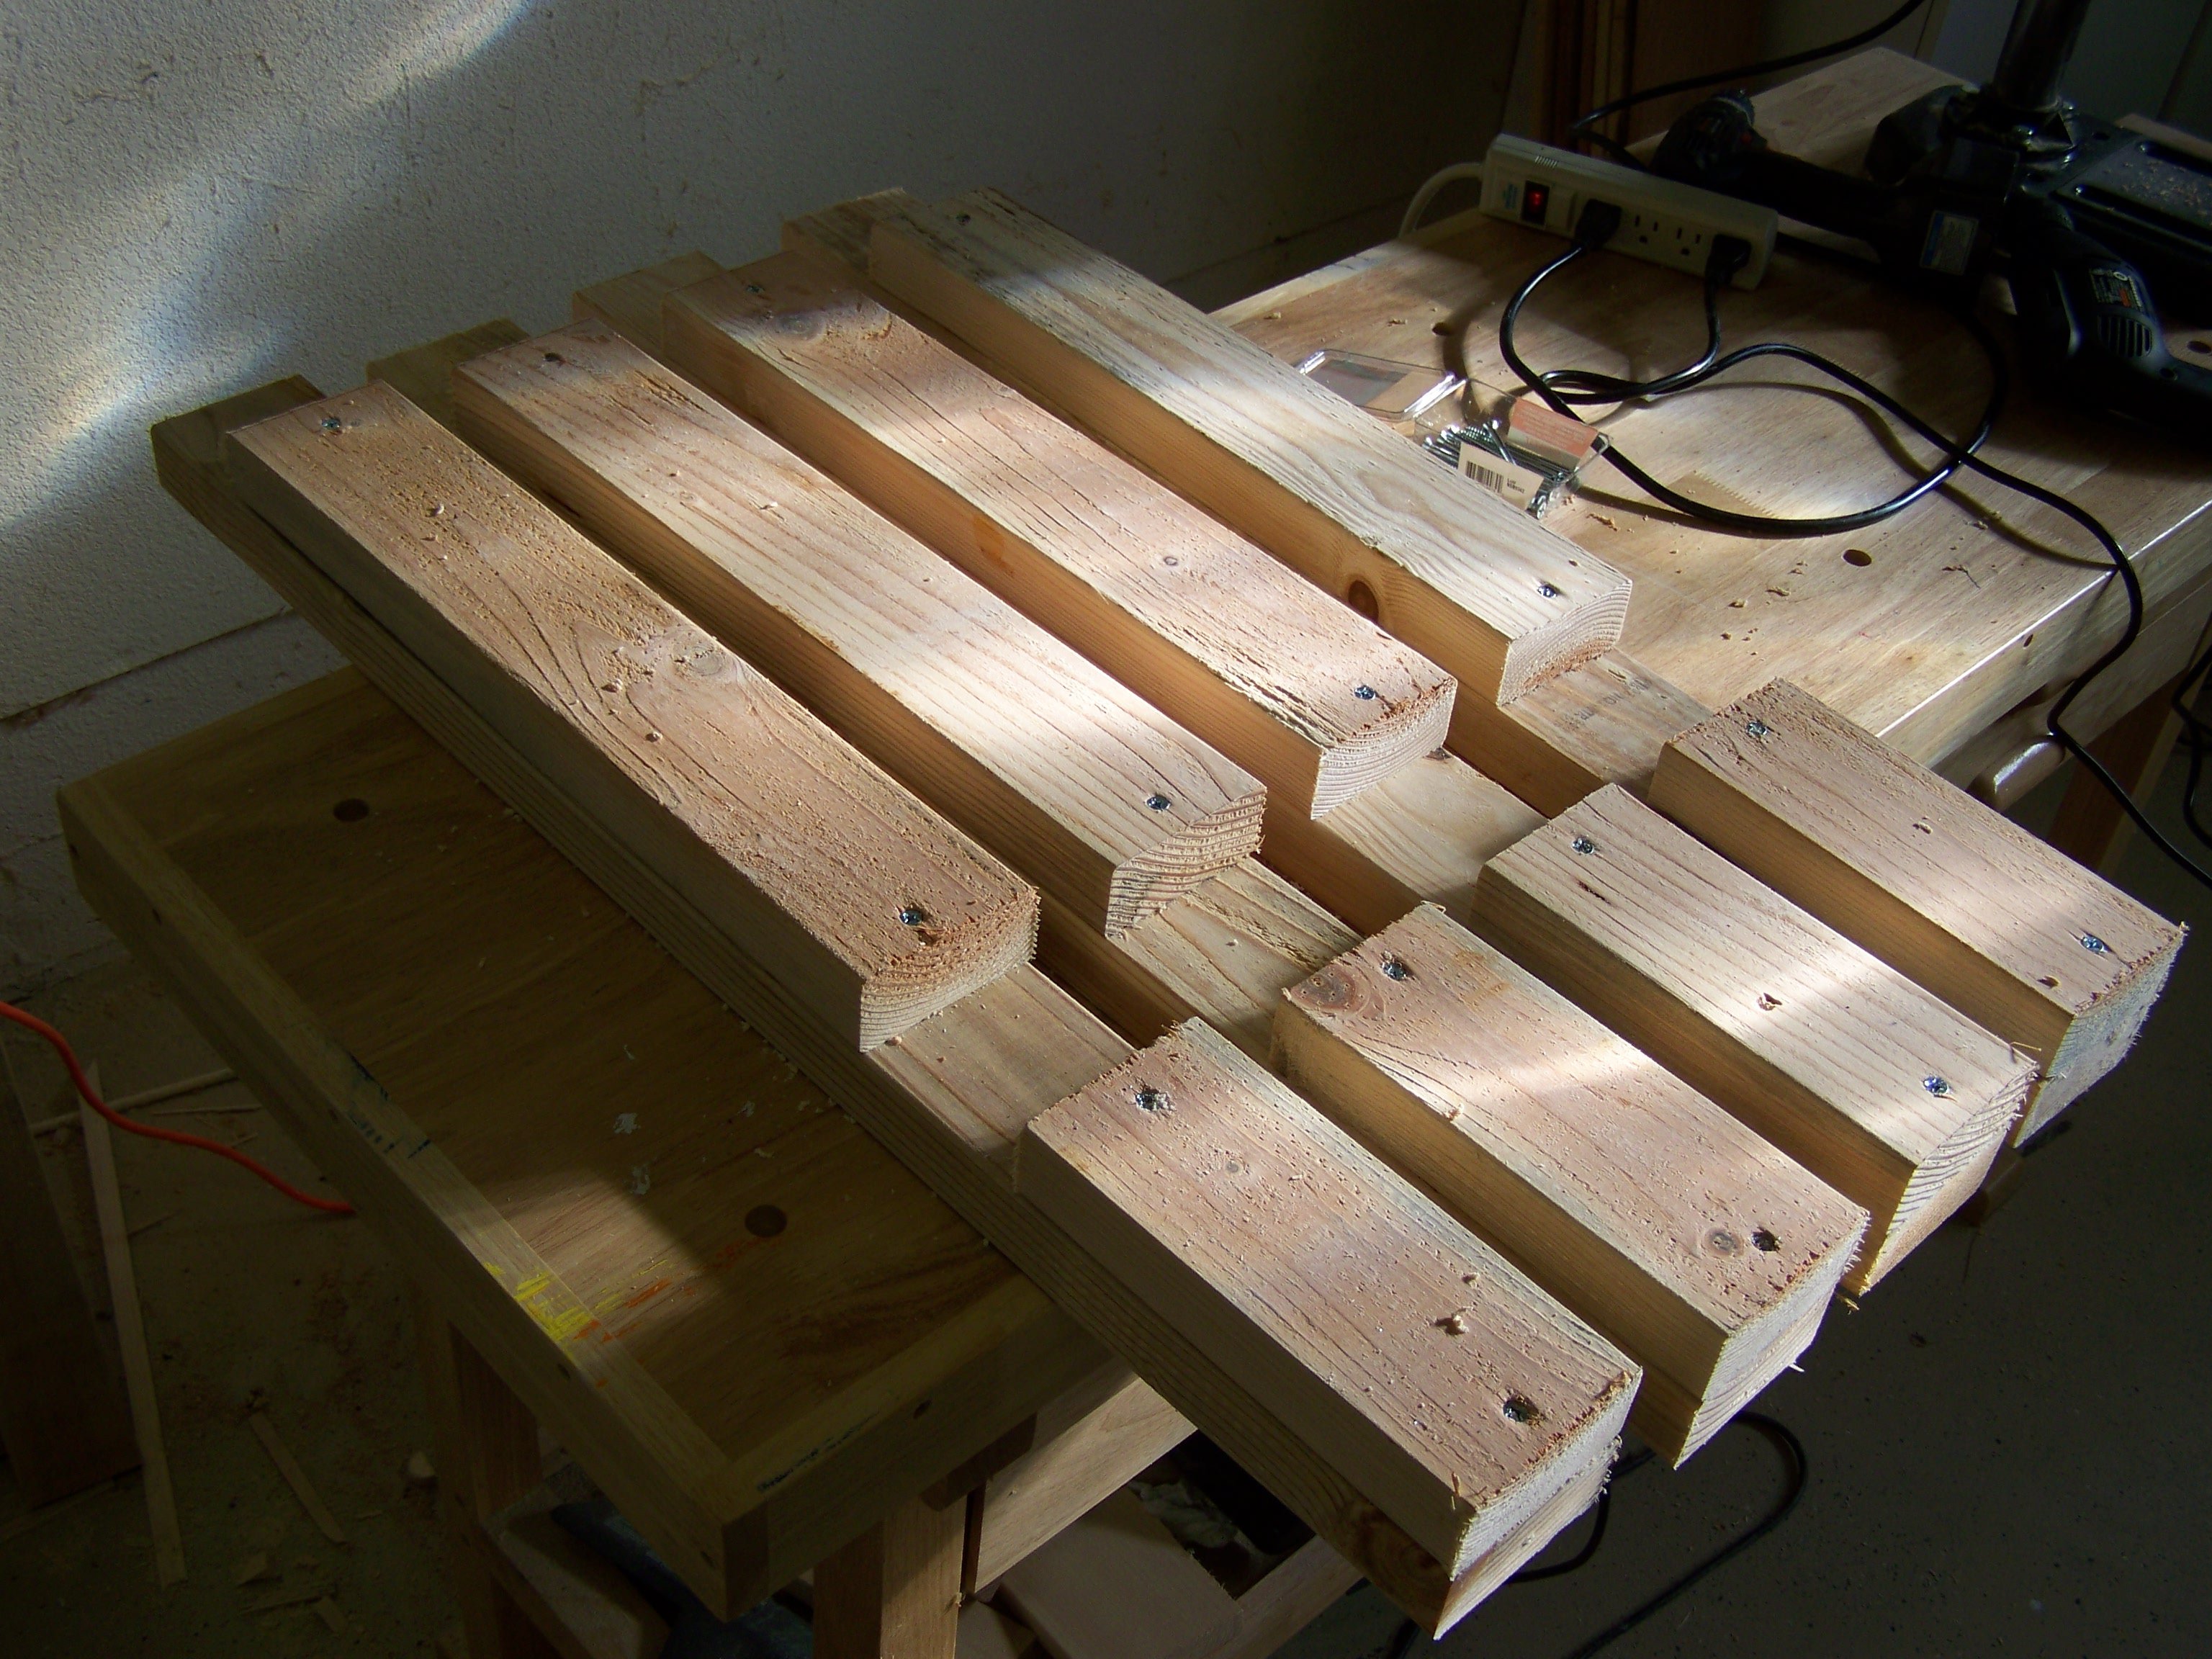
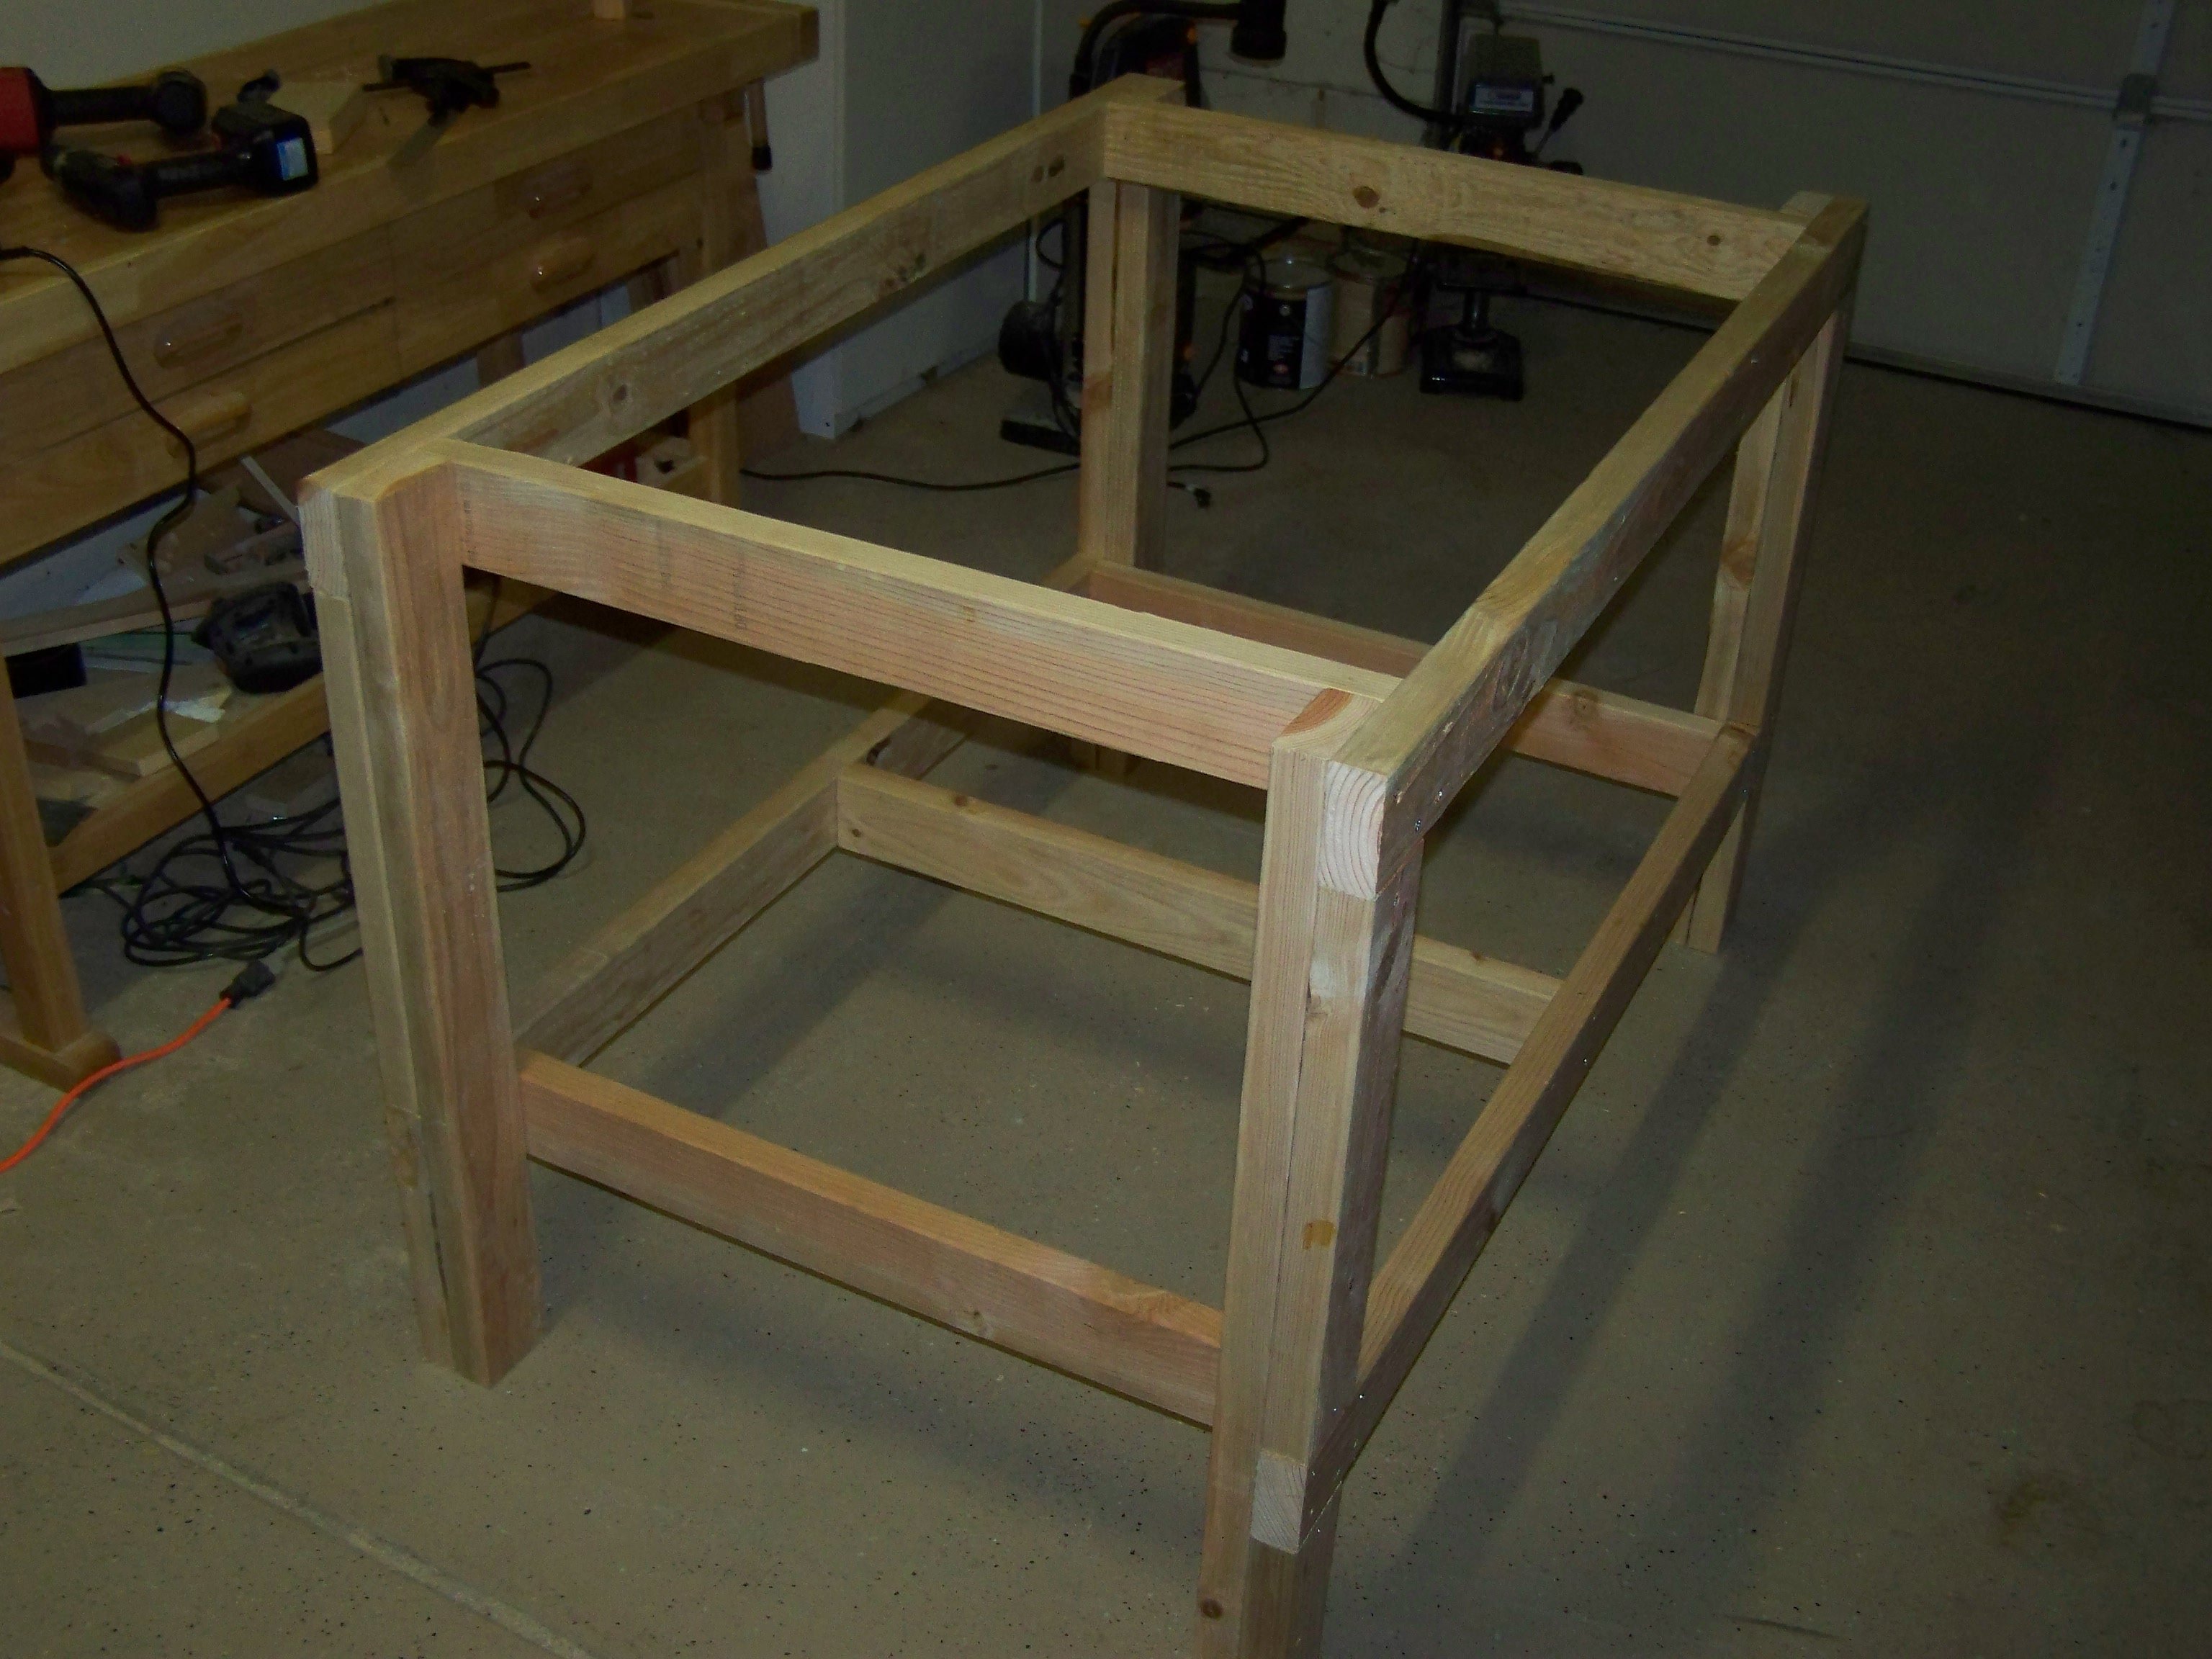
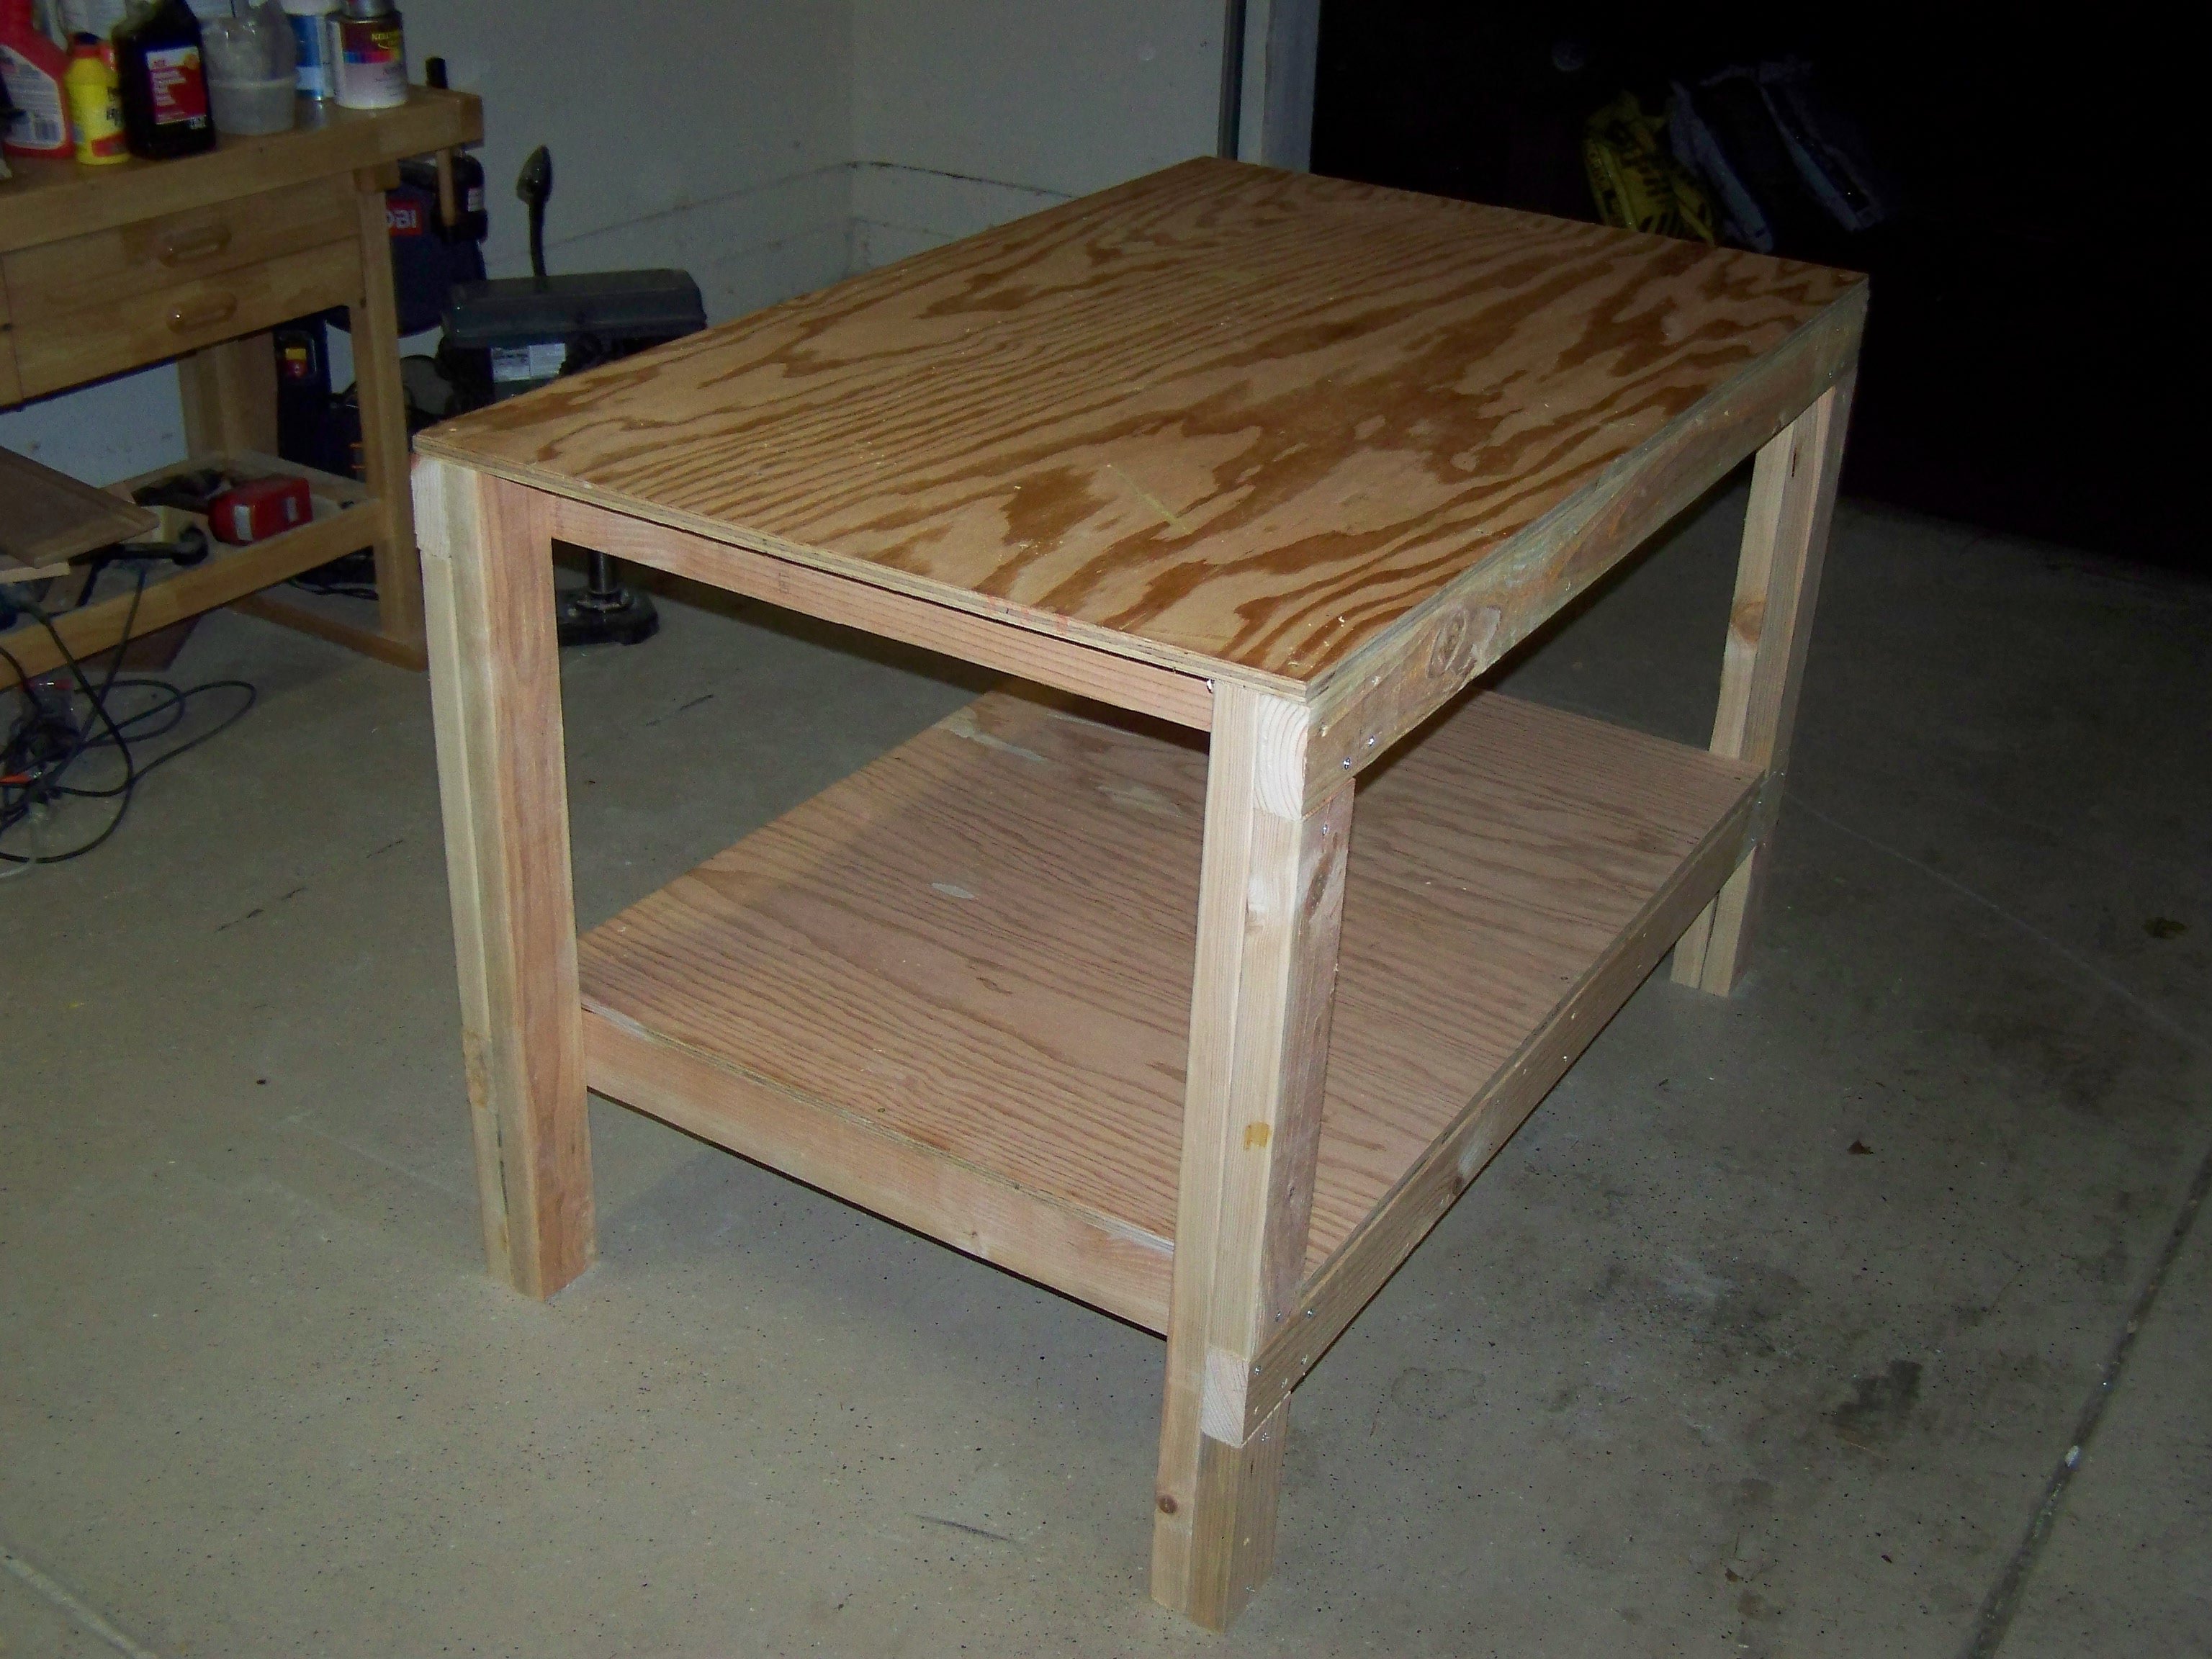
This was my first table project. I needed additional desktop space in my home office. This table was easy to build.
Built from Plan(s)
Estimated Cost
$25
Estimated Time Investment
Weekend Project (10-20 Hours)
Finish Used
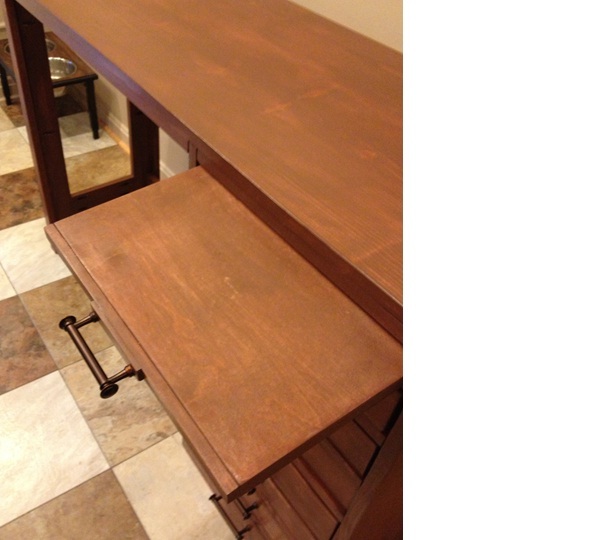
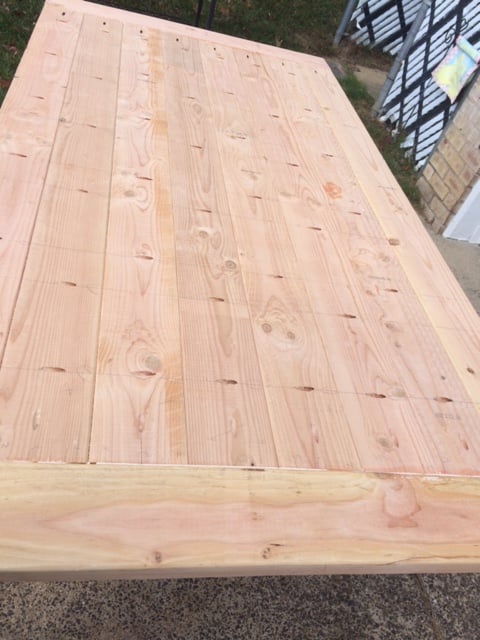
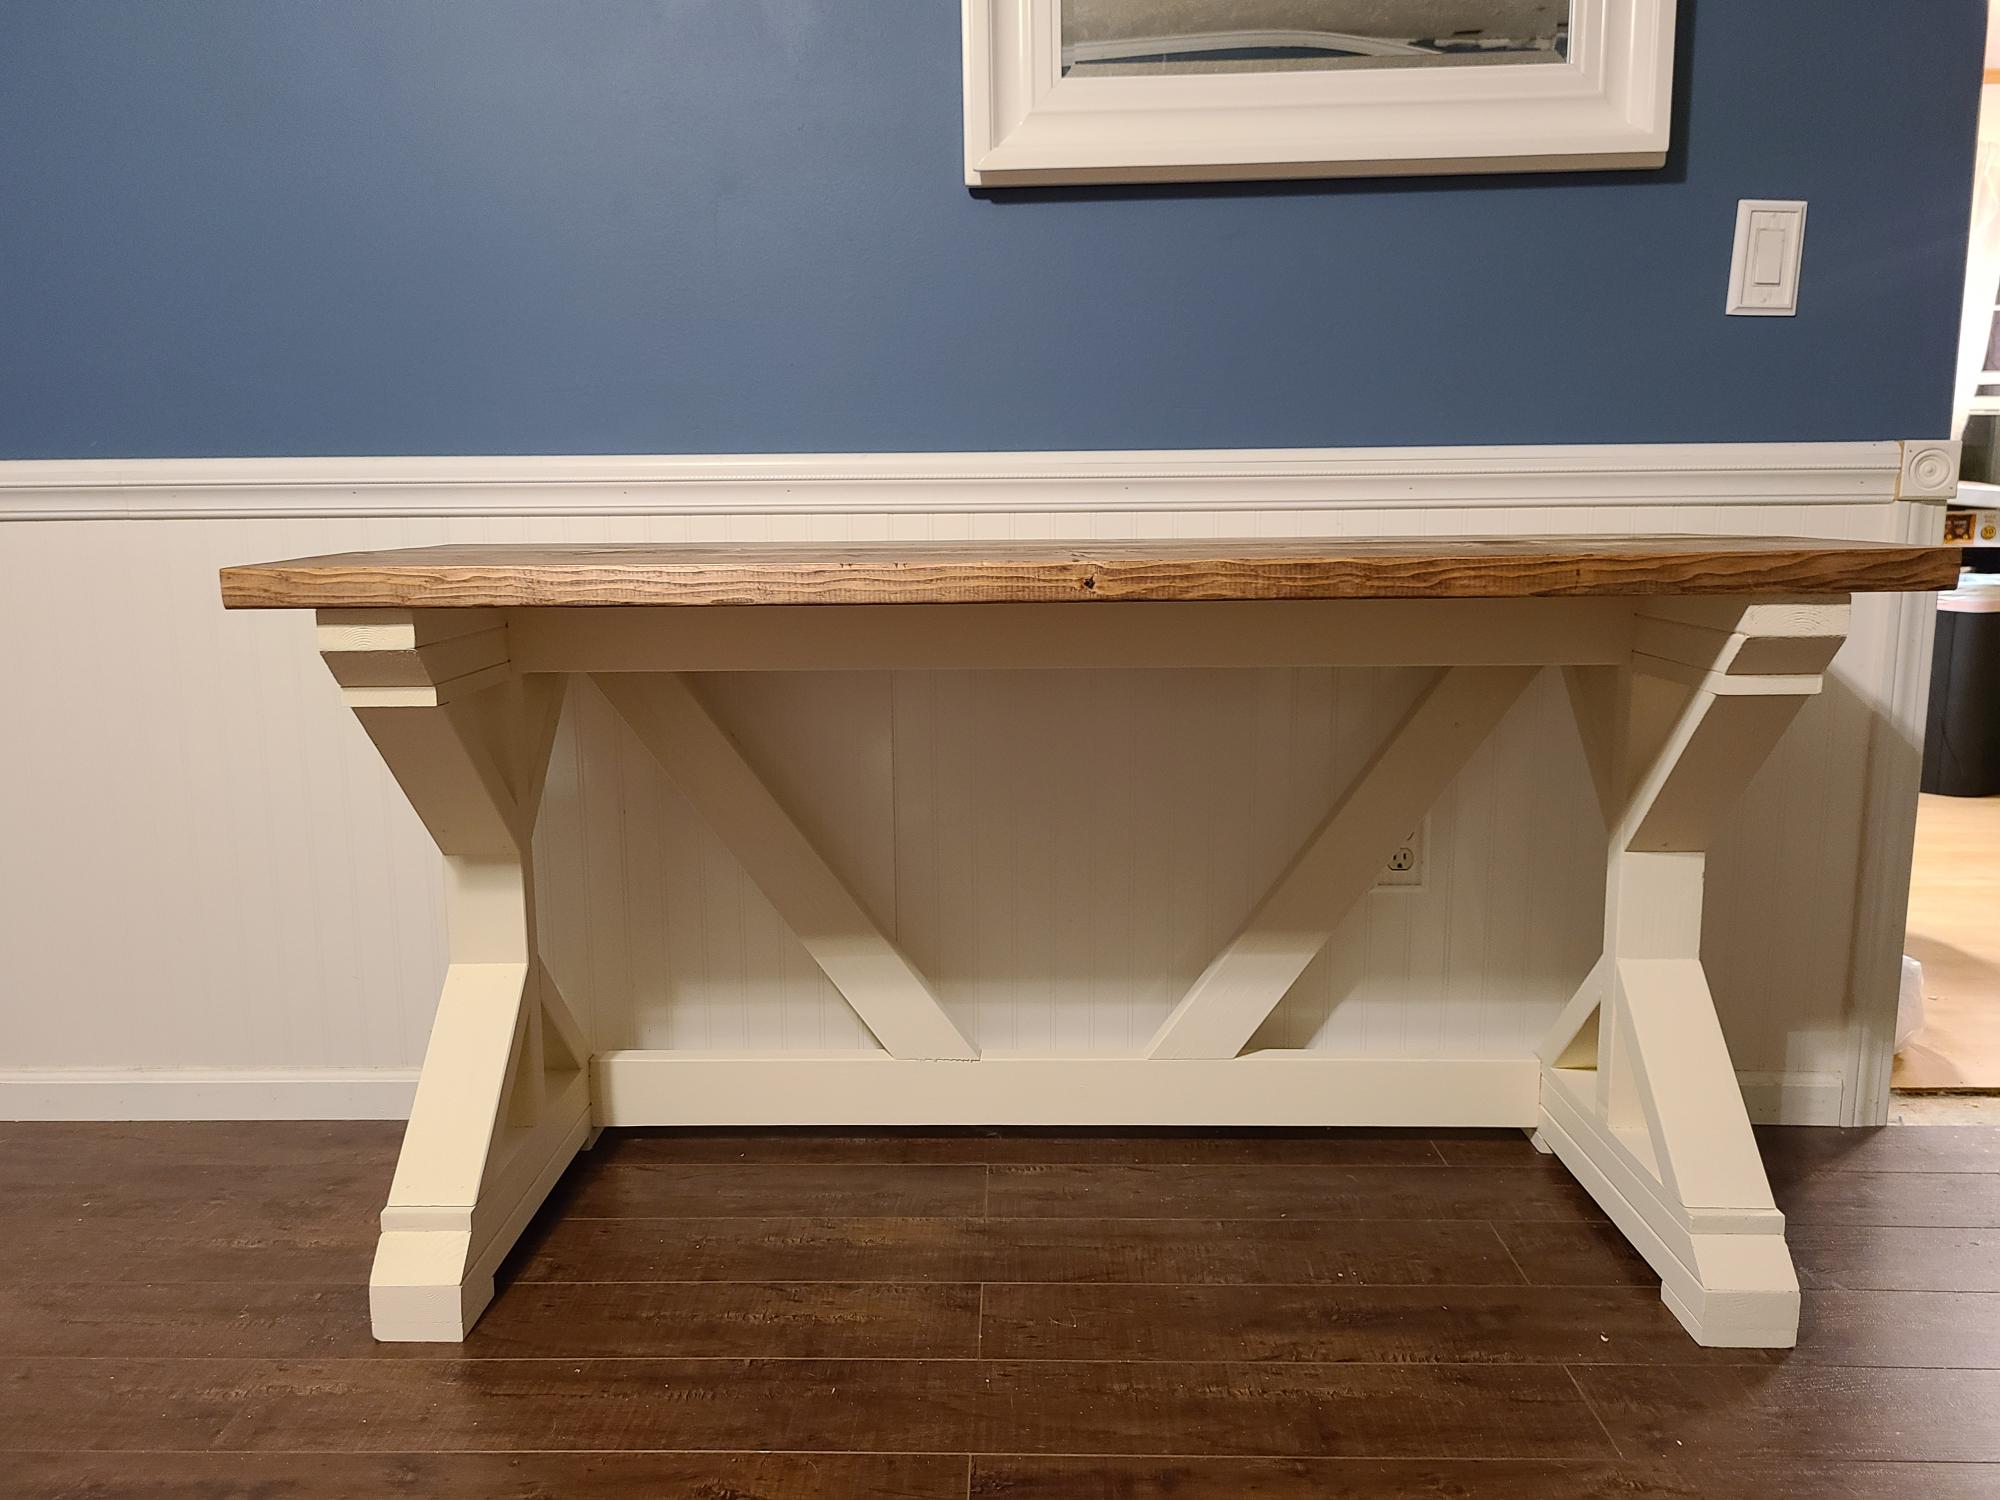
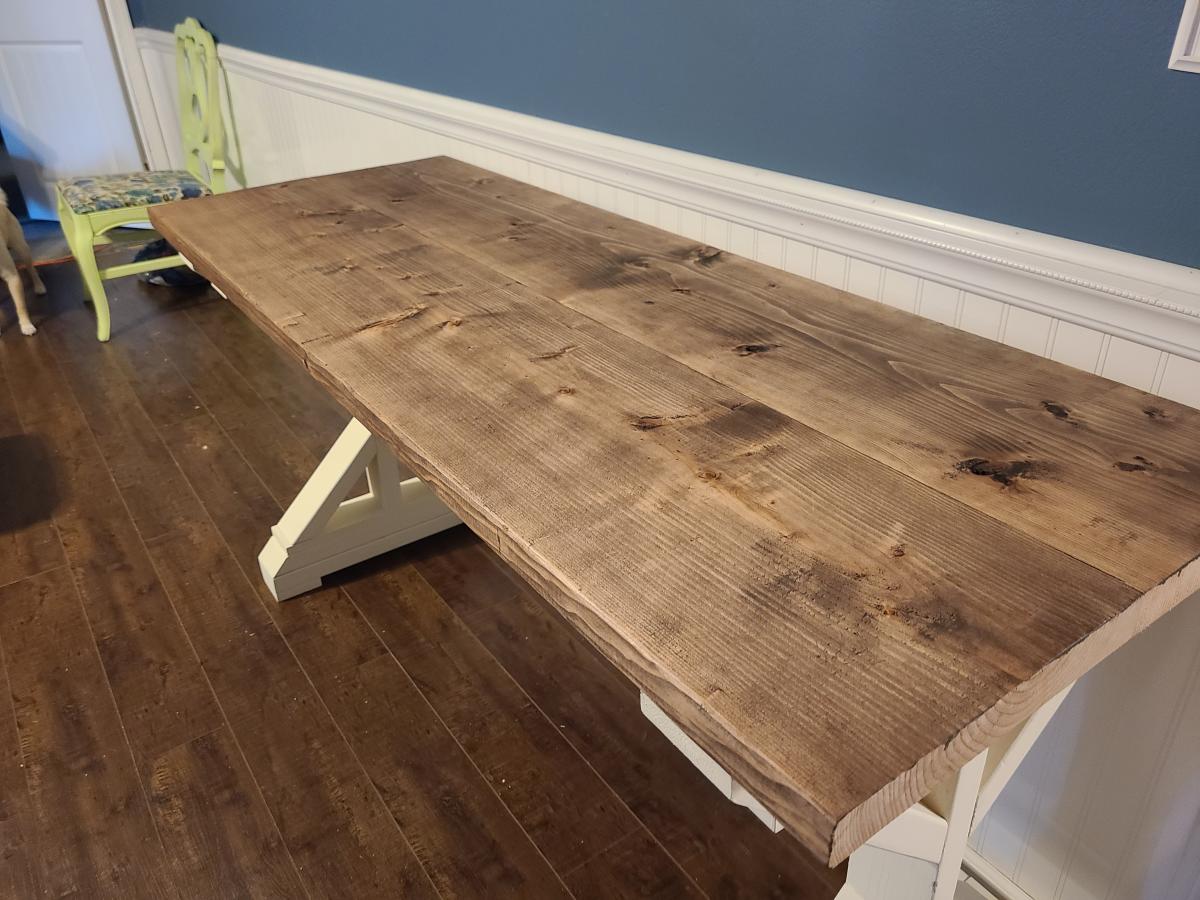
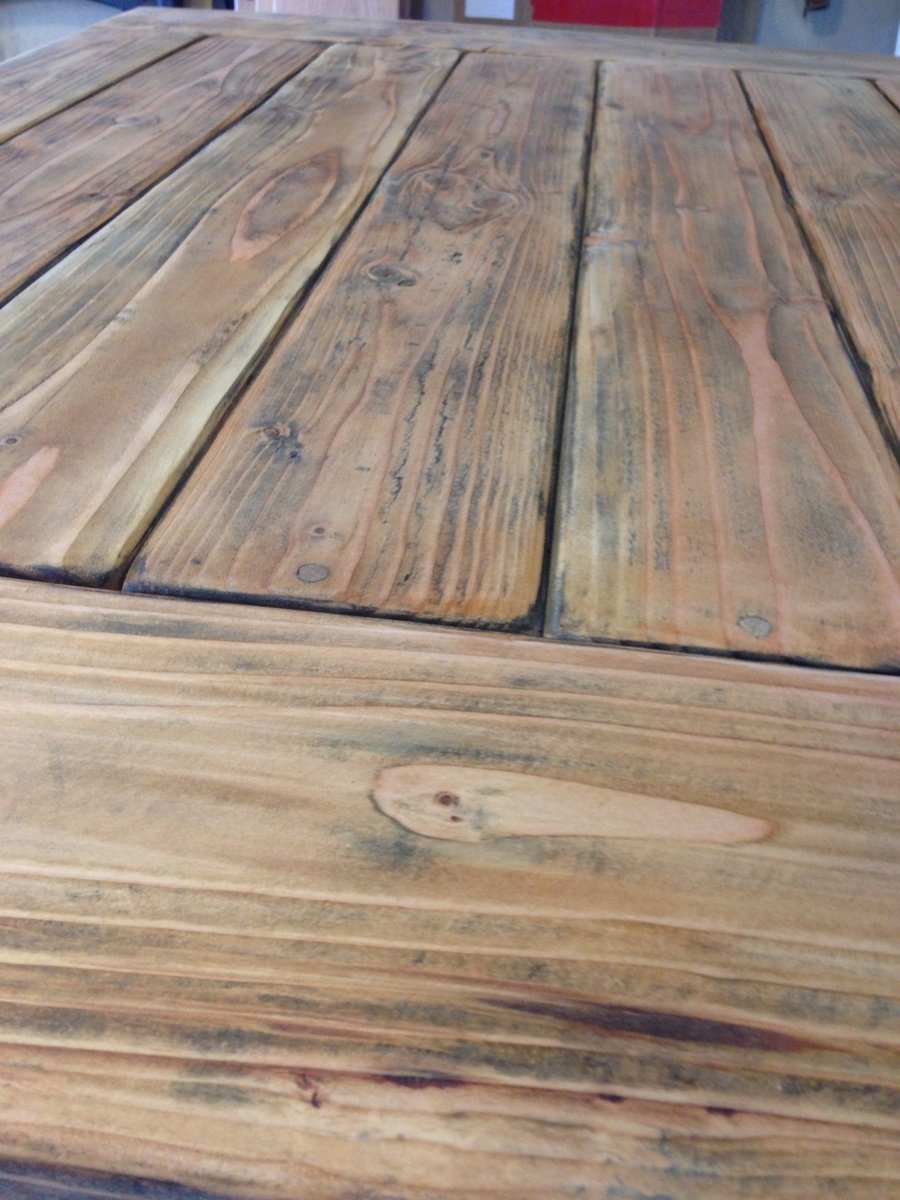
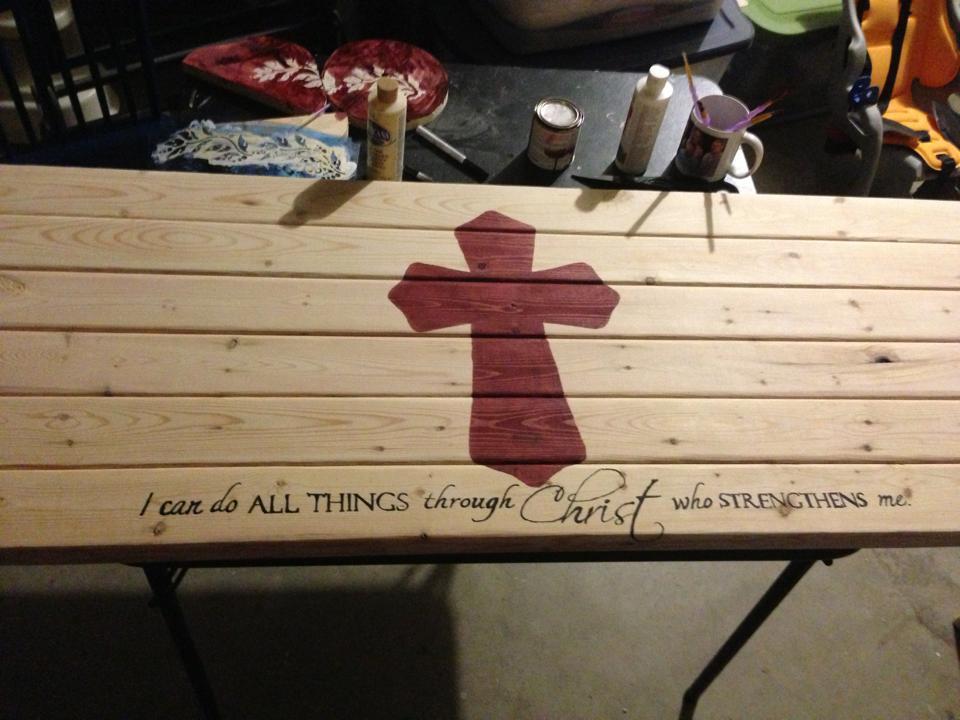
All wood was sanded prior to putting it together. I drew a cross in the middle of the table and then stained it. I printed the text and then traced it onto the tabletop with a pen. I colored in the text with black paint. The base was painted all black, sanded, and then stained. Table was sealed with poly.
Recommended Skill Level
Starter Project