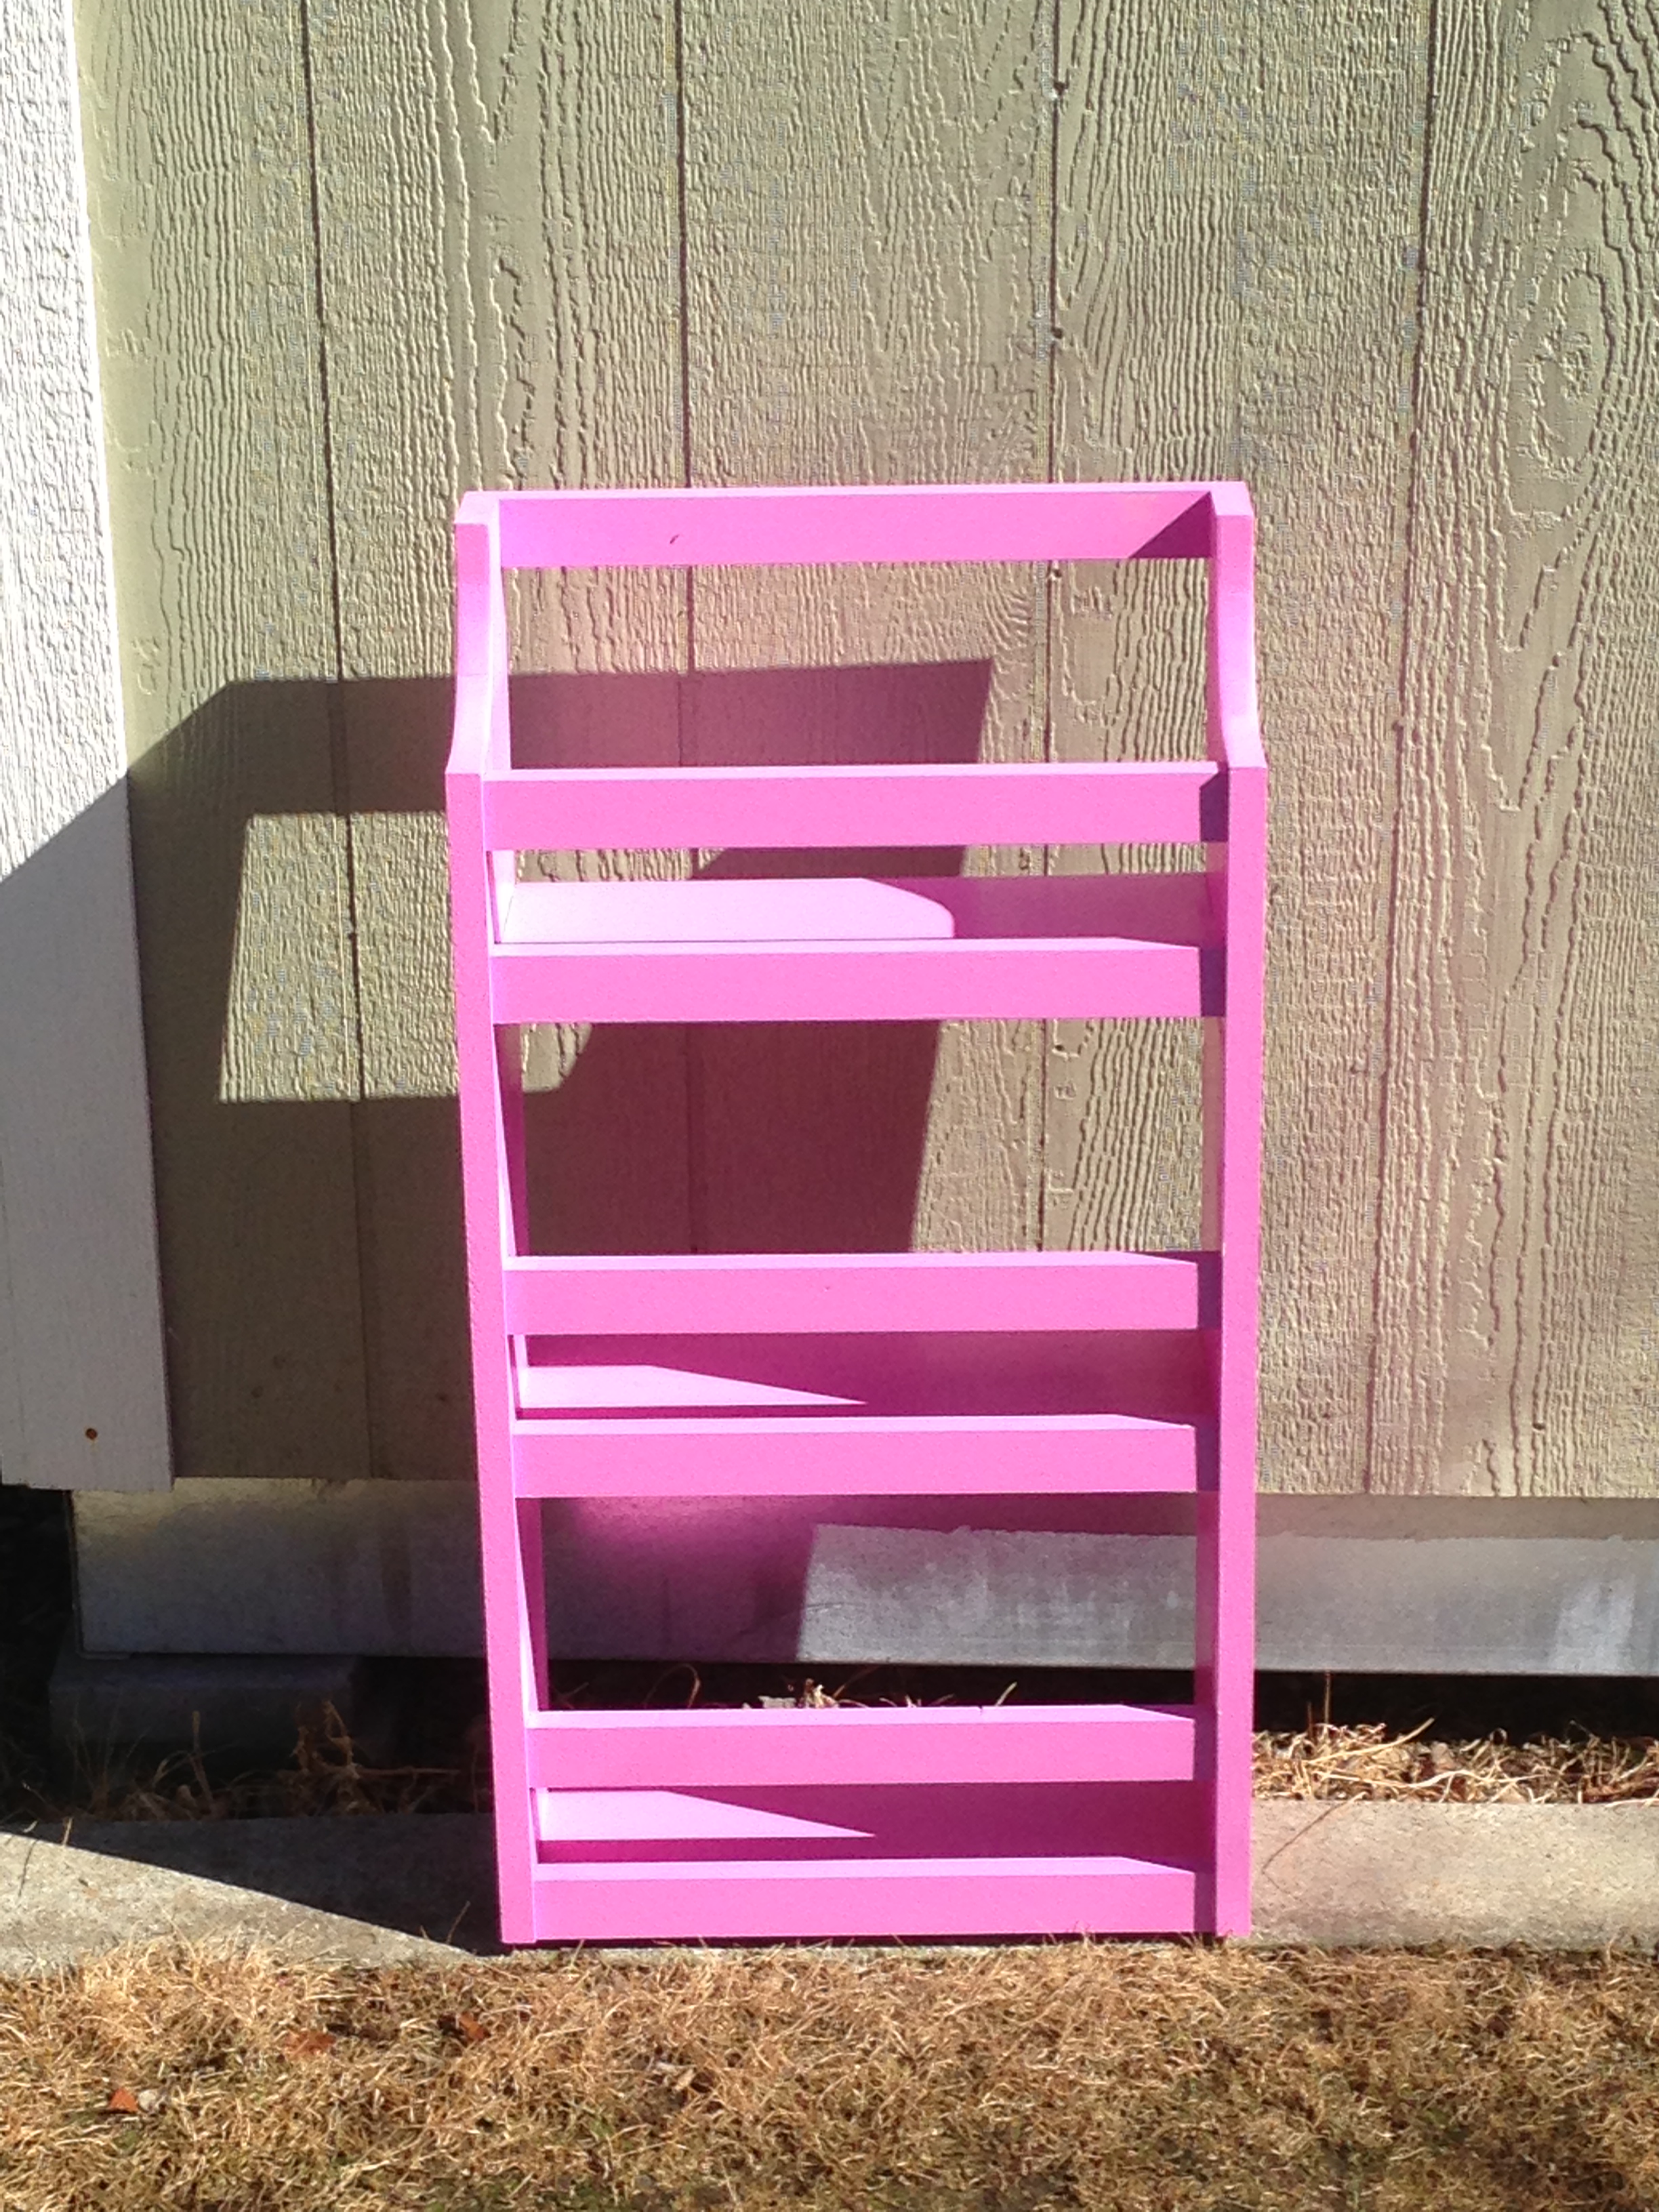
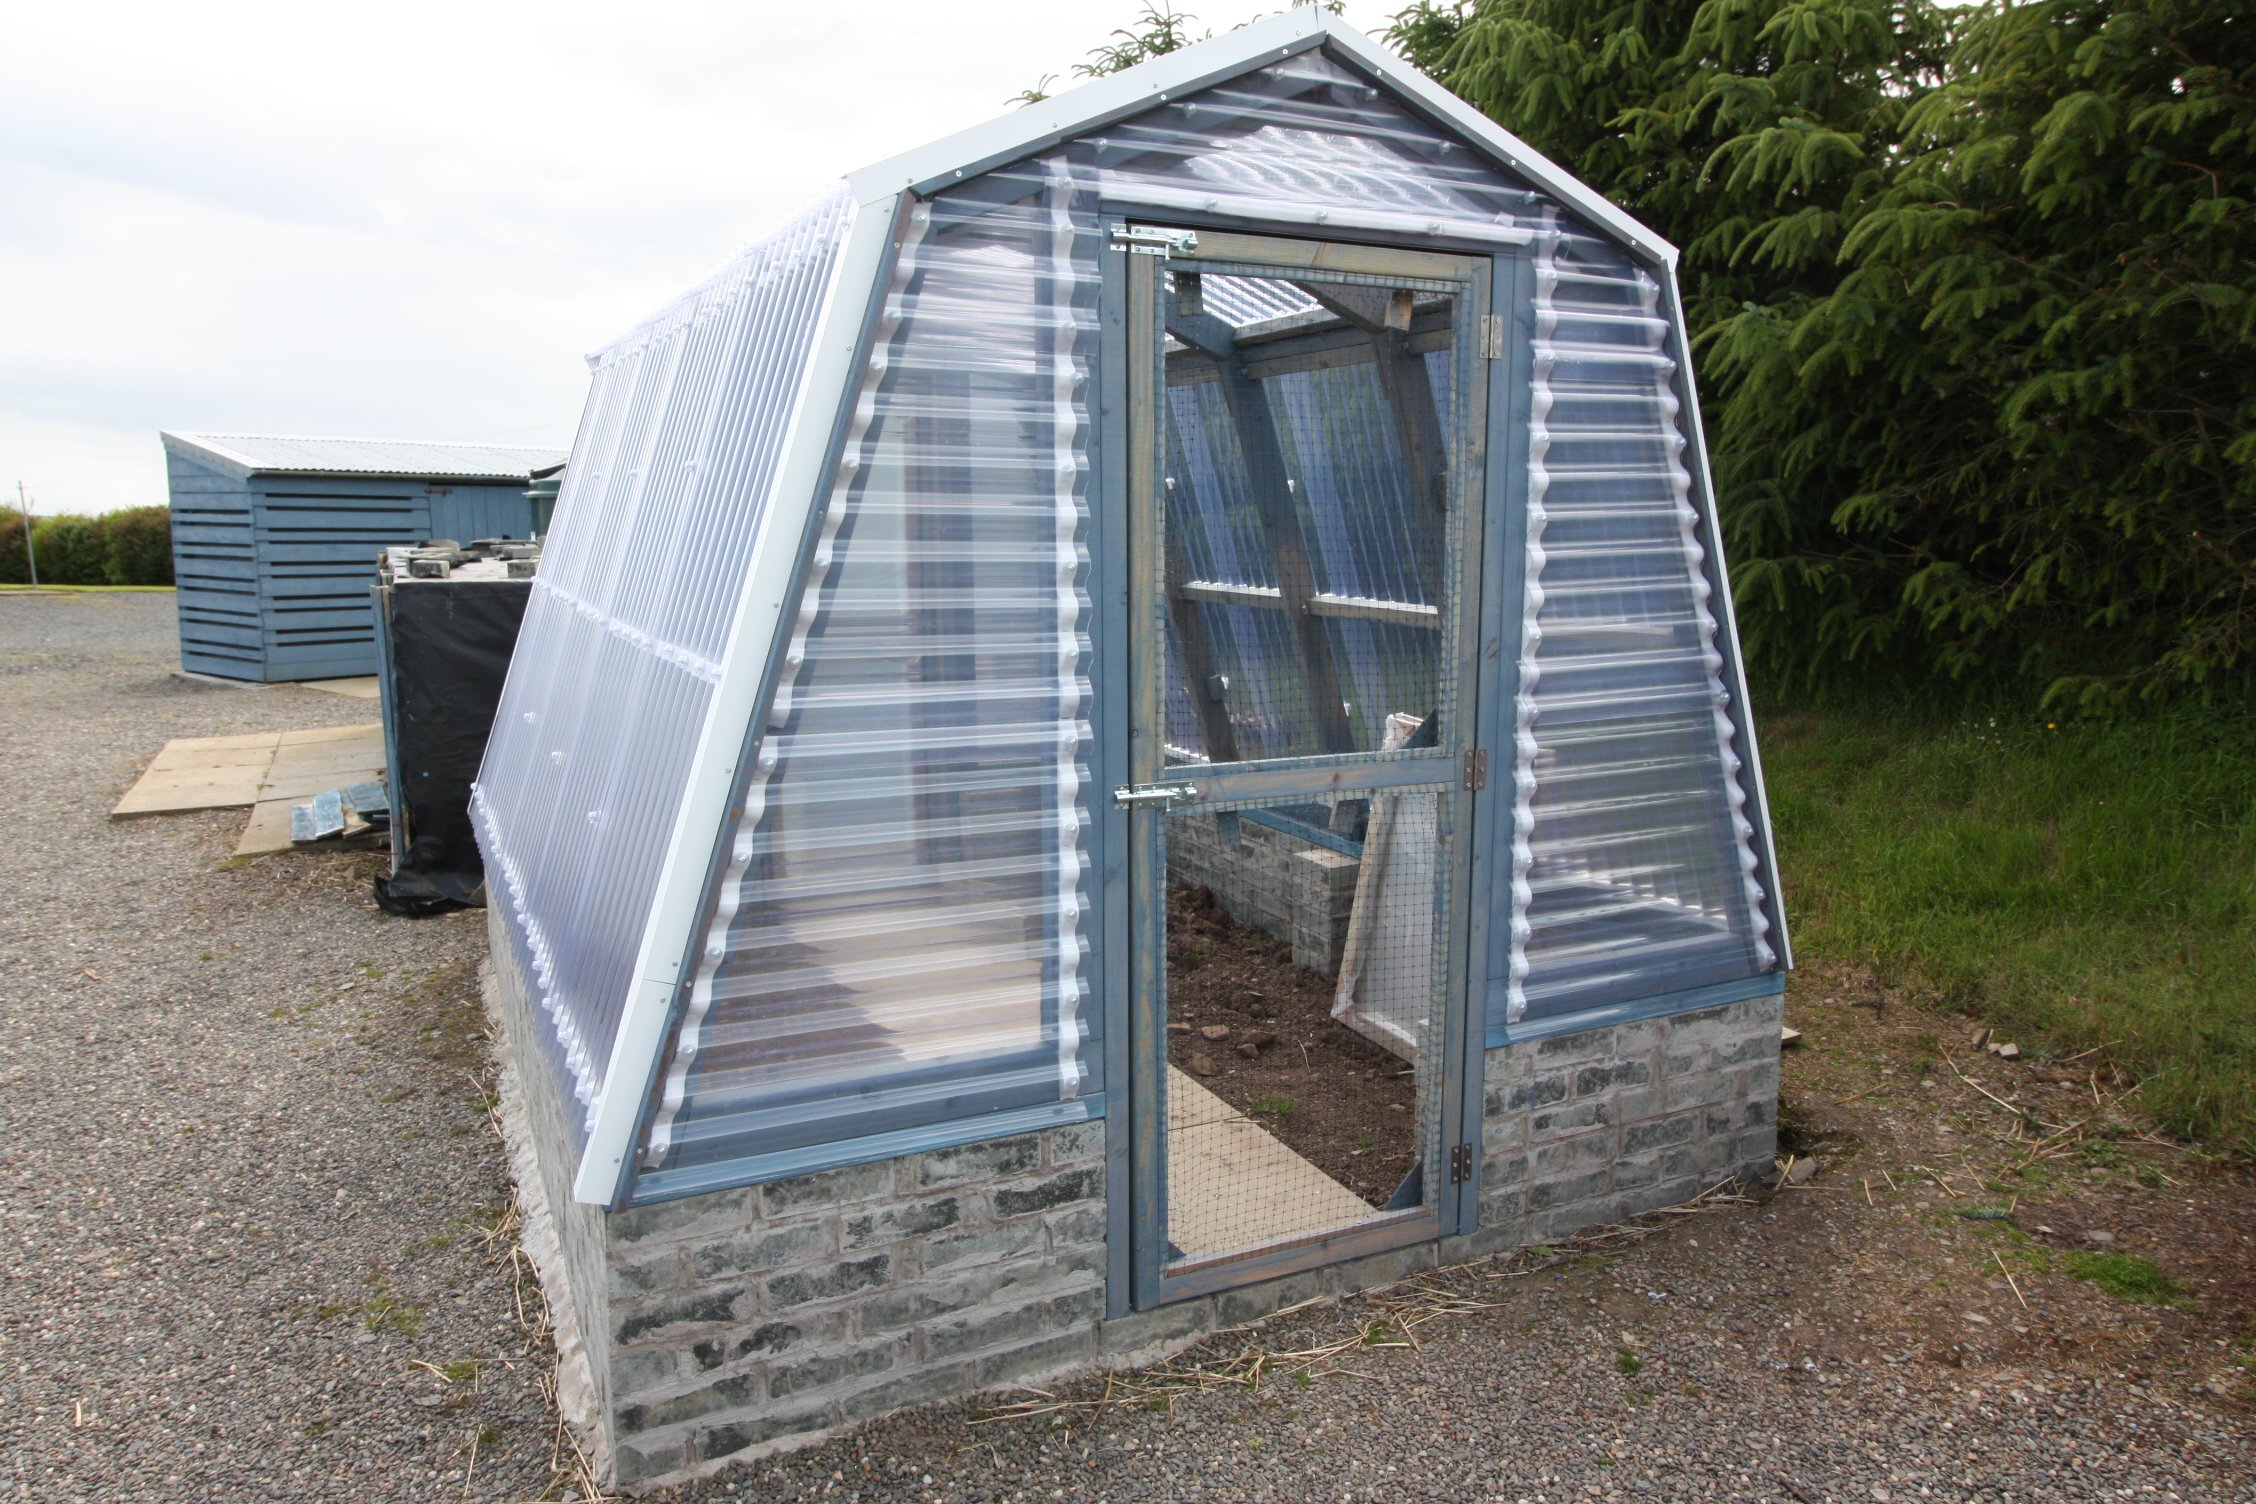
Barn greenhouse with Brick Base
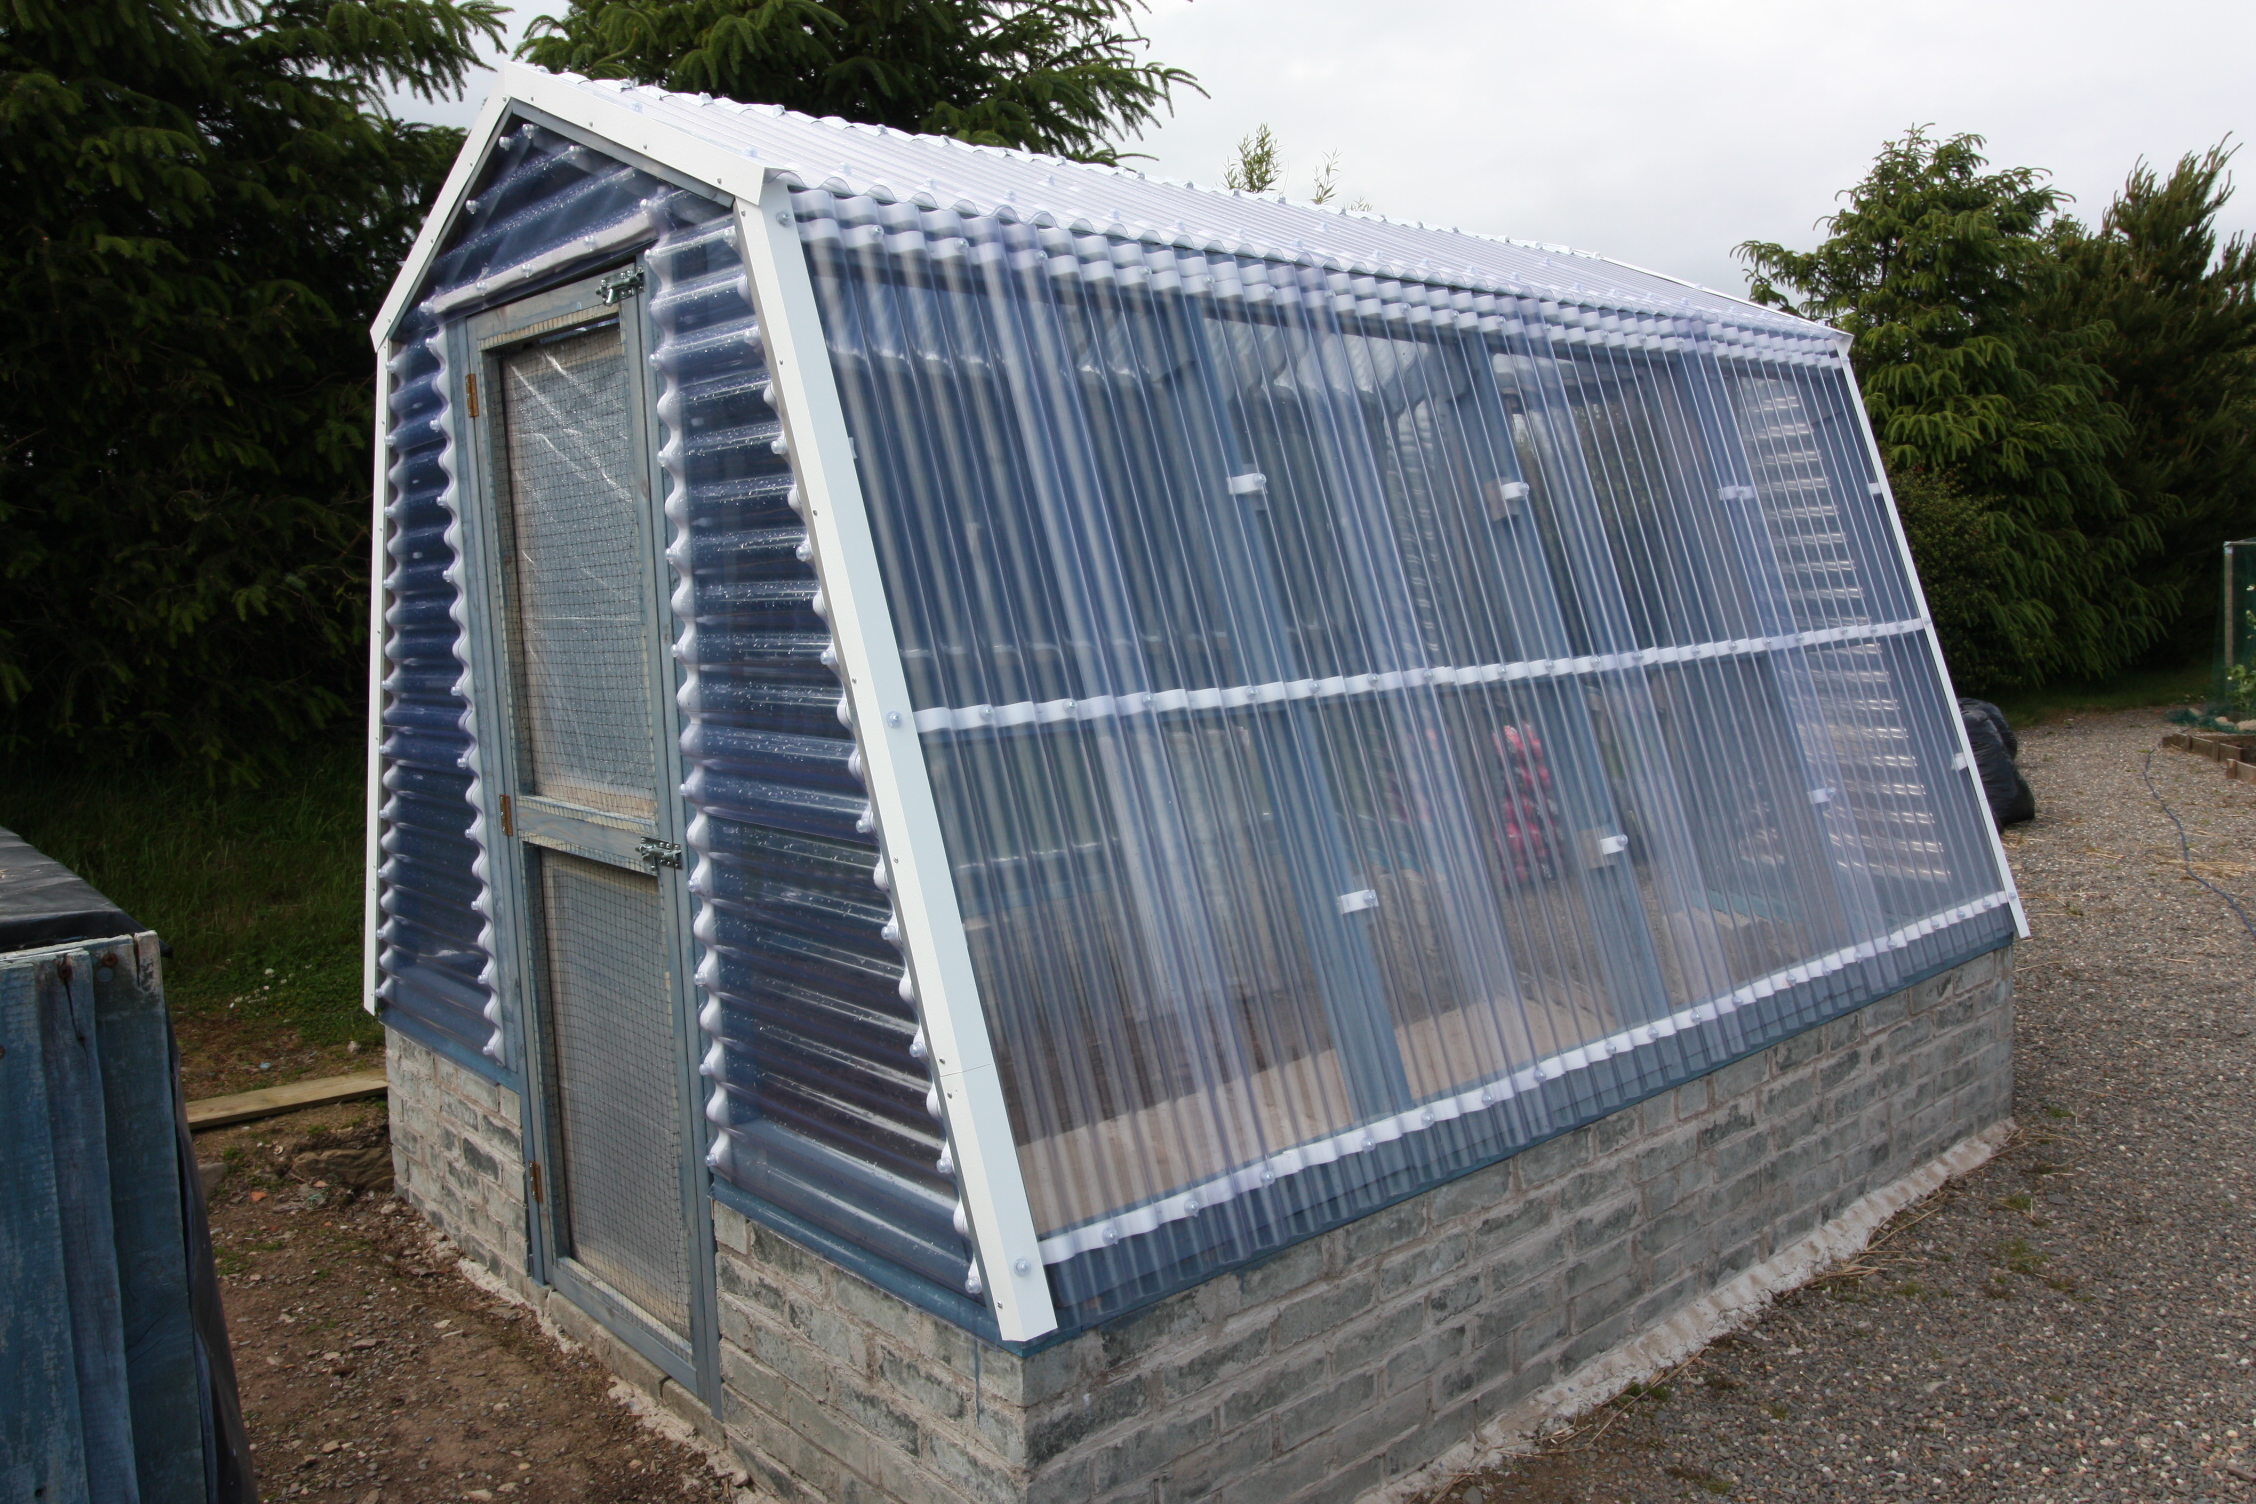
Built for conditions on Mull of Galloway, Scotland. Greenhouse has to stand up to 70mph gales from Irish Sea. Used brick base with wooden frame as per plans on this web site. Nearly same dimensions but changed them slightly to accomodate sheet lengths etc.
Estimated Cost
Cheaper than buying a greenhouse this size.
Estimated Time Investment
Week Long Project (20 Hours or More)
Finish Used
Clear corrugated plastic sheets.
Recommended Skill Level
Intermediate