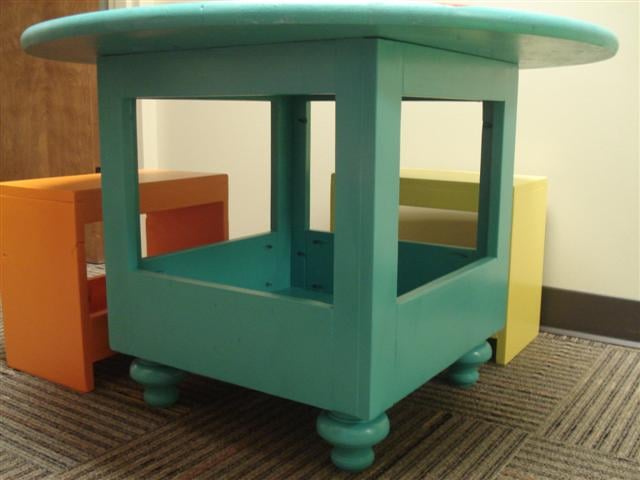
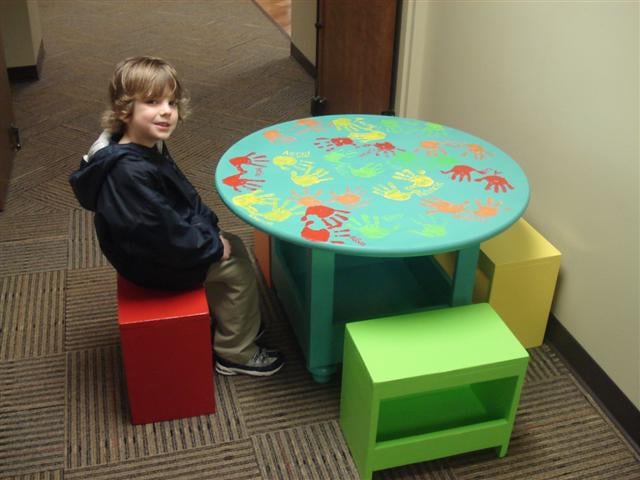
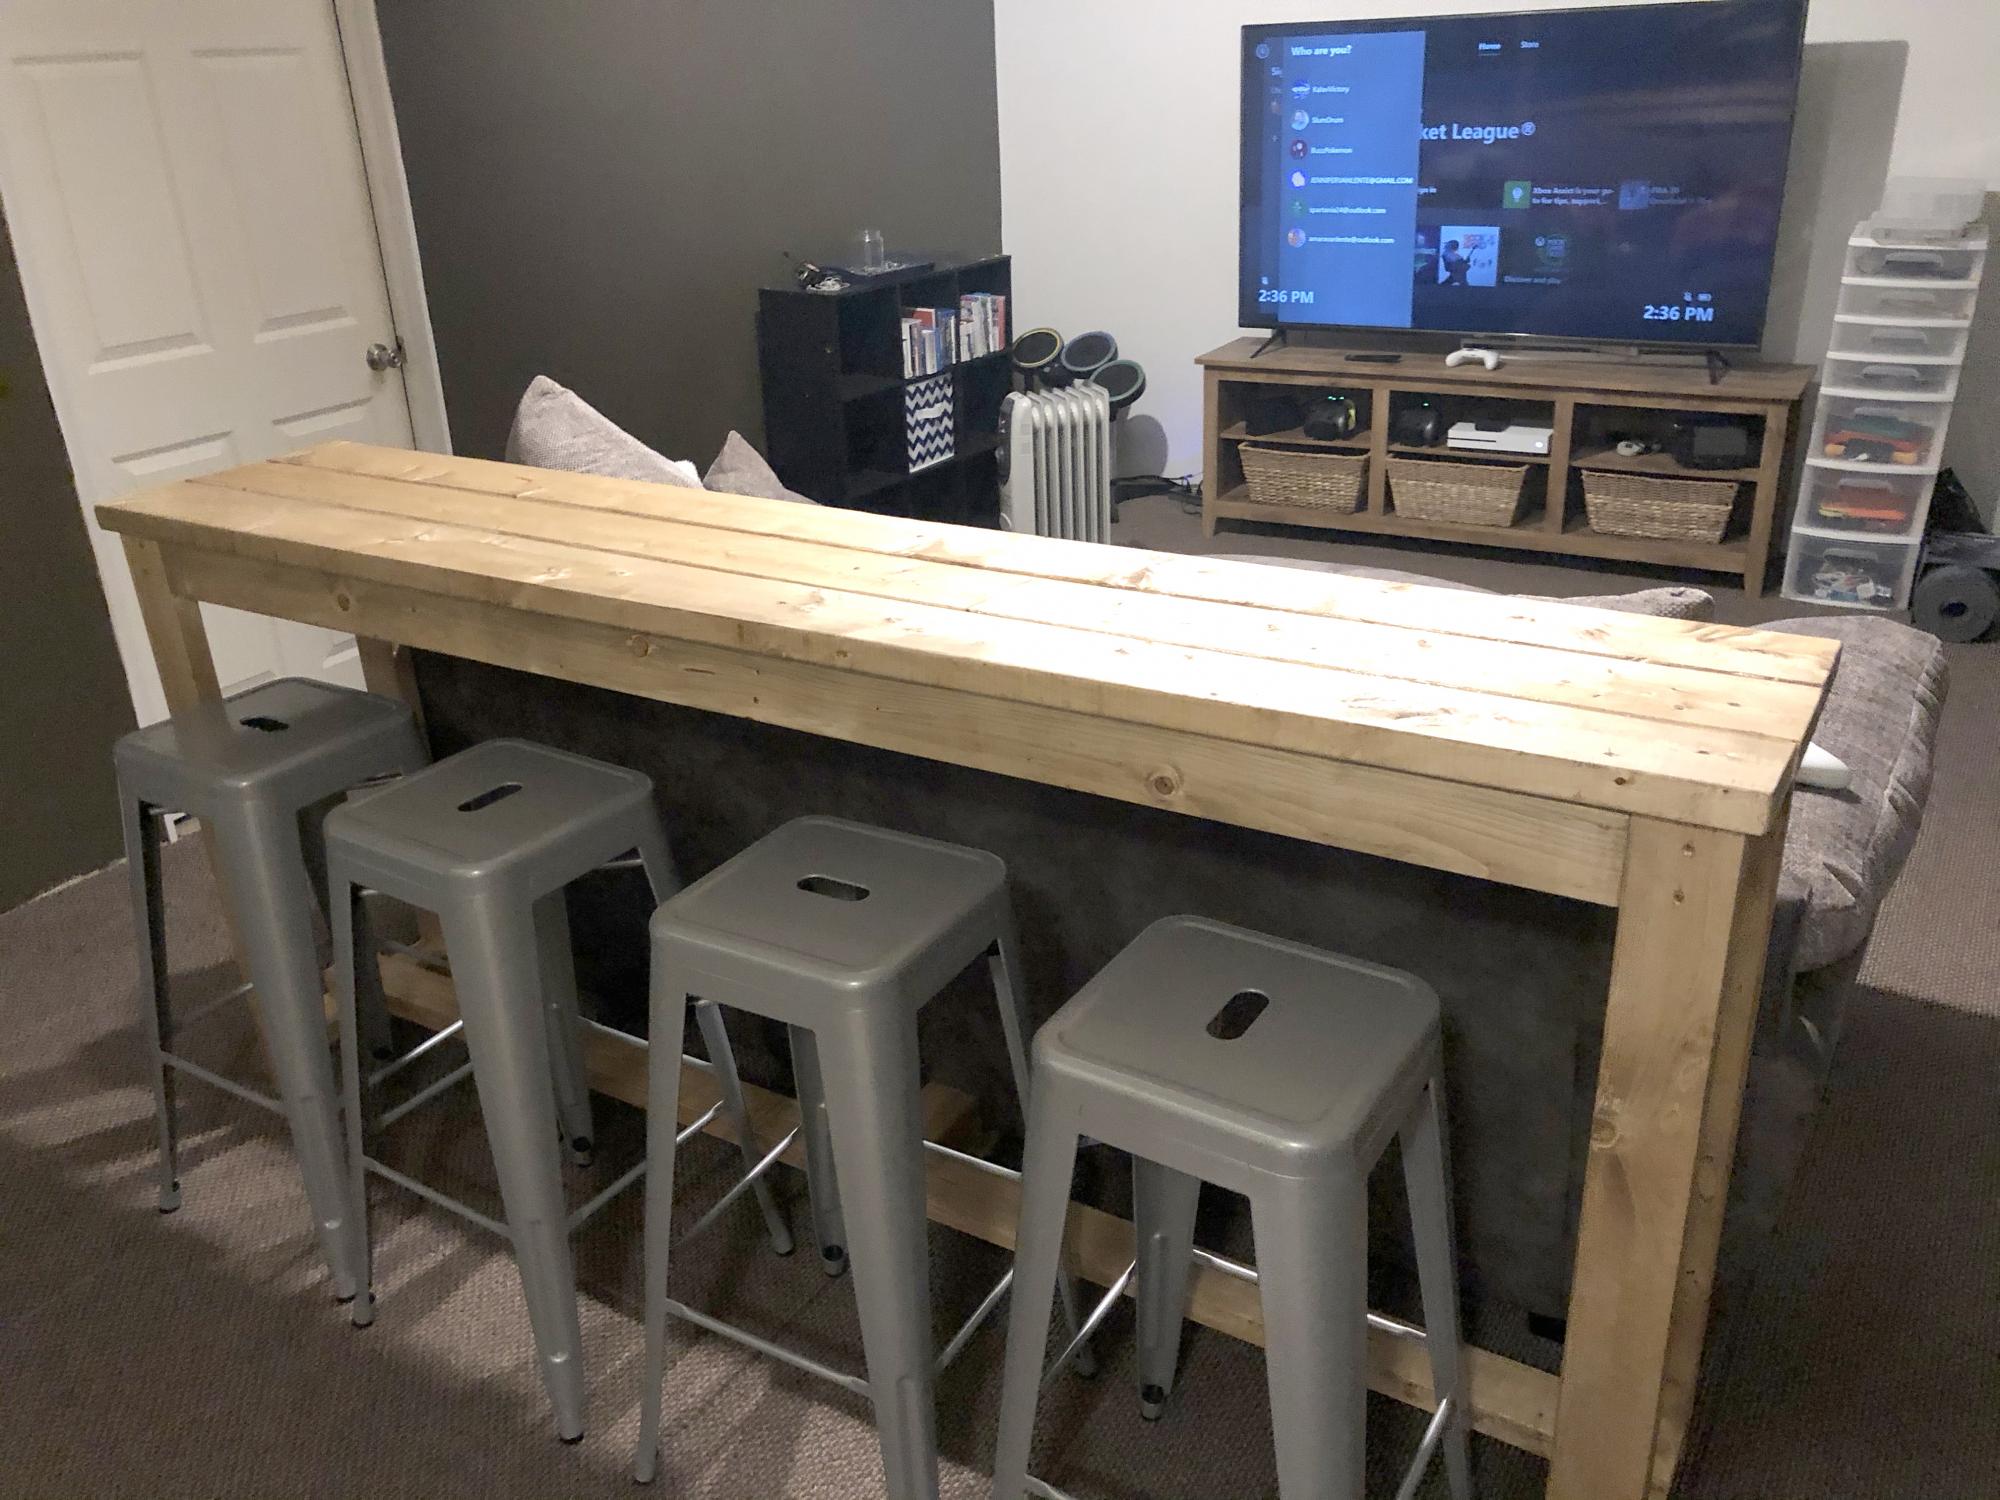
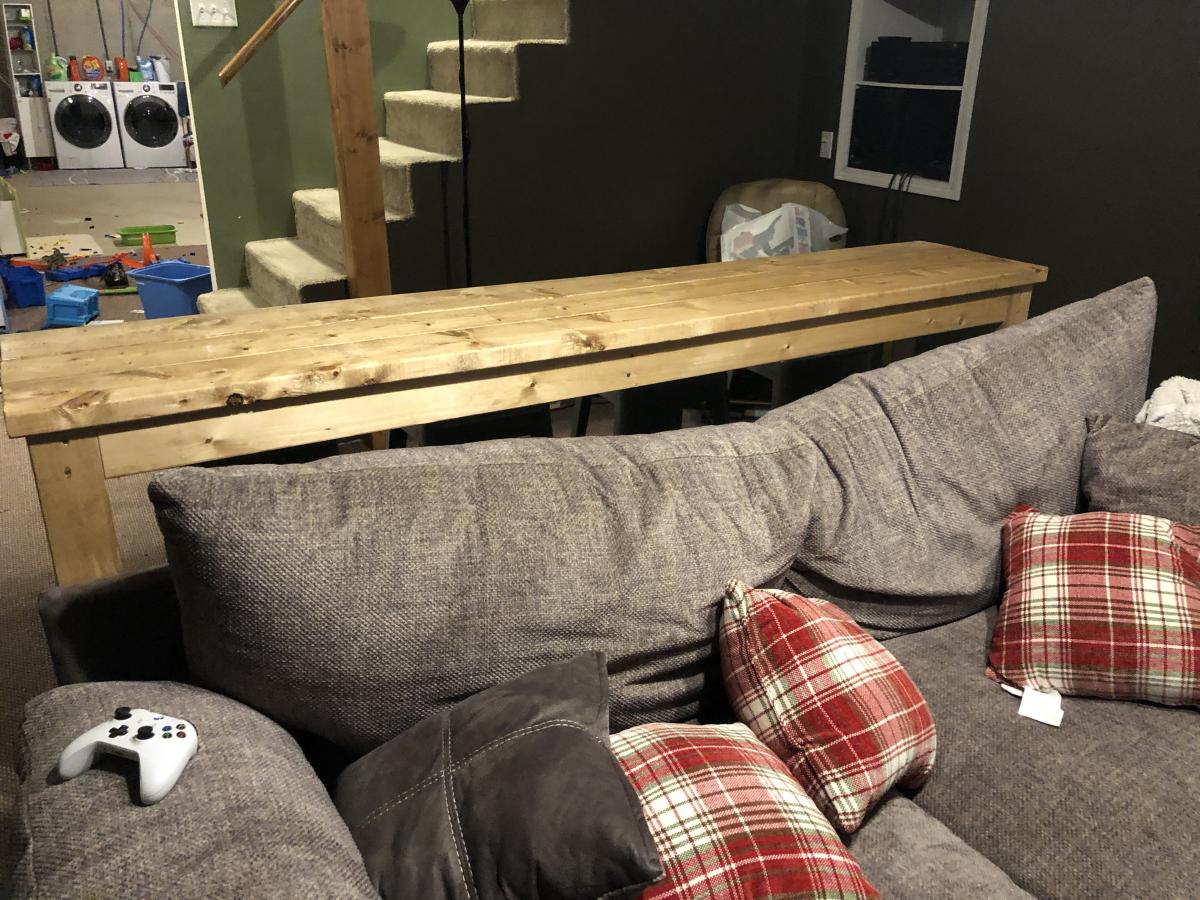
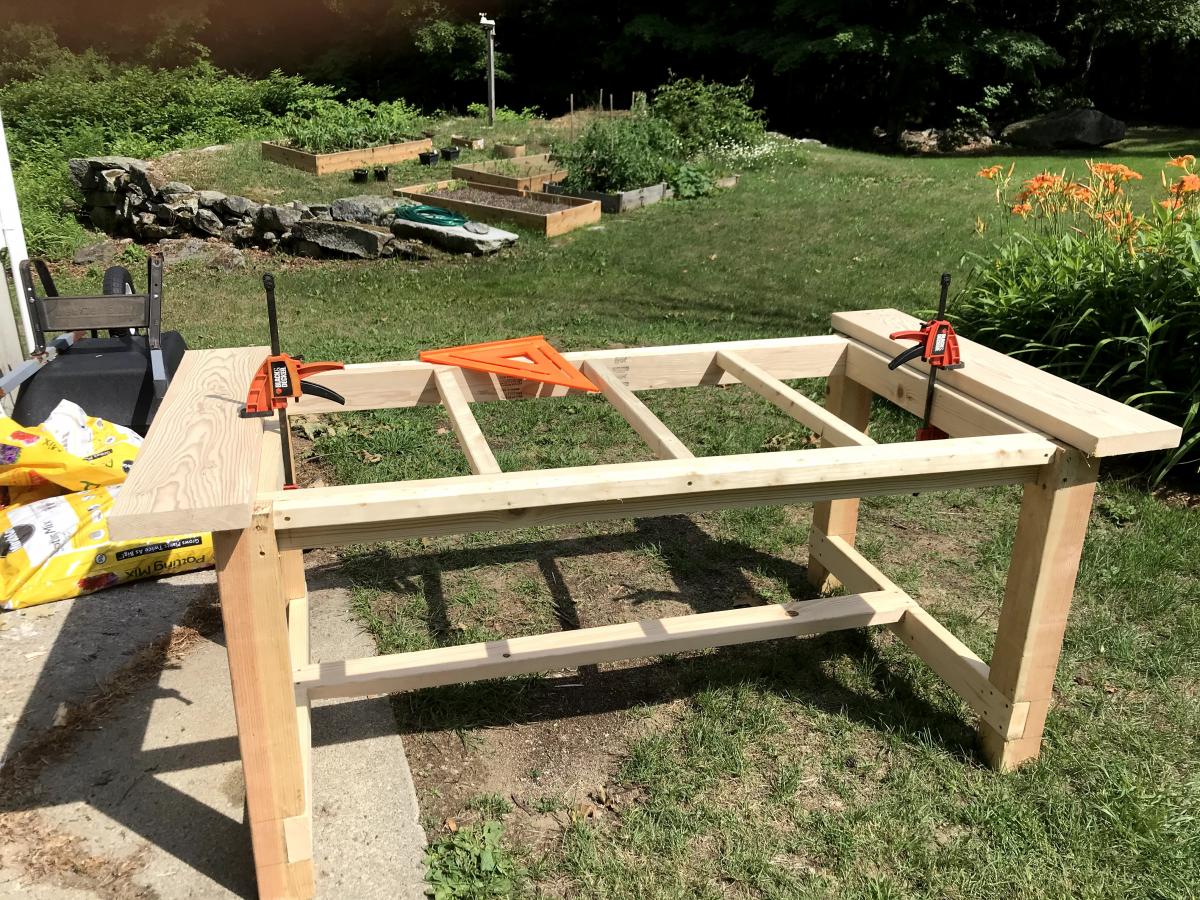
Kid Table & Stools
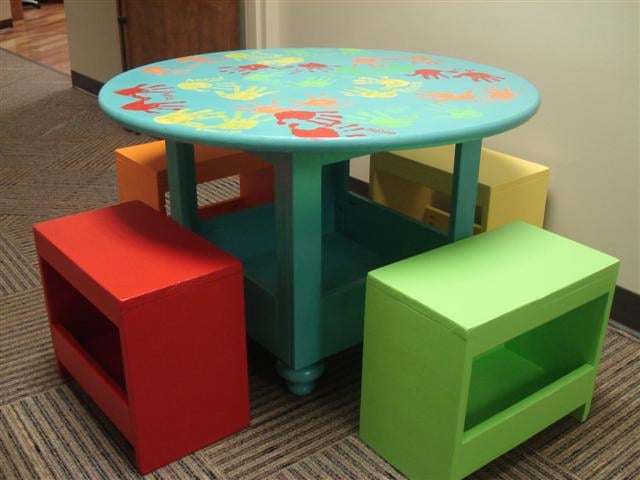
My wife and I did this table and stools for our son’s class art project. We did something similar last year and they auction the items off in a fund raiser in March. More details and information on the blog – www.atouchofarkansas.com.
Built from Plan(s)
Estimated Cost
$100.00
Estimated Time Investment
Weekend Project (10-20 Hours)
Finish Used
Extra paint we had from other projects, so the estimated cost includes buying paint, but if you have some already, obviously you can take that off the total costs.
Recommended Skill Level
Beginner


Comments
ana8178
Thu, 02/02/2012 - 07:51
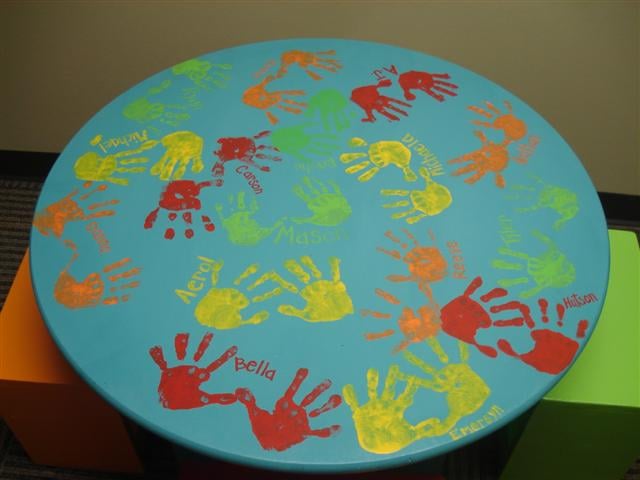
Love the hand prints! Too
Love the hand prints! Too cute.
monicacaptri (not verified)
Tue, 07/03/2012 - 09:03
Part of a class I am taking
Part of a class I am taking involves this particular subject and I am researching for information to use in an upcoming report. Your post is really helpful; do you have any others on this topic?
http://www.britecarpetcleaners.com/