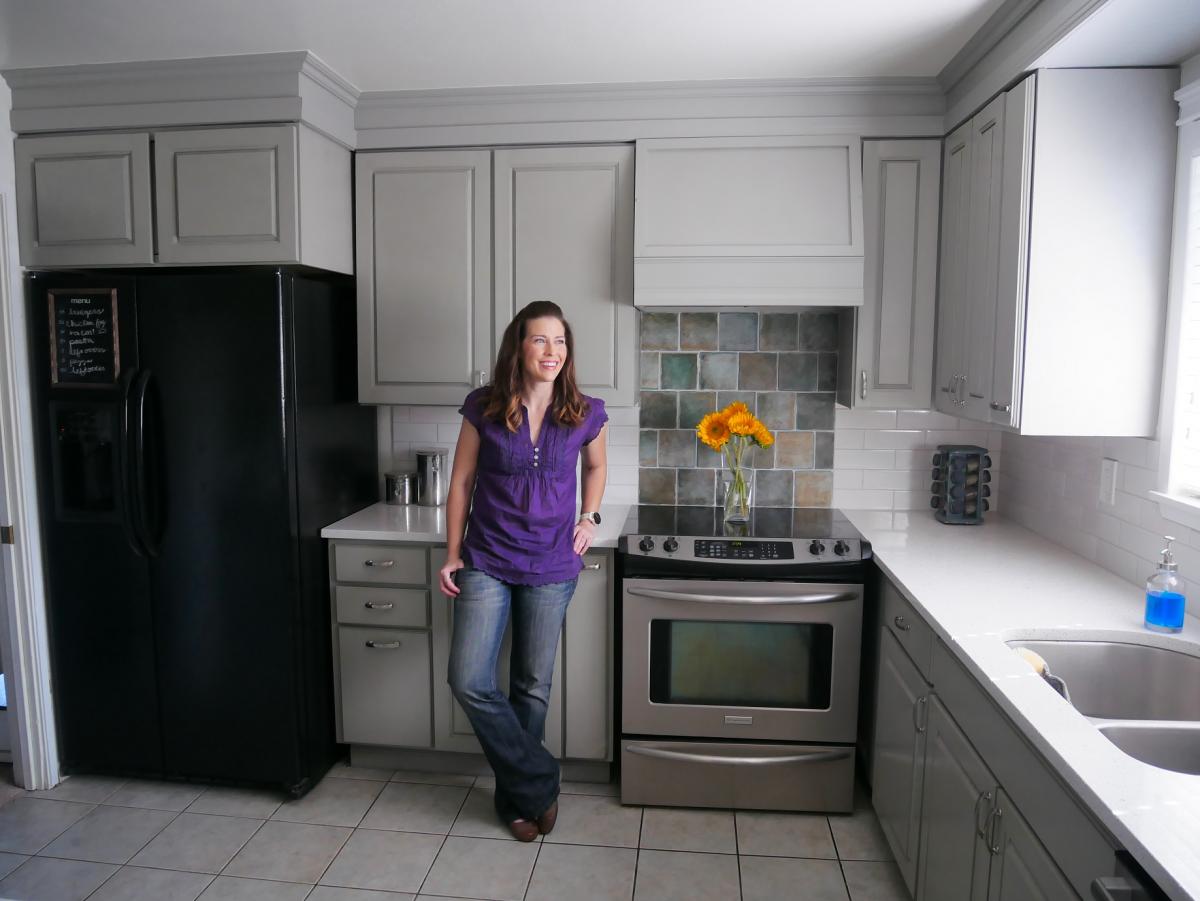
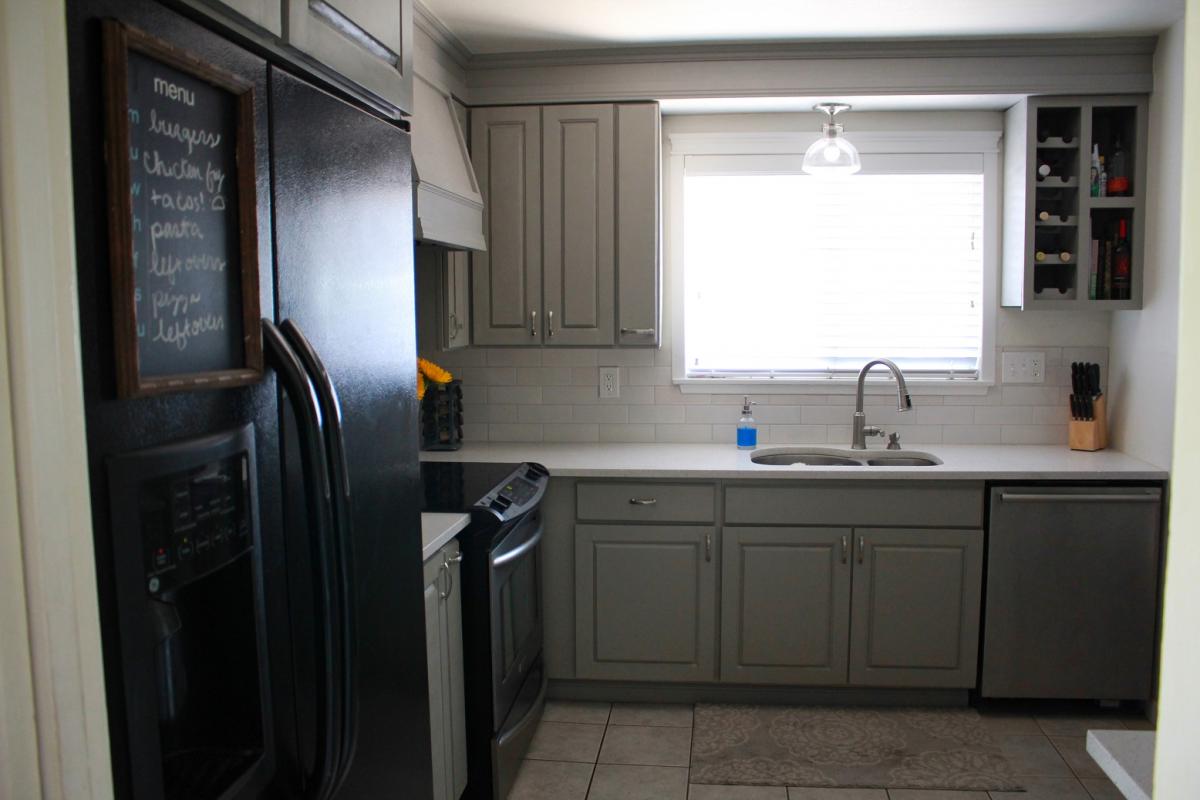
5 years. Y'all. FIVE YEARS.
5 years after starting this complete kitchen renovation, I have finished!
Very cool write-up and video featured on Family Handyman recently about my one woman build here:
https://www.familyhandyman.com/article/kitchen-remodel-five-years/?jwso…
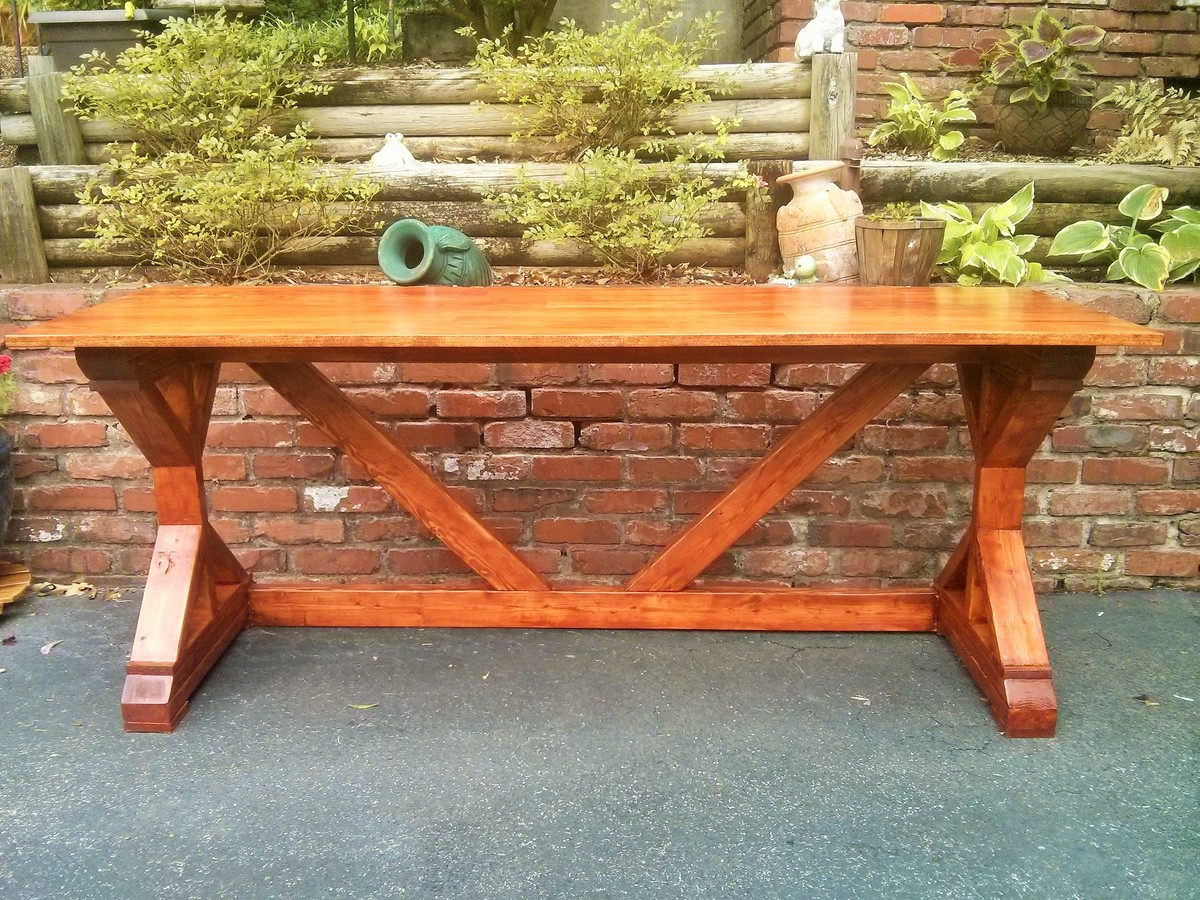
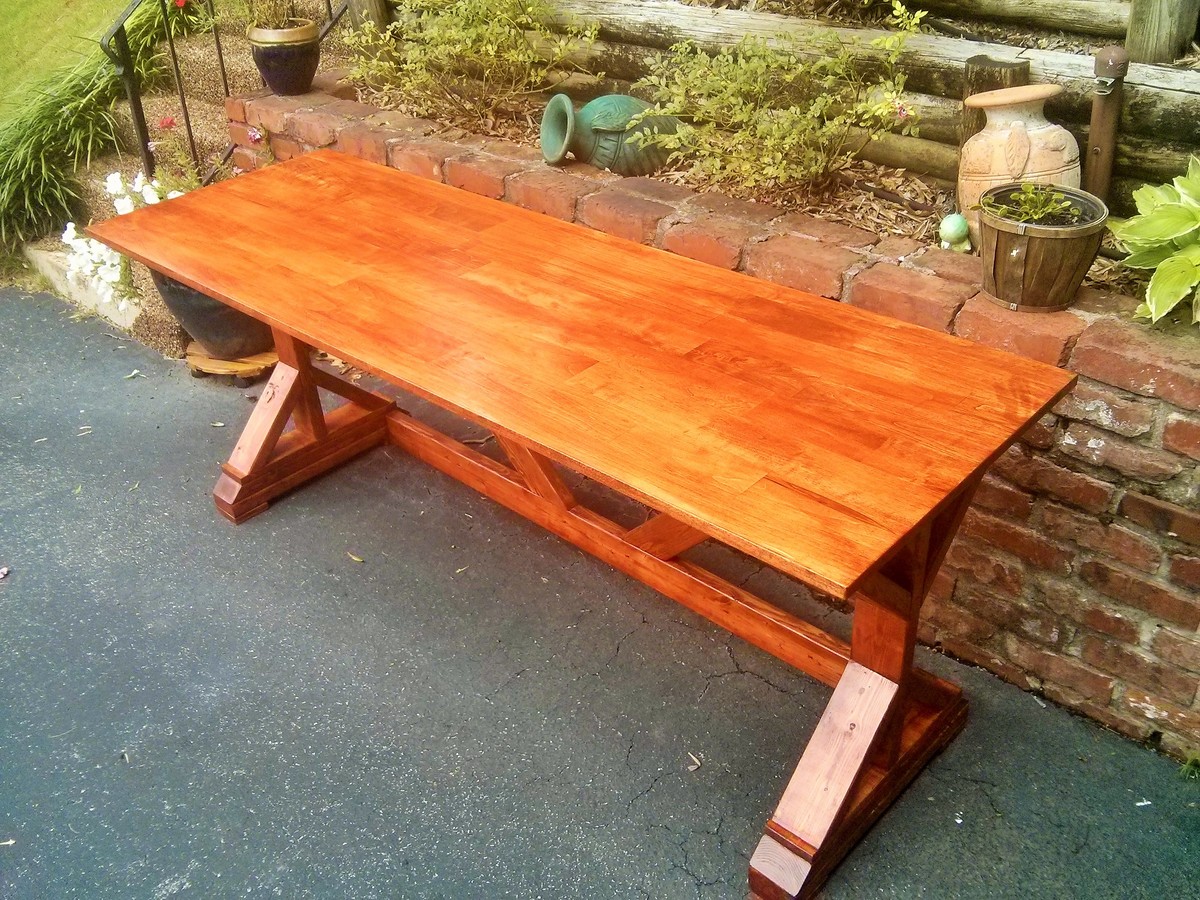
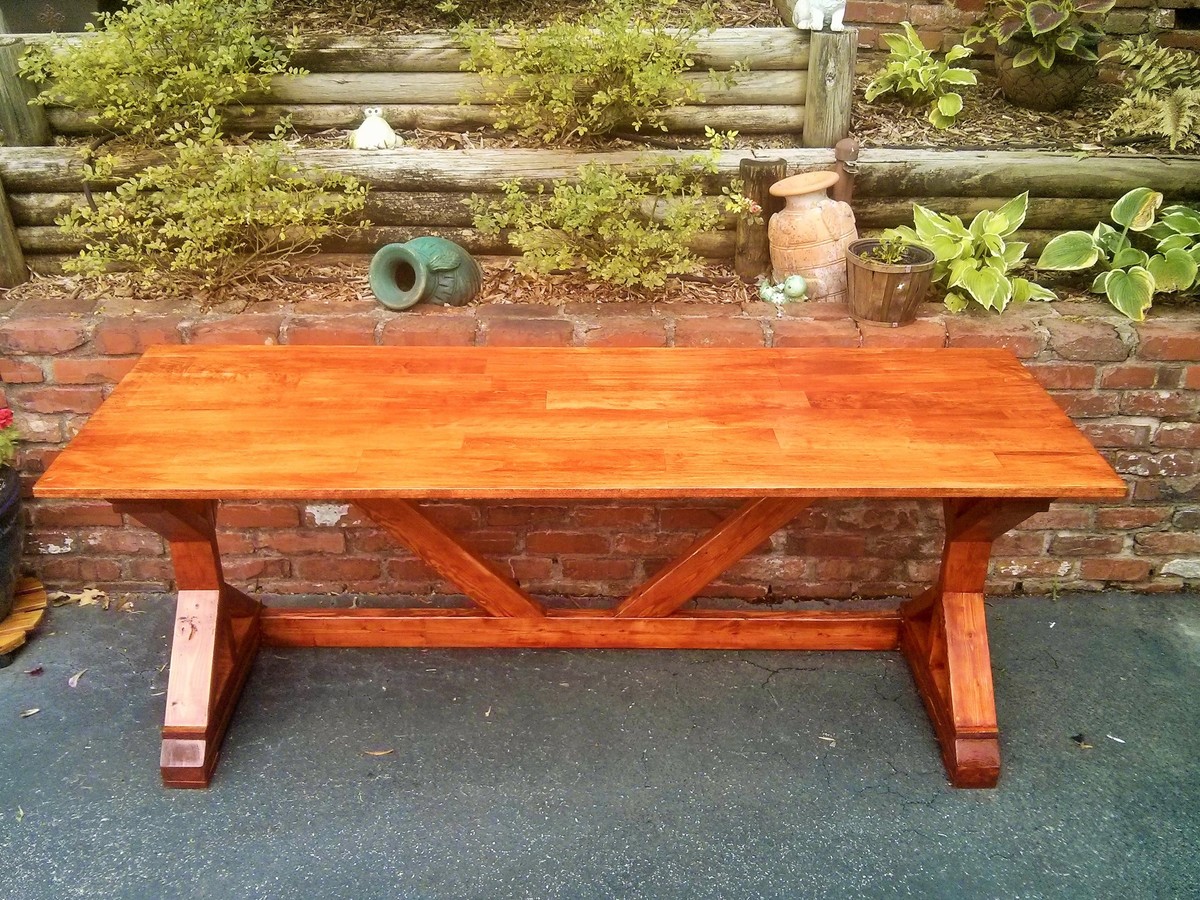
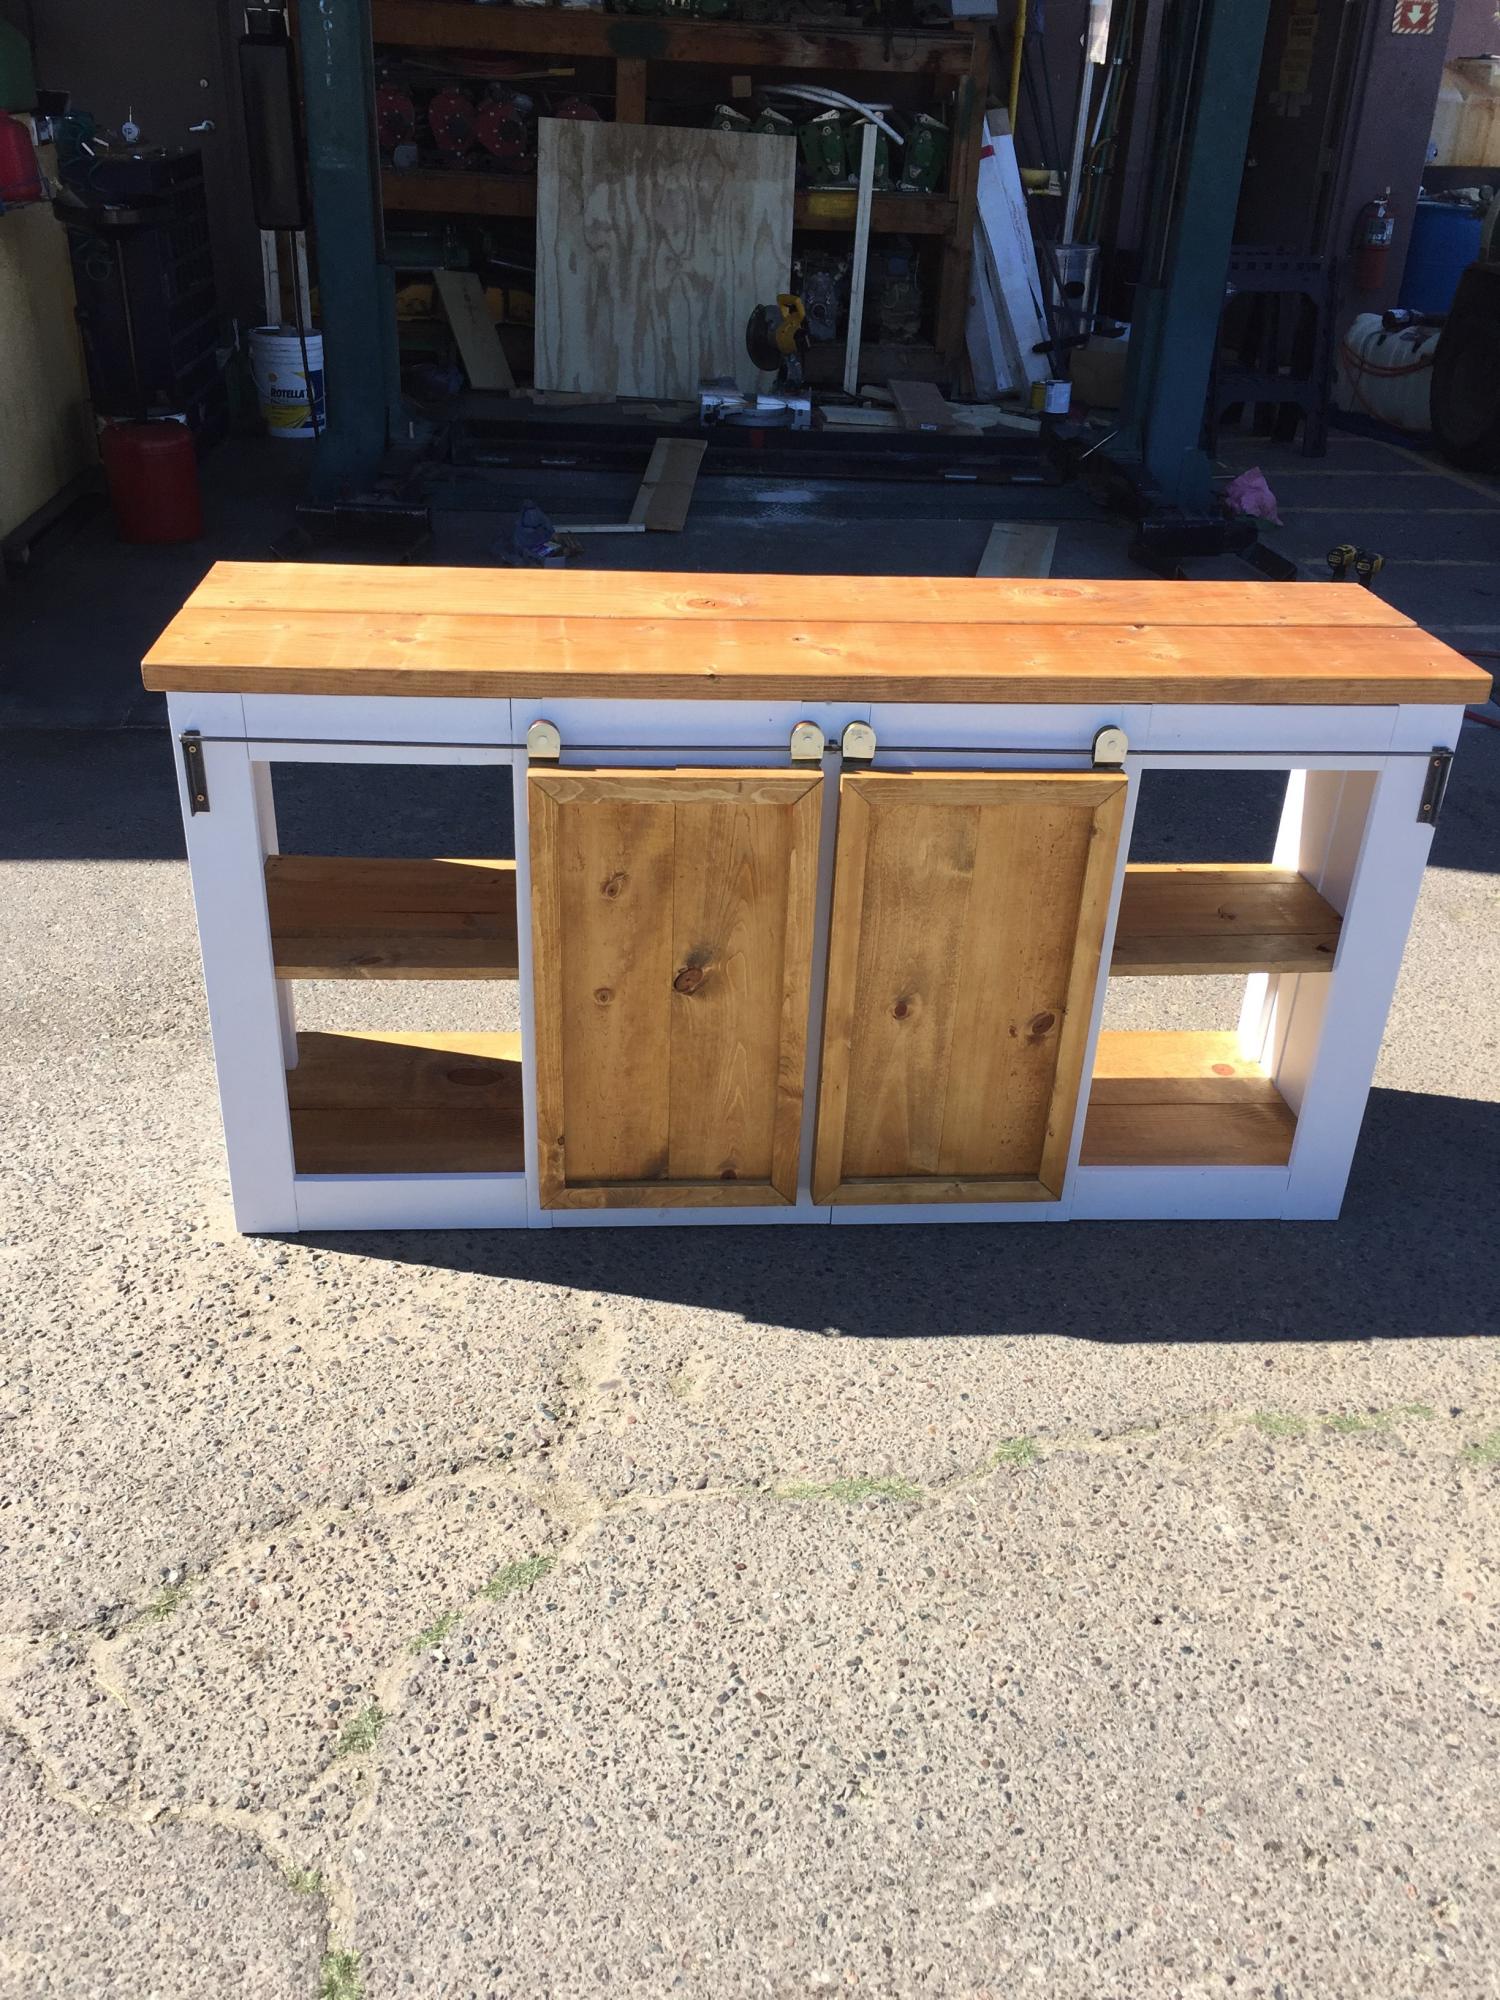
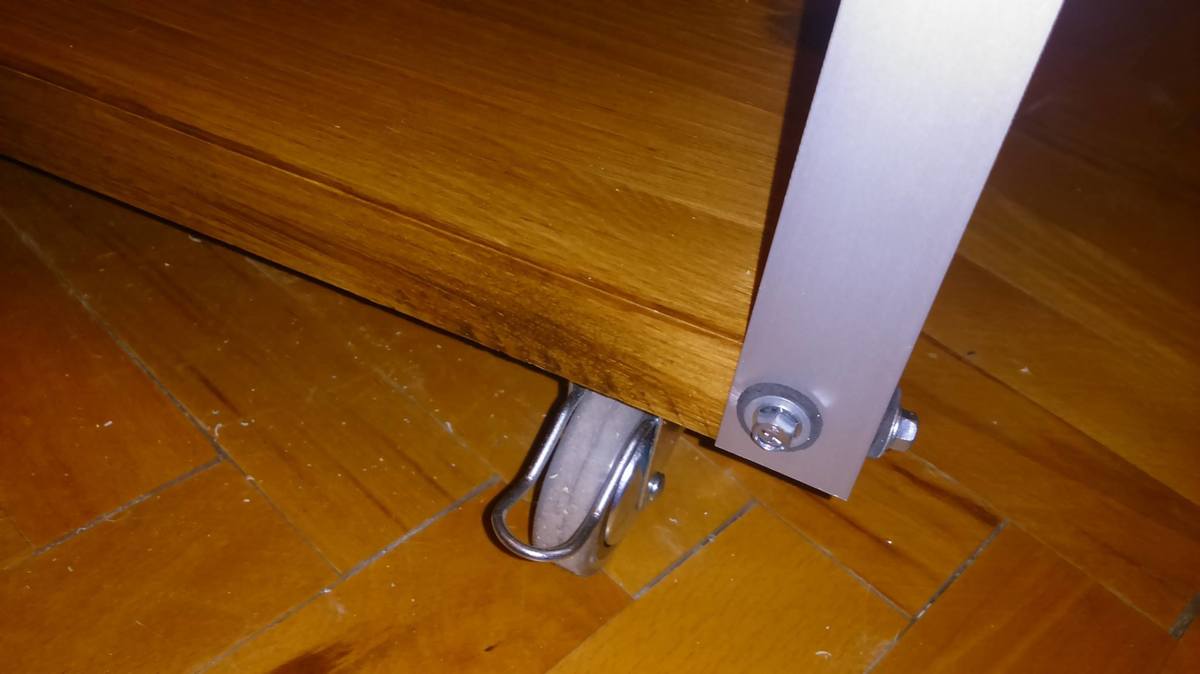
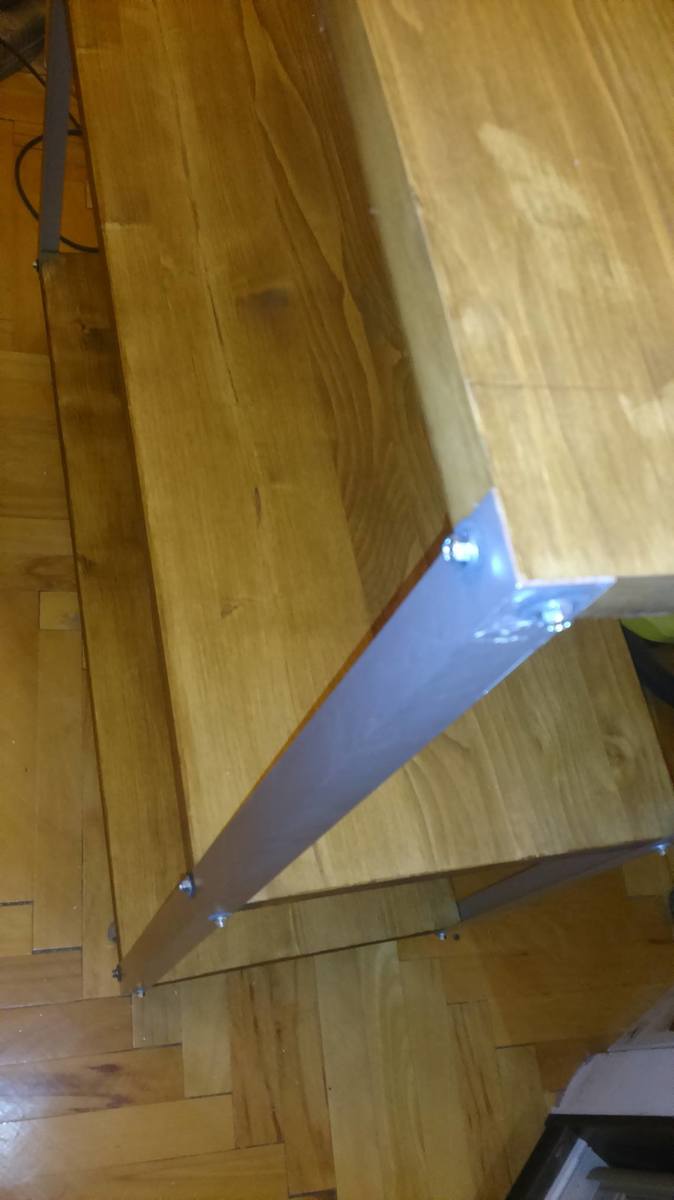
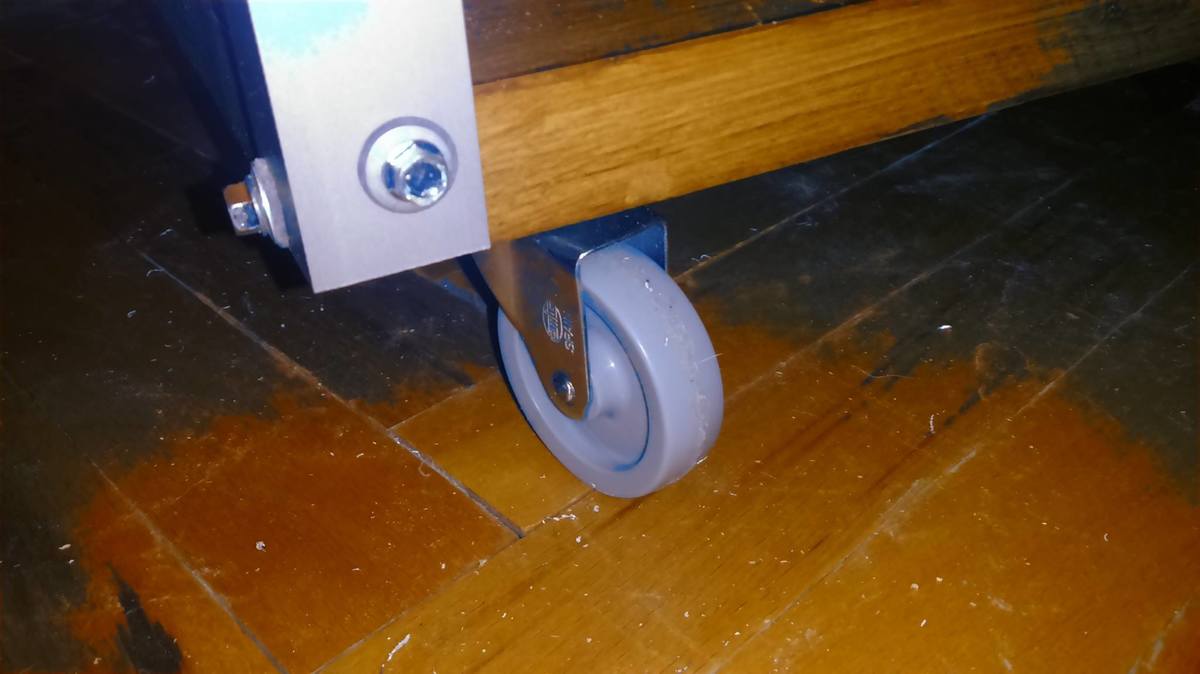
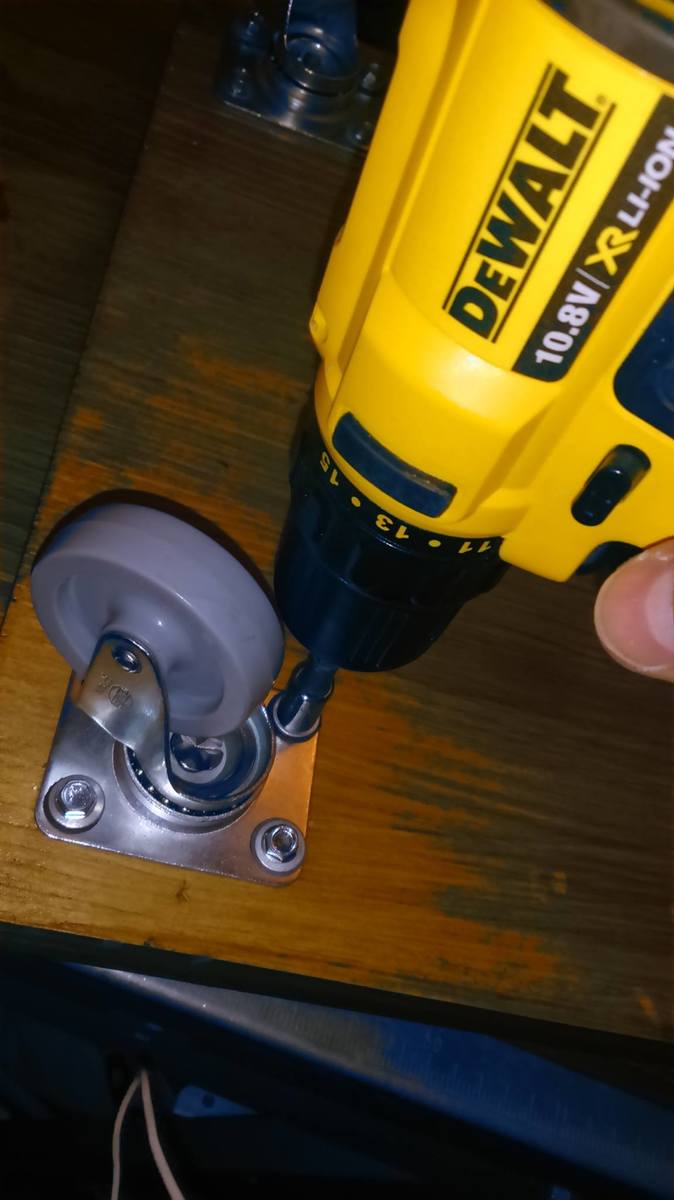
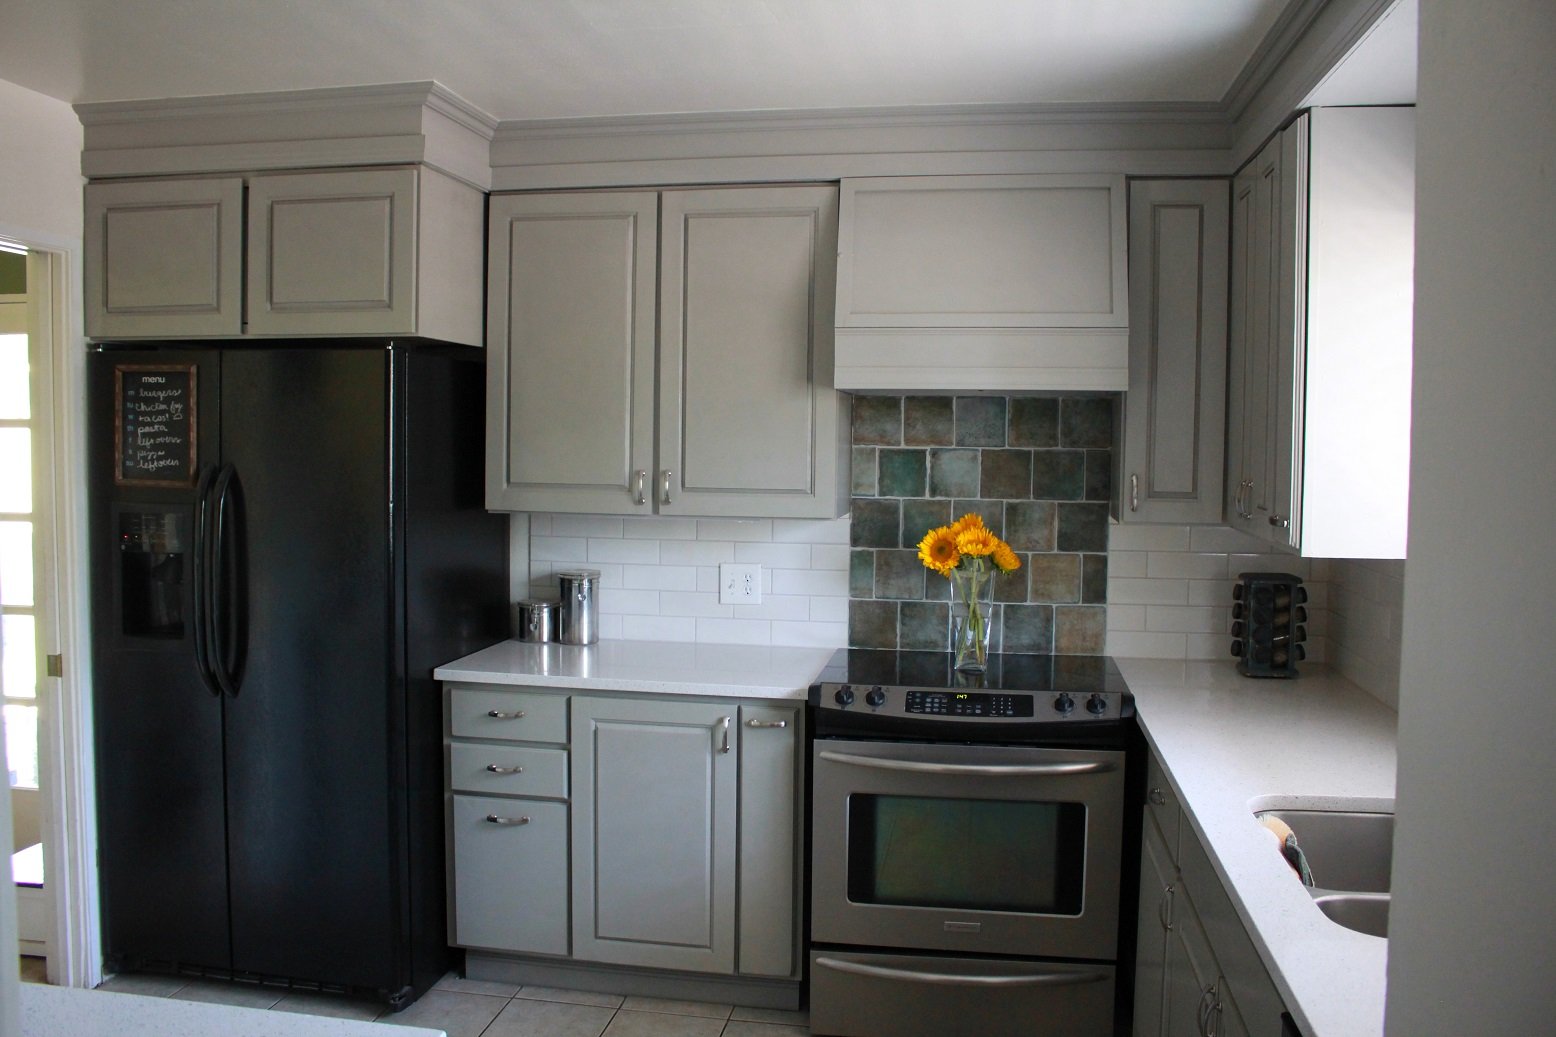
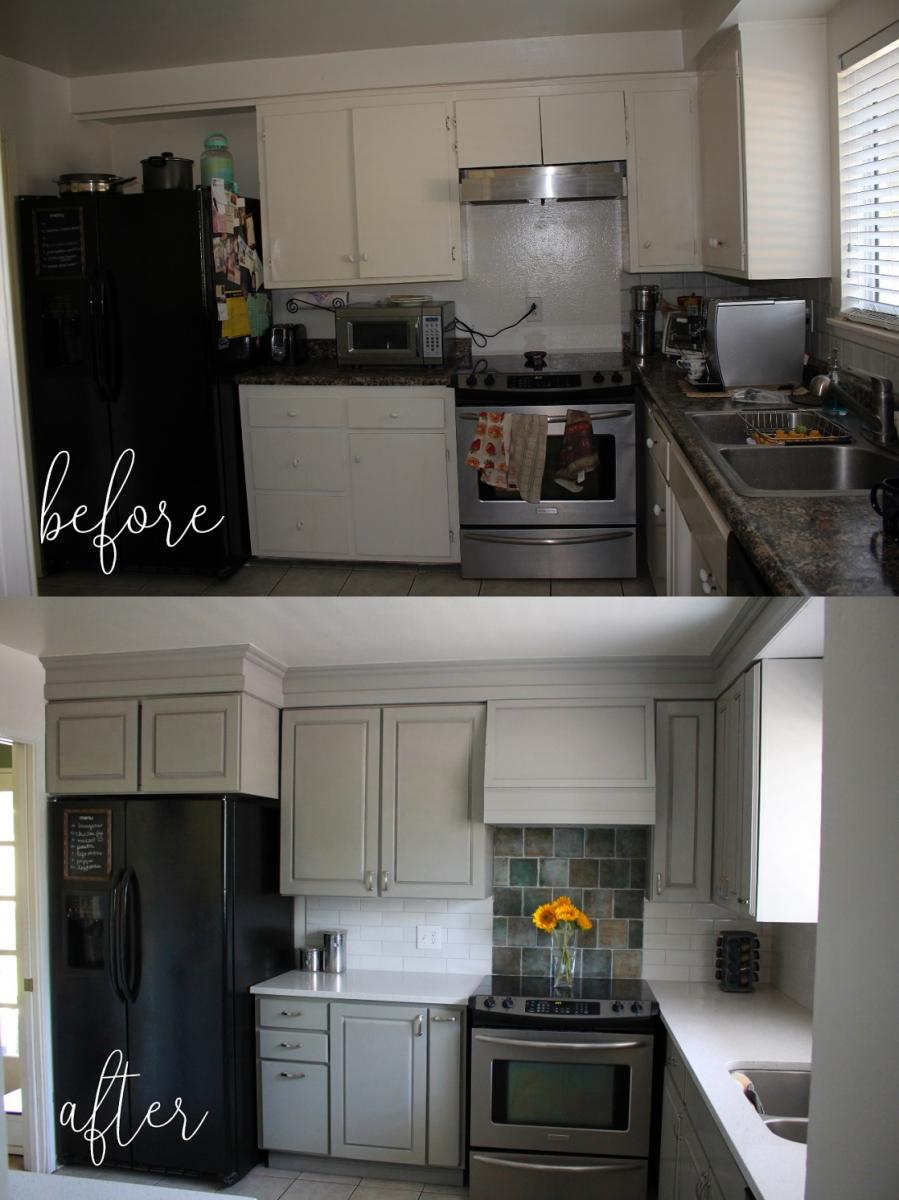
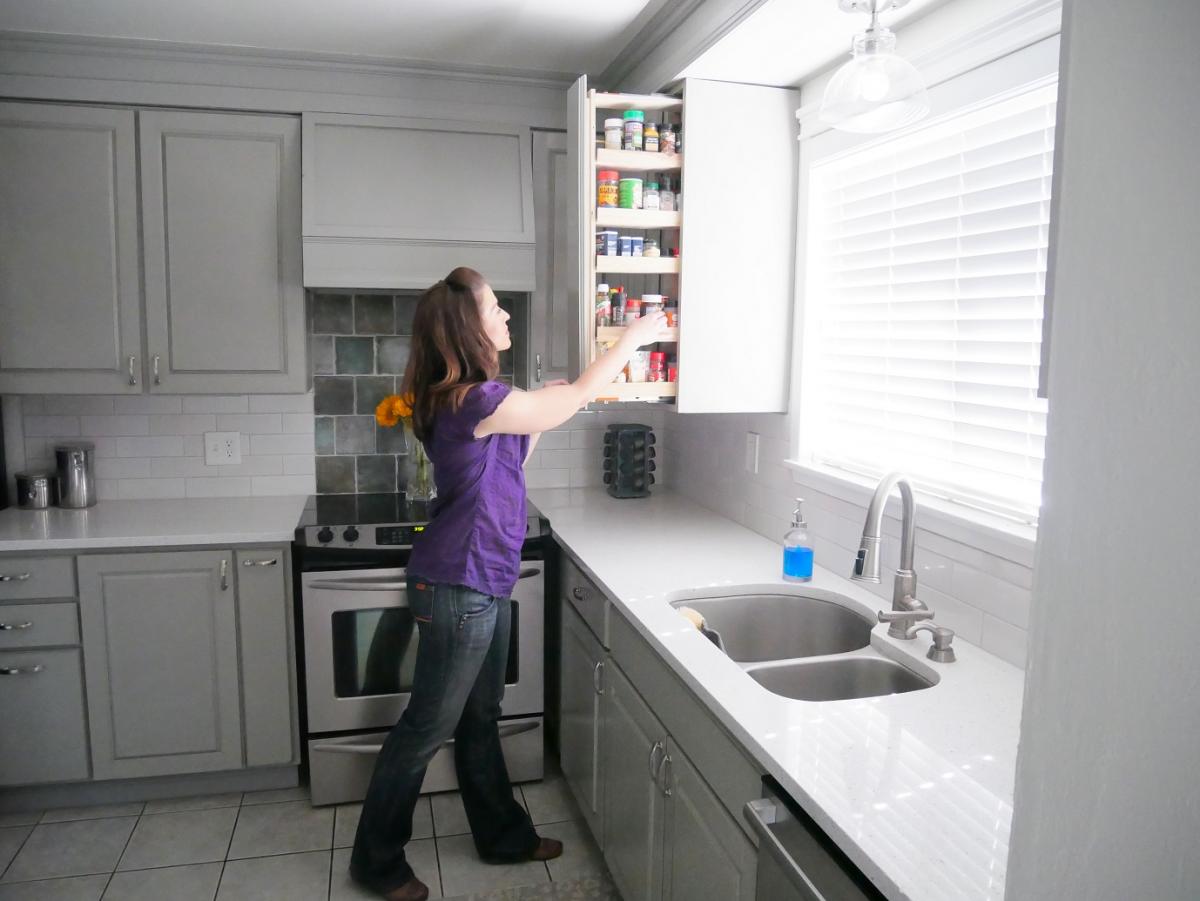
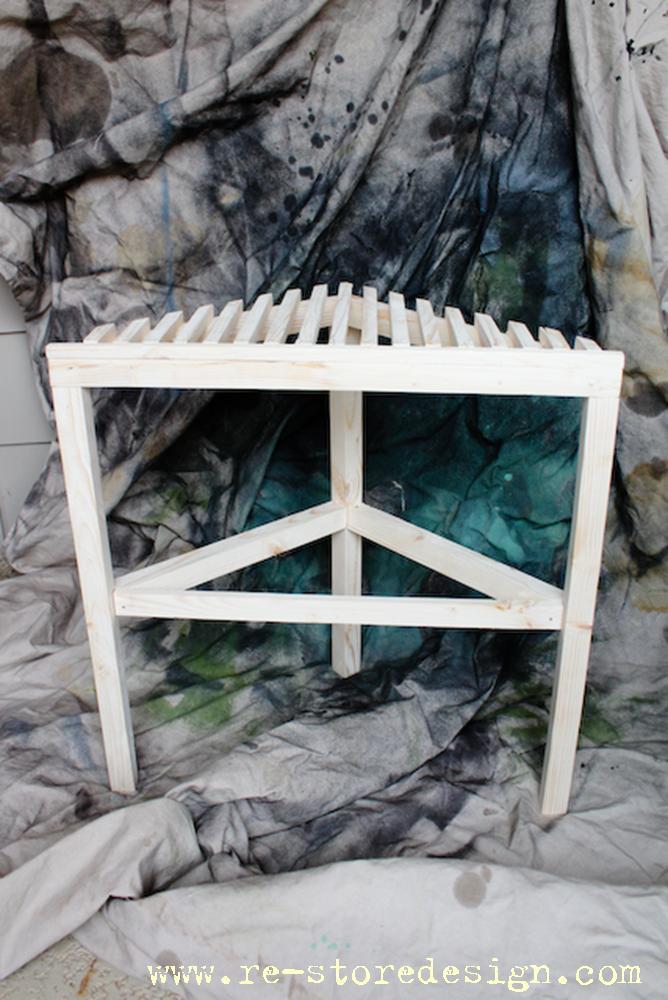
This project included designing and building all new cabinets and doors from scratch, creating unique pullouts for our specific kitchen needs, and tiling the backsplash.
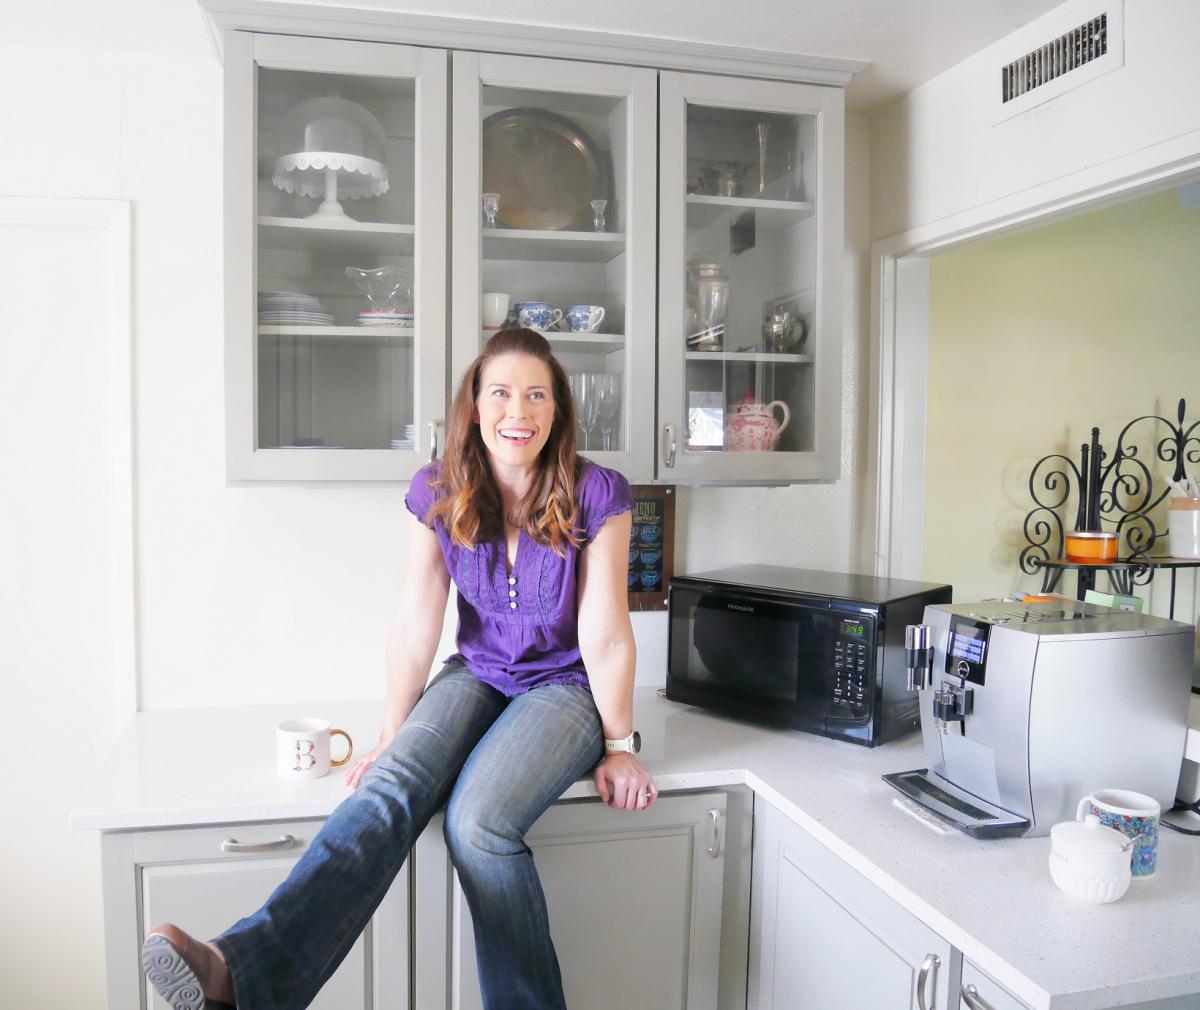
I couldn't be happier with my kitchen and every time I walk in there, it feels like I'm stepping into a magazine!
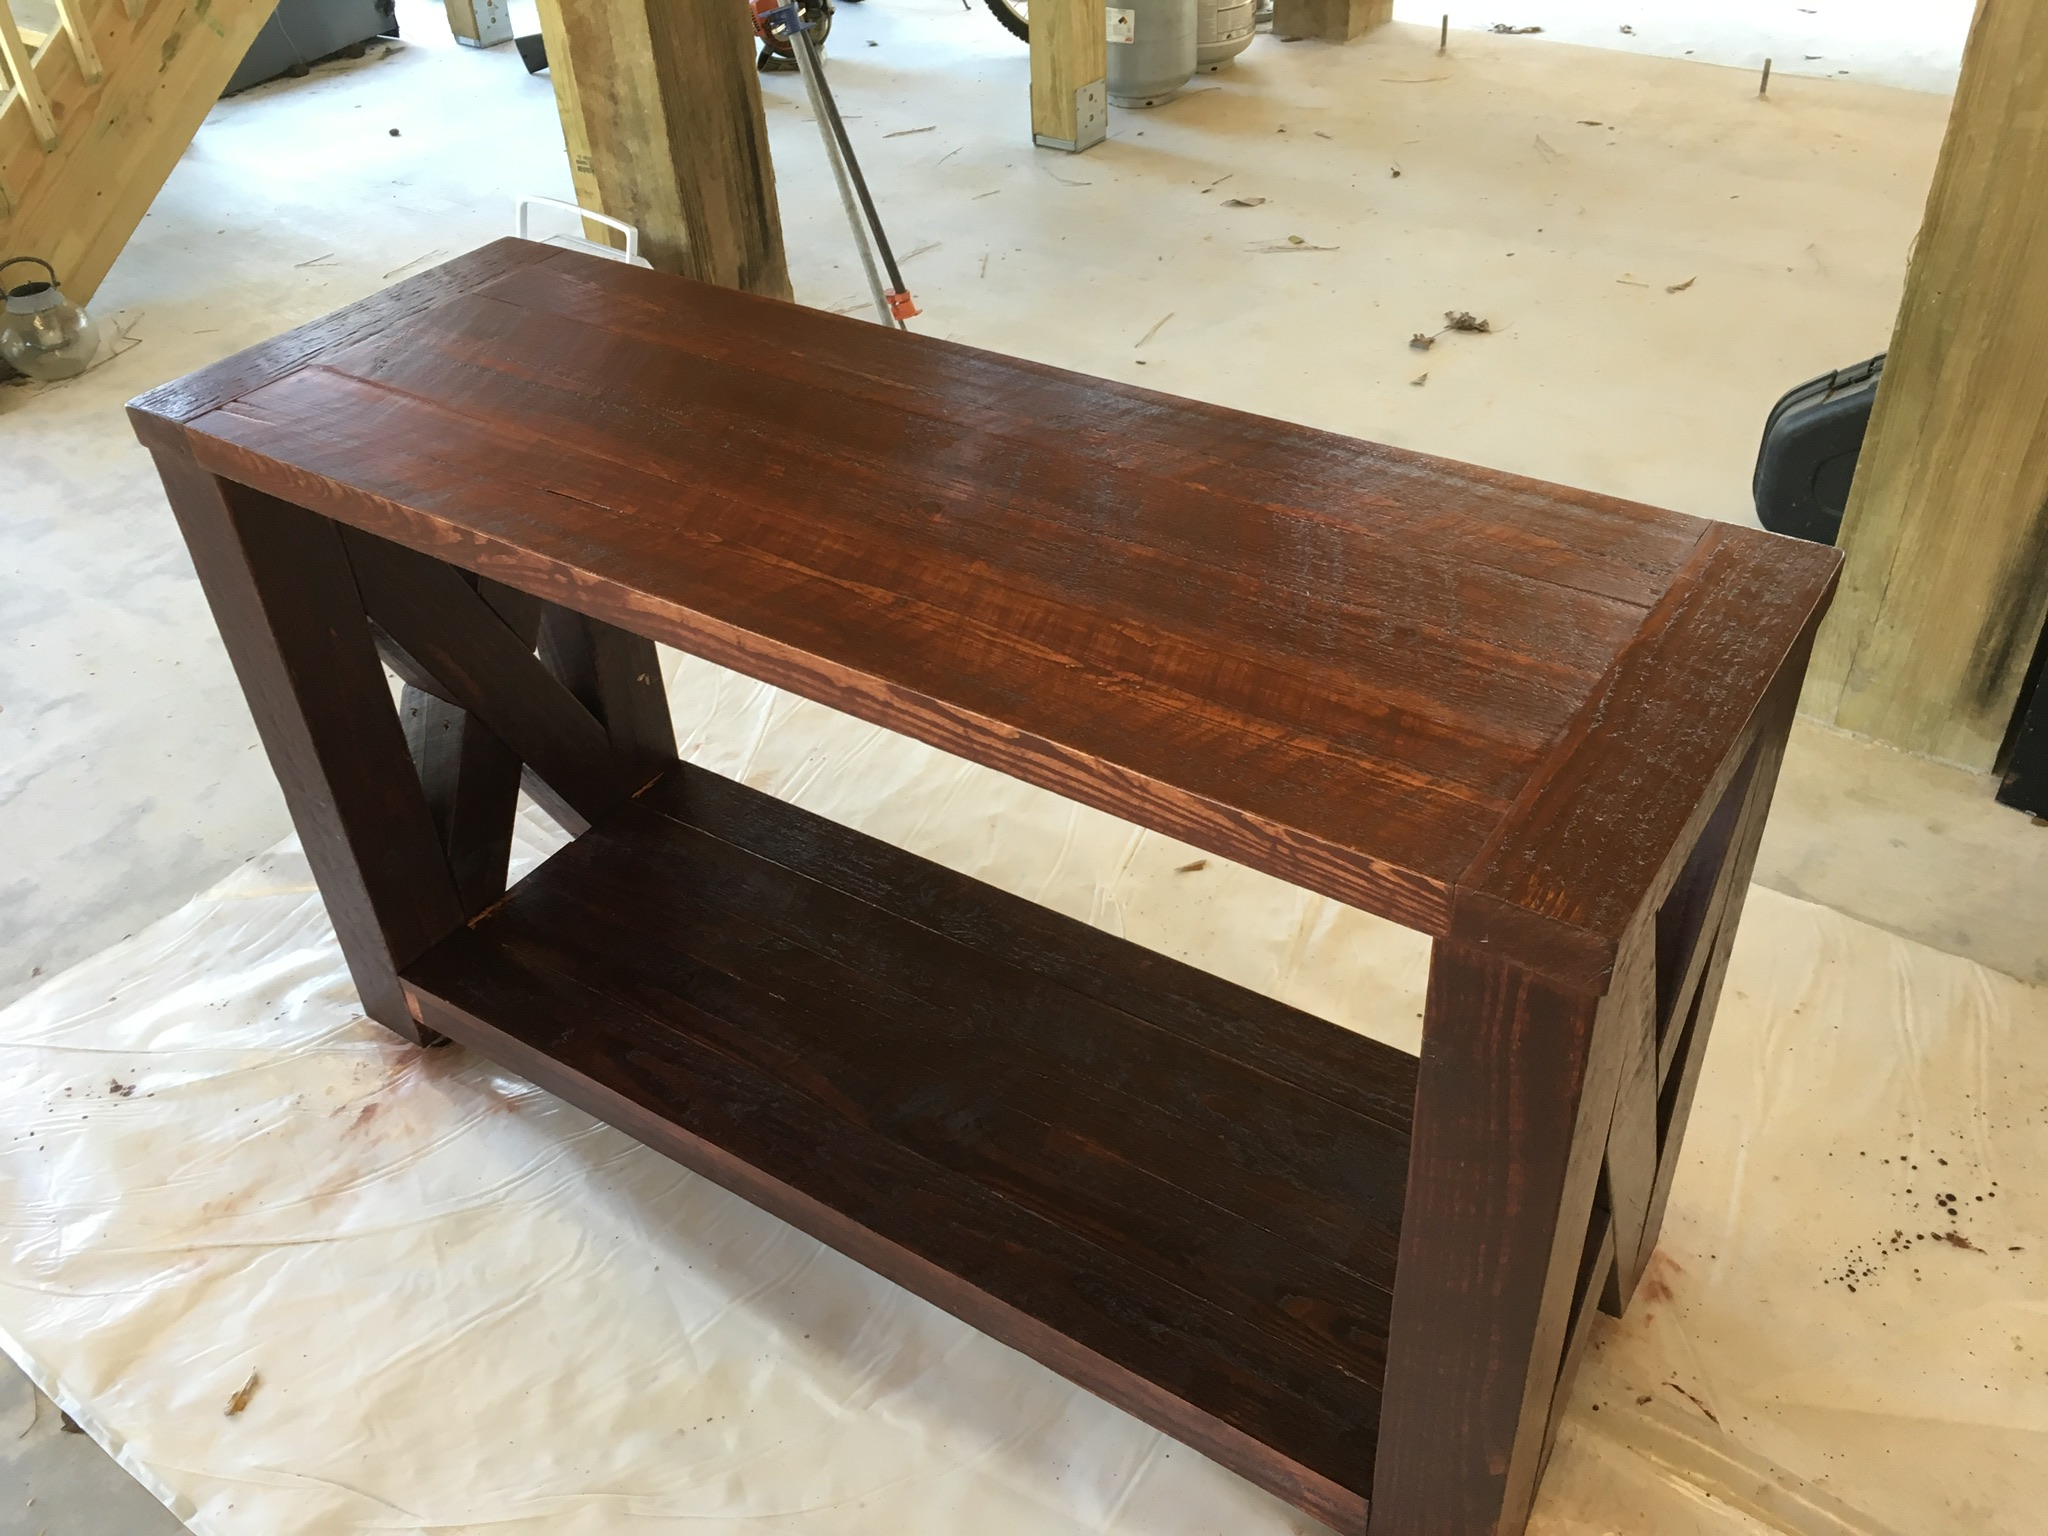
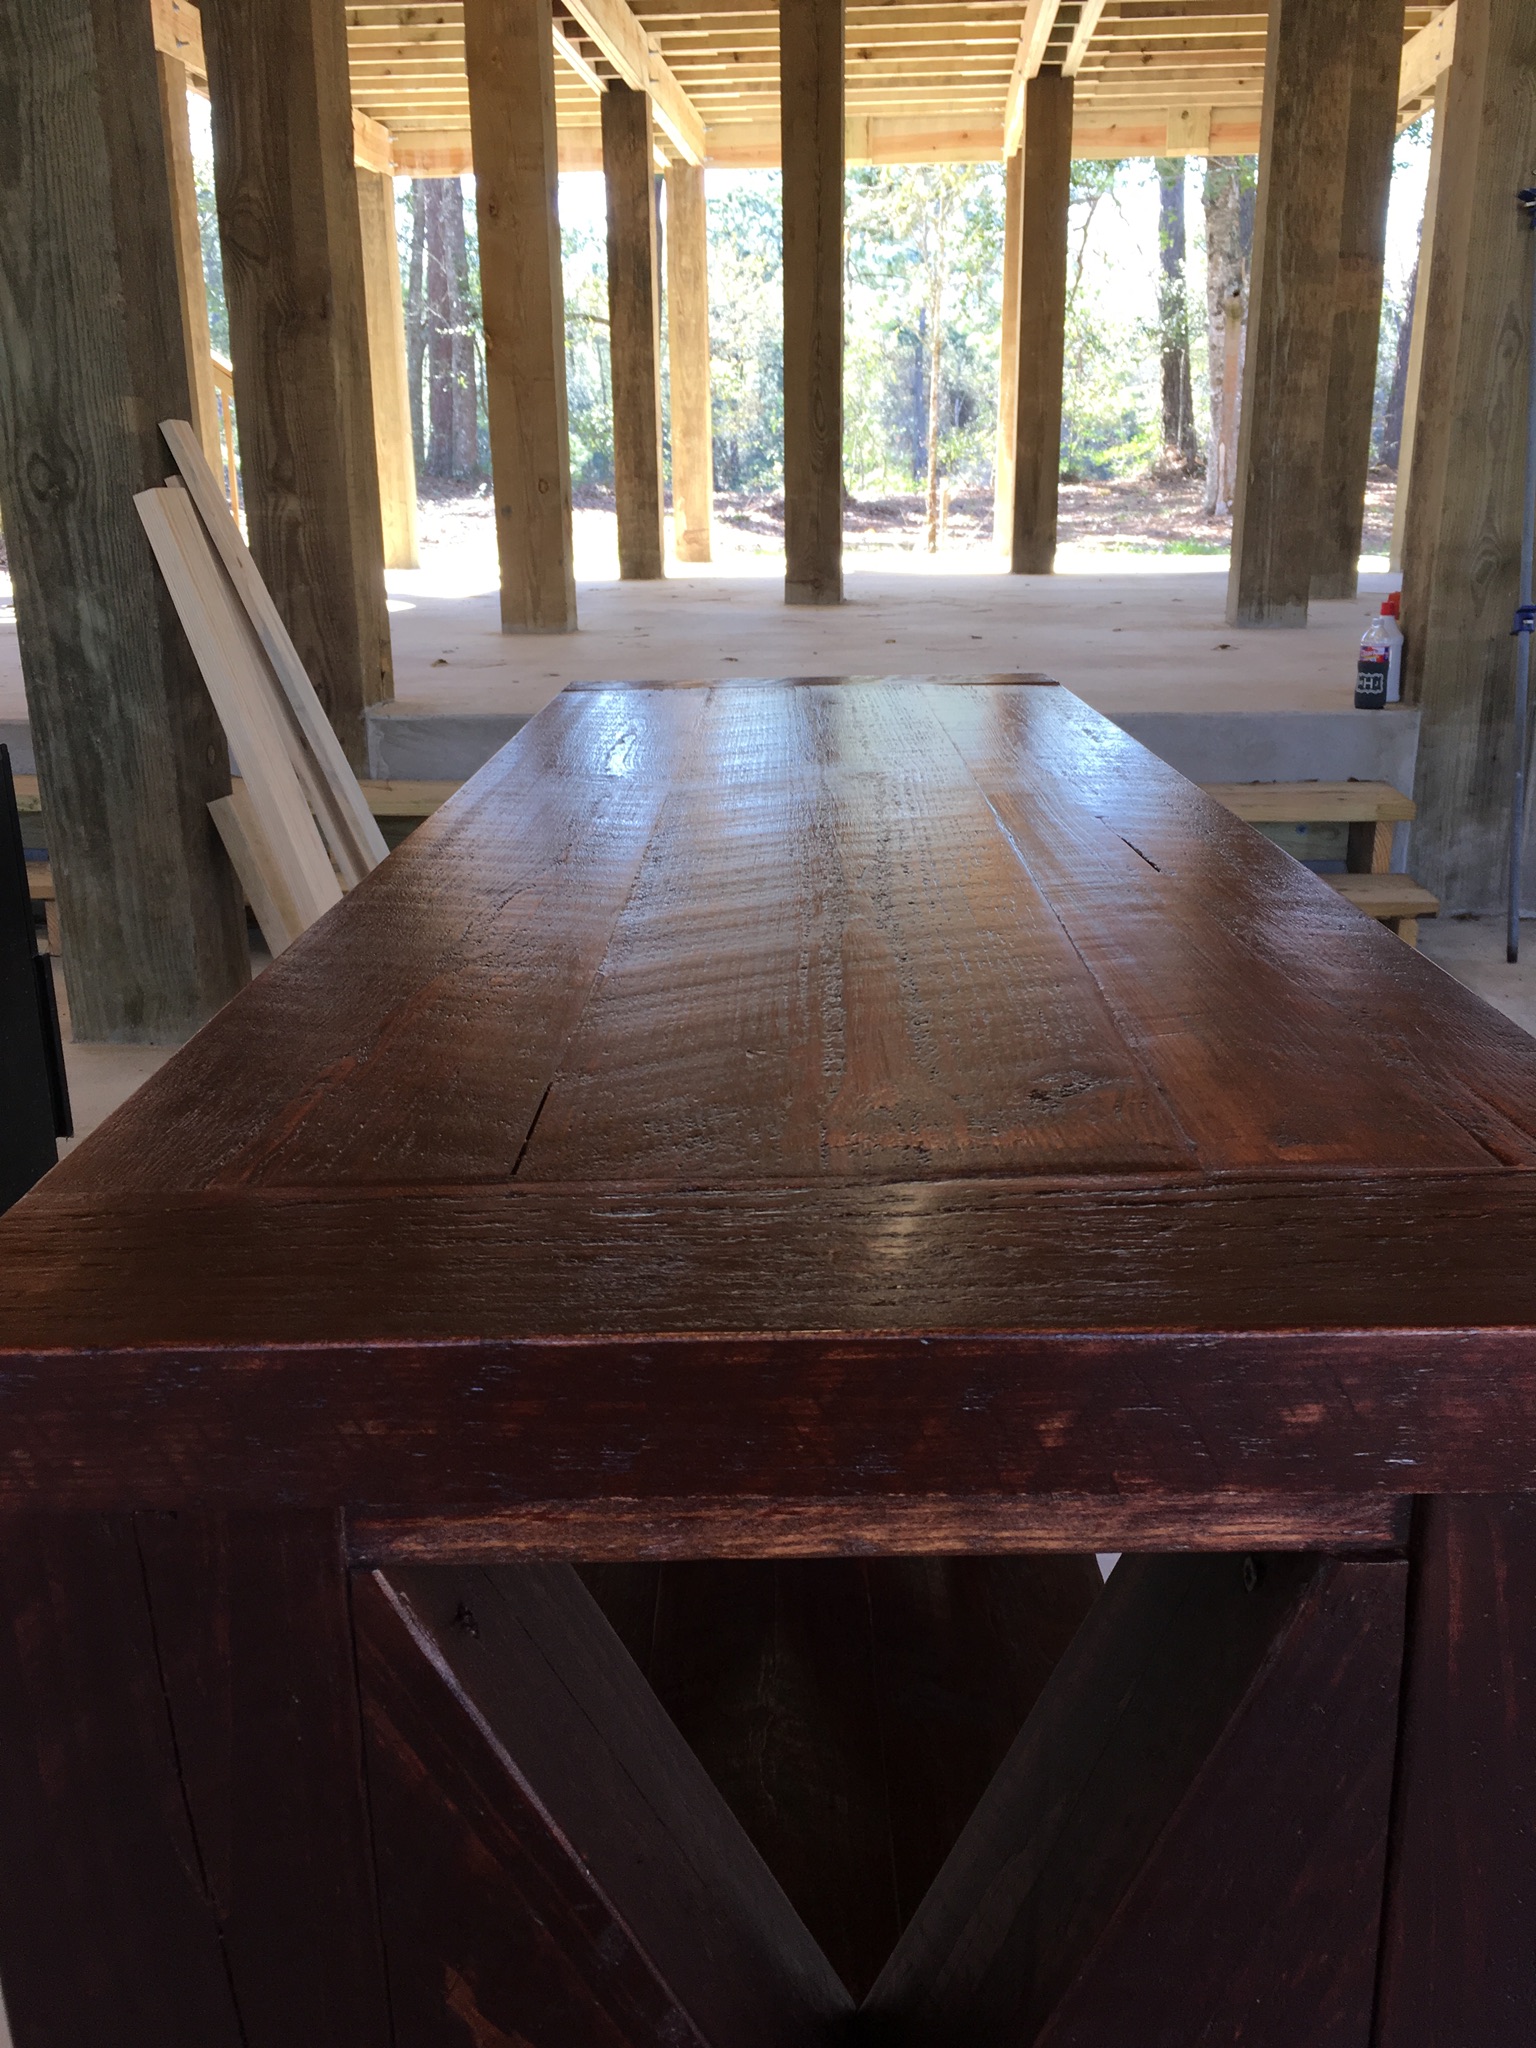
It may have taken me 5 years, but the wealth of woodworking skills and knowledge I gained from this project are priceless. As is a brand new kitchen for less than 5k.
I used many of Ana's plans, and honestly, I never would've taken on this huge challenge if I hadn't found this site. I specifically remember the day I saw her posting about the momplex kitchens and a spark hitting that I could ACTUALLY do this. Thank you Ana! I love my kitchen and it's even cooler that I built every last bit of it.
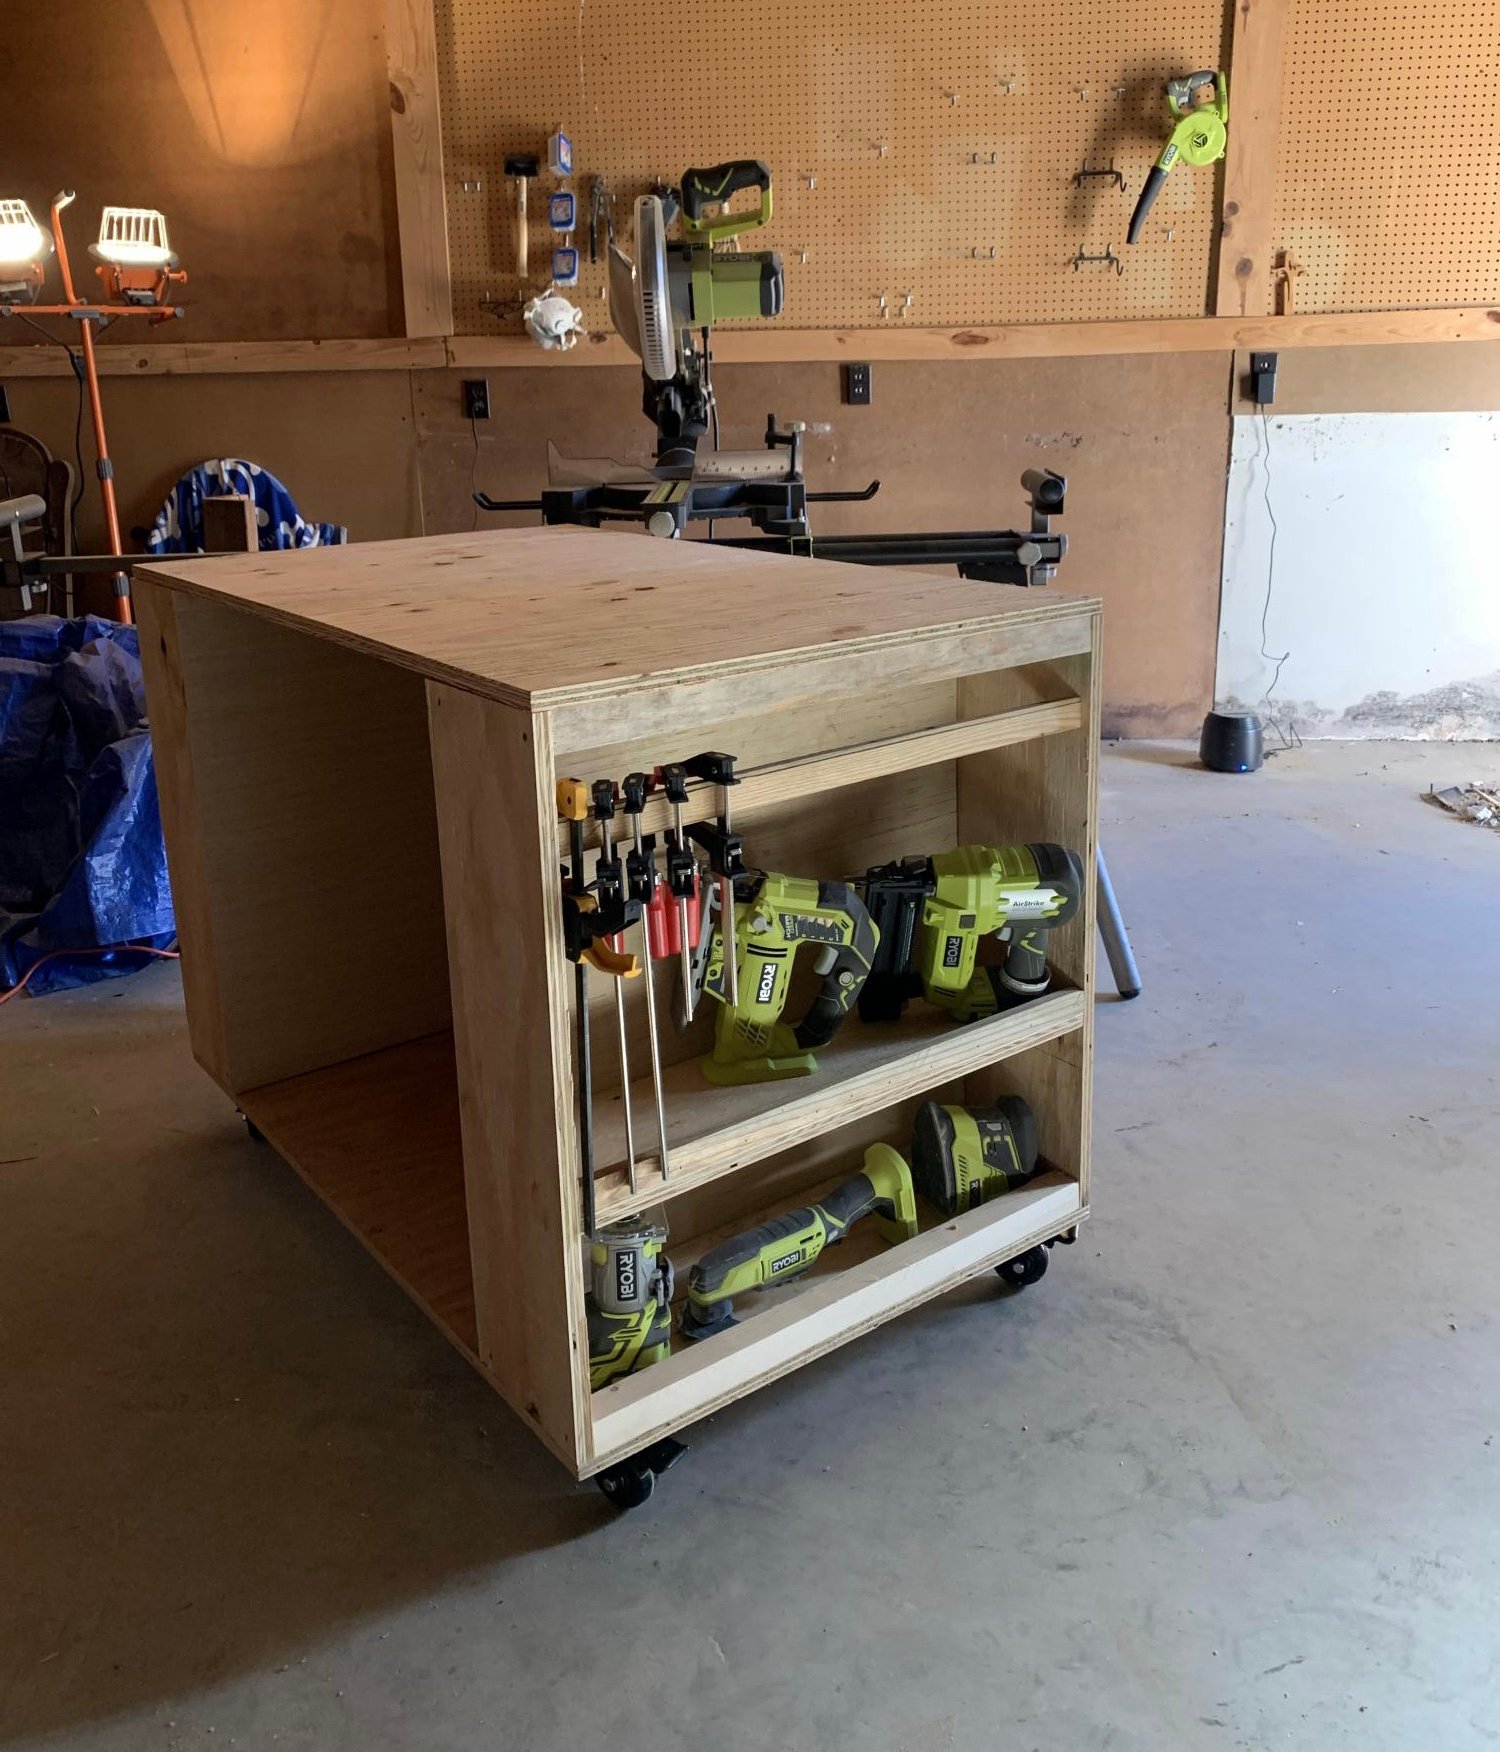
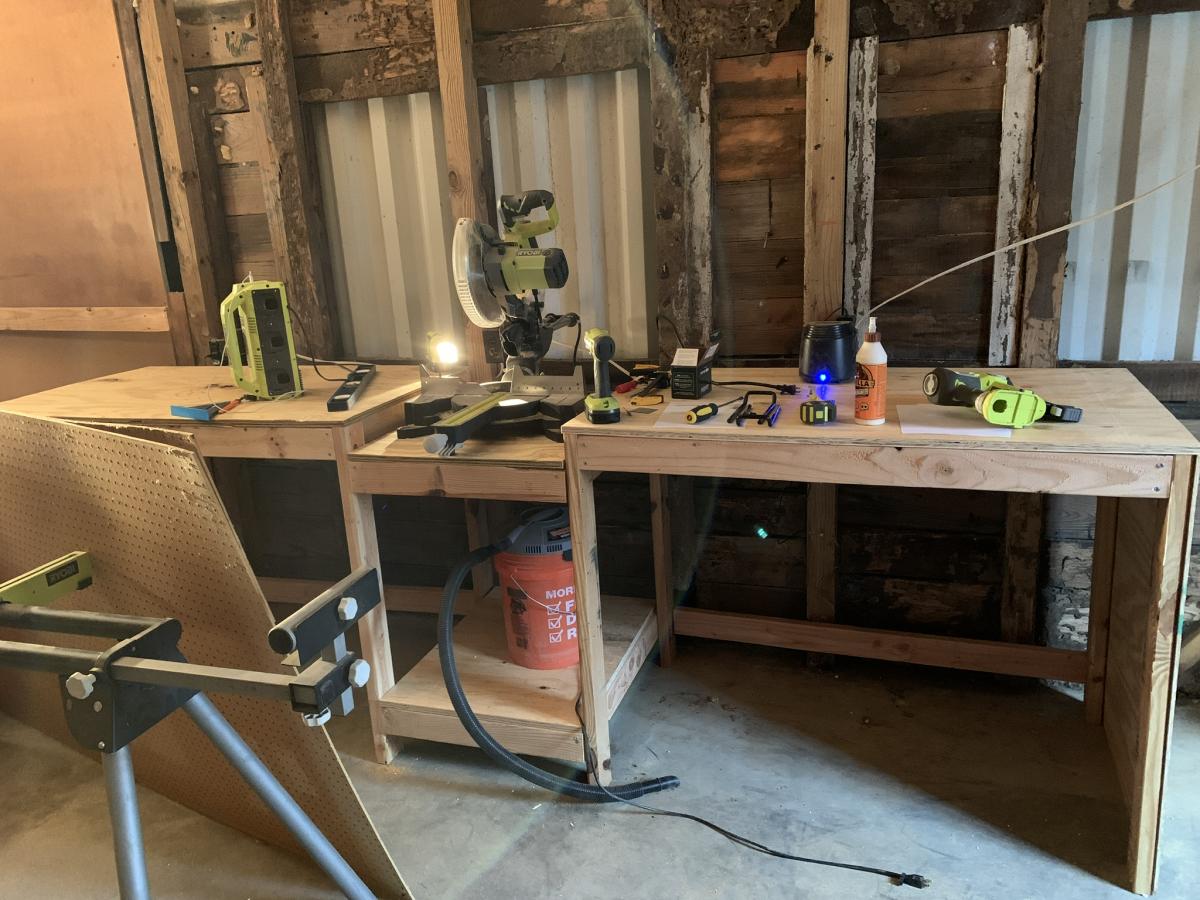
Through the years of learning and building both the kitchen and many other projects (don't ask me what's next because the list is a mile long) I feel very confident in the shop and count building time as "me-time". I've even started teaching a beginners woodworking class on skillshare, and have over 2,000 students so far. I love that people are getting empowered to build, just like I was. https://skl.sh/34FSP5A
Long live DIY!