Custom Children's Chair
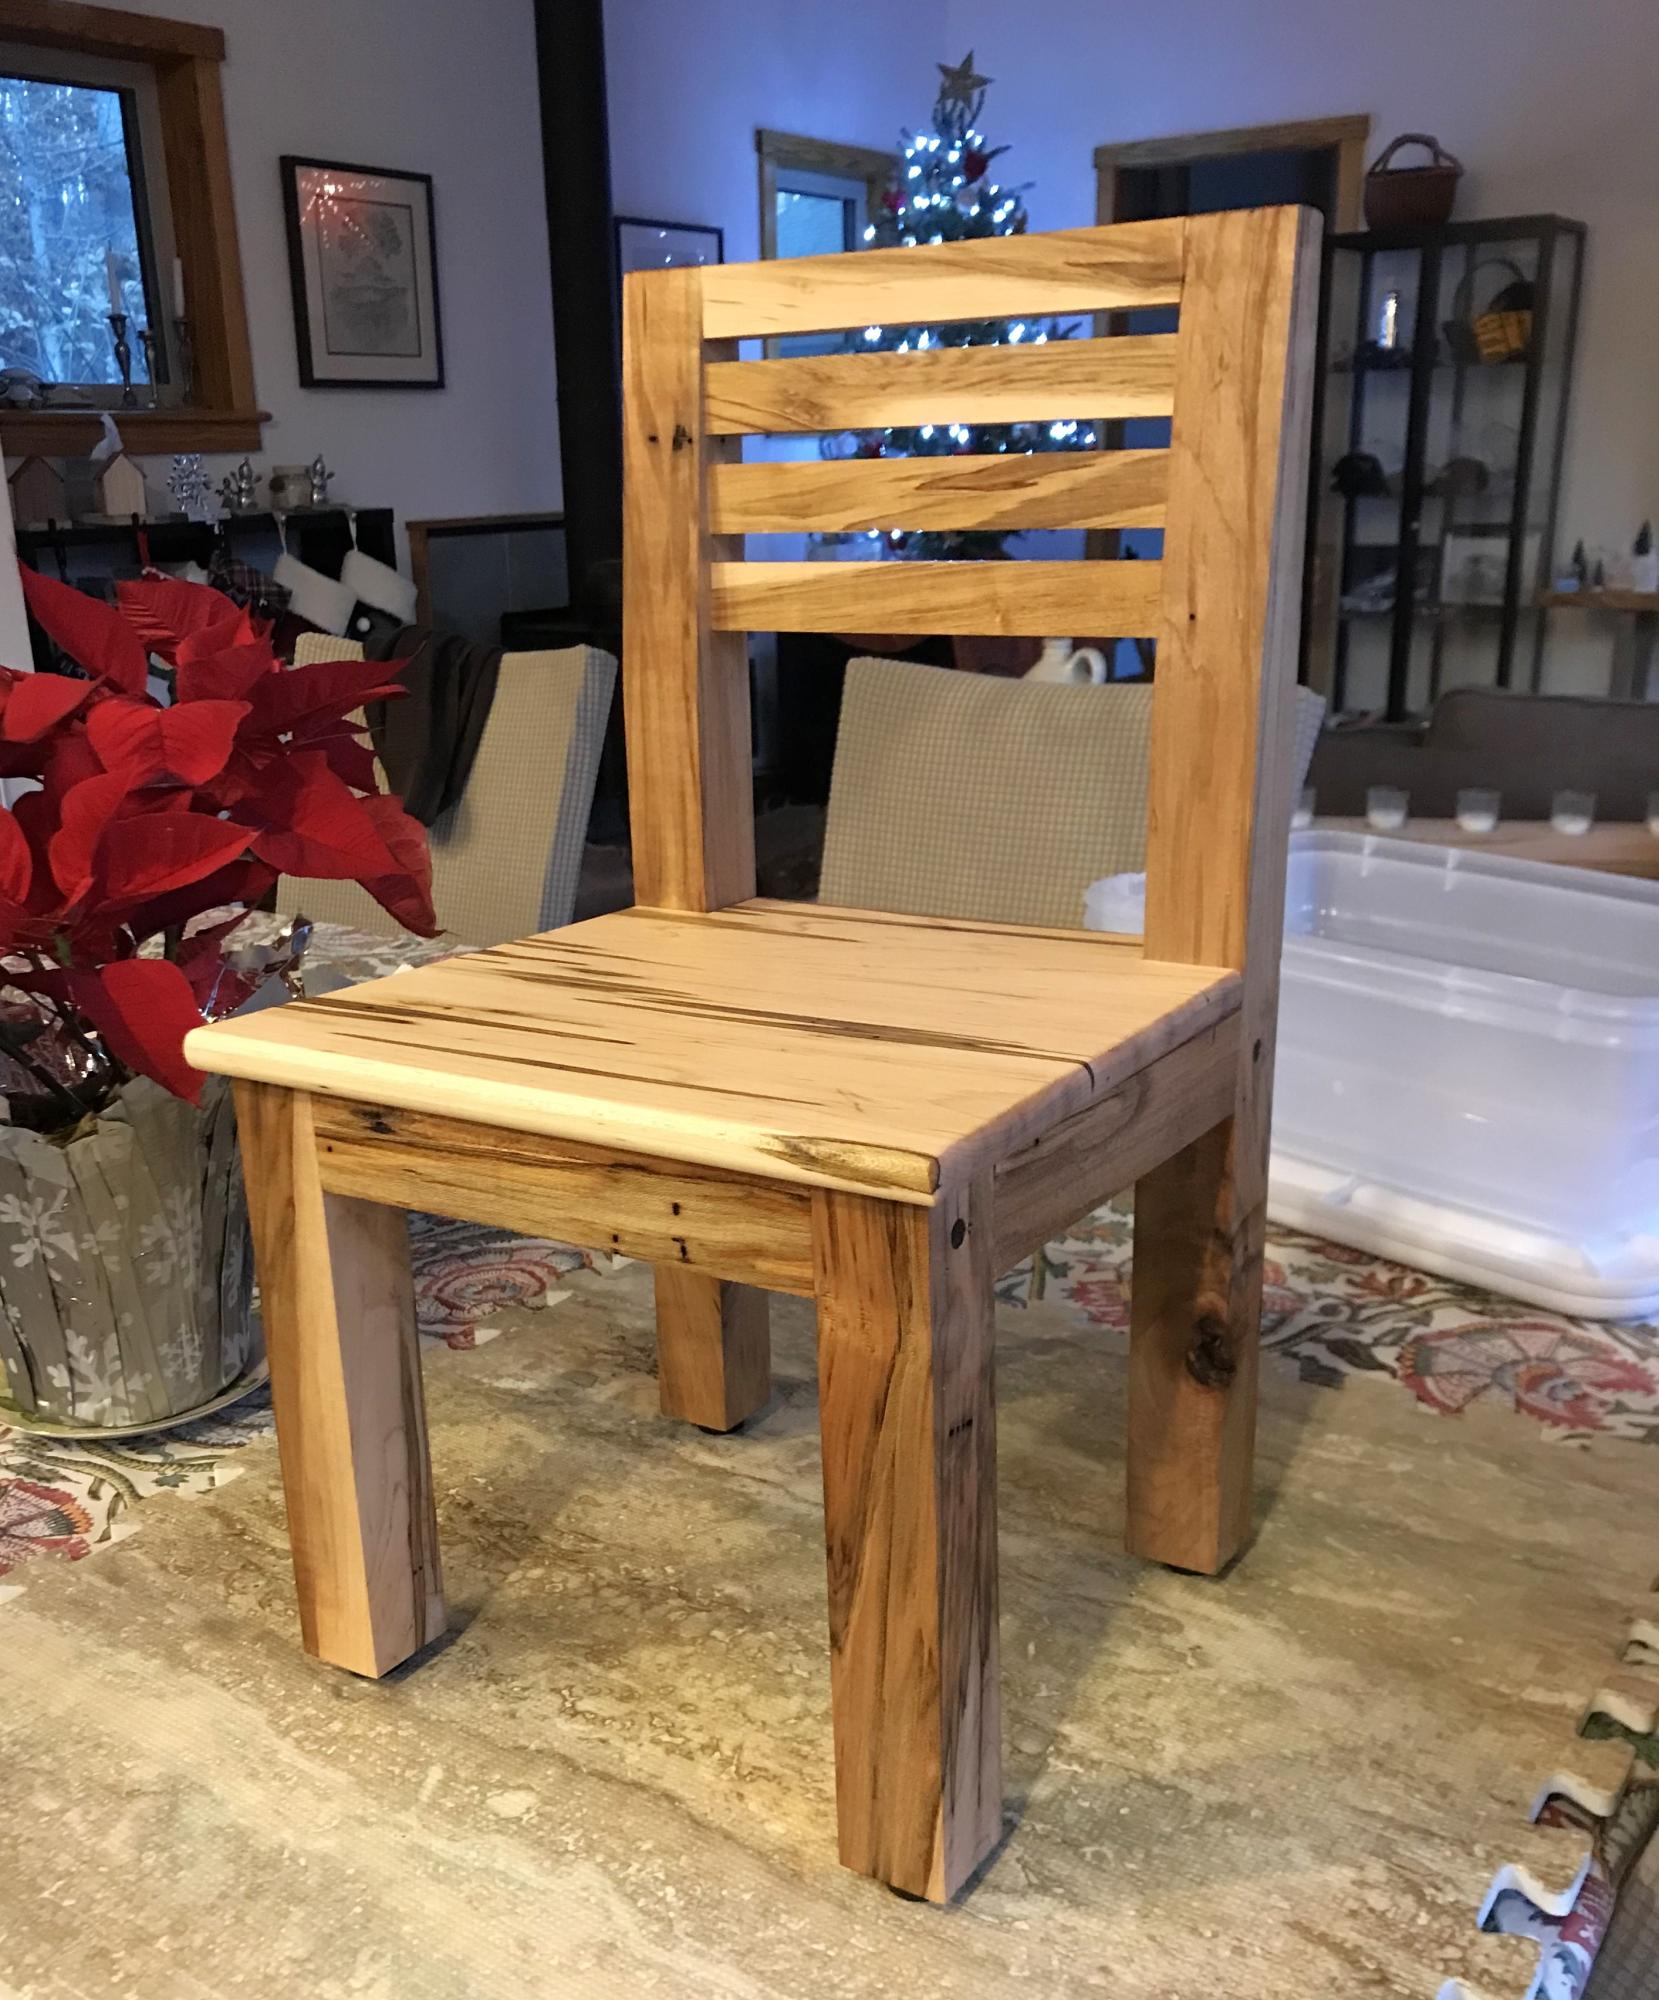
Child's chair. I used wormy maple
Built from Plan(s)
Child's chair. I used wormy maple
This was for a boys room so we wanted something sturdy, and oh man does this plan fit the bill.
Was easy to assemble, most of the project time went to sanding and staining to get the dark wood finish.
Finished in a poly gloss.

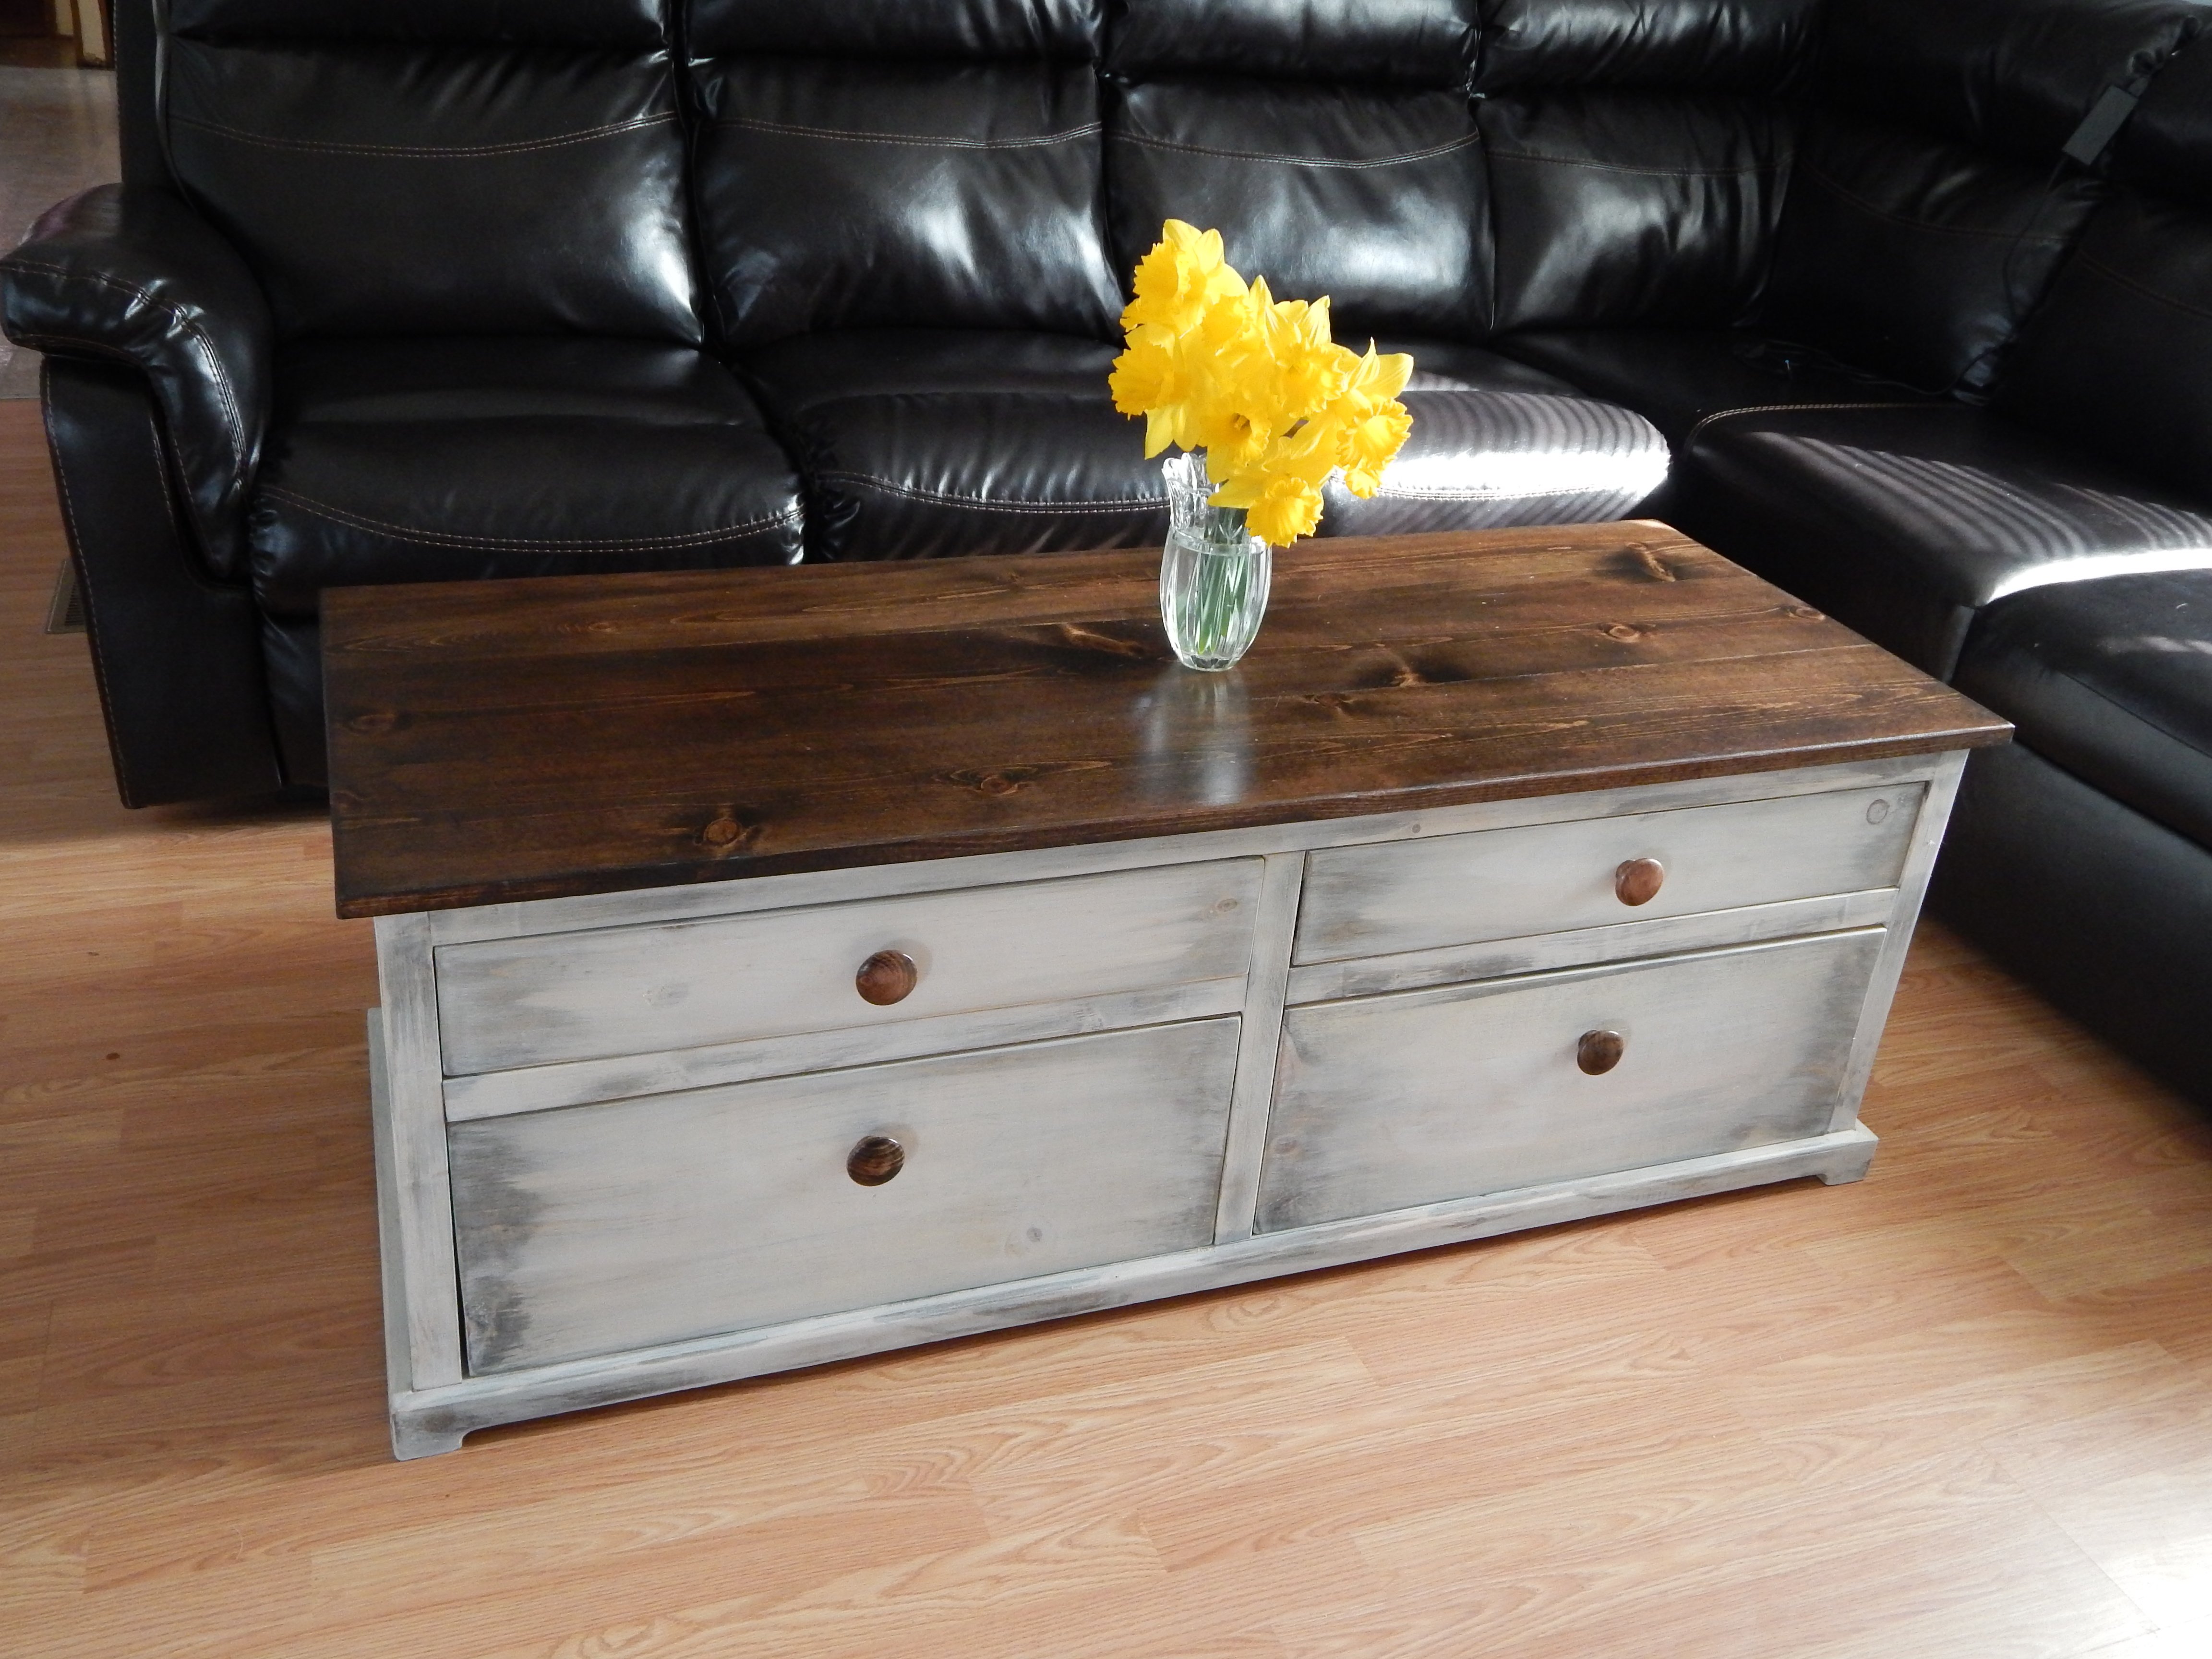
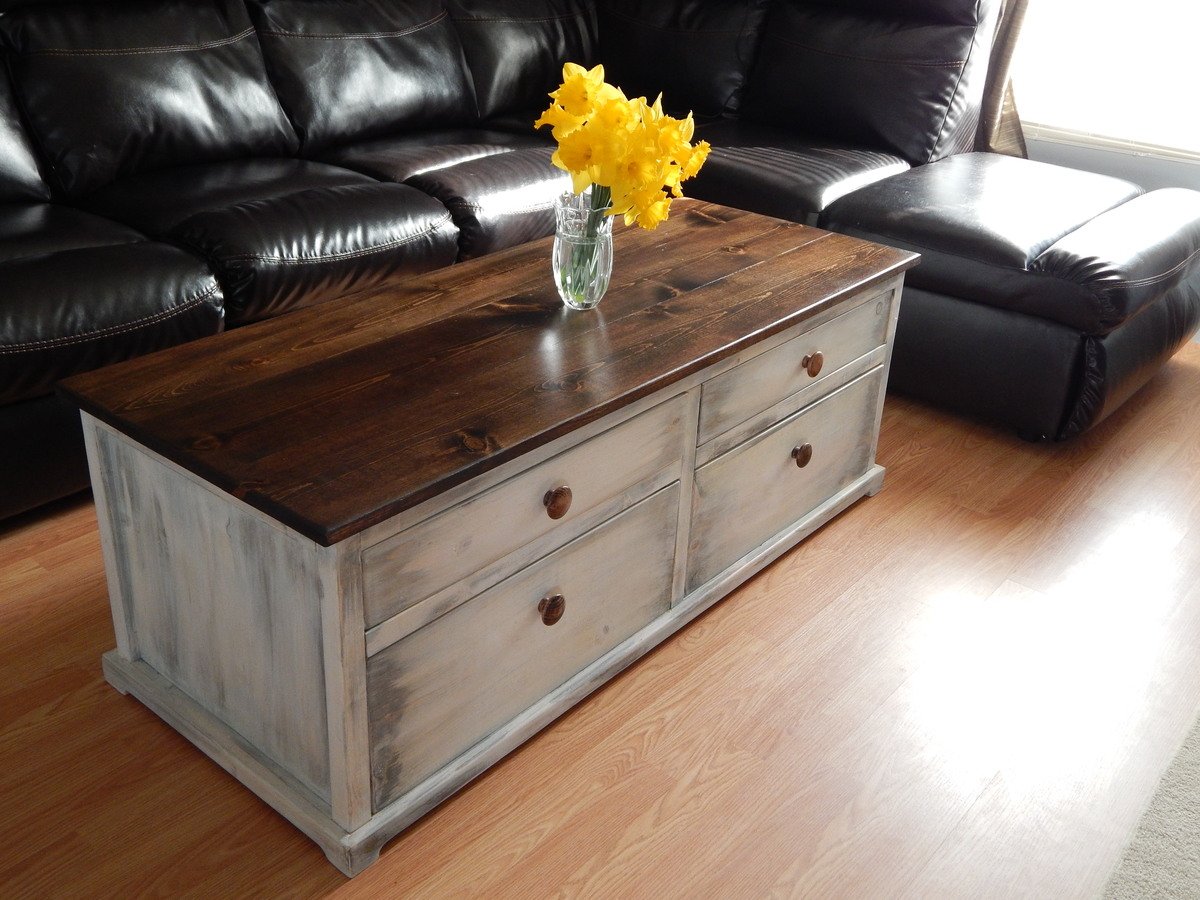
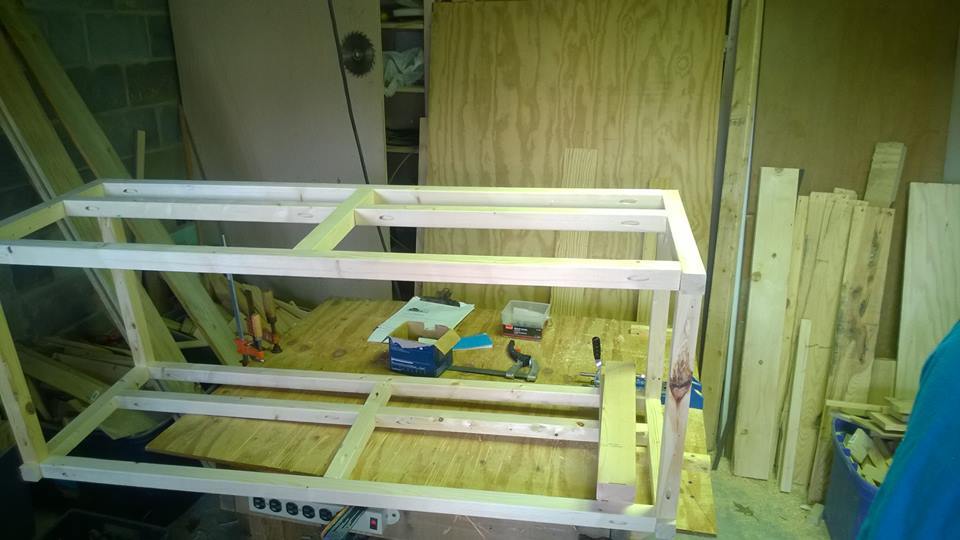
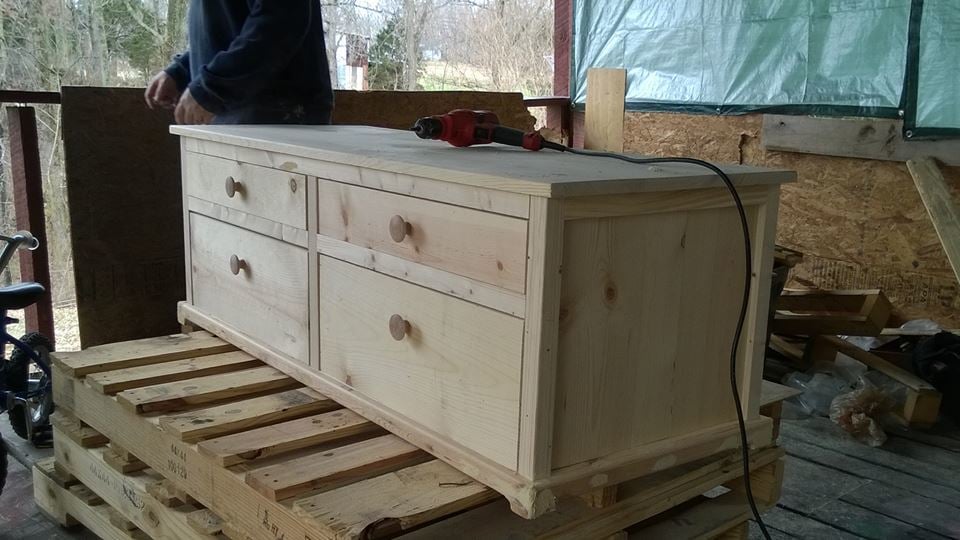
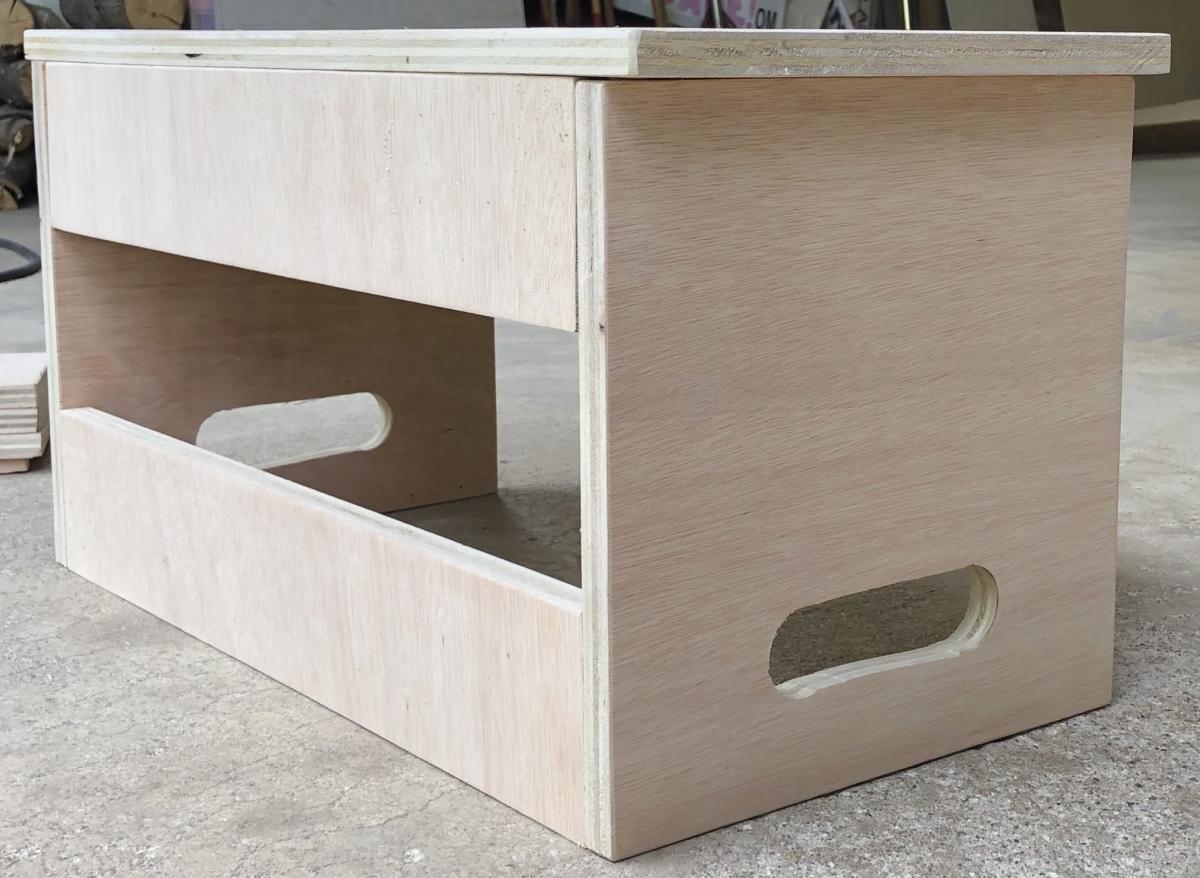
My wife saw the Harper Style coffee table by Pottery barn and loved it so as a gift to her i set out to recreate this table in a white wash look that is not available and after a week of creating plans and a weekend of work here it is with fully functional drawers that are accessible from both sides

Fri, 04/11/2014 - 17:14
Plans can be made available upon request, just haven't had time to clean them up a bit
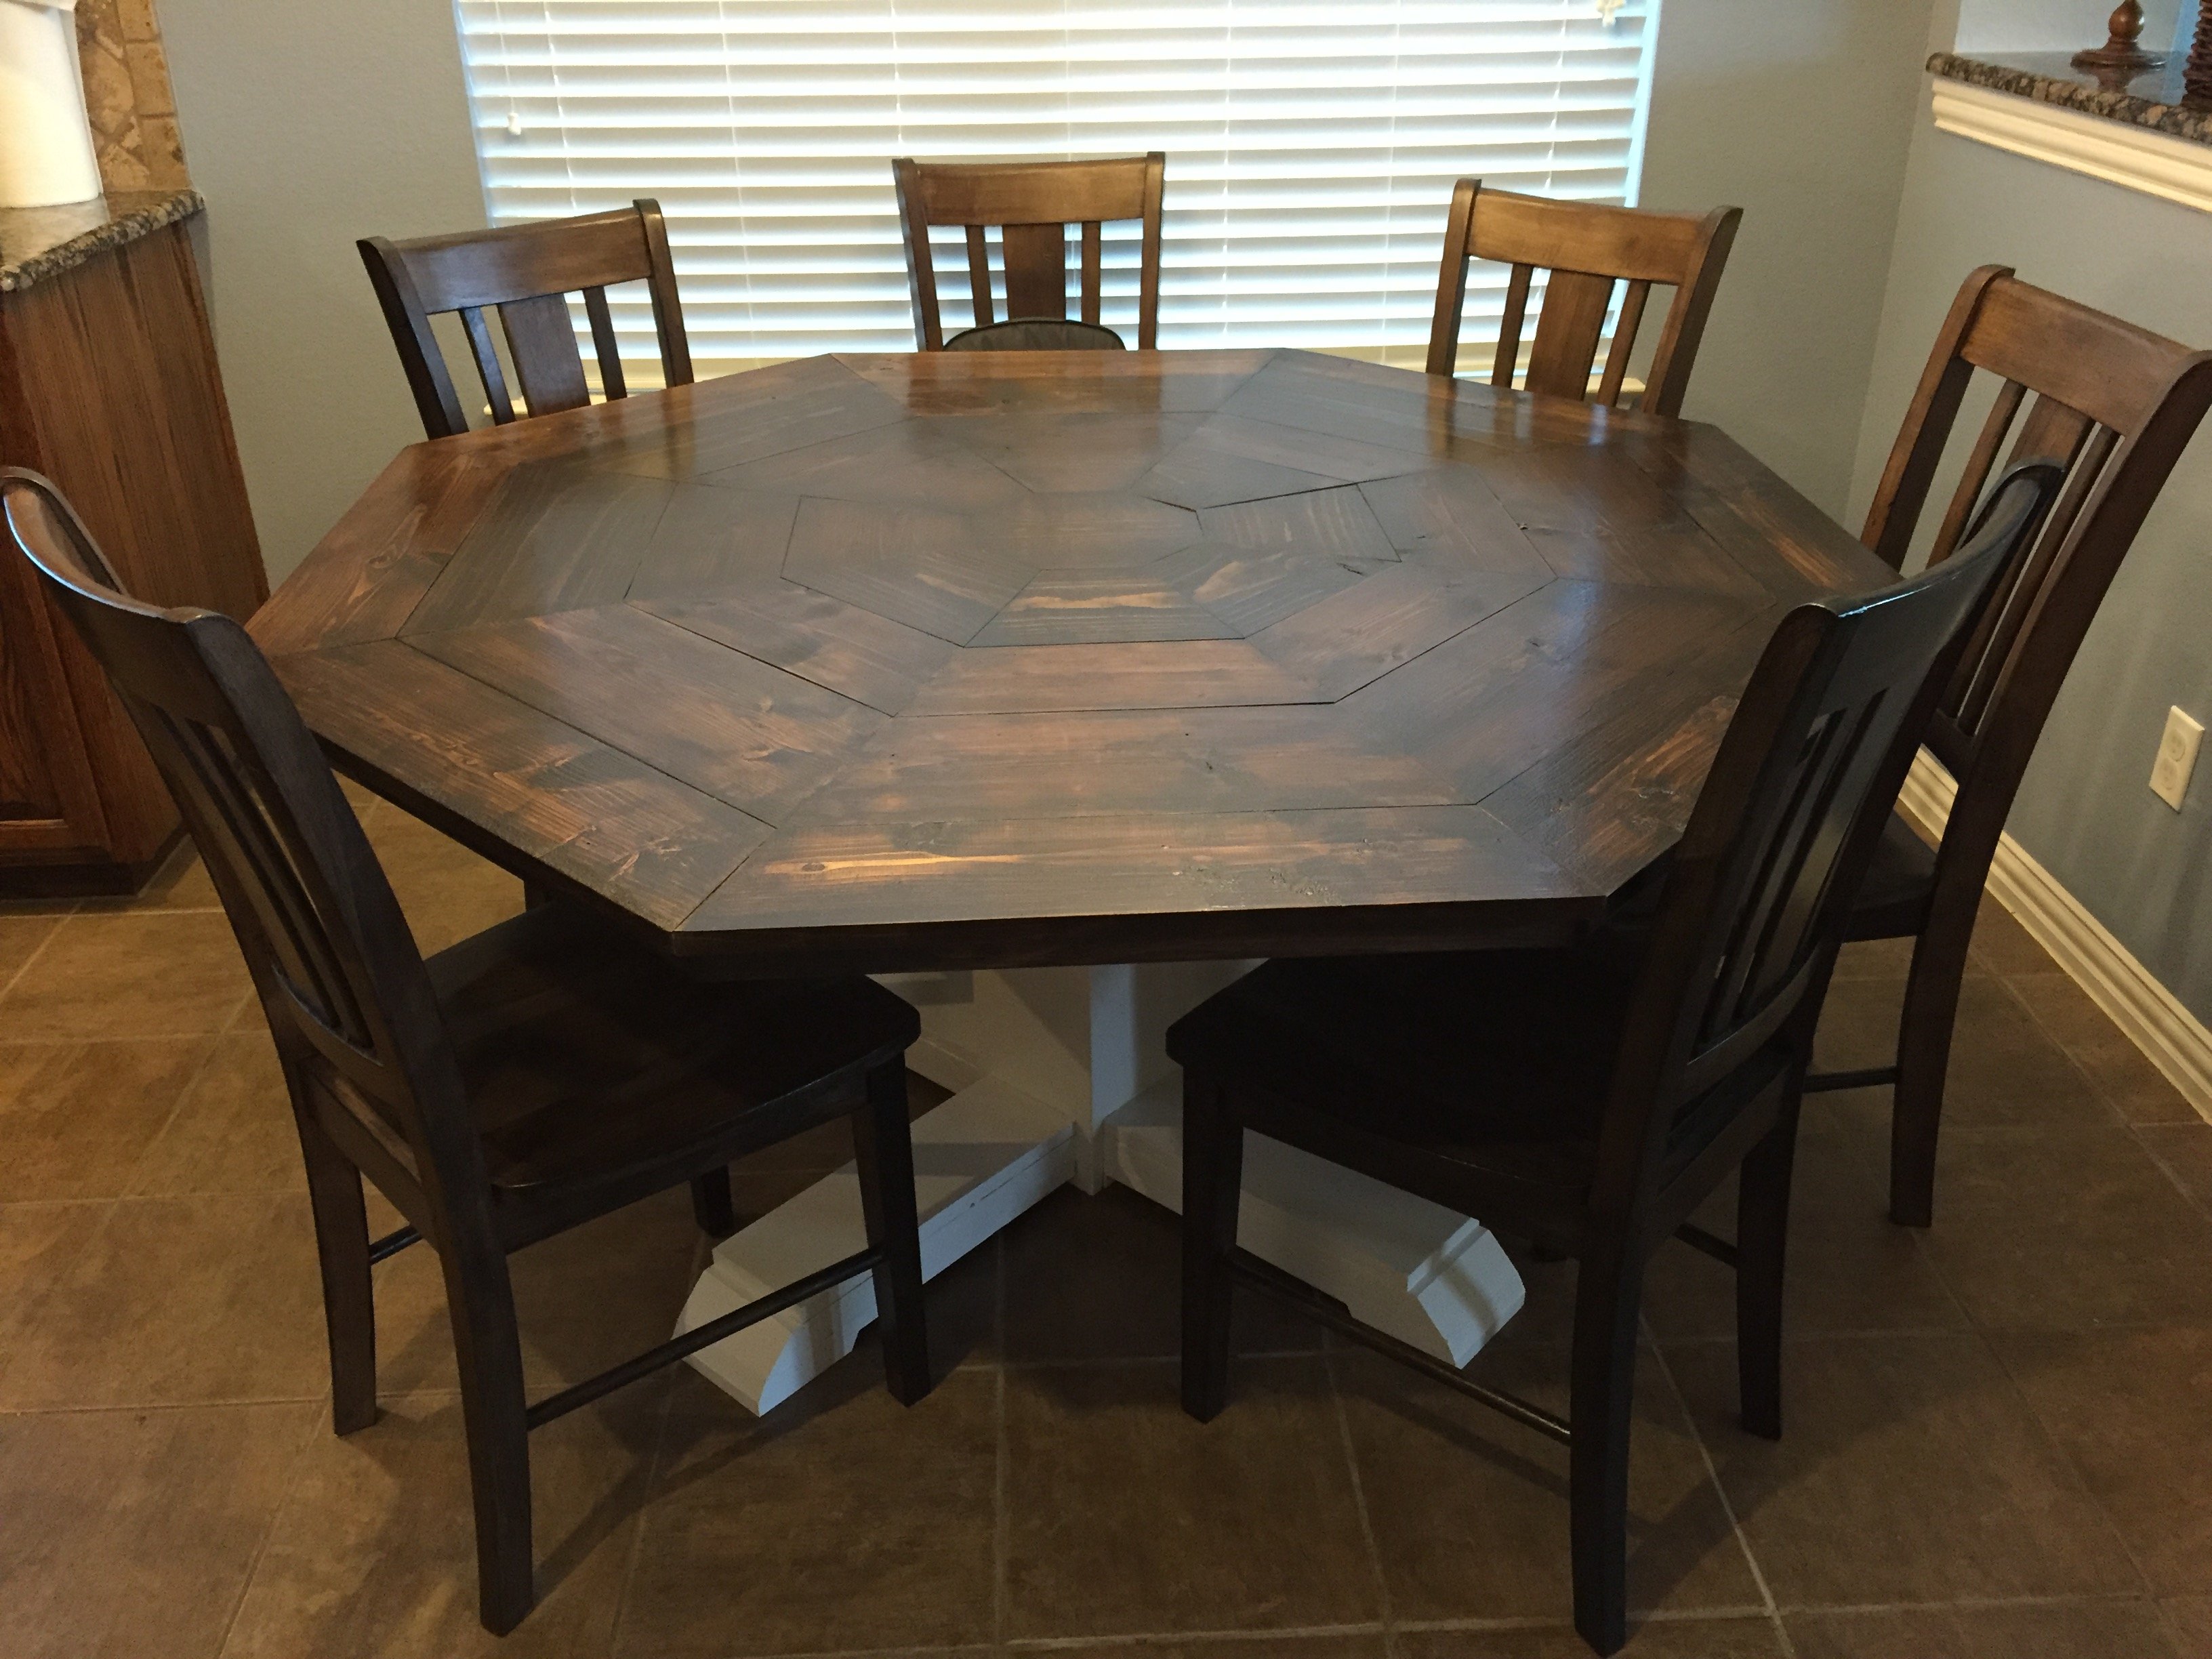
Octagon Dining Room Table
Great easy to follow plans, I cut both front and back legs from one 2x4x8’ by having the back leg 1” shorter than plan. Also bought 1x4x39” slats at less cost than buying the 8’ ones.
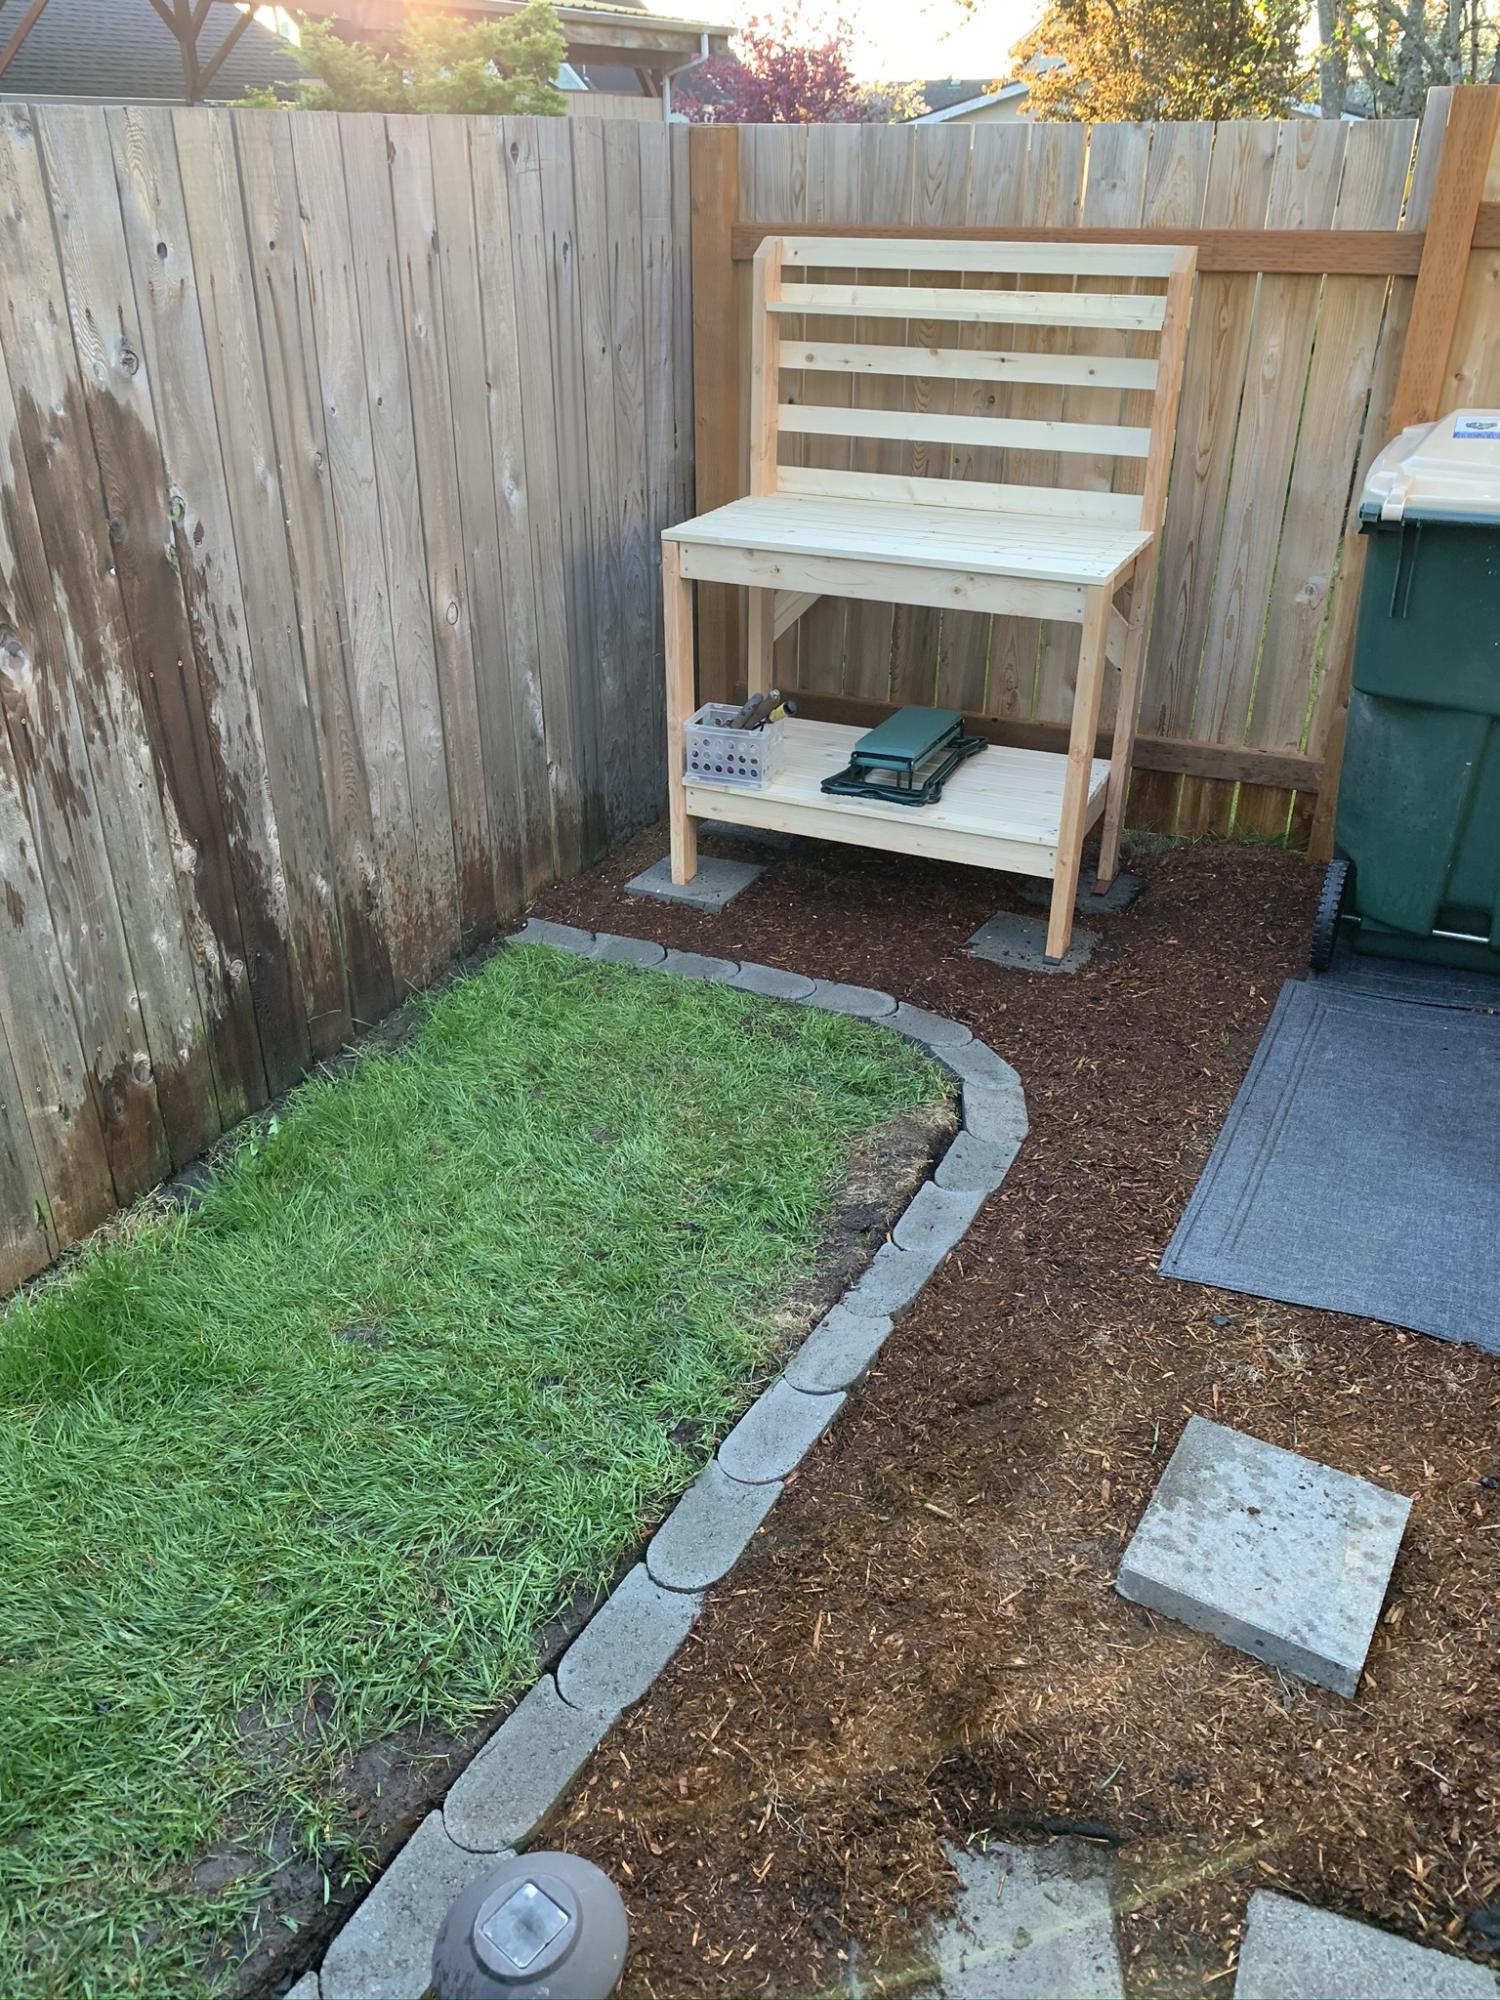
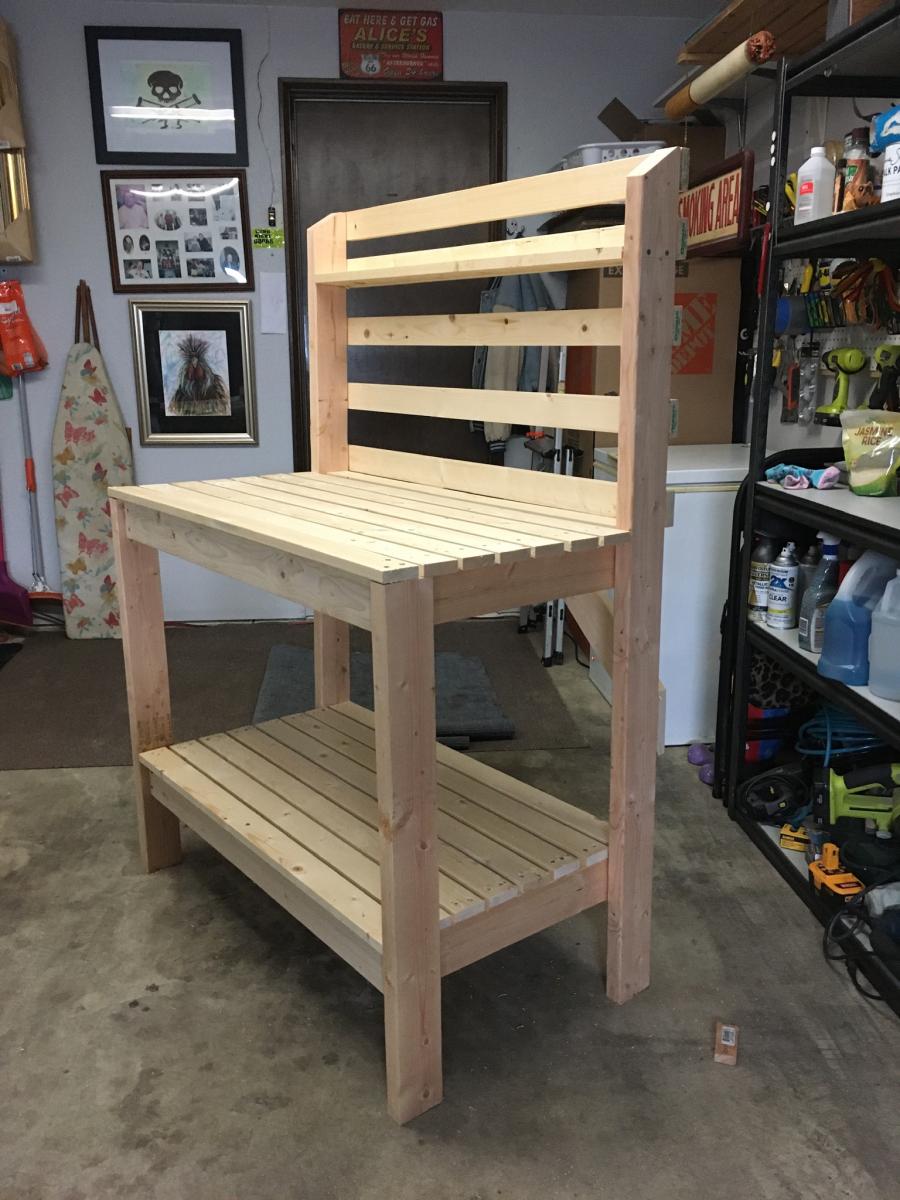
Great unit would be perfect for near the BBQ and any place needing storage and work bench
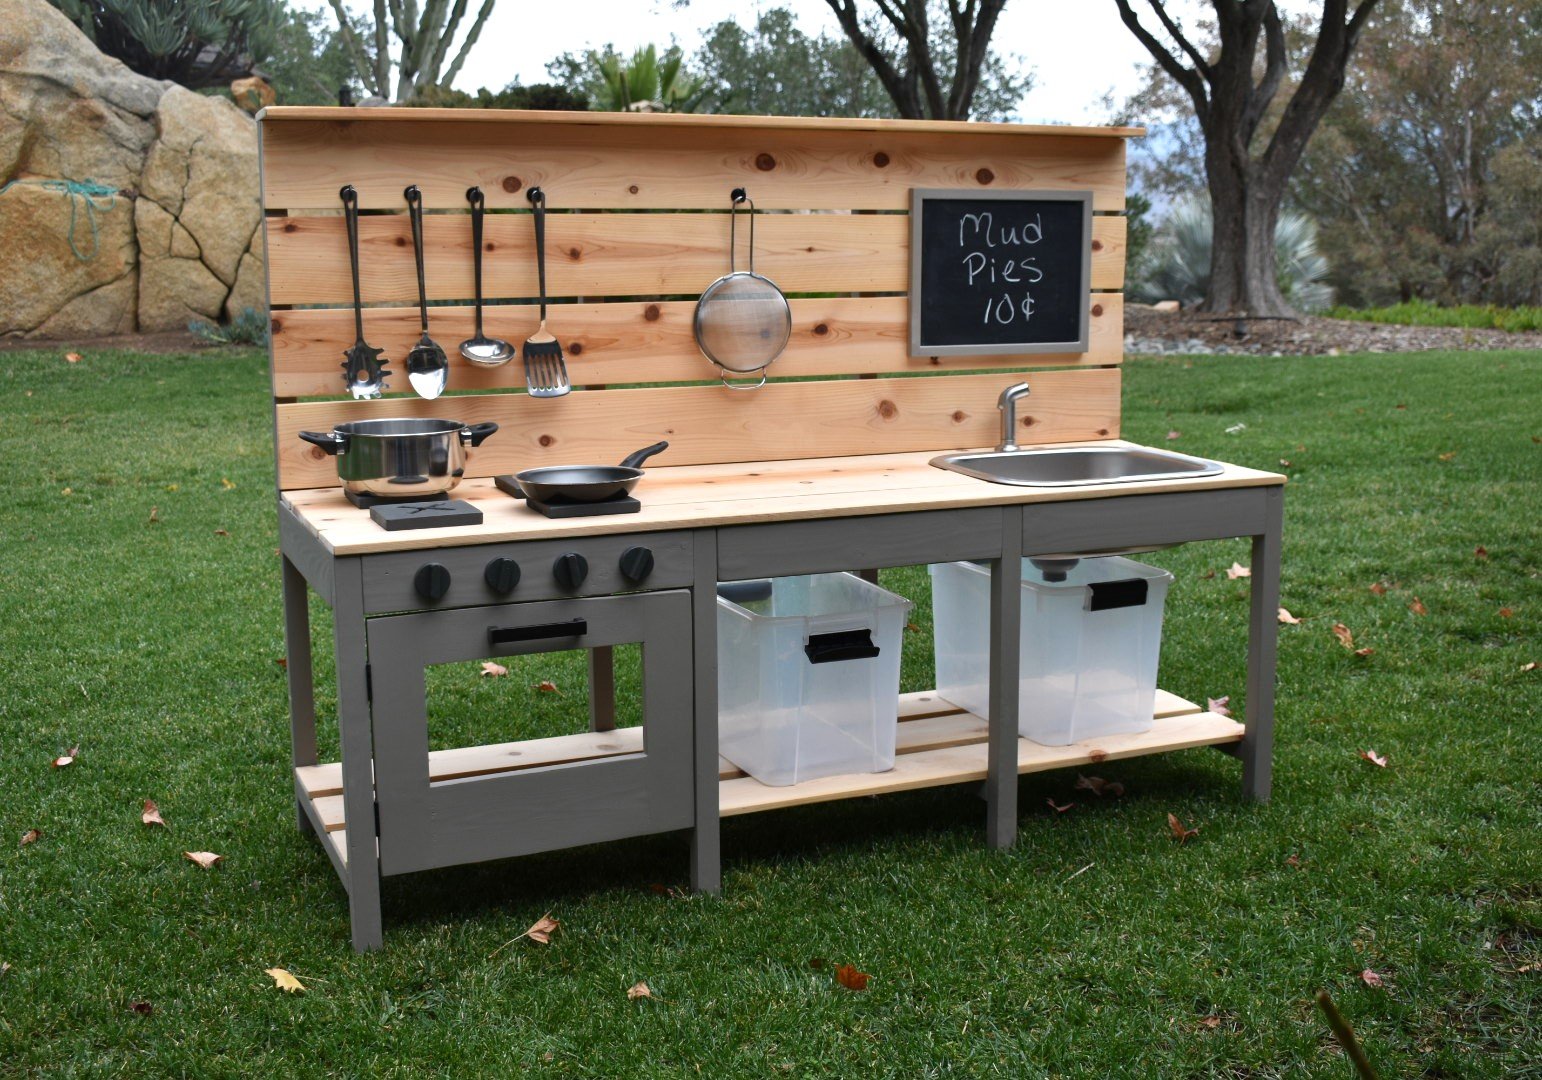
We modified Ana White’s excellent Mud Kitchen plans, adding a third section and scaling the whole thing slightly larger to be a better size for our 4 and 6 year old grand daughters. It was so much fun to make and accessorize!
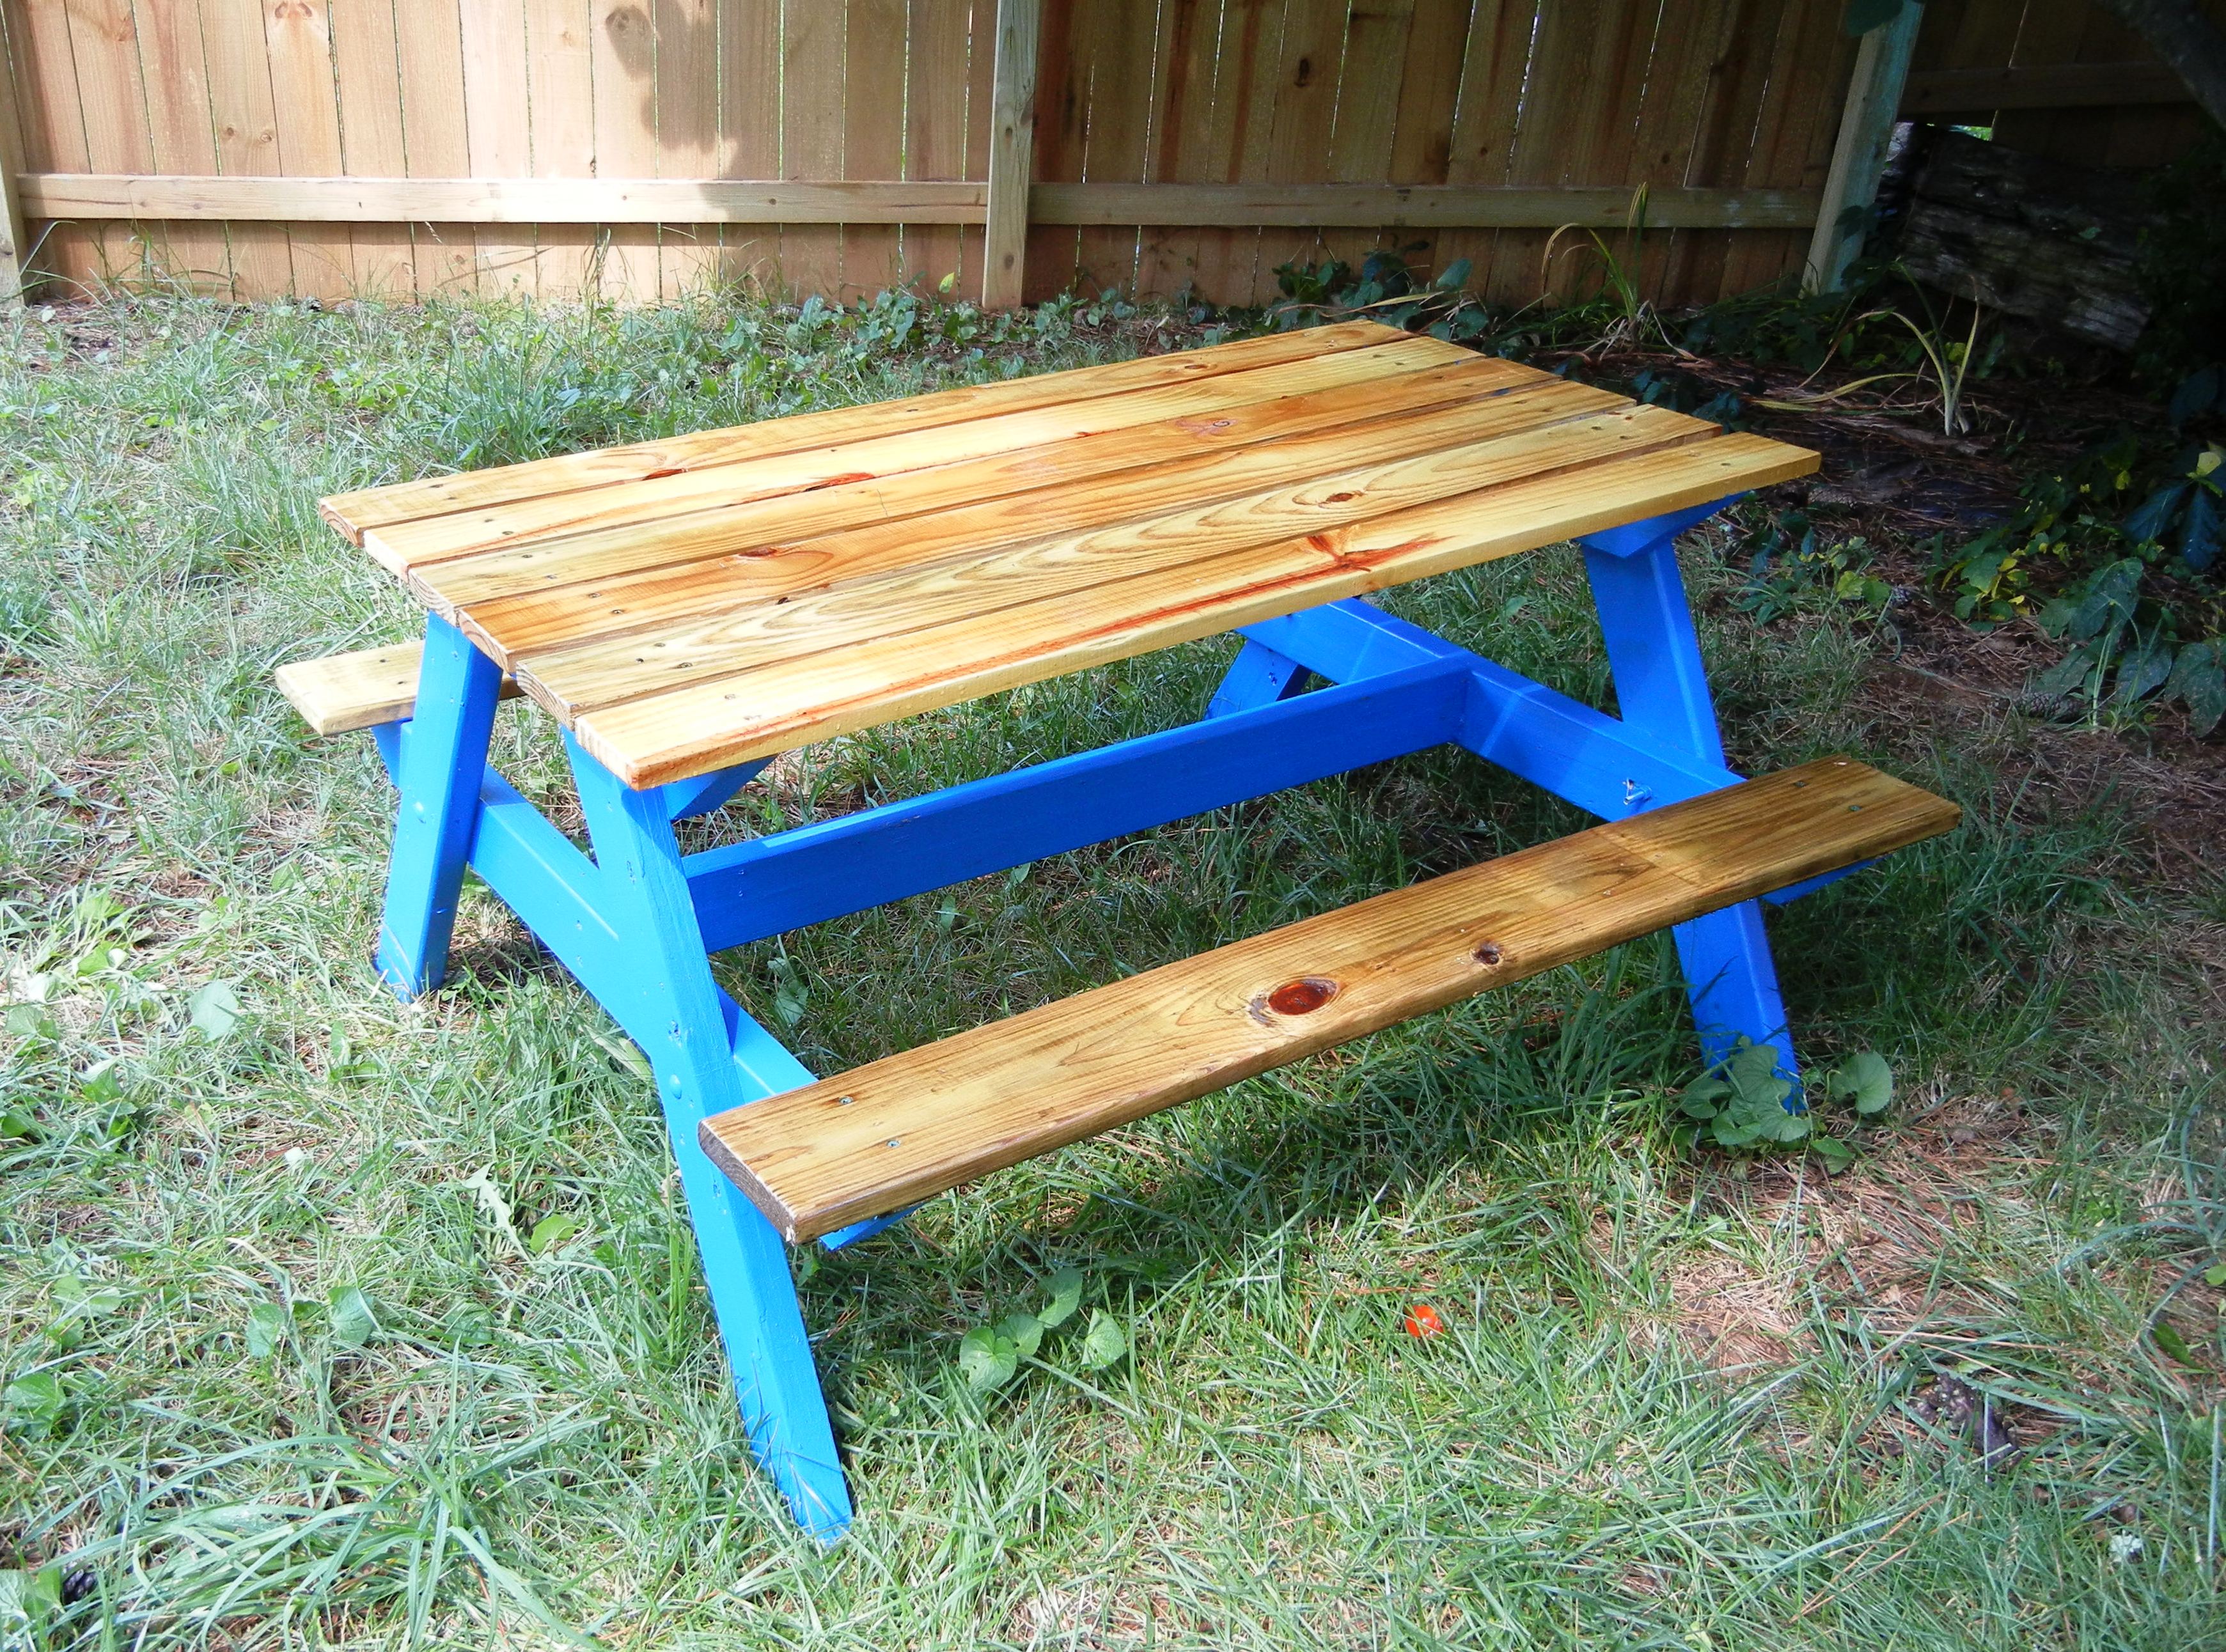
Children's picnic table

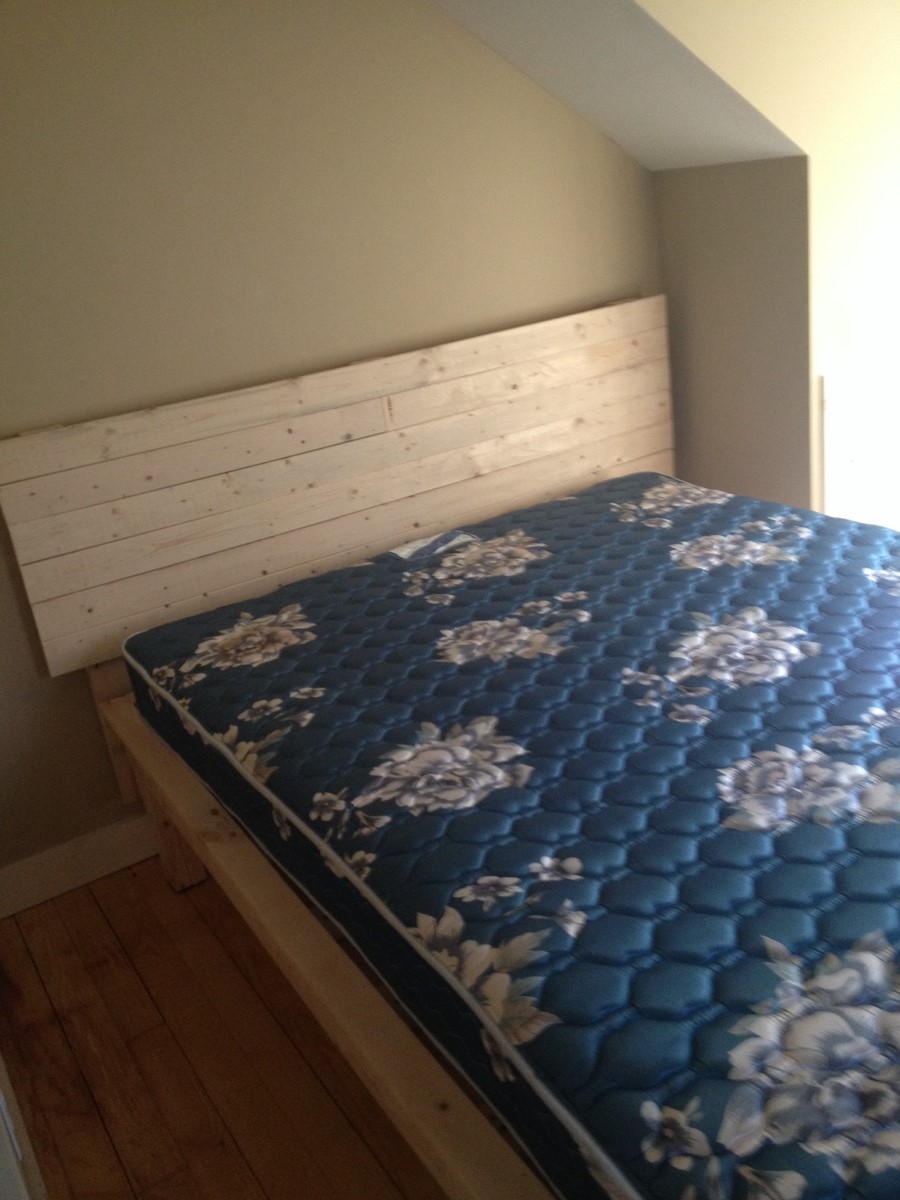
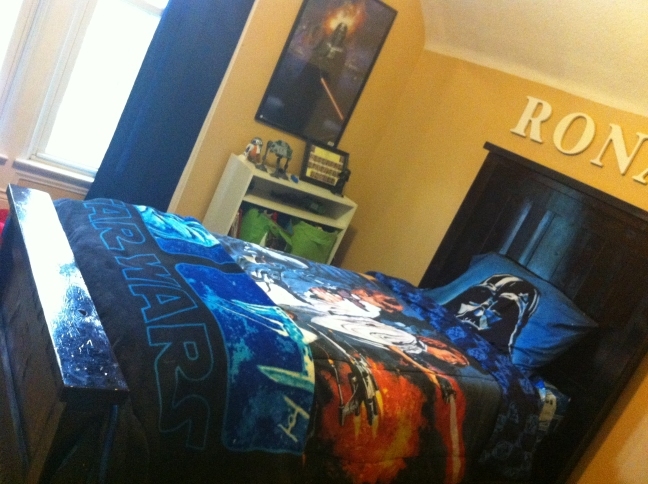
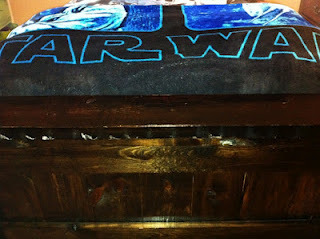
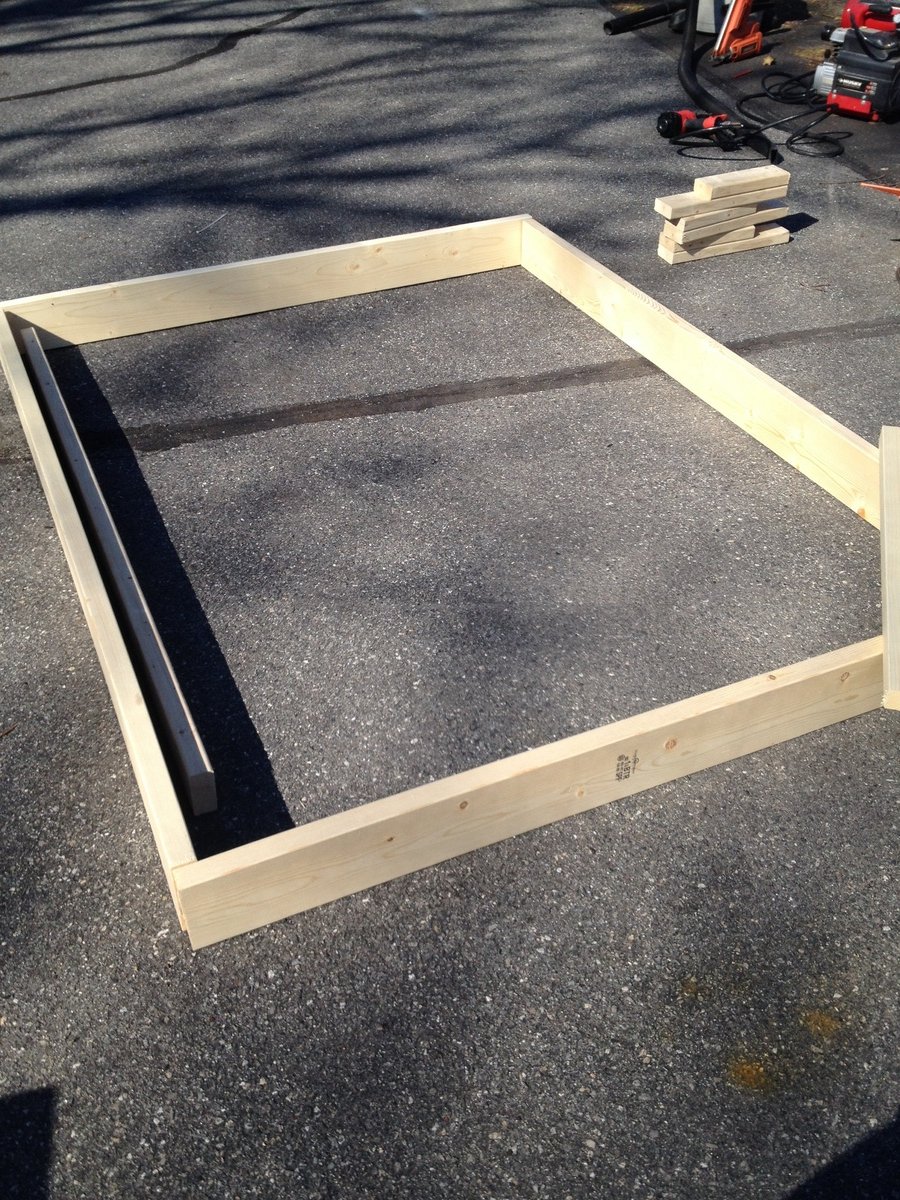
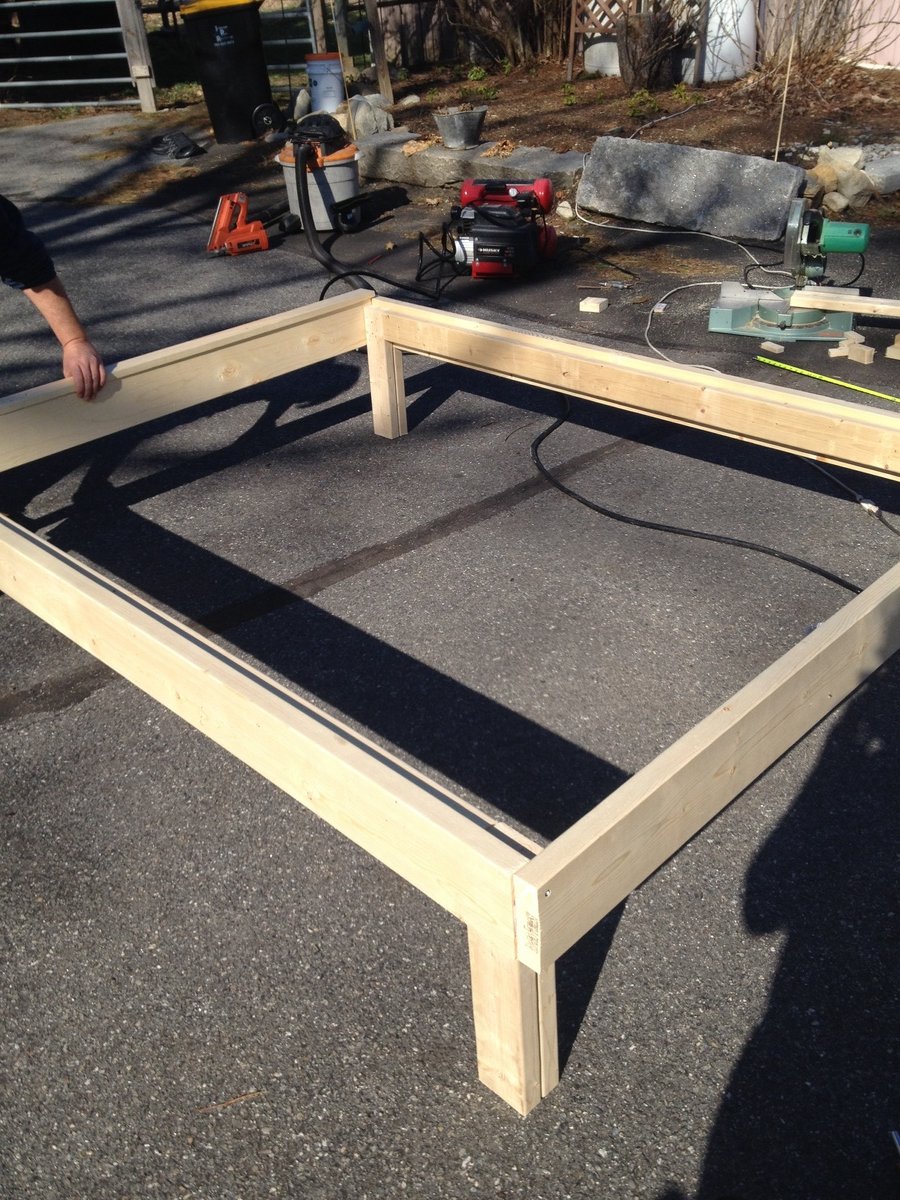
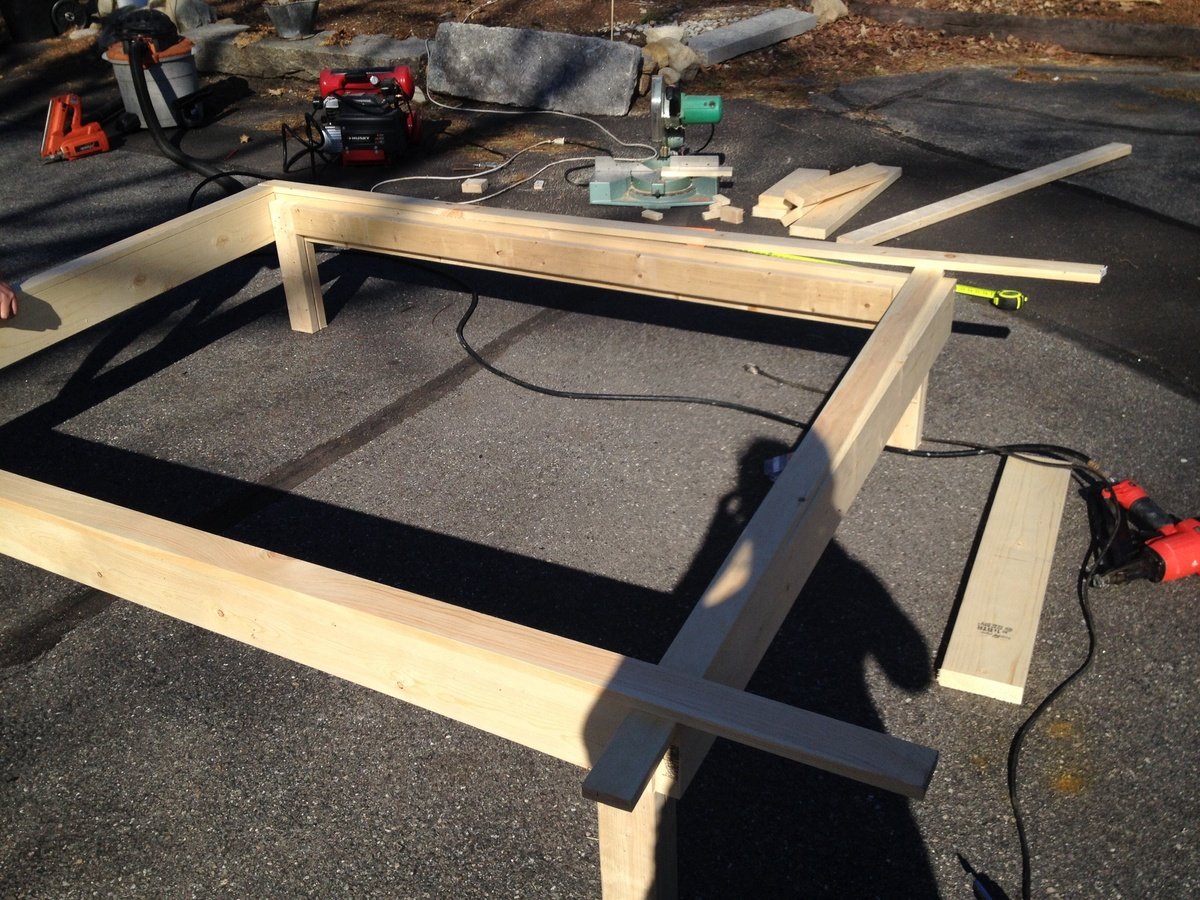
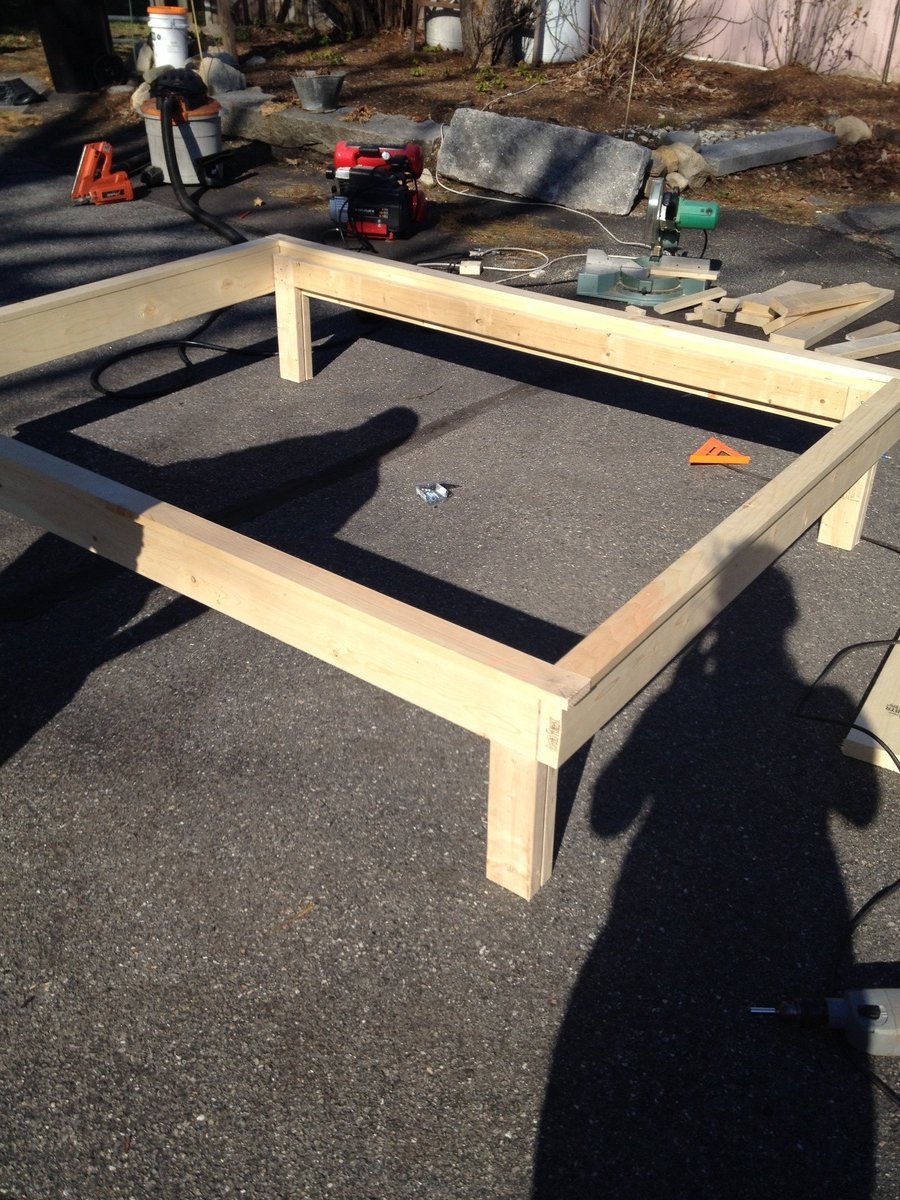
My dad and I made this in a queen size to match a mattress it already had. We changed the plans a little, making the legs from two boards to make it more stable. We used a nail gun to put together the lip of the frame and used wood screws for the rest. The headboard was made from the left over slats and attached with a 2x4 on the back of the frame. We also bought square sliders and screwed them to the bottom of the legs so that they don't scratch our wood floors.

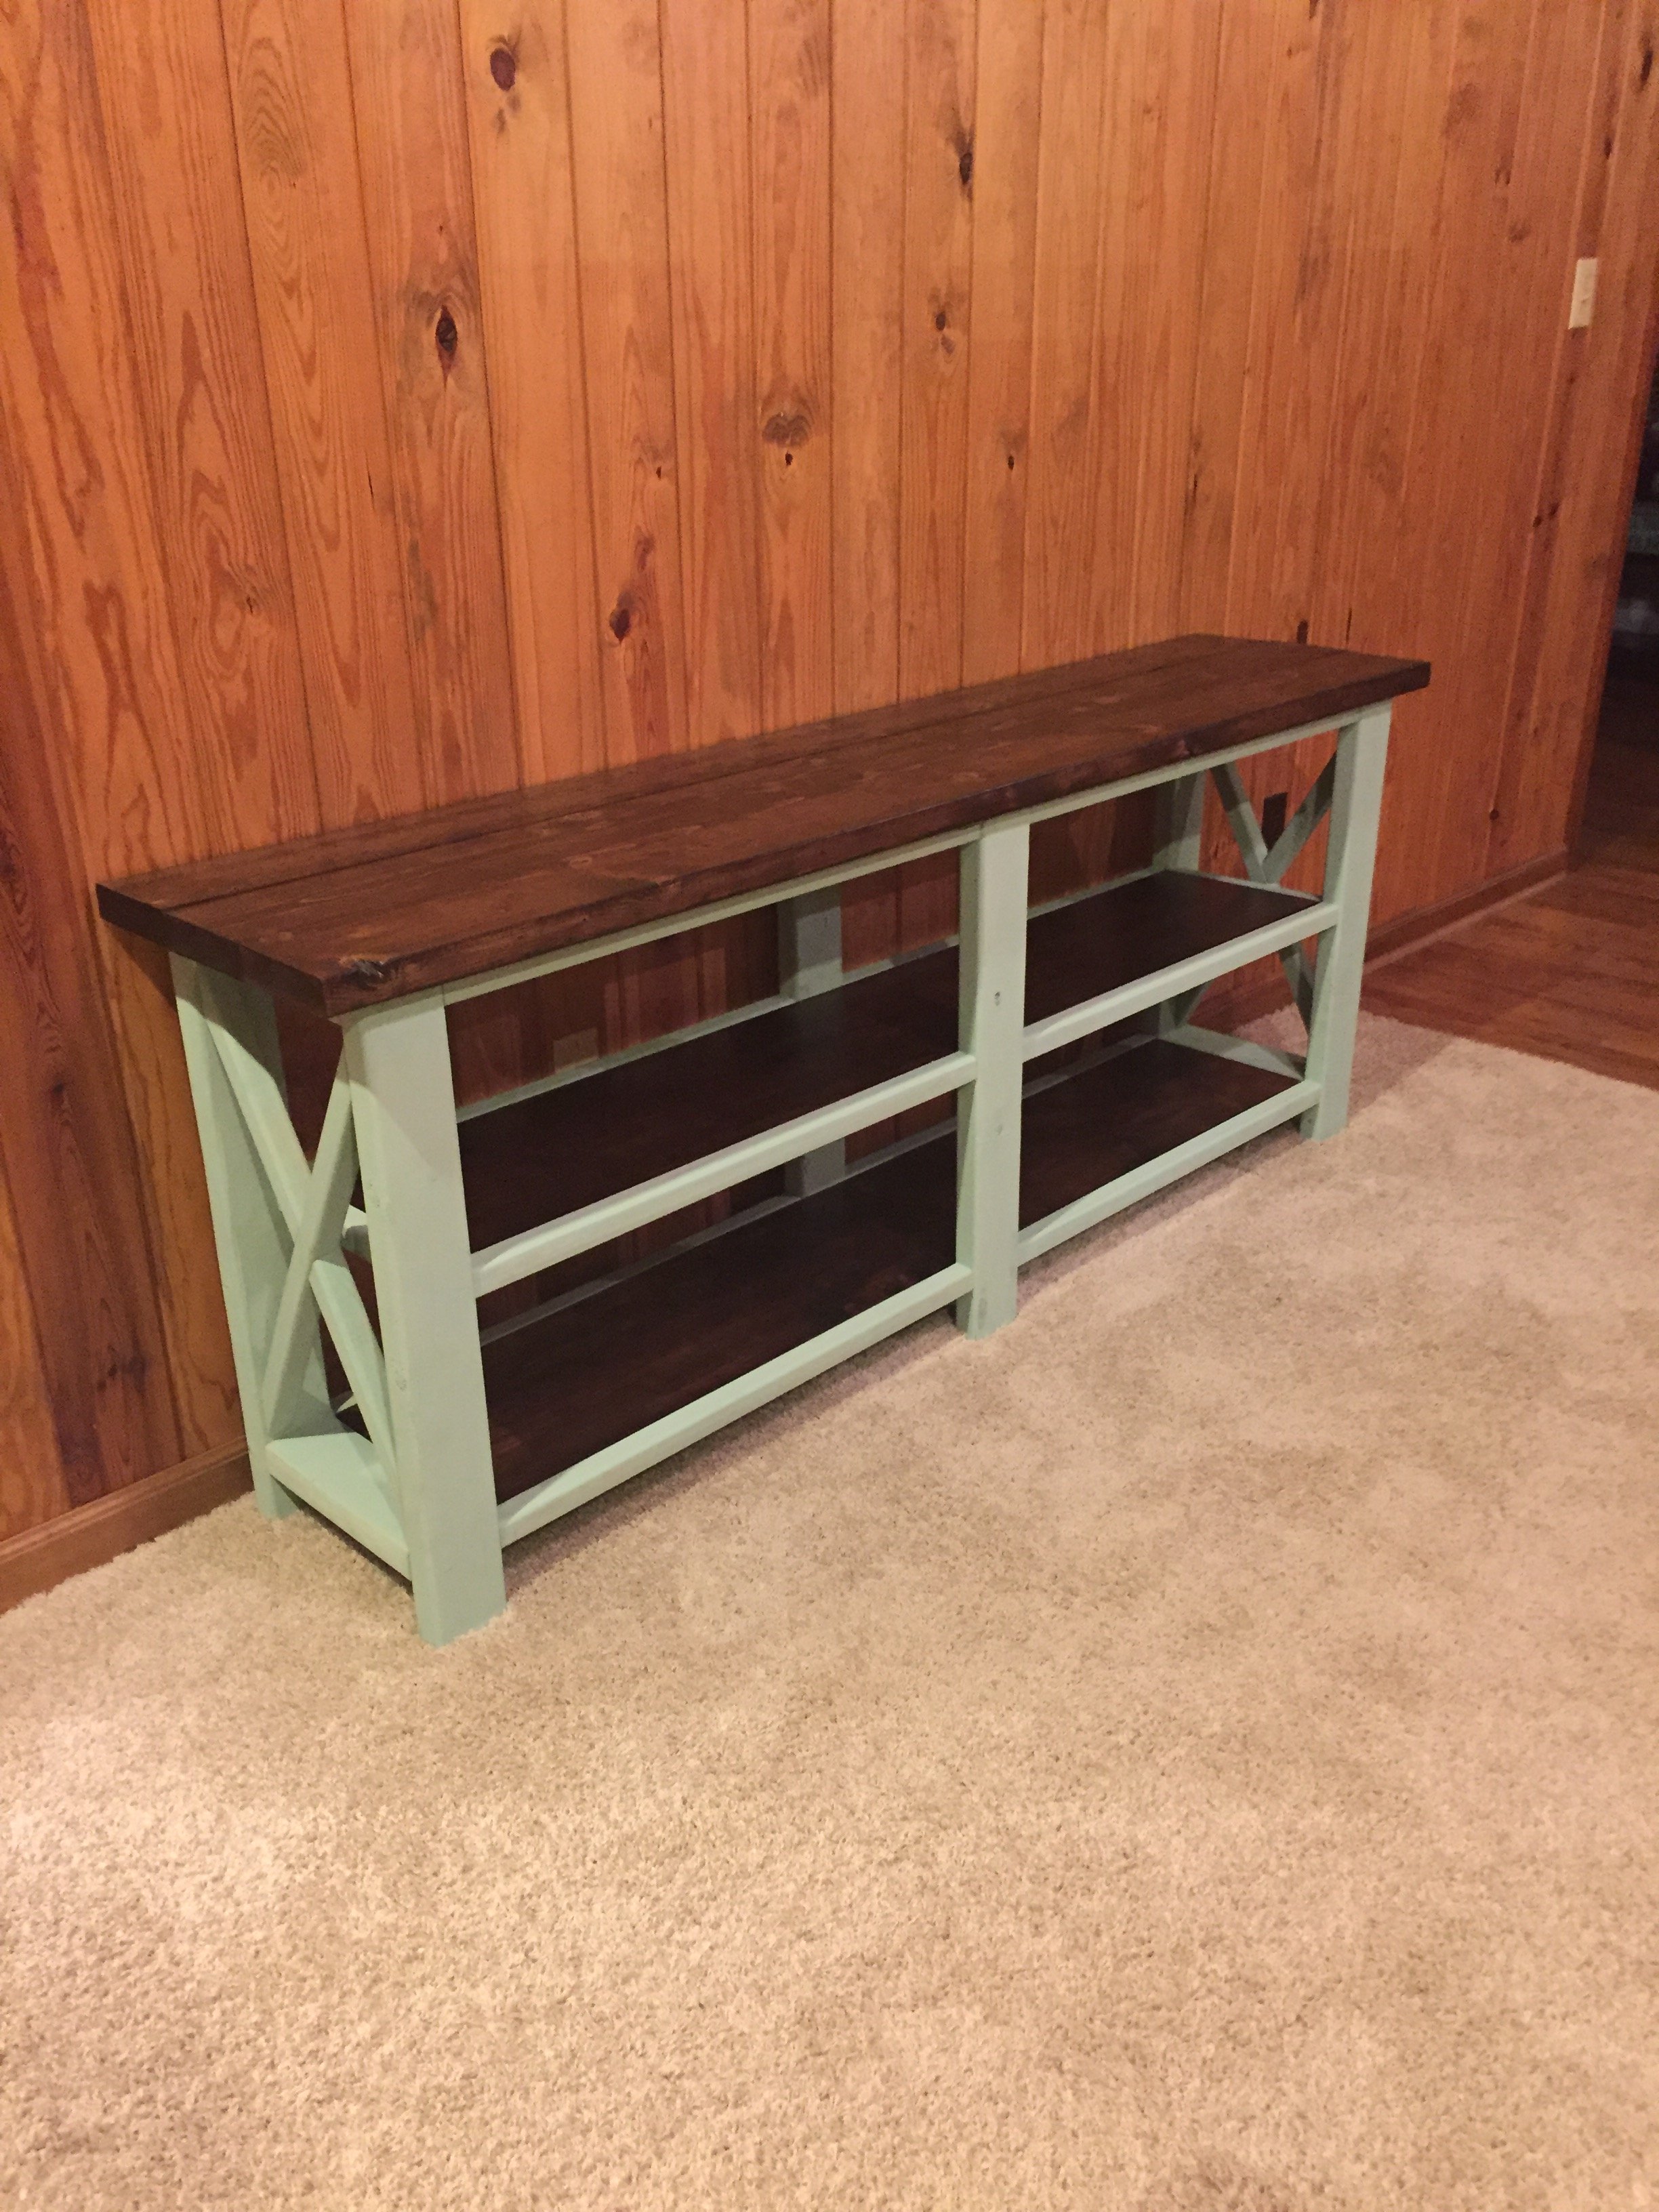
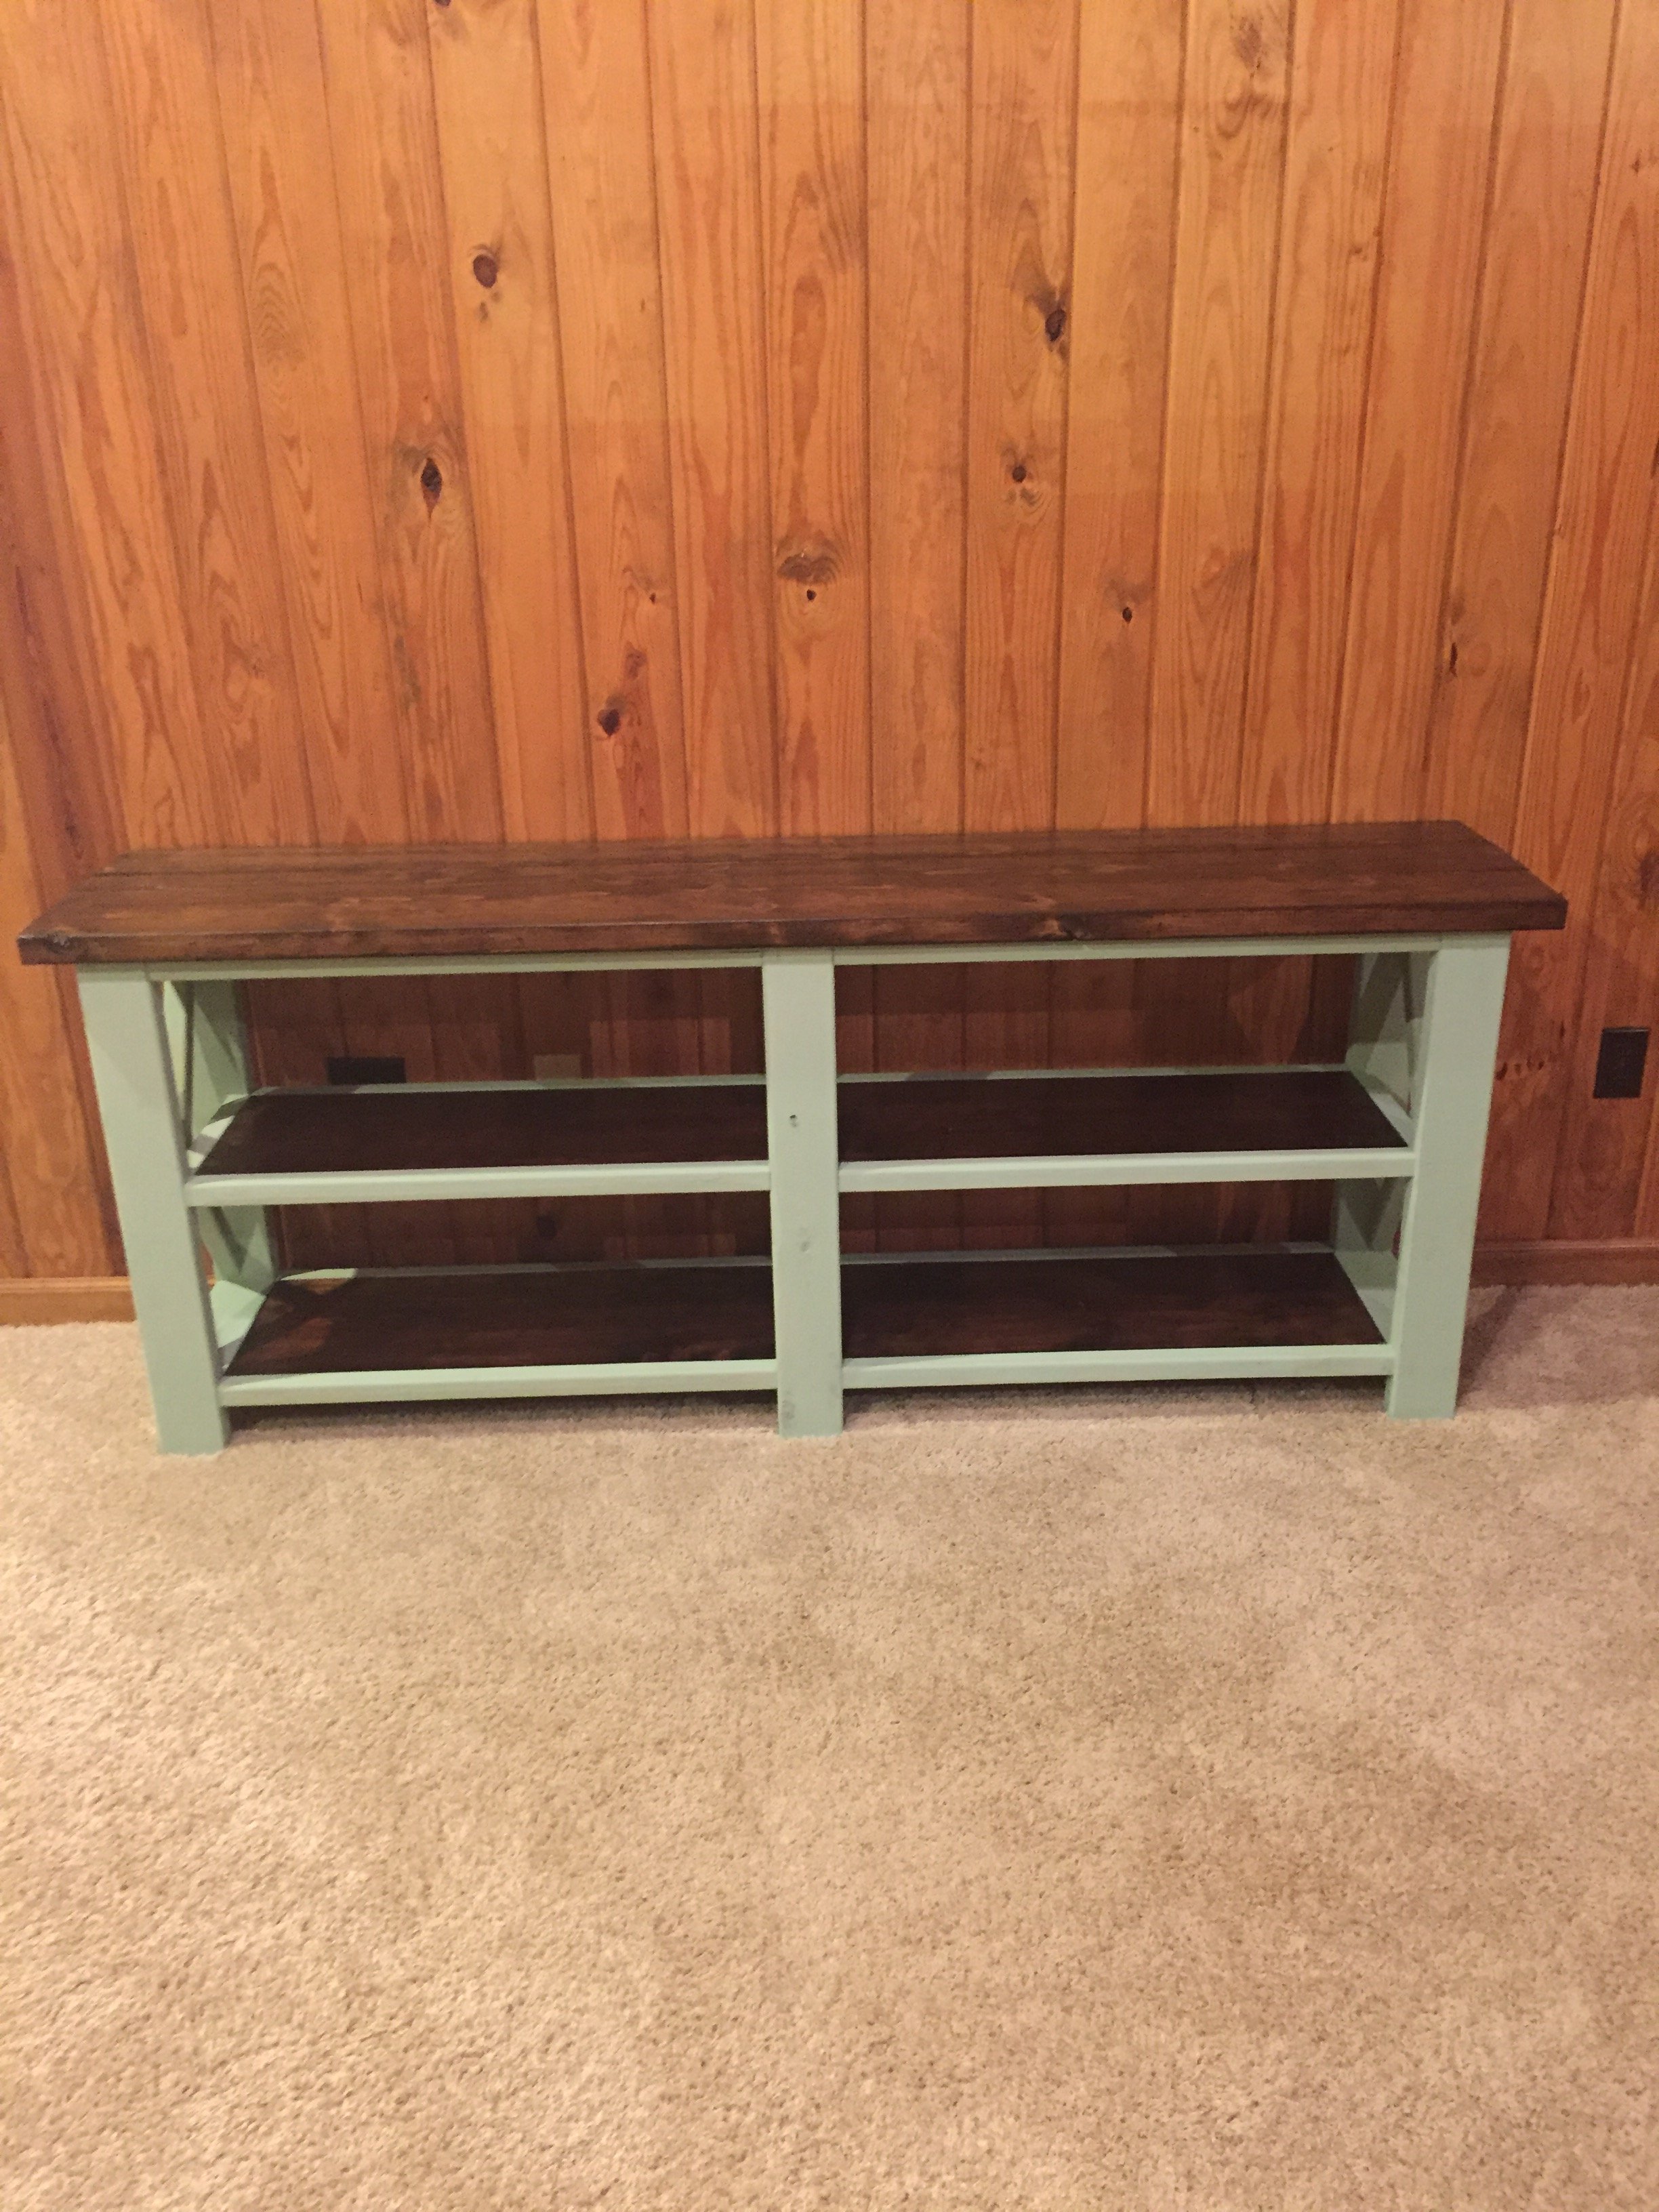
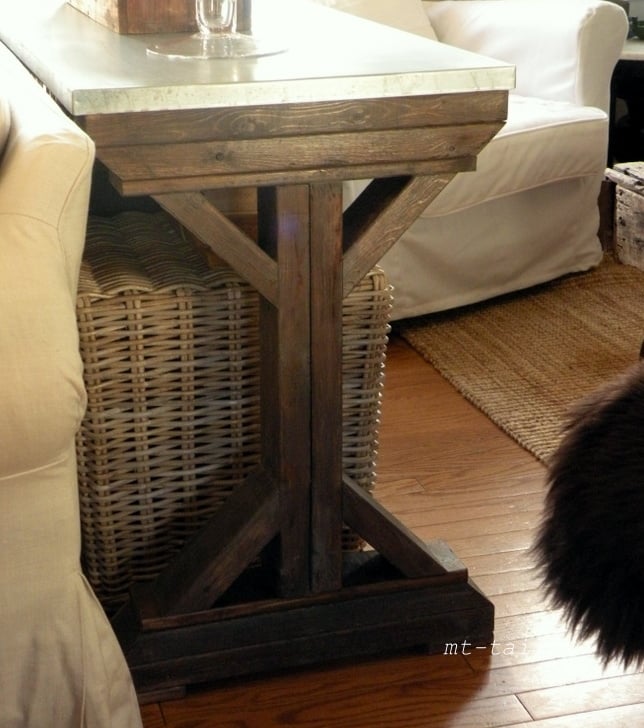
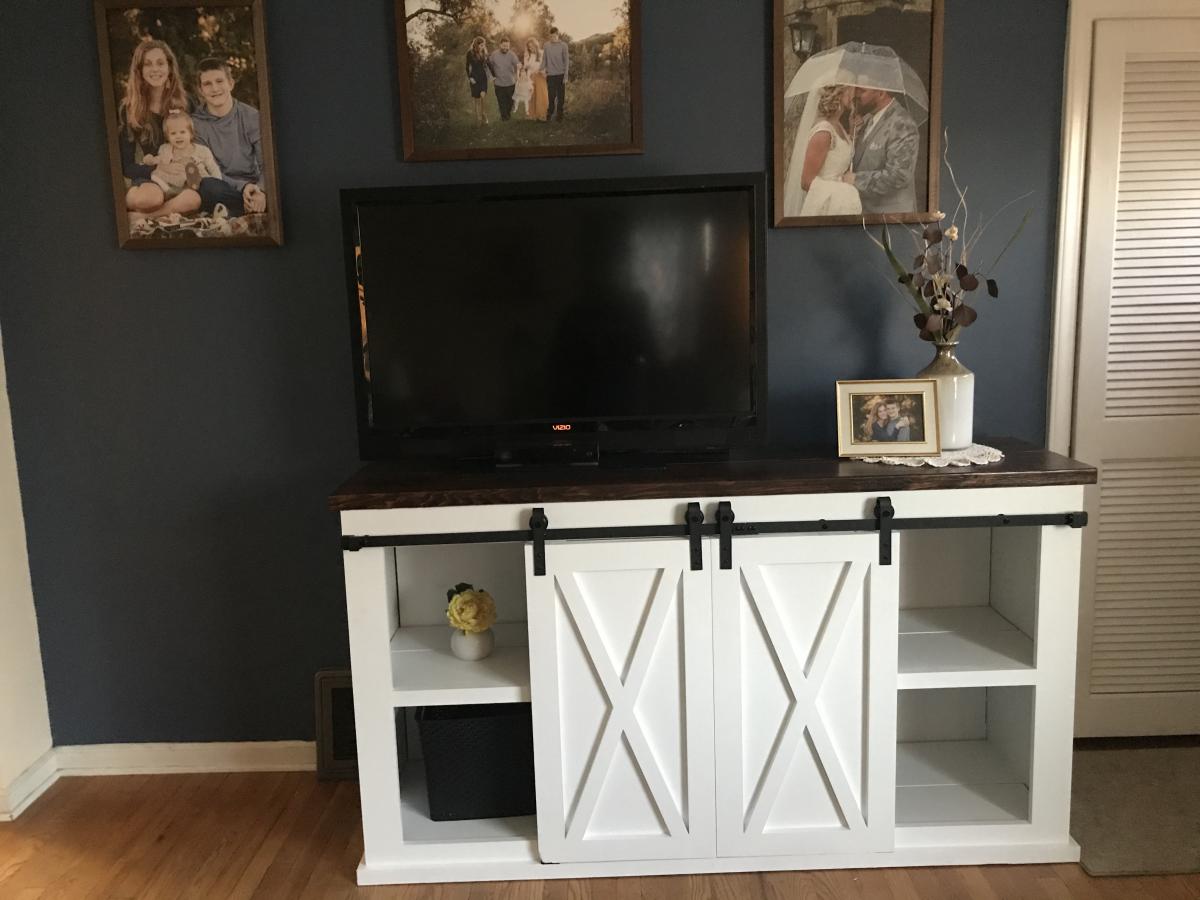
My wife and I loved the look of this plan, so I decided to make it happen! I built this same console, only half the length for our dining room, and then made this full size version for the living room area. I used this plan for both designs. I used a table saw to cut dado channels from the intersecting pieces of material for the "X" design on each side of the table which was considerably easier for me. It can get a little tight when trying to secure the 11.25 inch pieces of 2x4 and 2x2 with pocket holes so I opted to secure through the outer frame with 2.5 inch screws. Countersinks, wood filler, and some sanding made for a clean alternative to the pocket-hole approach. Stained and chalk painted frame and shelves separately before assembling. We love this table and promise you will not be disappointed either.
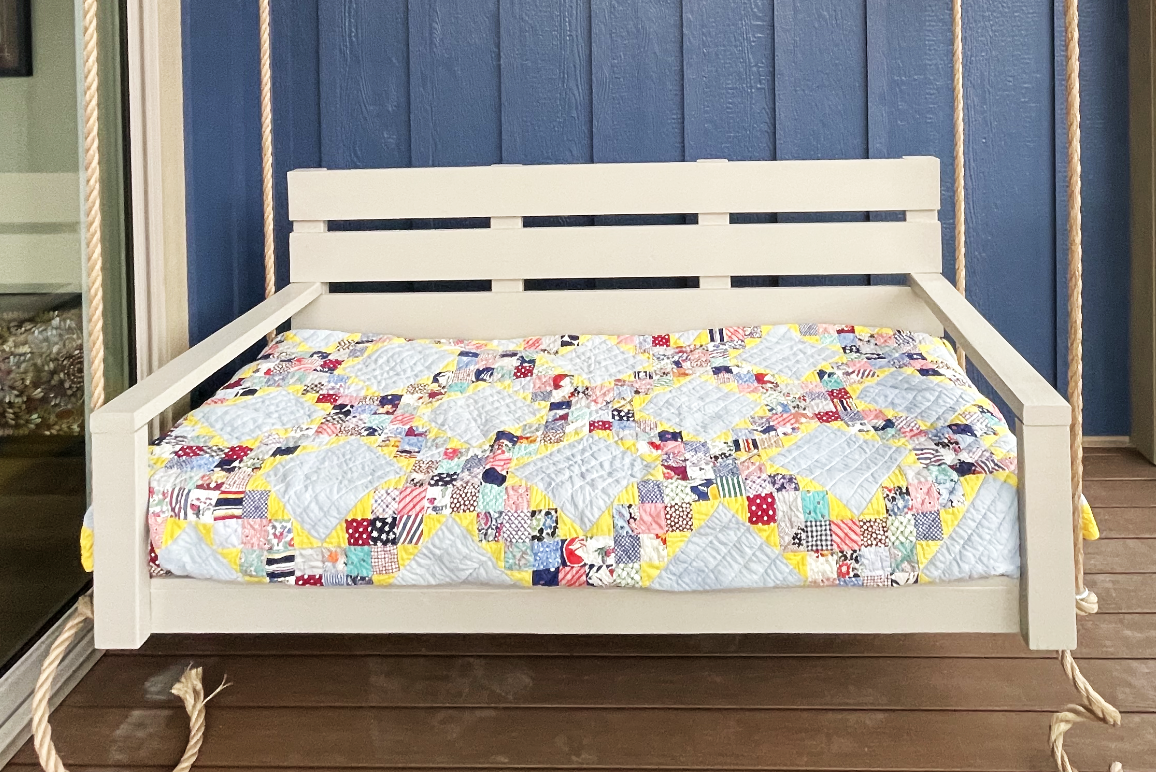
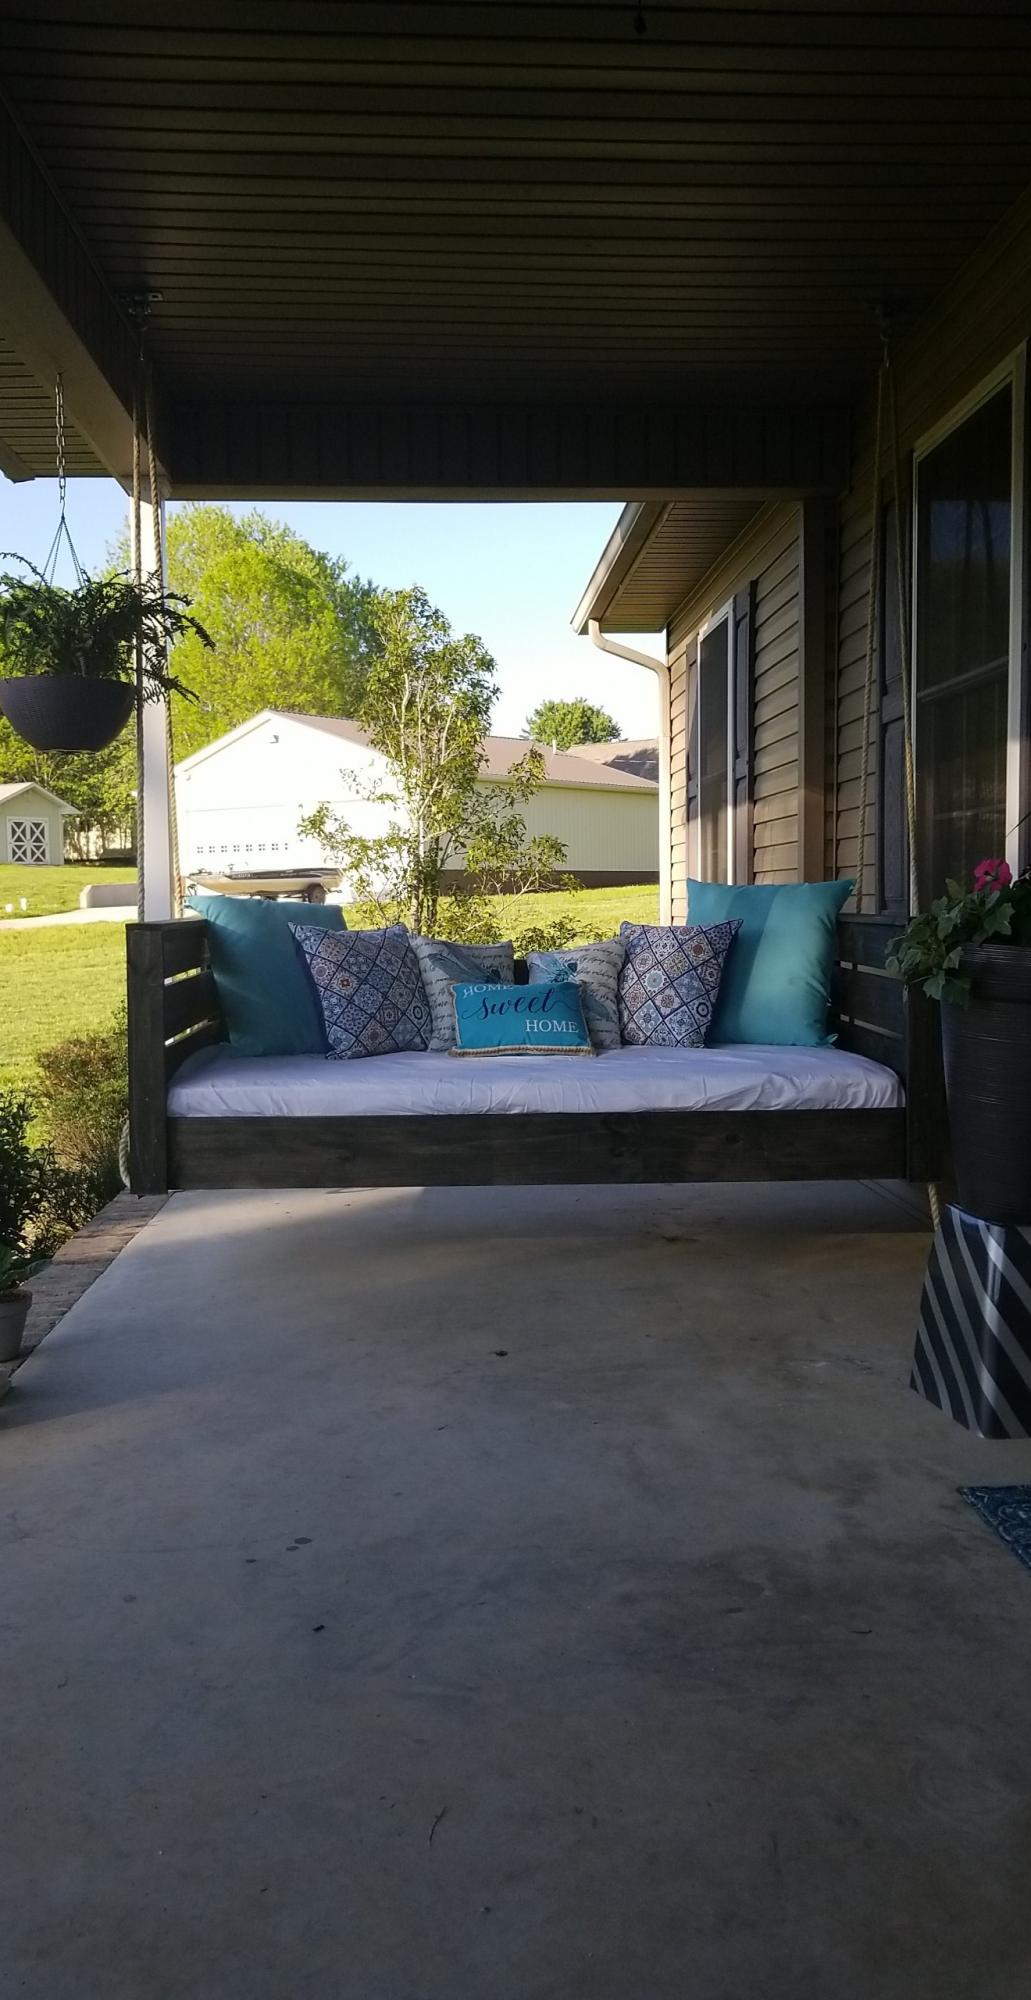
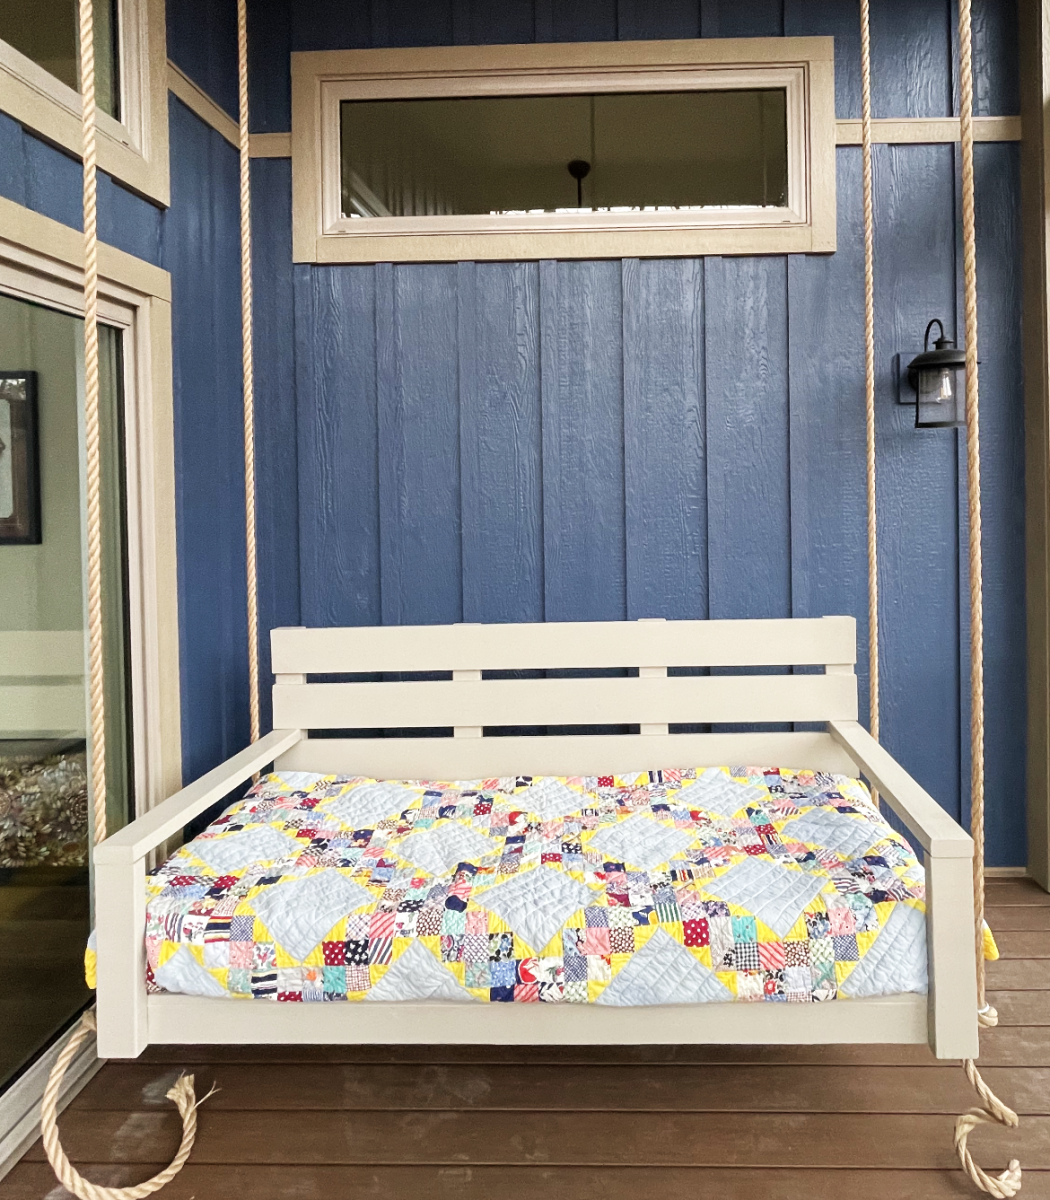
I altered the plans to fit a twin mattress. It’s a bonus sleeping area on the porch. My second project. I’m a 69 year old female and enjoying the building.
Lou Ann
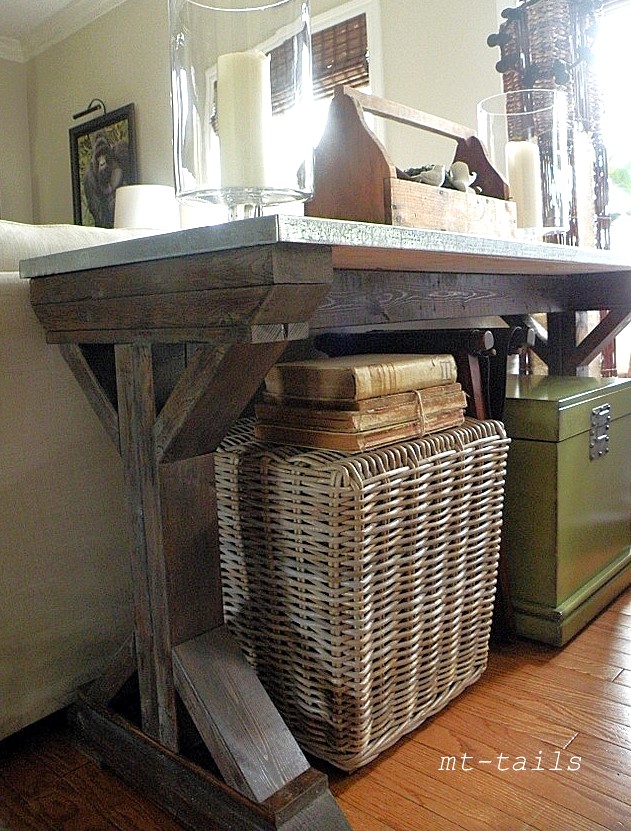
I found this plan for the fancy farmhouse table on Pinterest and decided to tweak it to work as a console table.
Mon, 07/02/2012 - 14:46
Absolutely gorgeous. And what a great idea to make it a console. I am trying to figure out if I can fit it anywhere in my house. I really want to know about the top. Did you cover it in metal. I would love to hear what you did.
Sat, 10/20/2012 - 20:49
I would really love the measurements for this console table if that's possible.I'm also doing the farmhouse kitchen table and this goes great with it & my open floor plan :)If I'm unable to get the measurements from you can you provide me with someone who has them or another link maybe... Thanks

In reply to DIY Farmhouse Console Table by HeatherM3569 (not verified)
Sun, 10/21/2012 - 15:42
If you click over to her blog (link provided above), she has a lot of additional information. In the post, it says, "We needed a table 55"w x 19"d x 30"h."
Mon, 07/27/2015 - 06:54
Console table looks great! What is the top made out of and how did you do the fabrication/install?
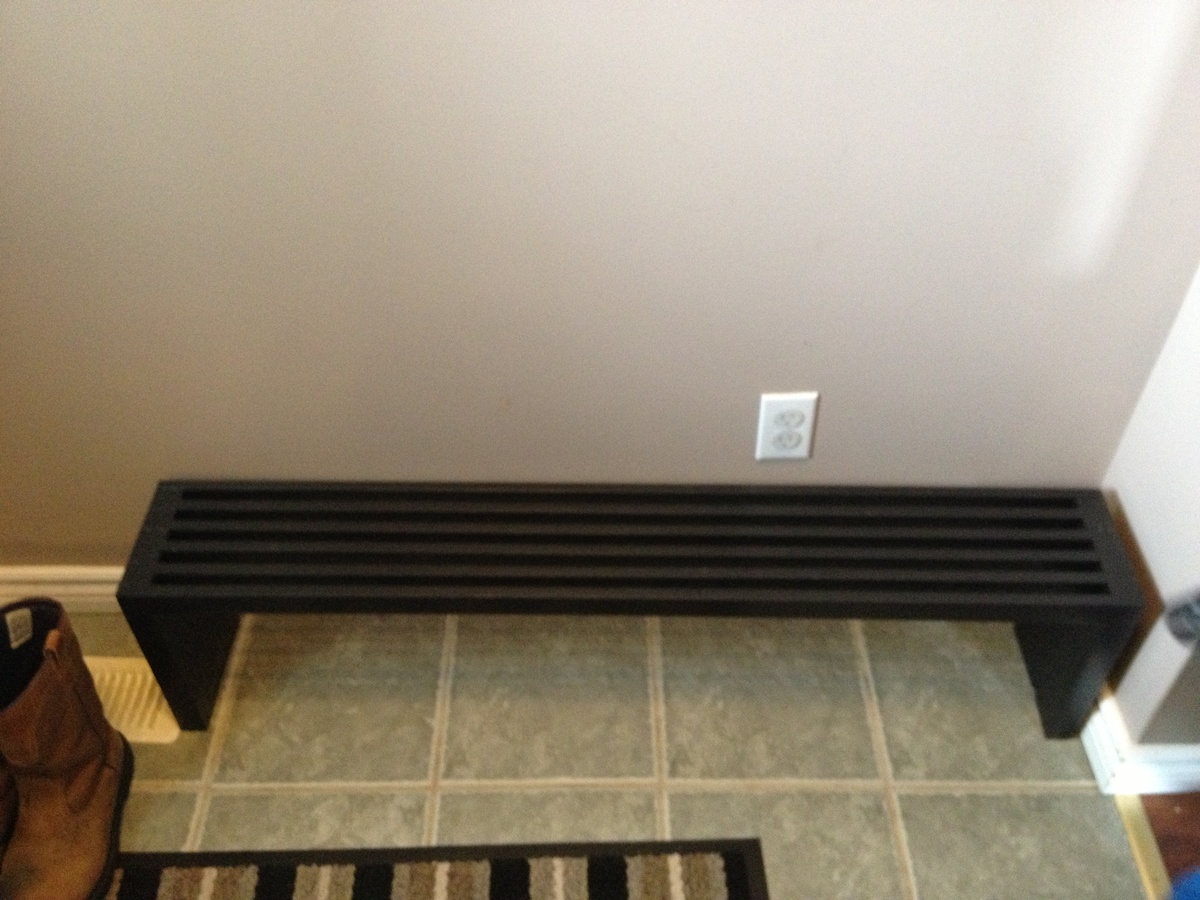
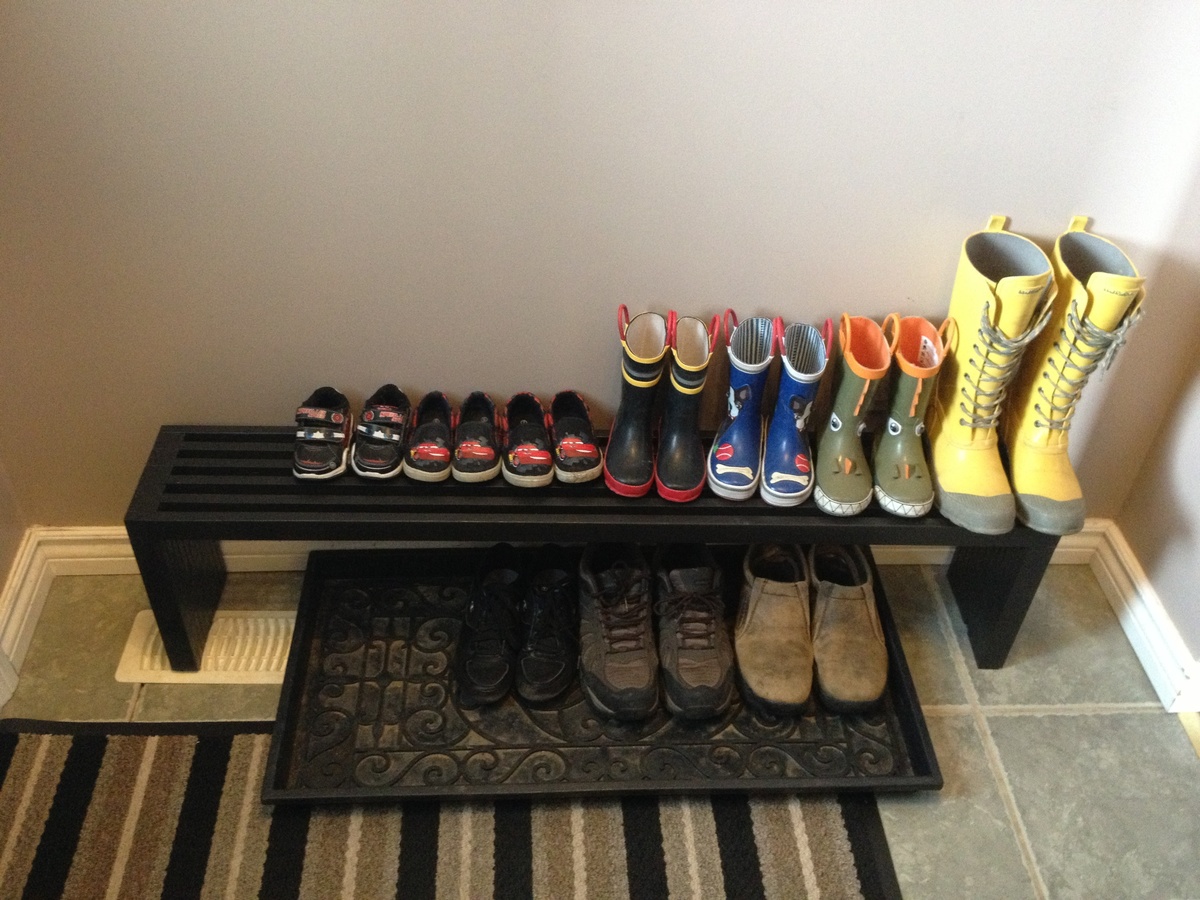
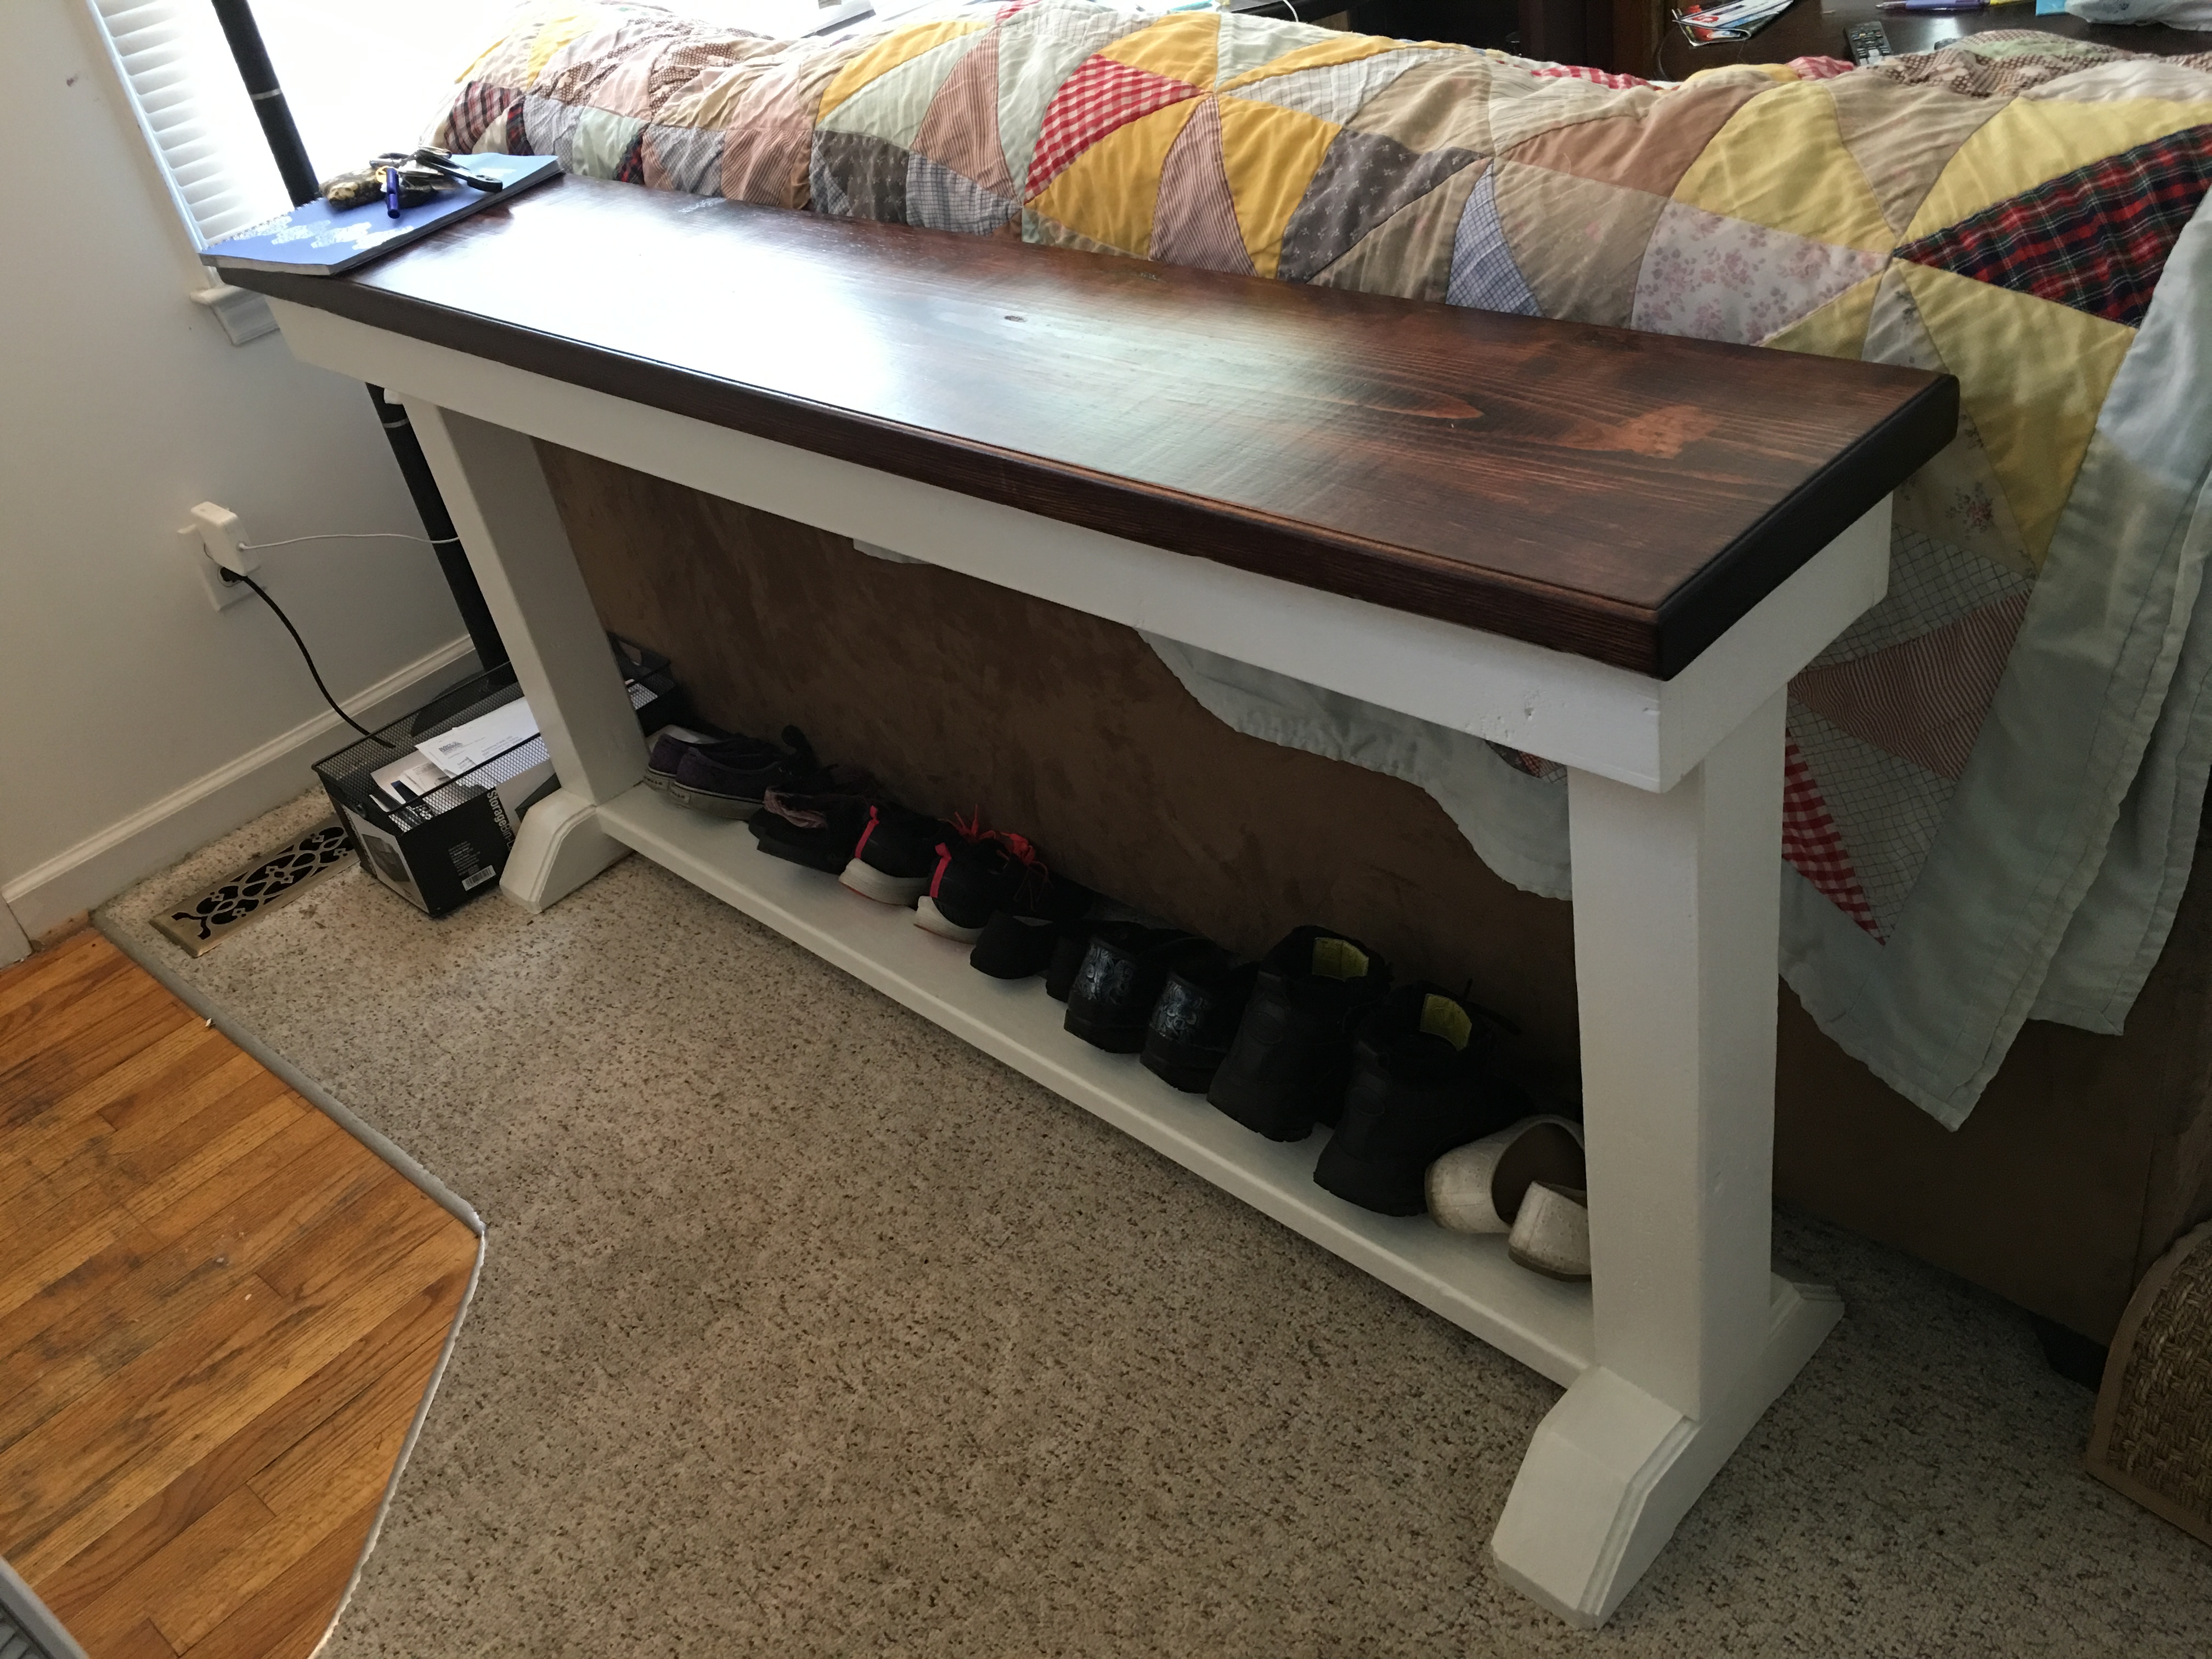
For our first project, my boys and I decided we wanted to build a shoe shelf for our front foyer. We loved the design of the modern slat top bench so adapted it slightly to fit our needs. Here's how it turned out.
So I made this a couple weeks ago. I used 2x12 for the top and 4x4 for the feet and legs. This was my first project and it came out ok. The feet need some work. The plan called for feet to be angled but unless you have a band saw just cut the 45' for the feet.
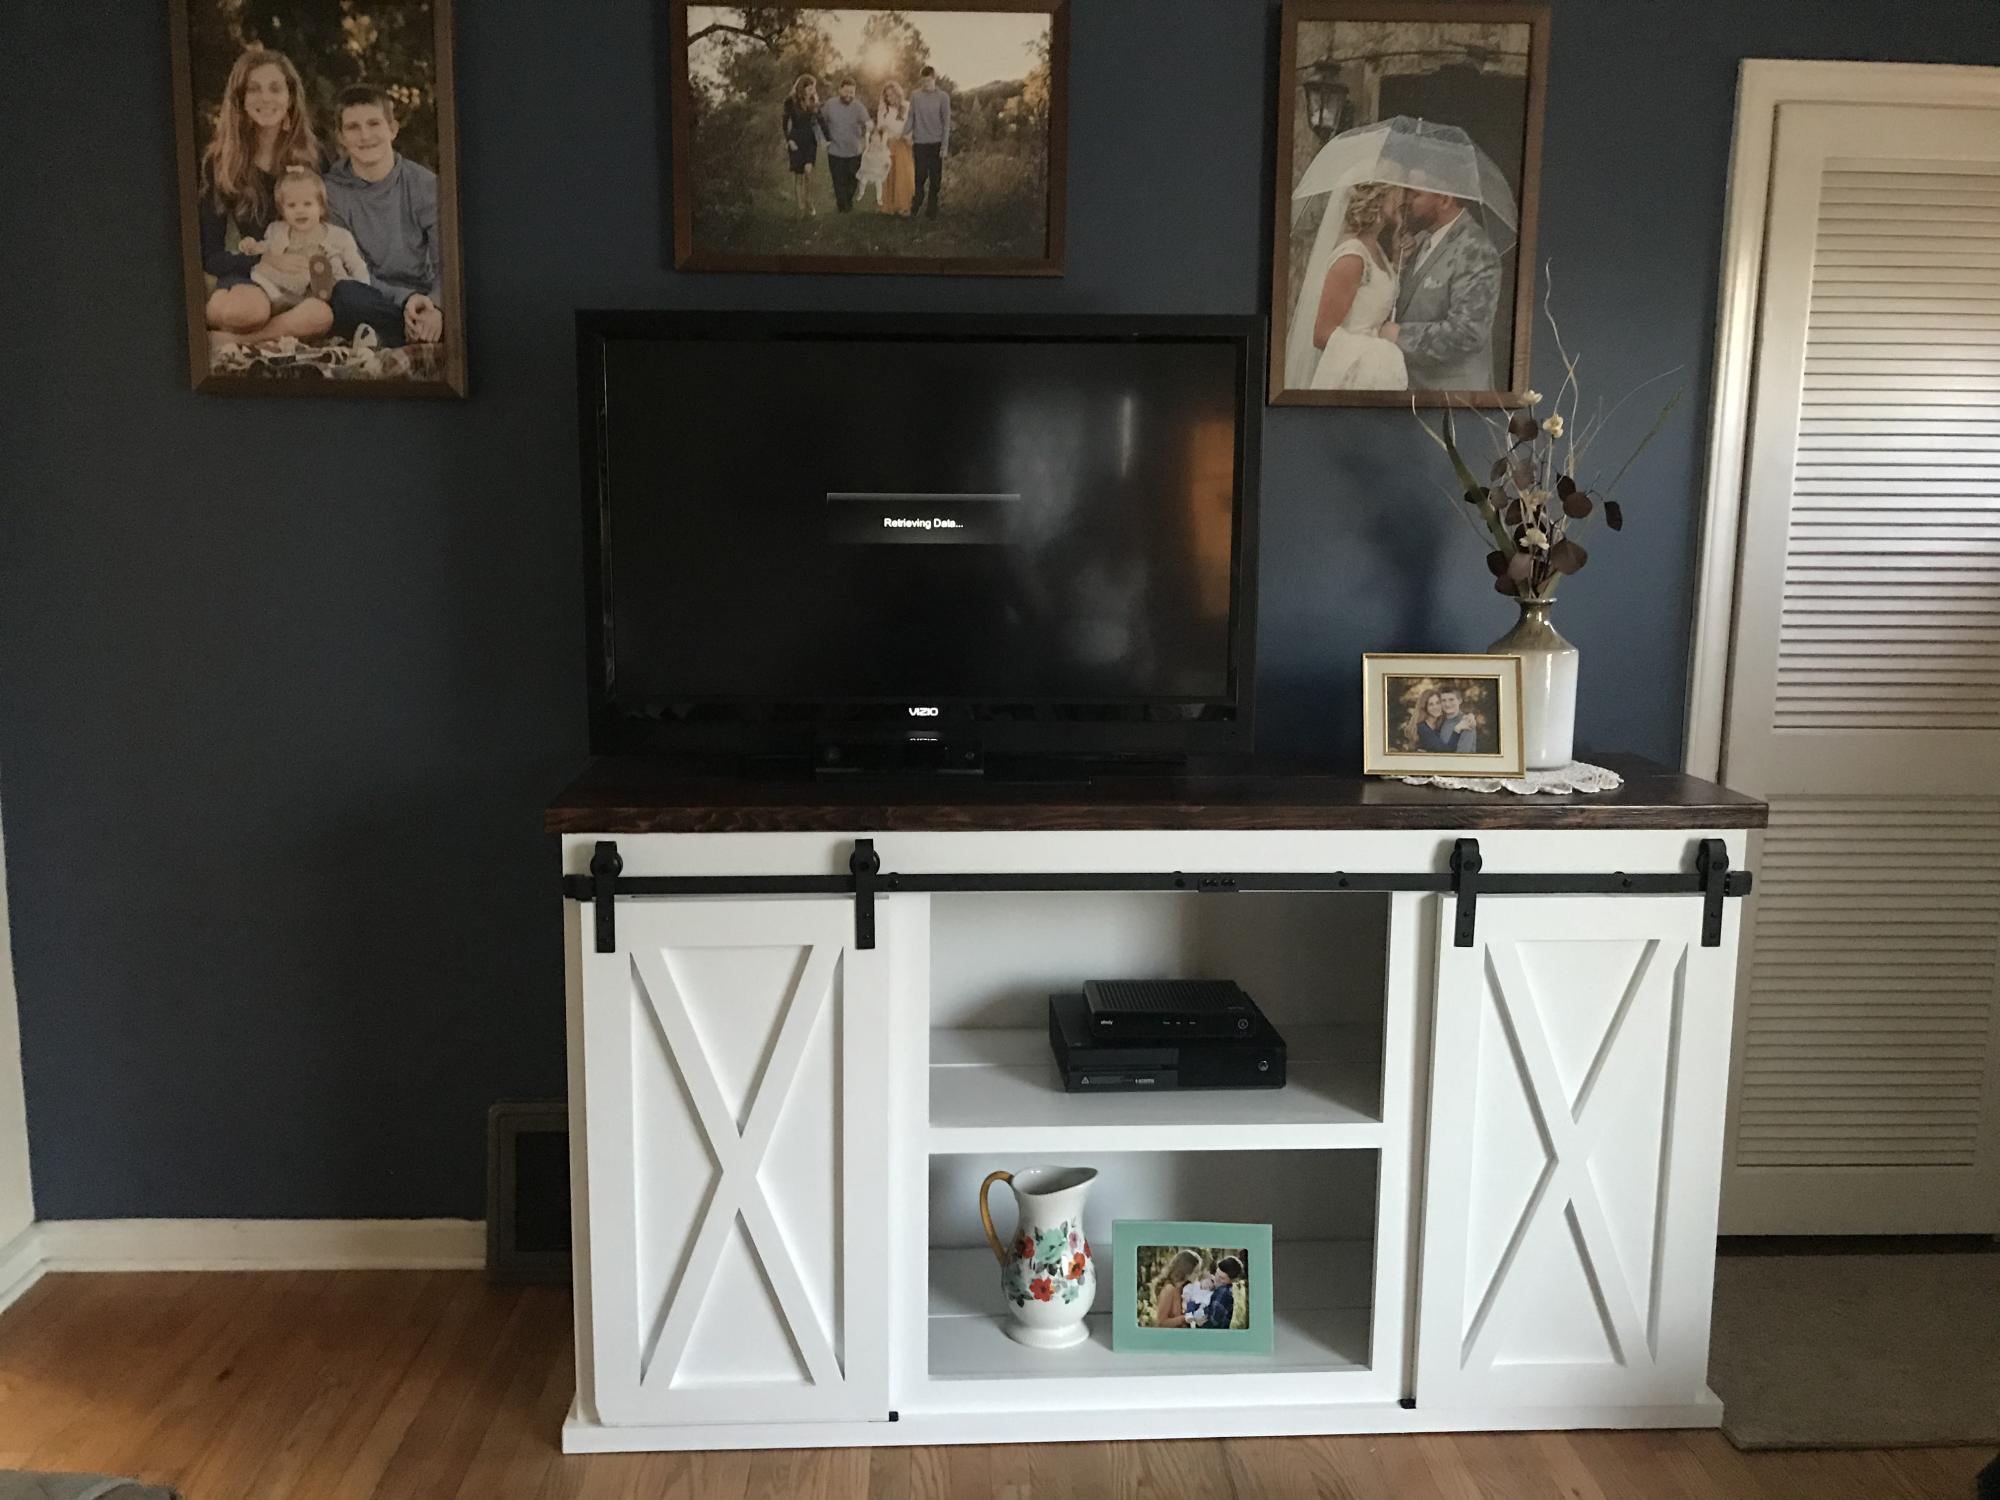
I built this during quarantine. Dark walnut on the top, and pure white paint ok the base and doors.

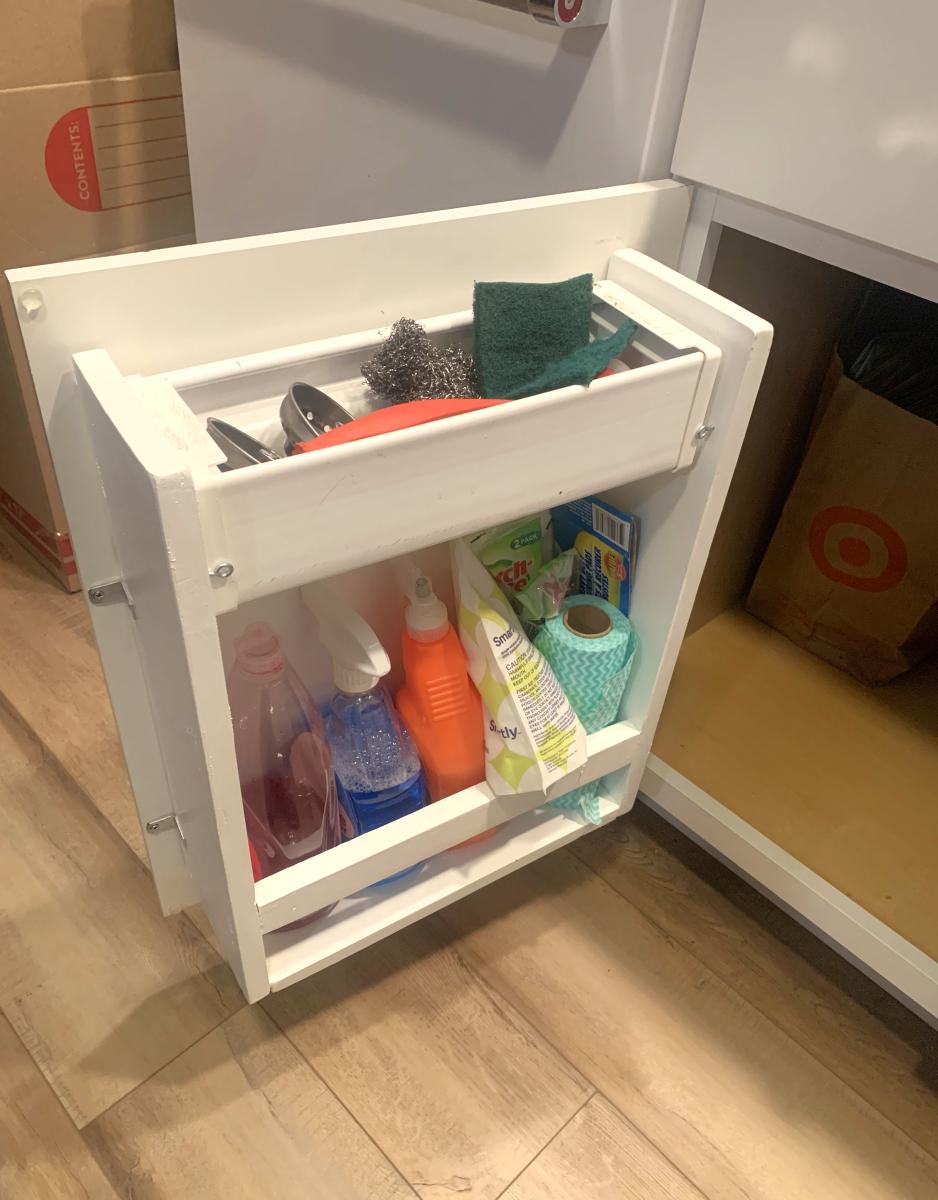
I wanted to get my nasty pot scrubbers out from behind the kitchen faucet, so I thought this was an ideal solution. I substituted the paper towel rack for a length of vinyl rain gutter. I cut a piece of a baking cooling rack for the bottom of the rain gutter, so the wet pot scrubbers would not sit in dampness. I also made the rain gutter removable, because I knew it would get nasty and need to be washed occasionally.
kuyaLars
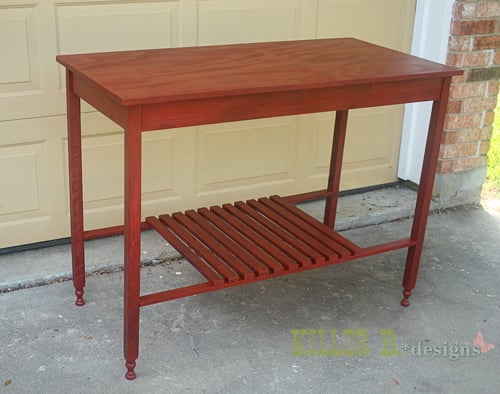
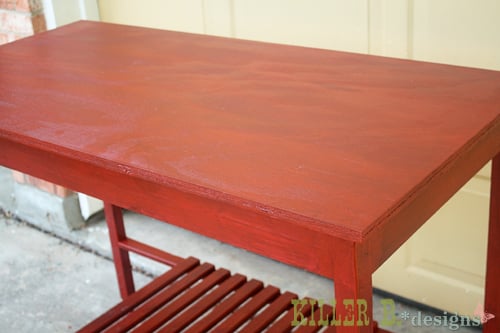
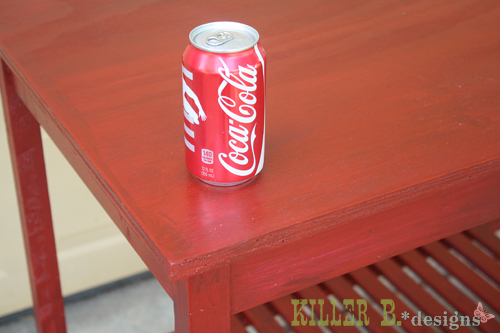
A friend of mine was looking for extra counter space, and asked me to build a kitchen island, but with a few modifications. He wanted space on the end to slide two stools, so I used fewer slats. After I finished the build and the first coat of paint, he decided it was 3" too short. So, I got creative and used some stair spindles to create decorative feet! I'm actually really glad for the mix-up, because the feet give it so much character. I layered on the paint by starting with a coat of plum, then a coat of cherry, and followed it up with a glaze mix with oak stain. Then three coats of spray on poly and it was done.


This is a bench that I have built for a friend of mine to fit exactly in her entry way. I made it in the spirit of the Pottery Barn furniture that she already has. I used regular Douglas Fir found at anywhere lumber is sold.
The bench was put together using mostly 2-1/2″ pocket hole screws. I use my Kreg Pocket Hold Jig to drill the holes, but any jig should work.
See the link for detailed instructions.
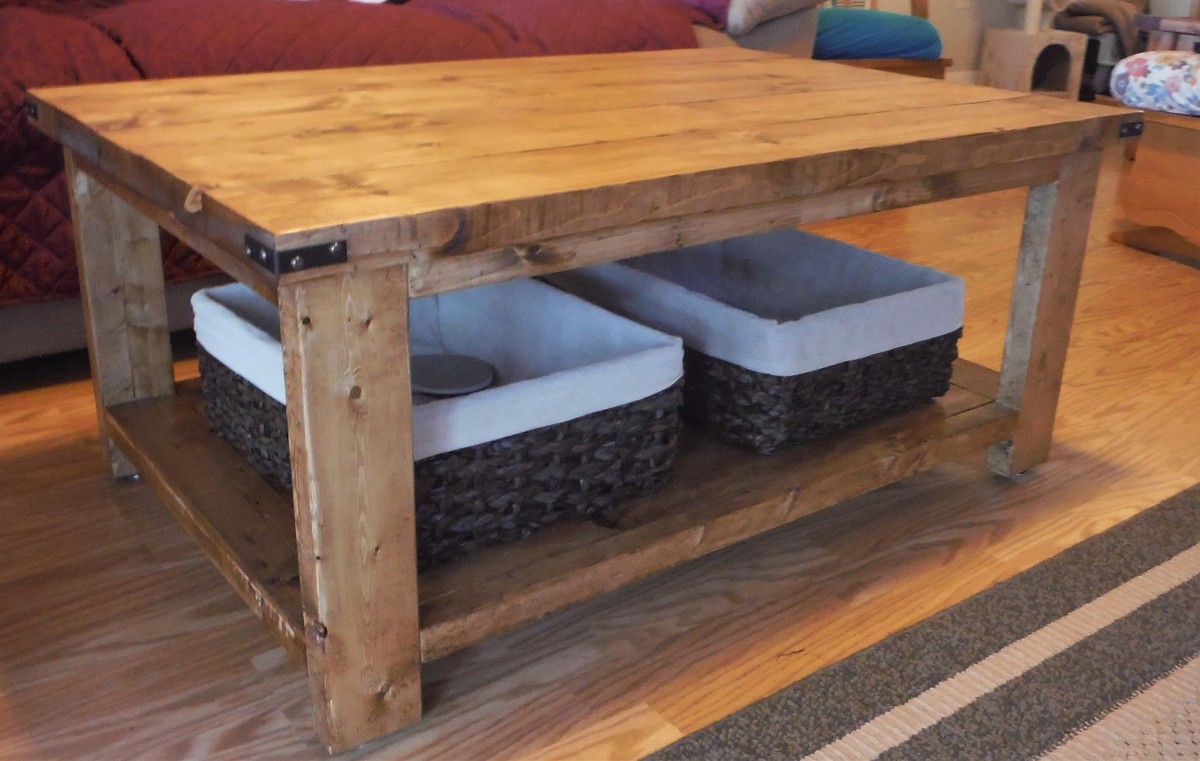
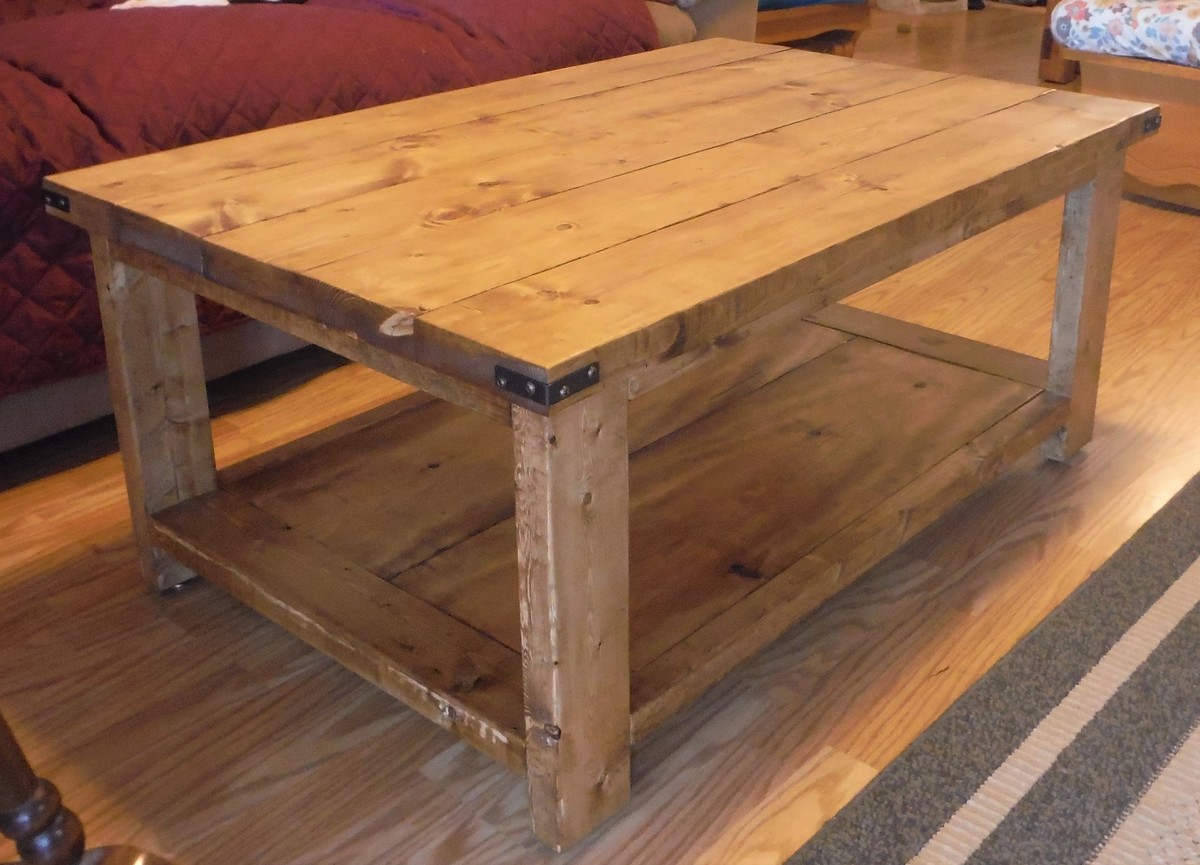
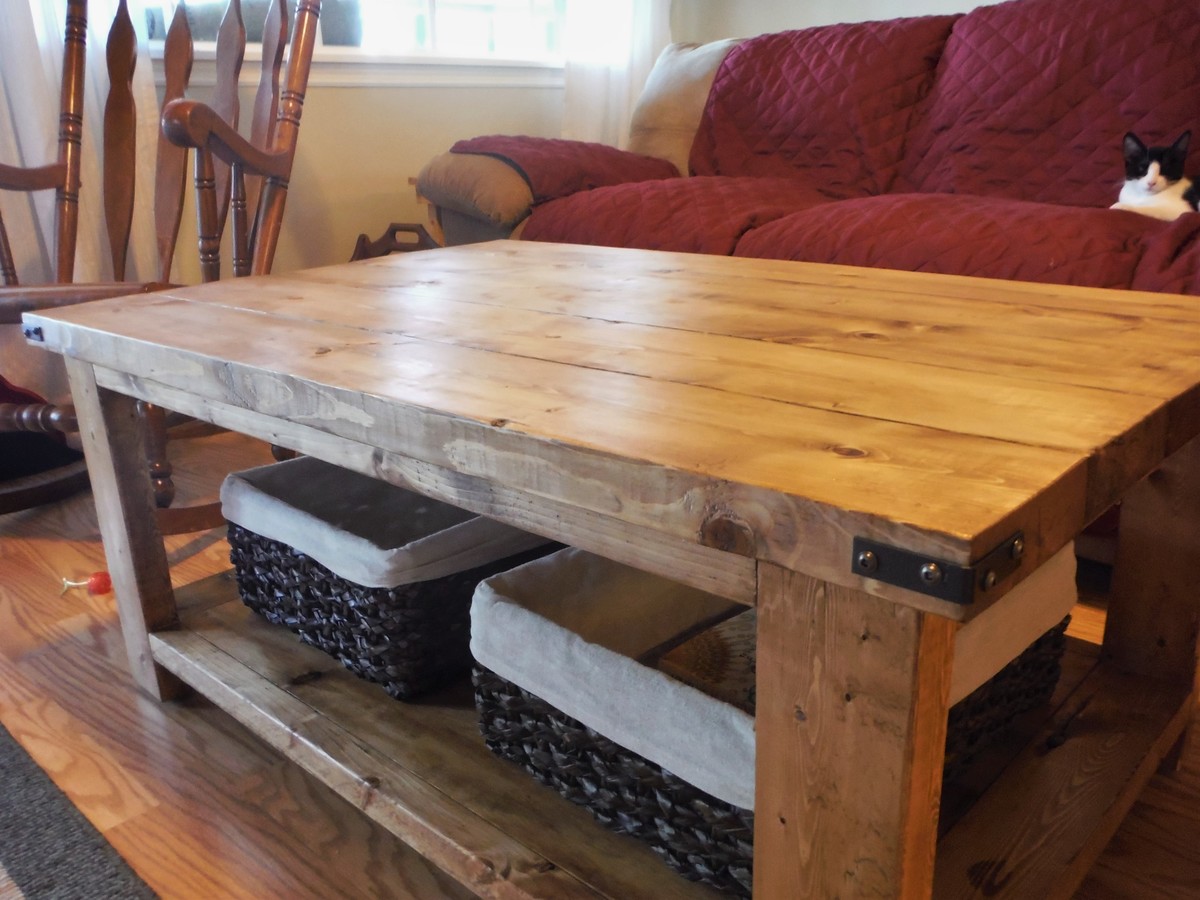
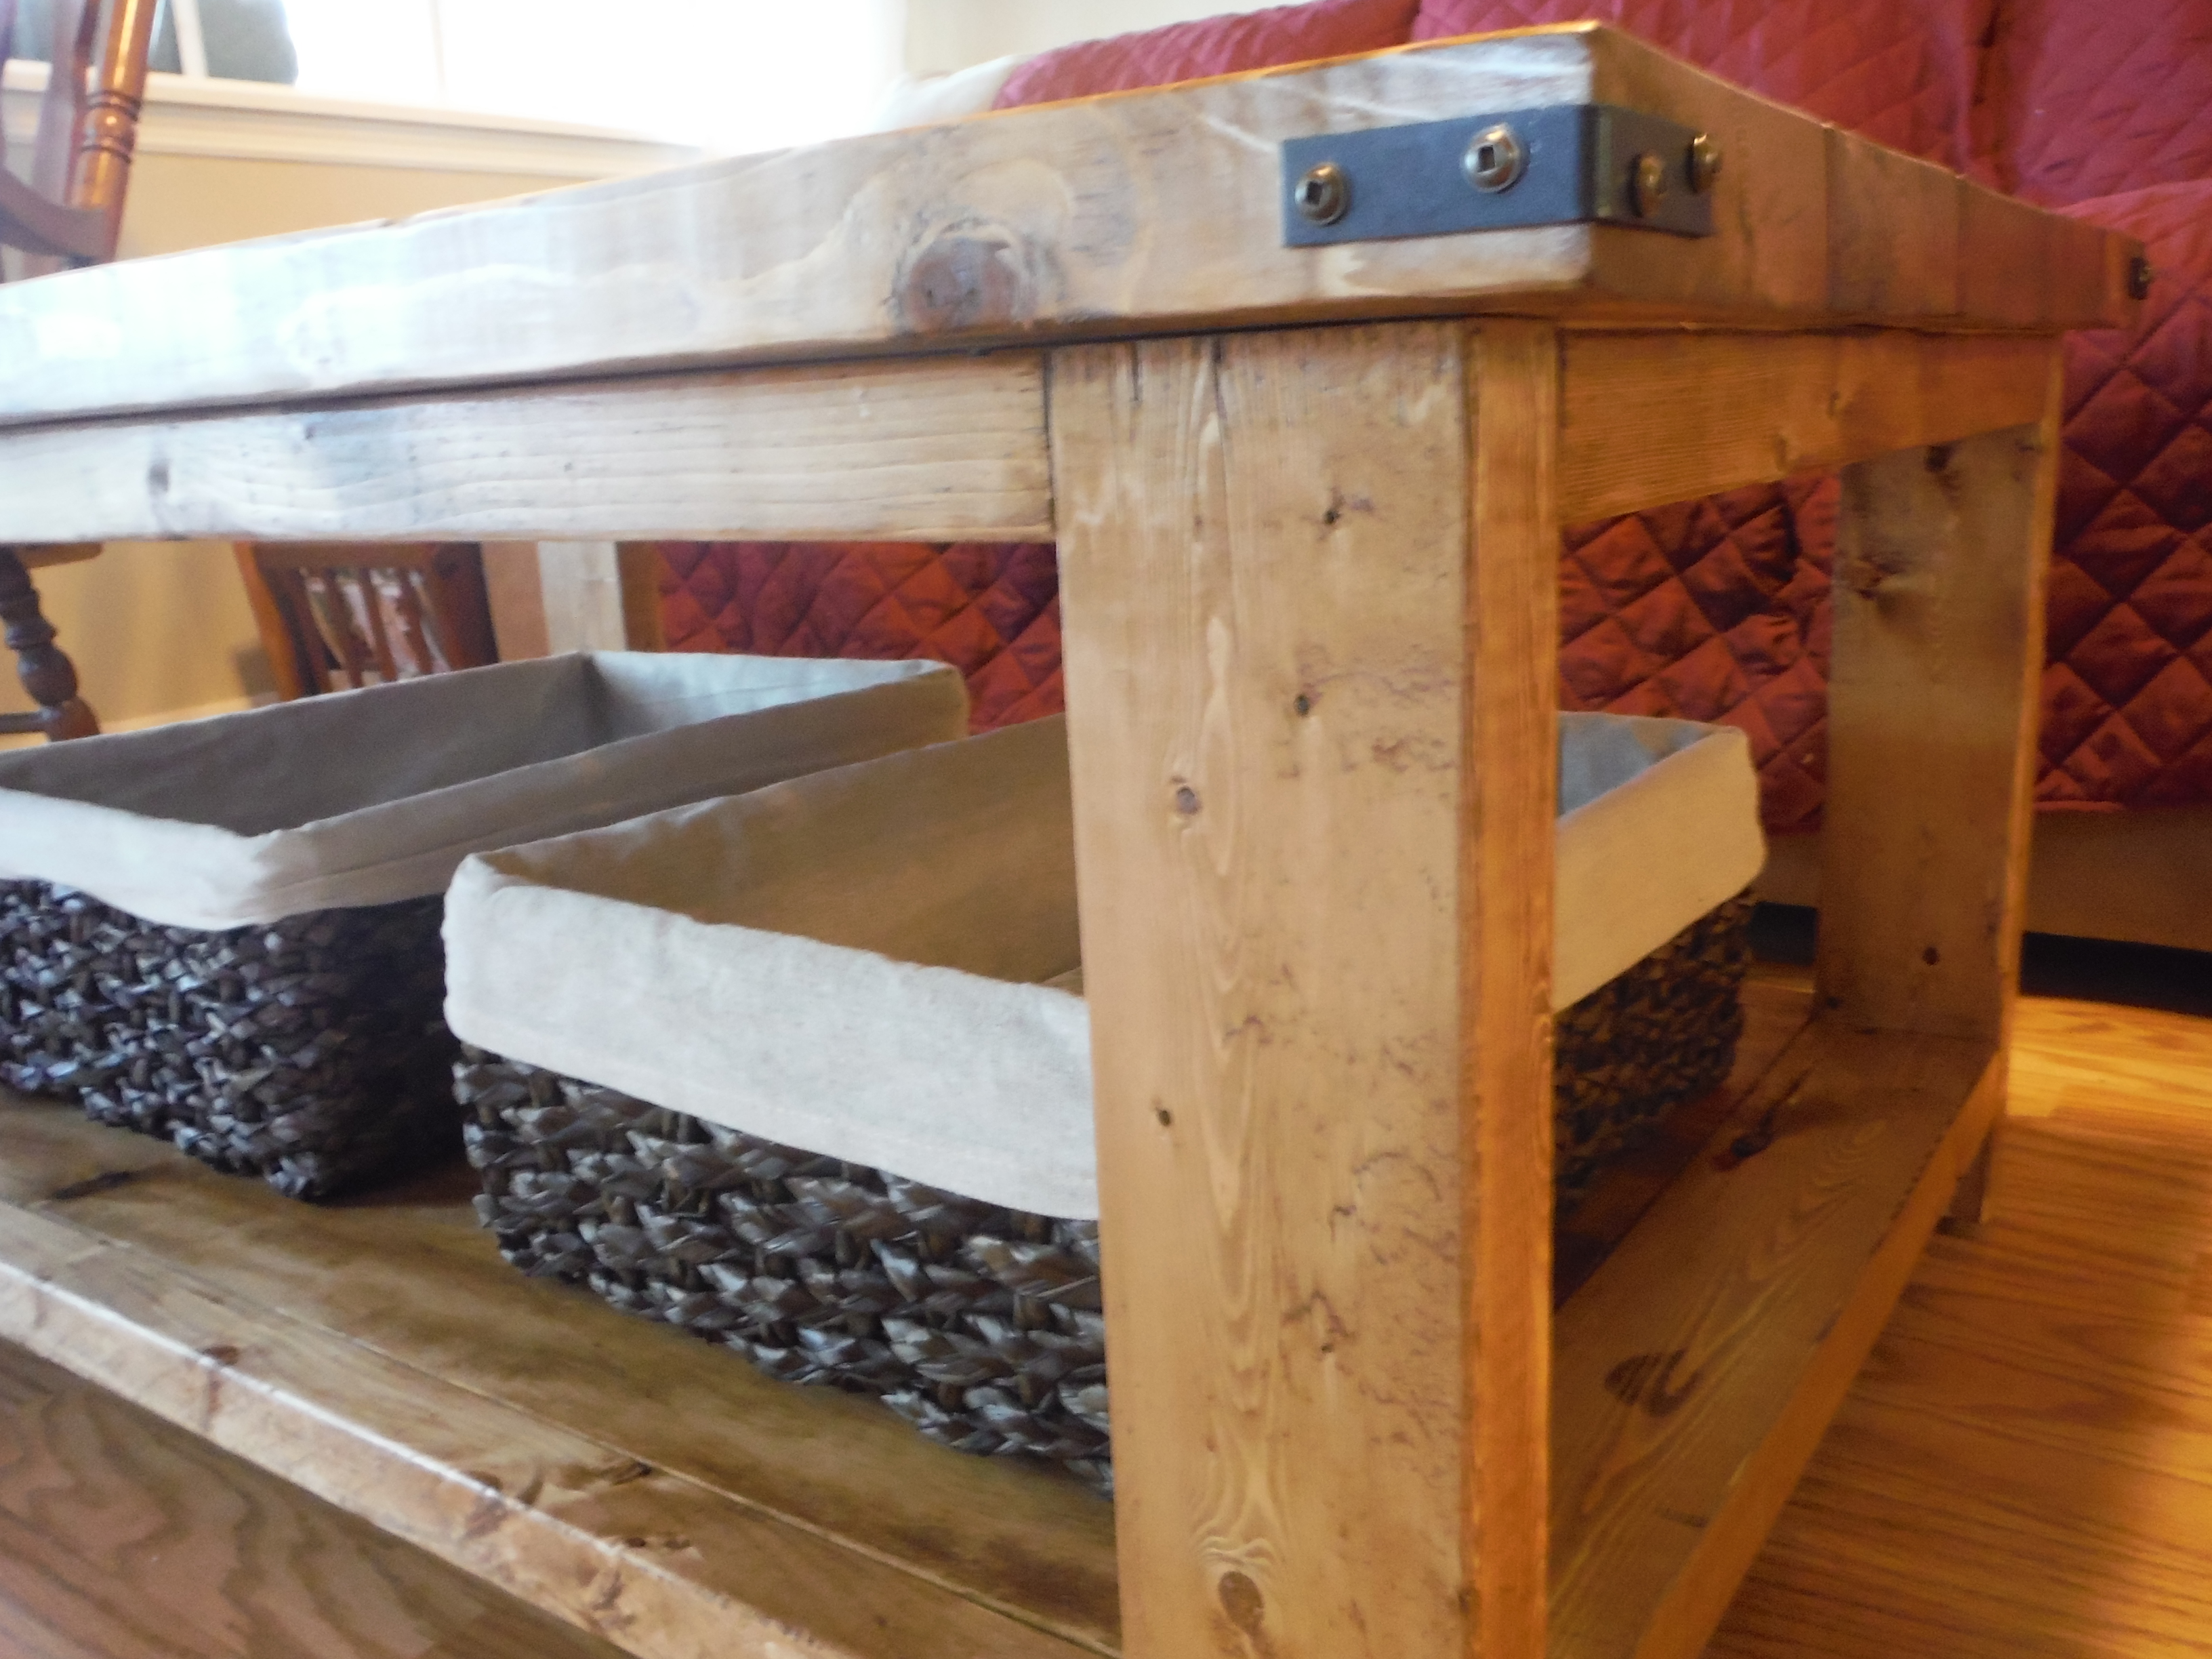
I loved building my Coffee Table, thank you Ana White! I built mine to be 42" long and kept all the other dimensions the same, (but didn't do the X's). I also installed leveling feet. I stained it Minwax's Early American, and used 3 coats of Polyurethane and applied everything with a rag. I used 2" Corner Brackets, spray painted with Rustoleum Metallic Charcoal. I bought the baskets from Michaels.
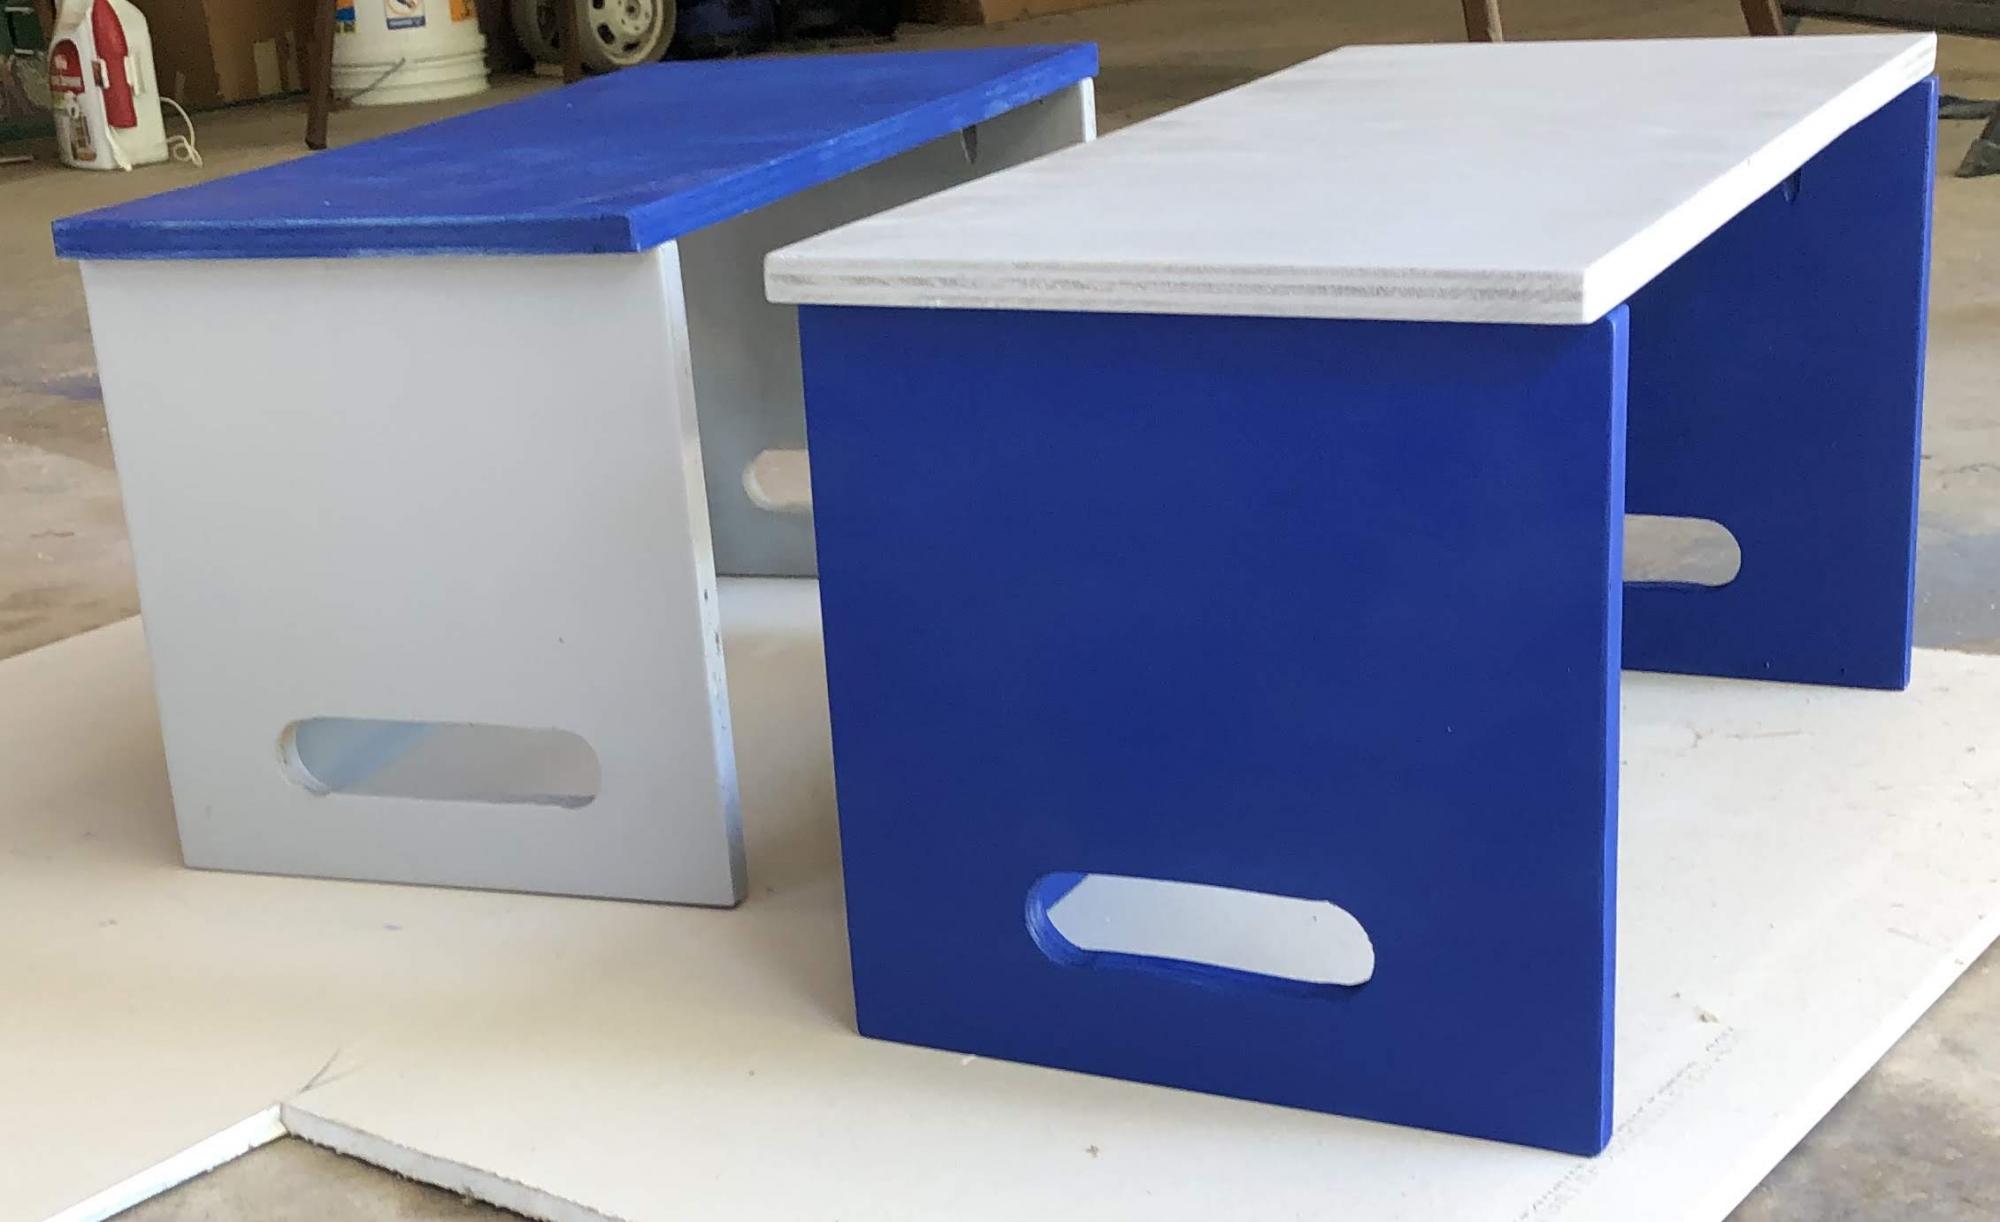
Built this using the Ana White plan. Construction was done in less than a day using leftover lumber from other repairs around the house. Painting and varnishing took multiple days for the paint and varnish to dry and cure though.
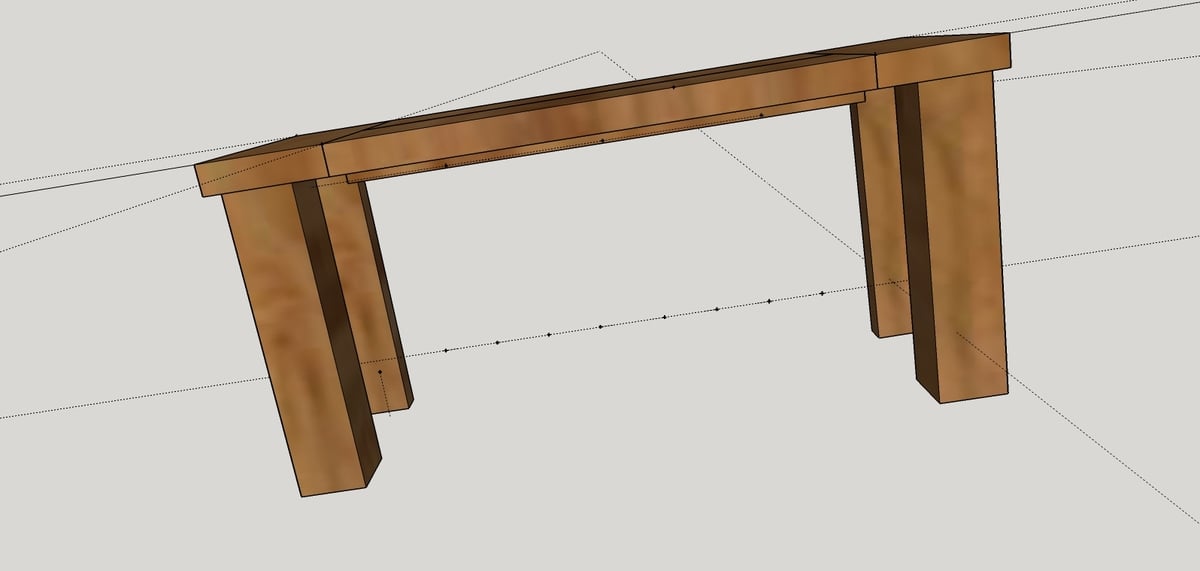
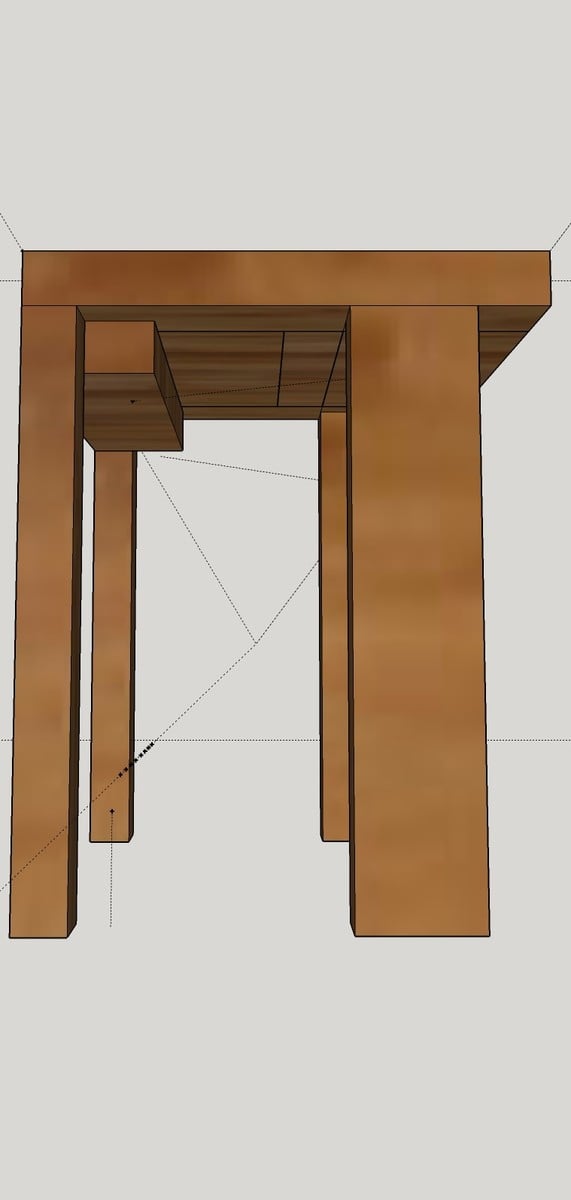
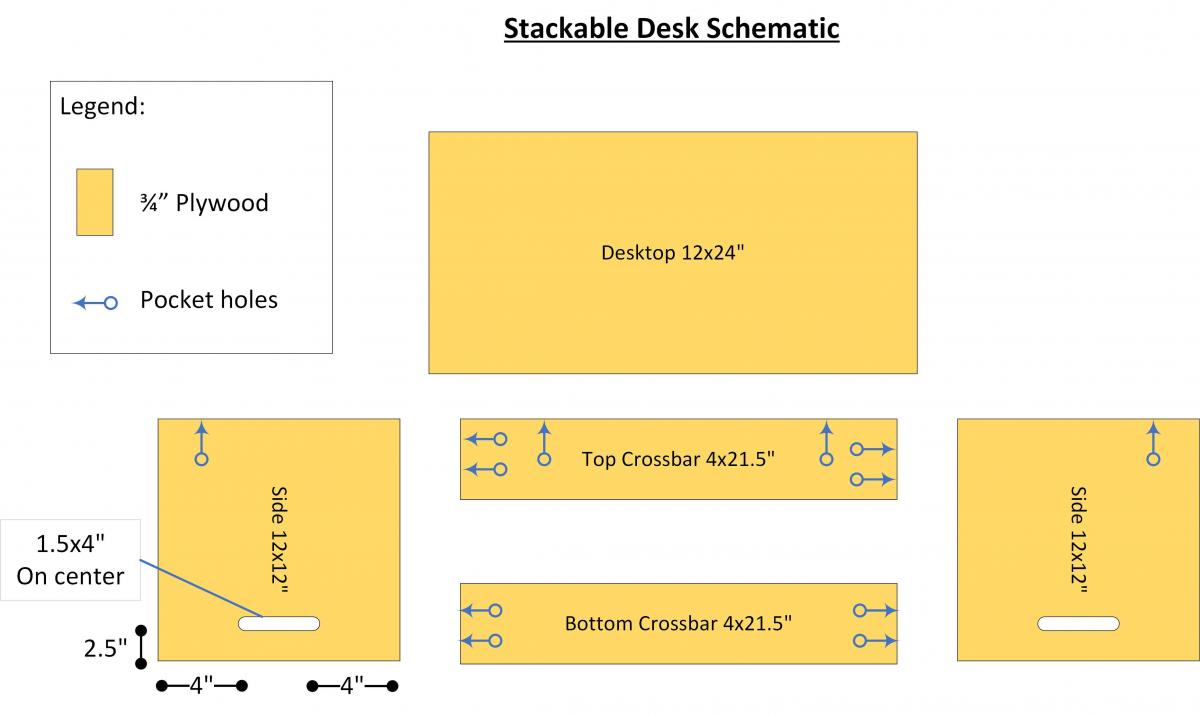
Used pocket screws - as shown in my diagram - to hold the pieces together.
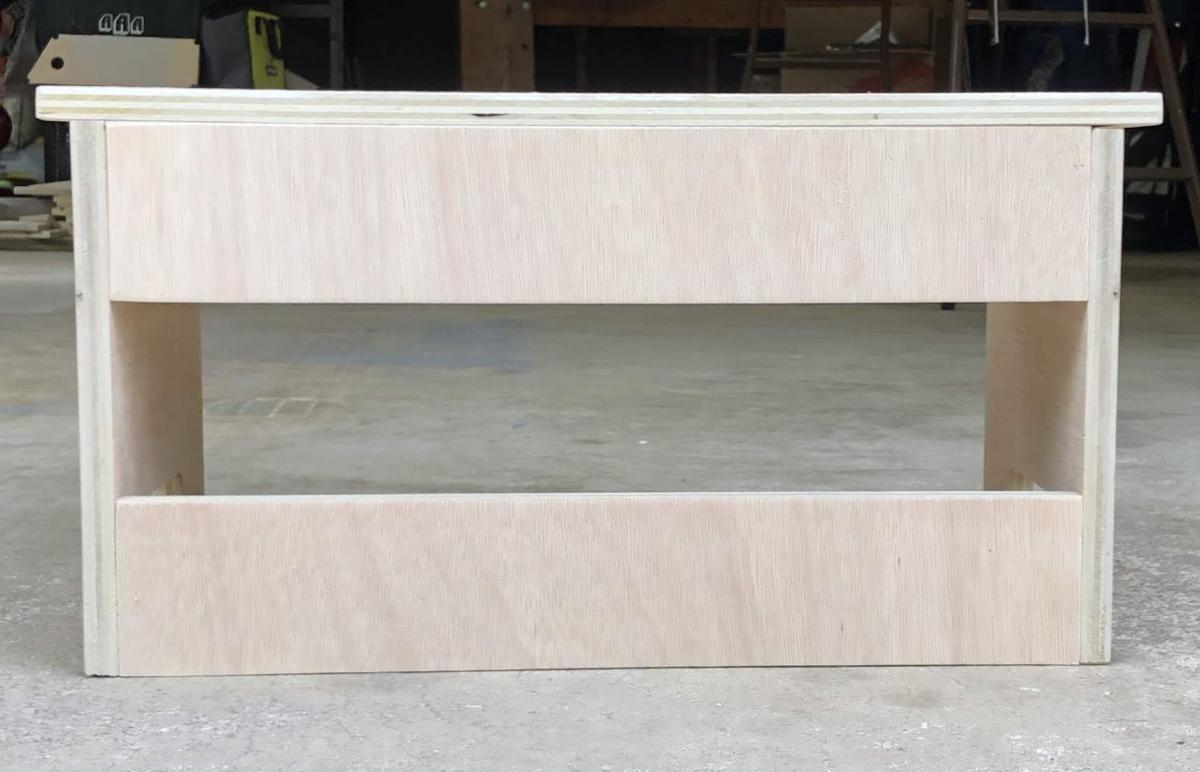
The family has enjoyed using the desks and if you stack one on top of the other, the bottom one creates a shelf also. Will make a few more to share.
Thanks for sharing the plans.
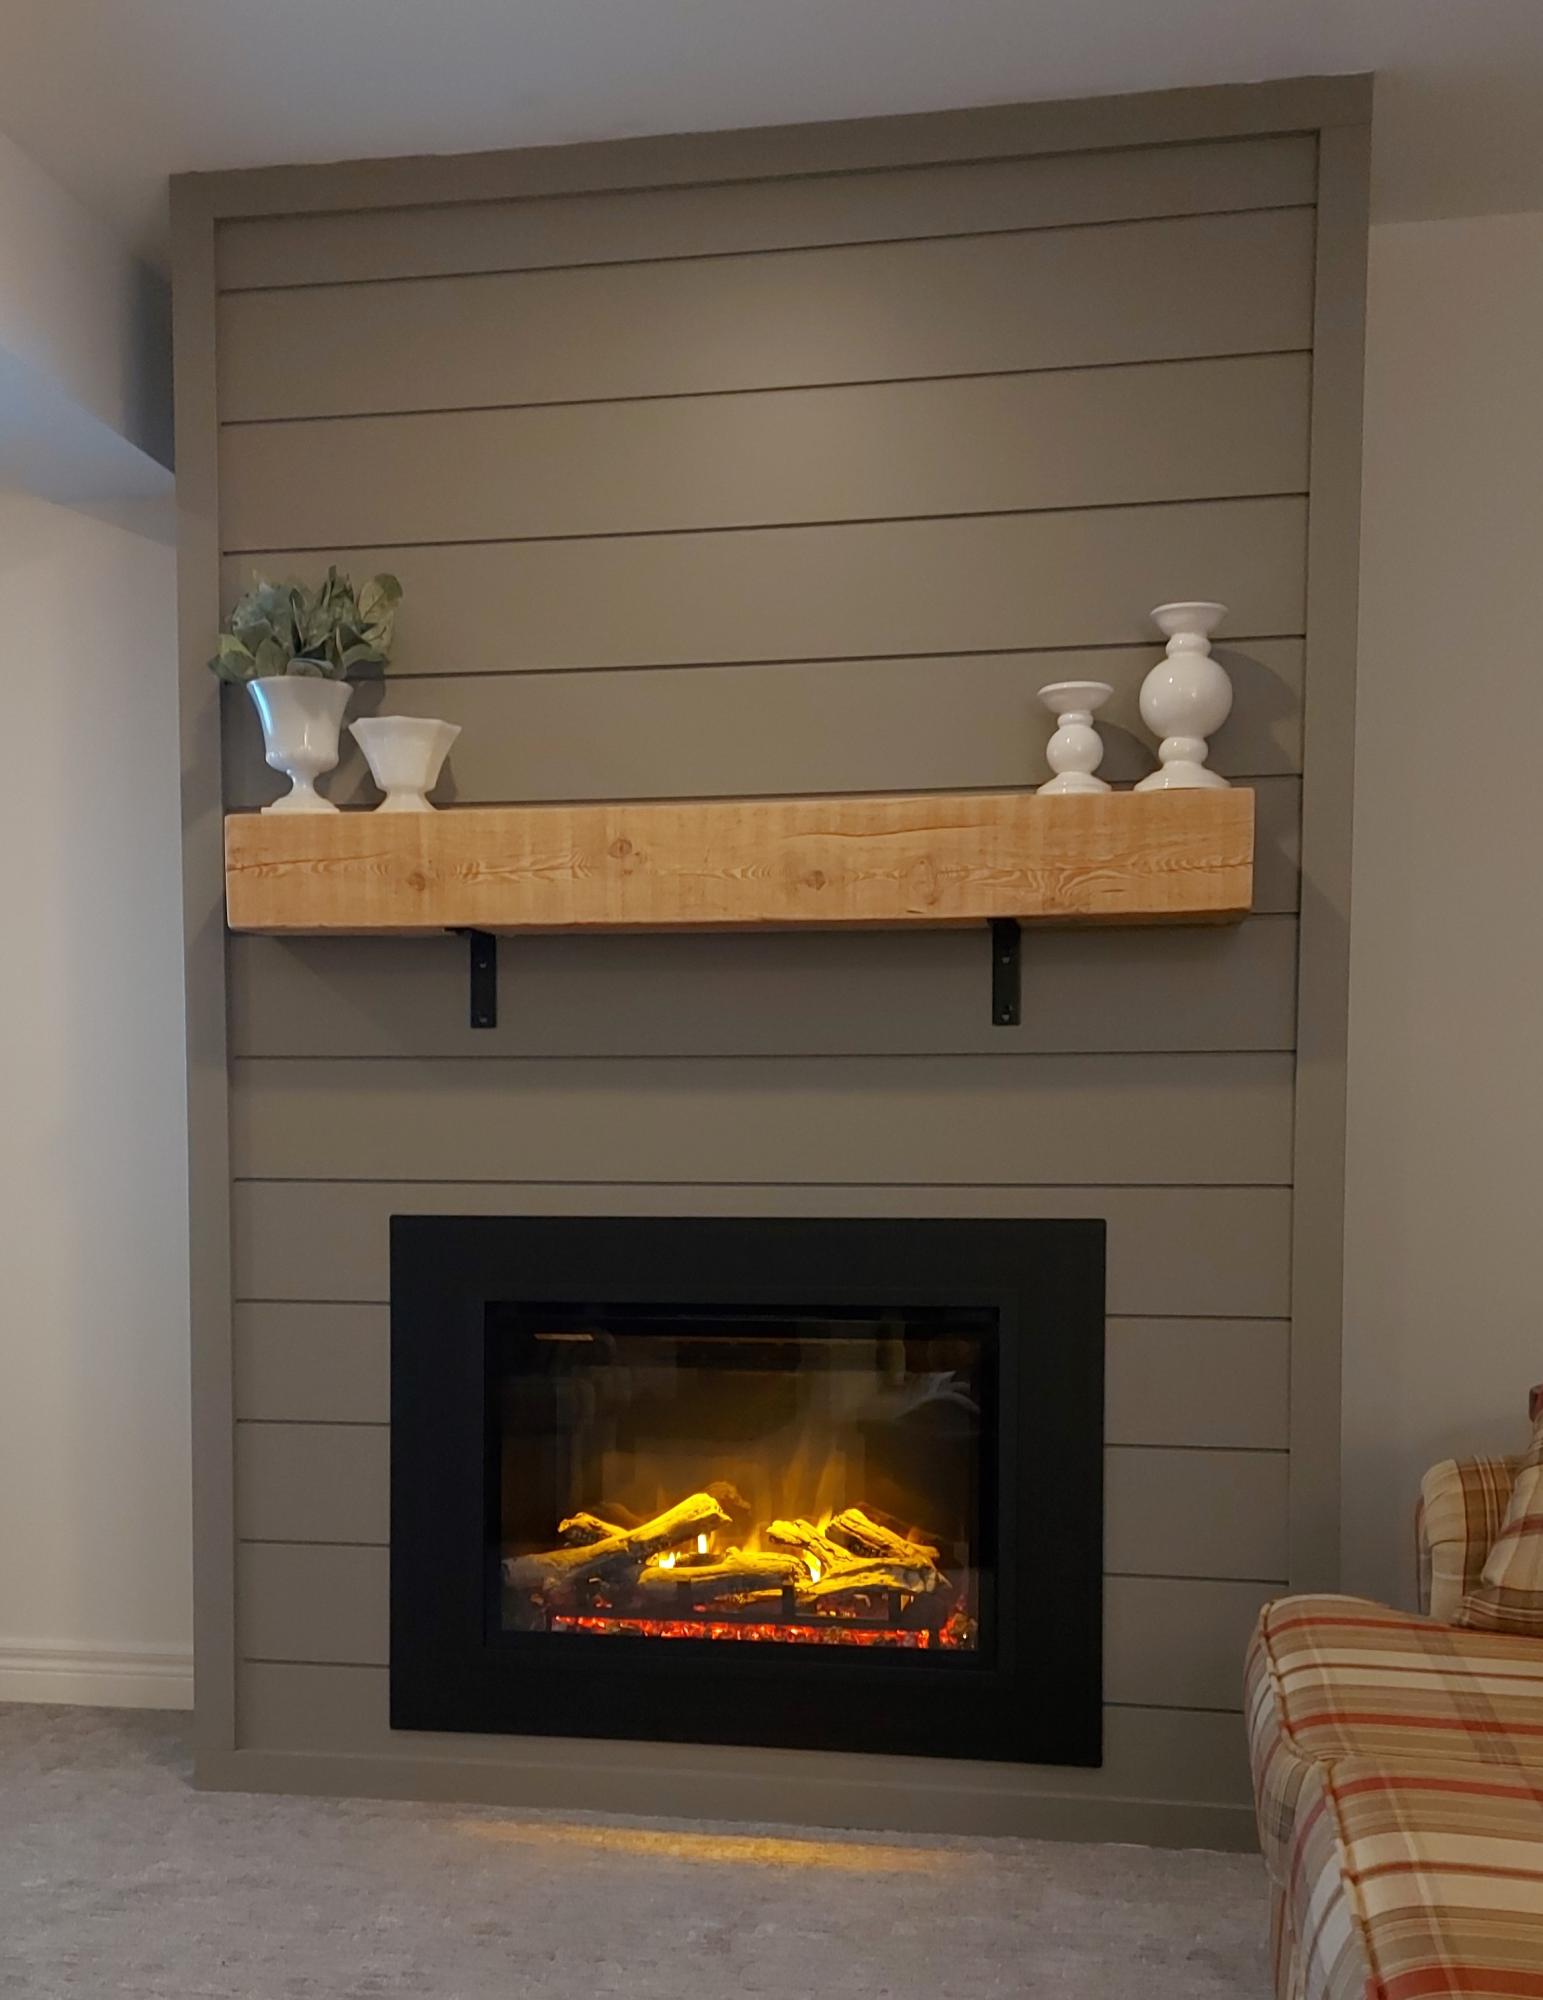
We built this fireplace where nothing existed before. The instructional video was very helpful. We are so proud of how it turned out.
Jim and Susie Jacob
Wed, 02/28/2024 - 19:20
Hello! I’m wondering if you think this could be built as a temporary piece that could be moved? I live in apartment and wouldn’t want to leave something like this behind after spending time and money to build it. Maybe if I built in some removable access panels (a few of the slats?) to be able to attach it to studs (and later remove it) after building the entire piece. Thoughts? TIA!