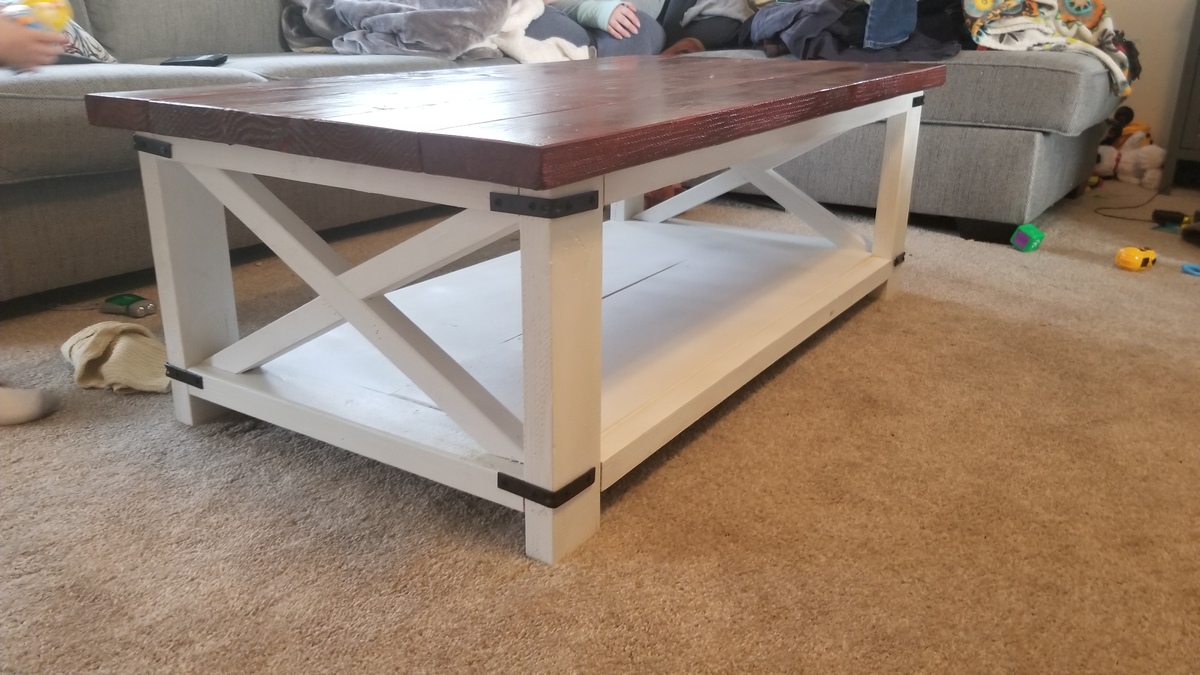
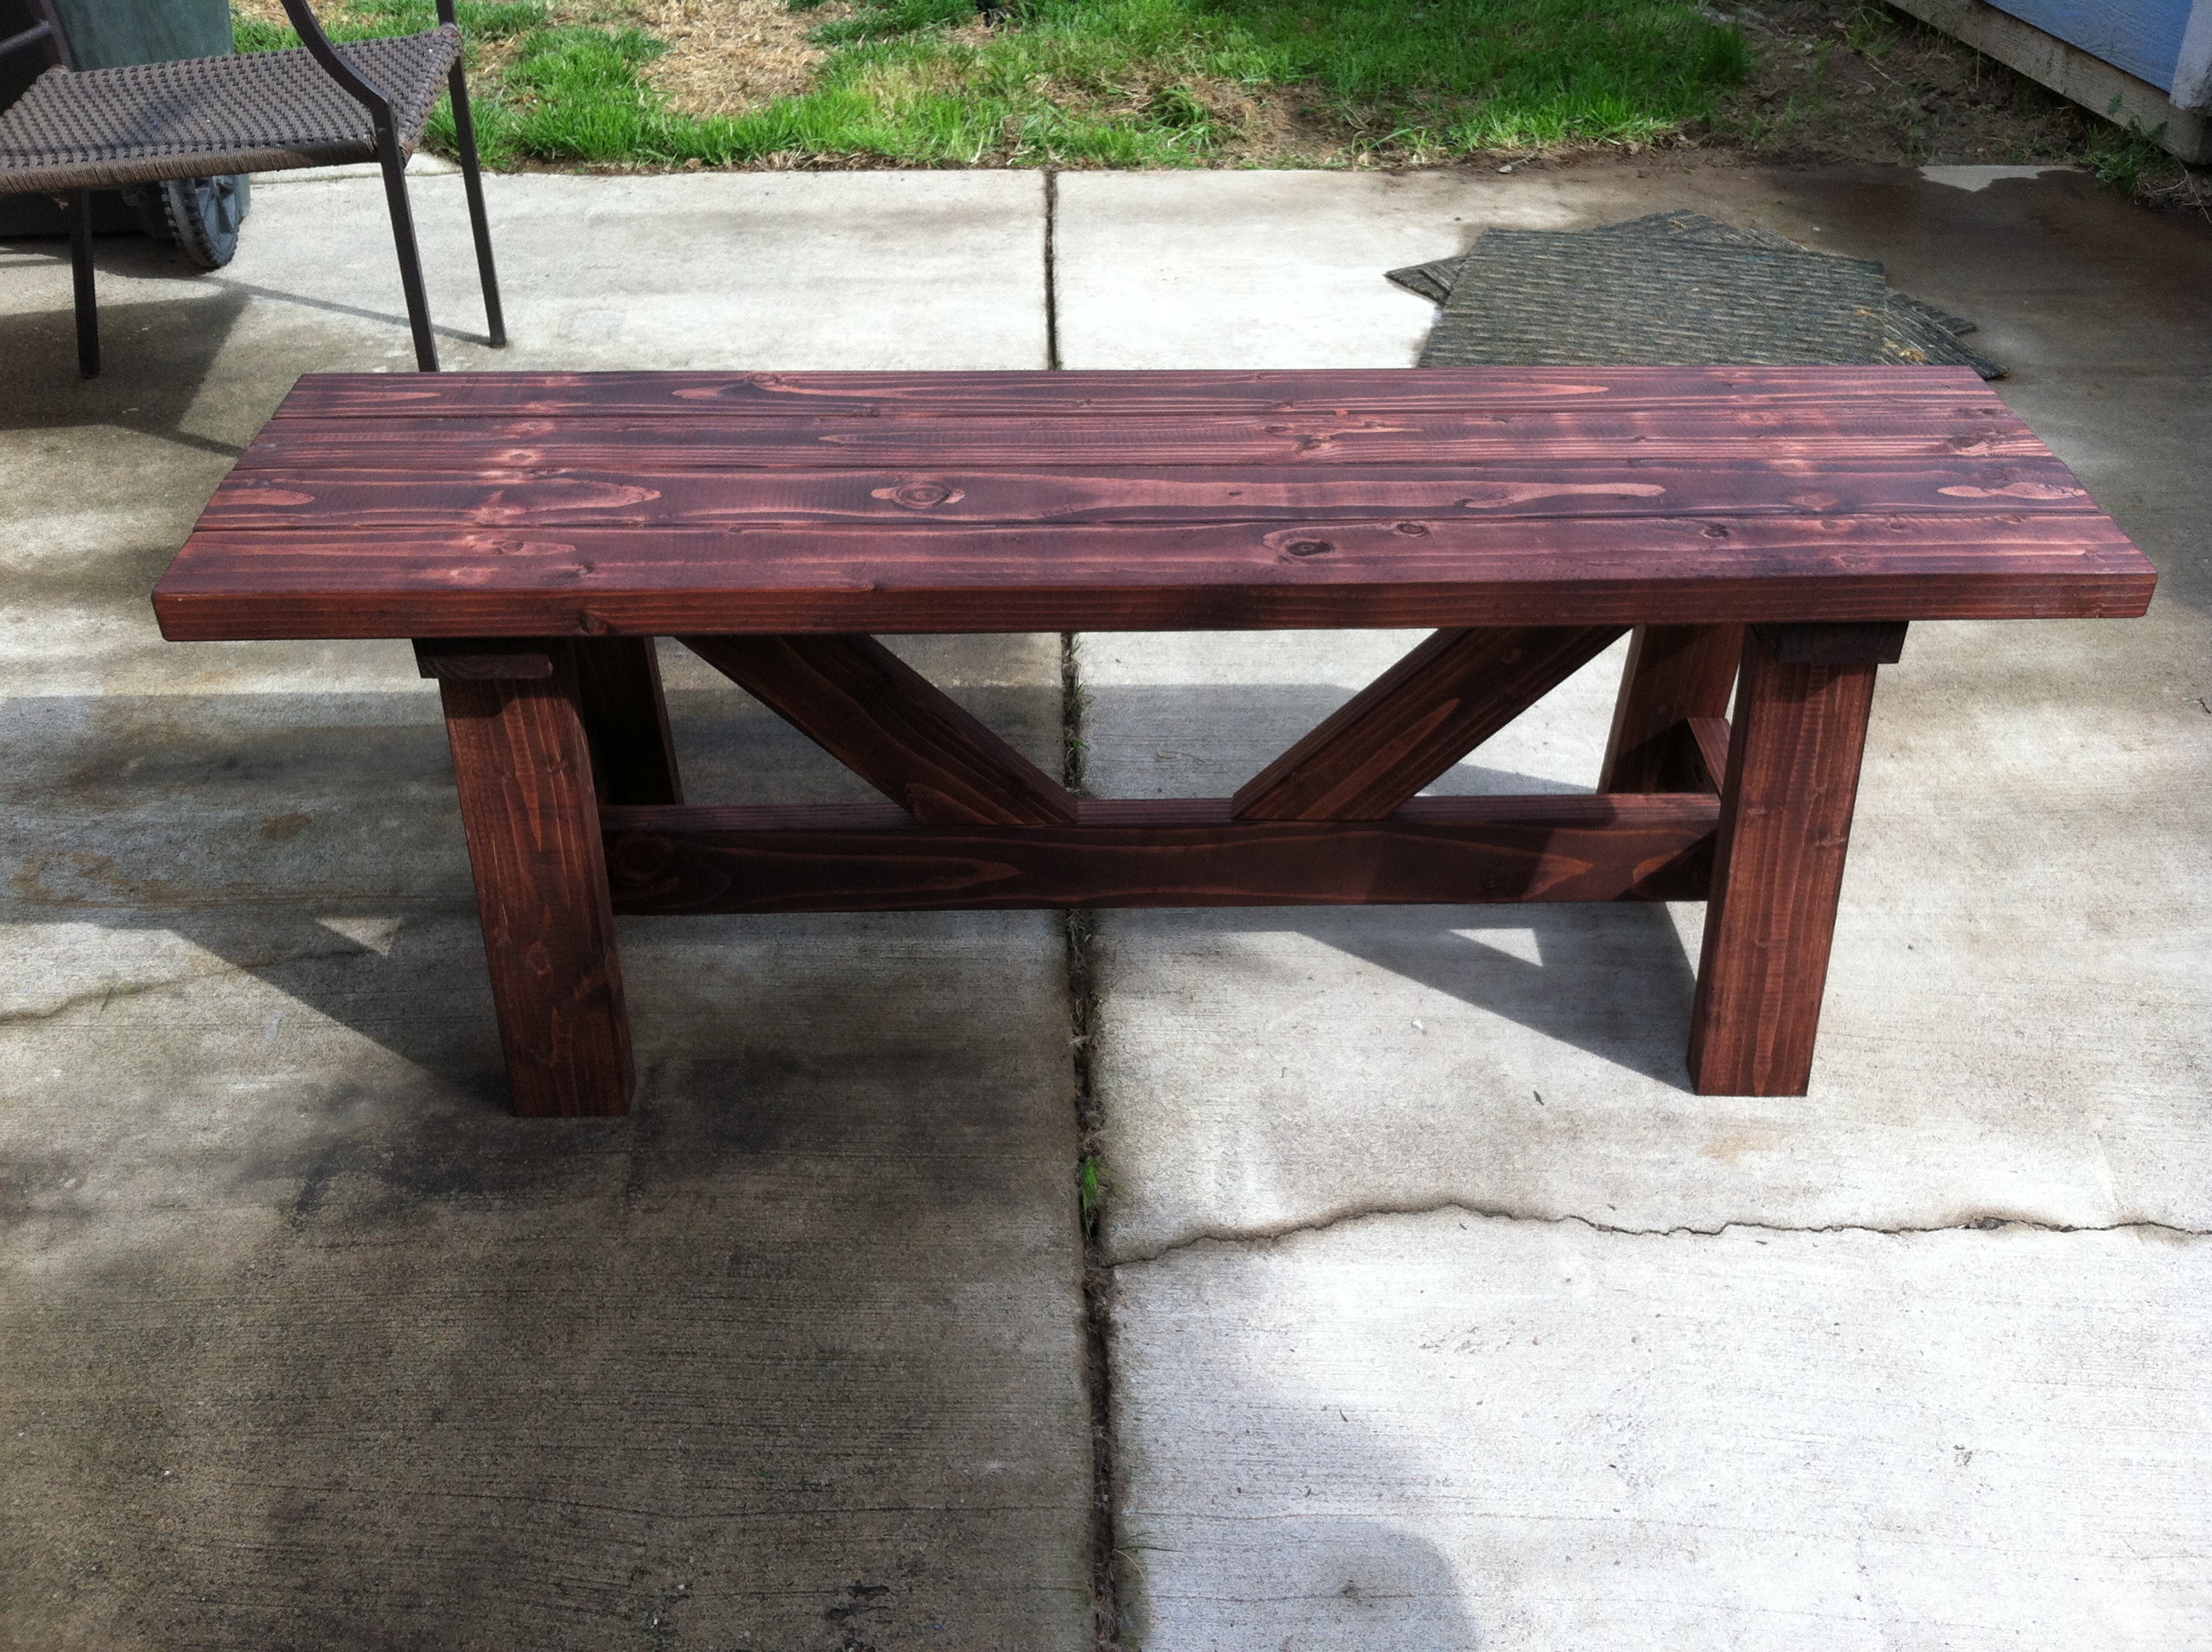
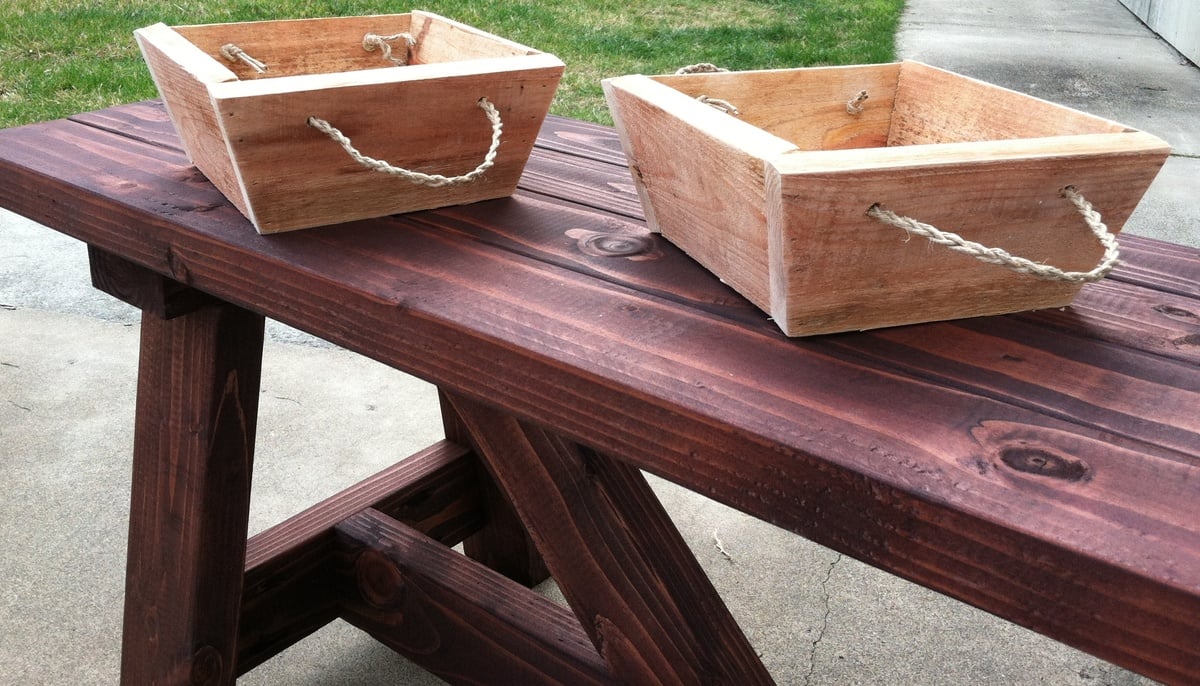
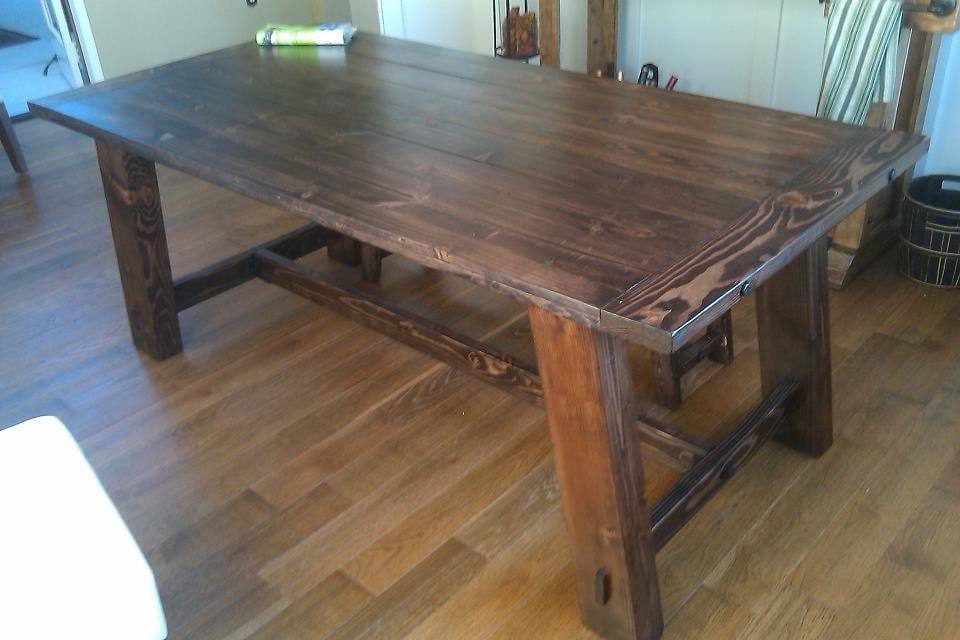
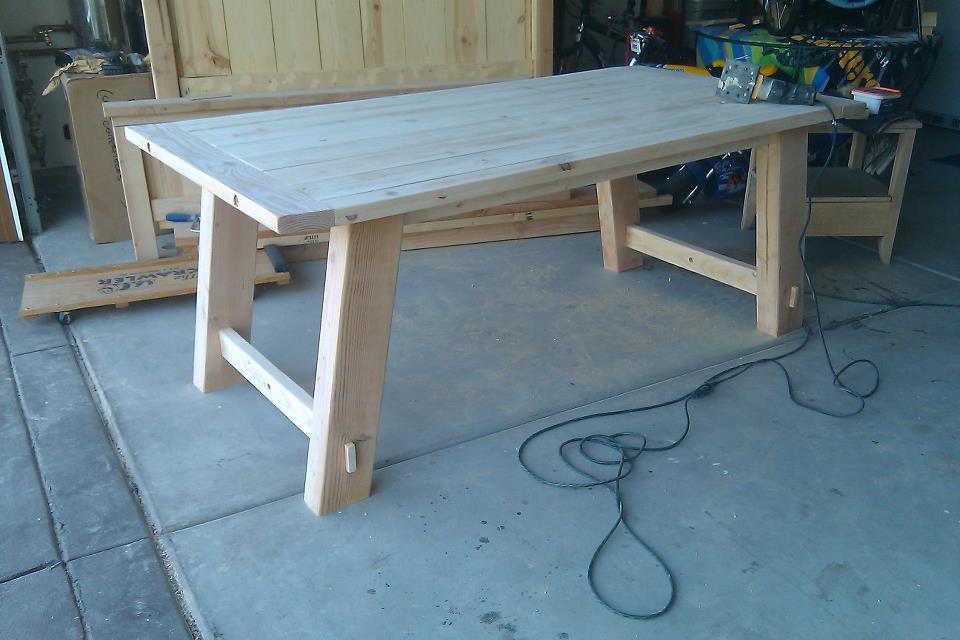
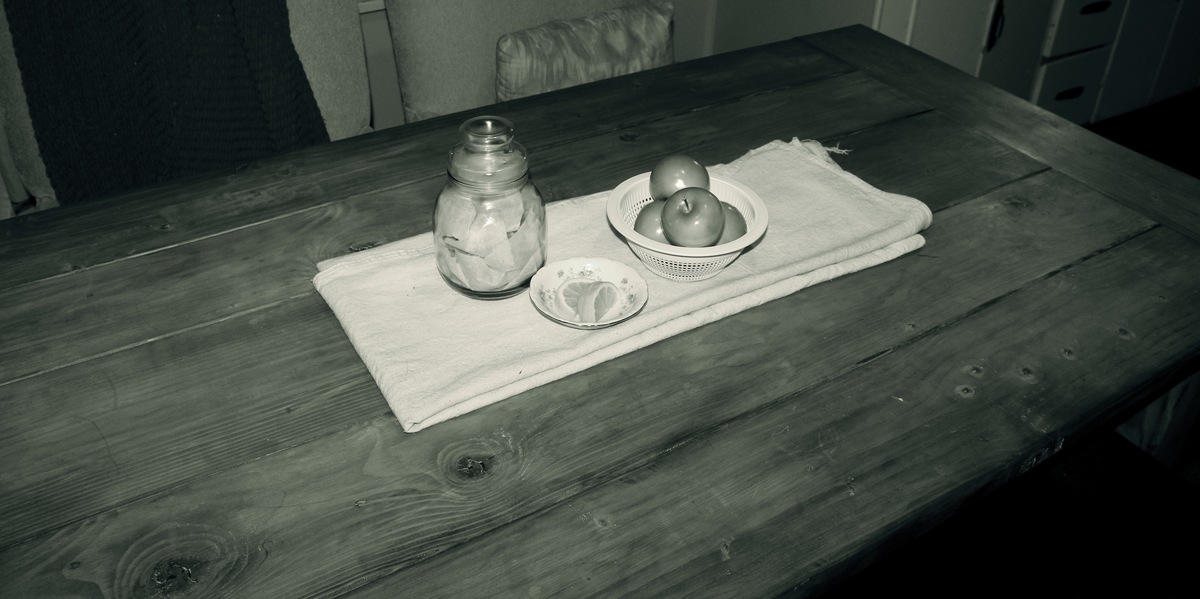
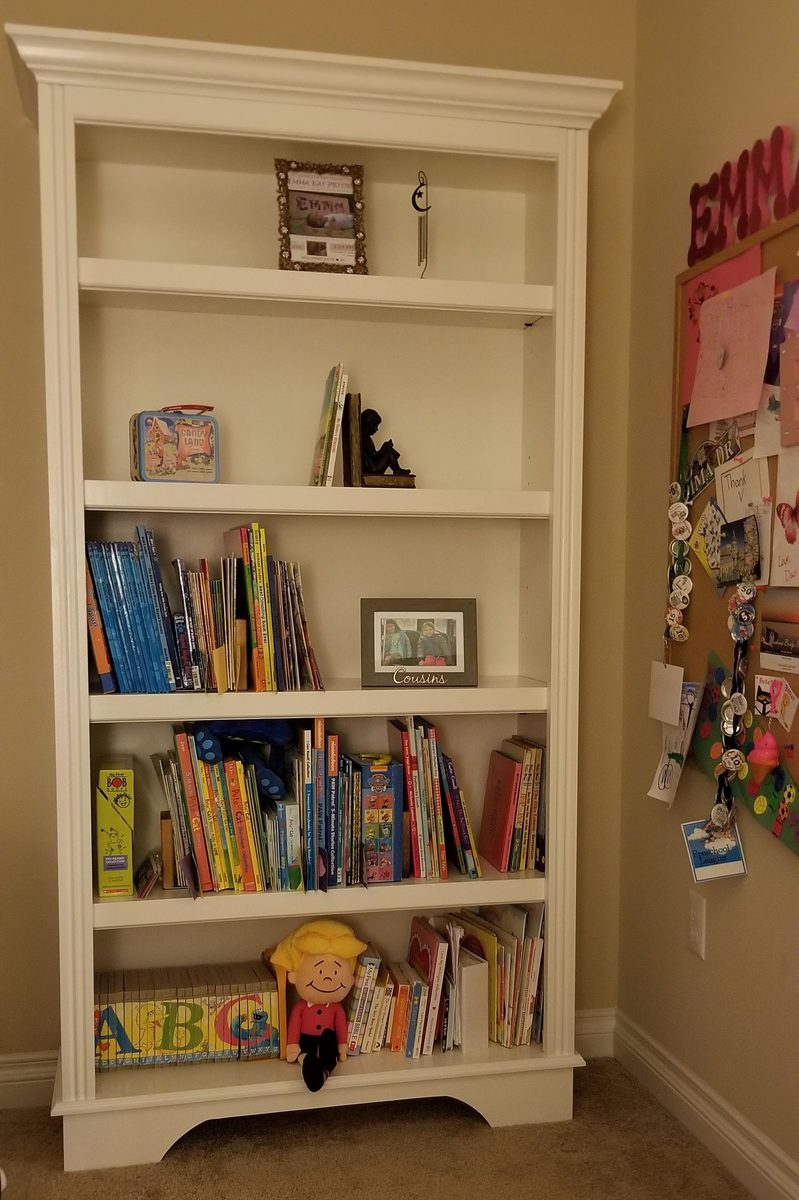
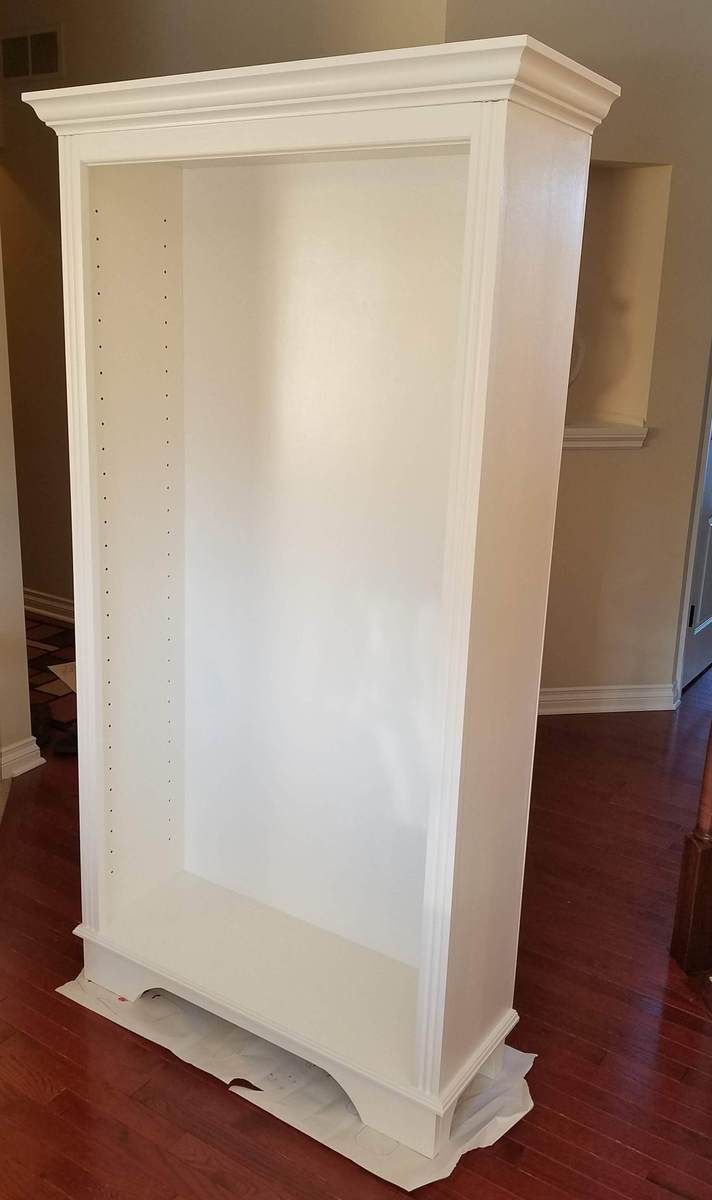
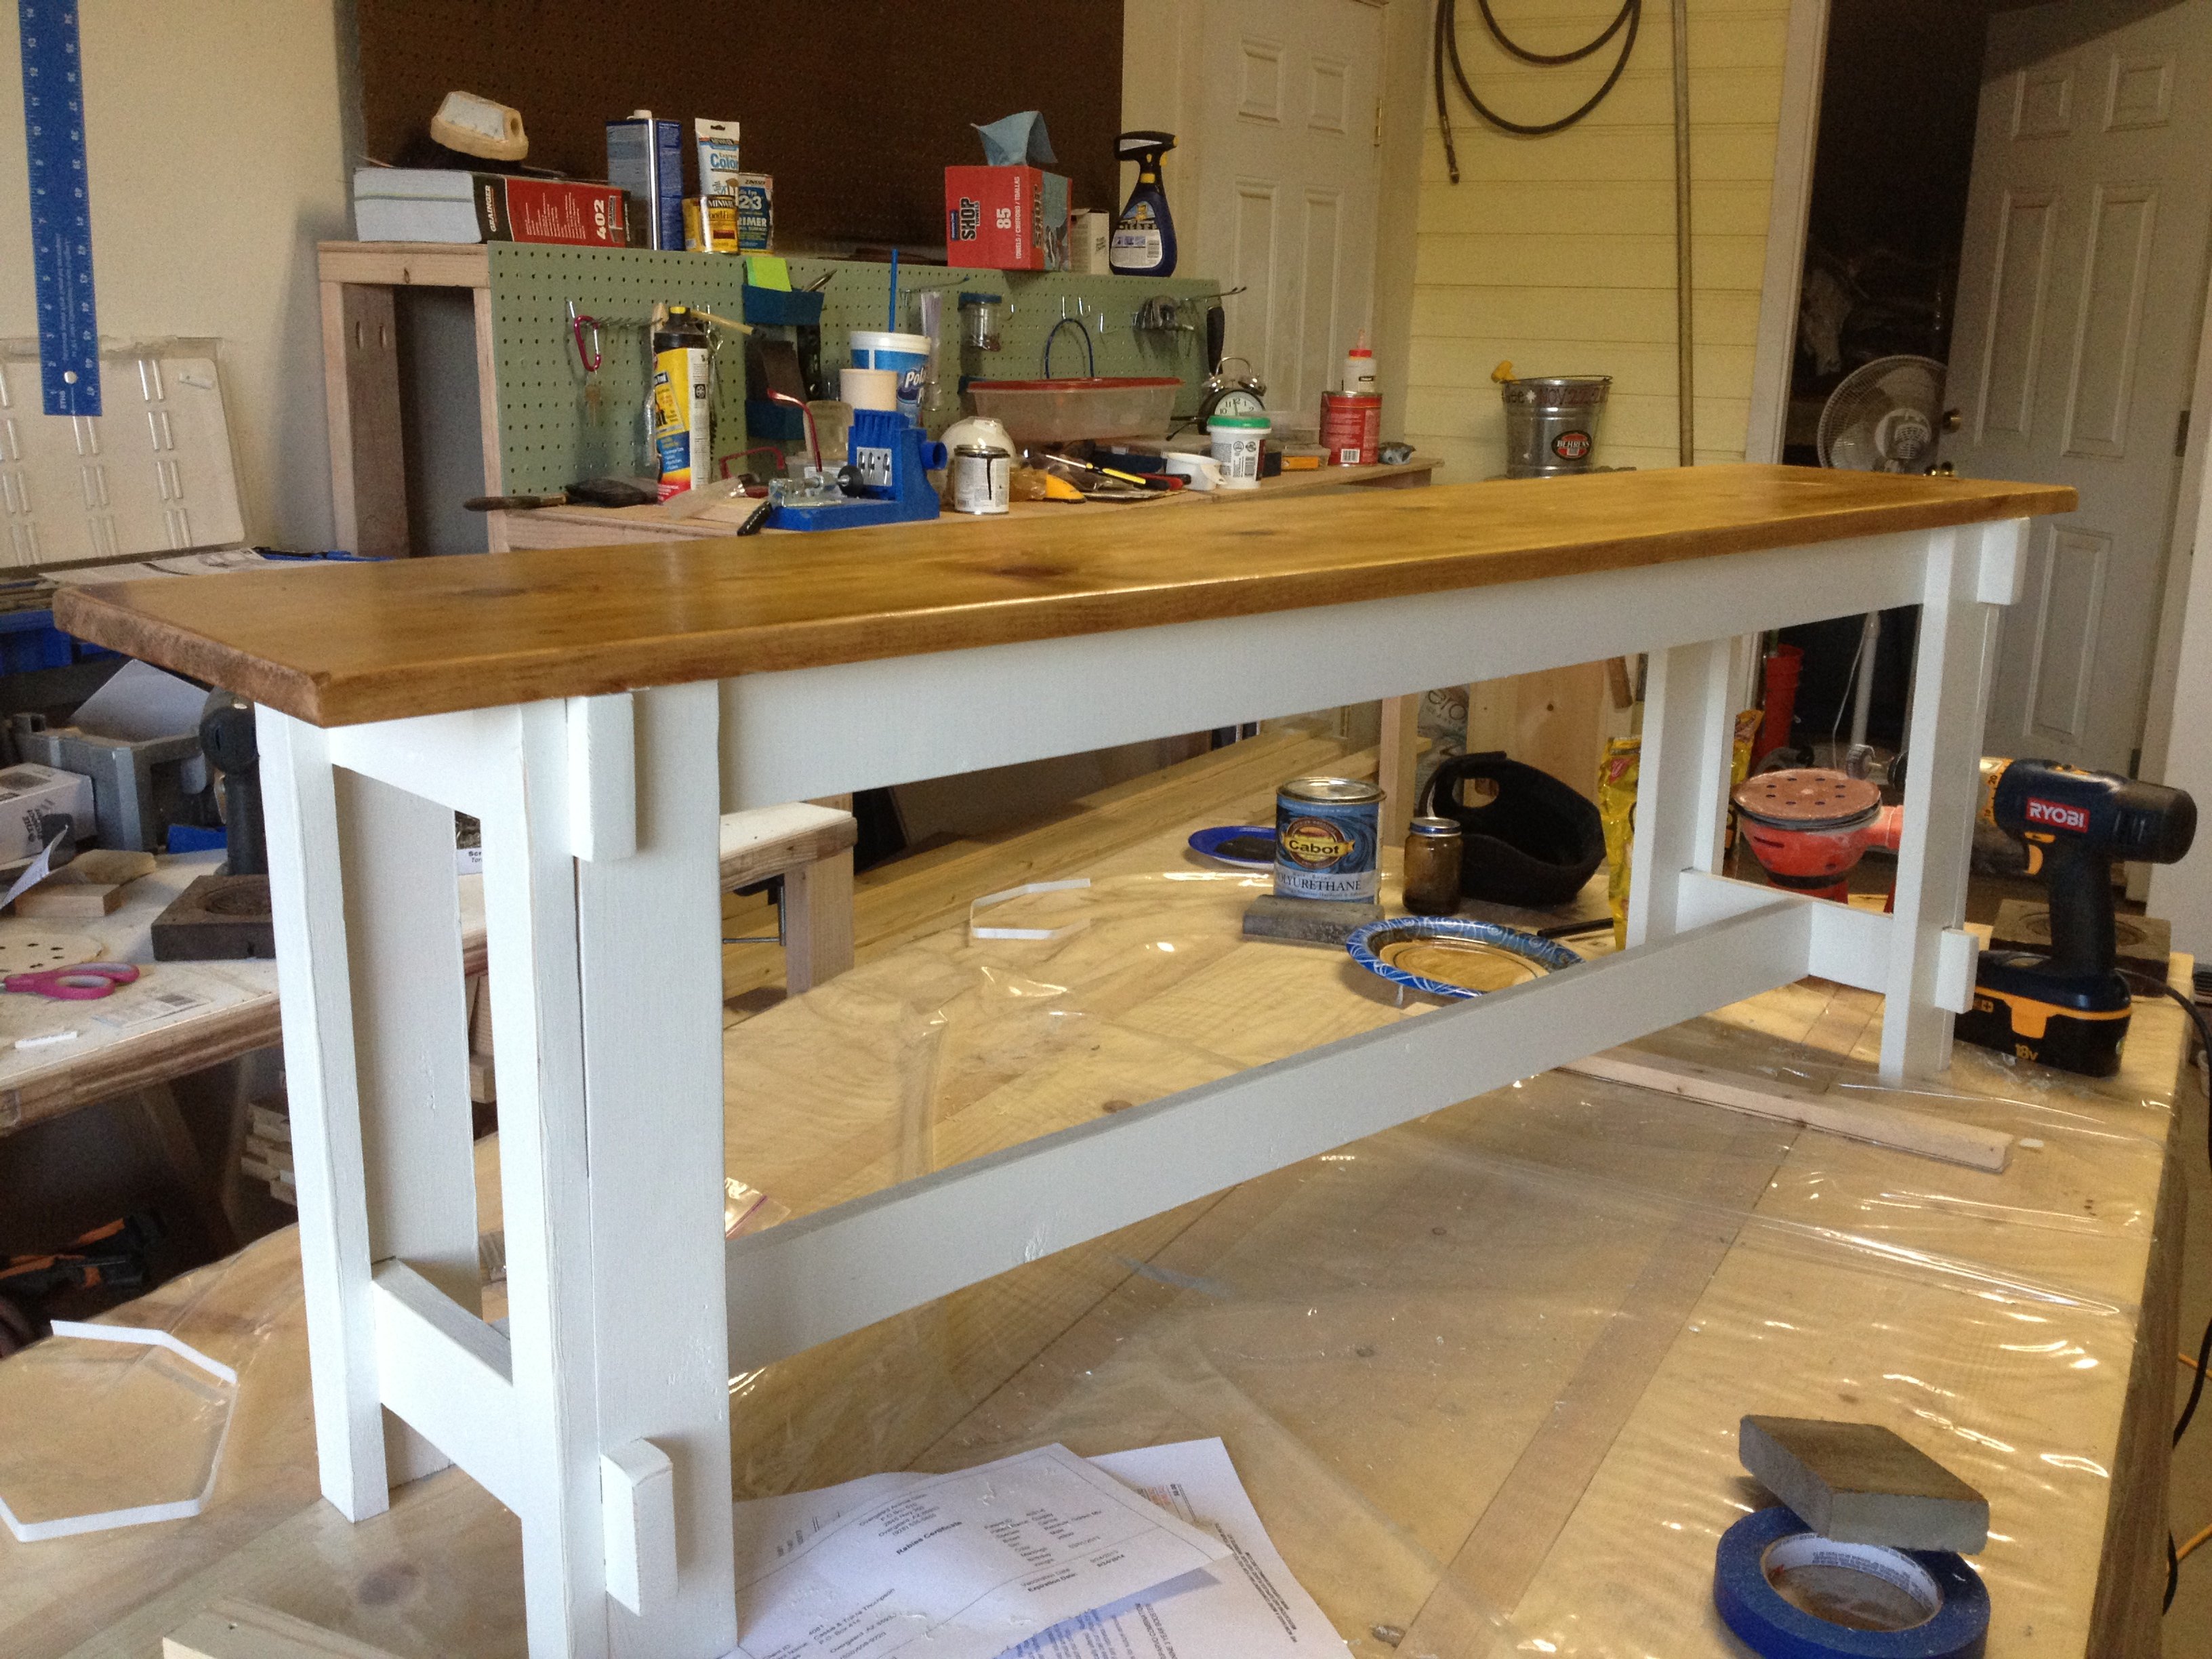
Craft Table
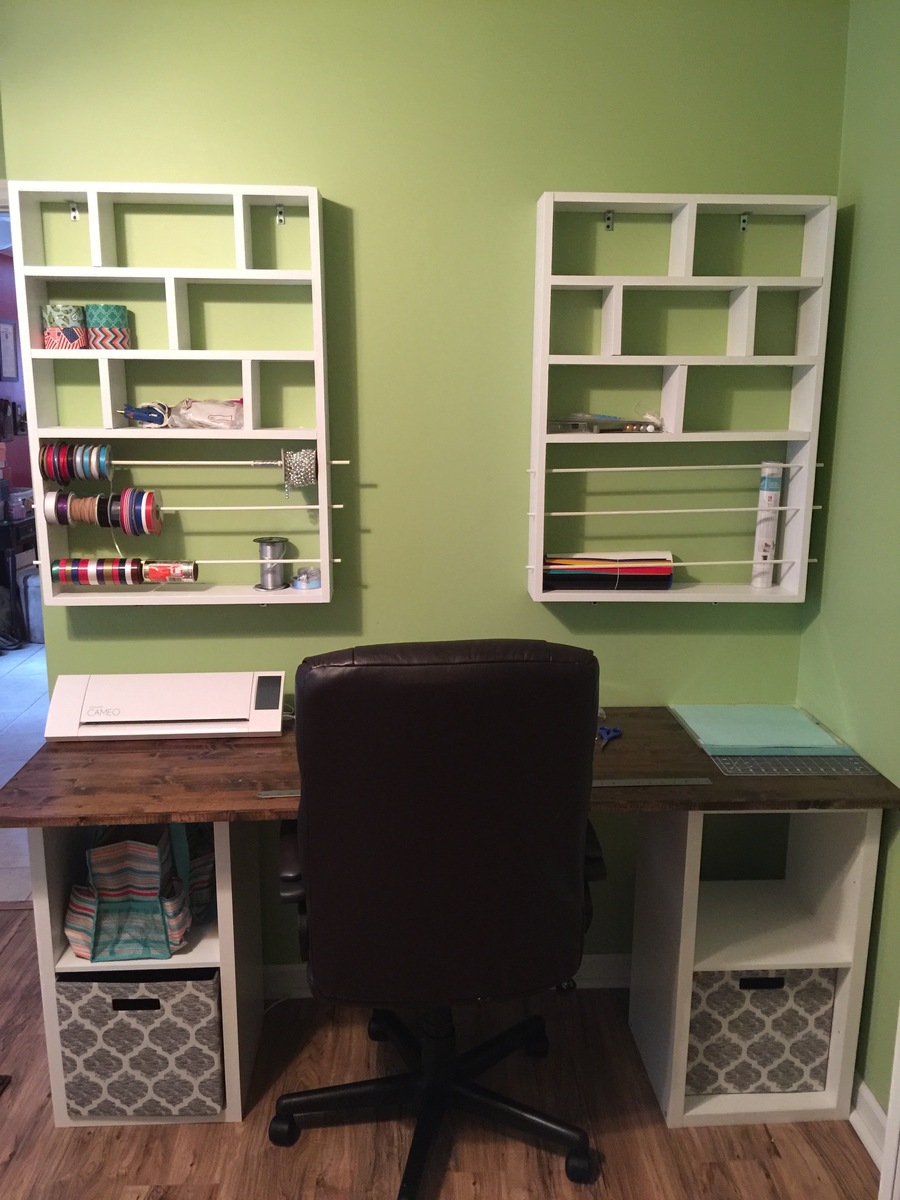
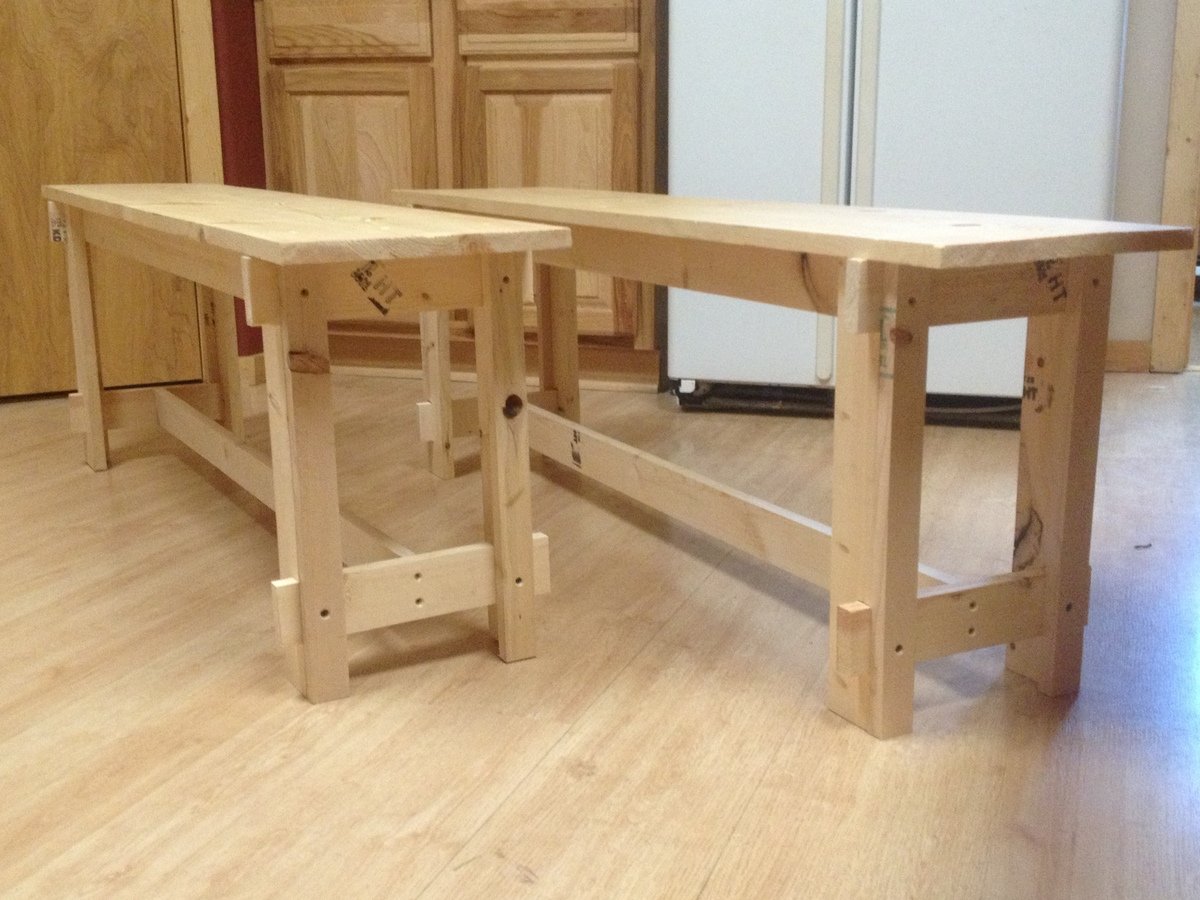
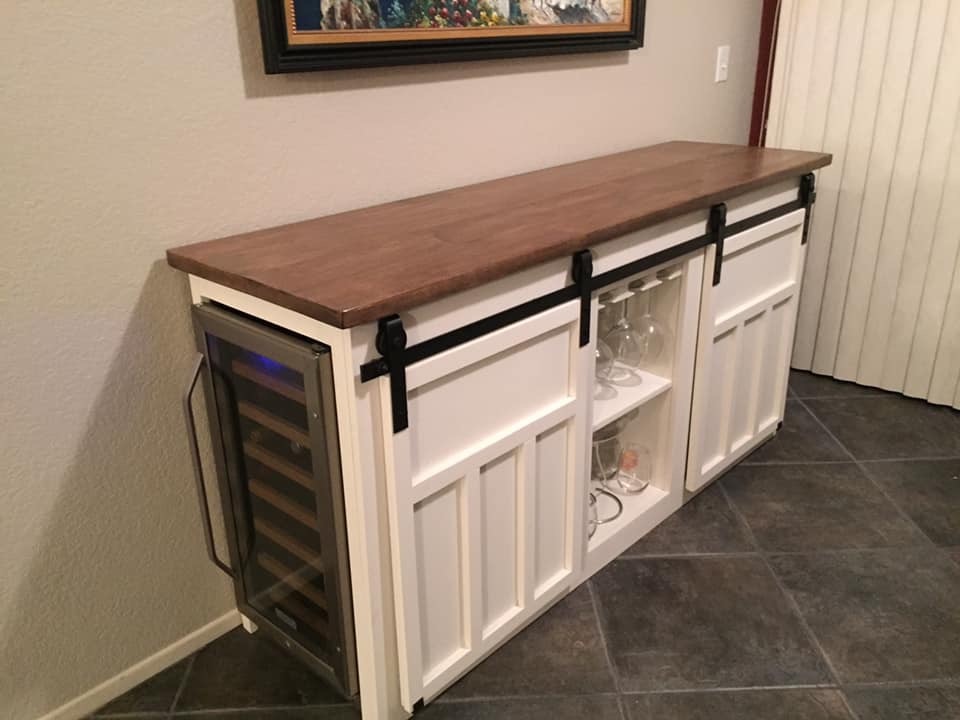
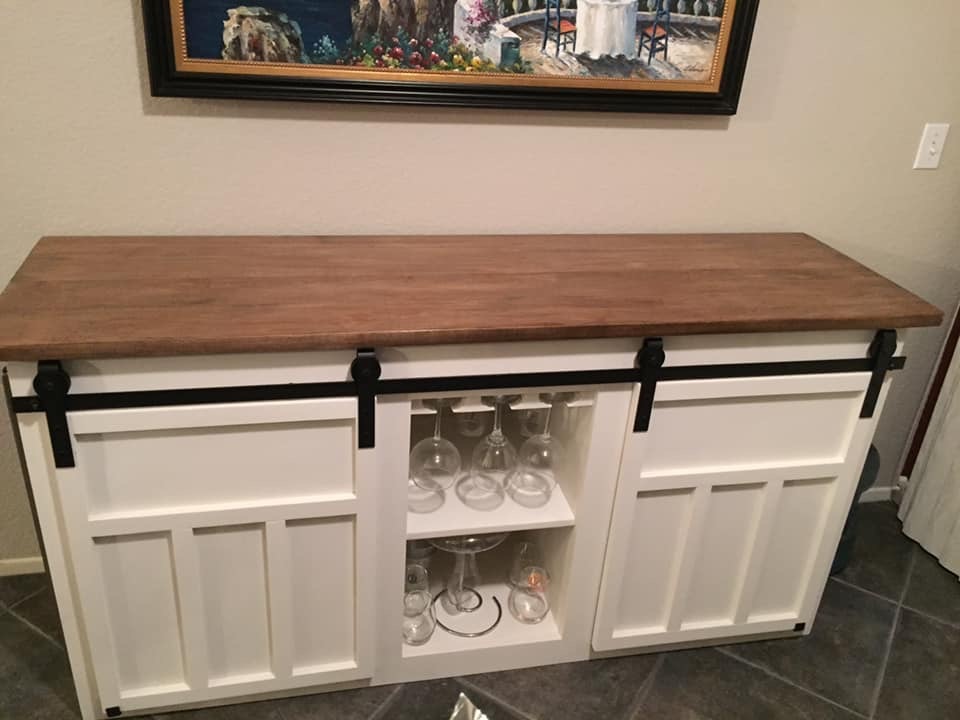
Project was rather simple. Just wanted to create a space that my wife could work her projects rather than always working on our dinning room table. Took the concept of the plans and made the table work for the space we had available.
Built from Plan(s)
Estimated Cost
$150
Estimated Time Investment
Weekend Project (10-20 Hours)
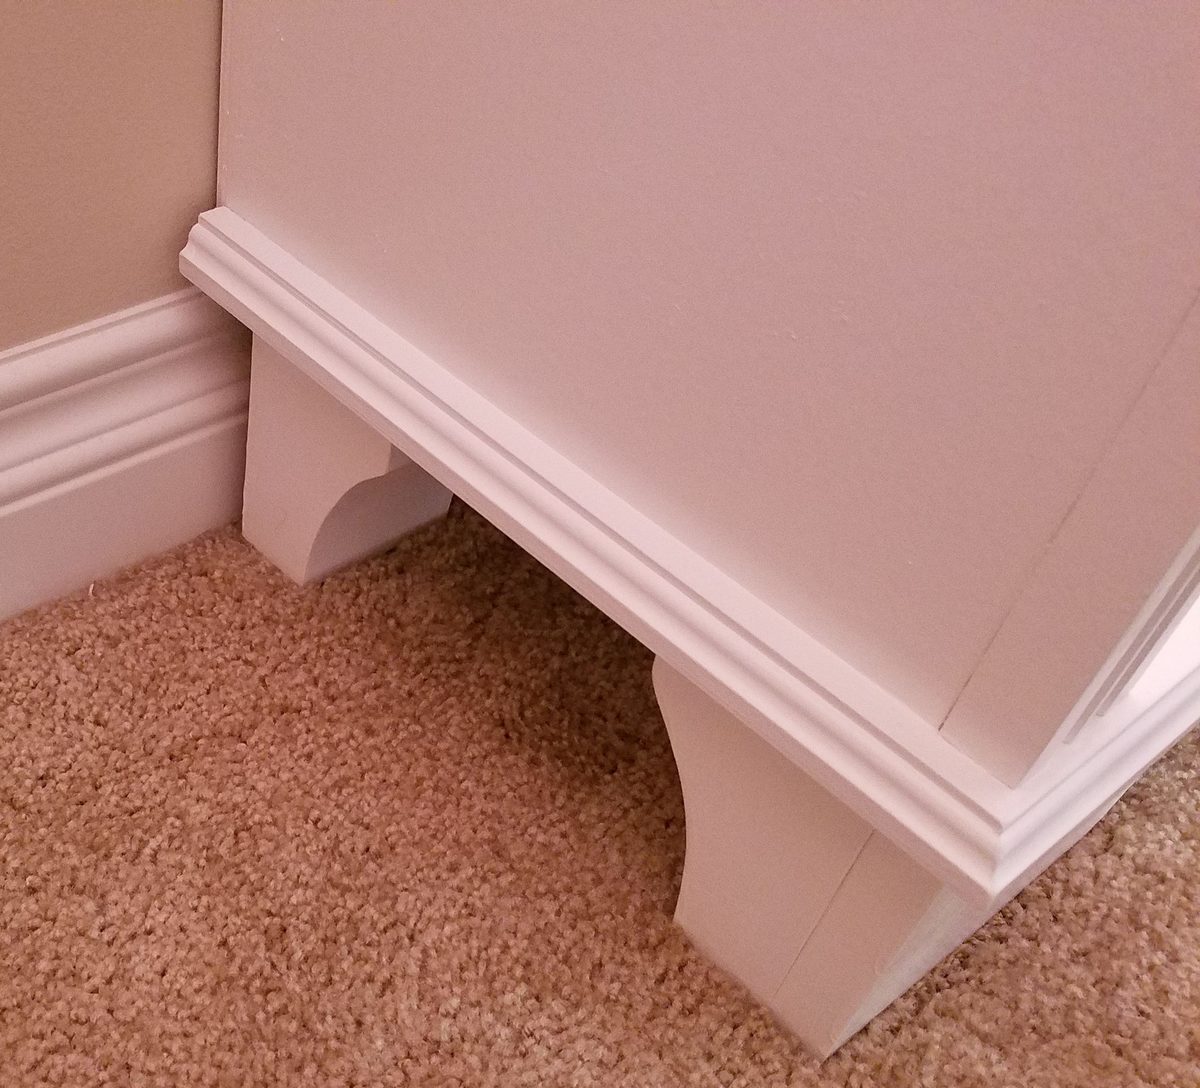
Finish Used
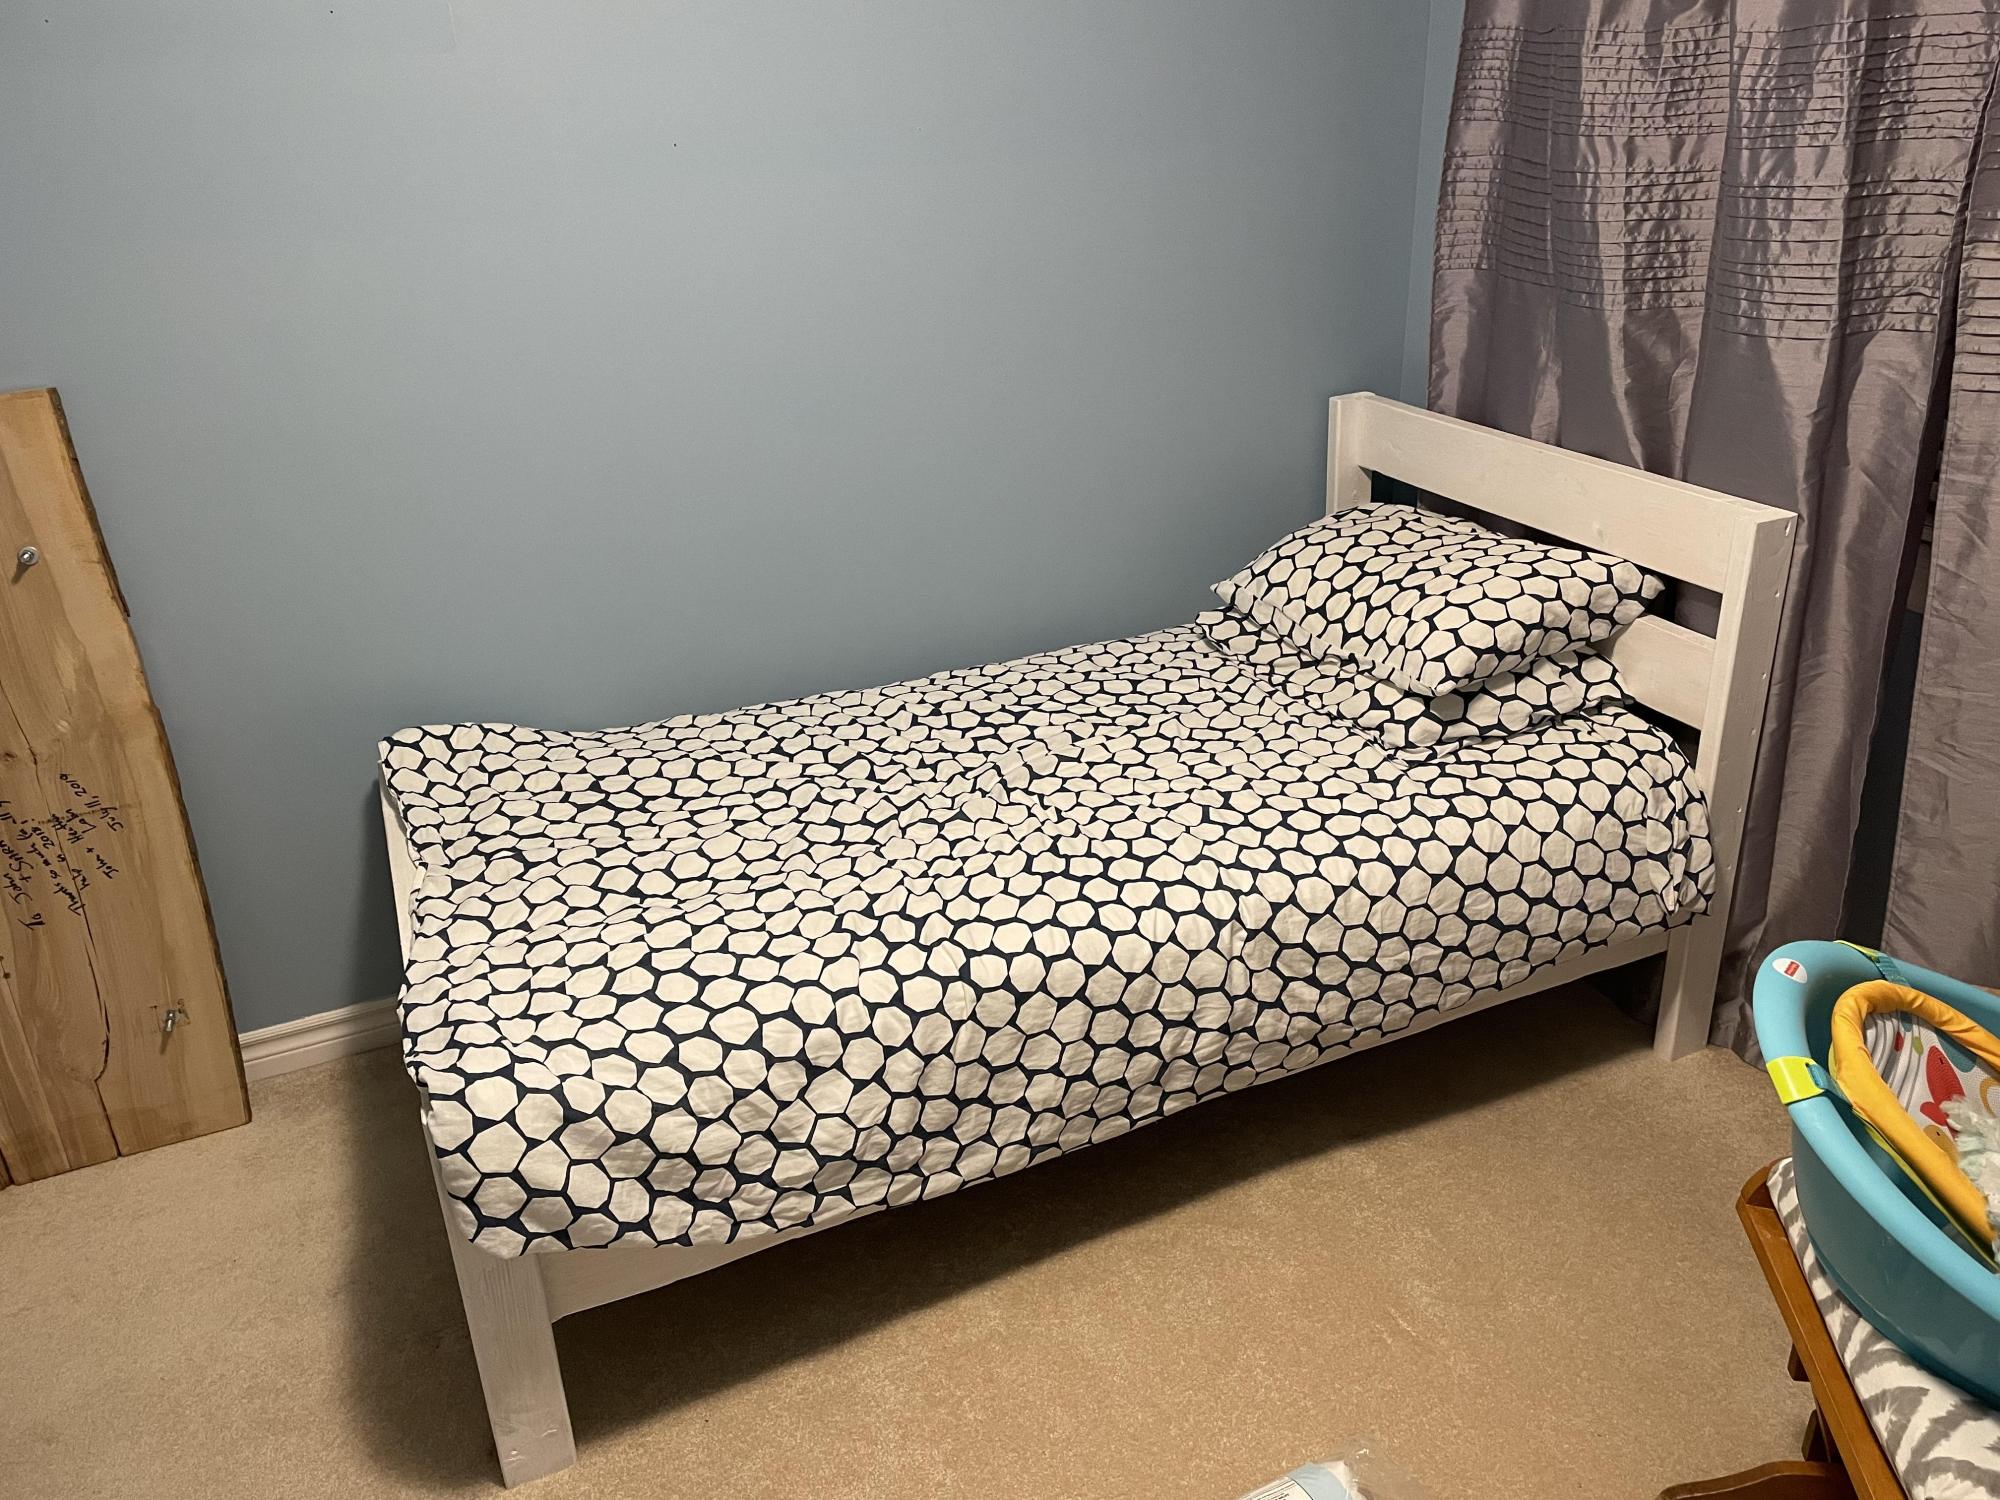
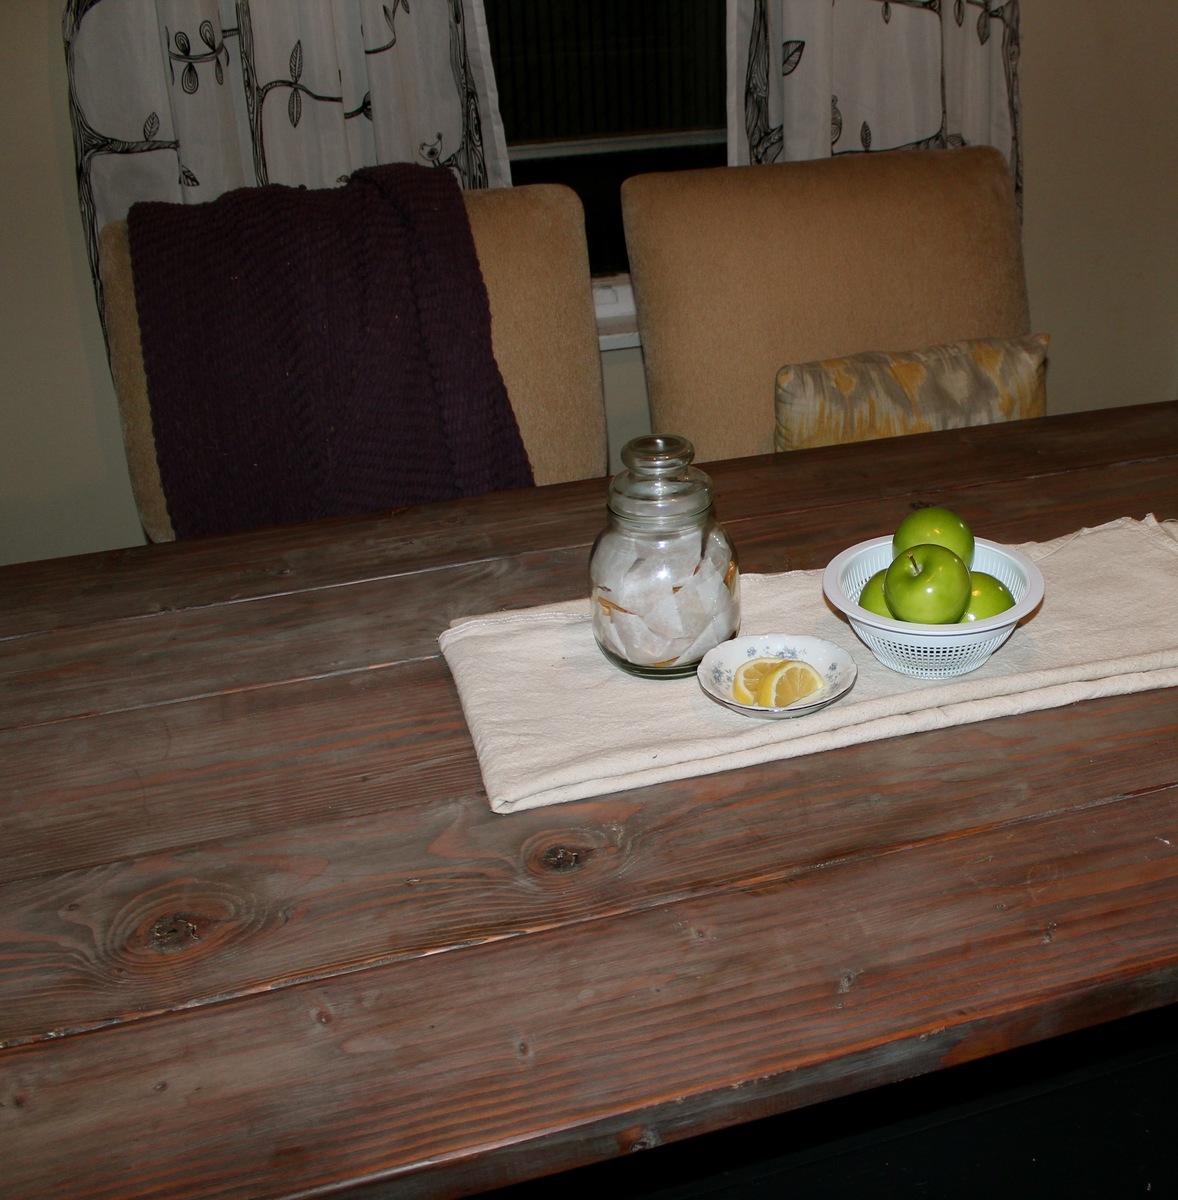
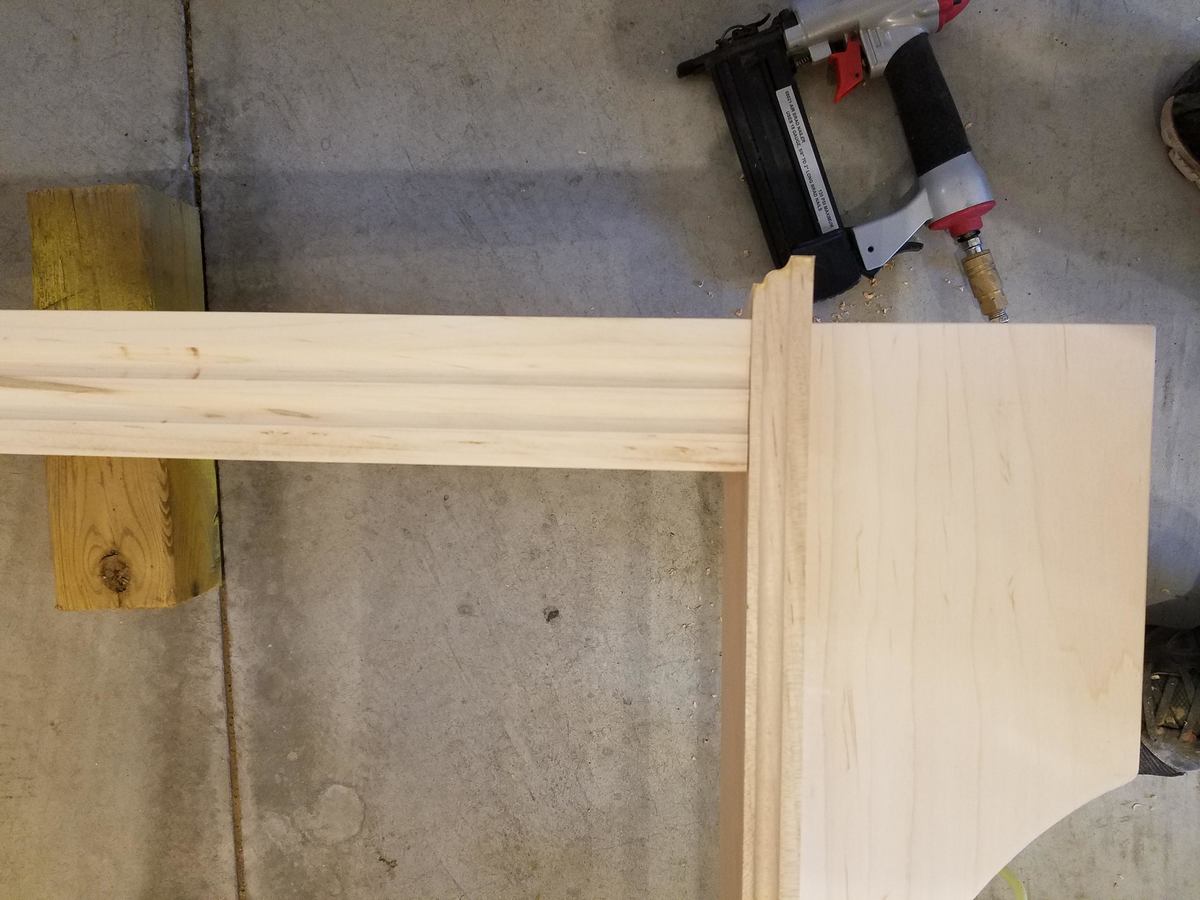
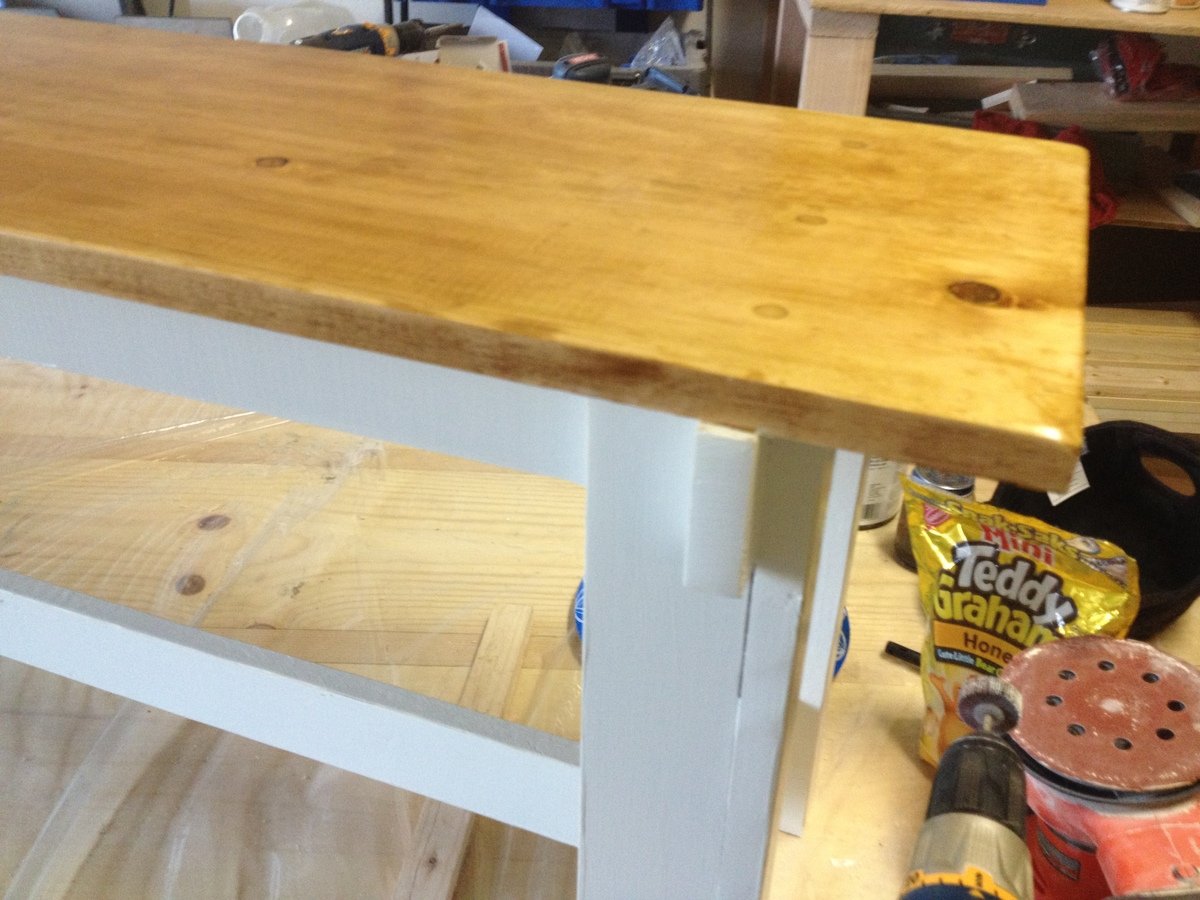
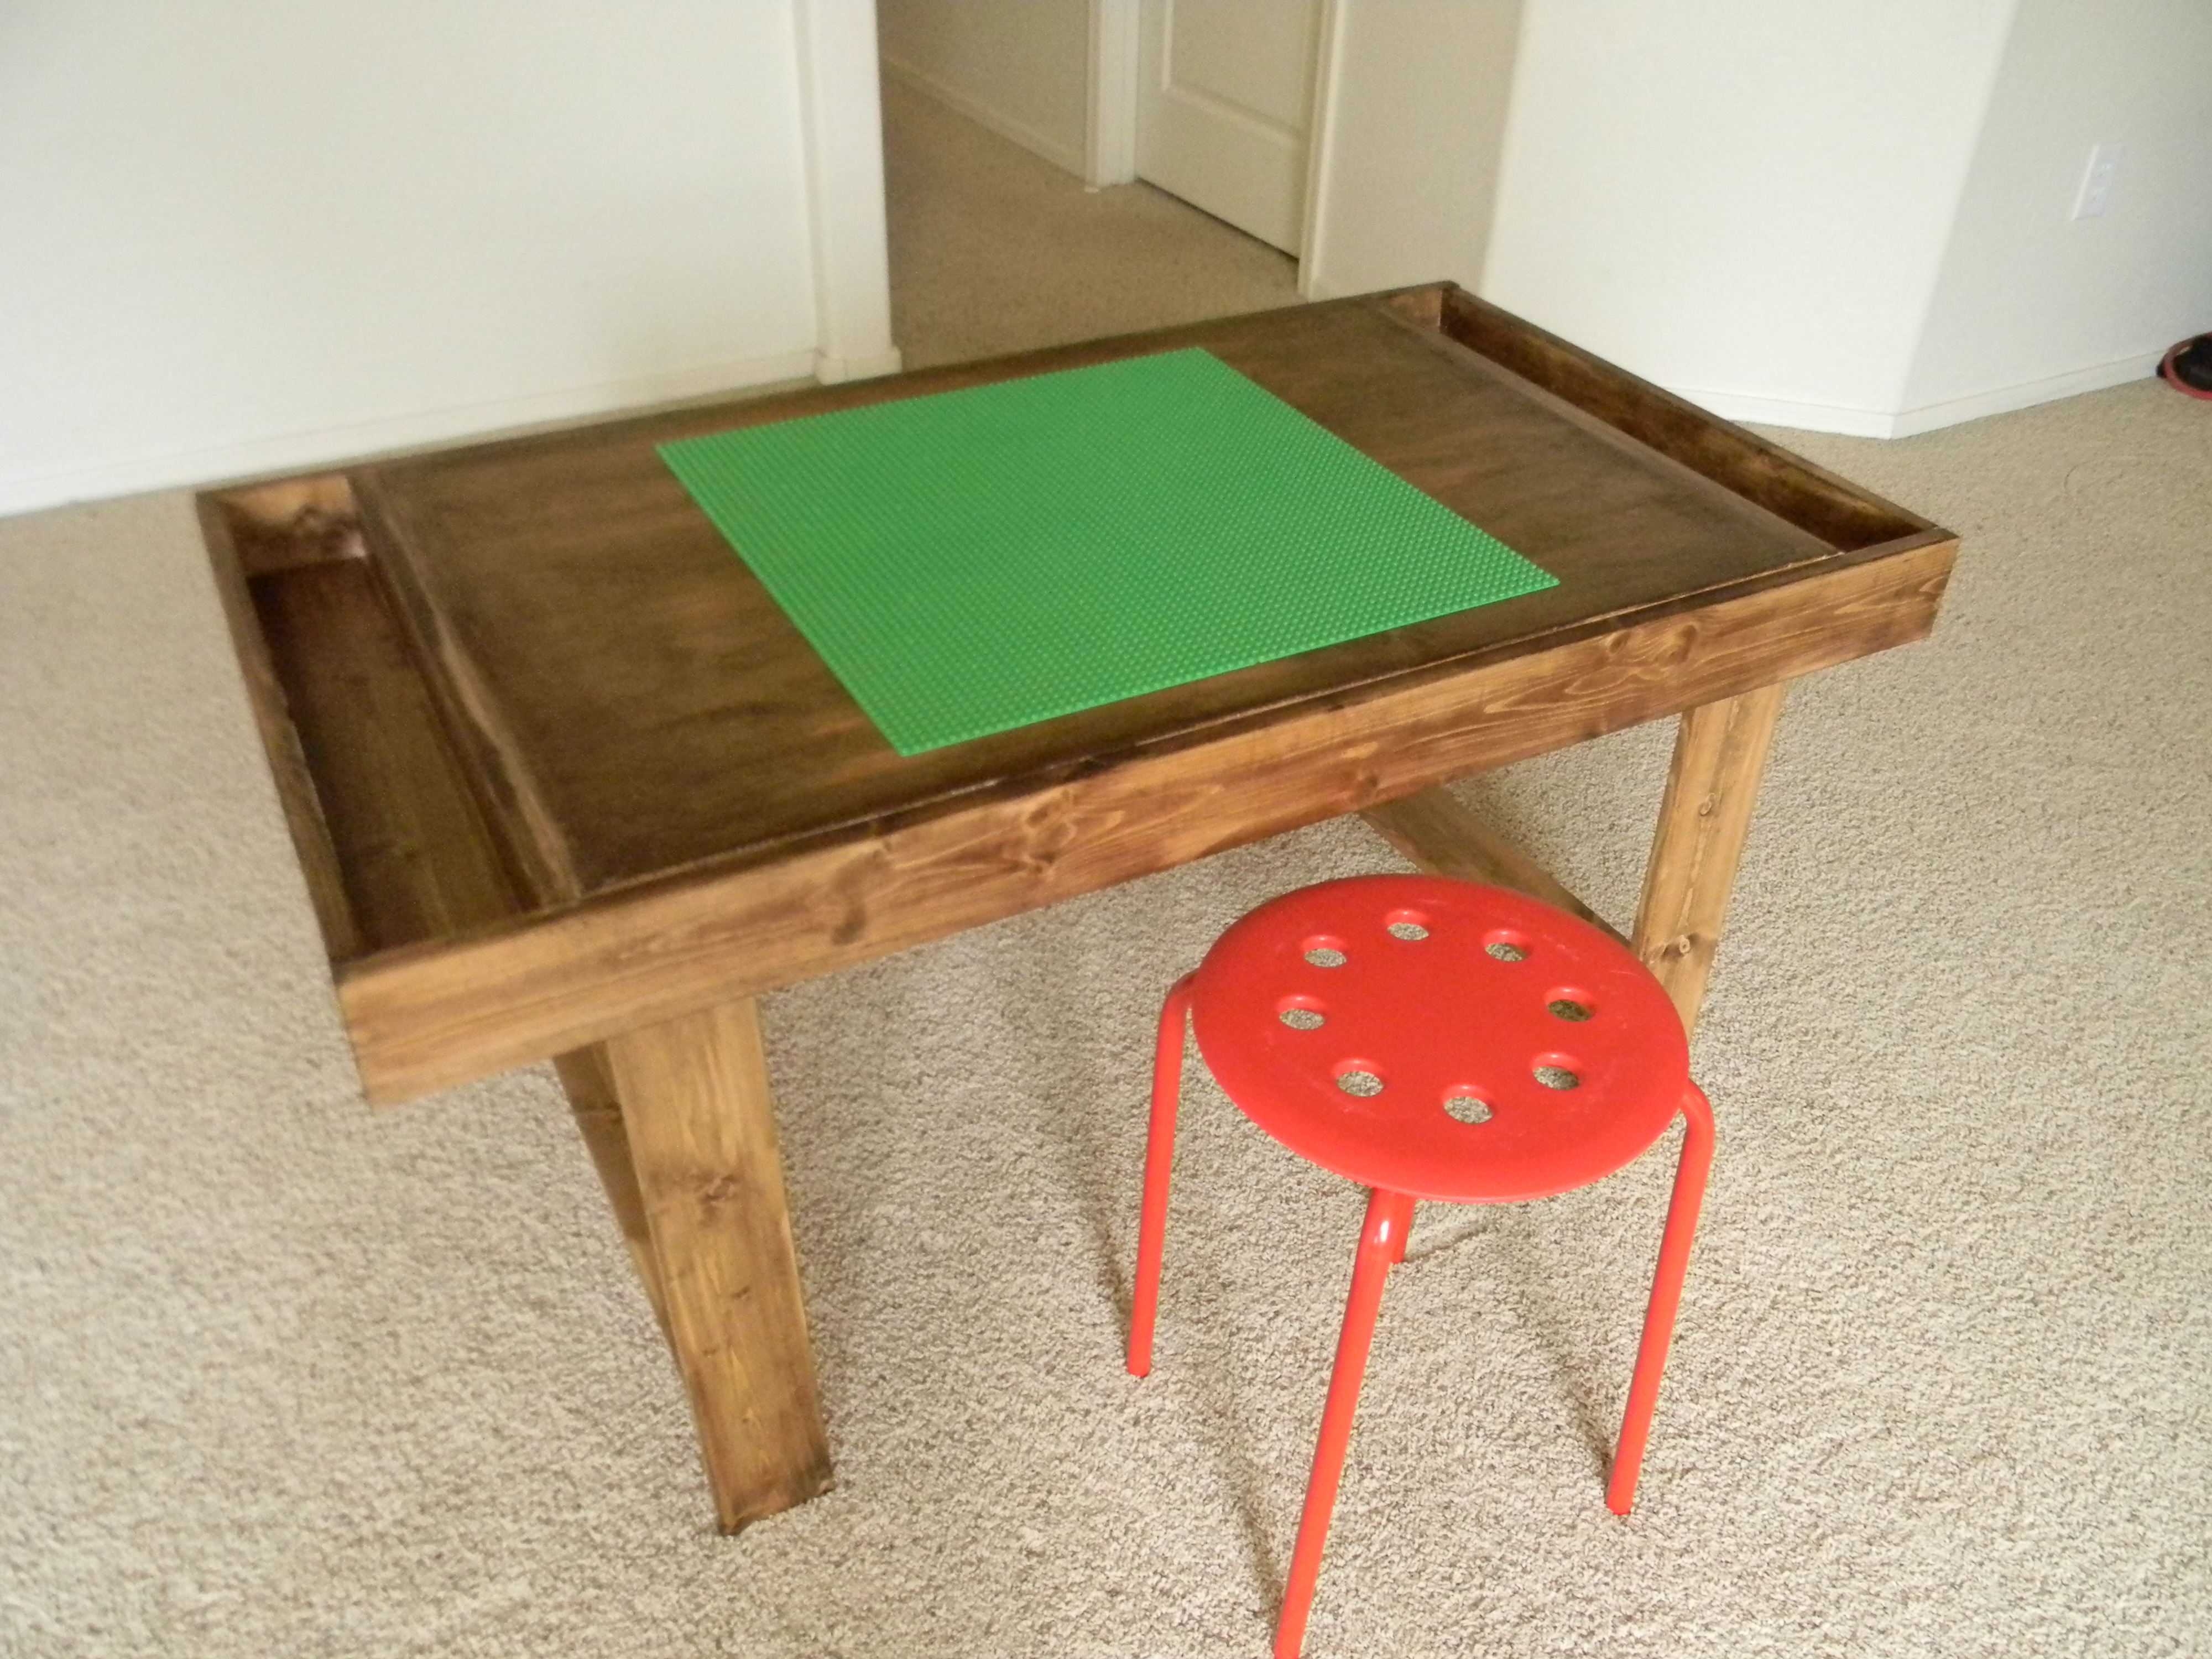
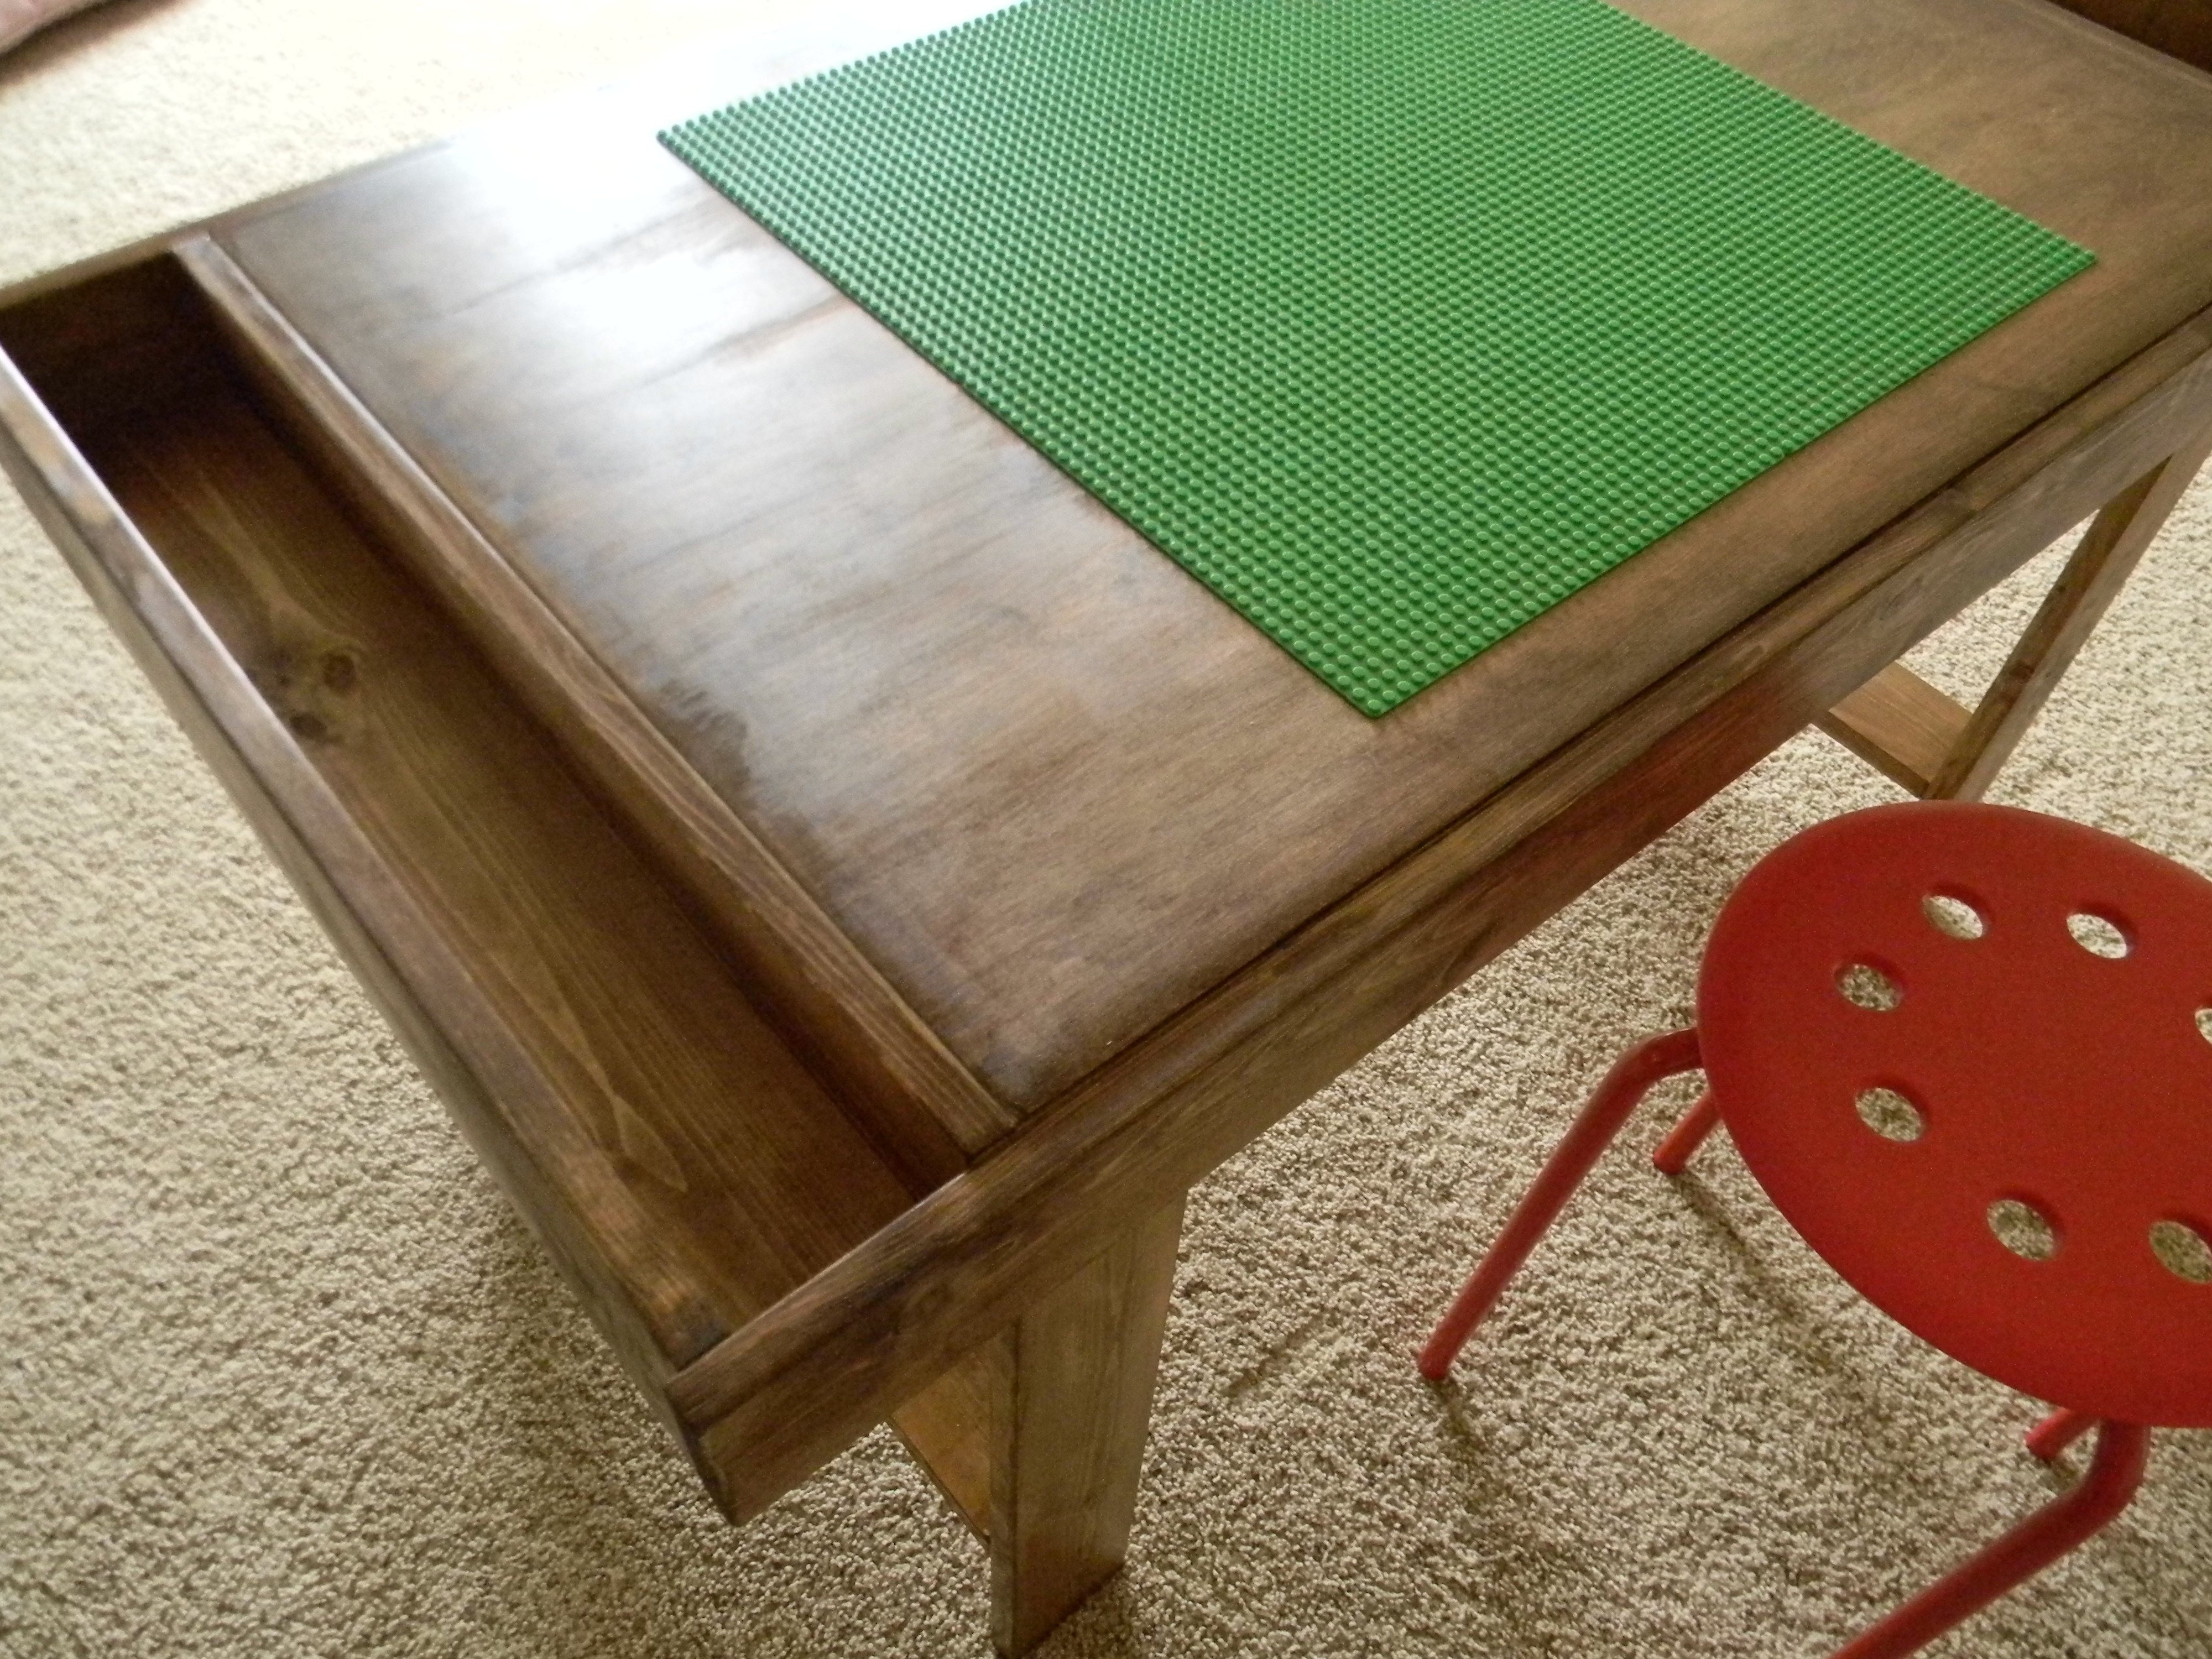
White Paint and Dark Maple Finish
Recommended Skill Level
Beginner