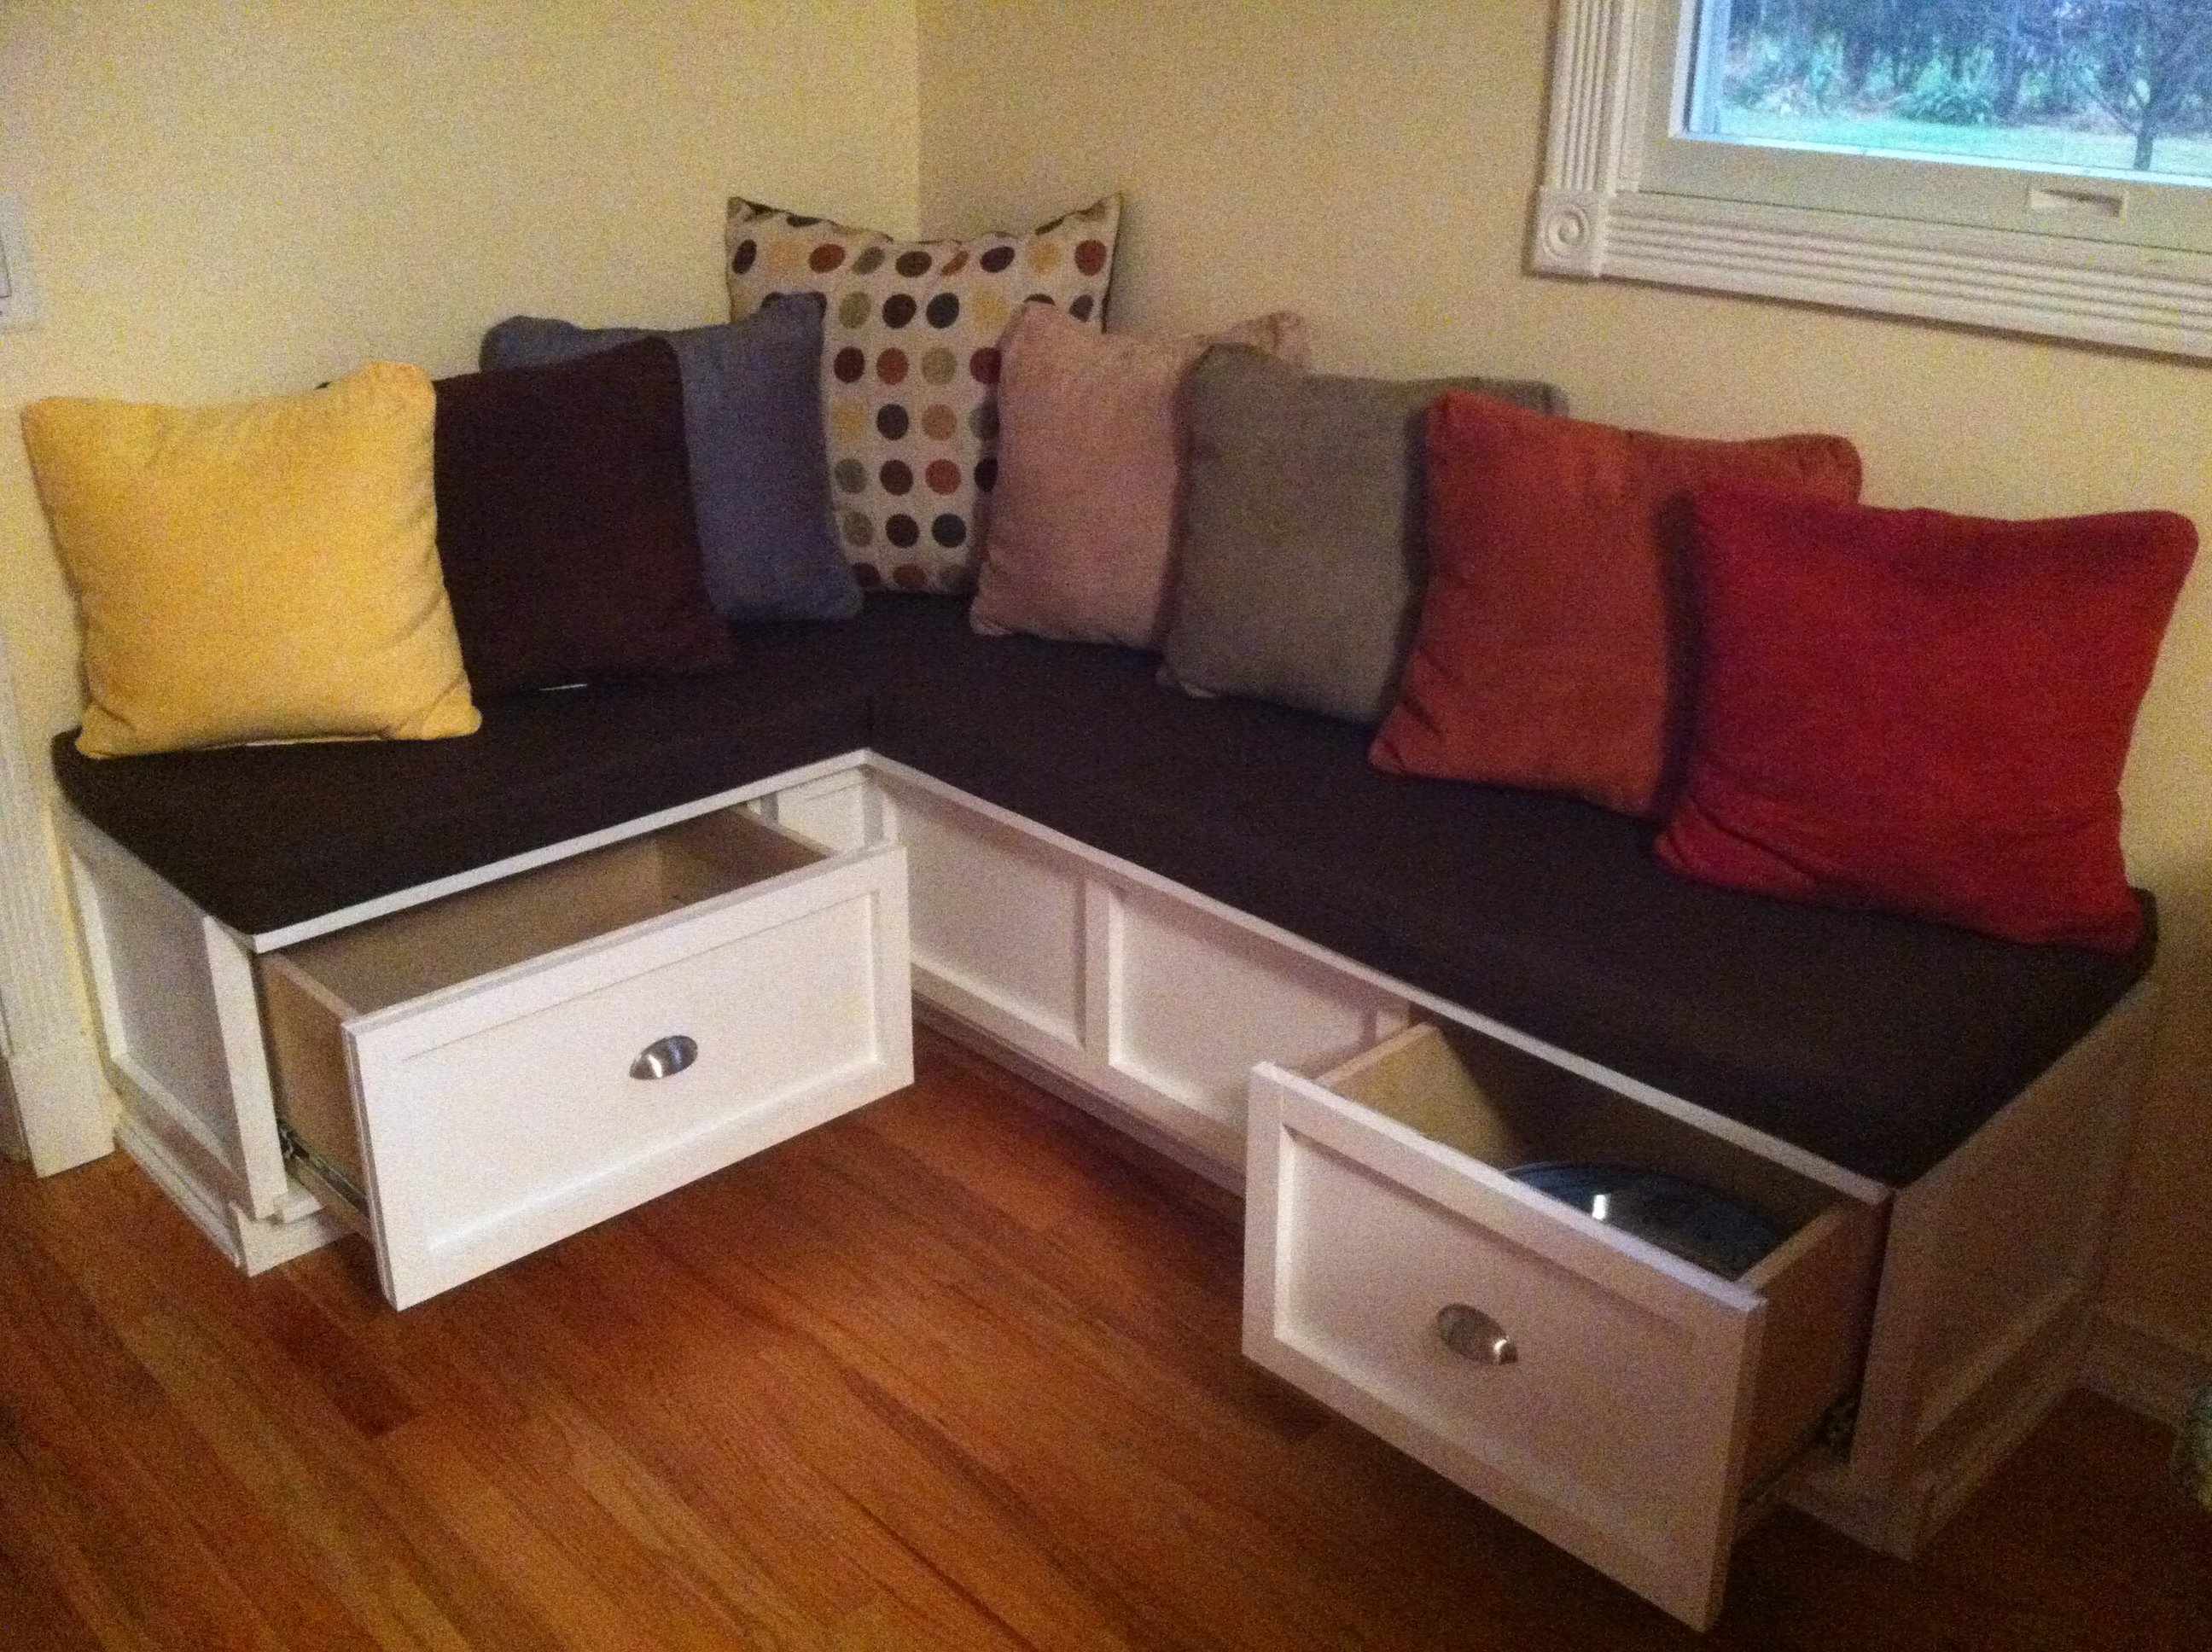
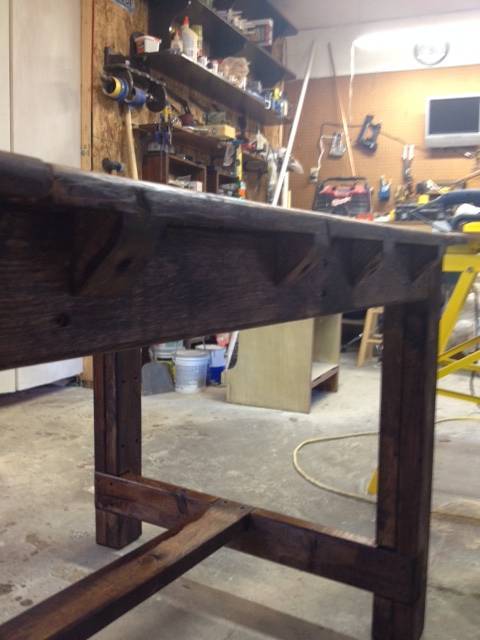
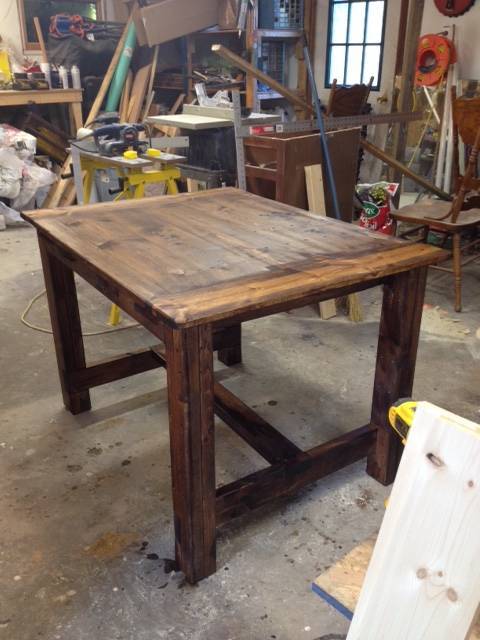
Tryde Coffee Table
Very fast and easy to complete
Just made these last night! So quick and easy, thank you so much! You are so inspiring!
Mon, 10/26/2020 - 11:29
They really are easy and such a great way to add some curb appeal! Thanks for sharing!
So I had a bunch of wood lying around so I tried the flower storage table and made two stools from Ana's plans with a few modifications. The plans were great though I didn't quite catch at first to miter my stool legs at 10 degrees BOTH ways on my miter saw. After putting them together the tops didn't sit flush or the legs so I had to take them apart and recut them or sand them down to the proper angle. I guess I was able to fix it easily enough though it would have taken me only a day or two to complete the project had I not made this mistake! I finished the table and stools with two coats each of Minwax Dark Mahogany stain and Fast Drying Satin Polyurethane. My little man LOVES it and it'll grow with him for quite a few more years I think. Thanks for such great plans Ana!! The table is a great size and it can handle two more stools so I think I'm going to get busy again! The whole project only cost me $25 for stain, polyurethane and screws. I was able to complete it without buying the expensive kreg jig and used the $15 mini kreg jig kit instead. 2" clamps were a must with the jig though to hold everything securely while drilling.
For this table I combined few designs that I liked to give me a large (8'x4') outdoor dining table with a big cooler in the center.
Really fun and easy to build. Thank you for the inspiration and plans.
I made my bench around 53” and put the bottom leg apron about 1 1/2” from the floor and tha gave me the space to put 2 1x4 boards as a shelf
I searched the web for the perfect play kitchen for my daughter for Christmas, but I could not find one I liked. After reviewing the plans, I thought this one was worth a shot. I could not be happier with the results.
A few notes...
I did change the location of the hinges for the oven door to the side and included a magnetic closure. I was afraid my 18-month old daughter would stand on the plexiglass if the door opened down.
It took me longest to find the "eyes" for the oven. I lucked up on some silver coasters at Target that did the trick.
My husband and I enjoyed working on the project together at night in the two weeks before Christmas, so I got a little plaque engraved for the back of the oven that includes our daughter's name and says "made with love by Mommy & Daddy Christmas 2012"
Thanks Ana-White!
Built in a few hours and cleaned up seams with caulk. Finished it off with standard trim paint.
I created this desk using the Fancy X Desk plans, but I used a project panel for top.
Double upholstered toddler day bed
Tue, 01/08/2013 - 14:44
Say what???? This is awesome!!! I adore the fabric and how you put two beds together! Thank you so much for posting photos! Ana
Wed, 01/09/2013 - 08:55
I love the color combinations going on here! What paint is that on the walls? I want to do this for my sewing/guest room!
I started building built-in bookshelves based loosely on the LACK copy-cat plans Ana posted. I started getting to work on them and realized I needed a way to handle the 8' and 12' boards I have to cut down to make the parts. Back to the home store I went! This was an extremely easy project to put together. I used one sheet of cabinet grade plywood ($30) and had it cut down at the store on their giant saw and three furring strips (as described in the plans, about $1.50 each).
My cuts were:
Assembly at home was really fast. It took me 90 minutes, it would have been probably under an hour if I had the table already! I didn't like the folding brackets at the store, so I went with fixed cheap ones for now. I'll swap them later. You'll notice the saw sits a little lower than the side tables. I'm going to mount the saw to the table and I'll fine tune with that.
Back to the bookshelves!
I had so much fun building this!! It ended up being 80"L x 29"W x 40"H
I added a removeable center seperator to make it available for 2 dogs and a hinged top for easy cleaning. If you would like to know more, mssage me here! https://www.facebook.com/almshousecreations
Sat, 11/21/2020 - 13:10
I was about to ask the same thing. If there is any, I can not find them. Please post
This project was quite easy and did not require many tools. The plan allowed me to adjust the measurements easily so it could fit in that space. I used regular 2x4’s and treated the wood with Mountain Ash colour in a semi-transparent stain from Sherwin Williams, I just love the colour! I build 2 - 2 seaters exactly the same. The one side has no arm, as I wanted it to look like a lounge chair. I love to sit in the corner and stretch my legs 😊. I bought the cushion covers from IKEA, and got good quality foam.
I made this for my nephew for Christmas. I'm new to furniture building and this is only my second project. It was my first time using a jig saw and it turned out much nicer that I thought it would. I also tried out my new router on the stair treads. I just love the preppy colors and whimsical whale. I'm sure it will get lots of use.
Fri, 01/11/2013 - 08:34
Cute! I really like the finished look the routered treads give it.
These planters were really easy to make, and held up well all through the spring and summer. This was my first garden, and I was excited to try raised planters. I added some reinforcement to the middle just to keep everything together, and they were really sturdy! Thanks Ana!
This is the rustic x coffee & end table I used 2x4's for the X. I like the wider look of the 2x4's over the 1x's it adds more dimension to the table.
After searching retail stores for farmhouse tables and not liking the pricetags, my wife talked me into tackling this plan. (I'm glad she did) This is my finished product.
I made the breadboards extendable so we could add extra boards if we needed additional seats for guests.
Thu, 01/24/2013 - 12:03
I basically notched out the end apron so that 2x2's could slide through, then attached the 2x2's to the breadboard. I originally attached them so they were just under the edge of the breadboard, but have since changed it so that it goes about halfway. I hope you understand what I am trying to say, if not I can add some more pictures.
Sat, 05/18/2013 - 06:55
Every time we visit websites, we saw almost the same as the other article and topic but I am shocked when I first read the title from this page. I never think that the blogger has the knowledge of making something new online. I only saw this kind of blog in this page. I concur that the blogger has the intellect of Albert Einstein. منتديات
Very happy with the results.
Fri, 11/14/2014 - 14:02
I really like the look of this! You did an awesome job!
Fri, 12/19/2014 - 17:33
How do you like the drawer pulls that you used? Do they hold up well? Great job on the project! I've started building this myself :)
First table!! I used all white pine that was milled over 45 years ago cut my own lumber out of this wood and the table top was made with 3 pieces of wood to make the top. Bench is being made now!
Built these two end tables from Ana's nightstand plans. Modified to add a shelf and drawers. I used stair treads to make the tops which give a nice thickness and strength. The shelves are cedar fence pickets. Shelf and tops are stained Jacobean with a semi gloss poly finish. Had to watch Ana's videos several times to get the build right, but spent much more time on the finish than the build. Added electric extension/usb outlet. Really happy with the project. THANKS Ana!
Sun, 11/15/2020 - 16:28
Project for my son. End tables with one and 2 drawers. Shelf and tops stained with poly, frames and drawer primed and painted. Tops made from Stair treads. they are 12" edge glued so just had to trim down and glue together. comes with one bullnose, rounded off the other sides with a 1/2inch roundover router bit.