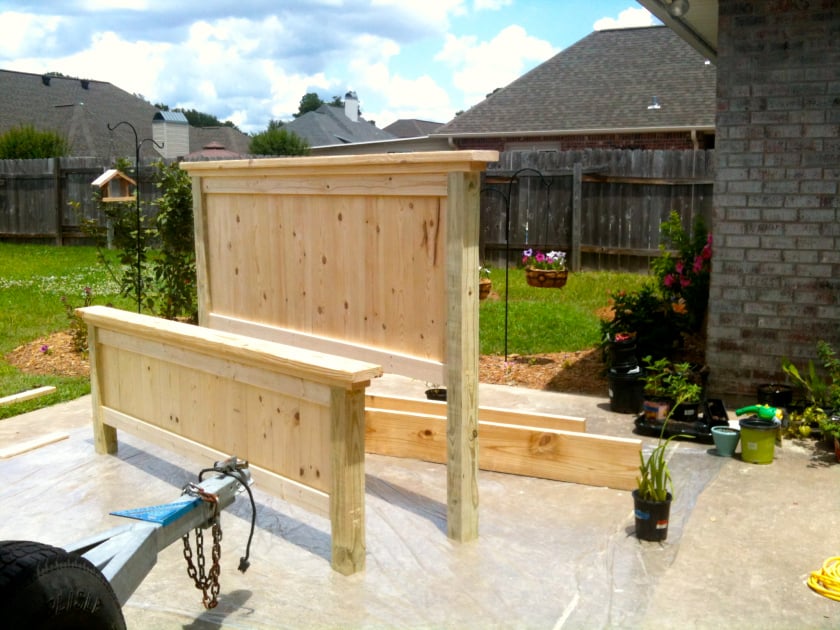
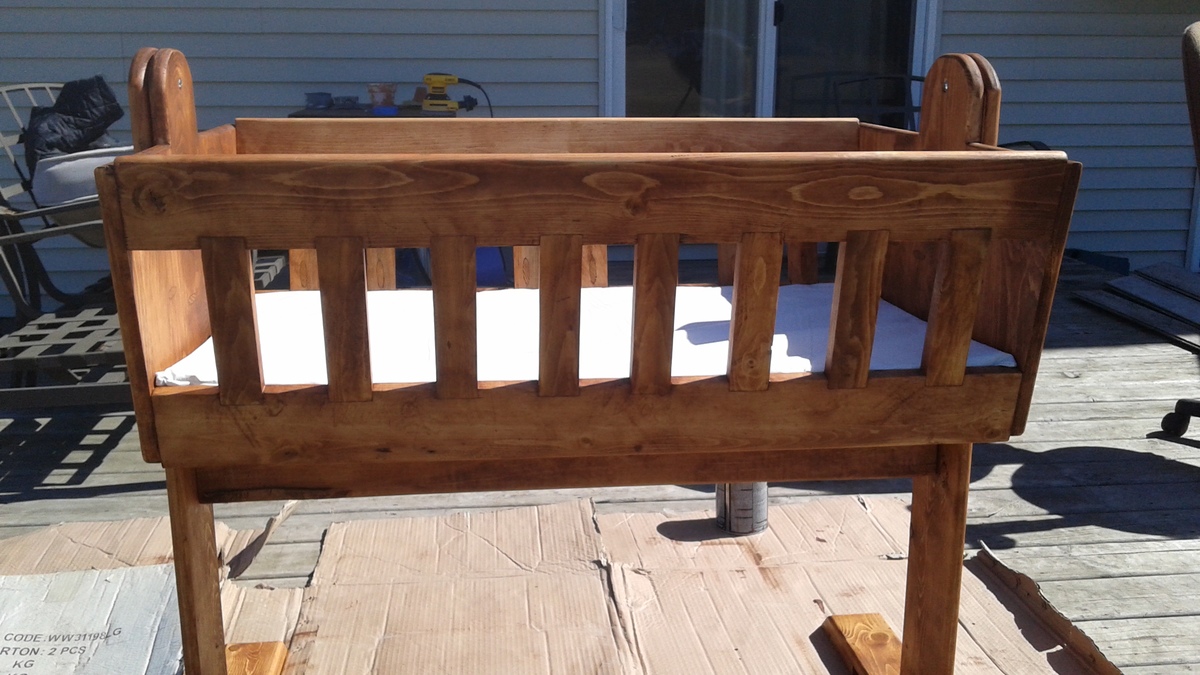
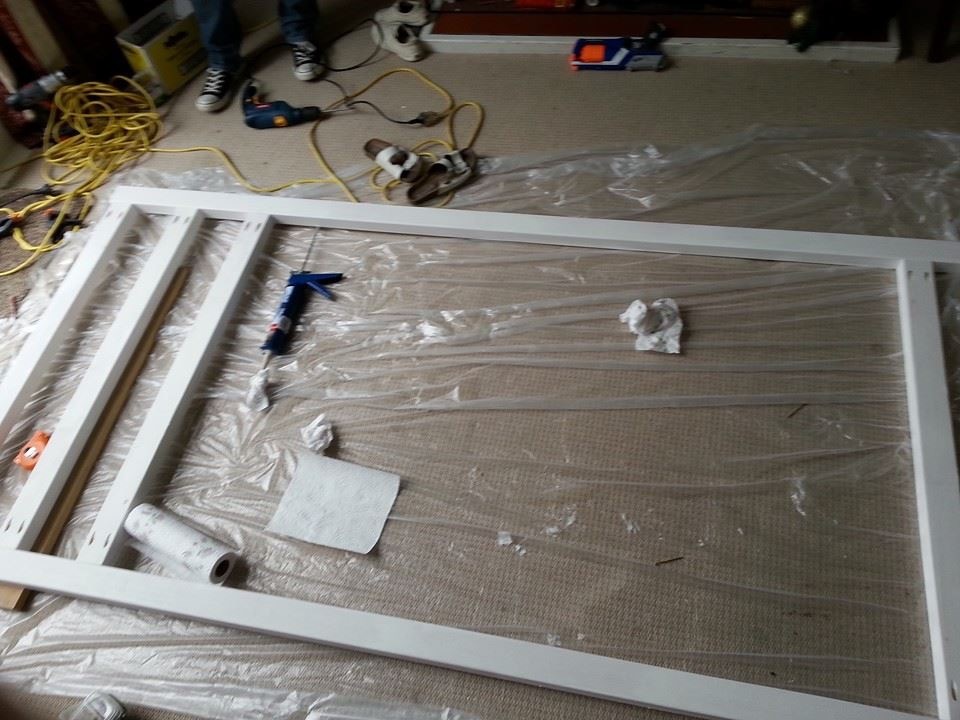
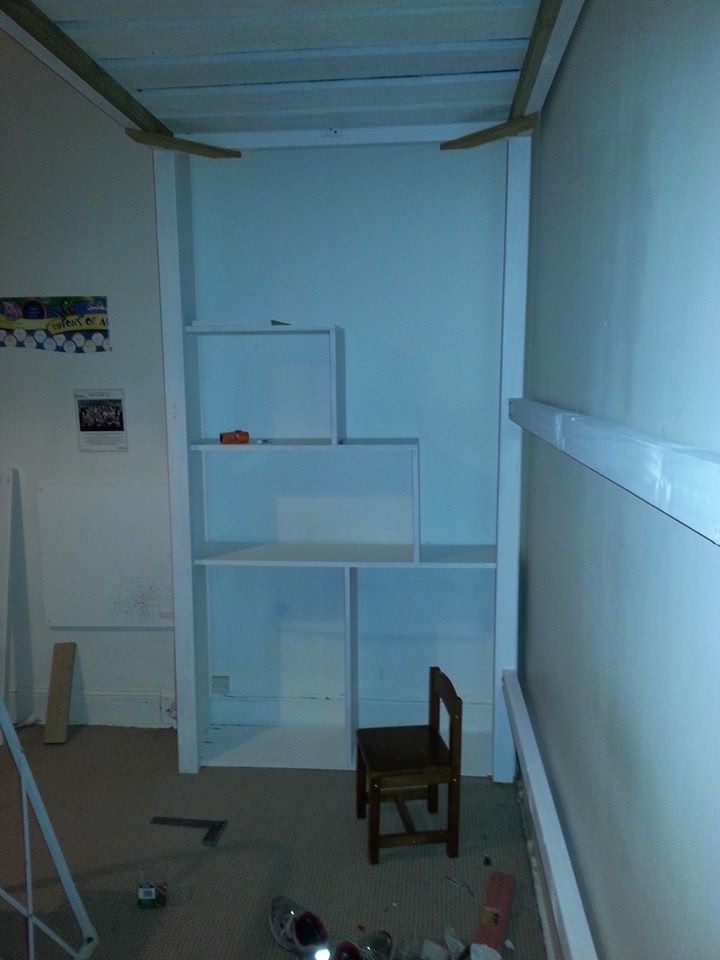
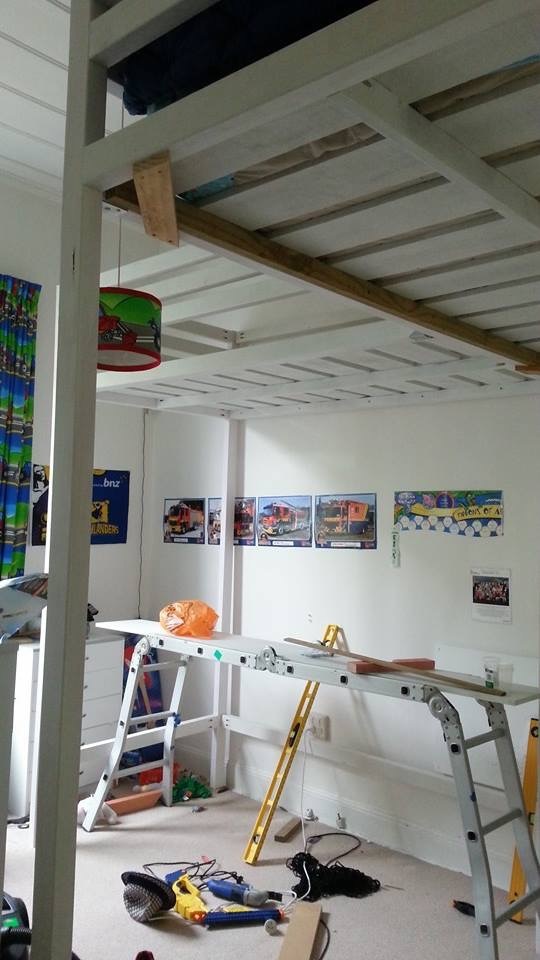
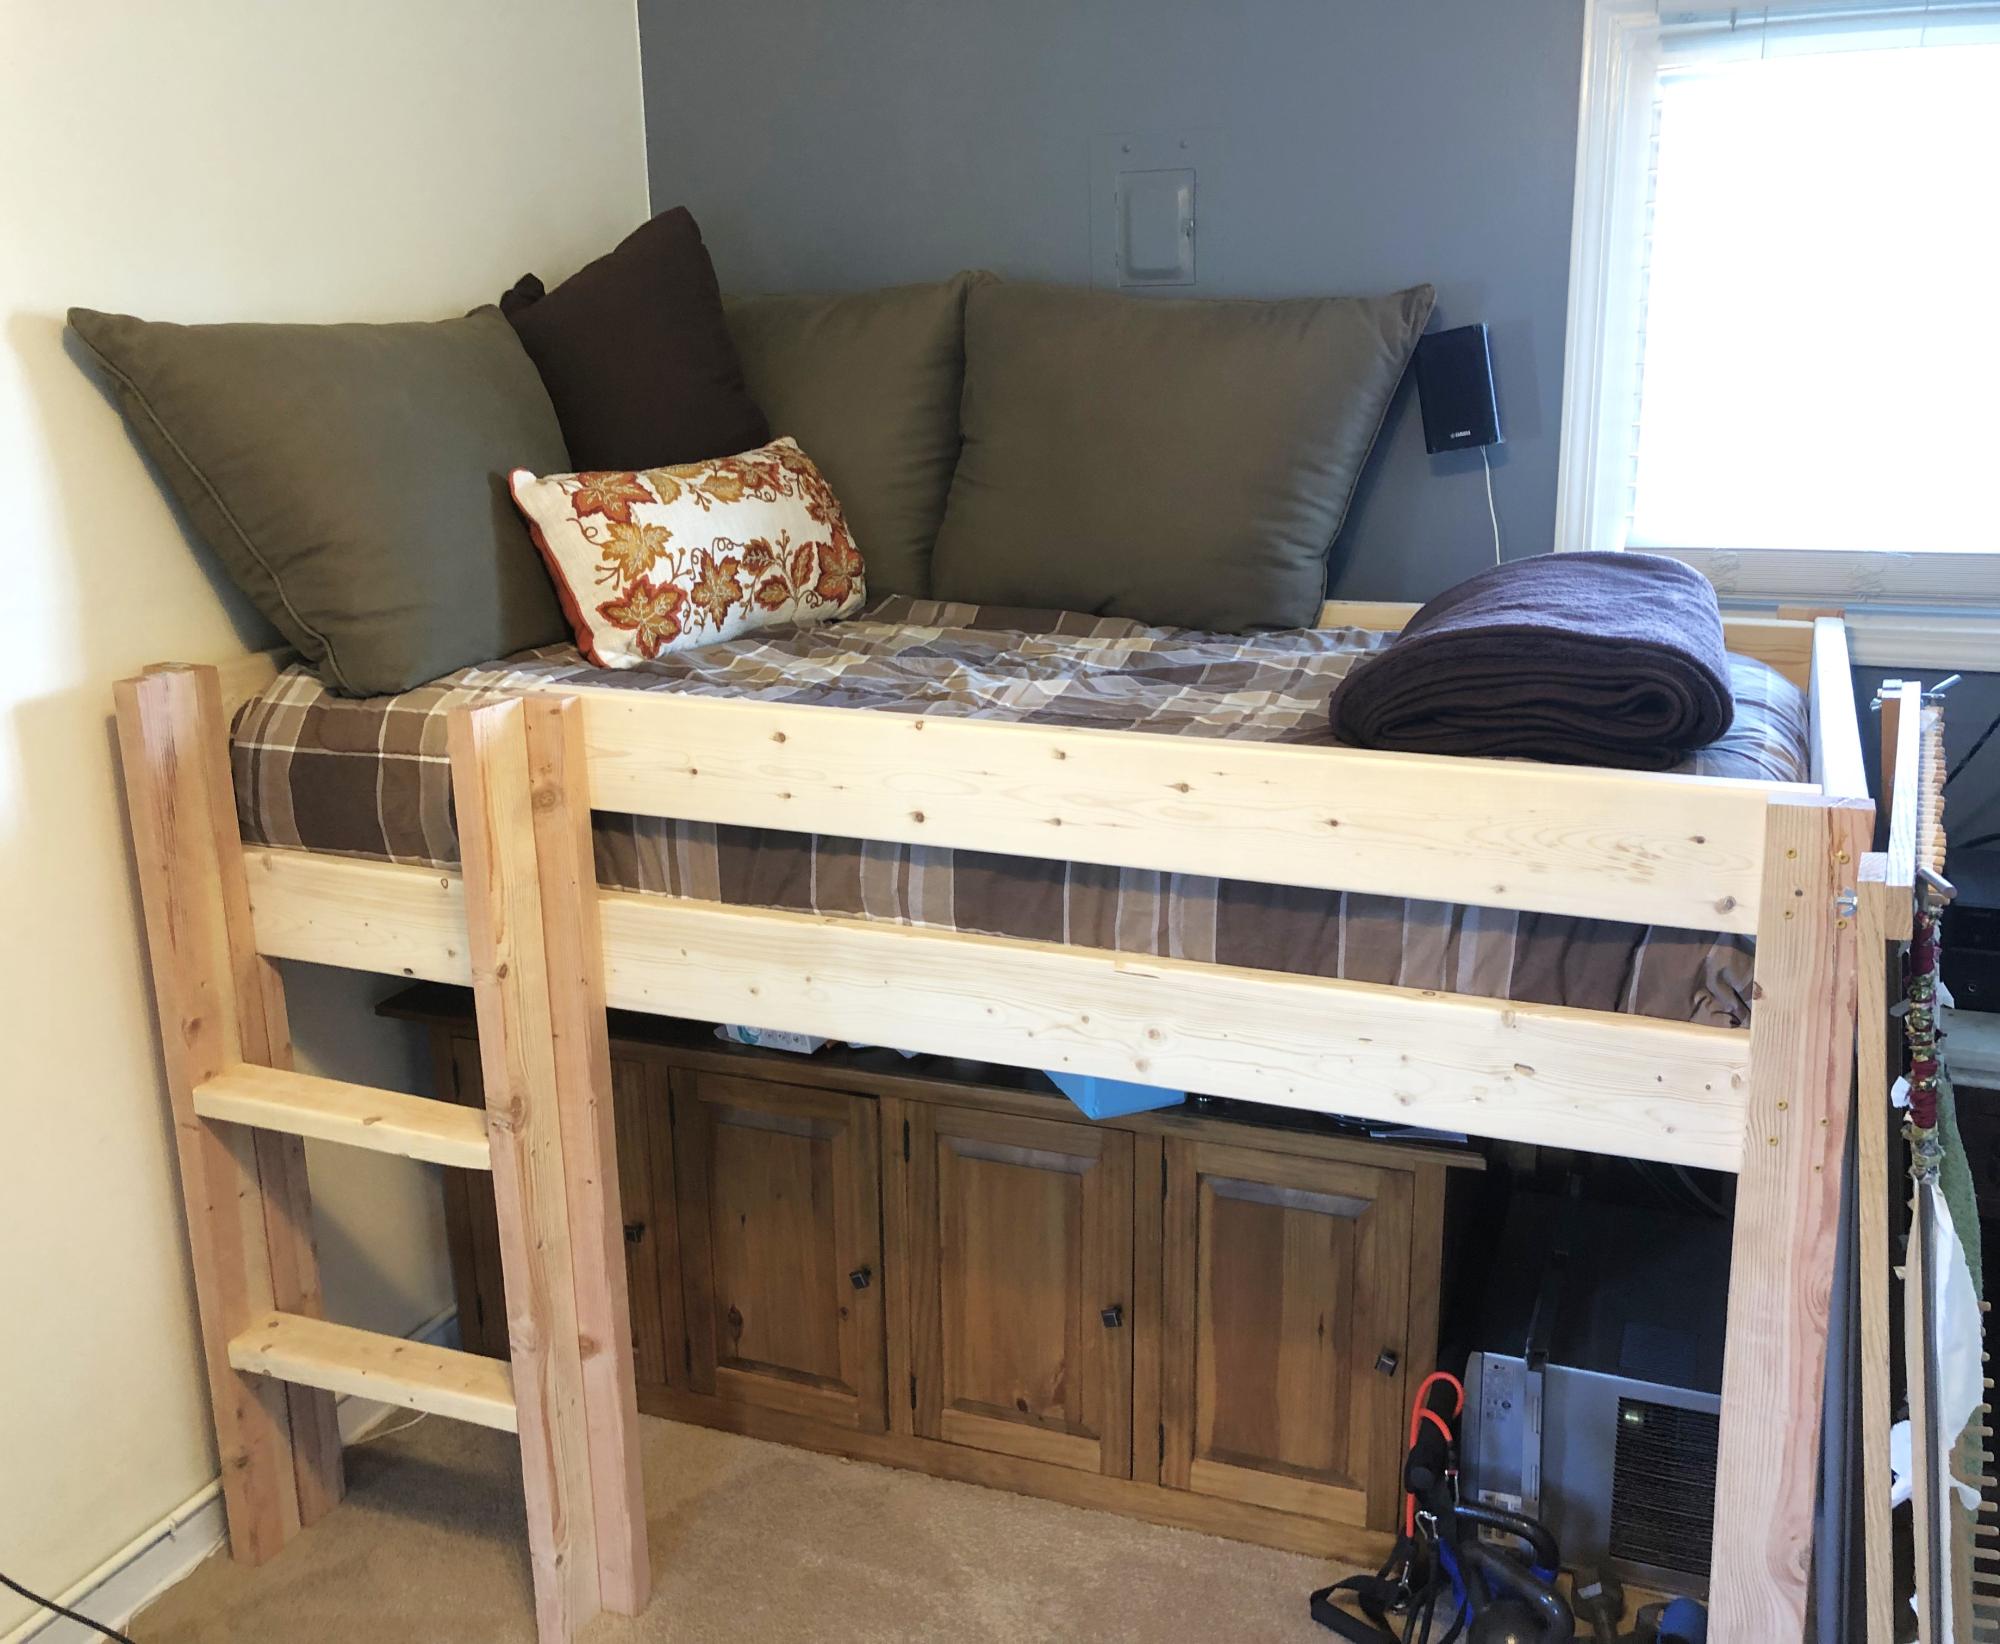
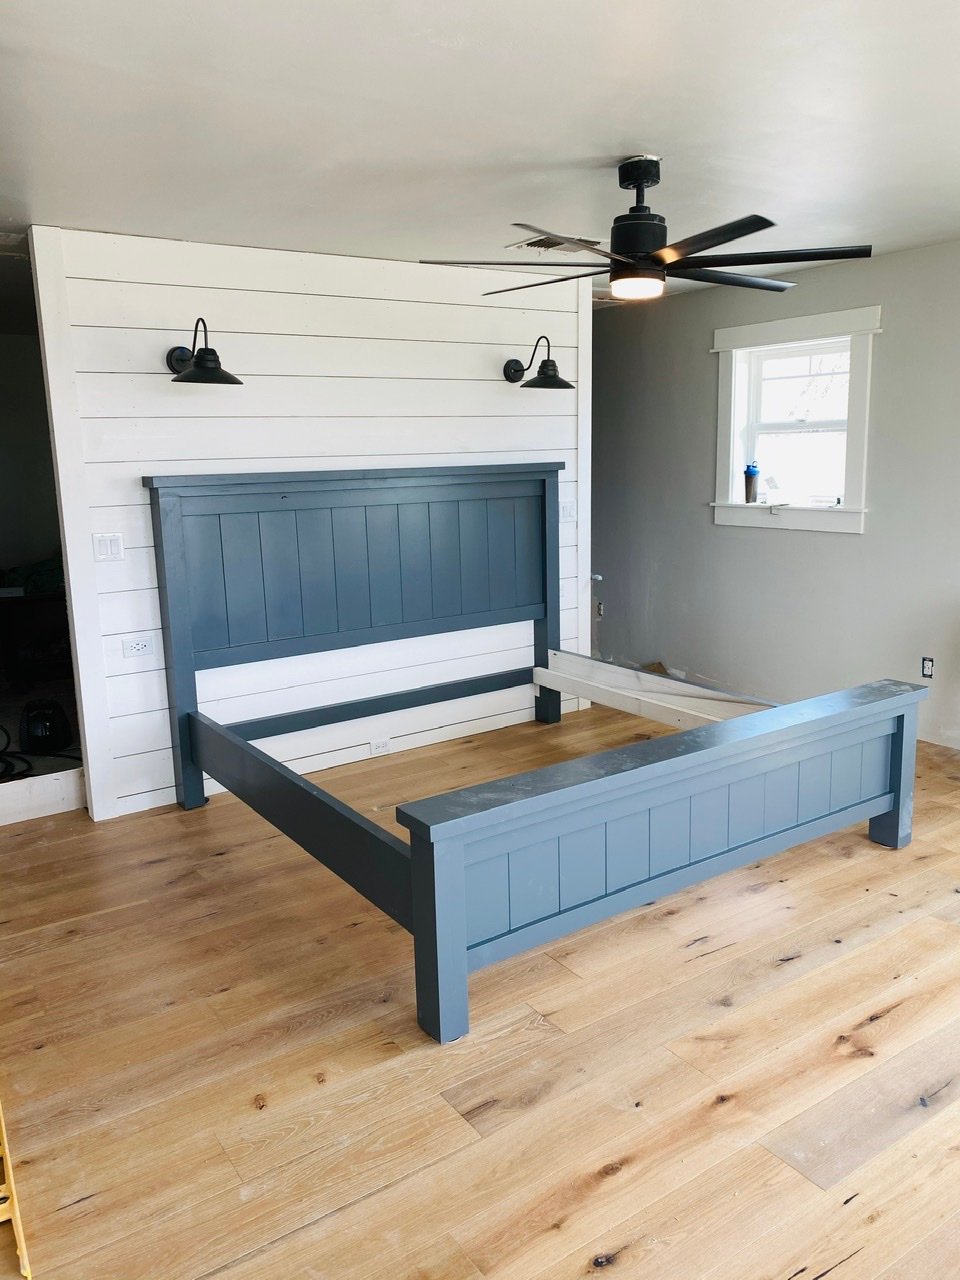
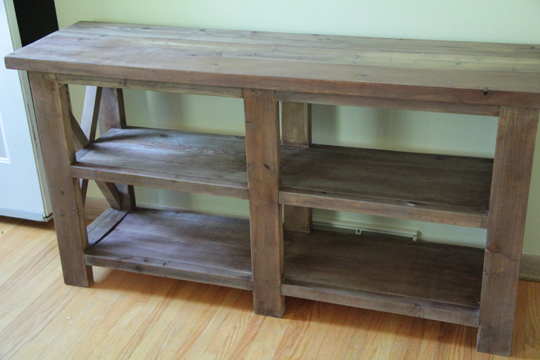
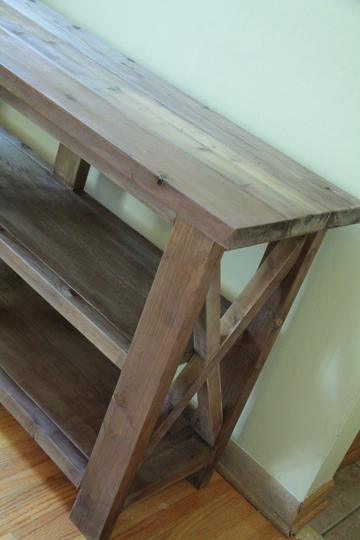
DIY Farmhouse Bed
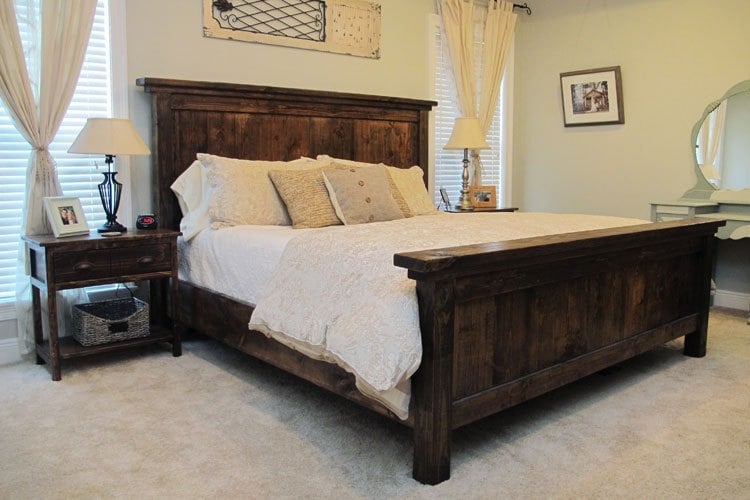
We built this Farmhouse Bed in 1 weekend for less than $200!
Built from Plan(s)
Estimated Cost
Less than $200
Estimated Time Investment
Weekend Project (10-20 Hours)
Finish Used
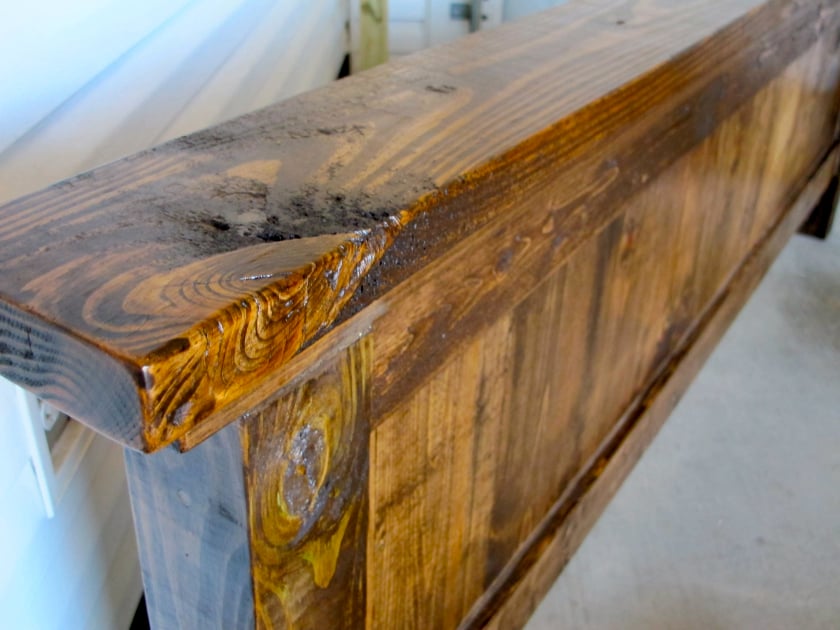
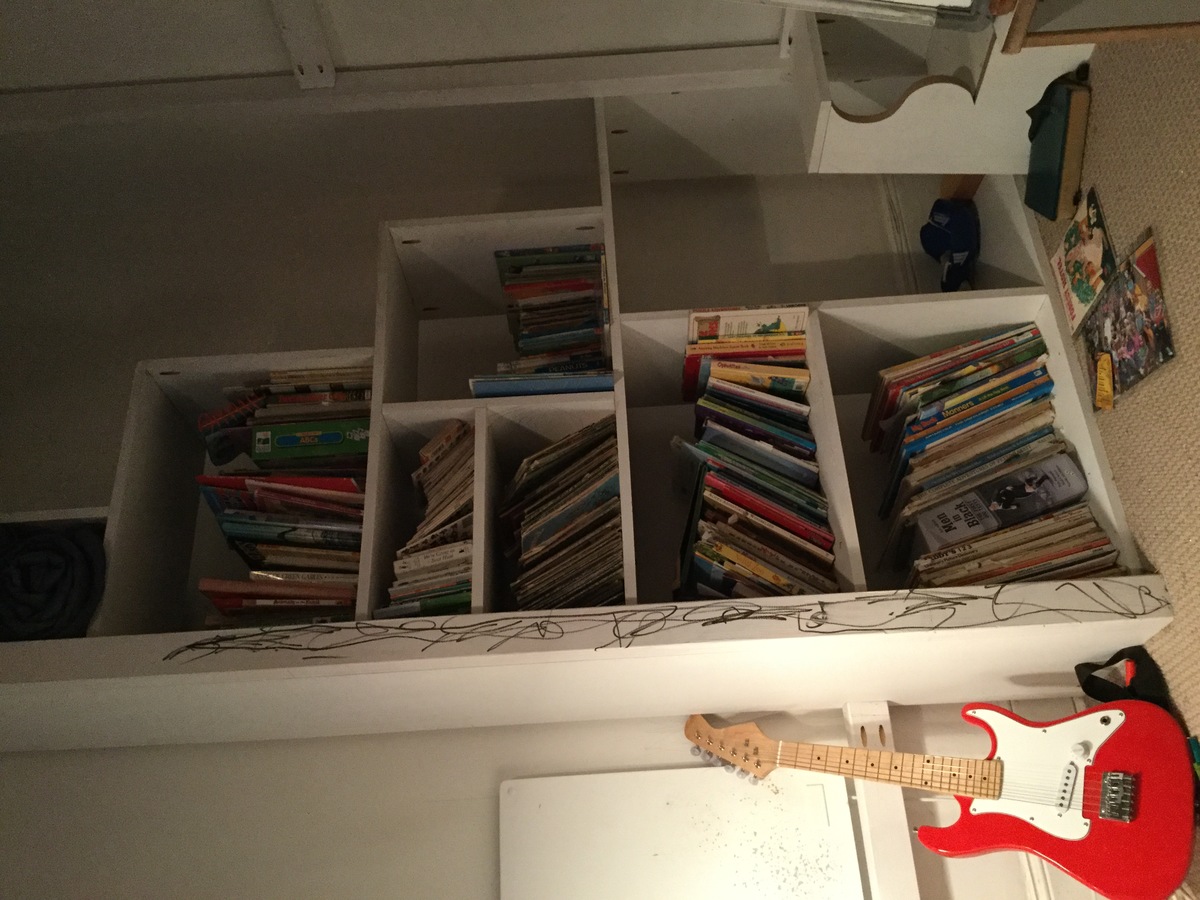
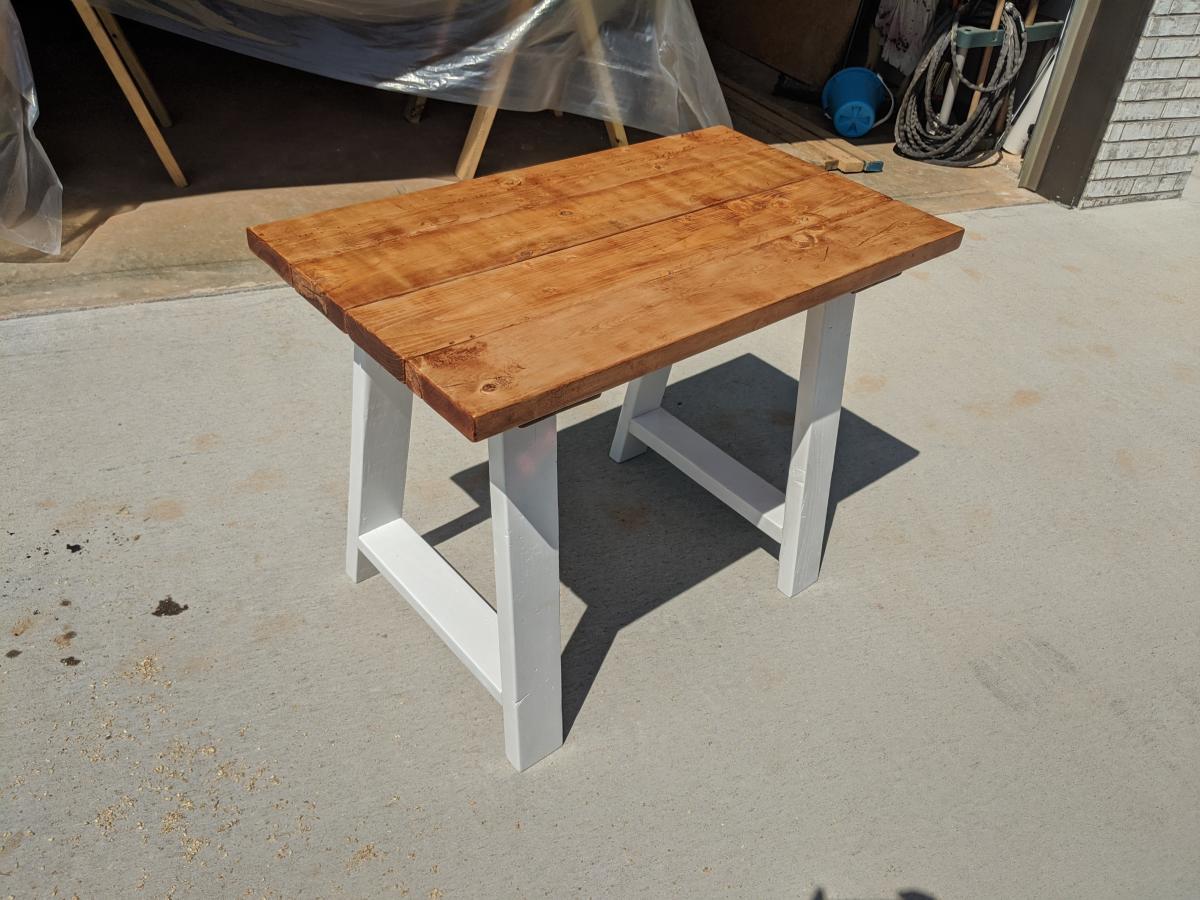
Rustoleum Dark Walnut Stain applied with a brush and immediately wiped off using a lent-free cloth. Sealed with Minwax Satin Spar Urethane.
Recommended Skill Level
Beginner


Comments
DanaLeeInAZ
Fri, 02/20/2015 - 19:26
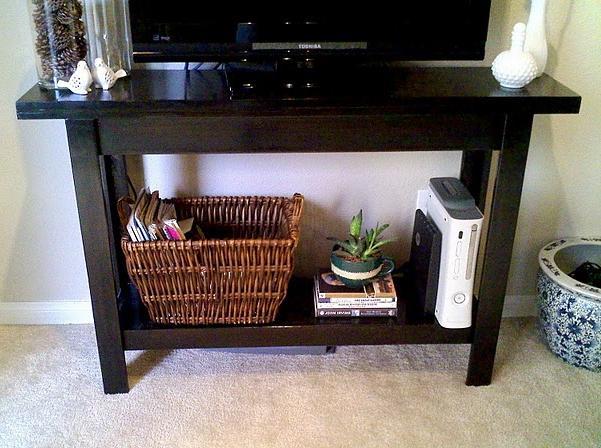
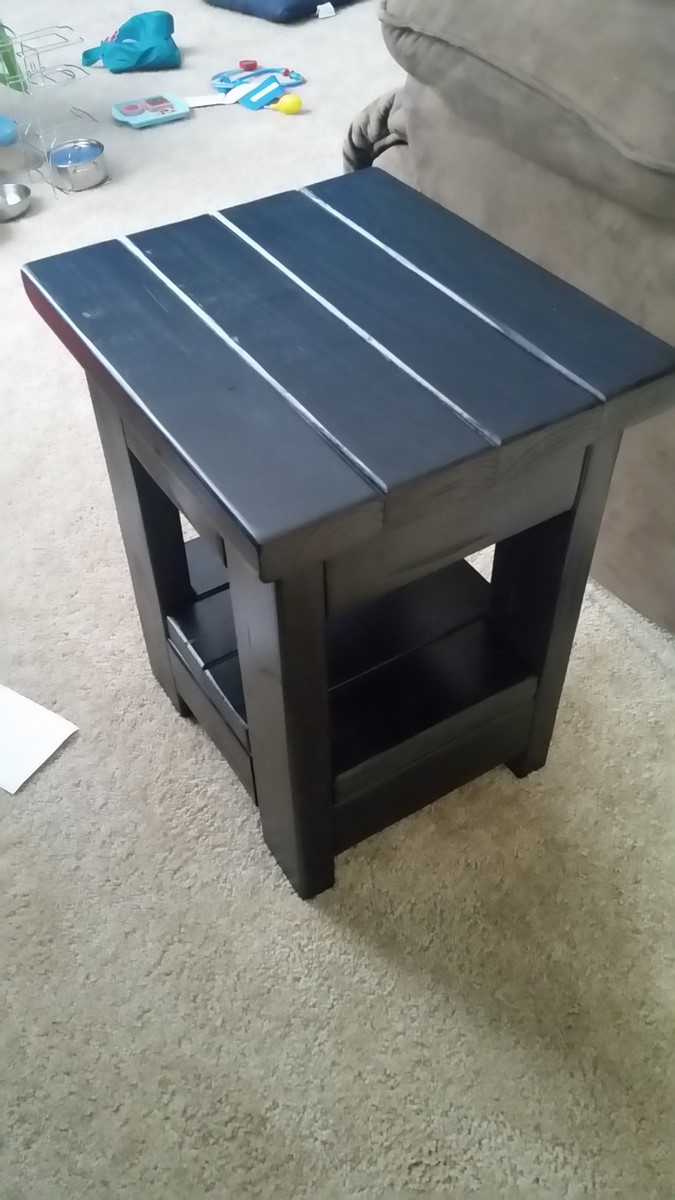
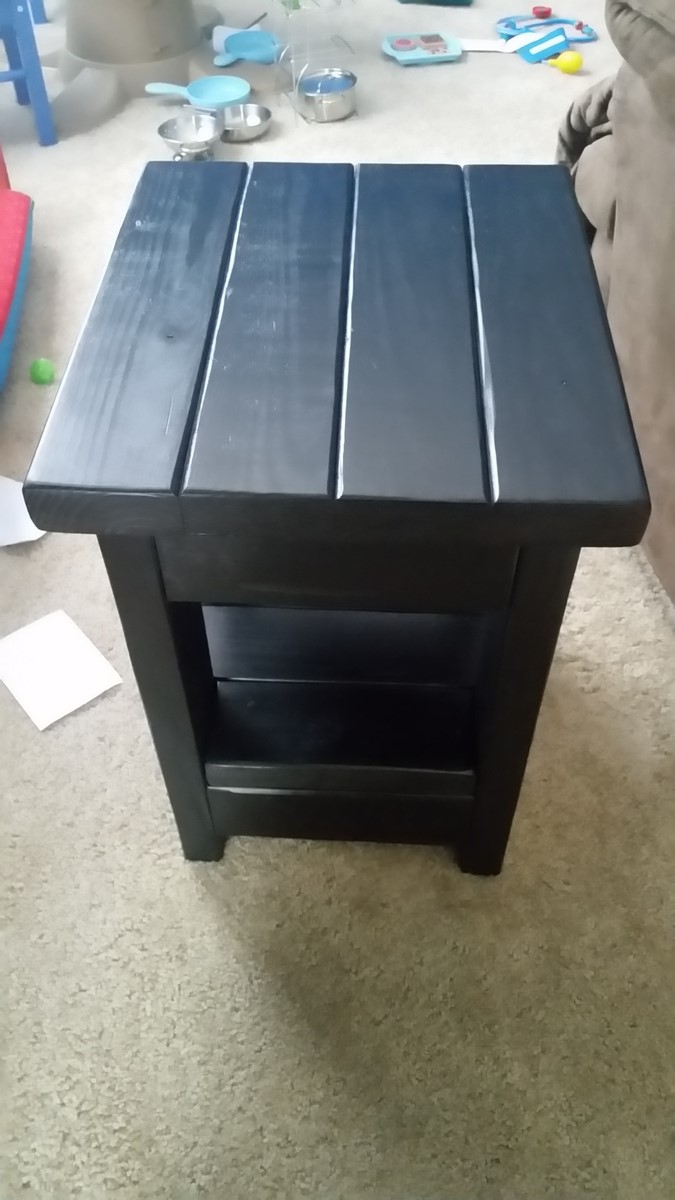
Beautiful! Both the bed and
Beautiful! Both the bed and bedside table turned out great!
Ana White
Fri, 02/27/2015 - 11:35
Gorgeous! I love the room!
Gorgeous! I love the room!