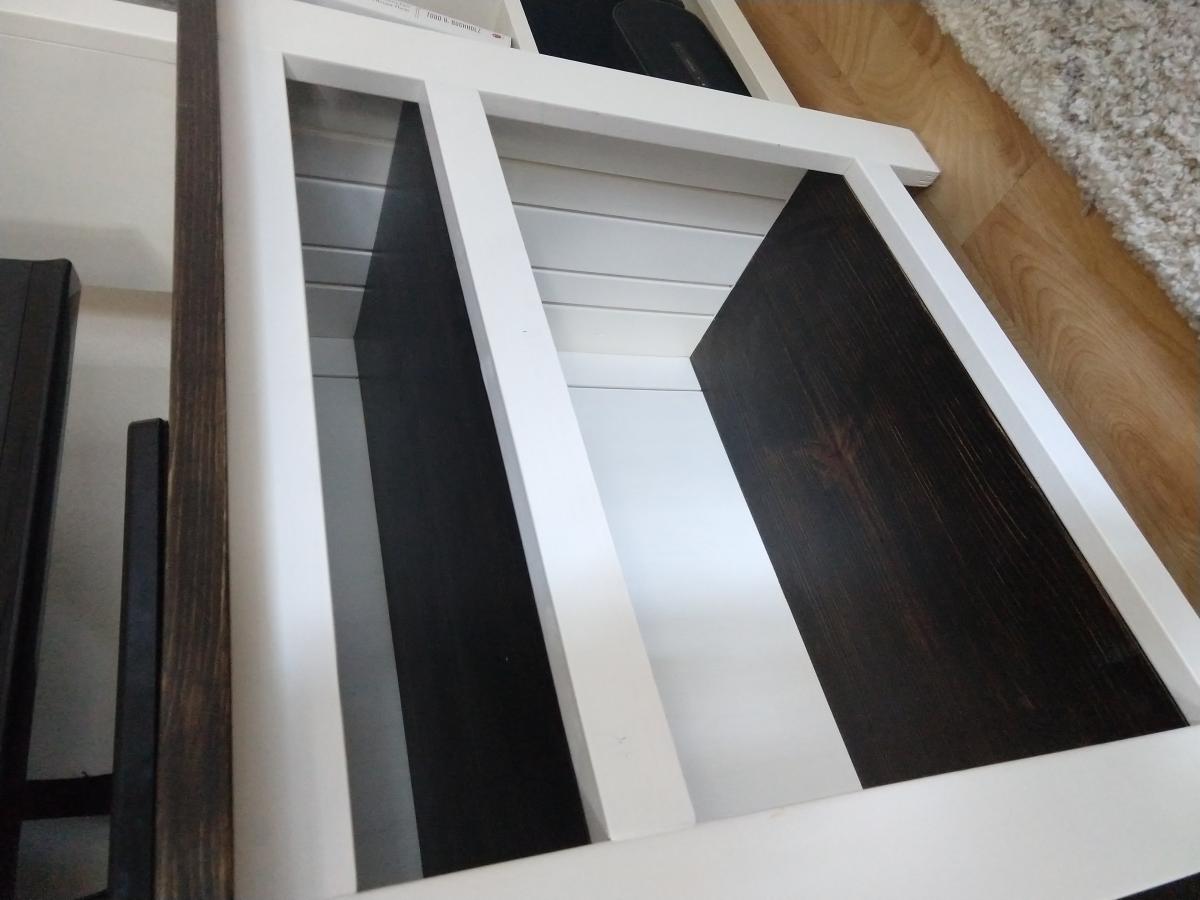
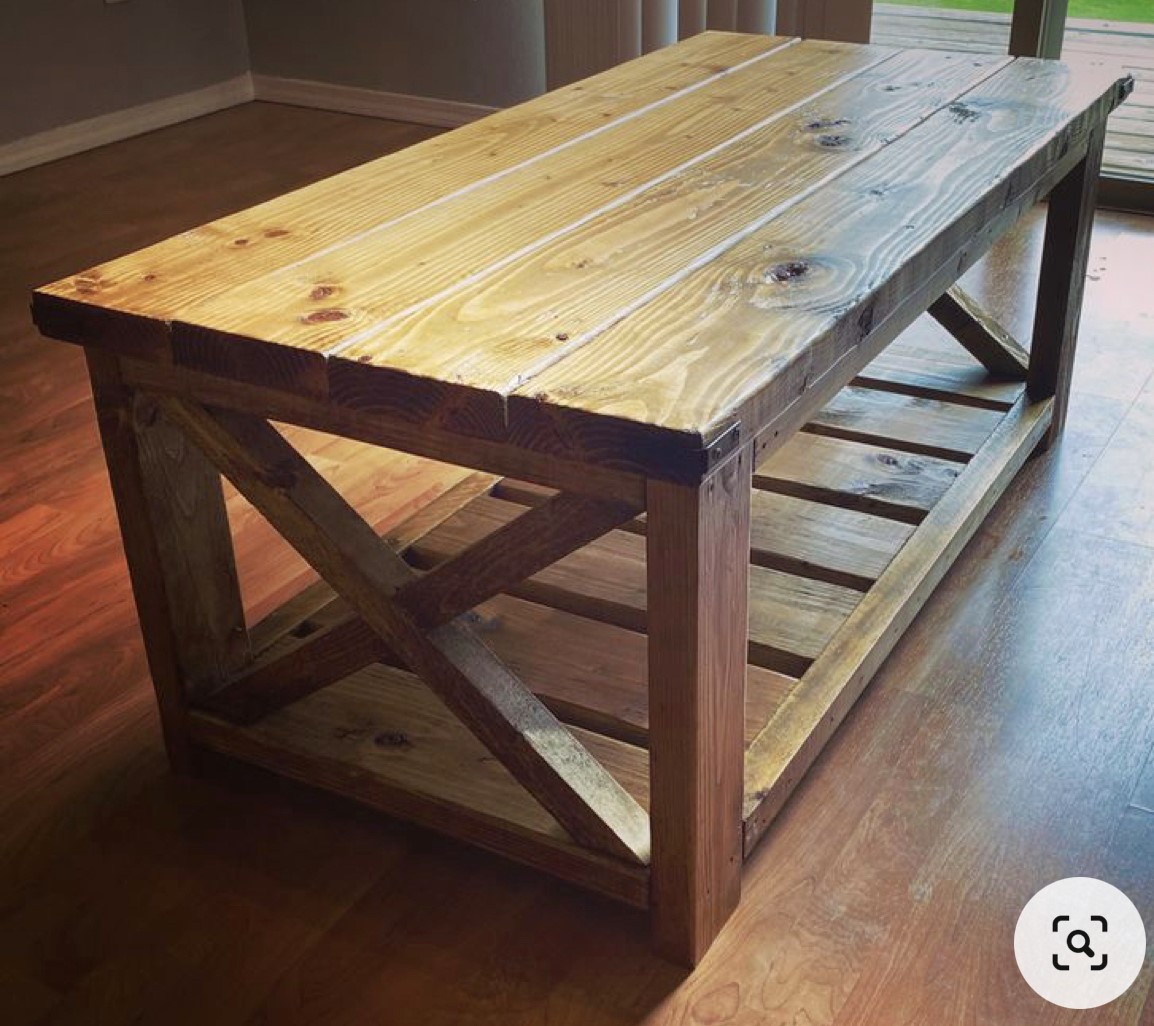
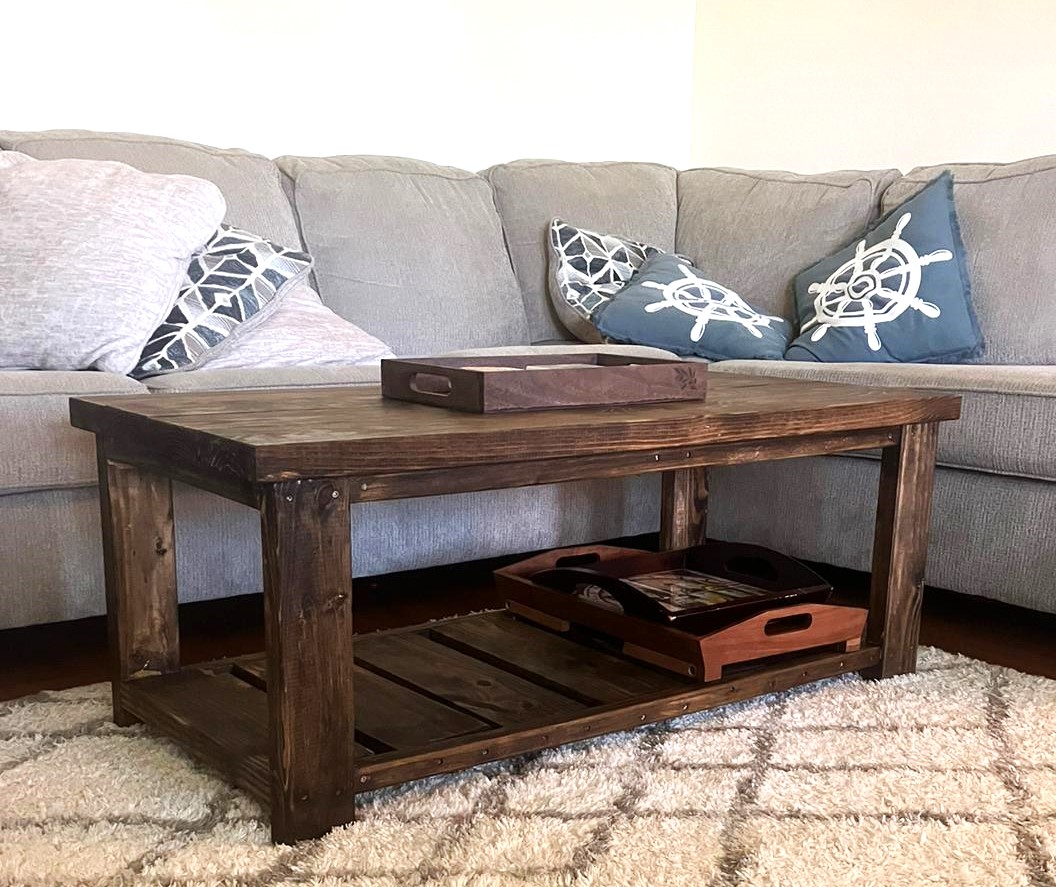
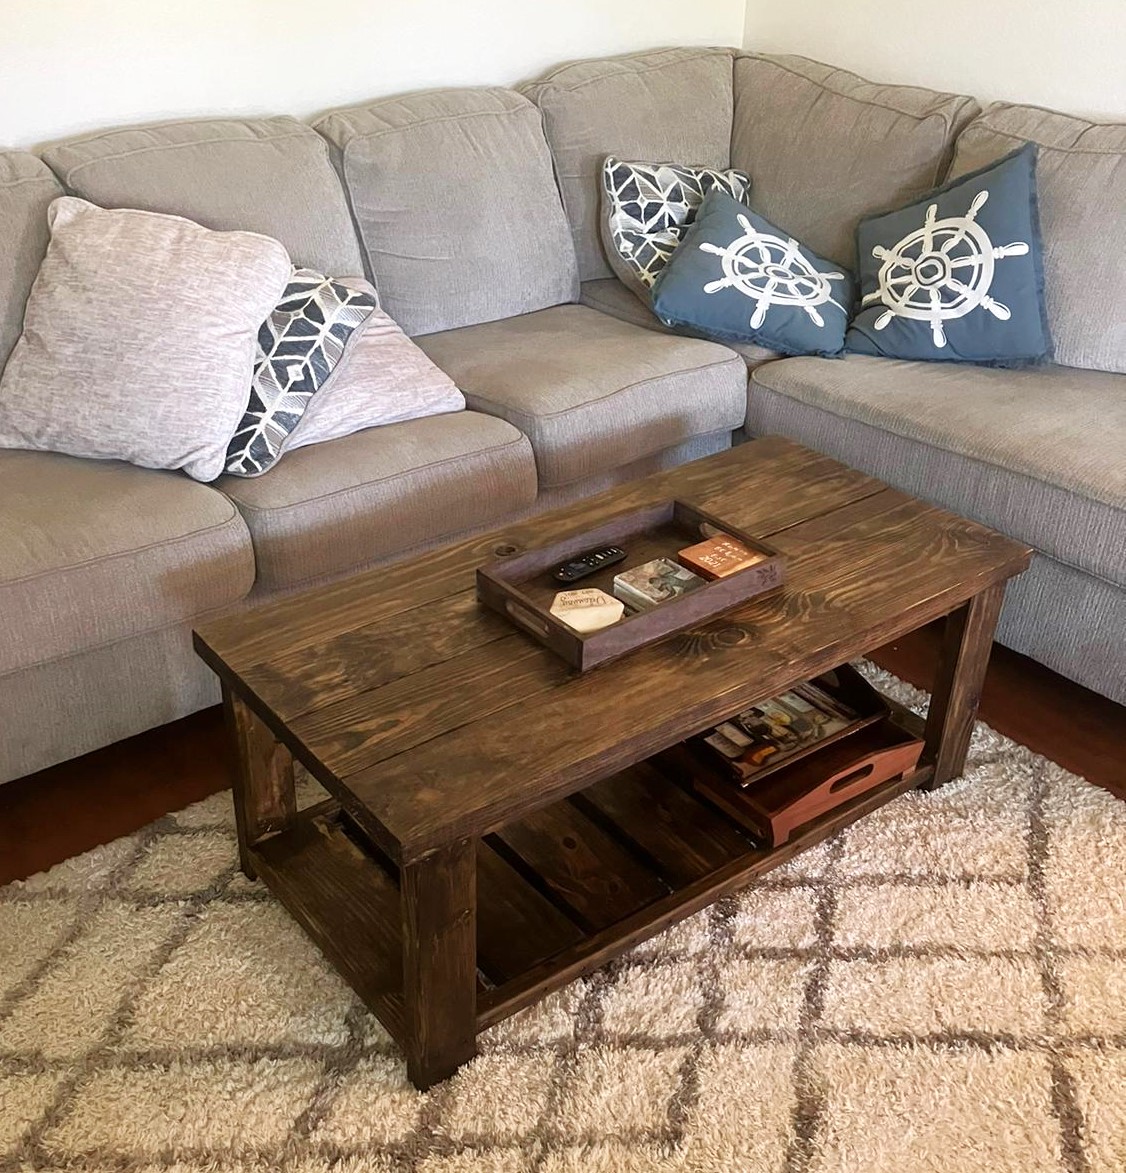
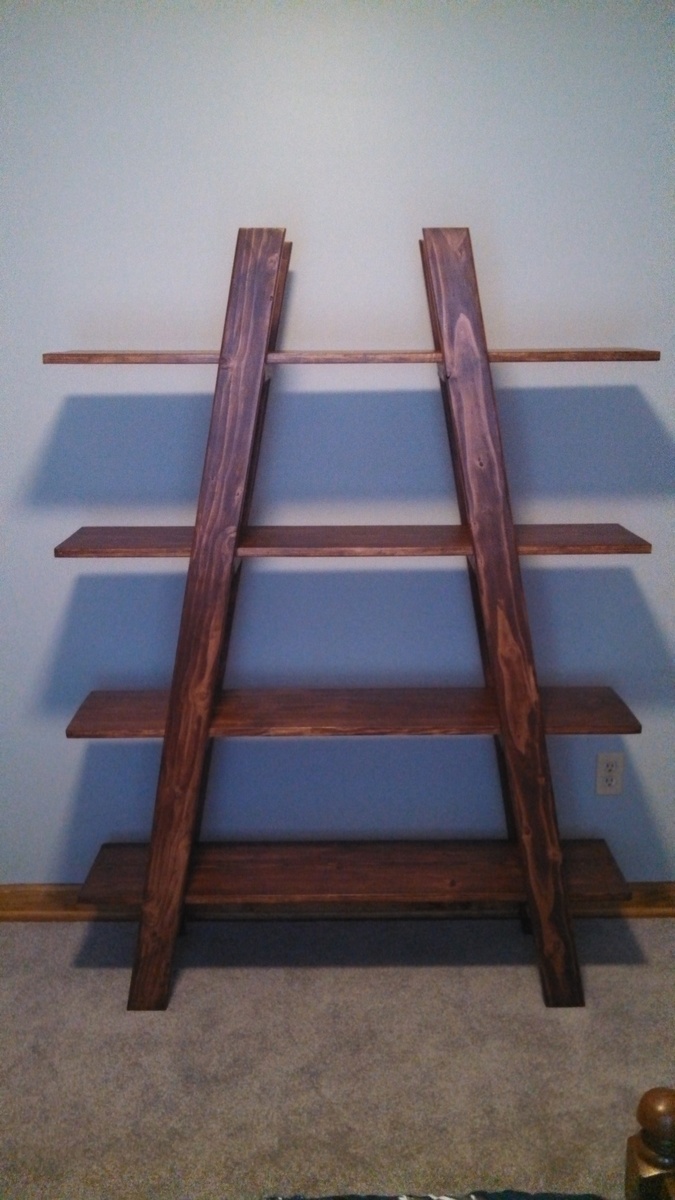
Farm House Dining Room Table
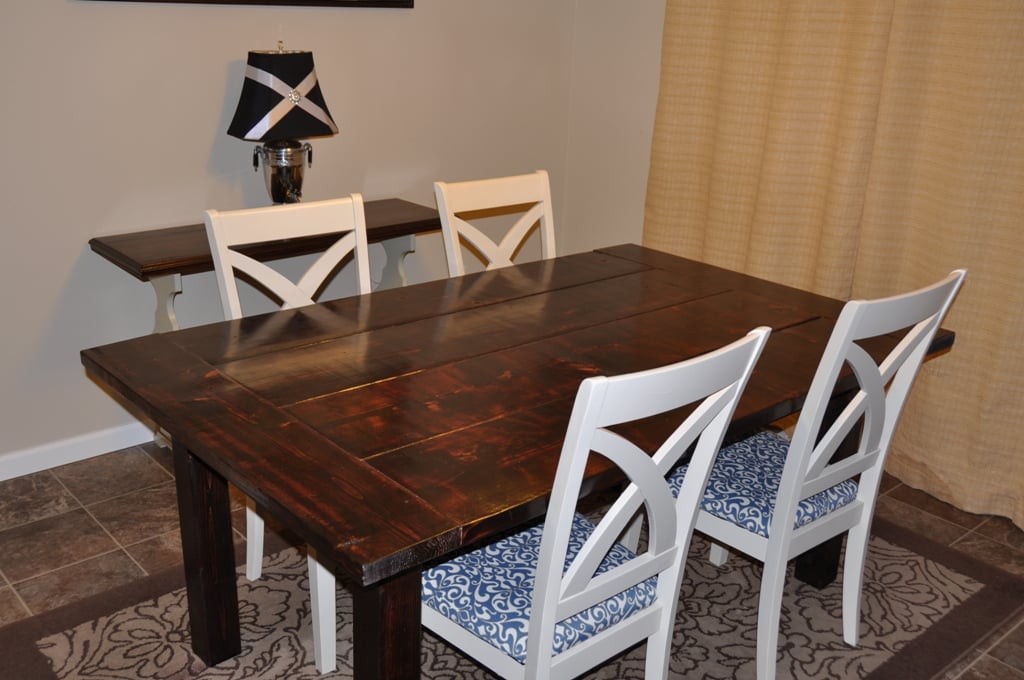
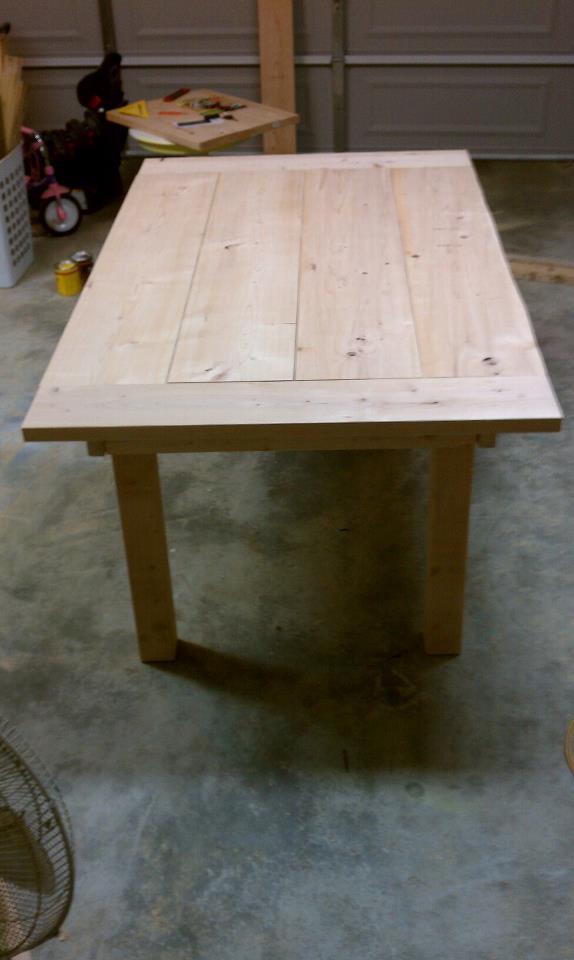
So I went off most of the specs on this table except I didn't want the brace on the bottom. Instead we braced it under the table with extra 2/4s. The longest part of this was the staining and poly due to it being cold as heck in Washington.

Built from Plan(s)
Estimated Cost
120.00
Estimated Time Investment
Weekend Project (10-20 Hours)
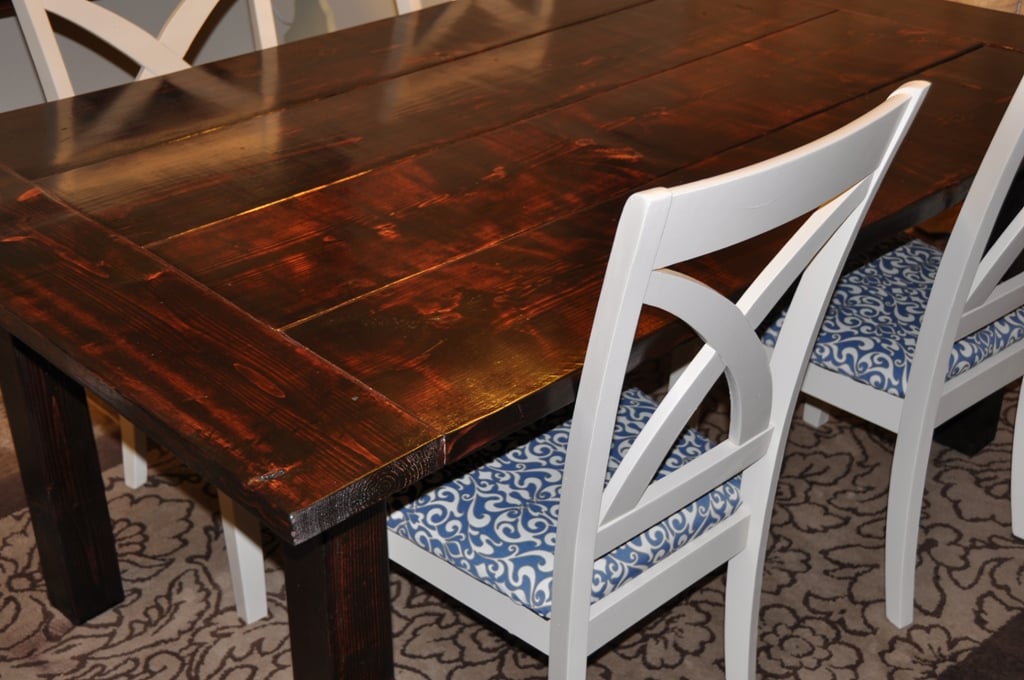
Finish Used
2 coats Min Wax Red Mahogany 4 coats of Poly
Recommended Skill Level
Intermediate


Comments
Janelle Kay (not verified)
Sat, 04/21/2012 - 21:03
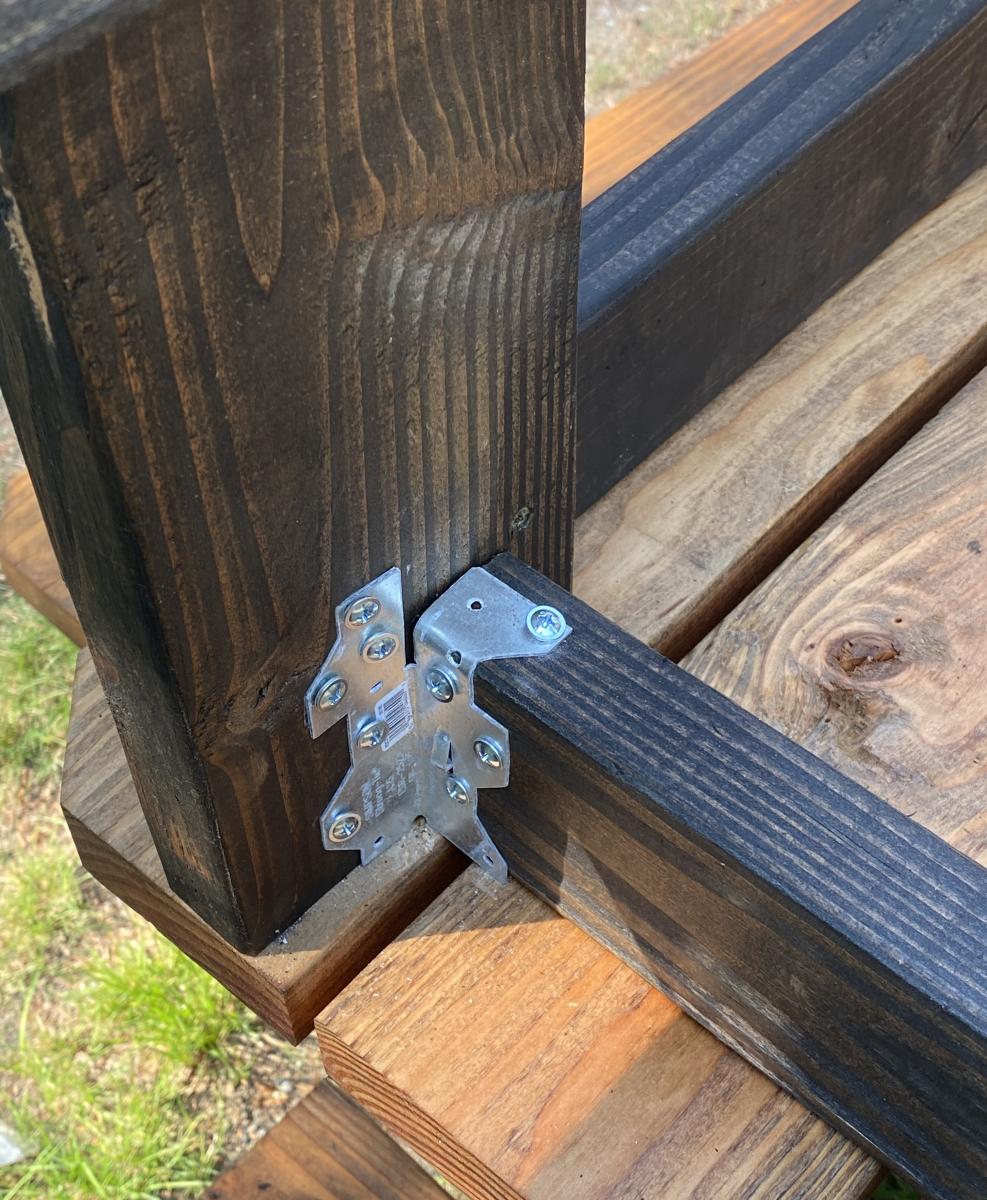
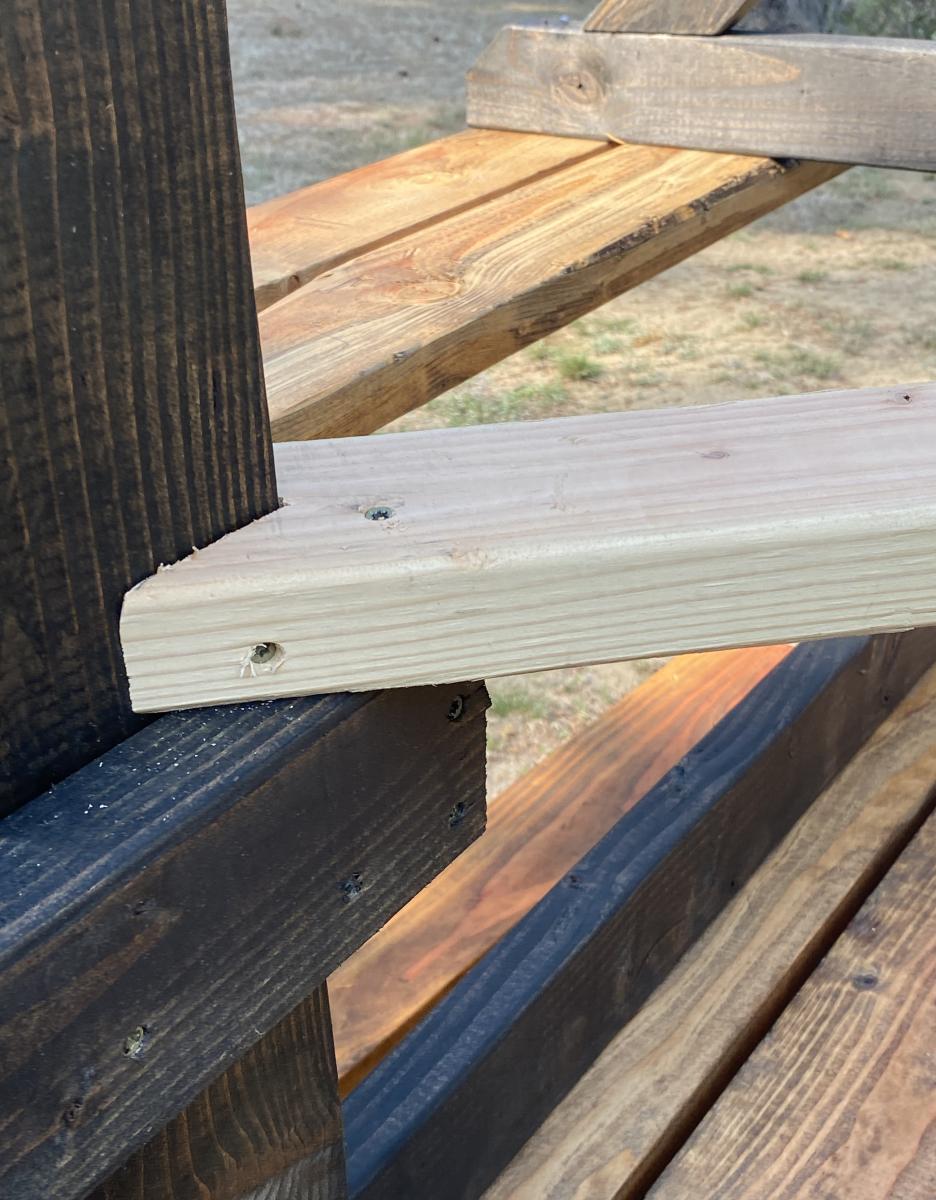
details about the bracing under the table
Hello,
I love you table! It is beautiful. I too would like to build this table without the brace at the bottom. could you maybe add some photos of how you did the bracing??
thanks!
In reply to details about the bracing under the table by Janelle Kay (not verified)
washington4x4
Fri, 04/27/2012 - 08:45
Easy Bracing
It's actually pretty easy, I took an extra 2x4 and braced it on the table top right against the table legs. It makes the table really sturdy.
Sheryl (not verified)
Mon, 05/14/2012 - 12:32
Beautiful Table
I have been looking for a table that I like and that won't break my pocket. Haven't found one so I want to build this. Can you tell be the measurements of the wood pieces that I need. Thank you I would really appreciate it.
washington4x4
Fri, 05/18/2012 - 08:41
Measurements for Table
All the measurements I used are on the link below. This is a pretty easy build as long as you have the right tools. The only difference with my table I didn't use the leg braces like the plan states, I braced my legs right under the table so you wouldn't be able see the braces.
http://ana-white.com/2012/02/plans/farmhouse-dining-table
Mike