Slat Bench
Cost: $45
Made this bench smaller than the plan so it measures 48" X 18". Using it in a spare bedroom so it will eventually get stained to match the wood furniture.
Cost: $45
Made this bench smaller than the plan so it measures 48" X 18". Using it in a spare bedroom so it will eventually get stained to match the wood furniture.
This was my first project. It was really easy! Although next time I will get a trash can first and build around it. I'm having a hard time finding a trash can that will fit.
Used Ana’s plans for this just made one modification, which was adding wire to the bottom so the plant can drain out. I also stained the fence picket before putting it together. The numbers were the most expensive part of this project they were ~$18. https://ana-white.com/woodworking-projects/house-numbers-vertical-plant…
This is my first wood building project and I love the way they turned out. Took my about a week of work here and there on the first one and the second one I built from start to finish in two days. This is called the Simple Twin Bed and it's a great plan, very sturdy. Pocket holes work GREAT on this build. I added pocket holes to the side rails in to the posts for extra support.
This was our first build and it was quite a big project to take on to start with. We had so much fun and learned so much along the way.
Our biggest lessons were to hand pick our wood and make sure we get the straightest pieces possible. We had to wrestle some wood to make this bed work! Clamp everything especially when using large bolts as the pieces would pull apart from each other. We even used a ratchet strap at one point becuase our small clamps weren't cutting it. I'm sure there's a better way and we'd love to hear about it but we made what we had work. We also had to figure out how to attach the side rails and at what height. We ended up using 3 4-inch screws on each end to screw them into the posts.
We love this bed not only because it was a labor of love but because its such a solid beautiful piece.
Sun, 03/01/2020 - 11:29
Very nice! I love the lighter wood too, but my wife likes the darker stain, so we compromised in the middle for the finish. Why arethe post always so red? I can appreciate the natural tendency of nature to add color, but the 4*4's are always red-er in color. Do they always use a different pine or certain part of the tree for those?
Mon, 01/18/2021 - 11:27
I believe the posts are actually Douglas fir and not pine judging by the look and color of the grains.
Utilized your plans for this porch bed swing! Looks great on the porch. Couldn’t find anything solid in the ceiling to hang it from so I installed my own joists with rafter hangers attached to the walls. Should hold long term.
This table is built out of only 2x4's - that's 5 boards for about $15! It was pretty easy and took half a day. If the fancy angles are too hard to cut safely I recommend doing 45-degree angles! I'm happy to have a nice entryway - first time my whole life! :)
I've created a post on my project blog wth instructions & pictures for anyone to make their own.
Sun, 09/25/2016 - 09:42
Your entryway is beautiful! Love this console, it is gorgeous!
In reply to Your entryway is beautiful! by Ana White
Tue, 09/27/2016 - 12:16
Thank you Ana! You made my day! It was such a treat to see it posted on your Facebook page! I told my husband that NOW that "I am famous" (haha) that I should be able to get the jointer & planer I've been begging him to let me buy! I'm thinking maybe a direct message from you would be just the trick! :)
Wed, 01/29/2020 - 13:54
What angle were the leg cuts? More than 50* because my saw wont go that far. Please let me know.
An Outdoor Wooden Cooler is the perfect way to accent any deck, patio, or garage. Can be made from Cedar, Pressure Treated, Cyprus, etc. Sizes can vary from small 28 qt coolers to Large 120 qt coolers capable of holding hundreds of drinks. These coolers can be themed for your favorite sports team, favorite hobby, or anything of your choice. Engraving or wood burning is available.
Fri, 08/31/2012 - 09:52
Well, actually, two. My beer loving son-in-laws would love this, and Christmas is coming! Do you happen to have any "step-by-step" directions you'd be willing to share? I can figure out the dimensions but it would be really helpful to read - or see - the components and how you put it all together.
Thanks for sharing!
In reply to I want to make one of these by sgilly
Fri, 09/28/2012 - 11:43
I had to make a new page because of some password issues. Thanks for comments. I have no plans yet, I've built so many it's sort of muscle memory now. Shoot me an email at [email protected] and perhaps I can help.
Sat, 09/01/2012 - 10:59
I want to make one too. Is the lid tricky at all?
Fri, 09/28/2012 - 11:41
I had to make a new page because of some password issues. Thanks for comments. I have no plans yet, I've built so many it's sort of muscle memory now. Shoot me an email at [email protected] and perhaps I can help.
And no, the lid style I like is nothing more than some tongue~n~groove boards cut to length, attached with pocket holes and nailed to the lid frame. Tongue~N~groove is optional of course, you could just use regular boards.
Thu, 03/14/2013 - 21:08
I don't mean to hijack Adam's great build, but I have some step-by-step plans available for a cooler I built with a similar style. It has a 2x2 frame with old fencing facing. For those of you looking for plans/tutorial http://www.killerbdesigns.com/rustic-cooler-a-how-to/
Thu, 05/07/2015 - 07:20
My husband used a similar design to Adam's but made it a double. :) He also added wheels and a bottle opener/cap catcher. Great work Adam!
http://purposefulproductions.blogspot.com/2015/04/diy-wood-drink-cooler…
We needed some more storage in our basement so I made these shelves. They are 10 feet long. I couldn't get the 10 foot long 2x4s into the basement through the house, so my husband helped me slide each board through a tiny window one at a time. I also decided to paint the shelves to make them look nicer since they are in the finished part of our basement. Overall, I think they turned out great and they can hold a lot more than I expected.
Sat, 10/22/2016 - 09:43
Great job, that's amazing you figured out how to get the materials through the tiny window! Thanks for sharing!
Great, sturdy, easy build!!! Looks amazing and will be my new picnic outdoor seating. I cannot wait to build the next bench and table to go along with it. Thank you for the plans!!!!
This was the first project my husband requested to help with! It was a great for teaching easy cuts with a miter saw and pocket holes with a kreg jig. Thanks to this end table we now build things together!
Great build for the patio!
Really happy with the final product and the hubby is glad I have finally finished a project. This project was an answer to the piles of washing crowding our small laundry. I found 3 sturdy family sized (huge) rectangular laundry baskets for $10ea at Kmart and then used Sketchup to adjust the plans to allow for the bigger baskets (Sketchup is so much fun to use). I ended up having to buy an extra piece of wood for the top because I forgot to allow for the thickness of the sides when measuring the top and base. (I know, I know, measure twice cut once...) I used the piece I had cut for the top as the base and then got a new piece for the top. When I finally got all the pieces cut to size it all went together pretty quickly. I used melamine for the box because it was cheap and I wouldn't have to paint it. It did chip a little bit along the edges when I cut it but it's not too bad. I used 30 x 30mm pine for the basket supports and had to countersink the screws 1cm so I could use 30mm screws. I used iron-on melamine edging to finish the exposed edges of chipboard and used paint on the back and supports. Actual construction didn't take long but the painting took about a day by the time I'd done one basecoat and two top-coats.
Sun, 11/04/2012 - 02:17
Yey a fellow aussie ... love the job. i am going to try stetchup yet again, last time i tried it didn't want to play nice, did it take long to get the hang of? & the melamine ... did you get it at bunnings & did they cut it for u?
Mon, 11/05/2012 - 01:06
Thanks for the feedback. I cut the melamine myself. I clamped a straight edge on top of the melamine (allowing for the distance from the edge of the saw to the blade) and then used my jigsaw to cut. My local bunnings didn't seem too interested in cutting specific sizes. They were happy to just cut lengths down so I can fit them in my car but said their saw could be inaccurate up to 10mm from one end of the cut to the other. (Personally I think the guy just couldn't be bothered) Since I wanted my project to be square I figured it was much easier to just do it myself.
With sketchup I just play around and learn as I go. I got the hang of it pretty quickly although I'm still figuring out some of the more complicated stuff like using the protractor tool to do angles etc.
In reply to Thanks for the feedback. I by rosiejane
Mon, 11/05/2012 - 01:38
Thanks for that... very helpful. yes bunnings, all depends on the assistant hey! Definitely going to have another go at sketchup... must conquer it!
Thu, 01/01/2015 - 22:05
I love this. These baskets are very sturdy. Is there anyway you can post the measurements. I have never made anything but this looks perfect. I have never used sketch up. Please let me know if you are able to post the measurements. Thanks!
Used the simplest armoire plans -- great plans and relatively simple for a first-timer like me. Chalkboard paint on the doors made it fun for the kids!
After a lot of cutting, screwing, chiseling and sanding... oh and a lick of paint! My new little Saddle Seat Stools are complete. Time will only tell whether they will hold up to the abuse the boys give them especially Brodie! These new stools only cost me $48 to make the pair and I got all the timber from Bunnings
I bought a desk and chair for my daughter on Craigslist awhile back, but it did not include a hutch. I decided to add one and recently completed it...in addition to painting the desk a fresh white and then repairing the chair, painting it, and recovering the seat!
The hutch build was pretty straight forward and I used a Kreg Jig to assemble most of it. I built it to sit on the desk (not attached) but I included a cleat at the top to screw a couple of 3" screws into the wall studs to keep it in its place. It's nice and sturdy. I plan to add some puck lights under the bottom shelf soon.
The Lego house isn't quite up to Momplex standards :)
This bunk bed project was absolutely perfect for a small cottage bedroom for our son. We selected this plan when noticing that this could essentially be built as 4 flat sections and easily transported.
We were able to construct the bunk beds prior to owning the cottage and were then able to move in and bolt together.
Fri, 03/19/2021 - 01:12
The best way to shop on the internet and get one dealership to beat another’ price.main thing is only pay the cash no extra. I just only share the website which you find the best and also lowest price on a new car review toyota tundra
Made this over a few afternoons during the interesting year that is/was 2020! First DIY project and really enjoyed it! I used an opaque white stain and it's filled with succulents from our local nursery (Lincoln Nursery in Pasadena, CA). Painting took the longest as one coat of the stain still let some of the knots in the wood show through. Thanks so much for the plan and inspiration!
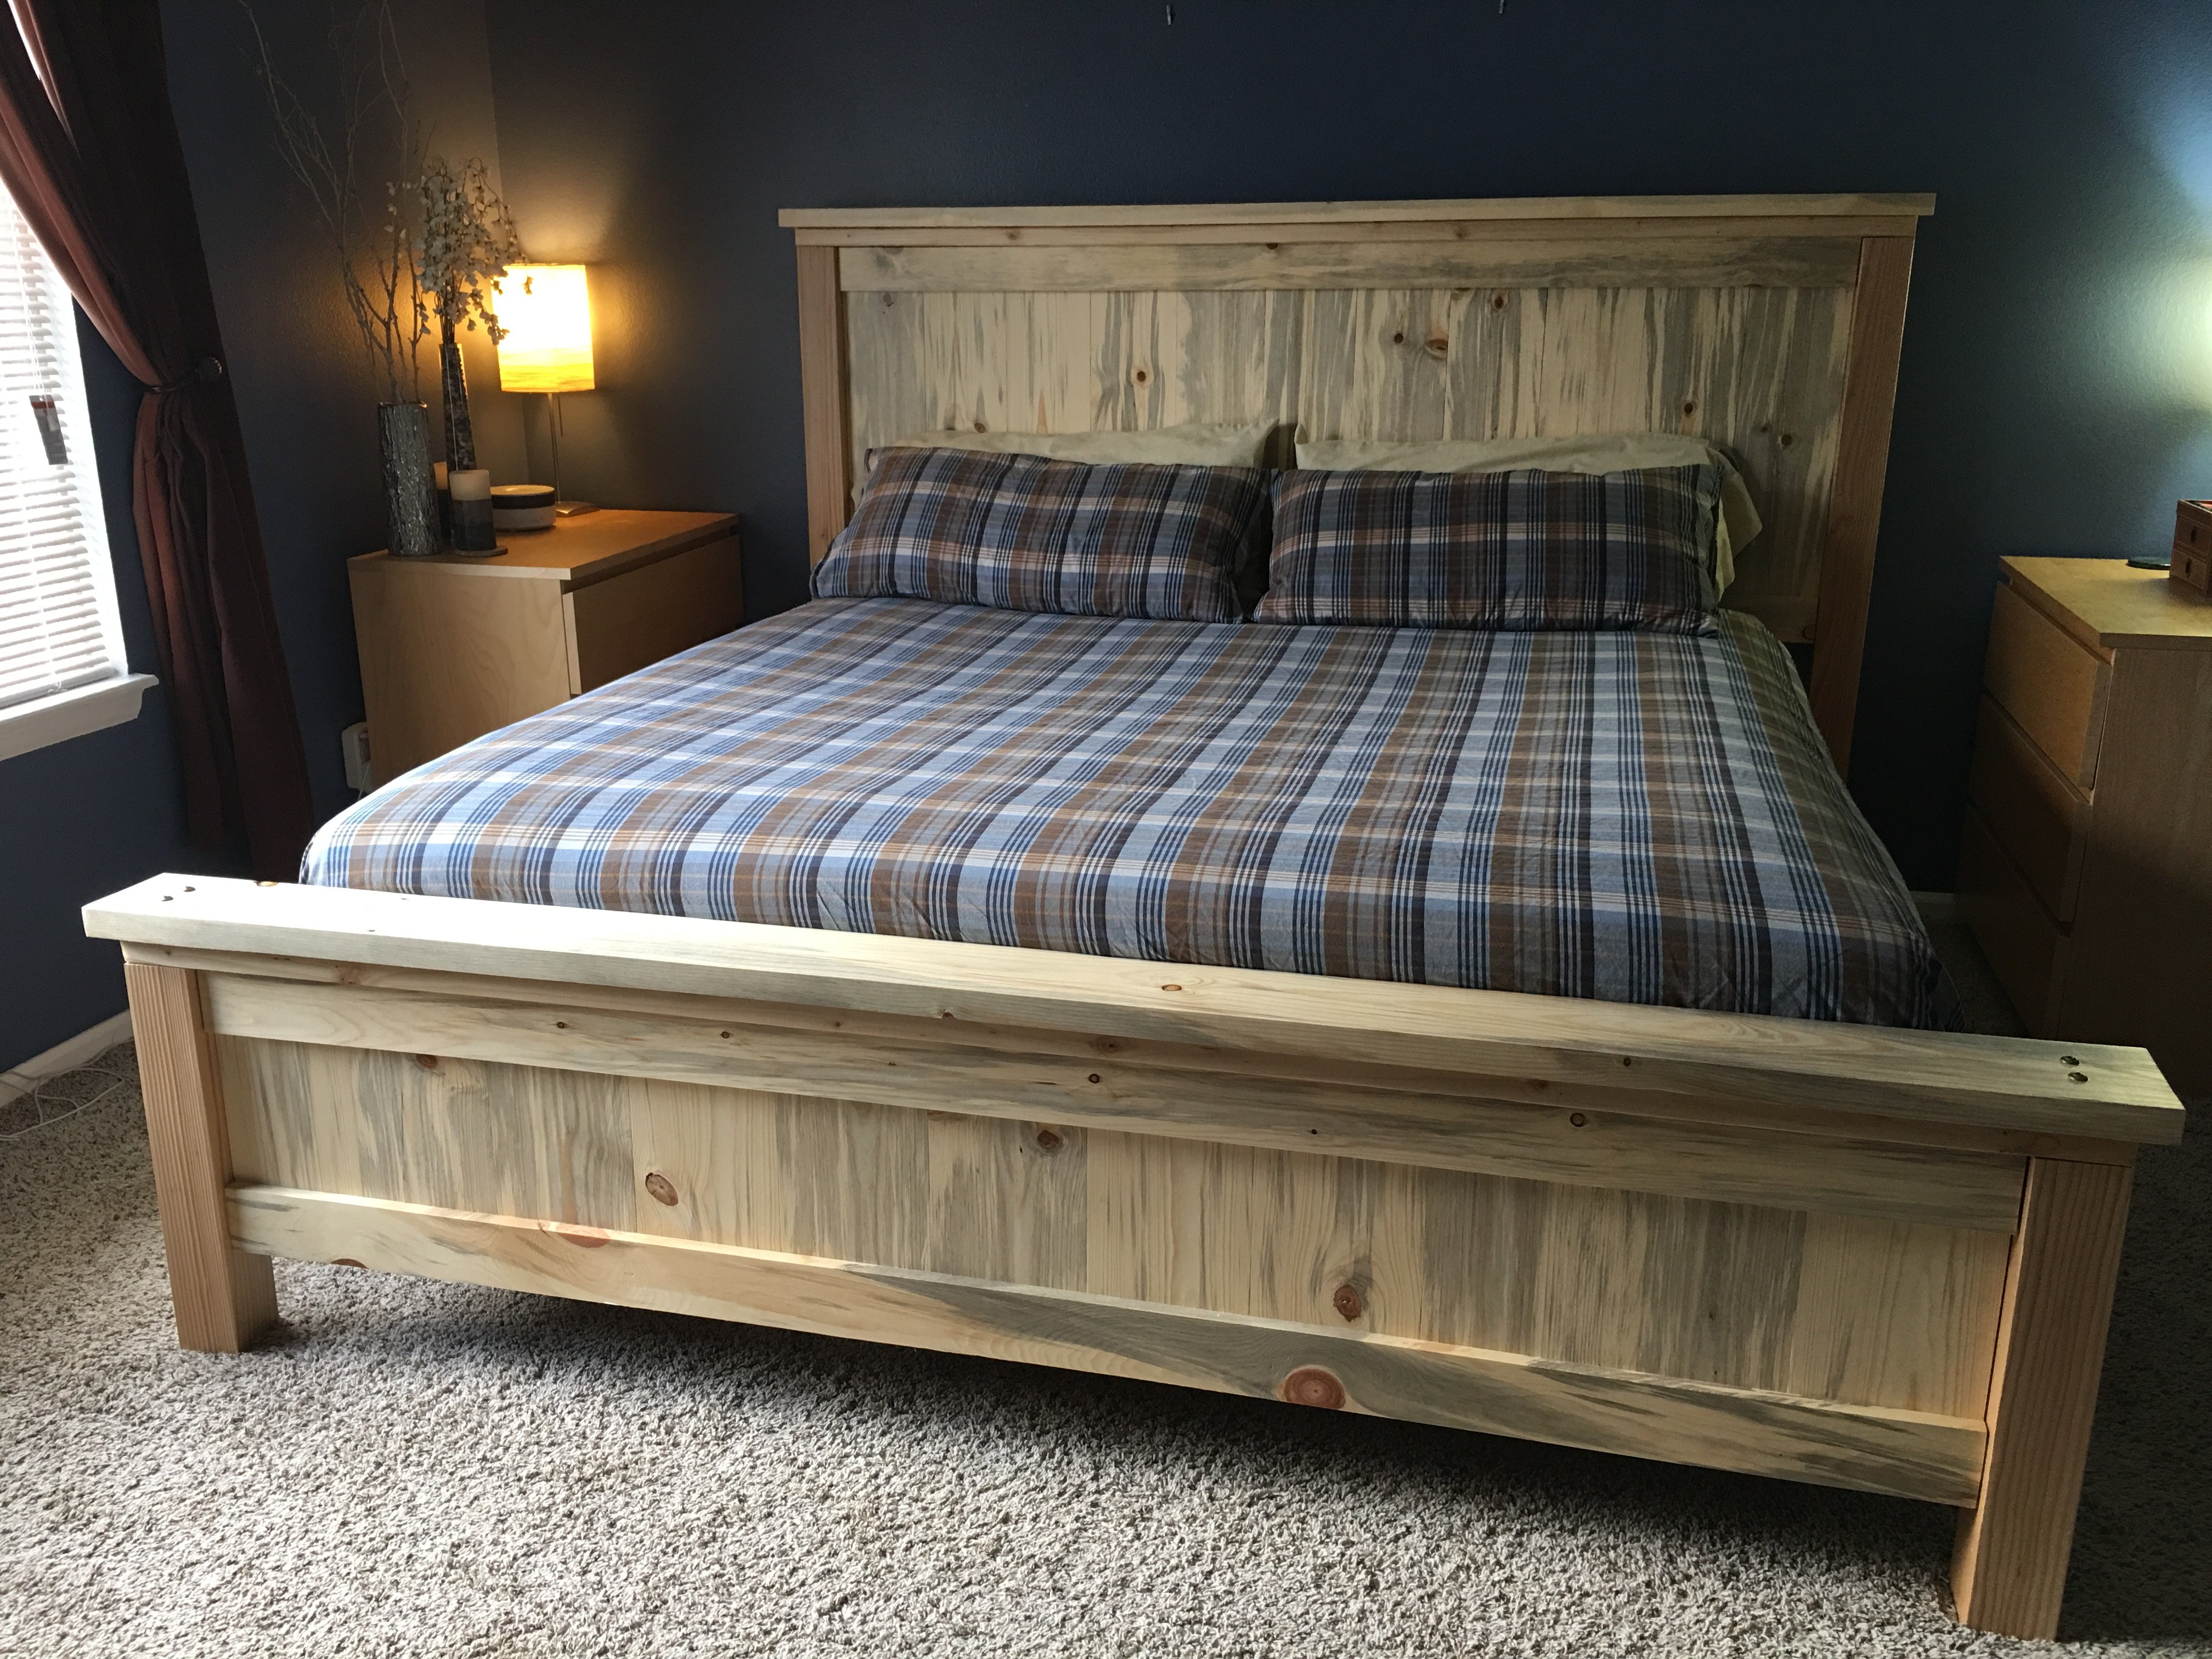
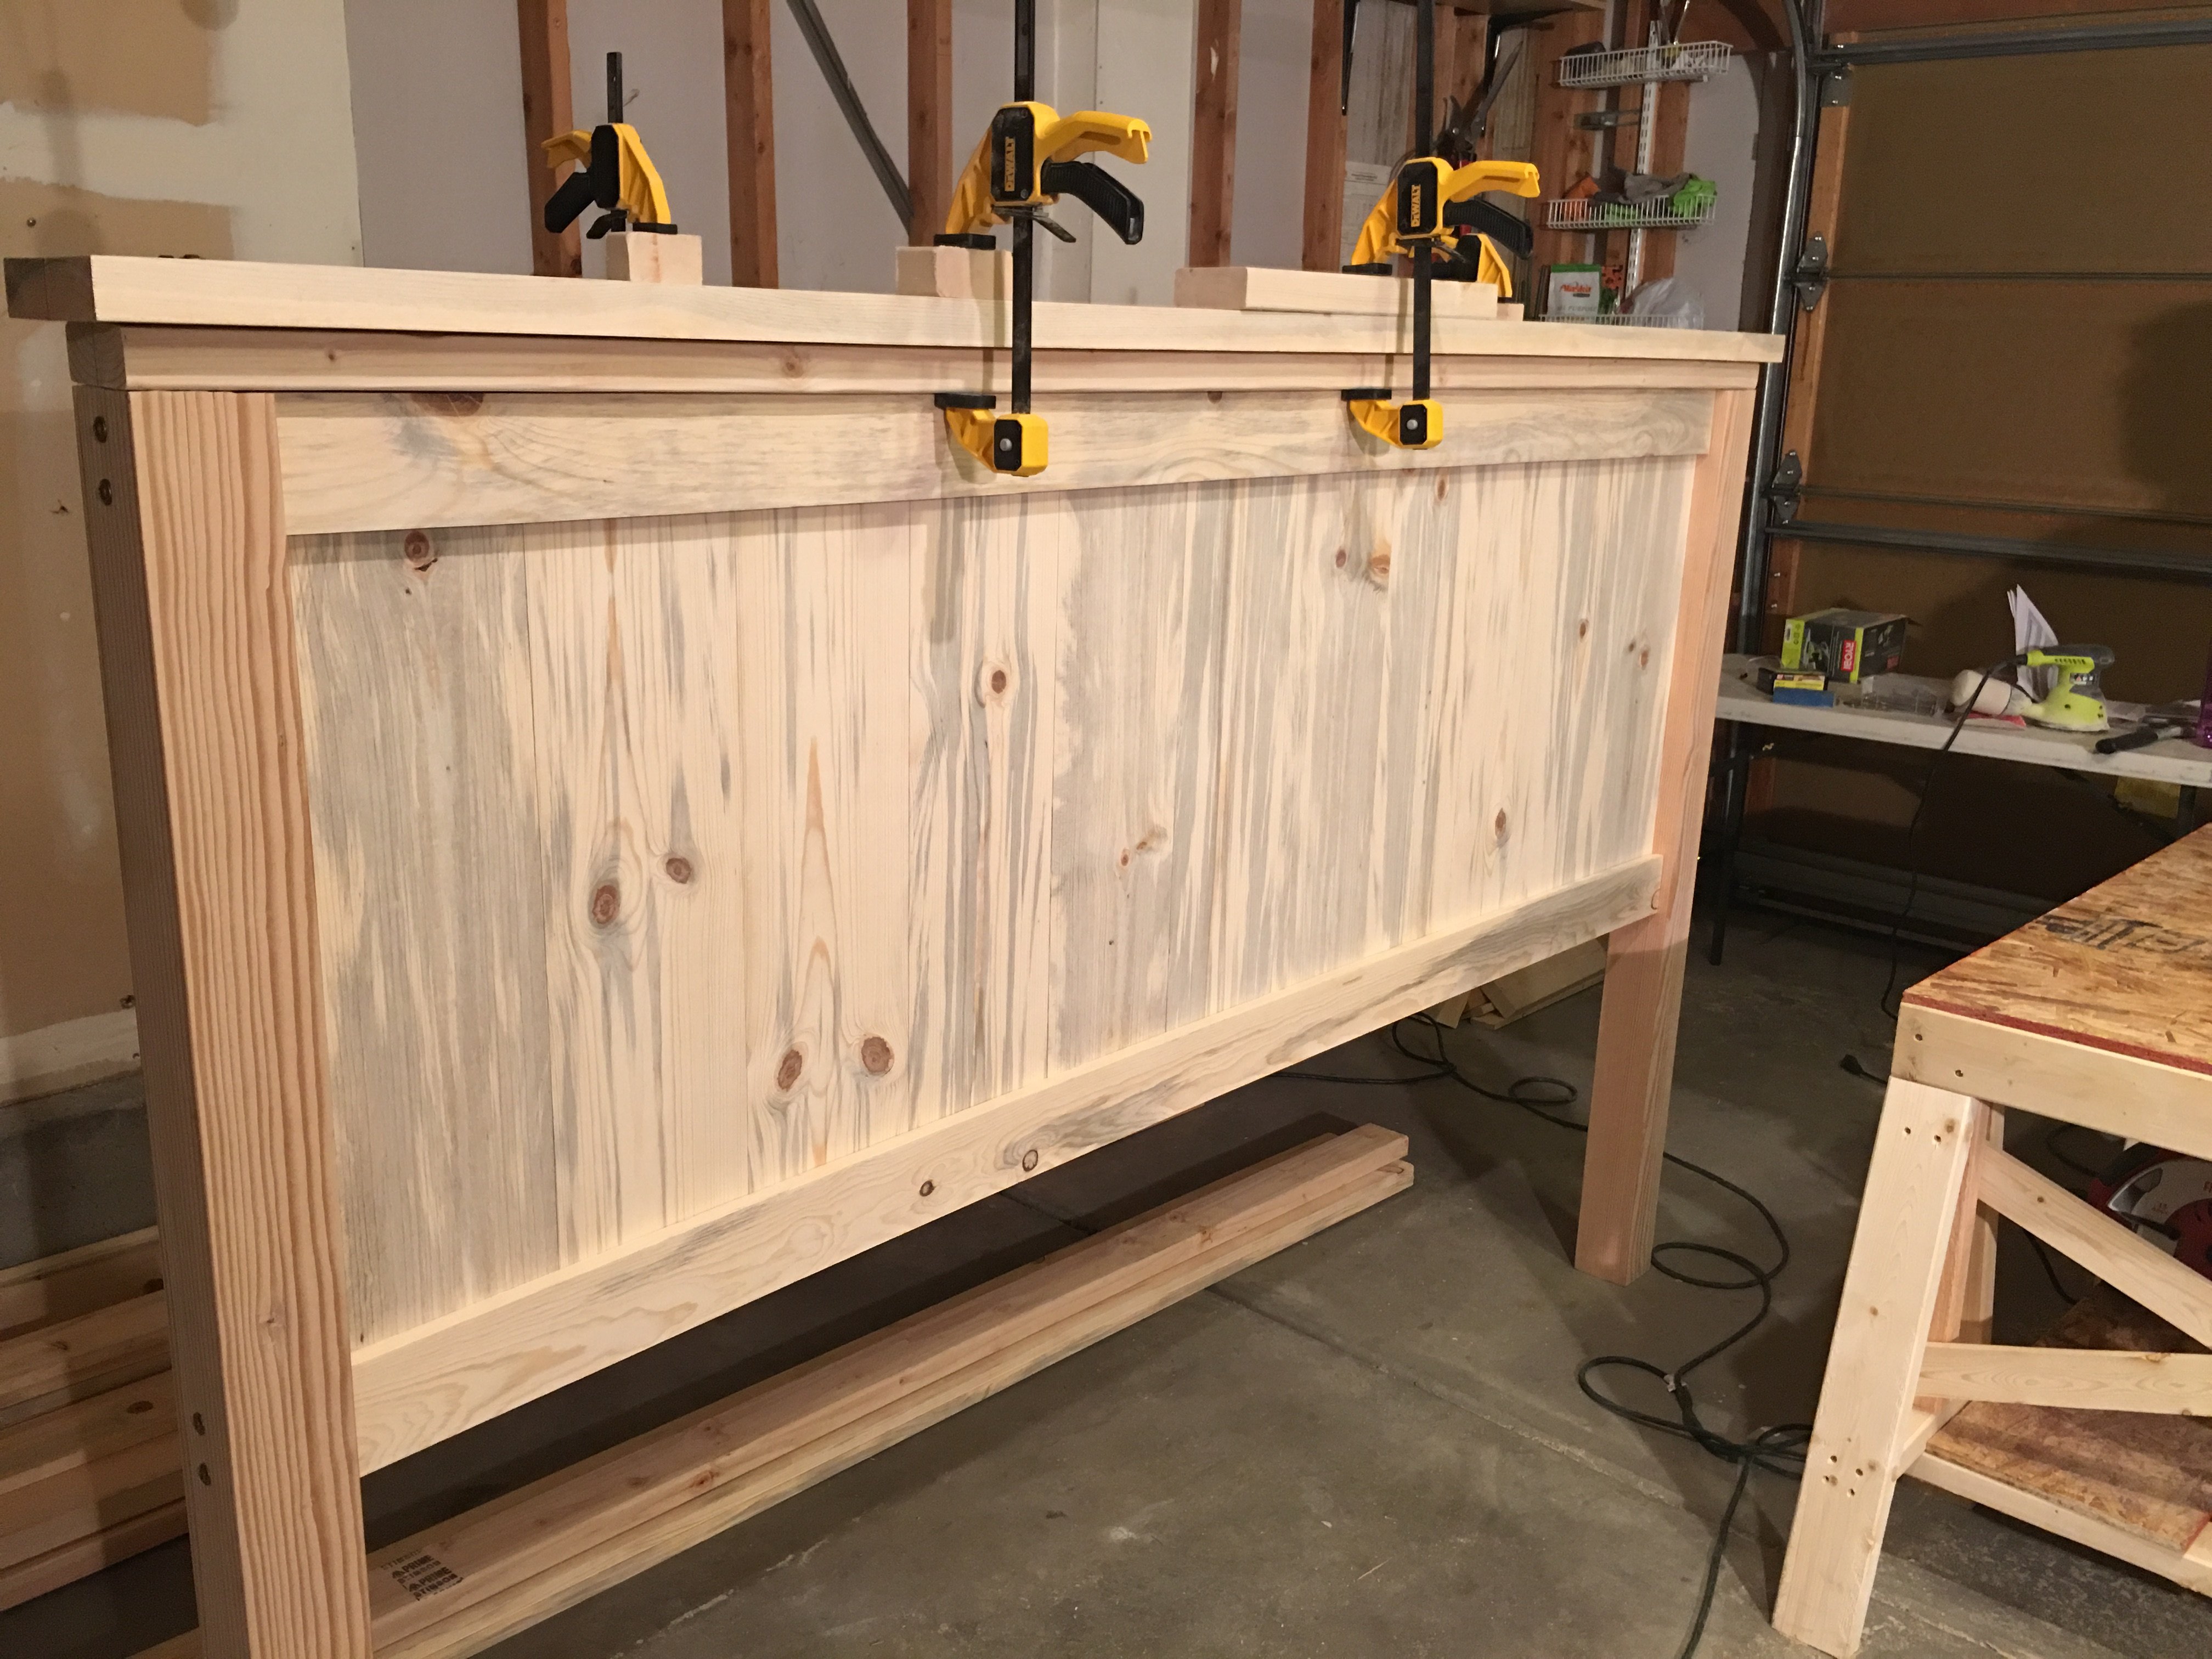
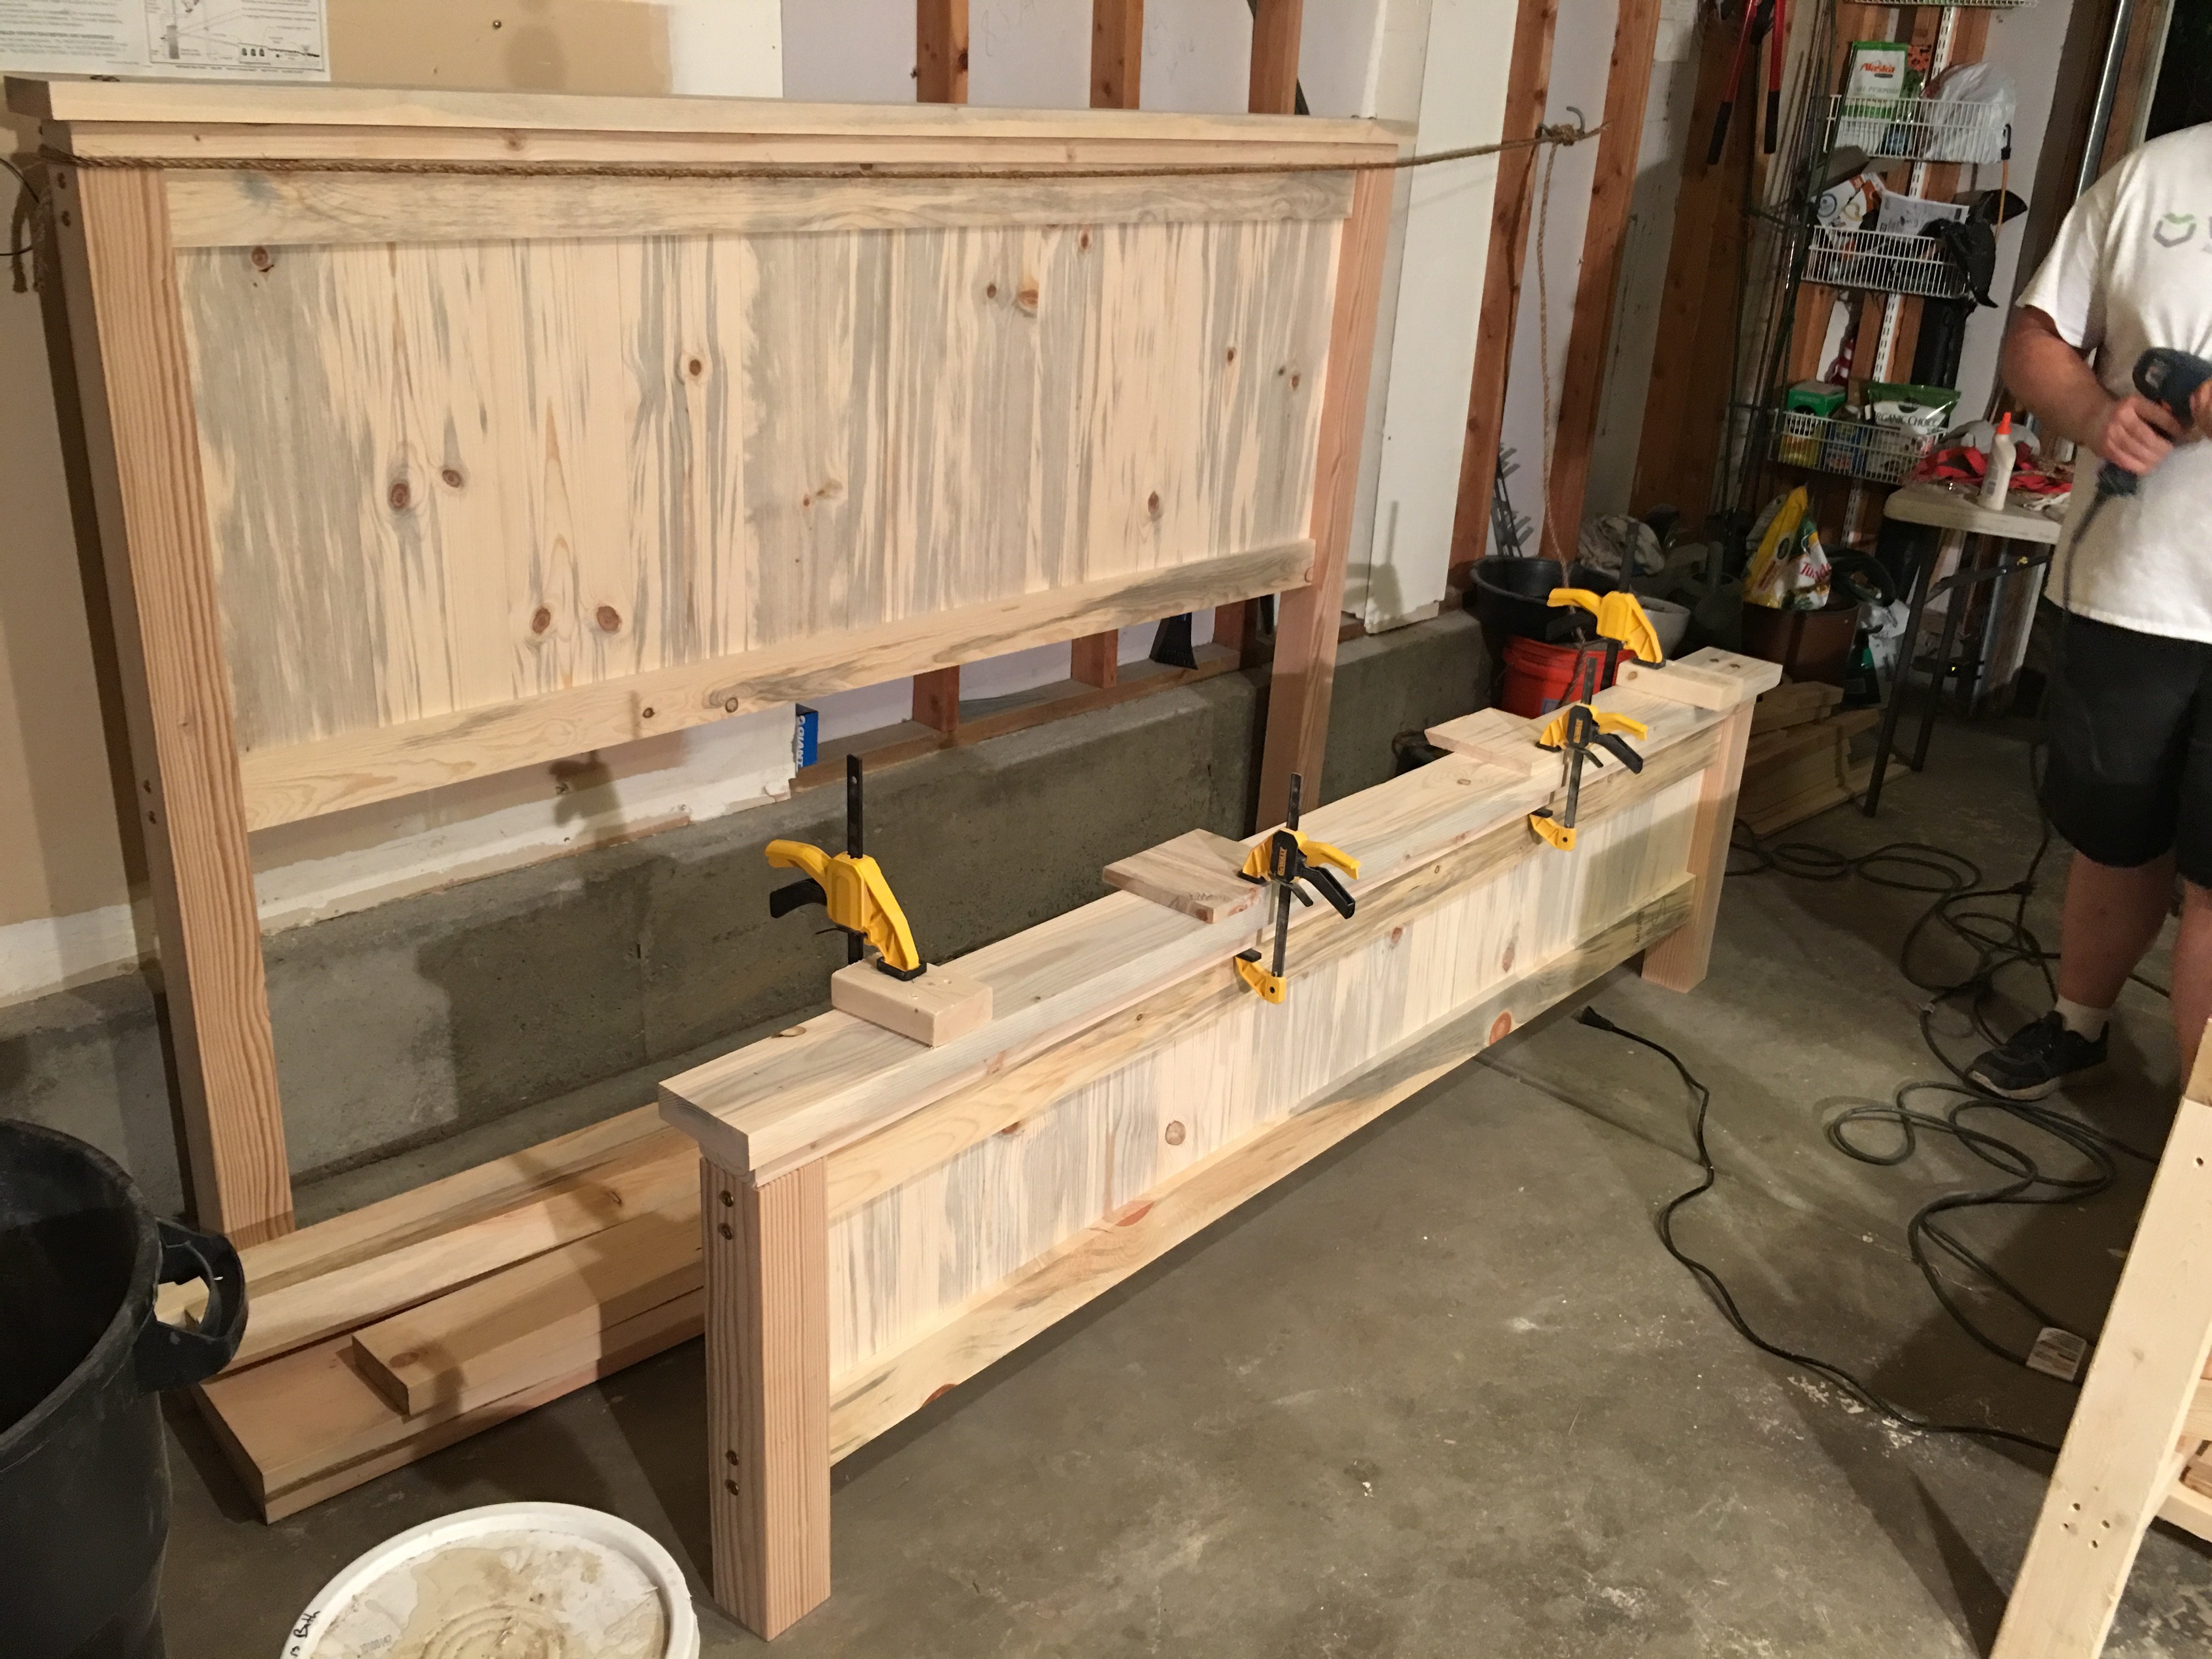
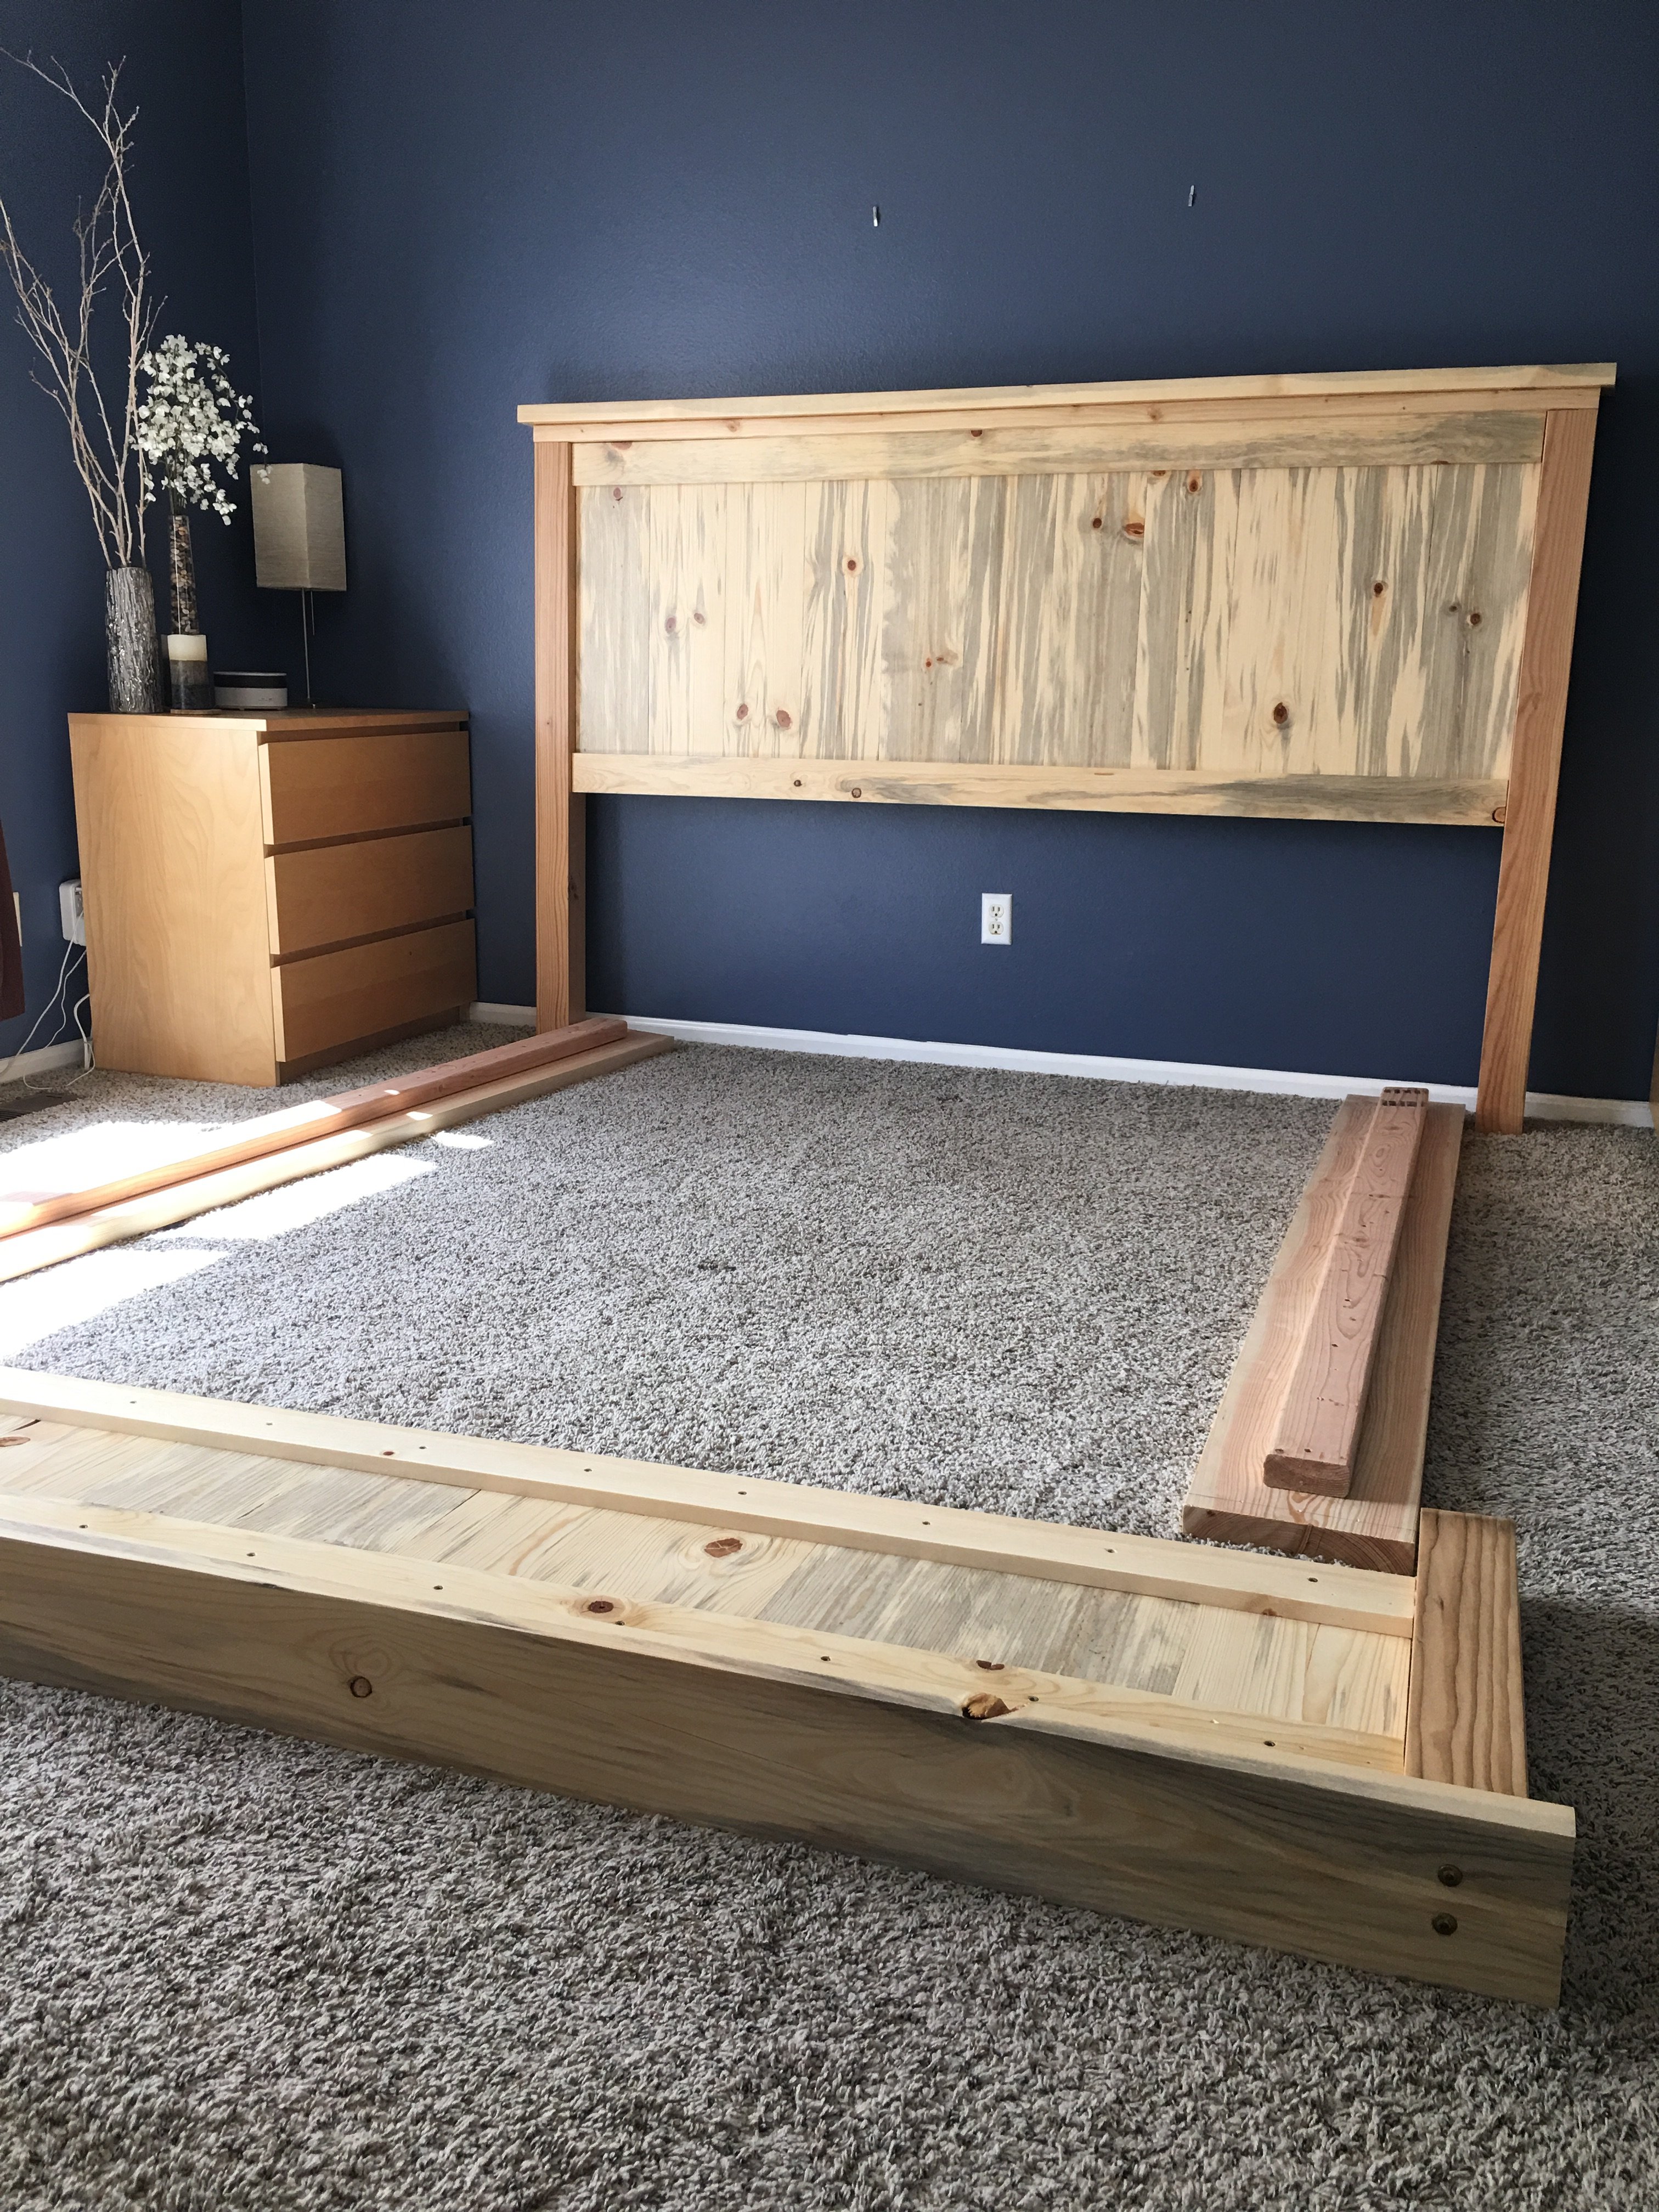
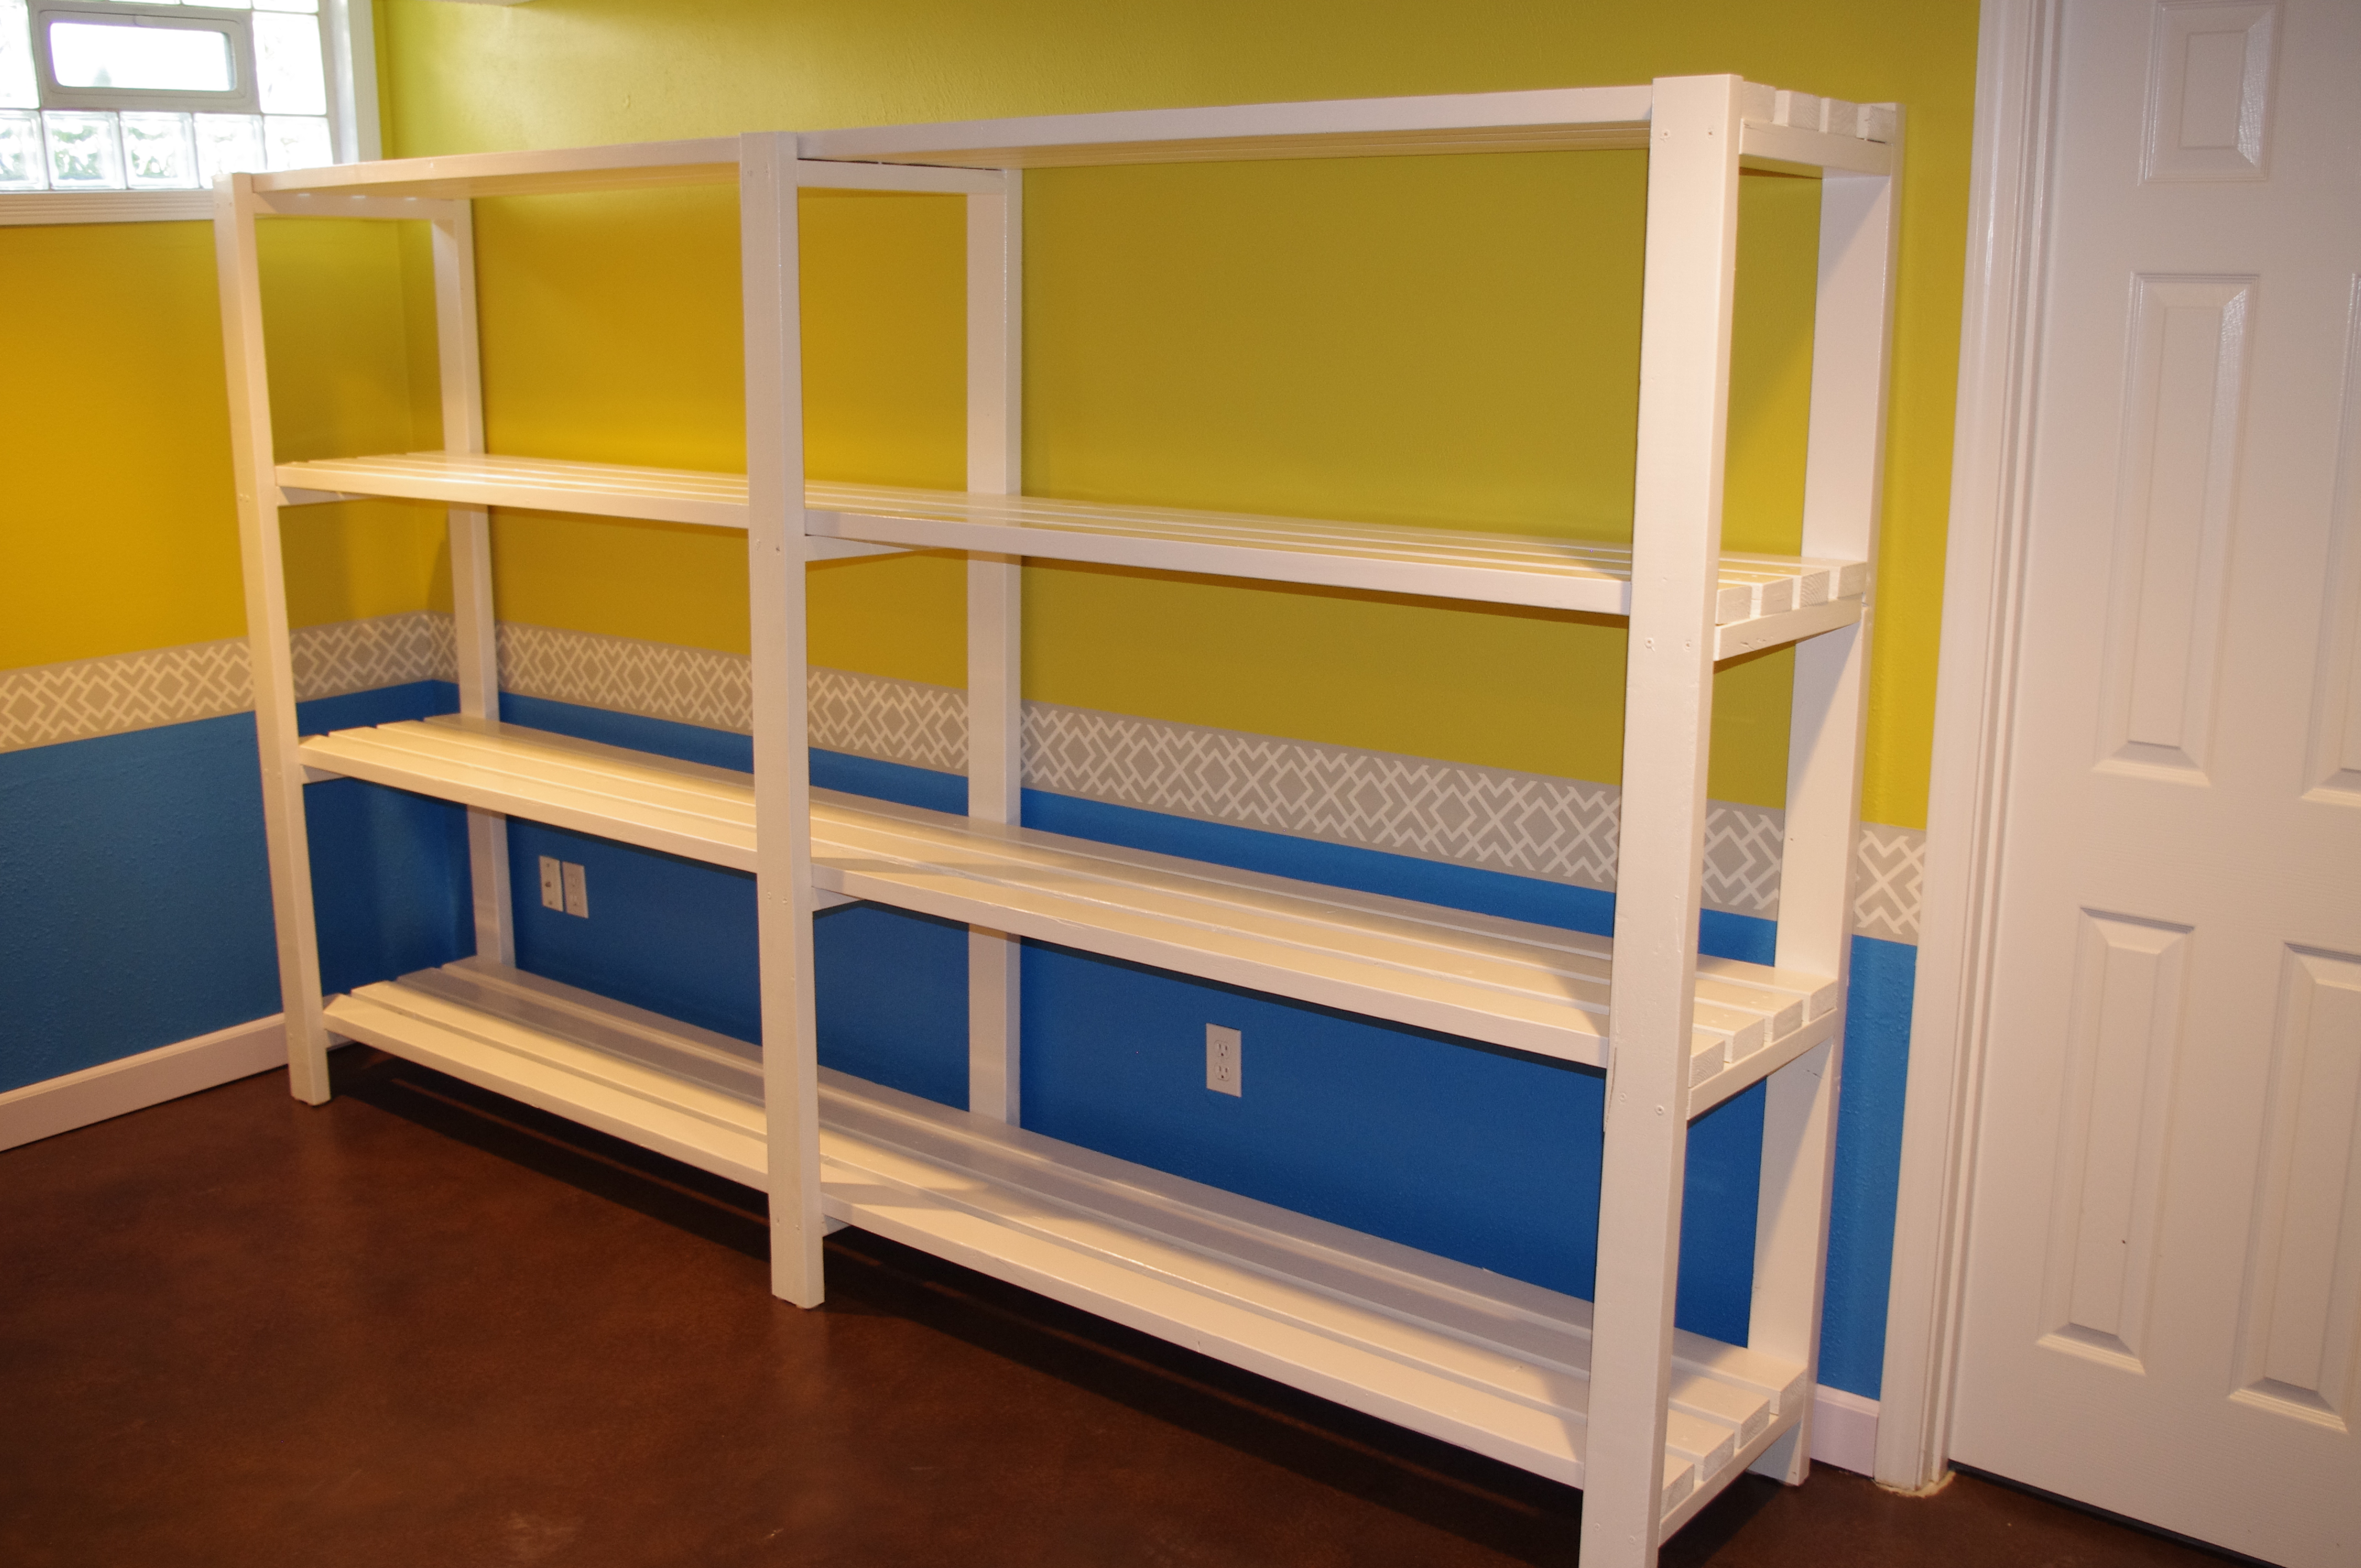
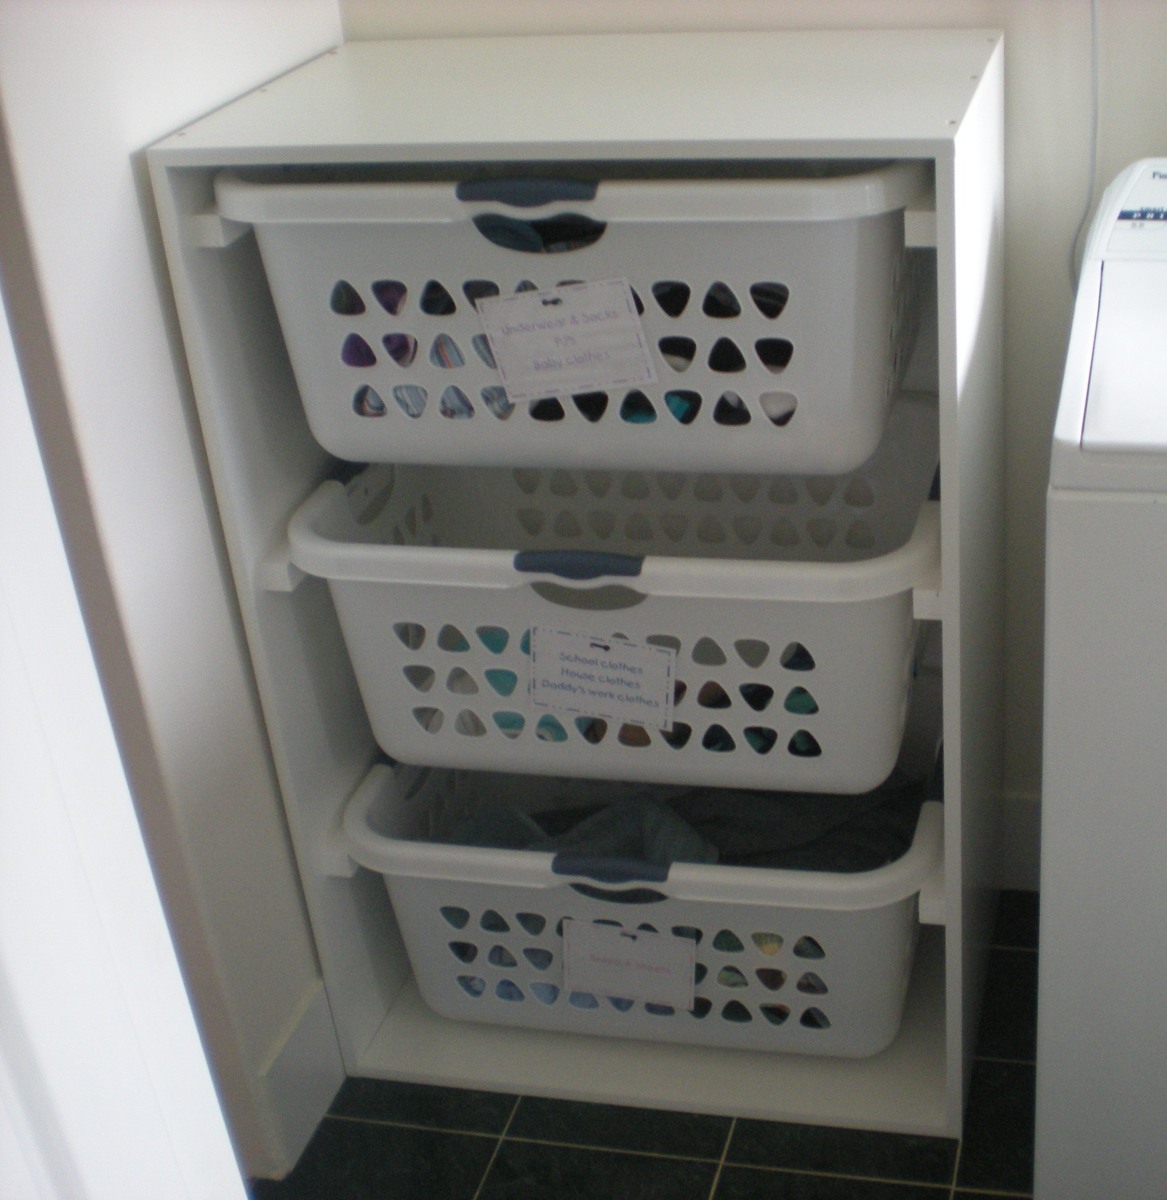
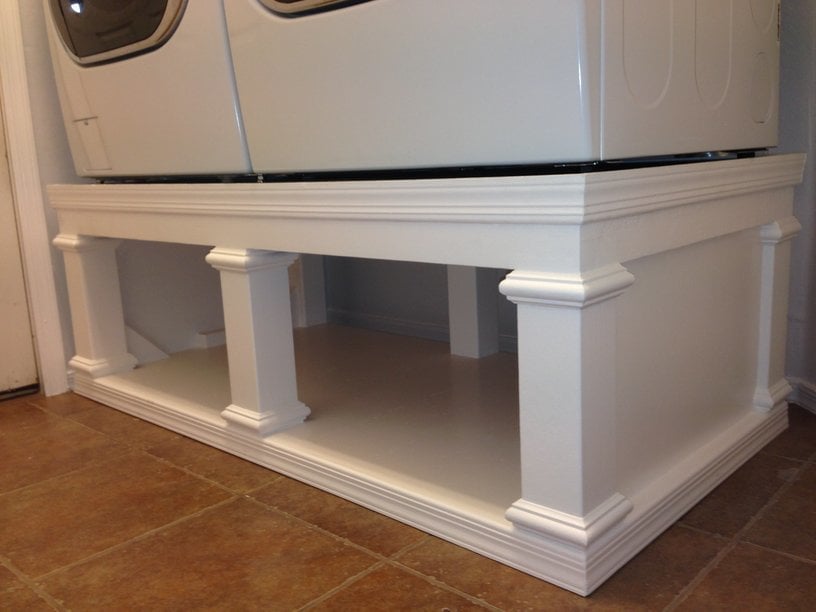
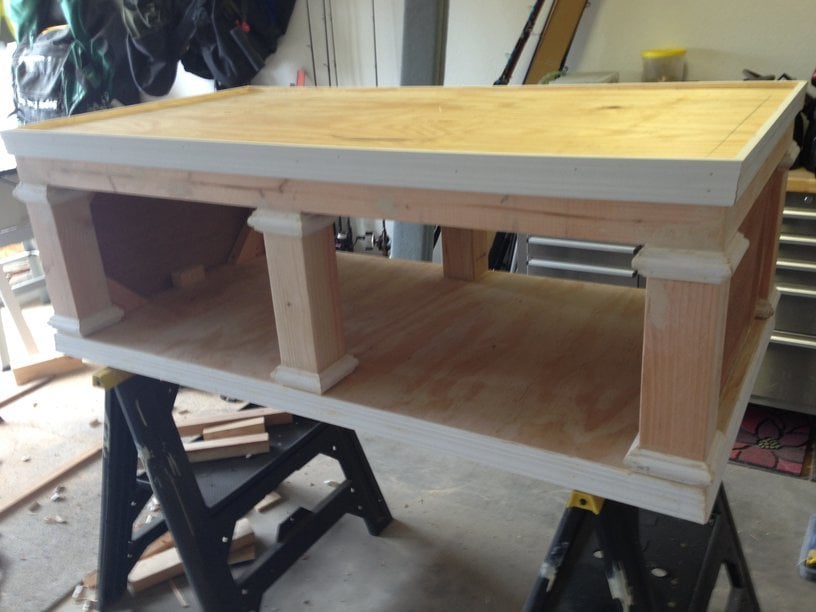
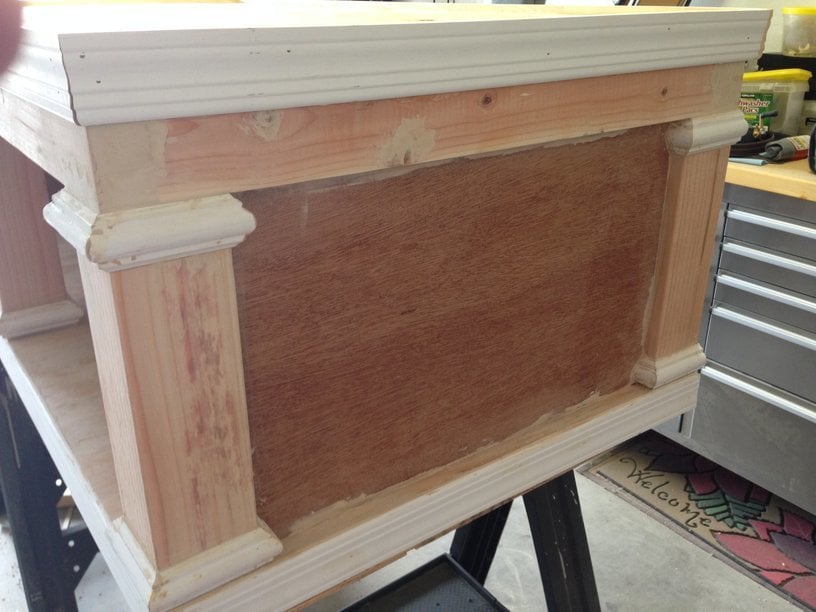
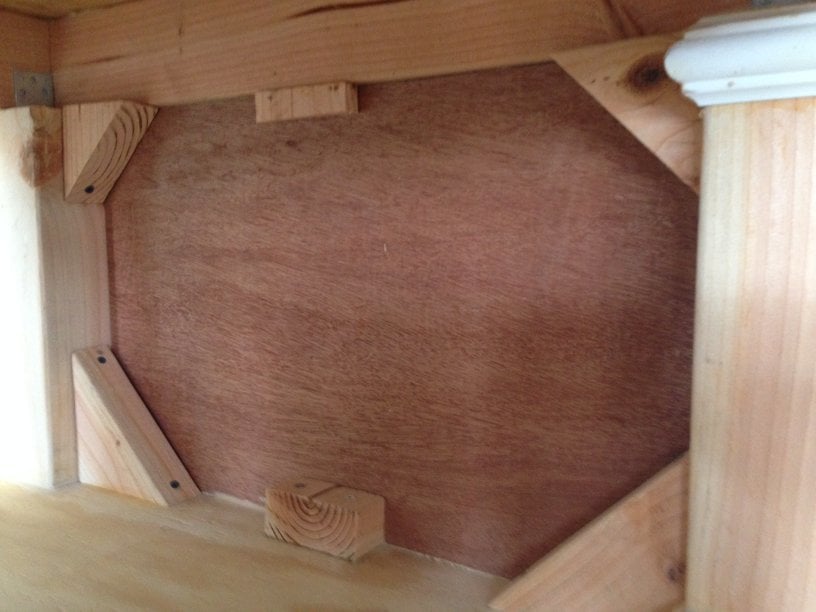
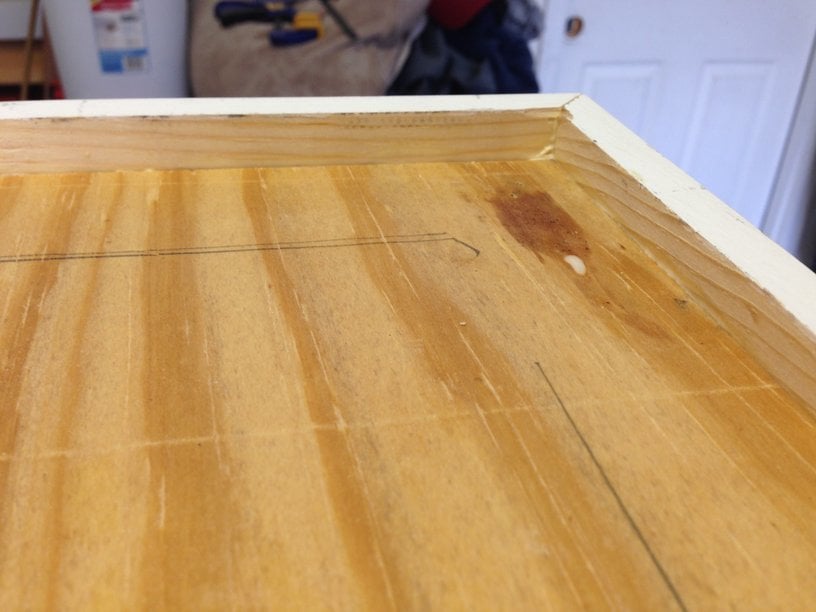
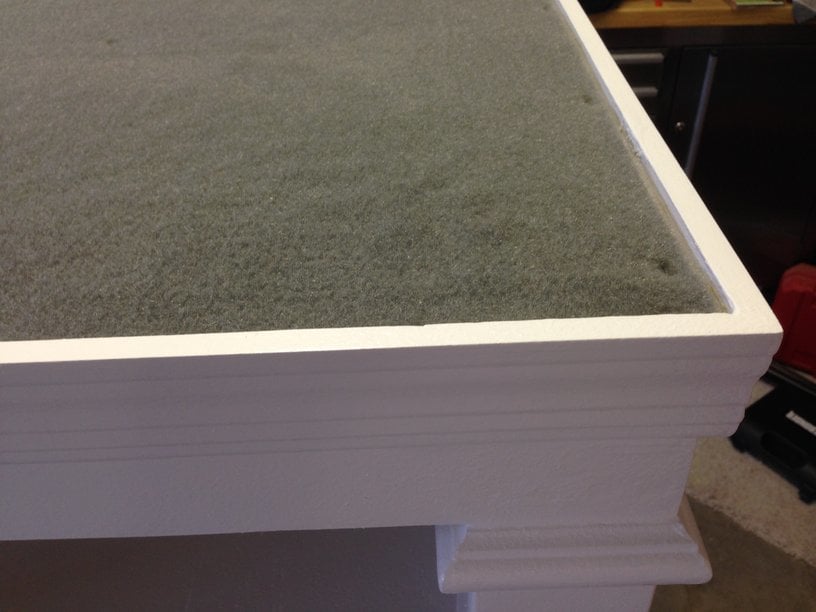
I loved this design. I couldn't believe that they wanted to charge me almost $600 for the pedestals for the washer/dryer set that I bought on black friday, so I decided to give this project a go. I basically used the same construction plans from Sausha's project, but I dressed mine up a bit. First, I chose a bit larger trim for the tops and bottoms of the posts. Then, I bought some 2" baseboards and did the top and bottom with baseboards. On the bottom, I had to use my tablesaw to trim off about 1/2" because I used 1x1" boards on the bottom so that I could have more space for baskets. Then, on the top, I inverted the baseboard and allowed it to overlap a bit so that if it were to vibrate, the washer/dryer could not fall off the edge. I also added some fabric on the top (stuff that I use to cover the bunk boards on my boat trailer...kind of like a very thick and durable felt material) to cut down on vibration and also keep the units in place. Finally, I added sides by using wedge trusses on the inside of my side posts and then I put a 1/8" piece of plywood over top and nailed/glued it to the trusses.
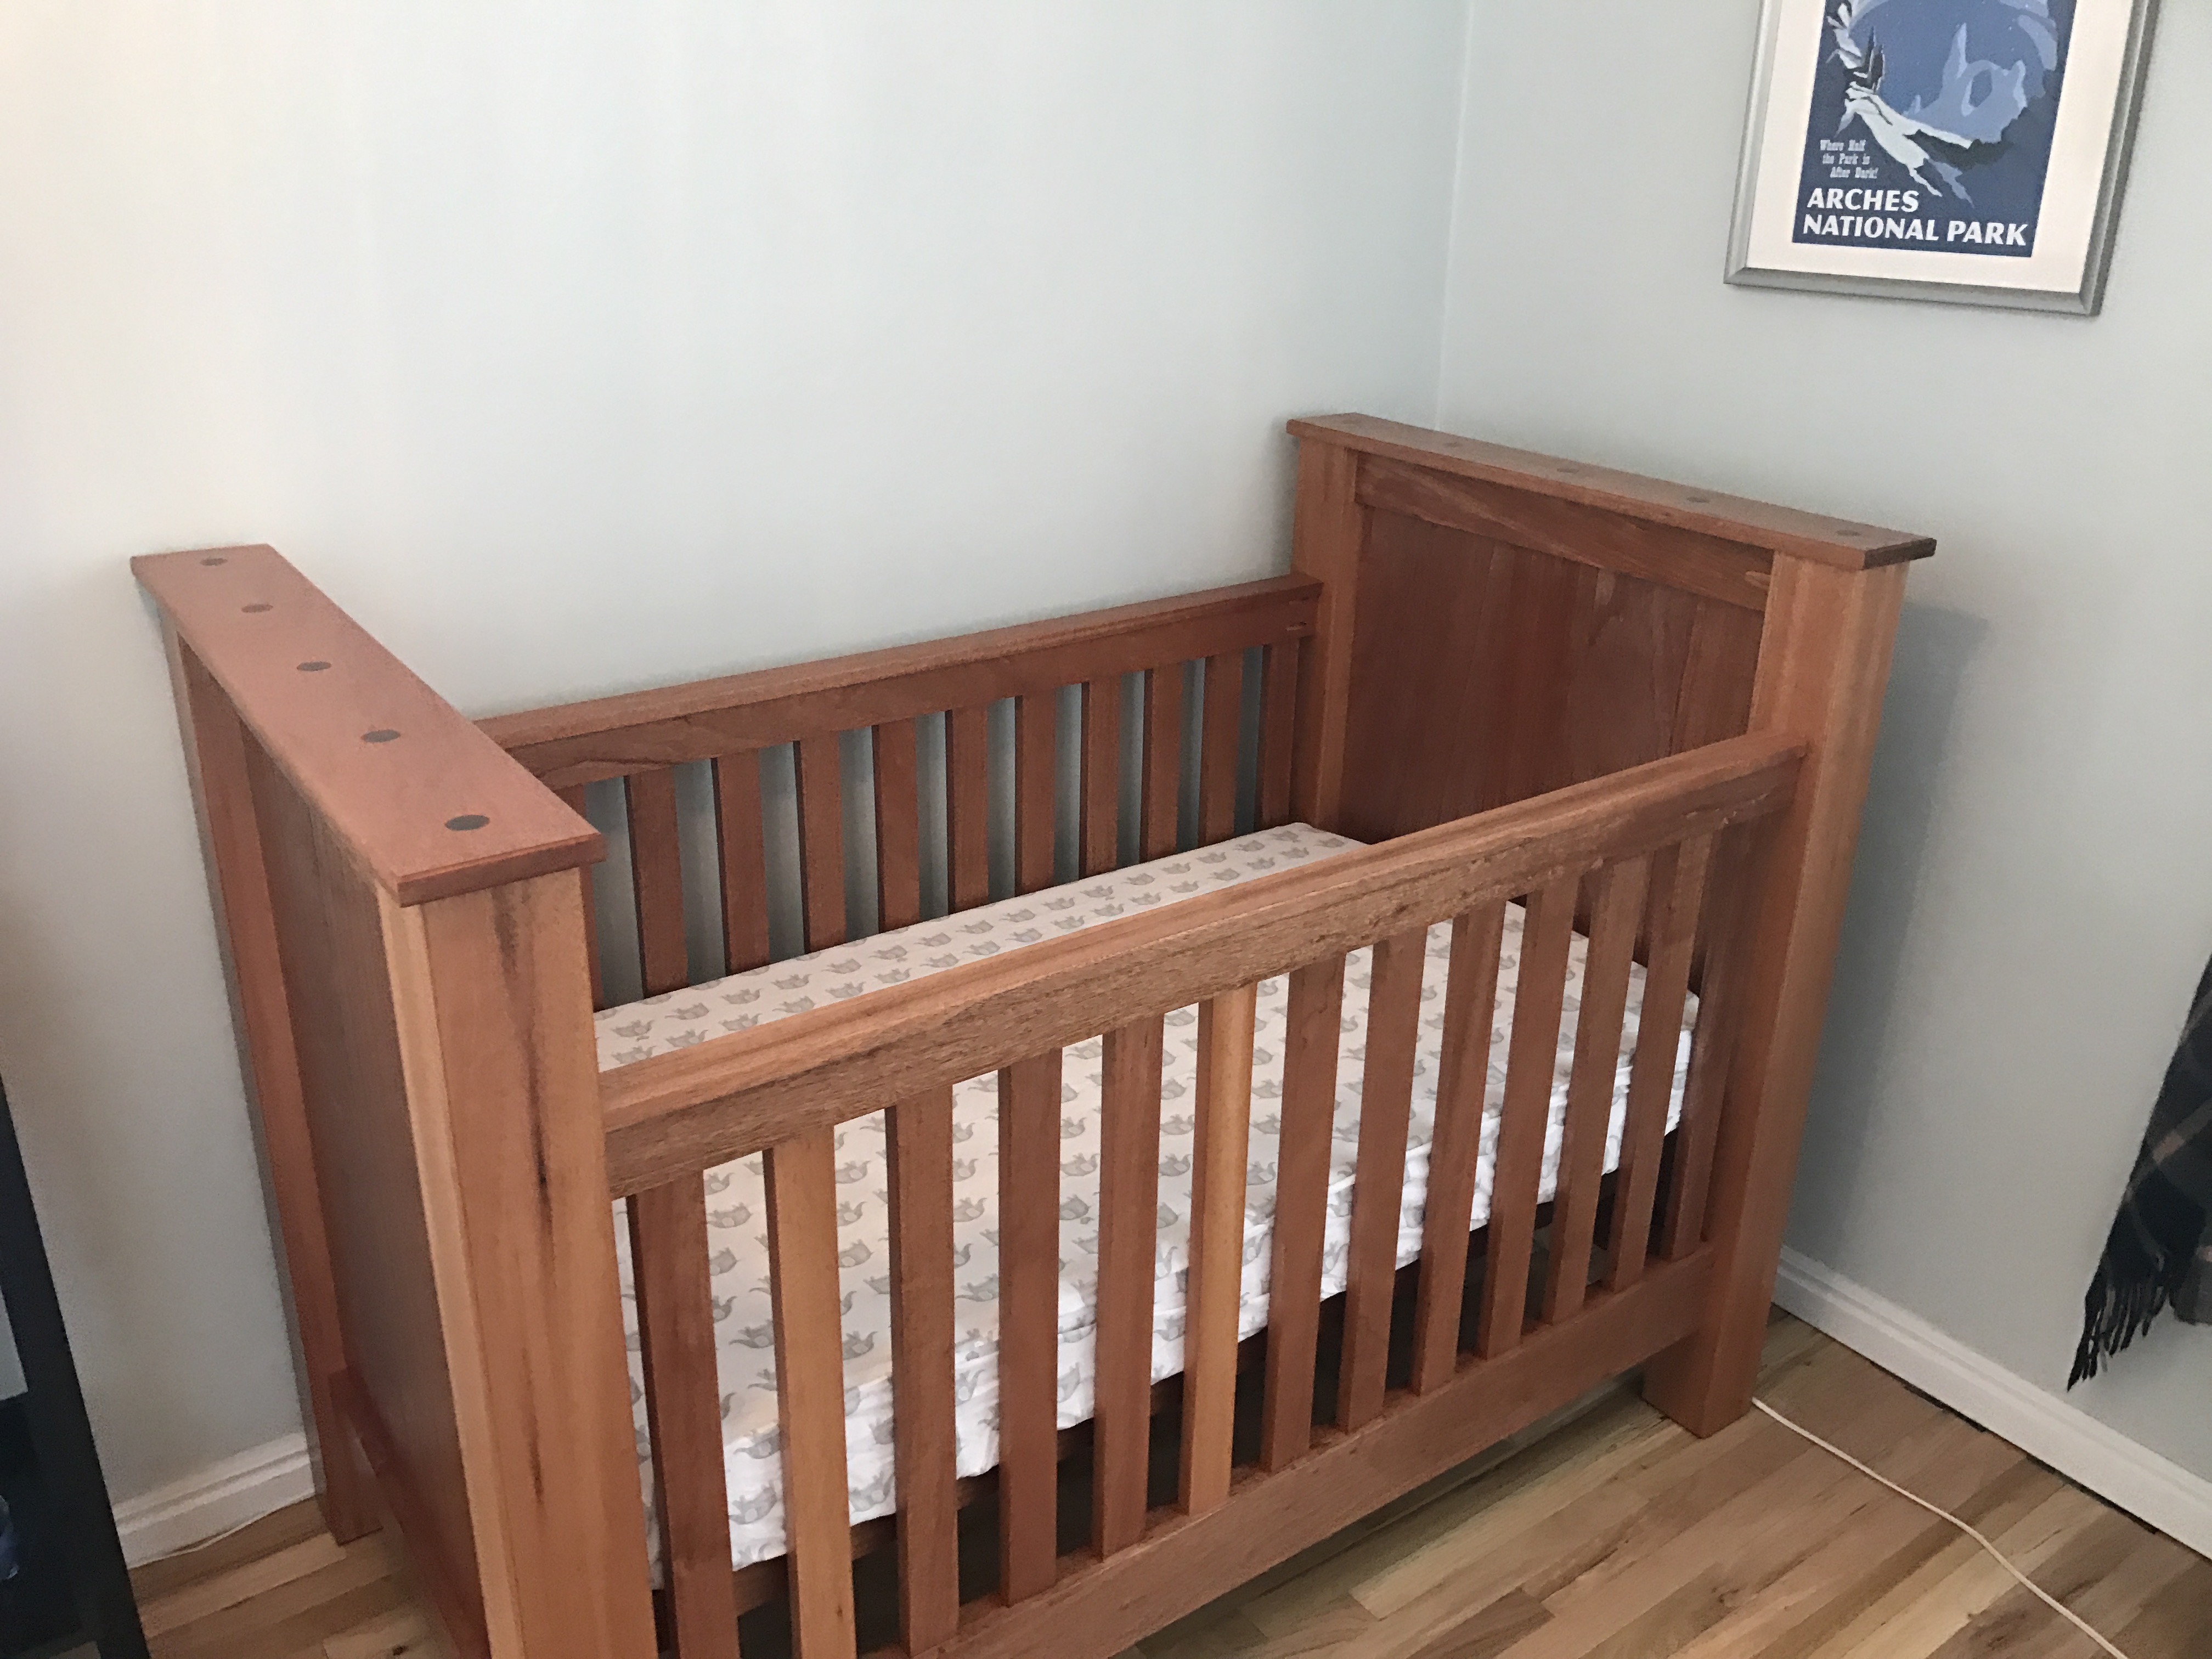
It turned out great. Thanks for the plans Sausha!
In reply to Nice Detail by earthbybike
Mon, 12/08/2014 - 11:42
Thanks. Yeah, I thought that it did really dress things up. I really like the way it turned out.
Mon, 12/21/2015 - 17:38
Did you use sanded plywood? Did you use any veneers for the exposed 2x4's to get a smooth finish or did you paint right on it?
lastly, what is the name of the trim you put on the 4x4s? I've hard a hard time finding it. Thank you!
Mon, 12/21/2015 - 17:44
Did you plane the 2x4s? Because they look really straight.
In reply to Question... by Zlk200
Wed, 06/29/2016 - 13:59
Sorry for the super delayed response. I didn't realize this question was here. I did not plane anything. I did sand the surfaces a bit, but I didn't get too crazy. I put 3 thick coats of paint on it which made it pretty smooth. If you look very closely in person, you can still see a bit of wood grain, but it is only noticable if you really get down and look. I did use a lot of wood putty to fill all of the gaps and crevaces and then I sanded those parts pretty well.
With regard to the trim, the top literally just standard baseboard material turned upside down, and then the little trim on the tops and bottoms of the 4x4s is just another standard strip of moulding that I got from Lowes. I think they call it "Chair Rail" moulding. Its the stuff that you put down if you are doing some sort of paint separation or wainscoting.
http://www.lowes.com/pd/1-625-in-x-12-ft-Mdf-Chair-Rail/3403018
I used woodglue on all of the moulding and tacked it on with a nail gun. Then I filled all of the nail holes with wood putty and also use the putty to fill gaps where the corners came together to make that look smooth.
I hope that helps...you are probably already done with your project by now, but I figured that I would answer anyway. :)
Tools you basic design, made some changes to how the sides were built. I also used Mahogany.
This was my first big build and I love how it came out! Thank you Ana White for amazing and straightforward plans to follow for both the farmhouse table and benches.
Comments
Rapturee
Mon, 12/04/2017 - 09:17
Nice job!!
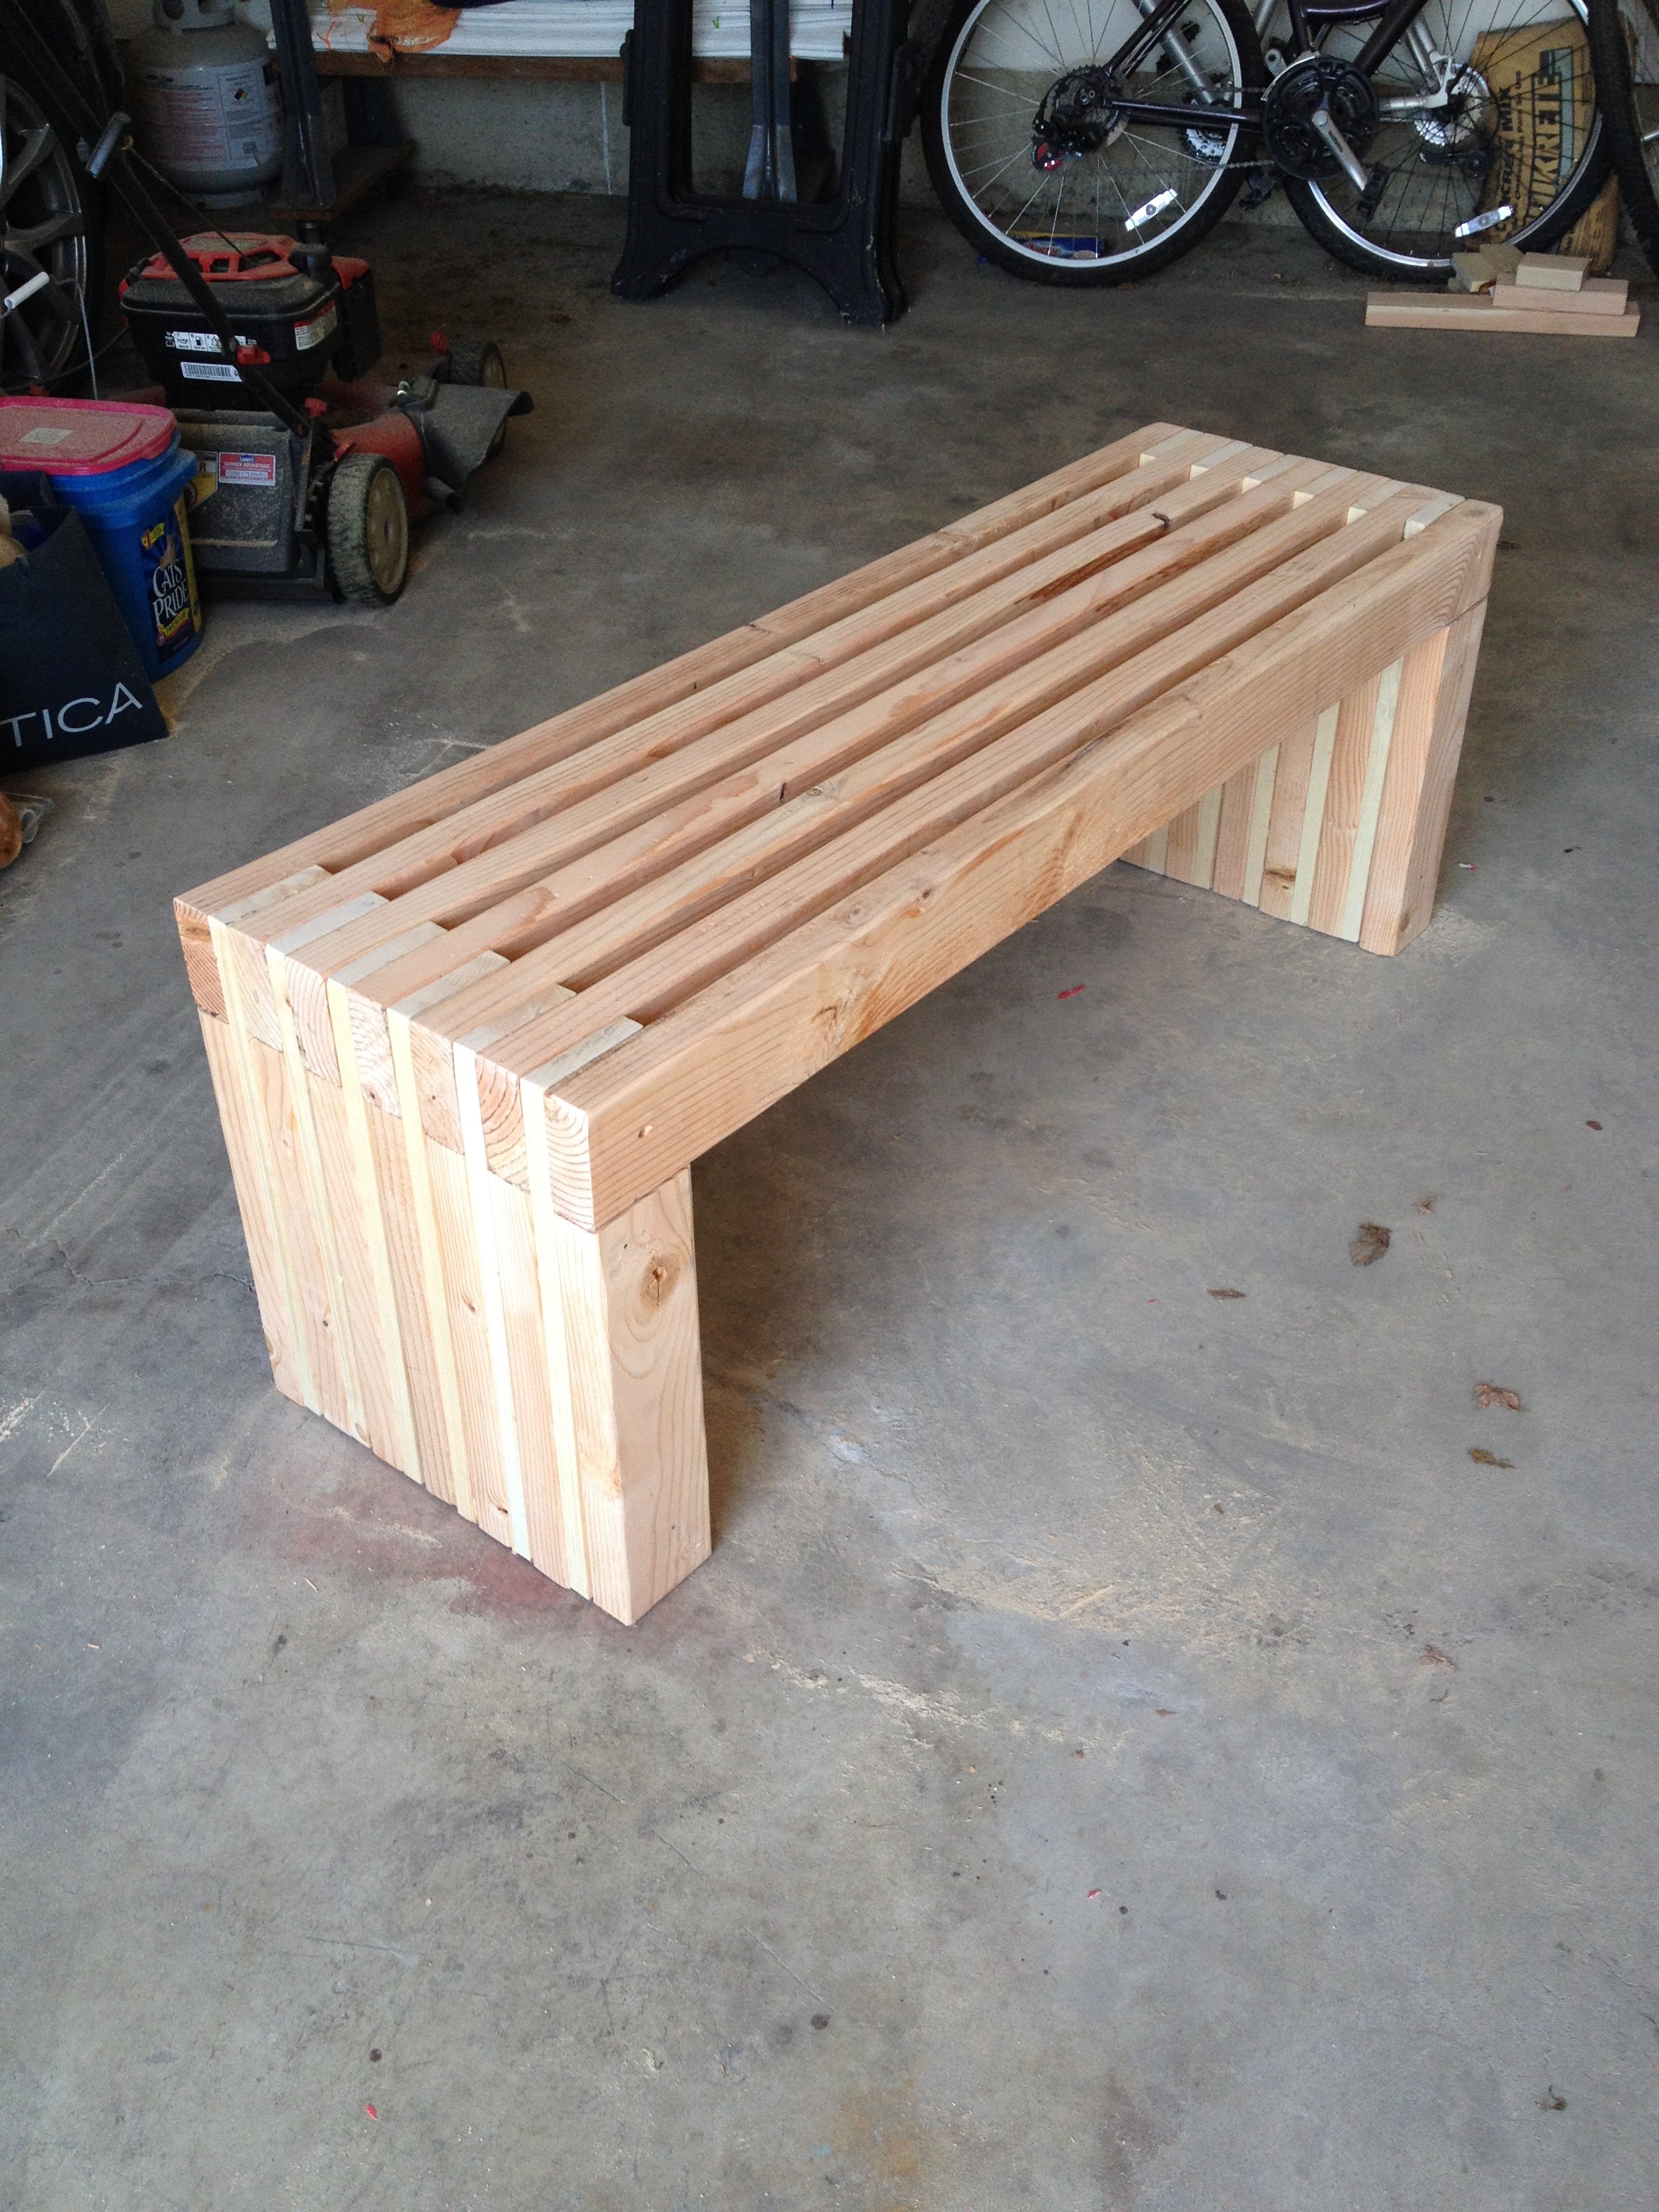
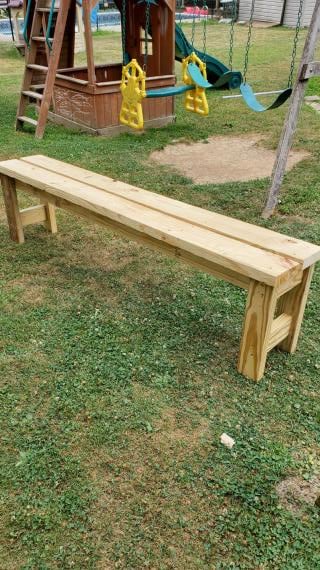
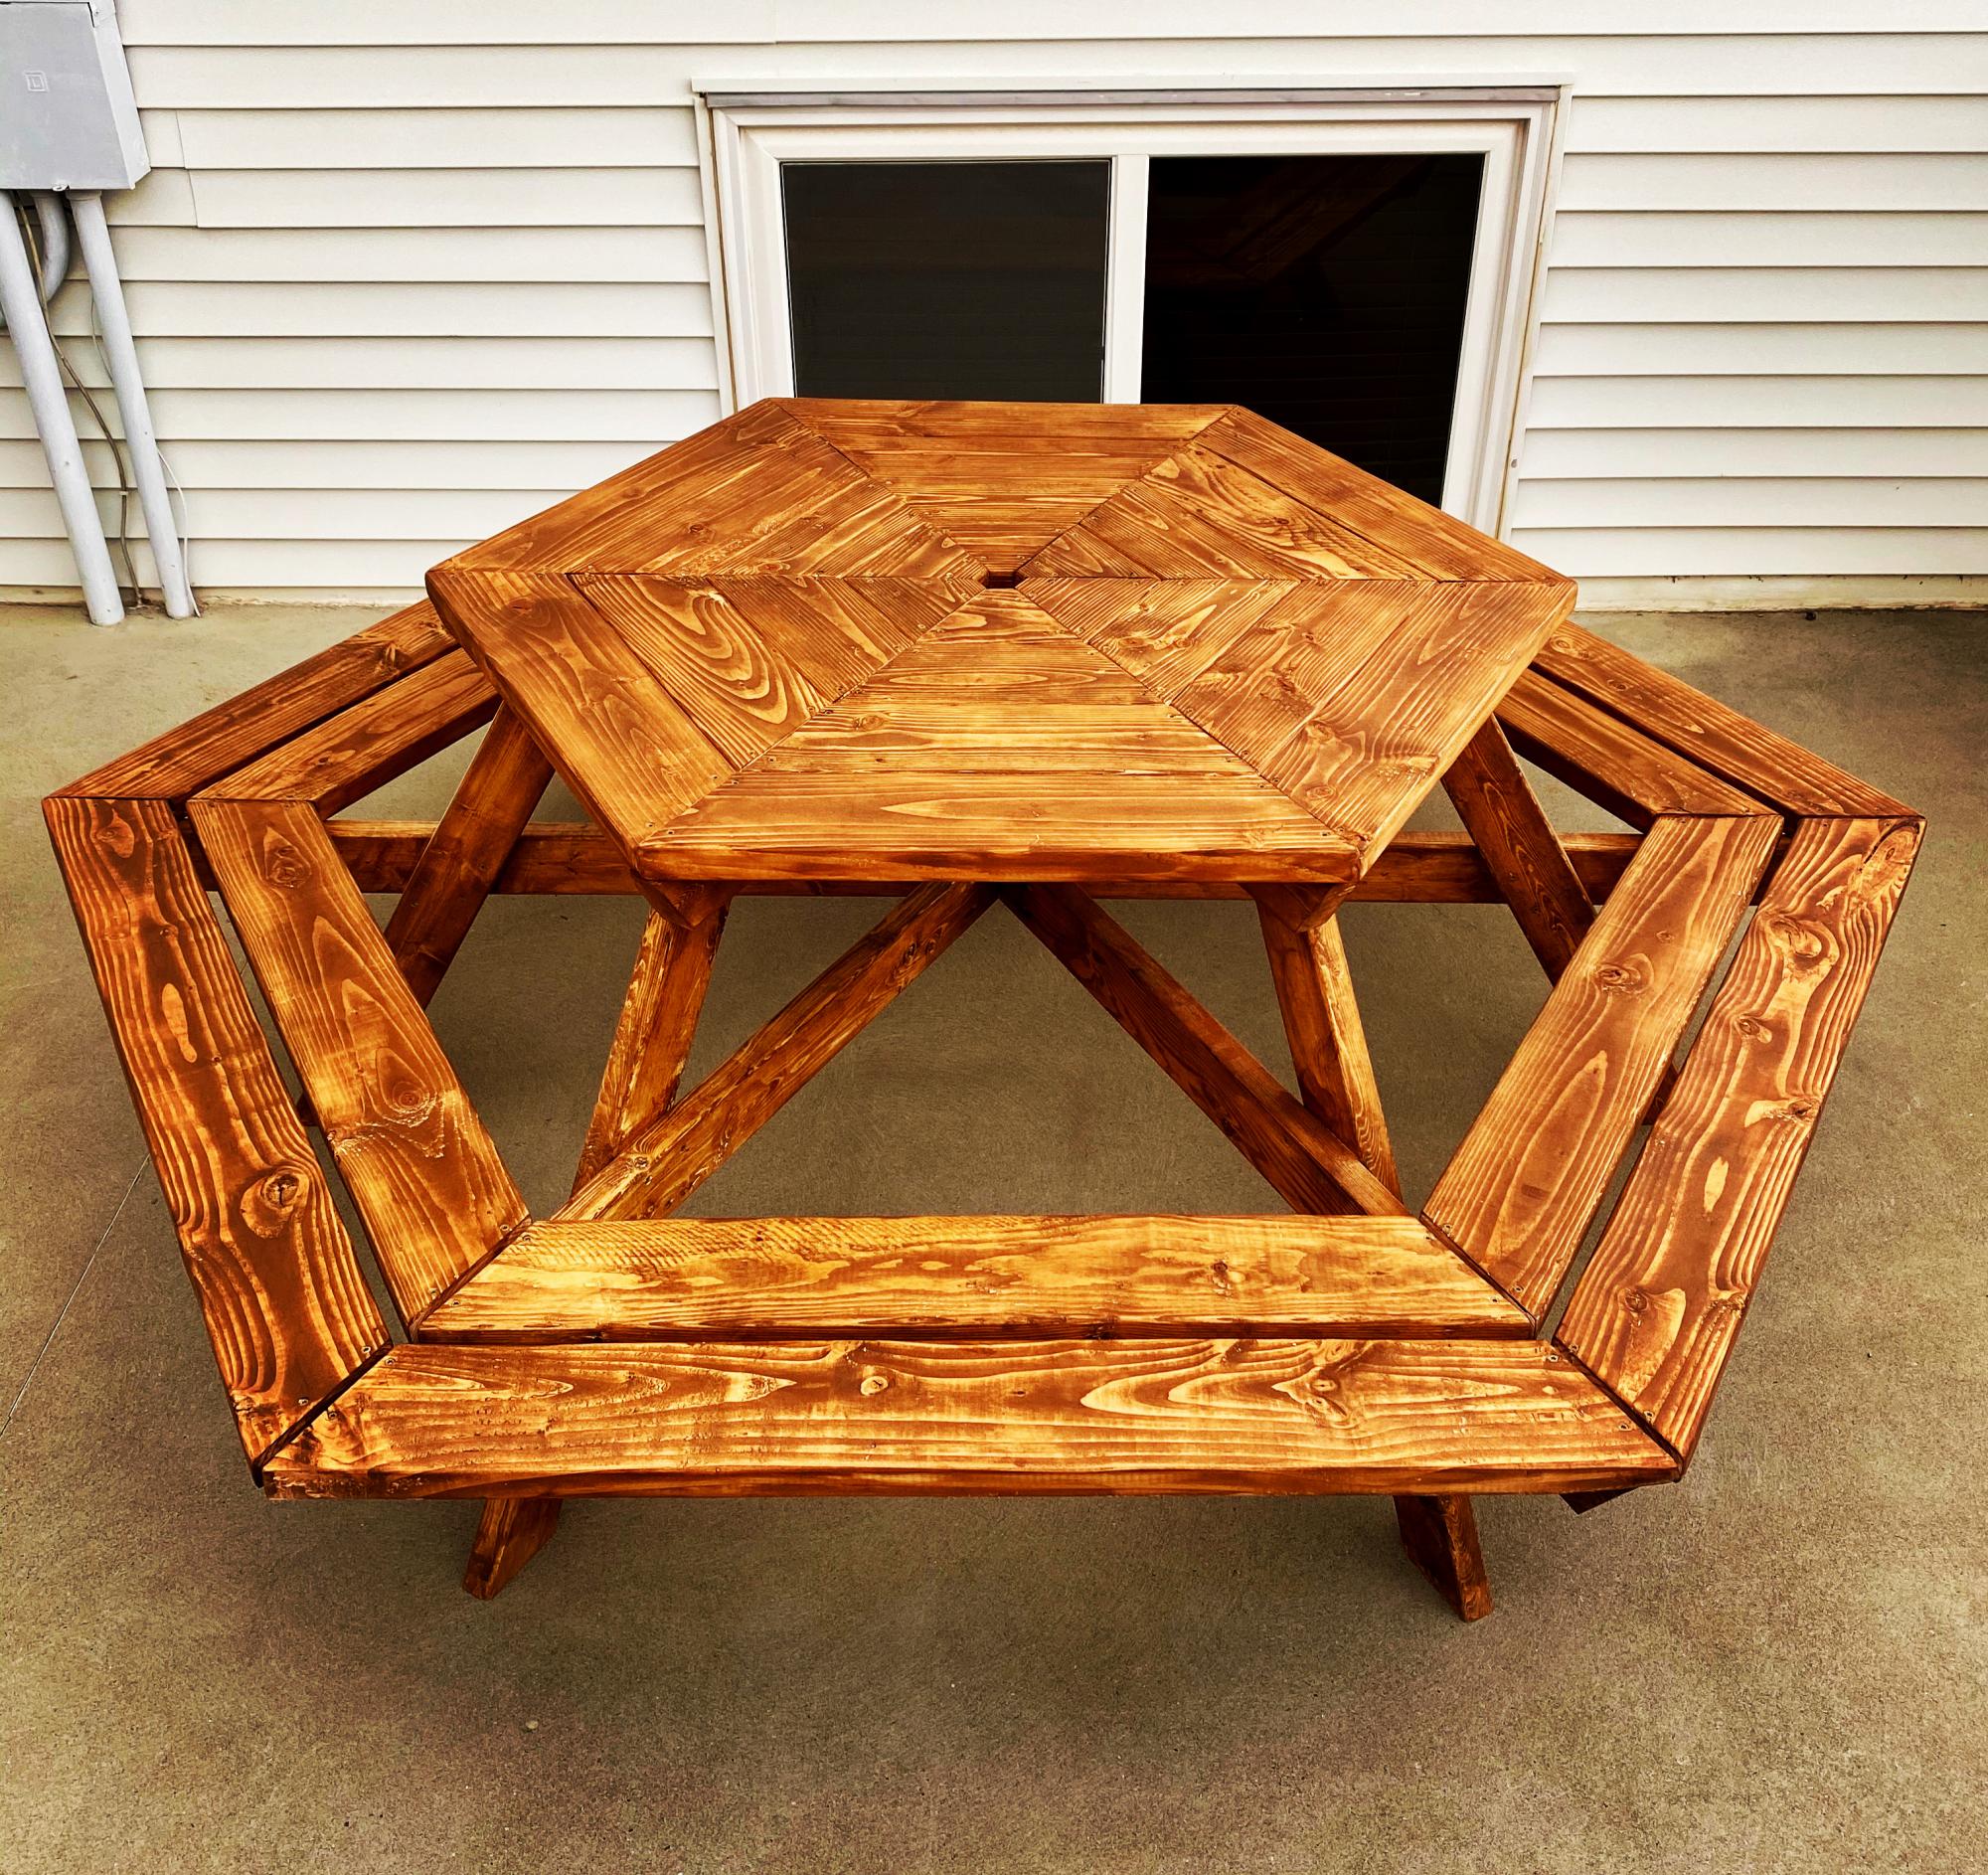
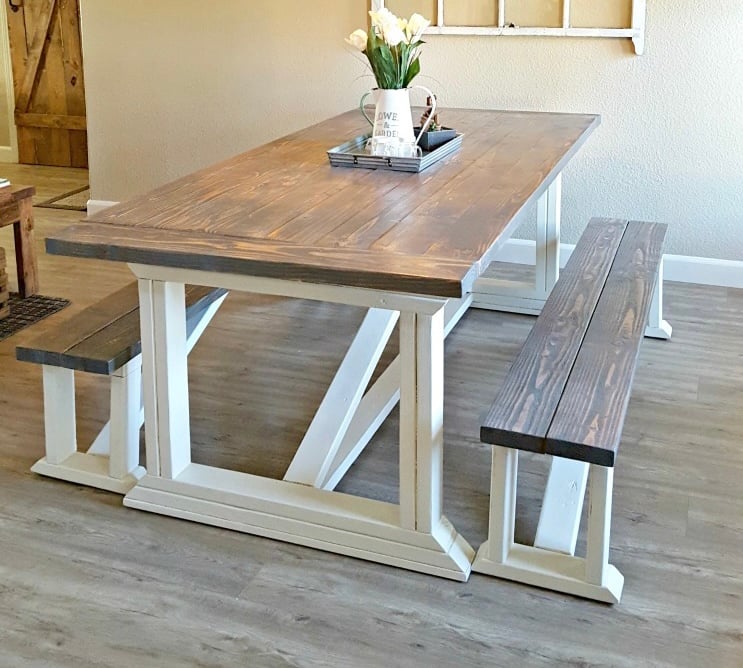
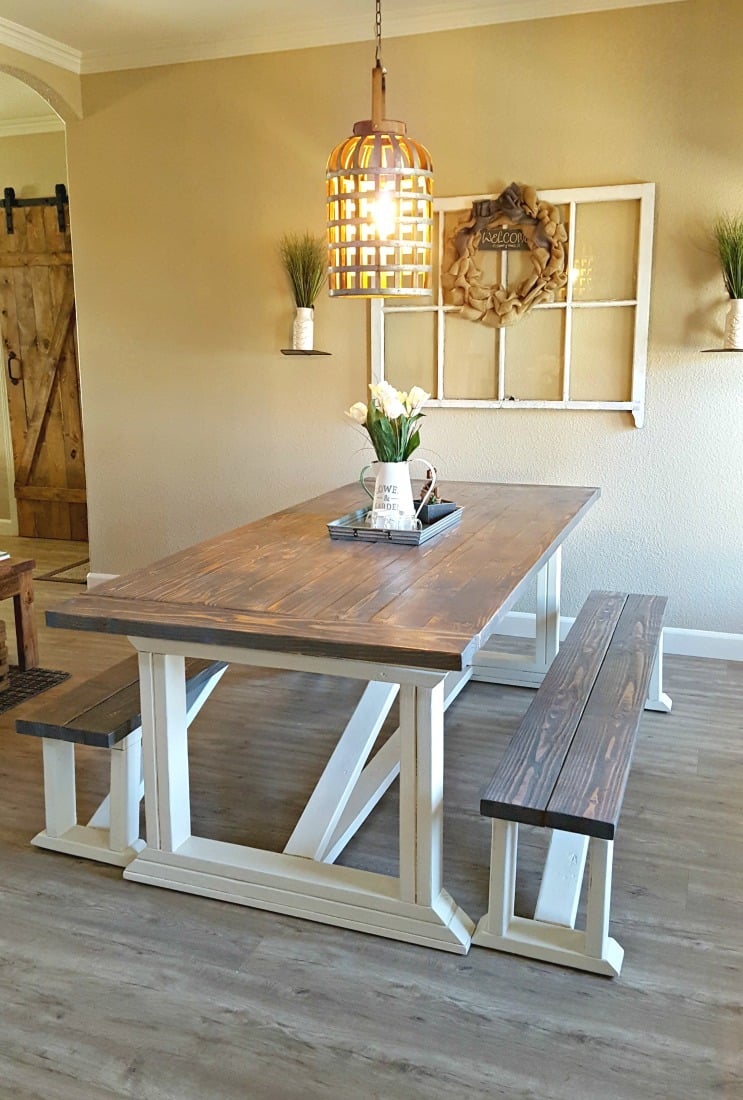
That was my idea as well, to shorten it. My wife just asked me if we could part with a few chairs on the back side of our dining room table and if i would make a bench or two across the back wall. Well "of course" i said hahah!! Nice job on yours!! :{)
Chris_PerthWA
Sun, 07/19/2020 - 03:23
So good
So good
Cwrex
Sun, 09/13/2020 - 06:45
That's really beautiful. I…
That's really beautiful. I think I'll look up the plans and try make one myself.