Community Brag Posts

Helping "Foster" Care

Submitted by Anonymous (not verified) on Fri, 03/03/2023 - 06:45

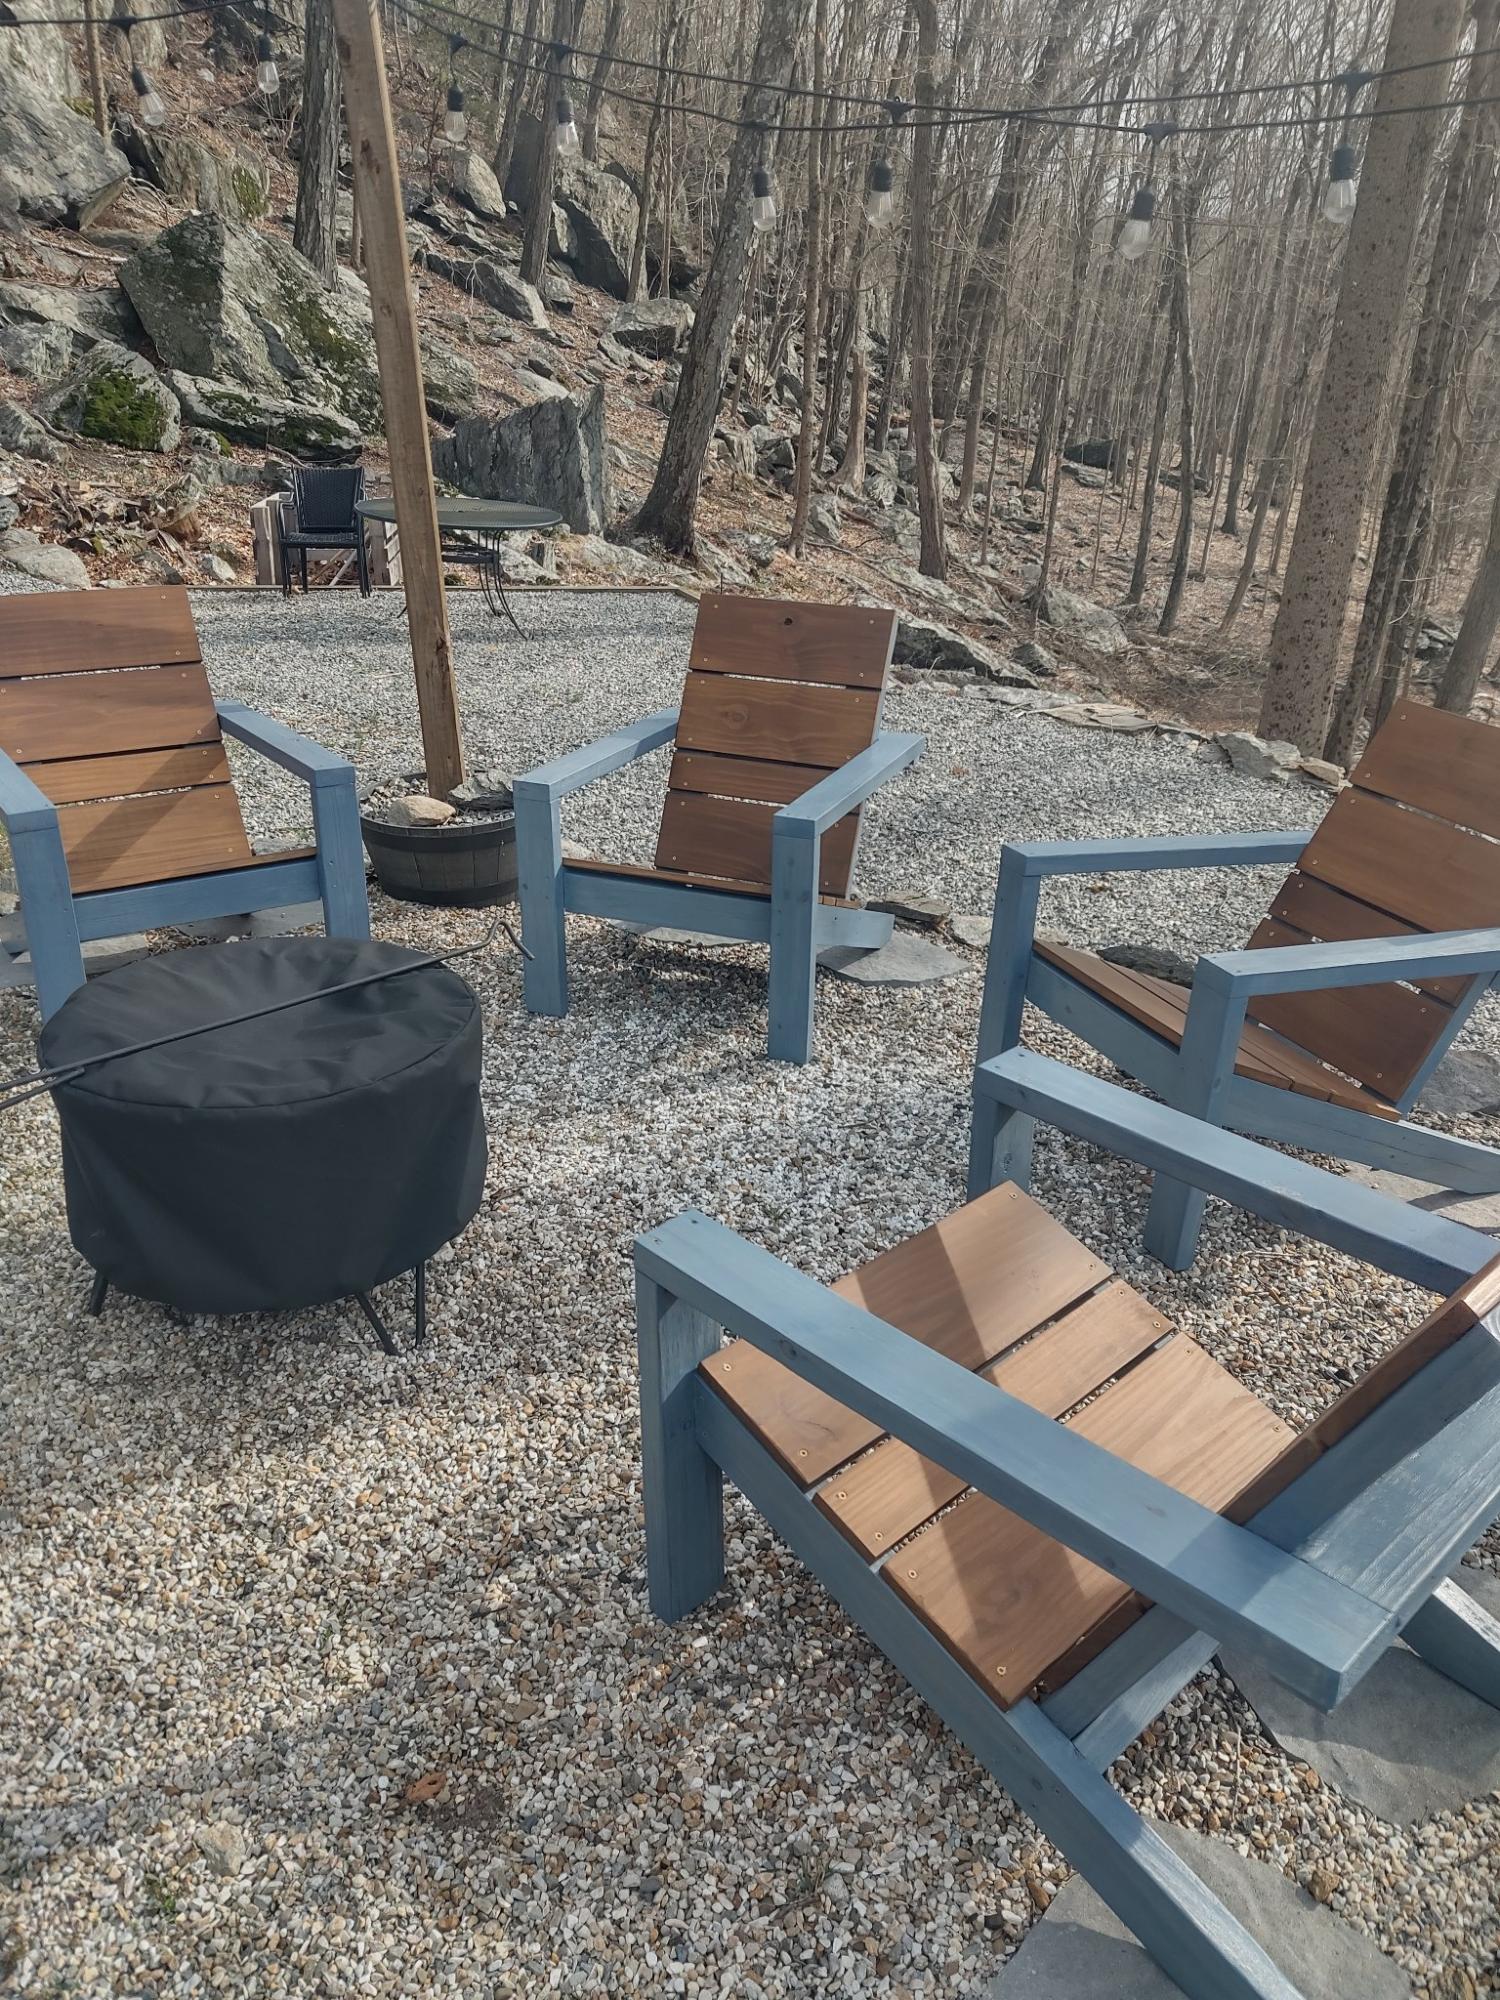
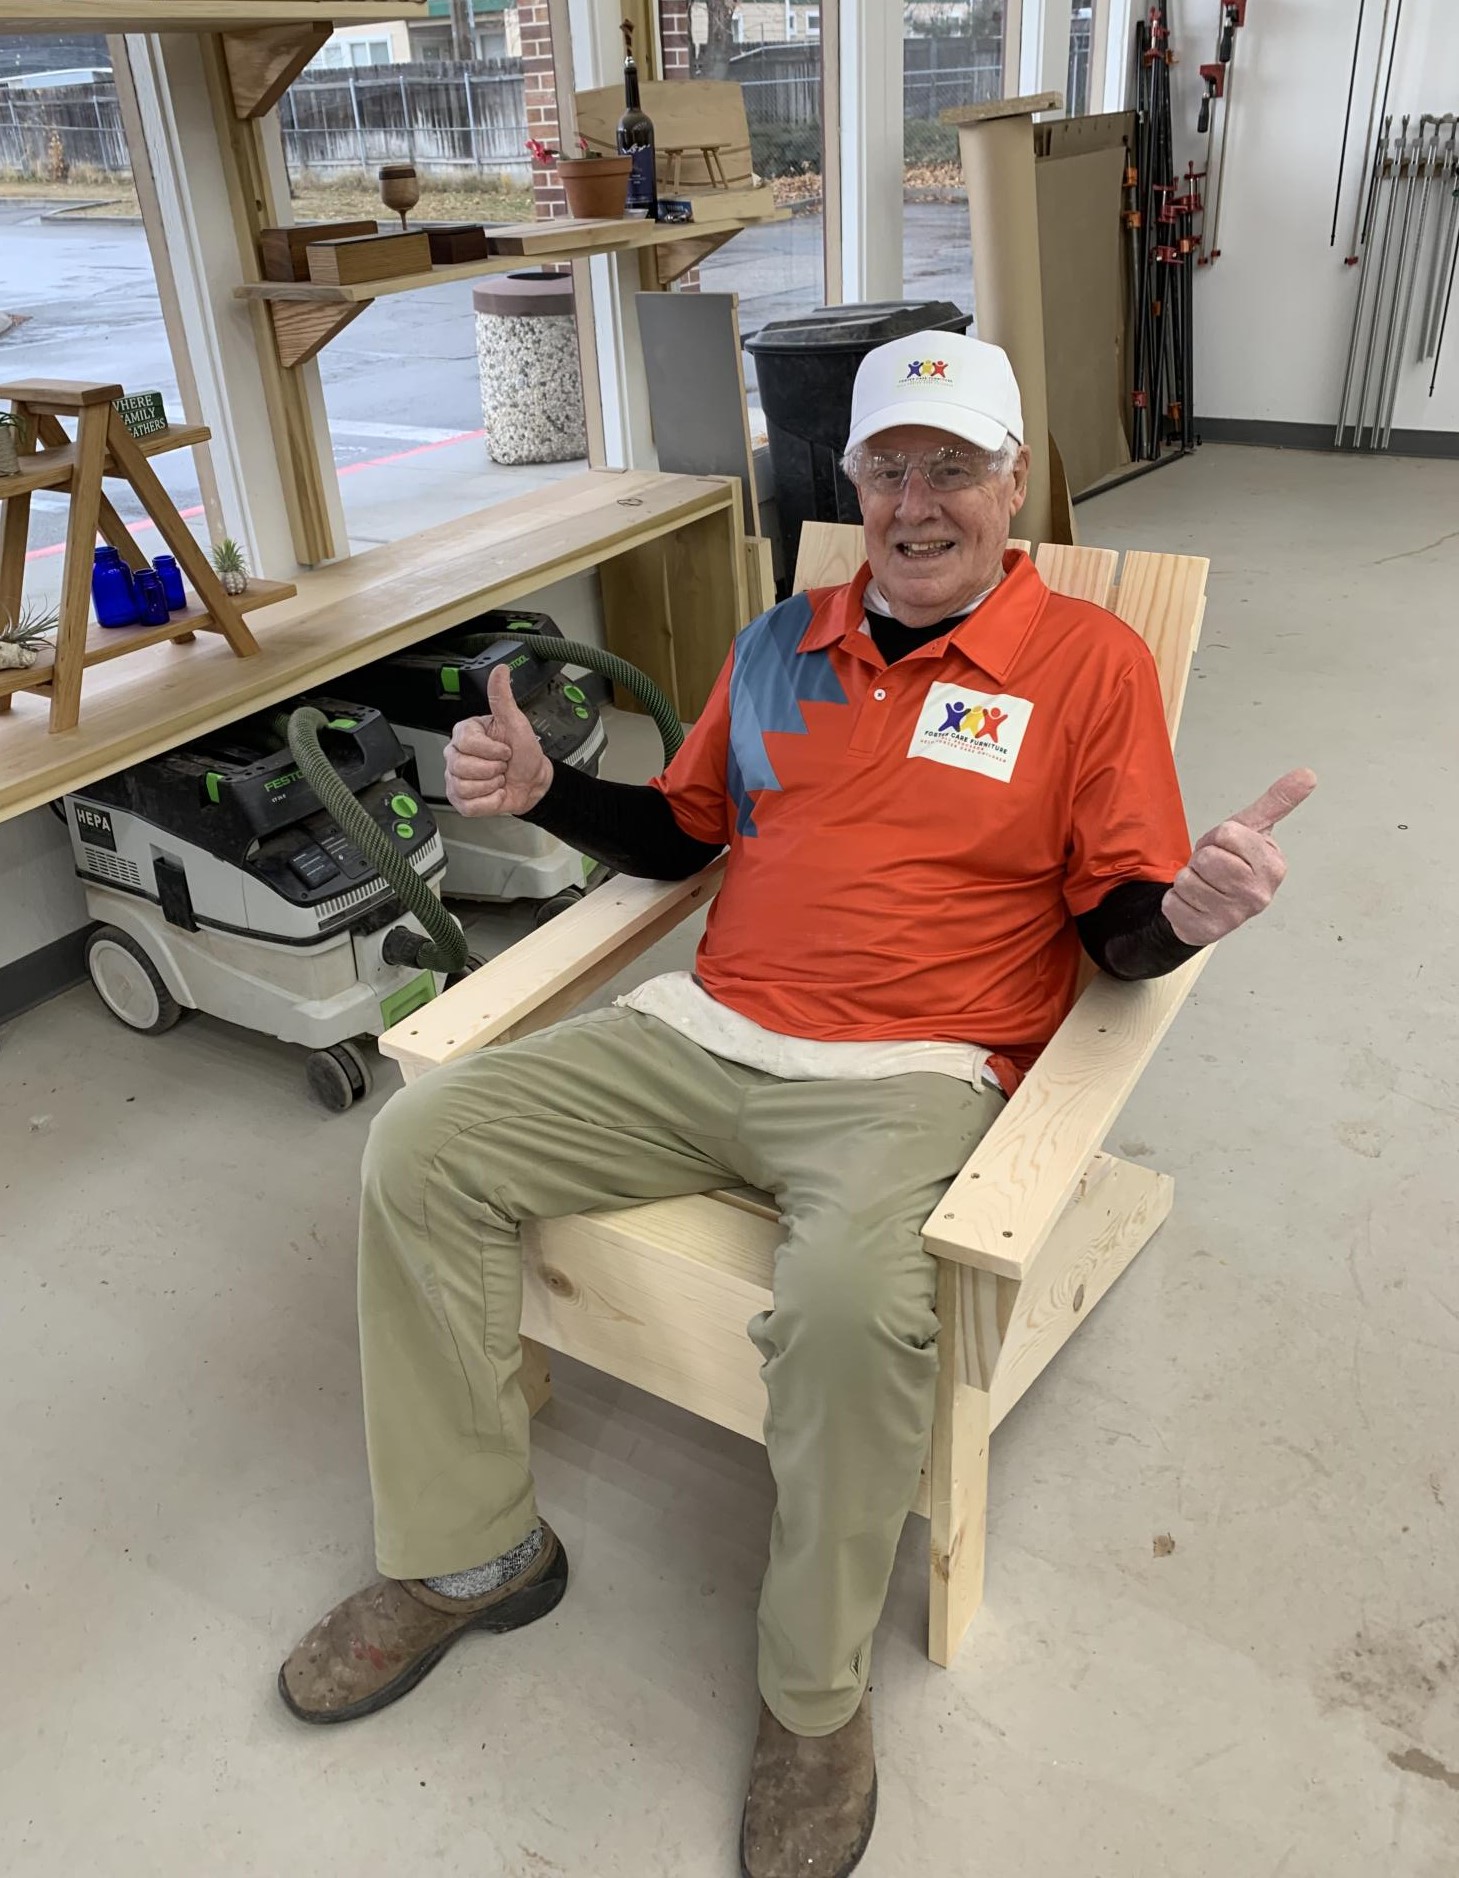
We have started a 501 C-3 non-profit manufacturing company making furniture and giving all the proceeds to Foster Care Youths "aging"out" of Foster Care. Foster Care kids are trained on basic woodworking and carpentry skills and assist with the furniture manufacturing.

We are using Ana White's classic Adirondack chair design for our first project, and they are beautiful.

For more info see our website at www.fostercarefurniture.com

Thanks Ana for helping these kids!

Built from Plan(s)

Comments

Adirondack chair

Submitted by Anonymous (not verified) on Sat, 04/08/2023 - 13:49

Love these chairs!

Comments

Privacy wall

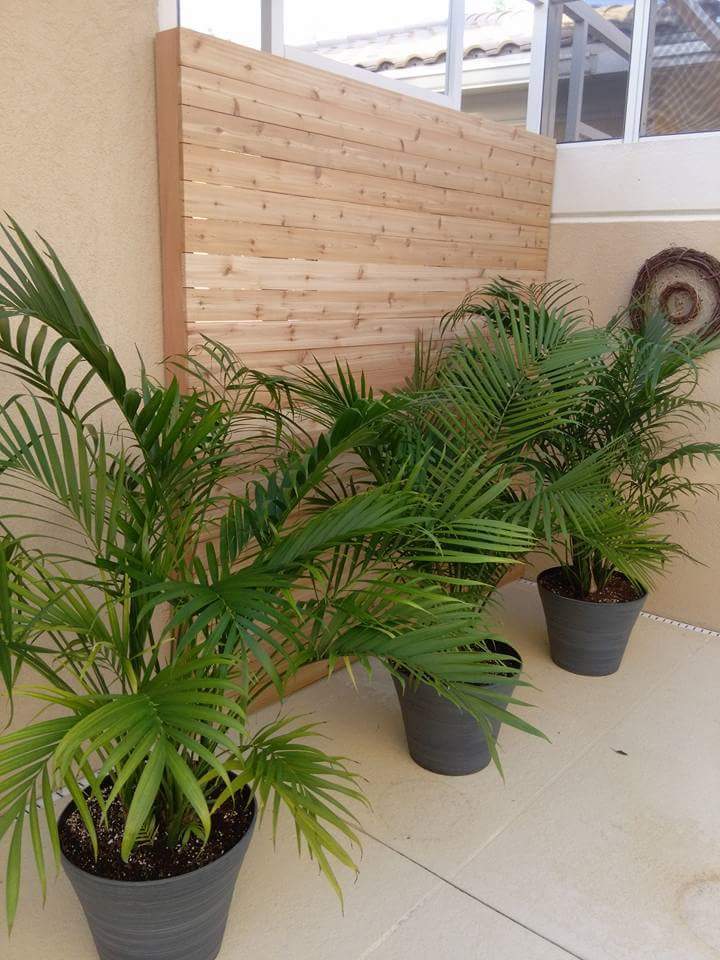
We needed some privacy from the neighbors and to hide their pool equipment and voilà!!! 4 2x4 for the frame 22 1x4 for the slats

Built from Plan(s)
Estimated Cost
$176
Estimated Time Investment
An Hour or Two (0-2 Hours)
Finish Used
None
Recommended Skill Level
Beginner

Comments

Sonny's Play Mud Kitchen

Darling Mud Kitchen by Sarah Jean Gammon

"I had this idea of making Sonny a mud-kitchen, a kids play kitchen for the yard. I mentioned it to Brent and he laughed saying he had enough projects on his list. This was not something he was going to build. Sooo I built this all by my self...or as Sonny would say, “me do this my own self”. It cost ~30 bucks in lumber and a trip to the thrift store for some second hand pots and pans. 3 hours later, a little paint, a little stain and voila... Sonny Side Up Mud Kitchen! Thanks for the plans Ana."

Built from Plan(s)

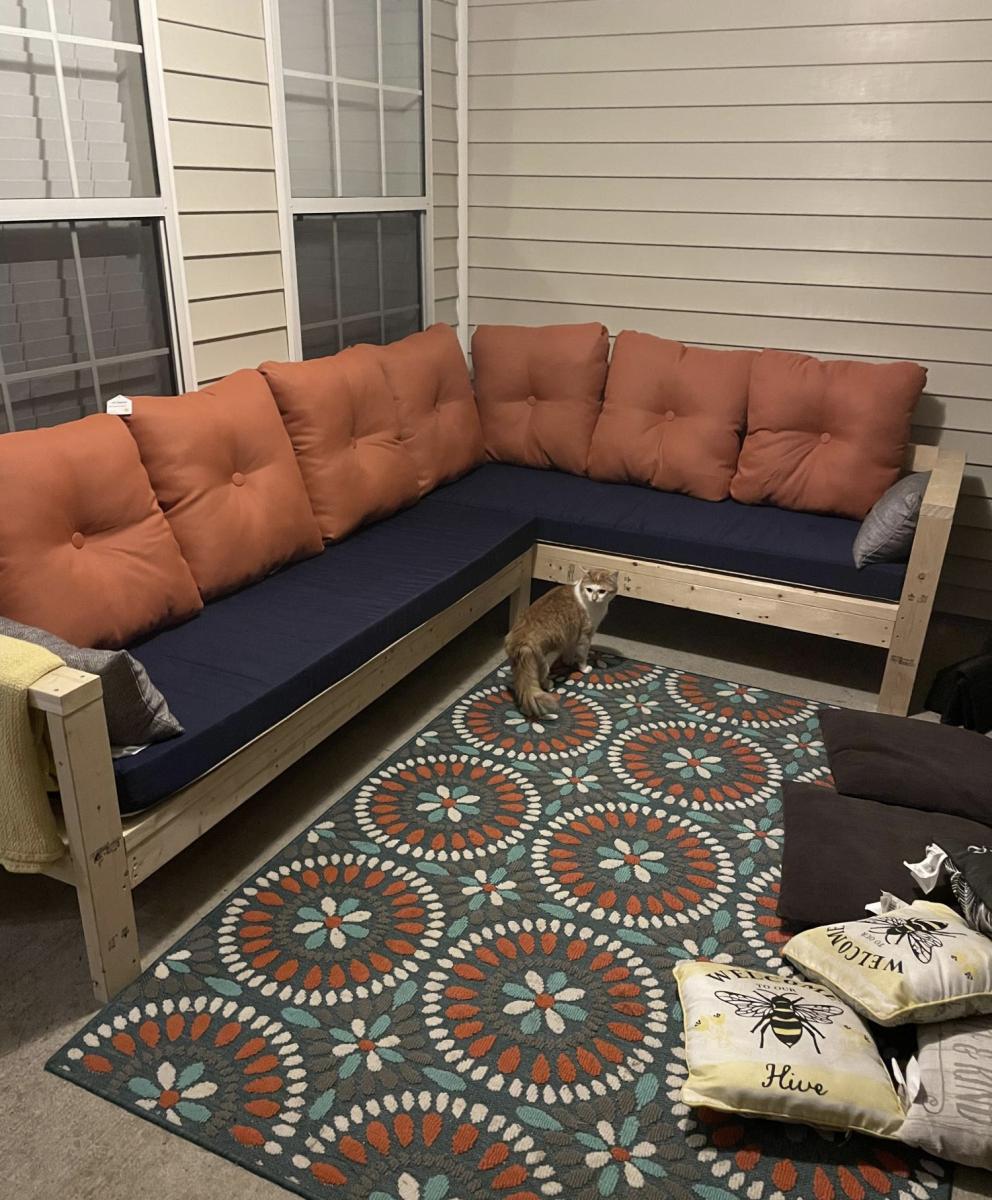
One arm 2x4 outdoor sofa

Submitted by Anonymous (not verified) on Thu, 05/18/2023 - 08:10

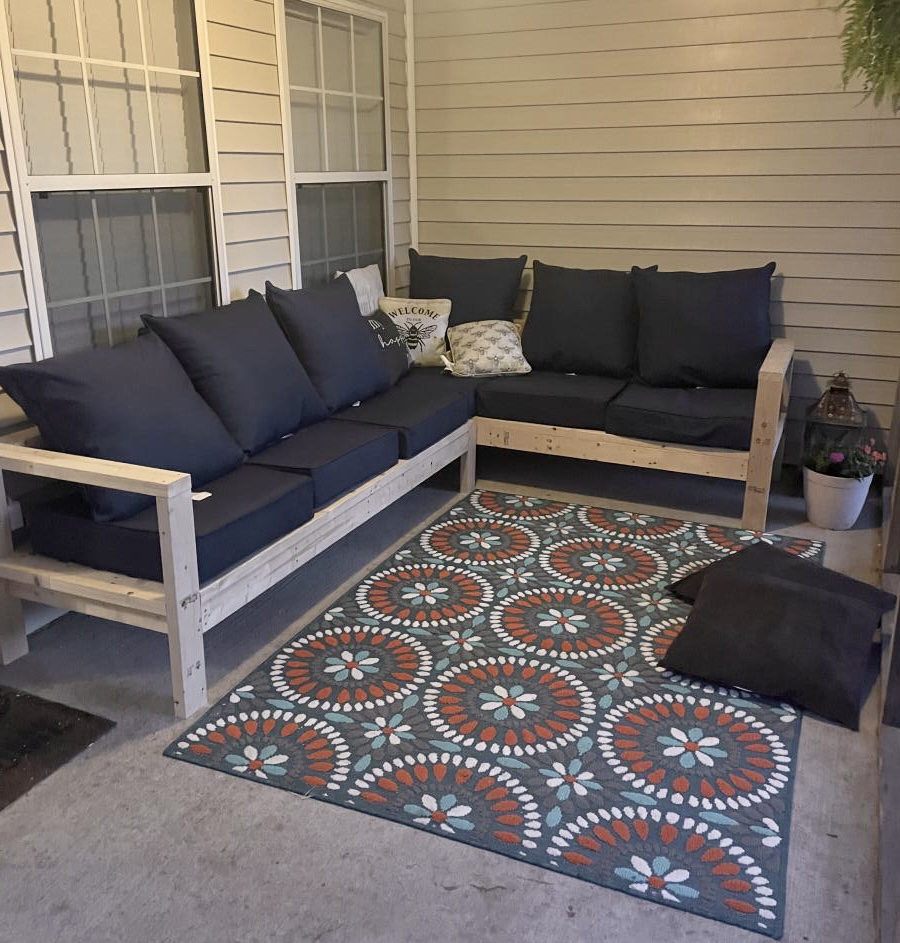
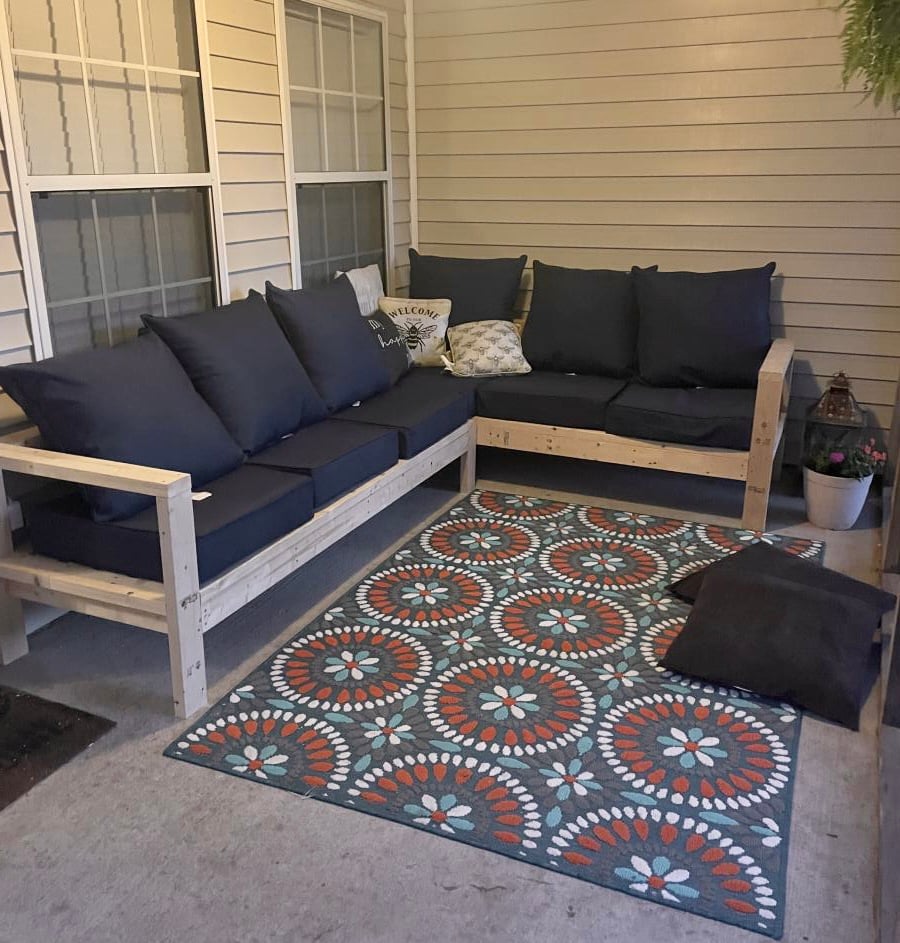
This was so super easy. We are so in love with this. Thank you Ana for making DIY so much fun!

Comments

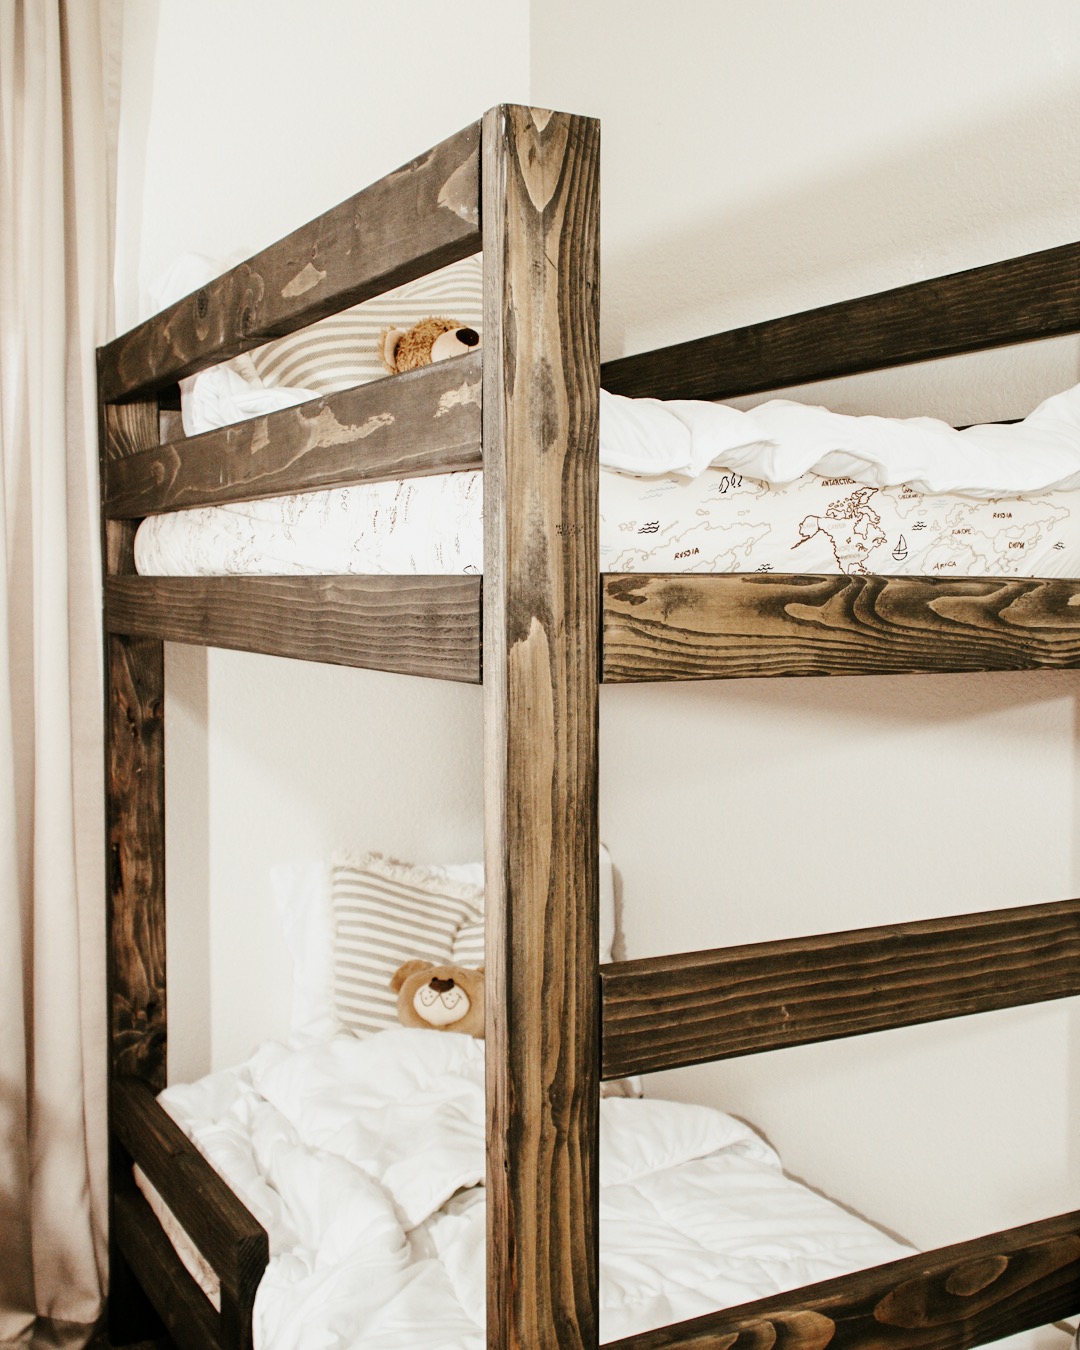
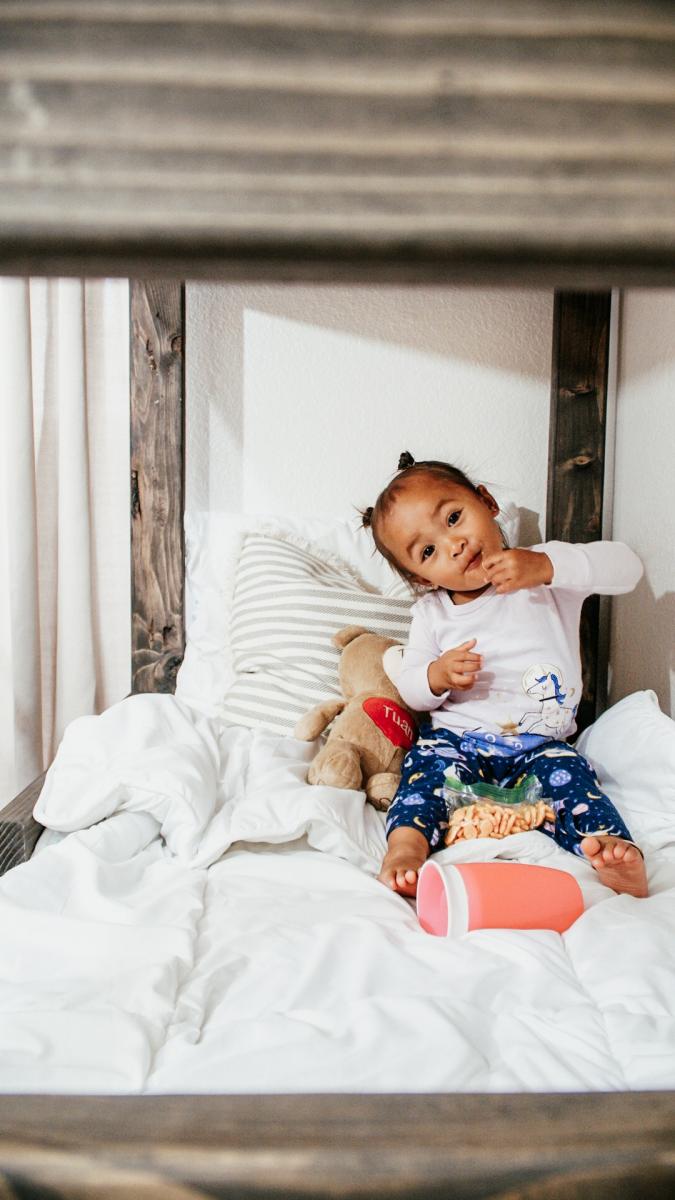
DIY Toddler Bunk Bed

Submitted by Anonymous (not verified) on Wed, 10/02/2019 - 17:54

I needed a solution to getting my bed back from my children. Since we live in a small apartment, this toddler bunk bed was the best option for our family! We are a military family so I wanted to build something that could be taken with us every time we move. The plans were easy to follow and has such a professional result!

Built from Plan(s)
Estimated Cost
$200
Estimated Time Investment
Weekend Project (10-20 Hours)
Recommended Skill Level
Beginner

Comments

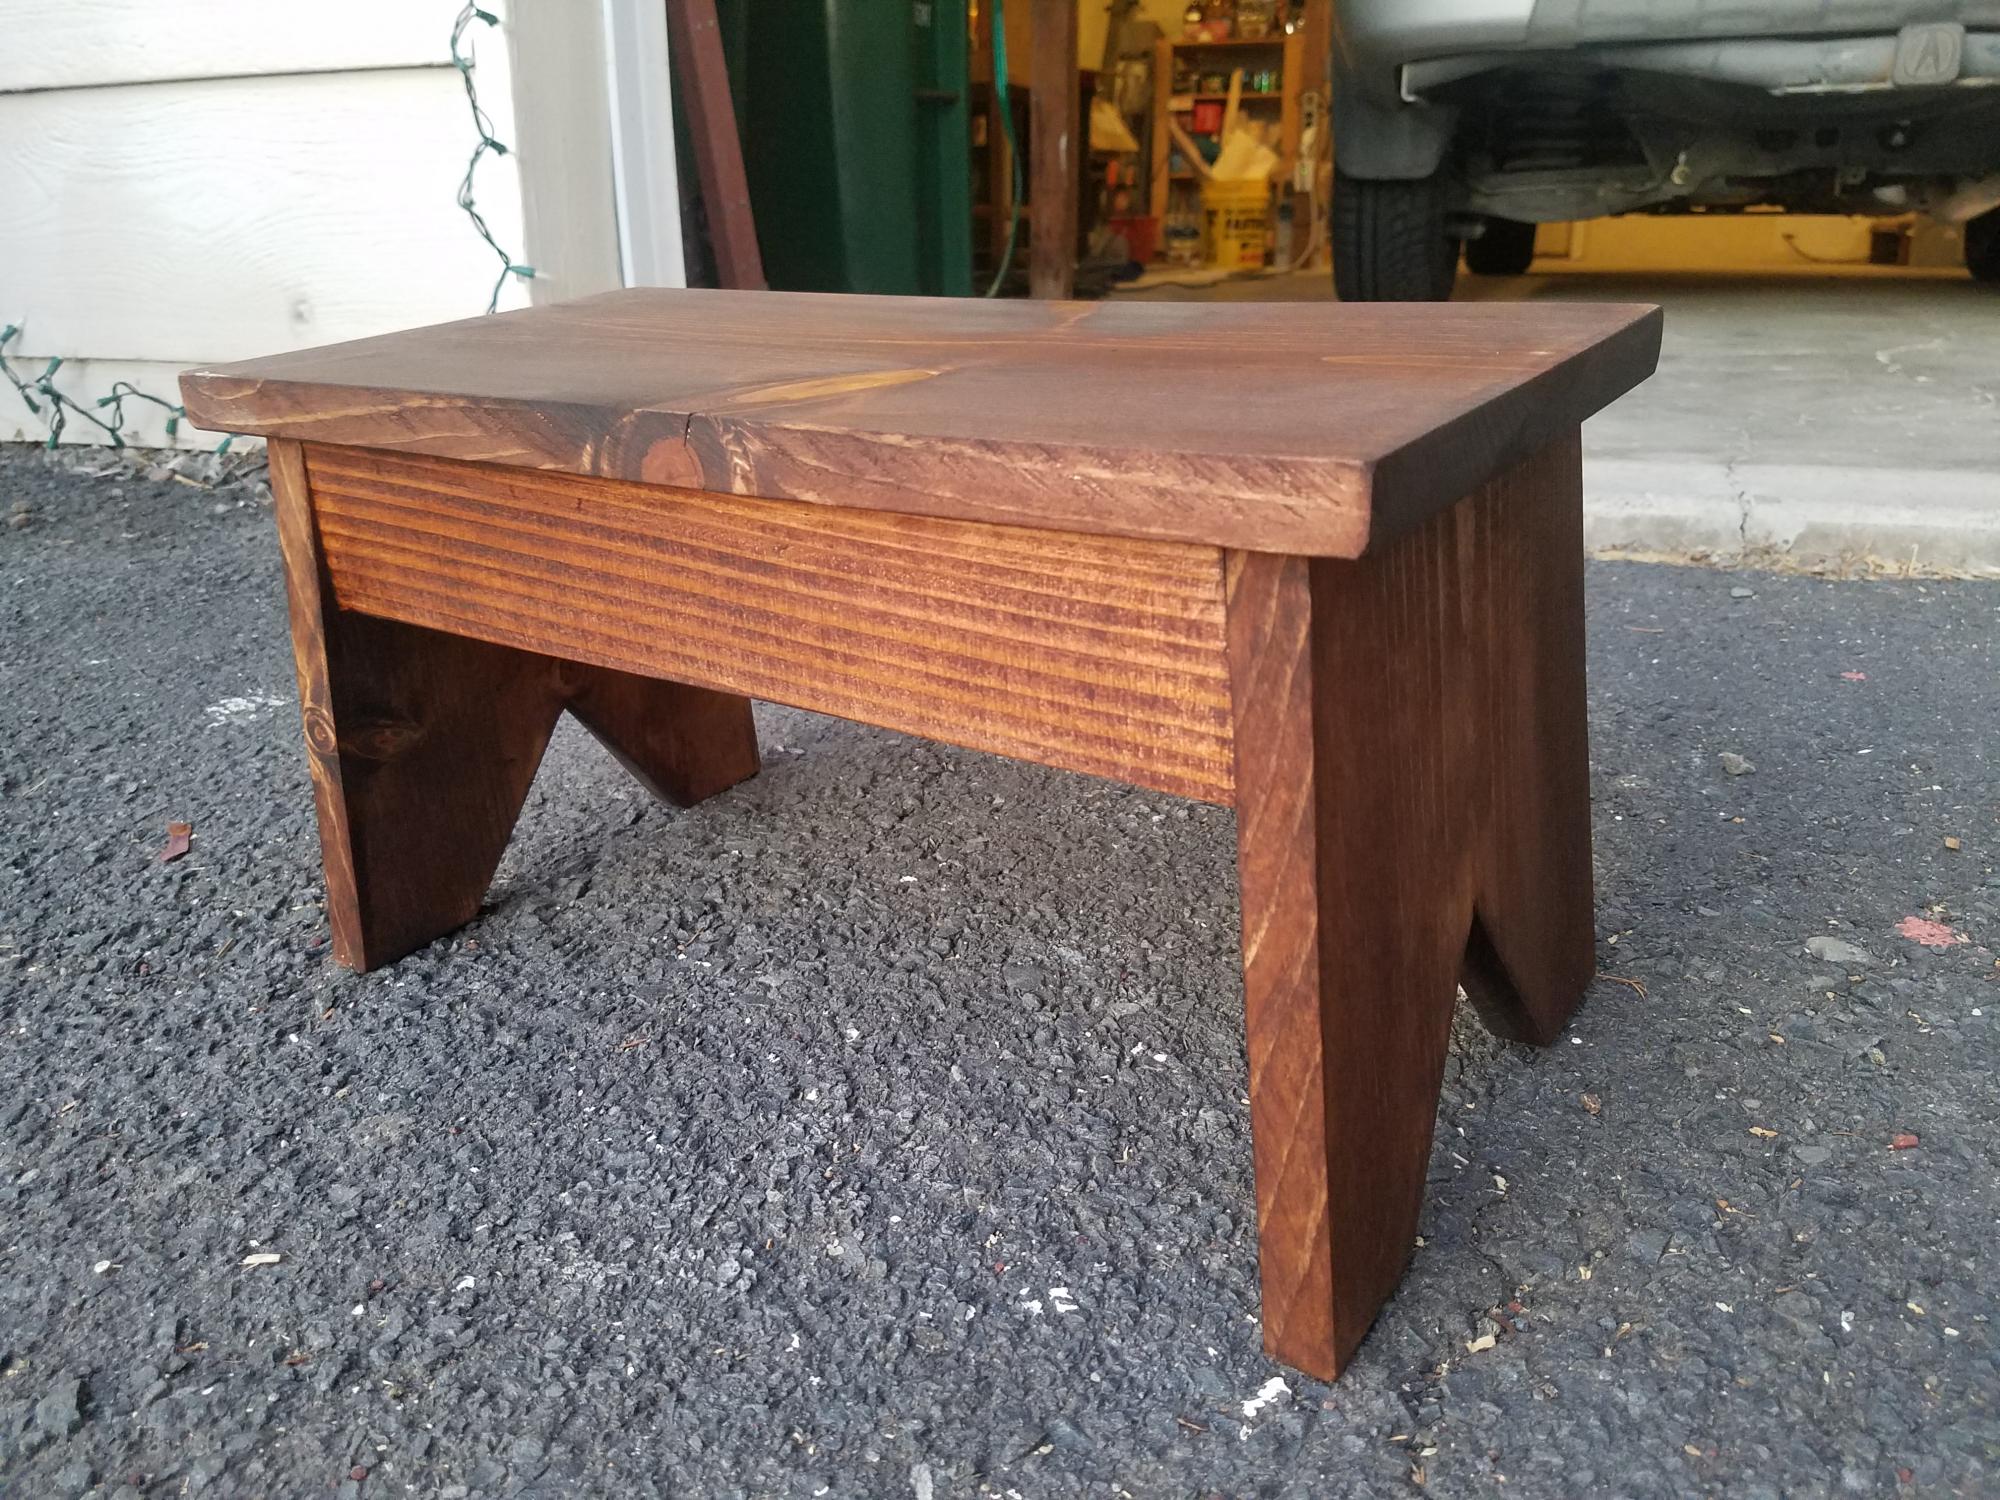
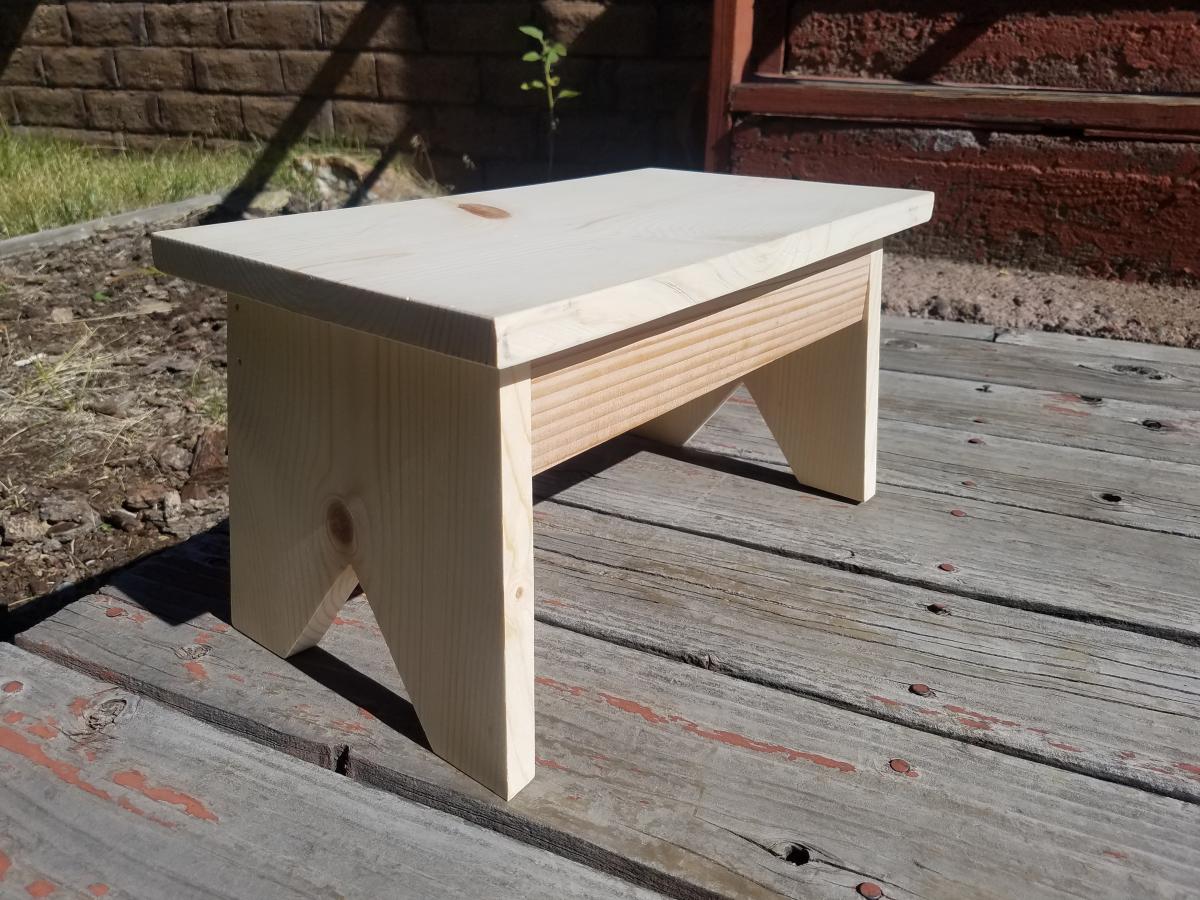
Simple Step Stool

Submitted by bblanchard on Mon, 10/07/2019 - 16:06

This step stool is my first project made from Ana White plans. It is perfect for my almost 2 year old daughter and it's become her new favorite toy! She likes to turn it upside down and ride in it like a boat :)

I love how simple and sturdy it is. It easily holds my weight (180 lbs), and I look forward to many years of useful fun from this great project. This was also my first project that incorporated beveled and angled cuts, but once I got started, it wasn't as intimidating as I initially thought. 

I had some leftover pieces of 1x10 and 1x3 pine boards from building a sidecar crib, so this was a perfect was to use the scraps. I used a table saw for cutting the 1x10s. My miter saw isn't large enough to accommodate 10 inch wide boards, but it was perfect for the 1x3s.

After assembling the stool the first time, I took it back apart and ripped the top down to 8 inches wide. I thought the stool had a tendency to tip with the full width of the 1x10. 

Can't wait to build more of these! For the next one, I'd like to try cutting half circles out of the bottom of the legs with the jigsaw instead of straight cuts and trying some decorative  cutout handles on the sides as well. 

Thanks, Ana!
Estimated Cost
10.00
Estimated Time Investment
An Hour or Two (0-2 Hours)
Finish Used
Honey stain by Minwax
Covered with one coat of triple thick polyurethane by Minwax
Recommended Skill Level
Beginner

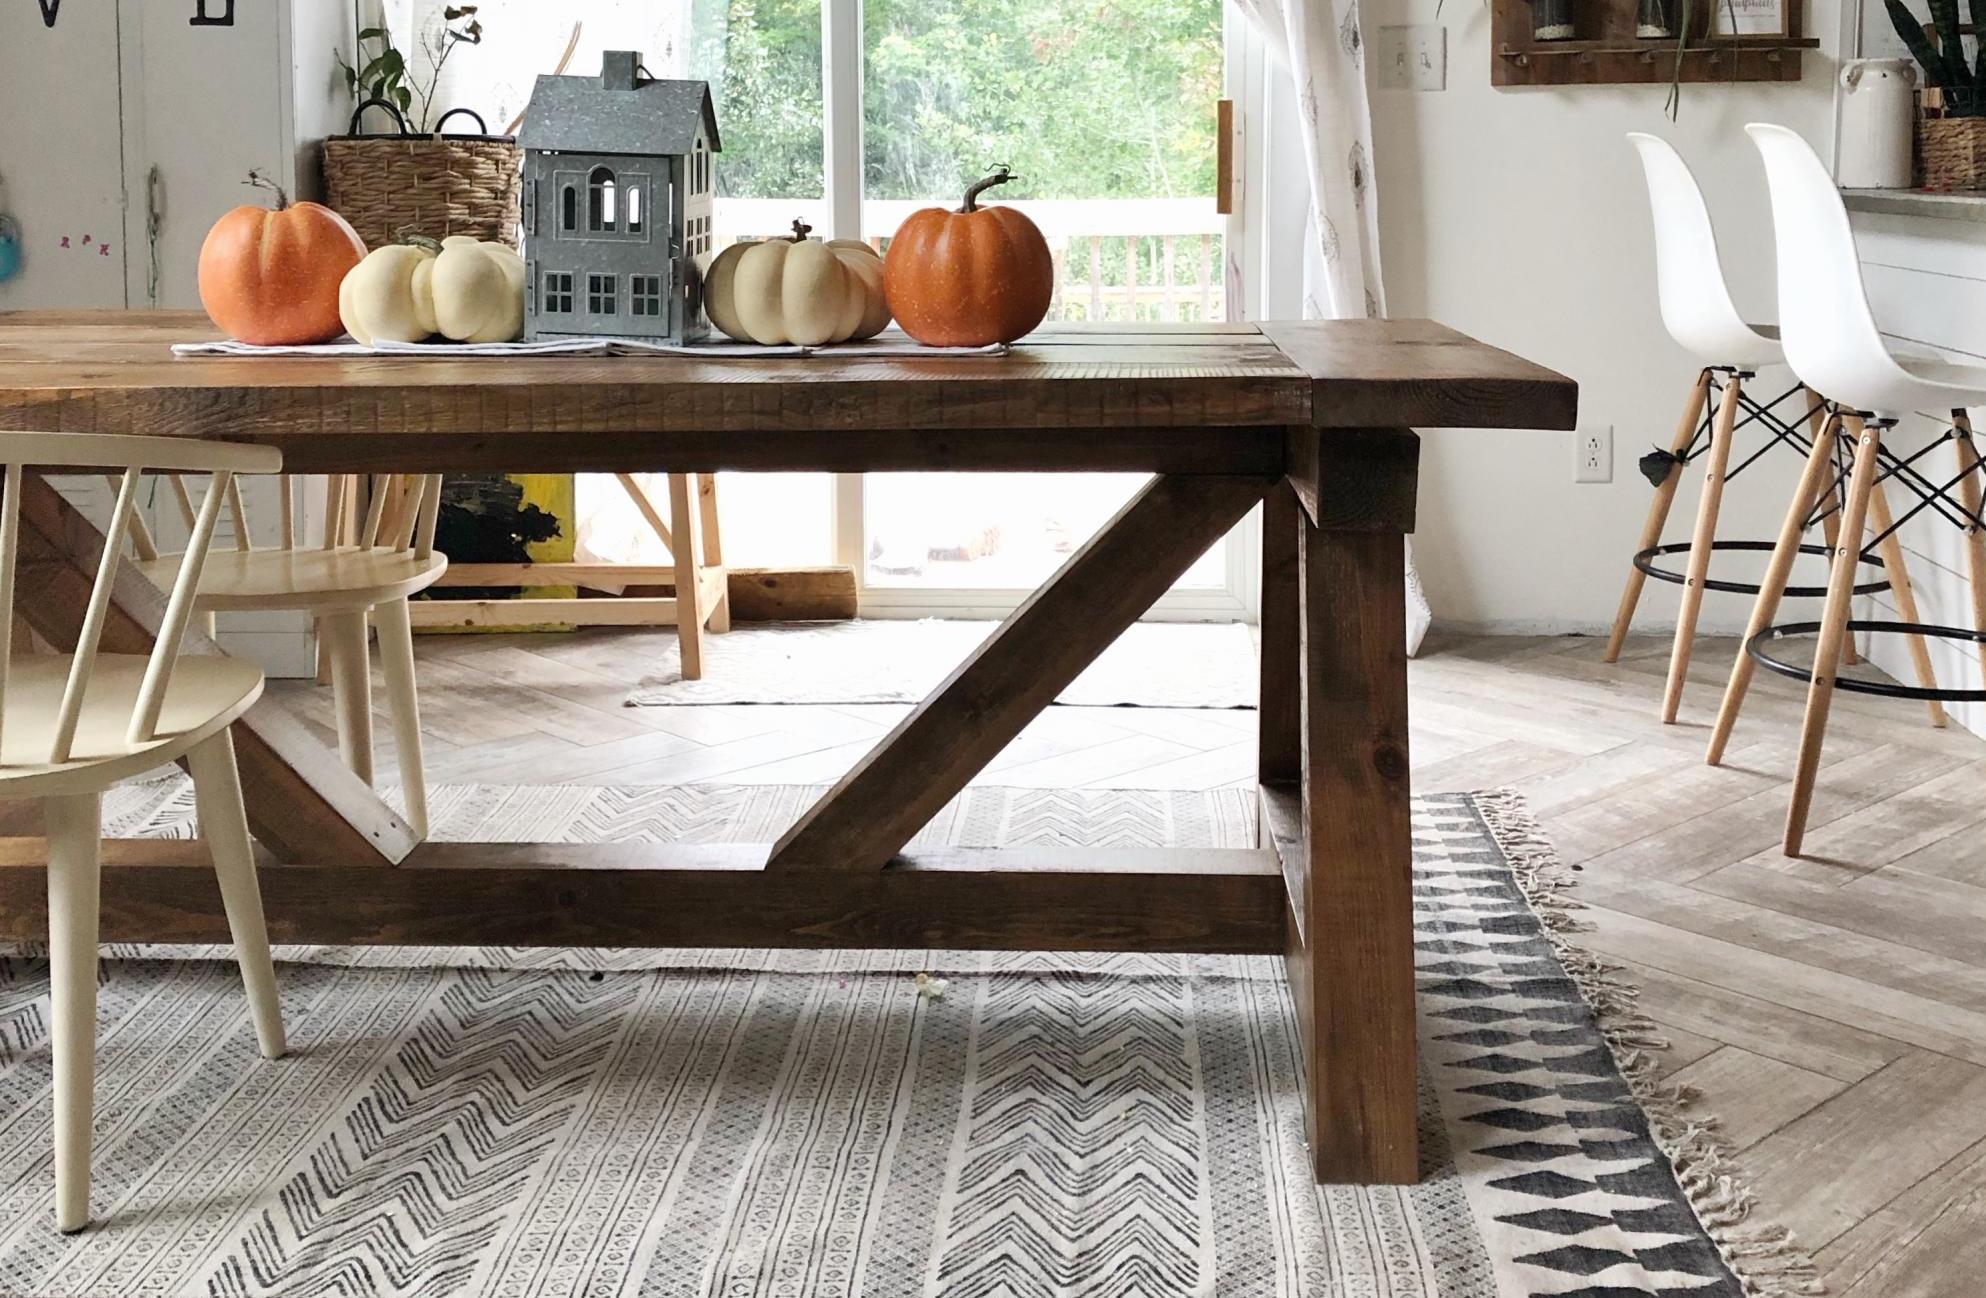
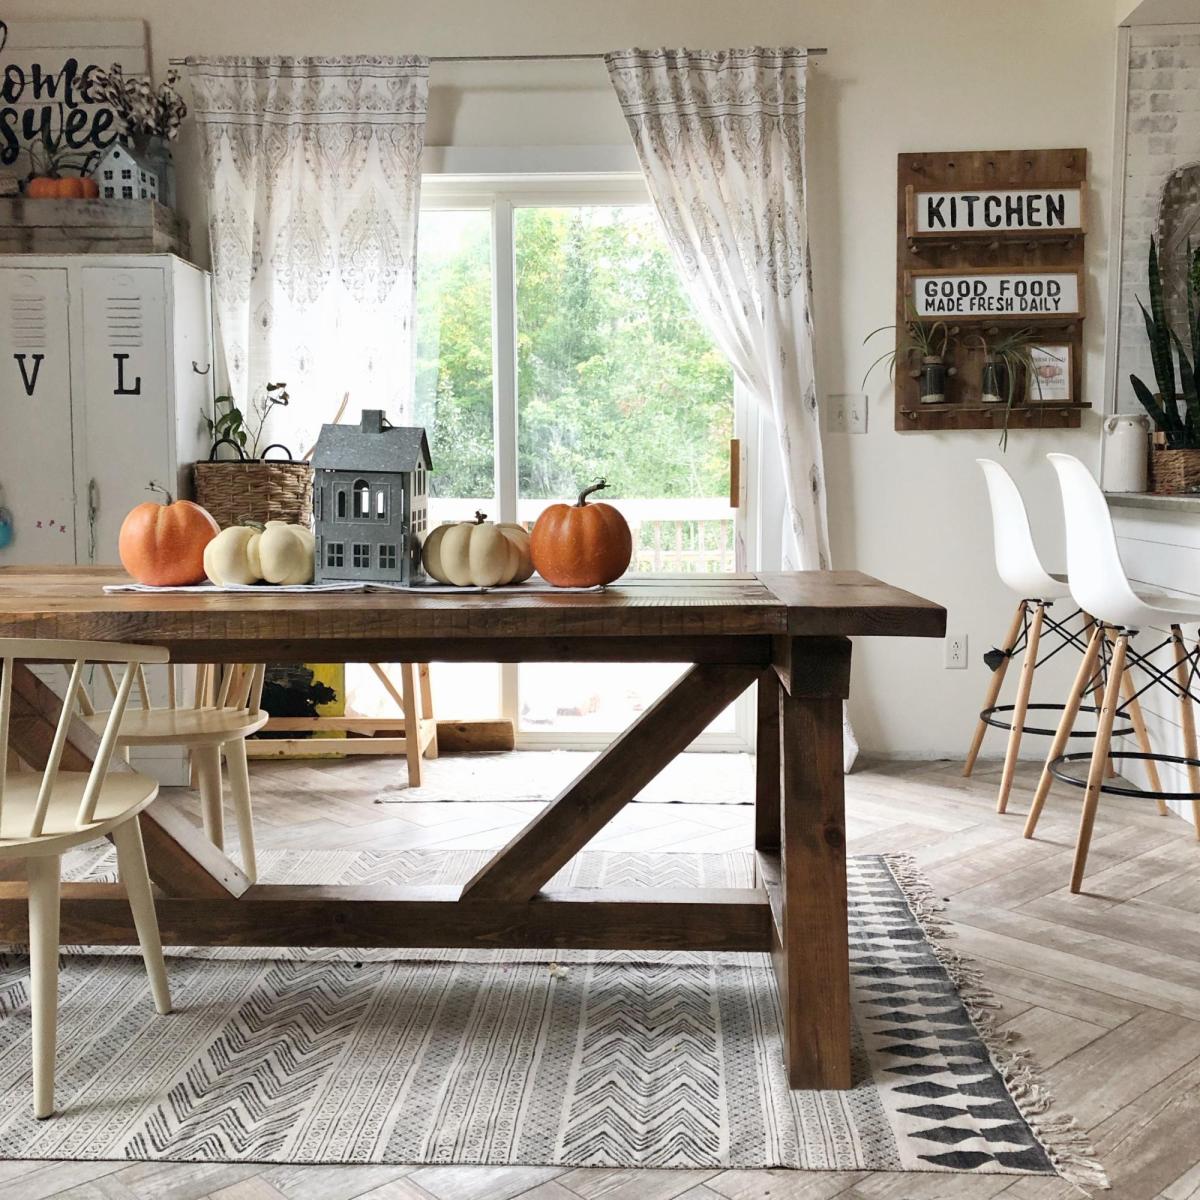
From Logs to Famhouse Table

Submitted by Anonymous (not verified) on Sun, 10/13/2019 - 18:45

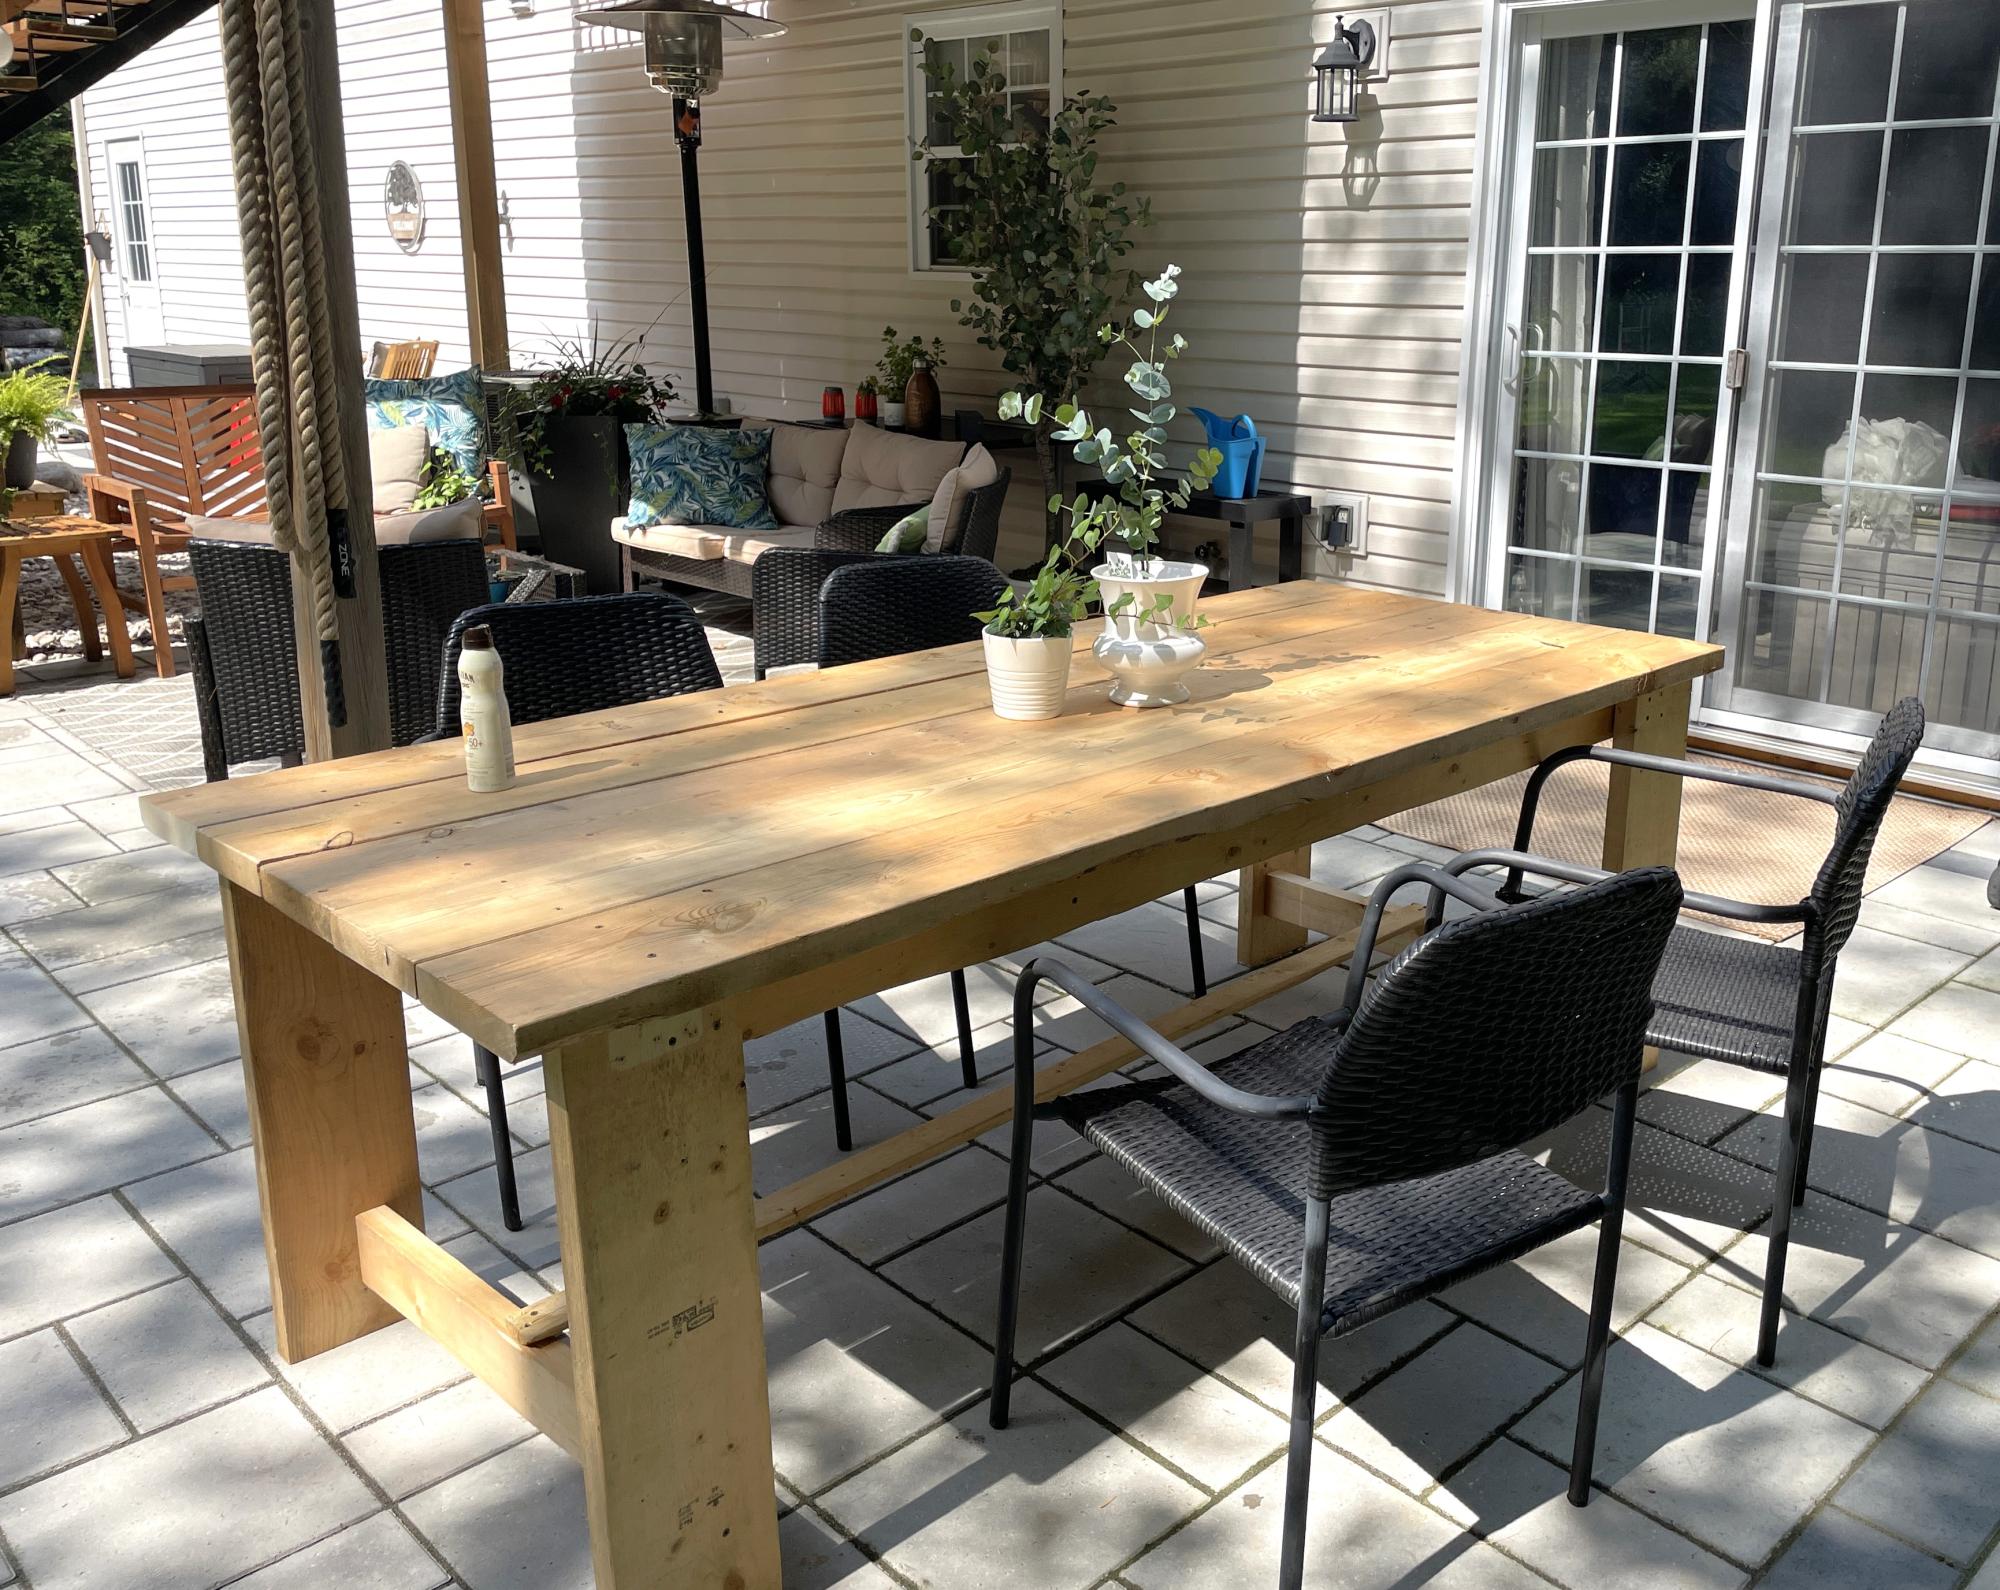
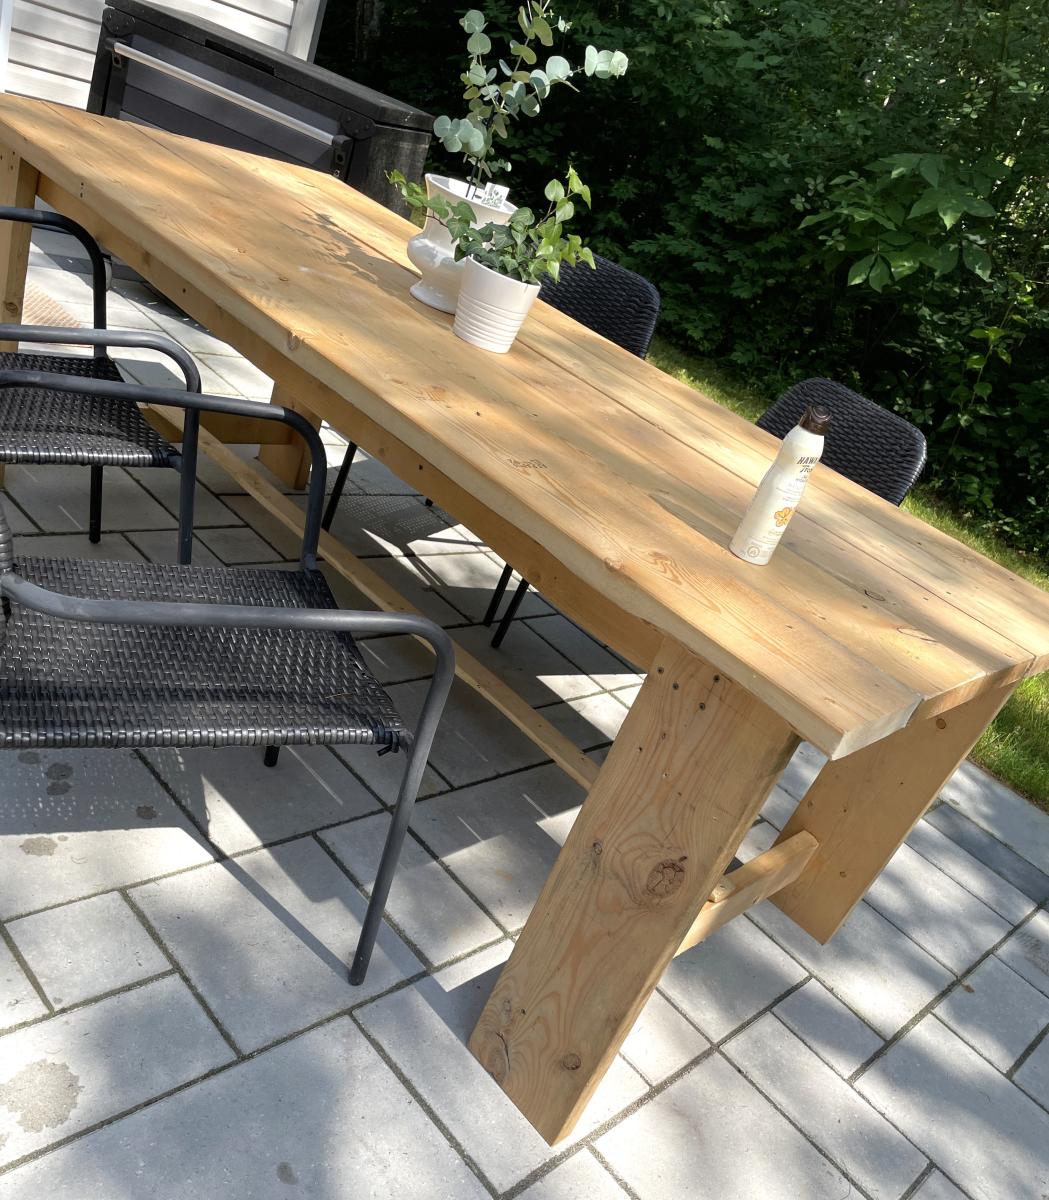
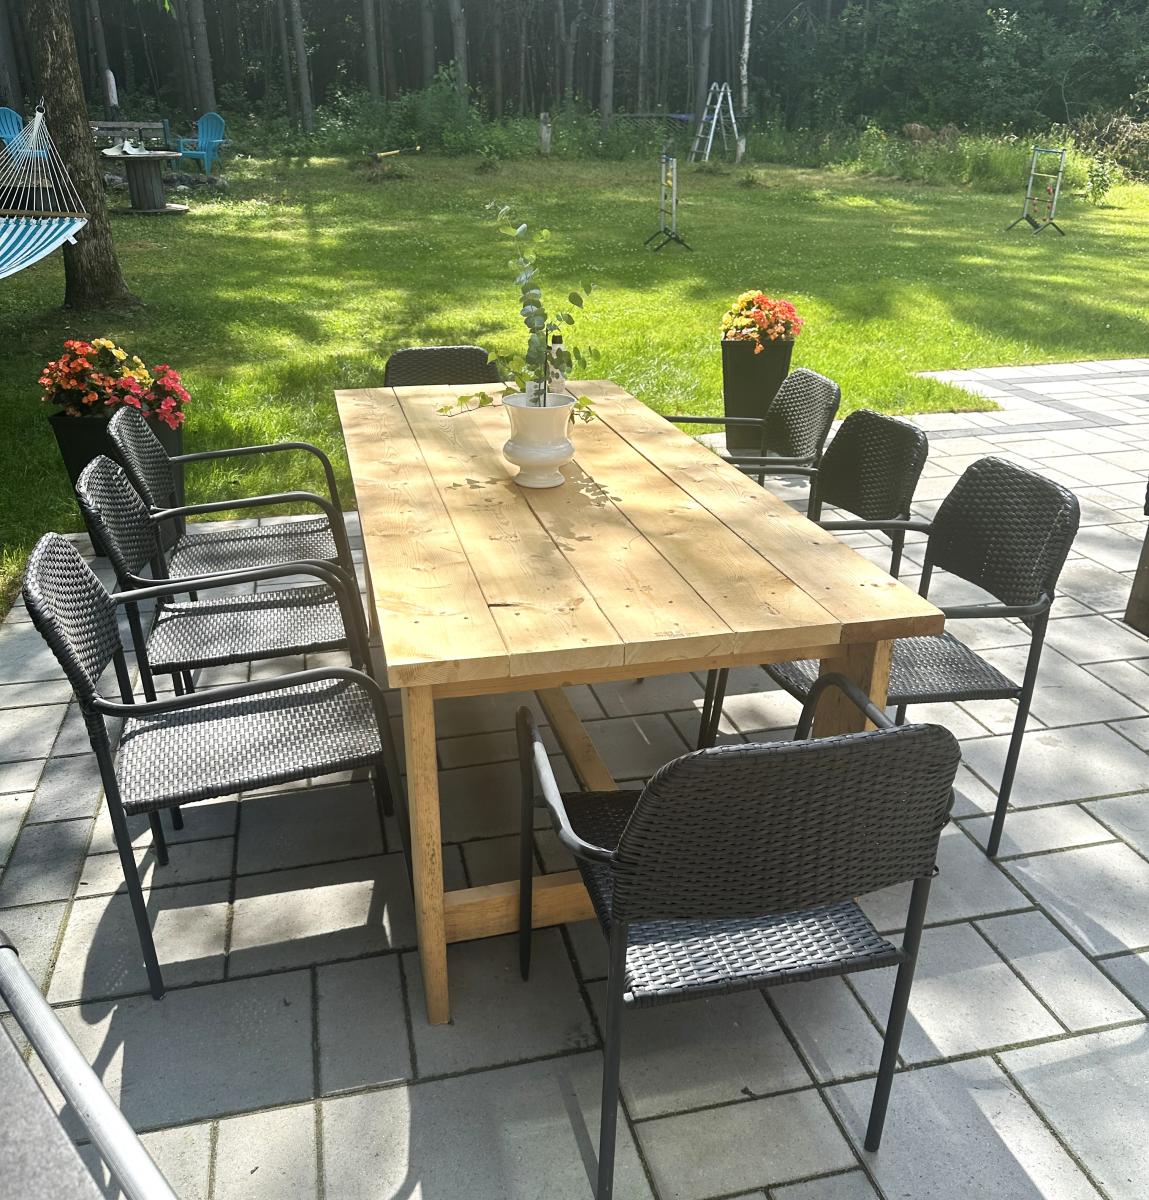
So this DIY Farmhouse Style Table has been on my “make it” list for a while now. And what better time to make it than now, since we just got a saw mill. Check out the blog link below to read all about it.

Built from Plan(s)
Estimated Time Investment
Weekend Project (10-20 Hours)
Finish Used
Minwax Early American Stain
Minwax Polycrylic Clear Sealer
Recommended Skill Level
Intermediate
Seasonal And Holiday

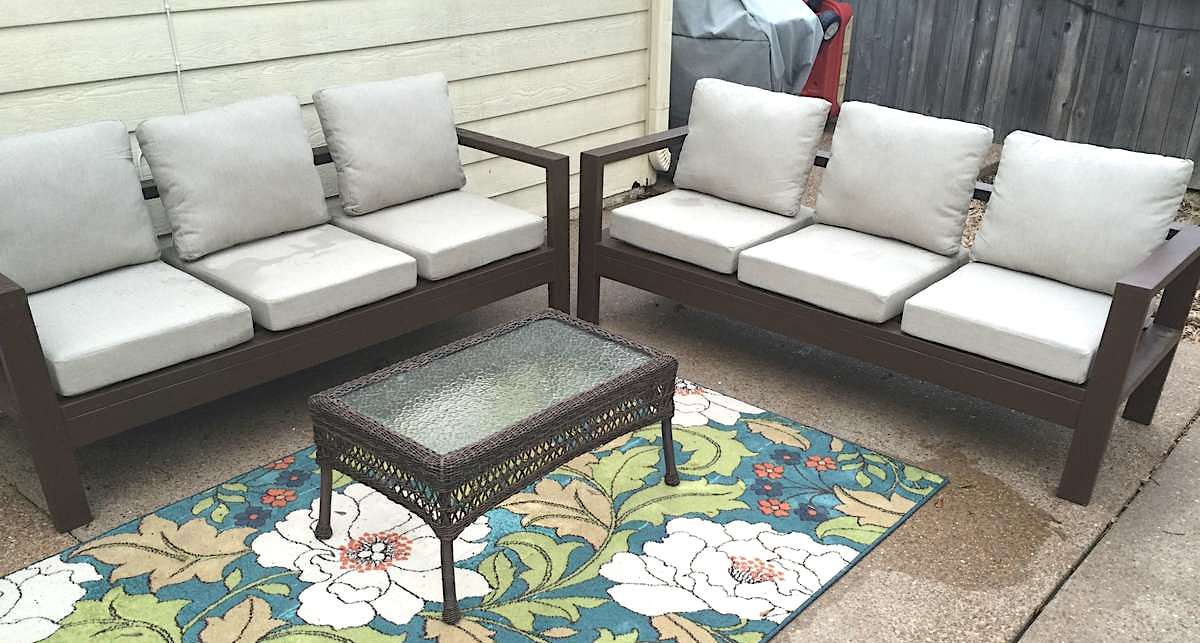
I Built an Outdoor Sofa Set!
I have been wanting outdoor seating by my pool forever but couldn't afford anything I liked. When I came across Ana White's plans for the outdoor sectional I knew I had to build two. They are just what I was wanting and cost under $200. It took my brother & I one afternoon to buy the supplies and put it all together. Since this furniture is outdoors 24/7, I had to caulk the seams & paint the whole thing. That process took two days. The biggest expense was of course the cushions from Home Depot that Ana White recommends for this sectional. I have to admit, they are well worth every penny. They look amazing! Can't wait to spruce them up with some throw pillows.

Built from Plan(s)

Mario Castle Bunk

Submitted by jlholmes80 on Wed, 01/01/2014 - 00:30

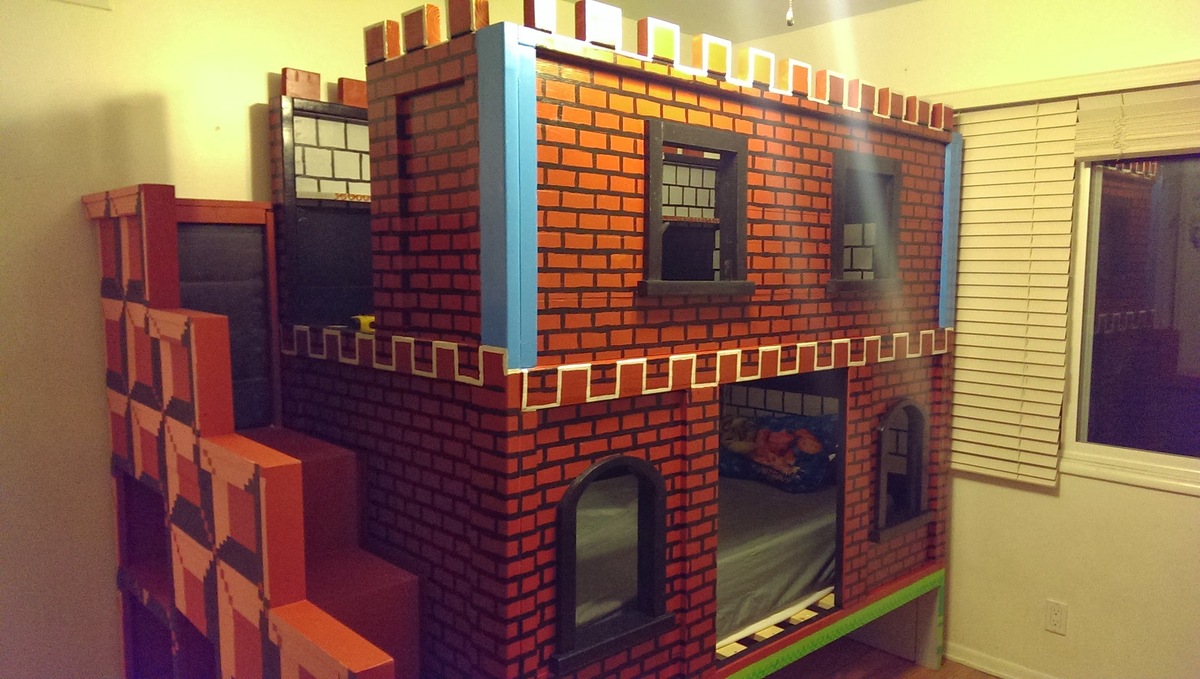
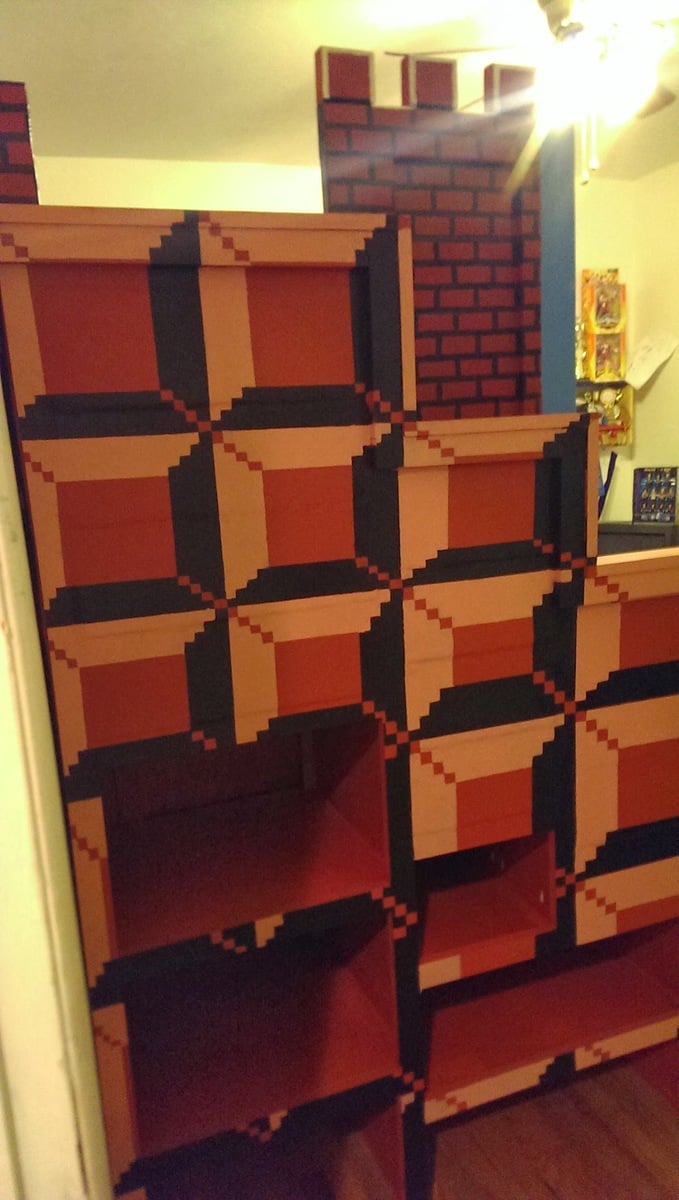
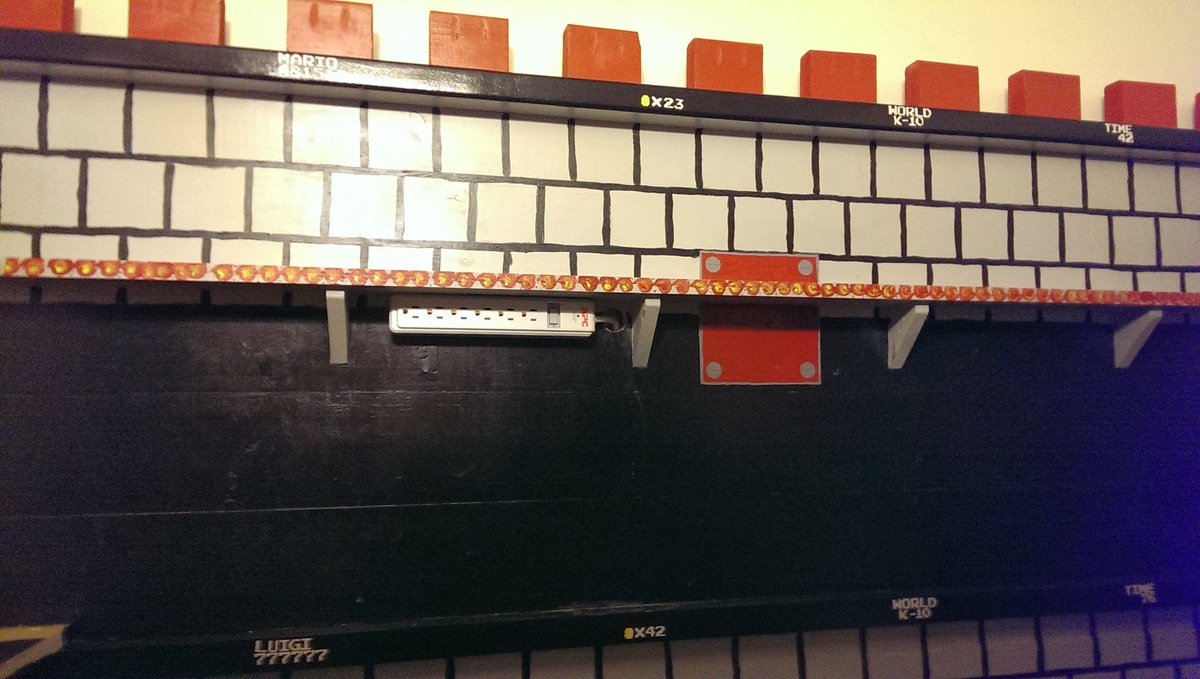
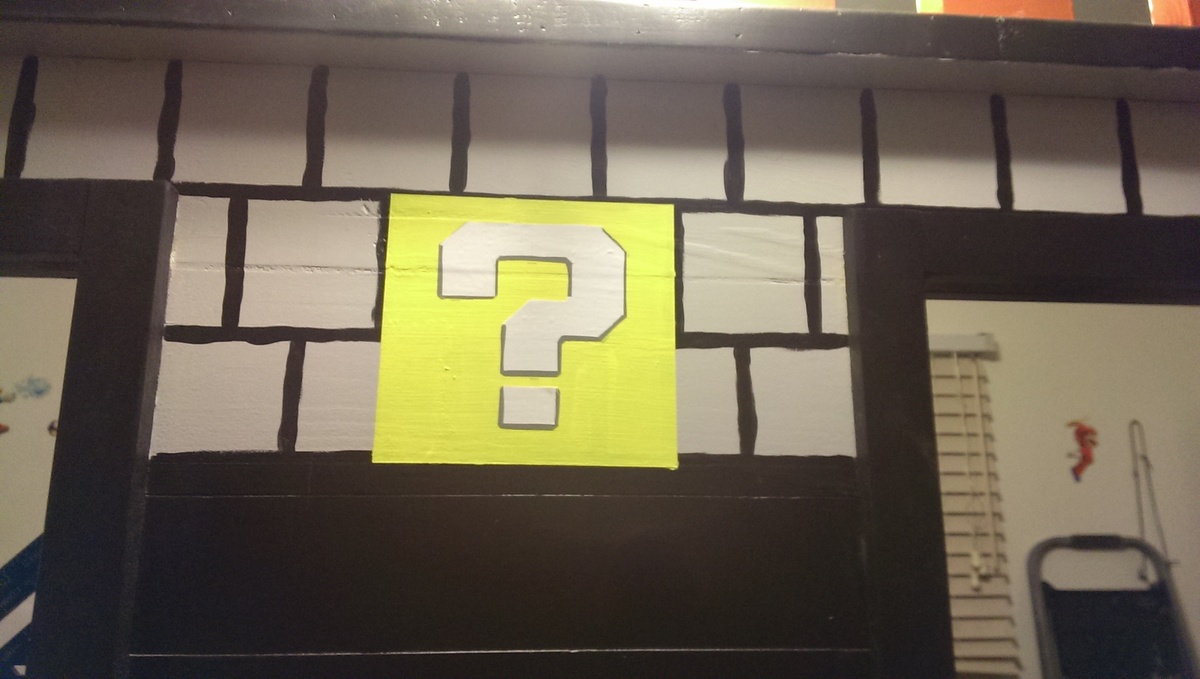
So my son needed a bunk bed and we came upon the sweet pea bed. It was too girly for him so we decided to go with a theme that would be timeless, something he wouldn't mind having when he is 18 (or older, he is 10 now). What is better than Mario! (We are a house full of gamers, my 17 year old is super jealous of this bed lol). The build was fairly easy and the plans were straight forward enough, the time consuming part was the painting (without all the painting we could have probably build this in a long weekend). We changed a few things, like not arching the top windows, adding the 4 inch 2x4 squares to the top to give the castle look and stairs are made to look like stairs from the side so we stepped out the banister instead of angling it.

Estimated Cost
500
Estimated Time Investment
Week Long Project (20 Hours or More)
Finish Used
Paint colors were all Behr paint+ primer (mostly eggshell or flat):
New Brick, Black, Polar Bear White, Green Crush, Green Acres, Lemon Zest, Windjammer, and French Silver. Some of the colors (like pinkish tone on the stairs) we created on our own mixing the New Brick and the Polar Bear.

Polyurethane. I mixed regular oil based polyurethane (gloss) with mineral spirits (50/50) and wiped it on. It was remarkably simple and gave it a nice seal/finish. Last coat I used Satin Polyurethane because I didn't want the gloss finish. I opted not to sand between coats because this is a kids bed and I wasn't looking for that "perfect" finish, just wanted some added protection.
Recommended Skill Level
Intermediate

Comments

Mrswhetstone1

Wed, 01/01/2014 - 06:11

This is the coolest bed I have ever seen! I wish I could make this for my youngest. I could probably build it, but I 'm pretty sure it would go downhill when I started painting it. You did an amazing job and your son is a very lucky boy!

jlholmes80

Wed, 01/01/2014 - 16:10

You can totally do it! I am a horrible painter (I'm too impatient) and you can't tell with this because of how forgiving the design ends up being. There is so much going on it's hard to pinpoint the mistakes. :)

jlholmes80

Wed, 01/01/2014 - 16:07

Thanks so much! This was the first thing we ever built (although my husband did a lot of building stuff in his youth we have never done anything together and I was a total beginner) so we are very happy with it. :D I appreciate all the kind words.

amercpina

Fri, 05/03/2019 - 22:00

We are super excited to build this for our 9 year old son. To make this a Full size bed am I correct in thinking that I only need to alter the side panels by adding 15inches? I am paranoid about building it and the mattress not fitting. Thanks so much!

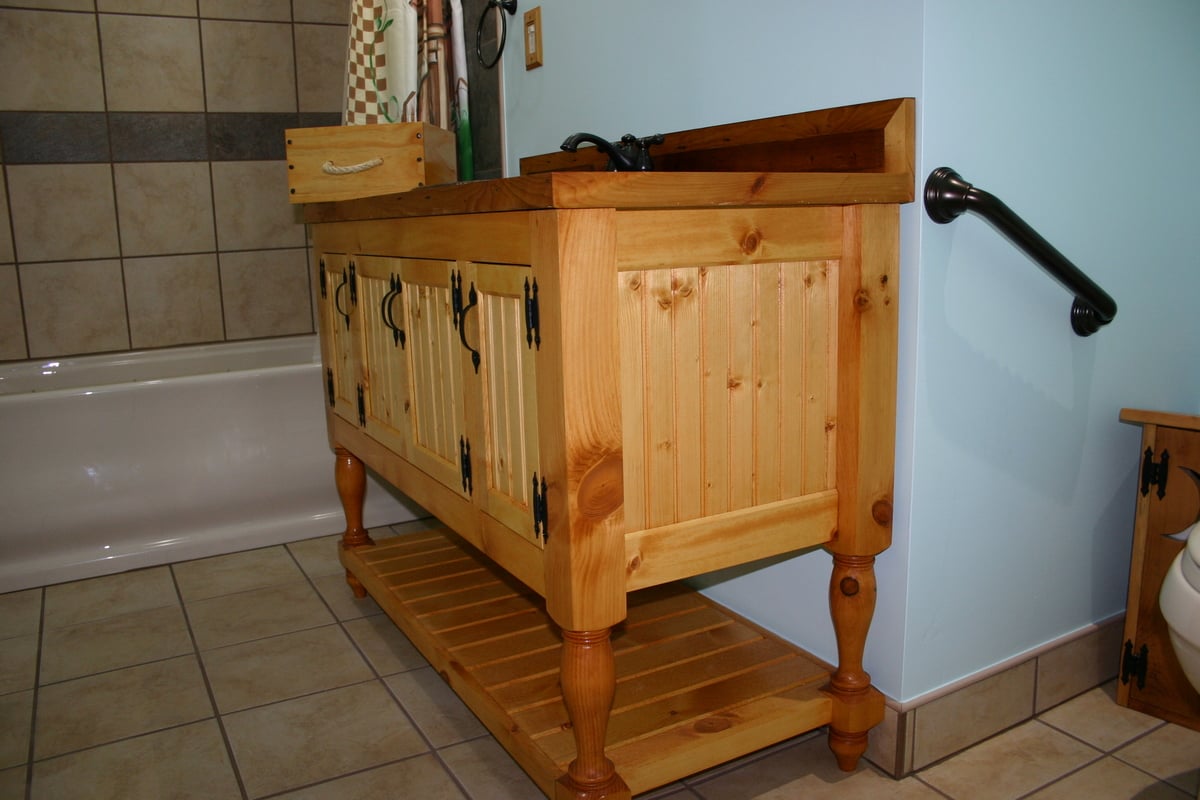
Bathroom Vanity I did for my mom Based on the Momplex vanity

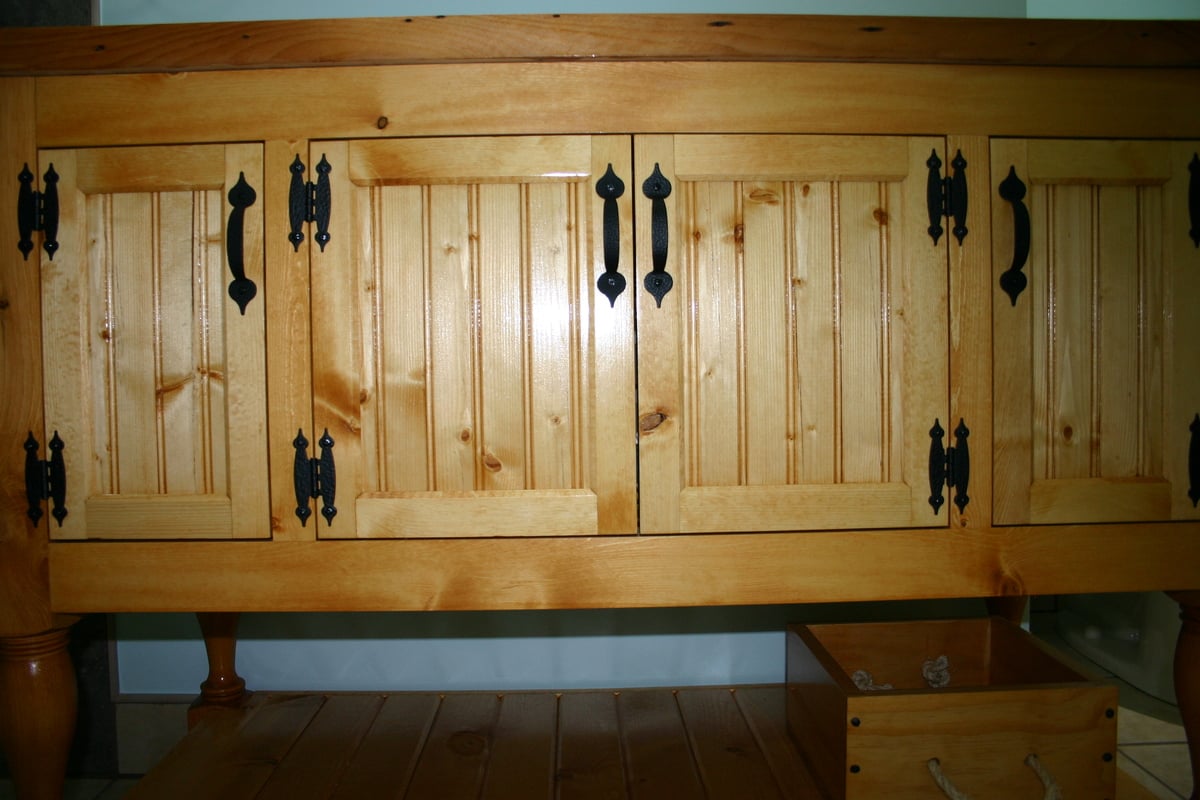
I remodeled the main floor bathroom for my parents. My mom had seen a vanity she like at a home center. Then she thought about doing an open vanity. Then I showed her the one Ana did for the Momplex (48" Turned Leg Vanity). and she loved it. This is what we came up with.

It has bead board panels on the ends and the doors. V-grove planks for the bottom shelf.

The top is made from 100 year old ship lap siding from my brother house. The sink is hand hammered copper with a venetian bronze faucet.

Built from Plan(s)
Estimated Time Investment
Week Long Project (20 Hours or More)
Finish Used
The vanity was finished using Rust-o-leum Ultimate wood stain in summer oak with several coats of a marine varnish to protect it in the bathroom. The top was only finished in the marine varnish.
Recommended Skill Level
Intermediate

Comments

4 Person Sewing Table

Submitted by Anonymous (not verified) on Thu, 08/17/2023 - 13:19

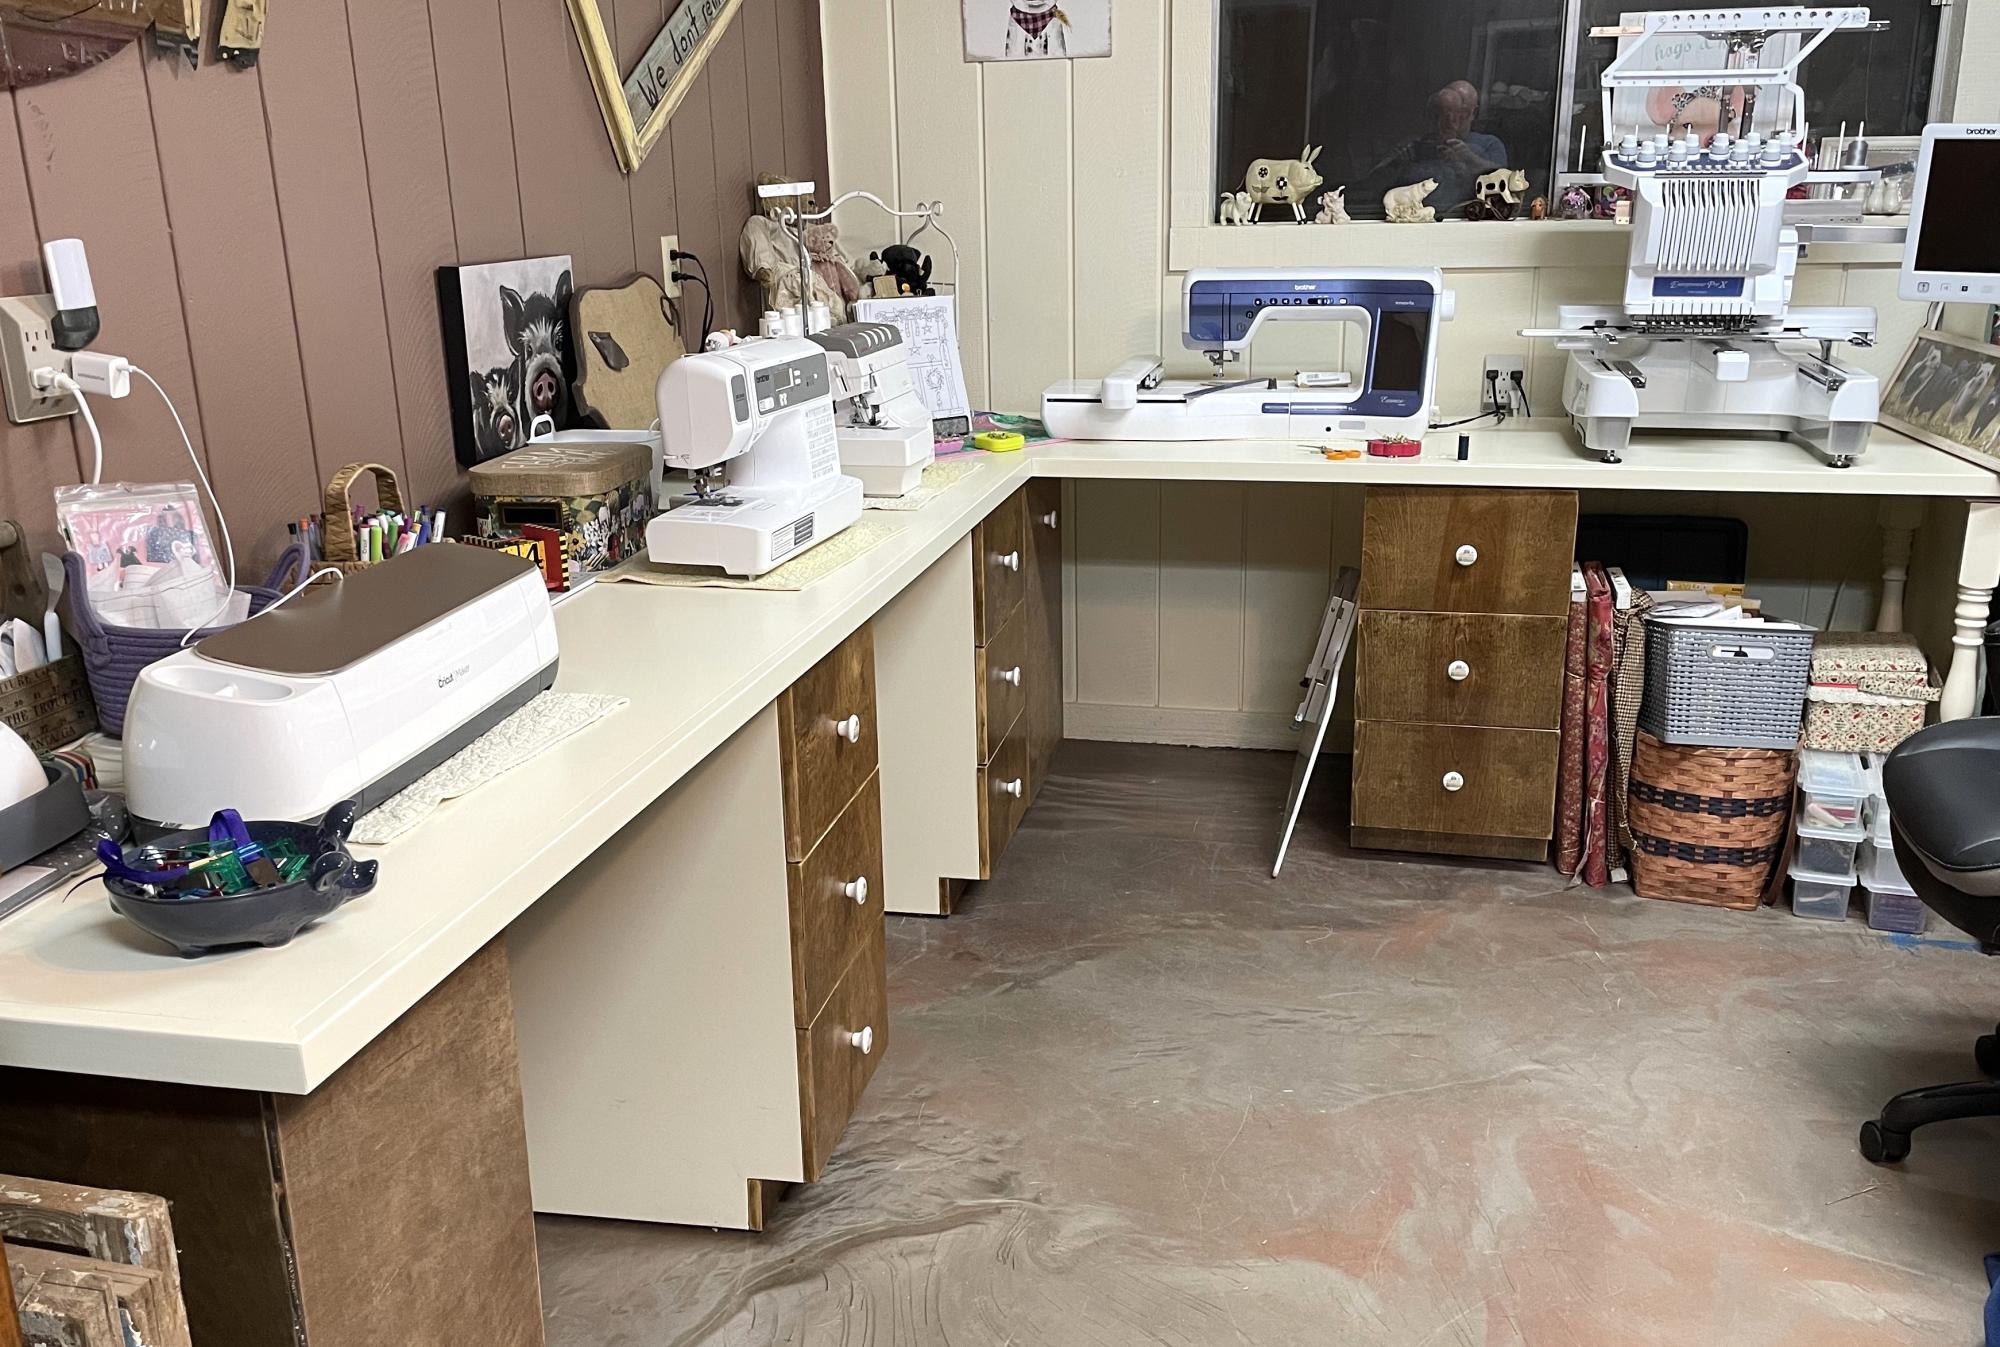
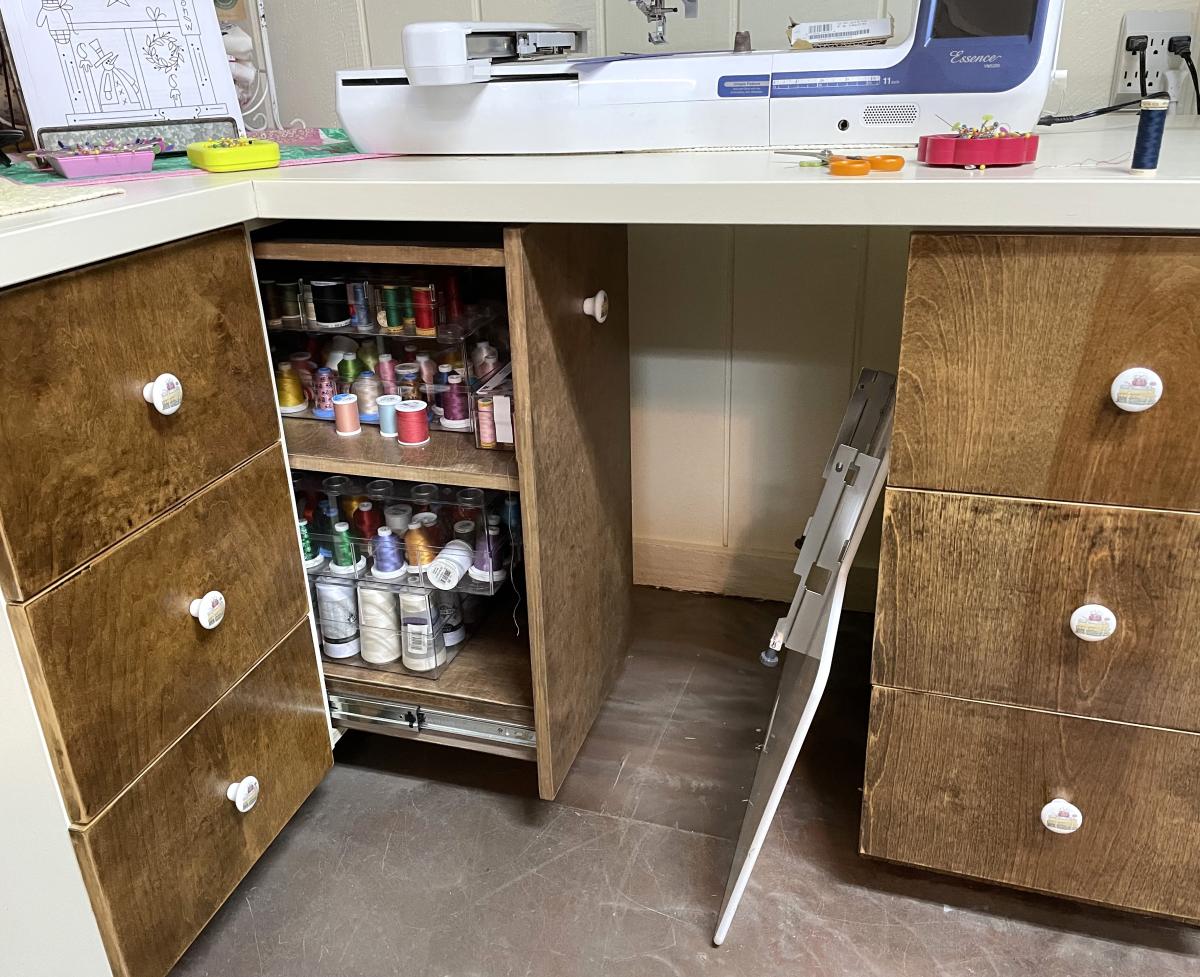
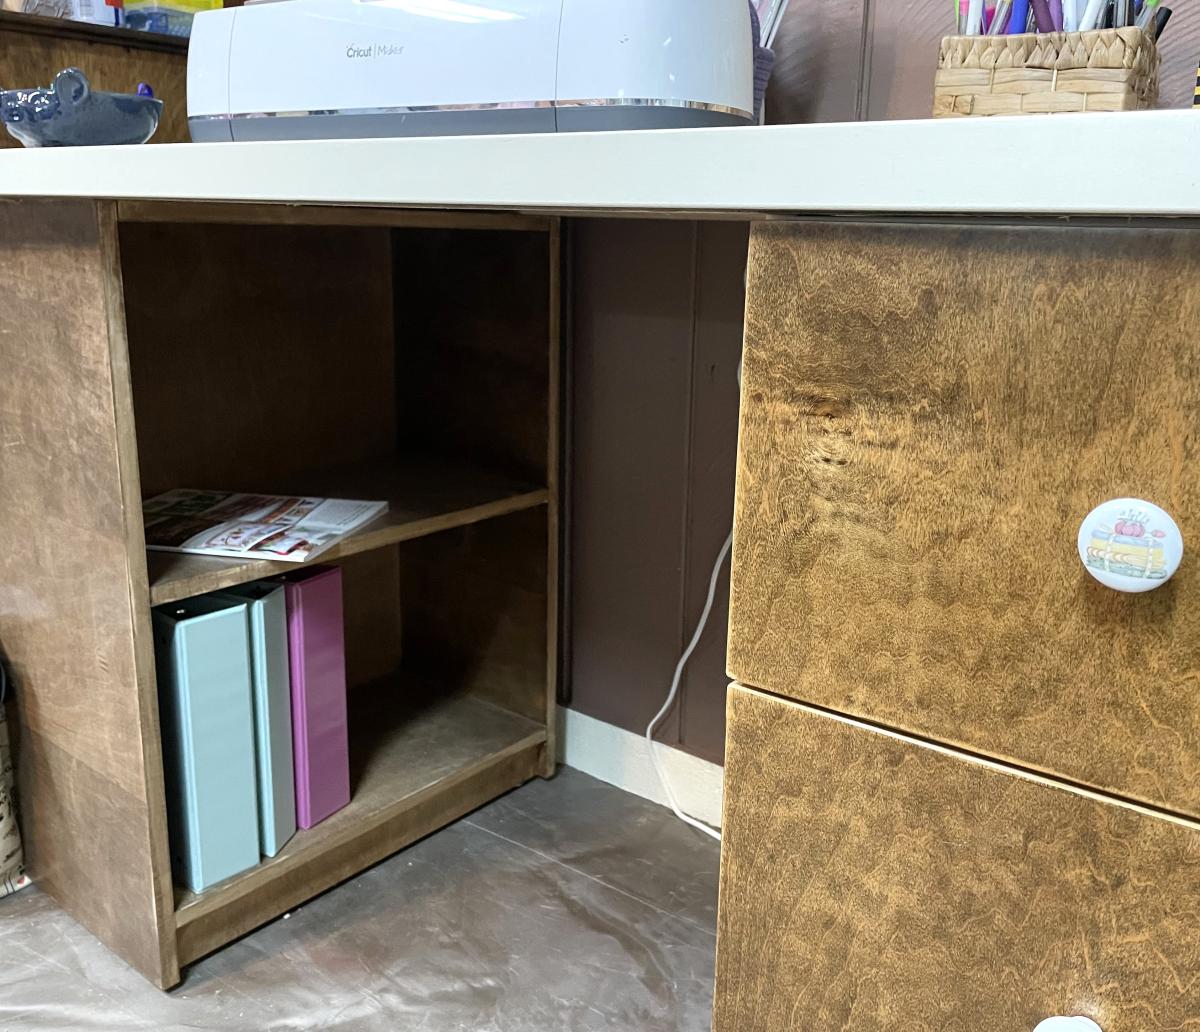
Four station sewing table. Each station separated by a 15” 3 drawer cabinet. Blind corner includes a pull out shelf/book case which doubles as support for the back corner. Long end supported by a bookshelf which is turned 180 from the original design due to other furniture placement that can easily be changed later. Short end supported by temporary legs. 5th station and additional 5ft. of cabinets on the way. Roughly 10ft x 8ft x 26in. x 31in. high. Wife saw similar on Pinterest which was tagged Ana White but only found brag post so used imagination and basic cabinet design plans modified to meet my size requirements.

Pops’ Workshop

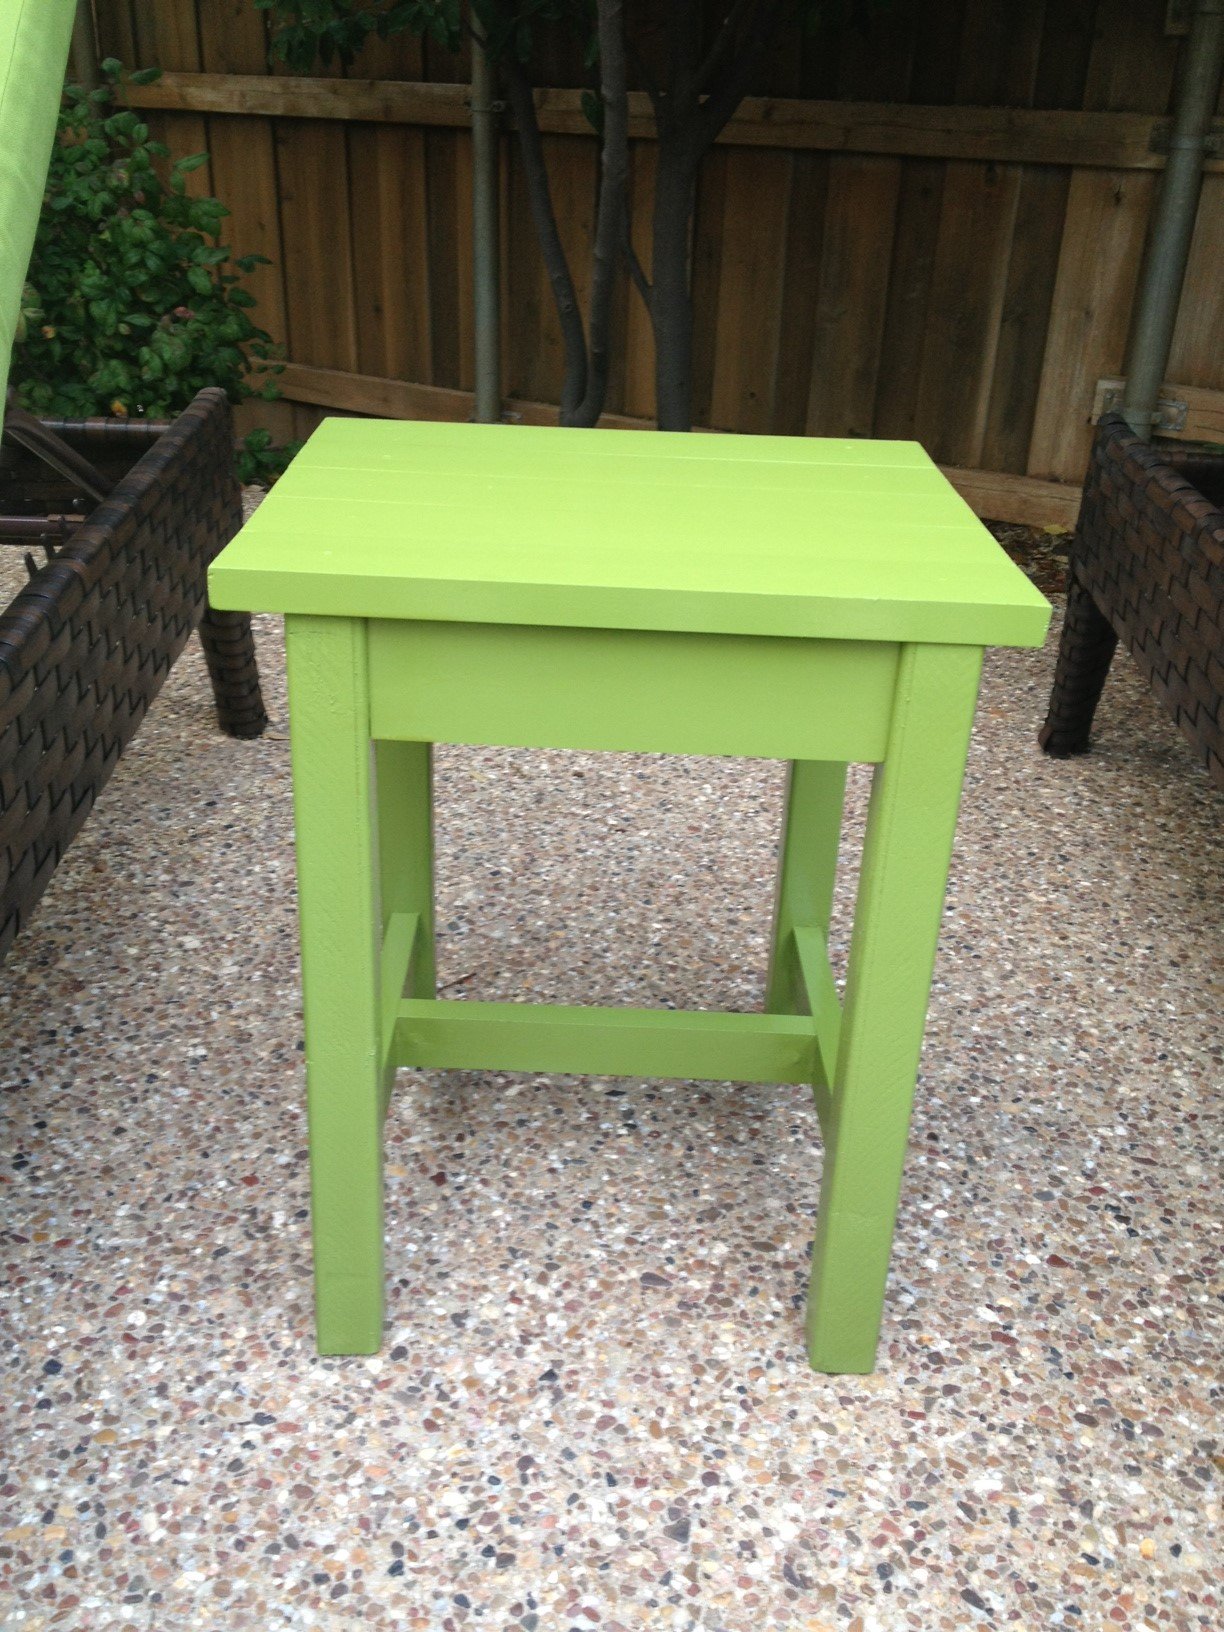
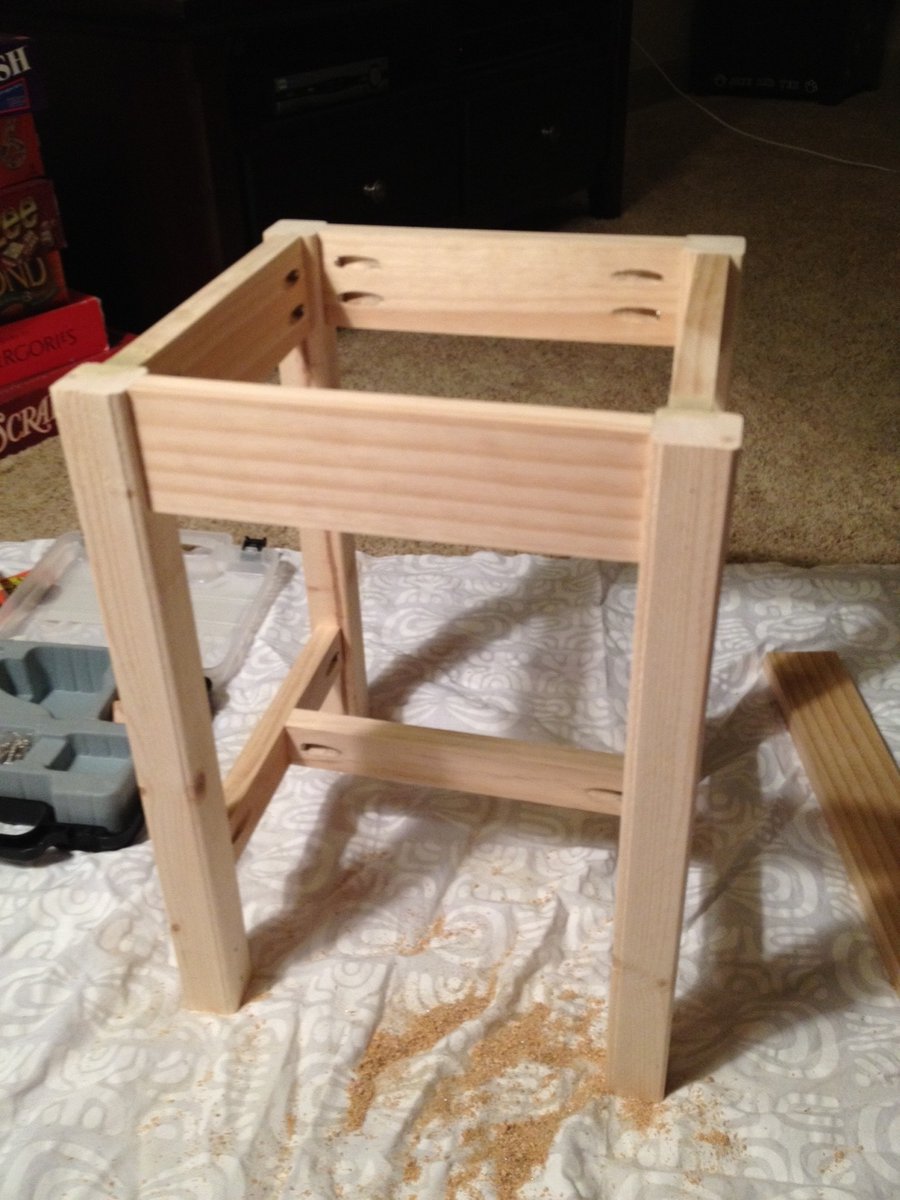
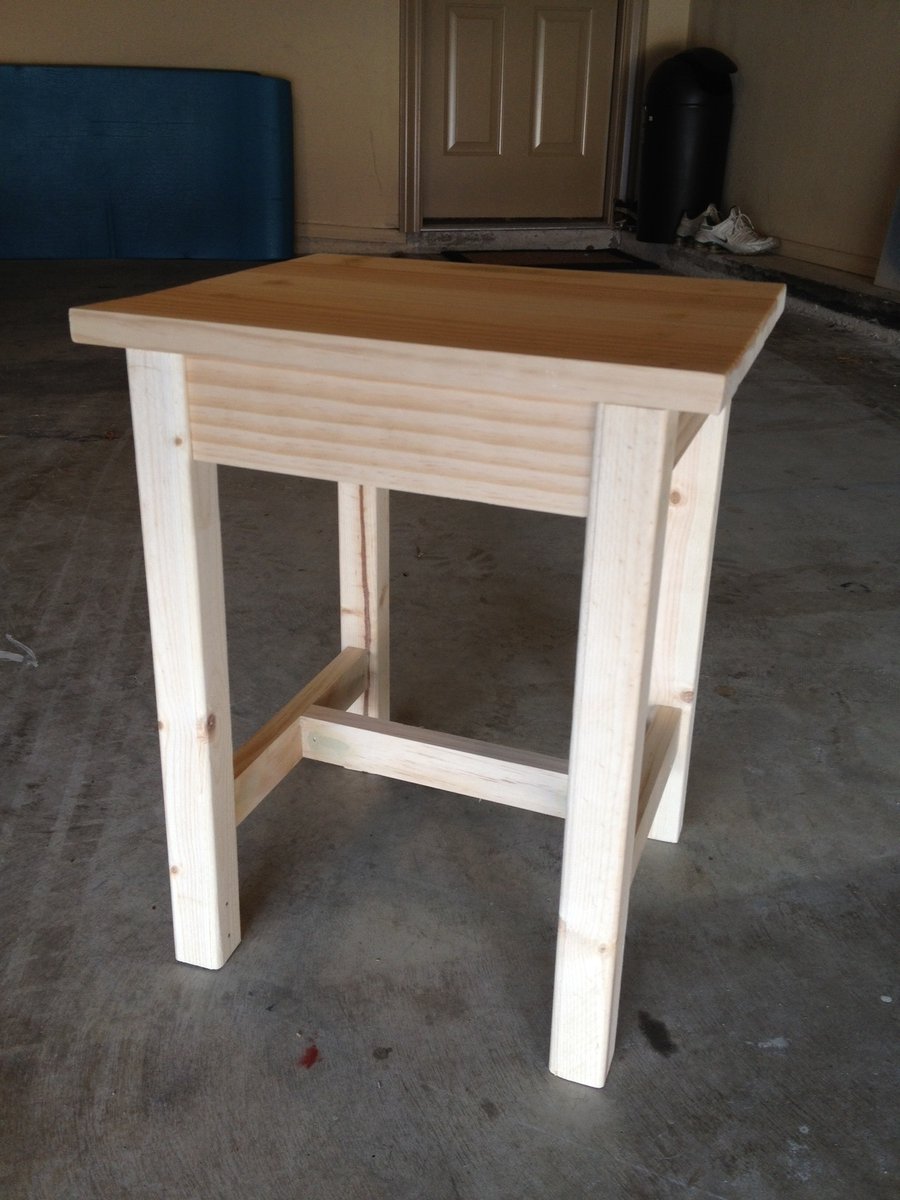
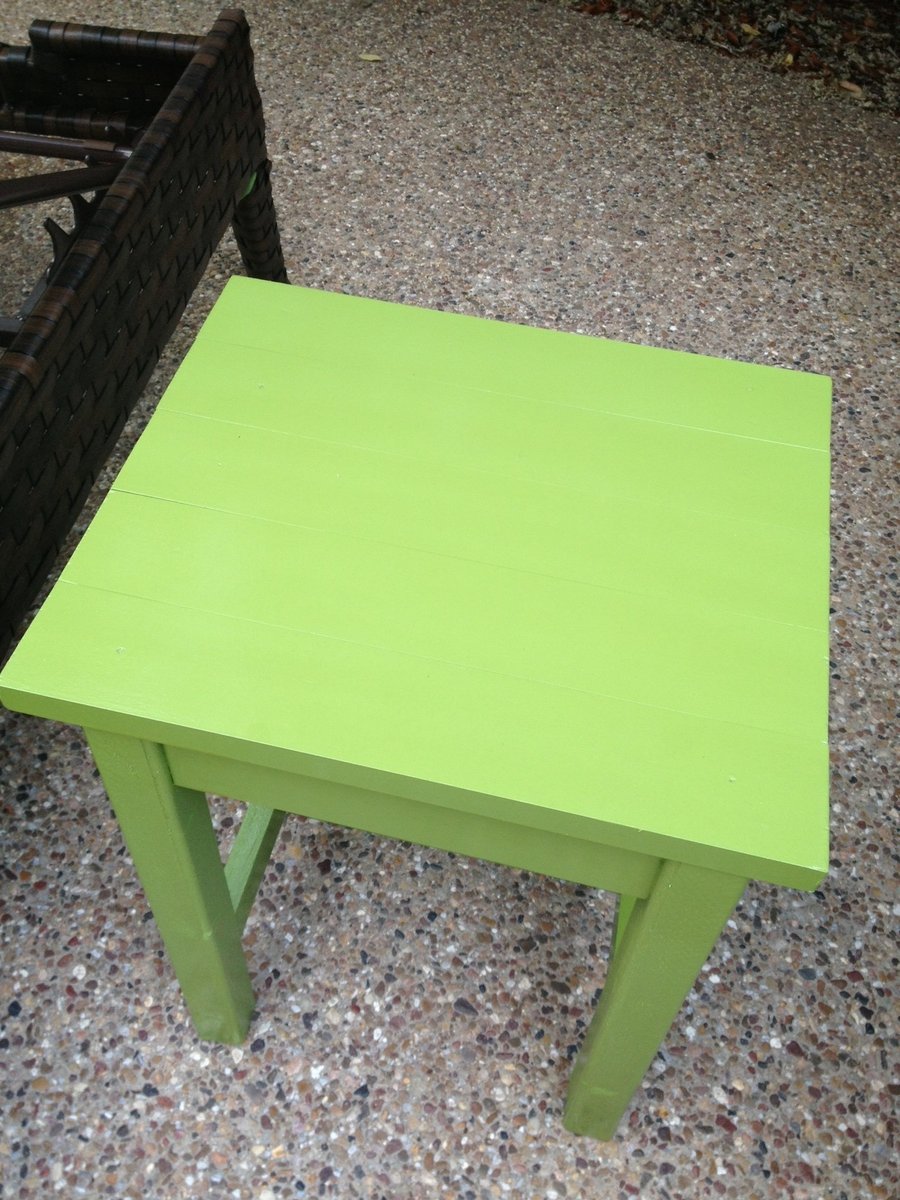
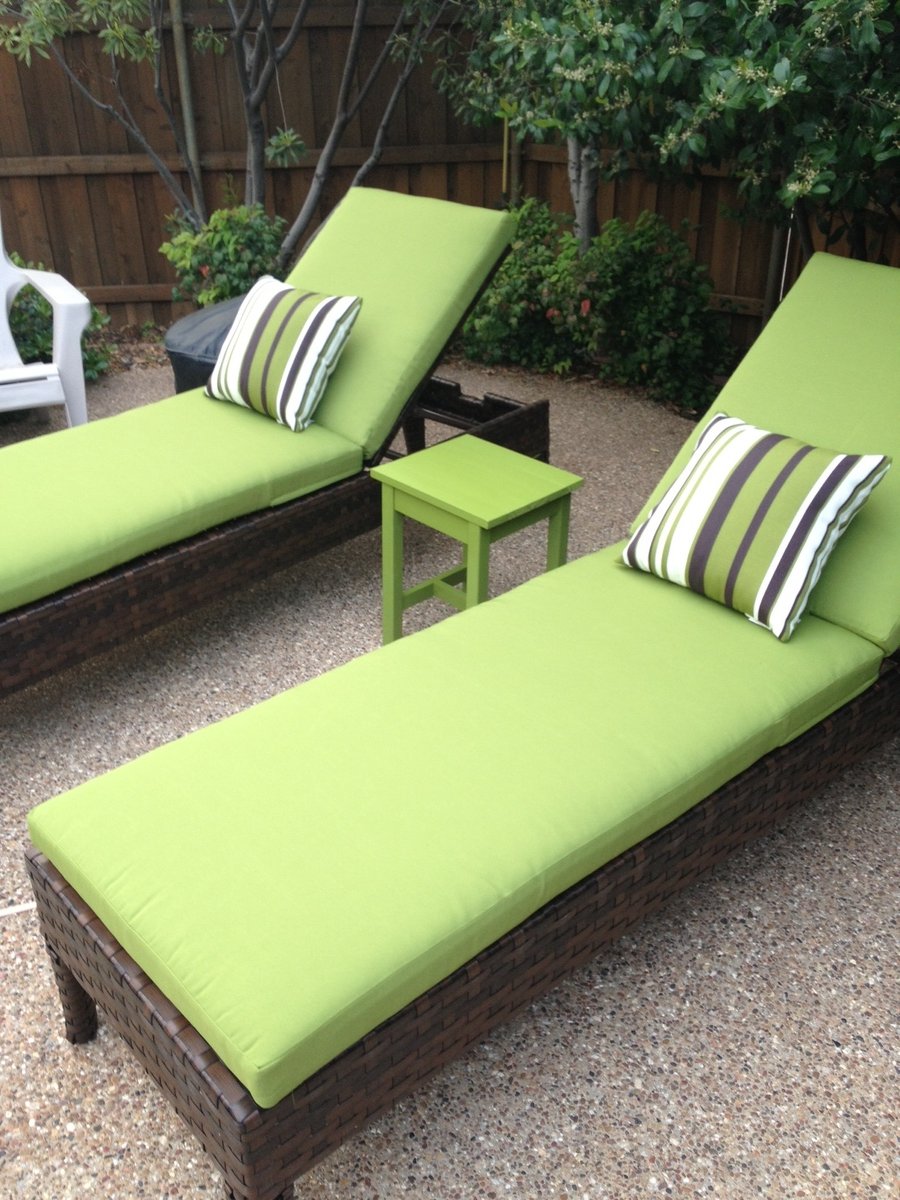
Outdoor adirondack side table

Submitted by Elishia82 on Thu, 03/29/2012 - 11:32

This was my very first furniture-building project. I was pleasantly surprised with how it turned out! It's definitely not perfect, but with some practice I plan to try bigger projects! It was a little more expensive than I would have liked because I had to buy a pocket hole kit that was $40, but hopefully I will be able to use the kit for future projects.

Built from Plan(s)
Estimated Time Investment
Afternoon Project (3-6 Hours)
Finish Used
Rustoleum white spray primer (1 can, 2 coats), Rustoleum satin eden spray paint (1 can, 2-3 coats), and Minwax helmsman spar urethane clear gloss spray (1 can, 2-3 coats)
Recommended Skill Level
Starter Project

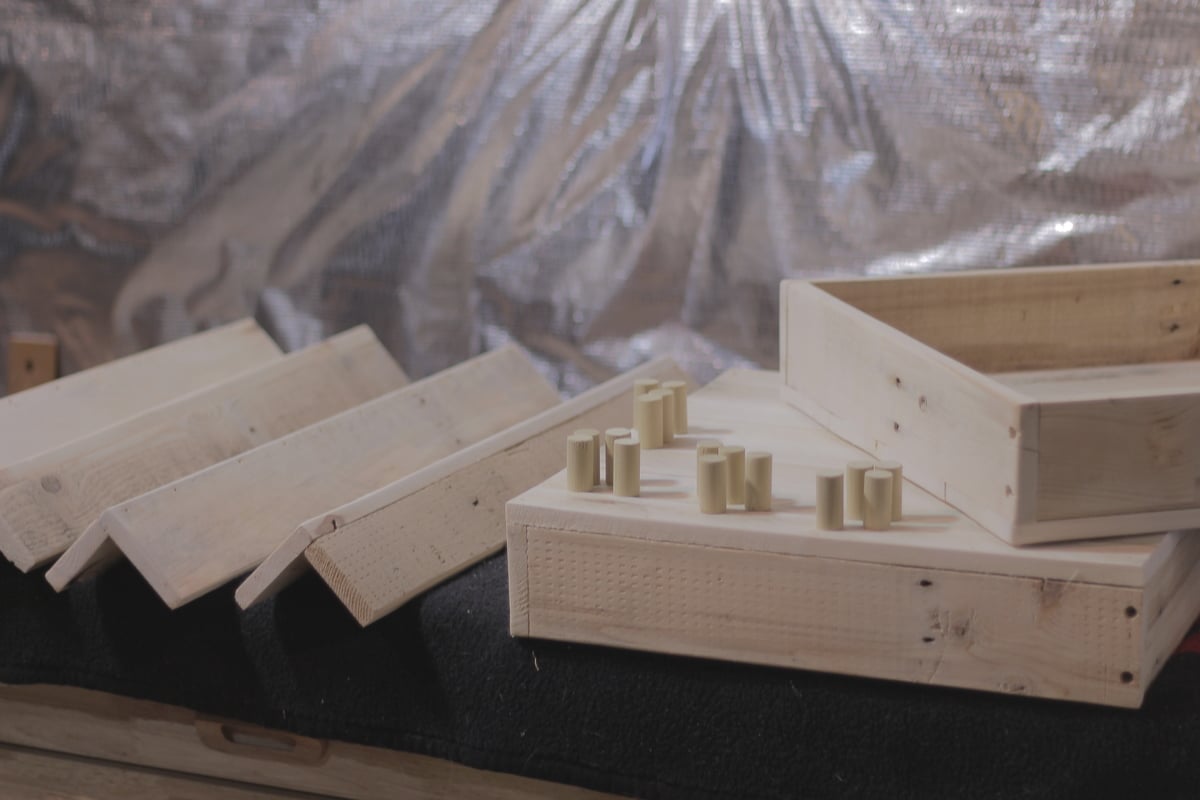
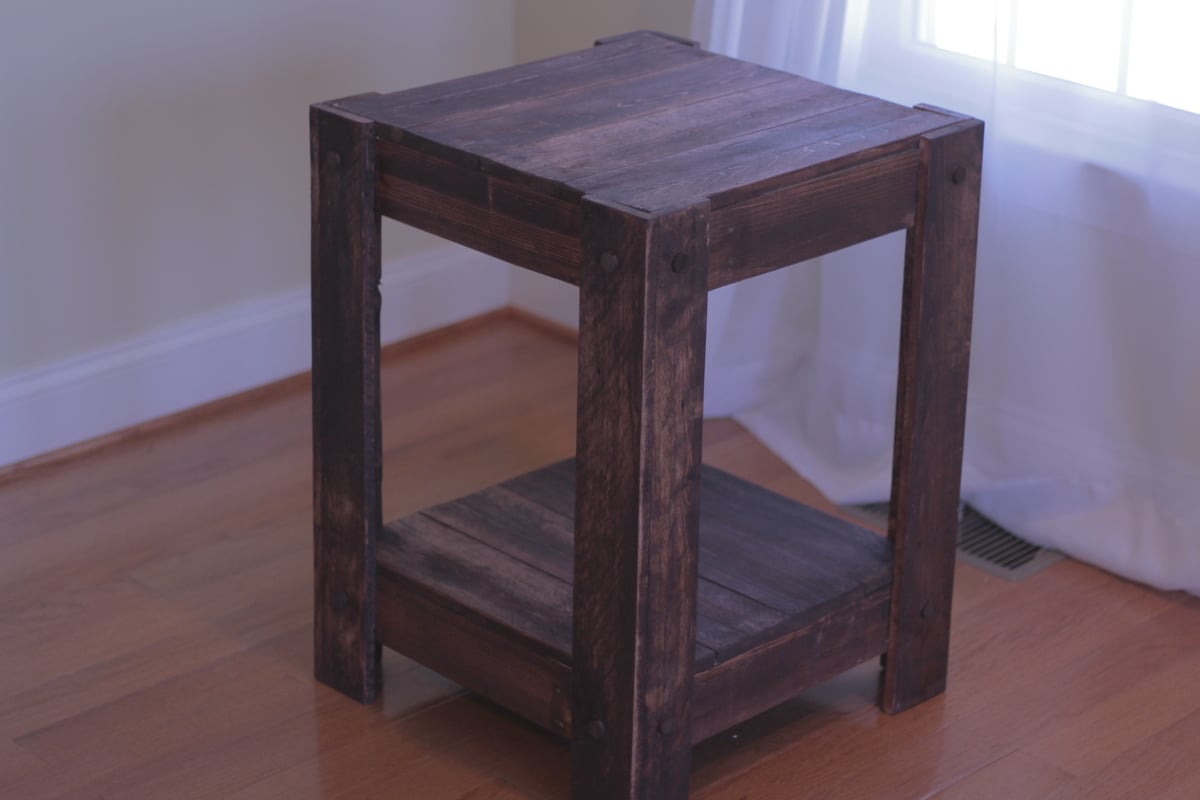
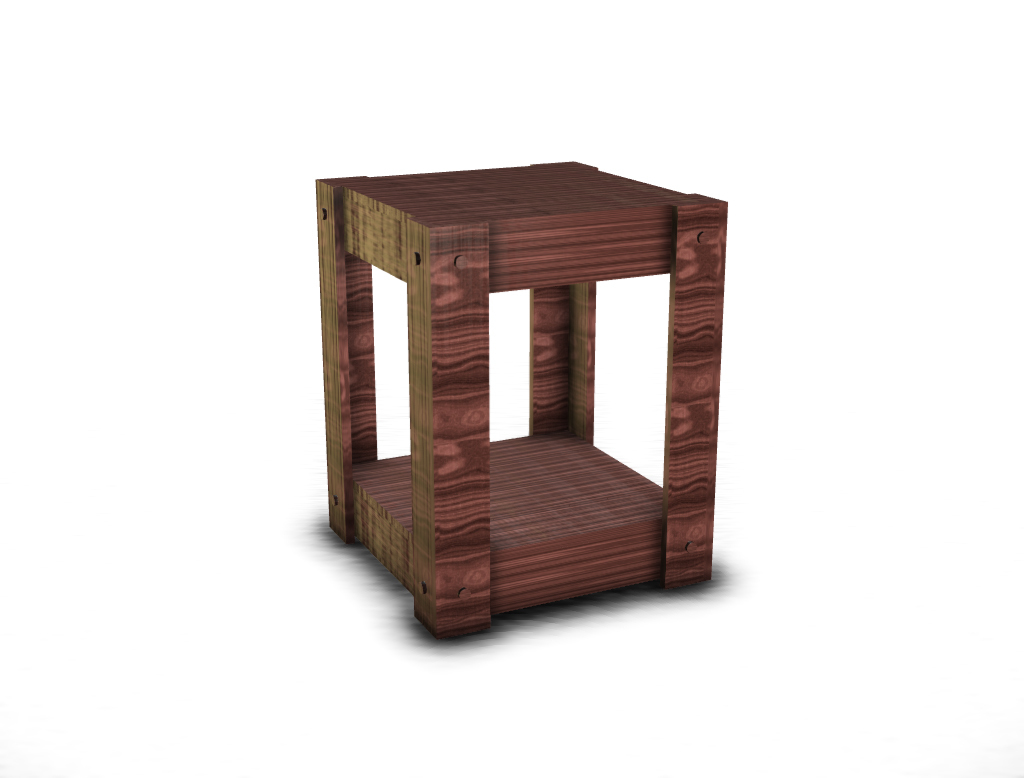
End table made from pallets (plans included)

Submitted by mtairymd on Sat, 02/08/2014 - 14:58

Building an outside side table out of scrap pallets.

Video of the build:
https://www.youtube.com/watch?v=kVAYXVGiL_8

Drawing File
https://googledrive.com/host/0B21TbB8gGNQbX2dlNGdxR0NuOE0/end_table.pdf

Estimated Cost
$5 for stain and nails - free pallets
Estimated Time Investment
Day Project (6-9 Hours)
Finish Used
Red Oak
Recommended Skill Level
Starter Project

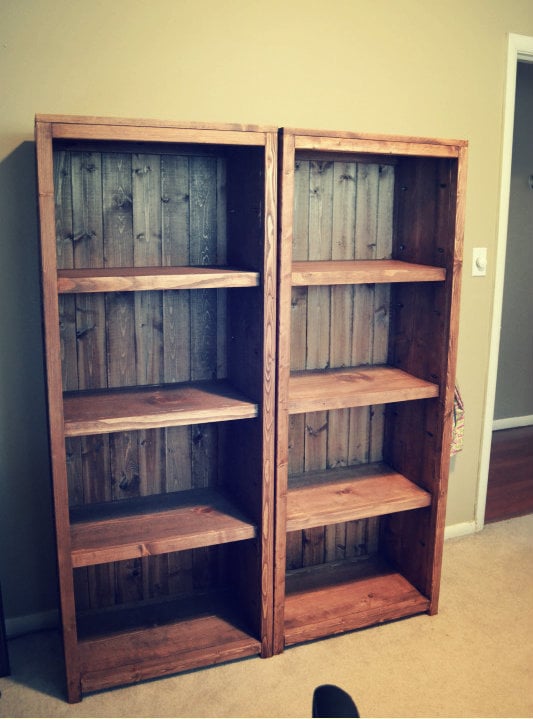
Kentwood Bookcases

Submitted by tglife on Fri, 04/27/2012 - 09:30

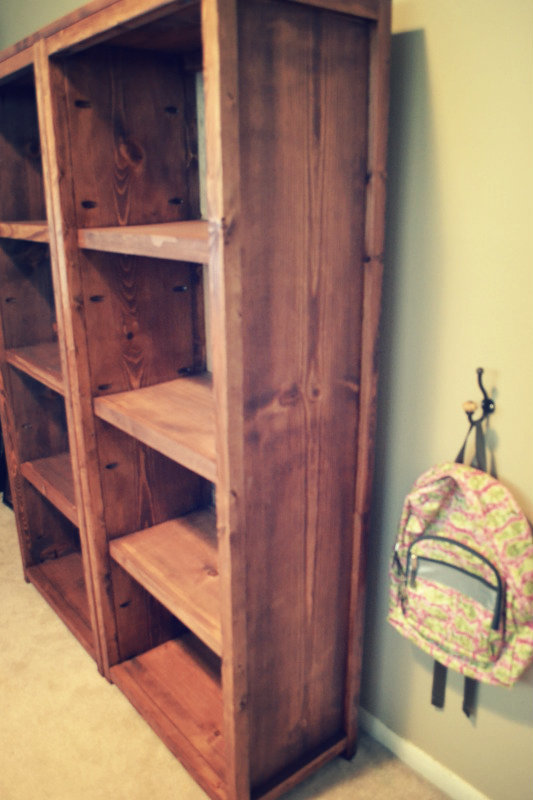
When I started my blog This Girls Life ( t-g-life.blogspot.com ) I knew I wanted to makeover my office to give me more room and storage. These bookcases were perfect for that.

Estimated Cost
$120ish for both, $60ish per bookcase
Estimated Time Investment
Week Long Project (20 Hours or More)
Finish Used
Minwax English Chestnut
Recommended Skill Level
Beginner

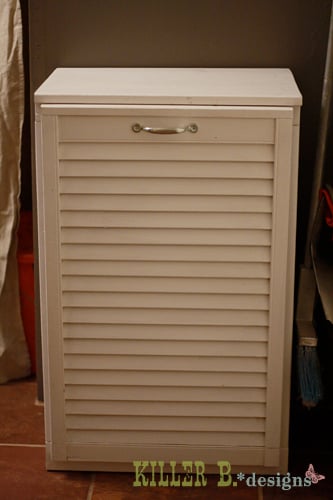
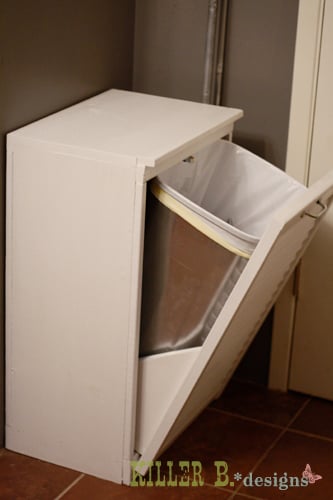
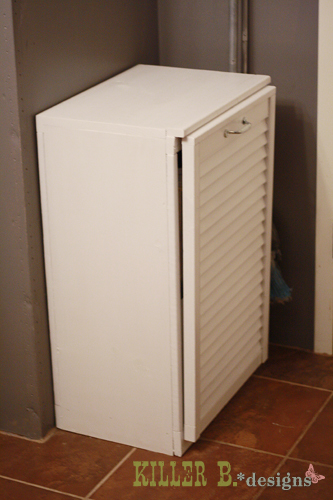
Tilt Out Trash Cabinet with Shutter Door

My trash situation was pretty dire once my dogs figured out how to pop off the lid and dig into everything. Trash was everywhere! So to keep out prying paws, I built Ana's tilt-out trash cabinet to keep the can safe. But I didn't read the plan through before going shopping, and didn't get any plywood to make the door! So I used part of an old bifold door that looks like a shutter and cut it to fit. I also added a cabinet clasp inside the top so it can securely shut. Now we don't have any trouble with my dogs dragging trash through the house!

Estimated Cost
15
Estimated Time Investment
Afternoon Project (3-6 Hours)
Finish Used
Three coats of semi-gloss white
Recommended Skill Level
Beginner

Comments

Queen Loft Bed

Submitted by christy on Tue, 05/22/2012 - 07:54

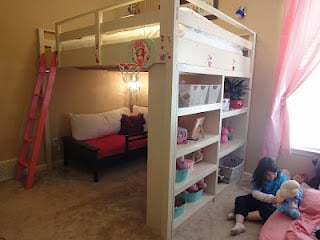
I made this bed for my 6 year old daughter. I loved Anna's Loft Bed plans, but she wanted a bigger play area underneath. So I modified the twin loft bed plans to fit a queen mattress. I also added extra supports for the mattress, and I used PureBond plywood on top of the supports for the mattress to sit on.
That's the Farmhouse Toddler Bed underneath. My younger daughter inherited her big sister's twin bed, so the toddler bed was put to use in the new "playhouse."

Estimated Time Investment
Week Long Project (20 Hours or More)
Finish Used
I sanded the wood and primed it. Then I sanded (lightly) again and painted it with Valspar latex enamel in Gloss Almond.
Recommended Skill Level
Intermediate

Comments

Neatha (not verified)

Mon, 08/20/2012 - 13:04

Do you have your modified plans still? I don't know where to begin with editing the originals. I am moving and we have limited space I need to place a desk under and queen sized bed but my ceilings are only 8ft.

Lindsay (not verified)

Sun, 09/02/2012 - 12:45

I think it's great that you modified it to a queen! I live a studio and NEED something like this. Could you share the modifications? It looks beautiful = )

christy

Sun, 09/02/2012 - 20:58

The changes I made were:
End planks cut to 63"
Top back guard and front and back rails cut to 87"
The top guard rails on ends cut to 66"
I measured for the mattress supports and the front guard rail after the rest was completed.
You should also measure for the bookcases after the rest is completed, but each of mine wound up being about 31" wide.

Everything else was pretty much the same.

Hope that helps.

dbai (not verified)

Thu, 11/01/2012 - 08:24

This is wonderful - I've been looking to make something like this for an urban efficiency (adult) apartment! Thanks so much for sharing your modifications!

gmur589

Mon, 07/29/2013 - 14:08

Will the height of the bed allow for adults to stand under it? If not what modifications should be made to make the height fit a standing adult? (the highest being 6'1" male) Thanks! =D

etb1999

Sun, 10/06/2013 - 08:23

Hello, about how much did it cost you to make this?
THANKS

NicoleLance0826

Fri, 09/19/2014 - 12:30

Hey Christy I was wondering if you could send the plans for upgrade to queen size. I cannot pull up the changes. Thank You. Im sure its not to many changes.

pretty-prima

Thu, 03/24/2016 - 16:52

Hello! I would like to build this queen sized bed, could you give me a cost estimate? I don't have any wooden planks sitting around so I would have to buy them all new.

Smaller modern farm table

Submitted by Anonymous (not verified) on Fri, 07/08/2016 - 19:36

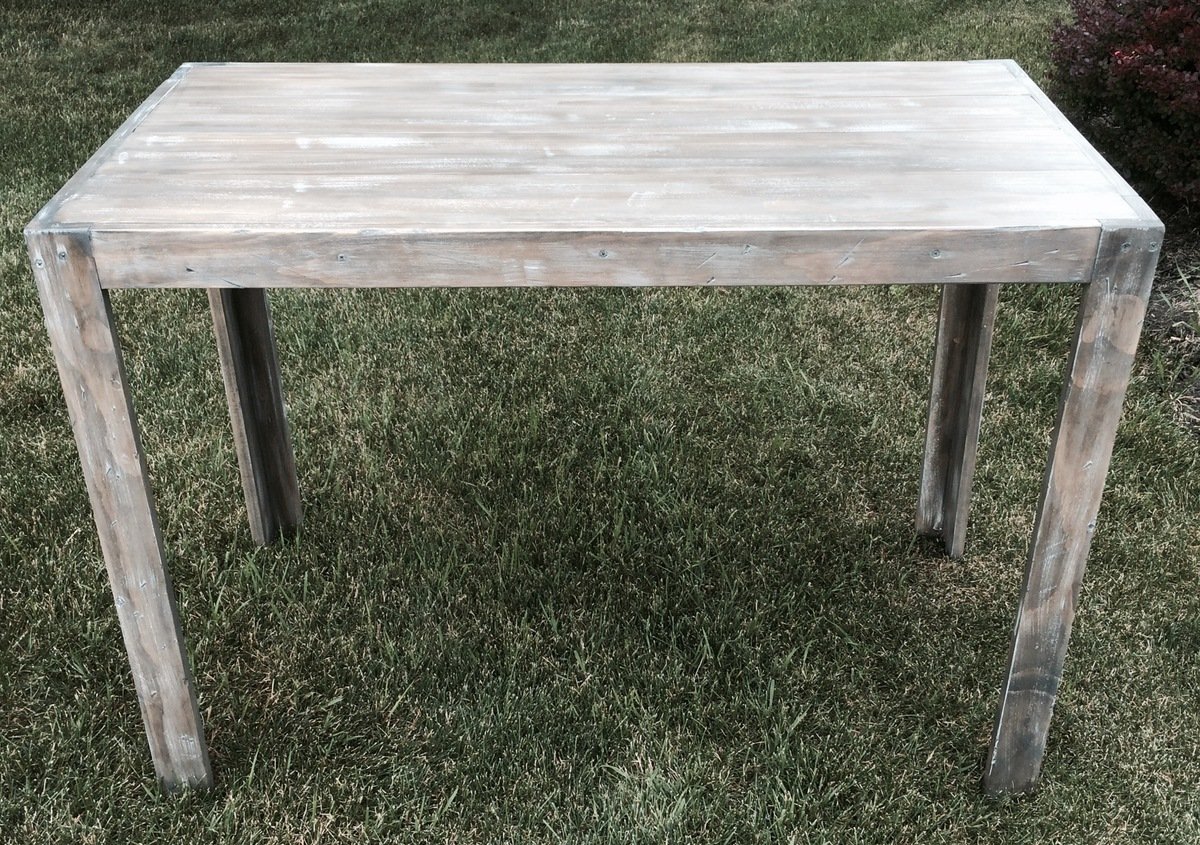
smaller version of modern farm table at counter height

Built from Plan(s)
Estimated Time Investment
Afternoon Project (3-6 Hours)
Finish Used
Minwax classic gray
Minwax Jacobean
White latex paint dry brush
Recommended Skill Level
Beginner

My Bailey Console Table for the #IGbuilderschallenge

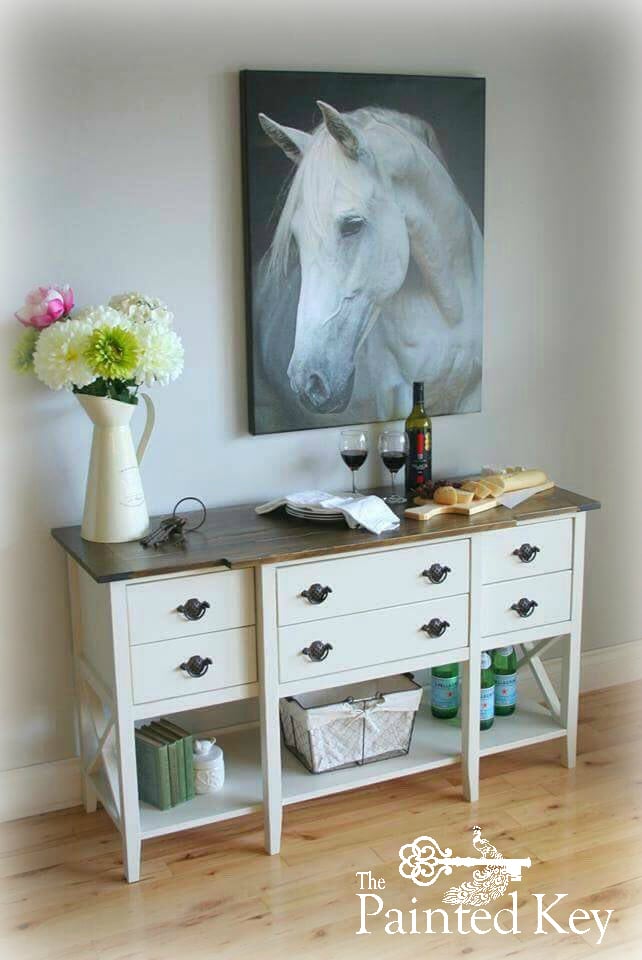
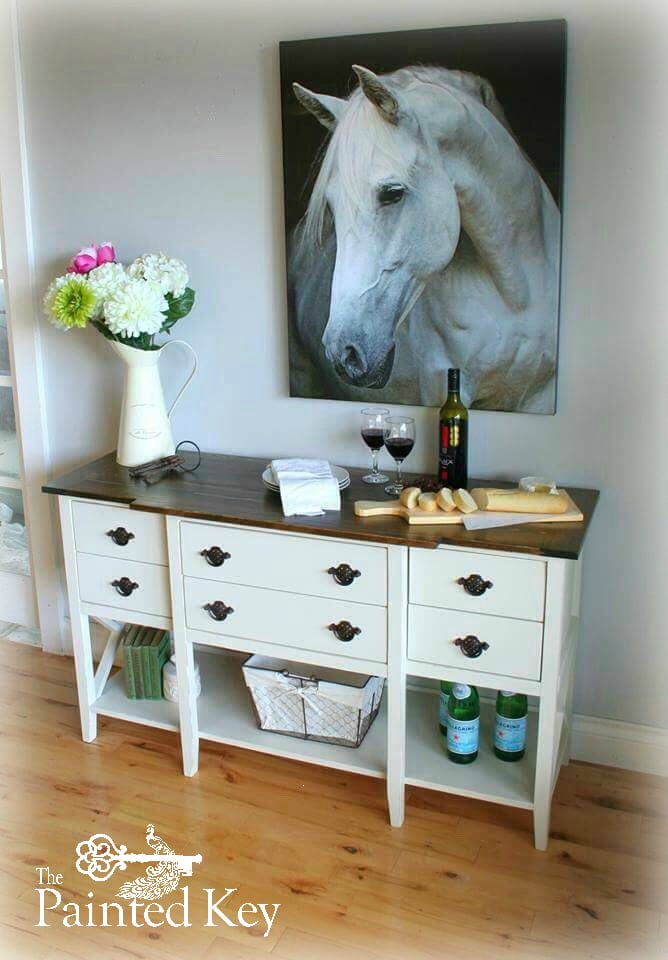
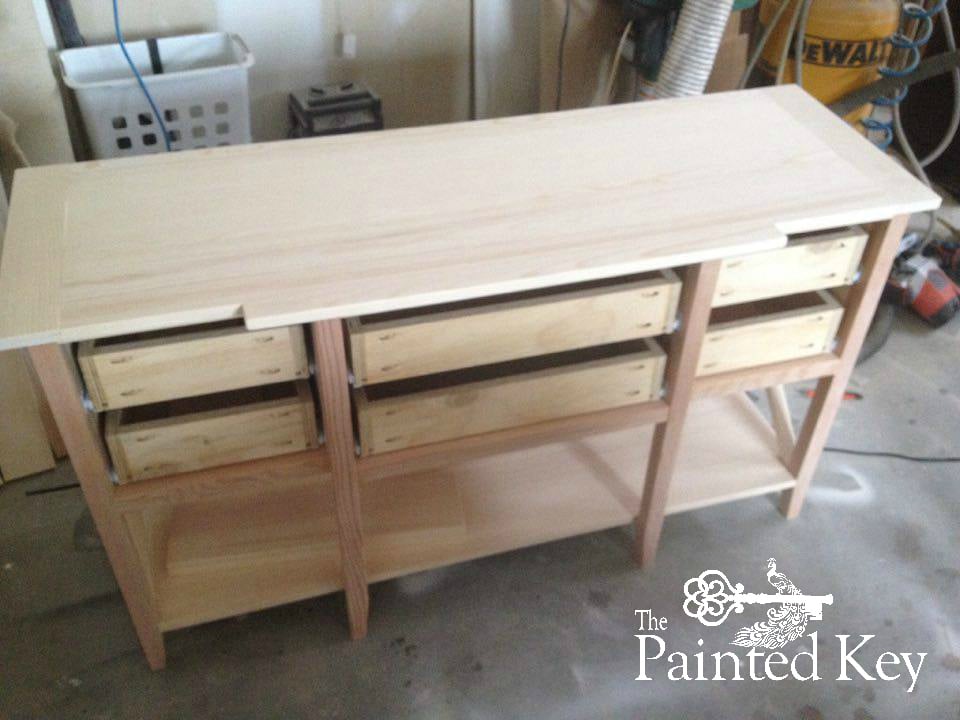
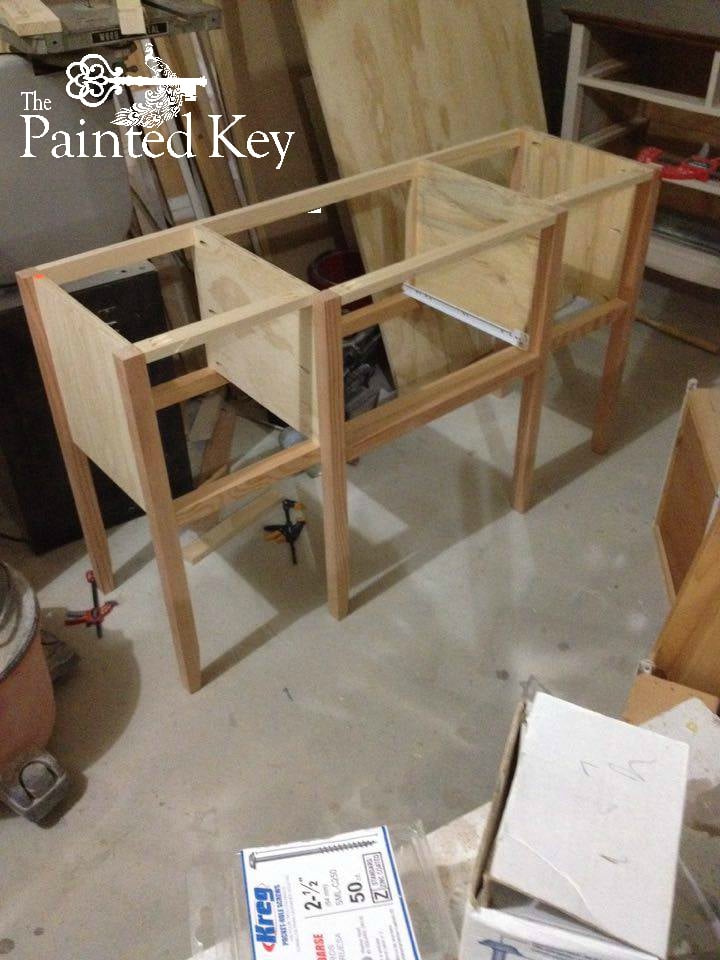
I was so excited to participate in the #IGBuildersChallenge! My modifications included reducing the width a few inches so I could cut two boards from a single 8' length for both the top as well as the bottom shelf. I added two additional legs to the front so I could divide the table into three drawer sections. I also decided to make it two thinner drawers as well. I added the x's on the sides to match the x coffee table I built for our home last month! I used tongue and groove to attach the breadboard ends which is something I'd never attempted before and is something I will try again. The top is stained in Minwax Jacobean and topped with a satin wipe-on poly. The base is painted Ashwood which is a Benjamin Moore colour I had colour matched at Home Depot in their Behr Premium Plus line and then topped in a satin polycrylic.  I'm thrilled with how my table turned out and have already received a request from a friend to build her one for their home.

Built from Plan(s)
Estimated Time Investment
Weekend Project (10-20 Hours)
Recommended Skill Level
Intermediate

Comments

Back