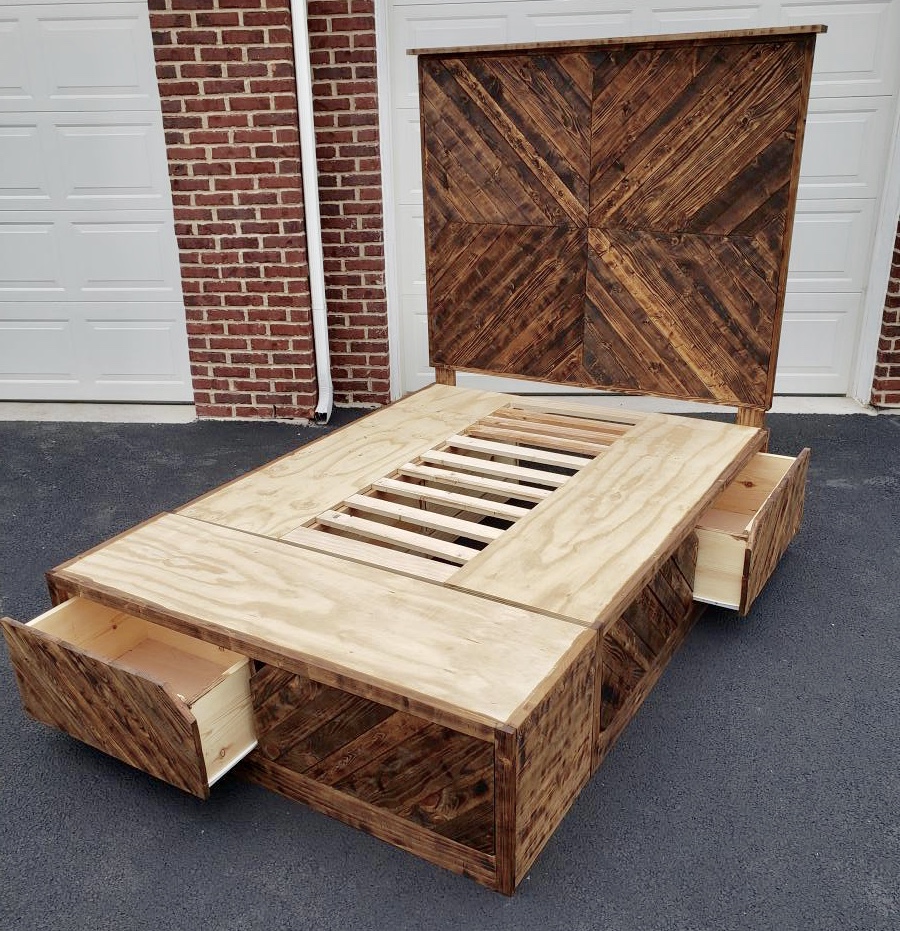
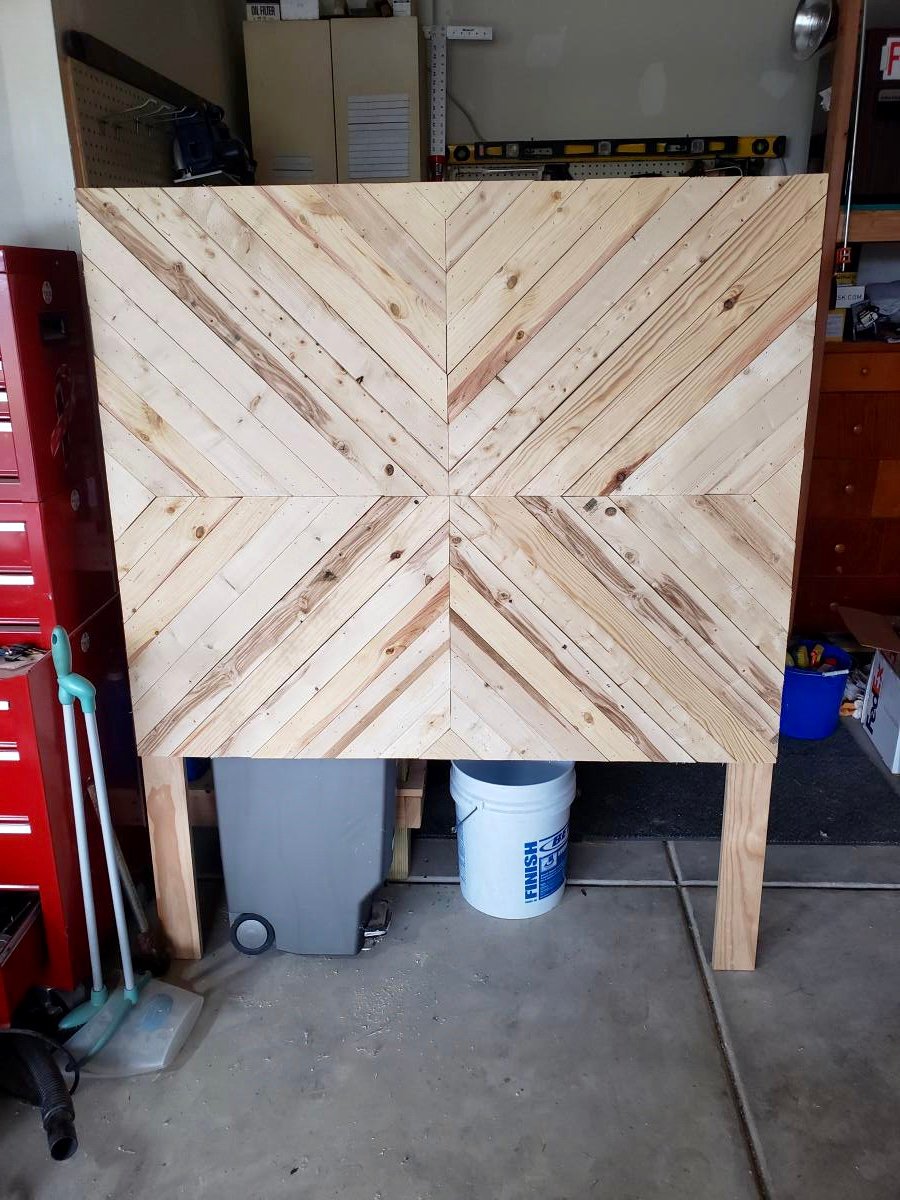
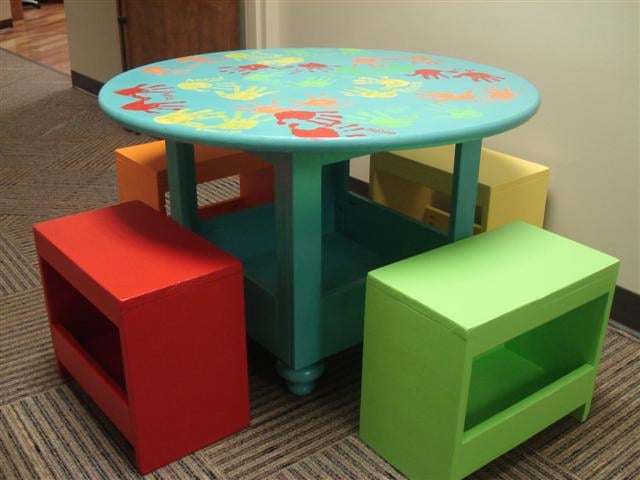
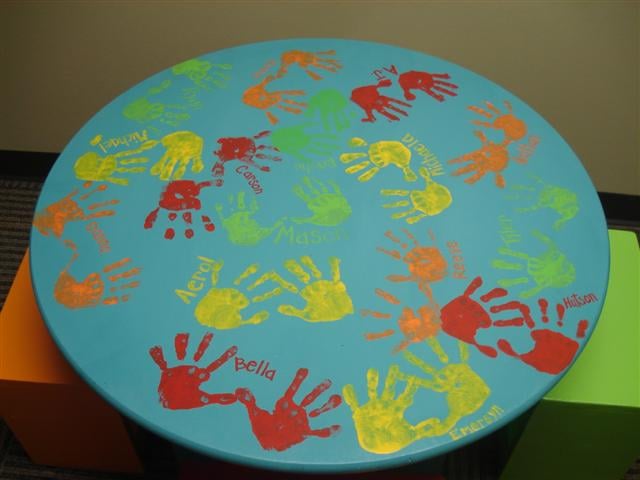
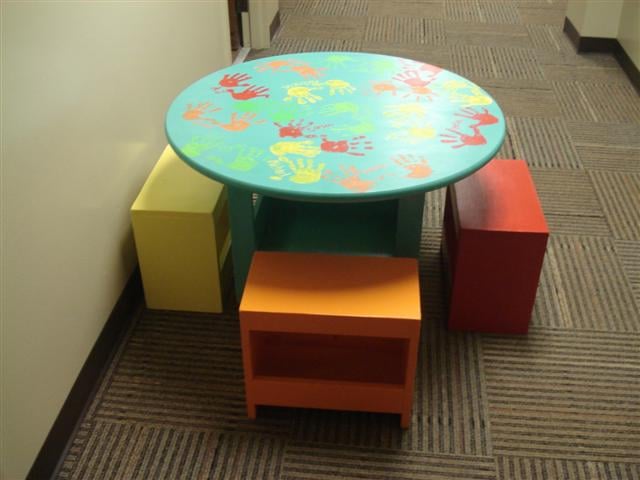
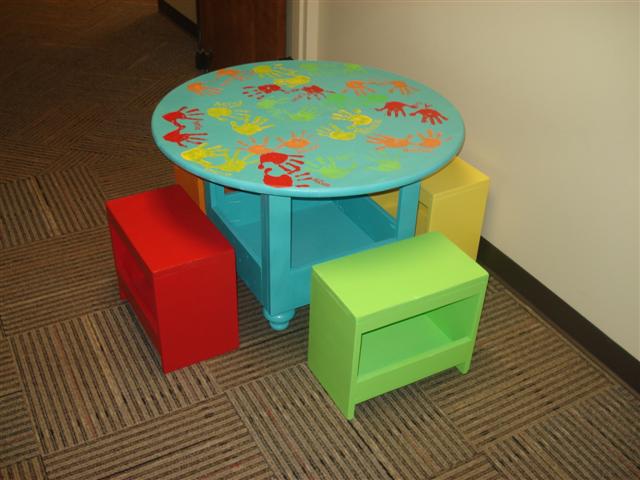
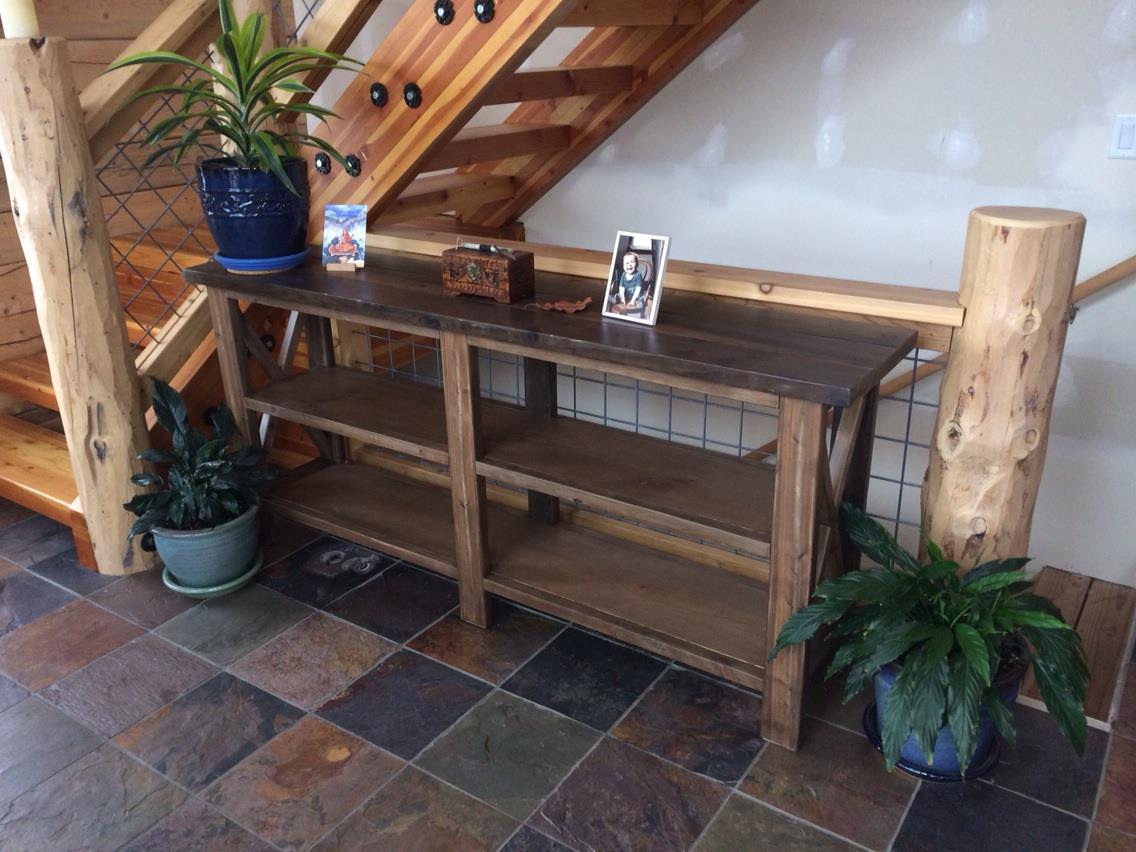
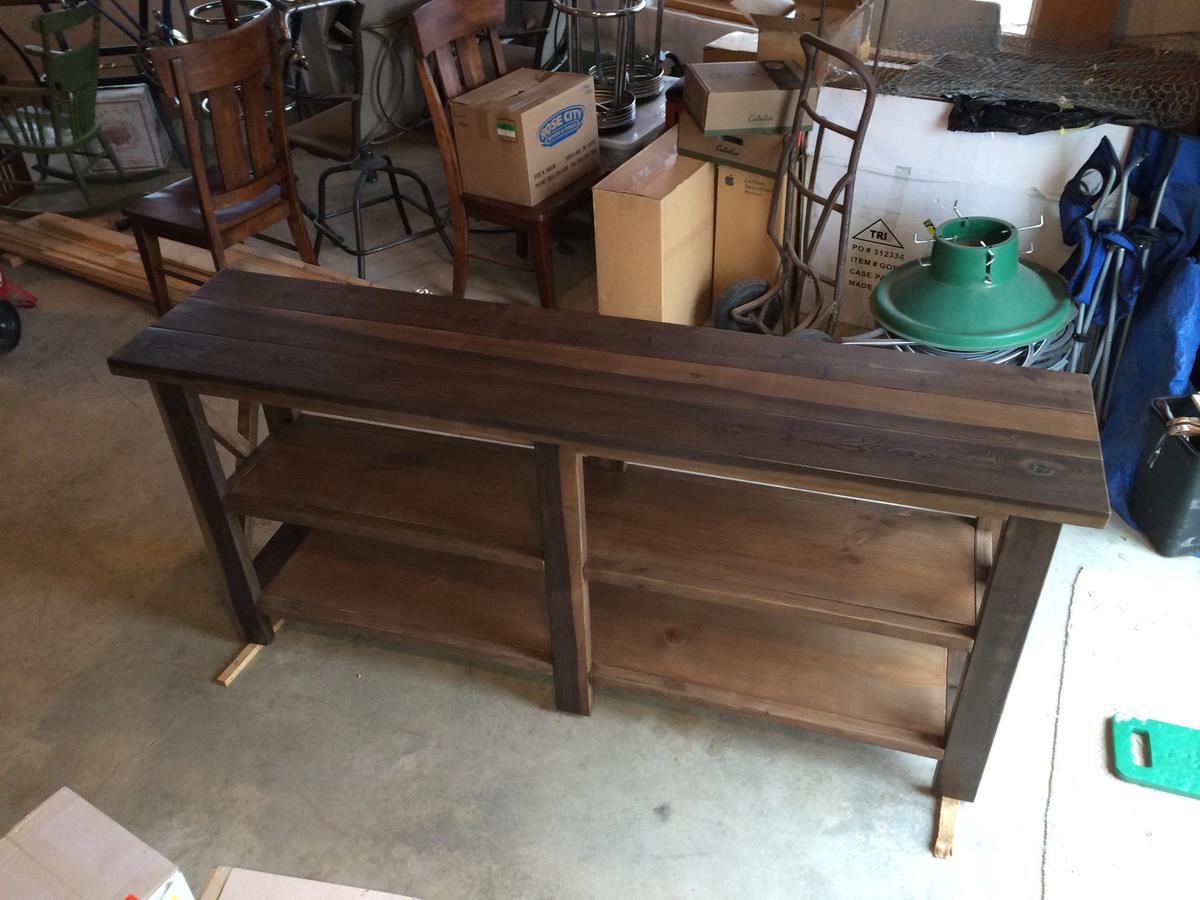
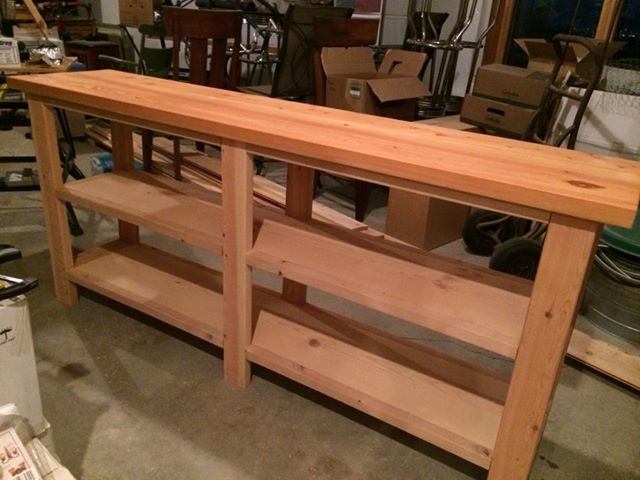
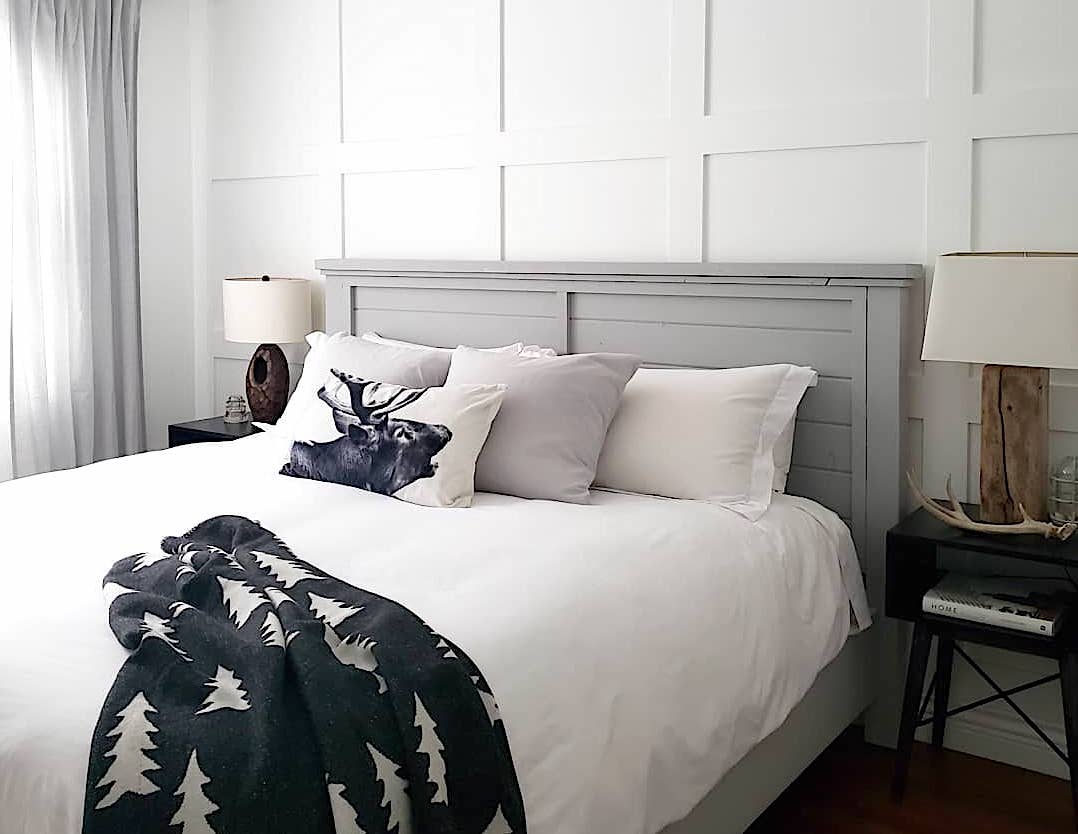
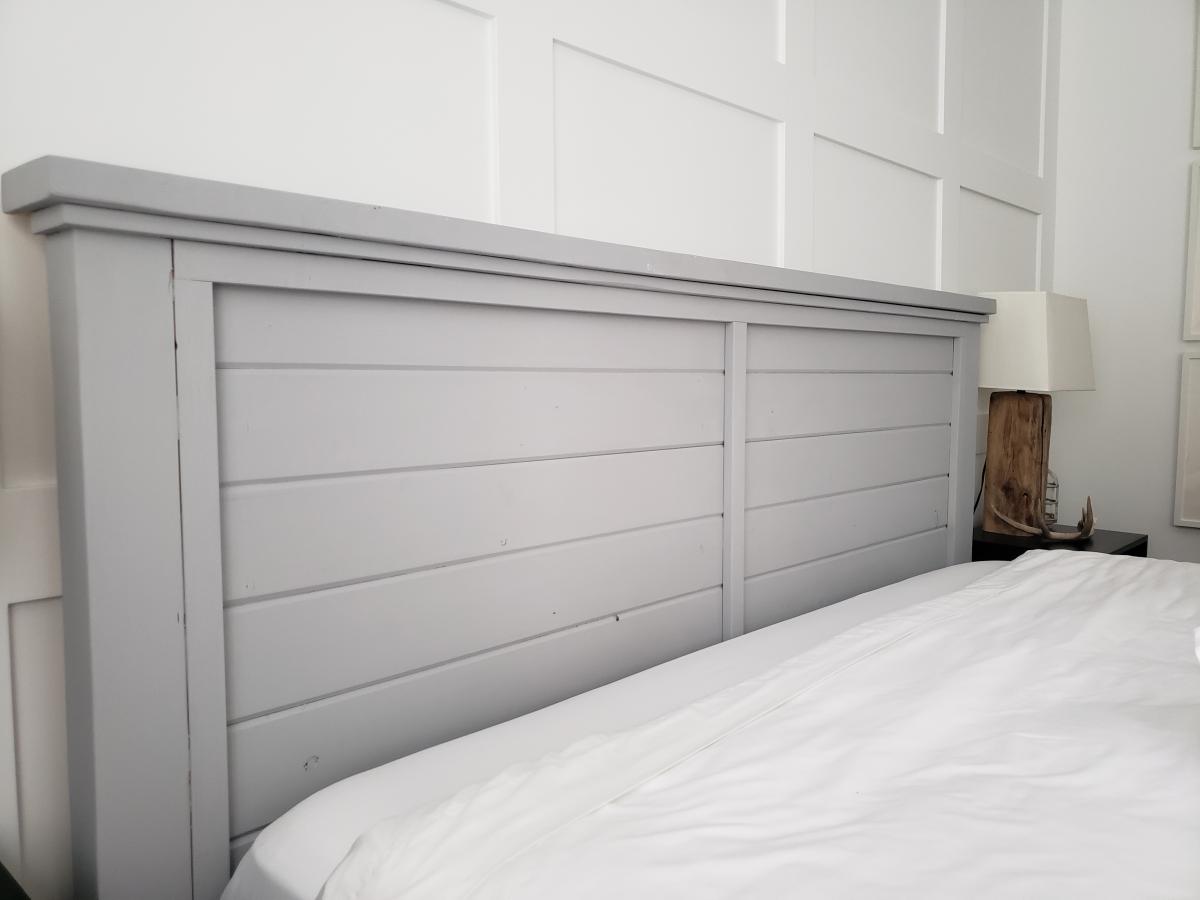
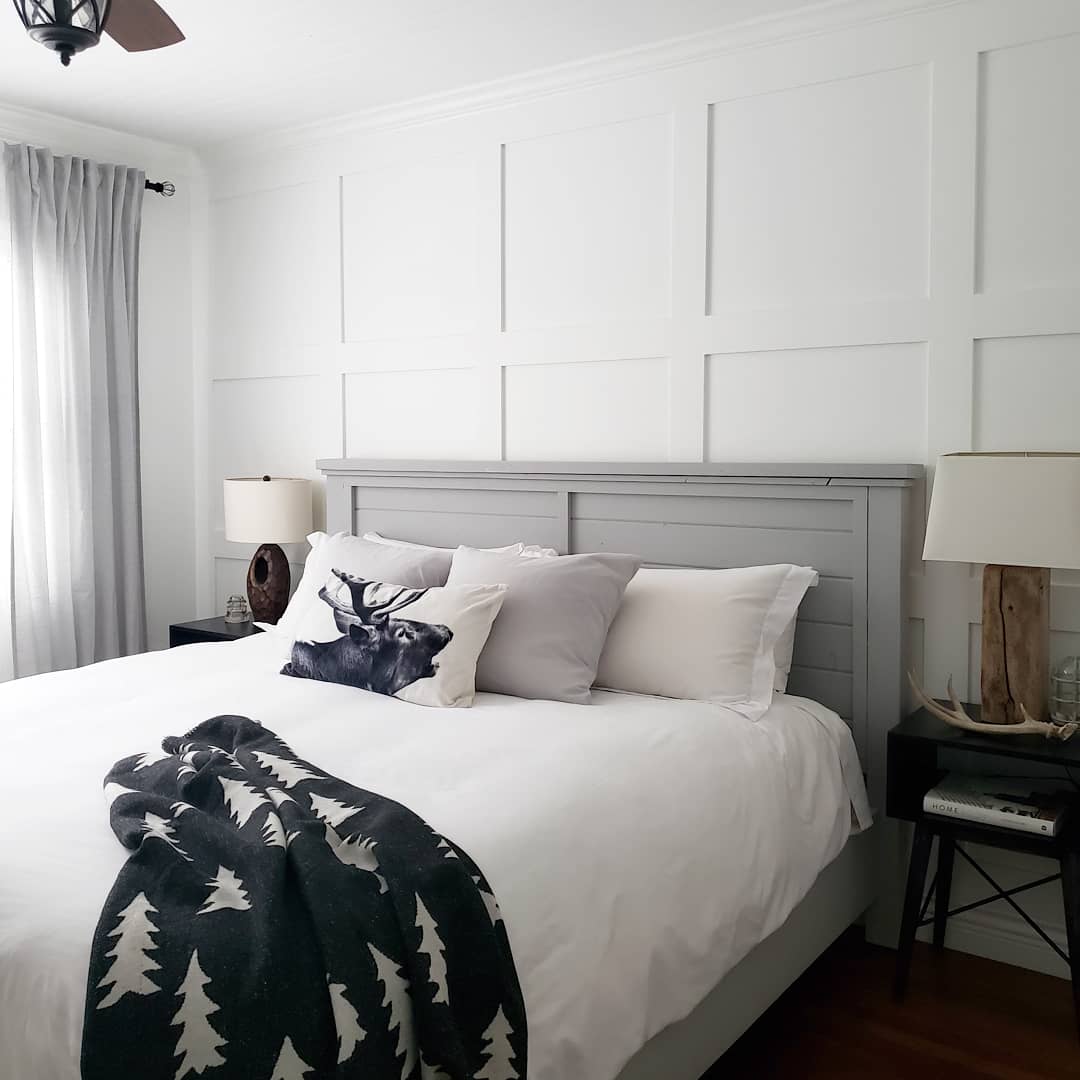
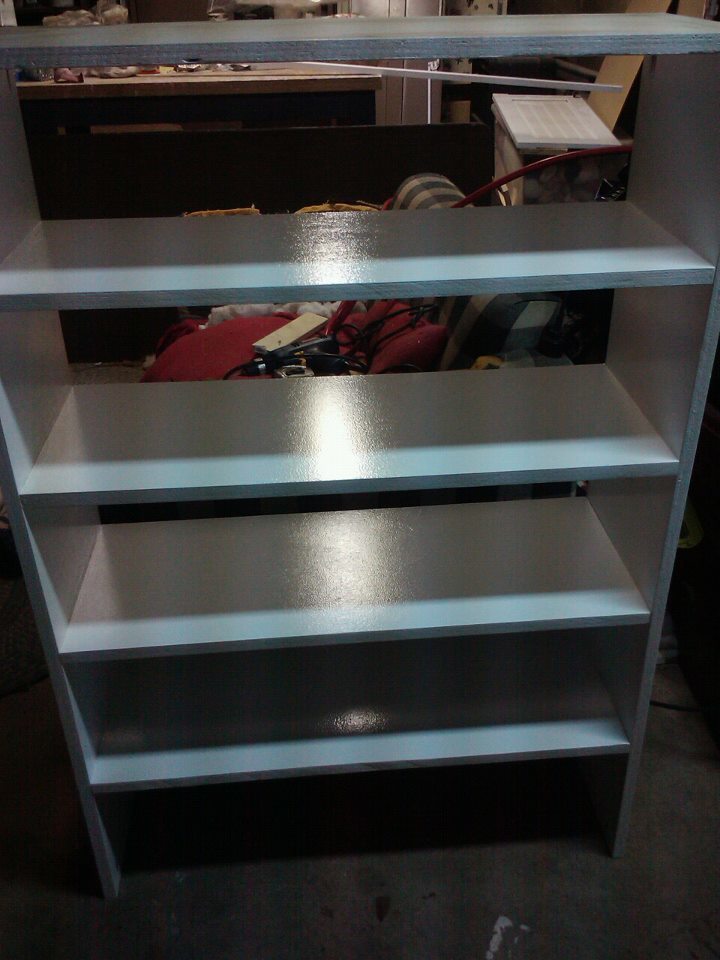
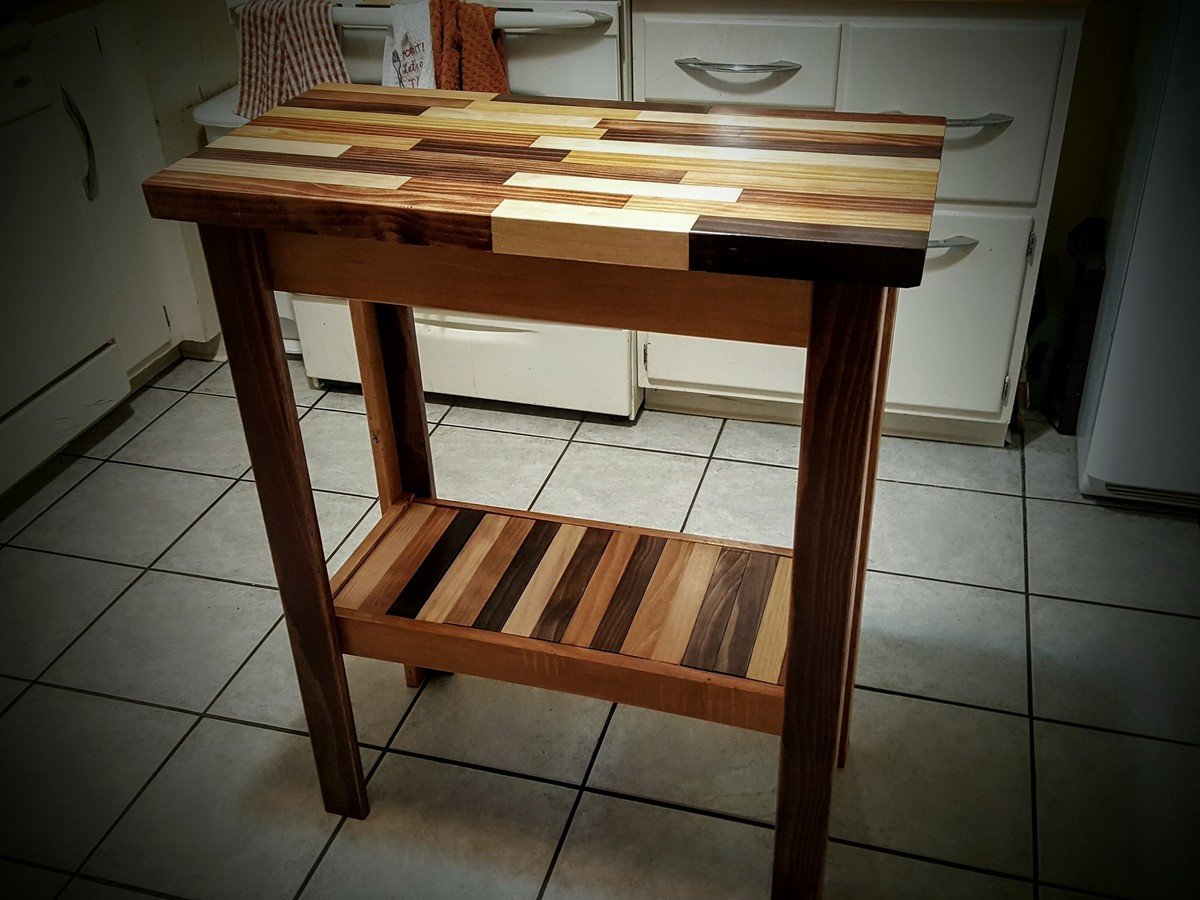
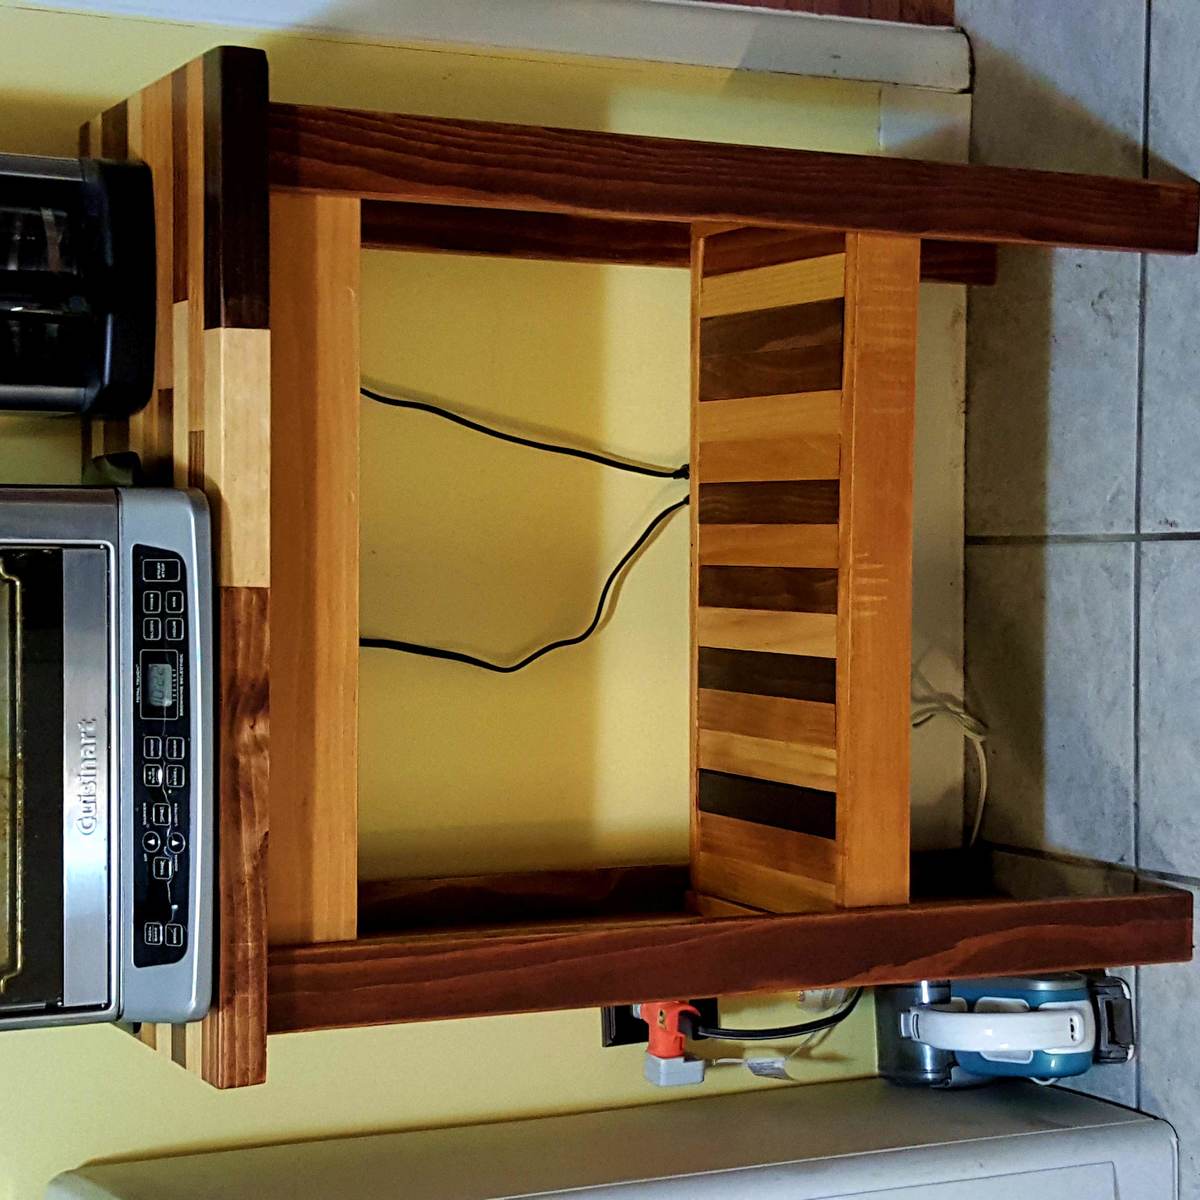
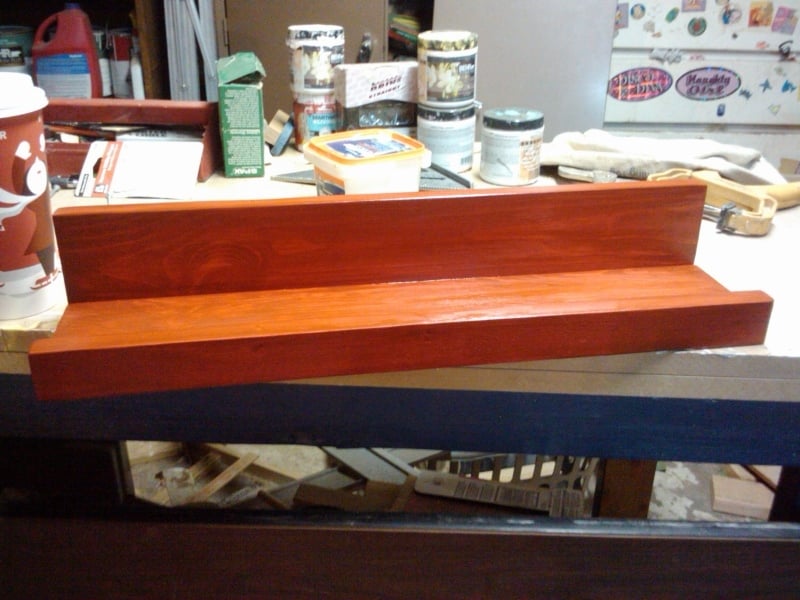
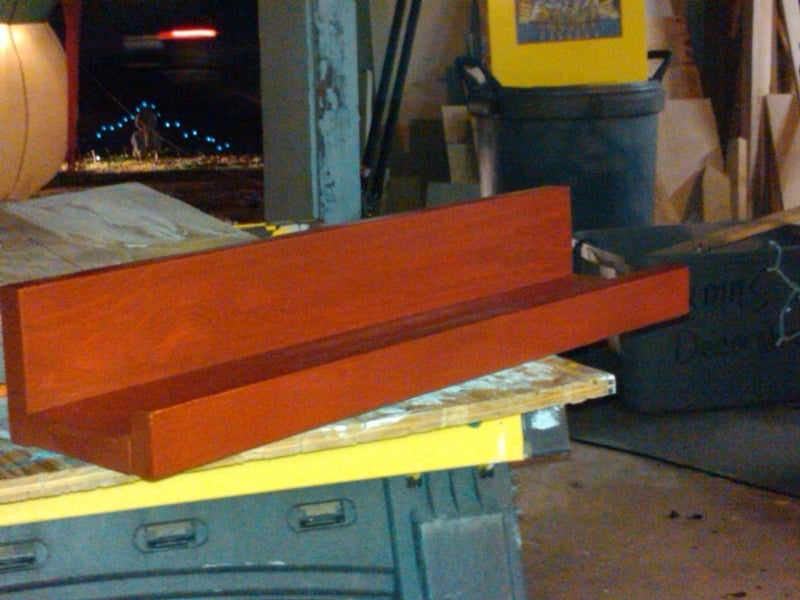
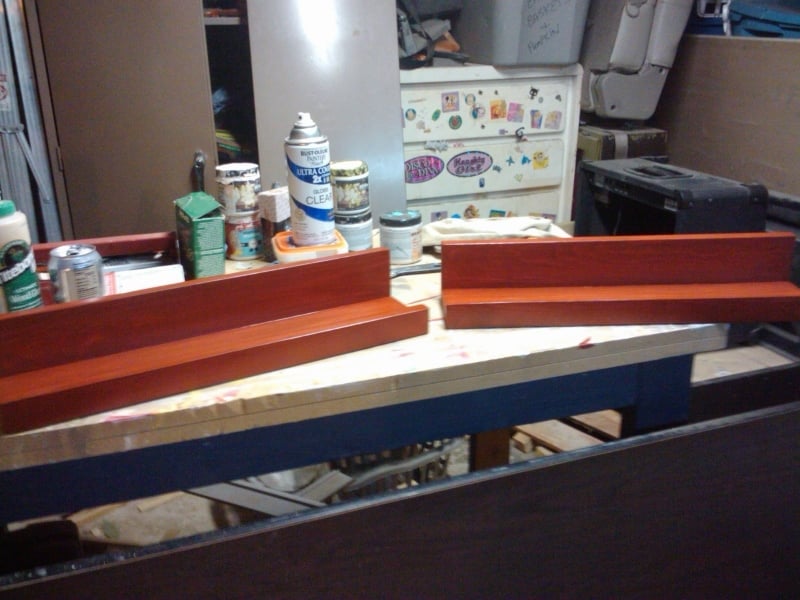
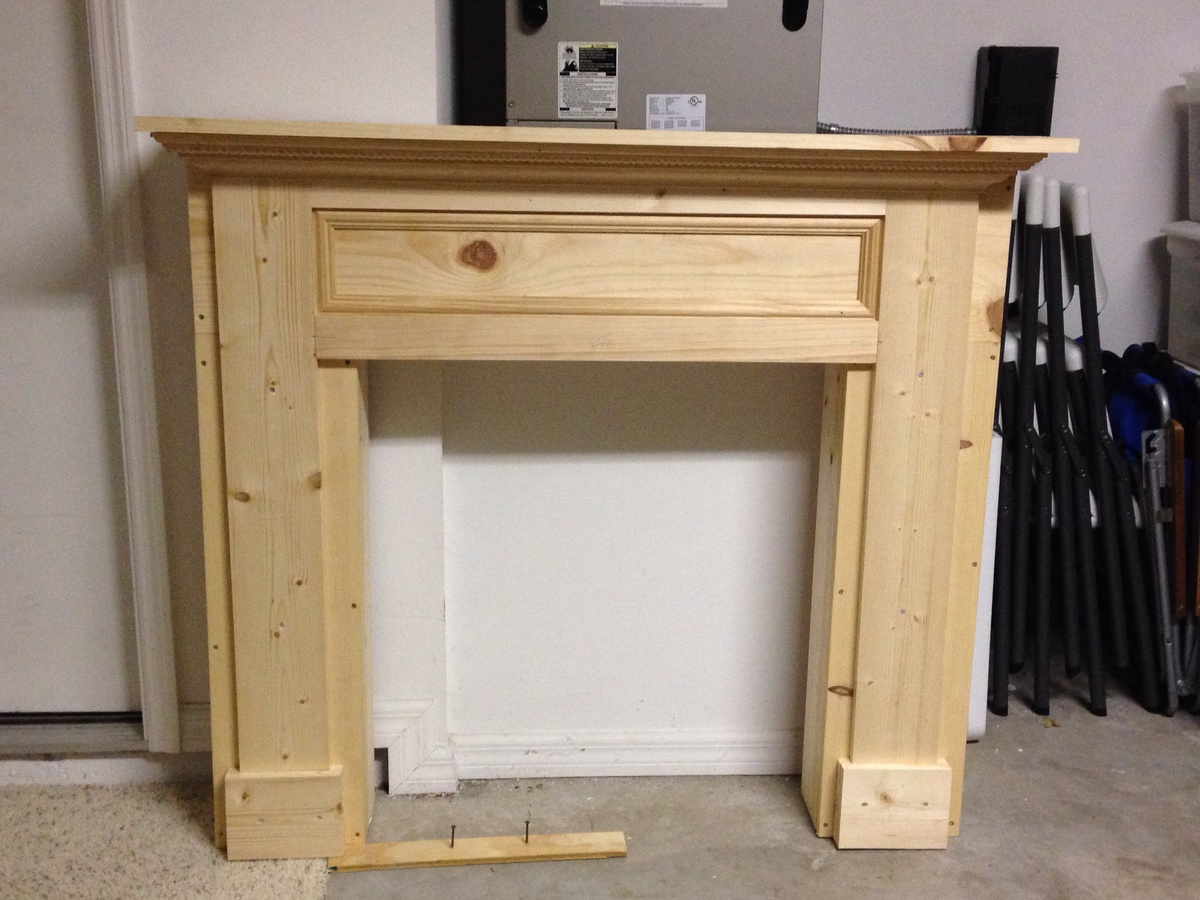
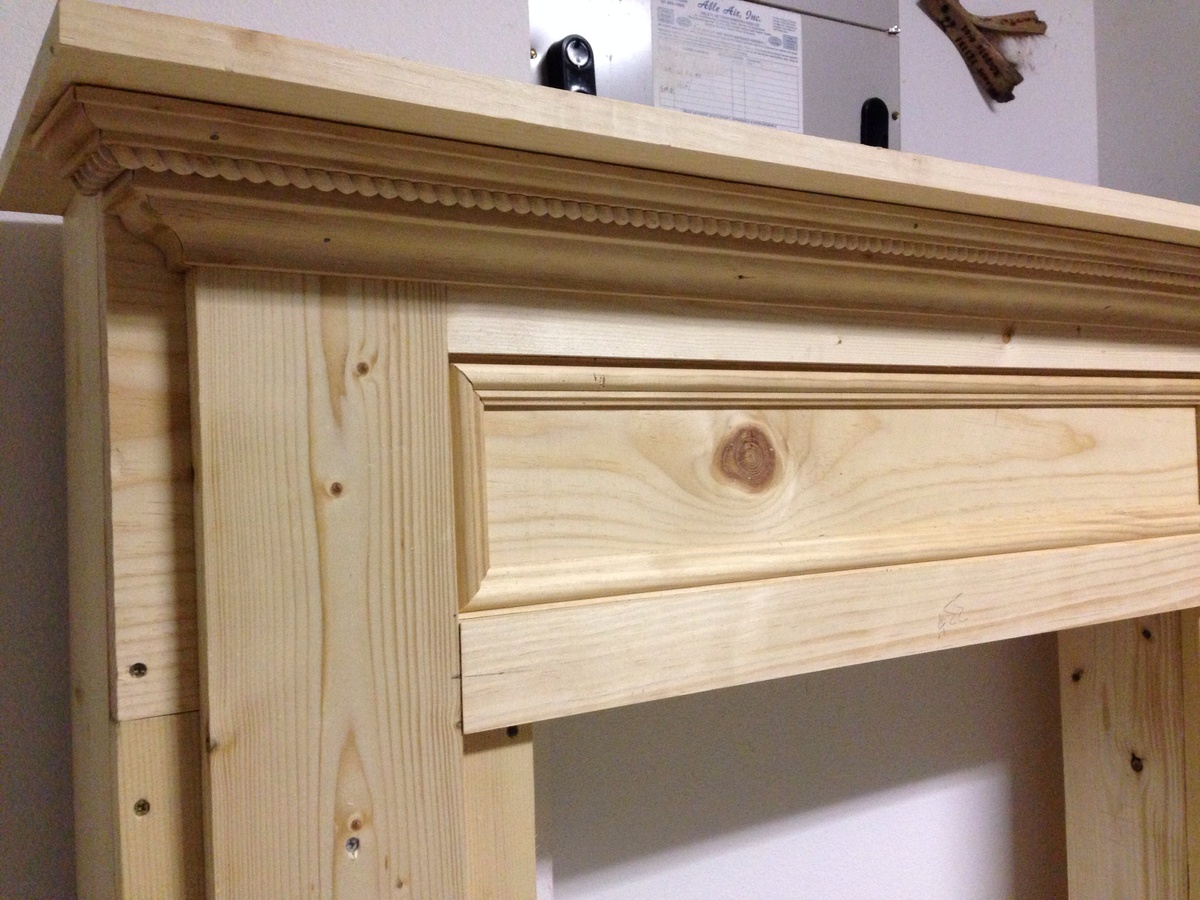
X Console Table stained in Early American
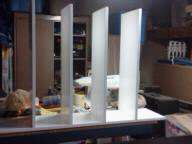
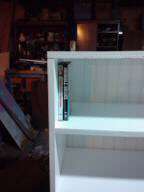
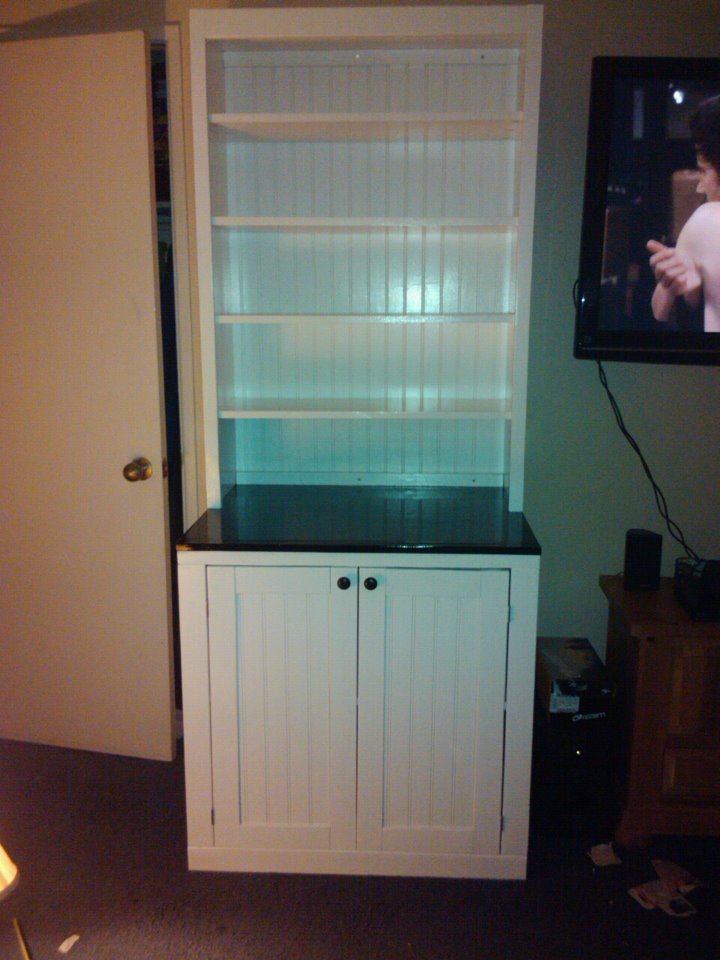
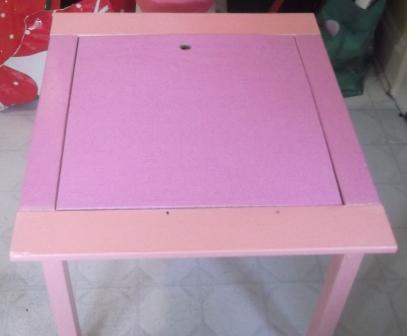
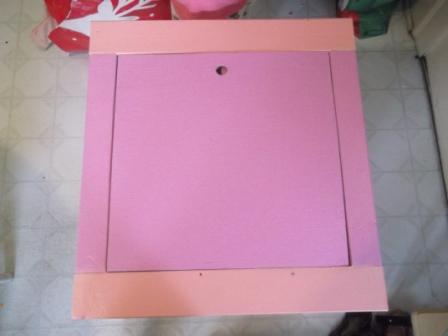
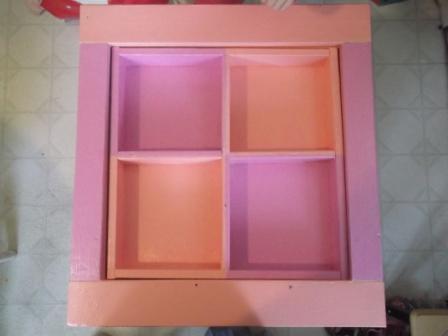
X Console table made slightly larger then the plan specs. Also added a backing with some holes since the customer is going to be using this as an entertainment center.
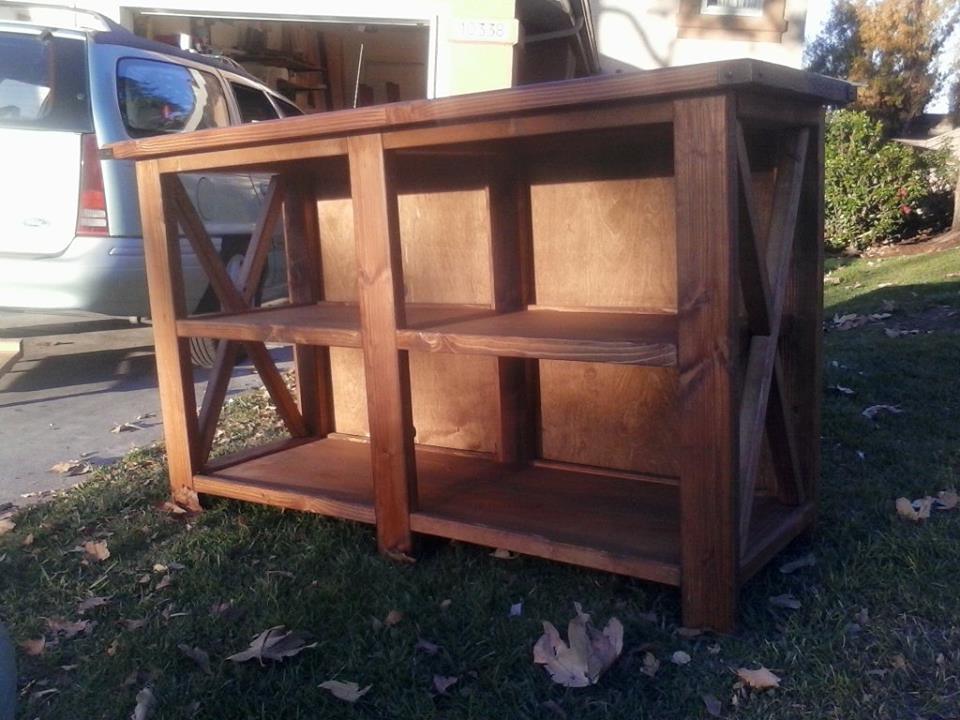
I used the pattern and instructions on how to re-size from http://1inchminisbykris.blogspot.com.es/2013/01/chair-upholstering-tutt…. I then built the base using 1x1 and part of a wood closet rod I had left over and drawer bottom material from Home Depot. I know those descriptions are not super informative but it's just materials I had around the house. Once the base was built I used Ana's instructions from the doll mattress tutorial to sew the bottom and back cushions. Unfortunately, I don't have pictures from the build but I intend to make her a couch when I have time so hopefully I can add some pictures of that to give an idea of what the frame looks like.
This project was fun but at the same time difficult. Taking king size plans and adapting down to full size posed a challenge but i worked through ot and turned out a fantastic piece of furniture! I have never attempted this size project before but i am glad i did it. I literally put blood sweat and tears into this. Nothing says great project like a trip to the emergency room!
Wed, 10/02/2019 - 22:58
Beautiful! Lots of storage!
I know I need to adapt this plan to other sizes, I’m sorry I haven’t done this sooner.
My new garden shed built from your premium plans! I'm 62, never built a shed before, and worked mostly alone. My sons helped with some of the wall and roof sheathing. In the end, I did everything except for the shingling. I painted it to match my house main color and trim.
The video is very helpful - I watched it several times. My major change to the plans was using Simpson Strong Ties and hurricane ties to secure the rafters to the ridge pole and the top plates. Otherwise, I used all other methods. I recommend cutting the front wall sheathing before cutting the panels for the doors. I do not have a trim saw and thought my standard circular saw was too heavy for me to make the cuts like Jacob did.
Tue, 06/13/2023 - 13:57
Really impressive, thank you so much for sharing and good for you to just go for it!!!
My wife and I did this table and stools for our son’s class art project. We did something similar last year and they auction the items off in a fund raiser in March. More details and information on the blog – www.atouchofarkansas.com.
Tue, 07/03/2012 - 09:03
Part of a class I am taking involves this particular subject and I am researching for information to use in an upcoming report. Your post is really helpful; do you have any others on this topic?
http://www.britecarpetcleaners.com/
Modified slightly for increased height, slightly larger gap between shelves and more underneath clearance (for Roomba Vacuum).
Very easy to make, used Google Sketchup to calculate new angles for X's based on the modified size of the console.
Most time consuming part was repeated sanding and final poly-whey coats.
These plans where so easy for my hubby to follow and put together. My son's room is small and even though it's a big bulky bed he has all that floor space to play now!!
This farmhouse bed is a combination of Ana White's Farmhouse Bed/Modern Farmhouse Bed plans as well as some slight modifications. I modified the bed using materials already on hand and leftover from past jobs. The 4x4 posts are 2 - 2×4s glued and filled together. The headboard was made using 2x2's and tongue and groove boards. The side rails, foot board and matress supports are 2x10's since this was old material from a job site my husband was on. I opted for no footboard to make the bed feel less bulky. The finish was done using chalk paint in a light gray, giving it a more modern look.
Thu, 10/03/2019 - 13:09
This is so beautiful! Thank you so much for sharing photos!
Living in a small house, 1100 sq feet, really needed an area devoted to DVD storage, then I thought, why not build my own Entertainment center? This is 1 of 6 pieces.
This is my first serious project that I dedicated to my wife so she can arrange her many books and personal things. I used the undercover jig from wolfcraft (same as kreg jig).
I wanted to replace the awful cart we keep our coffee maker and toaster oven on, and have always wanted to see a butcher-block top in our kitchen. We are renters, so doing anything like countertop remodeling is out of the question. I decided to build this little console and present it to my husband, the coffee-drinker of our house, for Valentines Day. The actual construction of the console was very easy, it was the sanding, plugging of pocket-holes, and staining that took a week! My husband loves it, though, and immediately rid of the old cart and set up his coffee-maker on the new one. We are both very proud of it.
This amazing trestle table seats 8 people with the “not pictured” matching bench. The table legs are jointed with mortise and tenon and the ends of the table top are lose slot jointed to the 4”x4”s to prevent unwanted warping if there is any. The table top is secured to the apron frame by table top fasteners to allow for wood movement and easy disassemble for transport. All wood planed to required thickness and sanded to 220 grit. Then finished off with an 80/20 mixture of “carbon grey stain and Ebony stain”. 3 coats of oil based satin polyurethane to top it off.
I made a pair of Adirondack chairs for my nephew and his fiancé. I use the old Home Depot plans (not sure if they're still online). I used treated 2x4's and cedar 1x4's.
Sat, 06/24/2023 - 19:16
I'm sure they love them, well done! Thanks for sharing.
These shelves are great because you can make them any size you want! As you can see, these were made to hold my daughter's monster high collection, took advantage of dead space between the wall and the window. I put these together with my Kreg Jig so they're very sturdy. I couldn't buy shelves as nice as these, TWO OF THEM! for under 10 dollars. If you're thinking of building these, stop thinking, start doing, they're well worth your time and effort.
I have been wanting a good size toy box for my son and after finding this project here, I decided to build one for him for Christmas. Eli is going to be so excited!
This is a pocket hole version.
Mon, 12/23/2013 - 10:07
Thanks...I couldn't place the brand.
By the way...Eli will probably love the toybox. I made one last year for my daughter, and stuck her name on it using wood cutout letters. I added a lid, so I don't have to look at her ever growing collection of stuffies...
I made mine with a "MasterCraft" saw, a budget brand similar to Craftsman in terms of price and quality...
HD
My wife wanted a farmhouse, rustic, restoration hardware type table but I wasn't about to spend the crazy money on one. So I told her let me see if I can build one she would like and she loves it.
My hubby and I never really wanted a king size bed until we had grand babies and the bed just wasn’t big enough. I found the Ana White Fancy Farmhouse bed plans, ask if he thought he could make it....he did not disappoint!!! I love our new bed and it’s ready for Honey and Pepe’s first sleepover.
Hi Ana, after building your essential chairs I decided to build my grandson a small one I burned it with a torch and then clear coated it and it turned out so sweet. I also built a picnic table and added a different crossmember to it for strength. I also built a glider swing that I used from an old pattern from many years ago. Still without going to your site and watching you build on YouTube I would not have attempted any of this. I love all of the things that you build and you have inspired me so much. Thank you for all you do and keep those wonderful plans coming! My next project is going to be that little workshop that you build in panels and put together that you made for your friend. I'm going to make one and turn it into a lawn mower shed.
Darlene Sudderth the Twiddlebug woodshop
This project was my first from Ana White's plans and my first wood working project on my own. I spent quite a bit of time w/ my dad as a young boy helping him w/ woodworking projects and have been looking forward to doing one on my own.
My daughter is a crazy artist of four years old and she makes more art in a month than we know what to do with. Along with that comes piles of crayons, markers, paper, and so on all over her room, so this table was for her to try and keep organized.
The only real modification from Ana's original plans was that I used plywood for the cover instead of a clear piece of plastic b/c I figured the wood would hold up better under a four year old's abuse.
Sat, 08/02/2014 - 09:46
Yes, i actually had to put two pieces glued together in order to get the correct height to fill it in. It's a little heavy, but my daughter really loves the table and it doesn't seem to be too much of a problem.
We wanted to have a mantel for hanging the Christmas stockings this year and this fit perfectly! We modified the plans a bit by substituting 1x6's for the sides and a 1x12 on the top in order to gain a little more shelf space and to accommodate the LED fire logs. We added a piece of plywood painted black to mask the color of the wall and to give the "flames" a surface to reflect off of. We are debating giving a more realistic appearance by covering with mortar and brick tiles rubbed with charcoal. Thanks for the plan and for making these holidays special as the kids now believe Santa has a chimney to come down!
Comments
dbizzle
Wed, 12/11/2013 - 12:11
false back to hide cords
I'm a huge fan of using a false back on the bottom storage areas to hide cords - just leave a small gap at the bottom to drop those cords through and you don't have visible holes showing the wall behind.
mnorton
Sun, 01/25/2015 - 06:55
Measurements
Hi could you please post the measurements you used to build this. I'm wanting to build as an entertainment center as well. Thanks!