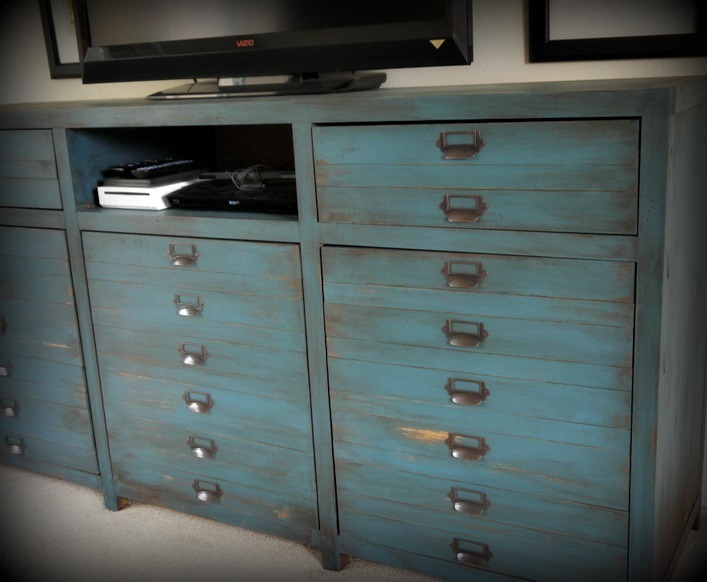
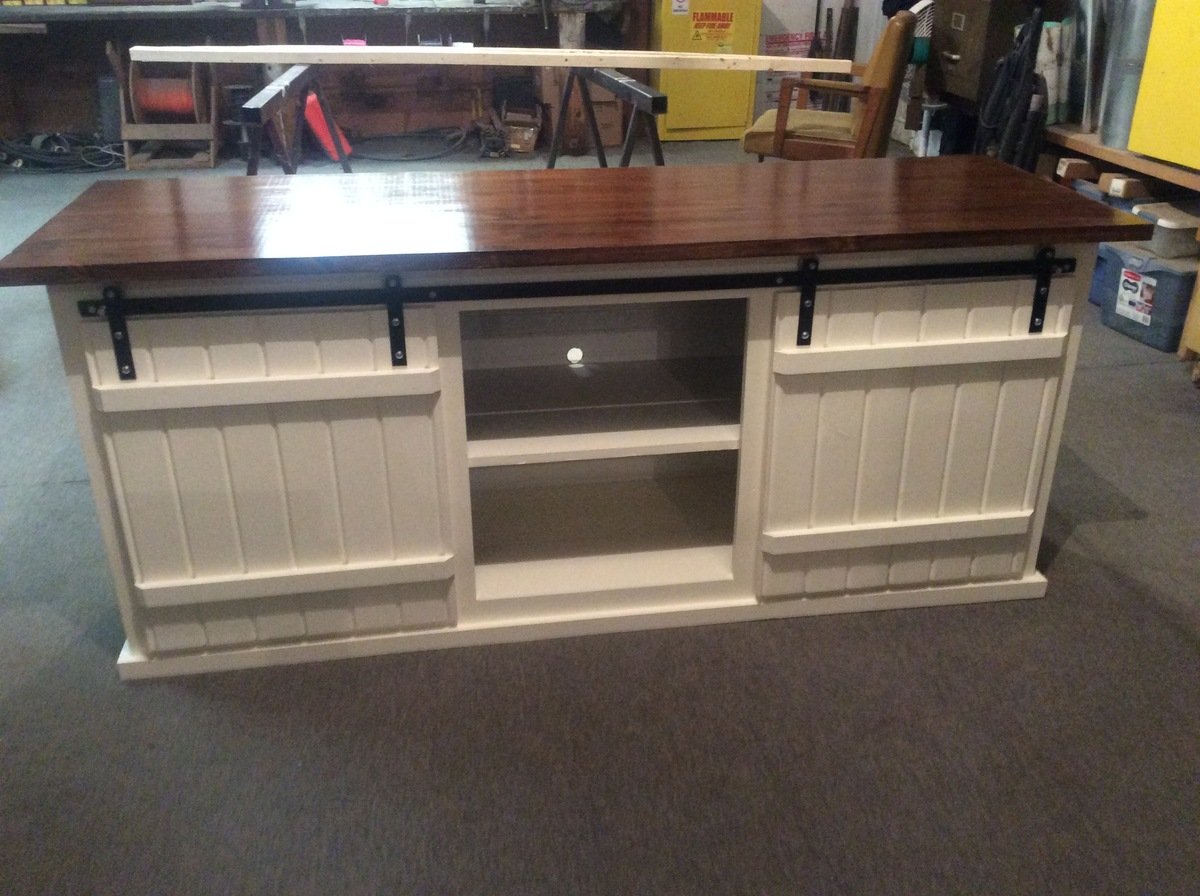
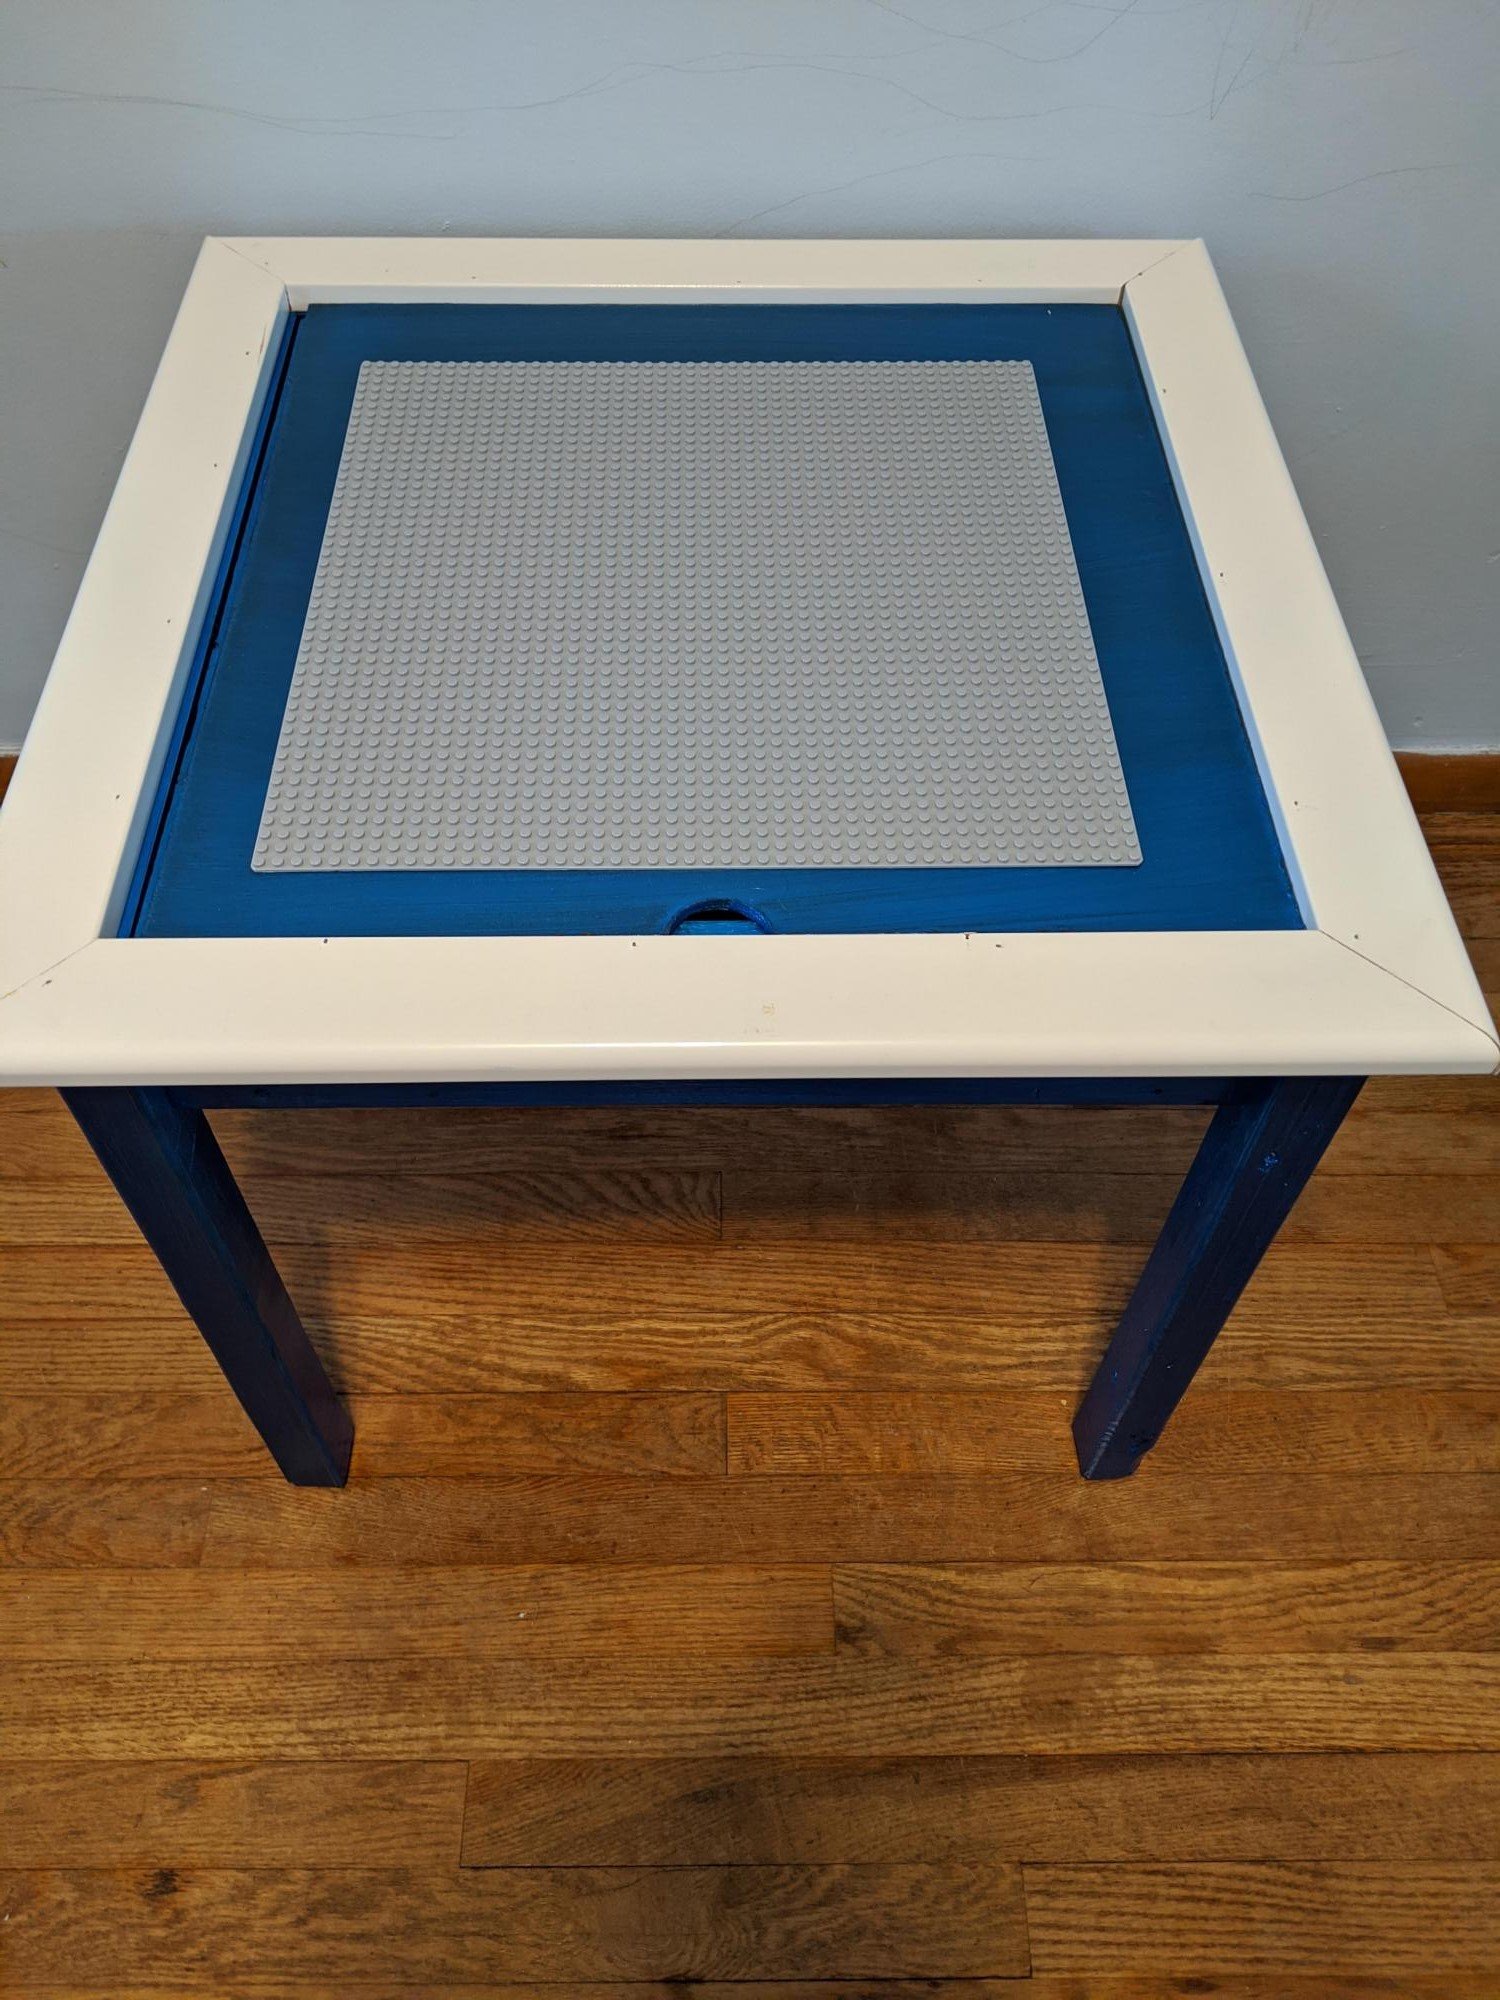
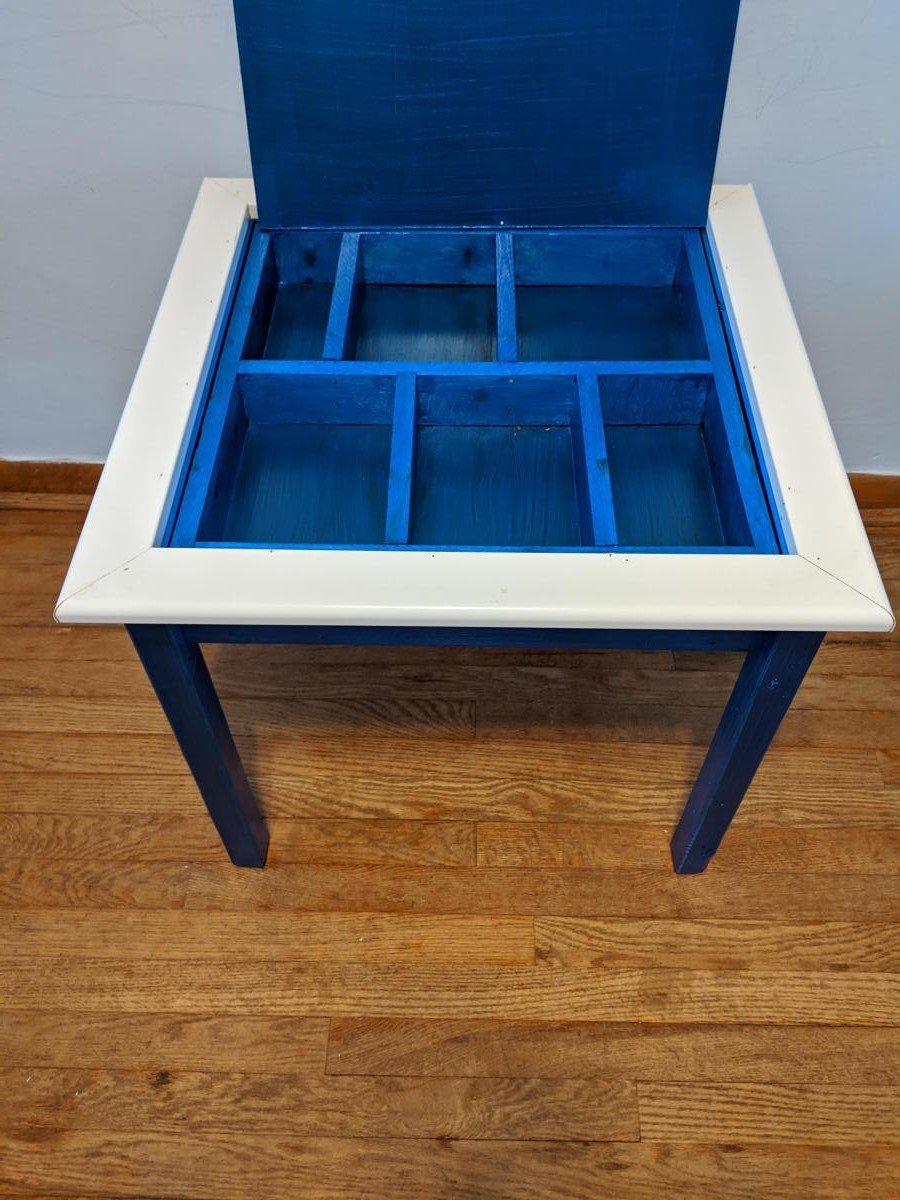
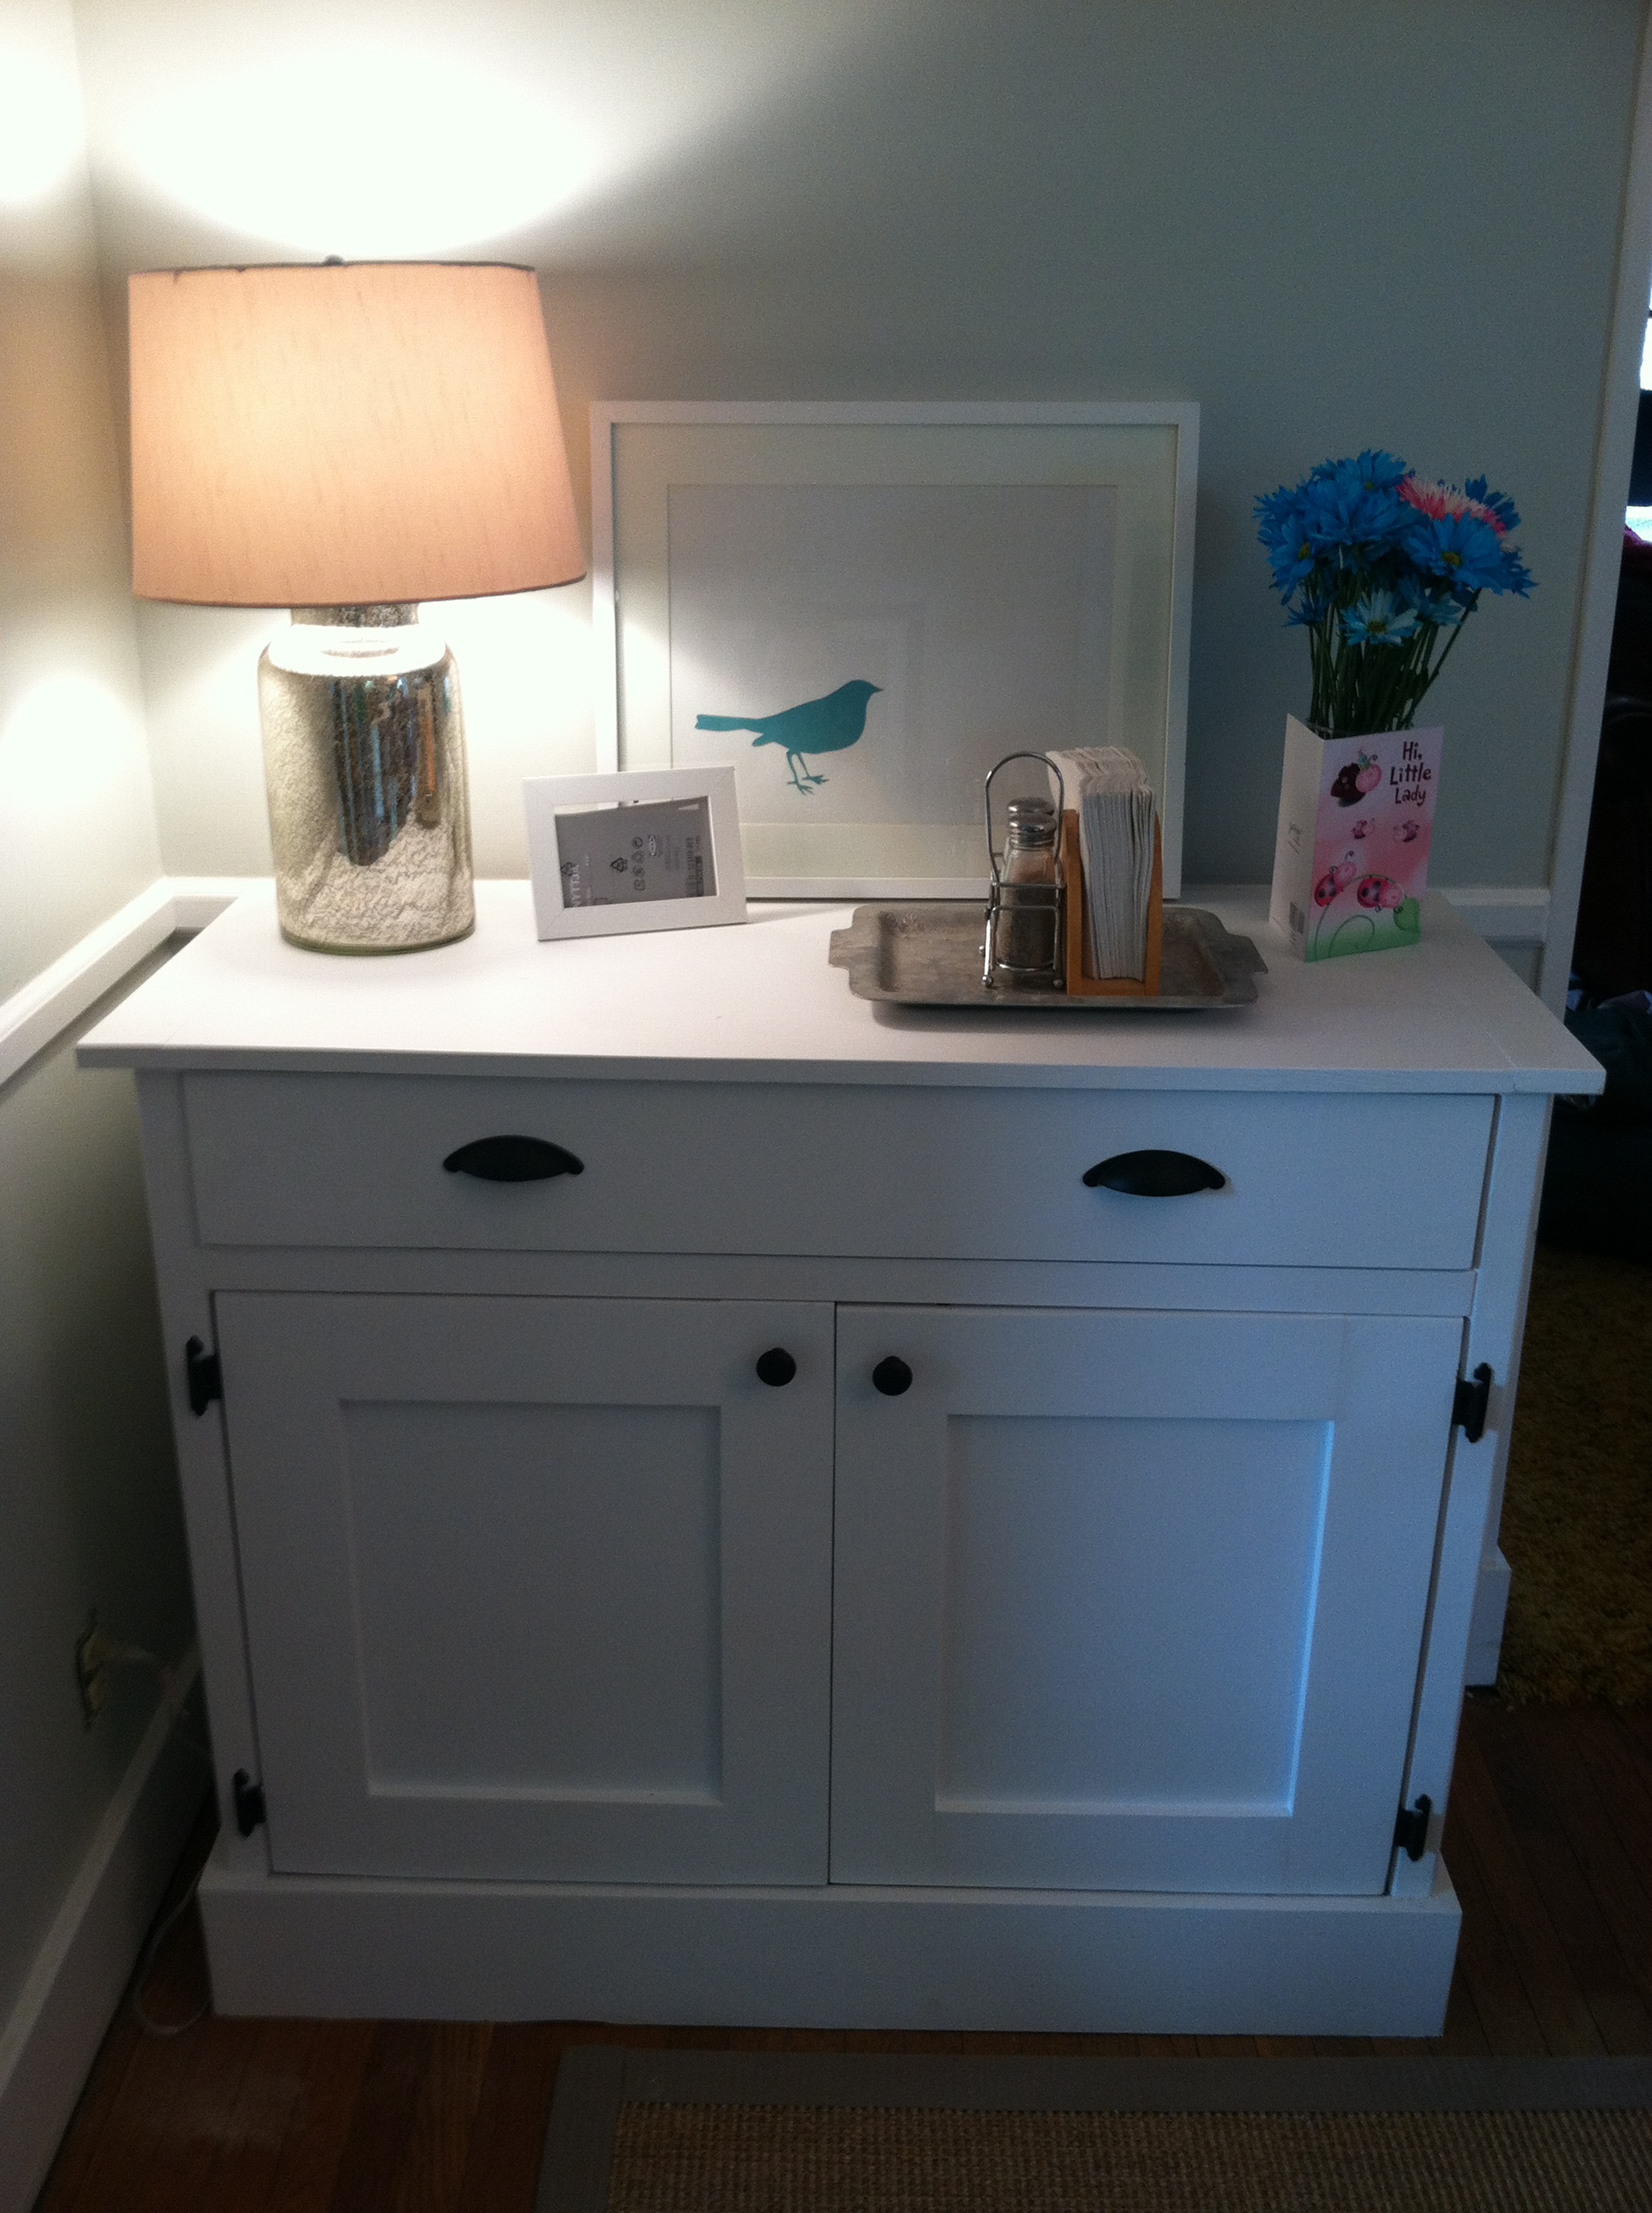
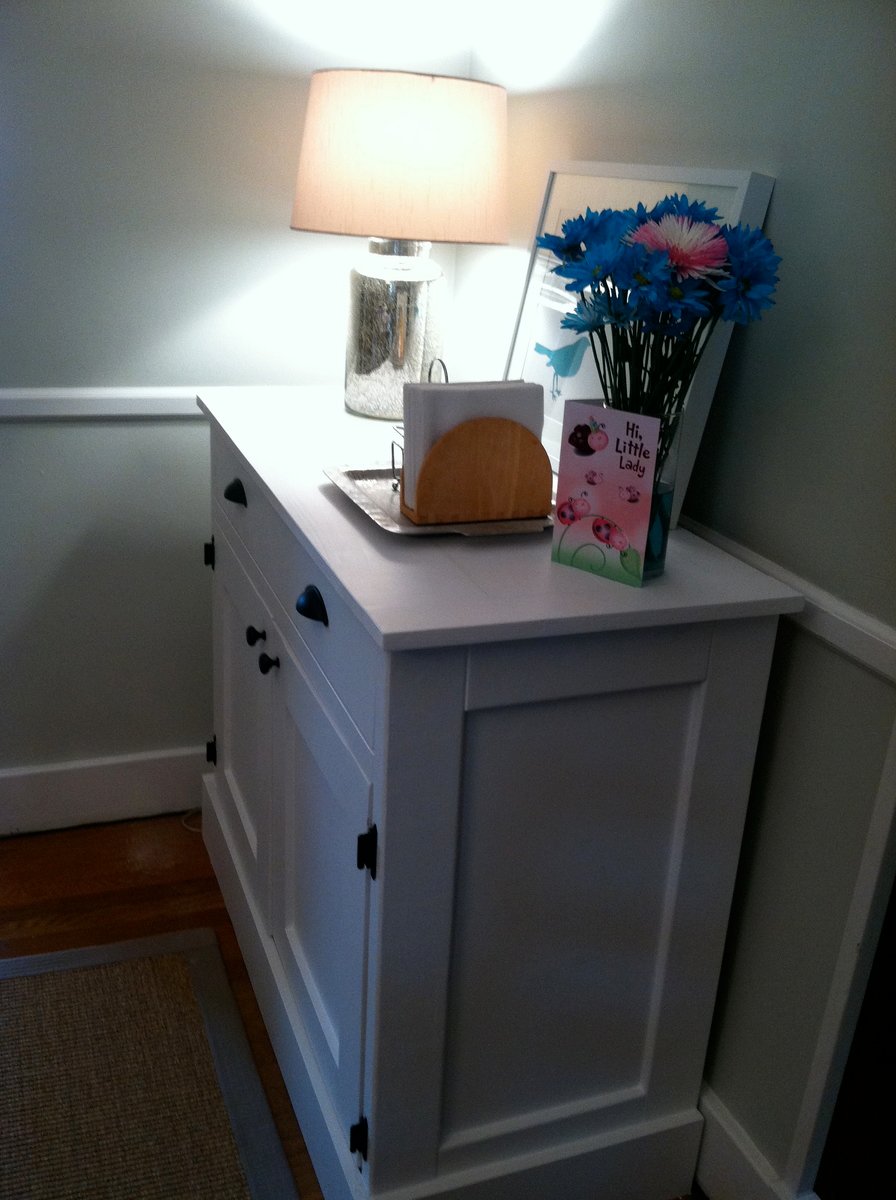
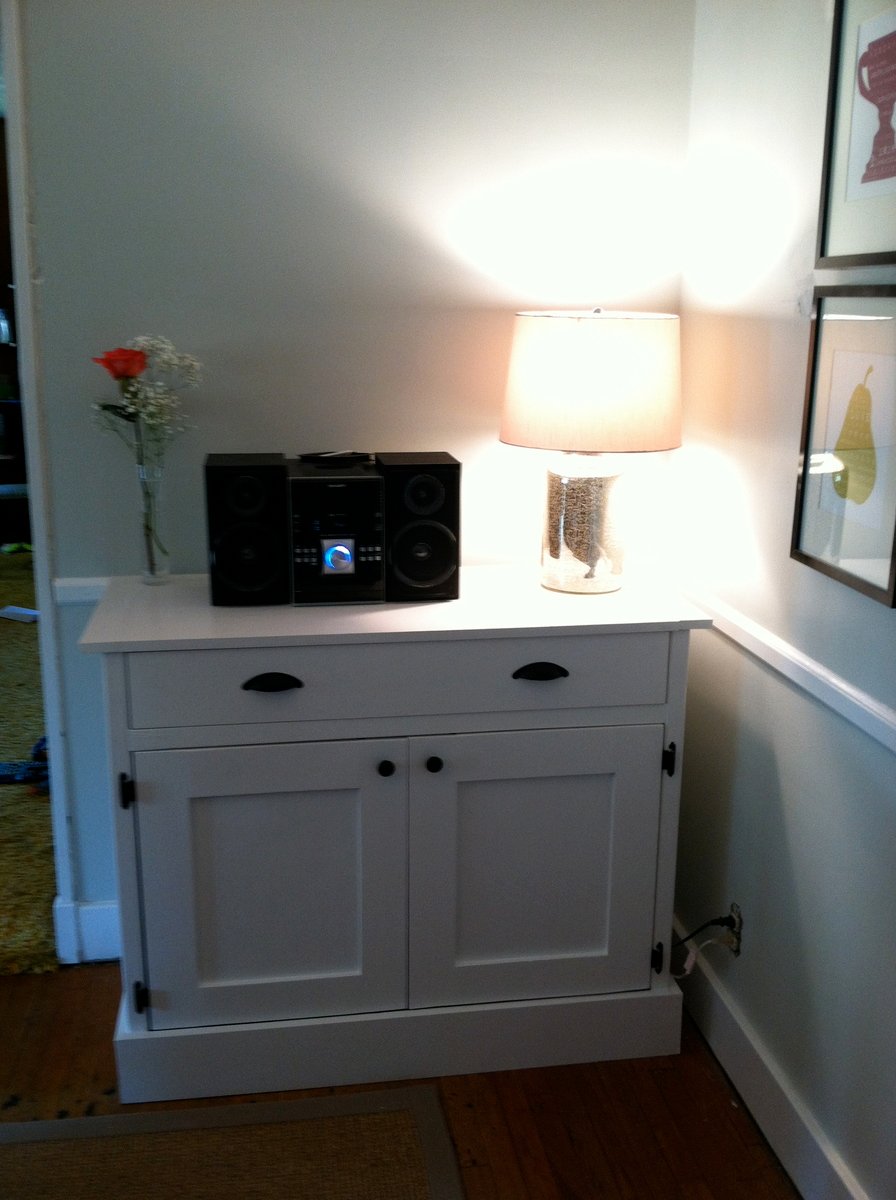
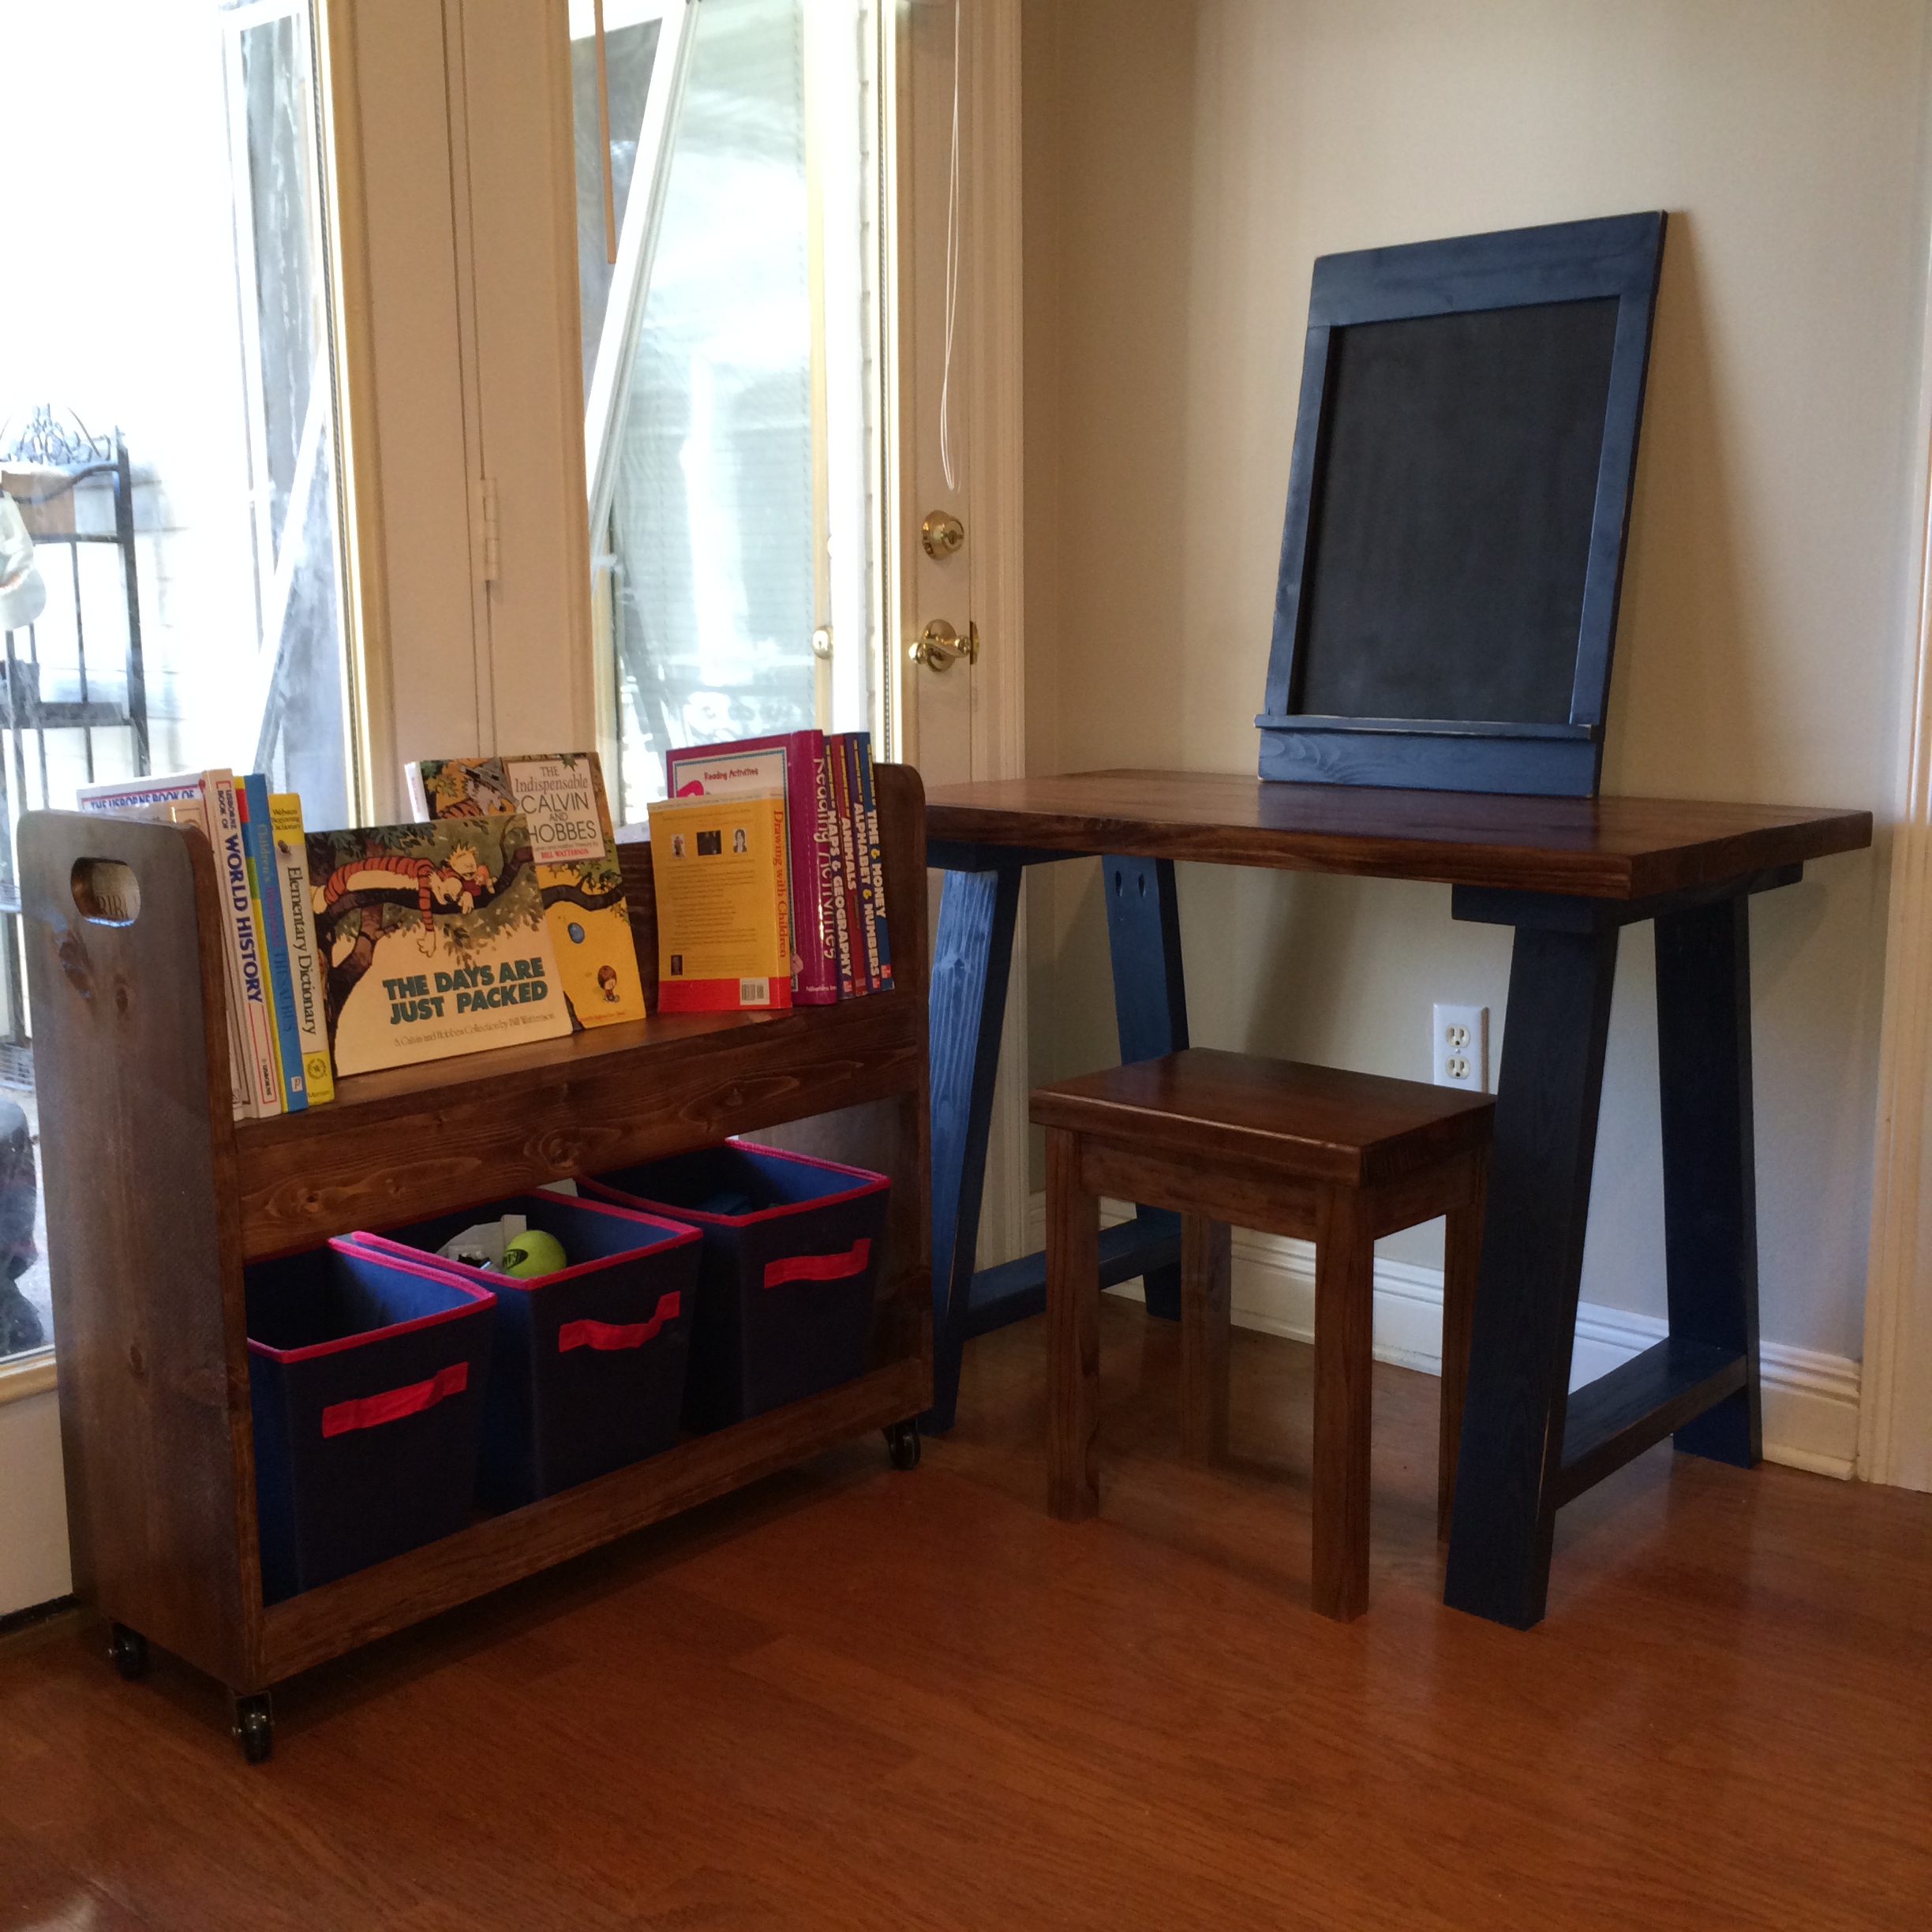
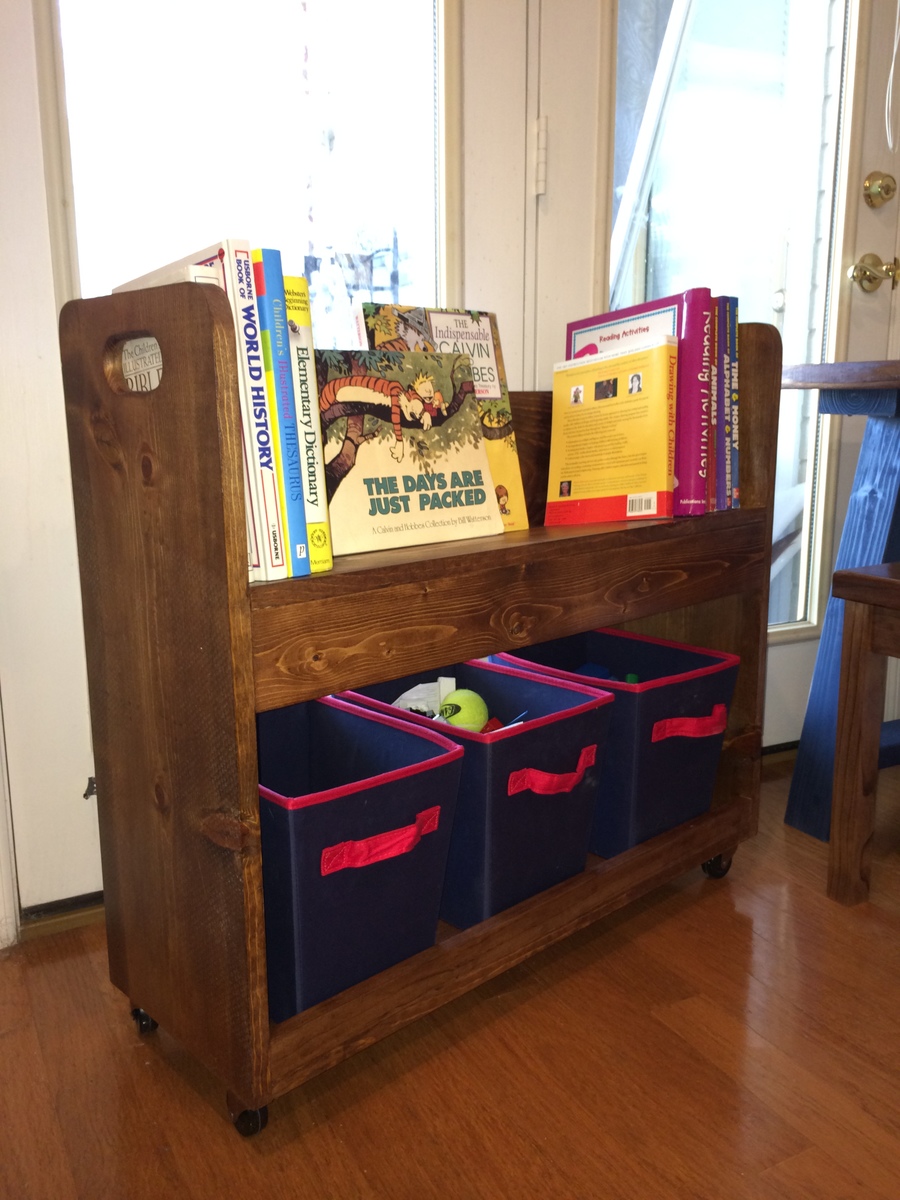
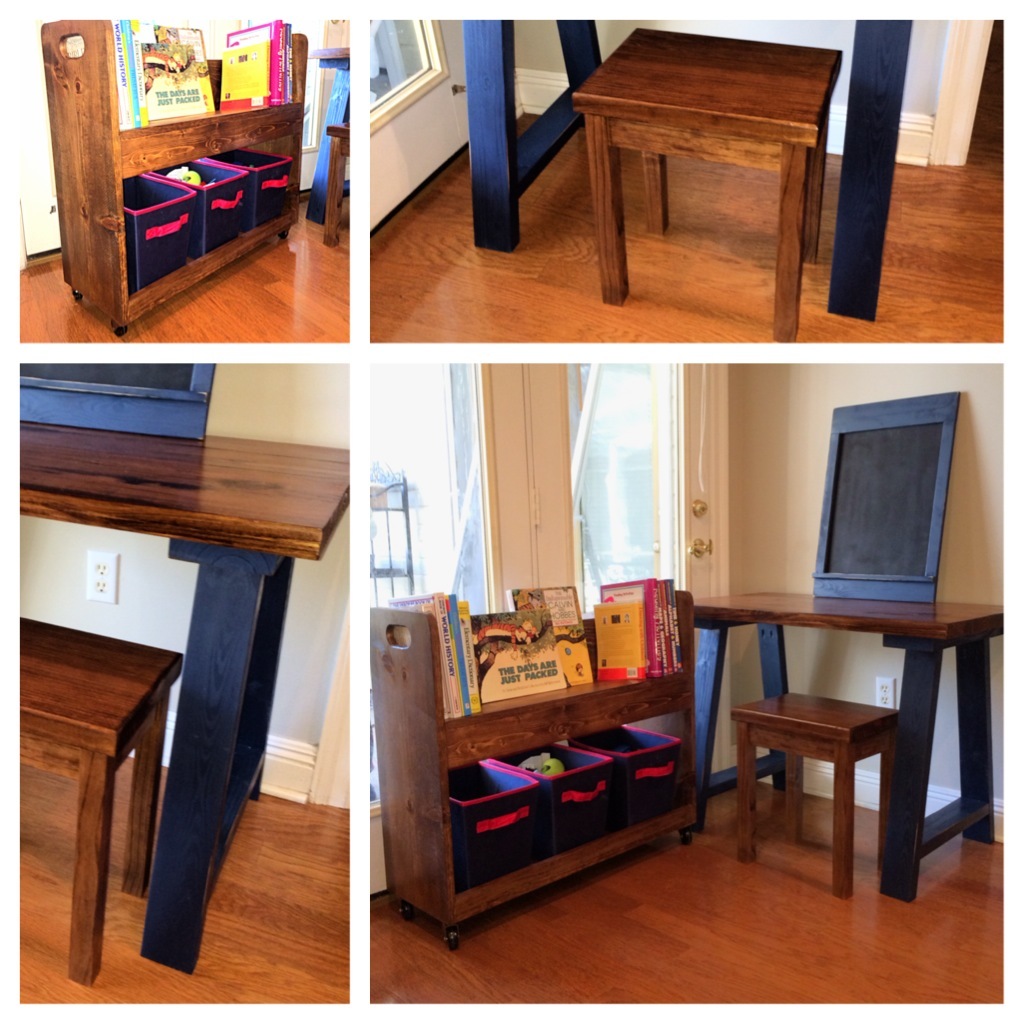
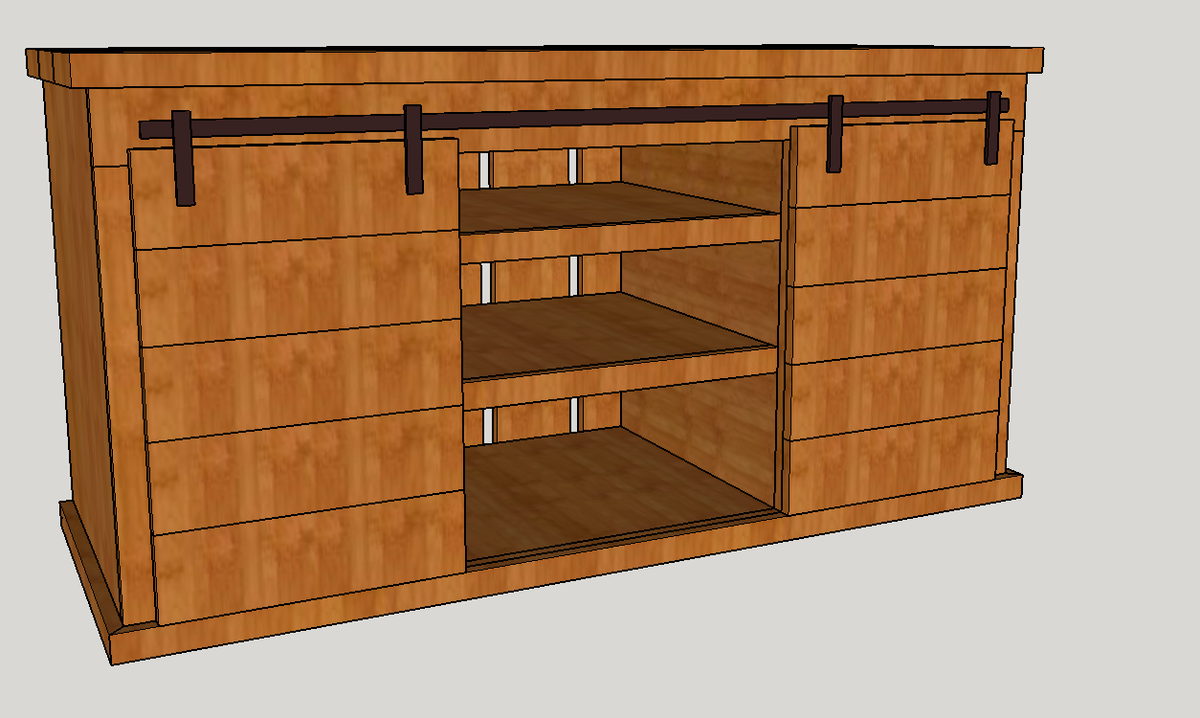
Red Hen Home's Triple Printers Console
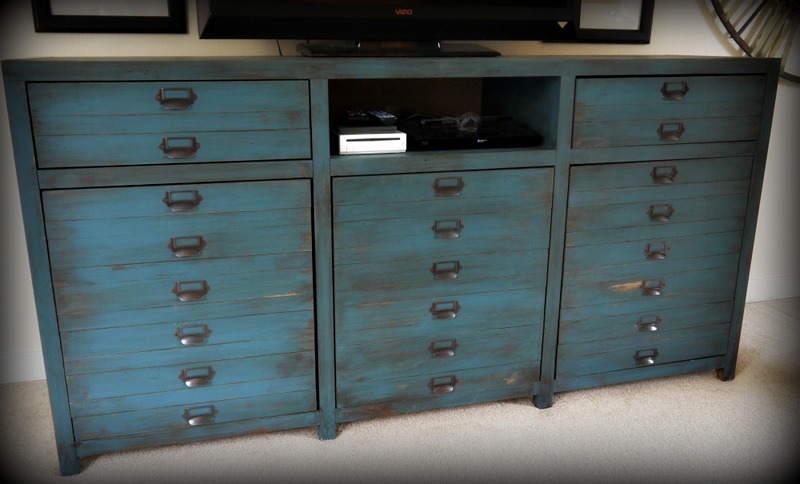
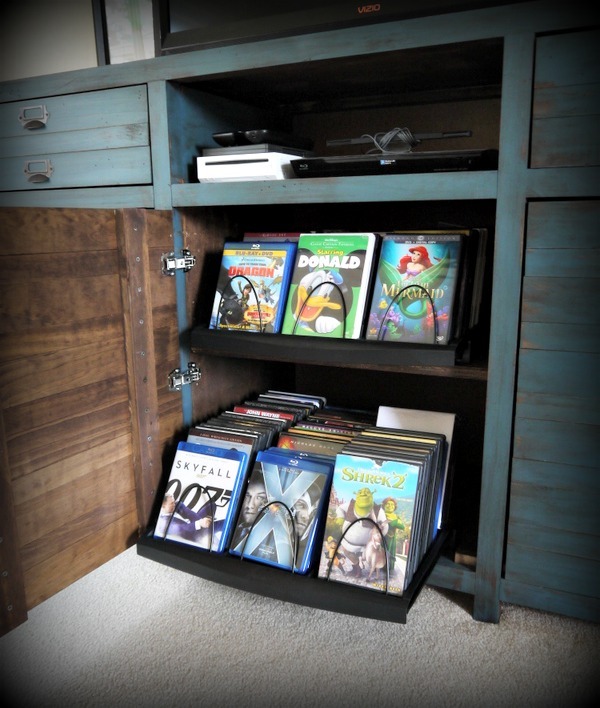
This Printers Console functions as our entertainment center! I omitted the center drawer in favor of a shelf to hold the Wii console and DVD player. I added three DVD storage racks behind the cupboard doors. More details available here: http://redhenhome.blogspot.com/2014/01/triple-printers-console-cabinet…

Built from Plan(s)
Estimated Cost
$400
Estimated Time Investment
Week Long Project (20 Hours or More)
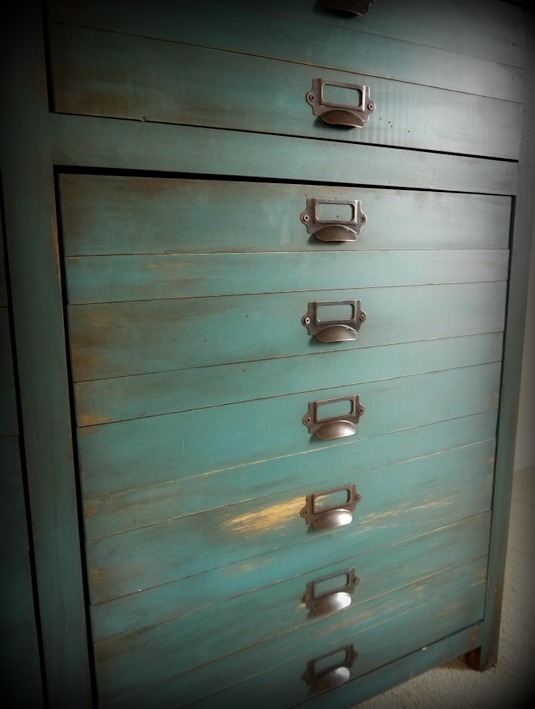
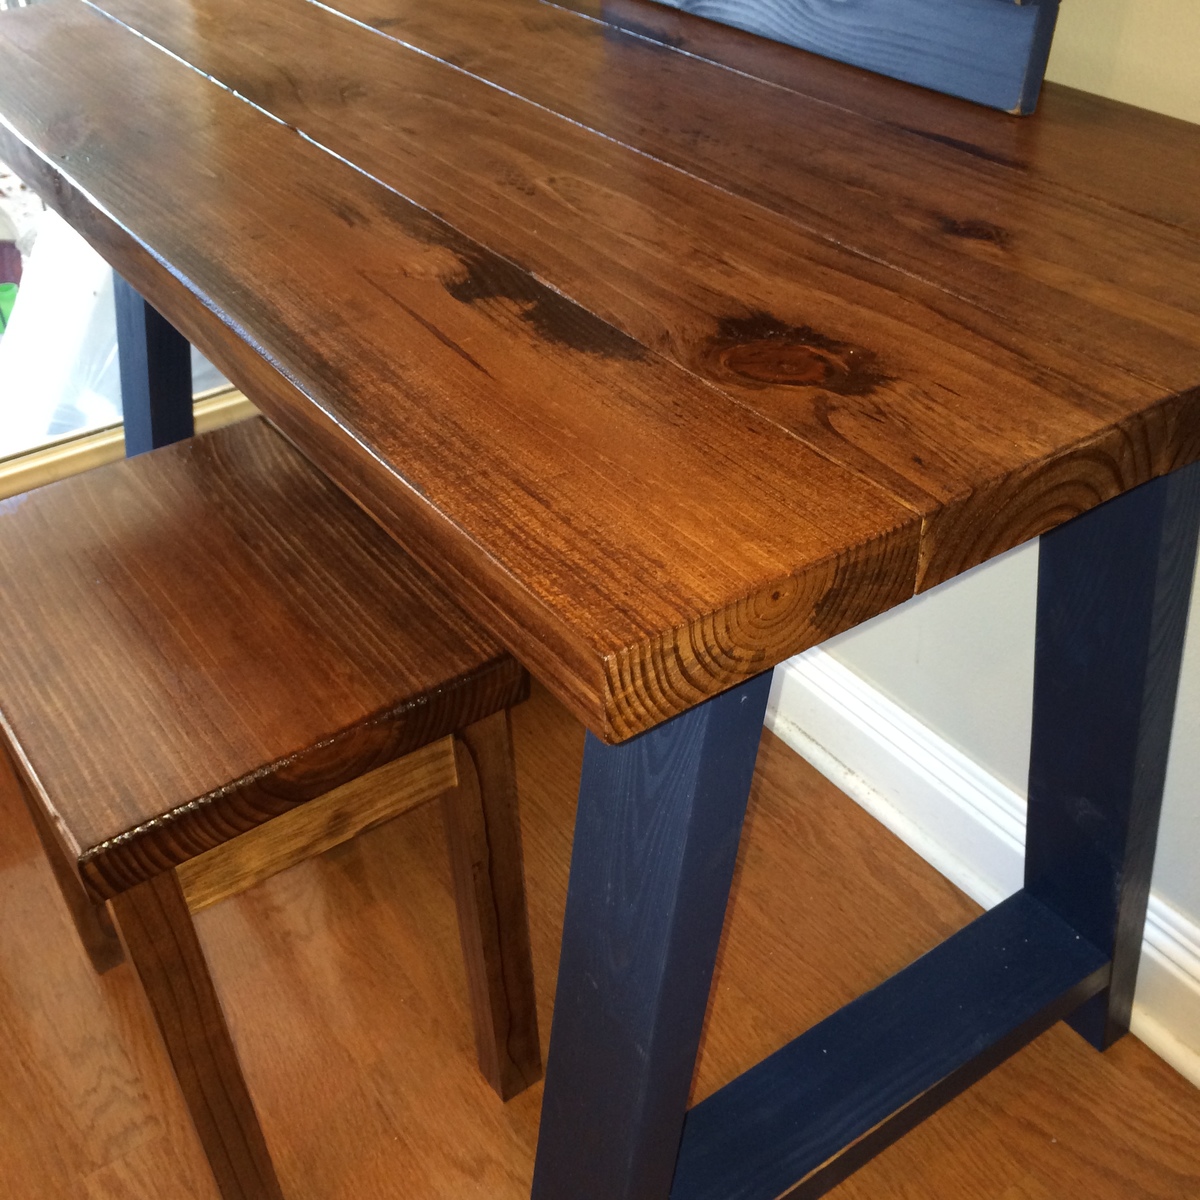
Finish Used
Rustoleum American Walnut Stain, DIY chalk paint with Valspar Perfect Storm paint. MMS waxes.
Recommended Skill Level
Intermediate


Comments
bullitt453
Tue, 01/28/2014 - 05:56
Beautiful Finish
Love the finish that you used on this. I've been wanting to give chalk paint a try. May have to do that on my next project.
Pam the Goatherd
Tue, 01/28/2014 - 08:03
Gorgeous! This project is on
Gorgeous! This project is on my to-do list but I've got a couple other things that must be done first. And I can't do anything until our weather warms up into positive numbers since my workshop isn't heated or insulated. I hope mine turns out looking as good as yours does.
Ana White
Tue, 01/28/2014 - 13:57
WOW!
Impressive! Love the finish, thanks for sharing!