Christmas tree shelf
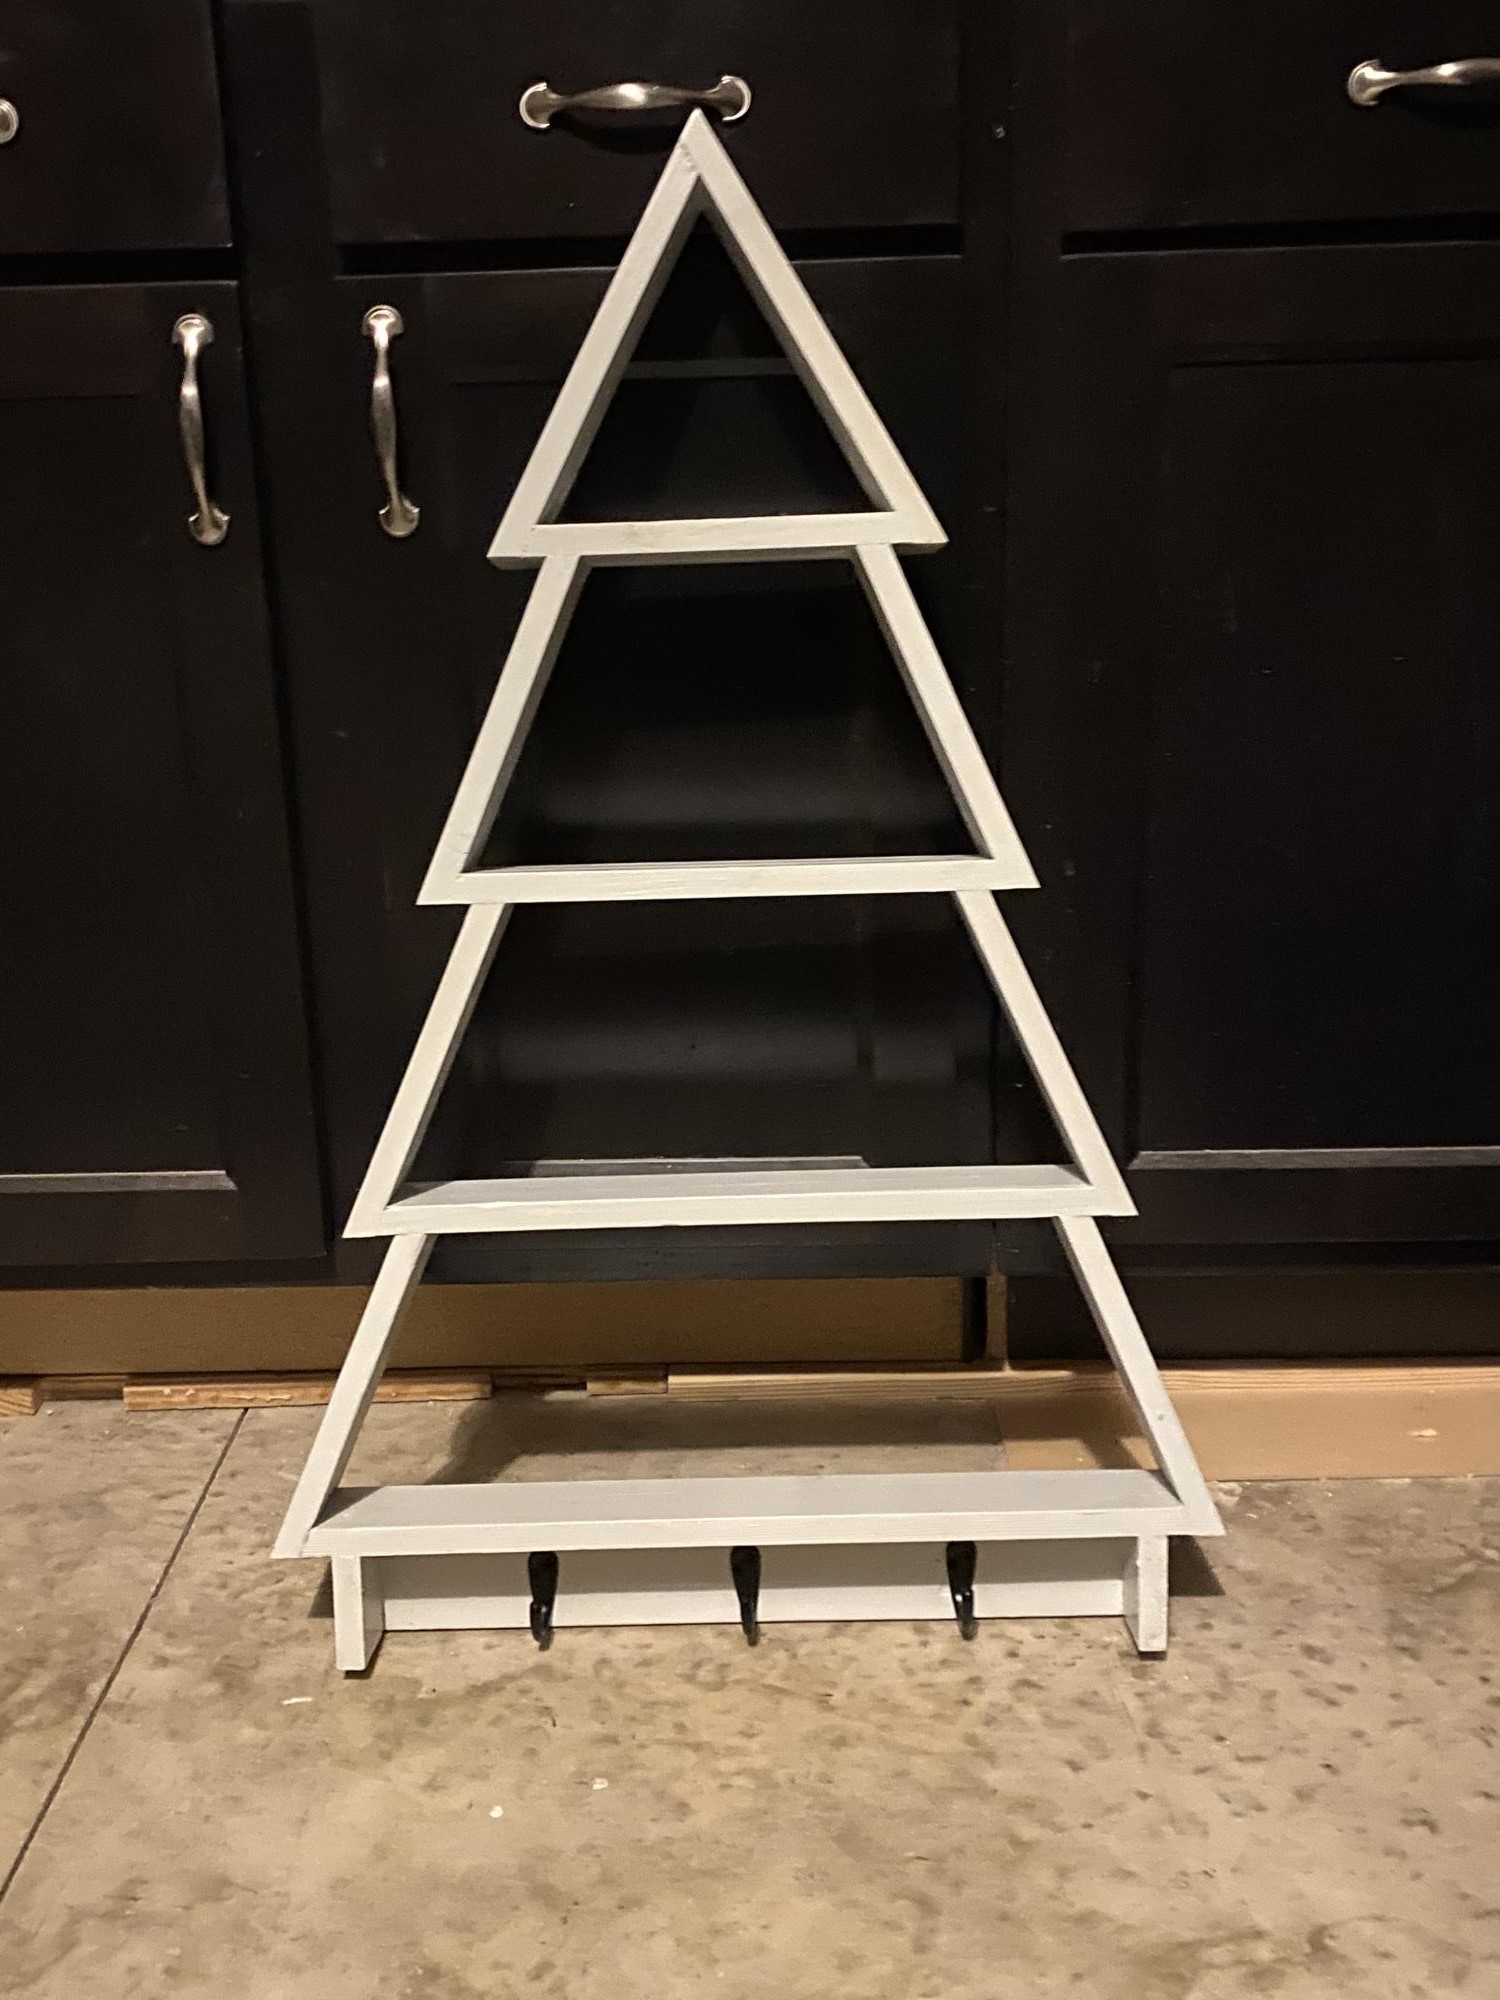
I love the Christmas tree shelf! It was so easy and fun to make!
Built from Plan(s)
I love the Christmas tree shelf! It was so easy and fun to make!
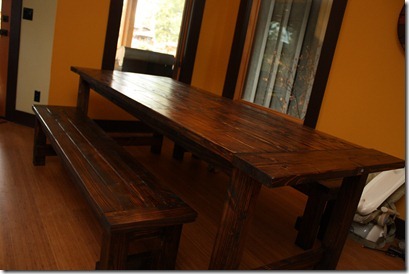
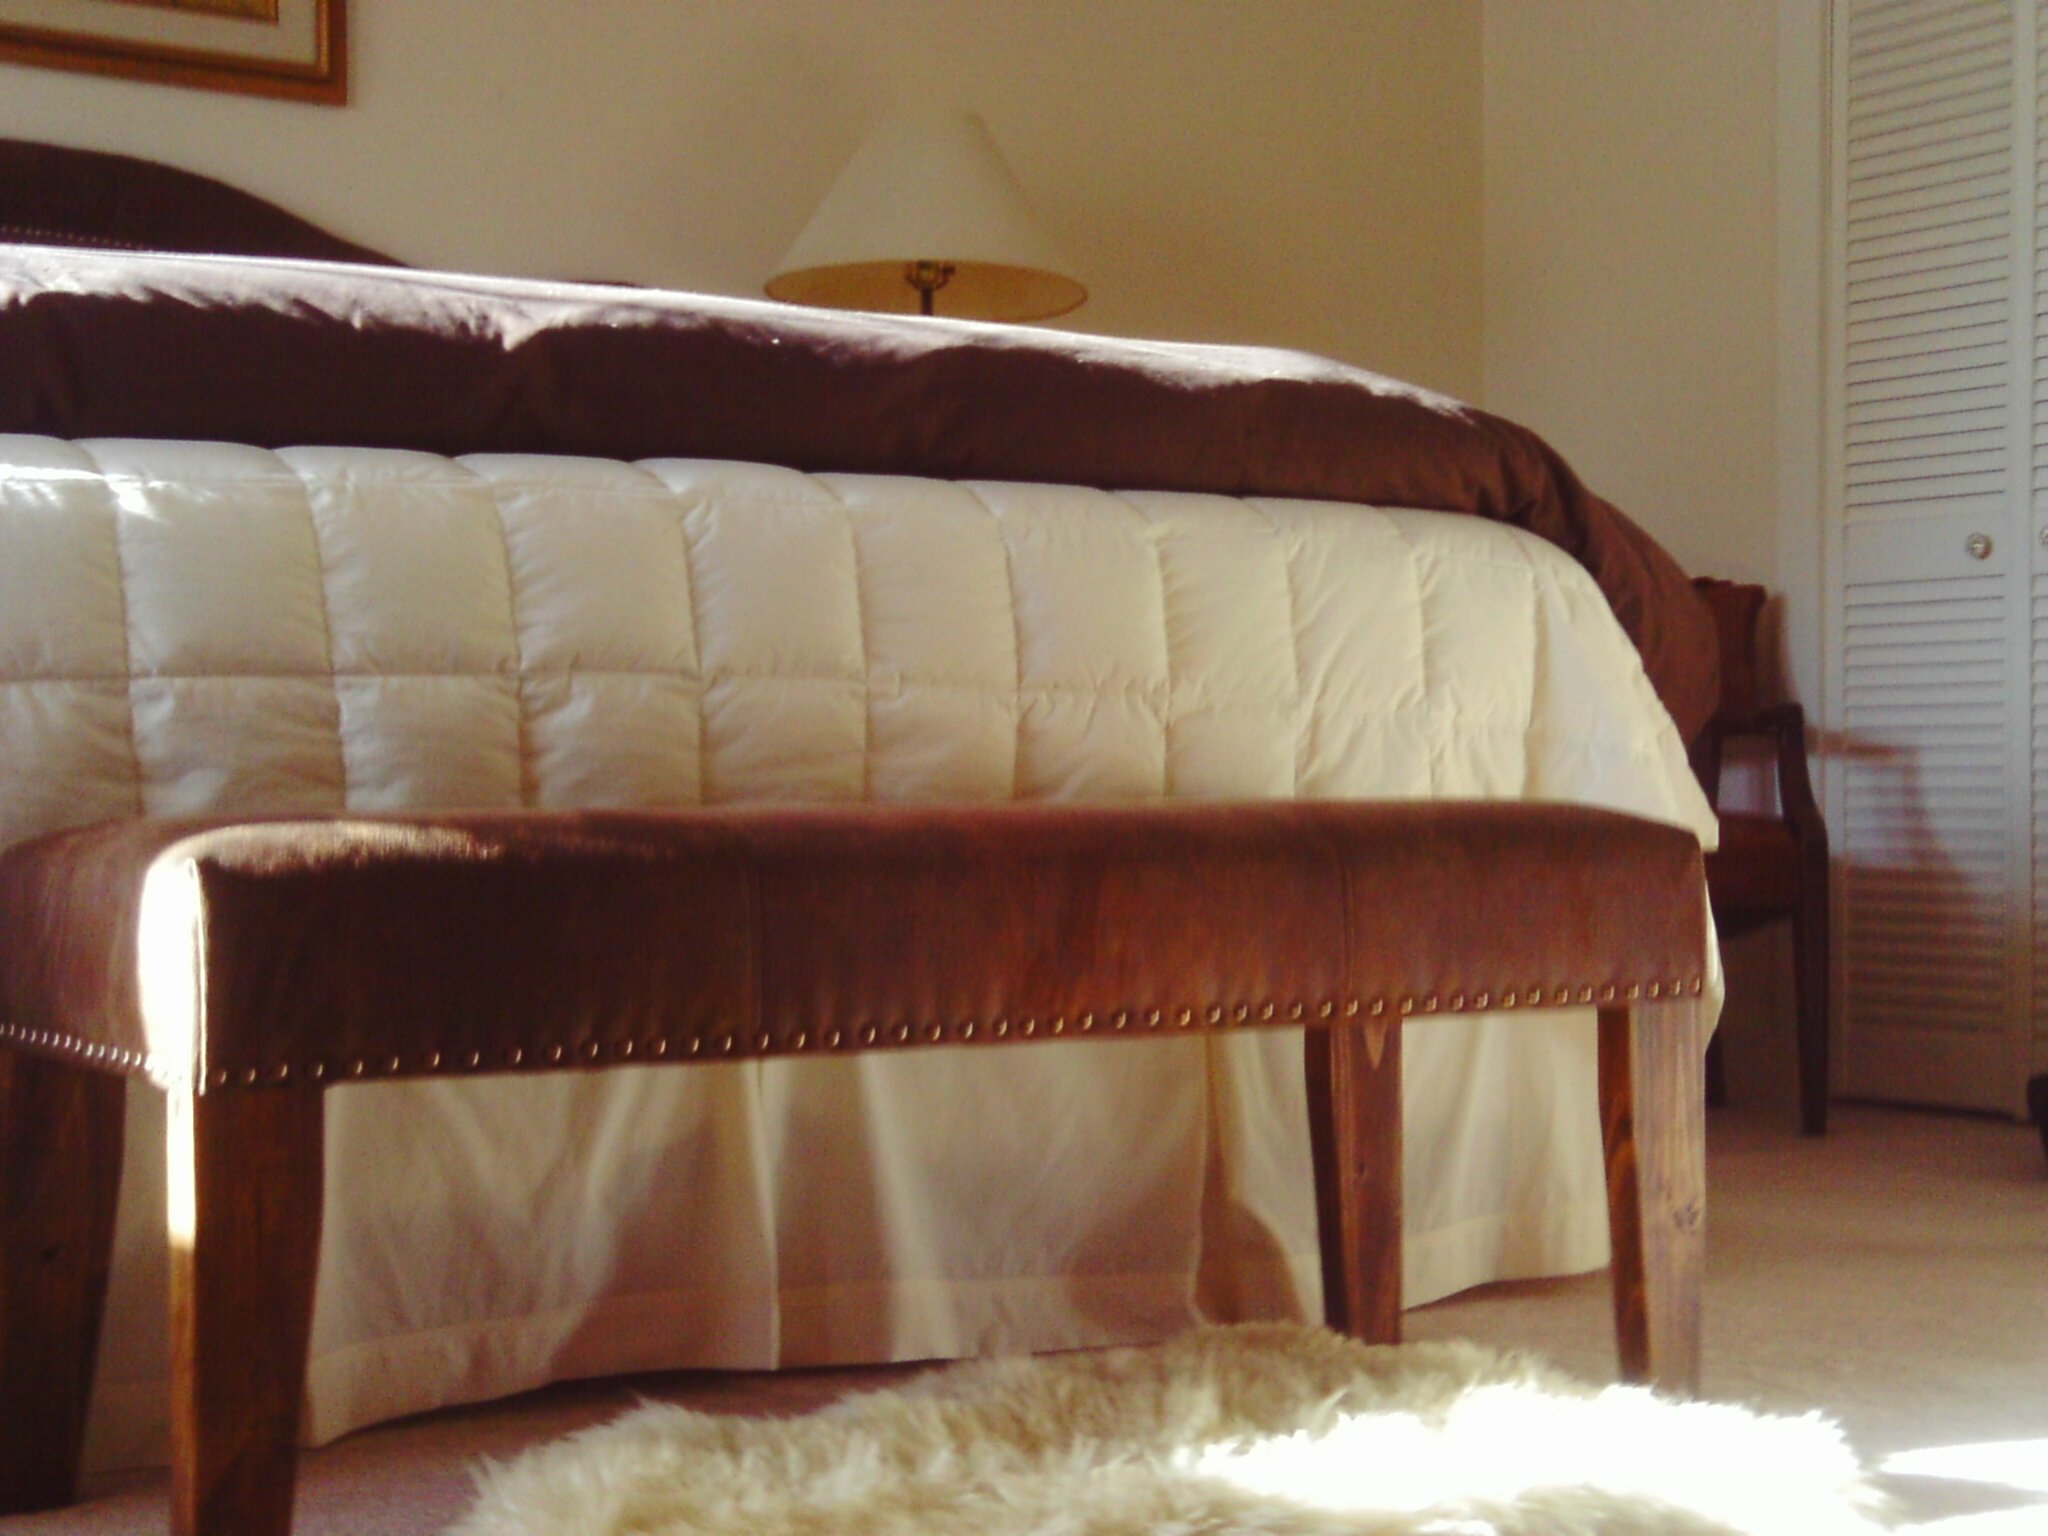
Took a couple of weekends to complete table and benches. As a sidenote, Orange was definitely the least expensive between the 2 box stores. They also had a much better selection of inexpensive wood. We made the table and benches for the same price we made our reclaimed wood king headboard (supplies purchased at blue).
A word to the wise: DO NOT CUT THE END, PERPENDICULAR PIECES OF WOOD FOR THE TOP UNTIL THE LONG, 2X4S ARE ATTACHED. Just cut it to fit at home. We found the cut list is a little off in that regard and had to get a little creative so we wouldn't have massive 2x4 overhang,as the 1x6 cut was too short for us. We just cut to fit when building the benches and found it was much easier!
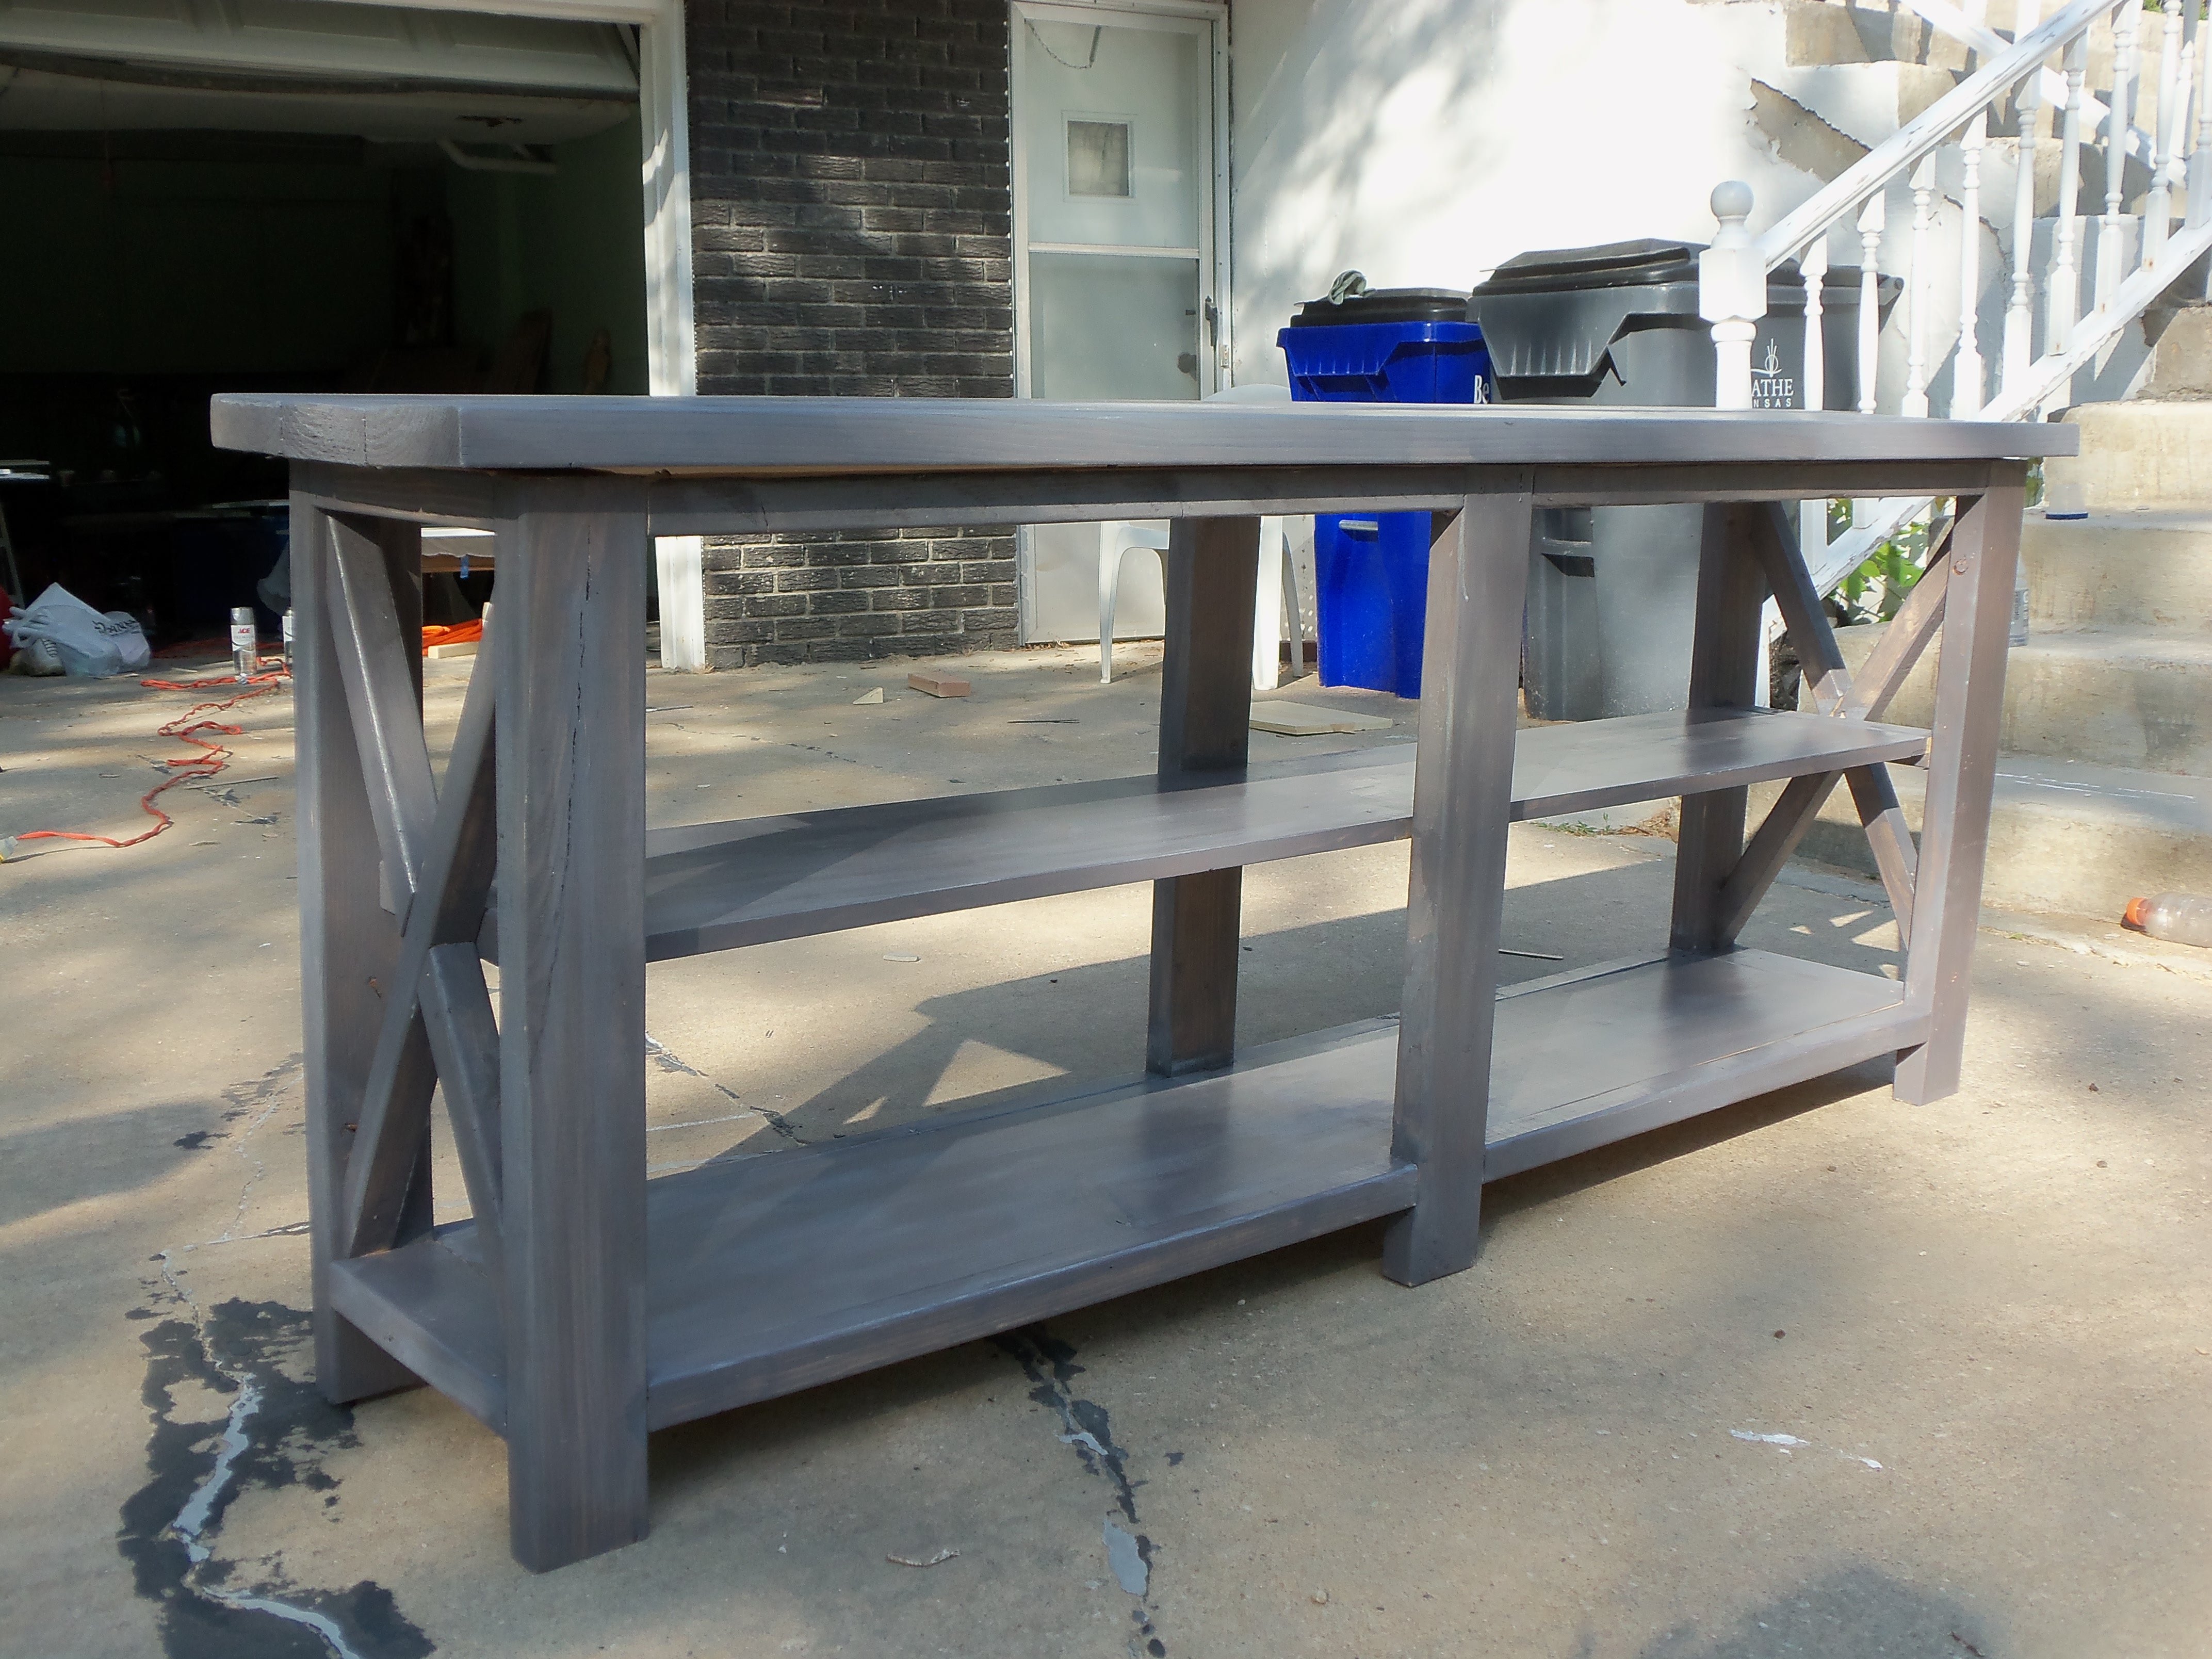
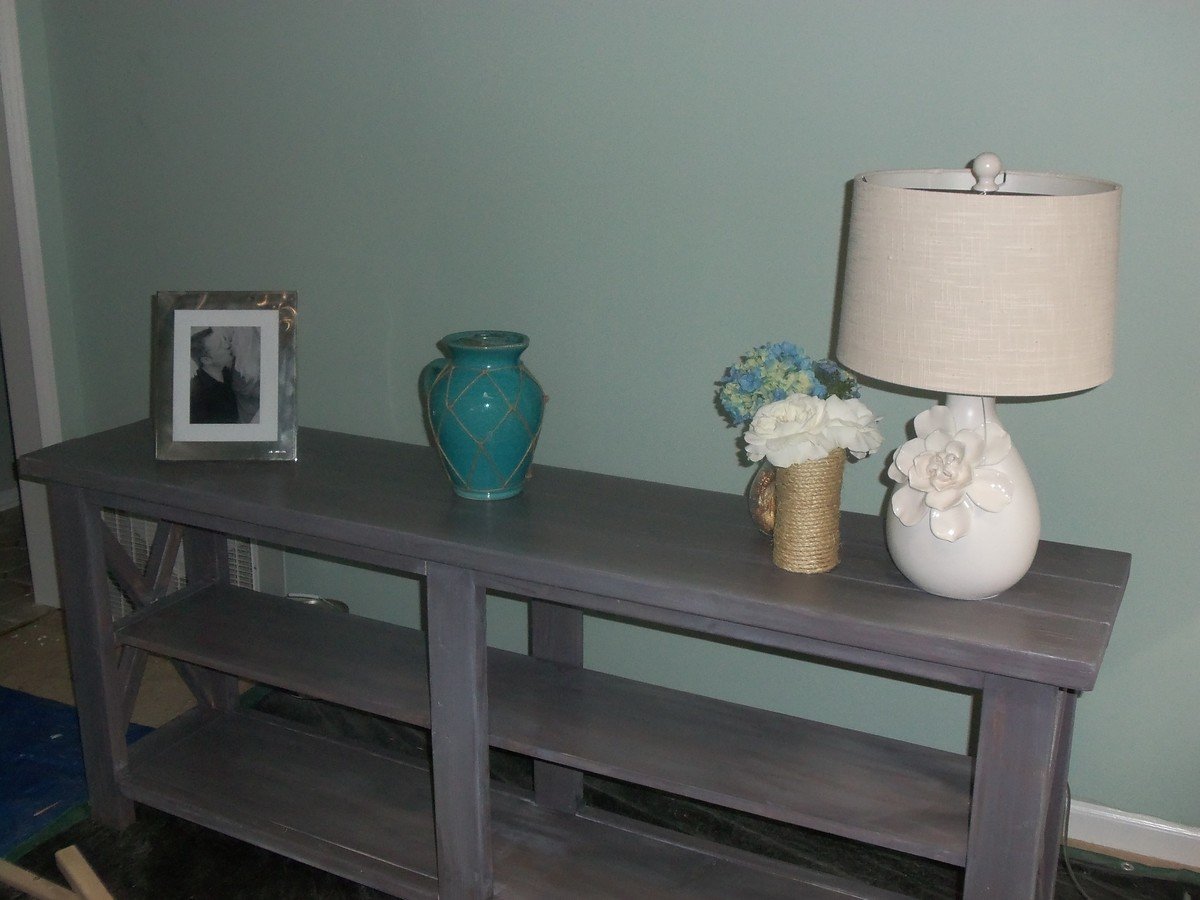
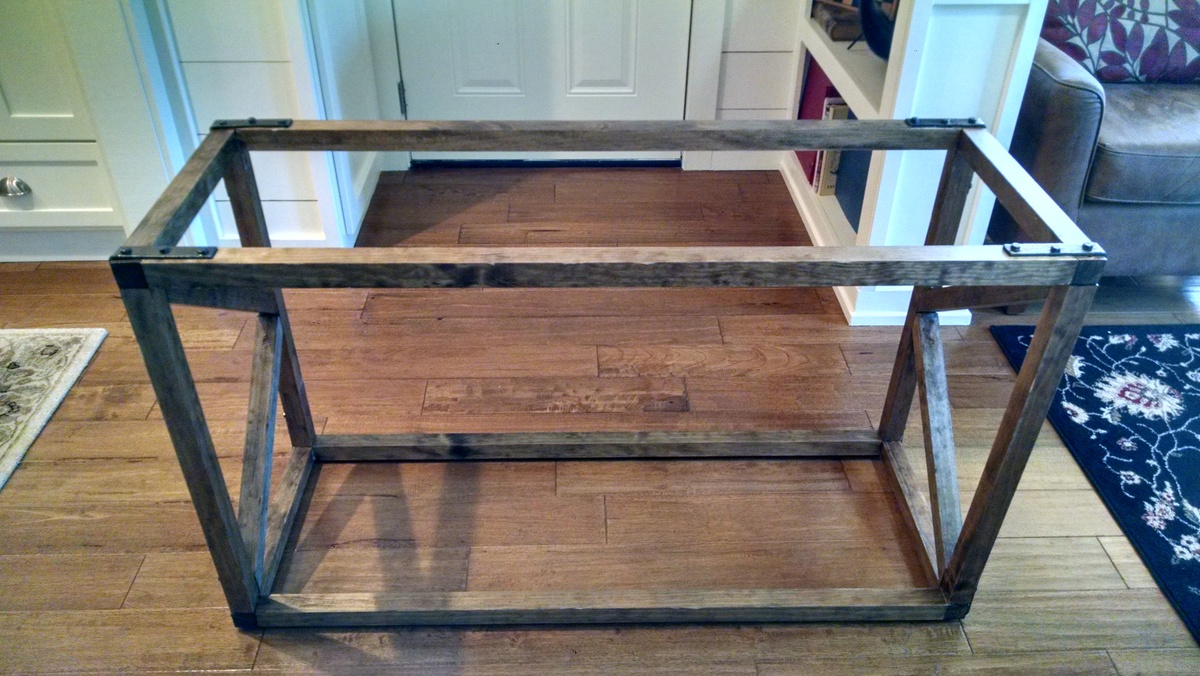
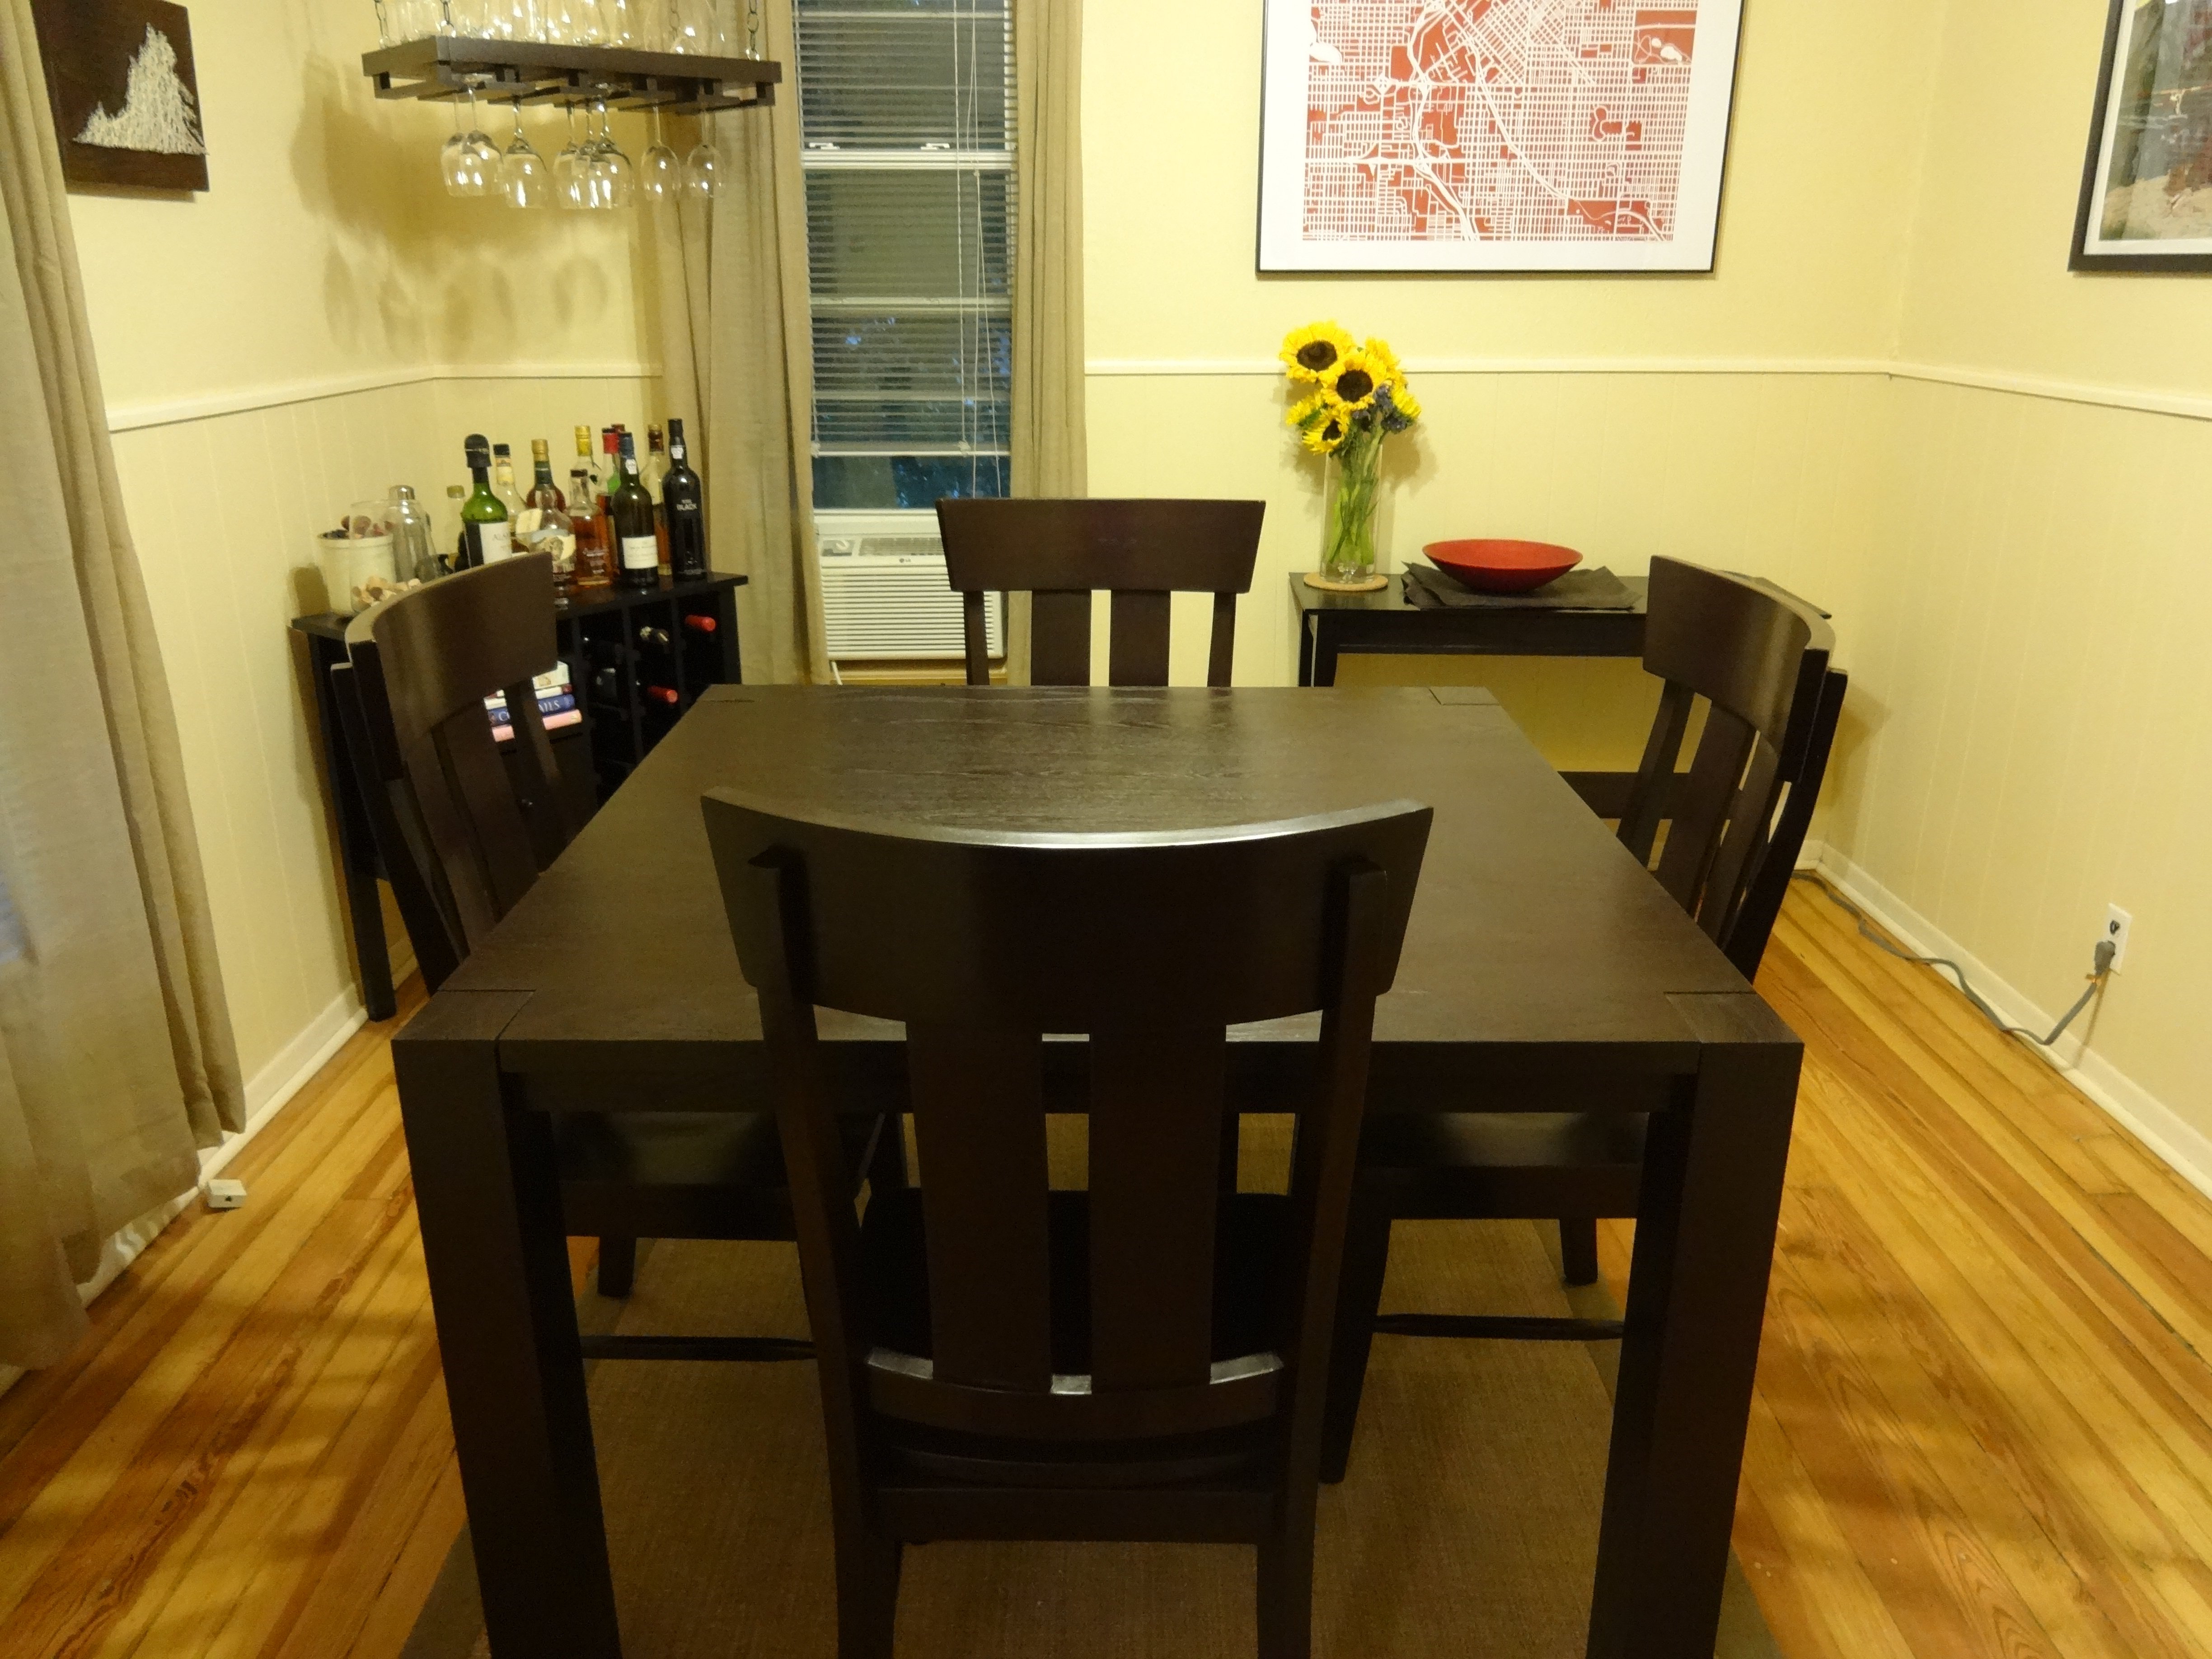
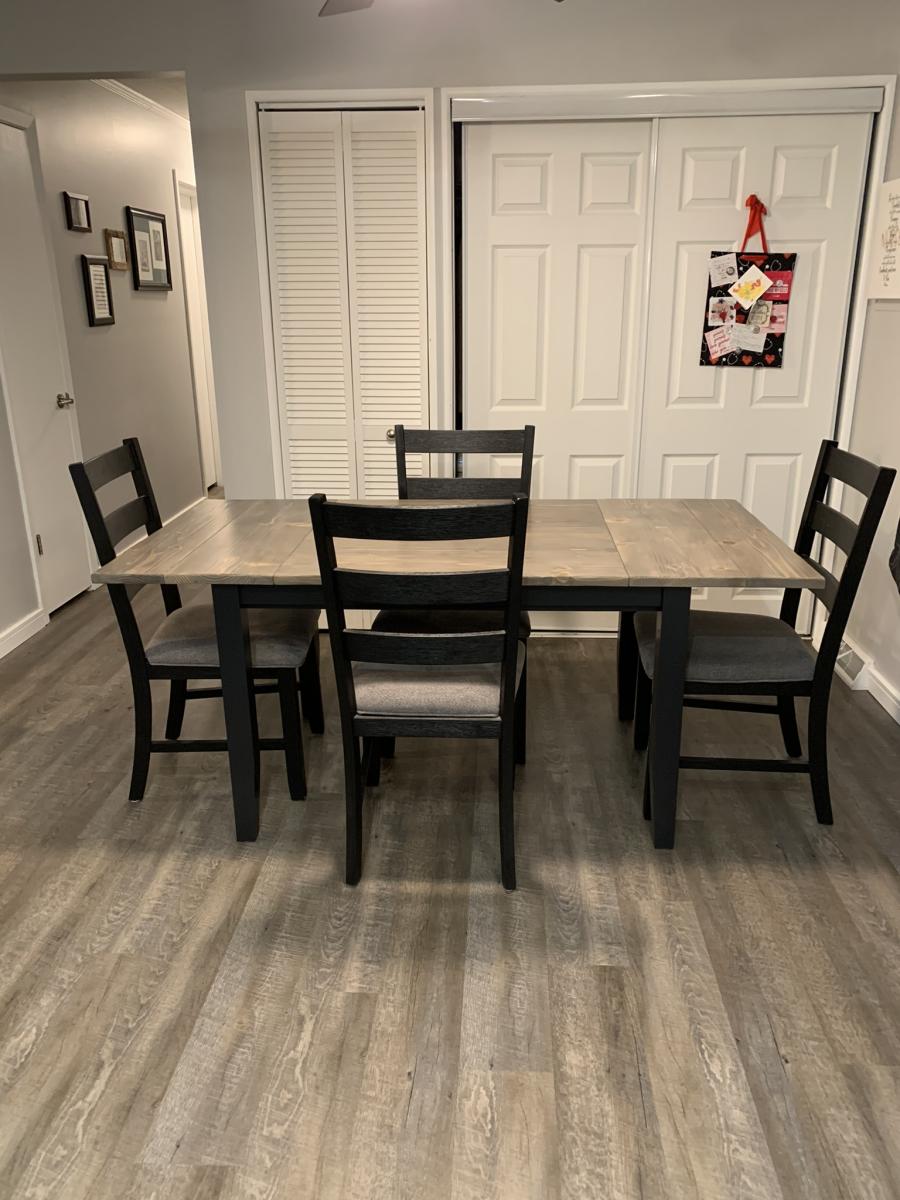
We followed the plans for this table that will sit behind our sofa in the main room. We've never really built furniture before, but this wasn't too difficult to make and I love how it looks. Plus it's super heavy and sturdy, so it will be perfect to store items and decor for the main room.
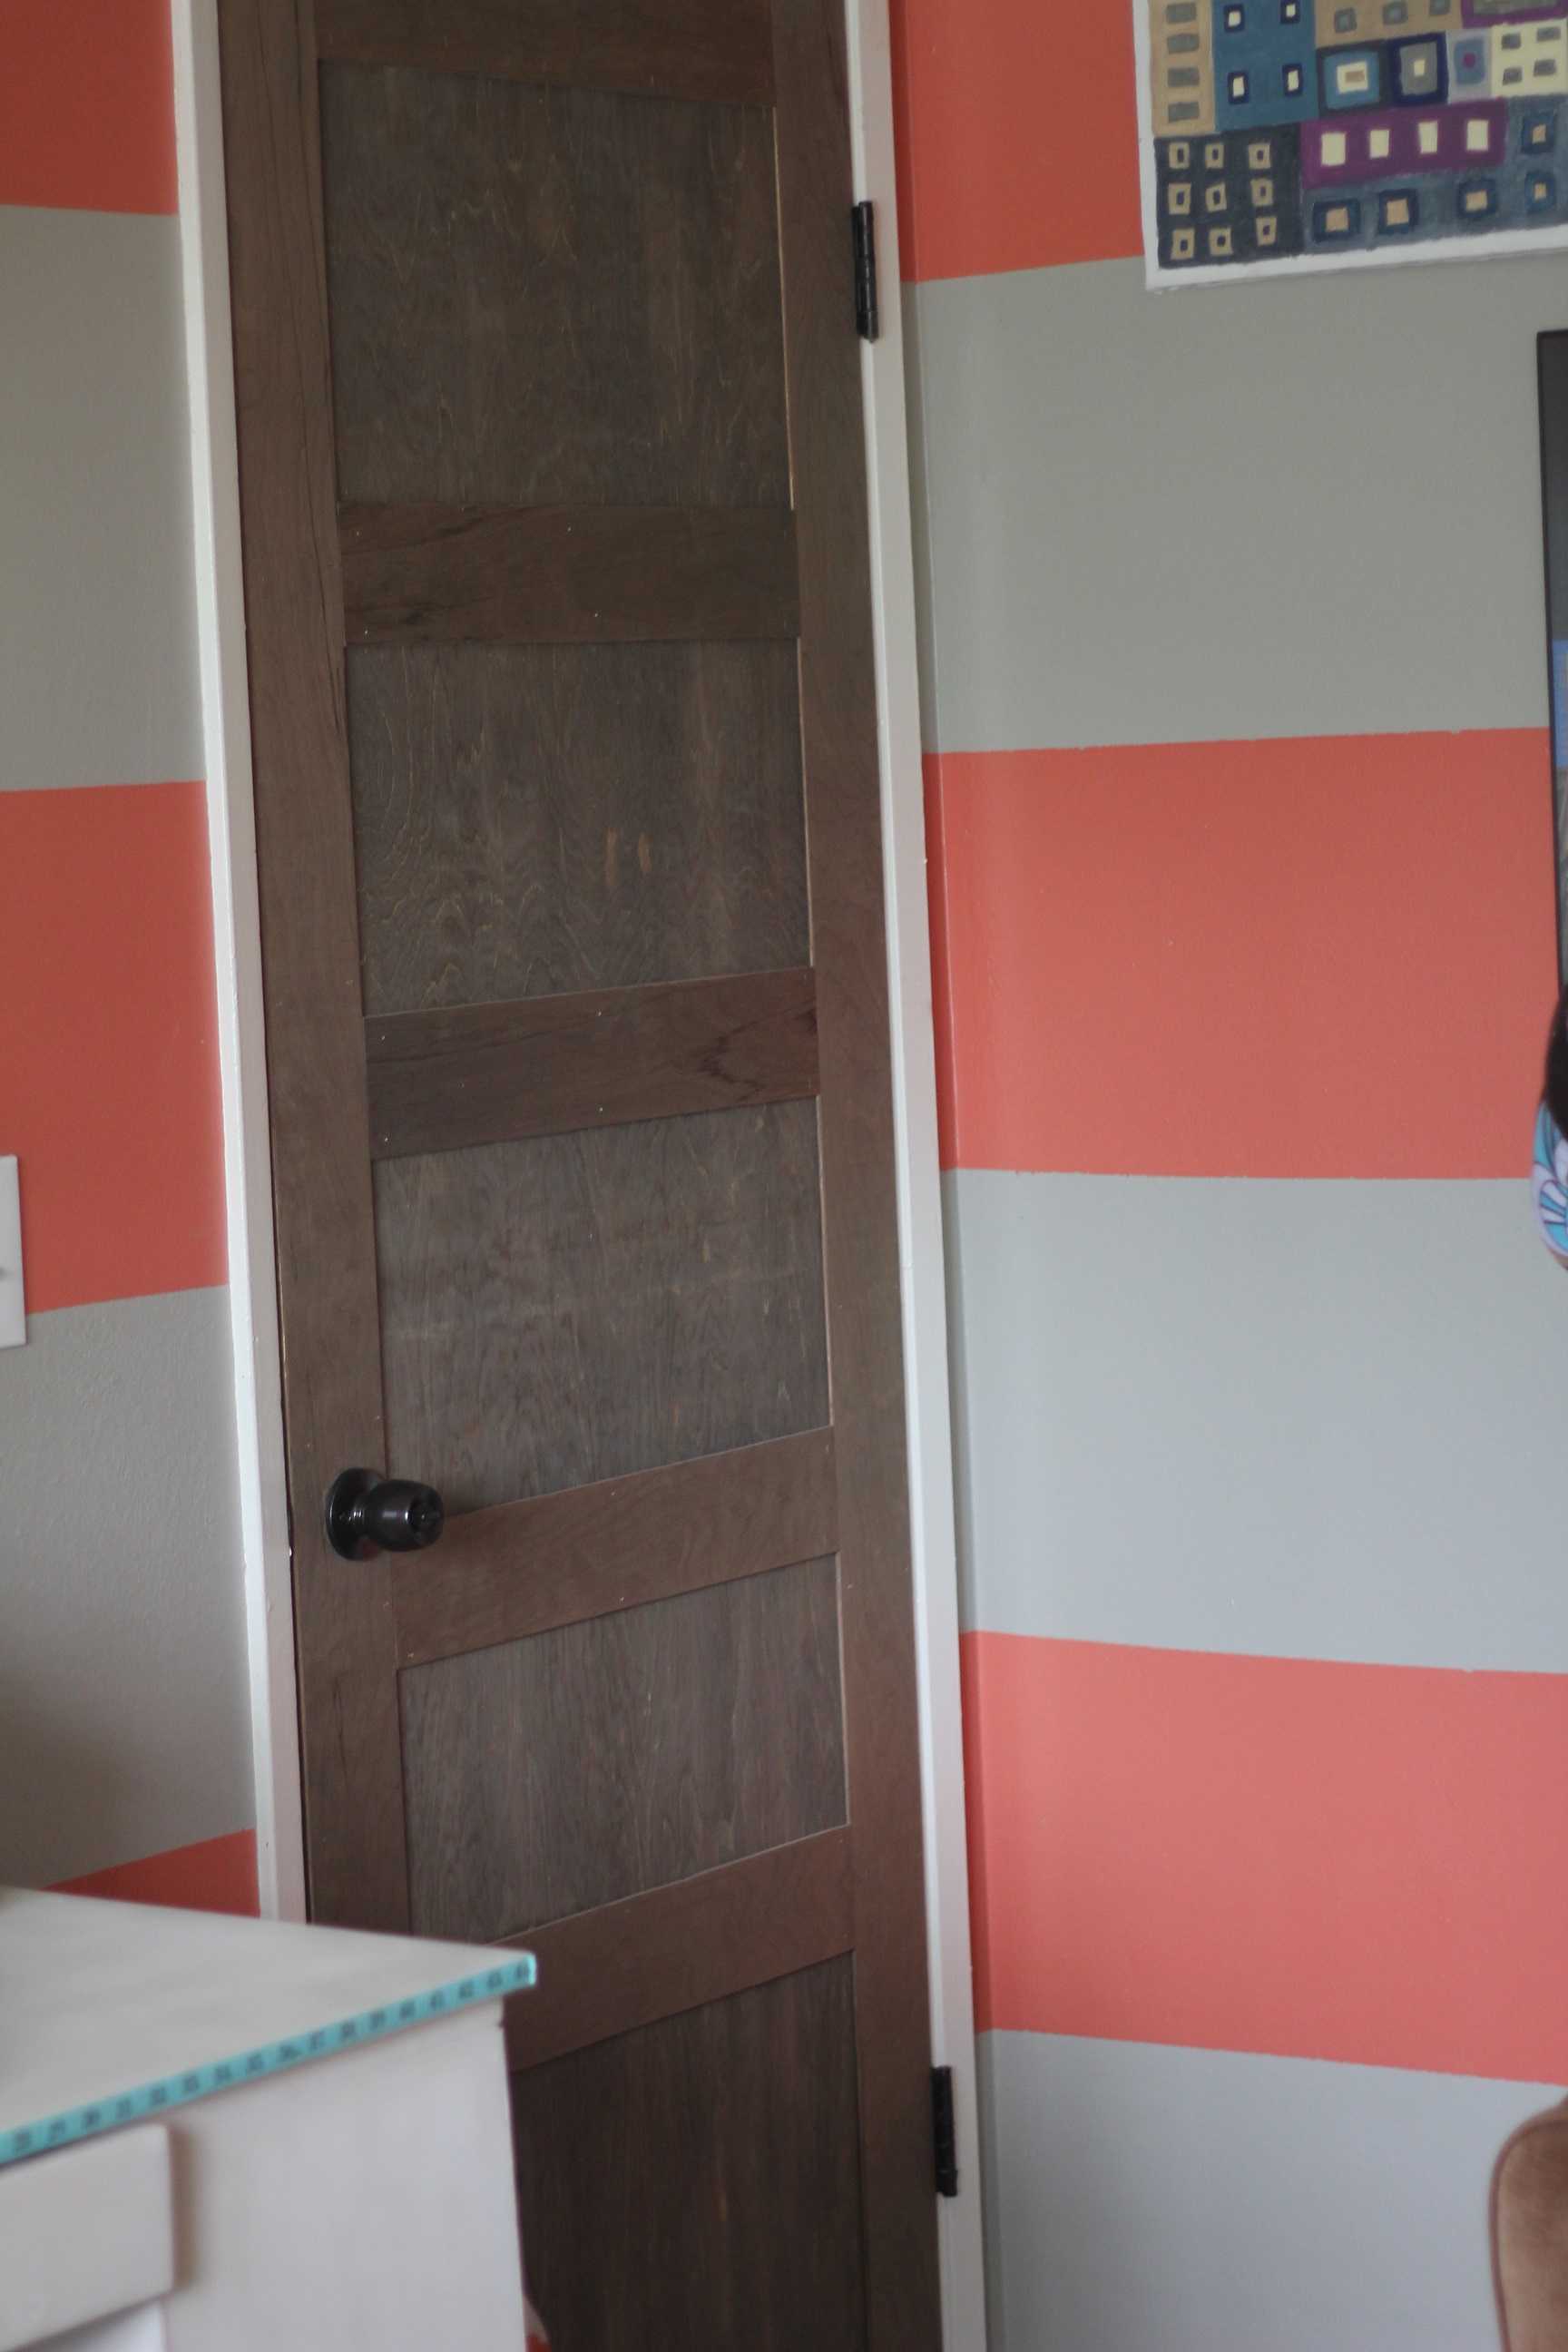
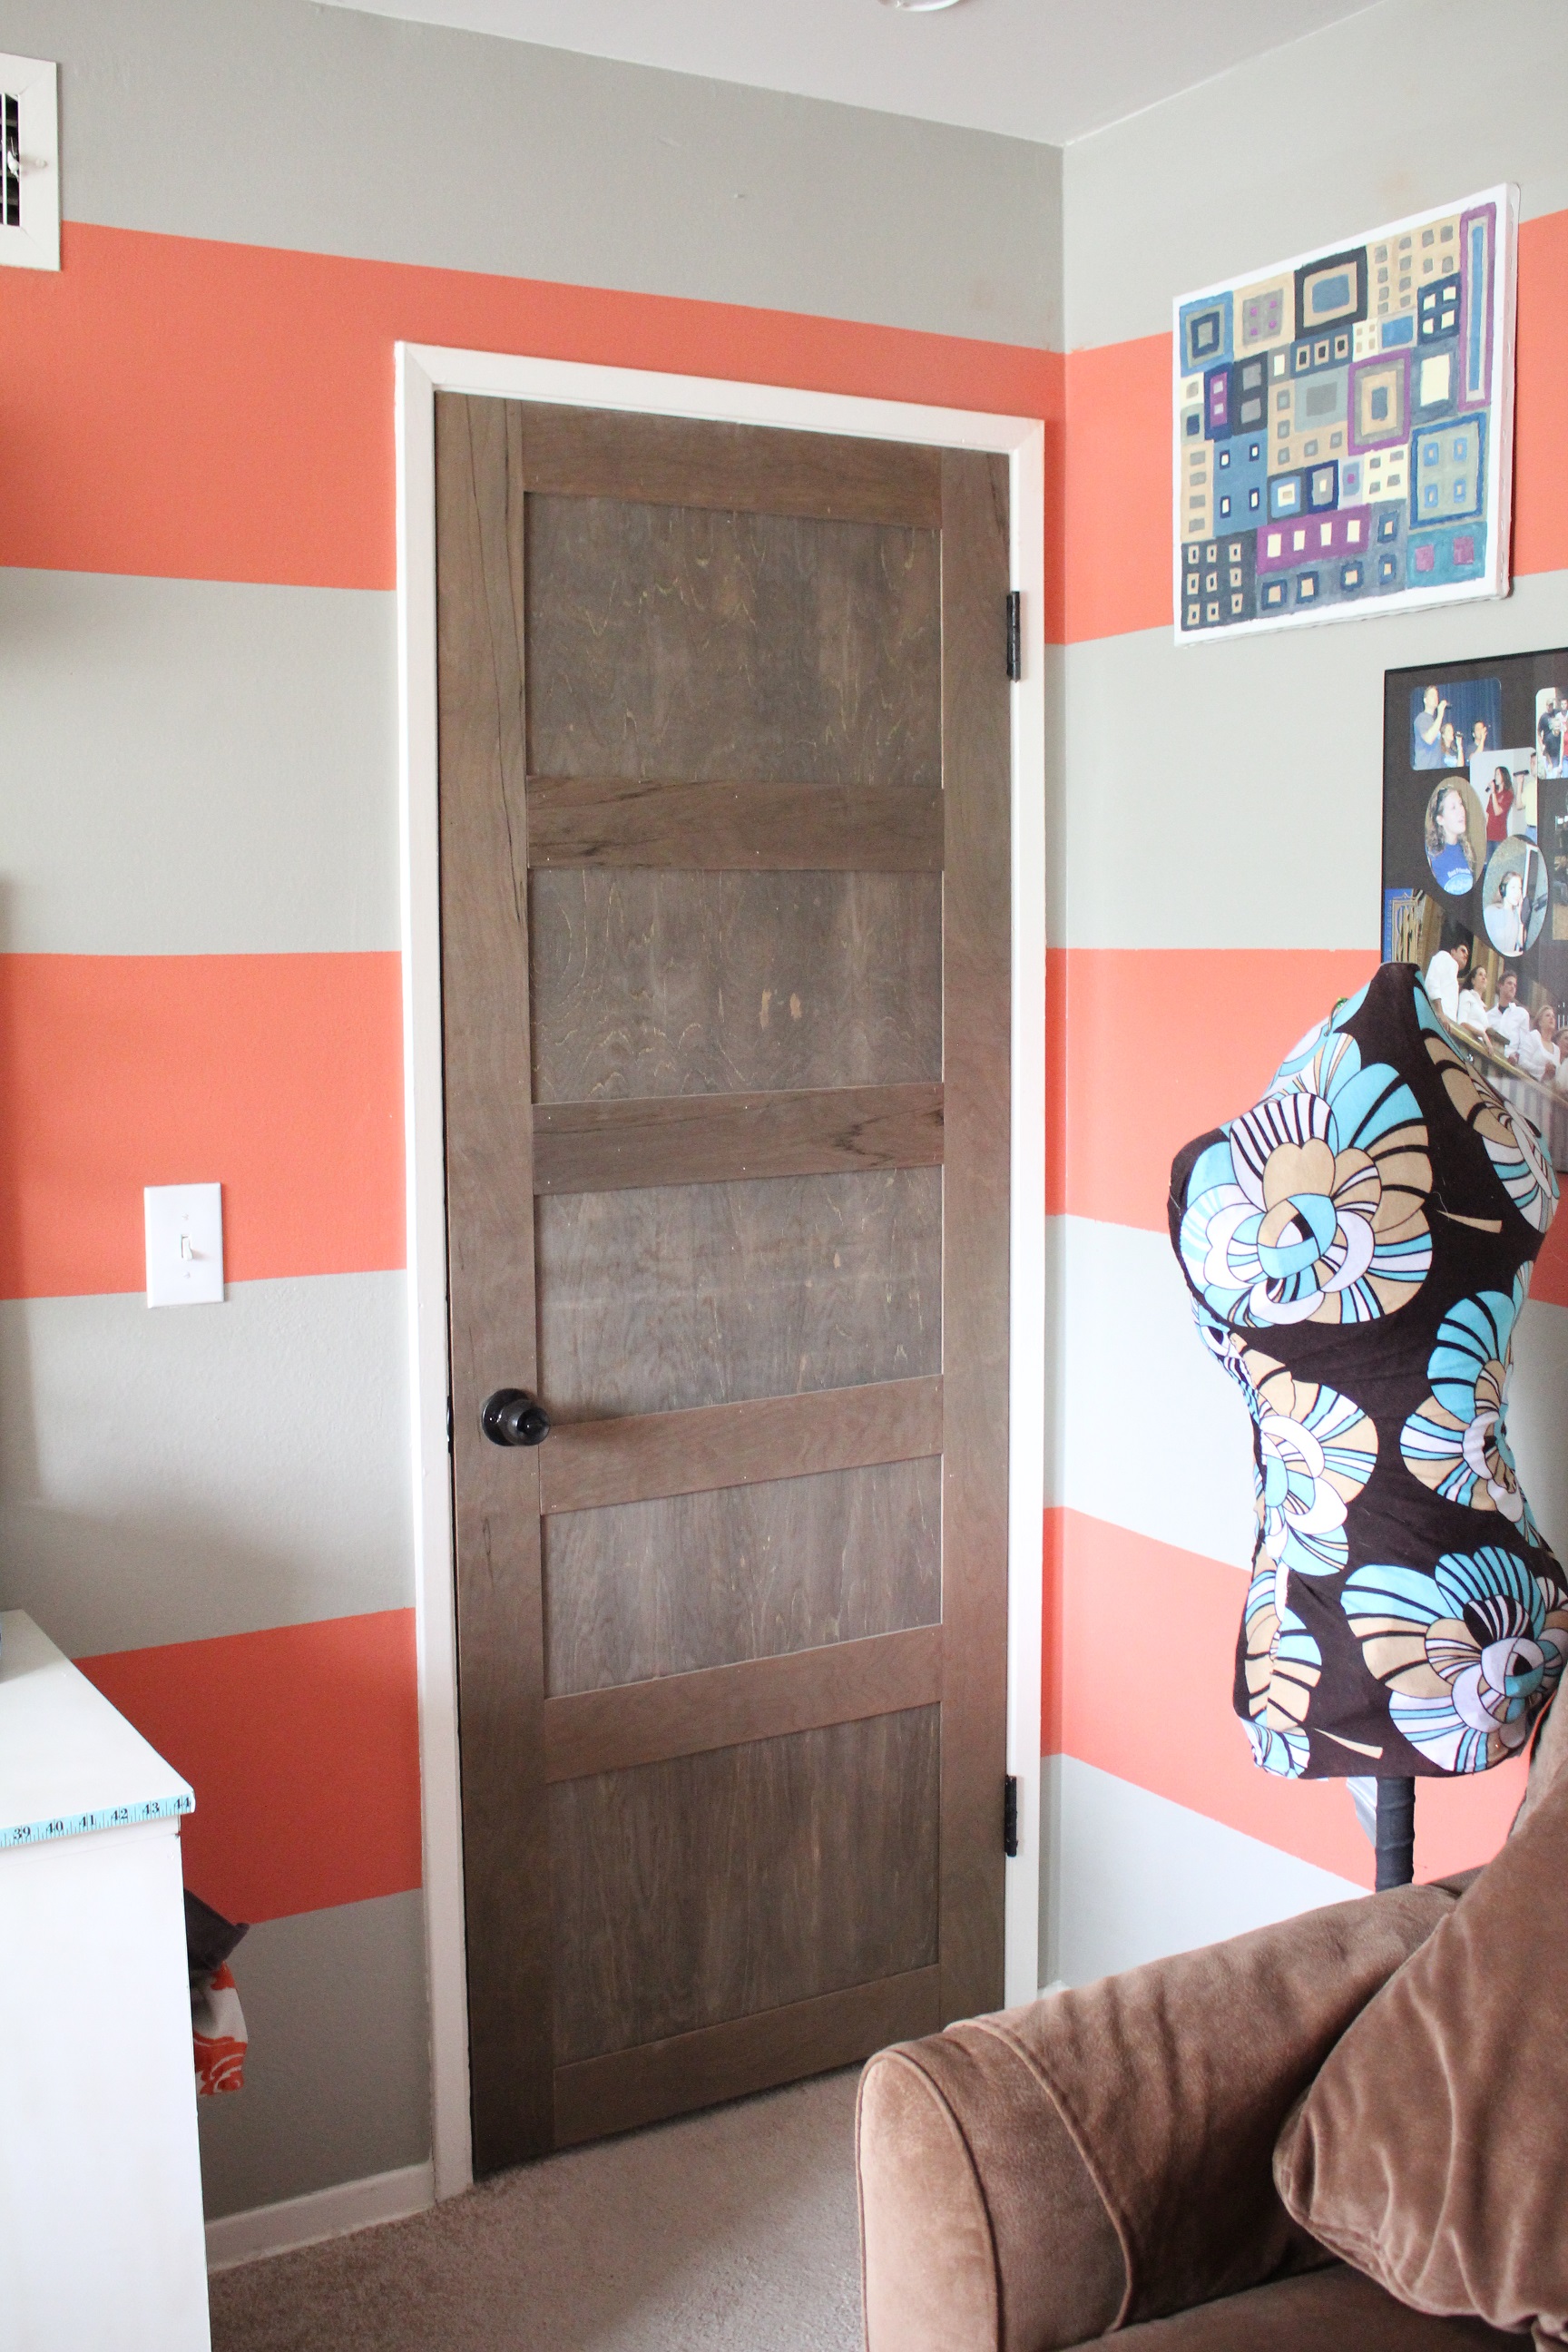
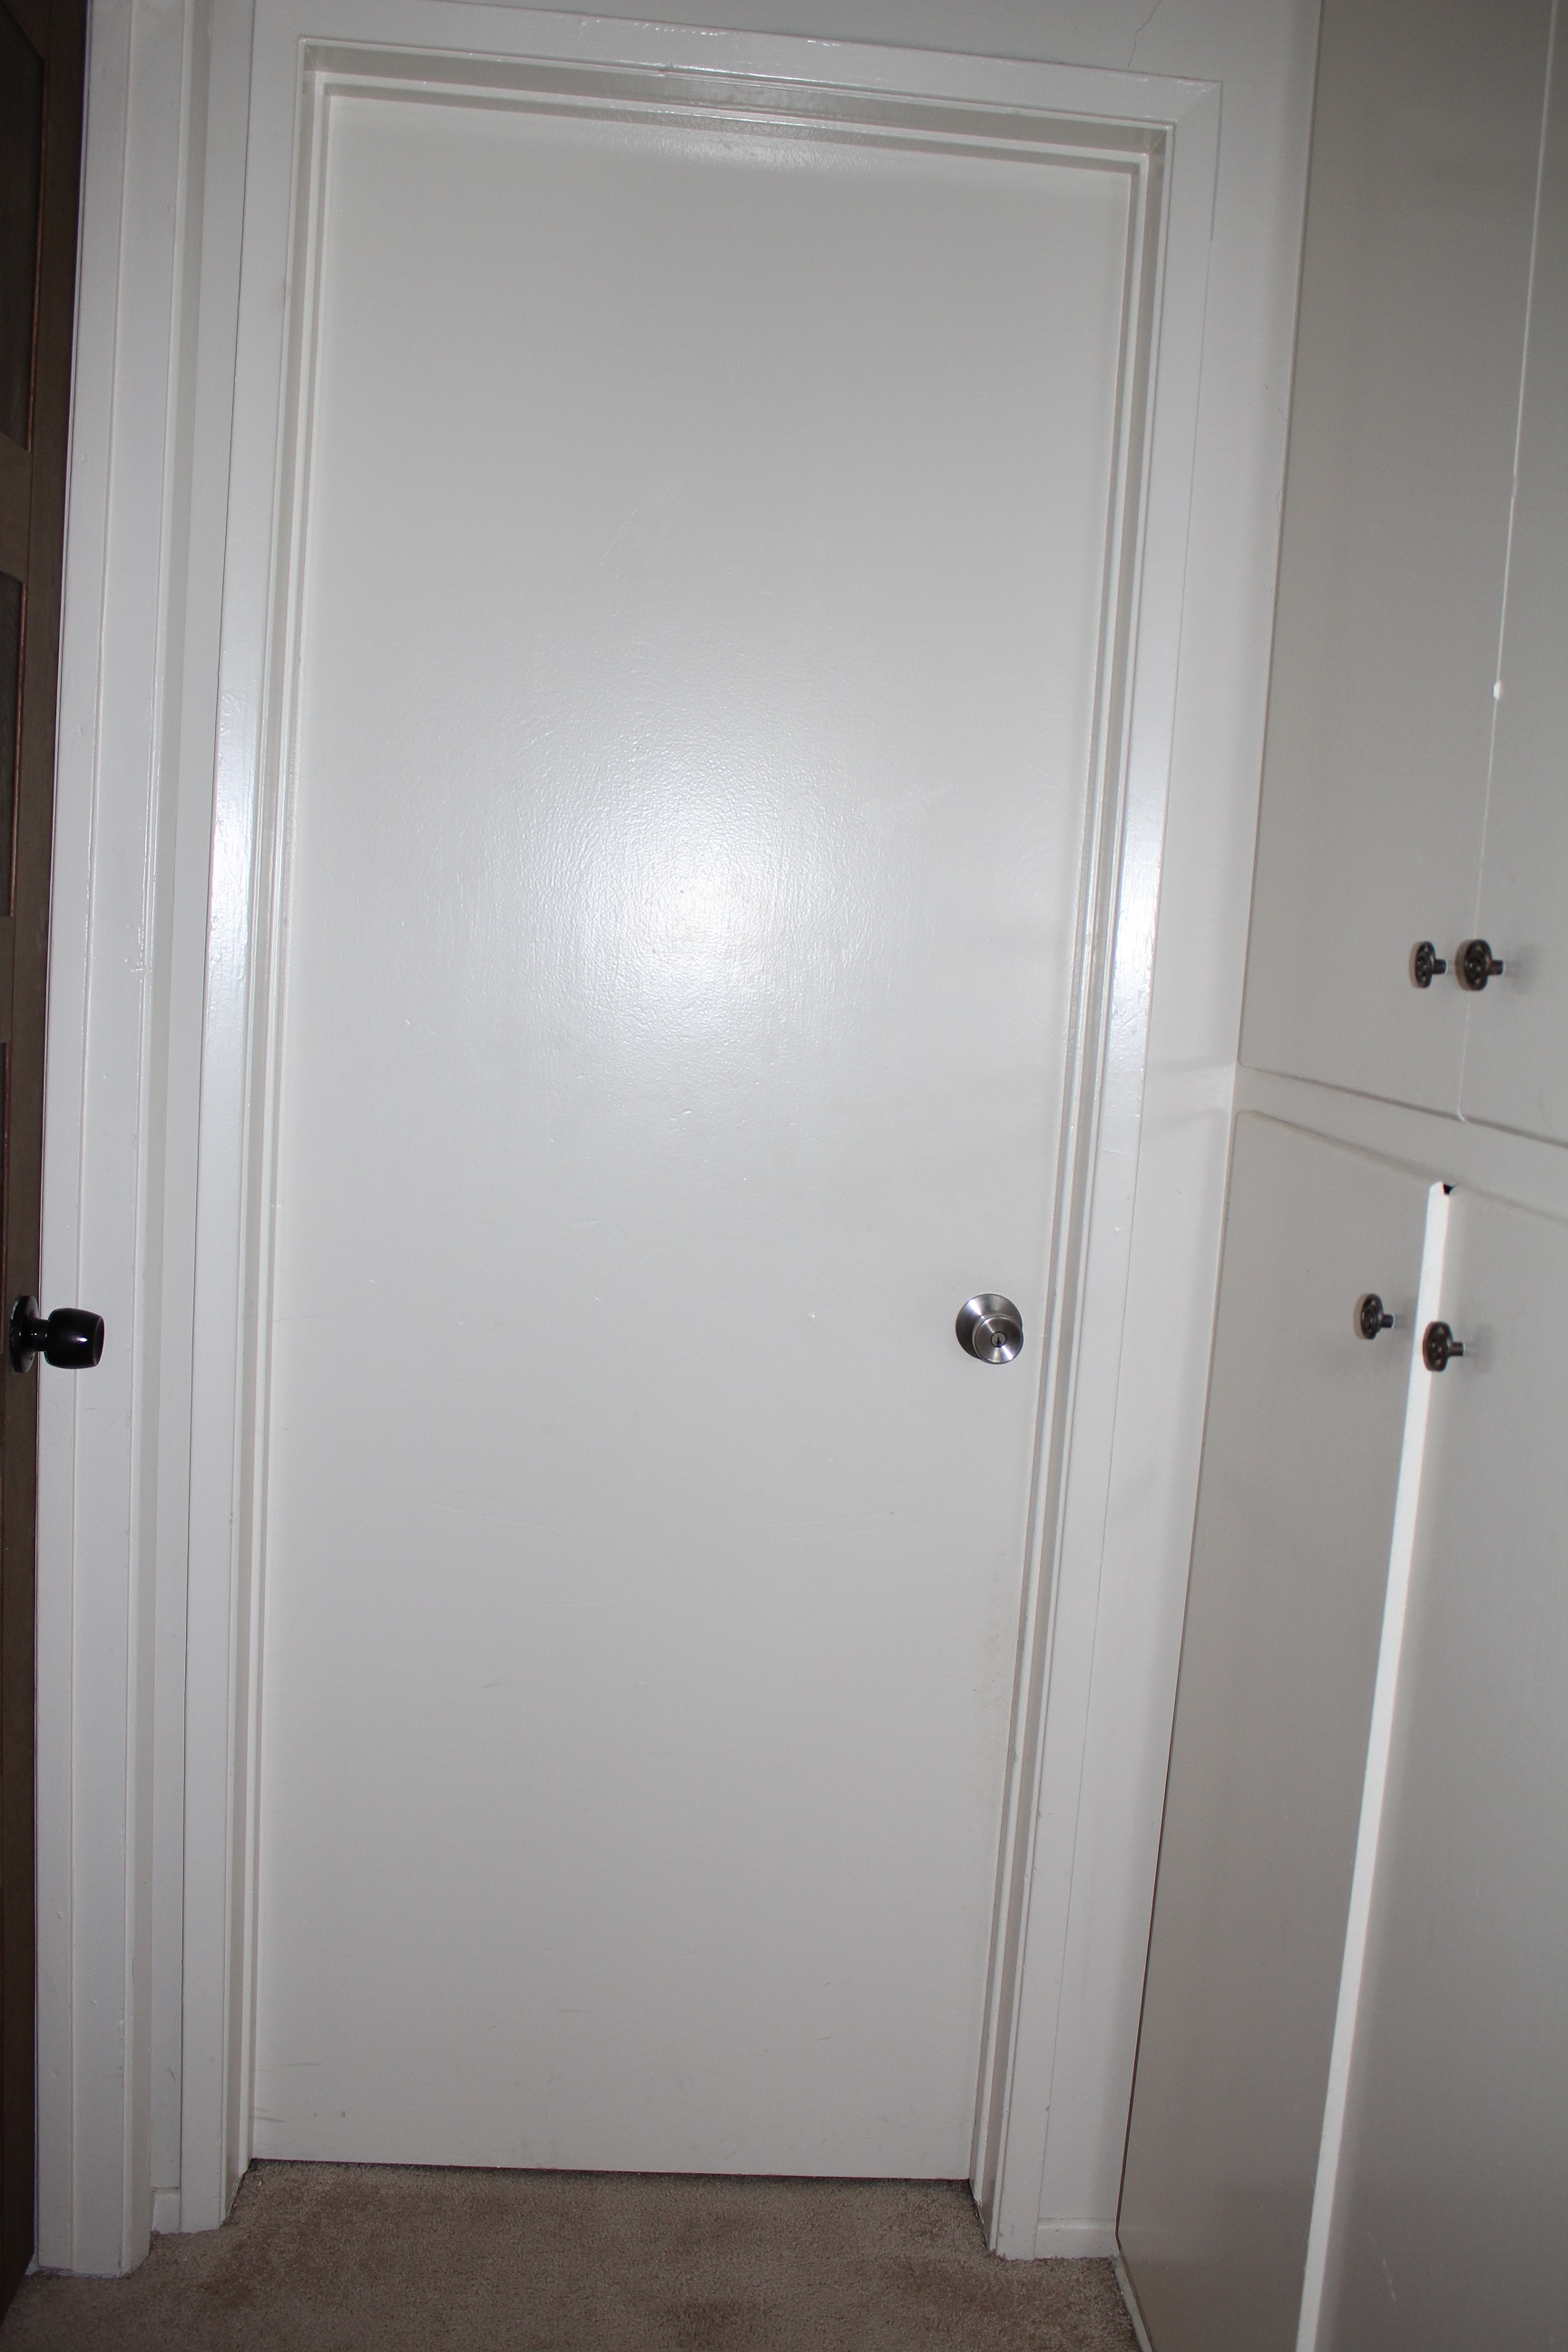
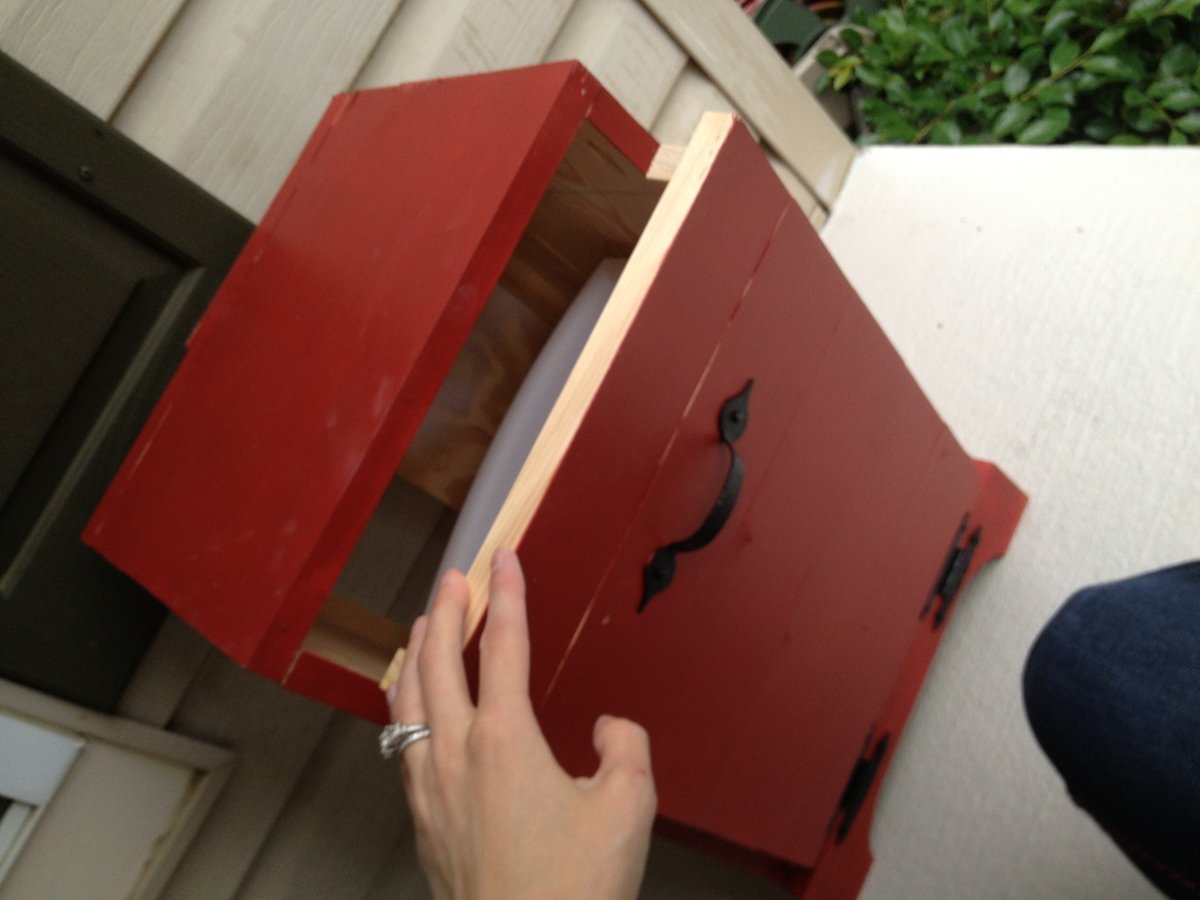
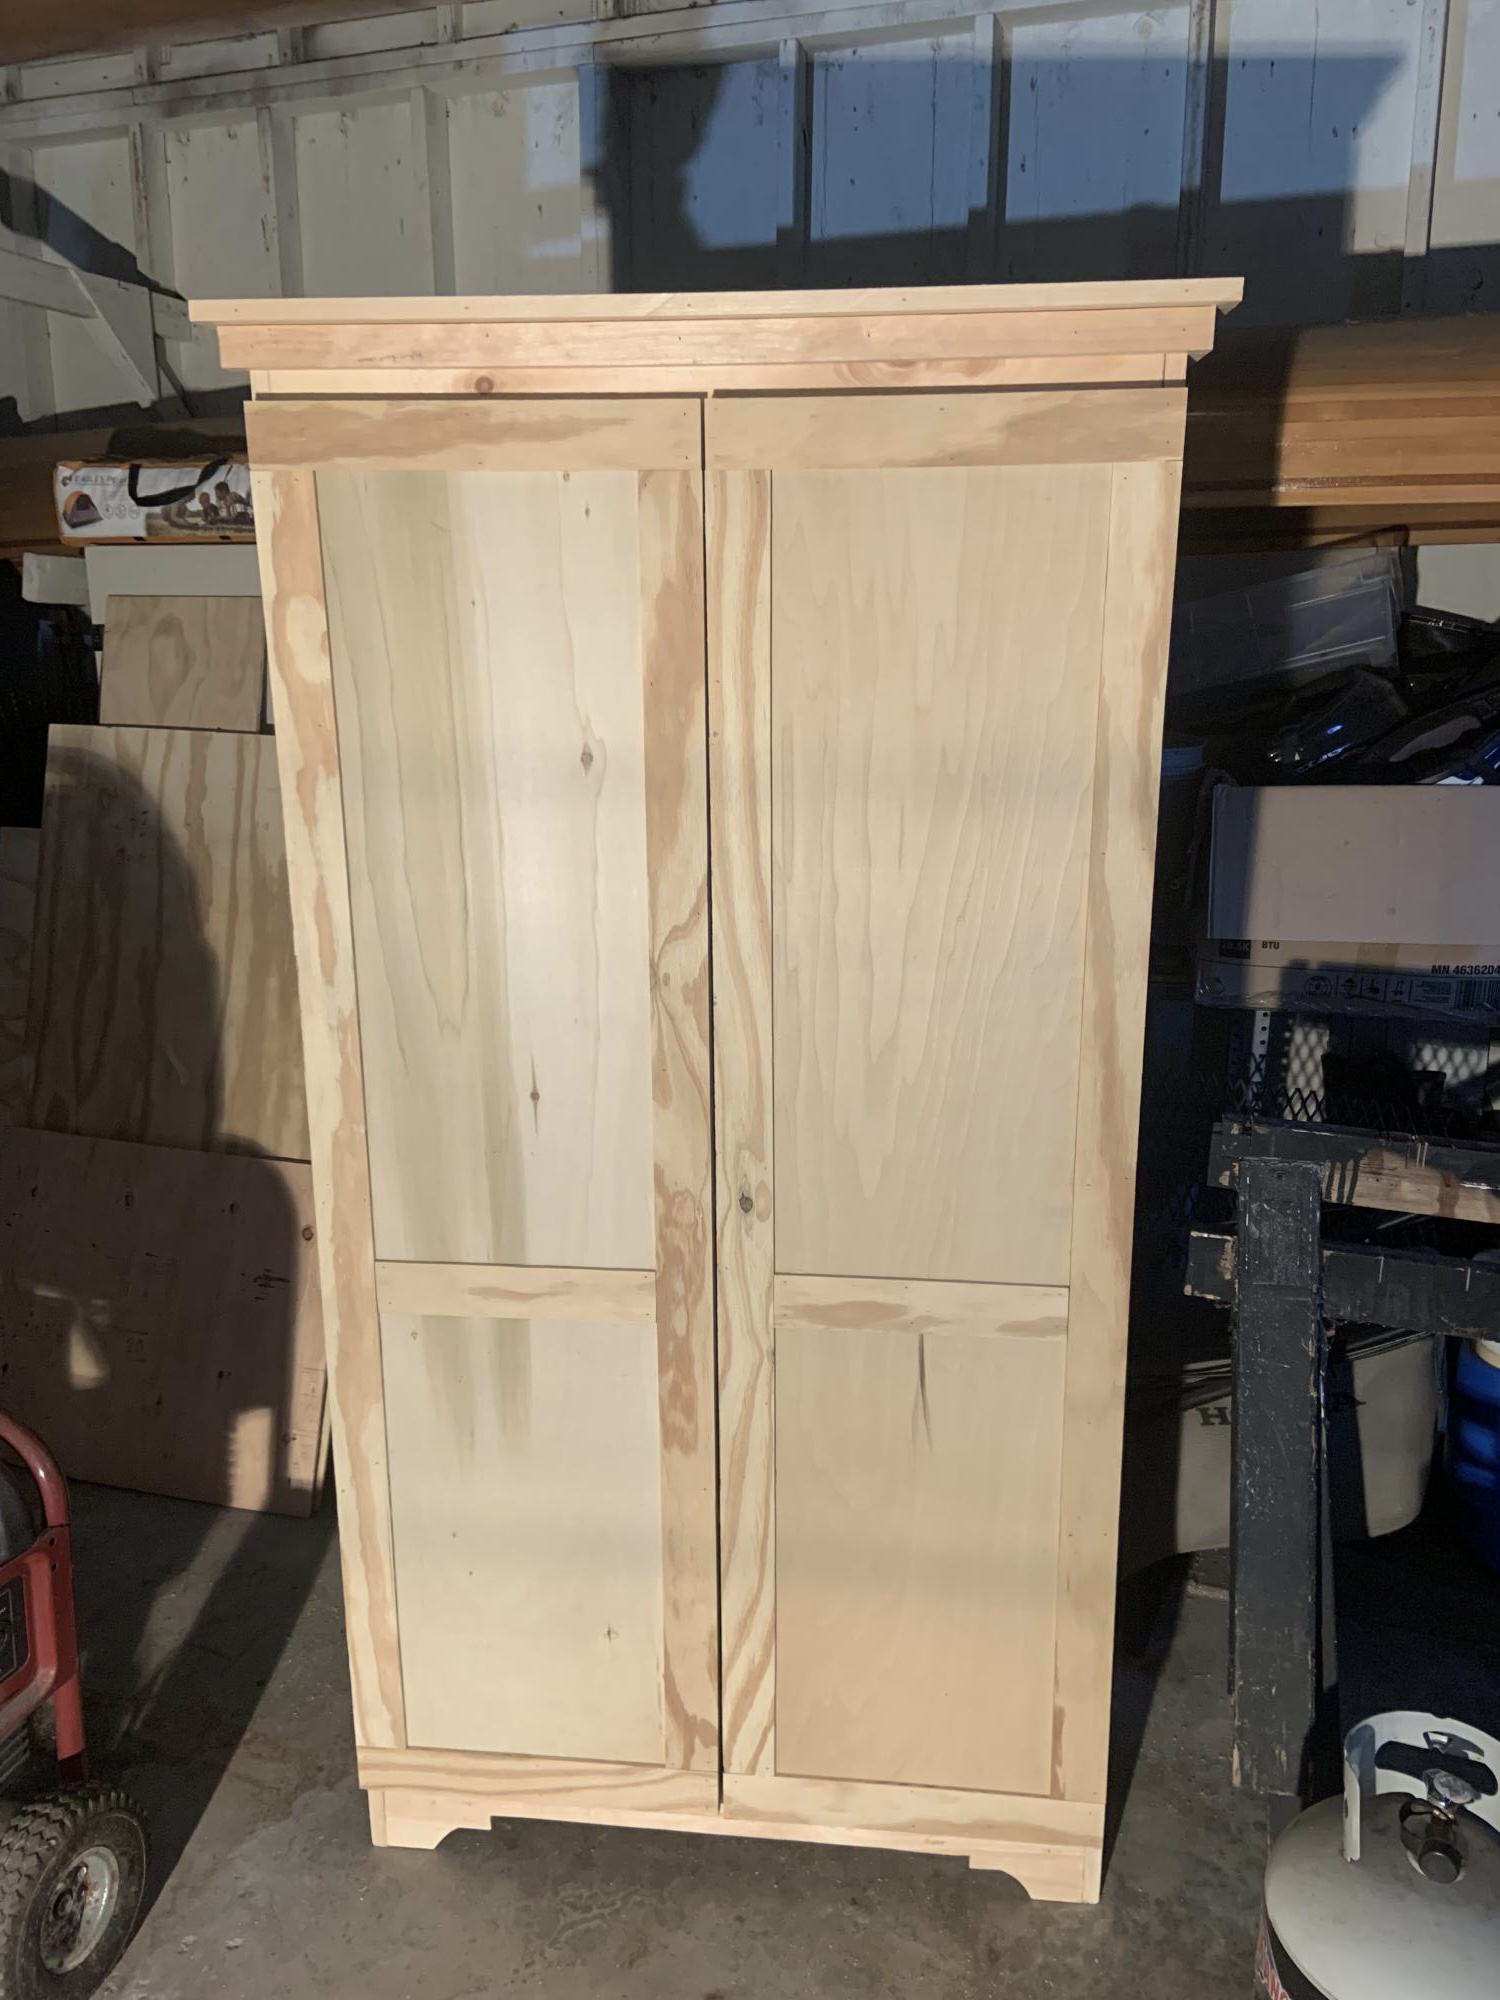
Can I be real with you here? This projects was a pain. I love the way it turned out, but getting there was a horrendous process. Blisters, cuts, sore muscles and exhaustion contributed to an overall very distasteful experience for me.
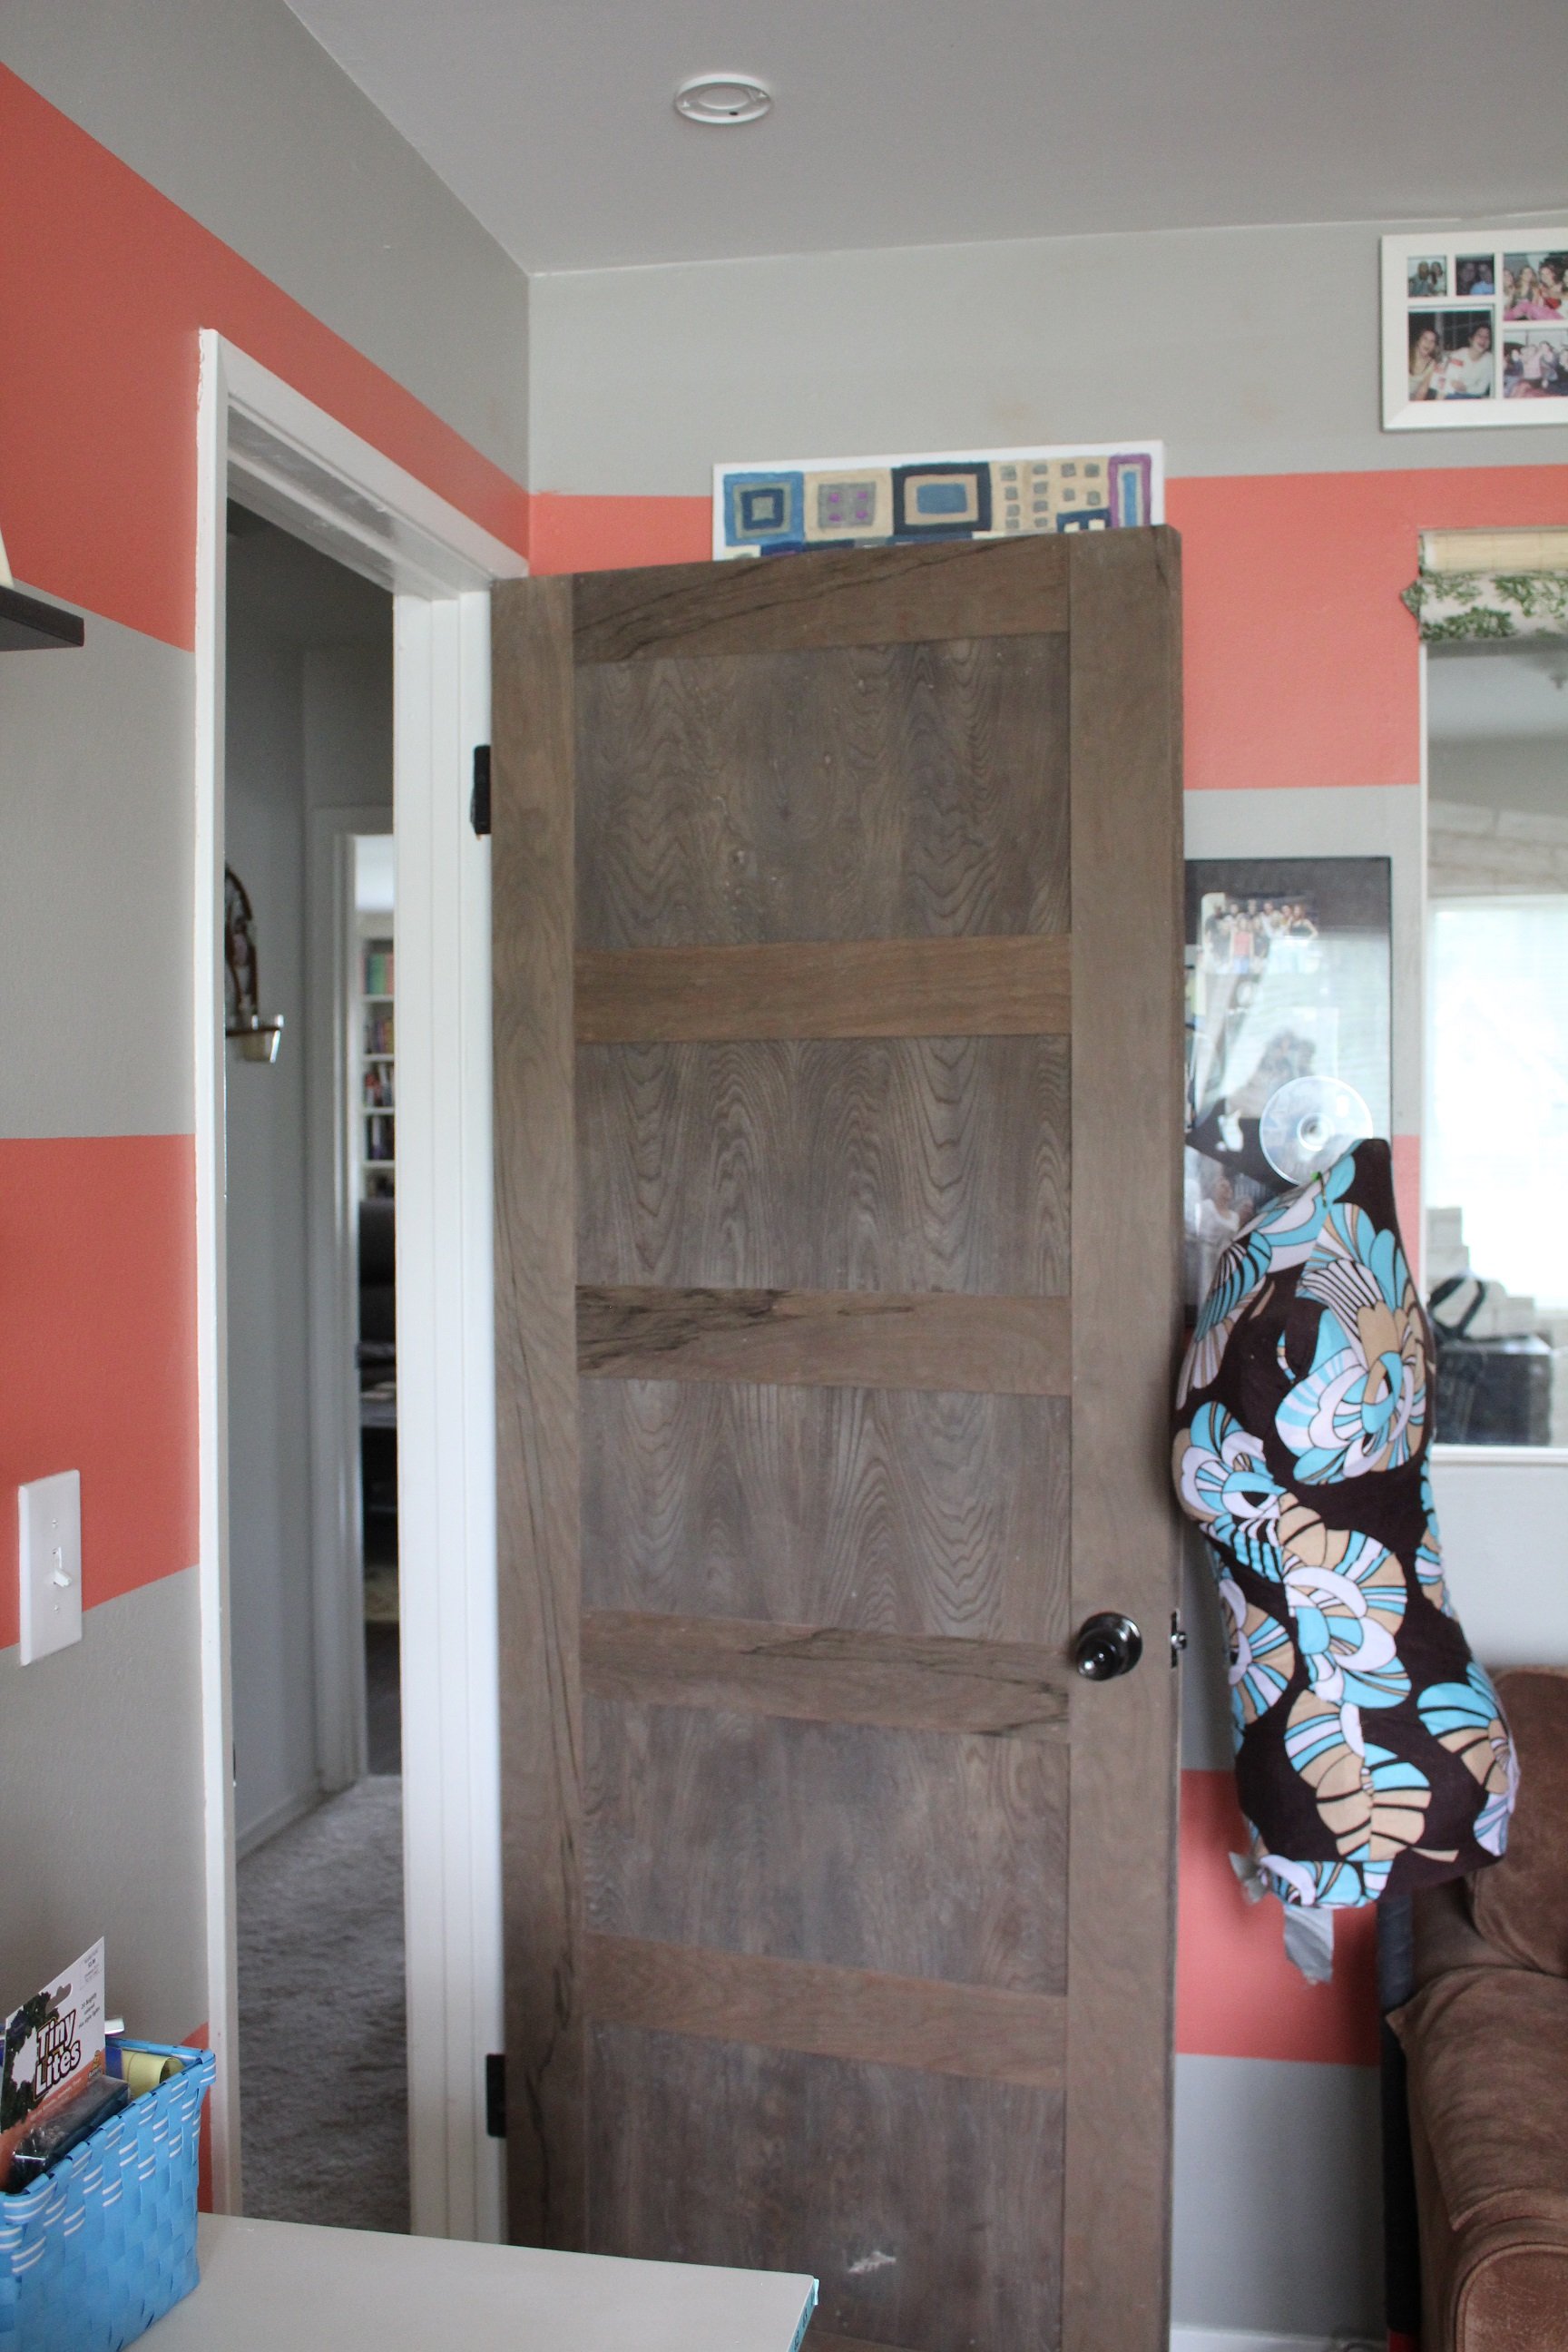
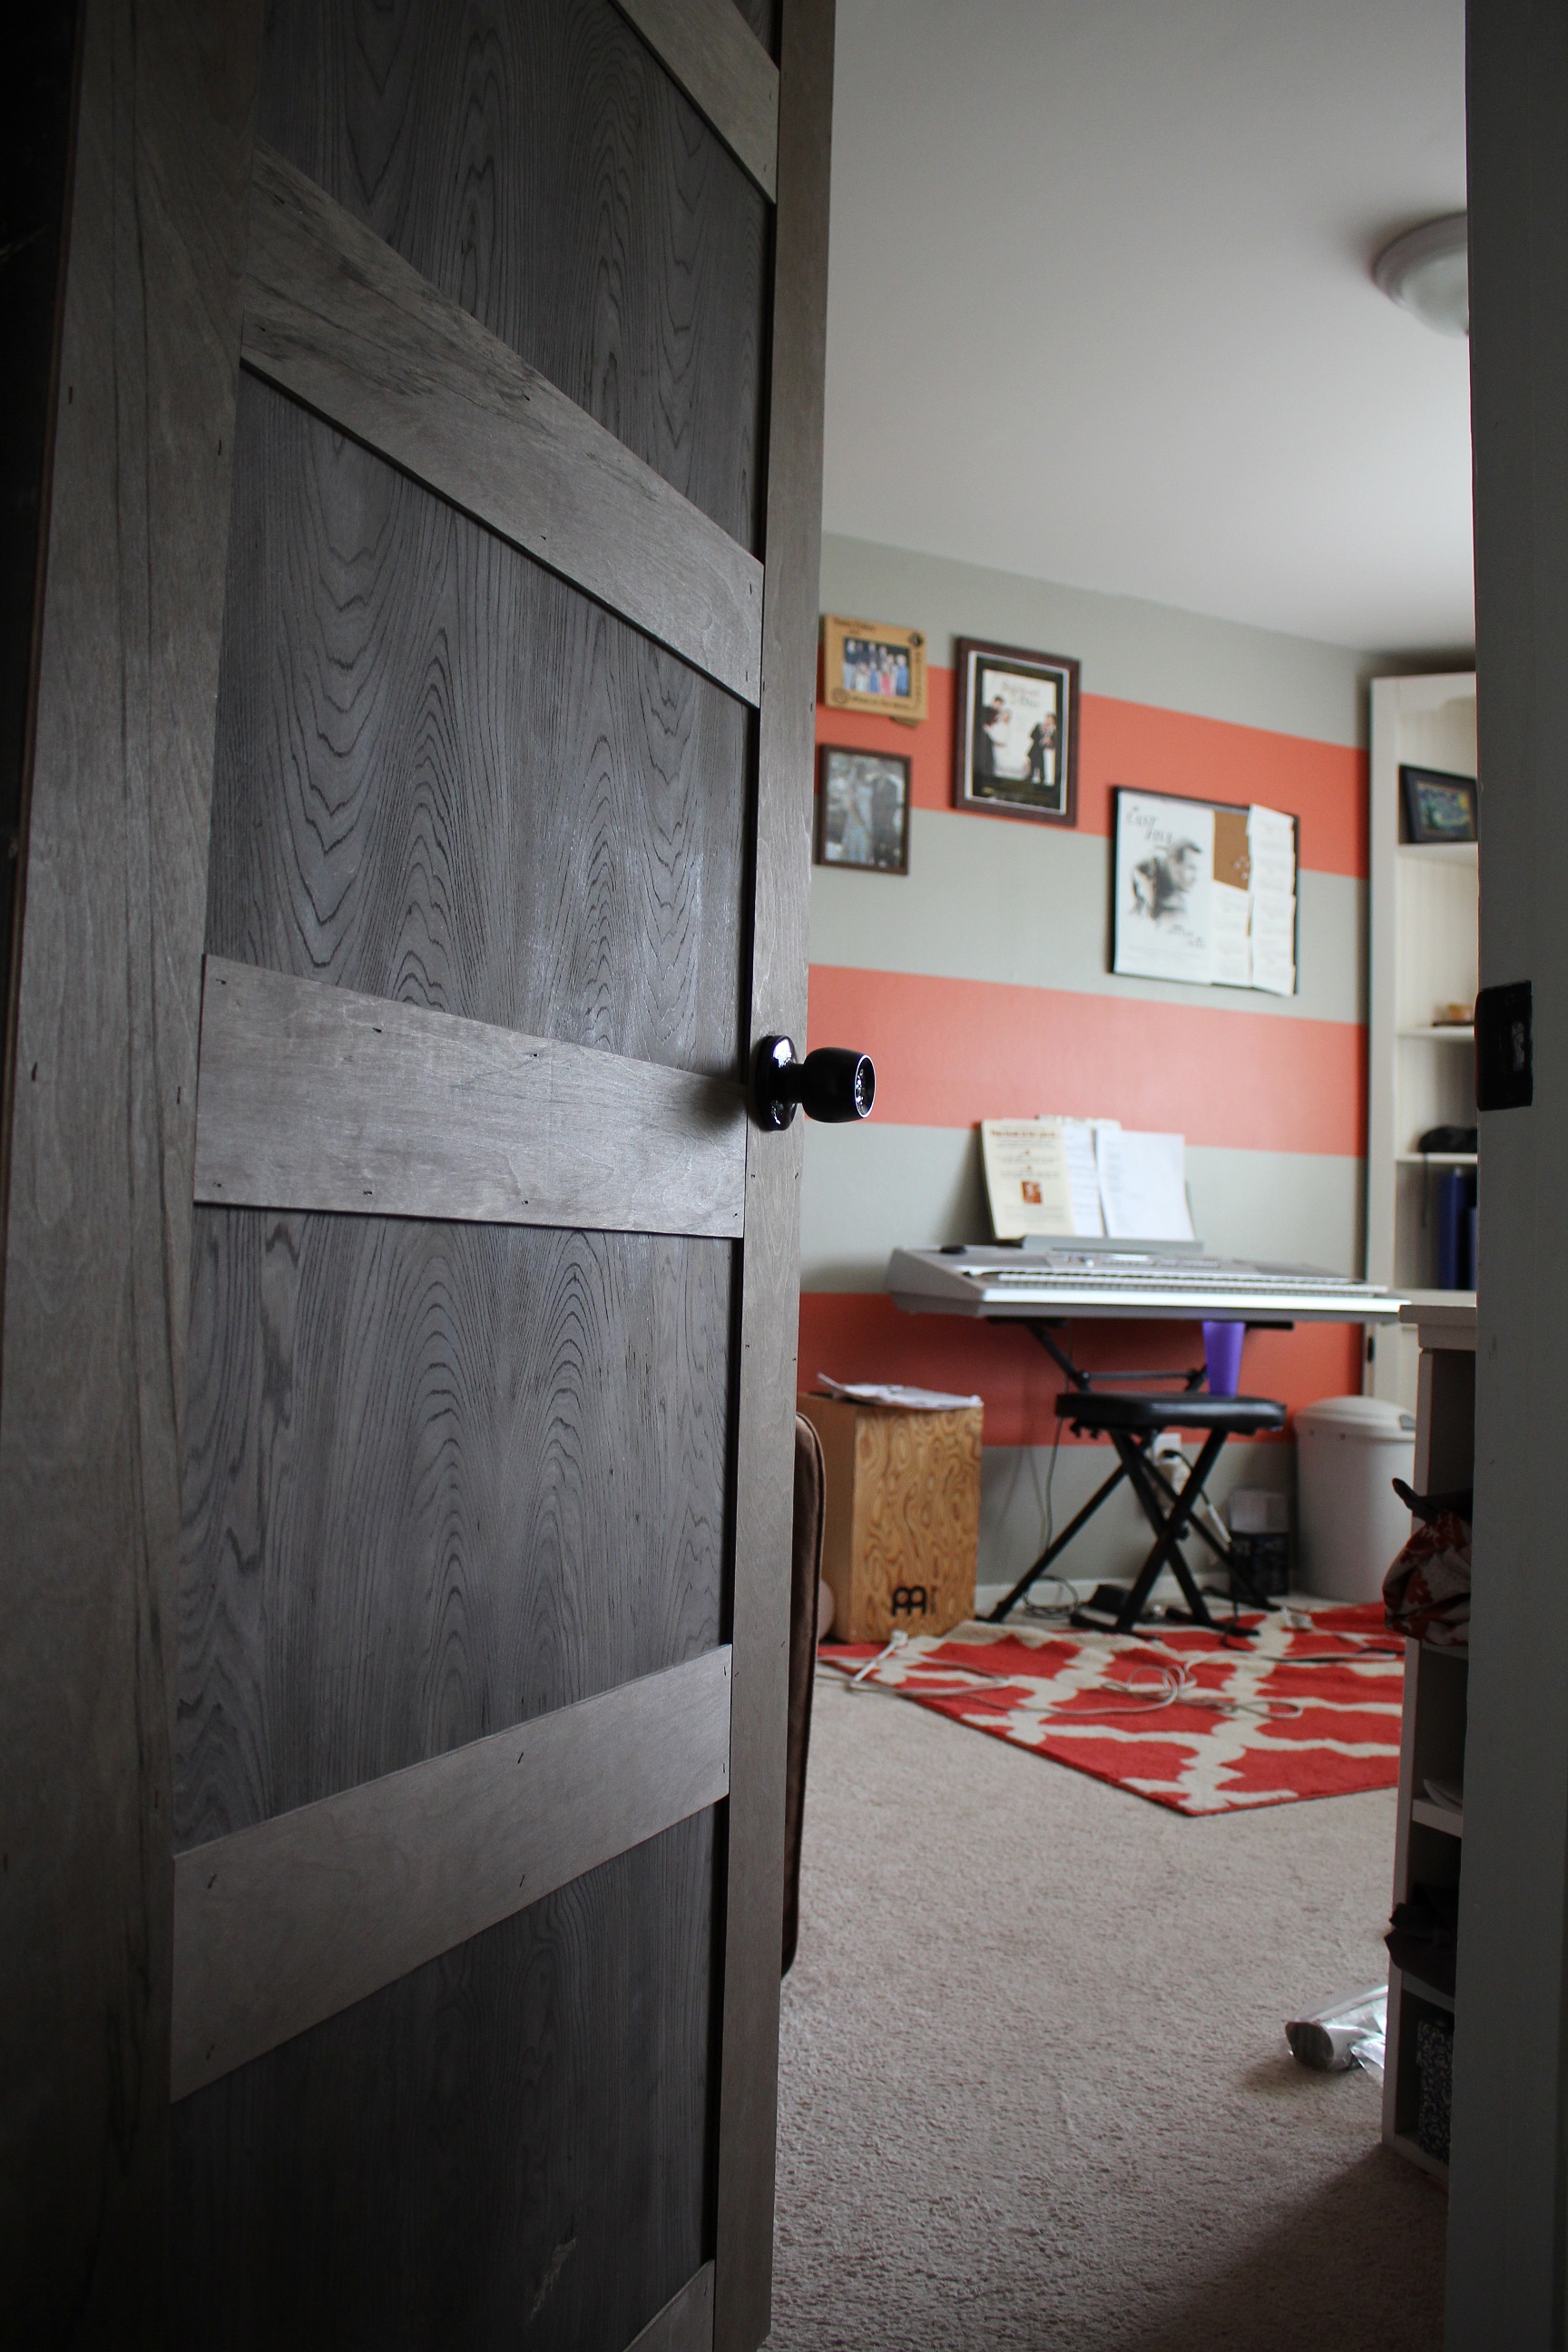
We have cheap hollow core doors throughout our house that are slathered in what turns out to be 12 layers of paint. Getting that paint off was torture. Paint stripper, painters tool, steel wool, wire brush, mineral spirits and a belt sander all did their part over 4 days to get this paint off. Afterwards, when I sanded the holey, splintered mess of a door, it actually looked like I could make something of it. I stained it, and cut strips of 1/8" ply, nailing them to each side. I ORB sprayed the knobs and hinges, moved the casing (breaking the casing, of course, and having to buy new casing) to fit the new width of the door, and installed it all in place.
As I said, I love the results, but boy was it a chore. The white door is a before door.

Fri, 06/05/2015 - 09:10
Maybe! I'll have to recover awhile before trying any other doors : )
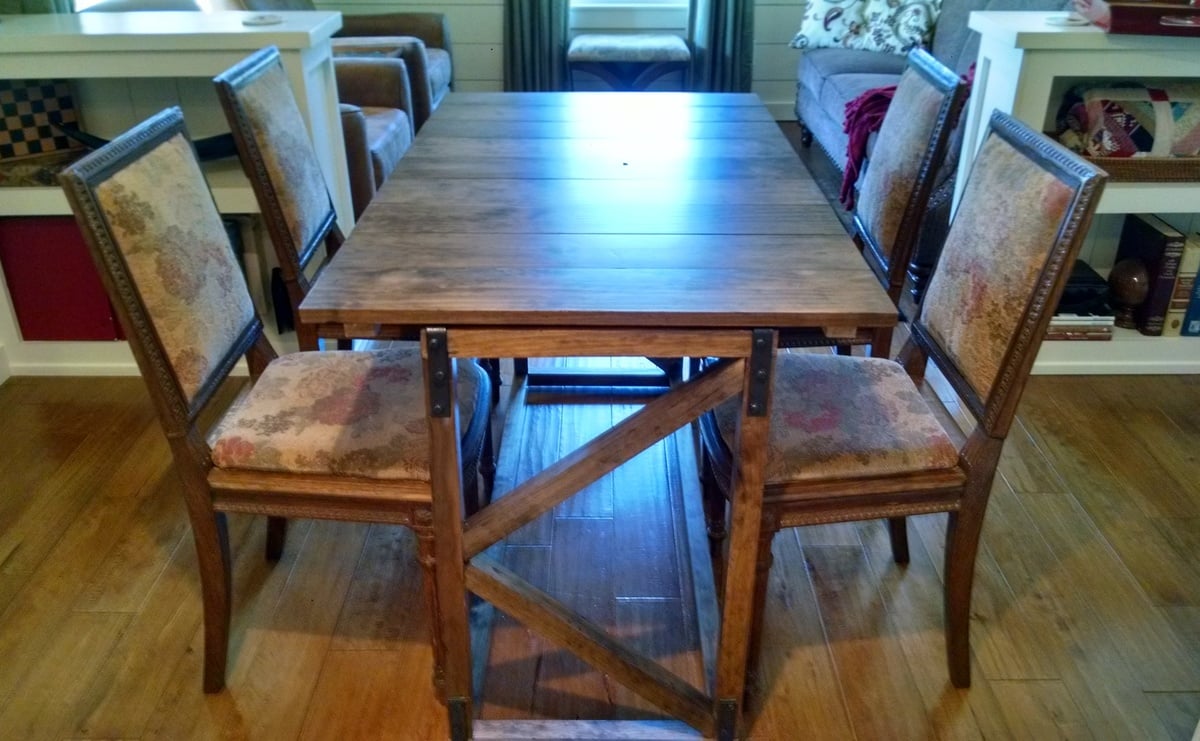
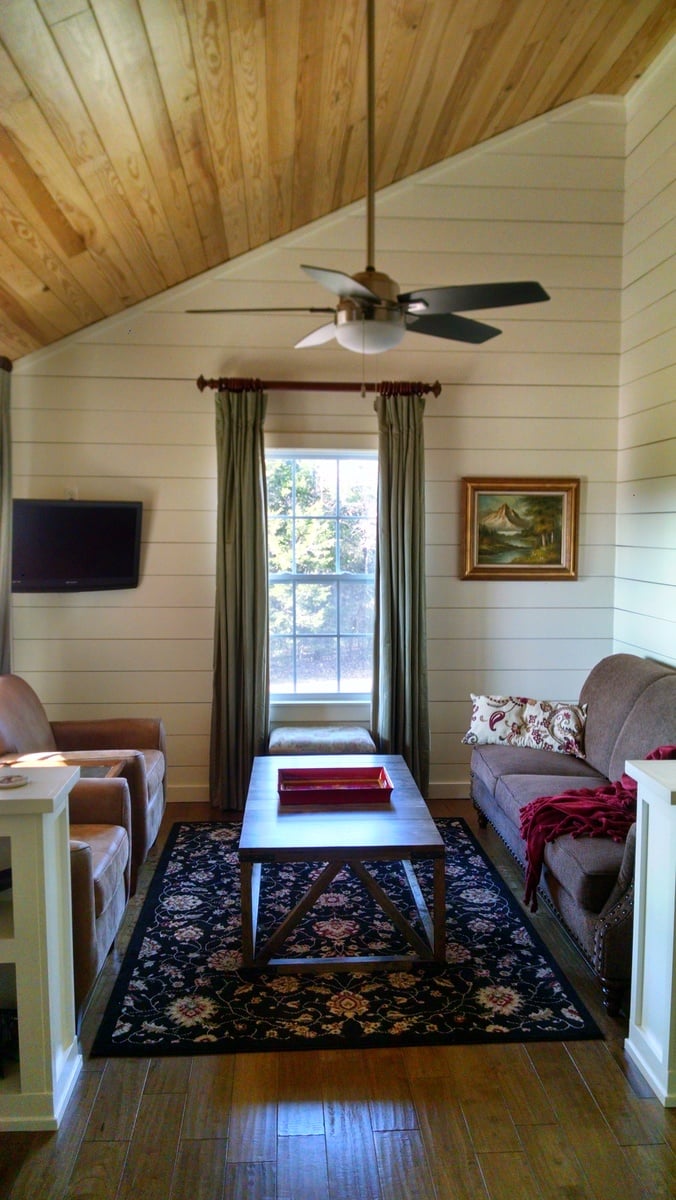
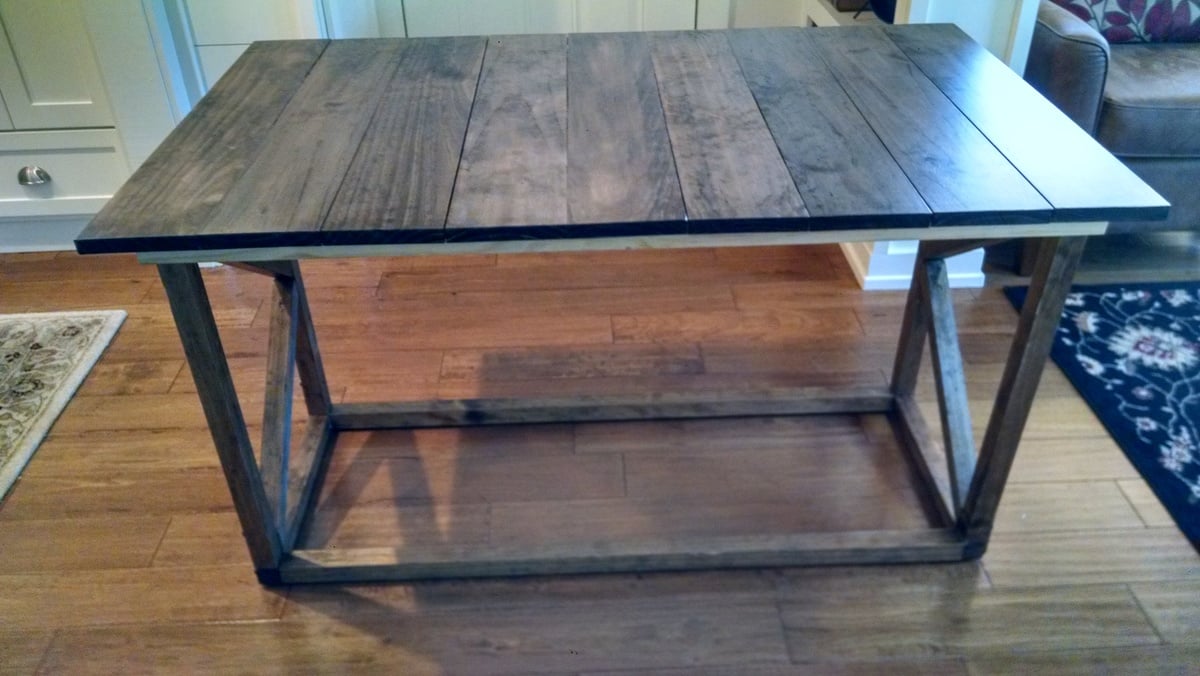
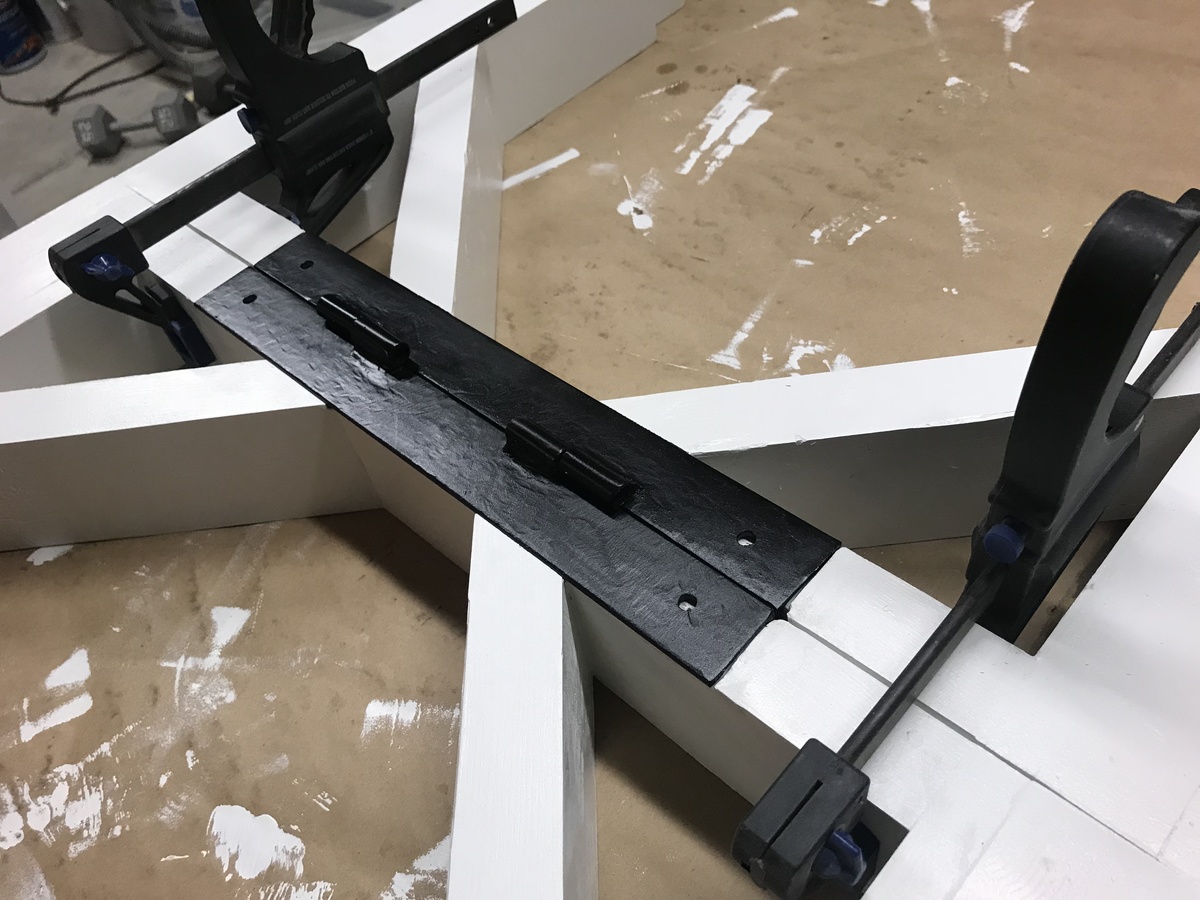
Living in a small cabin there was no room for a dedicated dining area so this coffee table/dining table combo was just the ticket! Quick to convert and fits my cabin style. The L brackets (basic utilitarian brackets spray painted hammered black) on the corners serve as extra support as well as a decorative element. (time will tell if I need to add any extra wood braces to the long sides)

Sat, 03/31/2018 - 11:47
Your table came out great! It's on my honey-do list next. I was wondering now that you've built it and used it for awhile, is the pine holding up well for the top and for the base? The 2x2s at the box stores are mostly warped, twisted, really dinged up so I'm thinking about getting a slightly harder wood for the base, and maybe maple for the top. The top would be stained black, the base will be painted. If the 2x2 pine you used seems stable (with the L brackets), I'd reconsider and go pick through the box store a little more thoroughly.
Sat, 03/31/2018 - 11:49
Your table came out great! It's on my honey-do list next. I was wondering now that you've built it and used it for awhile, is the pine holding up well for the top and for the base? The 2x2s at the box stores are mostly warped, twisted, really dinged up so I'm thinking about getting a slightly harder wood for the base, and maybe maple for the top. The top would be stained black, the base will be painted. If the 2x2 pine you used seems stable (with the L brackets), I'd reconsider and go pick through the box store a little more thoroughly. I also wondered the same about including braces on the long side.
Wed, 04/11/2018 - 15:27
It hasn't been used enough yet to tell you how the pine will hold up. But it is very stable .I nailed the shelves in and the trim around it adds stability. I don't see a need for and kind of bracing.
Wed, 04/11/2018 - 15:27
It hasn't been used enough yet to tell you how the pine will hold up. But it is very stable .I nailed the shelves in and the trim around it adds stability. I don't see a need for and kind of bracing.
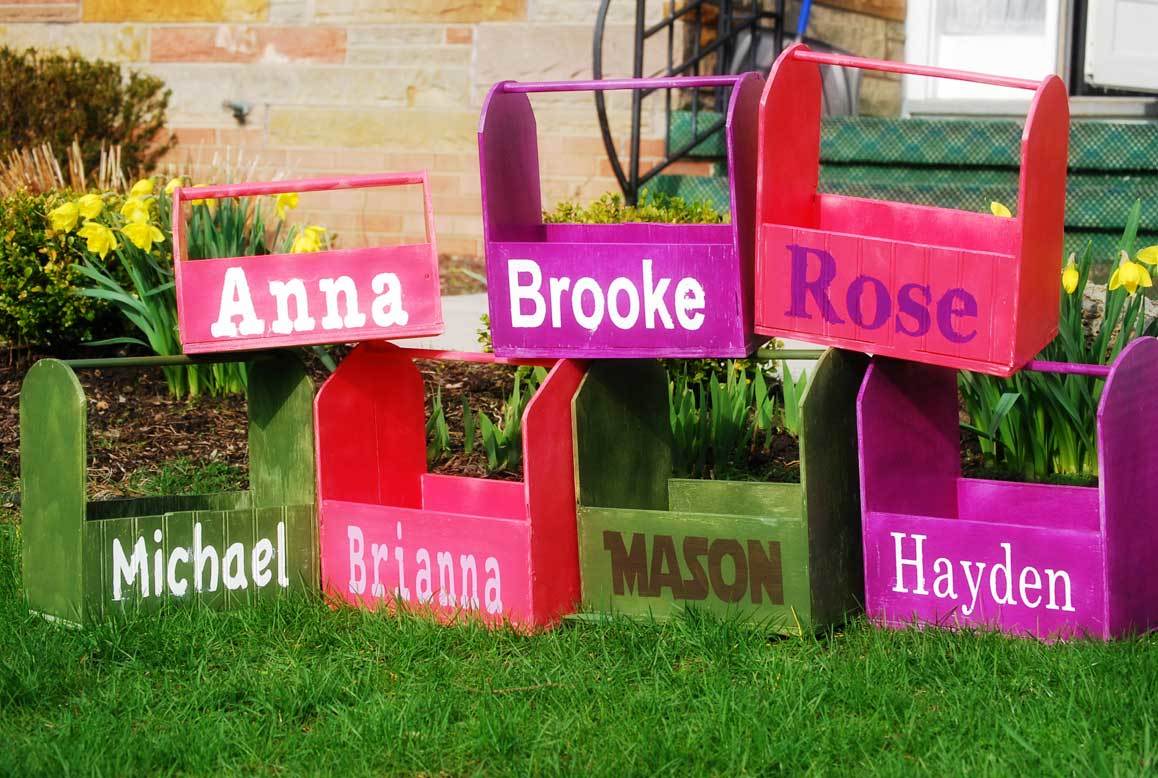
Ahhh Storage Caddy's - who can have enough of them!!! I wanted something special for the 7 kids that were coming of to my house (all under the age of 5!). So Friday I got building and painting - I think I got it all done in about 3-4 hours total. Once you get an assembly line going - it doesn't take too long. I am SO happy with how it turned out!!!! Be sure to check out my blog post for more pictures - I seriously couldn't stop taking pictures of these caddys!!!


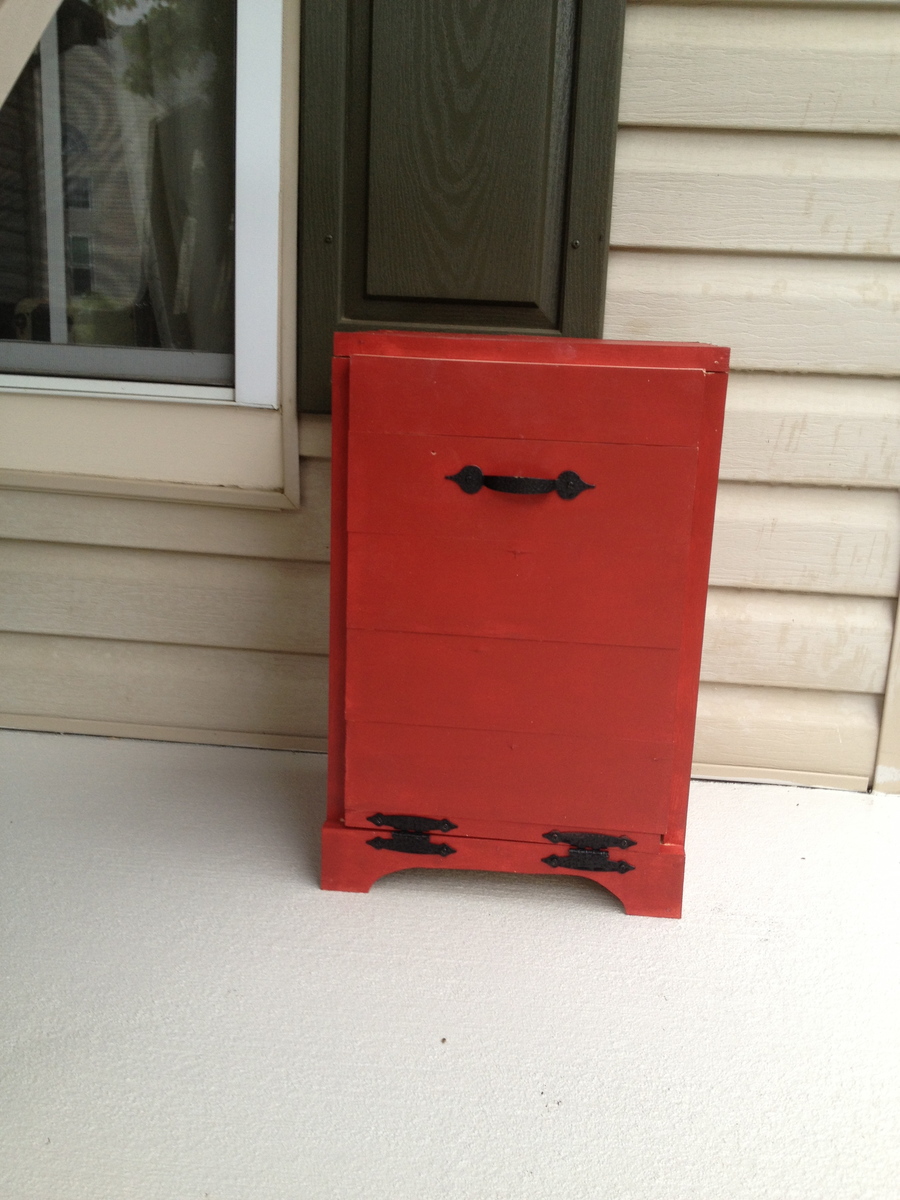
I made a smaller version of Ana's trash can for outdoor use. I used scrap wood that I joined with the Kreg Jig but I think it would have been easier to buy the size she recommends (but this was free!) We are always walking our dogs and then stuck with bags of poop and no where to put them. They end up in a pile near our door (GROSS.) so I built this to 'house' the dog poop until trash day. It's enclosed so there's no odor when you walk past it, and it looks much better on our front porch than poop bags. I painted it to match our front door so it looks like it 'belongs' up there. Ahhh, much better.

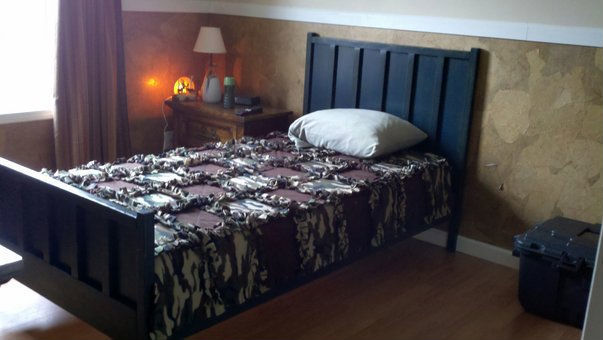
I'm so excited to have finished my 1st woodworking project!! Not sure why I thought a King Bed would be a good start but I LOVE how it turned out. I used the Cassidy Bed plans and Jennajustfine's beautiful herringbone design as inspiration. The headboard and footboard insets are 1x3's that I stained using 2 different colors and varying coats. I am completely addicted to working with wood now!


Fri, 06/12/2015 - 23:51
The ability to mix the colors to create the headboard equals talent!!
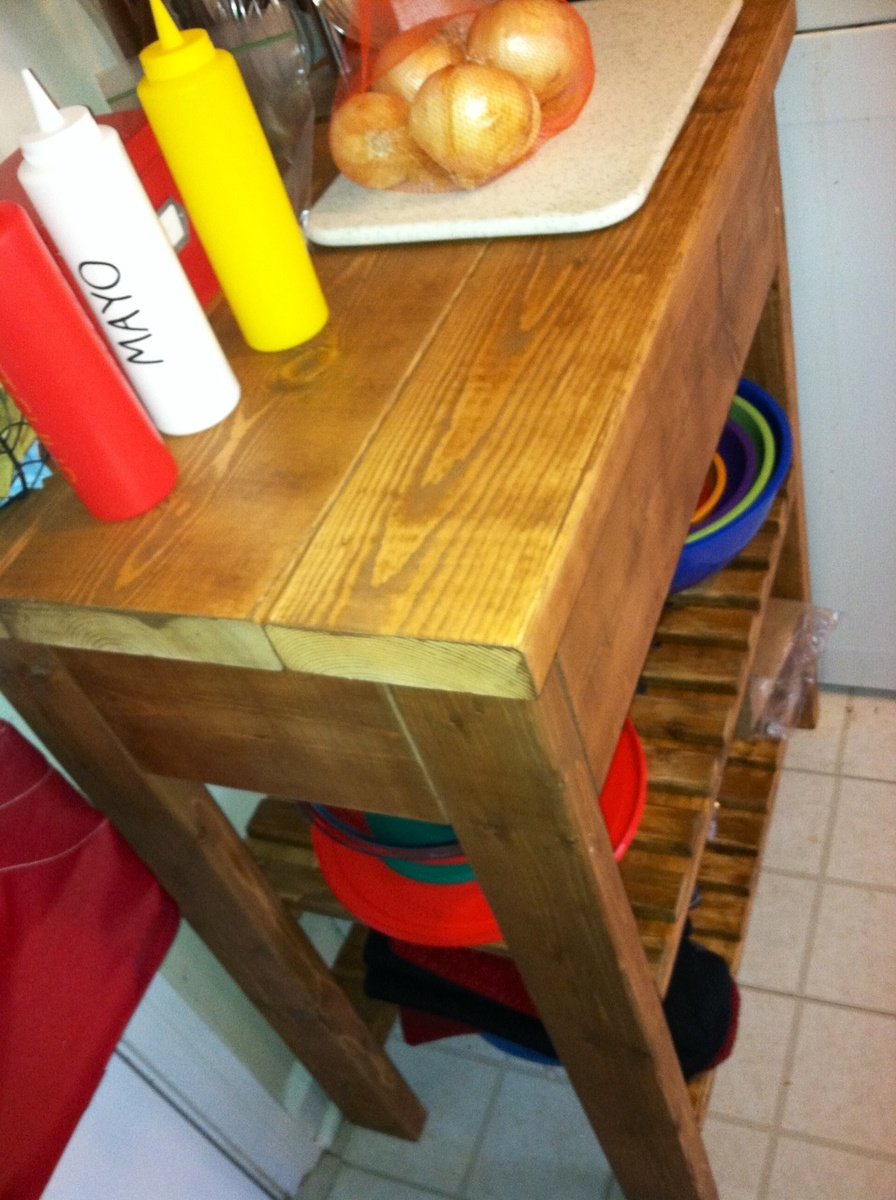
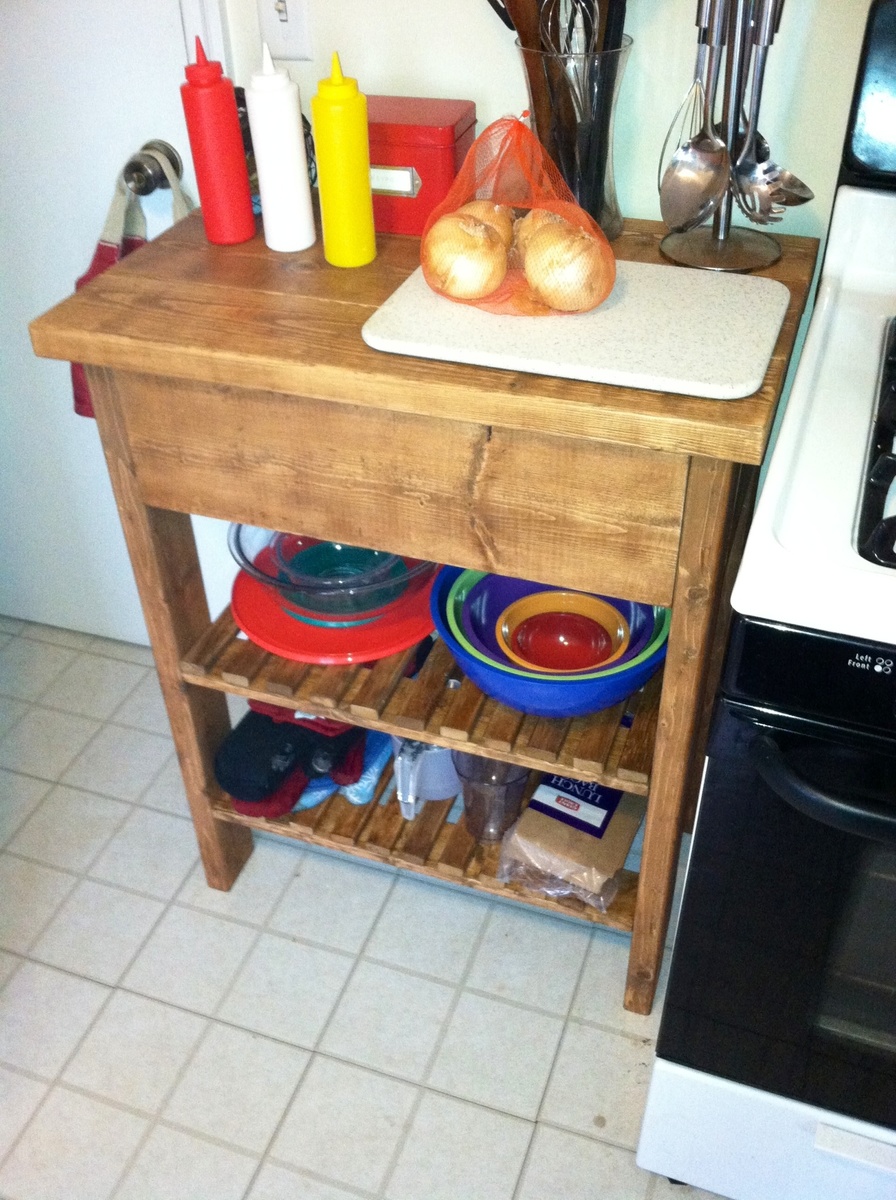
For Christmas made this to hold all her kitchen appliances. Still waiting to get it painted. Very close to being finished. As my second project that I have attempted, I found it quicker as I learned how to use some of the tools I acquired from the first project I did in May. Thanks for great ideas.
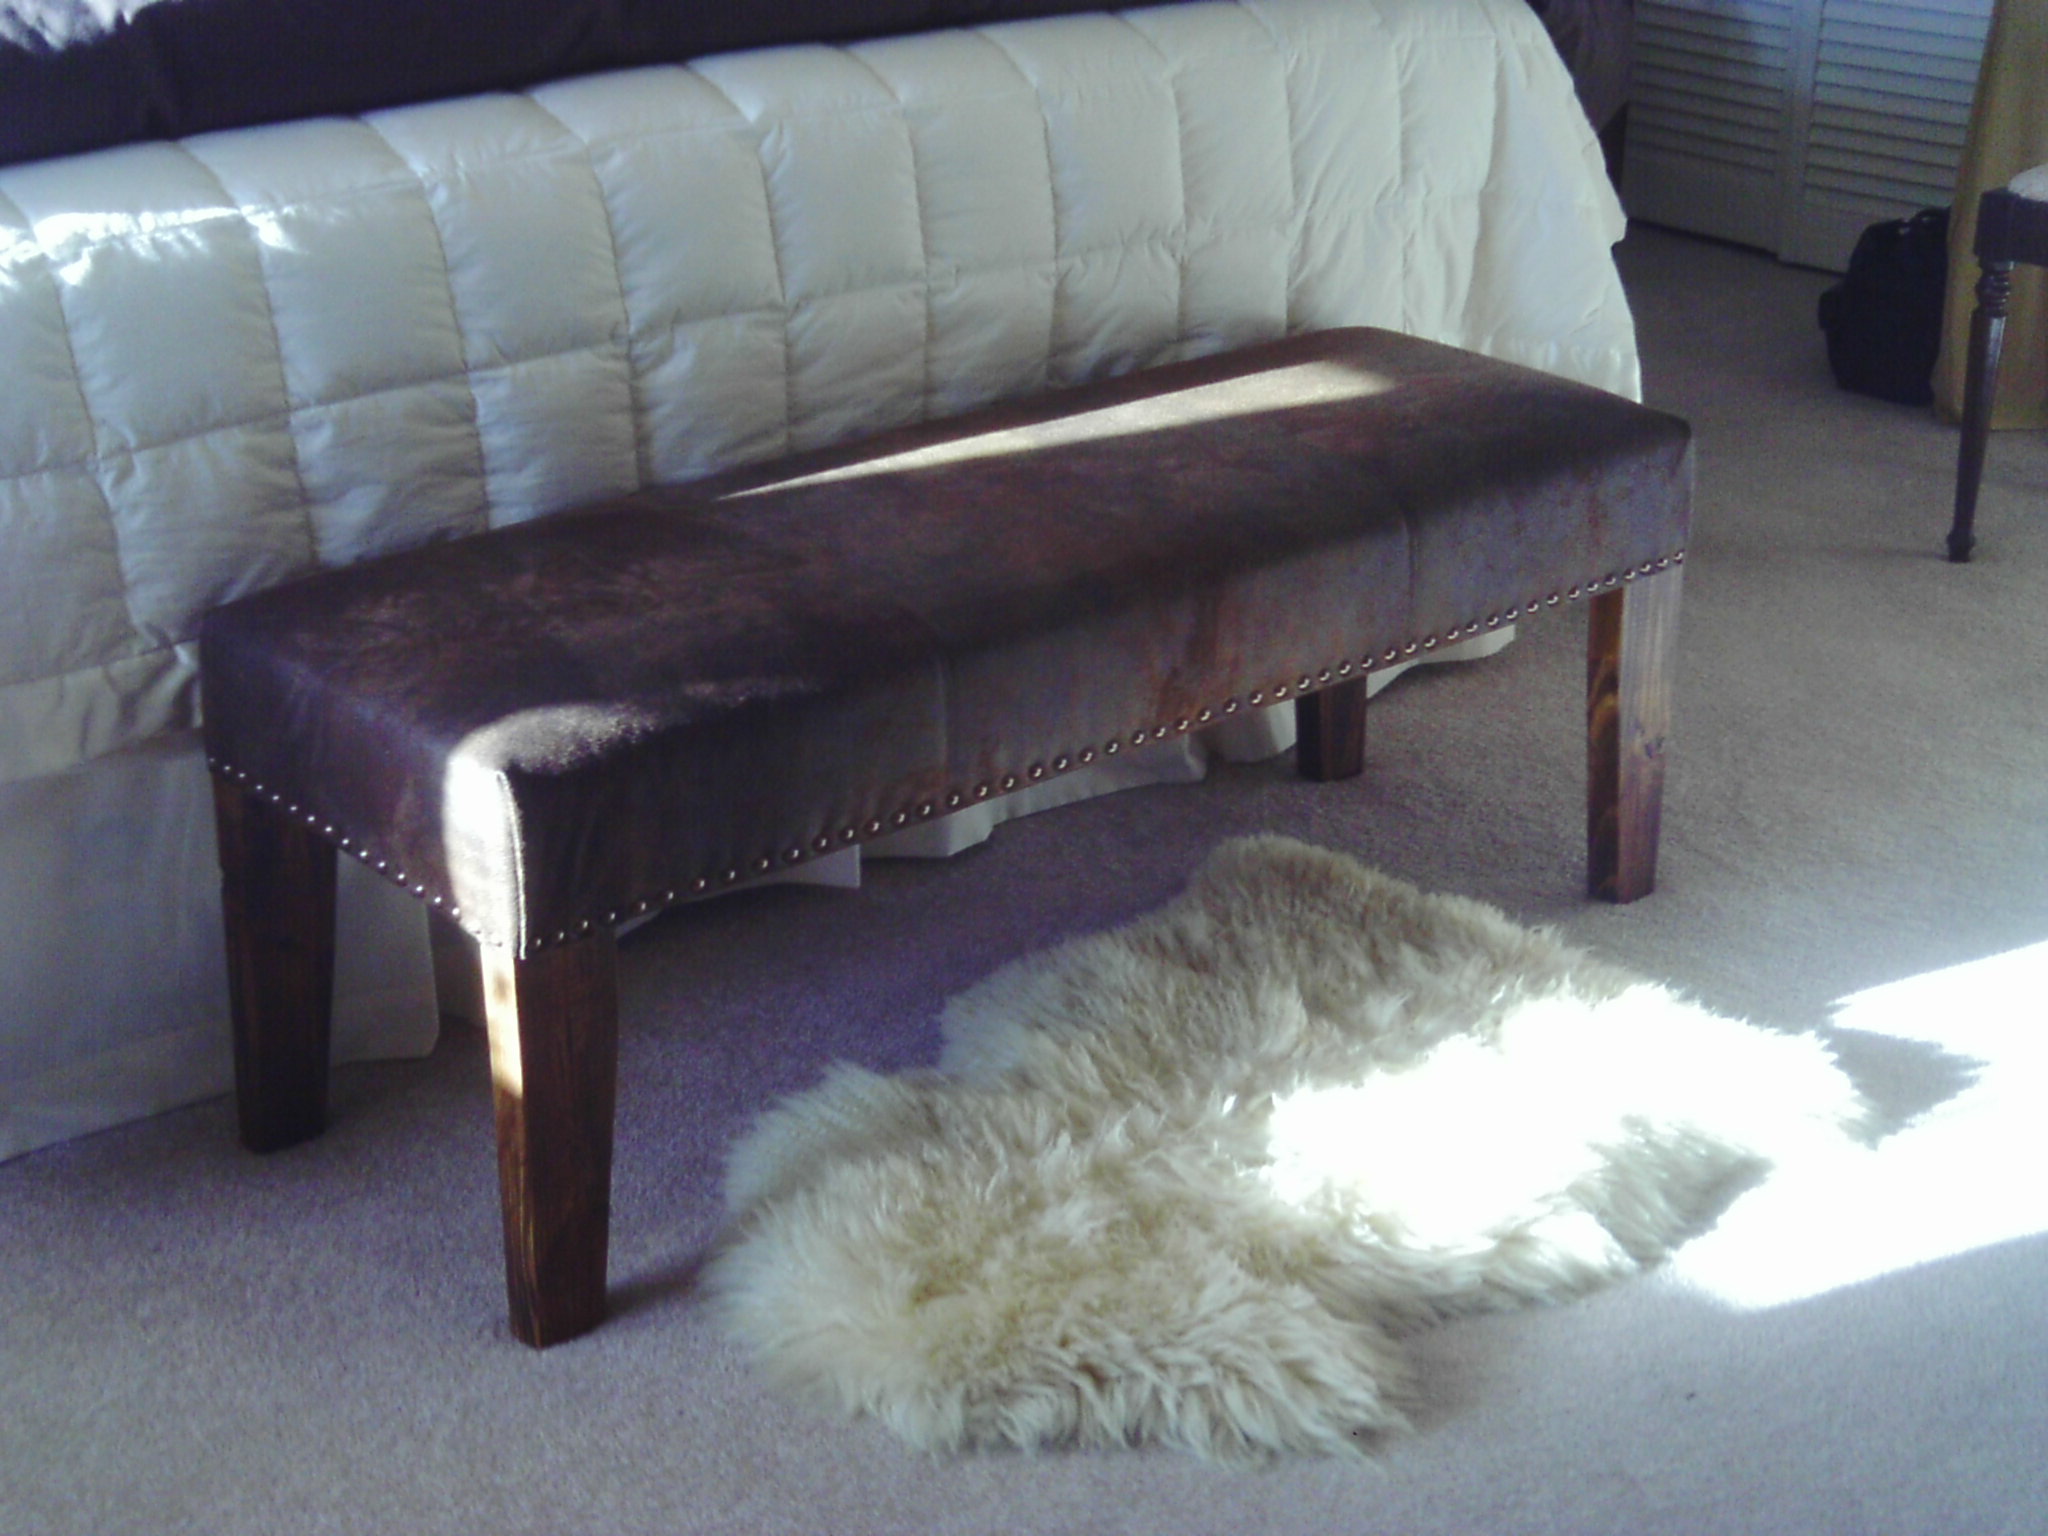
The nailheads were finally restocked, and I finished the bench. Thanks for all the responses!

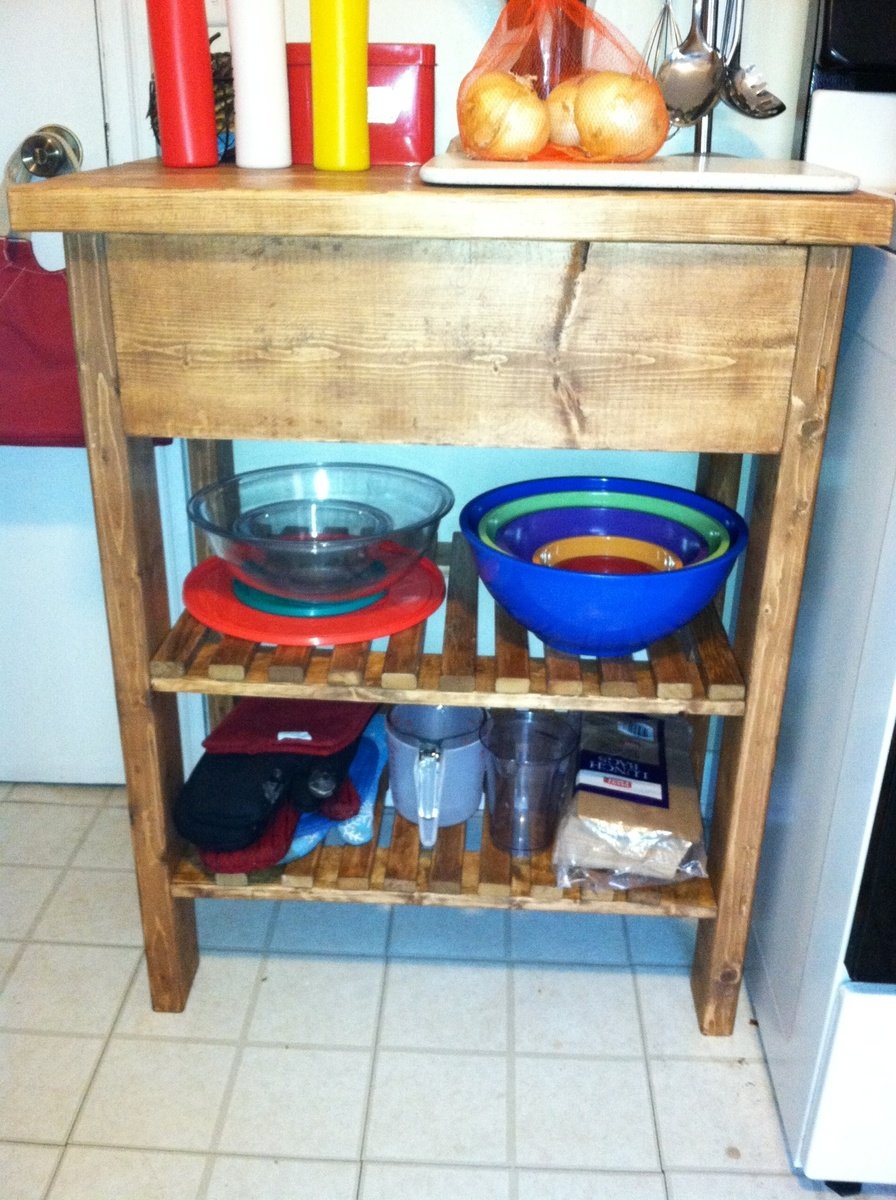
Had to adjust the measurements to fit the space I had to use it in my tiny kitchen but it turned out pretty well.
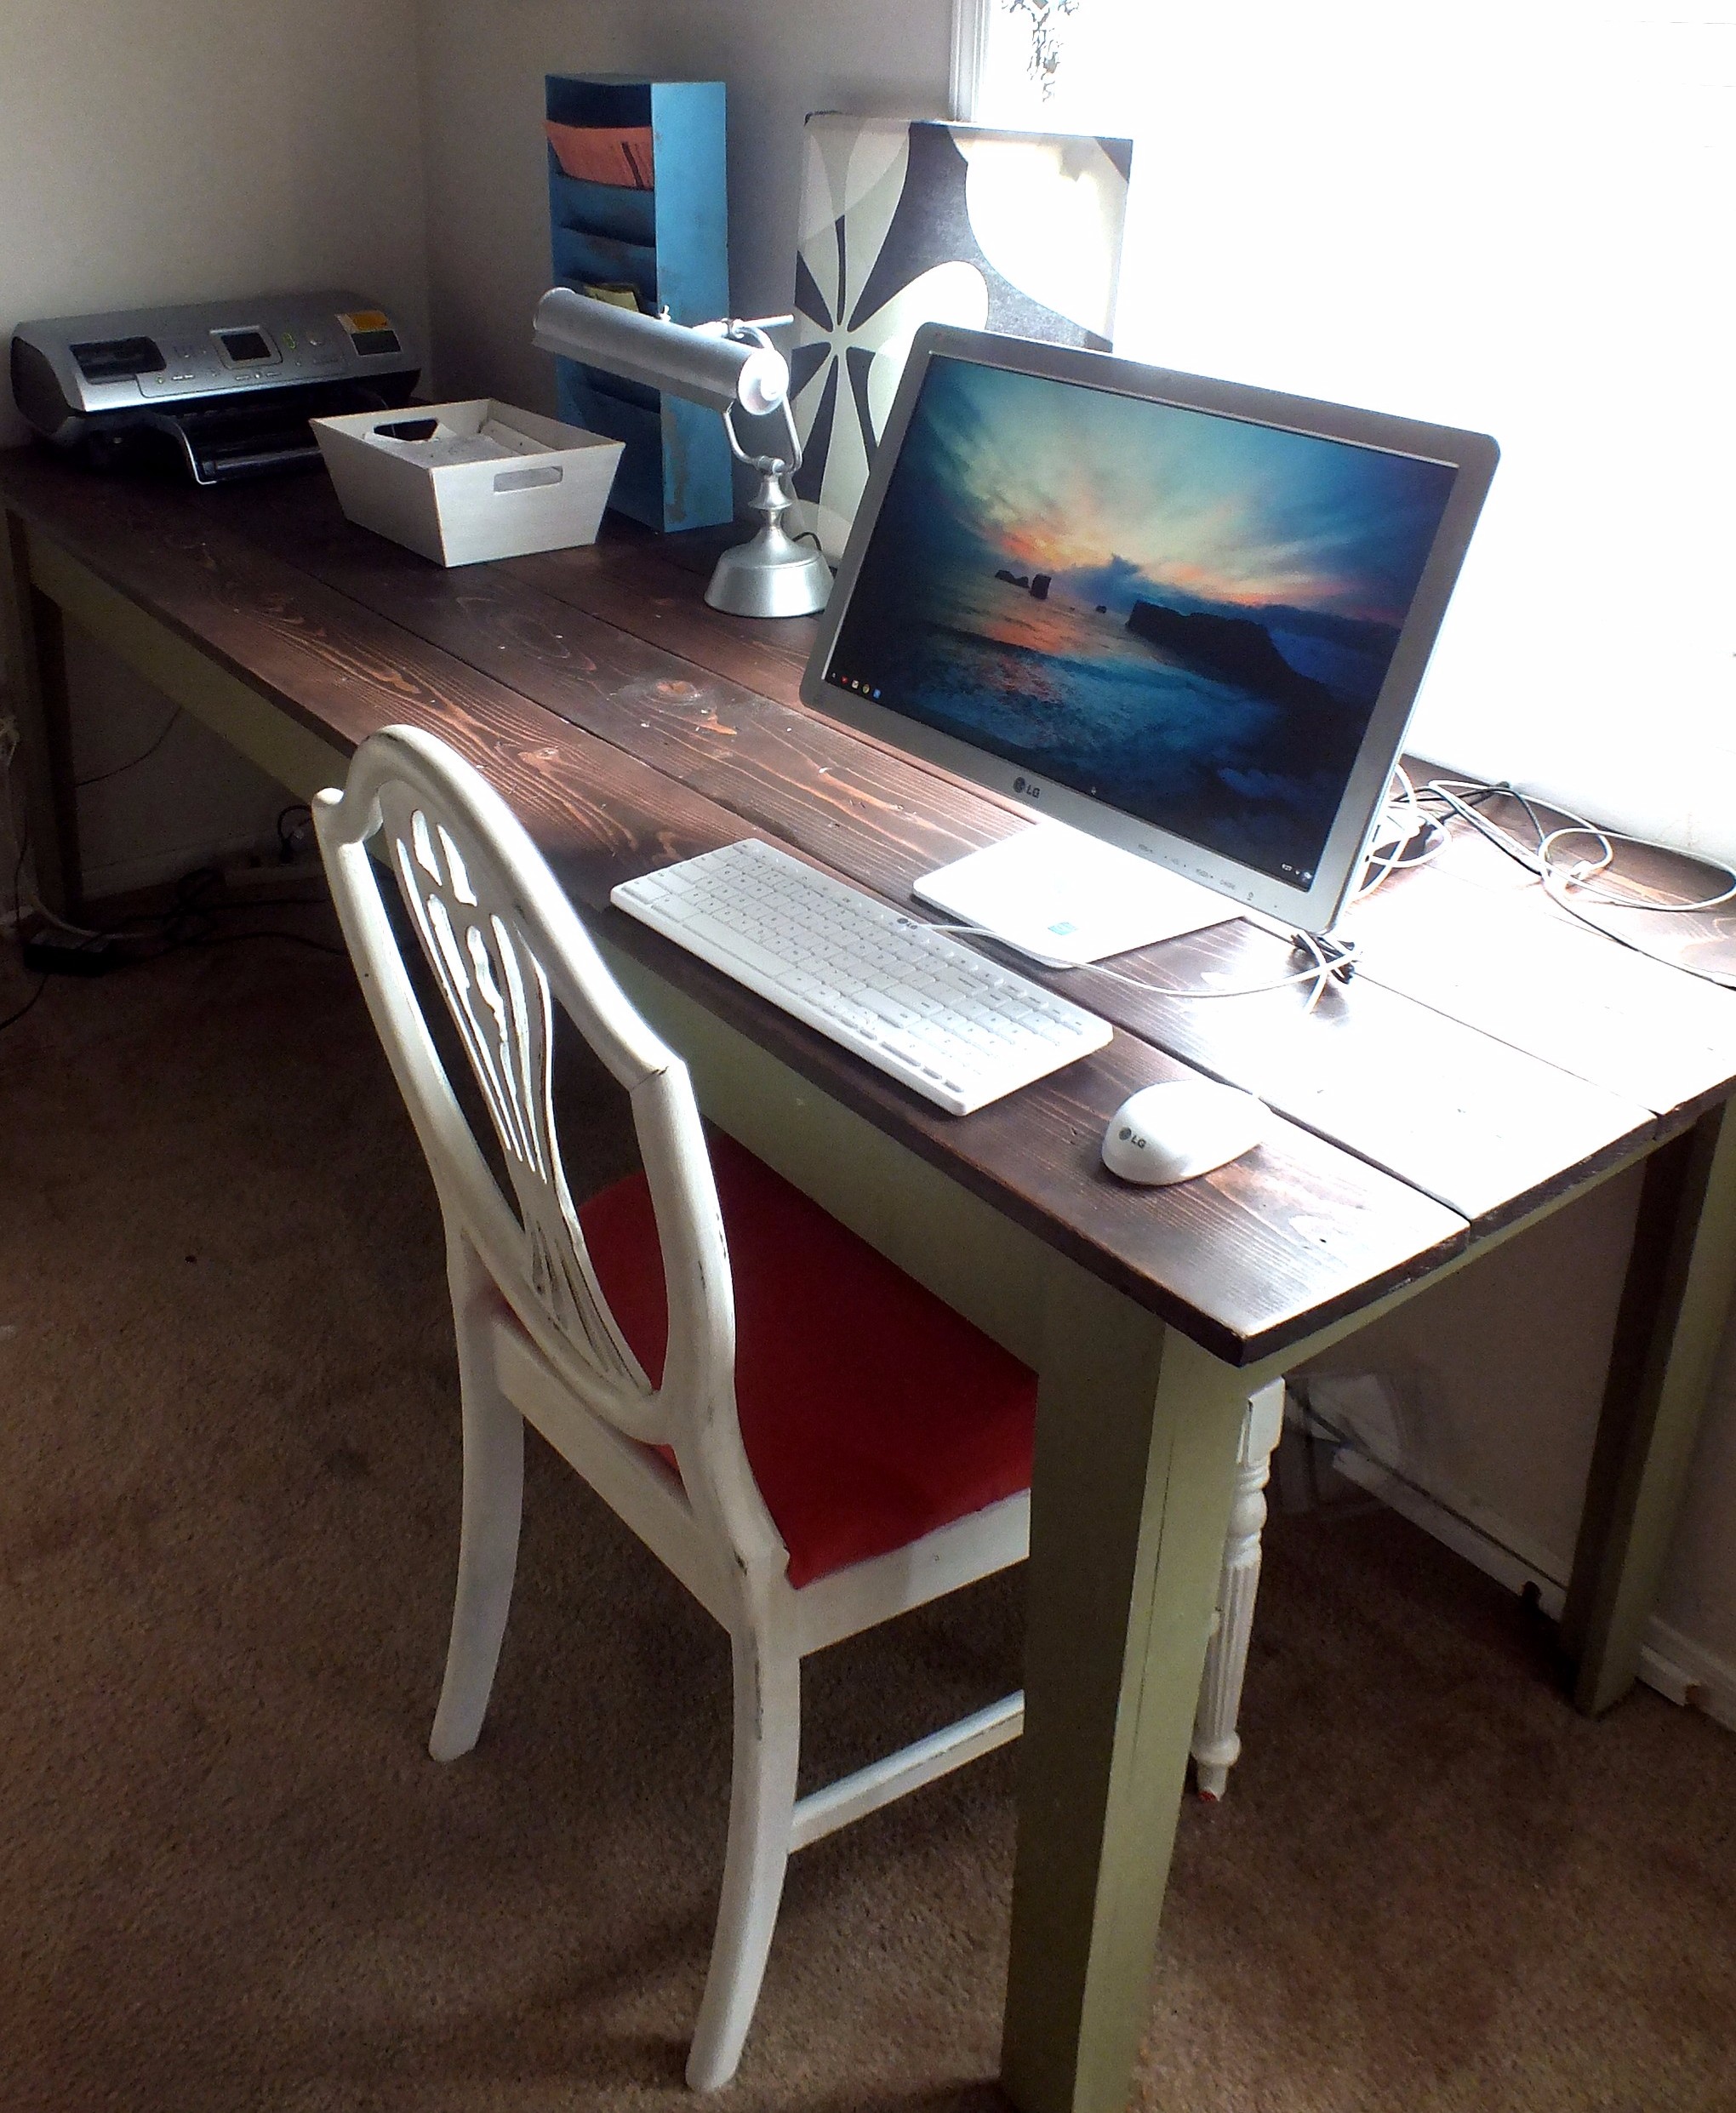
I recently started a refinishing business and needed a work surface where I could use the computer, print, and write down inventory and have some storage for receipts, etc. I couldn't find anything affordable and big enough for my home office so I decided on building something myself. With help from my wonderful husband, I built the Narrow Farmhouse Table. I beat up the top with any tool I could find, then sanded, gel stained the top (java) 2x, and I painted the legs a sagey green with homemade chalk paint. Its big and beautiful and perfect for my home-based business.
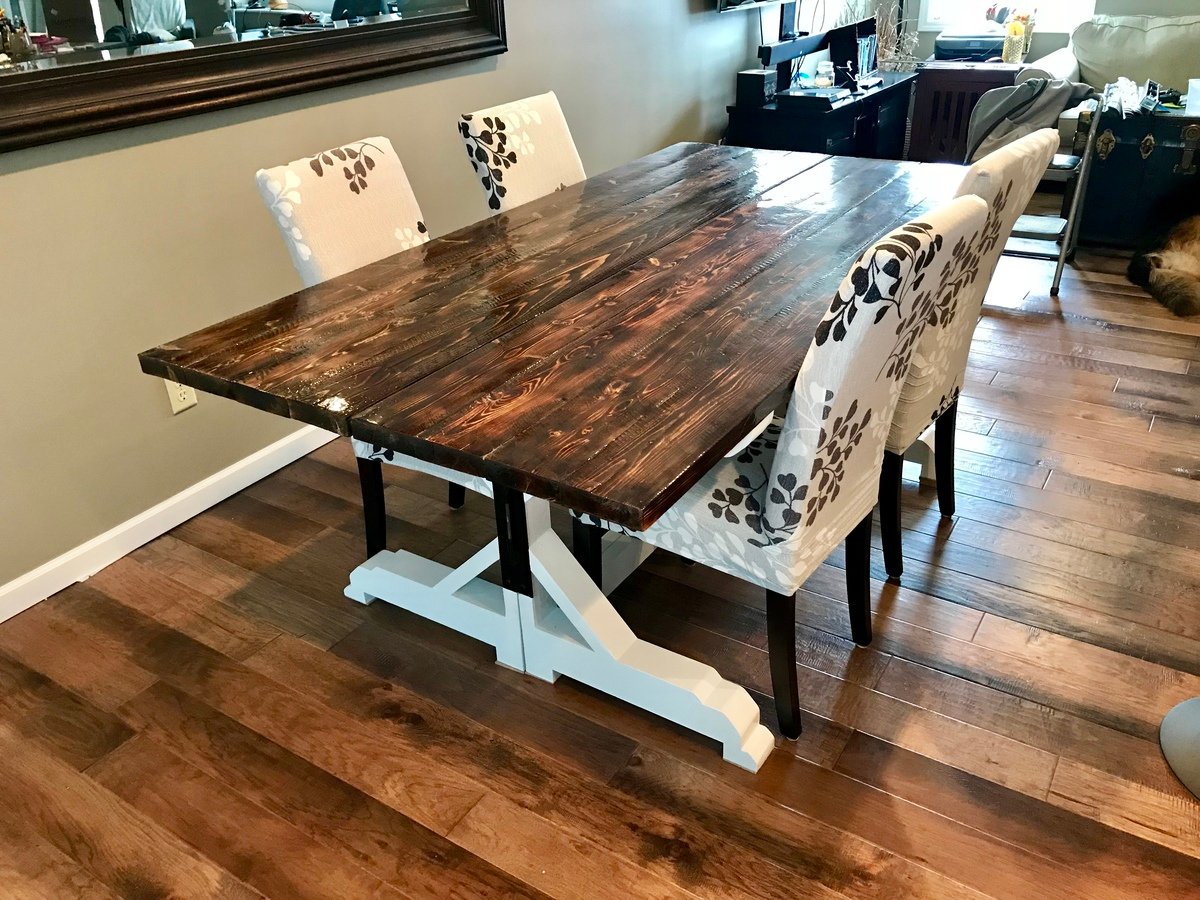
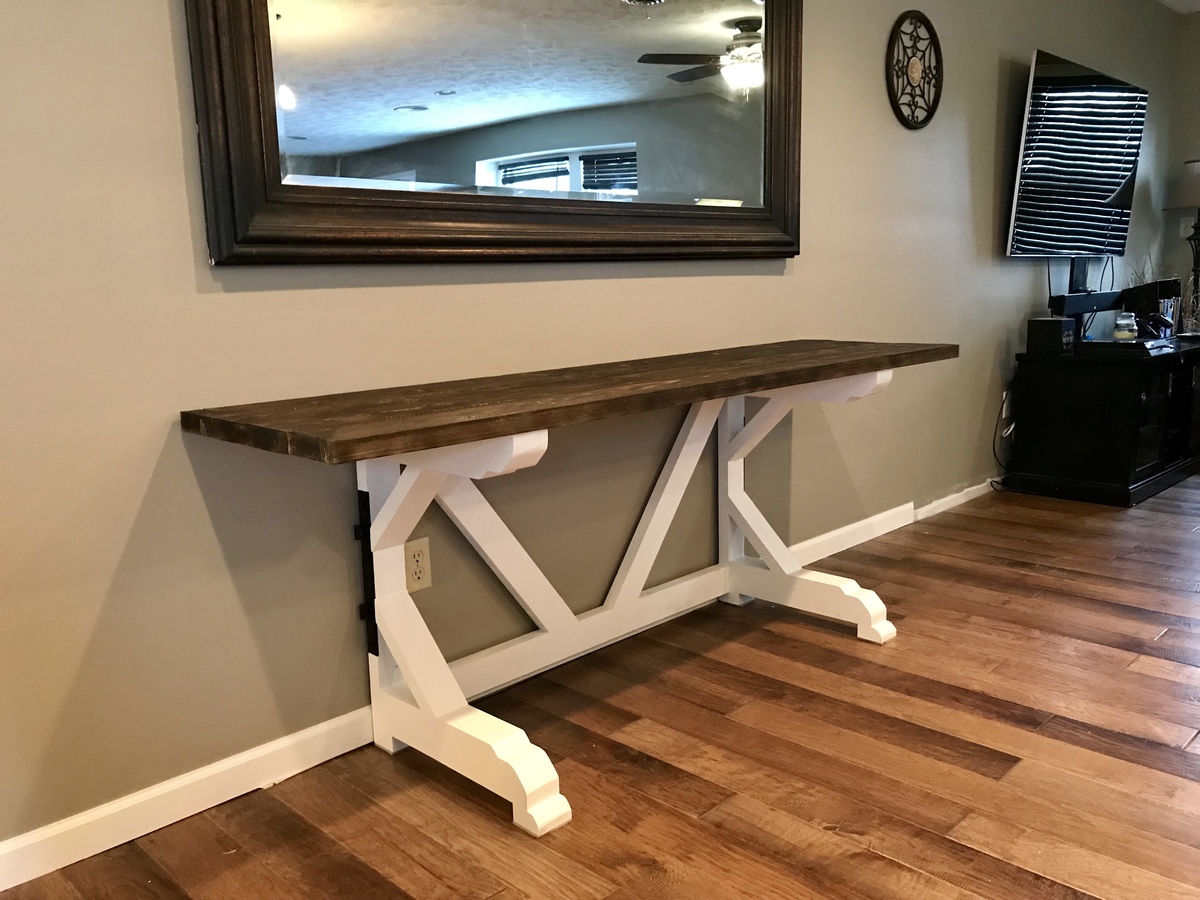
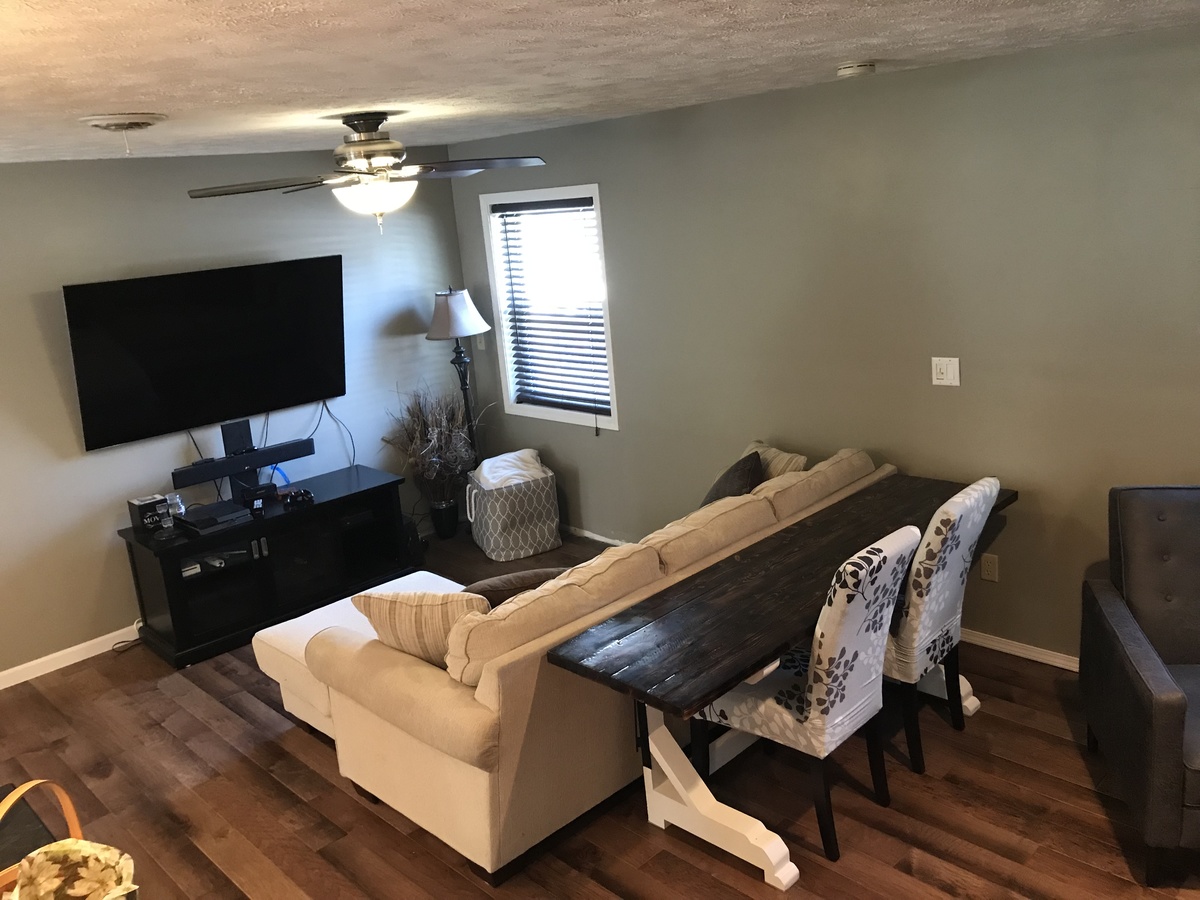
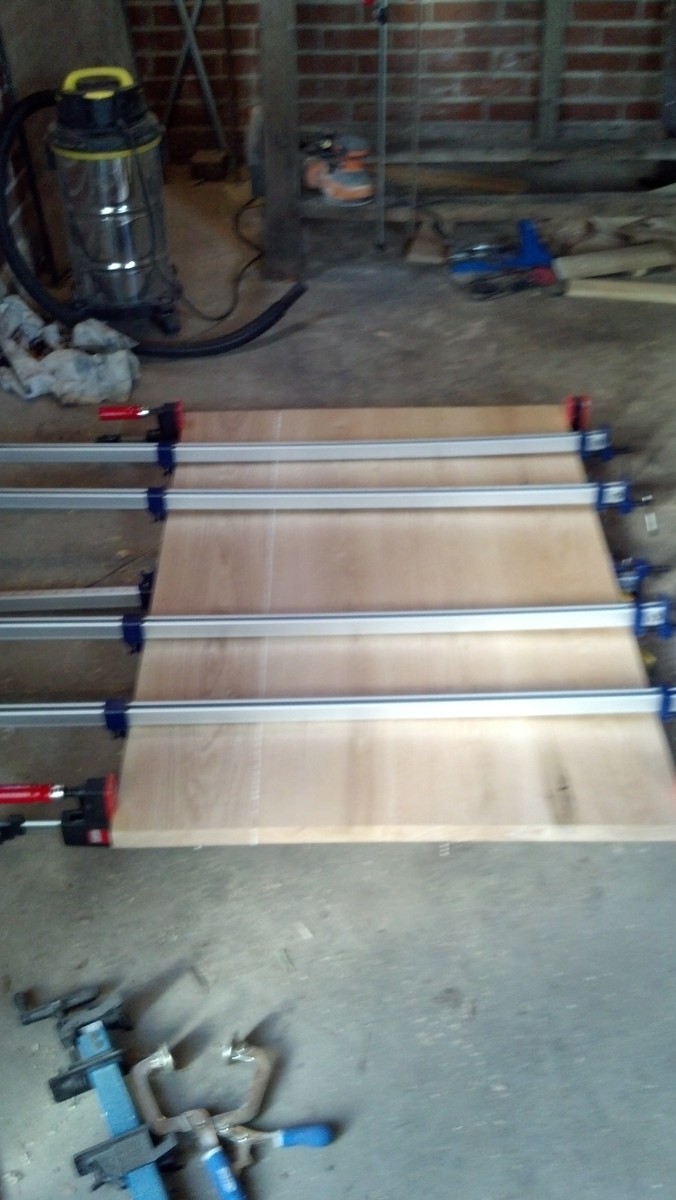
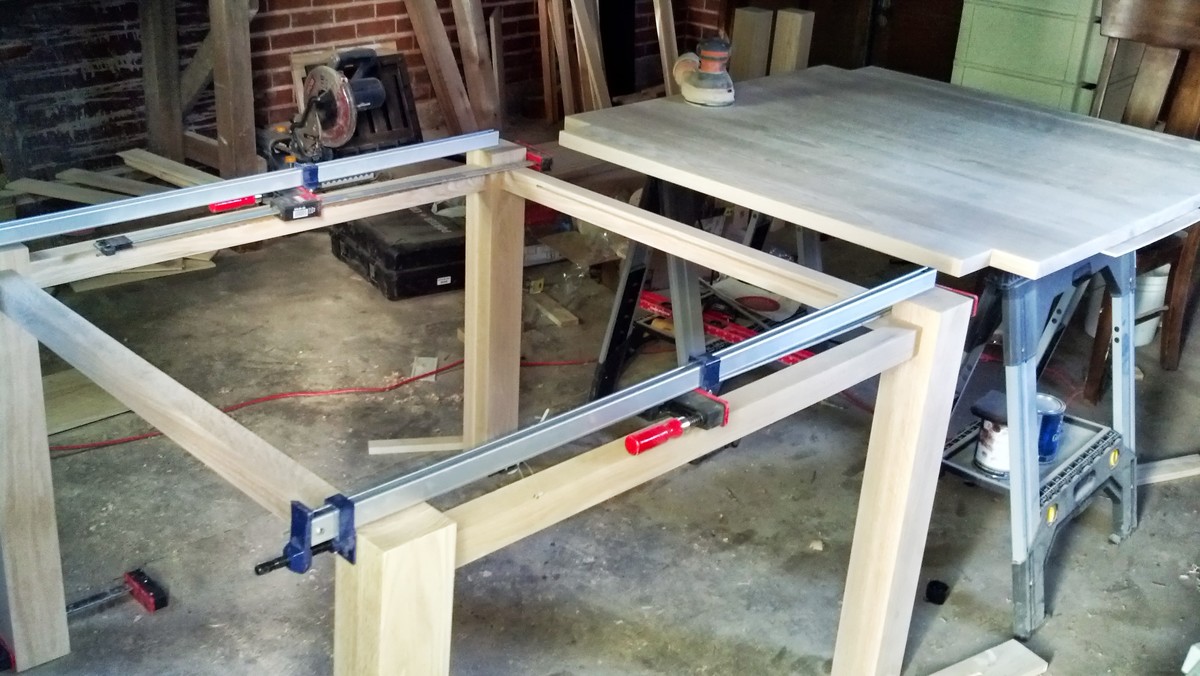
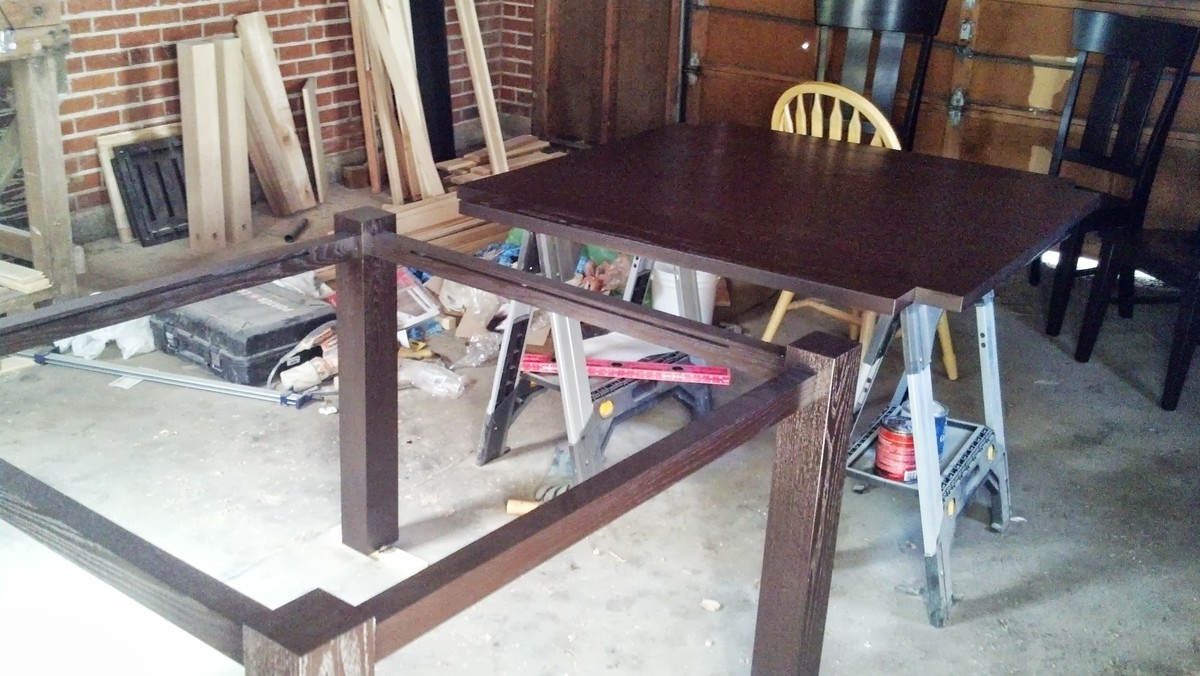
We have a smaller house and wanted a dining table as well as a table behind our couch. So, we got the best of both worlds with this minor customization. I simply split the two legs and tabletop in half, added additional feet, and built two supporting braces instead of one. For an added touch, I welded tubes to steel angle iron to make a hinge-style locking mechanism with steel pins. This locks both halves together (when using as a full table) and adds a little rustic black metal to the overall look.
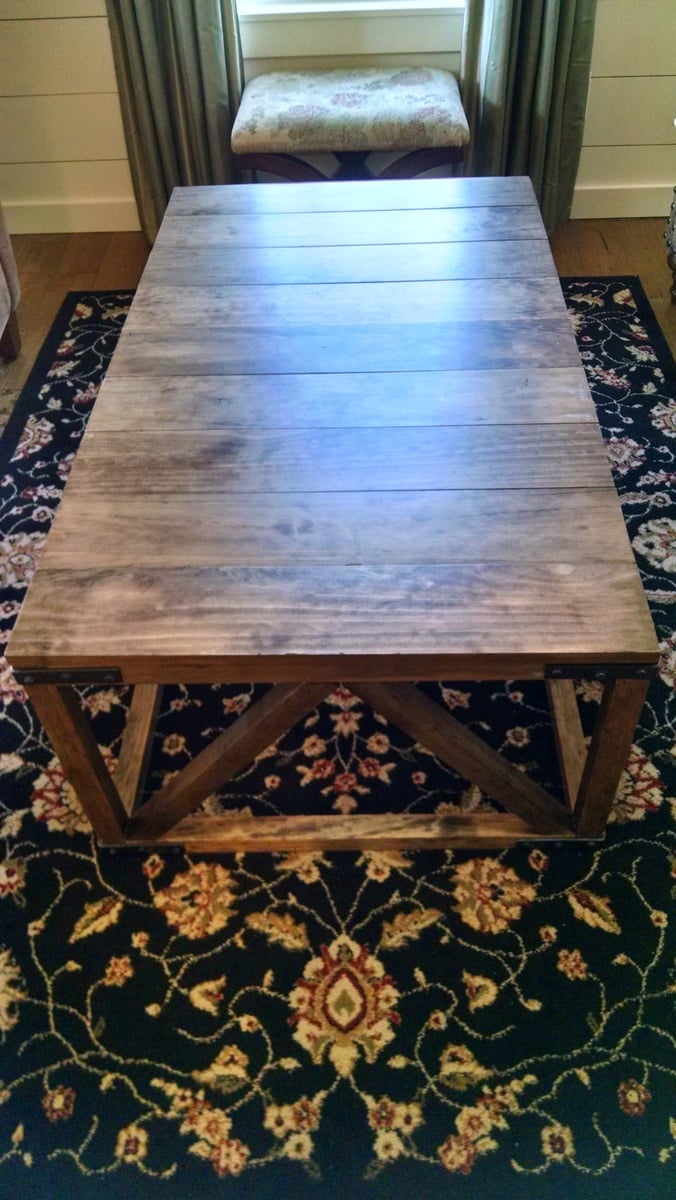
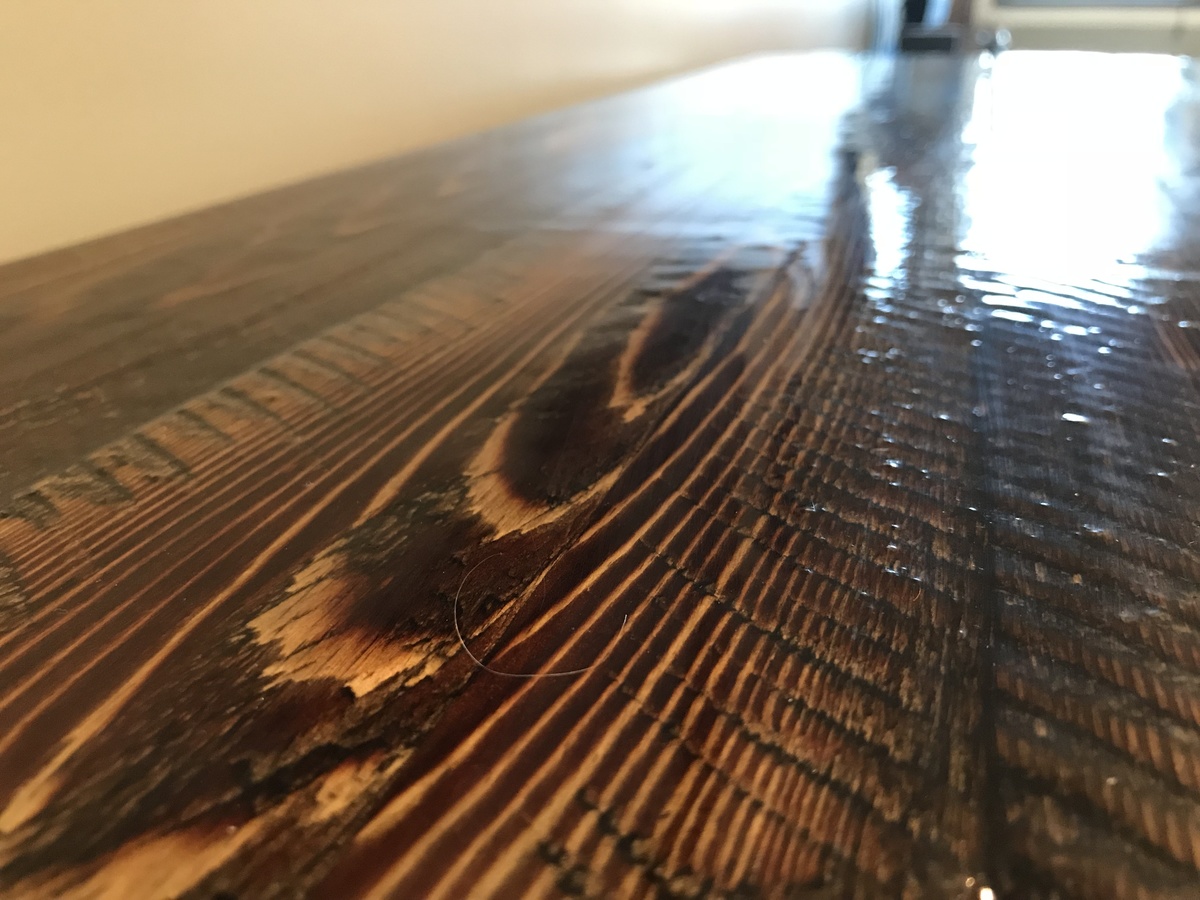
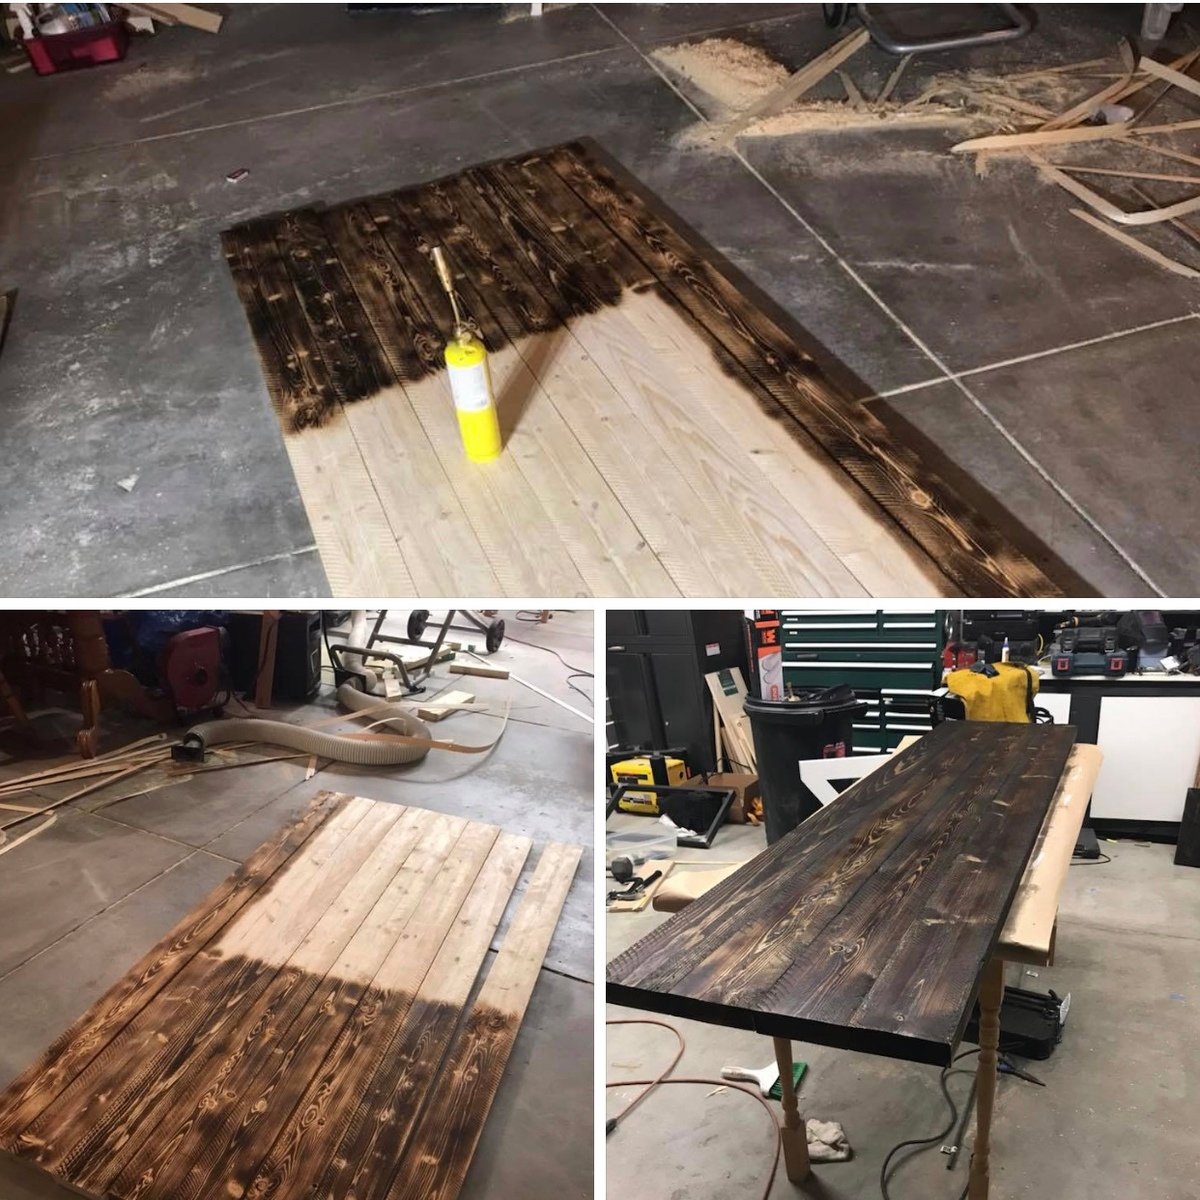
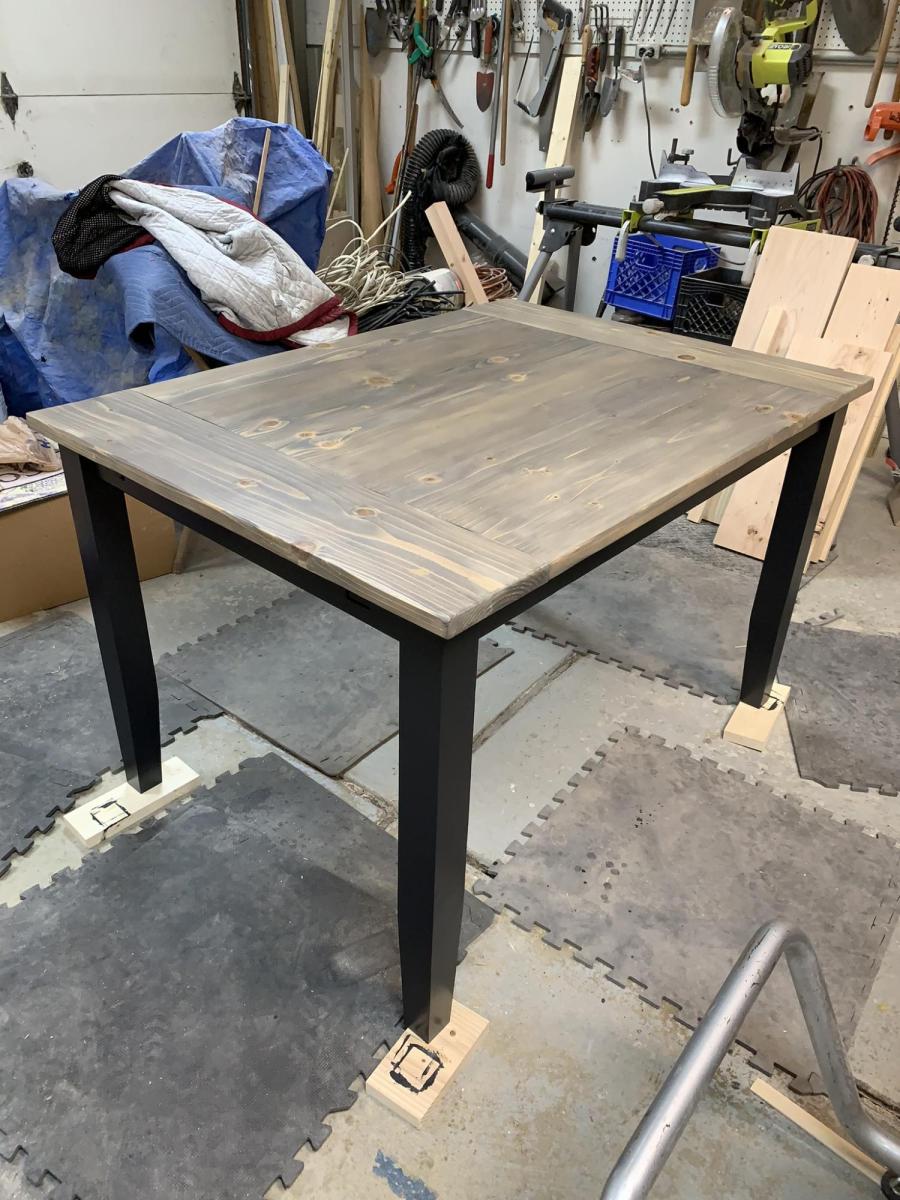
For the tabletop, I cut the sides off the lumber to get the square look. I then bent one tooth in my tablesaw and quickly cut the face of the lumber to give it a rough sawn look. I then belt sanded it all to smooth out the really rough spots. Then I shou sugi ban (burned) the top to burn off the splinters and make the grain really pop. I added a little stain to smooth out the light spots. Lastly, I put about 64oz of epoxy and lightly sanded with 0000 steelwool after it set.
Please excuse the floor trim or lack therof. I just installed the new floor and decided our table was the higher priority. :P

I used Ana's plan as a base.
I changed it from 8x8 to 8x12, made the 4x4x8's to 4x4x10' for a higher main platform and swing platform, and added a 12' long monkey bar set to the other side. Also, an 8' climbing wall and a plank walkway to accompany the two slides.
For the clubhouse, I used Hardiplank 4x8 sheets for the siding and an EZ-Framer kit for the structure itself.
The slides I purchased from Lowes, monkey bars from Amazon, and the swing frame braces from Amazon as well. The swing kits I got from ebay.


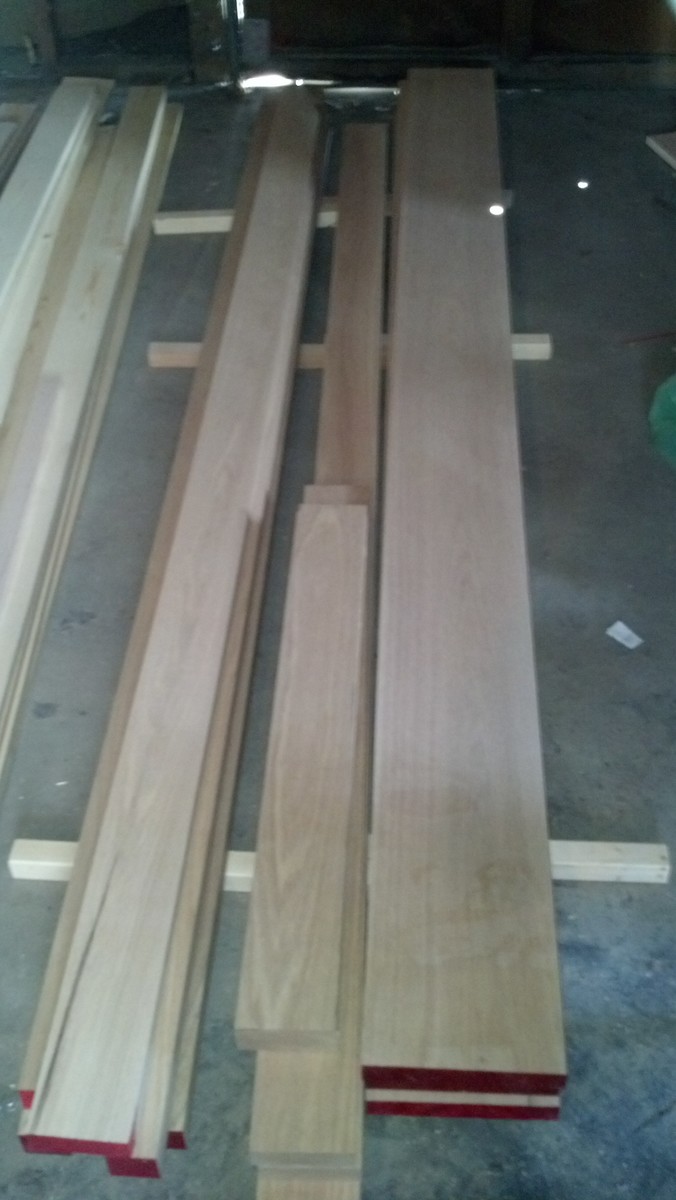
I love the C&B Big Sur dining tables and was excited to come across these plans. I tackled making a copy of the Big Sur dining table using Ana's plans as a starting point with some modifications and custom dimensions (4' x 4' x 31"). This was my first major woodworking project and I wanted it to be as nice and strong as possible so I tackled joining the rails of the frame to the legs with mortise and tenon joints. The main reason I did this was because I used 1 1/4 and 1 3/4 red oak for the entire table and I just wasn't convinced screws could handle the weight of the top on the frame. I also wanted to learn how to make those joints. I used my plunge router to cut both the mortises and the tenons and it worked out reasonably well. Now that I have a table saw I will be using that with a dado blade for tenons in the future. I sanded to 320 grit and finished with four coats of General Finishes Gel Stain in Java followed by four coats of Minwax spray on polyurethane. The last step was to apply paste wax using 0000 steel wool and then buff with a clean rag. I love the way this came out and am now planning on making a bar cabinet with wine bottle holders in the same style. The total cost of the table was on the higher end than I'm used to because the wood was pricey but it was still so much less than the C&B Big Sur price tag. I'm lucky that I have a hardwood lumber supplier just a few minutes down the road that does custom milling of 100's of different species.

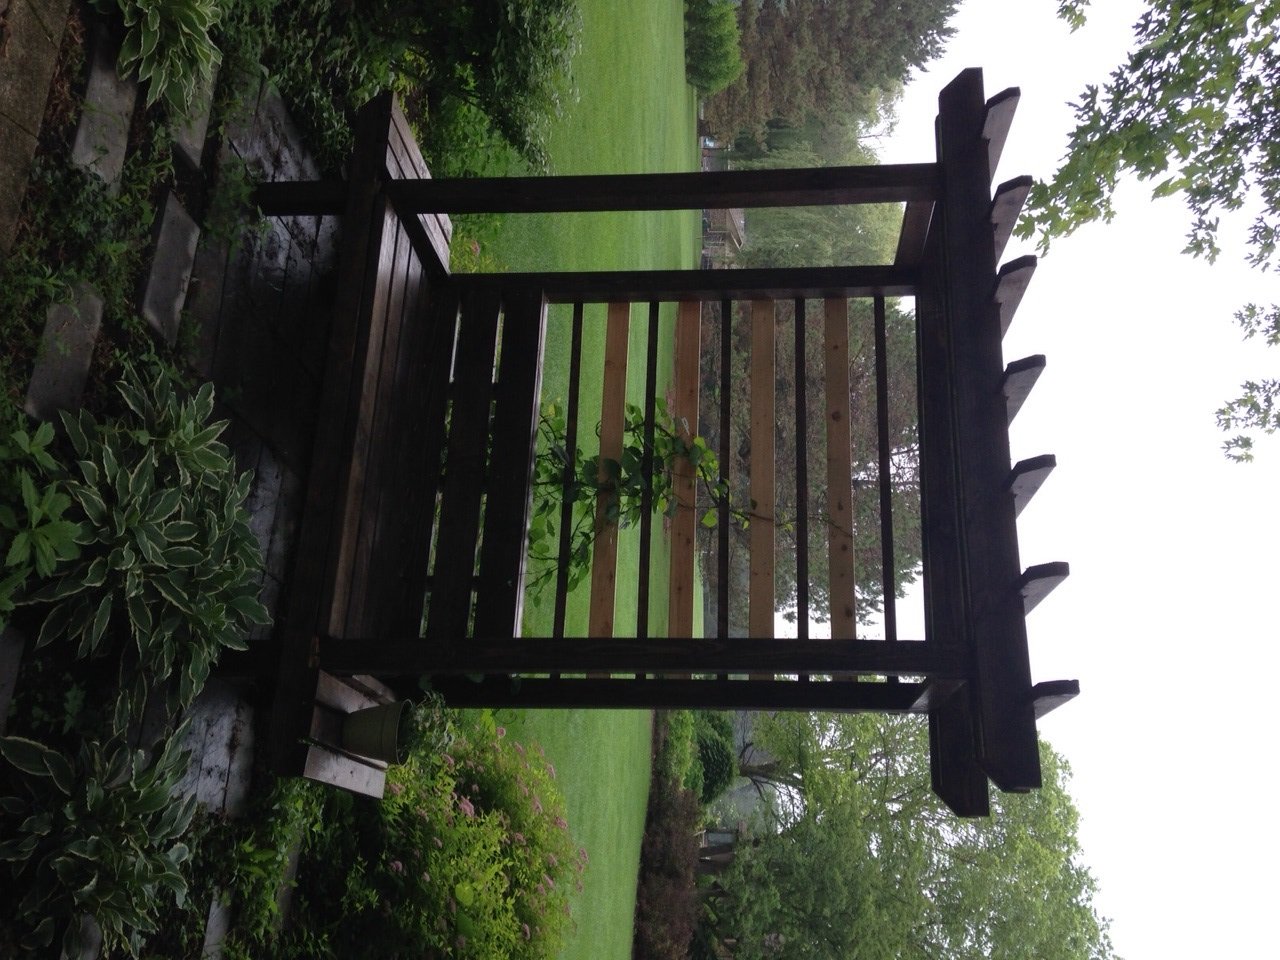
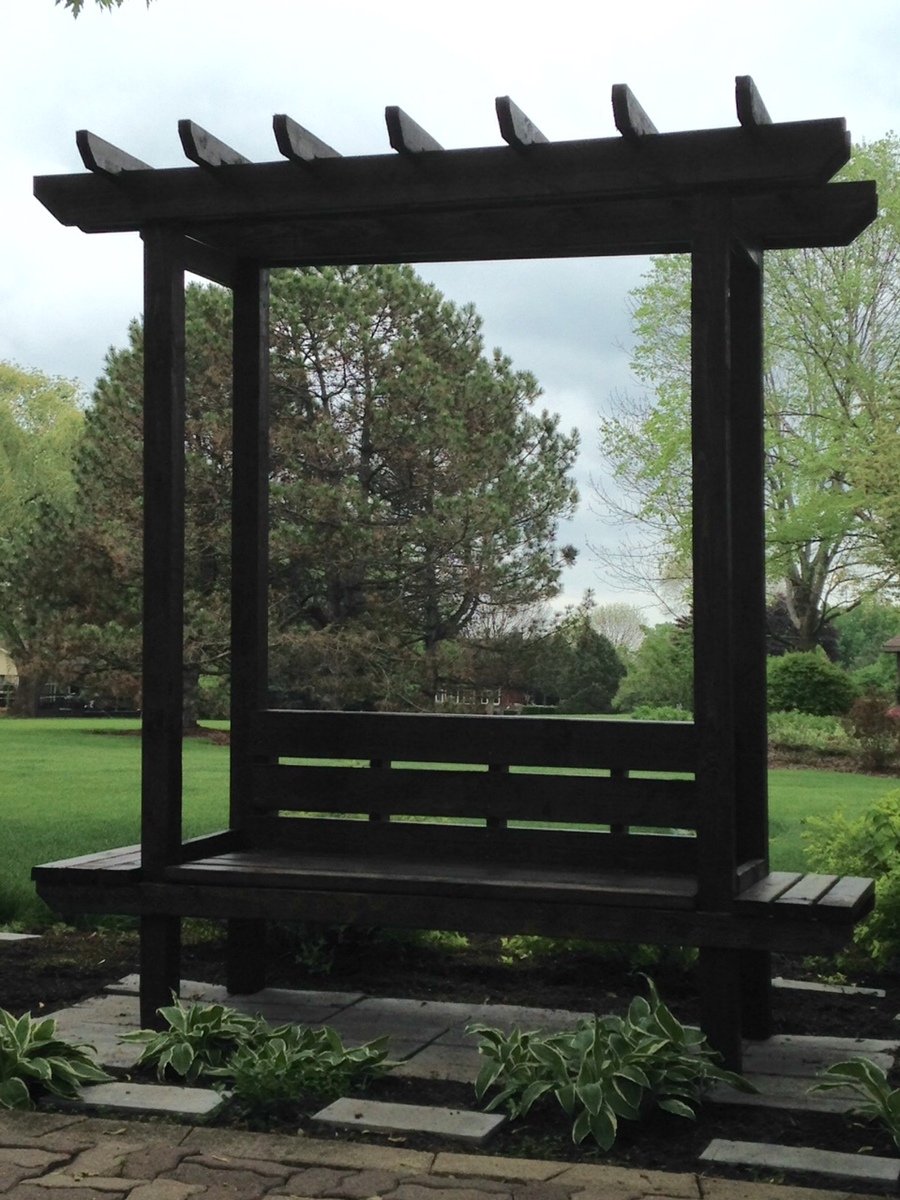
This plan was pretty easy to follow. Apart from having to make some minor adjustments to the notches for the rafters across the top, and needing a couple more seat support boards than the cut list called for, everything went as planned.
I used green treated lumber and stained it with Minwax Walnut. I also sealed the entire piece with Spar Urethane.
I didn't use lattice work on the sides, but went with some horizontal lattice work on the back (a mix of stained and unstained 2x1 and 3x1 boards). I may install a couple of 2x4 for arm rests on each side.
The morning glory vine I planted behind the bench has almost reached the top of the lattice work. All in all, I'm very pleased with how this project turned out.
Thanks Ana!
Sun, 06/21/2015 - 11:11
This is awesome. I really like the horizontal slates on the back.

Wed, 06/24/2015 - 10:27
Thank-you. It was a fun project to work on. Lots of opportunities to tweak the design to suit your own preferences.
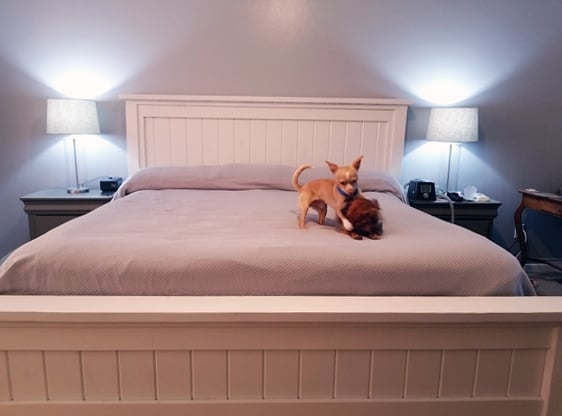
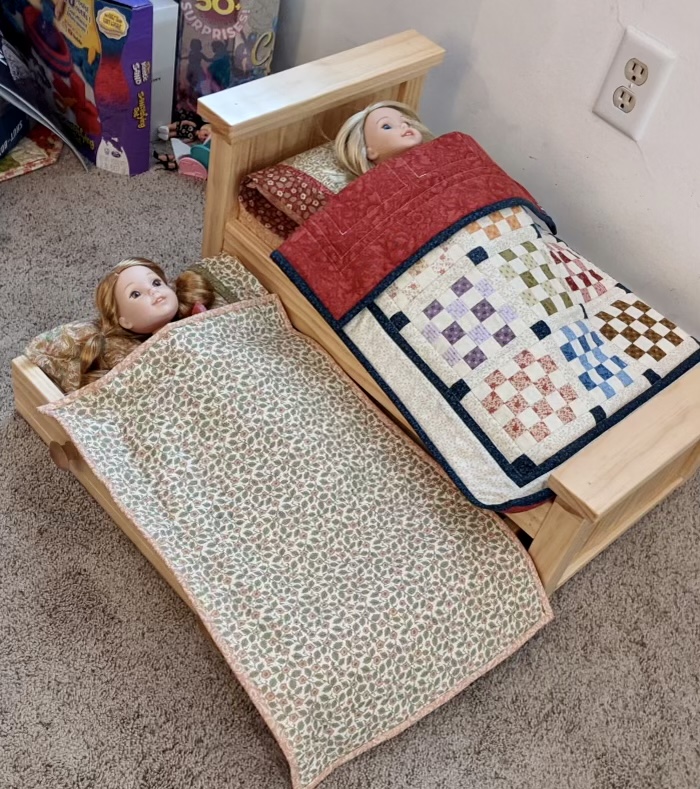
Thanks for the plan and the inspiration to do the job, it turned out great! Luckily, I didn't put the new bedding on yet, as the little ones needed some wrestling time.
Thanks!

I built this farmhouse table with leaves for my daughter. I wanted a farmhouse look but with a modern twist, and I also wanted breadboard ends that would pull out so she could insert leaves on each end to increase the size of the table for company. I used the plans for concept, and actually used the updated farmhouse table plans with pocket holes but couldn't find the plan link again for this post but made several modifications to achieve what I wanted. I planed all the lumber down to a true 1 inch for the top and also the trim to reduce the weight and chunky feel. I planed 4 x 4 untreated lumber for the legs to 2 1/2 inches and then tapered the bottoms as well to reduce weight and chunkiness and create a more modern feel. I built actual channels on the base for the extension bars which attach to the breadboard ends and I attached table aligners to the table, breadboard ends and the leaves so things would stay straight and even. I also glued together 2 x 4 and 2 x 3 pieces that had been planed down to a true 1 inch for the skirting and treated them as one piece when attaching to the legs so I didn't have so many screws going into the legs. I painted the base black with furniture paint and then put 2 coats of polyurethane over that and stained the top gray, then used a and 'wash' of watered down black paint over that and then 5 coats of polyurethane on the top. The table is 36 x 48 without the leaves and extends to 70 inches when both leaves are in place. I'm quite pleased with how it turned out.


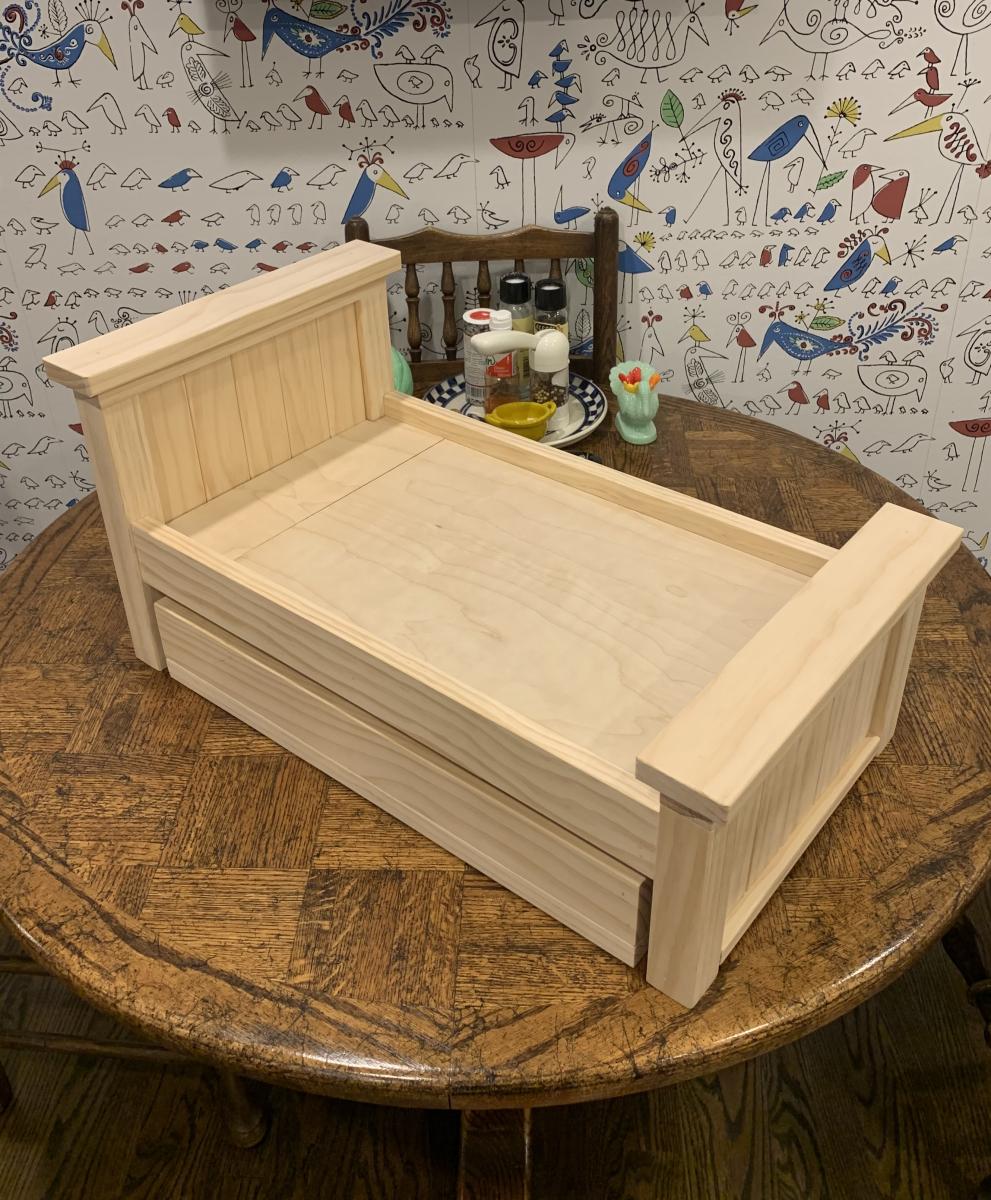
This is the cabin single bed. The bookcase/drawers and desk are almost done and will be posted soon. This was a great project, very easy and my son is so excited! Thanks again Ana :) We used a green milk paint with Federal Blue milk paint over it, distressed it and then used a brown glaze and polyacrylic.


Comments
Ana White Admin
Sun, 12/26/2021 - 13:27
So cute!
Great choice of finish and hardware, it looks awesome!