Last minute Christmases gift. Bunny hutch.
Thank you Ana for the plans. Our daughters dolls needed some pets and this project was the perfect home for her New bunnies! I can't wait for her to open this gift Christmas morning.
I LOVE the hot cocoa stand but wanted to make it “year round”. So I also created accessories for lemonade, fireworks and snow cone stands. The signs are reversible. They are made of metal and attach with magnets. The banners also attach with magnets. There are hot cocoas, gingerbread cookies, peppermints, lemonades, iced cookies, a cake plate, fireworks, smoke bombs, bottle rockets, sparklers, snow cones and a snow cone holder that flips over to become a crate.
Thu, 12/23/2021 - 20:09
So awesome, love all the accessories to make it a year round favorite! Well done:)
I first came across Ana's site while looking for a table and chairs set for my little ones. Their room is Jungle themed so I decided to take on the project and build the set myself. My wife and I ended up painting it in the Jungle theme to match my daughter's dresser. We added a checkerboard on one side of the table, and a bamboo tic-tac-toe board on the other side. We had previously painted the dresser so we had experience with the finish. I had a great time building this, and I can't wait to start my next project! I just got my hands on some pallets, so we will be tackling a preschool picnic table next! Bring on the Miter Saw!!!
Made with western red cedar from Lowes. So pretty!
Wed, 08/21/2019 - 09:00
Did you use any kind of finish on the cedar? I’m making one as an indoor end table.
What grit sand paper did you use?
Looks great by the way. Excellent job!
I loved this project! I had been wanting a new set of end tables for a while and I came across these plans and was in love! I altered them just a smidge by raising the bottom shelf a little so I could fit a vaccuum/broom under it more easily, but other than that I left it as is! For the decorative hardware, I used L brackets and large upholstery nails/tacks...you can find them in most craft stores...I picked mine up at Hobby Lobby.
My husband and I made two Queen Platform Storage Beds for our "Carriage House" apartment. They are a beautiful and functional upgrade! Thank you Ana for sharing your plans!
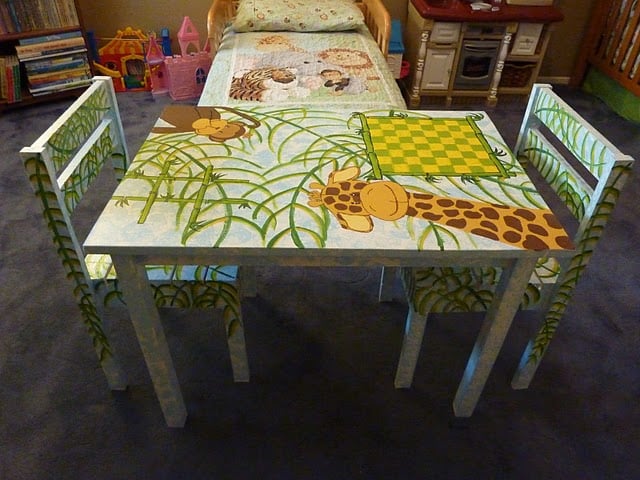
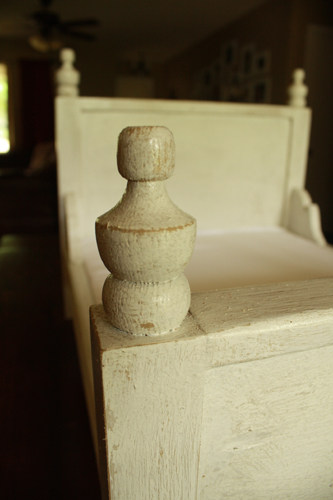
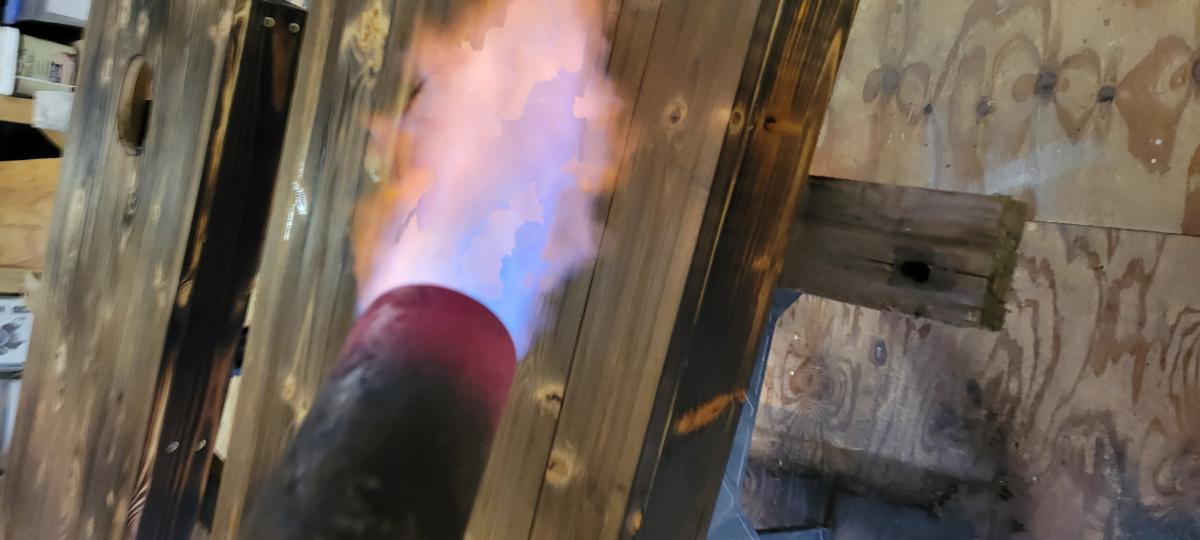
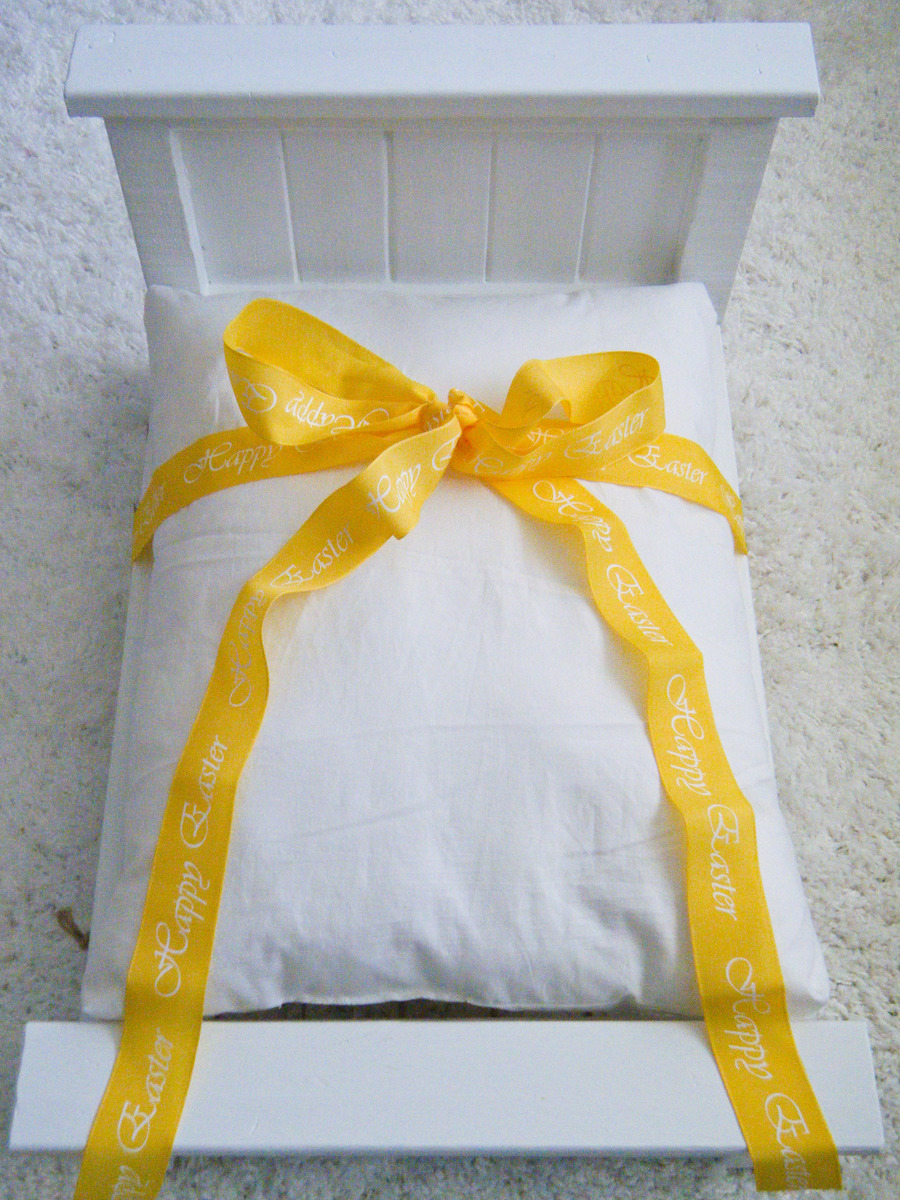
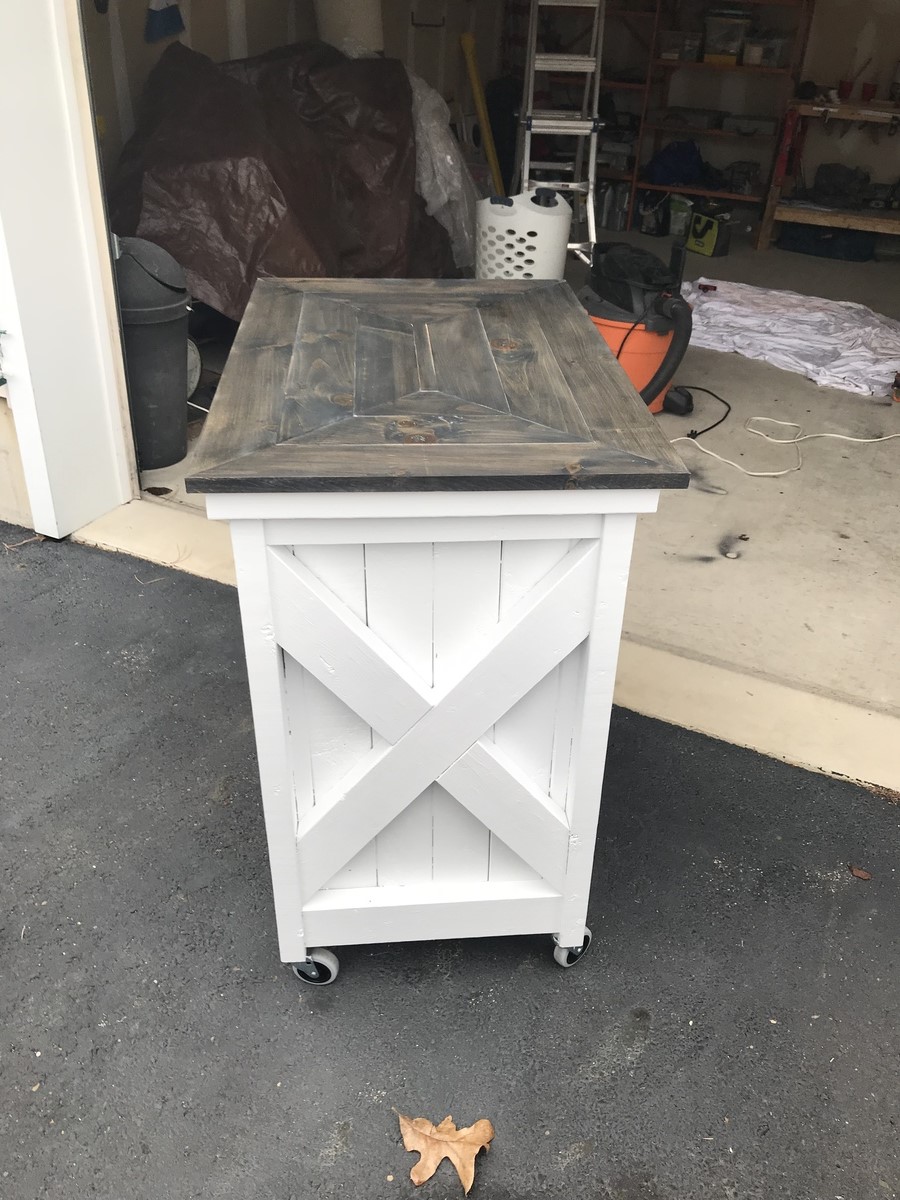
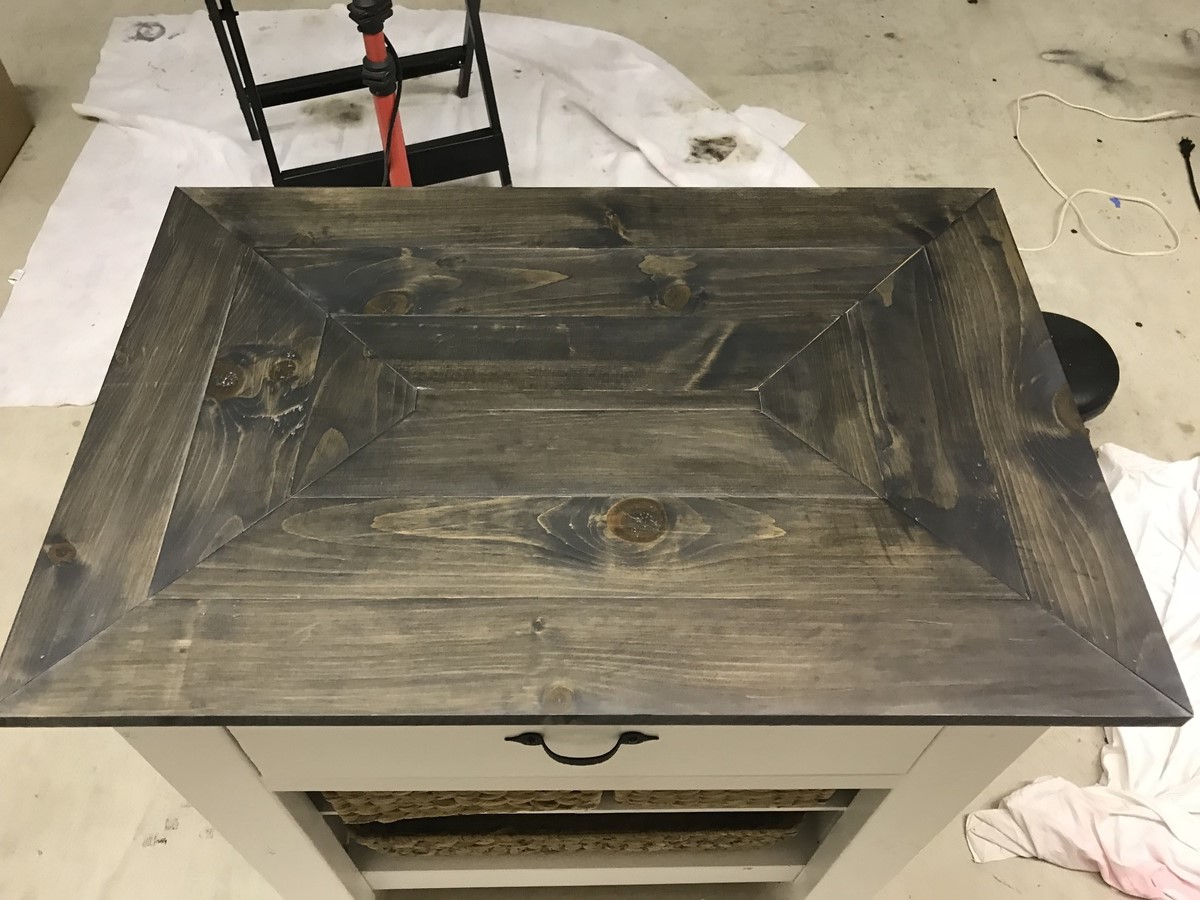
A photographer friend of mine requested I build her this after she saw them selling on Etsy for $115. They make super sweet props for newborn shoots, as well as a really cute doll bed for those popular 18" dolls. I free-handed the side details, and cut them out with my new Dremel Trio. It's an awesome tool! I used scrap MDF and plywood for everything but the 2x2 legs and finials, which I snagged for about 60 cents each at Lowe's. I played around with my finishing to give it a rustic look, since the cheap MDF I had on hand is super ripply and can't be sanded smooth.
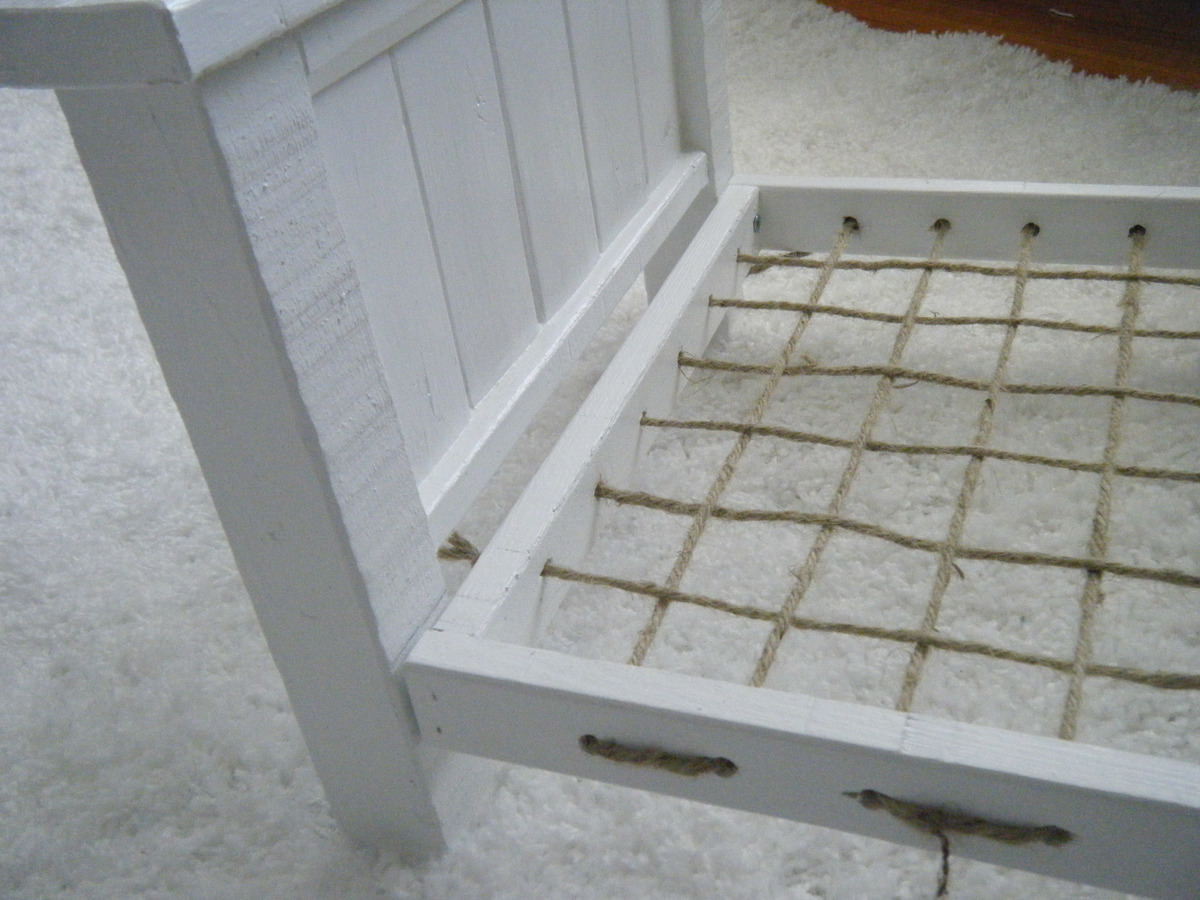
I used the Farmhouse Doll Bed as a jumping off point for the dimensions. I put it together with my Kreg Jig, but I wouldn't recommend it, since those holes are really hard to fill, and you can see the indentations on the back of the headboard and footboard. Though it's sturdy enough to hold my 55 pound boxer, so I'm pretty sure all those newborns will be safe and sound on it! I really love how it turned out, and can't wait to get my own newborn photographed in this bed come August!
This was my first project from ana white. Thank you for making such great and easy to follow plans! I will be making the matching coffee table next!
Mon, 07/08/2013 - 10:16
Was the color of the table brown like that after just the oxidation process or did it turn brown like that because of the Vermont Natural Coatings Polywhey?
The reason I ask is we're trying to decide between the wax finish, which we love, or the more protective and durable PolyWhey.
Mon, 08/12/2013 - 12:43
Sorry for the late reply. I hope this advice is still useful for you. I figured I would have got an email if someone replied to my brag post. I just changed my settings so I will get emails in the future.
After the oxidation process It was a fairly dark brown. At this stage the colouring was not even everywhere so I used 220 grit sandpaper on a sanding block to lighten the colour and even it out. I sanded fairly lightly. After applying the Polywhey the colour did not change much. It is hard to describe as I am not a very artistic person, but it definitely made the colour richer and more pleasing to the eye after applying the Polywhey. As for the Polywhey, it is oderless and very quick and easy to apply. I put on 3 coats. I hope that helps. Let me know if you have any other questions.
It was a fun and easy build. I did the oxidation finish for the first time on this project and am really happy with how it turned out. I also added washers to the lag screws on the legs to make it stand out a little more.
I'm James Farquhar, designer, and fabricator. This is the second set of cornhole boards I built this year. This set is the regulation size of 48" x 24" according to the American Cornhole Association. It is made from fir 2 x 4 s and pine 1 x 4 s (6 per board). Each board is glued with Titebond II and countersunk Torx top screws (#8 1-1/2 inches). It is coated with Minwax polyacrylic (8 layers sprayed on) and Howard's bee's wax (3 layers). The boards are secured with 3-inch toggle latches in pairs. Kayak carrying handles with four screw ports; I used the same Torx Screws I used to put the boards together, extra for strength. The total weight of the boards is 60 pounds. I used a Texas Flame Thrower to Shou Sugi Ban (Yakisugi), as a finish.
I've been wanting to make this doll farmhouse bed for a while now and Easter was a great excuse to get it done. I want to make the big-girl version for myself one day but there are too many projects in line to get through first. It was very easy to follow the plans Ana so kindly provided and the pan is very adaptable to materials you might have on hand to substitute. I made mine a rope bed, which my daughter loves.
Table was built using refinished tops from an old table/bench set. Cedar was used for the base of the table and benches. Also created two half-size benches that can be used to add seating at the table, or moved to the living room when additional seating is needed there. Finished with mahogany stain and several coats of clear gloss polyurethane.
Used Annie Sloan duck egg blue paint and glued 1x2s end up to make a butcher block top
Art cart!
i used furniture glide feet instead of wheels. I put the plexi on hinges. All scrap materials except for hinges.
Hi Ana and family,
A couple of months ago I contacted you to see if you had a video on how to build a Turntable/media console out of 2x4s with a picture for inspiration. I did get feedback and it really helped. Thank you so much for always being available to help.
Sun, 12/26/2021 - 17:42
That turned out awesome, so happy to help, thank you for sharing!
I have recently started working with wood and I love it!!! It started with a few little cubbies, then a small primitive cabinet and today I built my farm table and I absolutely LOVE it!!! I kind of combined plans,,used the size of the narrow farm table and did the basic frame of michaelas kitchen island
I built this using scrap 2x2s and 1x4s that I ripped down to the appropriate sizes. Also instead of using pocket holes I counter sunk the screws and filled with wood filler.
Upgraded the original to fit the style of our living room. Just a few dollars more in wood. Changed the frame setup as well.
Very busy so I only have time to do a little bit at a time so I have no real idea how long it really took to build. All I know is the finishing took the longest: 2 coats black painted lower with 2 coats stain on the (custom color) and 2 coats polyurethane on the top piece.
I used the Rustic Kitchen Island plans to build this. I made my own modifications making the draw and the shelves the entire width of the unit. I also used 1x2’s behind the X’s to give it more of a barn look.