Upcycle Lead Glass Window
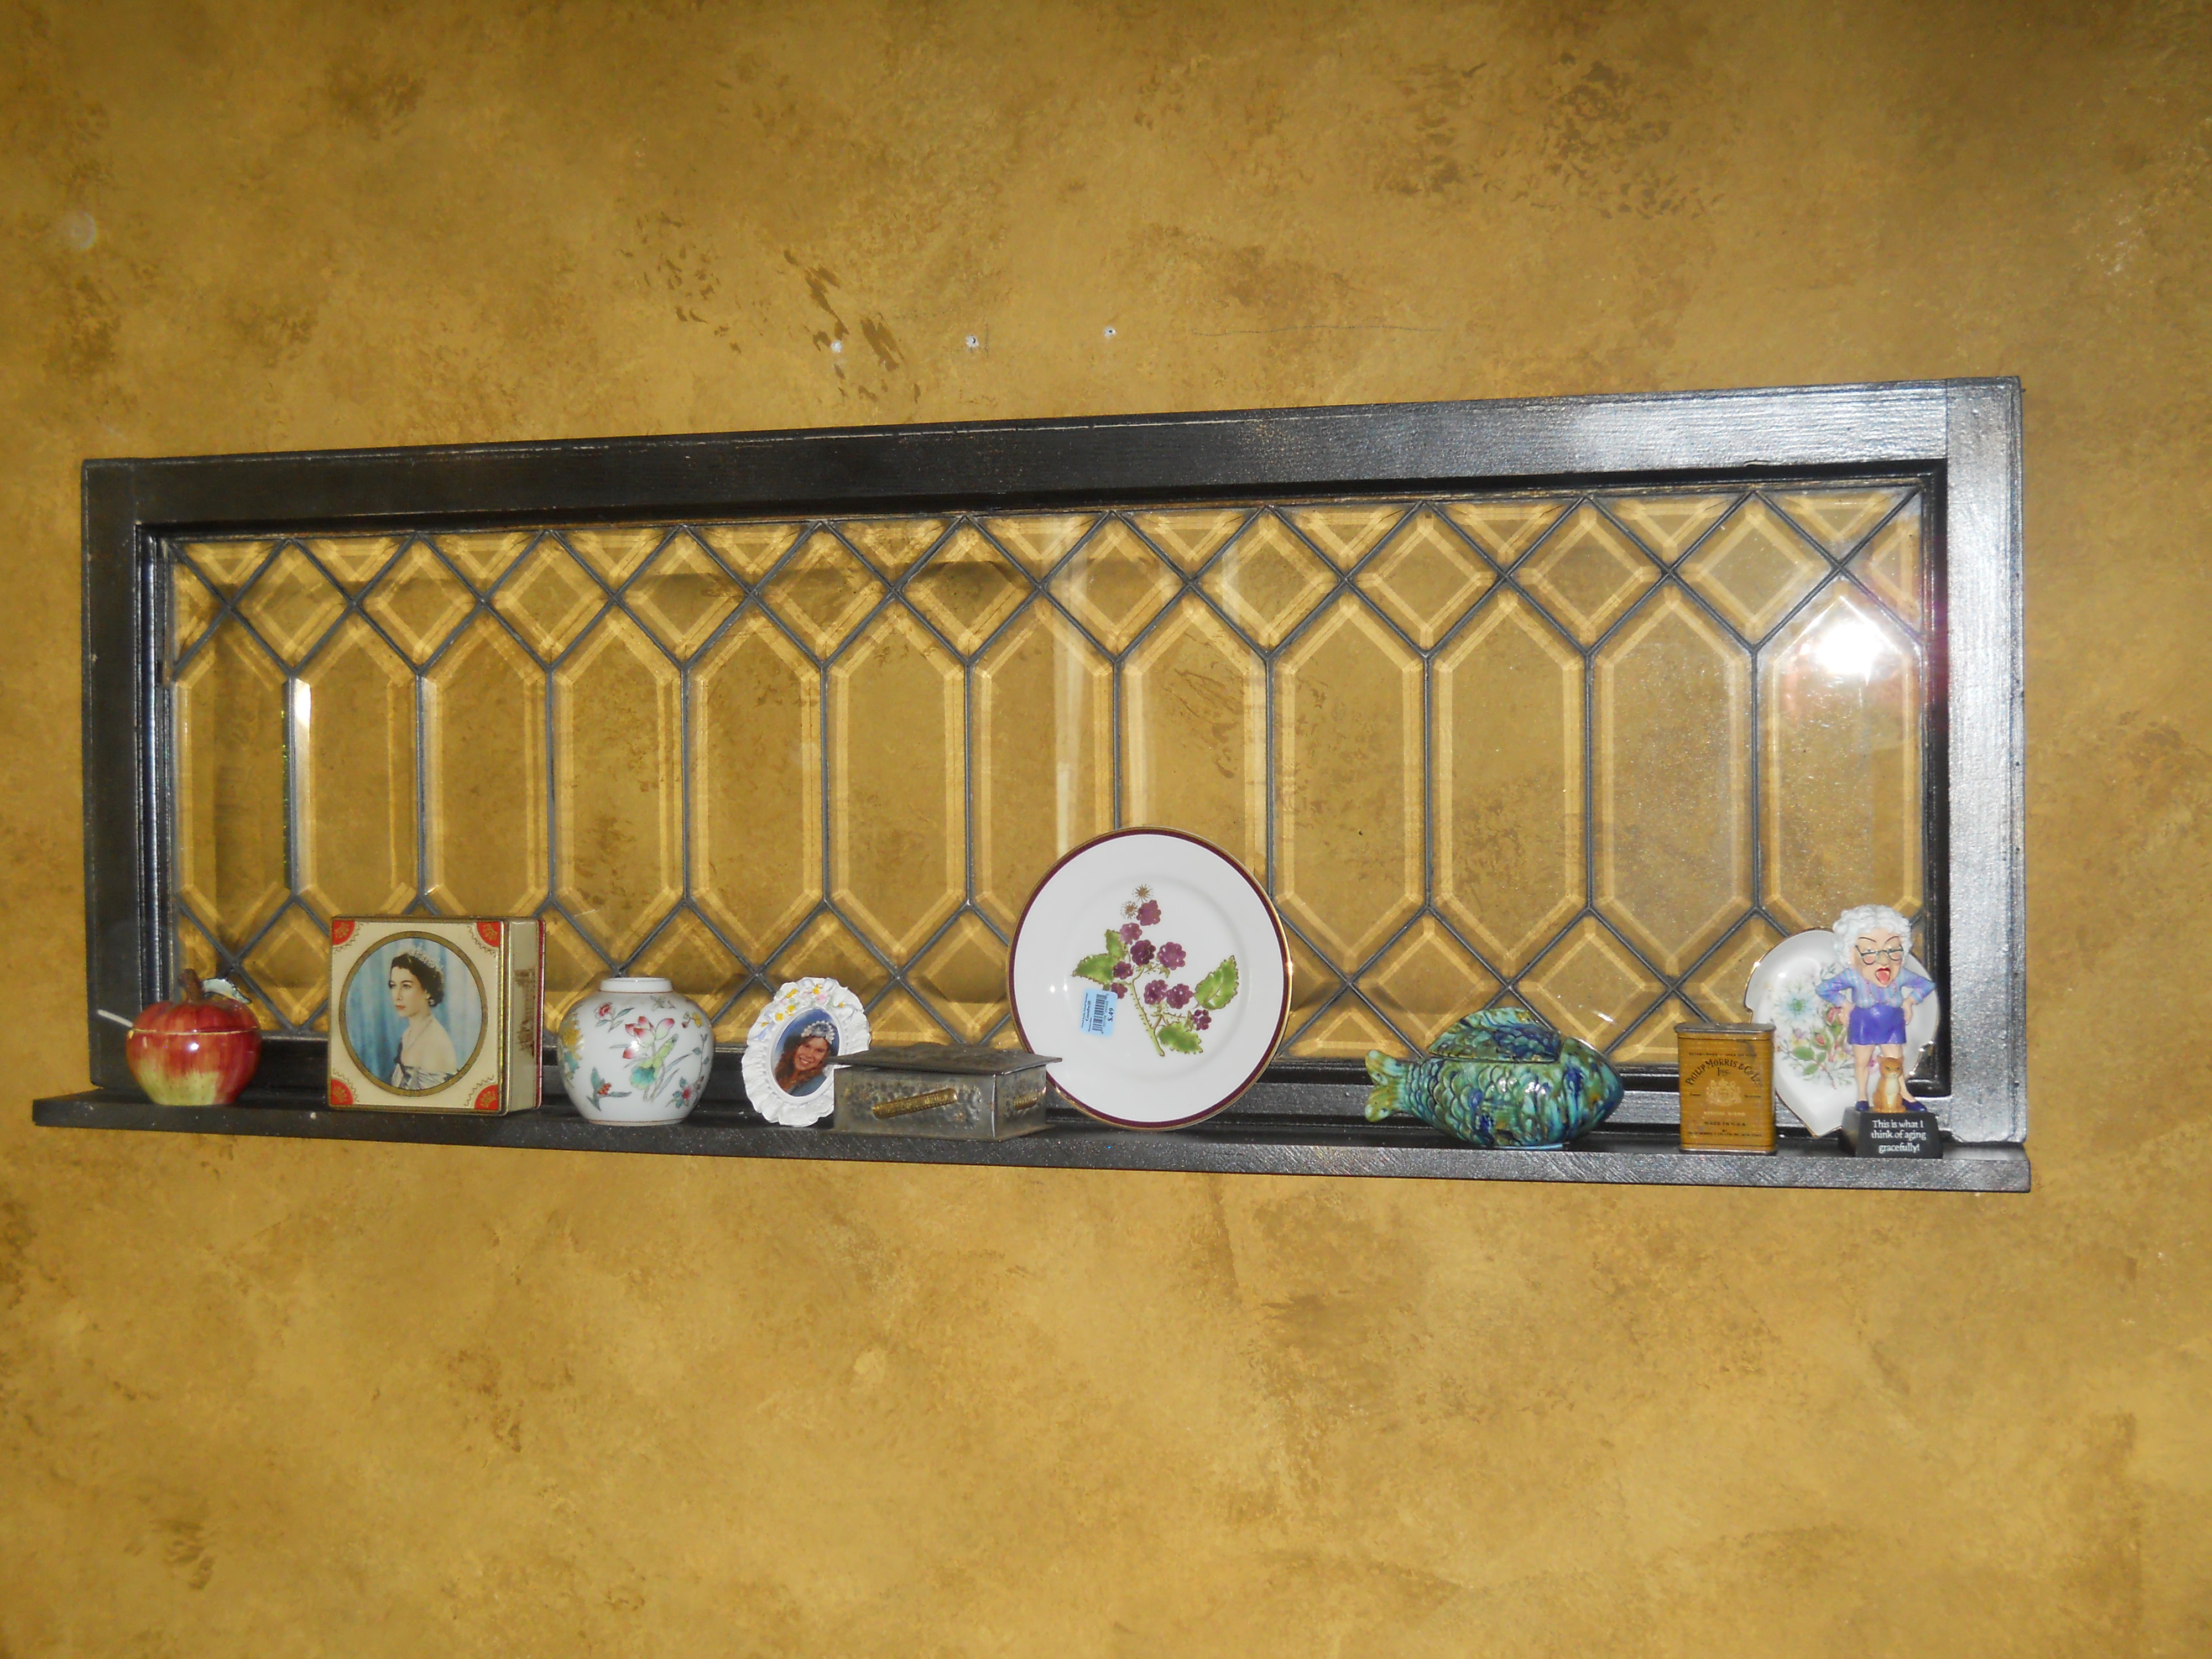
This was a recycle from a window replacement project on my 108 year old home. I removed the leaded glas window from the top of a 4.5 by 4.5 street facing window with a reciprocationg saw, attached a 1x4 pine board with trim screws on the ends and trim nails on the mid-portions. Painted it with satin black with a sweep of gold and pewter for a little dramatic effect, purchased a heavy weight mirror hanging plate and attached to the wall and window back. I'm thinking of backing it with a mirror to improve looks,


Estimated Cost
$15.00 $3.00 for paint, $3.00 for pine board, $9.00 for hanger
Estimated Time Investment
An Hour or Two (0-2 Hours)
Finish Used
1 can of black satin with gold and pewter overlay paints
Recommended Skill Level
Beginner


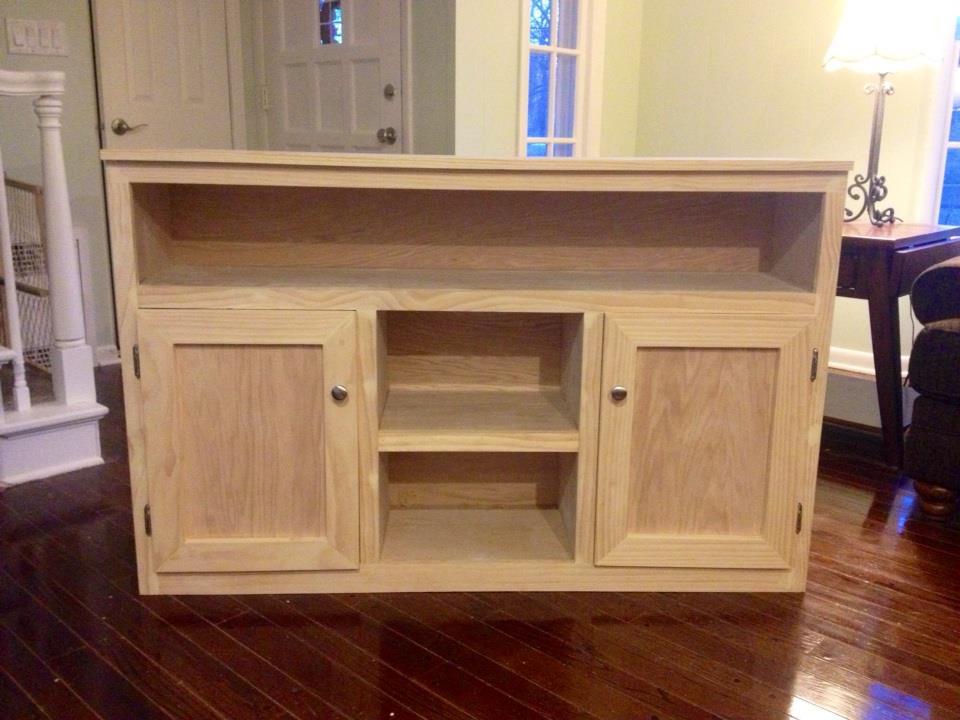
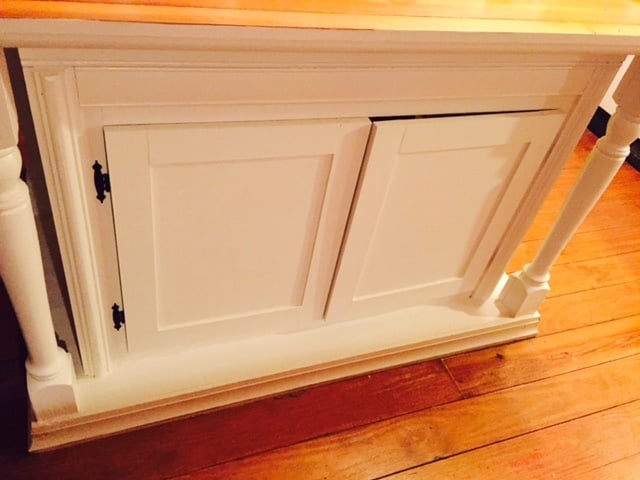
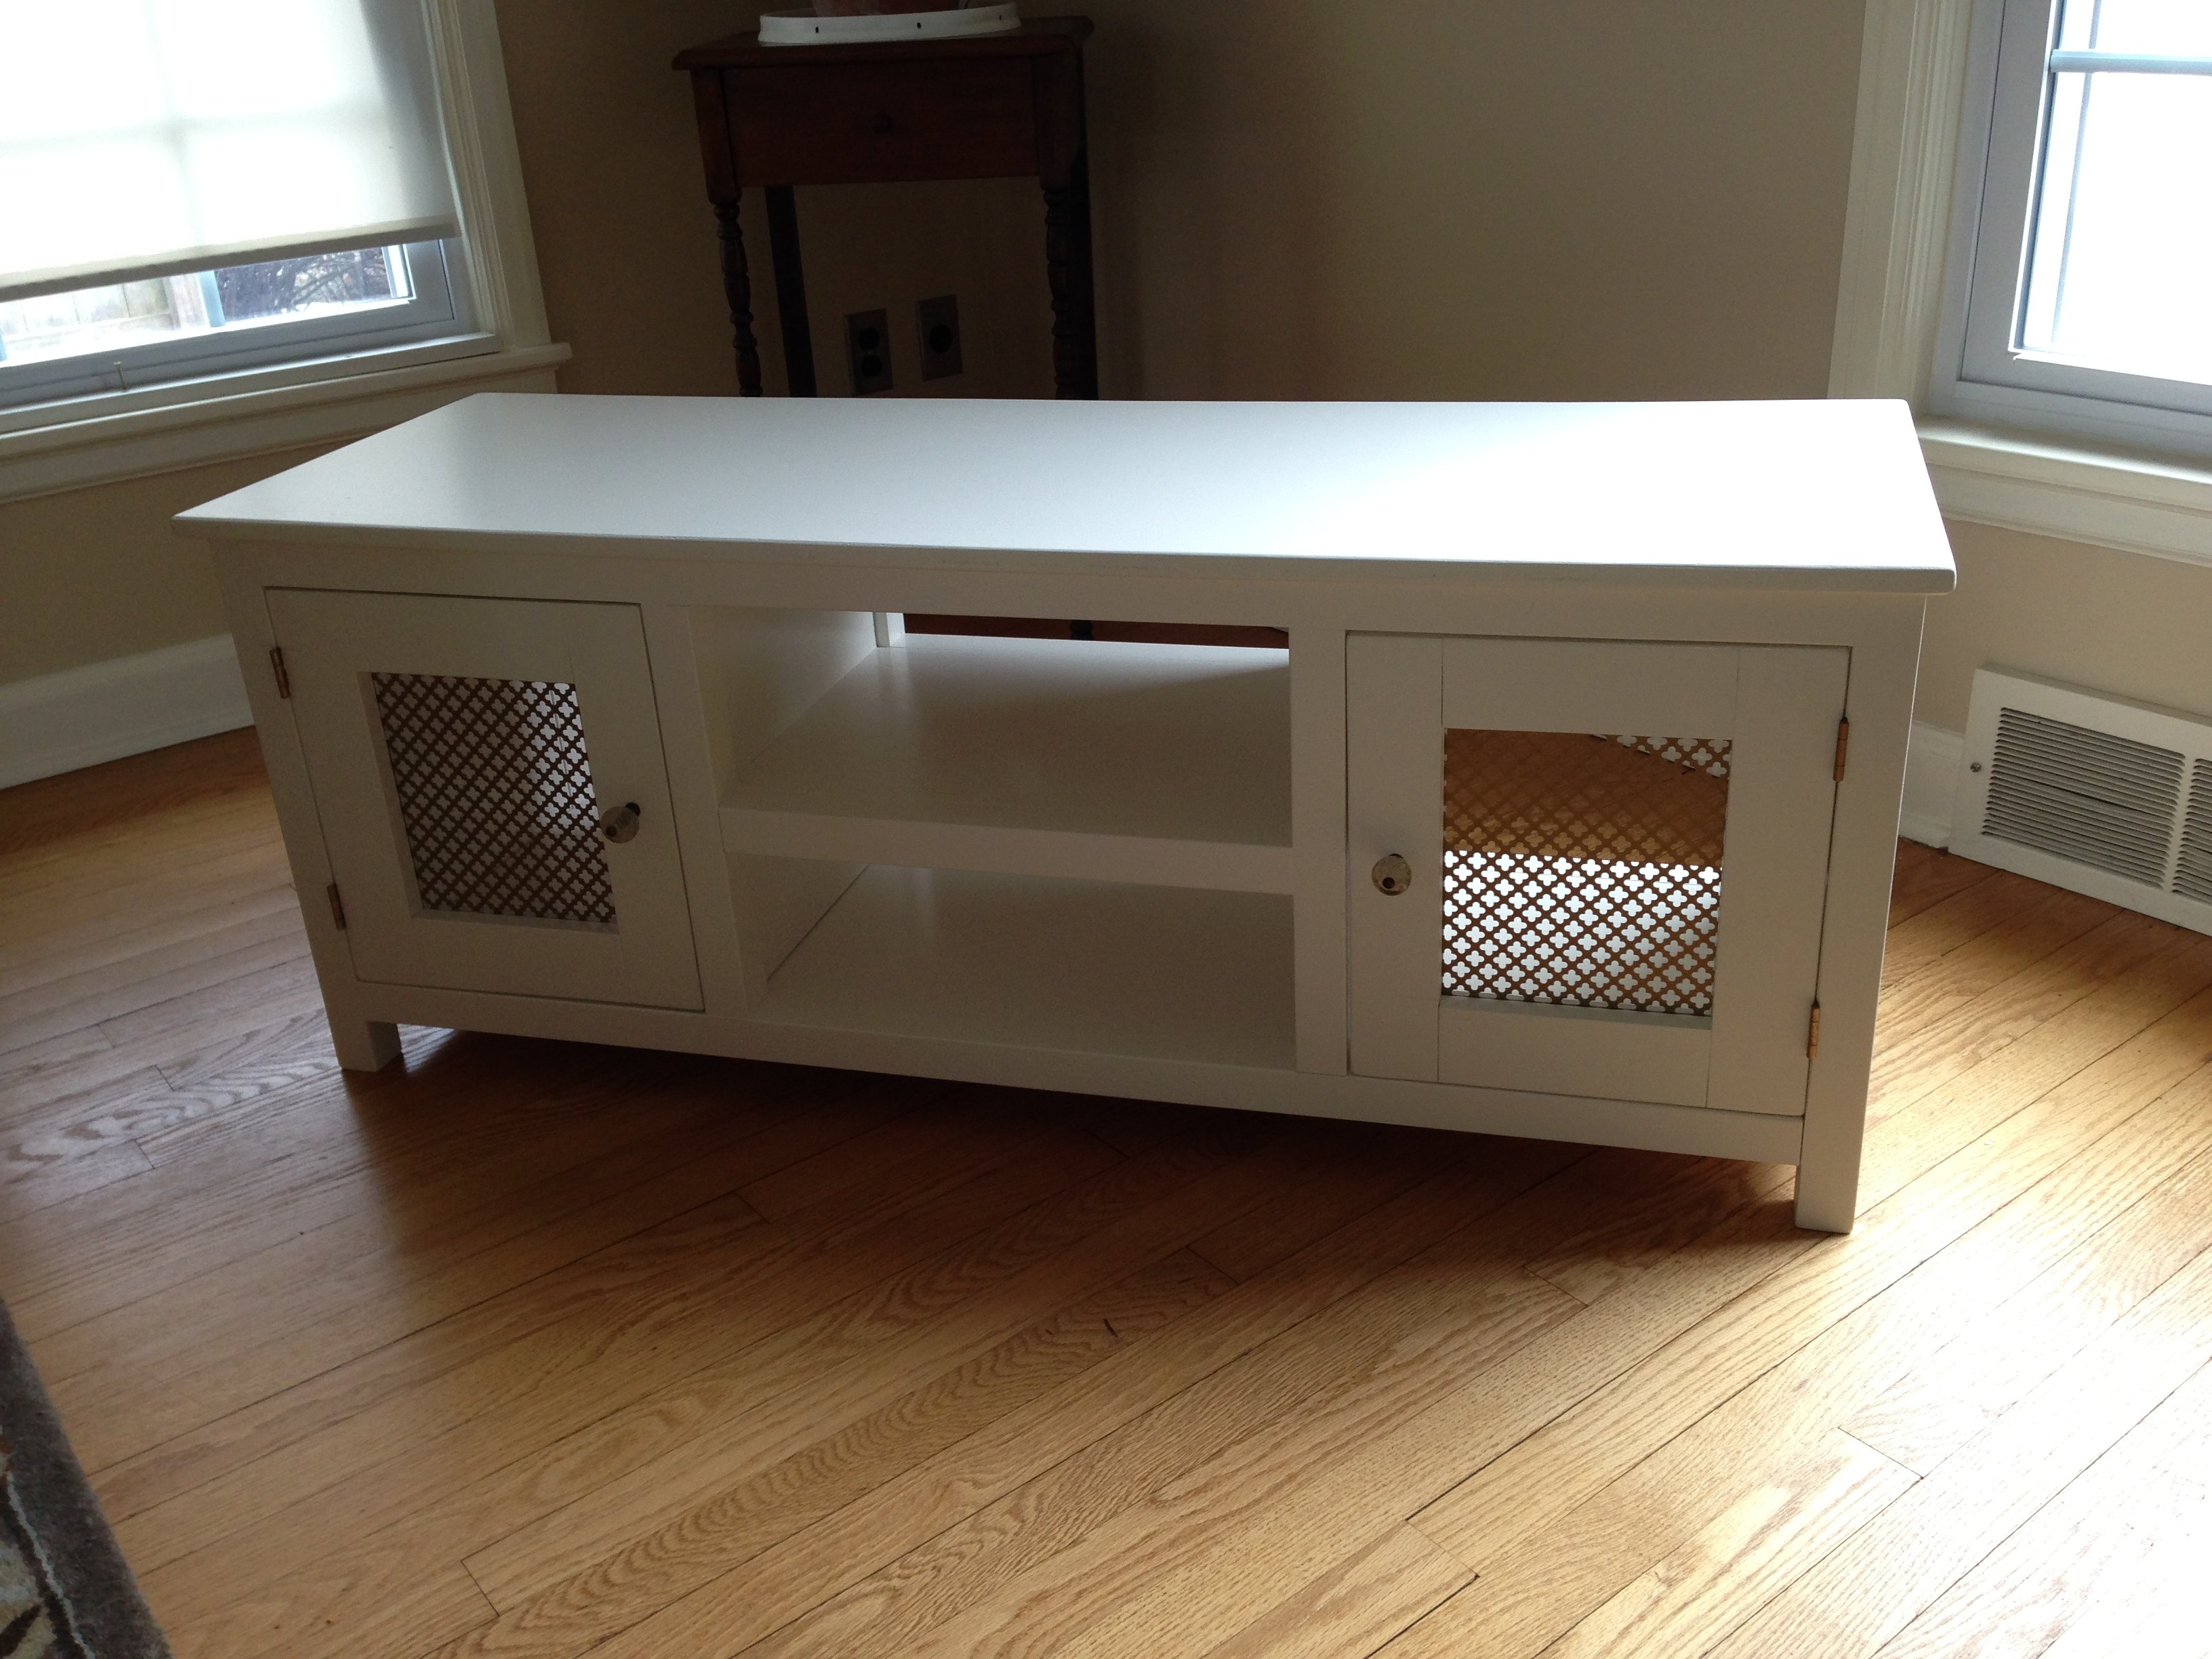
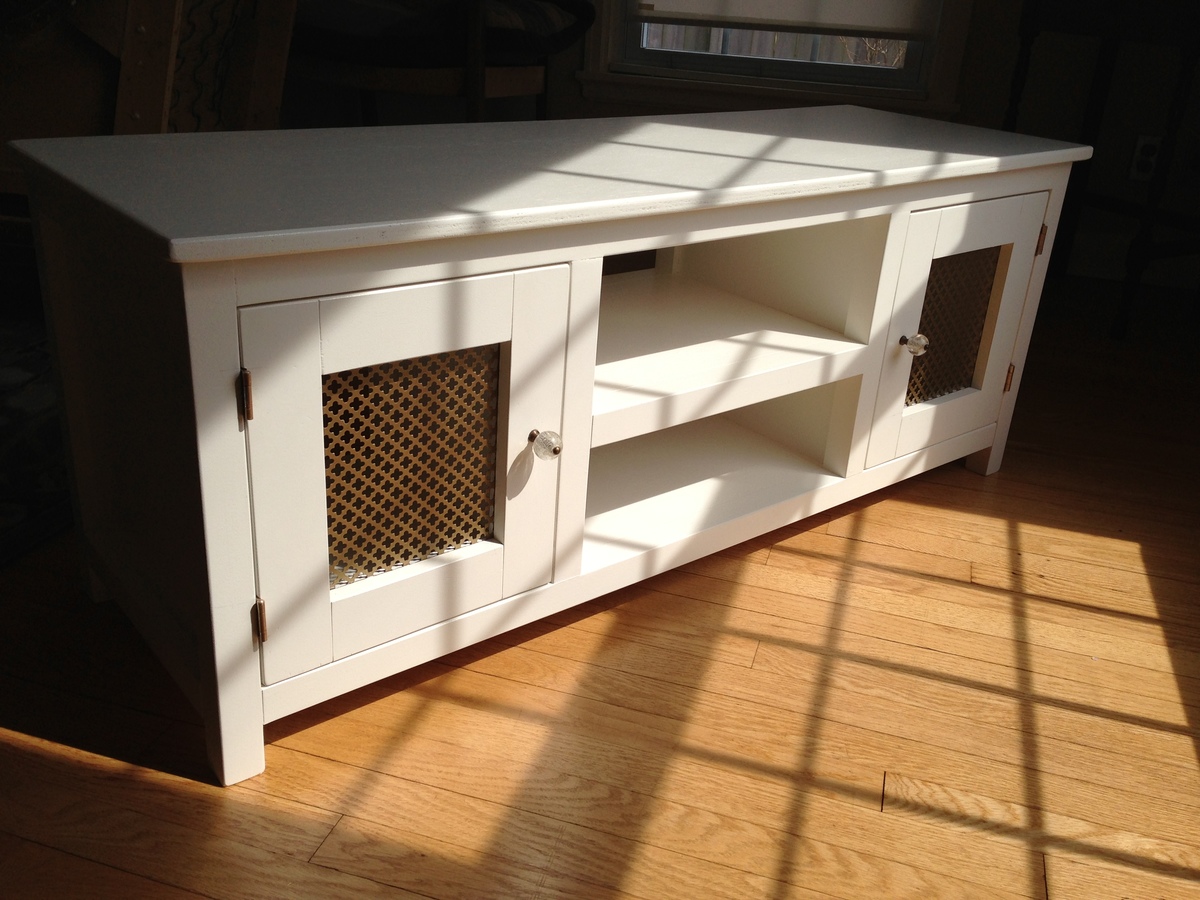
 . If you do decide to get someone else to cut the panels bring your tape measure and verify the cuts are accurate. Anyway I have created doors both the traditional rile and stiles with inset panels and this way and this way is definitely quicker!


Comments
JoanneS
Sat, 03/30/2013 - 09:39
Beautiful!
This is just lovely! What a wonderful use for a piece of history, it's now a one of a kind piece of art, and an instant heirloom!