Community Brag Posts

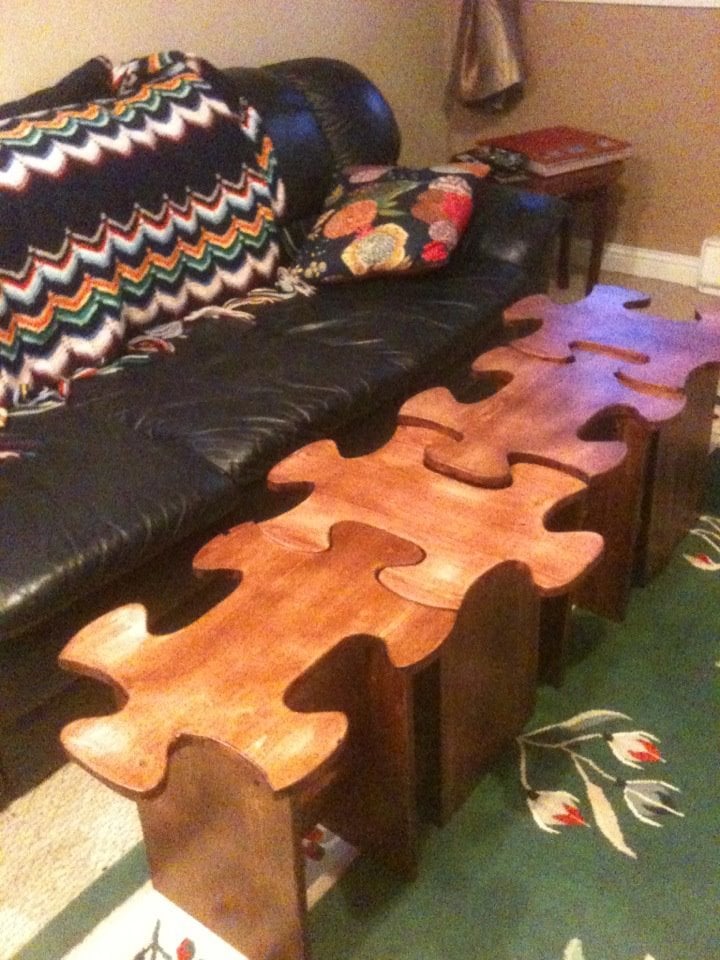
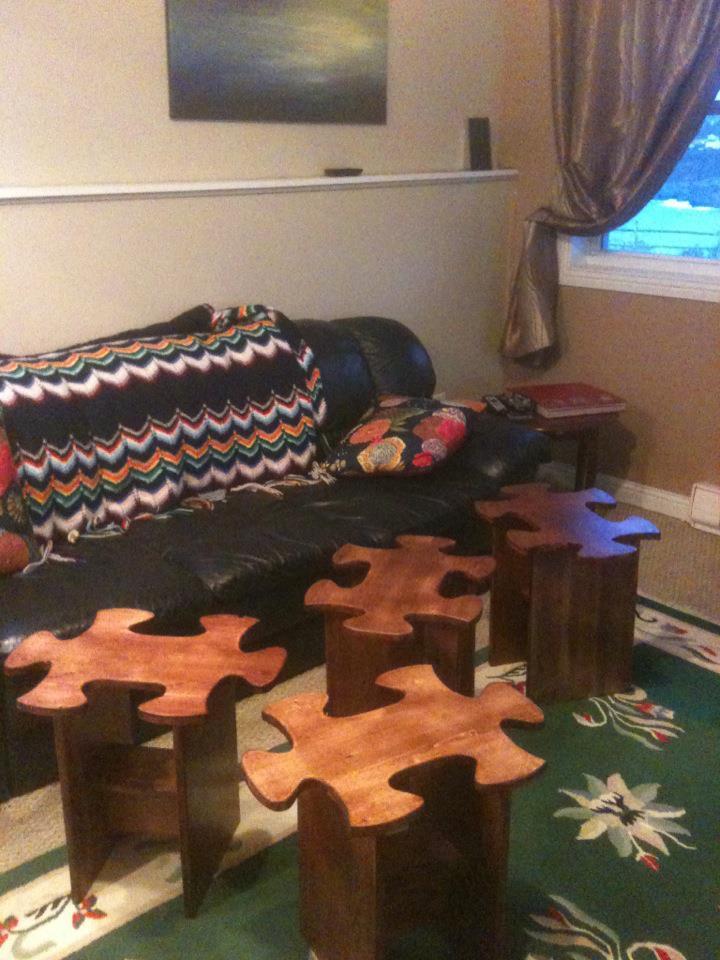
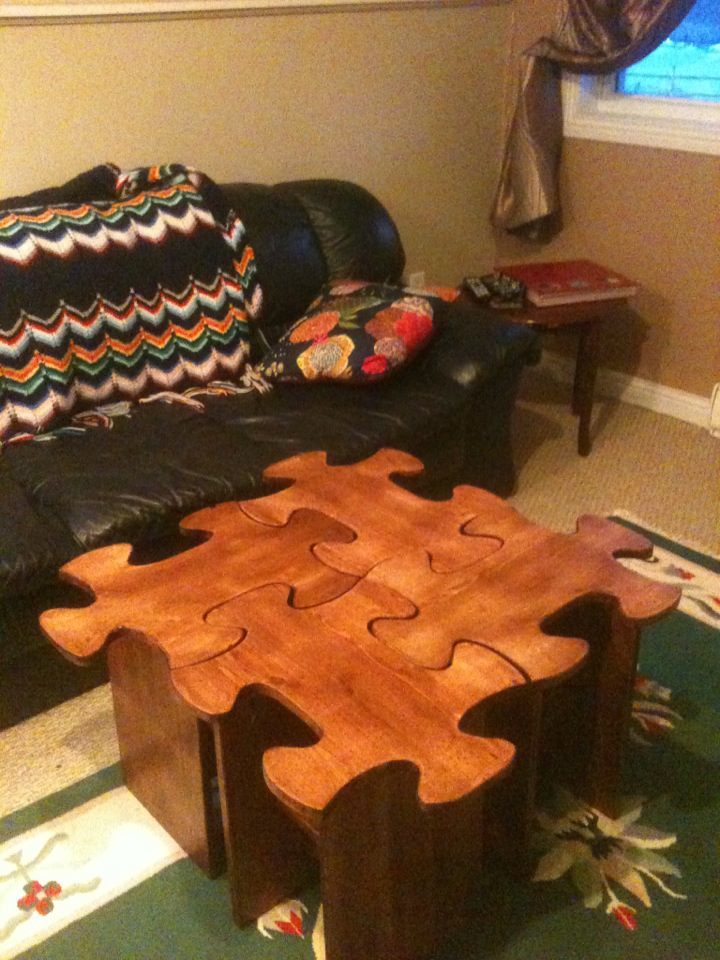
Jigsaw Puzzle Table!

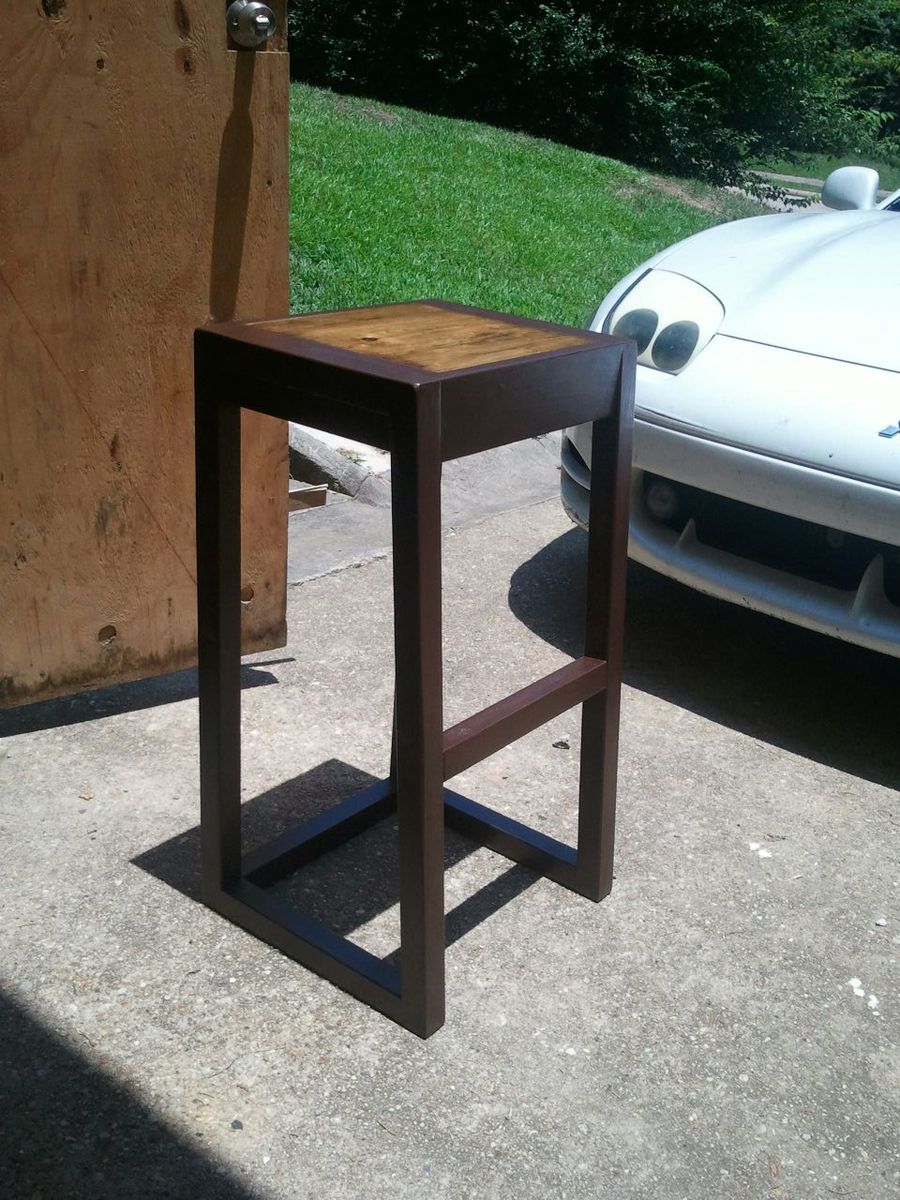
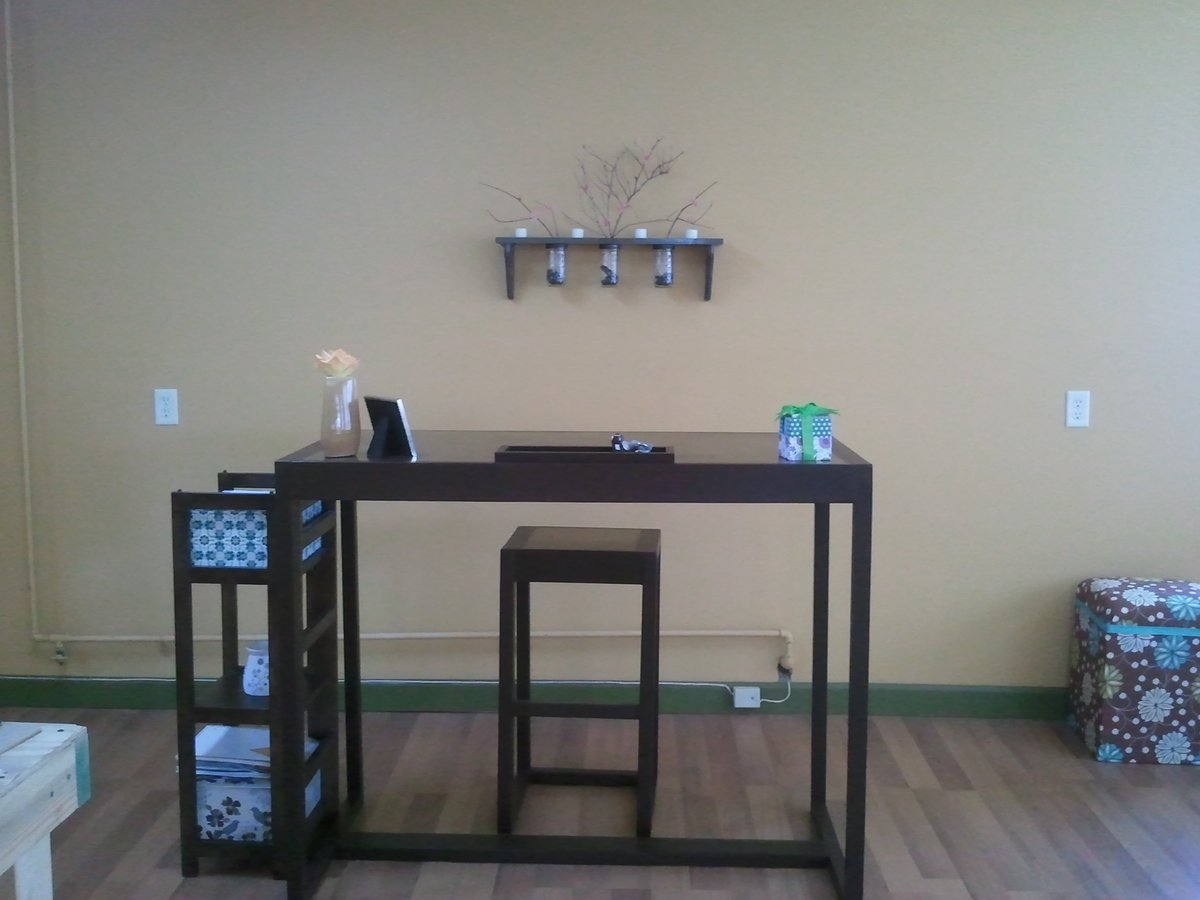
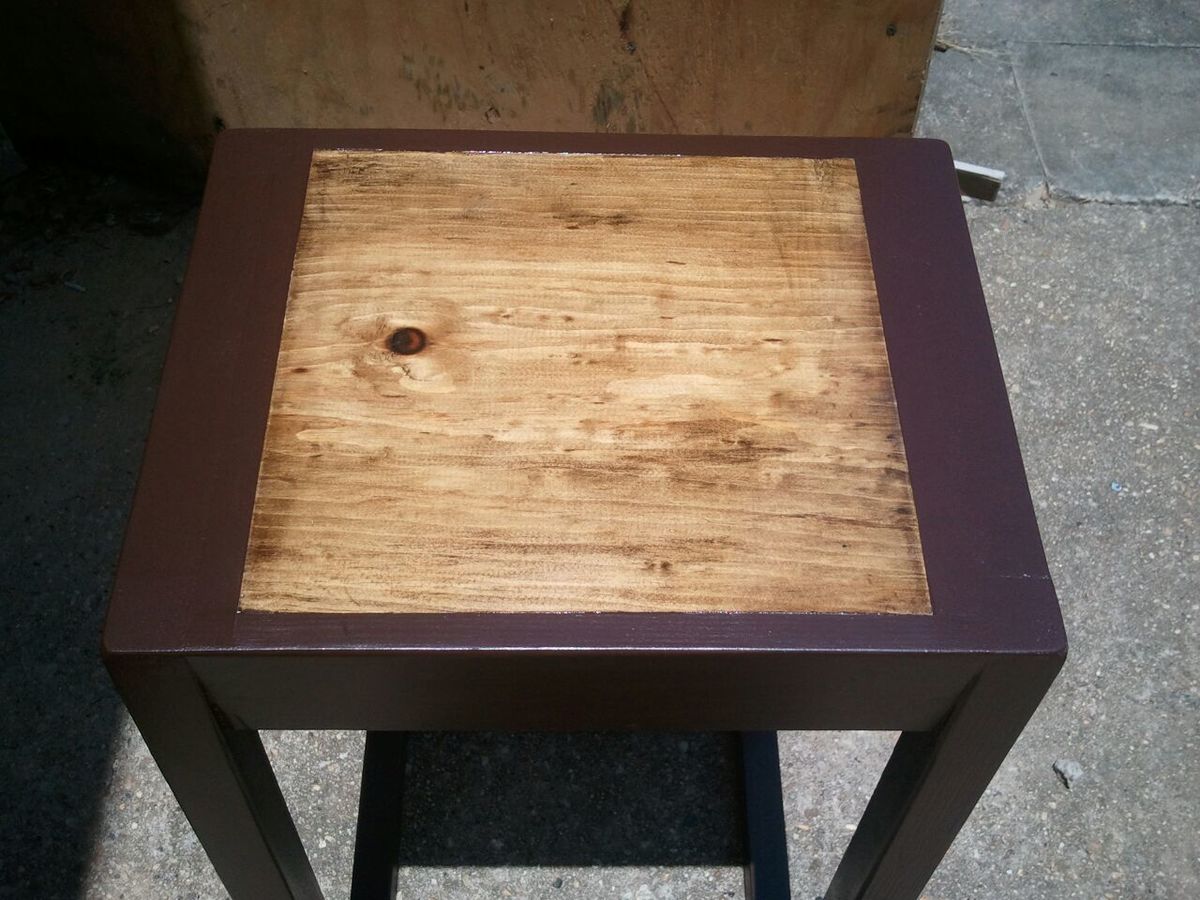
I was super inspired by the "iTable" which I am also going to build... but combined the idea with an idea I saw in a fancy home decorating magazine (a jigsaw puzzle stool).... took a lot of fiddling to come up with a 'universal puzzle piece' but in the end it worked out!

Built from Plan(s)
Estimated Cost
$150
Estimated Time Investment
Week Long Project (20 Hours or More)
Finish Used
Polyurethane stain, spray satin varnish
Recommended Skill Level
Intermediate

Comments

spiceylg

Fri, 05/25/2012 - 05:49

That is so cool! Beautiful job. Looks like those curves too lotsa patience, something I seriously lack. Thanx for sharing.

Sue_McL

Fri, 05/25/2012 - 09:09

Would love to have the template for the universal piece... I have to make one of these!!!

FANTASTIC job....

Mariah Papaya

Sat, 05/26/2012 - 06:29

Yes, it took ALOT of fiddling to get a universal puzzle piece template made up -- I was sorta copying one I found (google "Vector Puzzle") but had no way to blow it up so huge. Even after I cut them out, I ended up doing a lot of sanding to make the joints work, but it was fun! If you want, Sue, you could mail me an envelope and I'll trace one for ya!

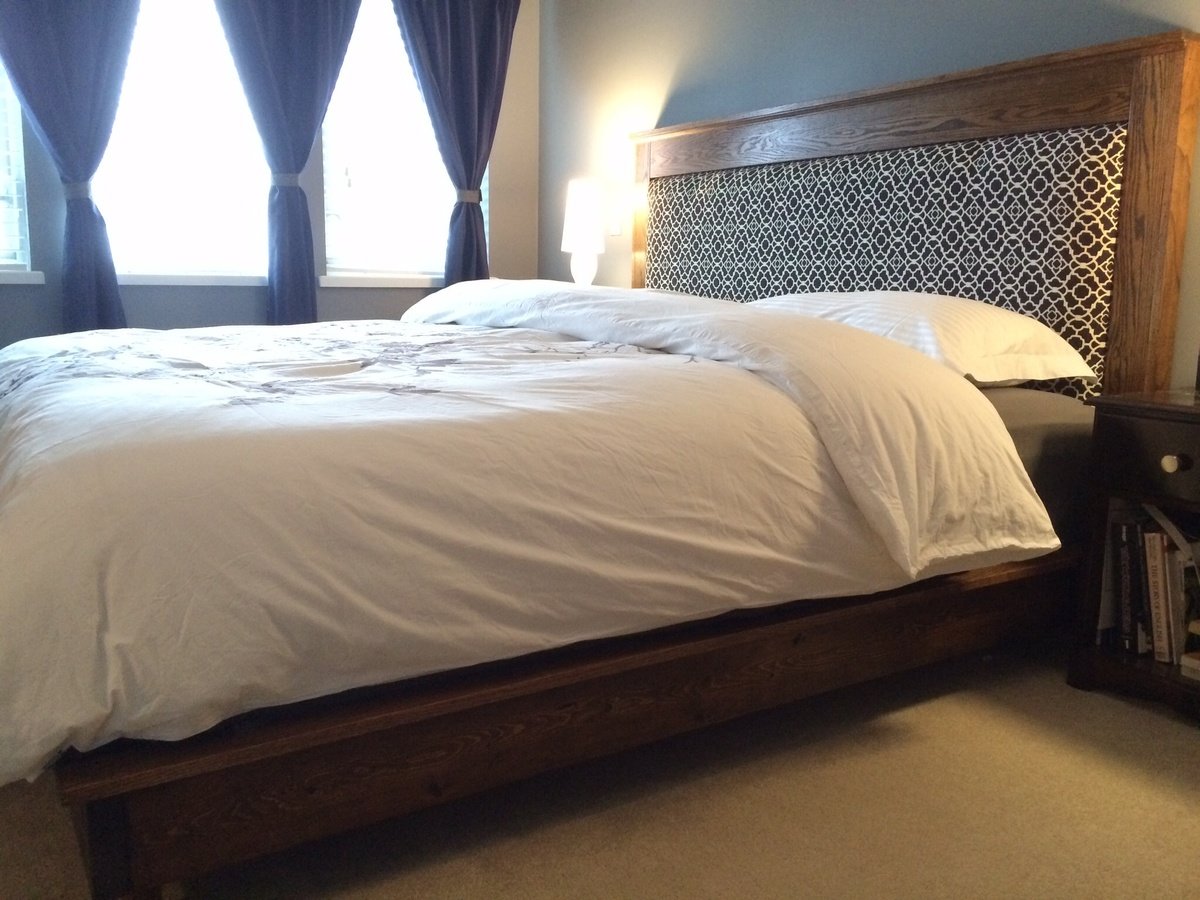
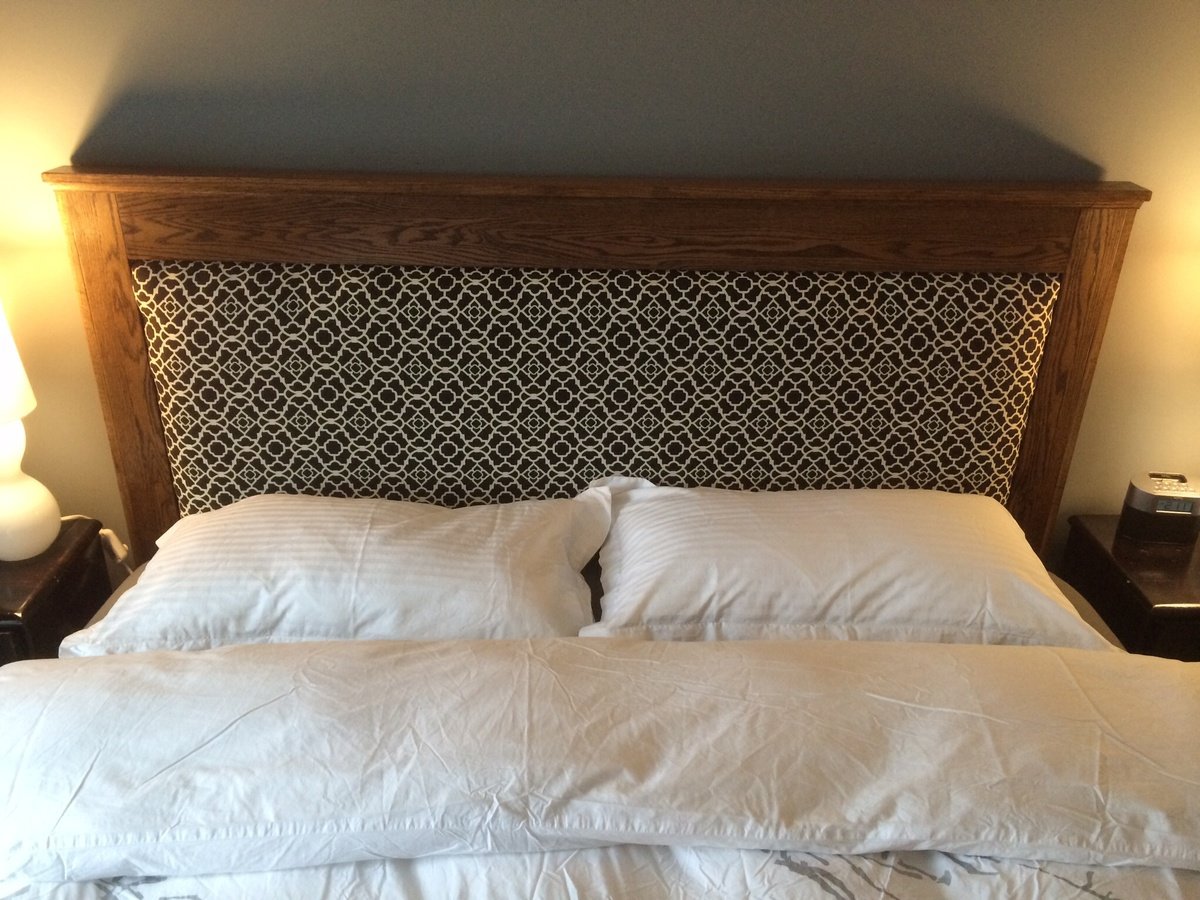
King size platform bed and headboard

Submitted by Rgb057 on Sun, 03/09/2014 - 11:25

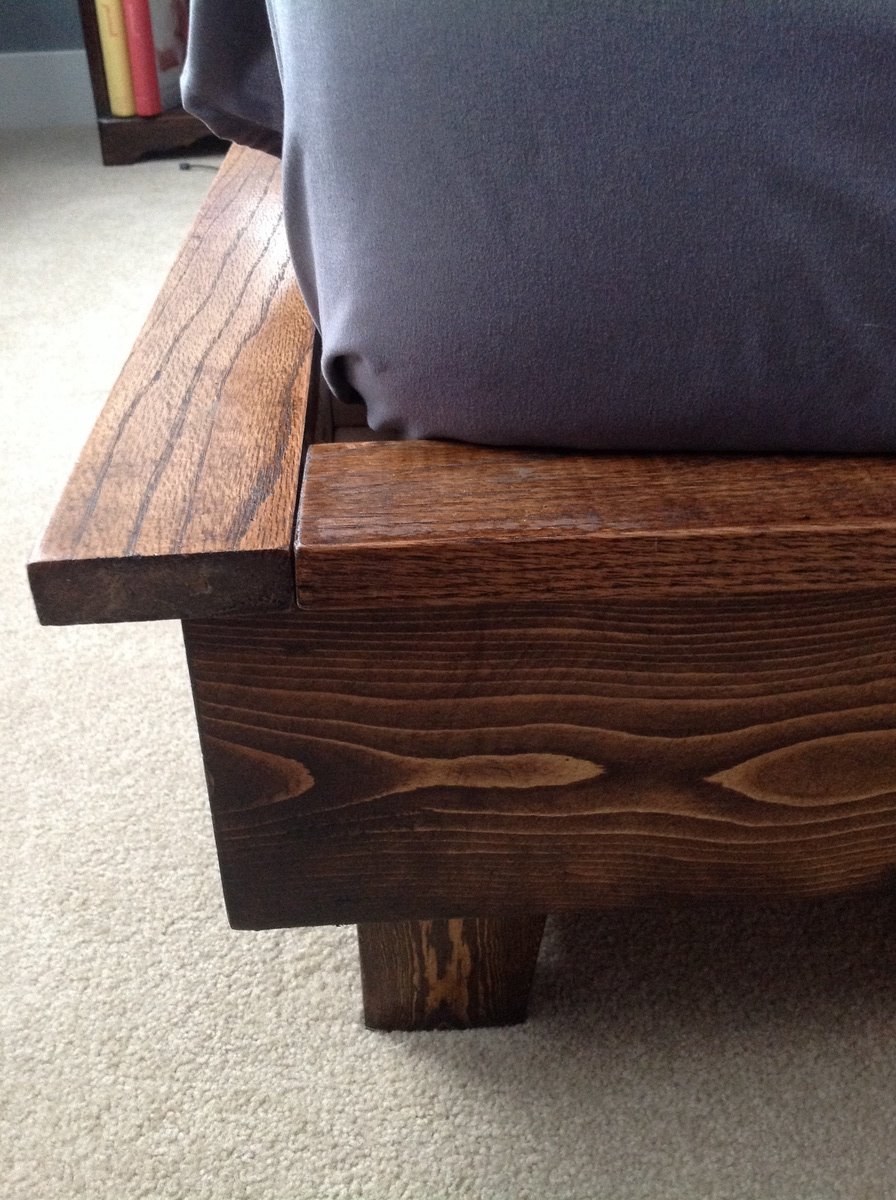
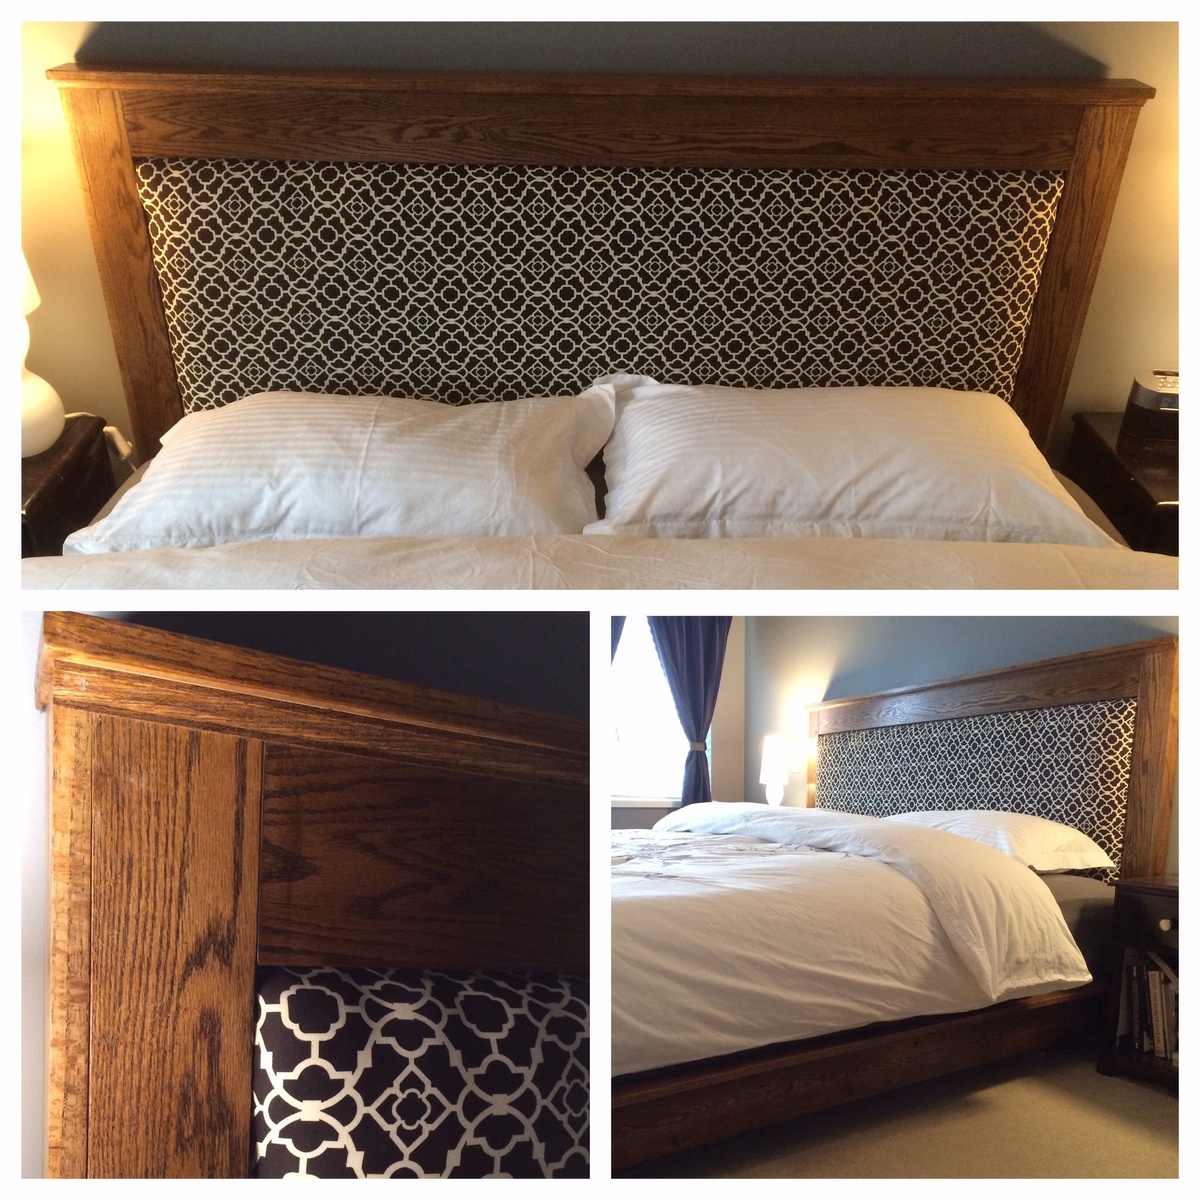
I converted the plans to king size and used oak for the headboard and the platform edge on the bed. The oak added to the cost as it is almost 10x the cost as construction lumber.
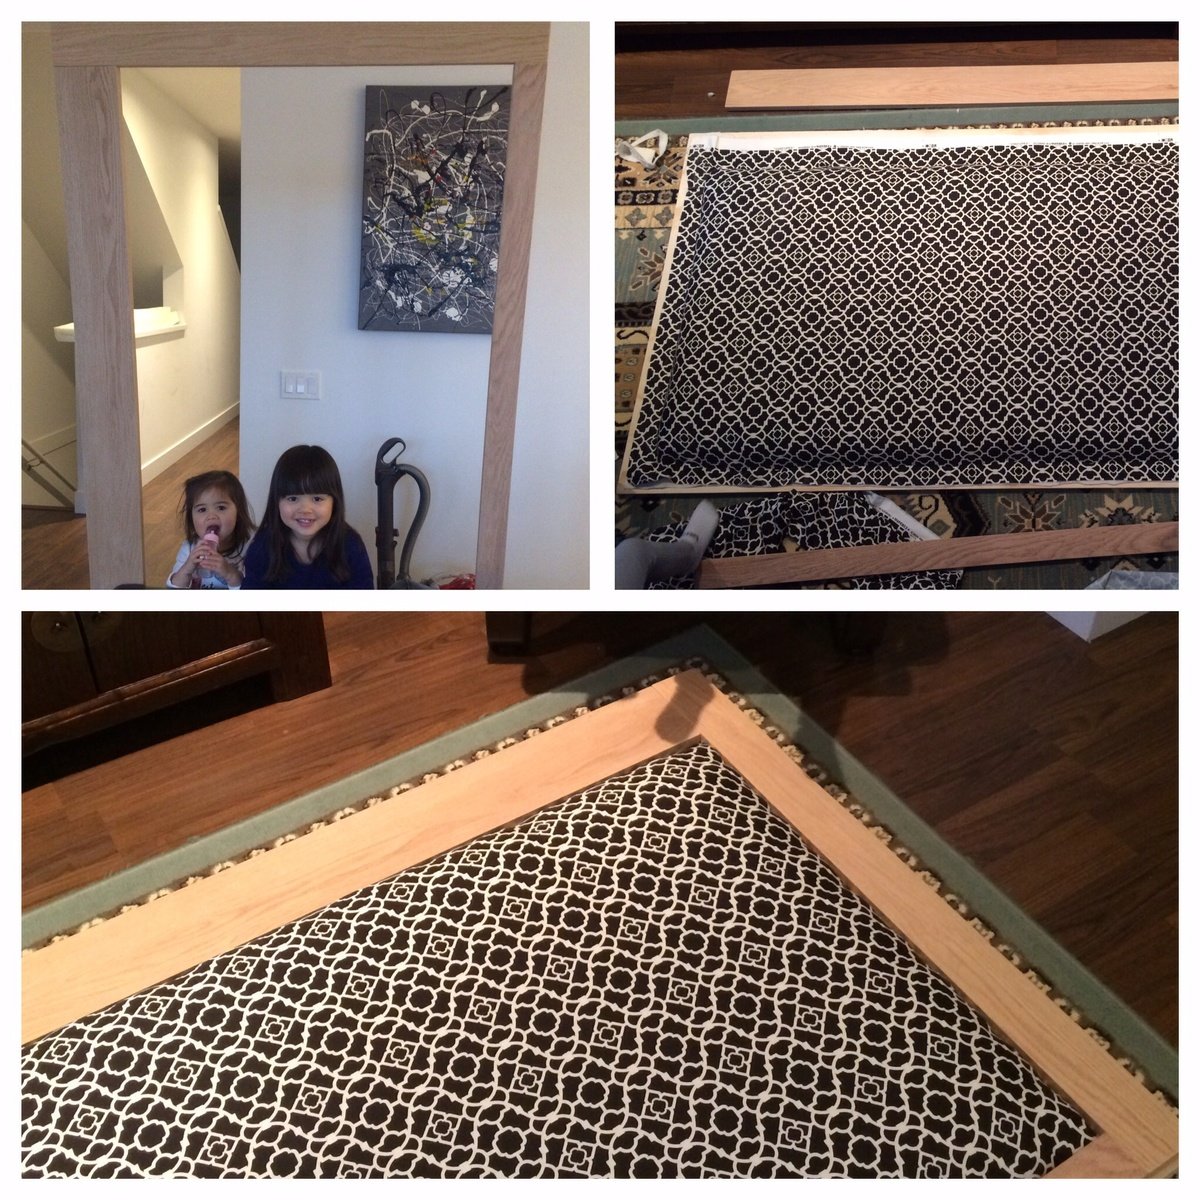
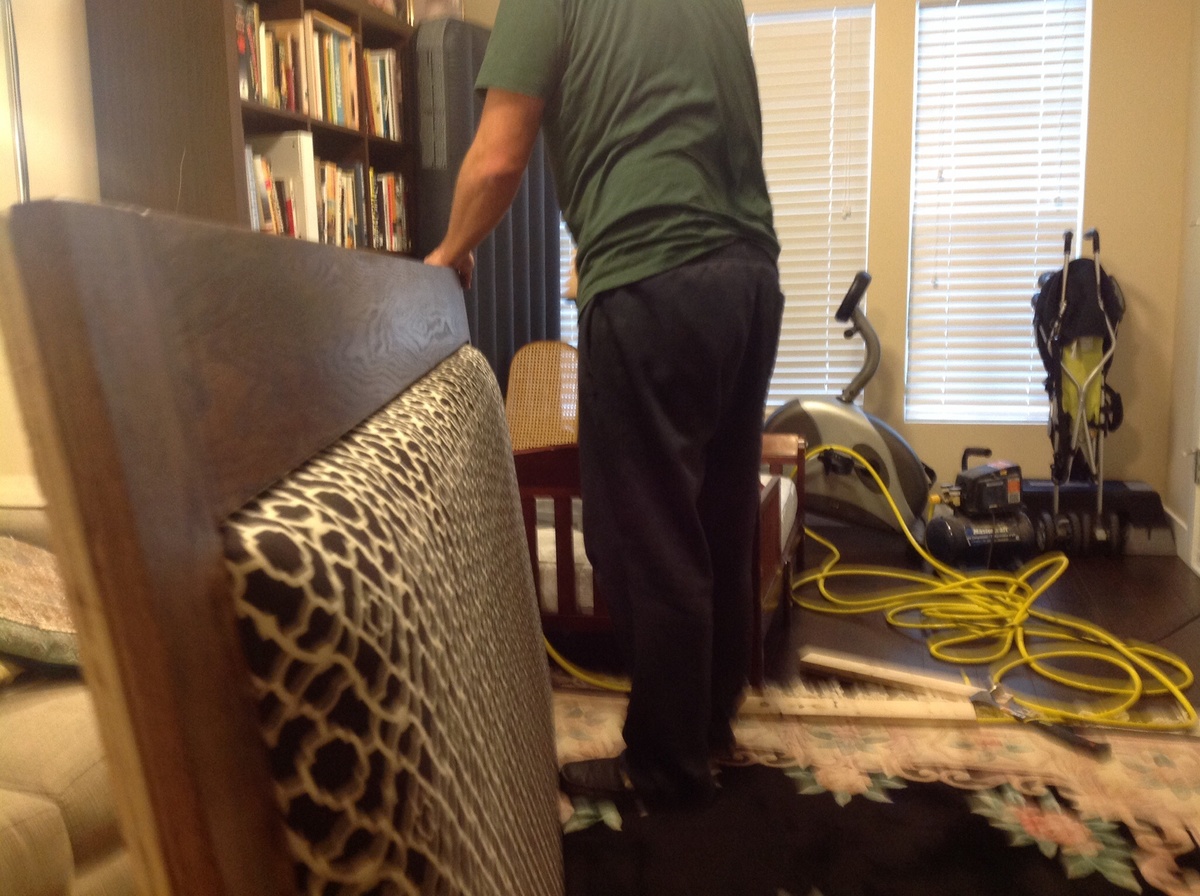
I made the headboard frame with pocket holes and attached it to the plywood with screws from behind. I also used pocket screws to assemble the bed frame.

Estimated Cost
500
Estimated Time Investment
Weekend Project (10-20 Hours)
Finish Used
Minwax dark walnut
Recommended Skill Level
Beginner

Comments

CreativeChaos

Sun, 04/20/2014 - 06:54

I've been waiting to see if anyone would modify this for a king size. Would you mind sharing the dimensions you used for your headboard? I love your fabric and the oak gives it such a quality appearance. Nice job!

Wood Hall Tree

Submitted by advanlente on Sat, 03/28/2020 - 11:41

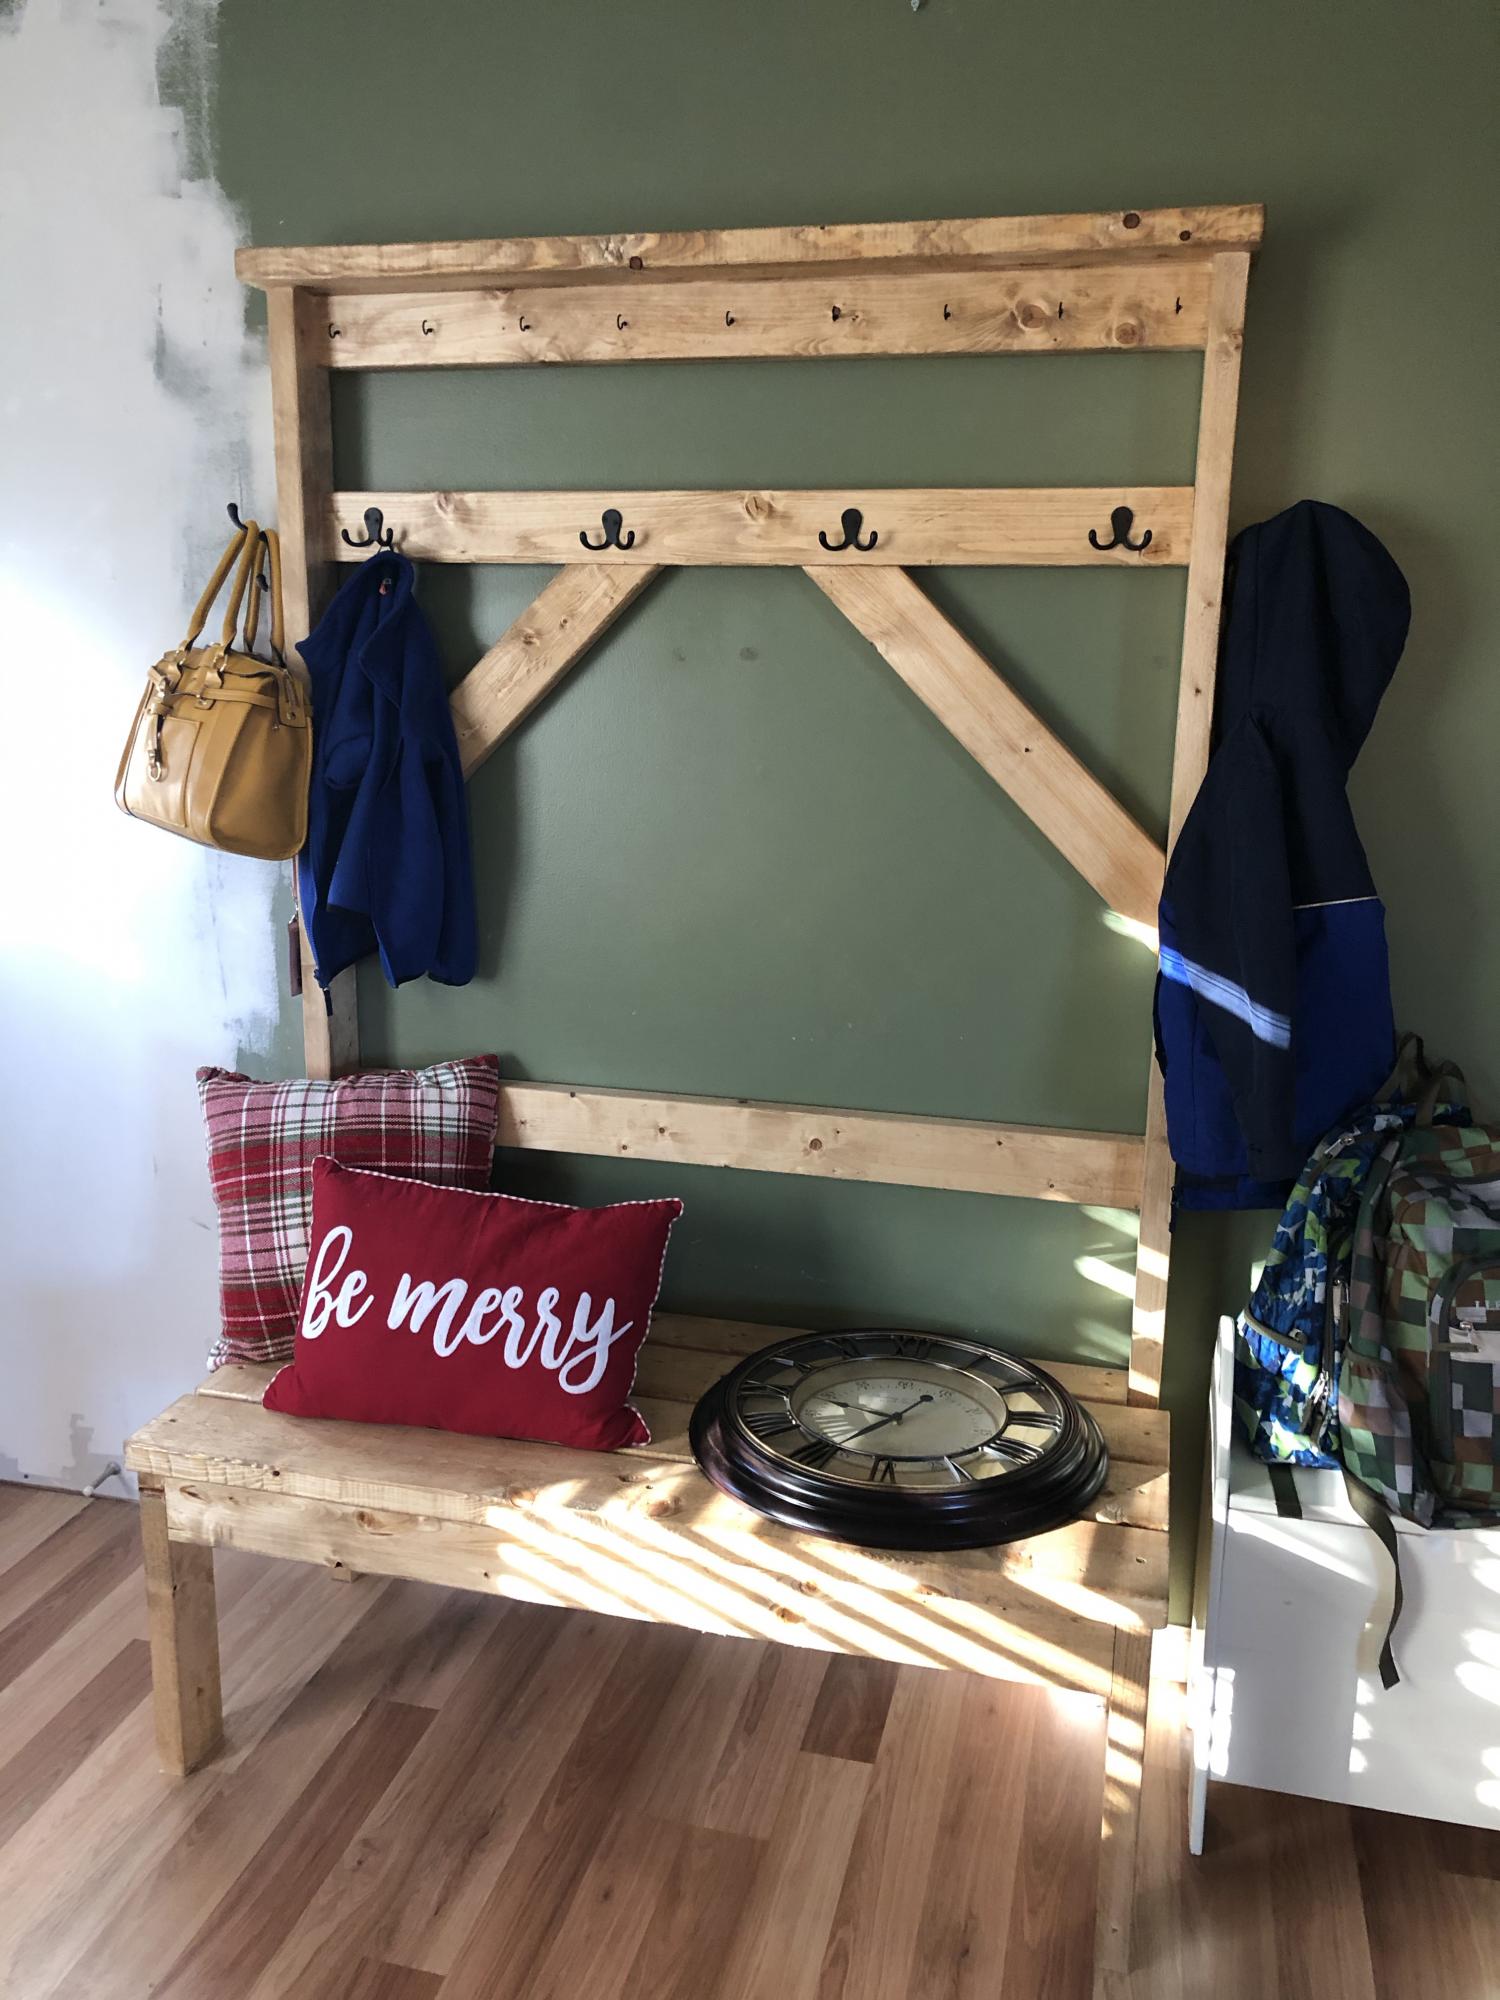
My family was all coming over for Christmas and we were going to have about 30 people at my house. I only had my mudroom hooks but no other place to store people's keys, coats, etc. When I saw these plans they looked quick enough to build in one night (the night before the party lol). So I did! And man did it get use. I wish I would've taken a picture with all the coats and purses and keys on it. 

Built from Plan(s)

Simple Outdoor Dining

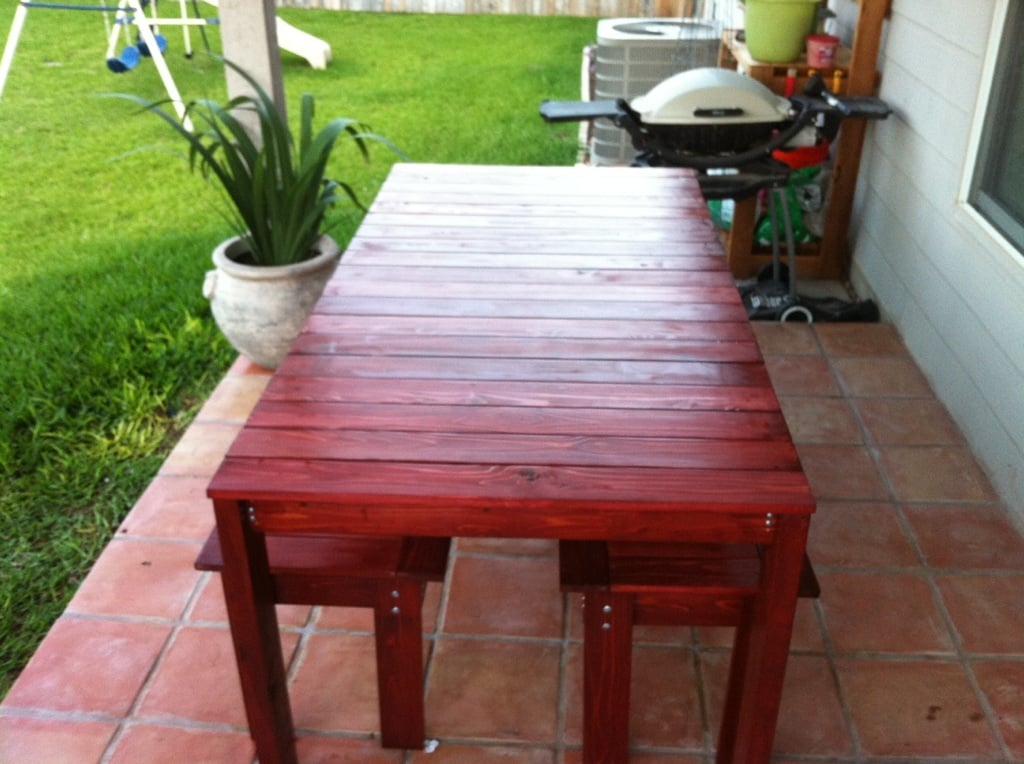
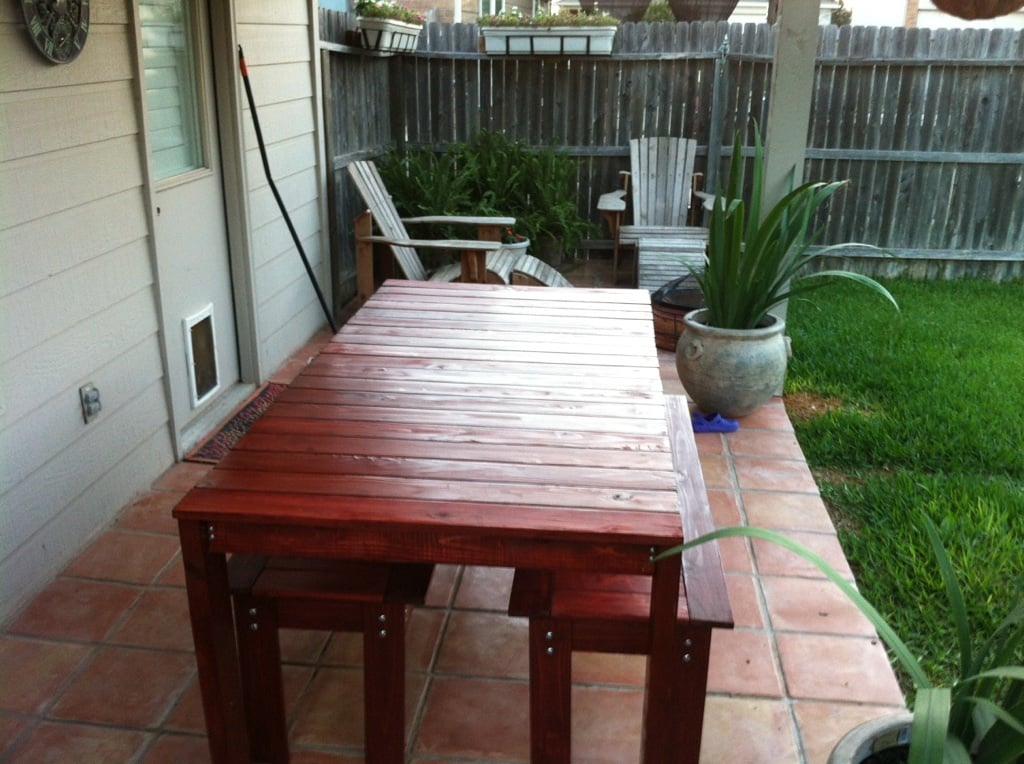
I am enamored by the Simple Outdoor Table that is usually featured on the homepage. This was my second project, and in hindsight, I it took several weeks to finish working at night because I made several mistakes that required some problem solving. Naively, though, I studied the plans, borrowed a saw and got to work.

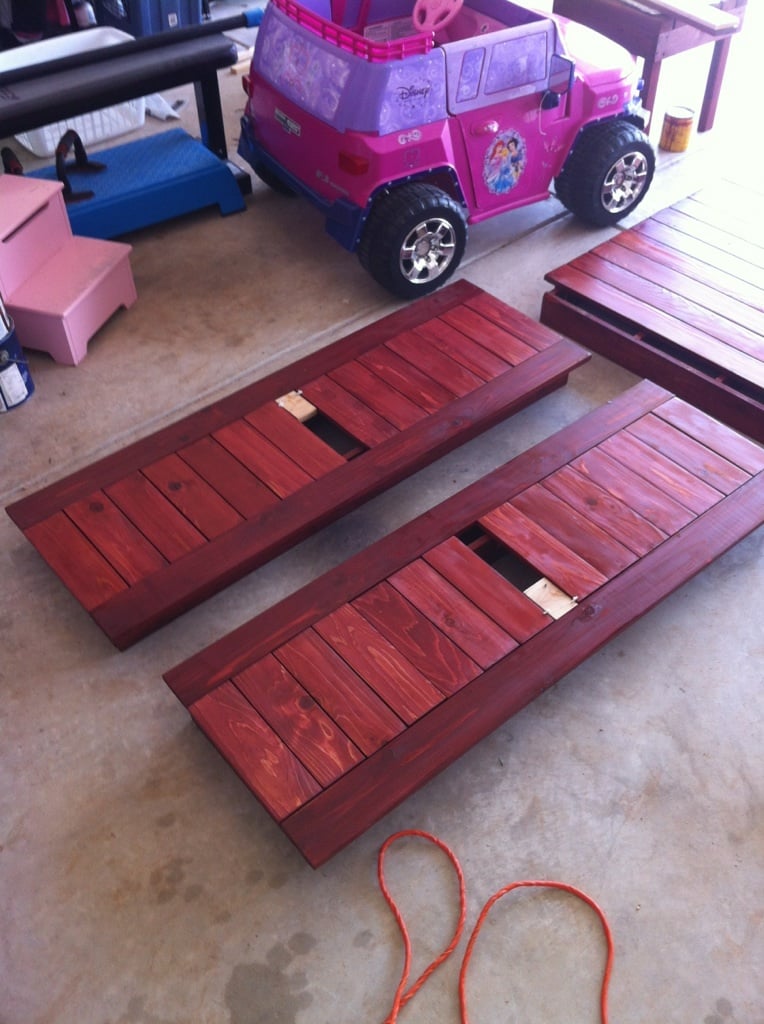
I opted for two benches to save space on the patio when not in use. As you can see in the picture of the bench tops, I opted for a smaller spacer (1/16")because it improved the looks dramatically, but that left me with a gap. There will be a skinny slat in the middle of each bench.

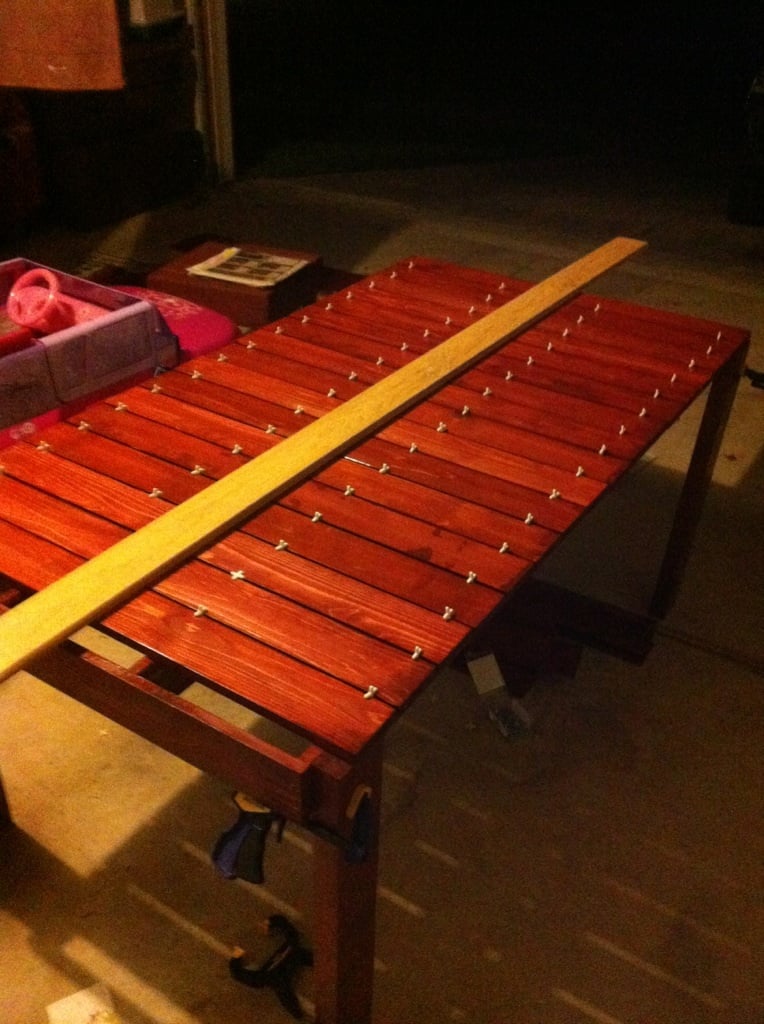
I also opted for 3/16" spacers on the tabletop which required one more board than was scripted. That is much easier to account for on the table then the benches.

You can see from the stacks of lumber in the garage, assembling is the easy part! I hope to never see the words, sand, stain, and seal in sequence again. I also learned a few difficult lessons when it came to using the Kreg Jig, which was new to me.

Now that it's done, though, I am very proud of the outcome.

Estimated Cost
$150
Recommended Skill Level
Beginner

Comments

Andrew Spearns (not verified)

Thu, 07/26/2012 - 13:24

Hi - Table looks great. What did you use to stain and seal?

Thx
Andrew

Salsa Console

Submitted by paineda on Mon, 06/13/2016 - 08:59

There is 1x10 on the shopping list! This was the first cut to make and I realized no where does it say to grab a 1x10 board.  Other than that, the plans were great.  Definitely made some mistakes along the way but overall I am very pleased.  Thanks for the plans!

Built from Plan(s)
Estimated Cost
$350-400.
Estimated Time Investment
Week Long Project (20 Hours or More)
Finish Used
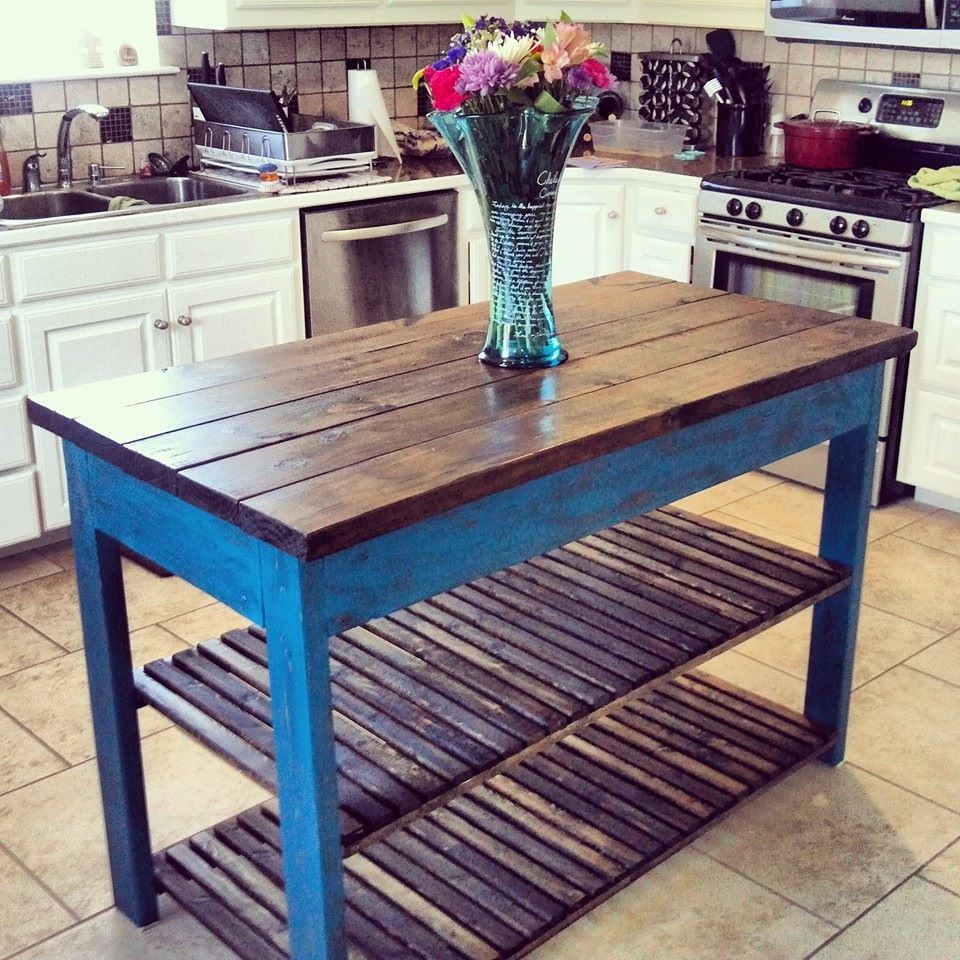
Painted two colors, brown then blue. Sanded to give it antique look and finished with polycrilic.
Recommended Skill Level
Intermediate

Sofa Table

Submitted by B.W.Martin on Thu, 04/16/2020 - 21:10

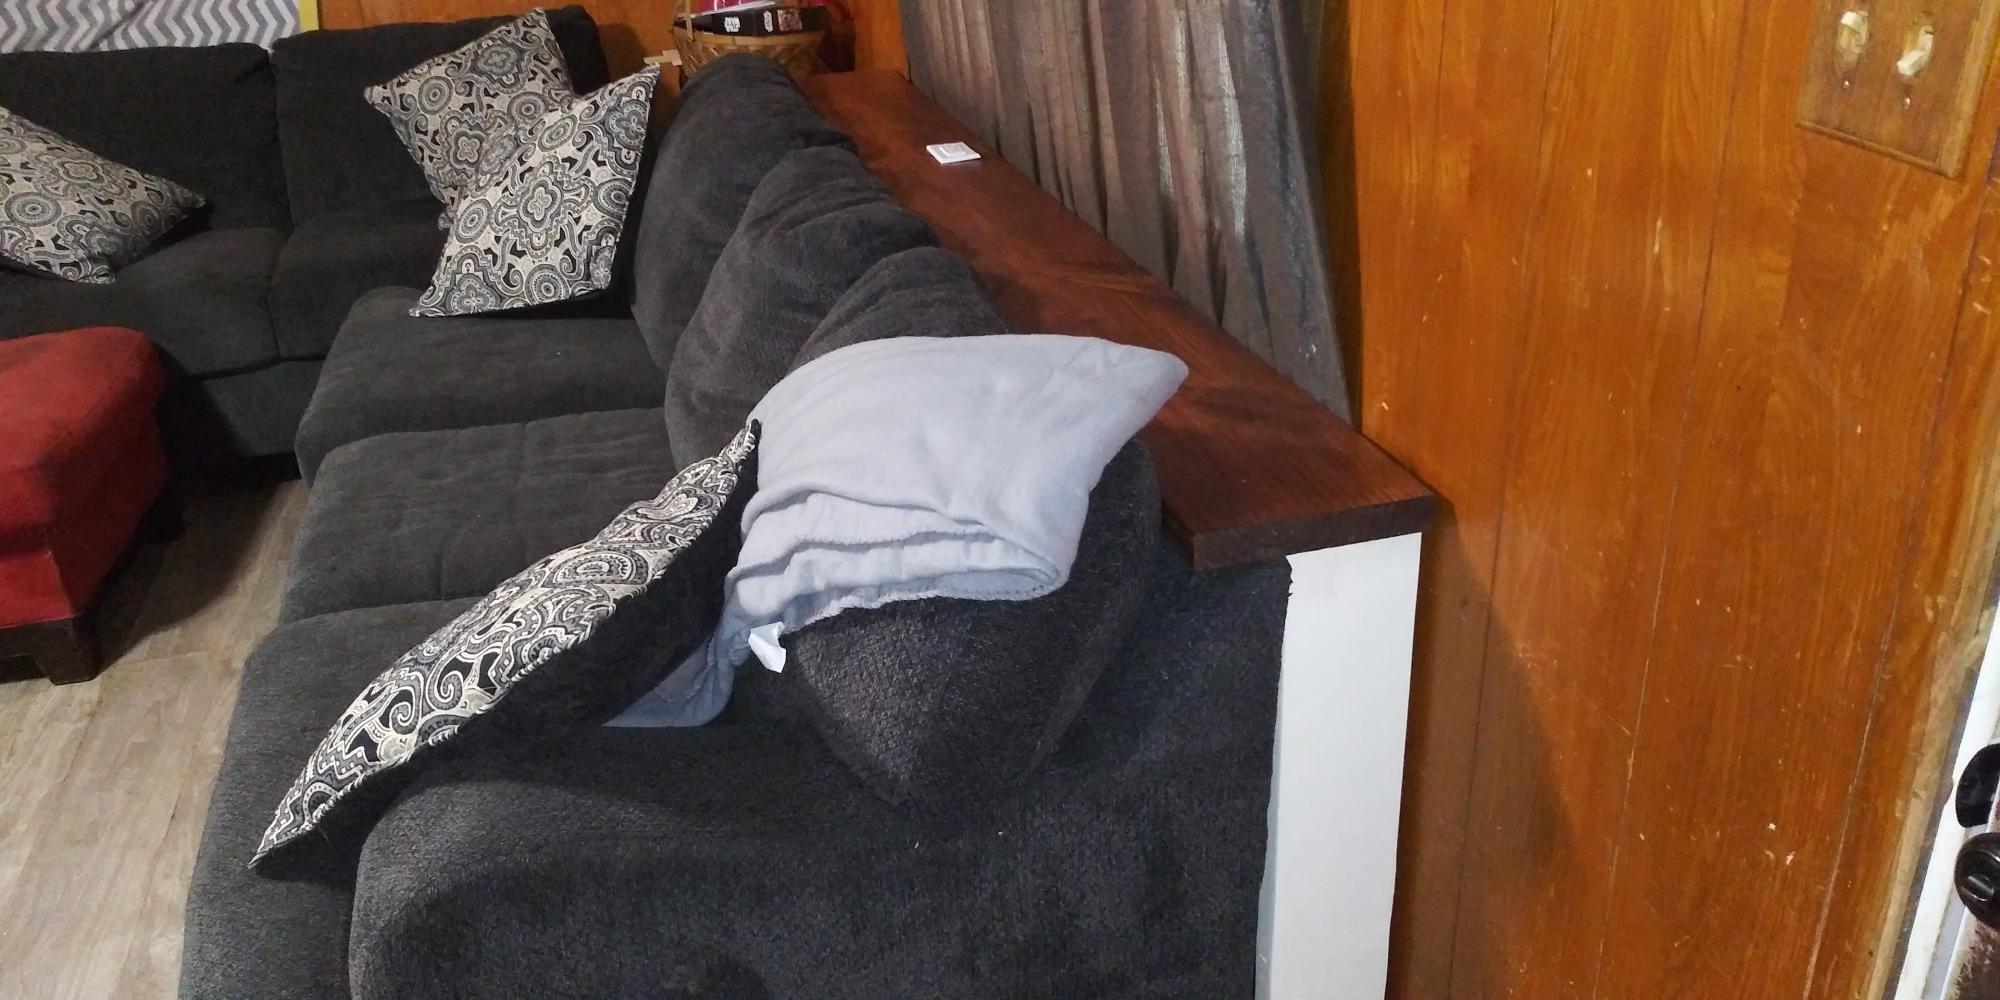
I created a sofa table and also one for the loveseat but I don't have it pictured. I used a 2" x 10" for the top and 2" x 6" boards for the legs as well as braces. Added a two outlet and two USB port socket to the table top which was wired to plug into the outlet that would be covered up. Made it so that the legs we're up against the wall allowing for the top to extend just over the back of the couch, and it allowed the two legs to keep the pets from going behind the couch.

Estimated Cost
Roughly $25 it was one 2 by 10 8ft long, one 2 by 6 8 ft long for the legs and 45 degree braces. One wall socket box, a plug, an extension cord, and then necessary items to properly wire it together.
Estimated Time Investment
Afternoon Project (3-6 Hours)
Finish Used
Eggshell antique white was used for the paint. Minwax pre stain, minwax honey stain, and minwax polyurethane.
Recommended Skill Level
Beginner

Modern Farmhouse Entryway Console

Submitted by Anonymous (not verified) on Sat, 11/18/2023 - 12:28

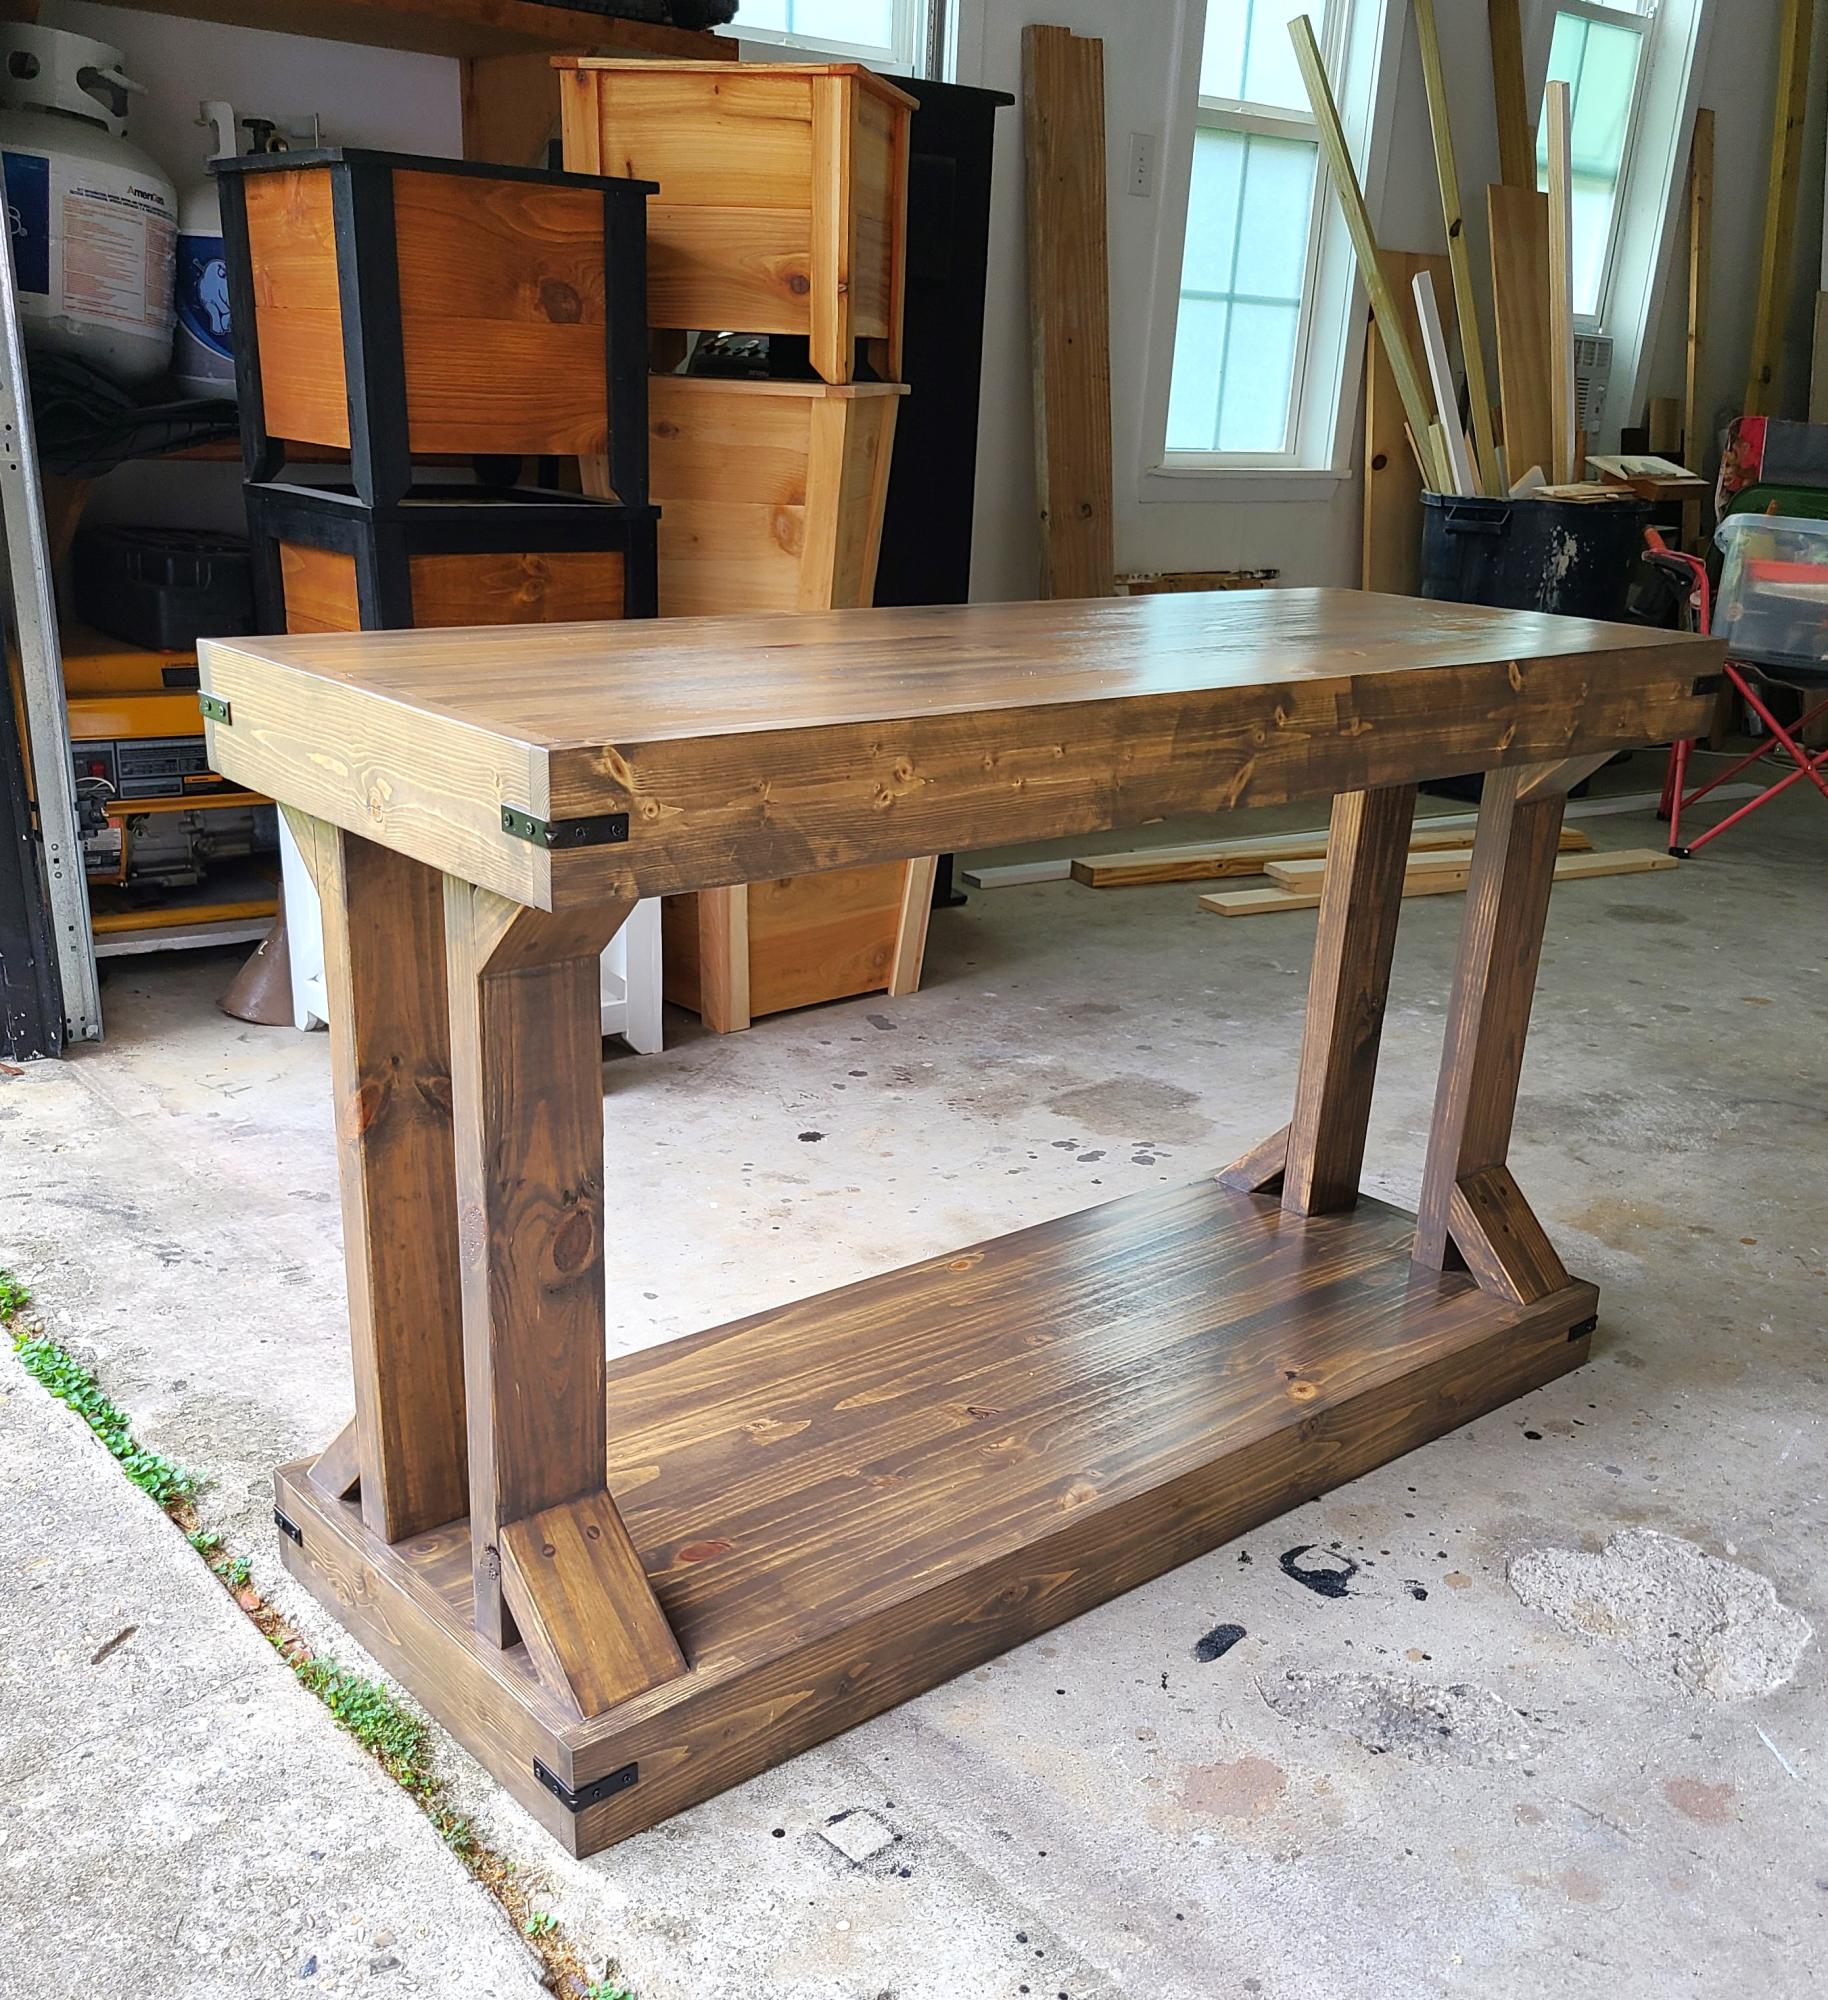
Built 2. Stained one Briarsmoke the other to be determined. Thank you Ana for the inspiration and plans!

Tim Basoco

Comments

My New Couch

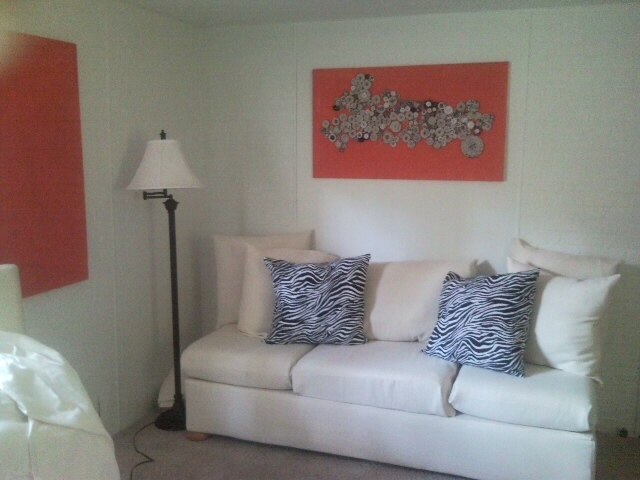
Submitted by PriscaW on Thu, 05/31/2012 - 02:30

This is my new couch ,that I built with my husbands help,I could not find a one piece cushion in my area but, I did manage to find individual cushion.I am no expert , but I am learning as I go.

Estimated Cost
about 100 dollars
Estimated Time Investment
Weekend Project (10-20 Hours)
Recommended Skill Level
Starter Project

Comments

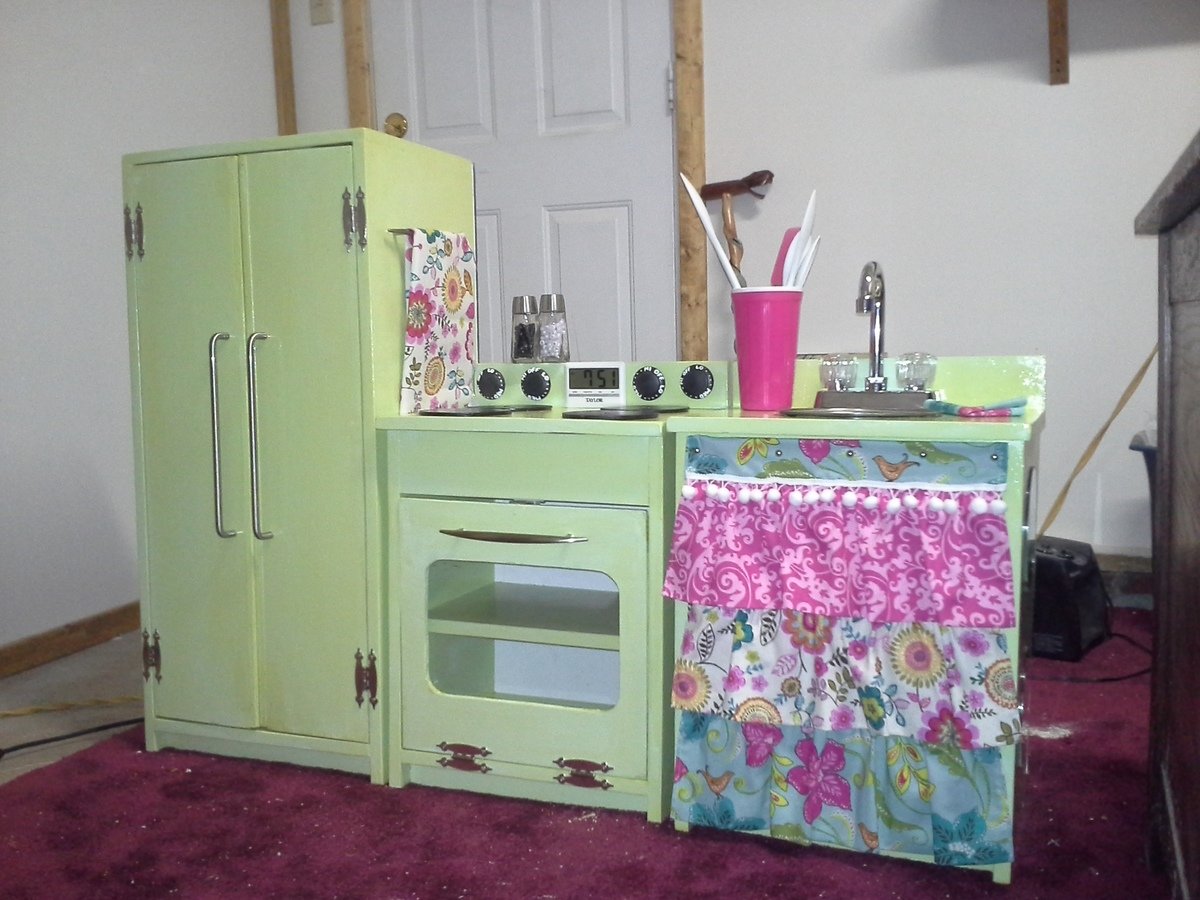
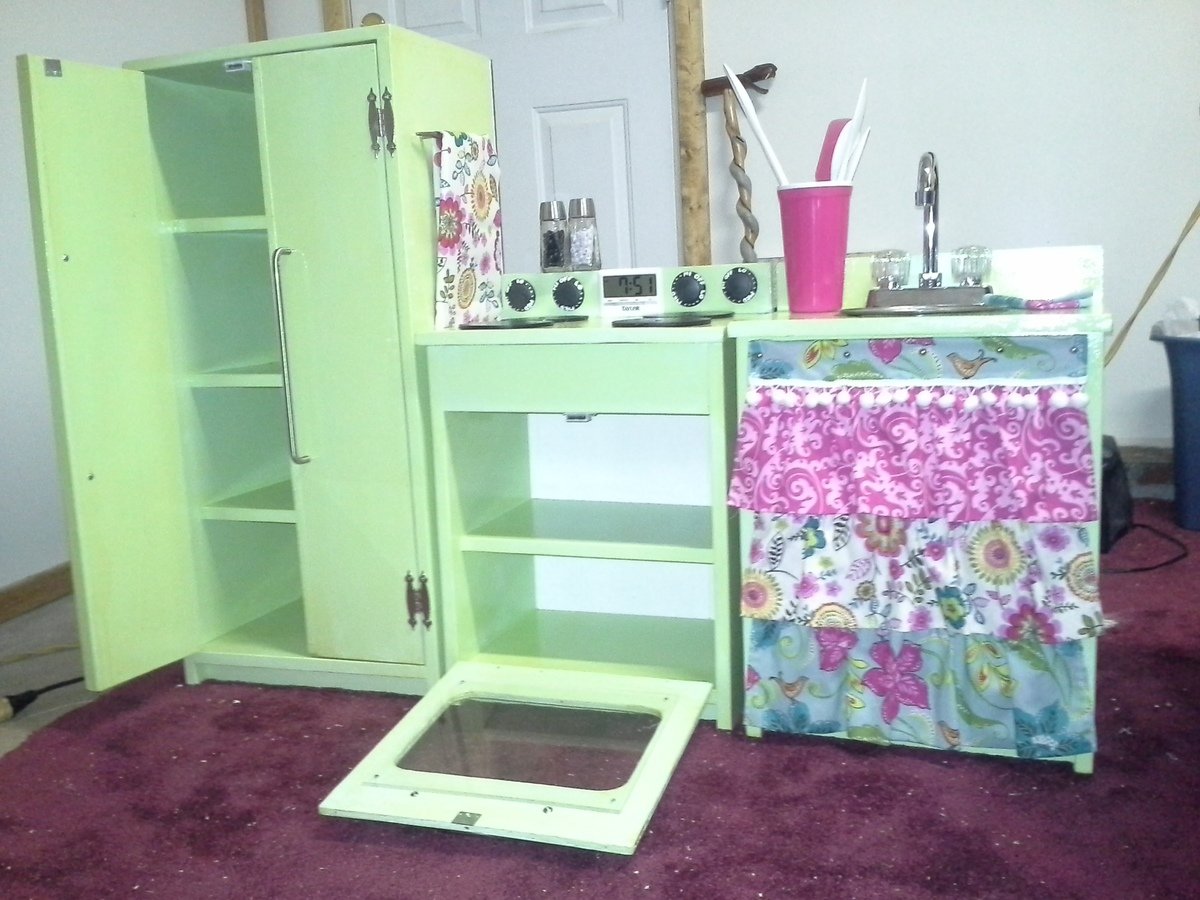
Play Kitchen

My Dad and I built this for my daughter's third birthday. It's been a big hit! I'm really happy with how it turned out.

Estimated Cost
$250
Estimated Time Investment
Week Long Project (20 Hours or More)
Recommended Skill Level
Intermediate

Comments

A Little Longer

I followed plan but added 20 extra inches and an extra woven insert plus an extra brace in center of seat.

Built from Plan(s)
Estimated Cost
Roughly $60
Estimated Time Investment
Week Long Project (20 Hours or More)
Finish Used
Coloured wood stain
Recommended Skill Level
Intermediate

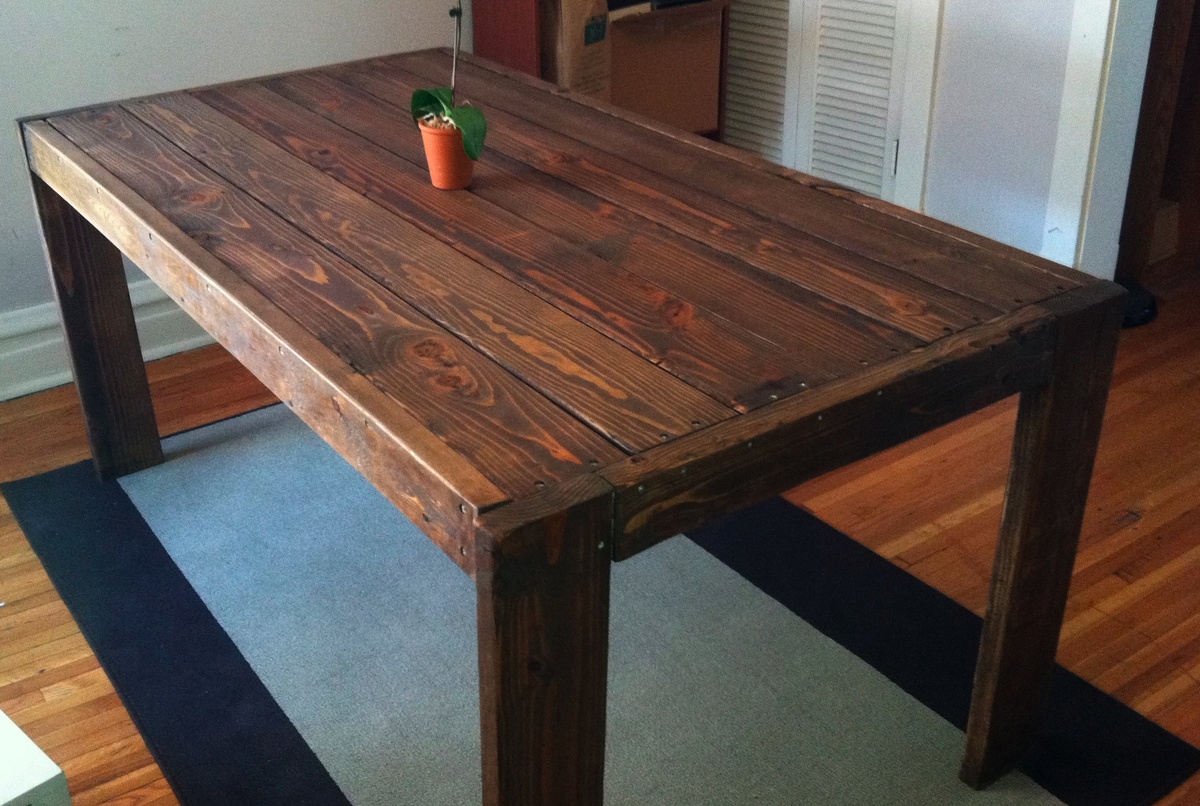
Modern Farm Table

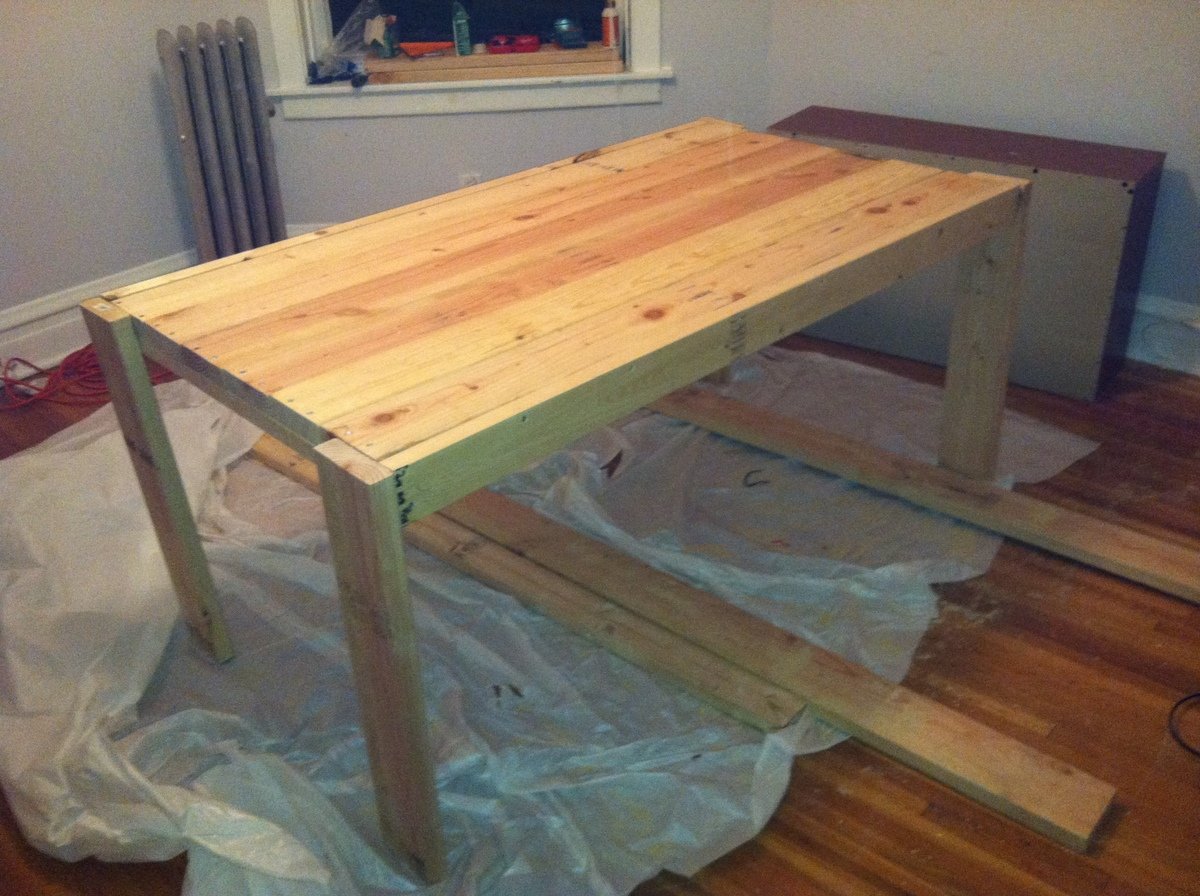
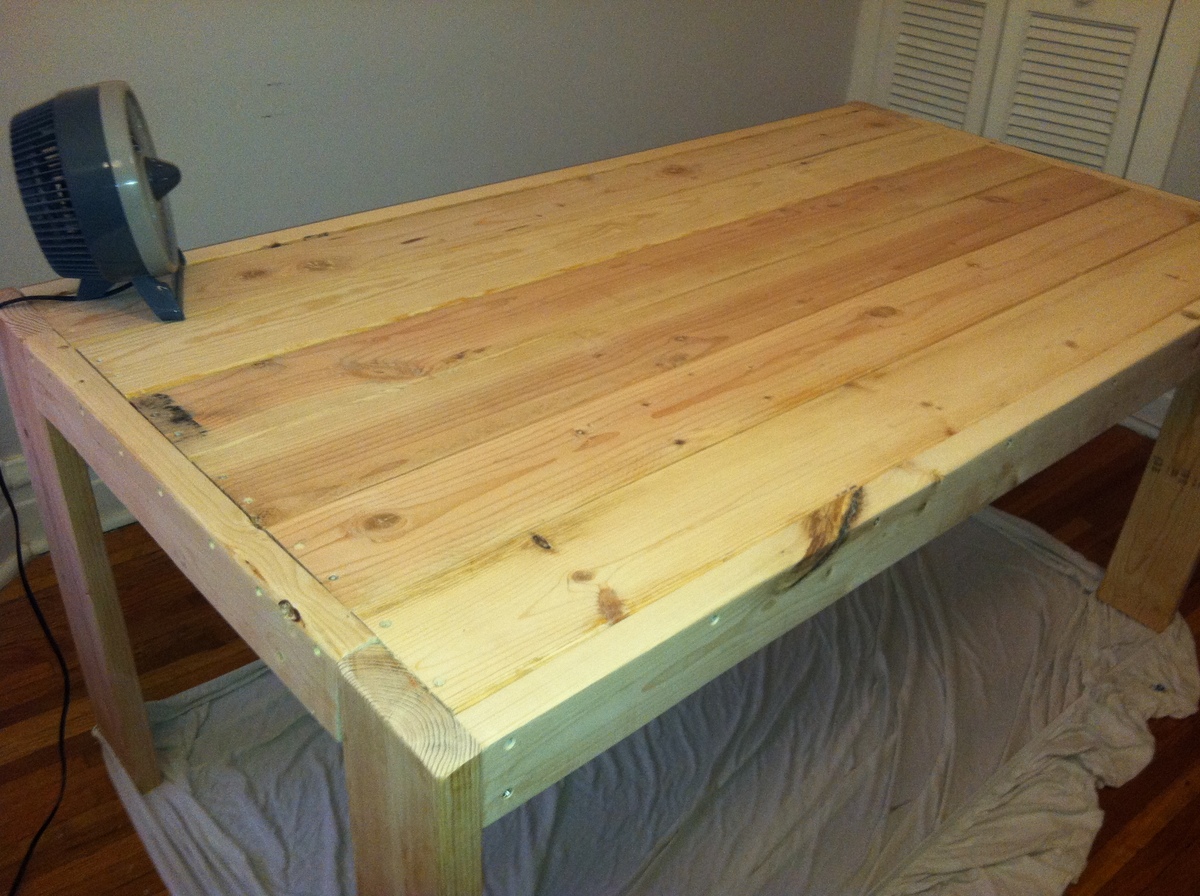
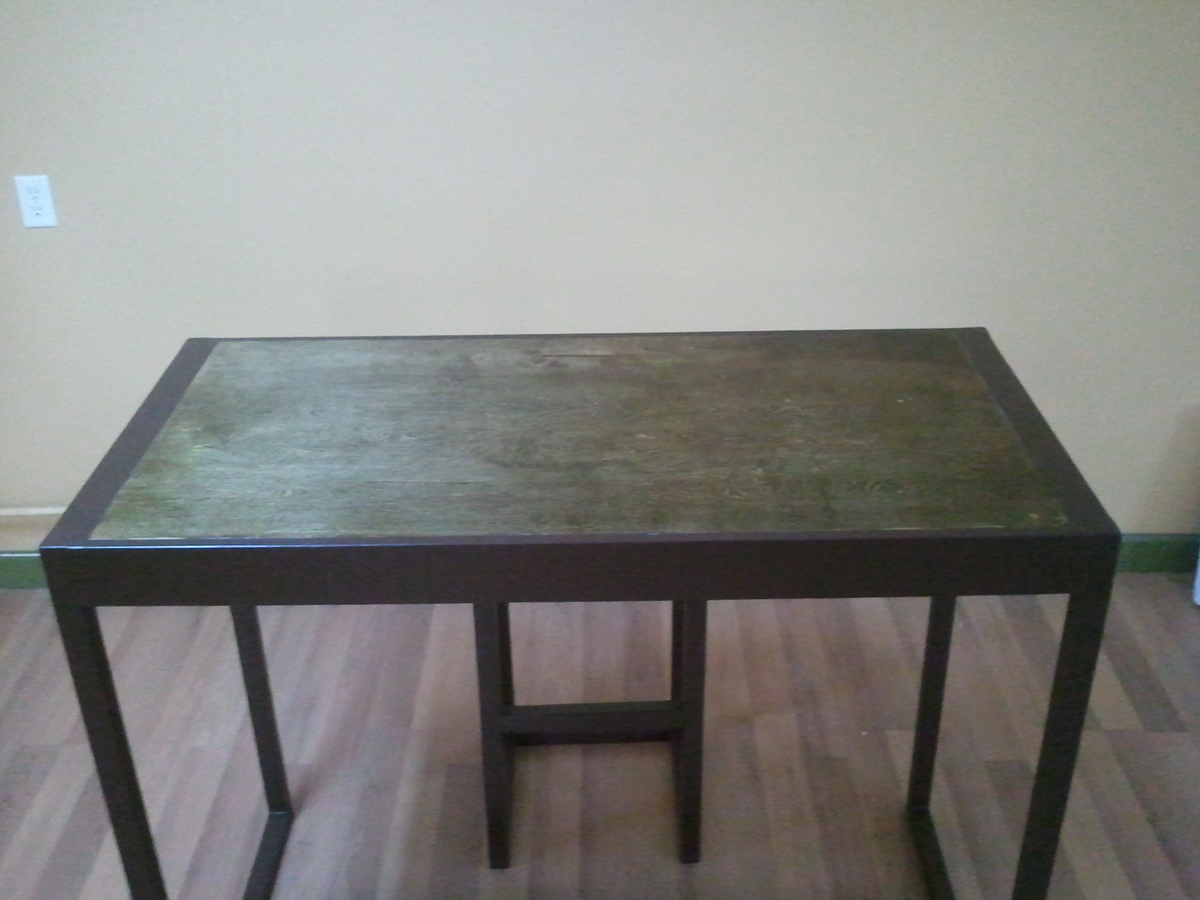
After spending weeks lurking on the site, I decided to go for it. I have no real experience doing this sort of thing, so everything was a learning experience. I had to invest in a lot of tools but the materials only cost about $100 ($50 in pine from local home store + ~$50 in other materials).

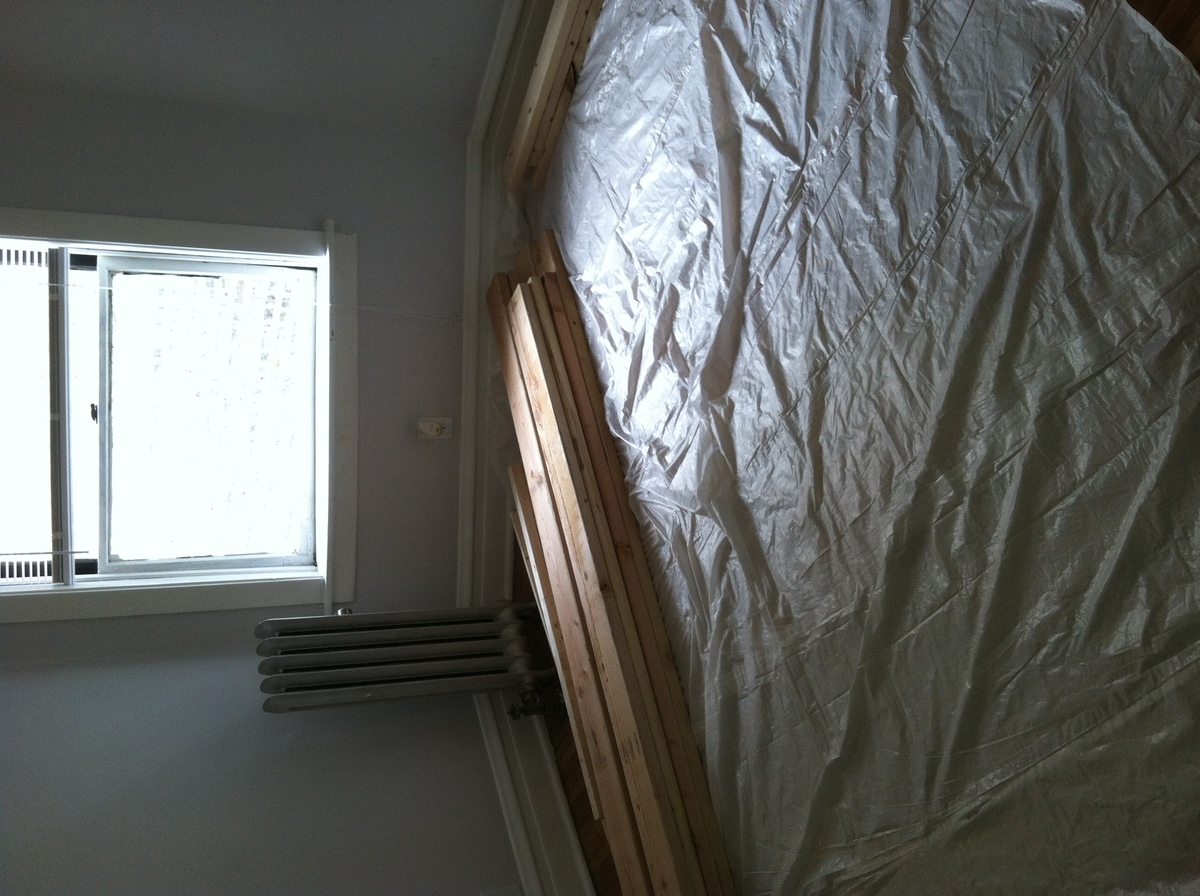
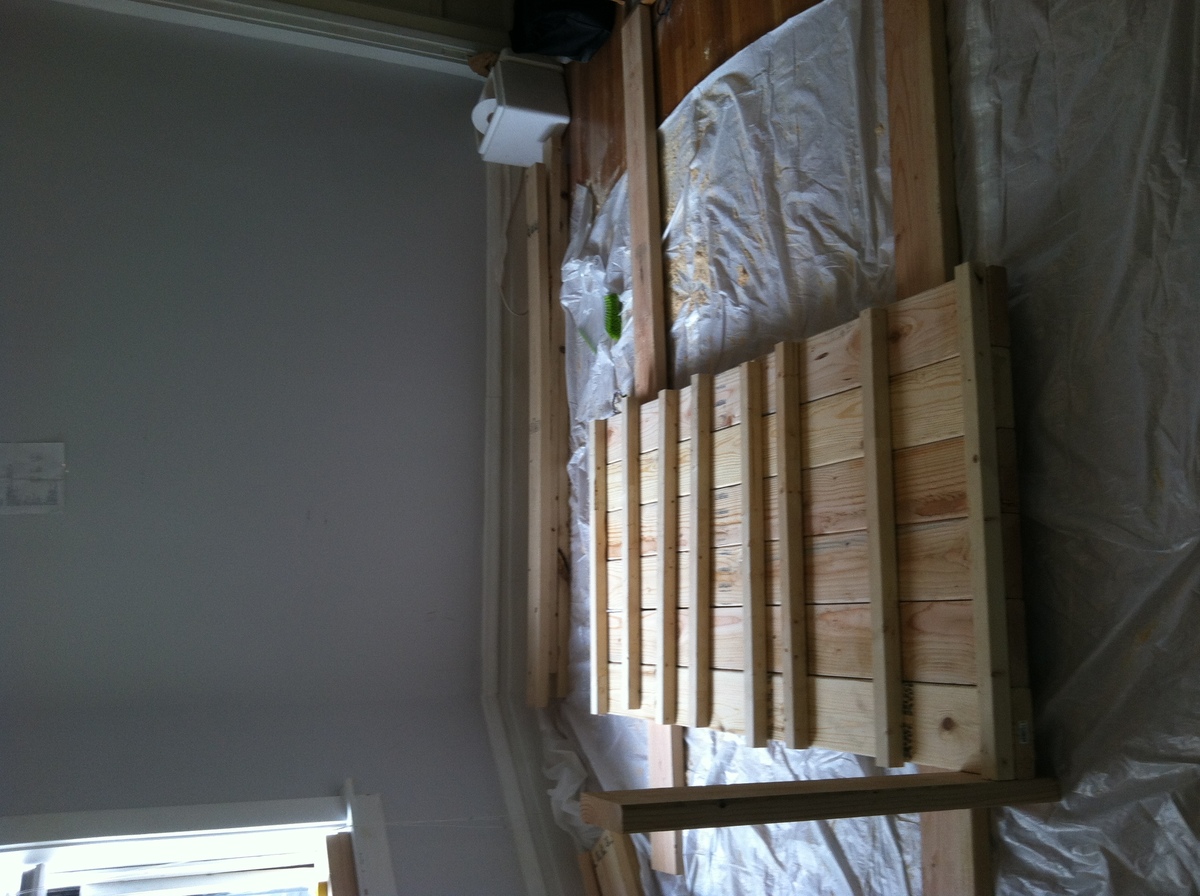
I live in a small apartment, so my workplace was less than ideal. I did a lot of sawing and sanding in the space you see so I made a HUGE mess, but I didn't really have any other choice.

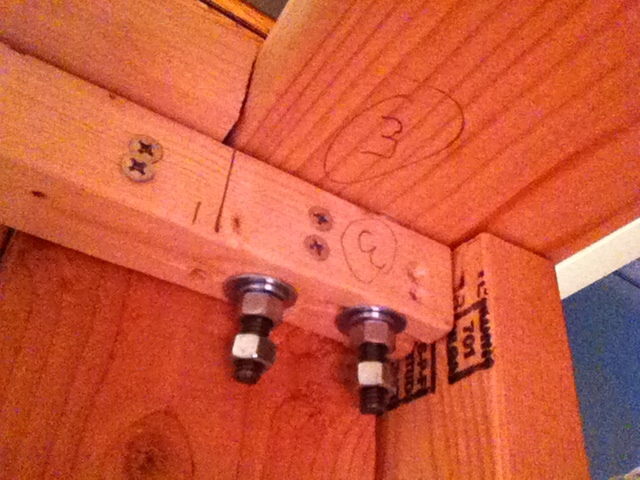
I'm really pleased with the outcome. It isn't perfect, but it doesn't have to be. There are gaps in the planks on the table top, but I can live with it. I didn't follow the plans exactly in order. I built the table top first which allowed me to add removable legs for when it comes time to move. Instead of screwing the legs, I hung hanger bolts and did a nut/bolt setup (as I type this, I realize this was not a necessary step - I could have bolted the legs instead of screwing them in per the stepwise instructions, which would have been easier. Alas, what's done is done!). The picture shows two sets of nuts per bolt, but this is only because I had extra bolts and this ensure that I don't lose them.

I plan on finishing with a polyurethane and building the benches but that will be in the future. My advice to anyone on the fence is to just do it. It's easier than you think and if it doesn't turn out exactly perfect, no big deal. My project goes to show that even with a tiny Chicago apartment, as long as you're willing to make a mess, it can be done. Good luck, thanks for reading!

*sorry my photos are aren't right-side-up - just tilit your head :)
Built from Plan(s)
Estimated Time Investment
Weekend Project (10-20 Hours)
Finish Used
Mnwx Golden Oak + Dark Walnut
Recommended Skill Level
Beginner

Comments

Distressed Paint Kitchen Island

Submitted by JD Corey on Thu, 03/20/2014 - 12:52

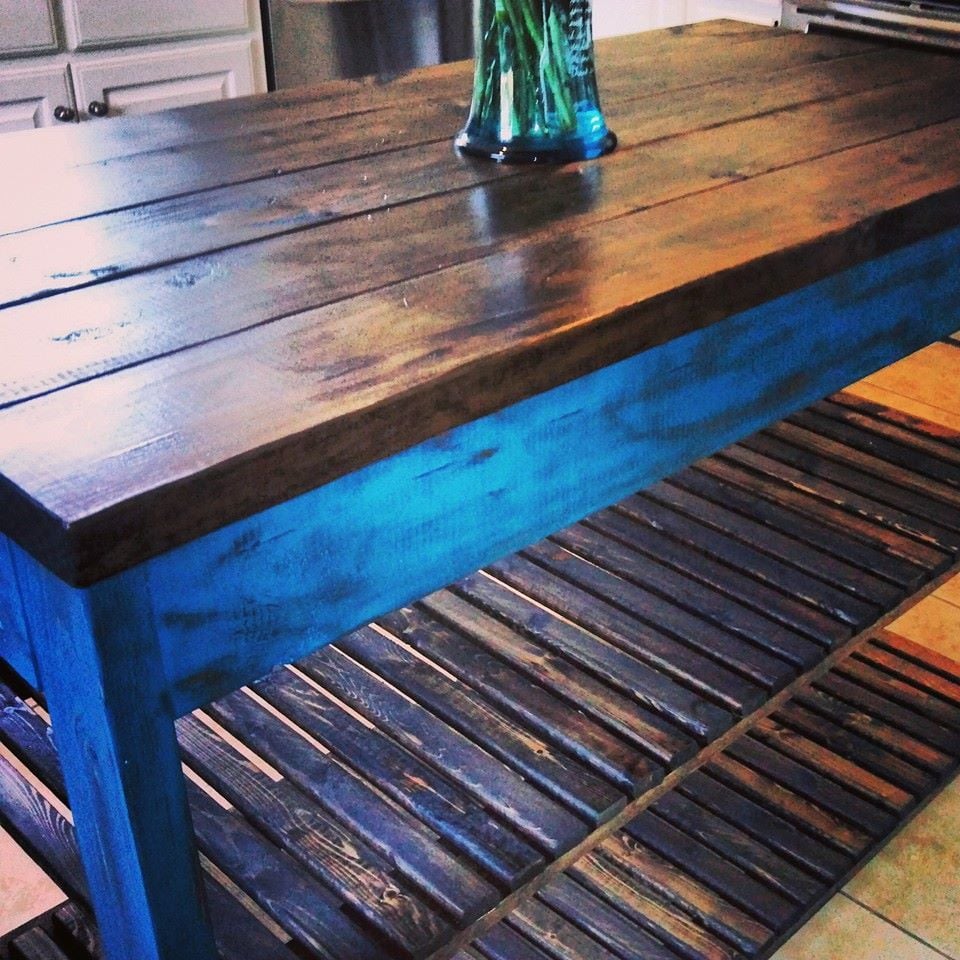
This is the Kitchen Island I built for my wife. I painted it in my wife's favorite color and gave it a distressed look that matched the stained wood counter top. This was also my very first Ana White project... The plans were easy to follow and I had a lot of fun building it.

Built from Plan(s)
Estimated Cost
110
Estimated Time Investment
Weekend Project (10-20 Hours)
Finish Used
American Walnut Stain
Recommended Skill Level
Starter Project

Comments

michigulla

Fri, 11/21/2014 - 23:38

Hi there! This kitchen island is beautiful!! Can you tell me what paint and color you used, as well as what finish and how you distressed it?? I love it!!

Build Michaela's Kitchen Island

Submitted by Anonymous (not verified) on Tue, 06/21/2016 - 20:08

Used ana's plan as more so a guidance. The top is made out of 3/4inch hard maple planks glued/clamped together. The harder part was then planing the top down to ensure the top was relatively flat. All the other wood was pine.


The slats were stained golden oak and incurred 1 coat of polyurathane. Really love this piece. 

Estimated Cost
The maple planks costed a bit. Total was probably $200
Estimated Time Investment
Weekend Project (10-20 Hours)
Recommended Skill Level
Advanced

planked wood sideboard

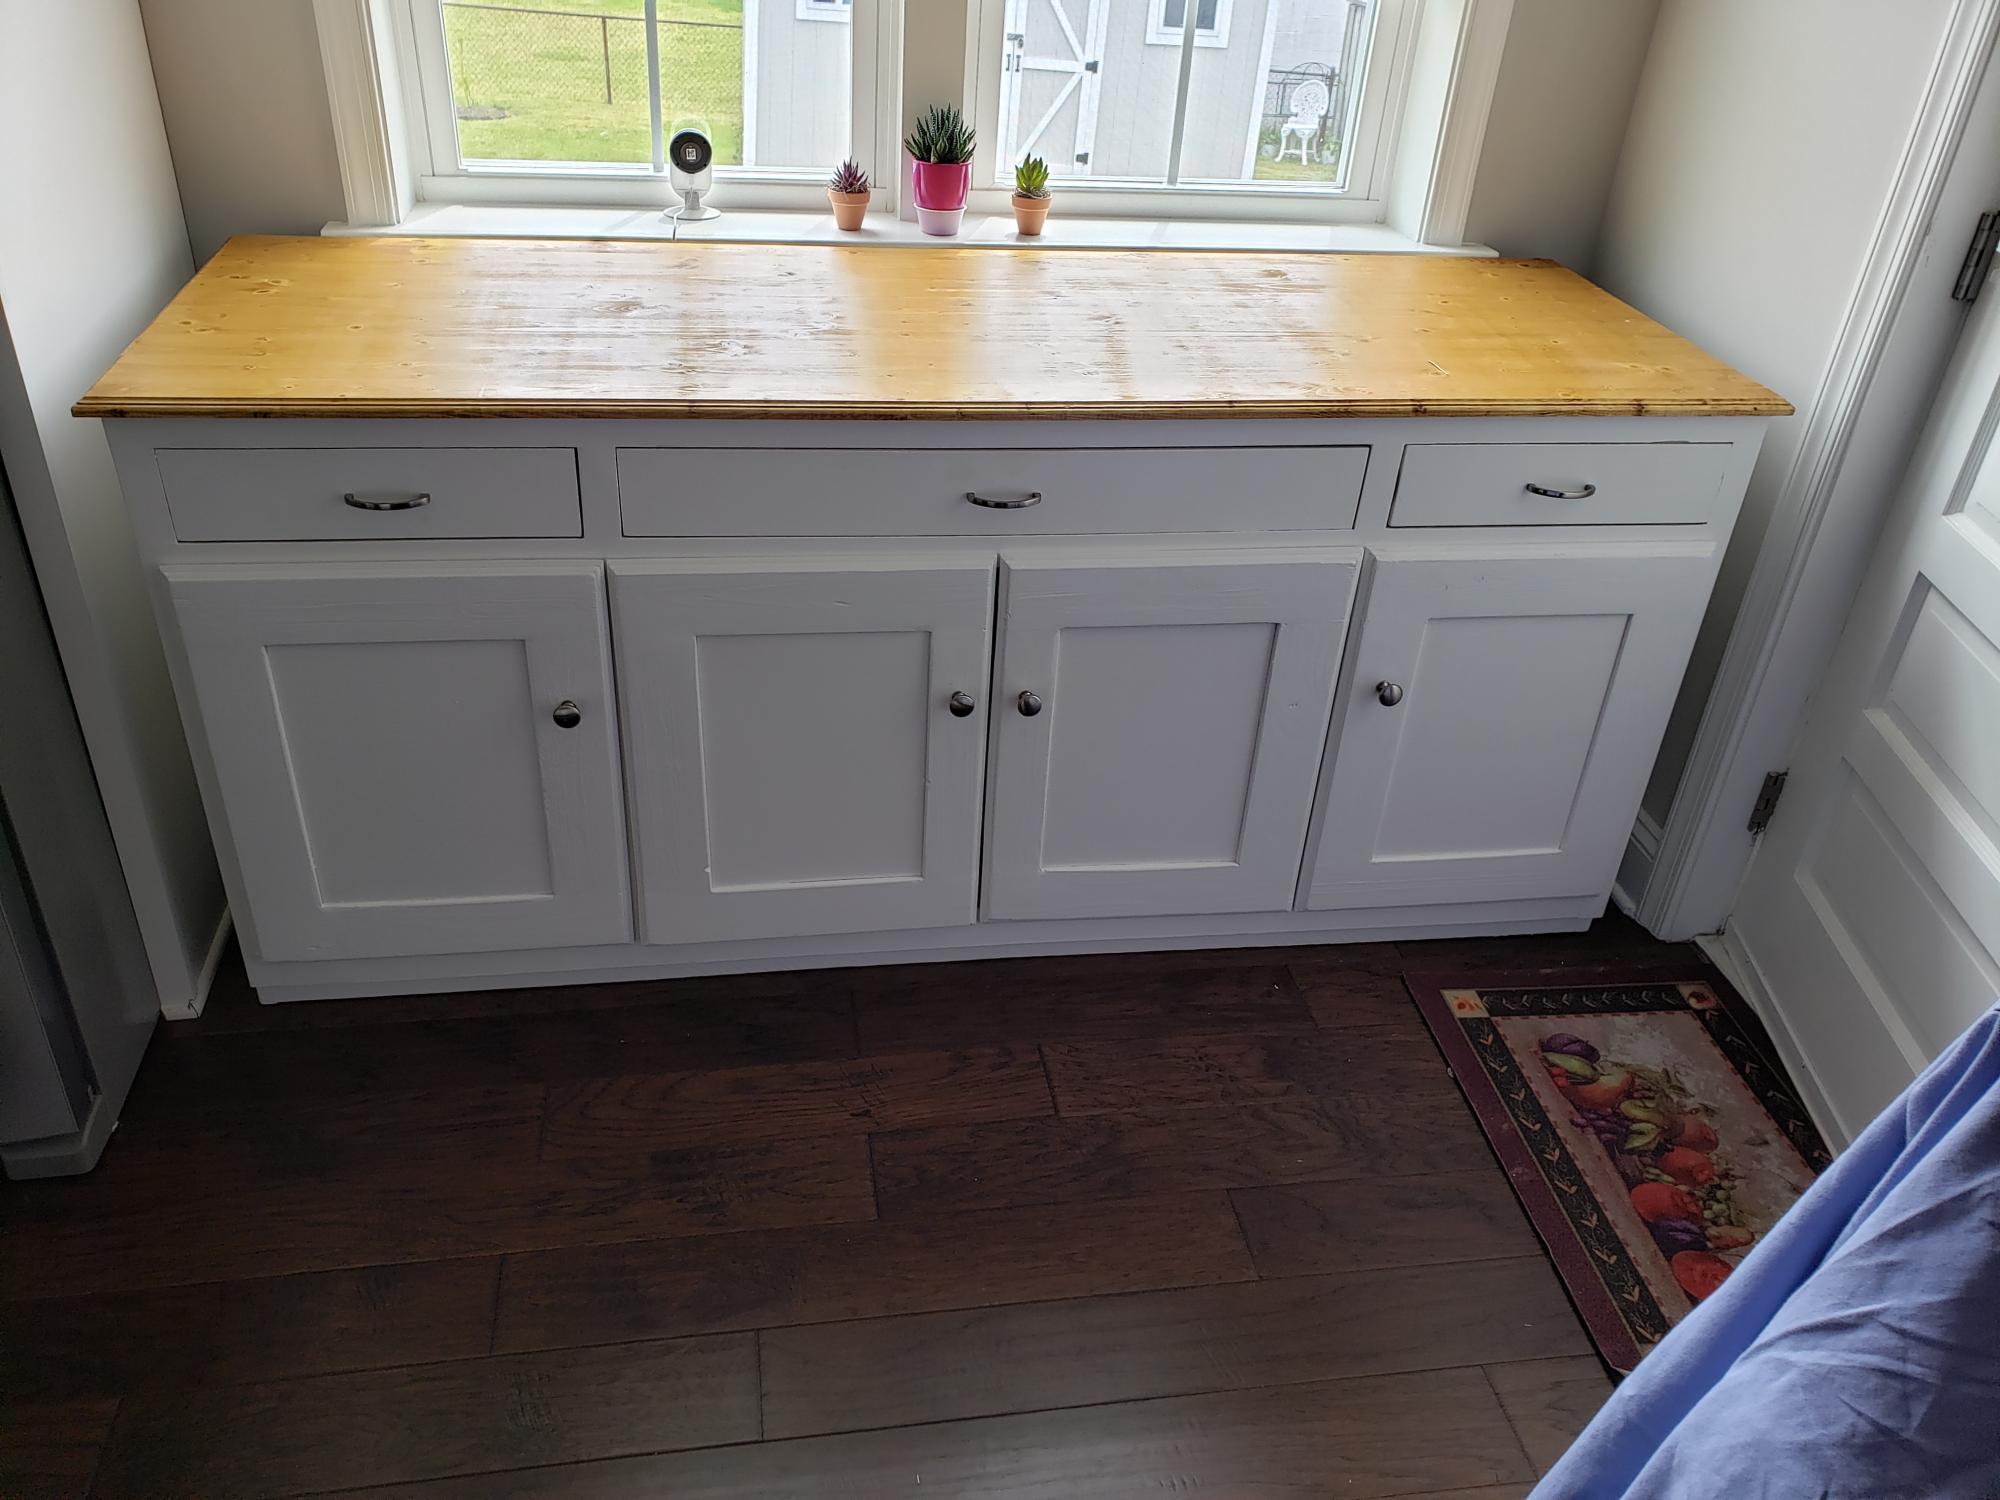
Based my cabinet on the planked wood sideboard but moved away from using the tens of pocket screws the project called for. I also used hidden hinges so my doors do not enter into the cabinet. I cut and glued multiple boards to make my top after using my planer. But soft close drawers and hinges on the unit. Also installed baskets with soft close for the bottom of the 2 side cabinets. Turned out pretty good. Super heavy though which well built items will be. Routed my door and table top edges for style. Wife loves it.

Estimated Cost
500.00 counting hardware and sanded plywood
Finish Used
table used golden oak stain

Comments

Hall Tree for Apartment!

Submitted by Anonymous (not verified) on Sun, 11/26/2023 - 12:26

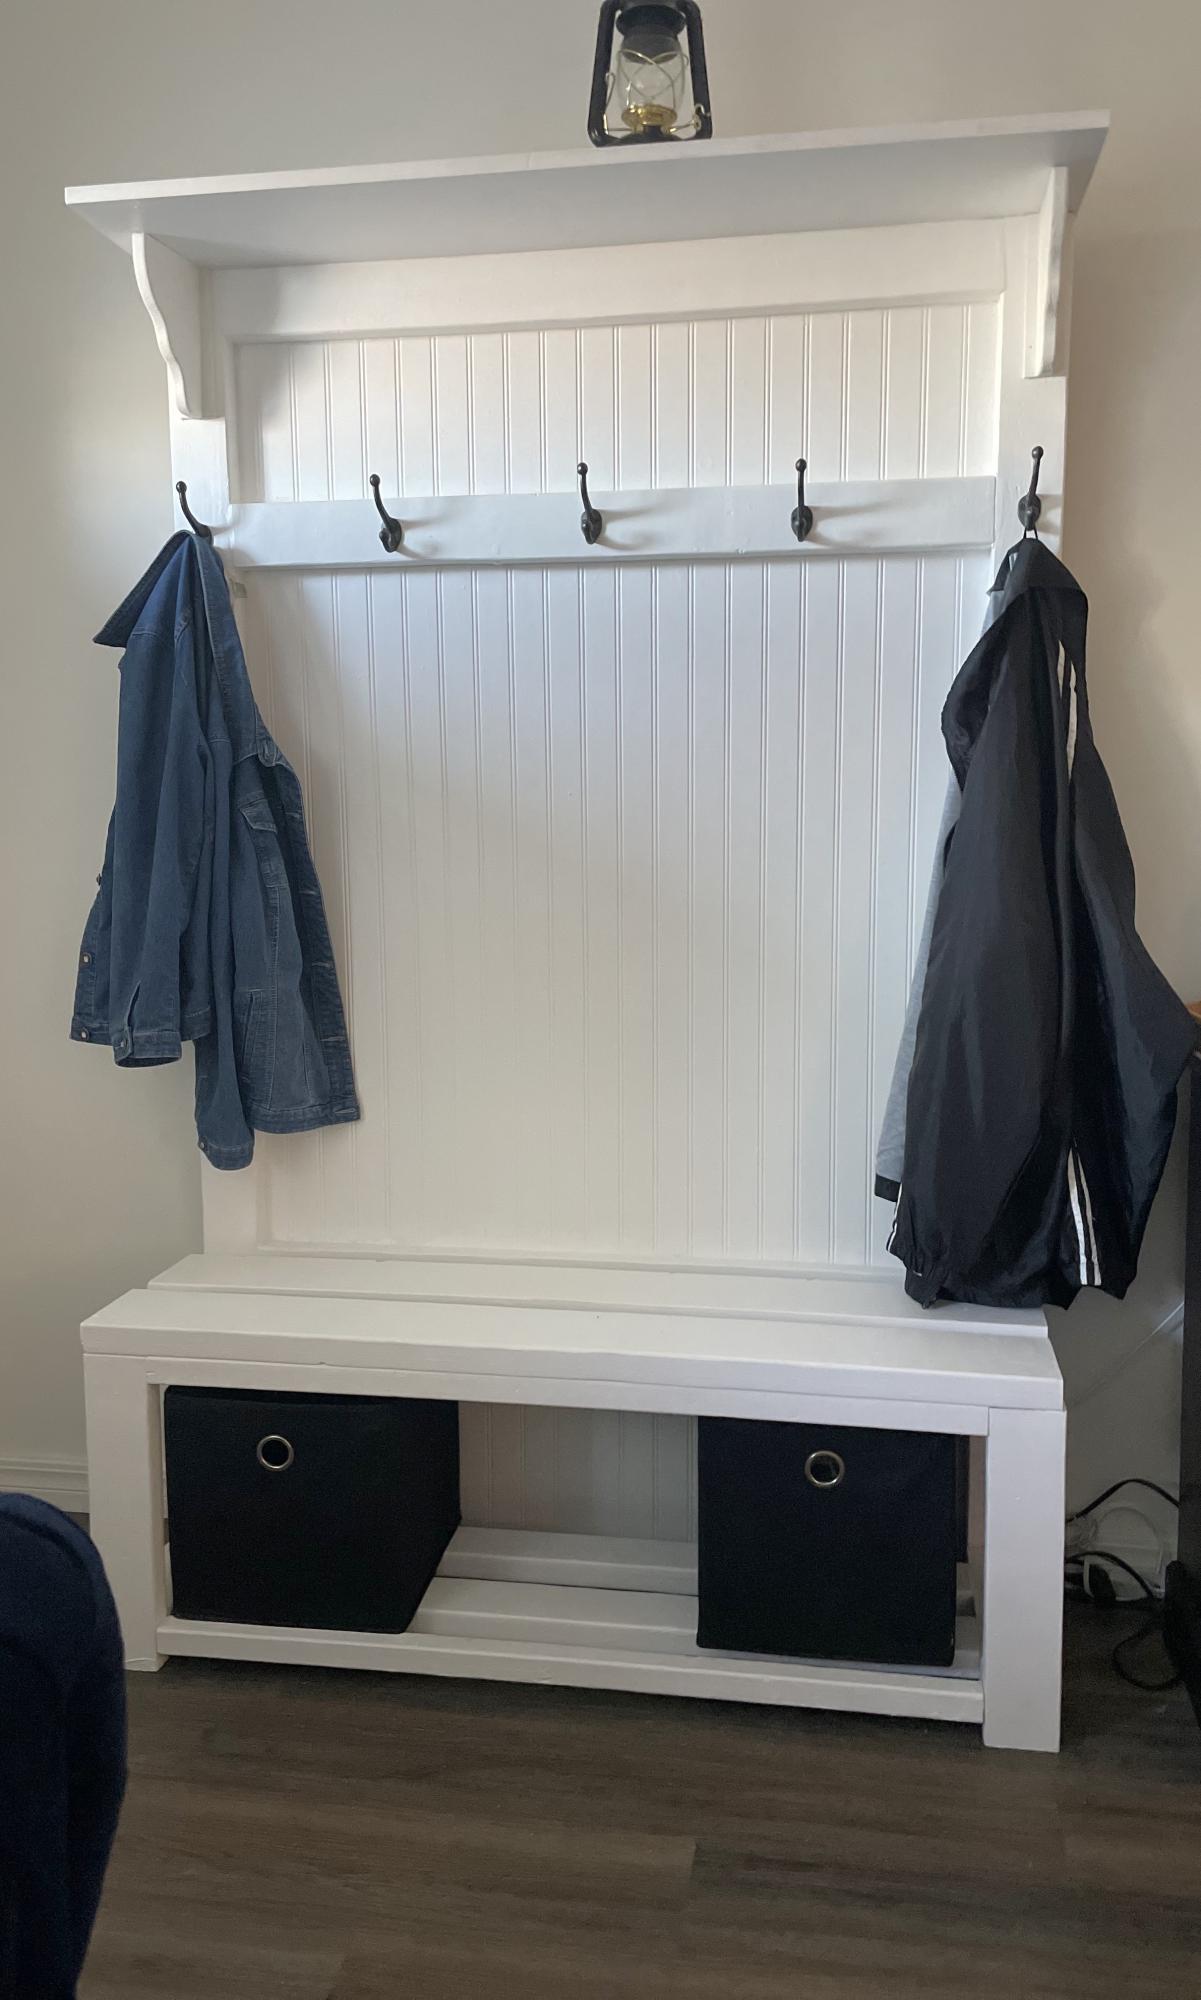
My husband built this for my birthday. He adjusted the seat height so the storage bins would fit underneath. We also added the corbels under the shelf on top. I can't stop staring at it! Just love it! We had no place for coats etc by the front door of our apartment before!

Built from Plan(s)

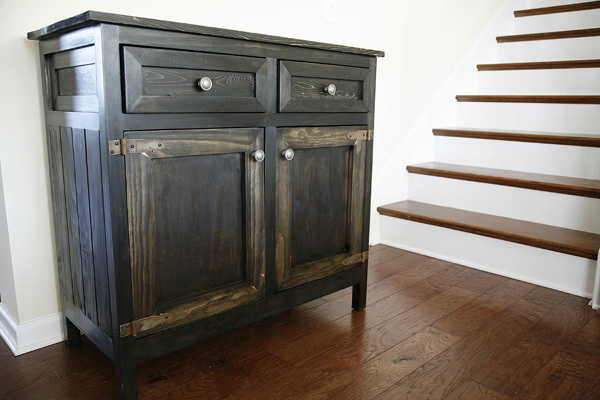
Entrance Cabinet

Submitted by AndyH on Tue, 04/01/2014 - 19:55

First project from own design and wanted to share as pretty pleased with how it turned out. Sides are 4 by 2s with a routed 45 degree grove on each edge to give some detail. Wanted to make the drawers stand out so I added the edging detail.

Estimated Cost
$220
Estimated Time Investment
Week Long Project (20 Hours or More)
Finish Used
Minwax pre stain. Minwax Ebony - 2 coats. Minwax Poly Satin - 2 coats.
Recommended Skill Level
Intermediate

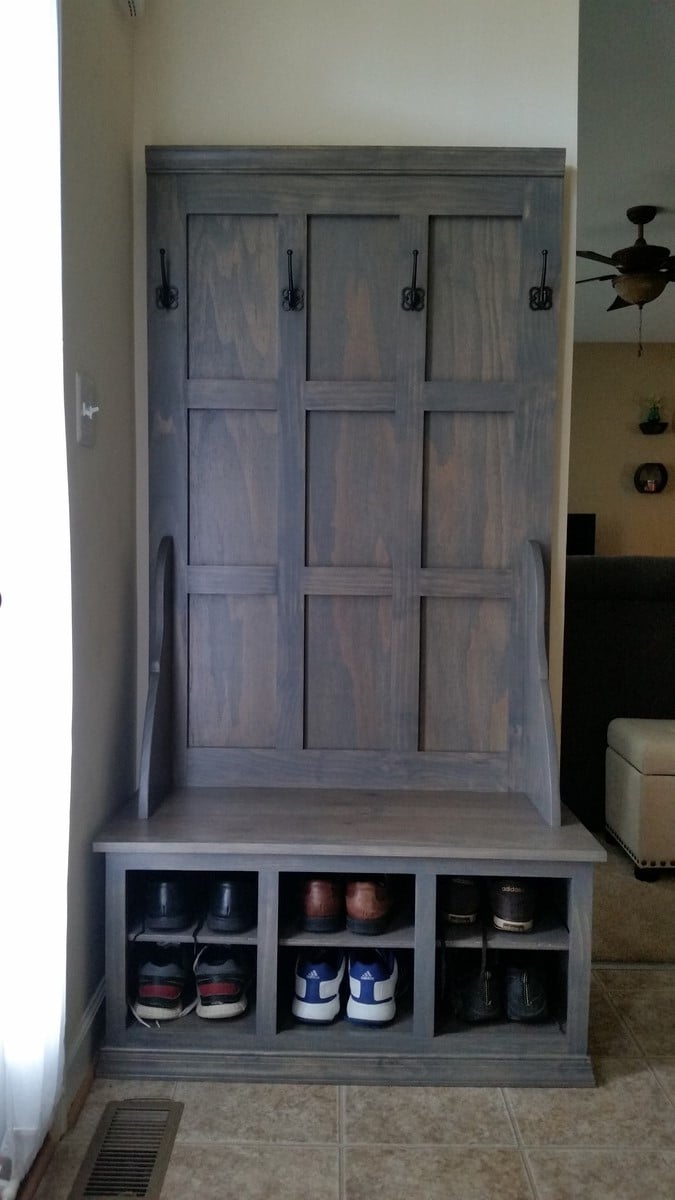
Fancy Hall Tree, scaled down

I scaled down the fancy hall tree plans to 39" wide to fit along our entry way wall. I also added shelves for shoes. It was a great birthday present for my wife, thanks Ana! 

Built from Plan(s)
Estimated Time Investment
Week Long Project (20 Hours or More)
Finish Used
Minwax classic grey 271 oil stain, and minwax polycrylic sealant.
Recommended Skill Level
Intermediate
Back