Community Brag Posts

Bar Cabinet

Submitted by BobC on Fri, 11/20/2015 - 20:31

I had this wine refridgerator that my wife gave to me years ago for a birthday and it really needed a home since it's been sitting in the corner of our dining room for several years.  After seeing some of the adaptations of the Printer Cabinet, I decided to try to modify if for my use.  I put pencil to paper and came up with a two sided design that would hold the refridgerator and all of our wine/bar glasses as well as some liquor.  It came out much better than I expected since this was my first real go at making any kind of cabinetry.  Measure twice, cut once really works.  I am eager to start my next project.  Thanks for the inspiration!

Built from Plan(s)
Estimated Cost
$450 (300 was for the piece of Granite I purchased for the top)
Estimated Time Investment
Week Long Project (20 Hours or More)
Finish Used
Minwax - Sedona Red stain, Poly
Recommended Skill Level
Beginner

Cherry Hardwood Fancy Hall Tree

Submitted by Anonymous (not verified) on Tue, 01/08/2019 - 16:23

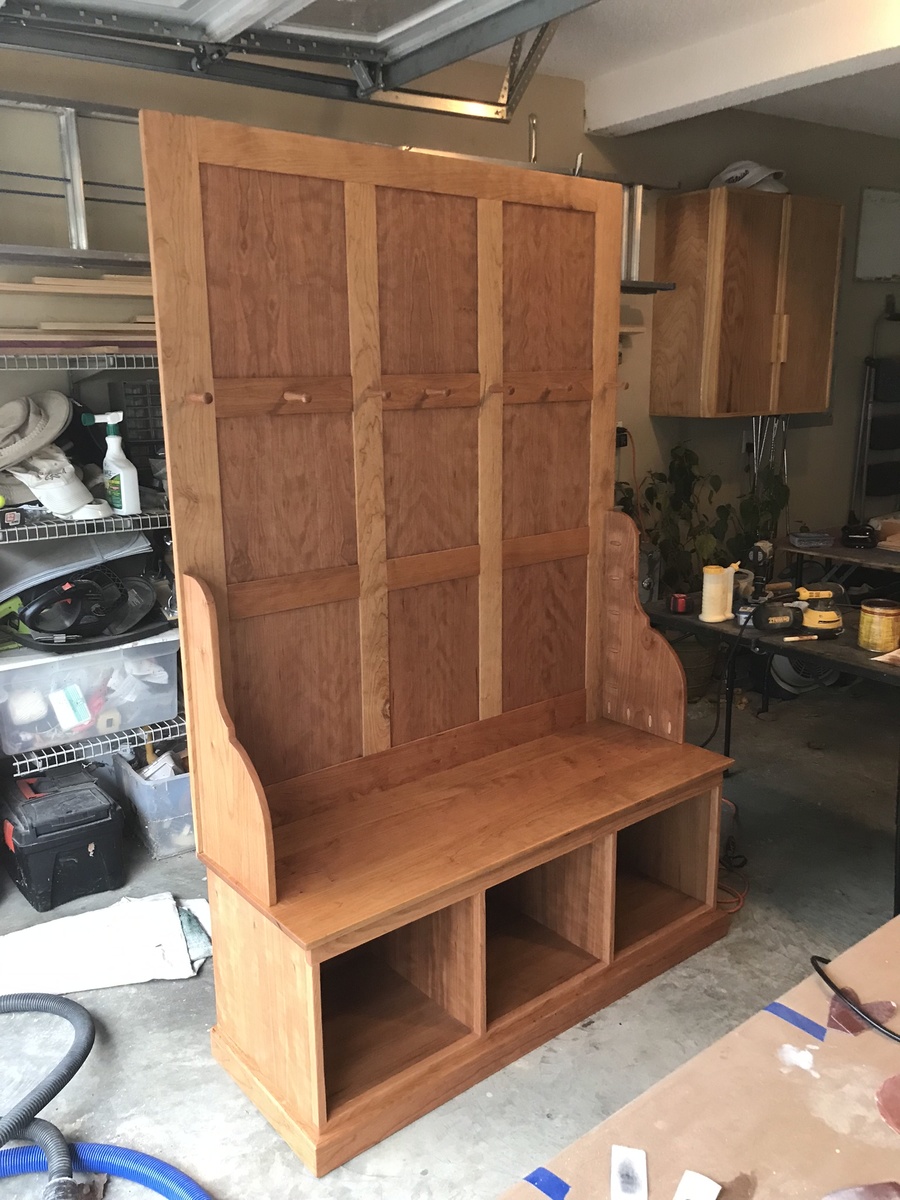
I built this Fancy Hall Tree with cherry hardwood and cherry plywood. The lower bench is done with rabbet joints and dados instead of pocket hold screws but the upper portion is all pocket hole screwed together but instead of laminating a large piece of plywood tot he back I cut individual panels and dropped them into rabbets like a picture in a frame.  The supporting wings are connected to the base and the back panel with pocket screws as is the panel to the base.

Estimated Time Investment
Week Long Project (20 Hours or More)
Finish Used
I finished with a natural danish oil and then three coats of polyurethane.
Recommended Skill Level
Intermediate

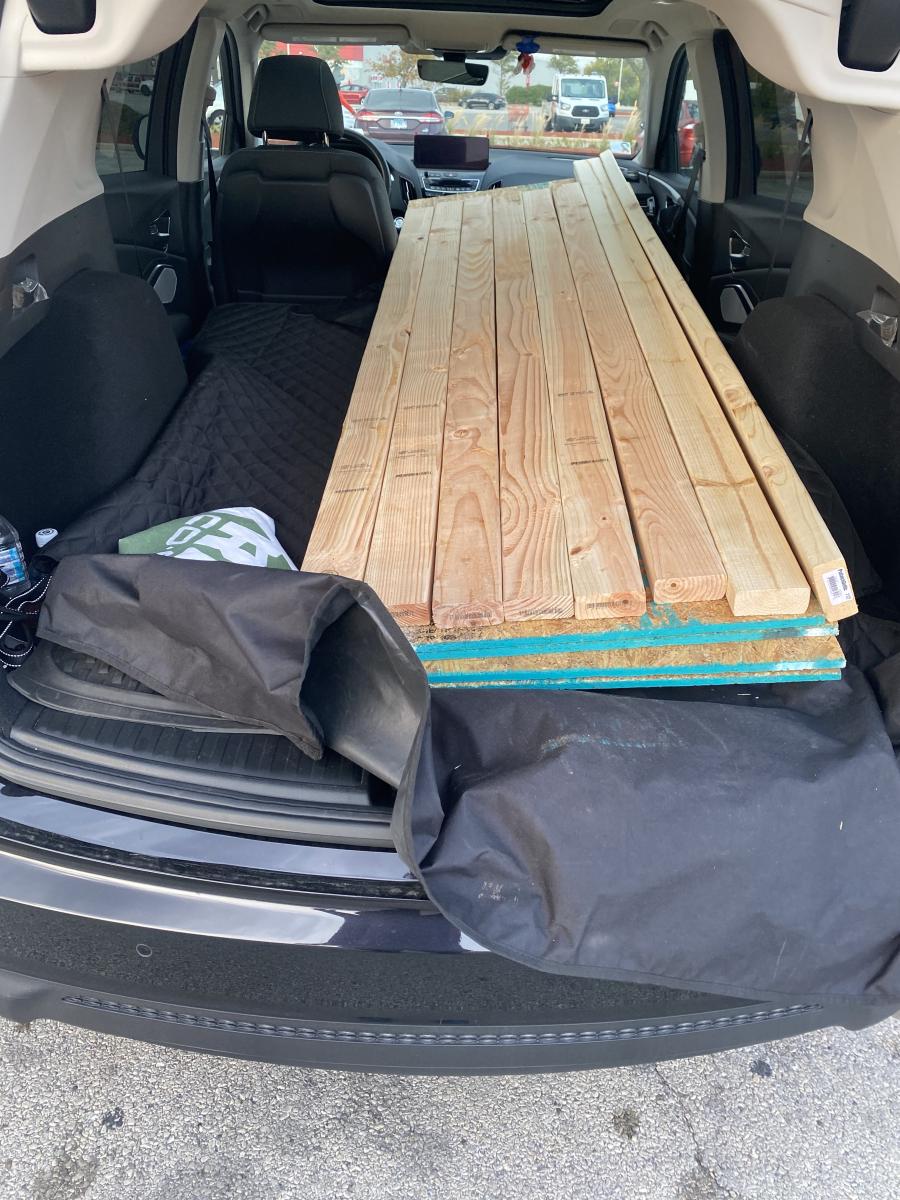
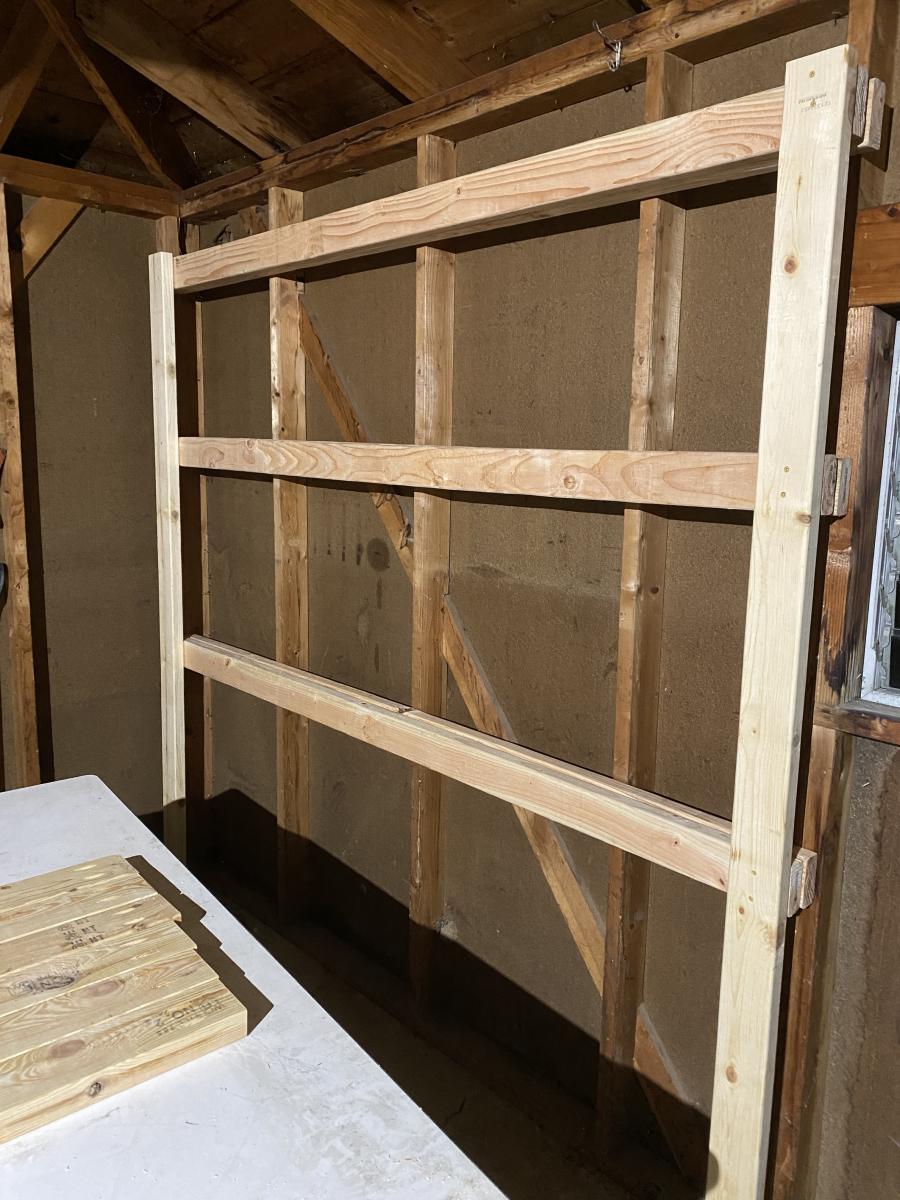
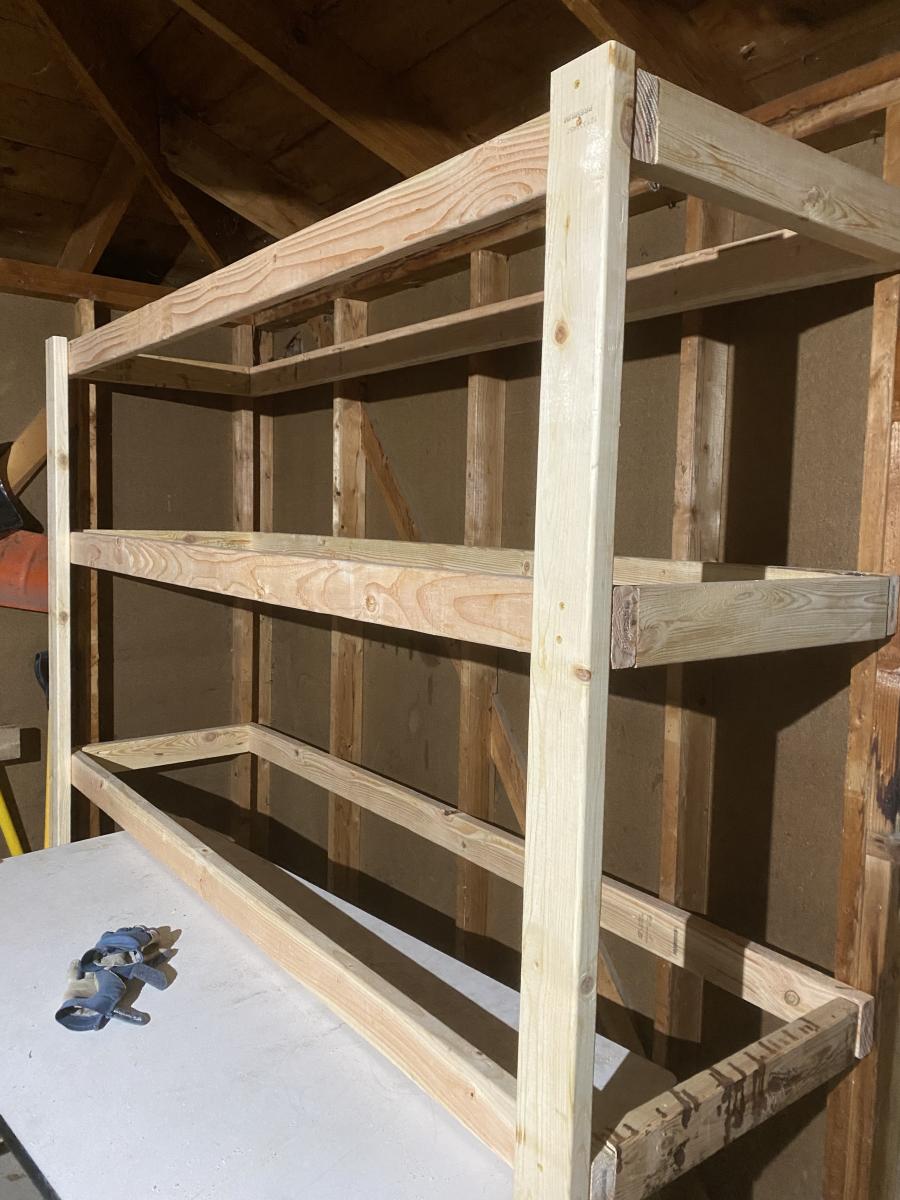
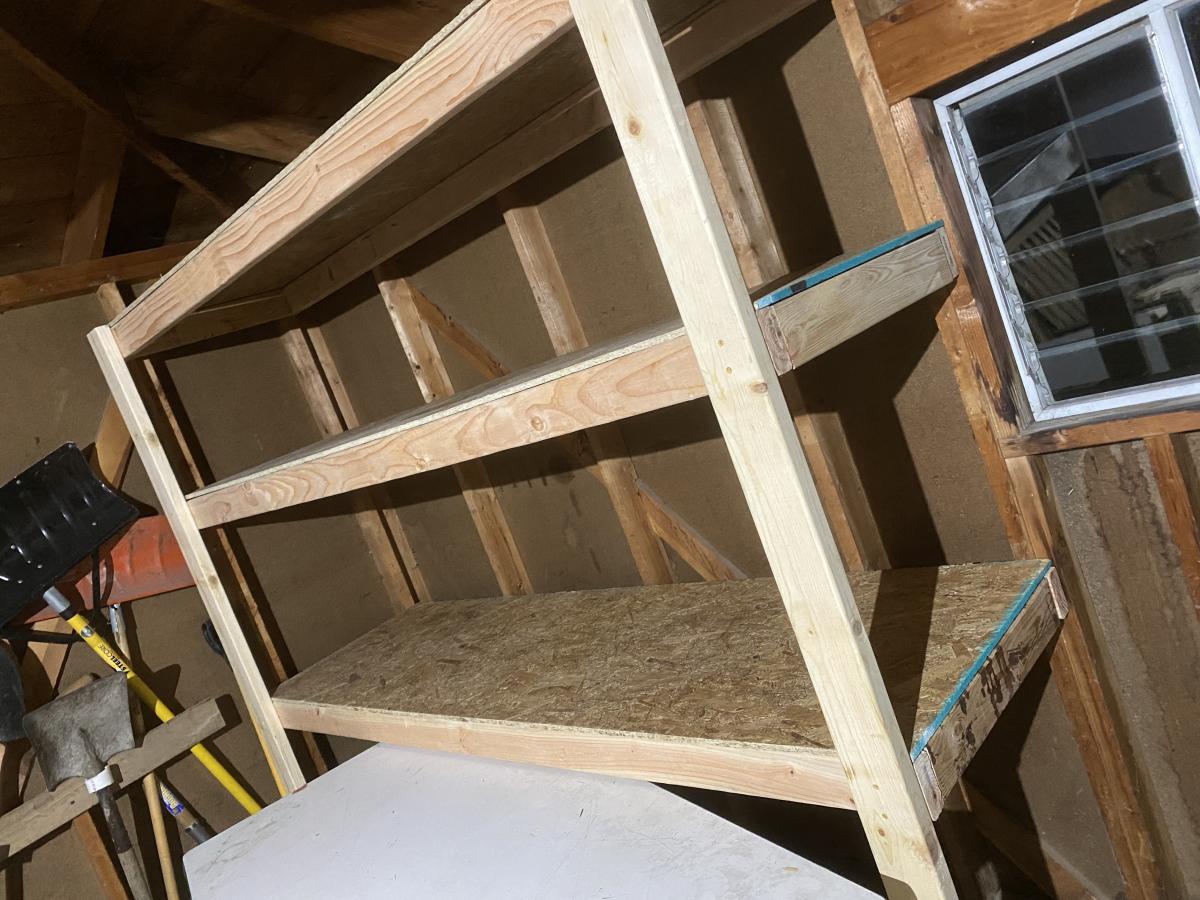
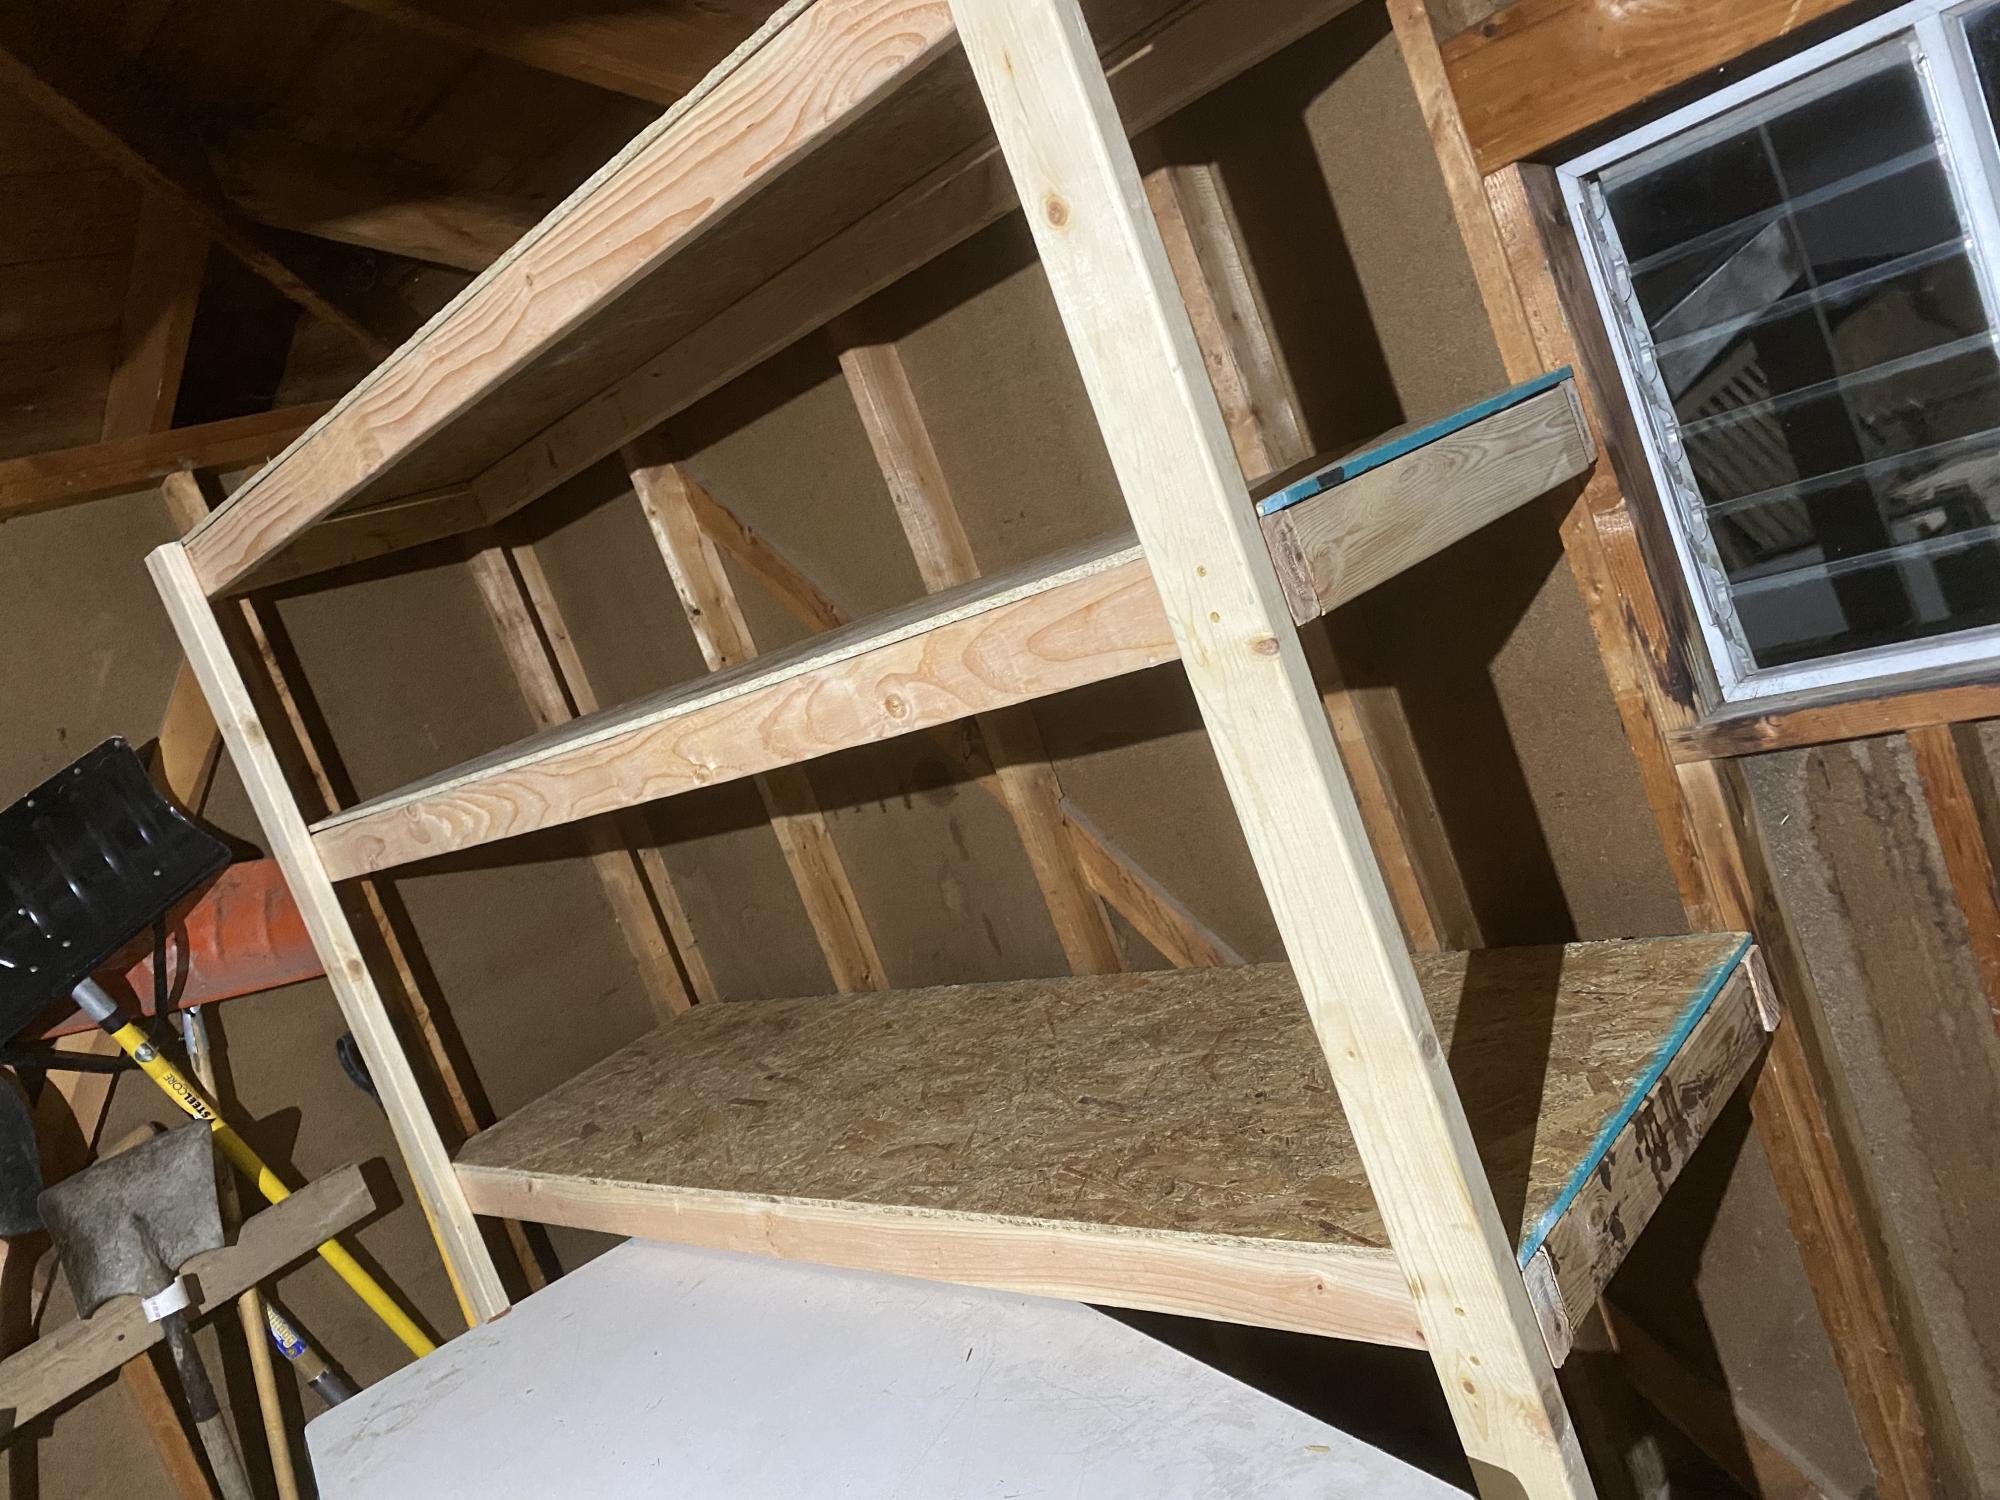
BEST DIY Garage Shelves (Attached to Walls)

Submitted by Anonymous (not verified) on Mon, 10/17/2022 - 13:28

Total cost $87. This project was very easy and did not take much time.

Comments

Shoe crates

Submitted by stcarroll on Fri, 08/26/2011 - 10:08

We desperately needed something next to the door to put shoes in. I didn't quite yet have the courage to attempt the shoe dresser (http://ana-white.com/2011/01/shoe-dresser) and there are lots of scraps in our shop from my husbands projects. I tried these crates out and they were super easy and super fast to throw together during nap time. I primed and painted because I used plywood instead of 1x12.

Built from Plan(s)
Estimated Cost
FREE!!!!!
Estimated Time Investment
An Hour or Two (0-2 Hours)
Finish Used
primed and painted with left over paint we had from misc. projects.
Recommended Skill Level
Starter Project

Comments

clucaswvu04 (not verified)

Fri, 09/09/2011 - 08:54

I loved the vintage crate plans but hadn't thought of a good use. We have a shoe problem in our house too. With 3 kids, they all get mixed up and it drives me crazy! We've tried an over the door shoe organizer; but that hasn't been especially helpful because the 2 youngest would need a stool to reach anything about the bottom 2 rows. I think I just found my weekend project - one for them each in a different color should do the trick. Thanks for sharing

King farmhouse headboard

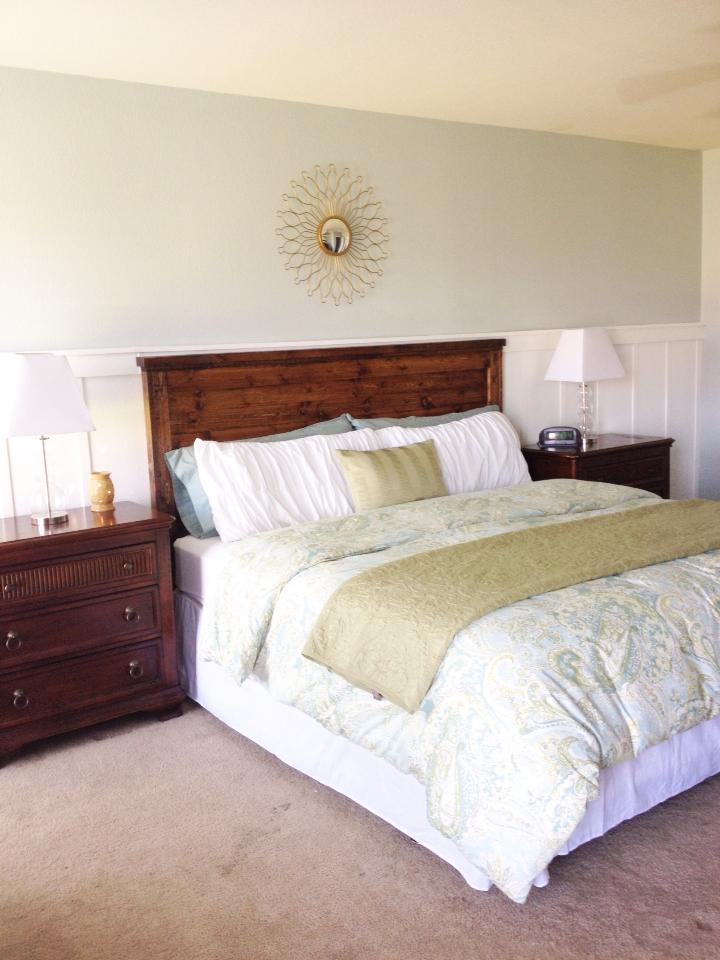
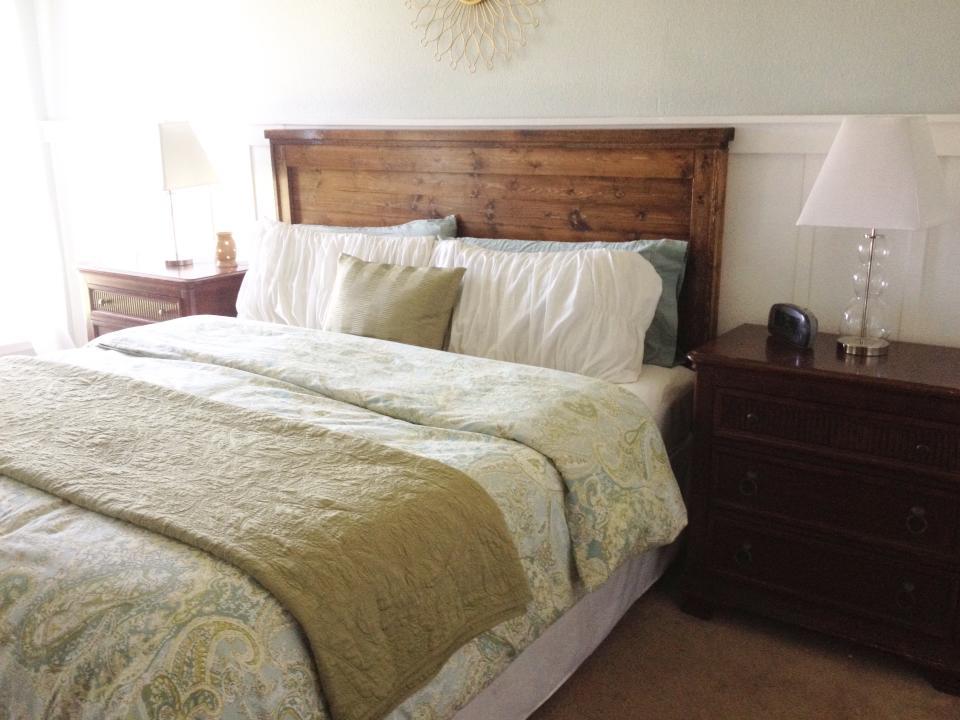
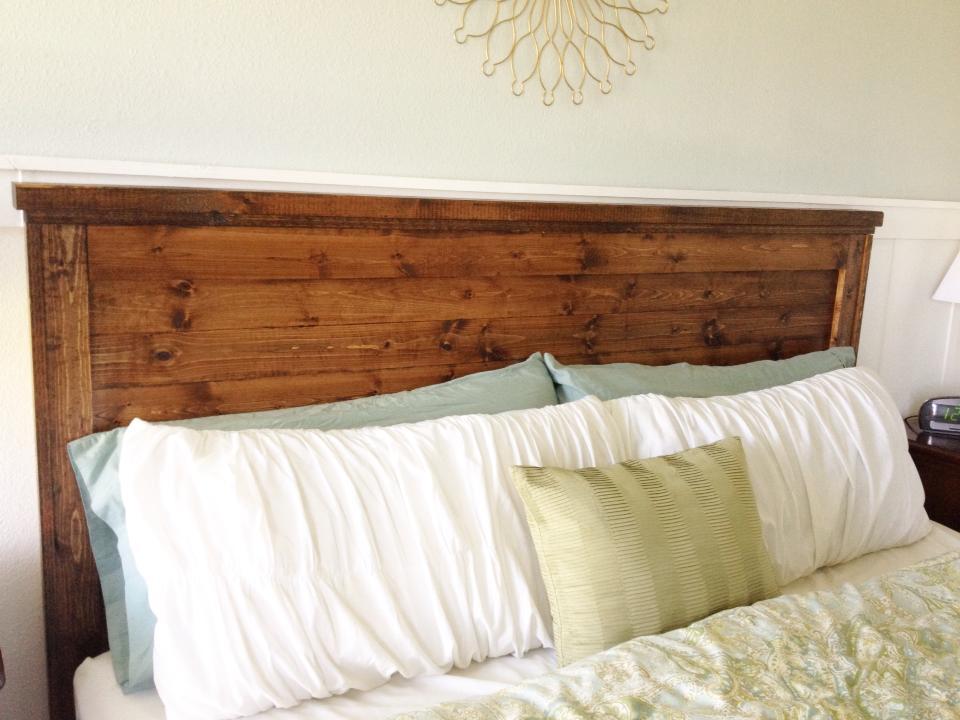
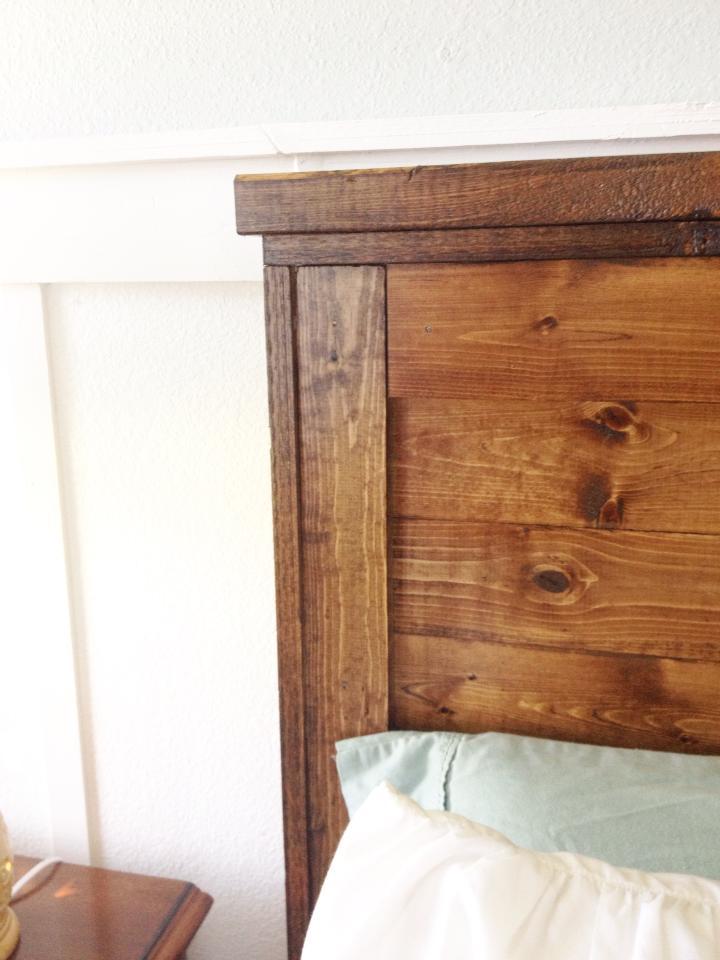
We have not had a headboard for our king size bed since we bought it 5 years ago. We upgraded from a queen and just never bought one. Since moving into our new home I've been going for a rustic look in the home and I knew this headboard would be perfect. I did lower the height of the headboard to be 4.5' and for the back panels you still only have to get the 6 foot length for a king.

Estimated Cost
$100
Finish Used
Minwax english chestnut and a sealer
Recommended Skill Level
Starter Project

X End Tables

Submitted by Laura Kemp on Mon, 11/23/2015 - 15:26

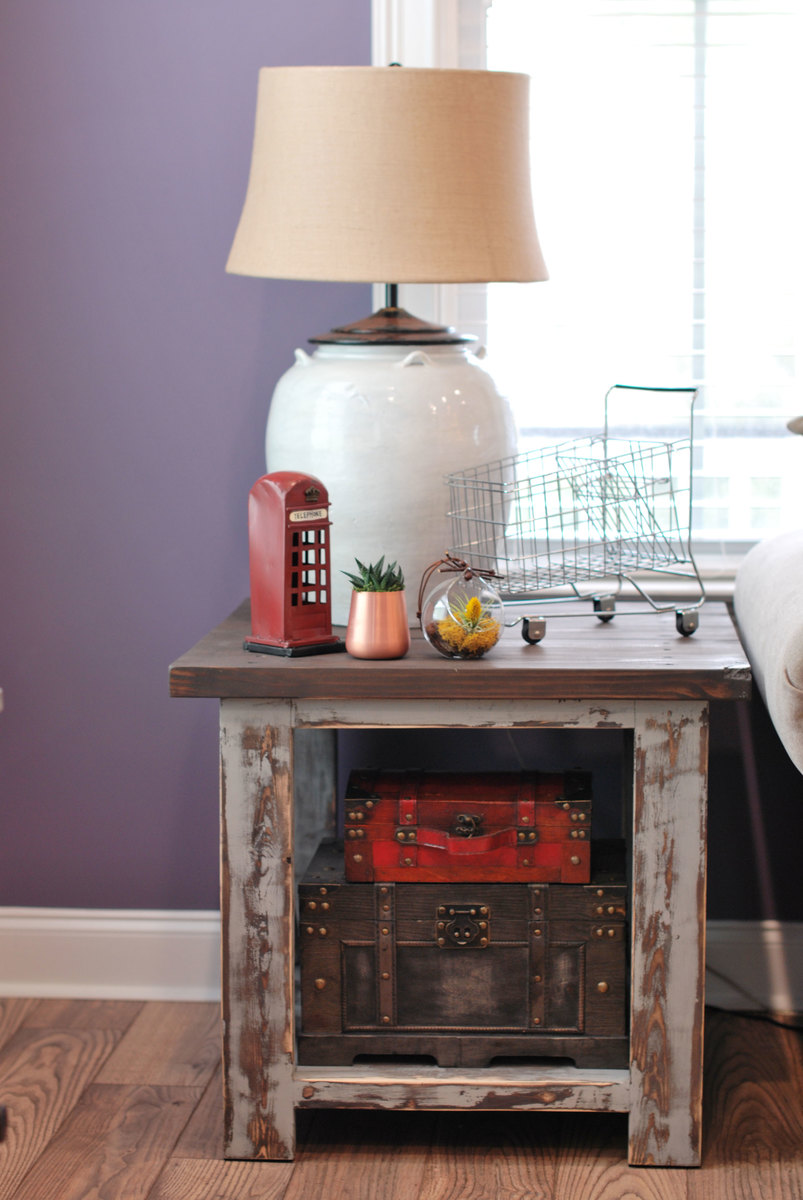
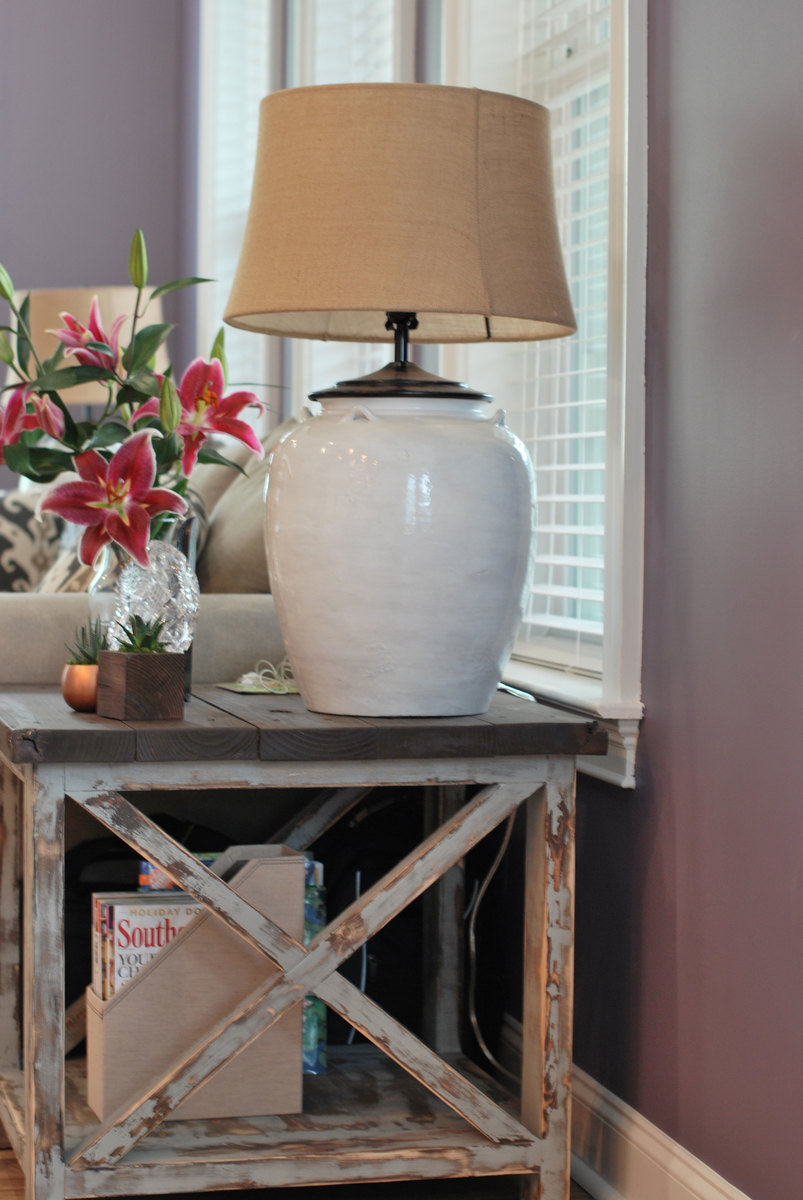
I made these tables using the rutic x end table plans. The finish I found on shanty2chic.com

Built from Plan(s)
Estimated Time Investment
Weekend Project (10-20 Hours)
Finish Used
I found the finishing technique on shanty2chic.com. I used Rustoleum Kona stain on the whole table. Then on the legs and x beams I applied Vaseline on the edges and where I wanted the paint to chip off. After I applied the Vaseline, I painted the legs and x beams with Valspar Wet Pavement paint (grey-ish color paint). I had to let the paint dry completely, then sanded it down with 80 grit sandpaper to get that "shanty" look :)
Recommended Skill Level
Beginner

Comments

Tv console

Submitted by Anonymous (not verified) on Sat, 01/12/2019 - 23:16

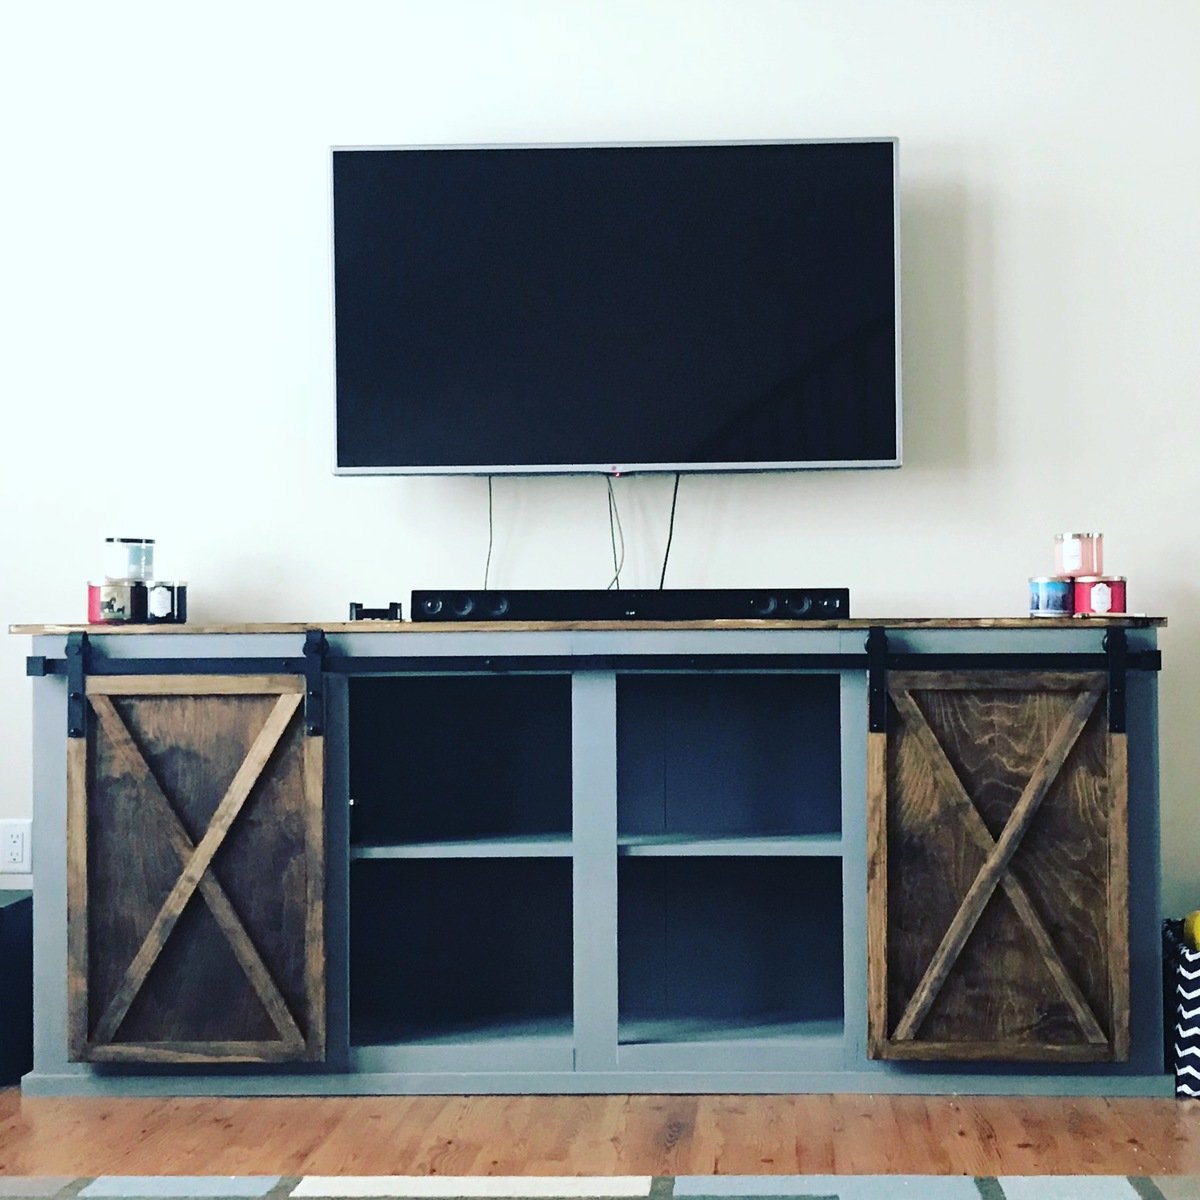
This project was fun. The hardest part was trying to find barn door hardware. I did end up finding one on amazon but it was still too long and had to cut it down. Very doable in a weekend.

Built from Plan(s)
Estimated Time Investment
Weekend Project (10-20 Hours)
Finish Used
Mission oak gloss
Rust-Oleum gray chalk paint
Recommended Skill Level
Intermediate

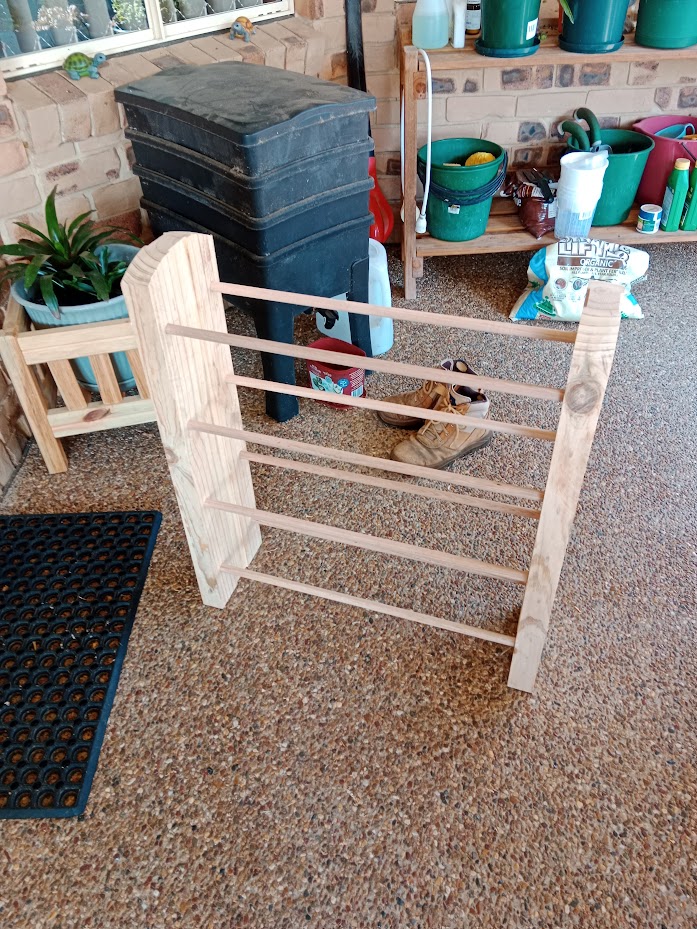
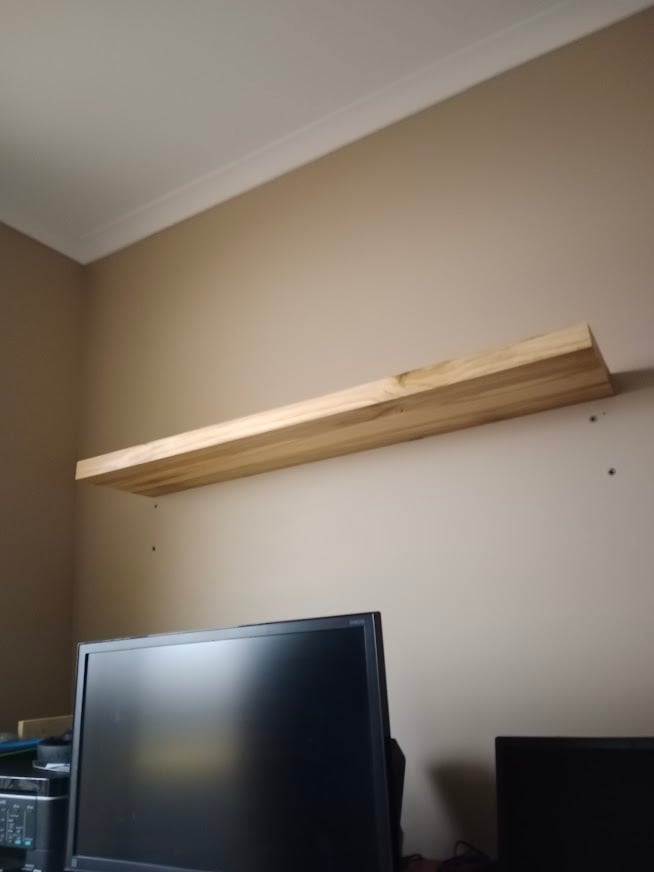
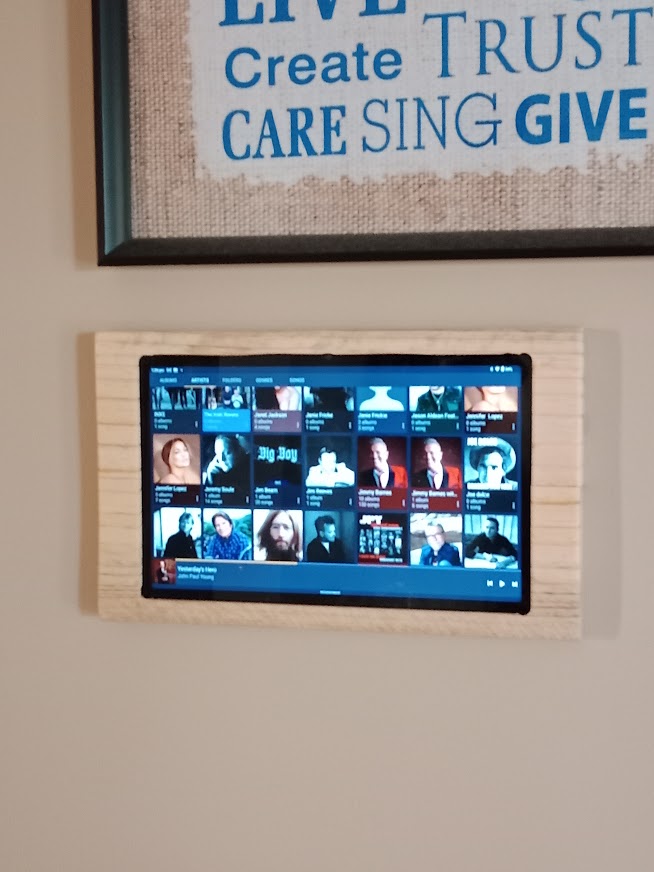
Shoe Rack & Floating Shelf plus a tablet wall mount

Submitted by Anonymous (not verified) on Sun, 10/23/2022 - 12:11

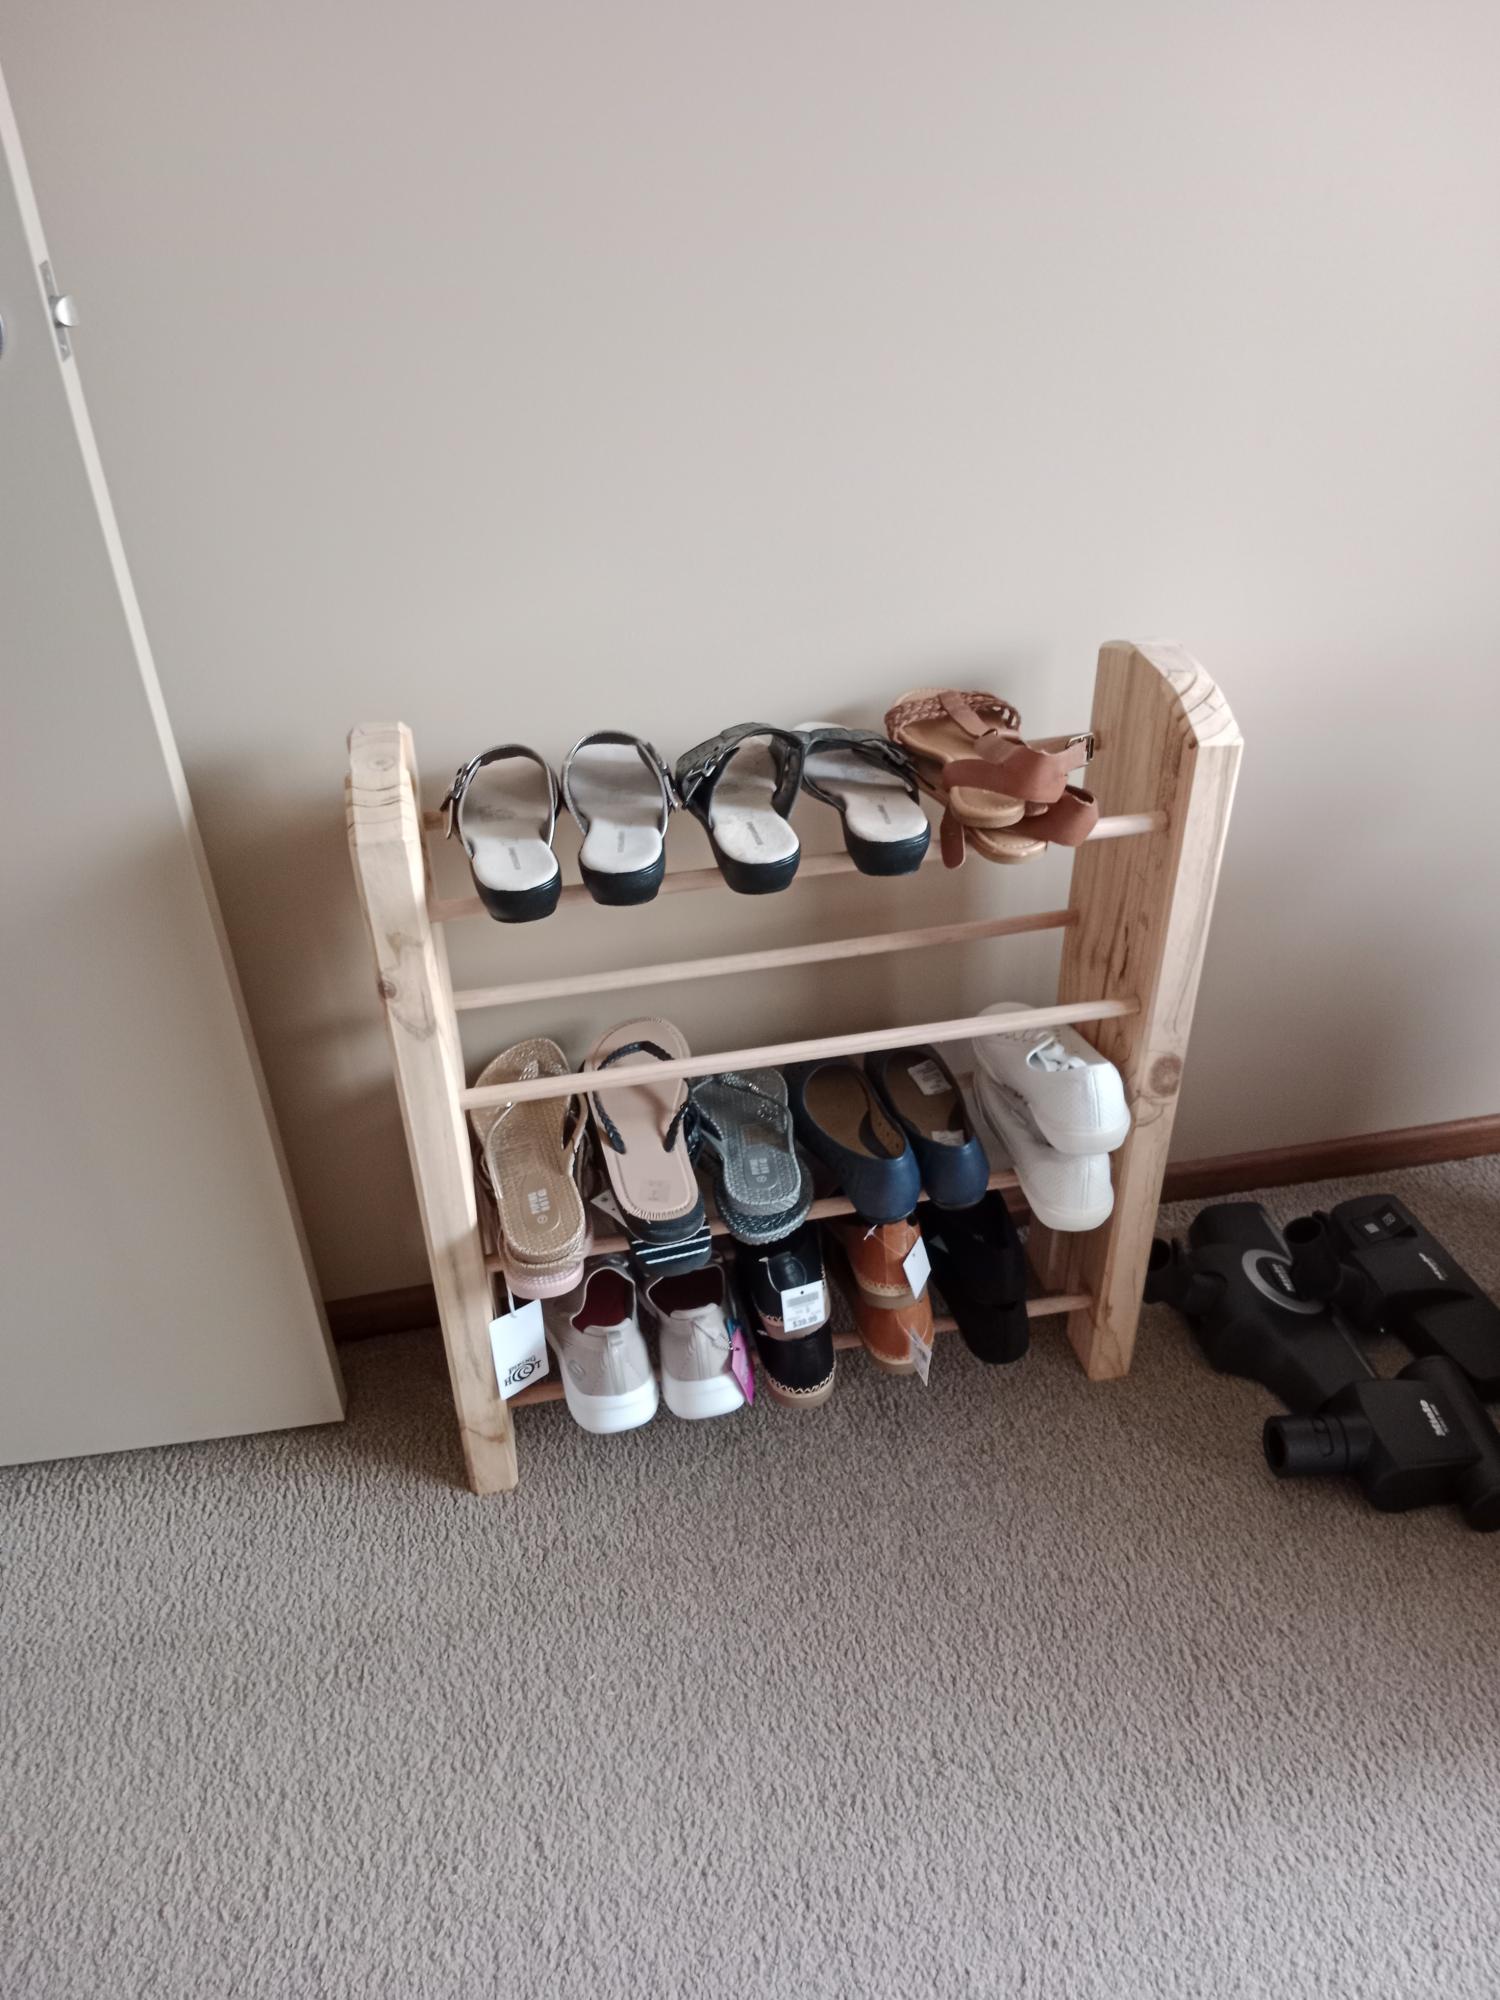
A shoe rack and floating shelf.
The shoe rack is made from 200mm x 50mm rough sawn pine and 16mm dowel.

The floating shelf was made partly from offcuts left over from the 4 x 4 pedestal dining table.200mm x 50mm rough sawn pine ripped into 3 pieces (75mm, 95mm, 75mm) and put together using glue and batten screws the 75mm pieces were offcuts from the table.

The reasons I made them from 3 pieces are
1/ I had offcuts left from a previous project
2/ The timber I use is only 200mm wide the shelf ended up being 245mm
3/ I am unable to dress timber that wide

The tablet wall mount was made from 2 offcuts glued together side by side and machined out with the router

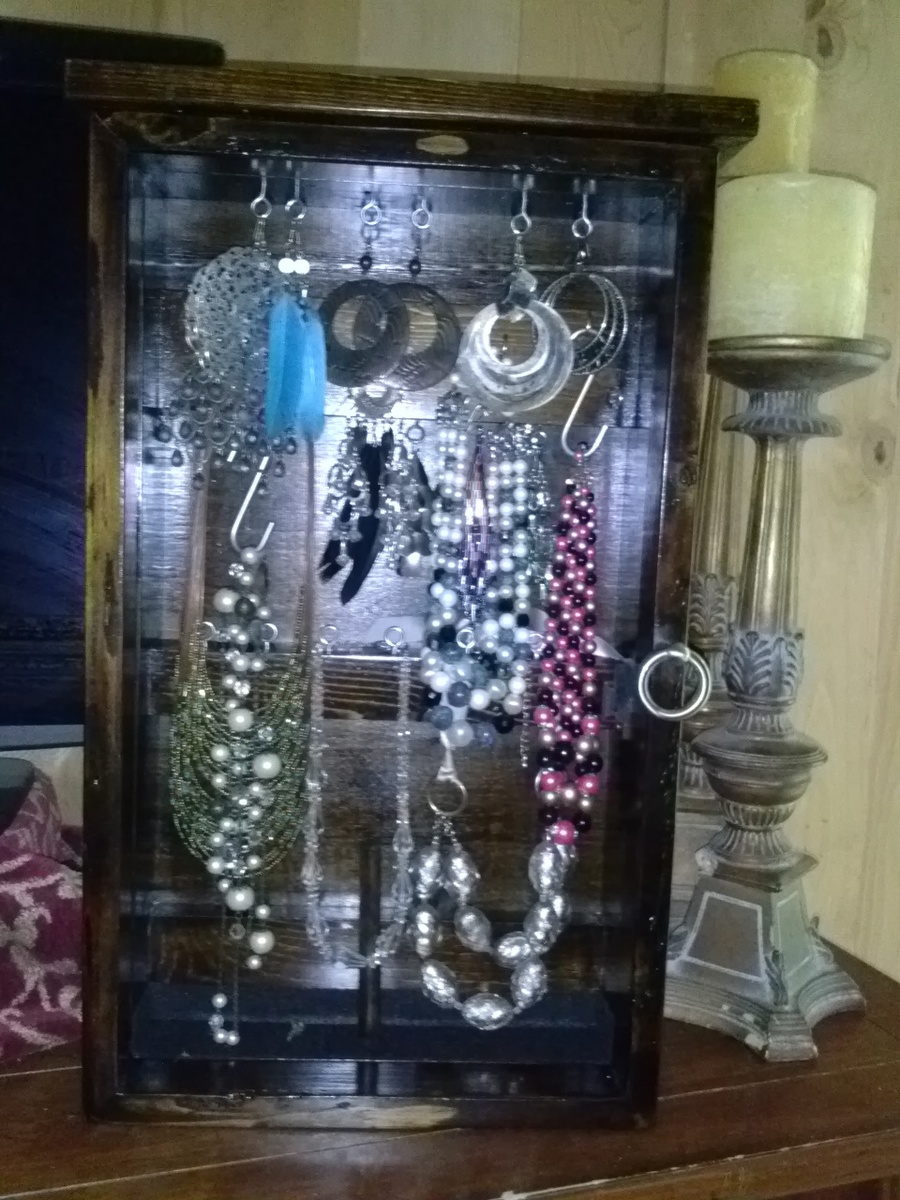
Jewelry Case

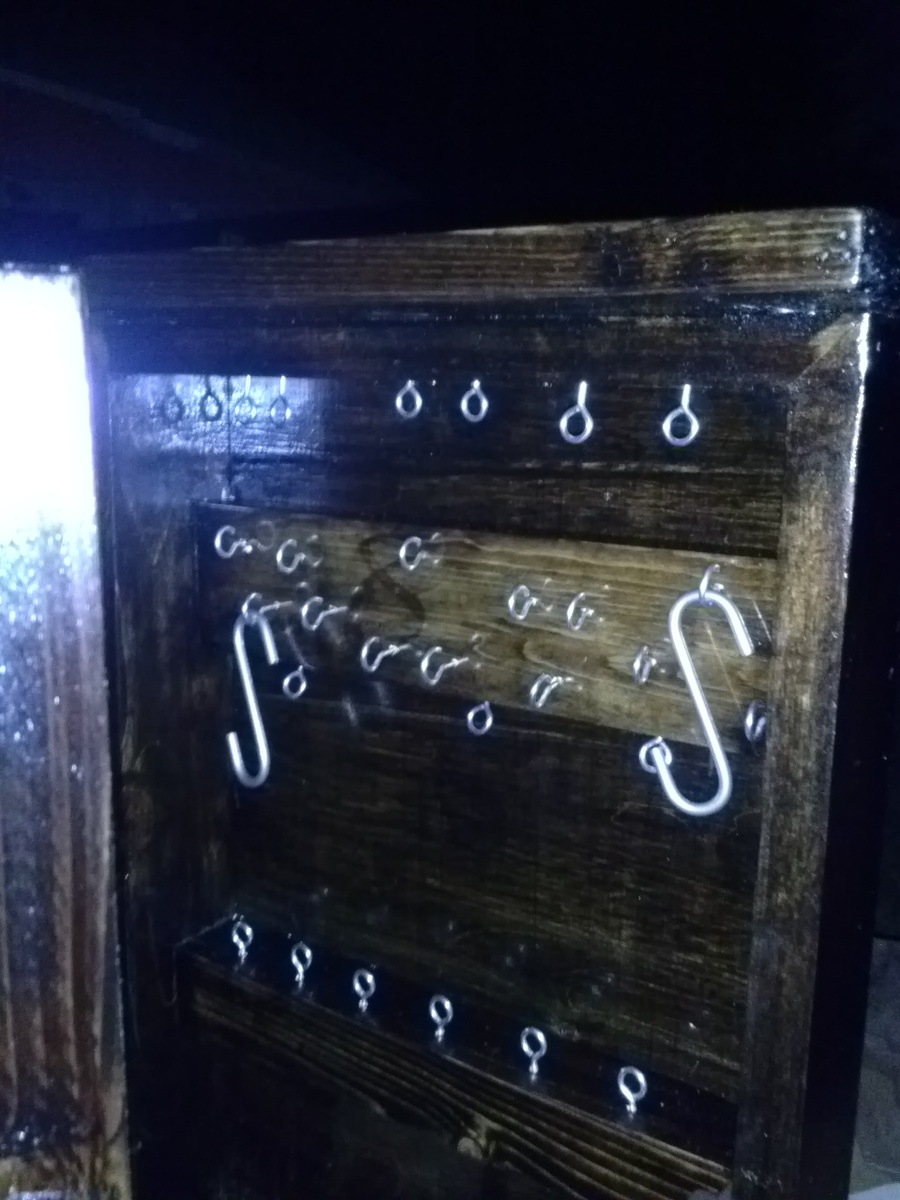
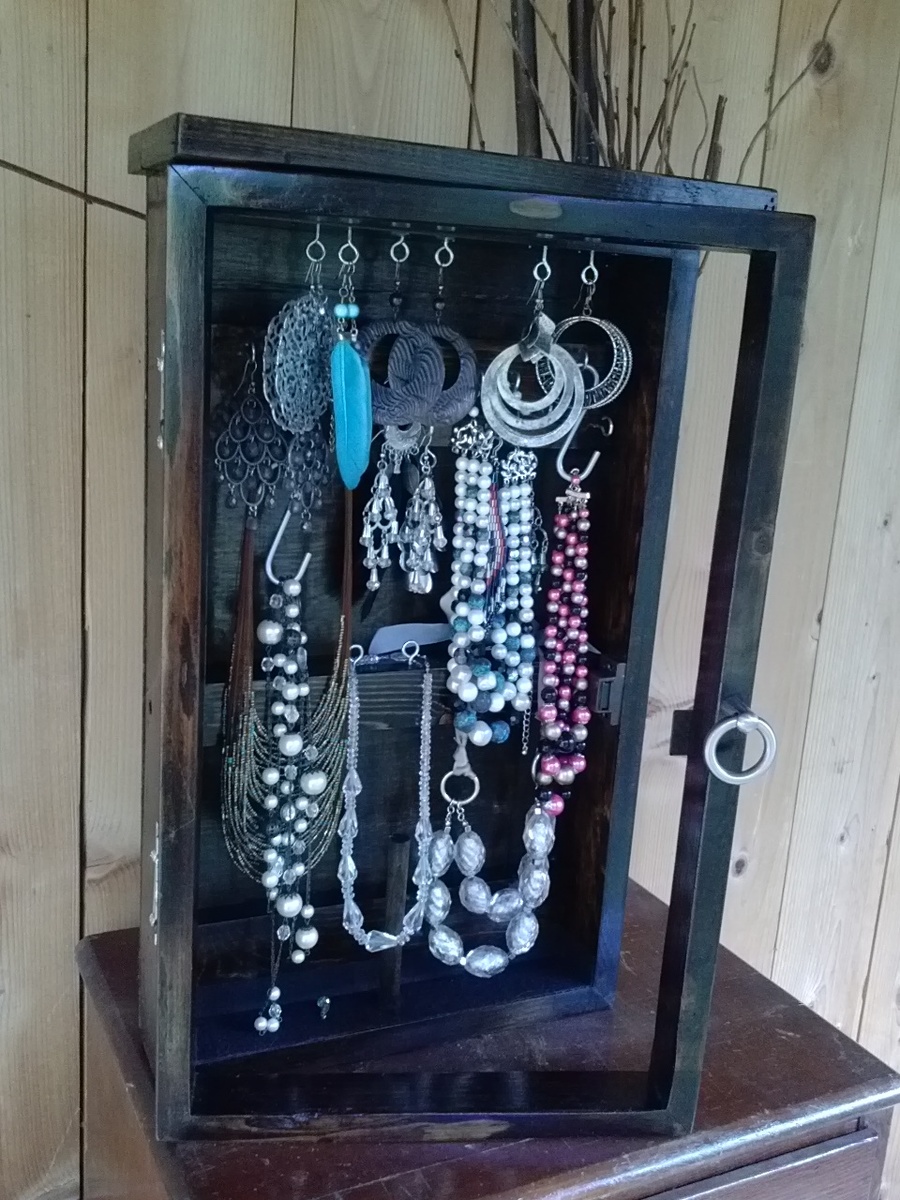
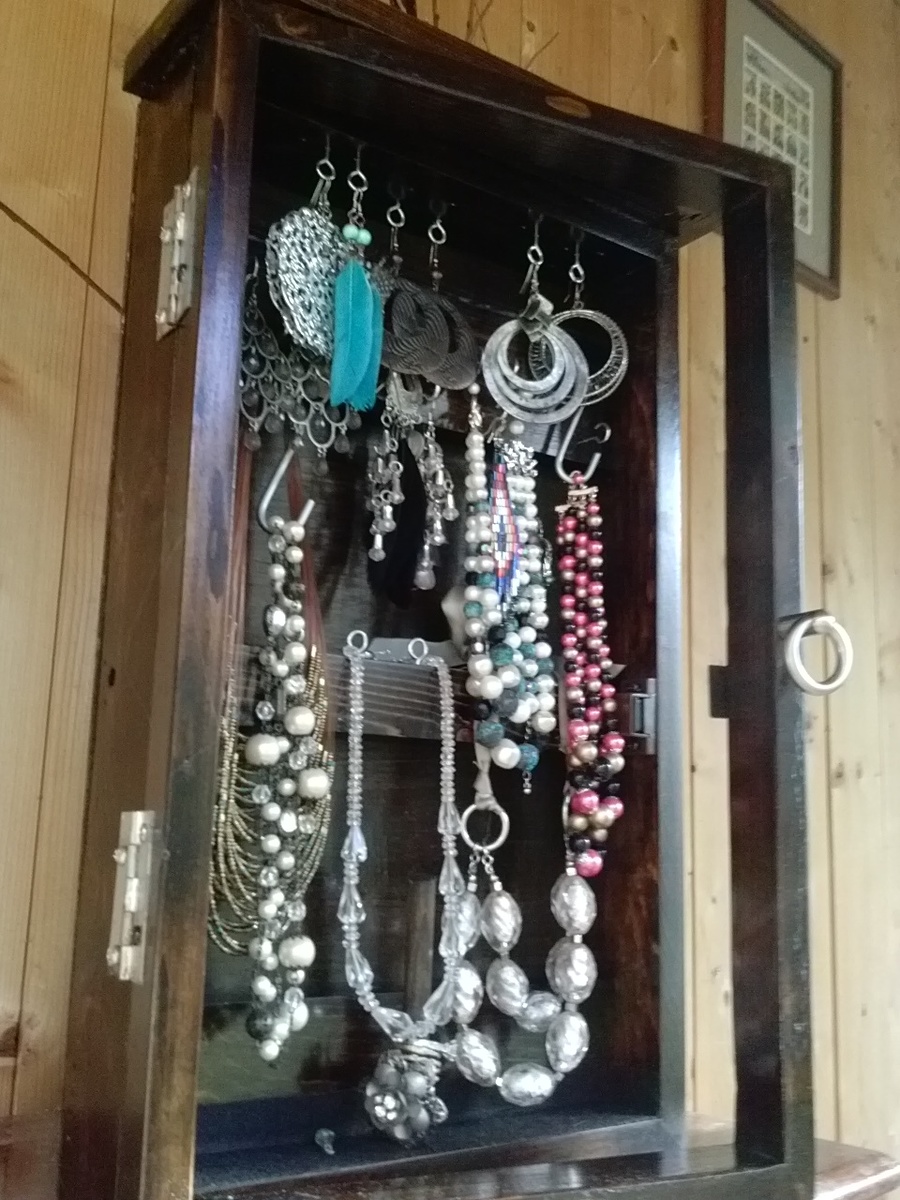
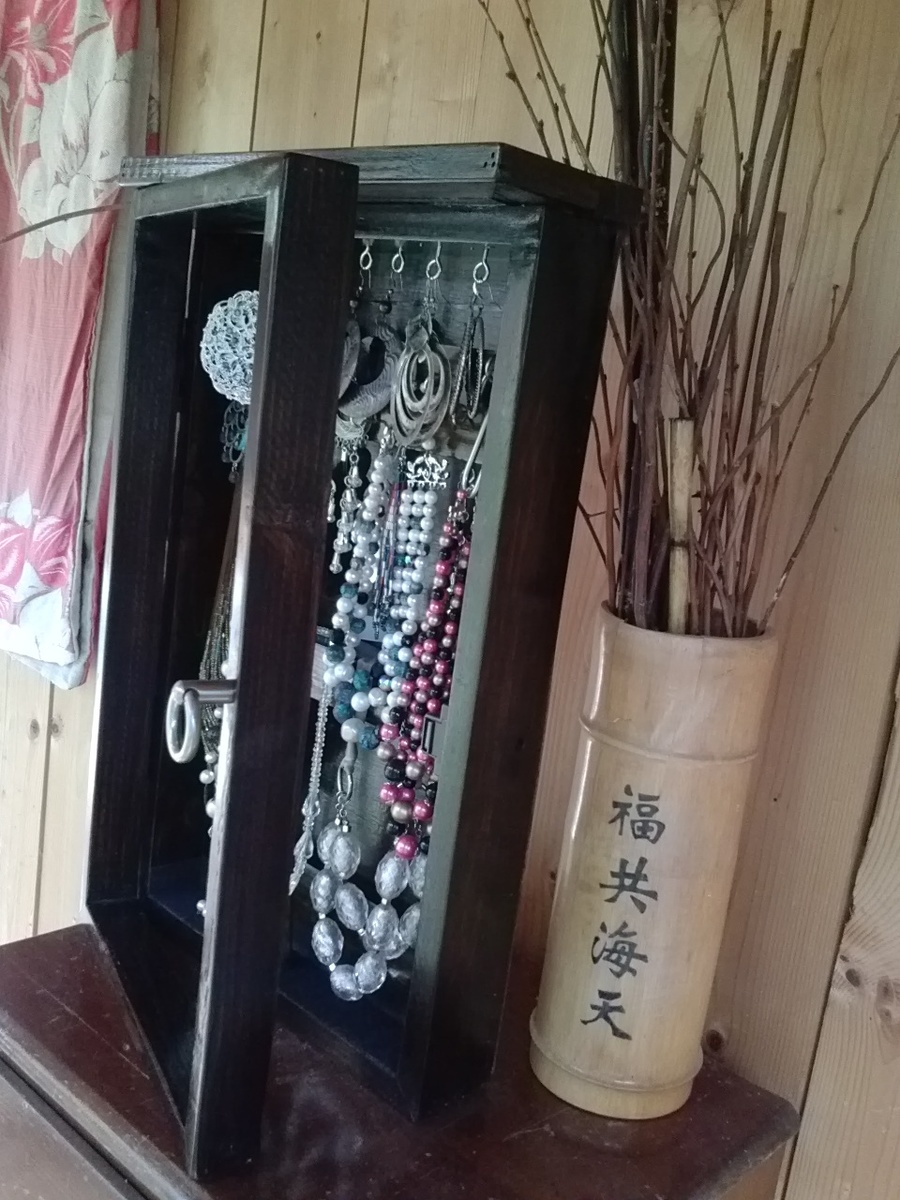
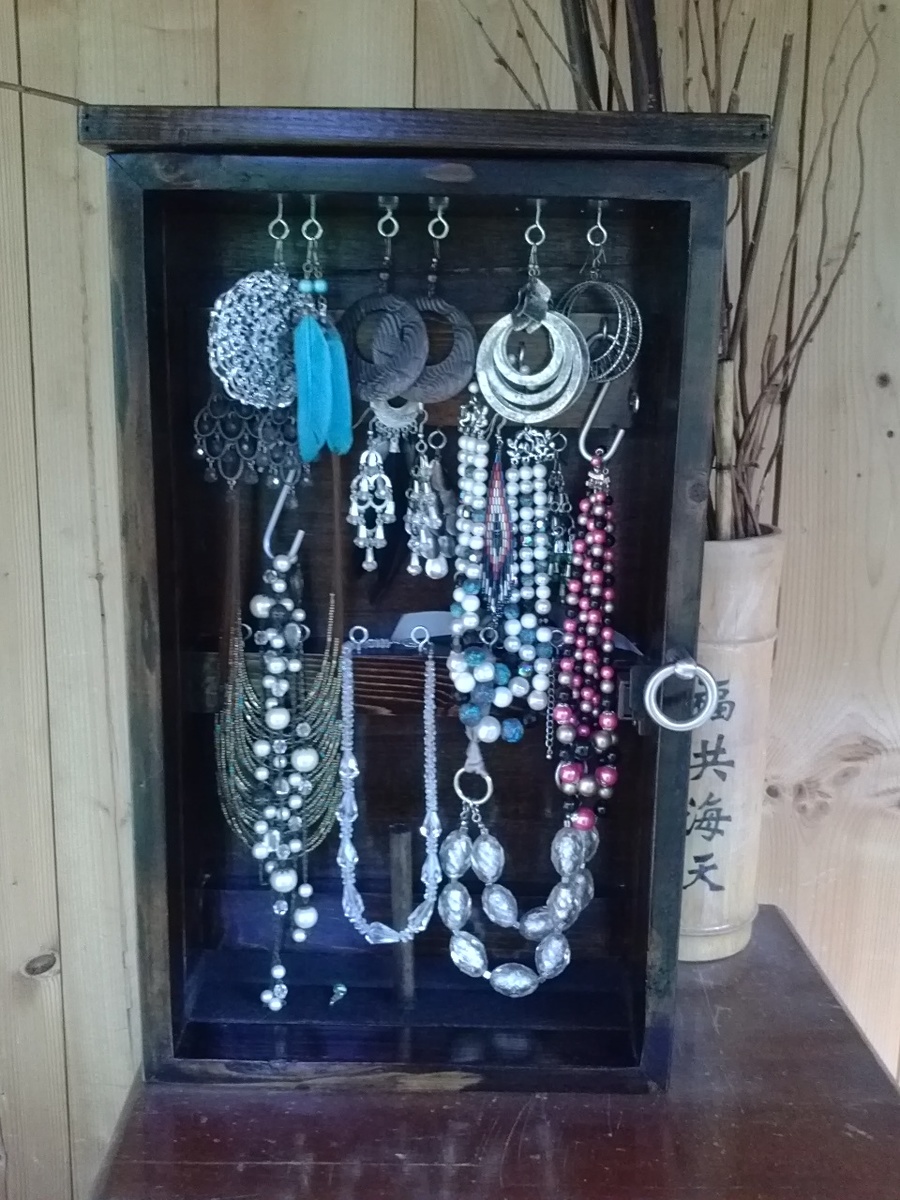
My sister had all her jewelry on a jewelry tree and couldn't see all of what she has. So I had an excuse to make her something, yay
The front is glass but I don't recommend using glass unless you have the exact size. I broke the glass while cutting it so I had to get help from my neighbor the the art frame maker. I added felt to the bottom for random little things and screwed a dowel in for rings. We're gonna attach it to the wall someday when were up to it but for now it sits on her bedside table.

Built from Plan(s)
Estimated Cost
Free, I had the scraps. Oh I did buy the knob it's was like $4 bucks or so.
Estimated Time Investment
An Hour or Two (0-2 Hours)
Finish Used
dark walnut and spray on poly in semi gloss. It's what I had but if I could go back I woulda've used special walnut with satin poly. :) and sanded some more :P
Recommended Skill Level
Starter Project

Walnut Dresser

Submitted by Anonymous (not verified) on Tue, 01/15/2019 - 14:00

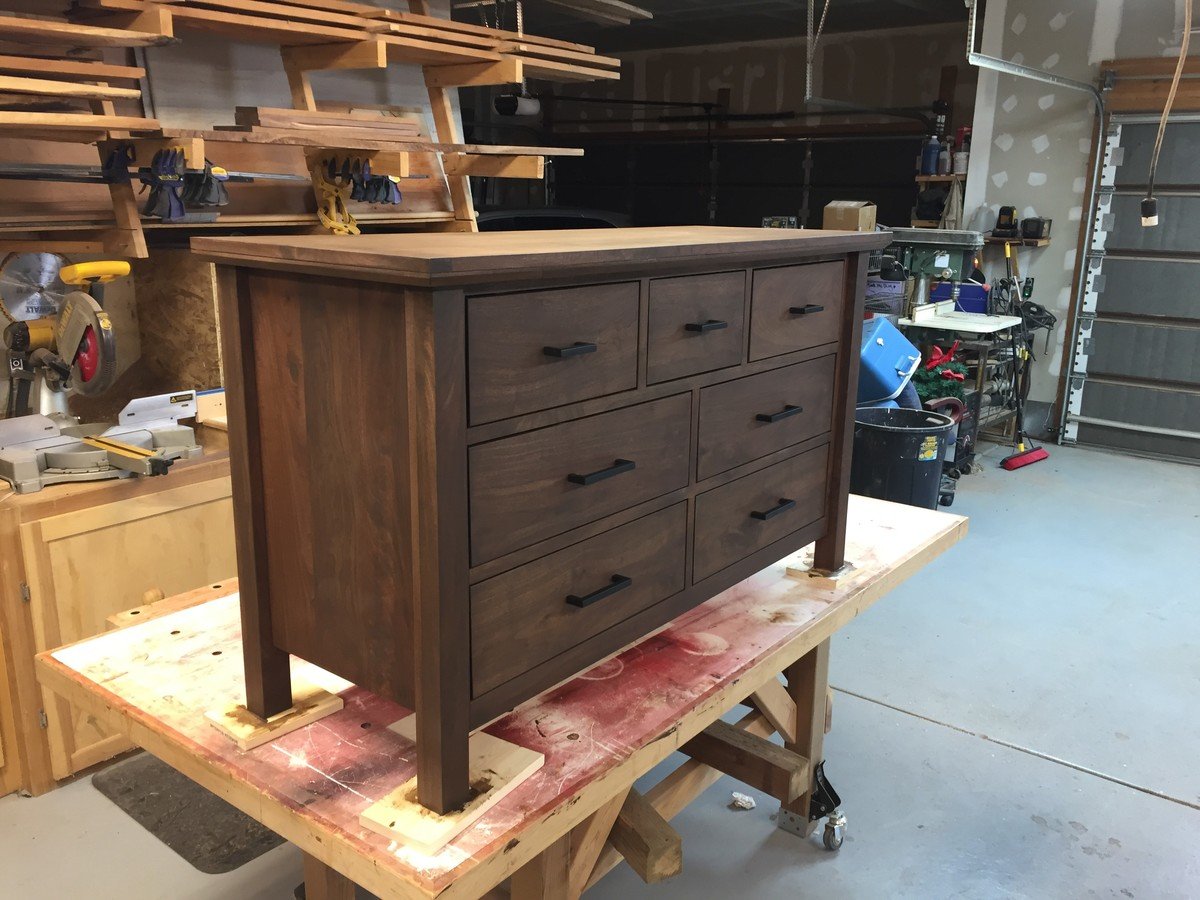
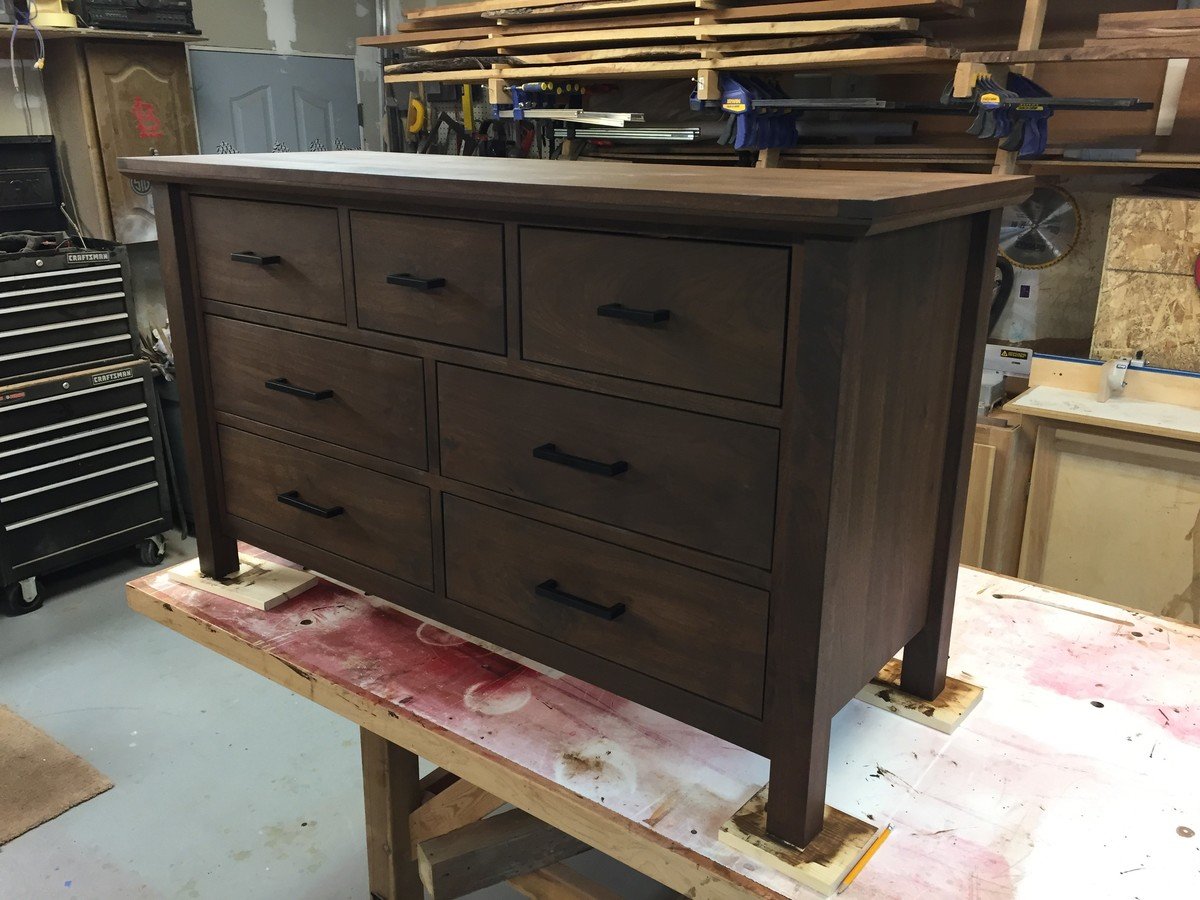
I made a headboard for my sister a few years back out of Black Walnut and she's been after me ever since to build a dresser that matches it. She found the Kendal Extra Wide Dresser plans and sent them to me. I made a few modifications with thicker legs, larger upper drawers, and height. Thanks for putting these simple plans out there.

Shawn

 
Built from Plan(s)
Estimated Cost
Materials: ~$400
Retail: ~$600
Estimated Time Investment
Week Long Project (20 Hours or More)
Finish Used
General Finishes:
Seal-A-Cell
Antique Walnut Gel Stain
Arm-R-Seal
Recommended Skill Level
Advanced

Reclaimed Wood Look Bedside Table - Modified

Submitted by lishamarie on Thu, 09/01/2011 - 18:42

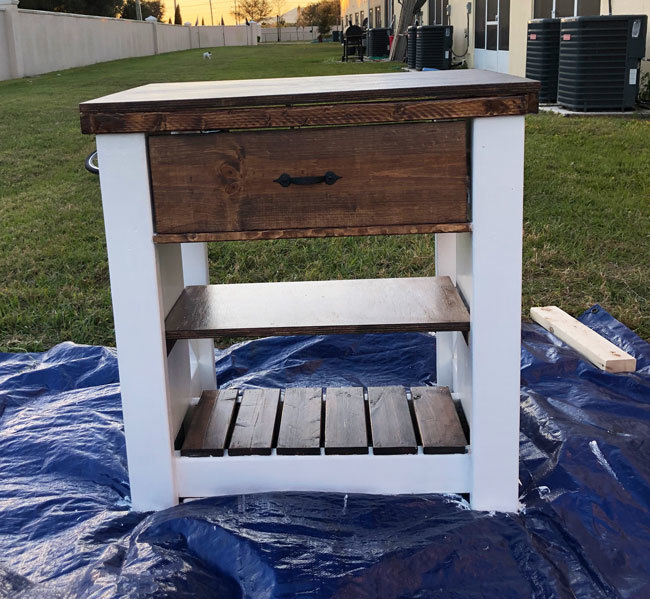
I built the reclaimed wood headboard for our master bedroom, and then found some awesome reclaimed-look stools at Pottery Barn on sale. About a month after that, Ana came out with her reclaimed wood bedside table plans. I was slightly bummed that I already had these cool stools, but then I realized that I had a whole guest room that I could build for! My guest room has a beach theme so I painted my tables white. The room is also kind of small, so I decided that I would put in one drawer and put in a shelf on the bottom. That way it wouldn't look so huge in the room. I love it! And I found these cool bronze starfish knobs at Lowe's. I got a little overzealous at times and I have pocket hole screws in places that are visible, but not that visible. It could be better. All in all, I'm very happy with the way it turned out.

Estimated Cost
$60 (for two)
Estimated Time Investment
Day Project (6-9 Hours)
Finish Used
Valspar Flat White Spray Paint and Valspar Clear Flat topcoat. I sanded all the edges with 150 grit sandpaper before applying the topcoat. After the topcoat dried, I lightly sanded it again with 220 grit sandpaper to smooth out all the bumps.
Recommended Skill Level
Beginner

Comments

leejae76

Sat, 10/15/2011 - 18:14

Curious about how the bottom shelf is supported - how did you attach it to the solid side panels? Looks great! :)

Full Size Playhouse Loft Bed with Storage Stairs

Submitted by crwarren11 on Thu, 12/03/2015 - 11:35

This was my first real woodworking project and I feel like I learned a lot that I could pass on to others taking on this project. First post here!

It was a lot more time consuming than I thought. It is hard to estimate how many hours I put into it, but I'd say at least 20-30 hours of actual work is required. As a first-timer there was probably a lot of wasted time, and trying to squeeze in time for this around work, family, and other priorities probably added time. Other than a couple of days where I put in a solid 4-6 hours of work, the other days were an hour here or there that I could squeeze in. I decided to sand, prime, and paint everything before assembly. I think this was best for me, but I can see why others have recommended painting the entire bed white and then cutting in the color. After assembly there was definitely some touch-up required.

It also cost me a lot more than what others had posted. I spent around $900 for the project, including everything that was required...wood, new saw blades, new jigsaw blades, sandpaper - lots of it, screws - about 600 total, kreg jig, primer, paint, hinges, hinge supports, extra wood for a few mistakes along the way. I'm in Southern California and bought everything at a major home improvement store, so I probably didn't get the best prices on everything, but it is convenient to our house.

I started with taking the plans for the playhouse loft bed and playhouse loft bed with storage stairs - thank you so much for these! I built everything in CAD and converted it to a full size bed. This was very helpful for me as an engineer to see how everything was going to fit together. Even then I made some mistakes along the way! One of the best things this gave me was a consolidated cut list that showed me how many common size/lengths there were...like the 66 1x2x11.5's needed for the rails and the 13 1x3x68.5's (I attached this pdf here http://ana-white.com/sites/default/files/bill%20of%20materials3.pdf). This way I could set up a block on my saw and just knock out the cuts all at once and have them all be the same length. Building it in CAD also saved me on a few things, such as using a 1x4x120 instead of the 1x3x120 called for in the plans, which was not available at the store. This affected the dimensions of the stair walls and a couple of other things.

Things I learned along the way:

- pocket holes are cool and very useful; the kreg jig was well worth the $100

- wood isn't straight or square (I know, obvious for you pros out there!): the bends and curves over an 8 foot length of pine can be quite dramatic

- my garage floor isn't flat: assembly of the first rail taught me this!

- the rails are by far the most time consuming part of this project, between drilling pocket holes, assembly, filling pocket holes, sanding, priming and painting all the nooks and crannies, I probably spent 90% of my time on the rails...but my 5 year old really enjoyed drilling many of the holes and filling them with the kreg hole plugs and glue

- 4ft x 8ft MDF is incredibly heavy so you will need help to transport and it actually measures 49" x 97", so I didn't realize that I needed to cut 1" off of the height for it to match the 48" I had planned for...that would have been much easier to have the store cut for me! No table saw in my tool set...

- even with the help of CAD, I got confused during assembly on some of the directions, such as which wall would be facing outside or inside. This really only affected how I was trying to hide assembly features and screws, but something to look out for when you assemble. I replaced a couple of trim pieces that weren't as perfect as I wanted

- I used a lot more pocket holes during assembly than I expected, which was another reason that I say the kreg jig was well worth it

Differences in my plan:

- the stair widths are adjusted down to 22 3/8 from 22 1/2...you don't want the stairs grinding against them walls when you open and close them. You should check your actual width of your stair area before assembly because things might be different for you and squareness also affects this.

- I have four total stairs to account for the full size bed width, so heights and depths of each have been adjusted

- the lowest stair needs to be slightly shorter to account for the arc when raising/lowering it. As dimensioned, it will interfere with the front legs, so I used 10 1/4 depth instead of 10 1/2.

- I felt like the bed needed more support underneath so I added two more 2x2's with pocket holes on both ends

- I added hinge supports to the storage stairs to prevent squished fingers

Still thinking about added a window or door or some kind of access to the tallest stair compartment from inside the playhouse area...it is really tall so anything going to the floor in there might be hard to get out. The outer stair wall still seems kind of loose so I'm not sure if I need to add more pocket holes where it attaches to the back leg/wall or what. Not sure if I can add CAD models here, but I can supply them if anyone is interested.
Estimated Cost
$800-$900 including tools and supplies
Estimated Time Investment
Week Long Project (20 Hours or More)
Finish Used
Sanded, primed, and painted (two coats). I used kreg wood plugs to fill the pocket holes and 80 grit sandpaper to sand them down to flush with the rails.
Recommended Skill Level
Beginner

Comments

Jamie Zirkle@

Sat, 02/15/2020 - 08:53

Question,  what is CAD? lol 🤔 Also, do you have more pictures of your full size playhouse loft bed with side stairs? How tall is this when over all done? You did an amazing job!! Thanks

Christmas tree box

Submitted by Anonymous (not verified) on Sat, 11/26/2022 - 15:29

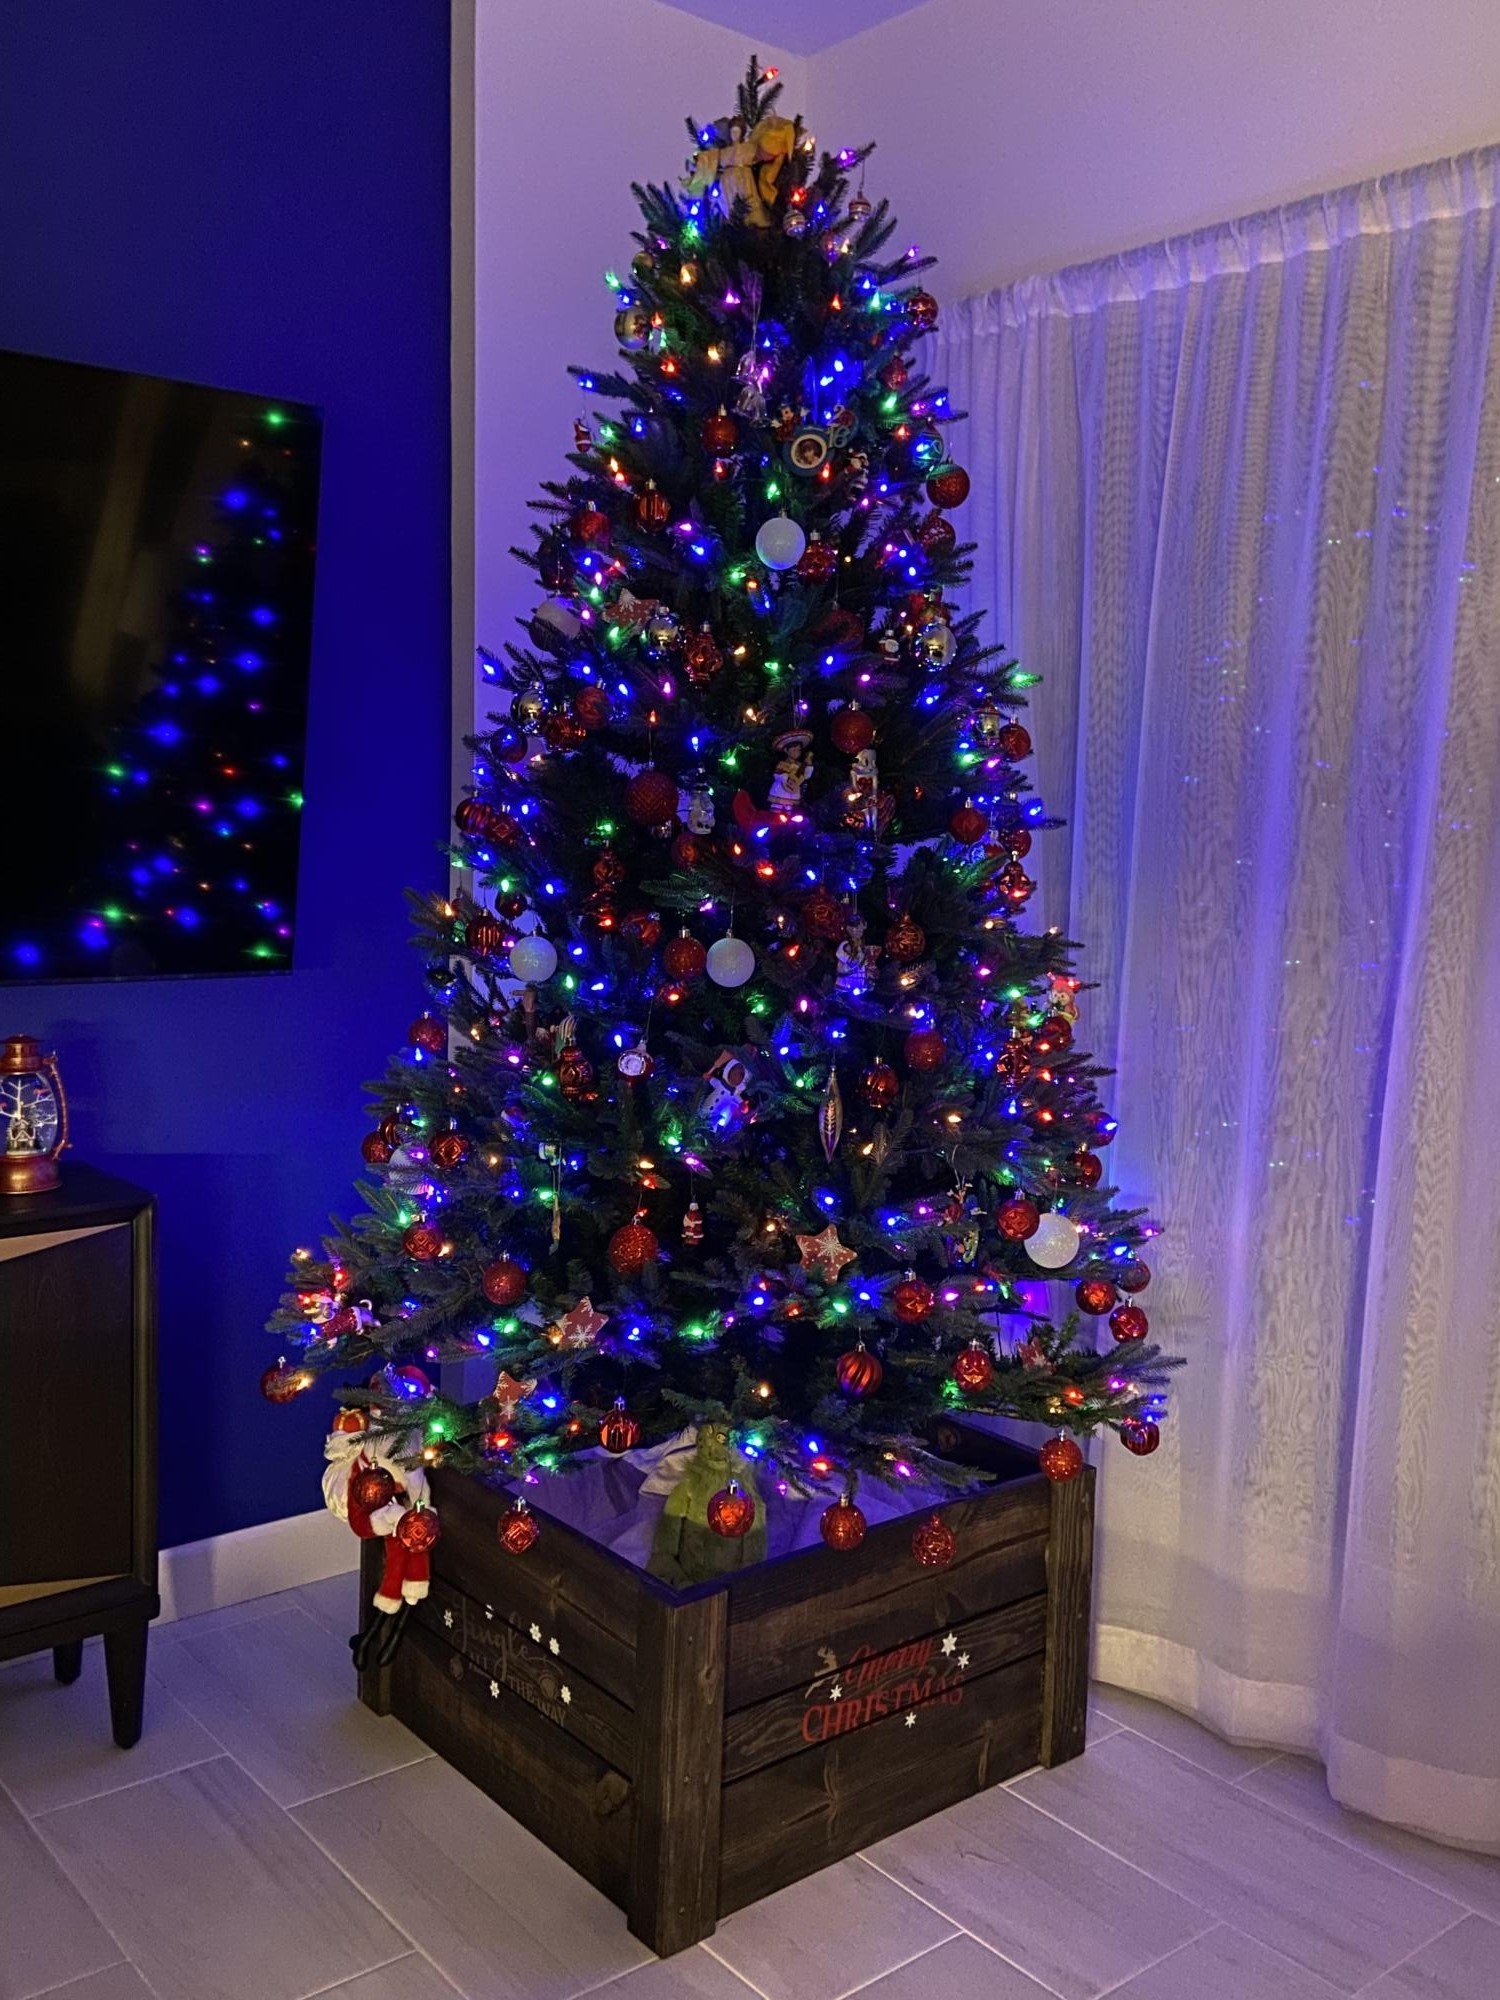
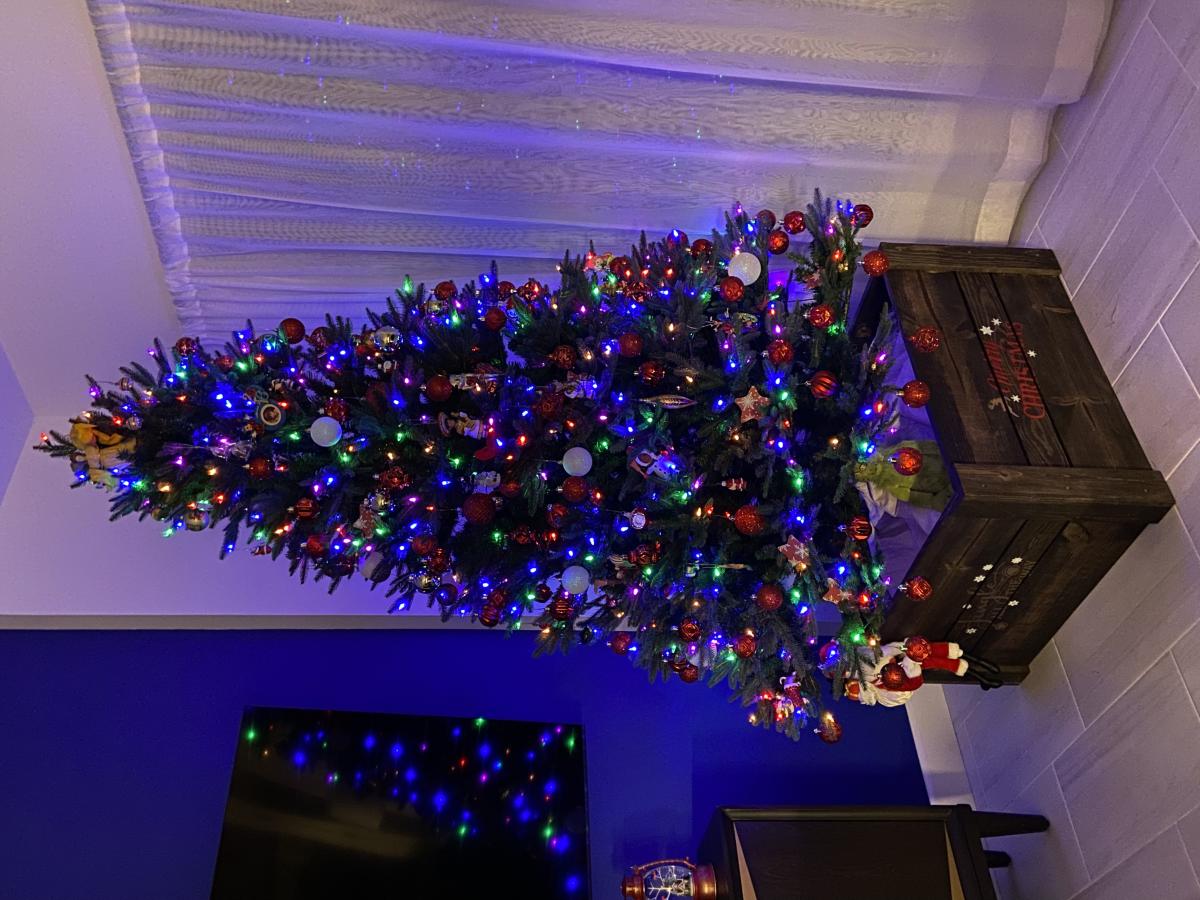
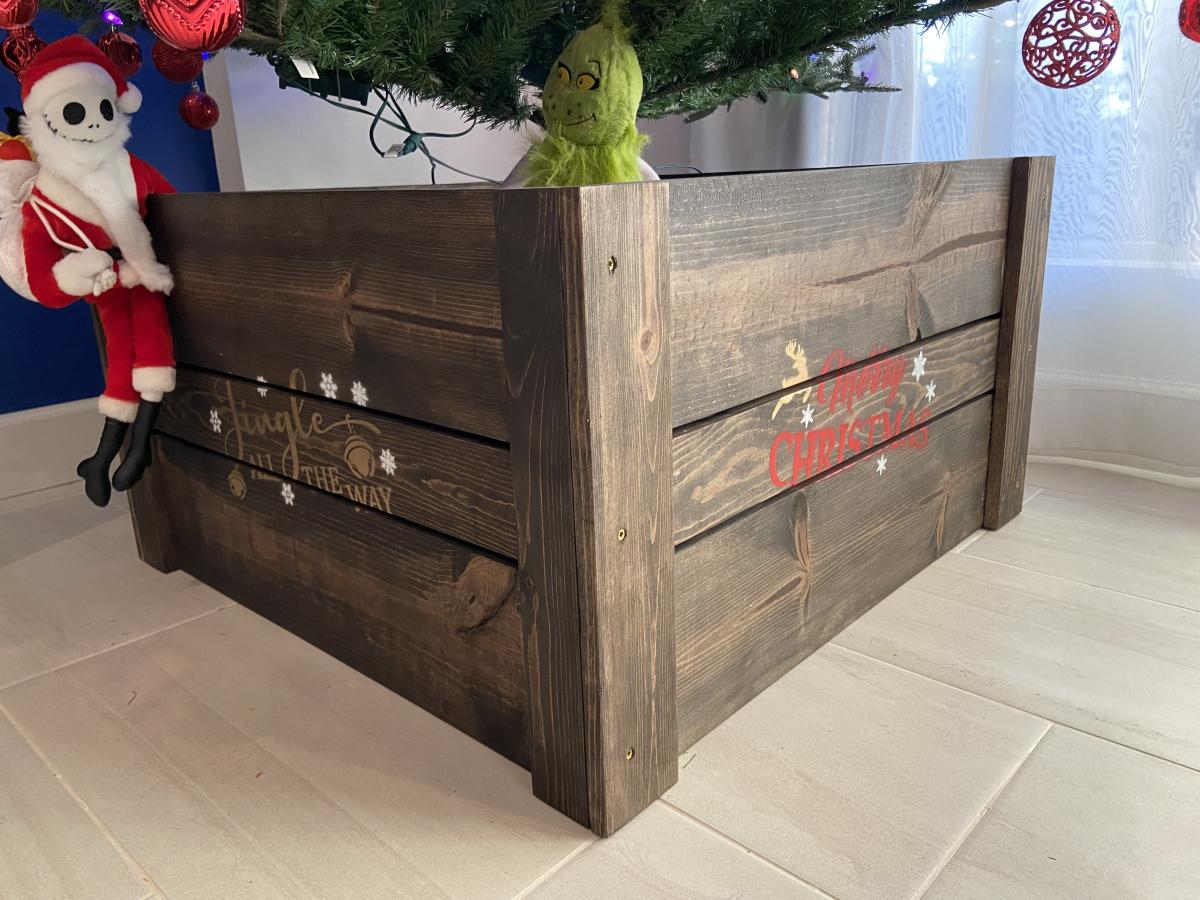
I made this plan at my wifes’s request. I added a platform on the inside for our artificial tree and stencils on the outside of each side. Plan was relatively easy. We love the look. Bonus, made the tree taller. George from Arizona.

Built from Plan(s)

Comments

Dress Up Cart

We used the Dress Up cart plan, but altered it in a few ways. We added additional storage up top and used hooks instead of a bar with hangers. We also added a mirror on one end and wheels. Visit our blog for more photos!!

http://bearrabbitbear.blogspot.com/2011/09/sneak-peak-natalees-dress-up…

Estimated Cost
$30-40
Estimated Time Investment
Weekend Project (10-20 Hours)
Recommended Skill Level
Beginner

Comments

juli Eckmeier Cosack (not verified)

Mon, 11/21/2011 - 06:29

What a great modification! i want to make this for my boys but even though they're ranging from 2 to 6 trusting them to hang things on hangars is a ridiculous request. maybe it's too time consuming for their busy little lives? who knows! but this is a great alternative! will definitely be using this plan!
thanks!

Scaled Down Shanty Hutch and Sideboard

Submitted by hilde04 on Tue, 09/24/2013 - 19:40

This was my husband's first build using Ana White plans. He scaled down the hutch and sideboard to fit our kitchen (42"x80"). It took about 24 hours to complete. We used a Minwax stain in Dark Walnut. I have looked for a piece to replace an ugly old baker's rack for years and hated the junk at places like Target. Everything I liked at Pottery Barn and Restoration Hardware were too expensive. I never found anything old that I liked enough to refinish so having the hubby pull this one out is basically awesome! Yay!

Built from Plan(s)
Estimated Cost
$350
Estimated Time Investment
Weekend Project (10-20 Hours)
Finish Used
Minwax Dark Walnut stain, paint brush, foam roller, stain cloths
Recommended Skill Level
Intermediate

Comments

altmana24

Thu, 06/23/2016 - 13:27

What kind of trim did you use on the top of your hutch and how did you attach it? 

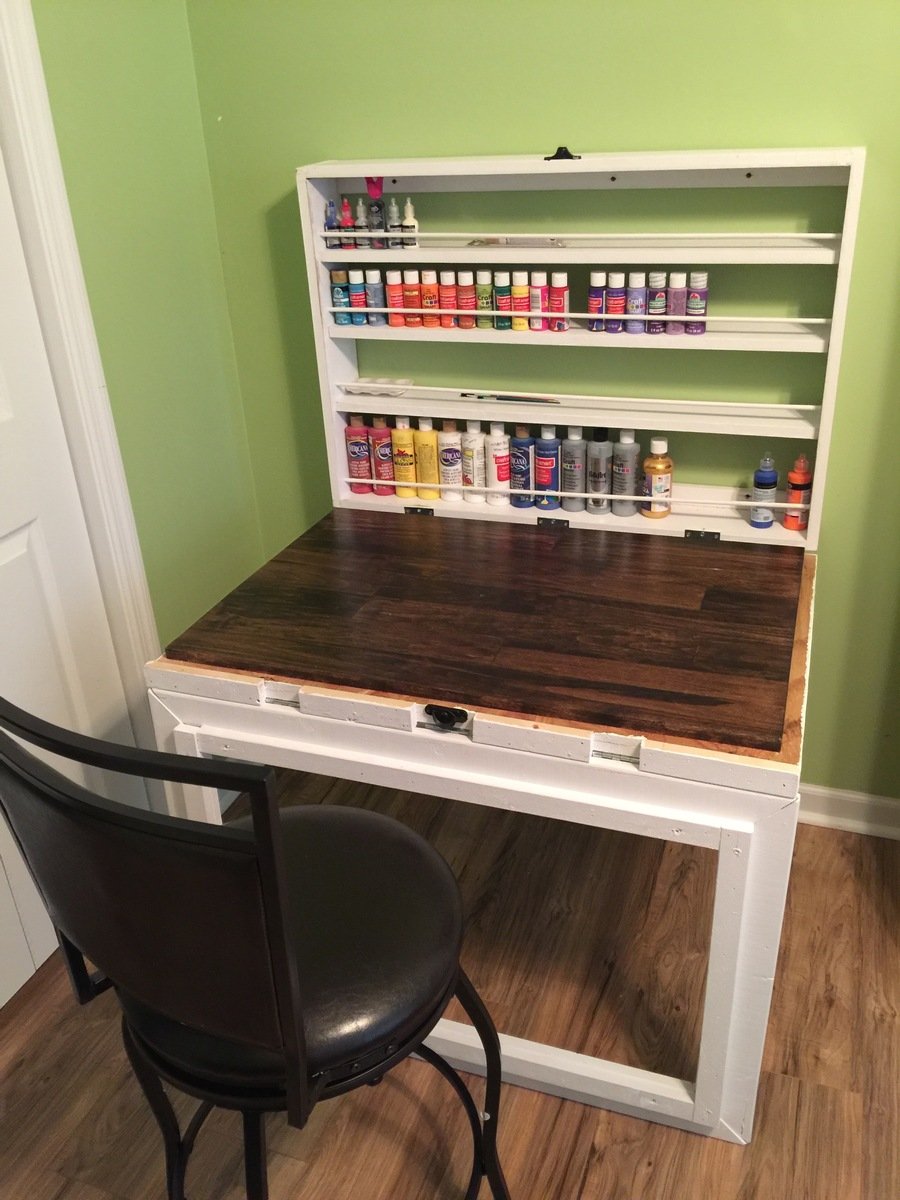
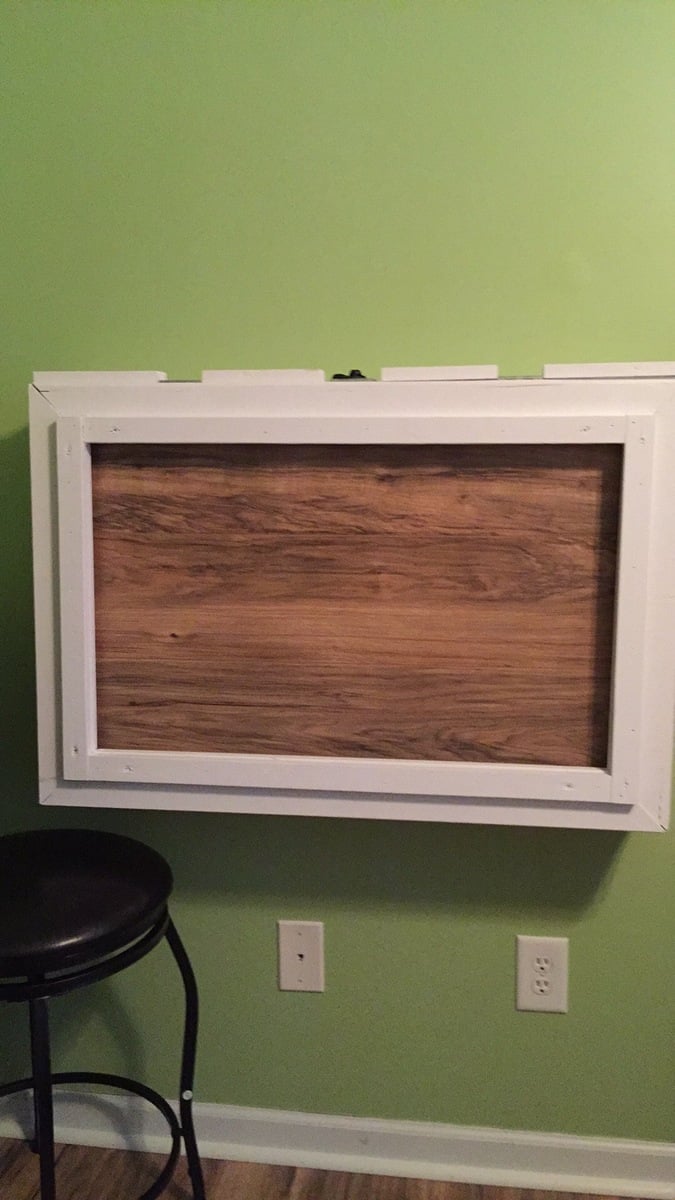
Craft Paint Table

Submitted by Jenga on Sun, 12/06/2015 - 13:15

Built this for my wife and daughter for a space to paint and allow to dry with no concerns. Developed from simply looking at the picture with a lot of guess work to get what I wanted for the end project.

Estimated Cost
$125
Estimated Time Investment
Weekend Project (10-20 Hours)
Finish Used
White Paint and Dark Maple finish
Recommended Skill Level
Intermediate

Coffee Table Finished

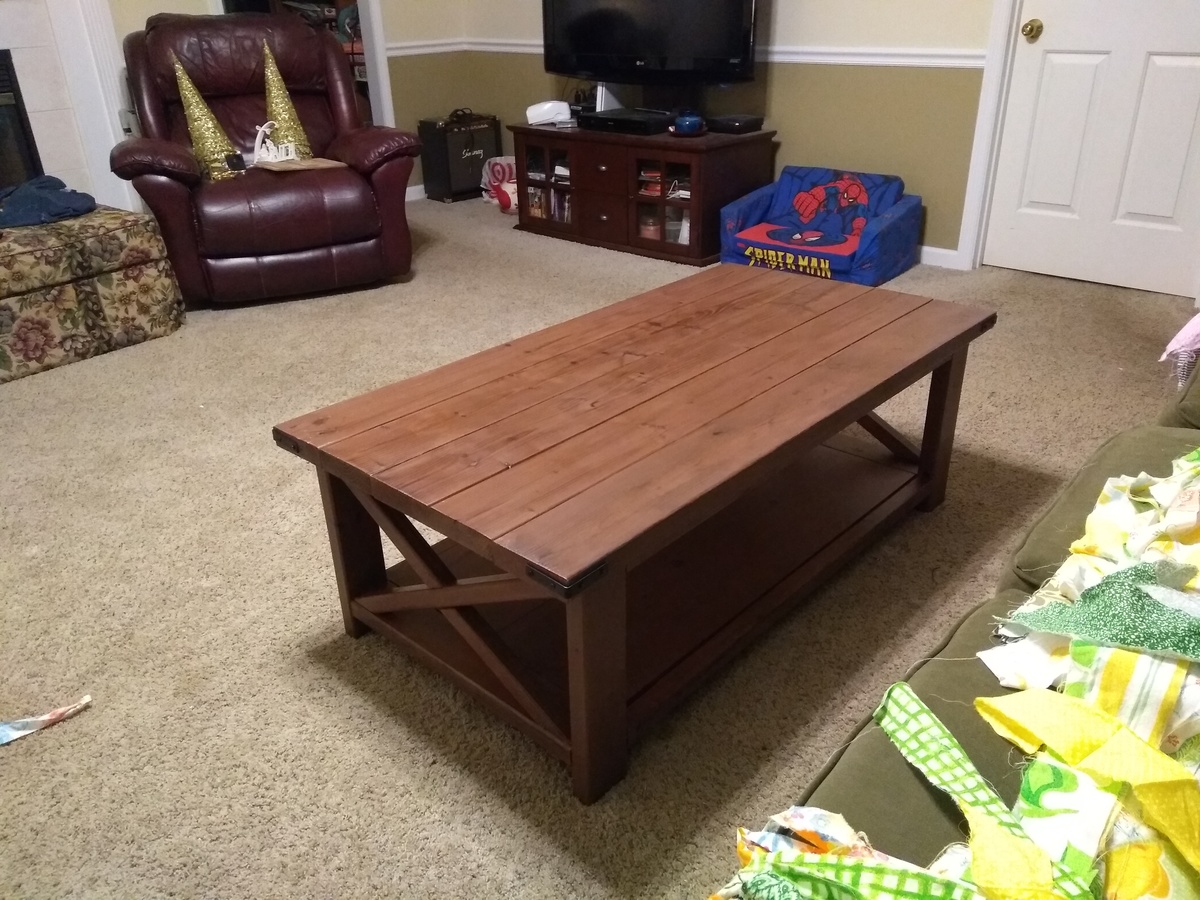
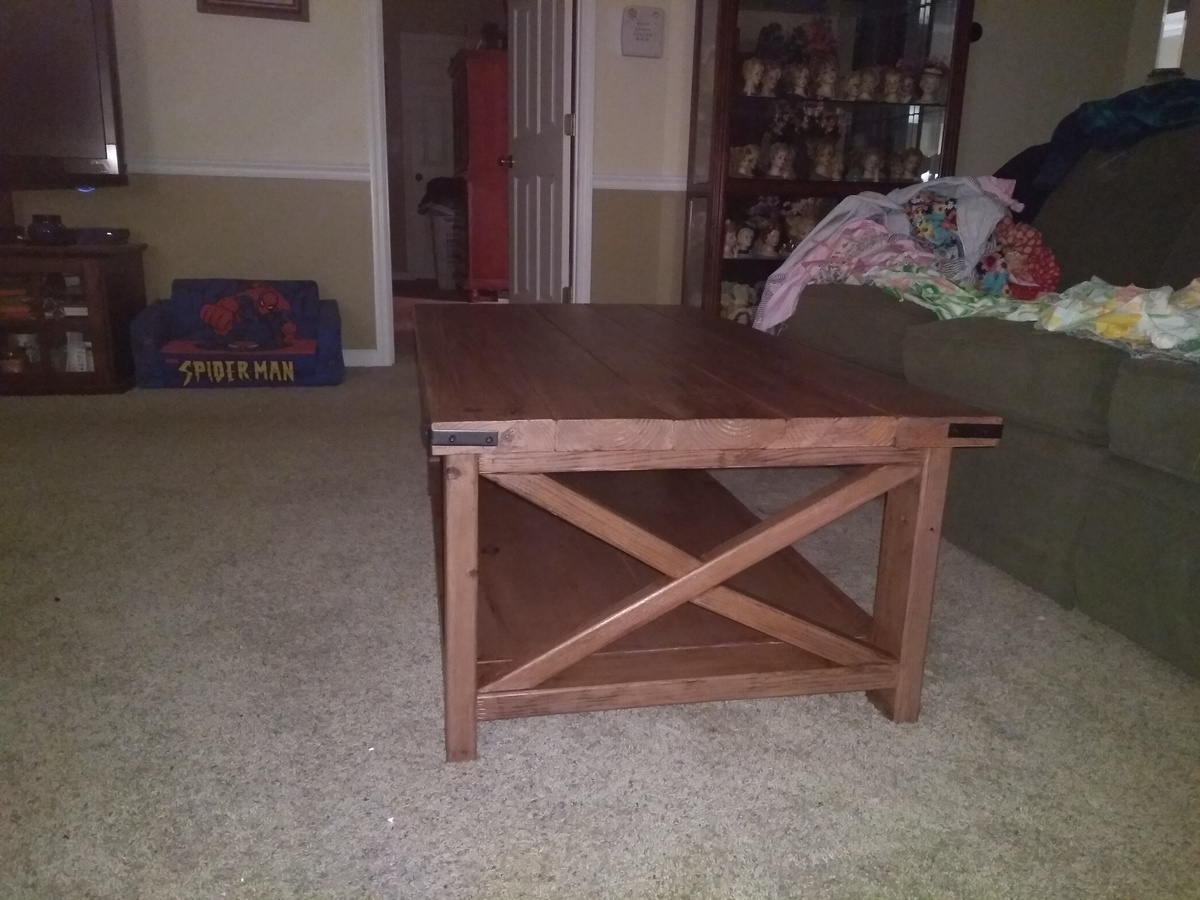
Submitted by Anonymous (not verified) on Sun, 01/27/2019 - 15:28

Glad to finish this build.  Completed the matching end table over a year ago.  Finally got around to find this table.  I enjoy Ana's plans and look forward to selecting my next project.  Thanks for the free plans!
Built from Plan(s)
Estimated Cost
$75 for lumber. Already had PH screws, wood glue, and necessary tools.
Estimated Time Investment
Week Long Project (20 Hours or More)
Finish Used
Vinegar and steel wool stain
Recommended Skill Level
Intermediate

Christmas Stocking stand

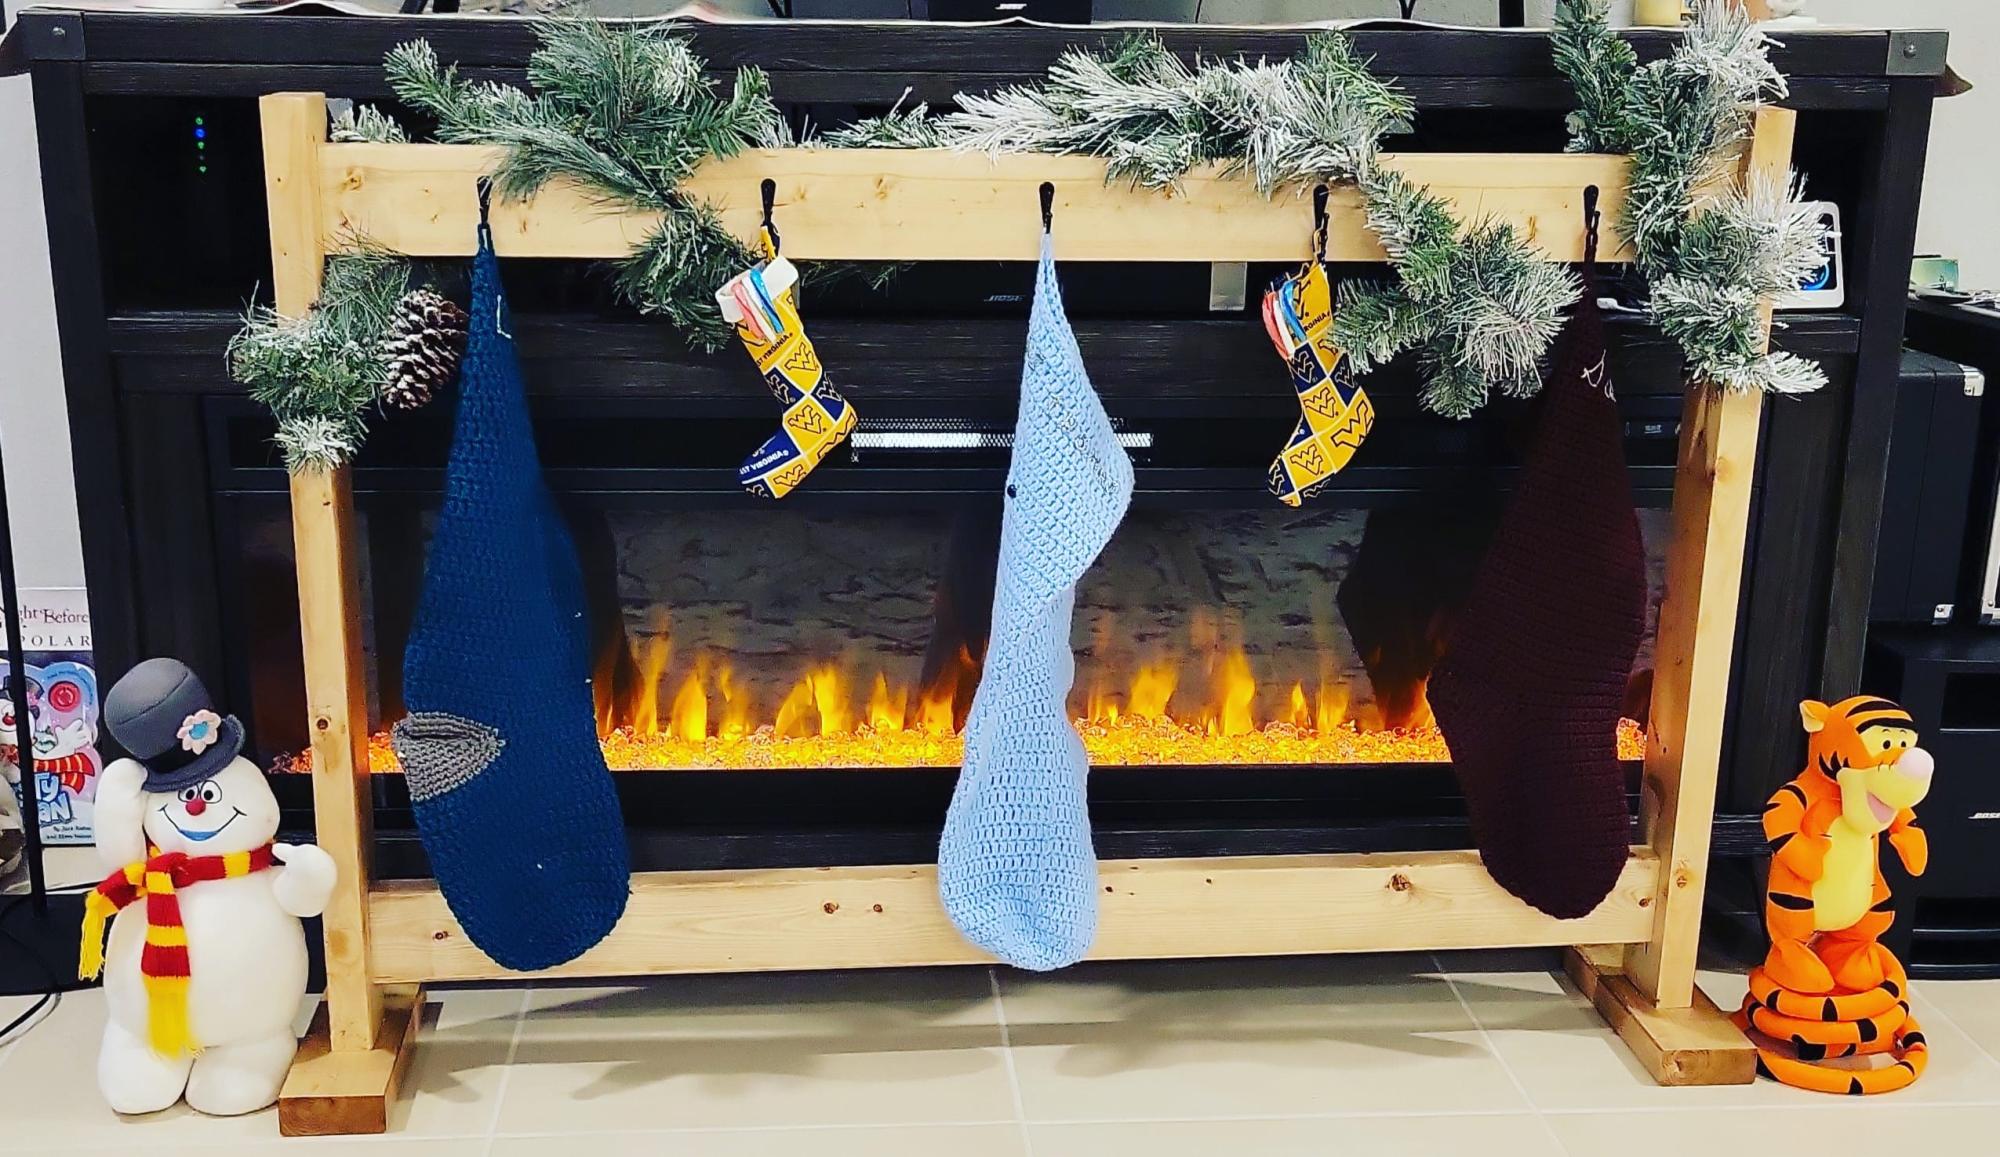
Submitted by Egle01 on Fri, 12/09/2022 - 15:30

I enjoyed making this. The kids love it and it goes great in front of the fireplace.
#Todays_Spare_Time

Built from Plan(s)

Comments