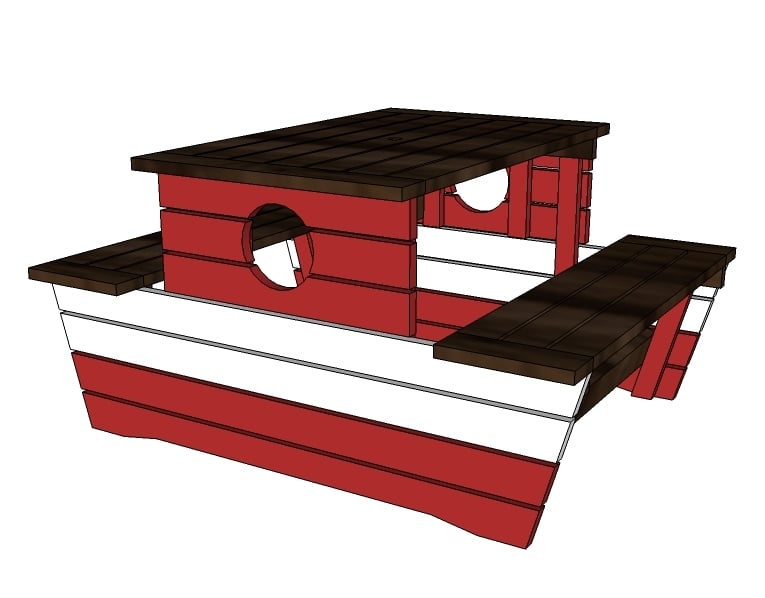
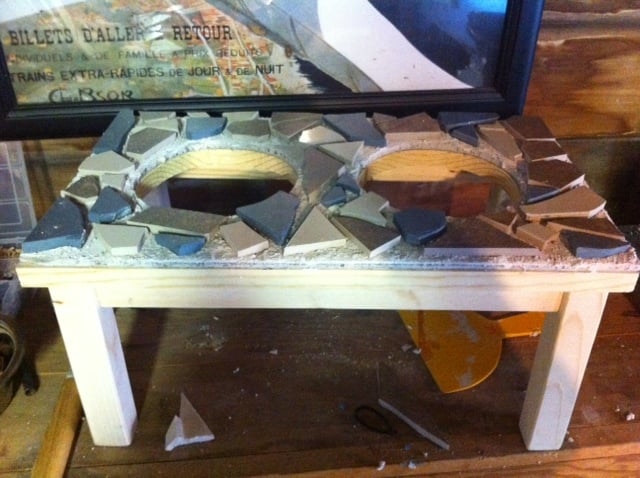
Toddler Picnic Table
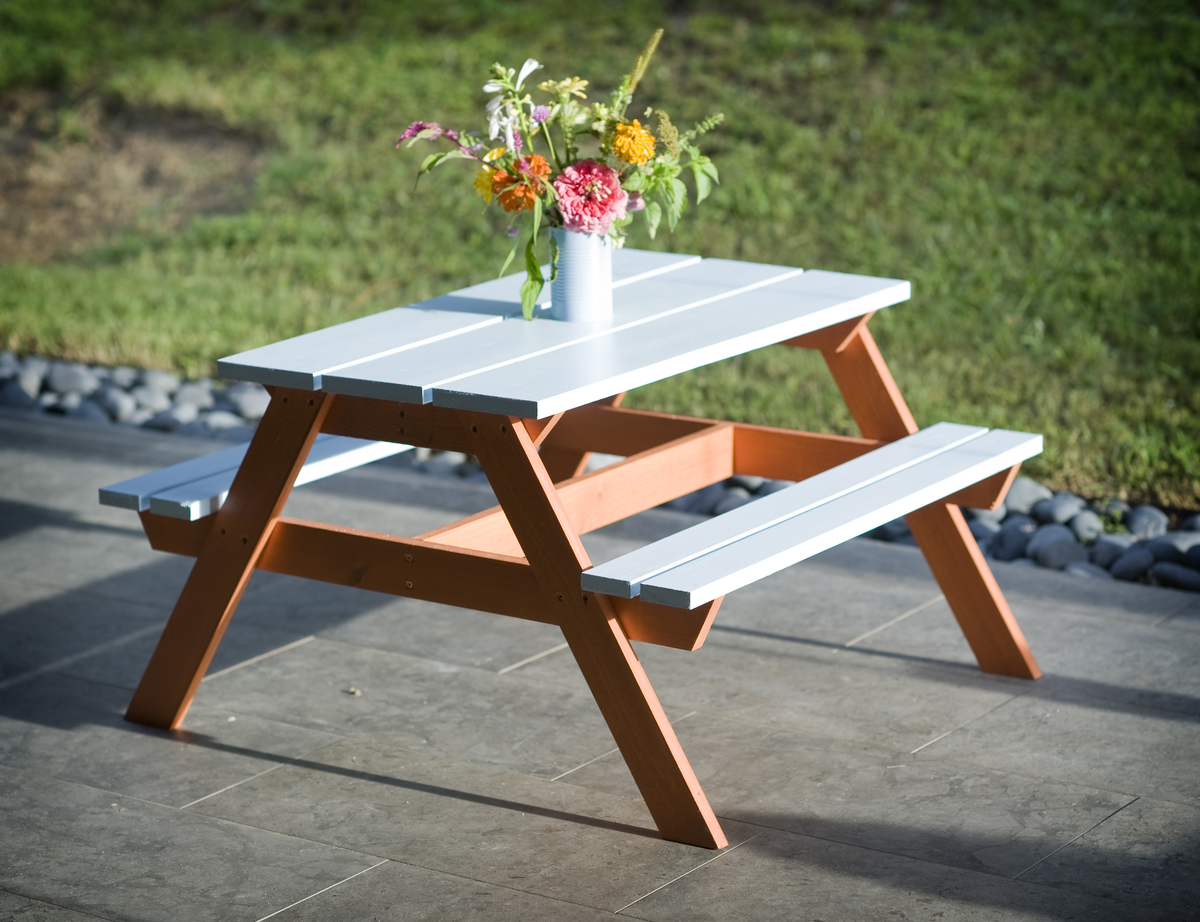
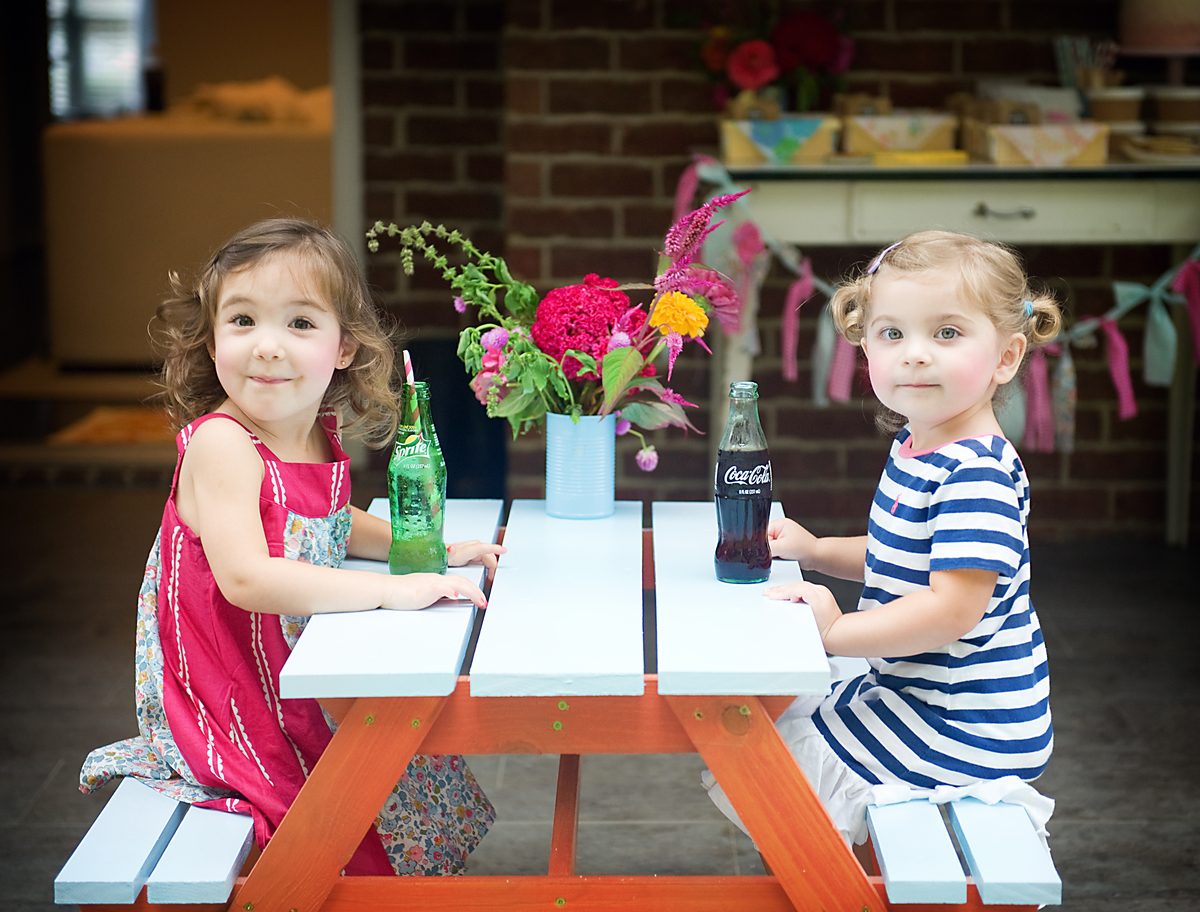
My husband and I made 2 of these for my 3 year olds "Picnic Birthday Party", and they worked out great! We will definitely be using them for a while! They took about a week off and on since I just had a little time each day to do them, but I could have gotten them done in a couple easily. Very fun, easy project! We ended up staining the bottom support pieces and painting the top pieces a light blue, I love how it turned out!
Built from Plan(s)
Estimated Cost
$50 per table
Estimated Time Investment
Day Project (6-9 Hours)
Finish Used
Stain/ Outdoor Latex Paint
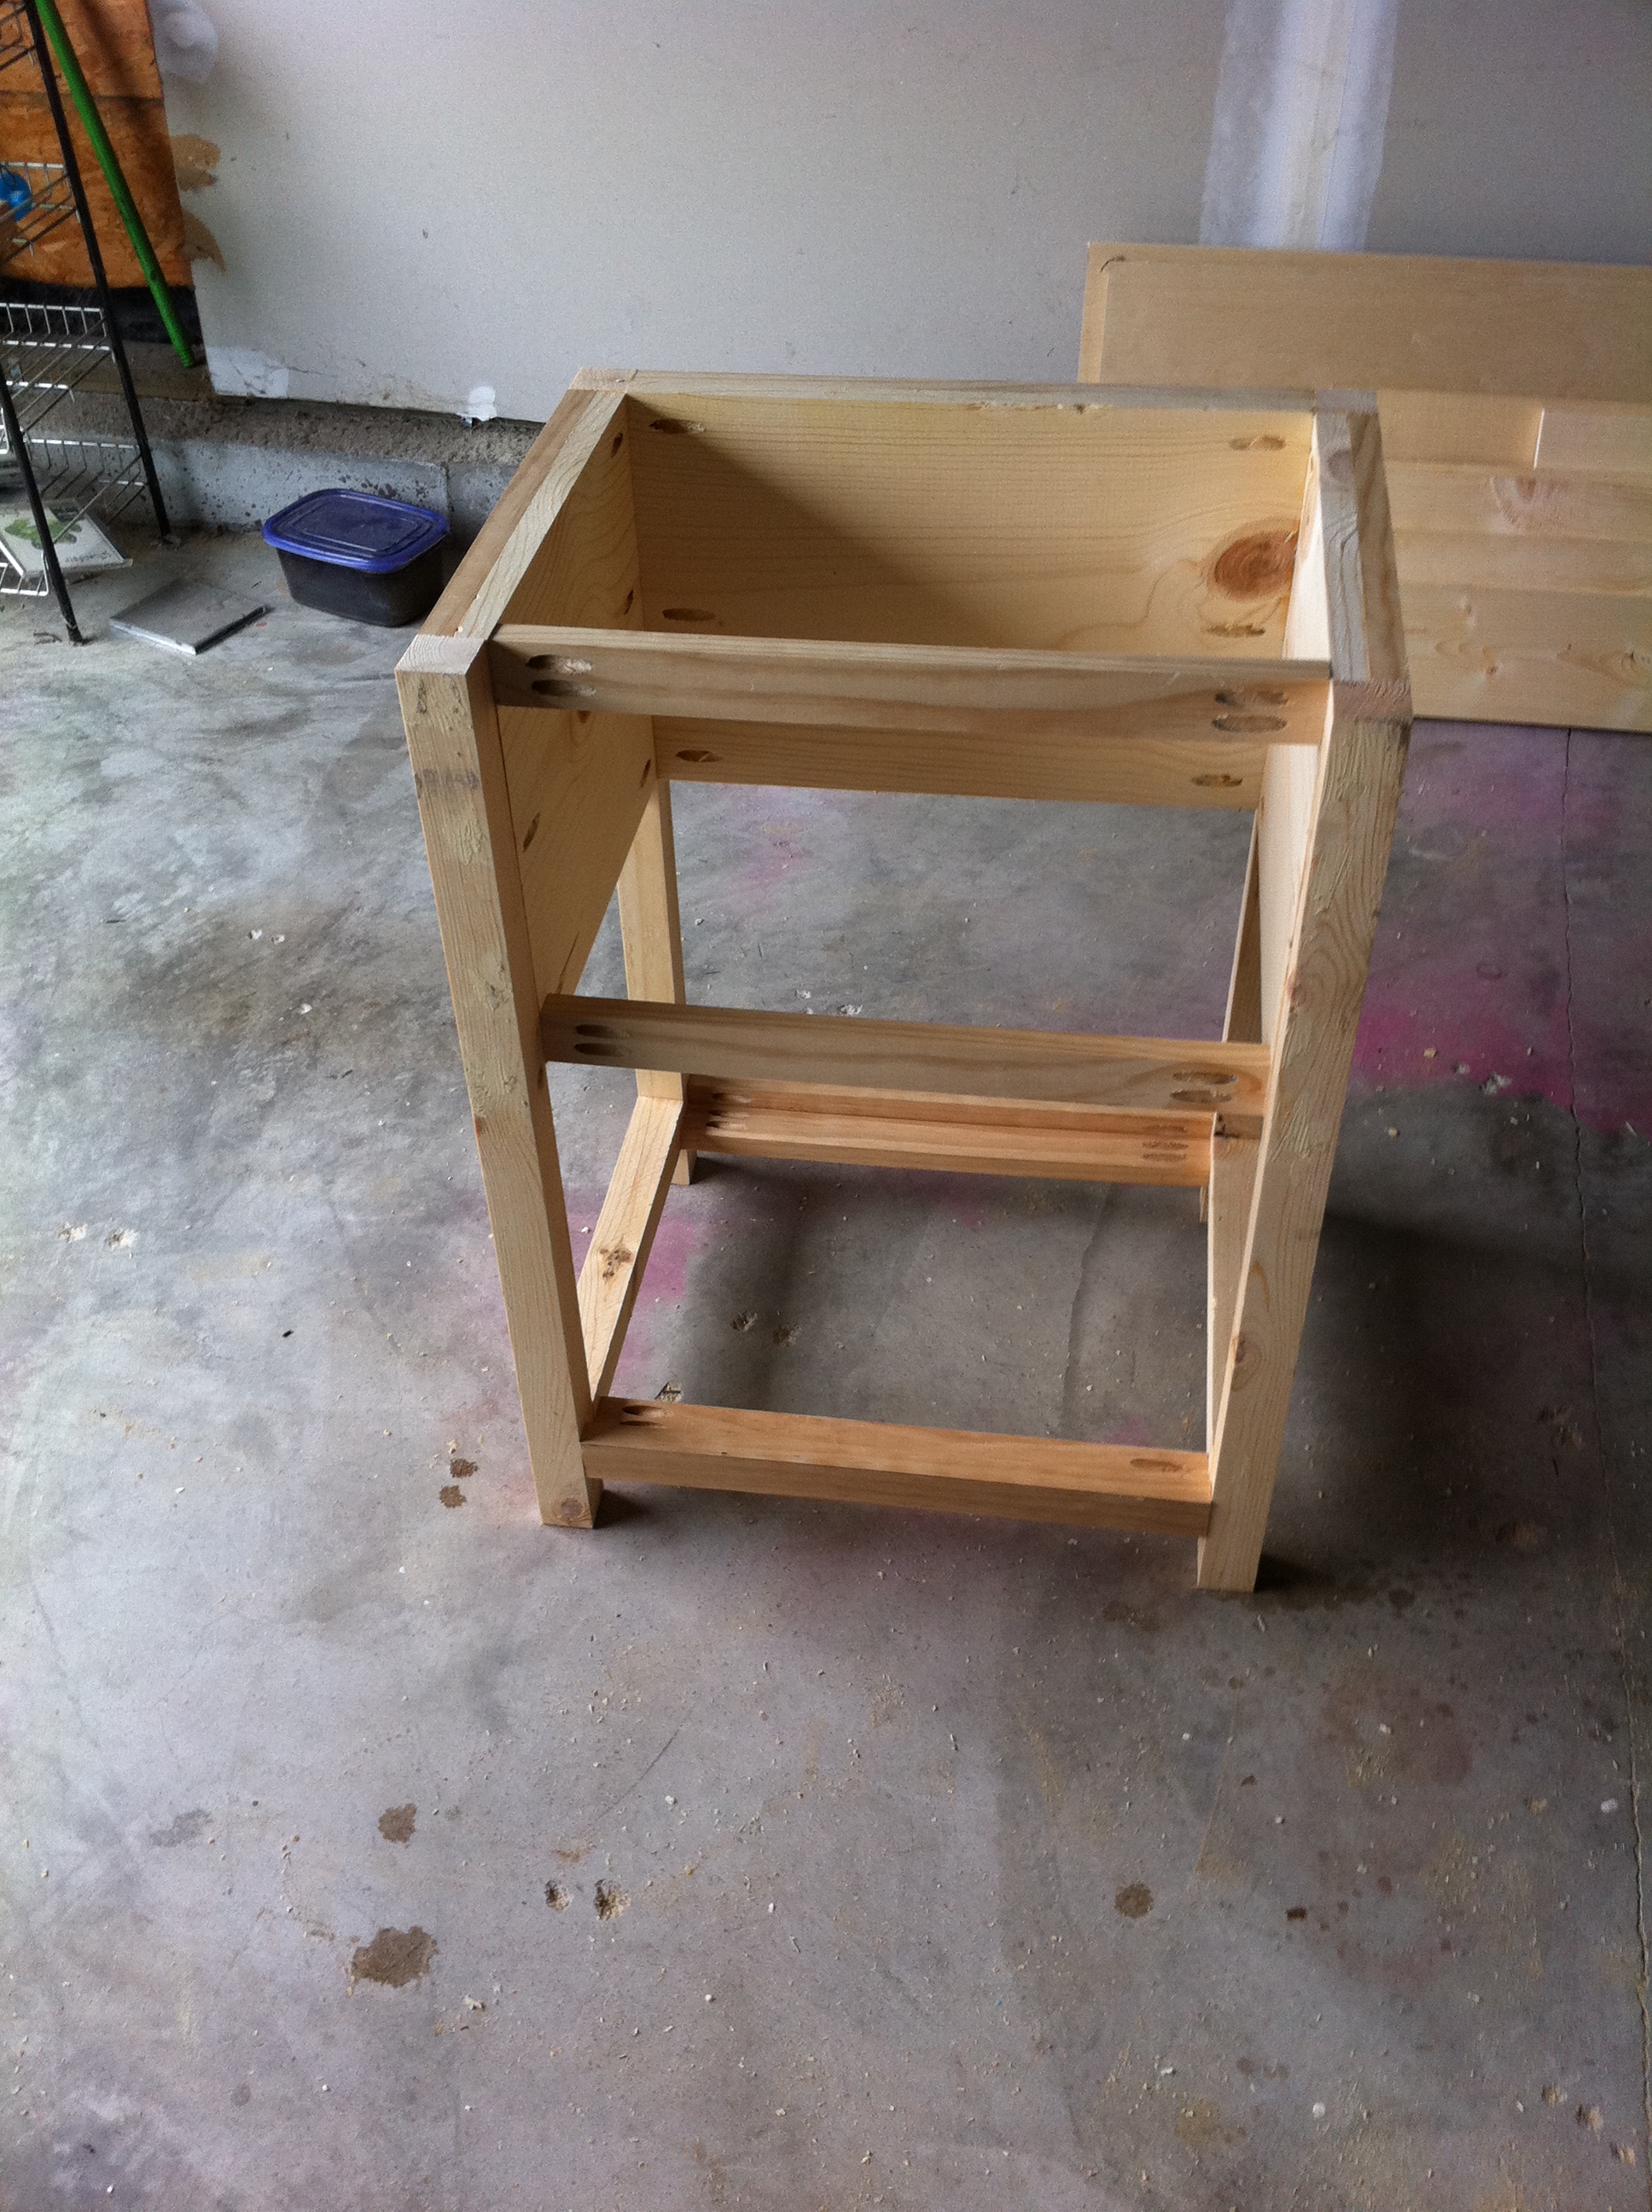
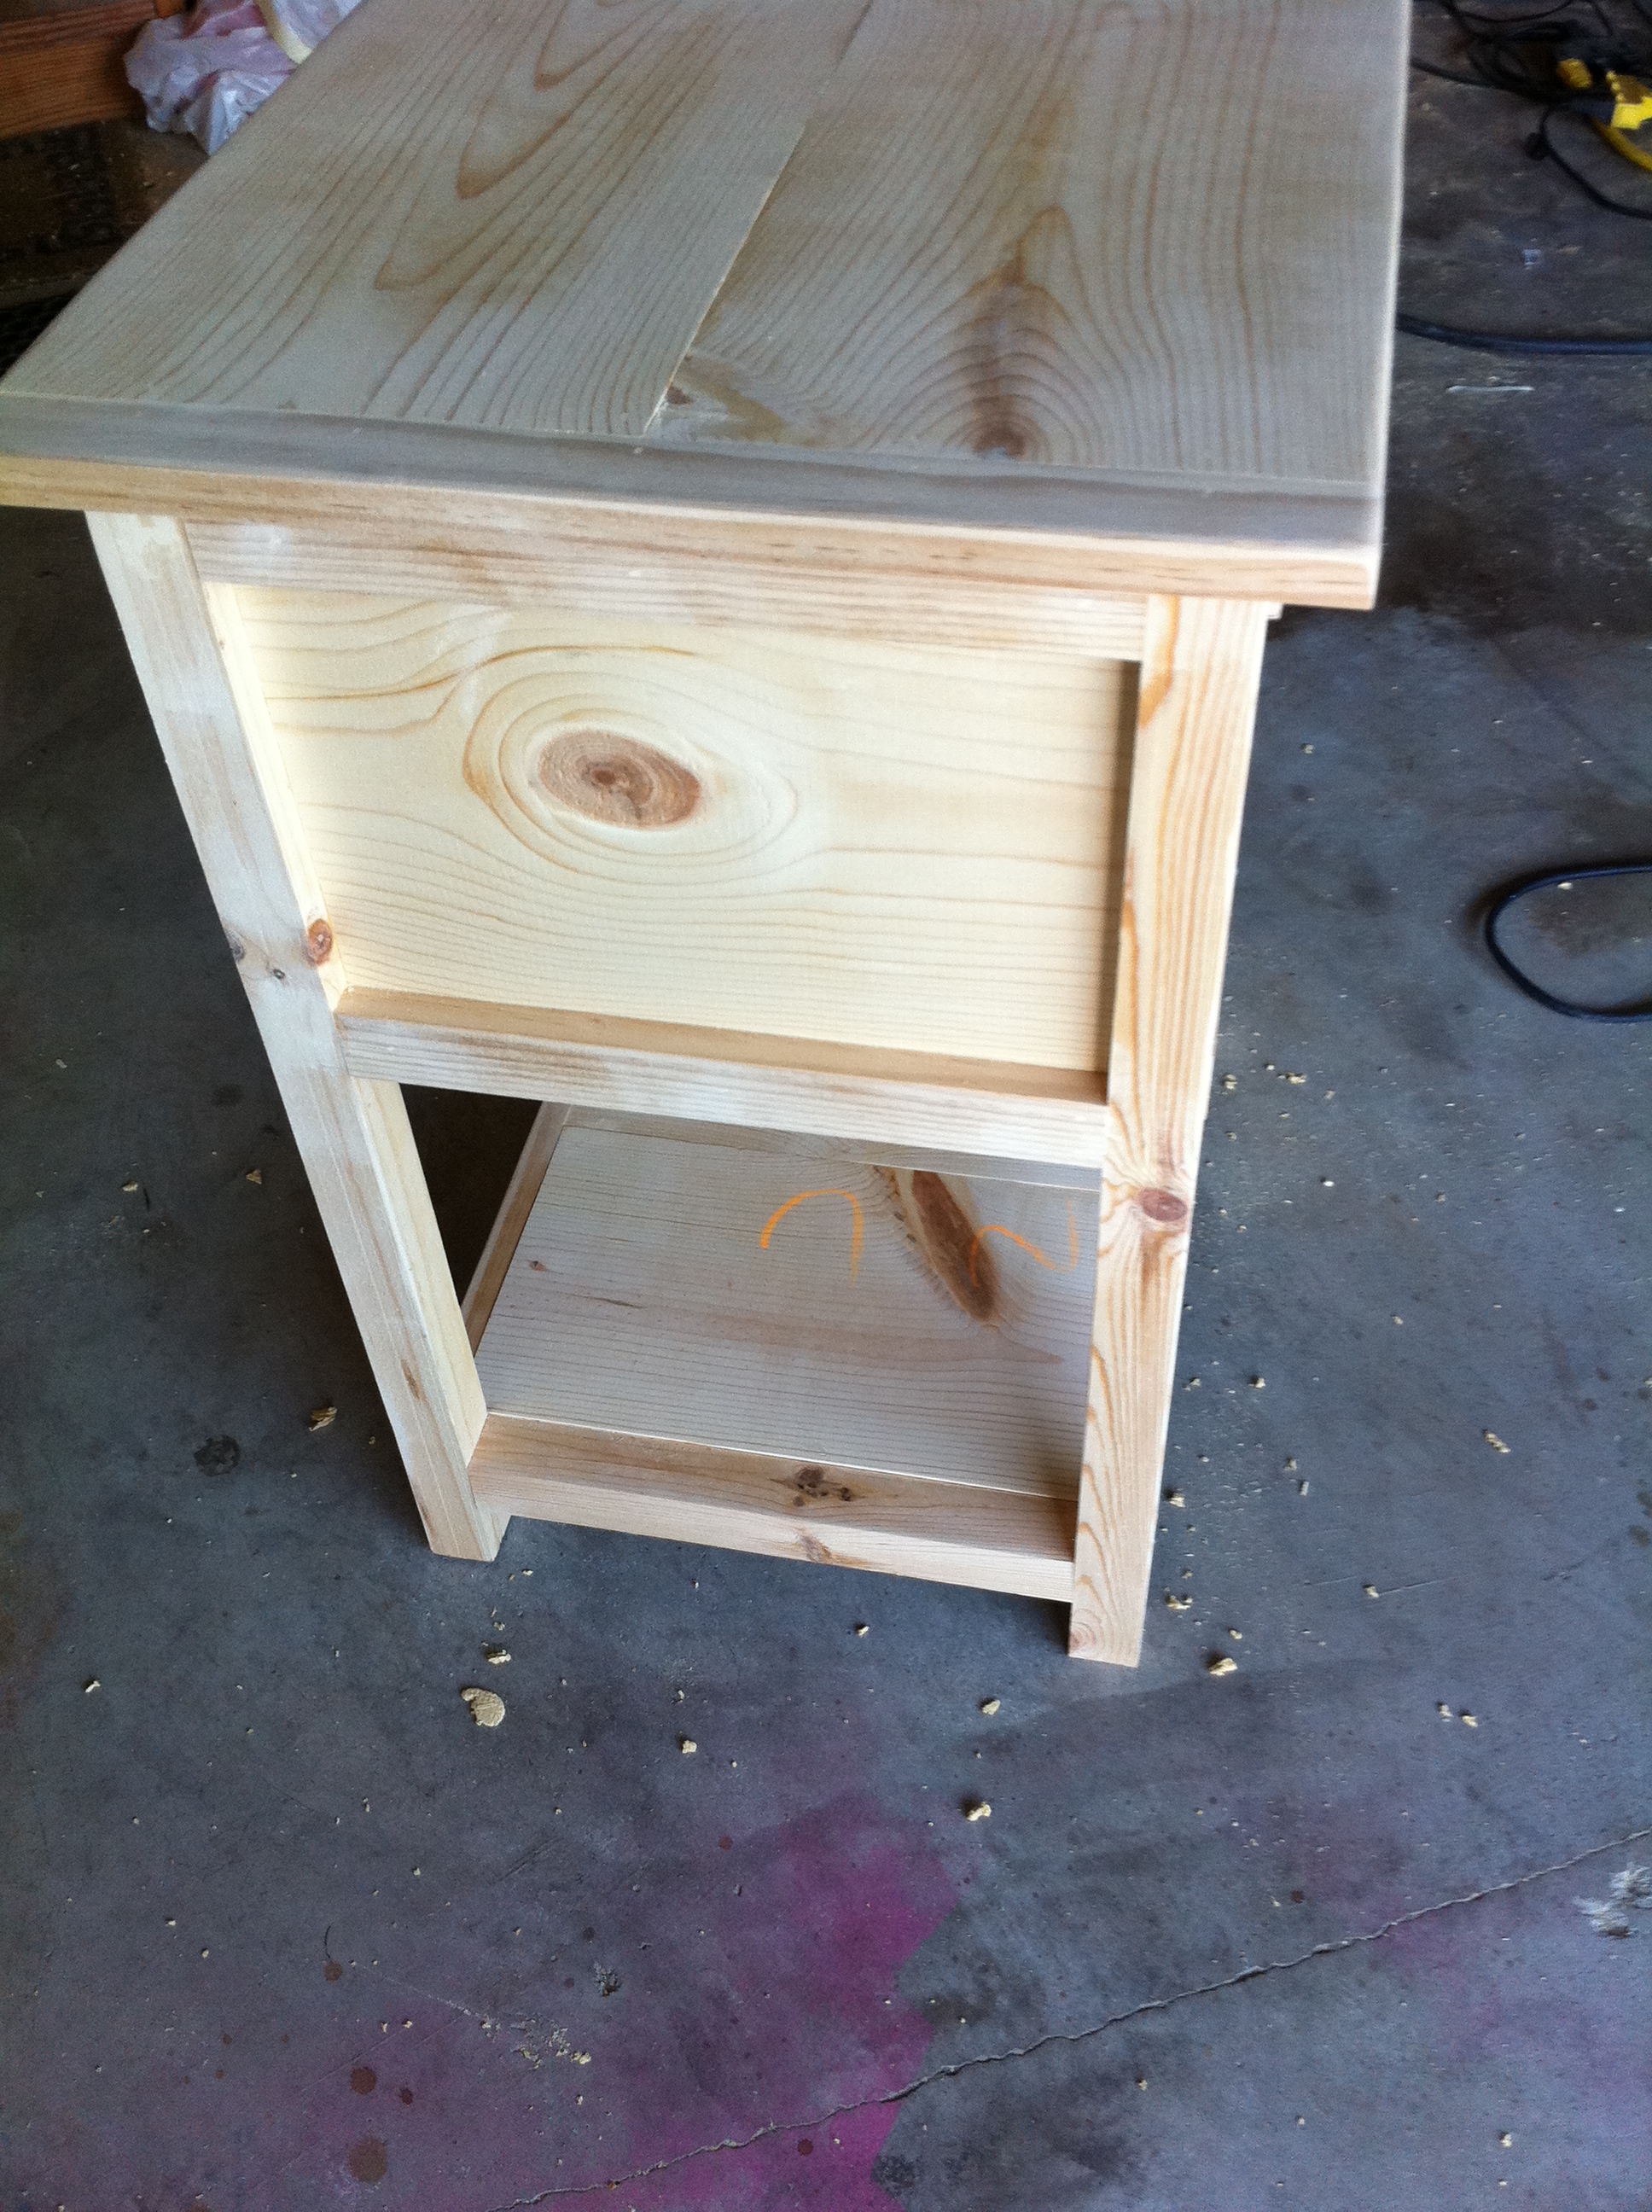
I ended up cutting out the pieces, and finishing all of them with the stain/paint before we assembled the table. It worked out great! All we had to do after they were assembled is fill in the top screw holes and then paint the table top and bench seat tops.
I ended up cutting out the pieces, and finishing all of them with the stain/paint before we assembled the table. It worked out great! All we had to do after they were assembled is fill in the top screw holes and then paint the table top and bench seat tops.
Recommended Skill Level
Beginner


Comments
JoanneS
Mon, 08/19/2013 - 19:13
Great build!
This little table is just darling! The picture of your girls at the table is just the cutest thing! Thank you for posting this!