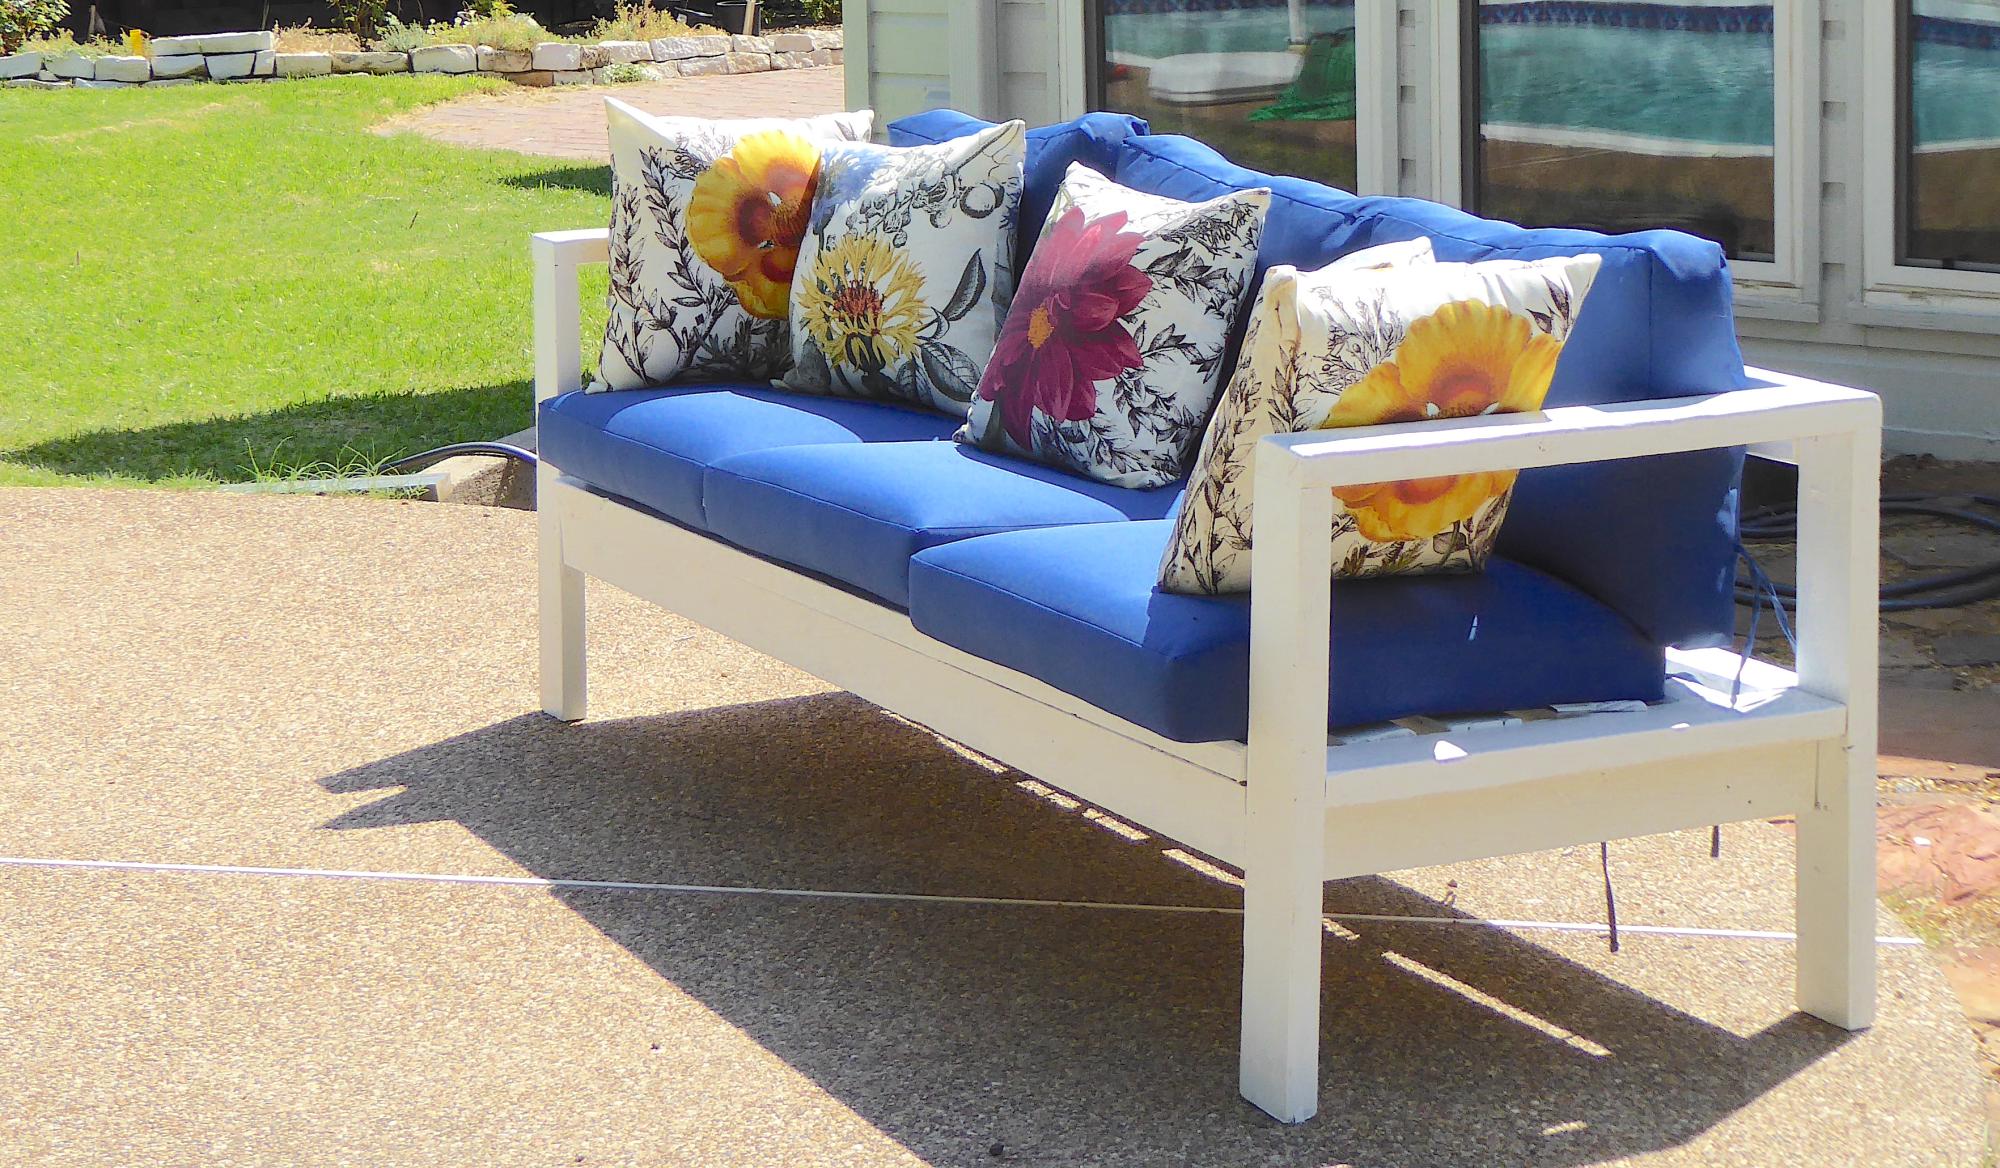
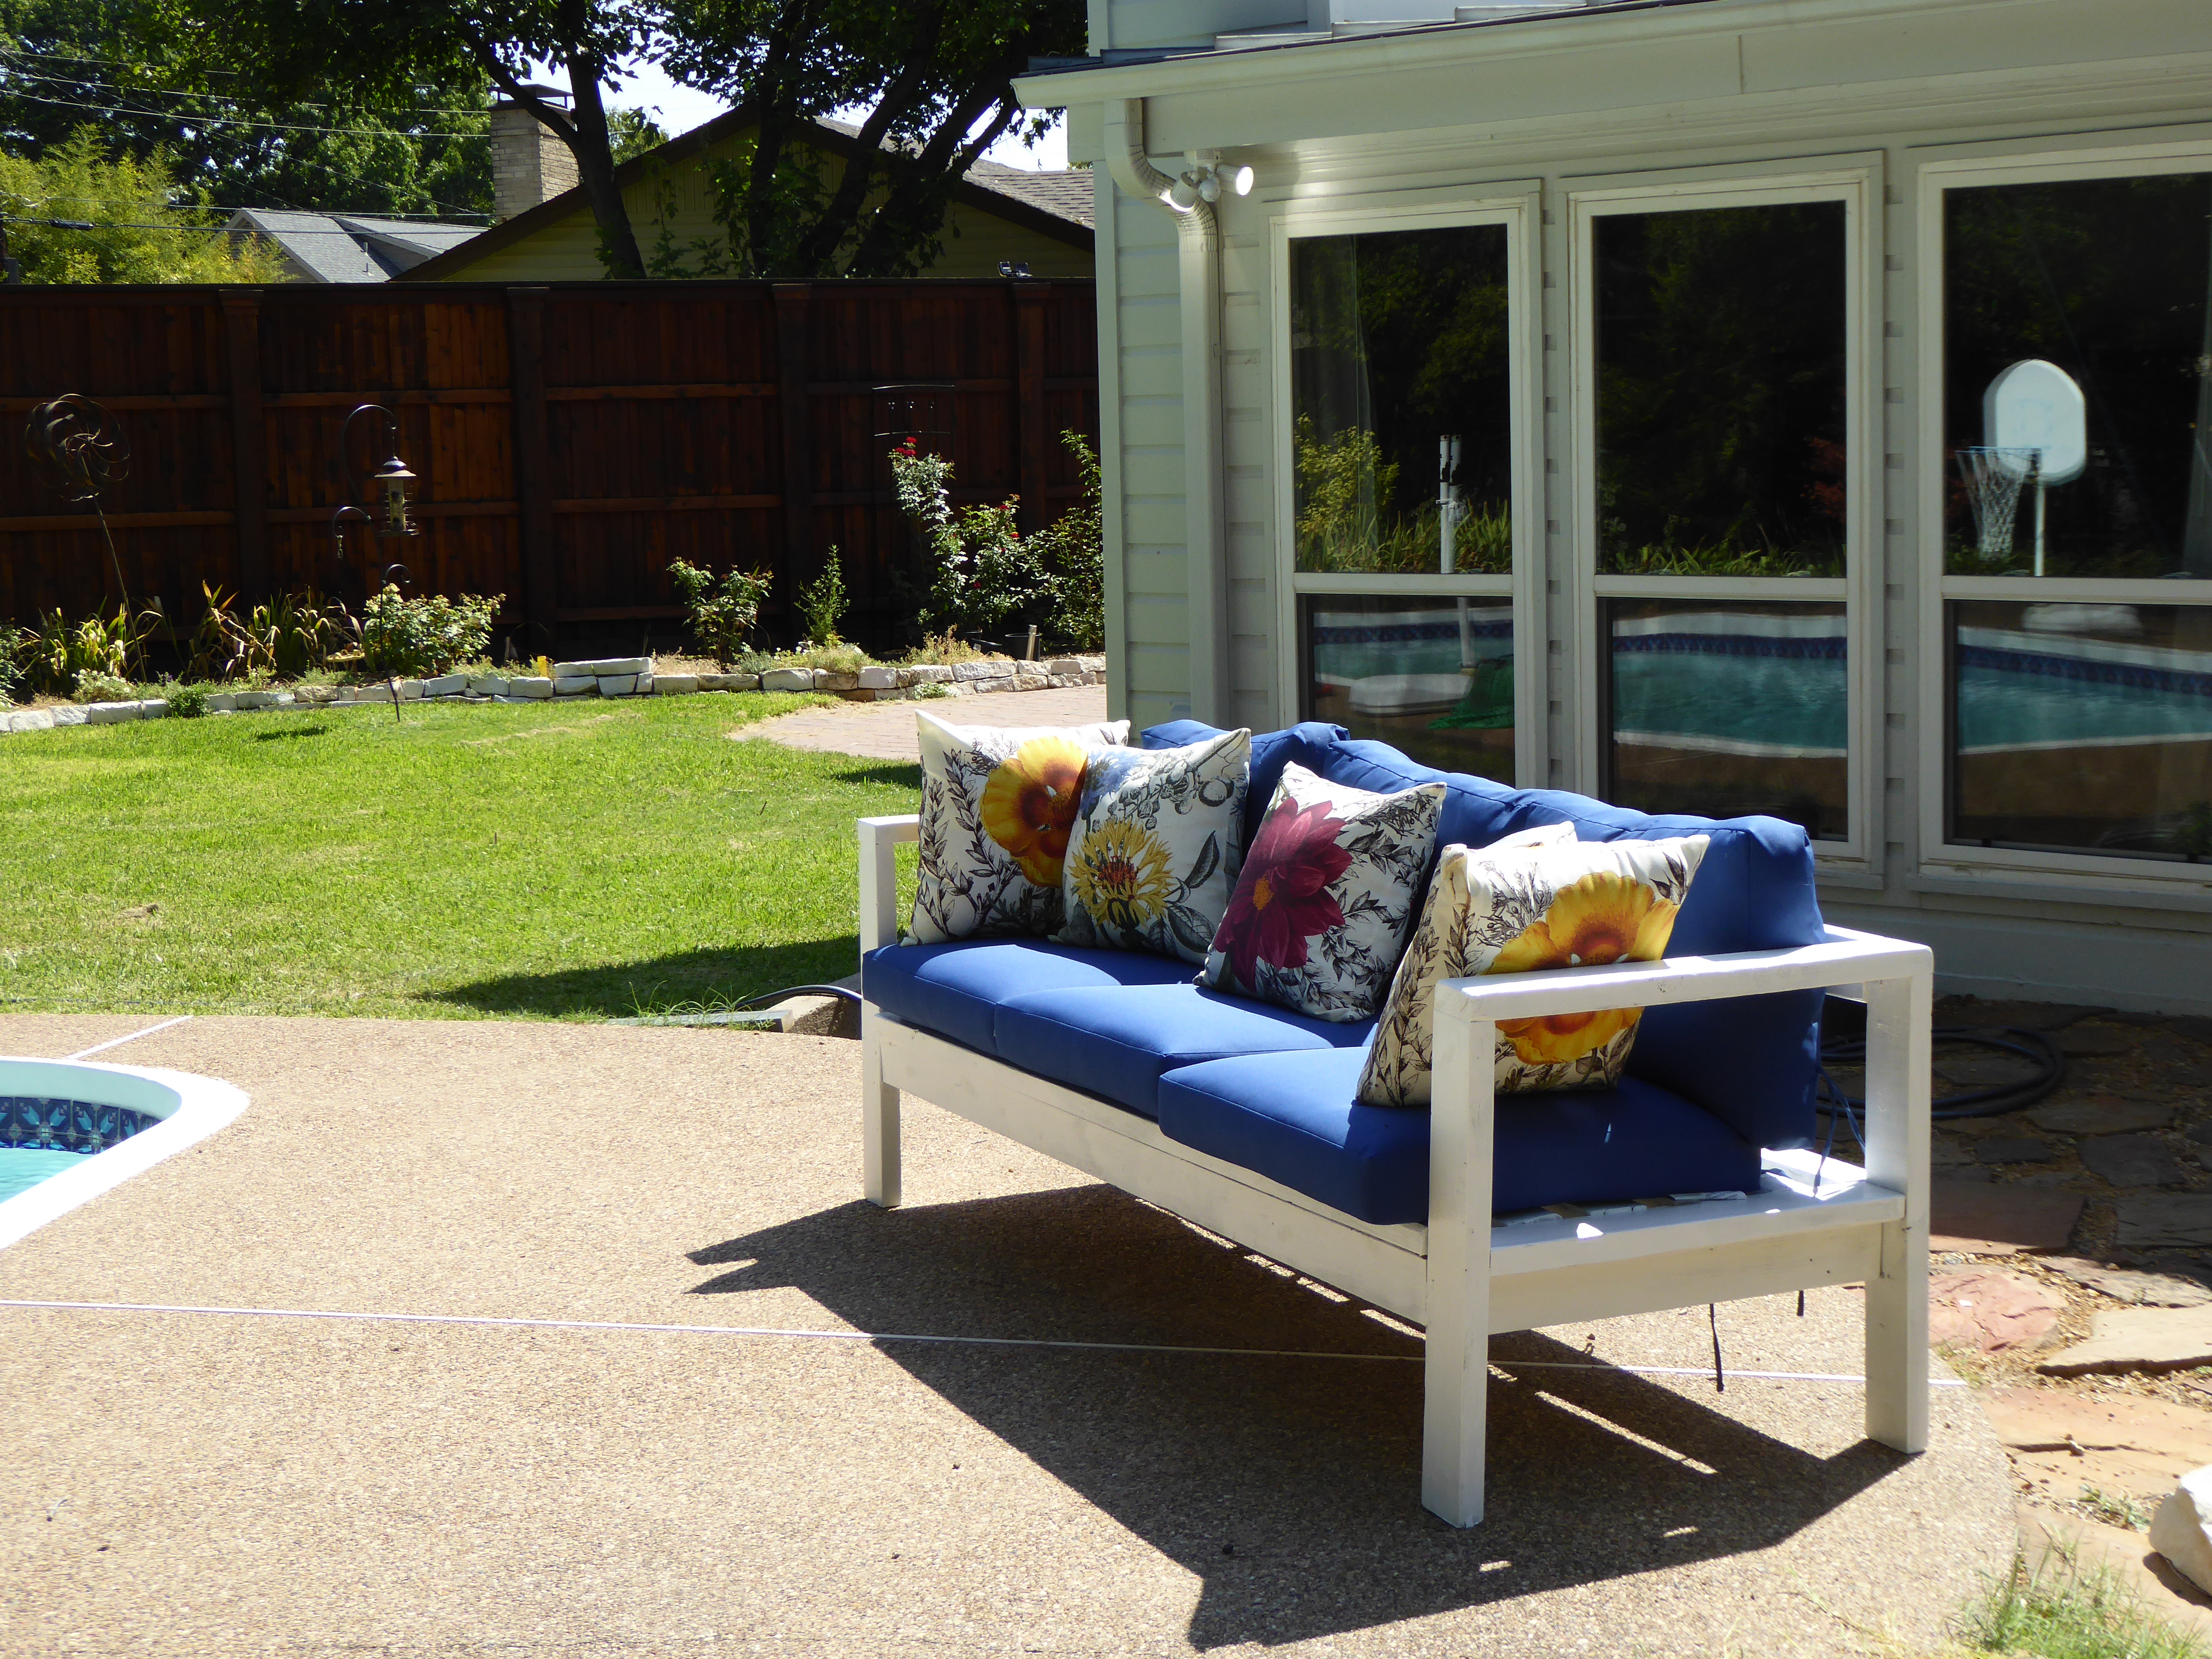
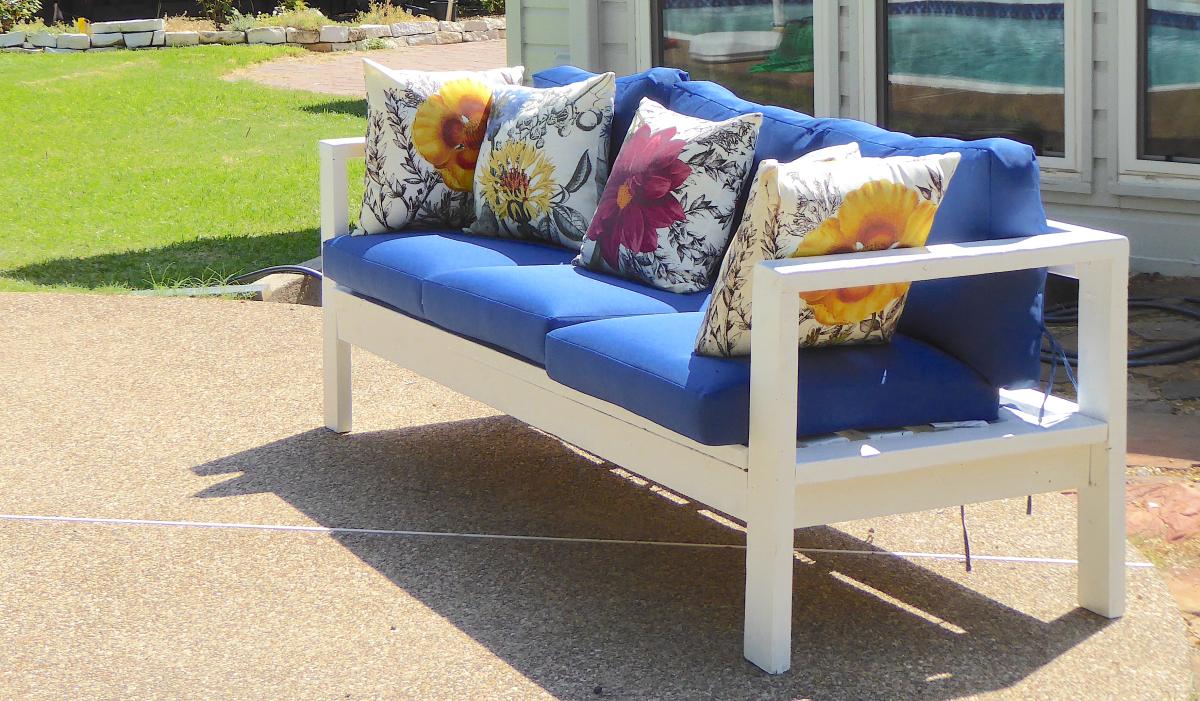
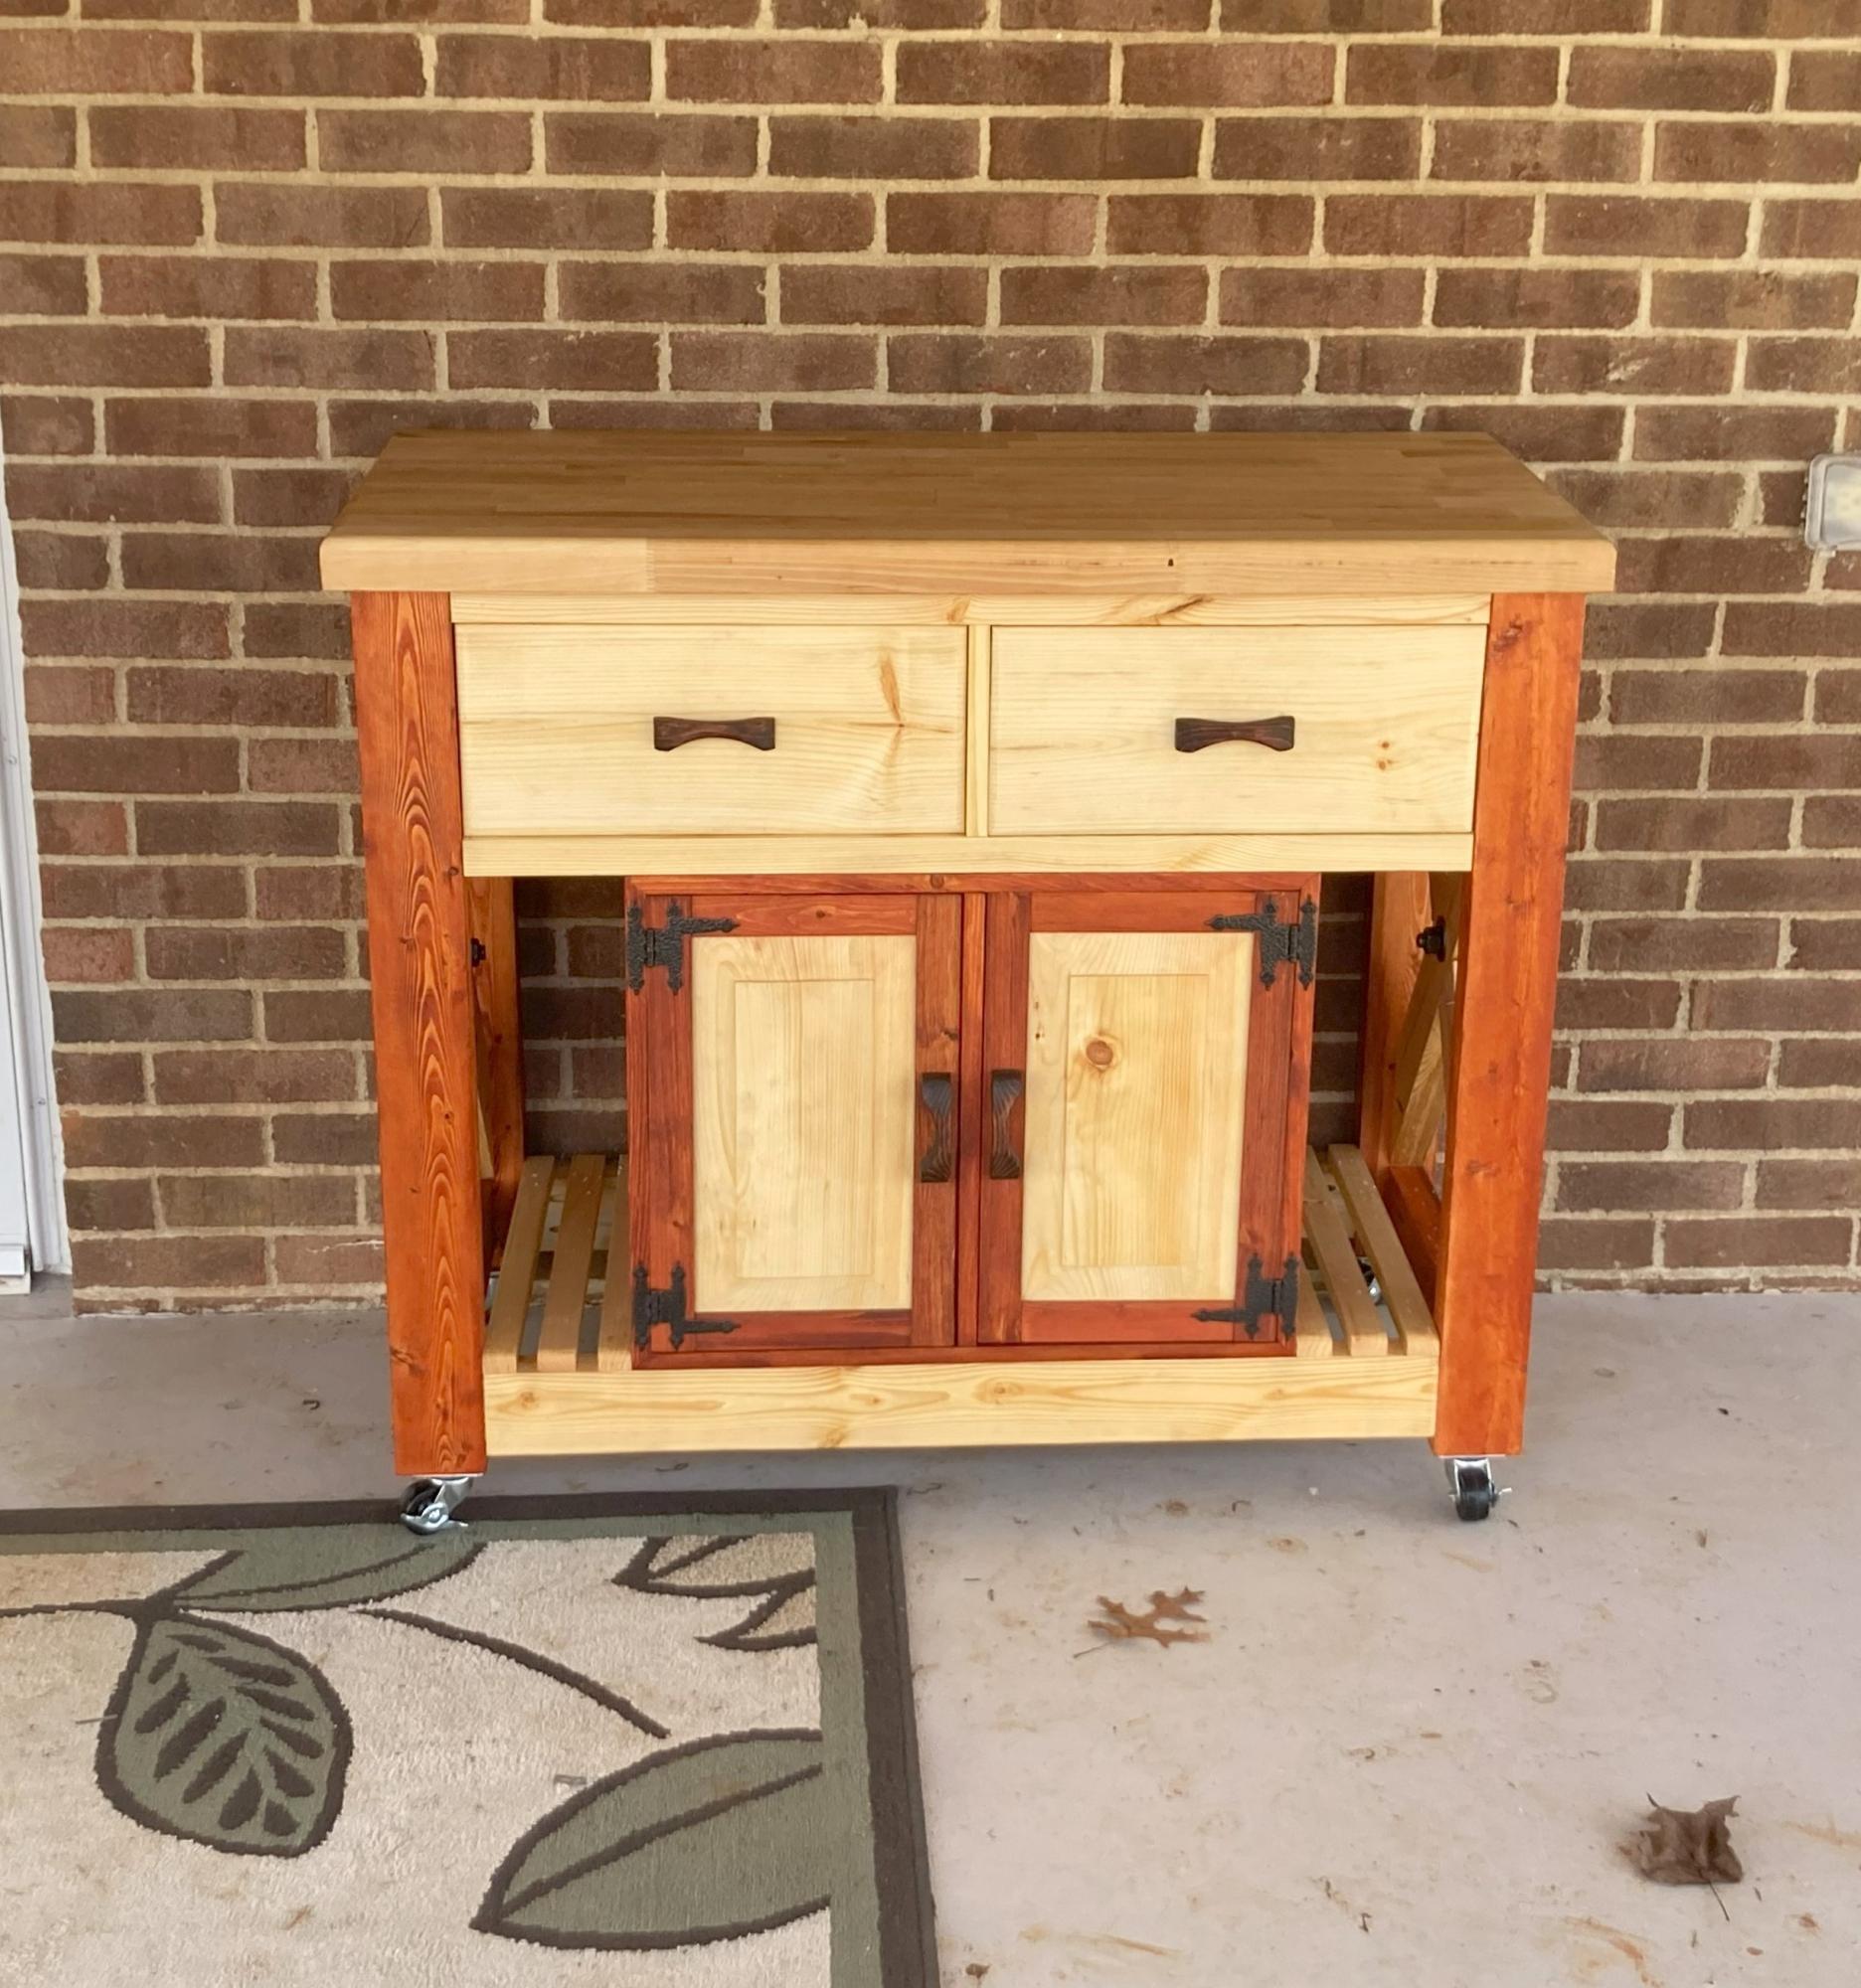
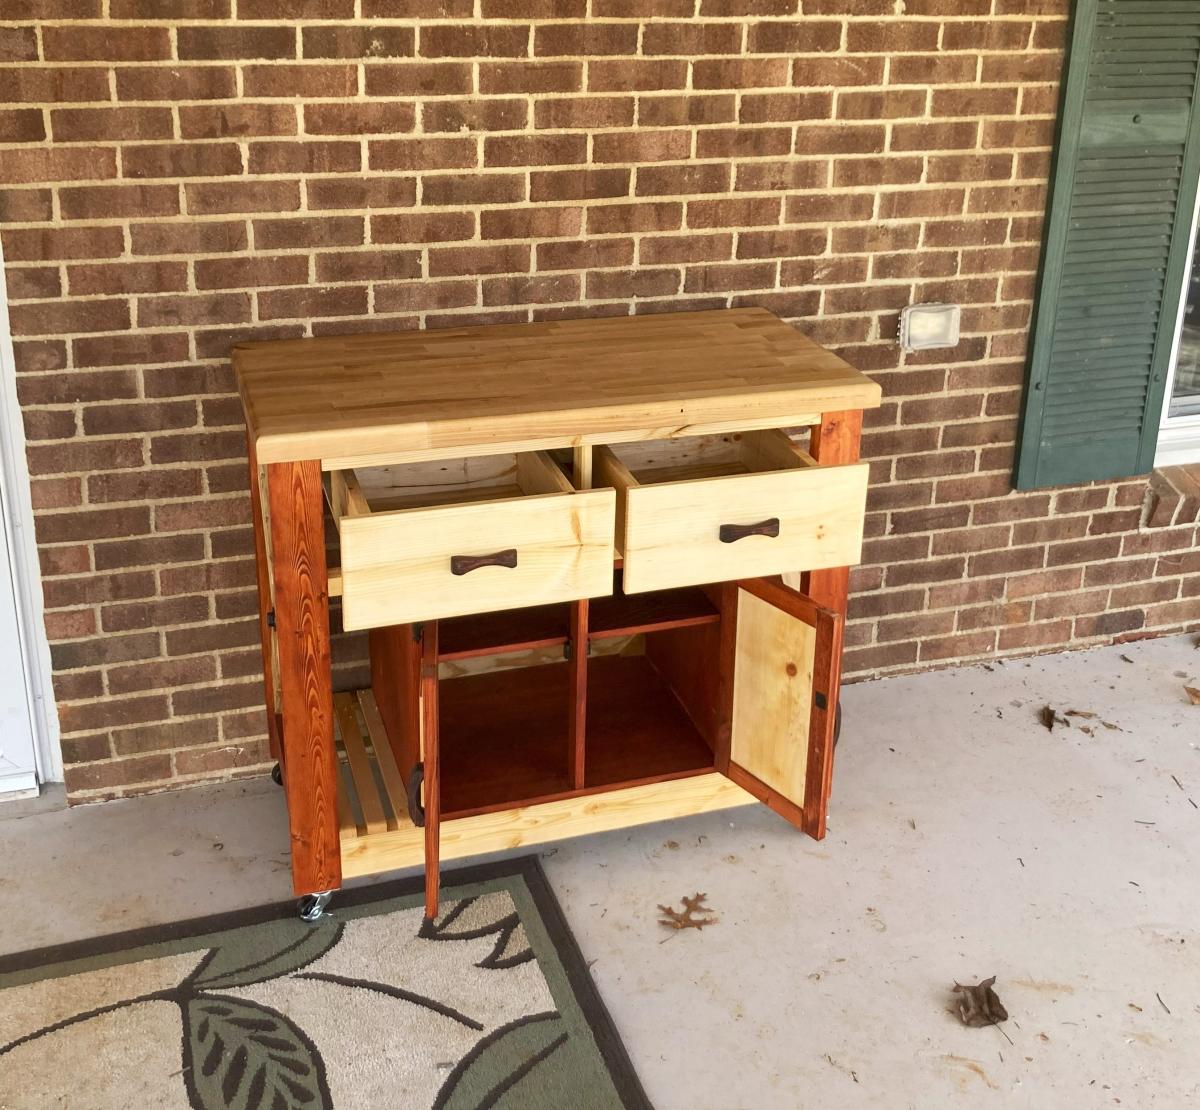
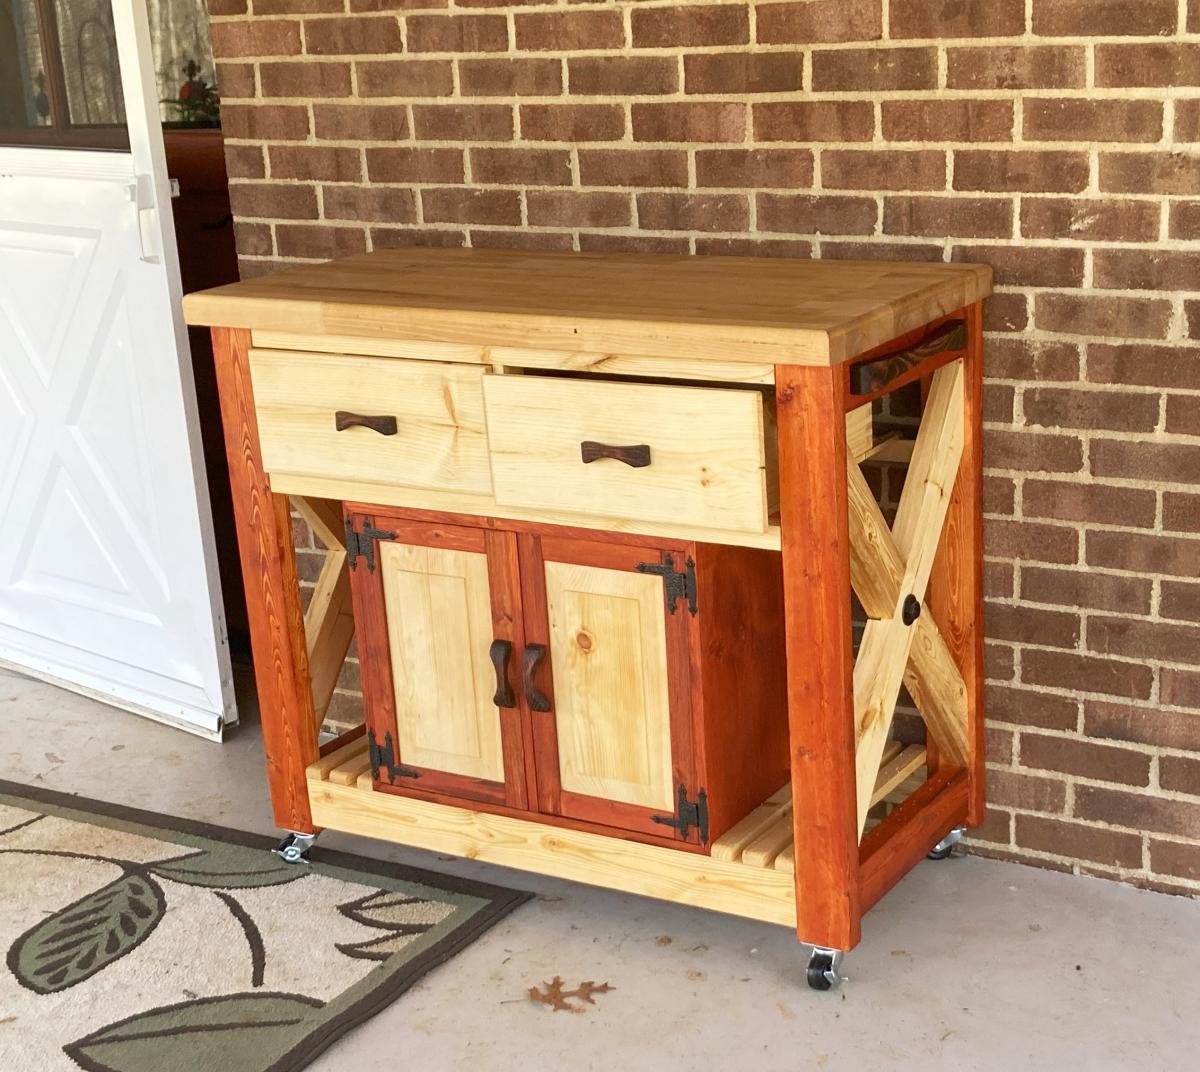
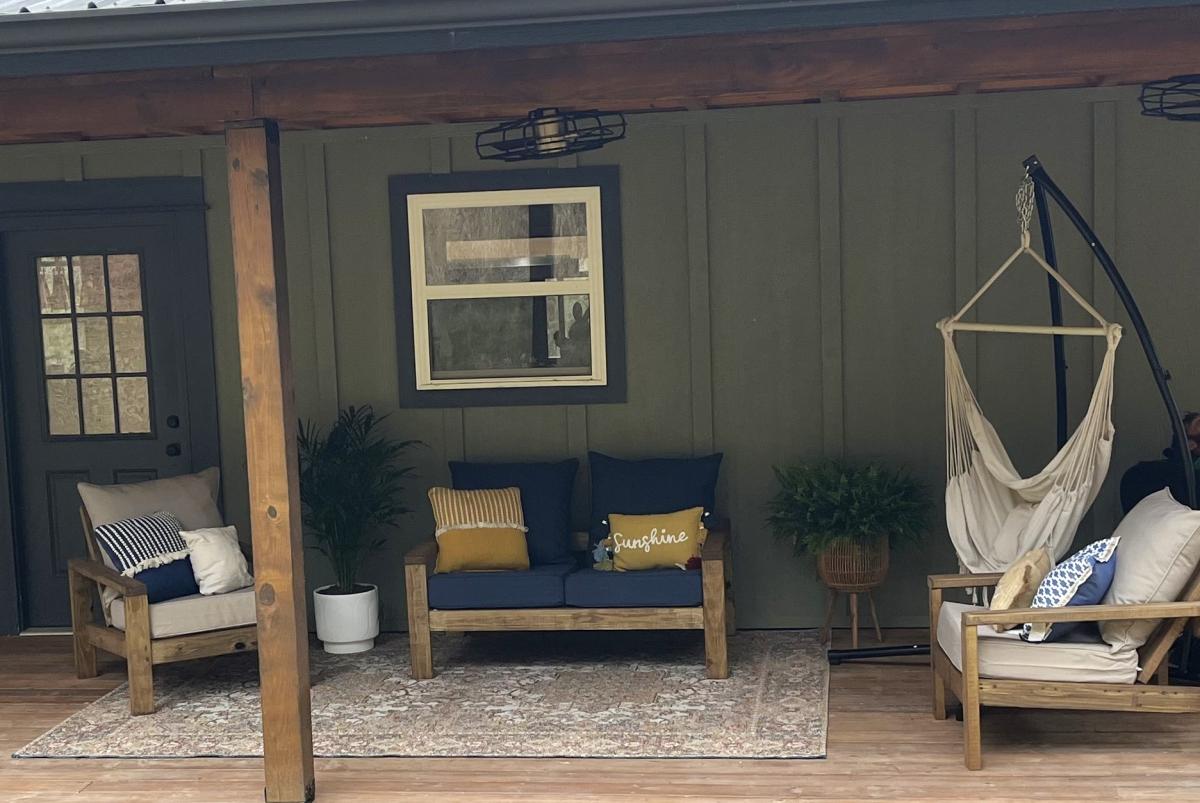
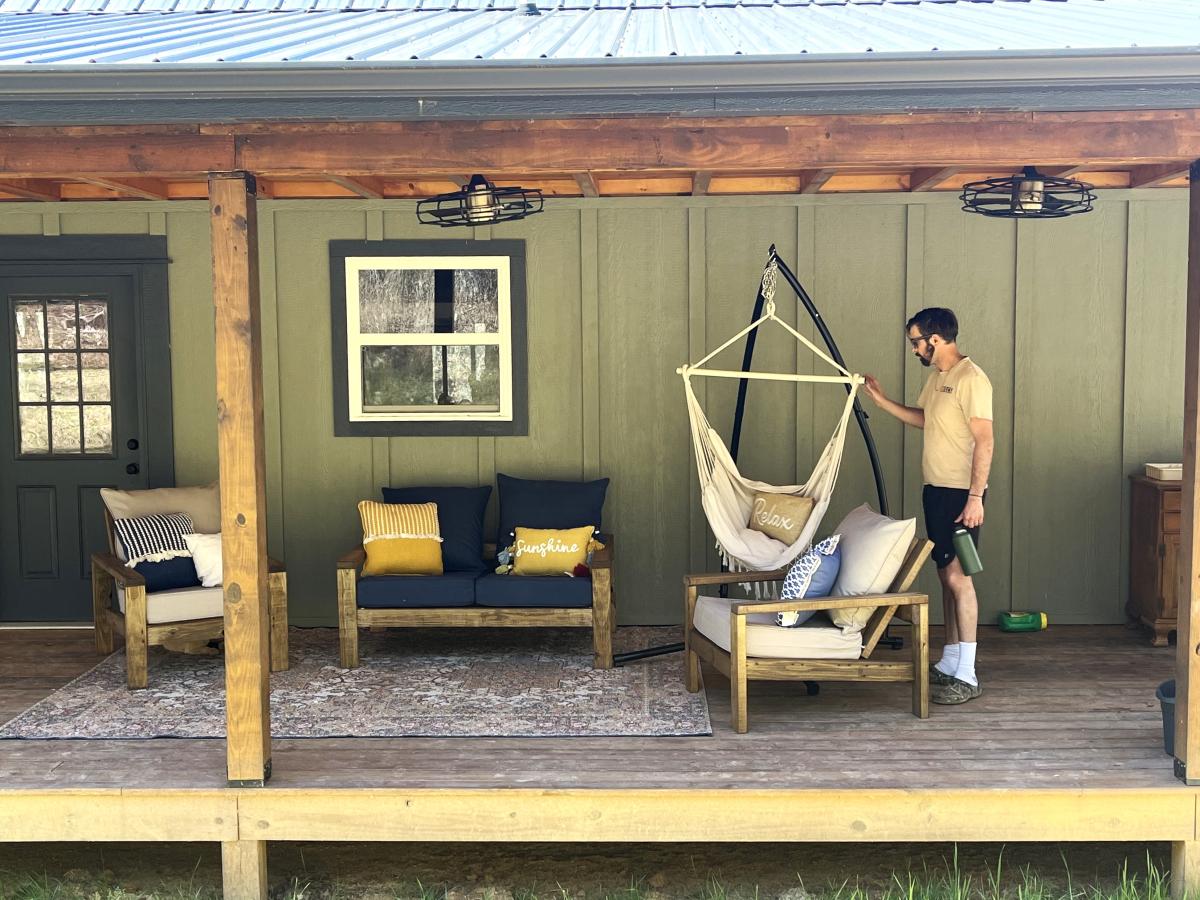
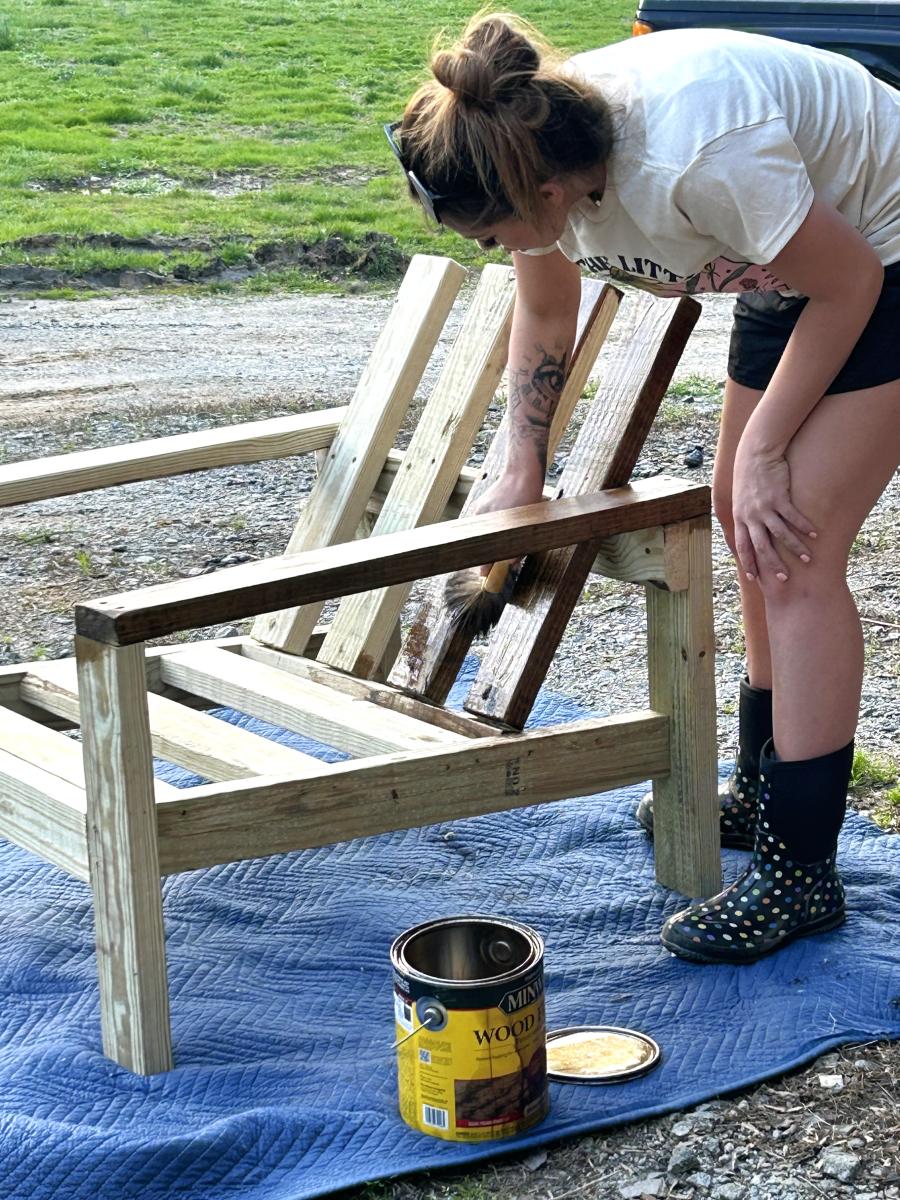
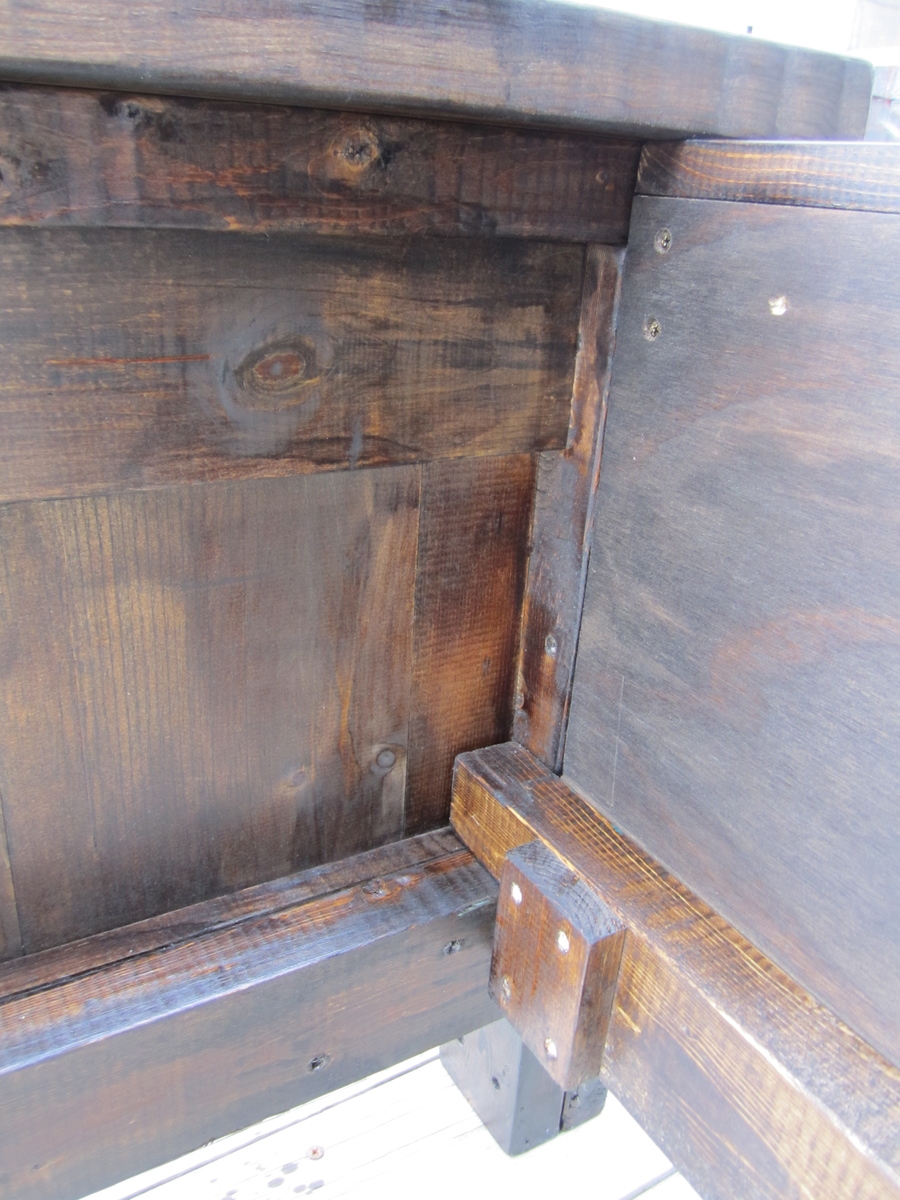
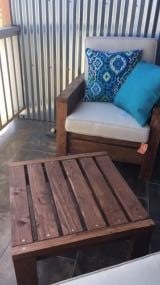
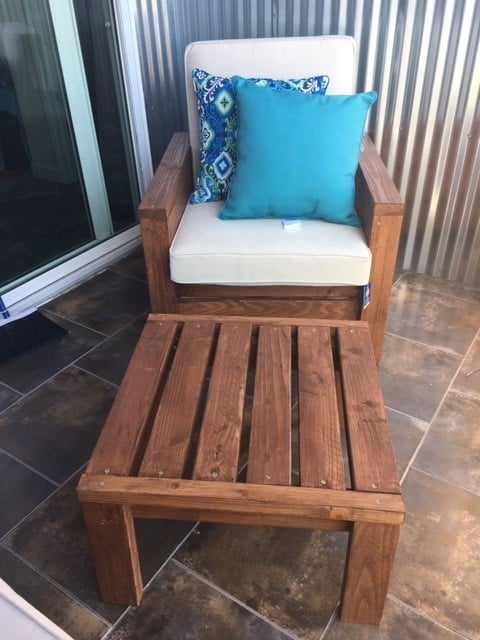
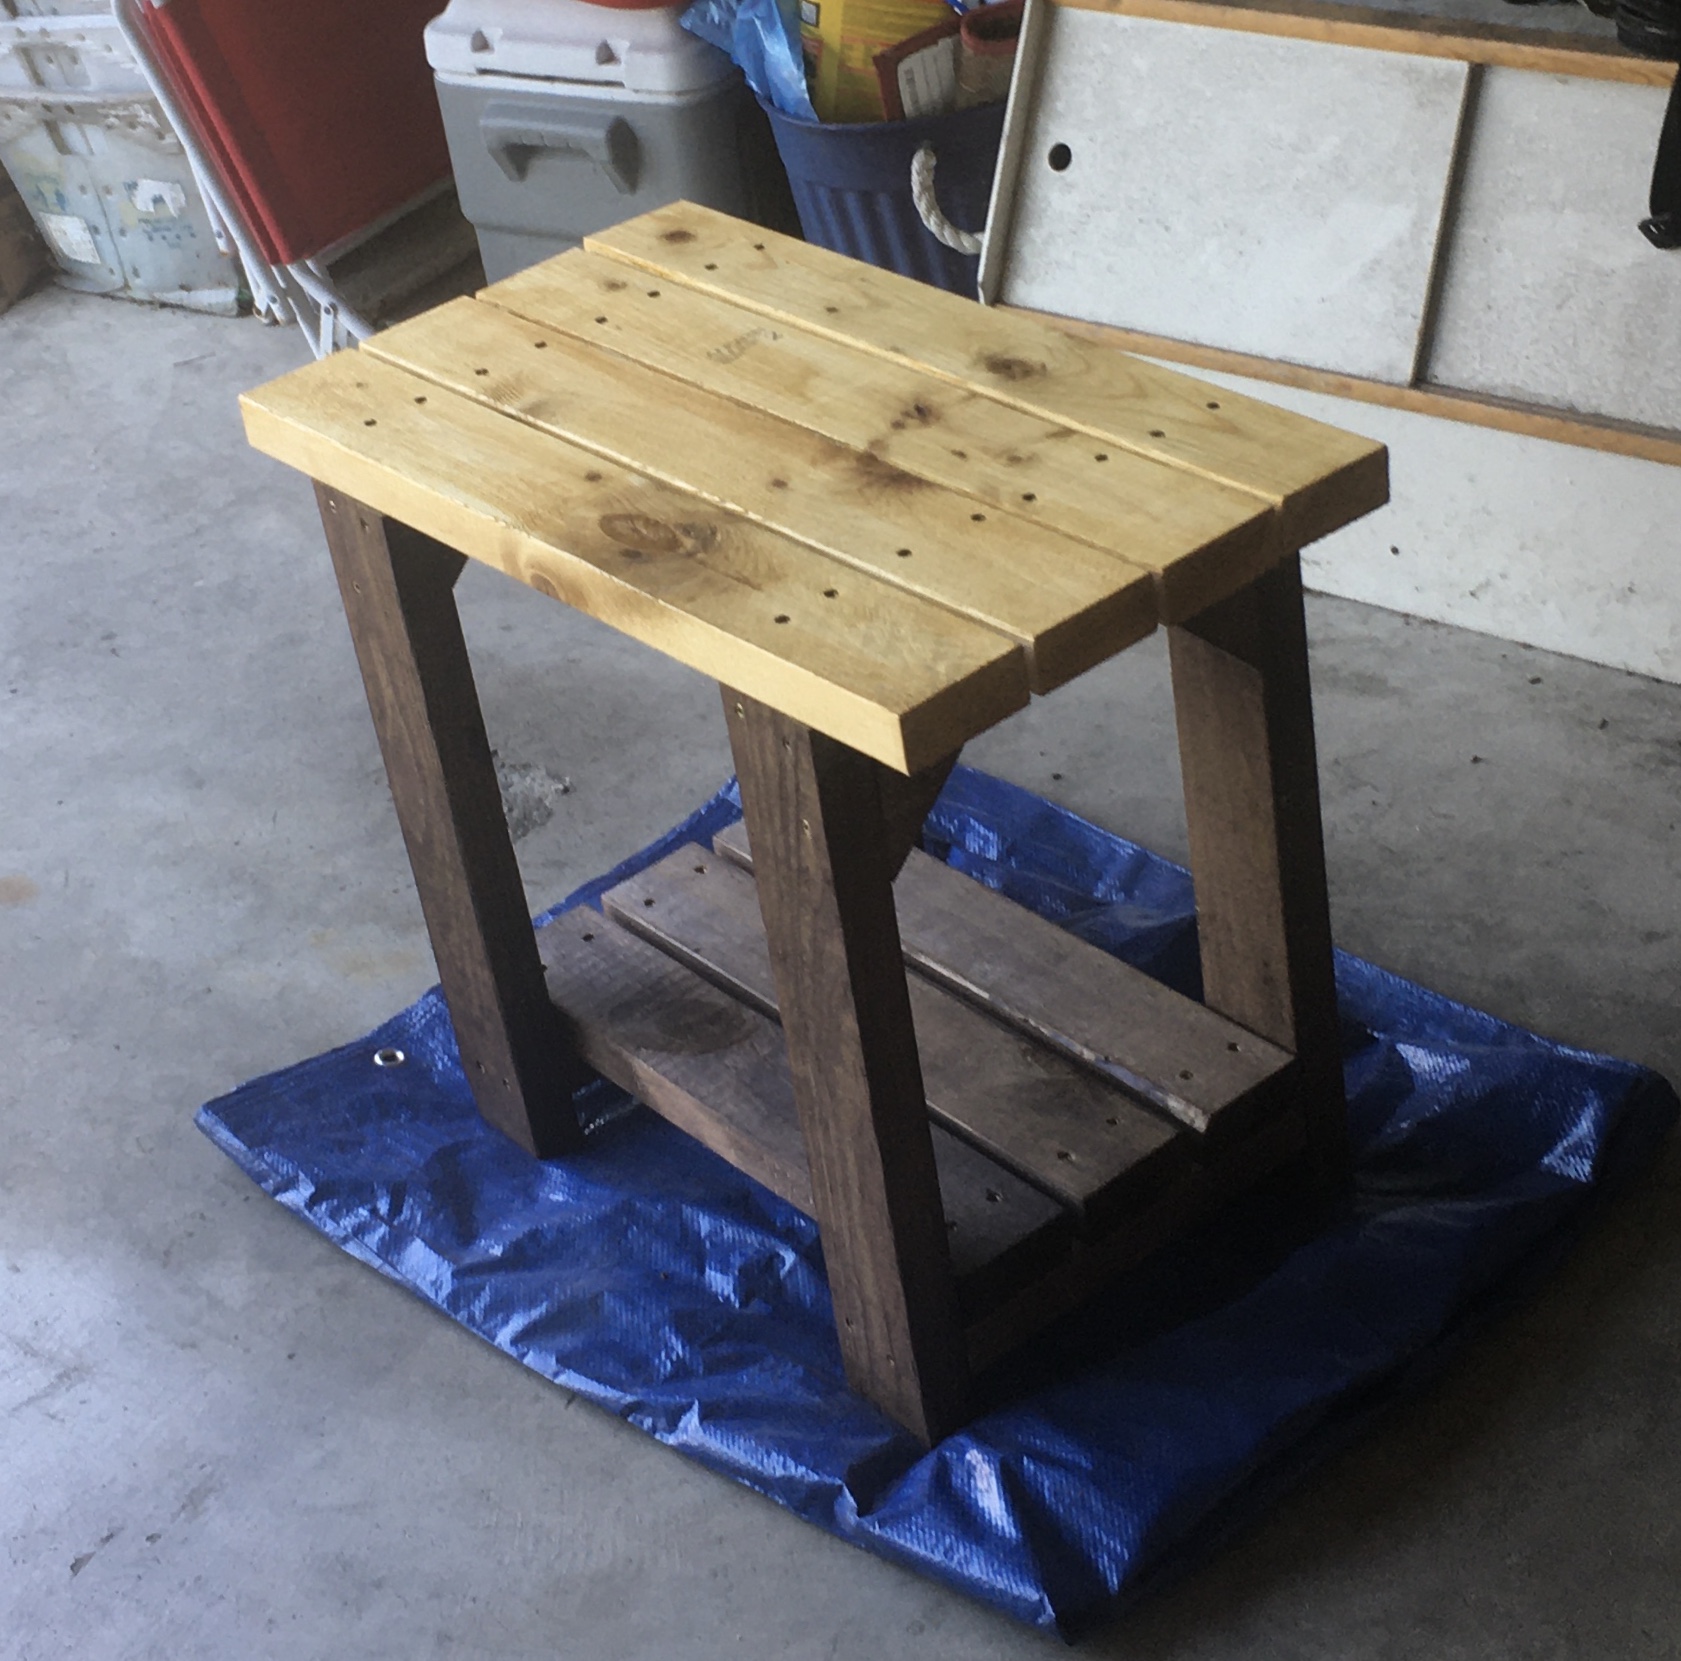
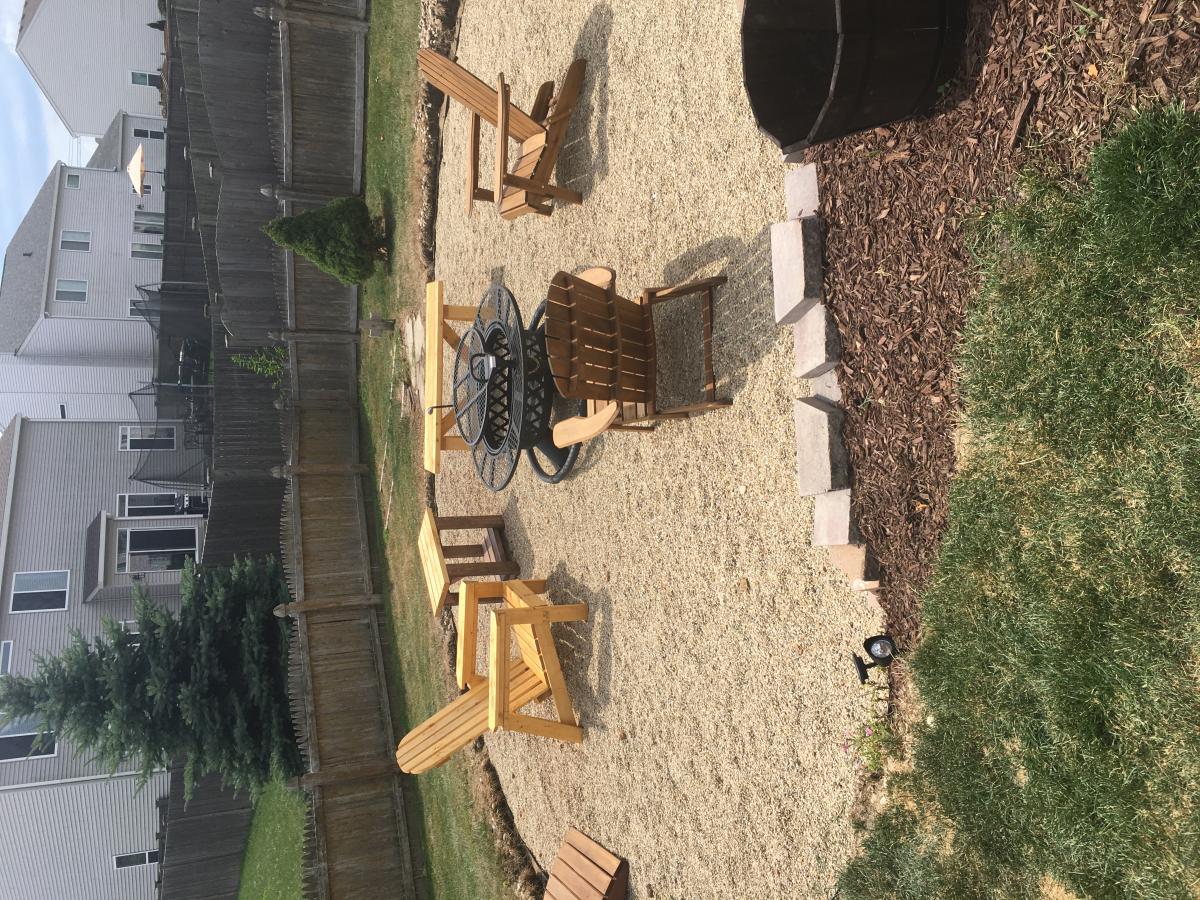
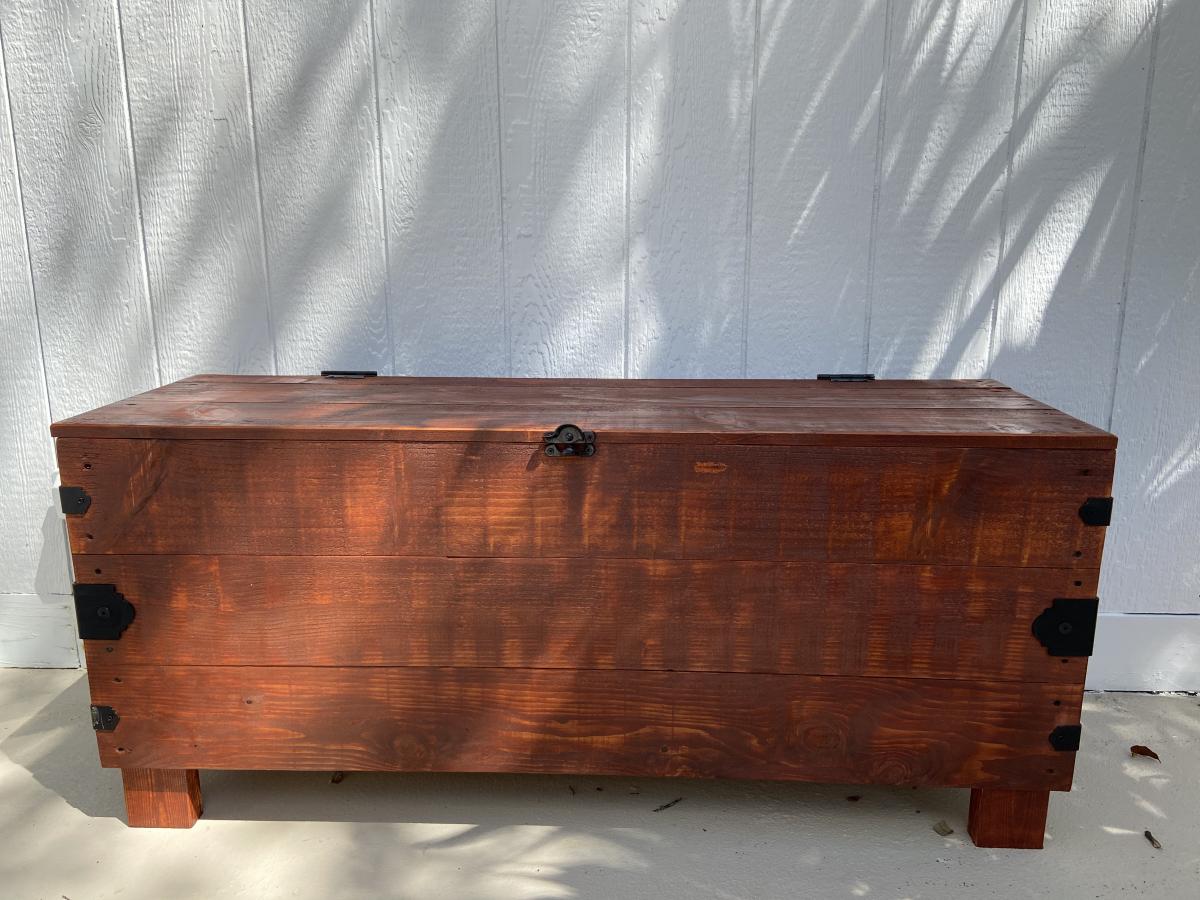
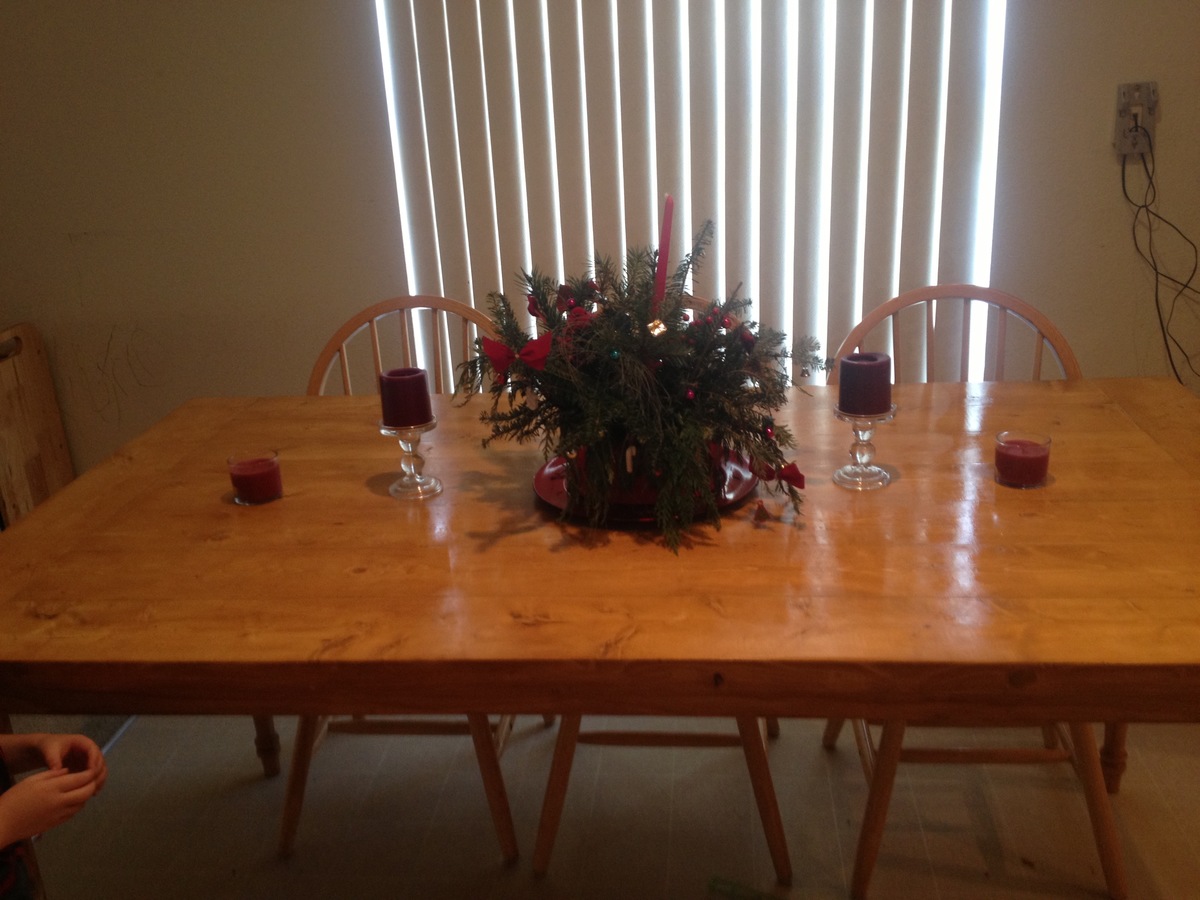
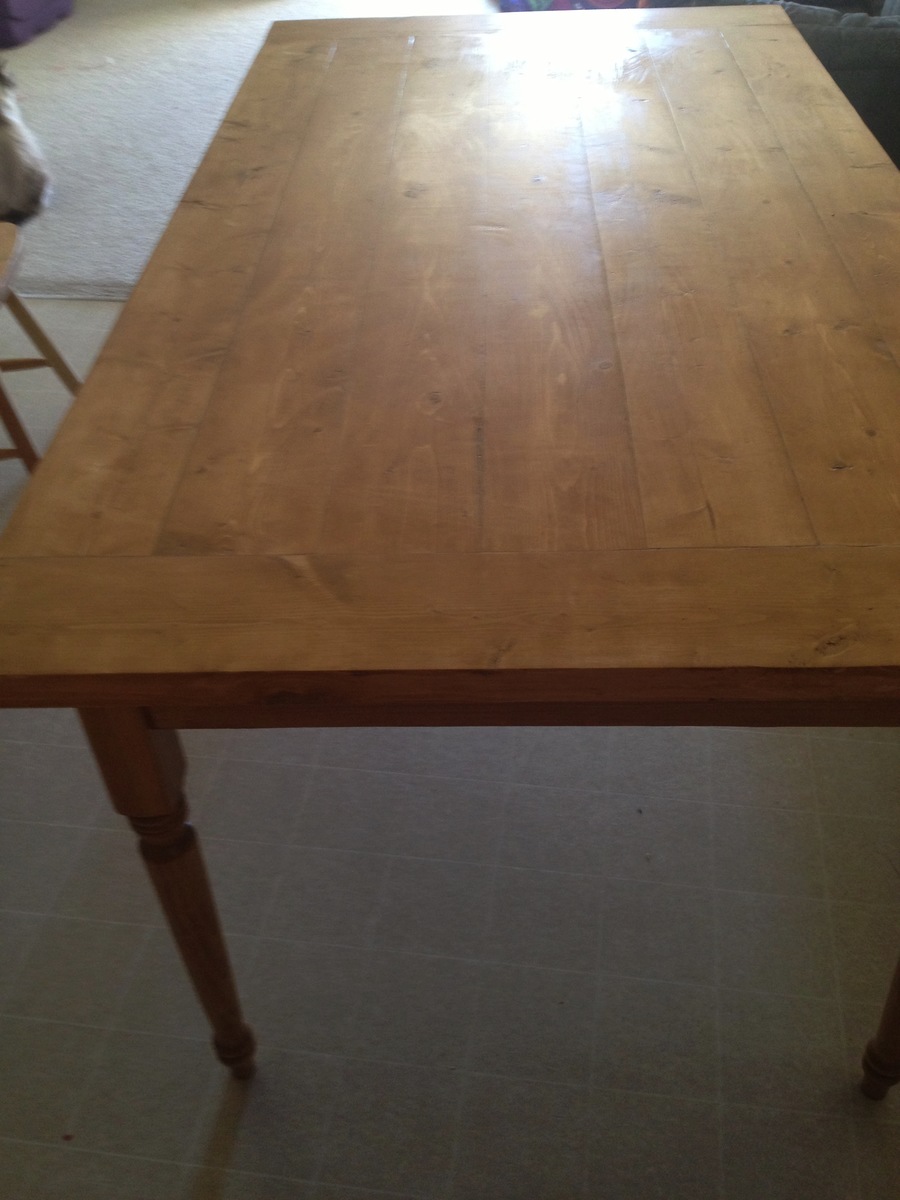
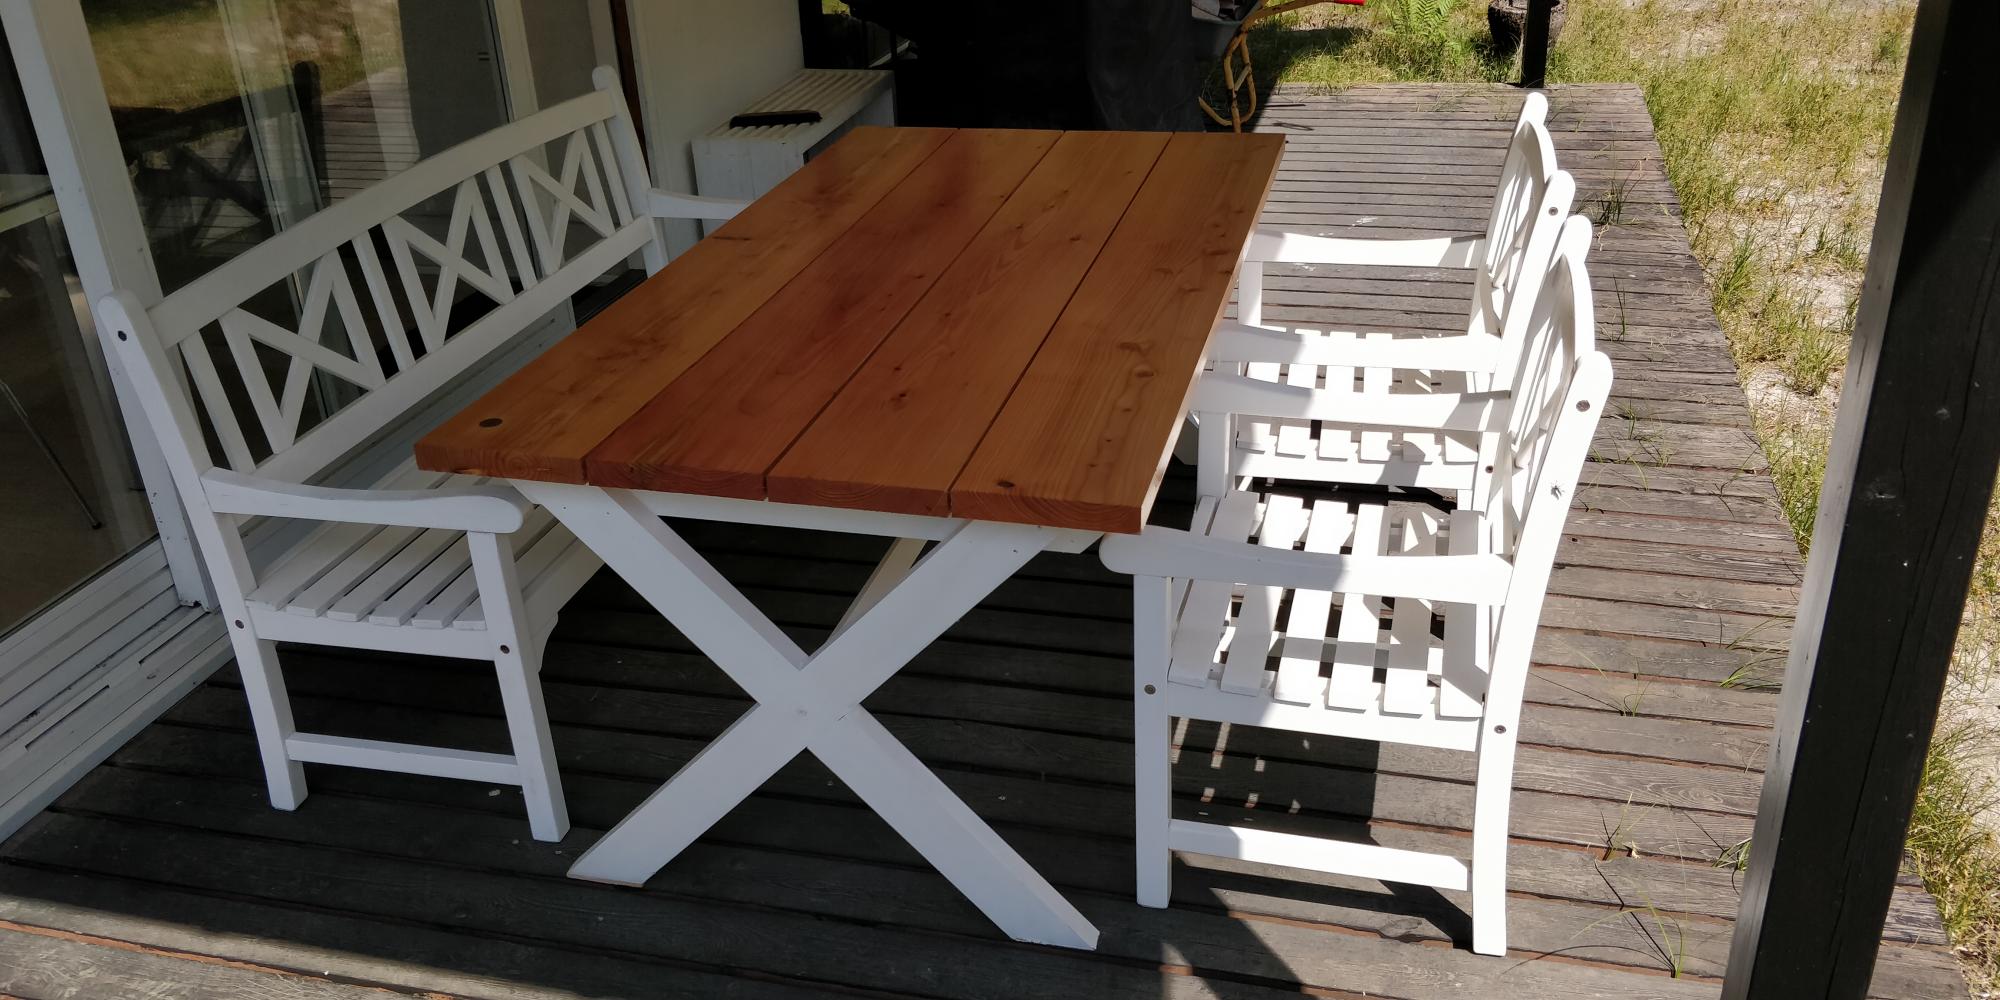
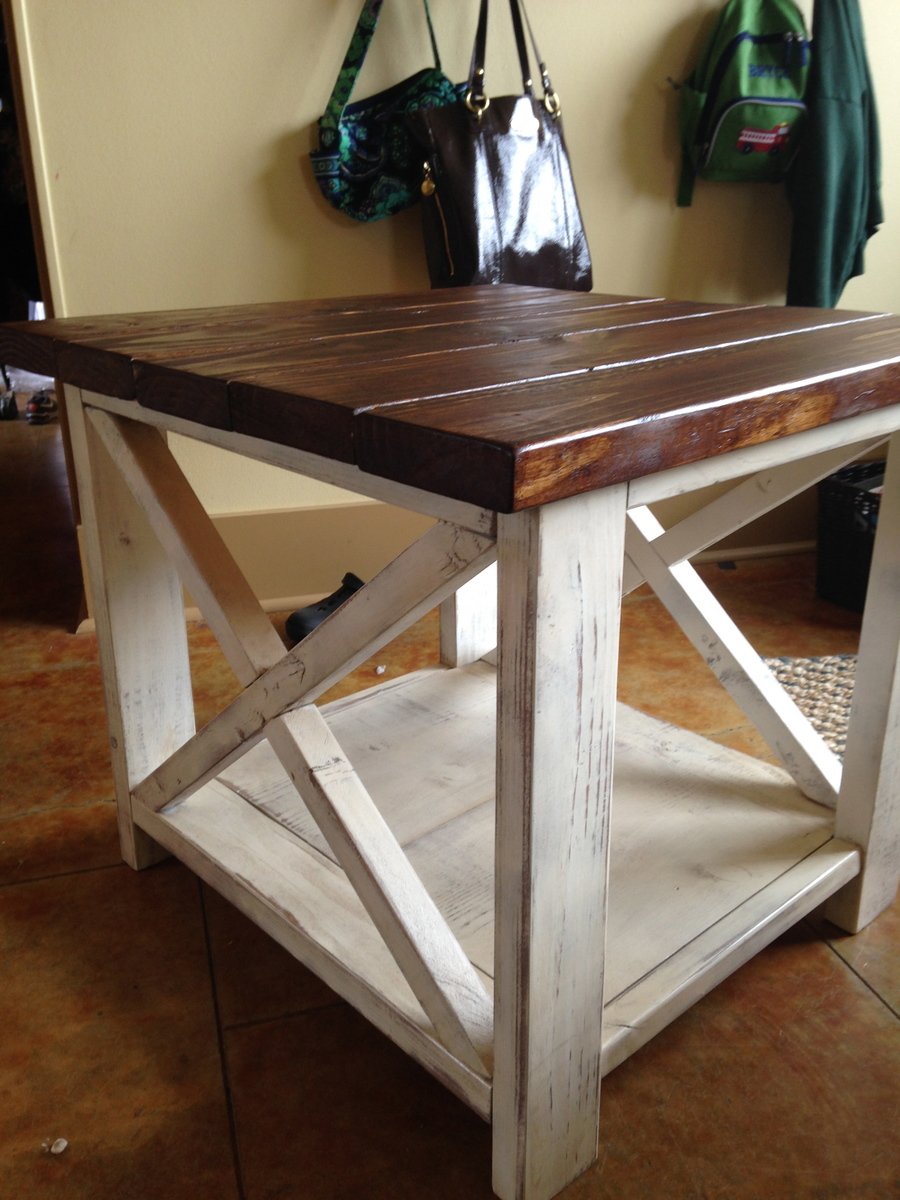
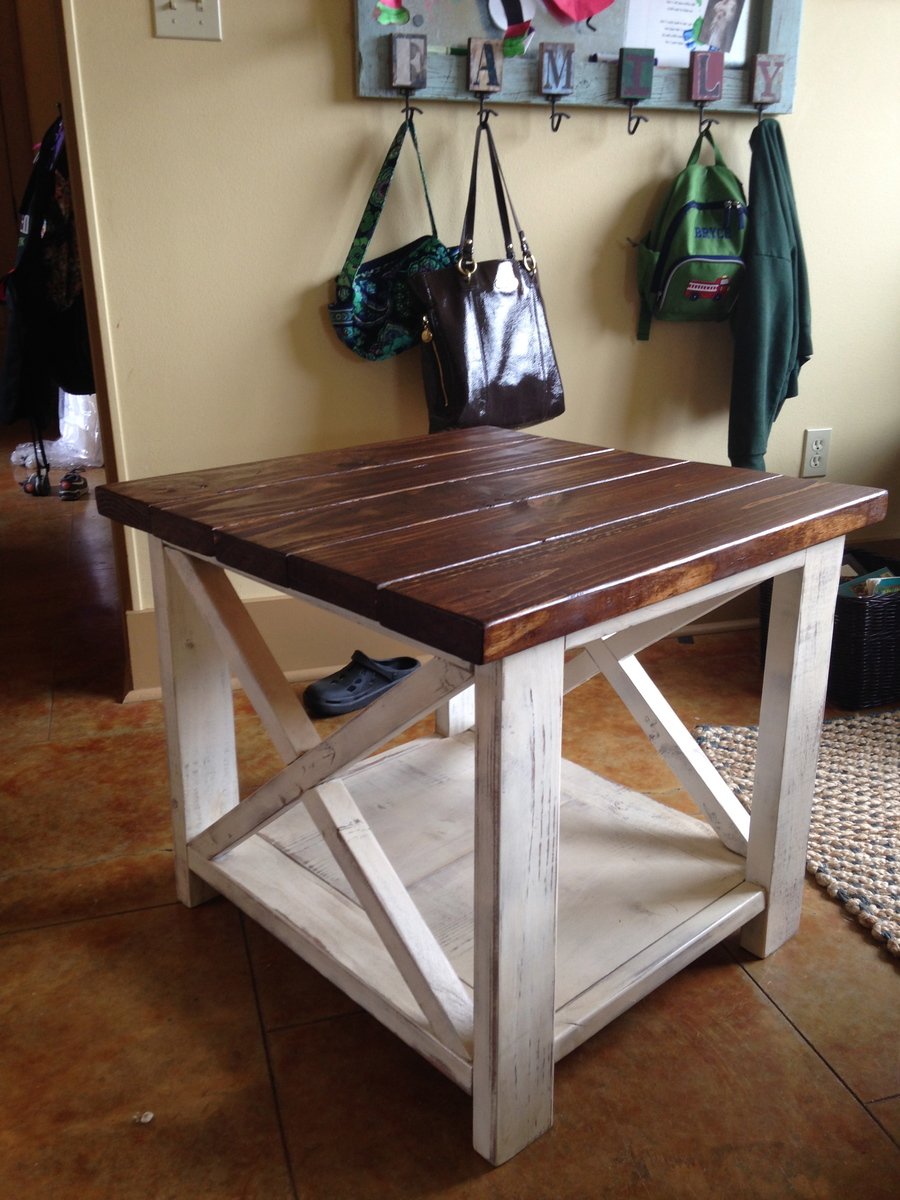
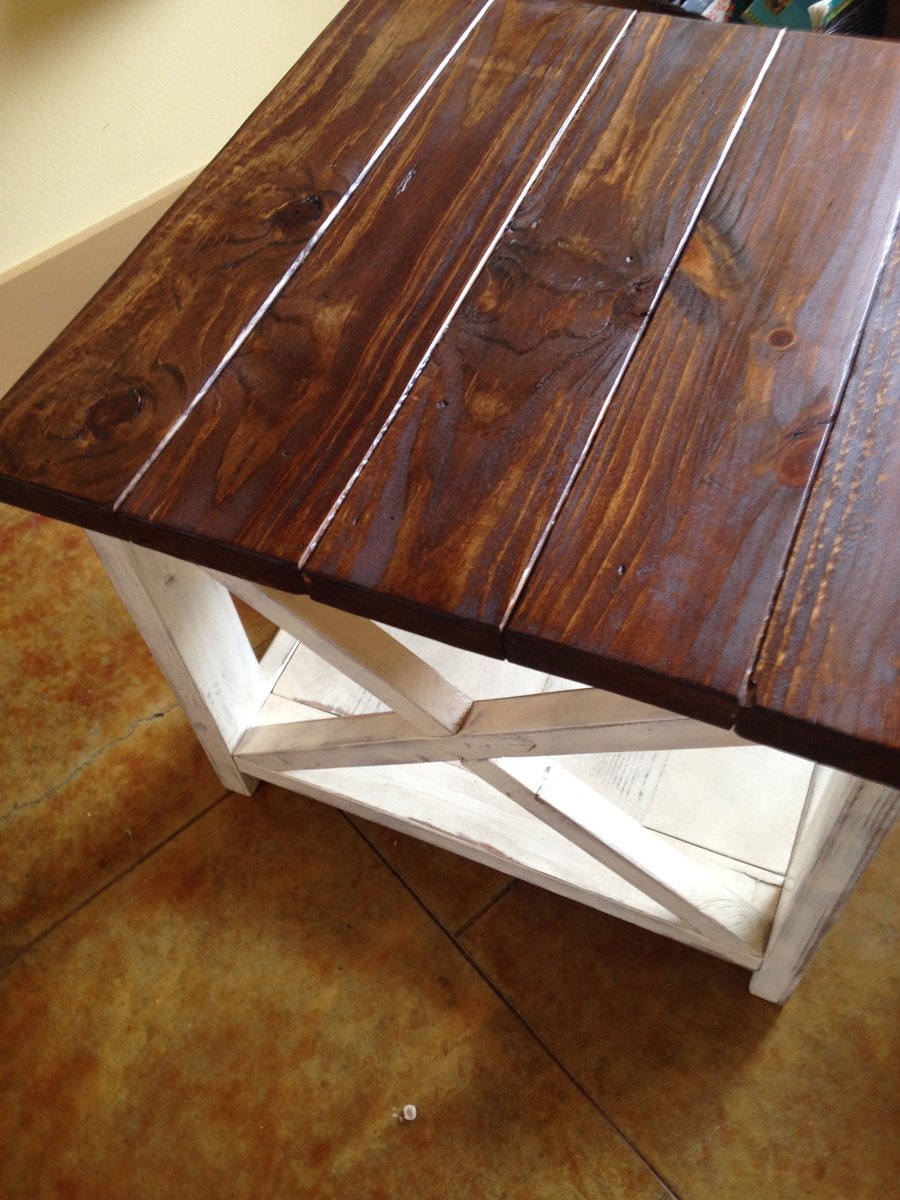
The Rustic X side table
This is my first EVER project, but I have already made several more!! I love this site and the new found confidence I have to make things for my home! Keep the plans coming!!!
Built from Plan(s)
Estimated Cost
Nothing! I used only what we had!
Estimated Time Investment
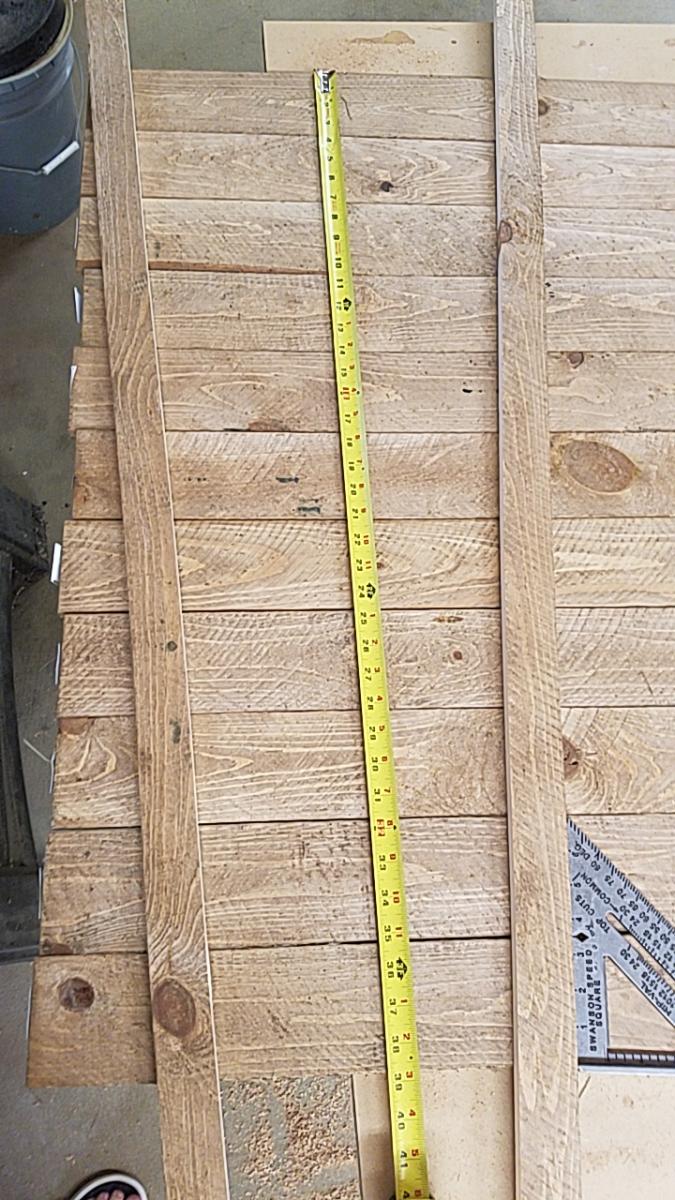
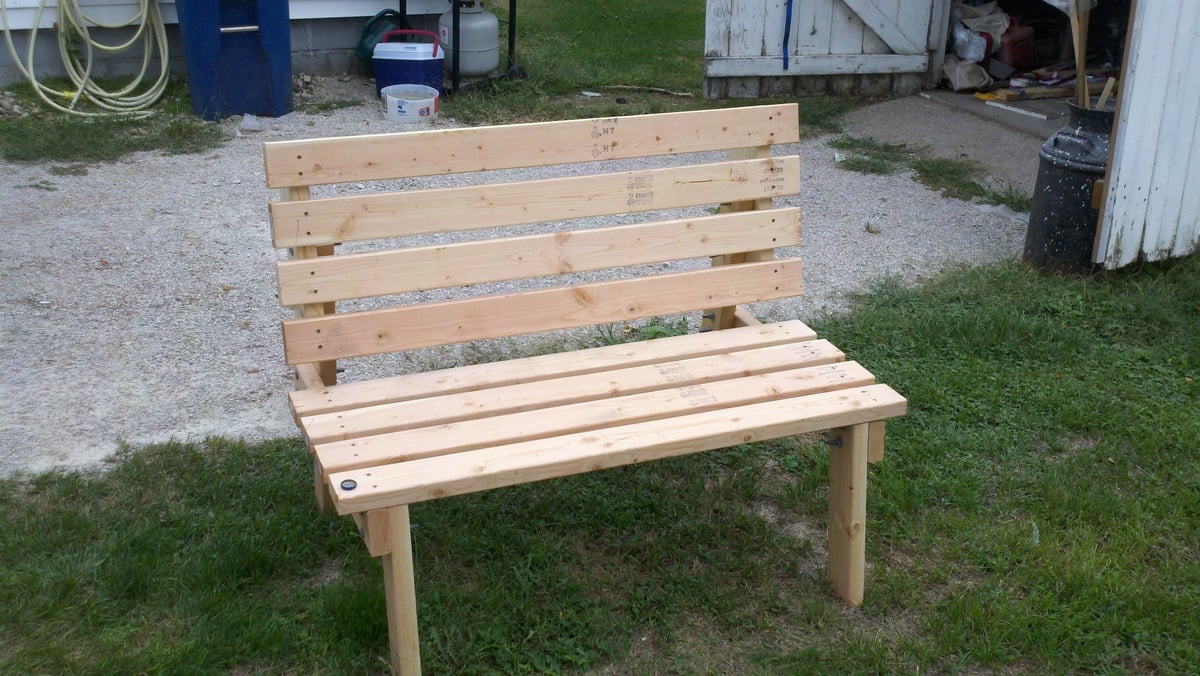
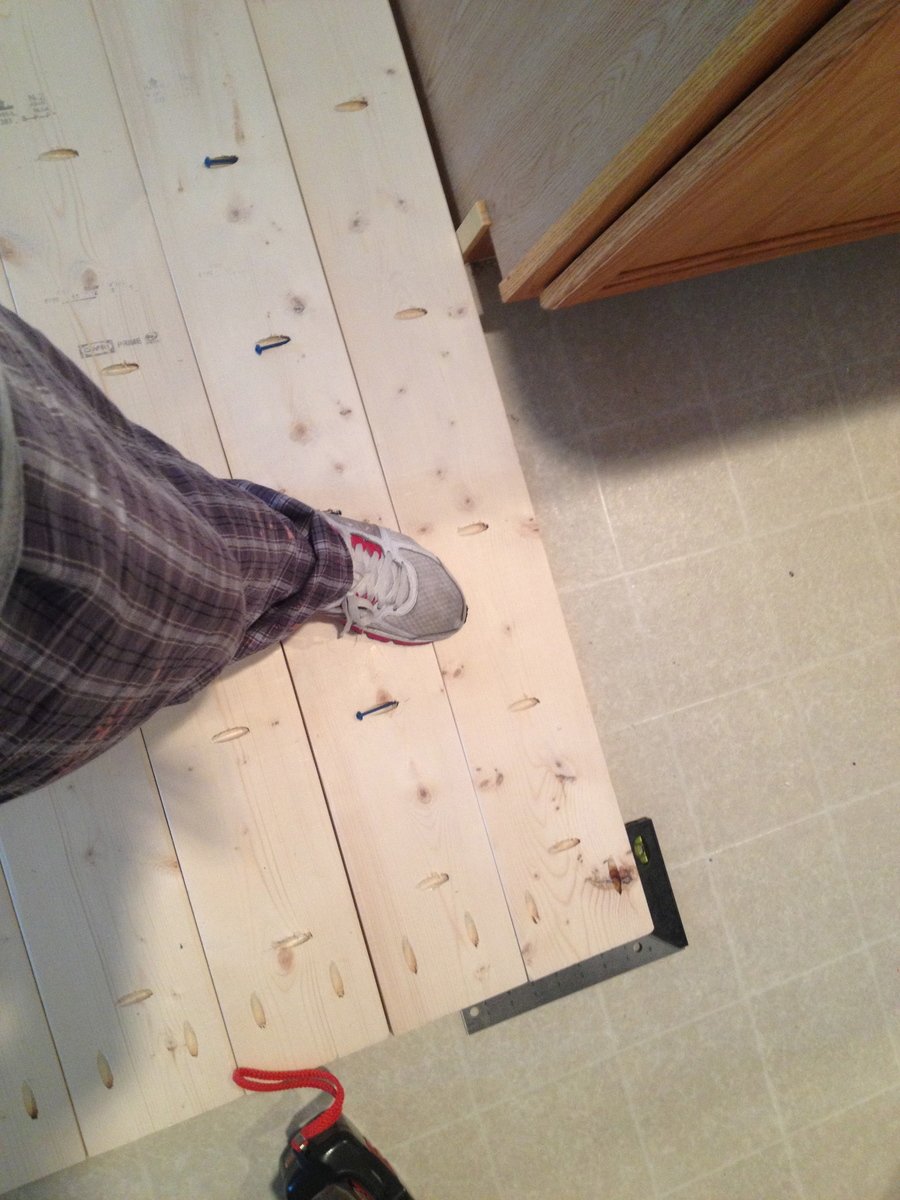
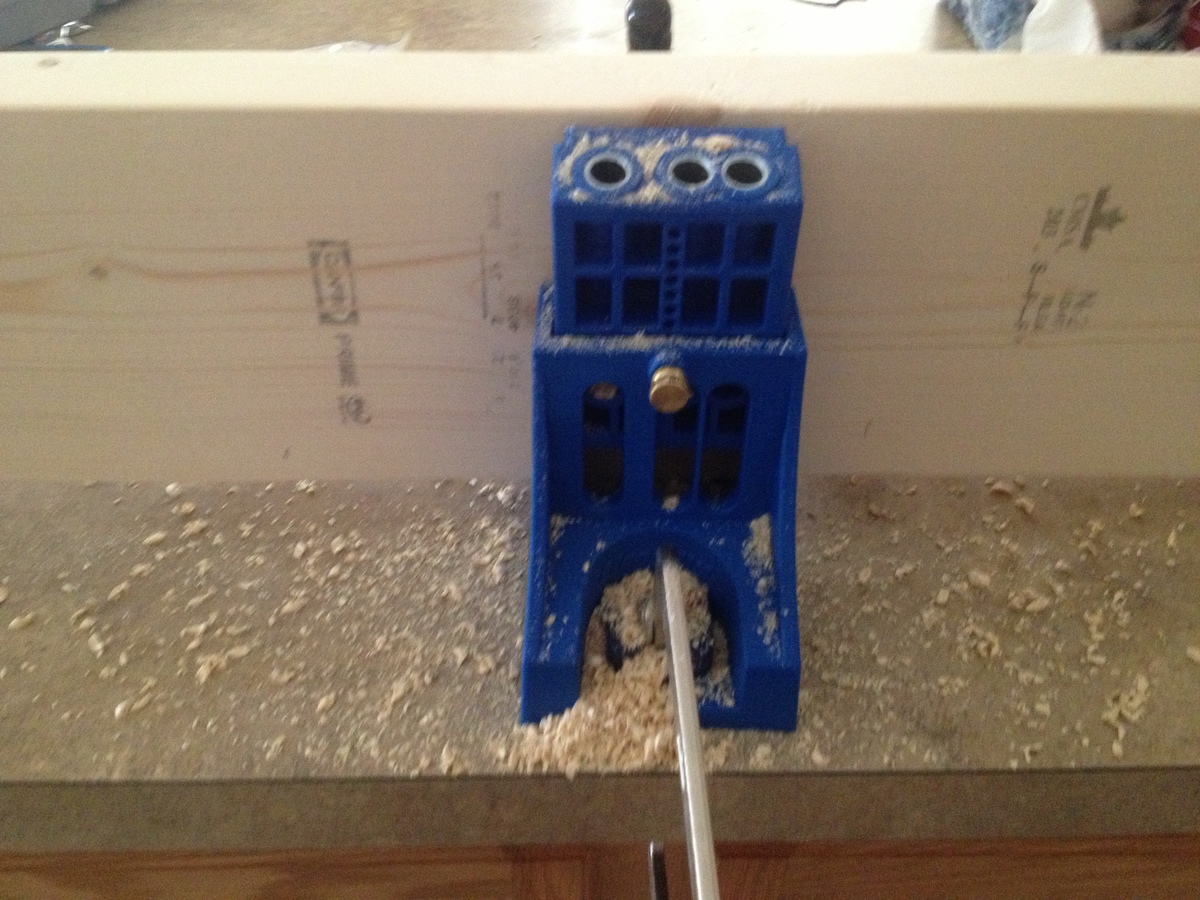
Day Project (6-9 Hours)
Finish Used
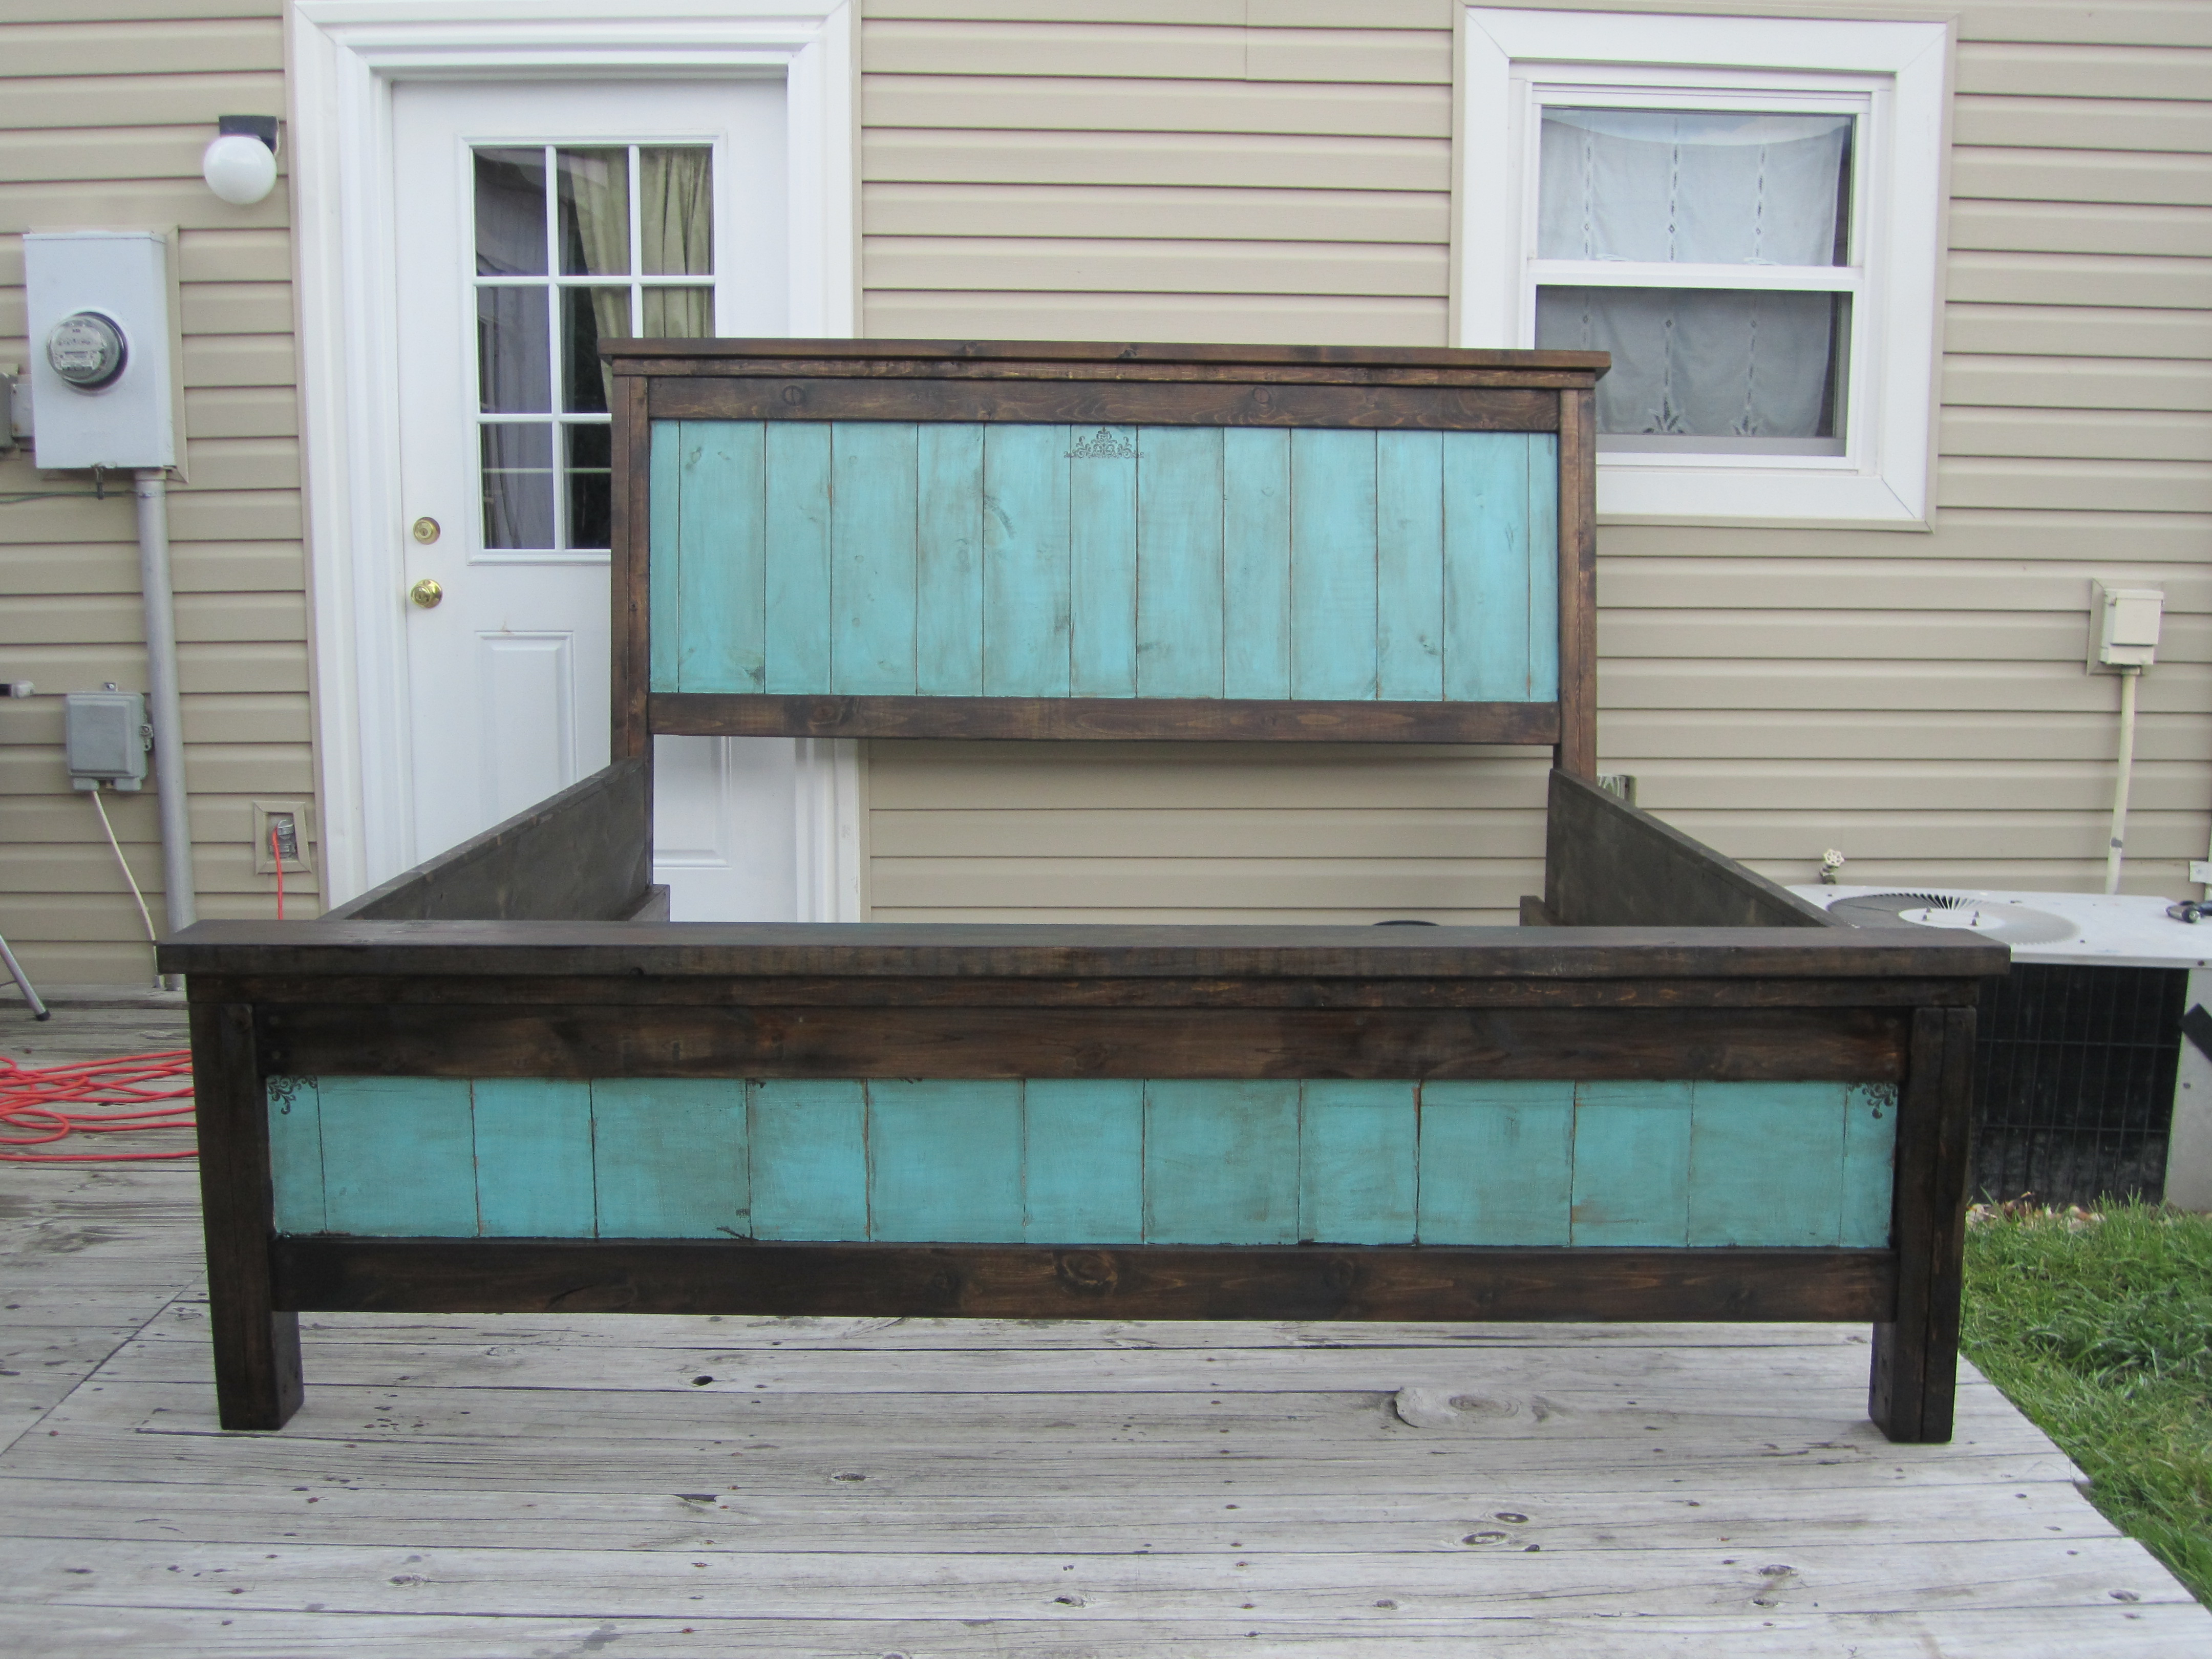
Early American top and Heirloom white base, sanded with stain rubbed on the edges!
Recommended Skill Level
Starter Project