Cutting Board
My Dad made a few cutting boards for christmas. I've added a few additional photos and tips on my blog - http://www.woodworkingfourdummies.com/blog/more-cutting-boards.
thanks for looking.
Ian
My Dad made a few cutting boards for christmas. I've added a few additional photos and tips on my blog - http://www.woodworkingfourdummies.com/blog/more-cutting-boards.
thanks for looking.
Ian
I followed the plans to a T with this one. I wish I had made the seat supports longer so I could have the seats sit a little further from the table for bigger kids. I drilled a hole for the umbrella in the table top and the cross support. Sanded for hours, primed, and painted 3 coats. I will add feet to the legs so the legs aren't sitting flat on the ground, with the potential to rot.
Took 2 hours to build, 2 hours to sand, and many hours to paint multiple coats. Very solid and should last a long time!
Built this new Mudroom / Office from some plans i found on your website and I absolutely love it! It has turned out better than I Expected and I learned soo many new things when planning and building this out!
My husband and I recently bought our first home right outside of Austin, Texas. One of my favorite features of the house were the beautiful bay windows in the kitchen. I wanted to have a table that accented the windows and created a centerpiece in the kitchen. I stumbled upon this blog, found the Farmhouse Table, and decided I was going to build this table! With the help of my dad, I was able to complete my first wood-working project, and I couldn't be more thrilled with the way it turned out!
Sat, 10/19/2013 - 10:44
I was wondering if this table was white? I cant tell by the lighting, but I was looking to make this table for myself stained white. Yours is the first I've seen that looks white, if so could you tell me the color of the stain? Thanks the table is beautiful!
This chair is for my son and is a first build. The plans were super easy to follow and the whole thing went very smoothly. I used my jigsaw to round off the top edges just a bit and I really like how it turned out. Thanks for the free plans!
I have a gambrel style barn roof in the house I built. Space is tight and the double pitch of the roof made for having to get clever. Saw the plans for grandy sliding door console got out the graph paper and went to work. There were lots of cuts and had to rip some wood with a table saw but was not terribly difficult just time consuming.
My husband has been hounding me to build him a bookshelf for his office. I actually used wood that I already had in my garage. The next time I build it, I will follow it exactly... I used plywood on the shelves and planks on the back... next time, I will do the opposite, but I really love it!!
Fri, 03/19/2021 - 09:31
The brackets add that farmhouse industrial feel, great job!
Great Plan from Tommy and Ellie Farmhouse Table. Have built 3 for family members for holiday gifts. I thought I found his plans from on here but don't remember where. So all I do to refer back is google tommy and Ellie Farmhouse table.
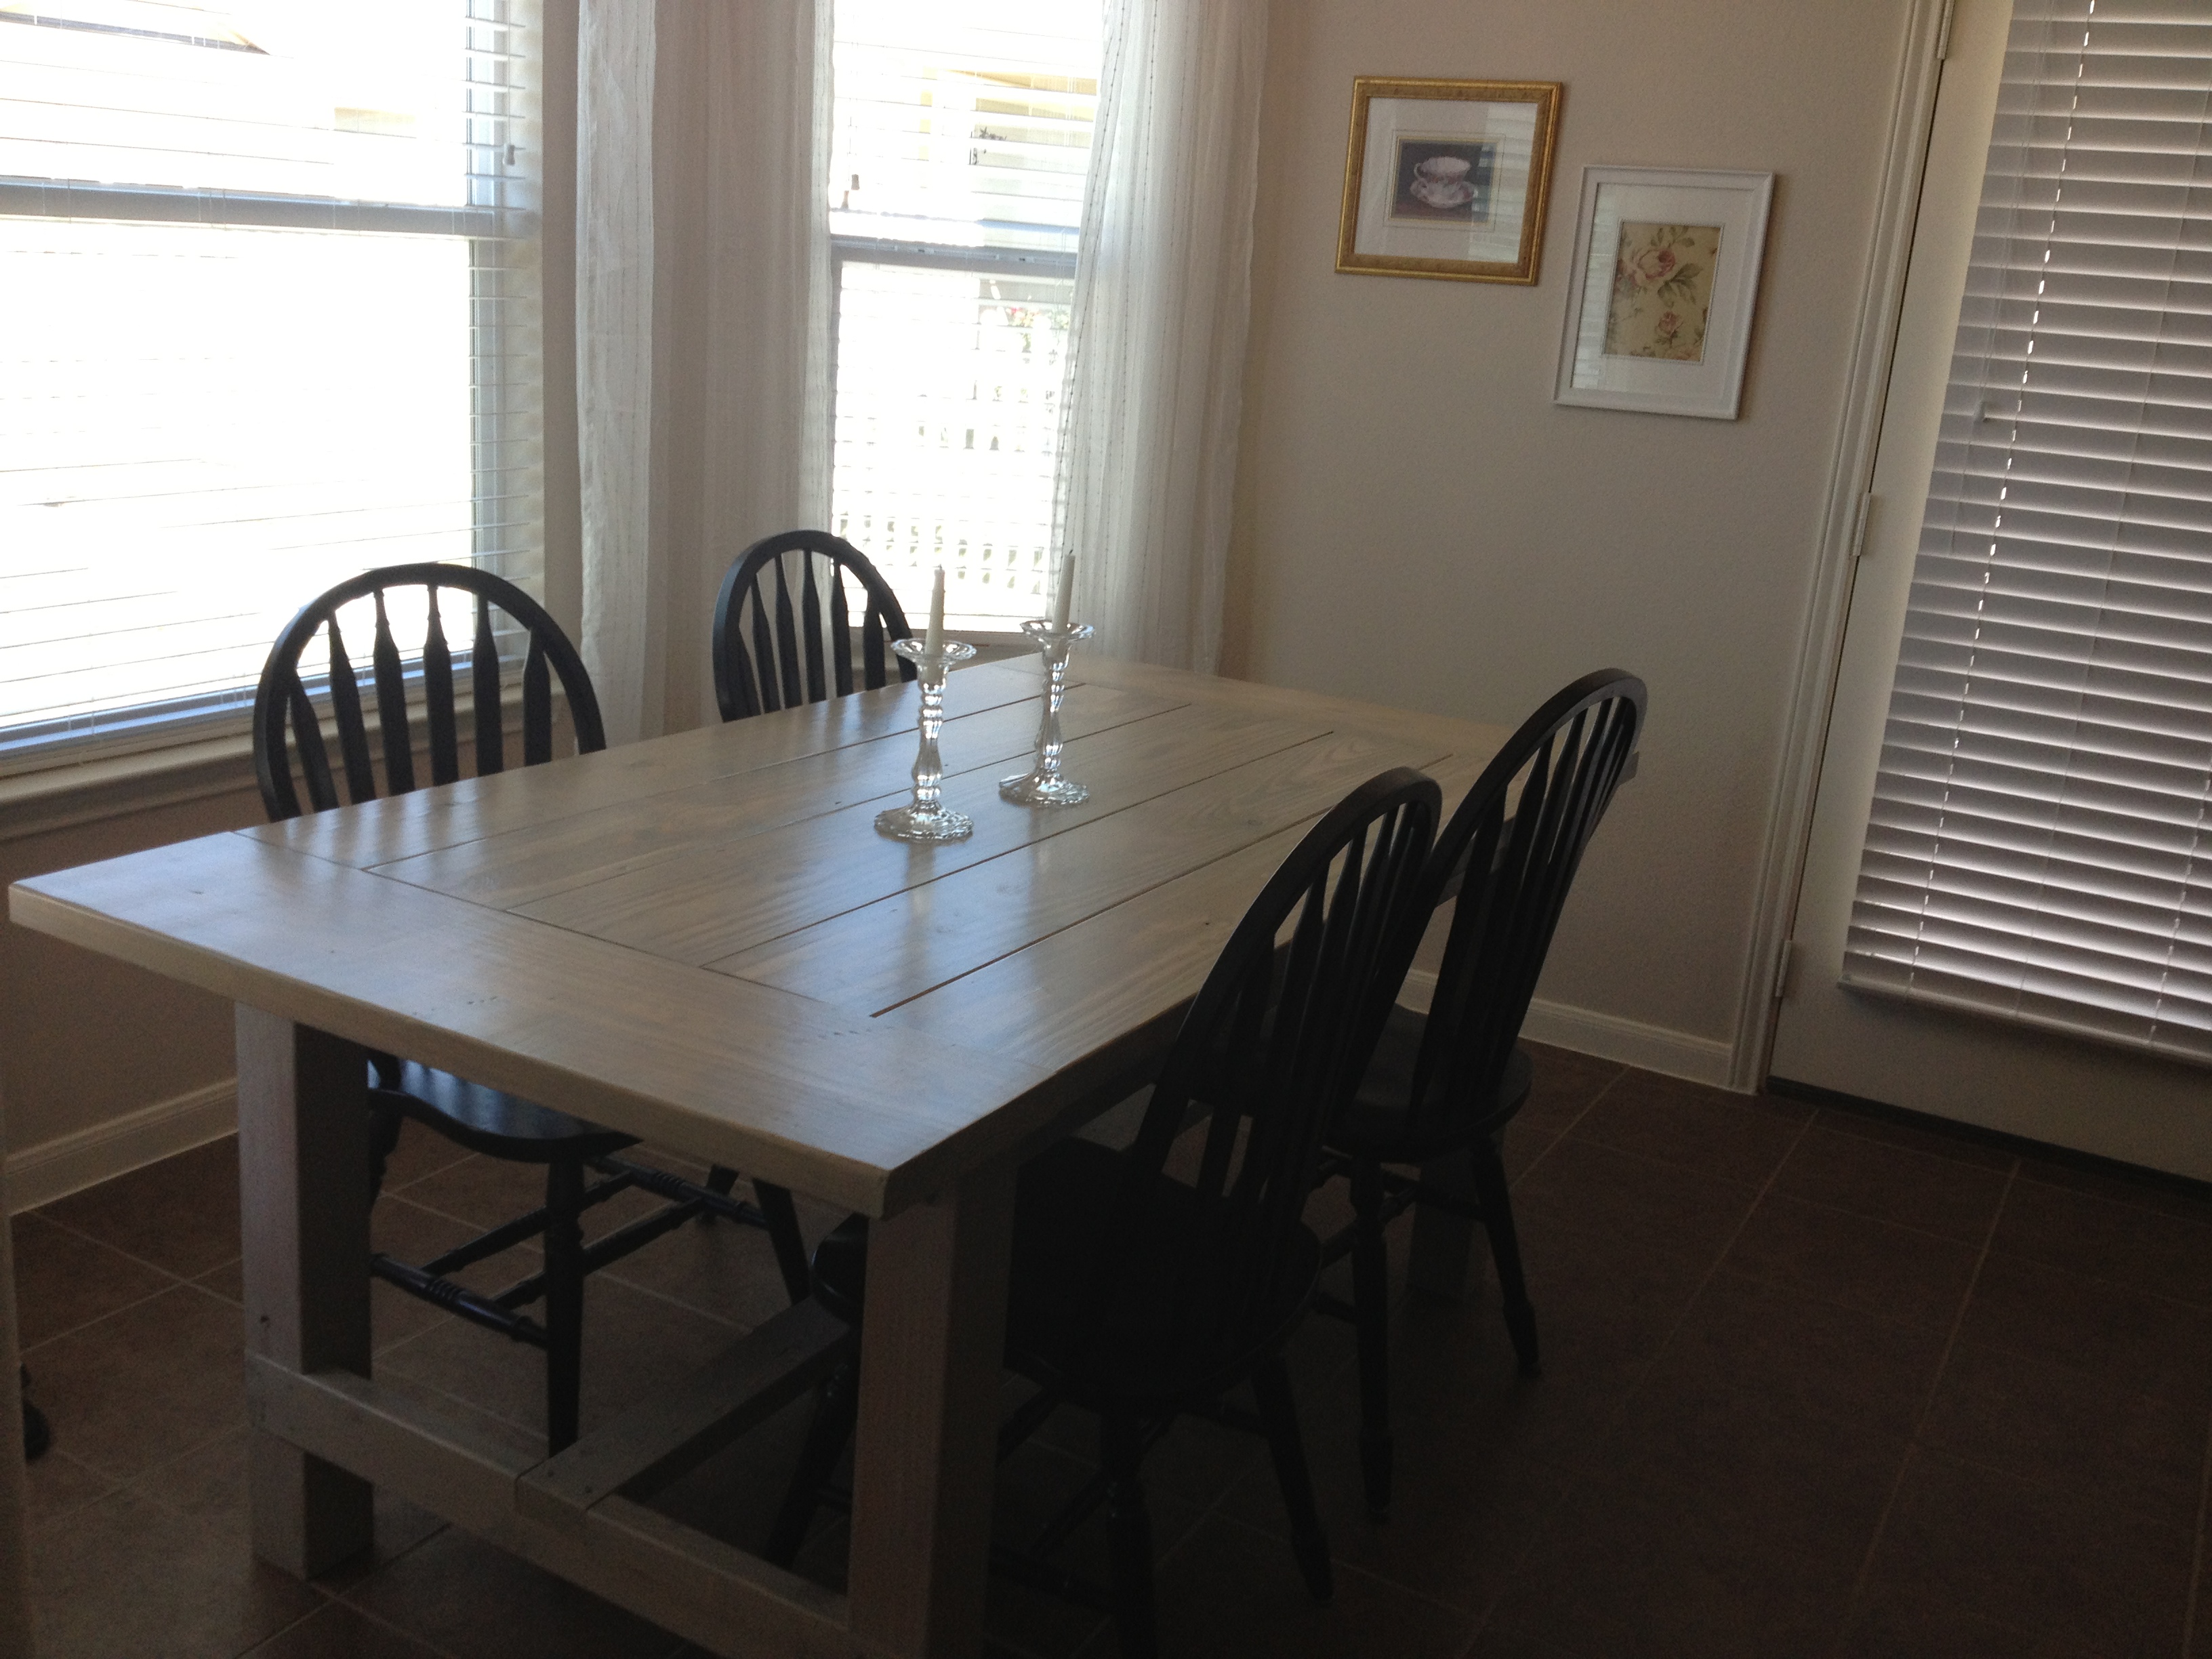
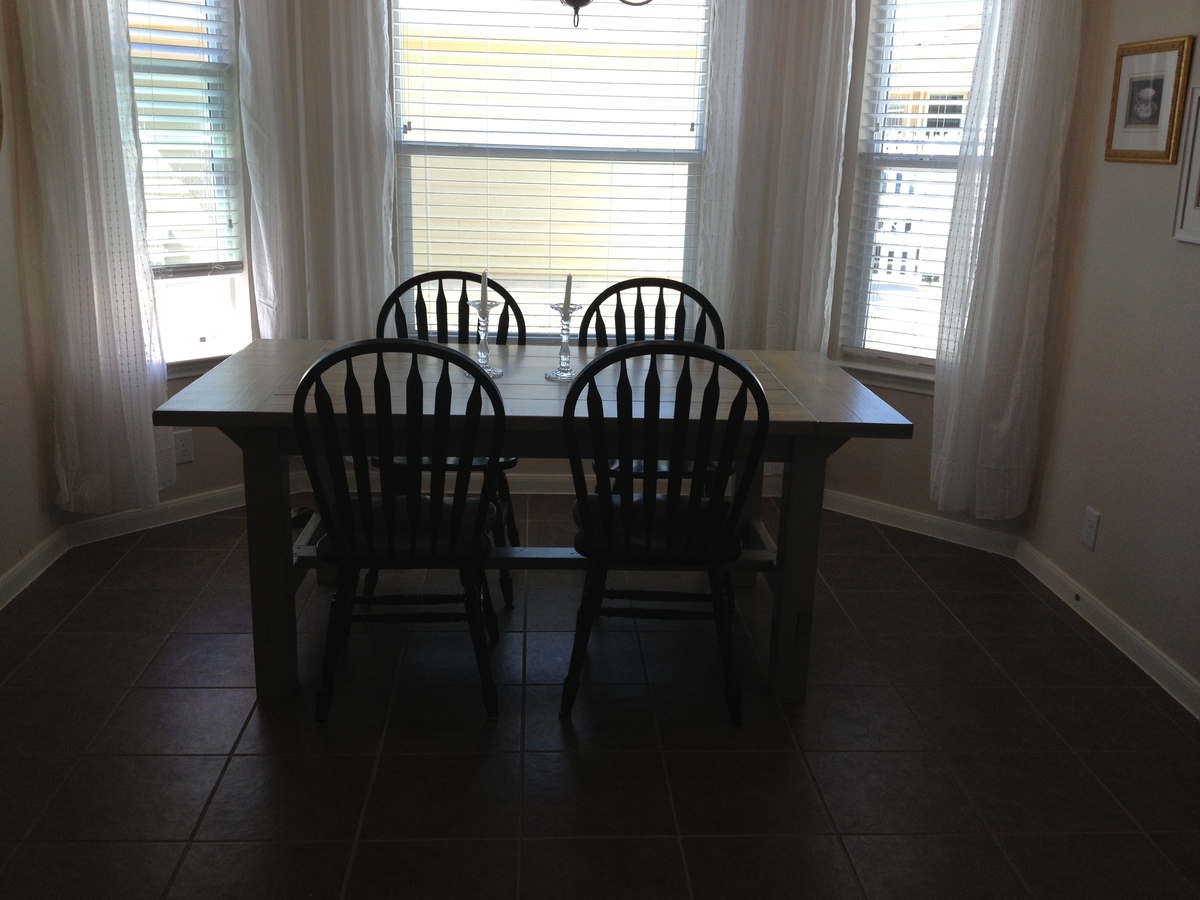
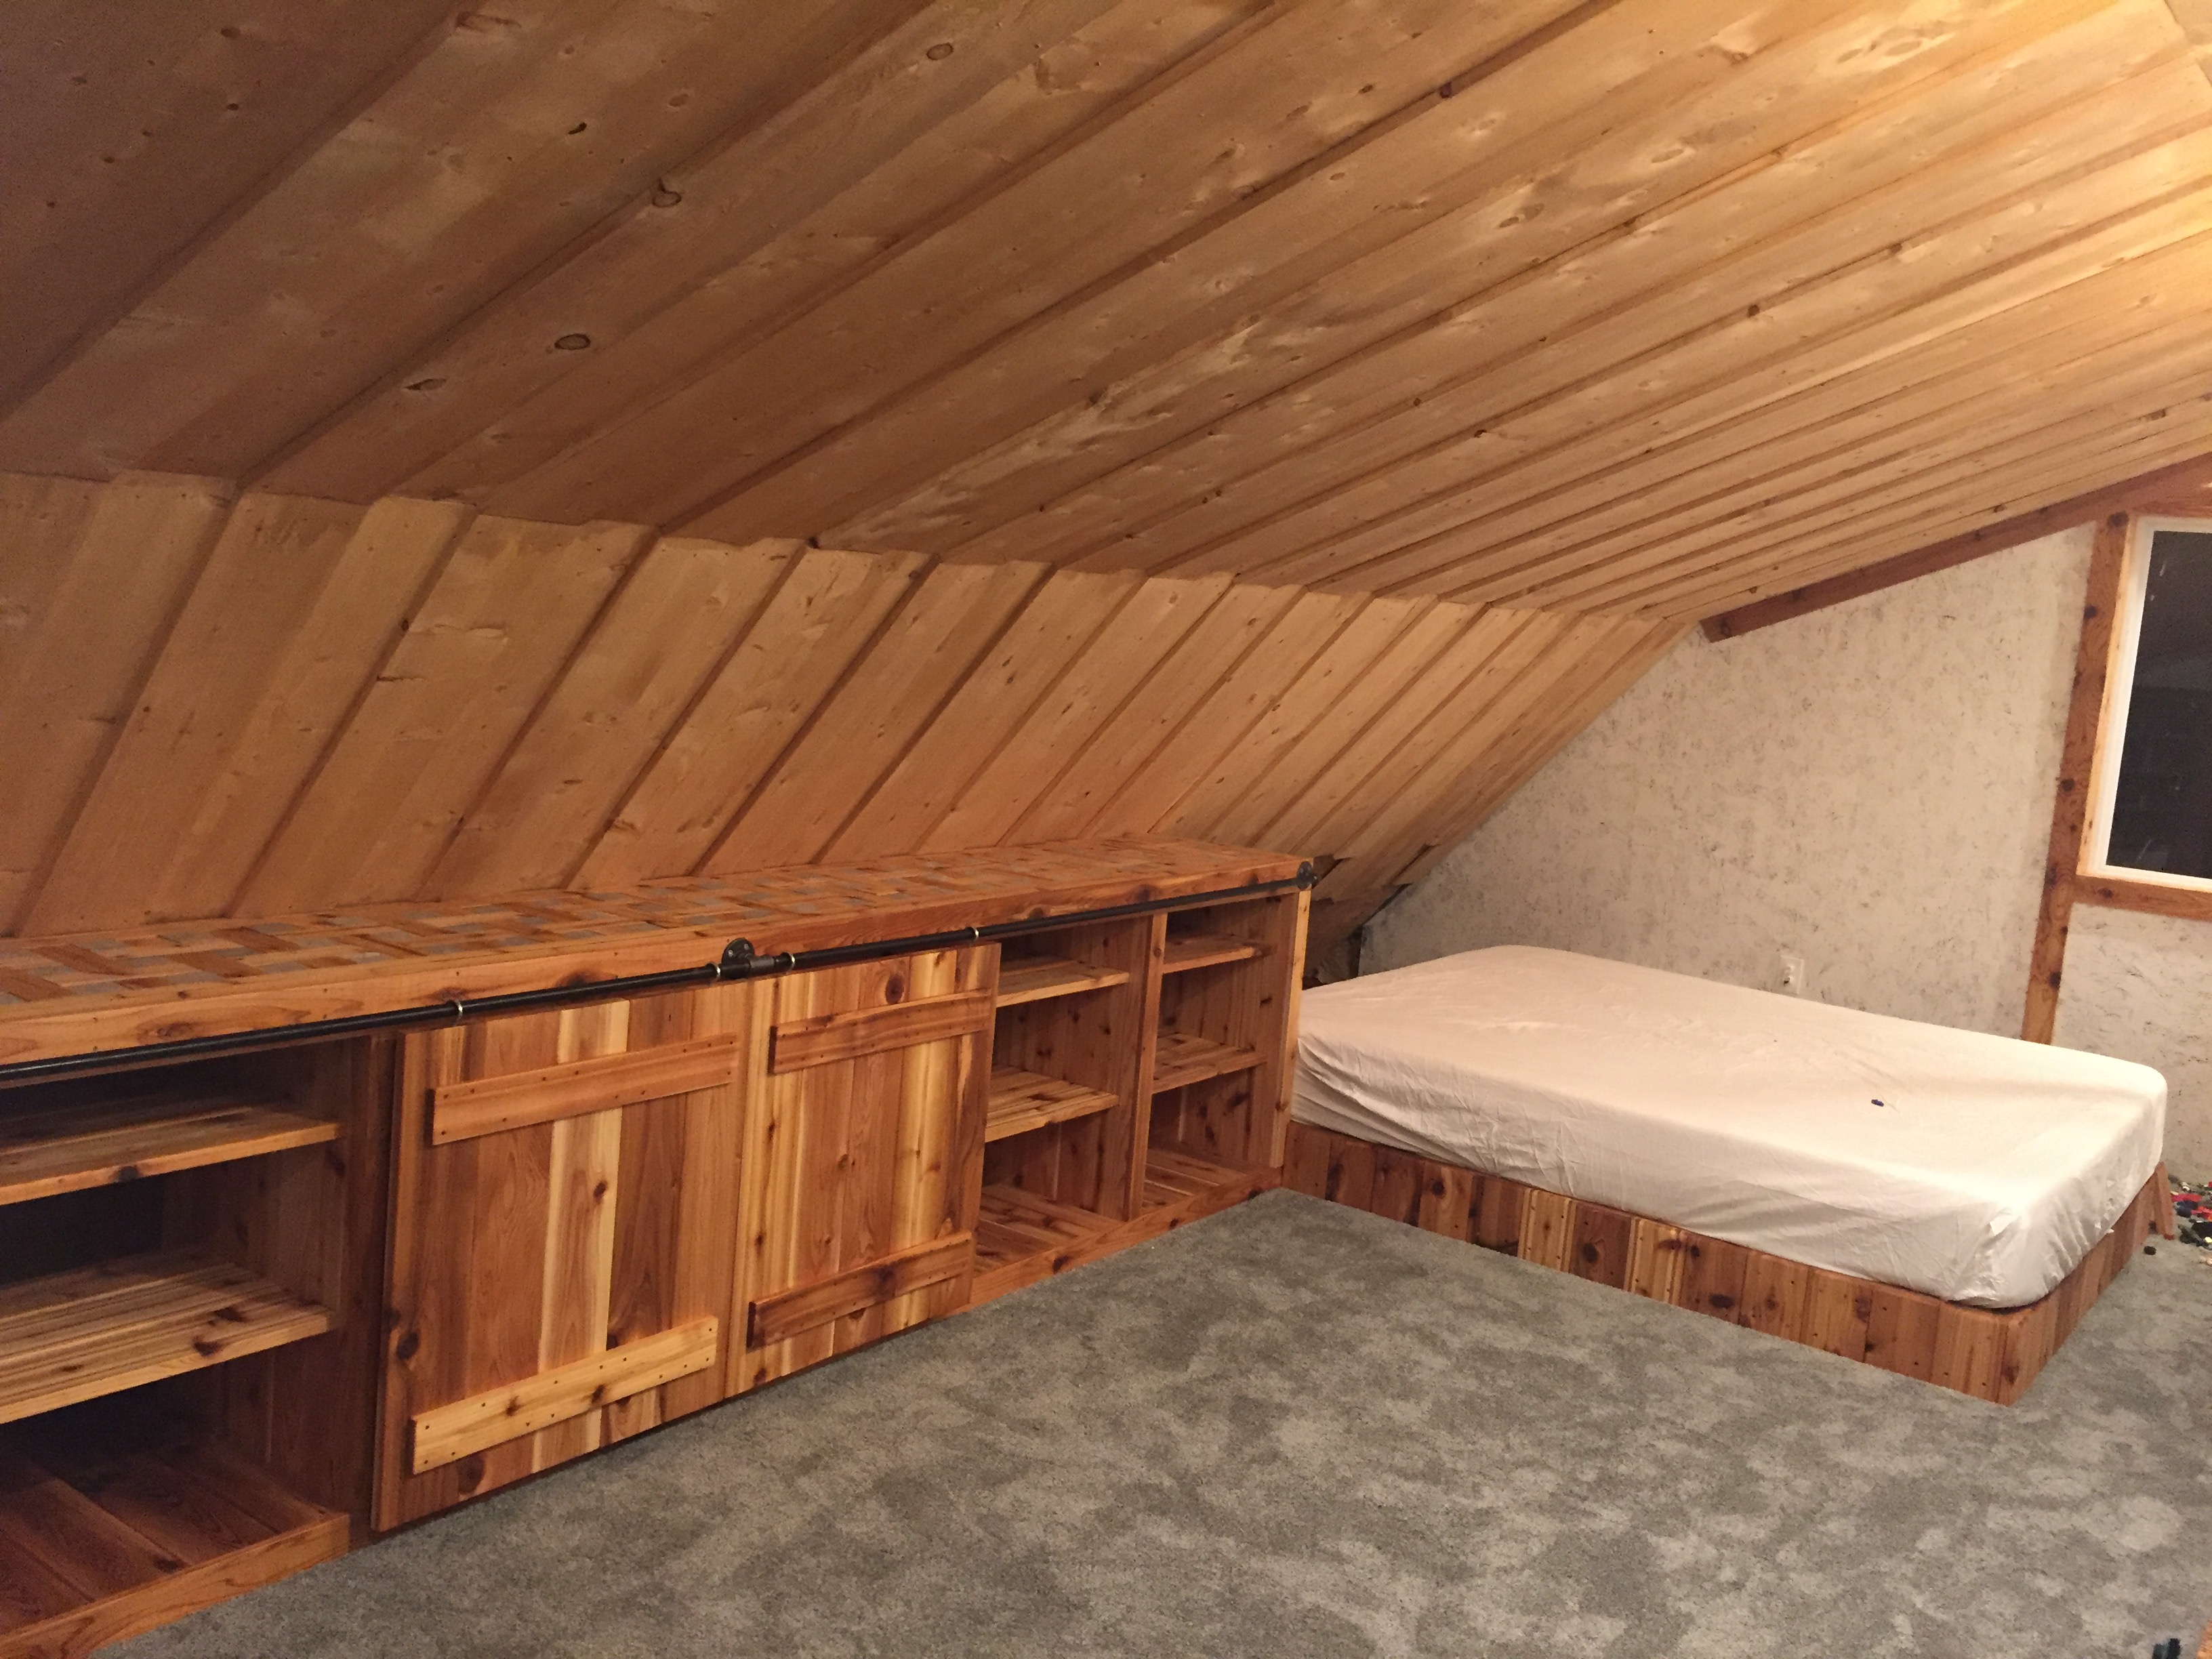
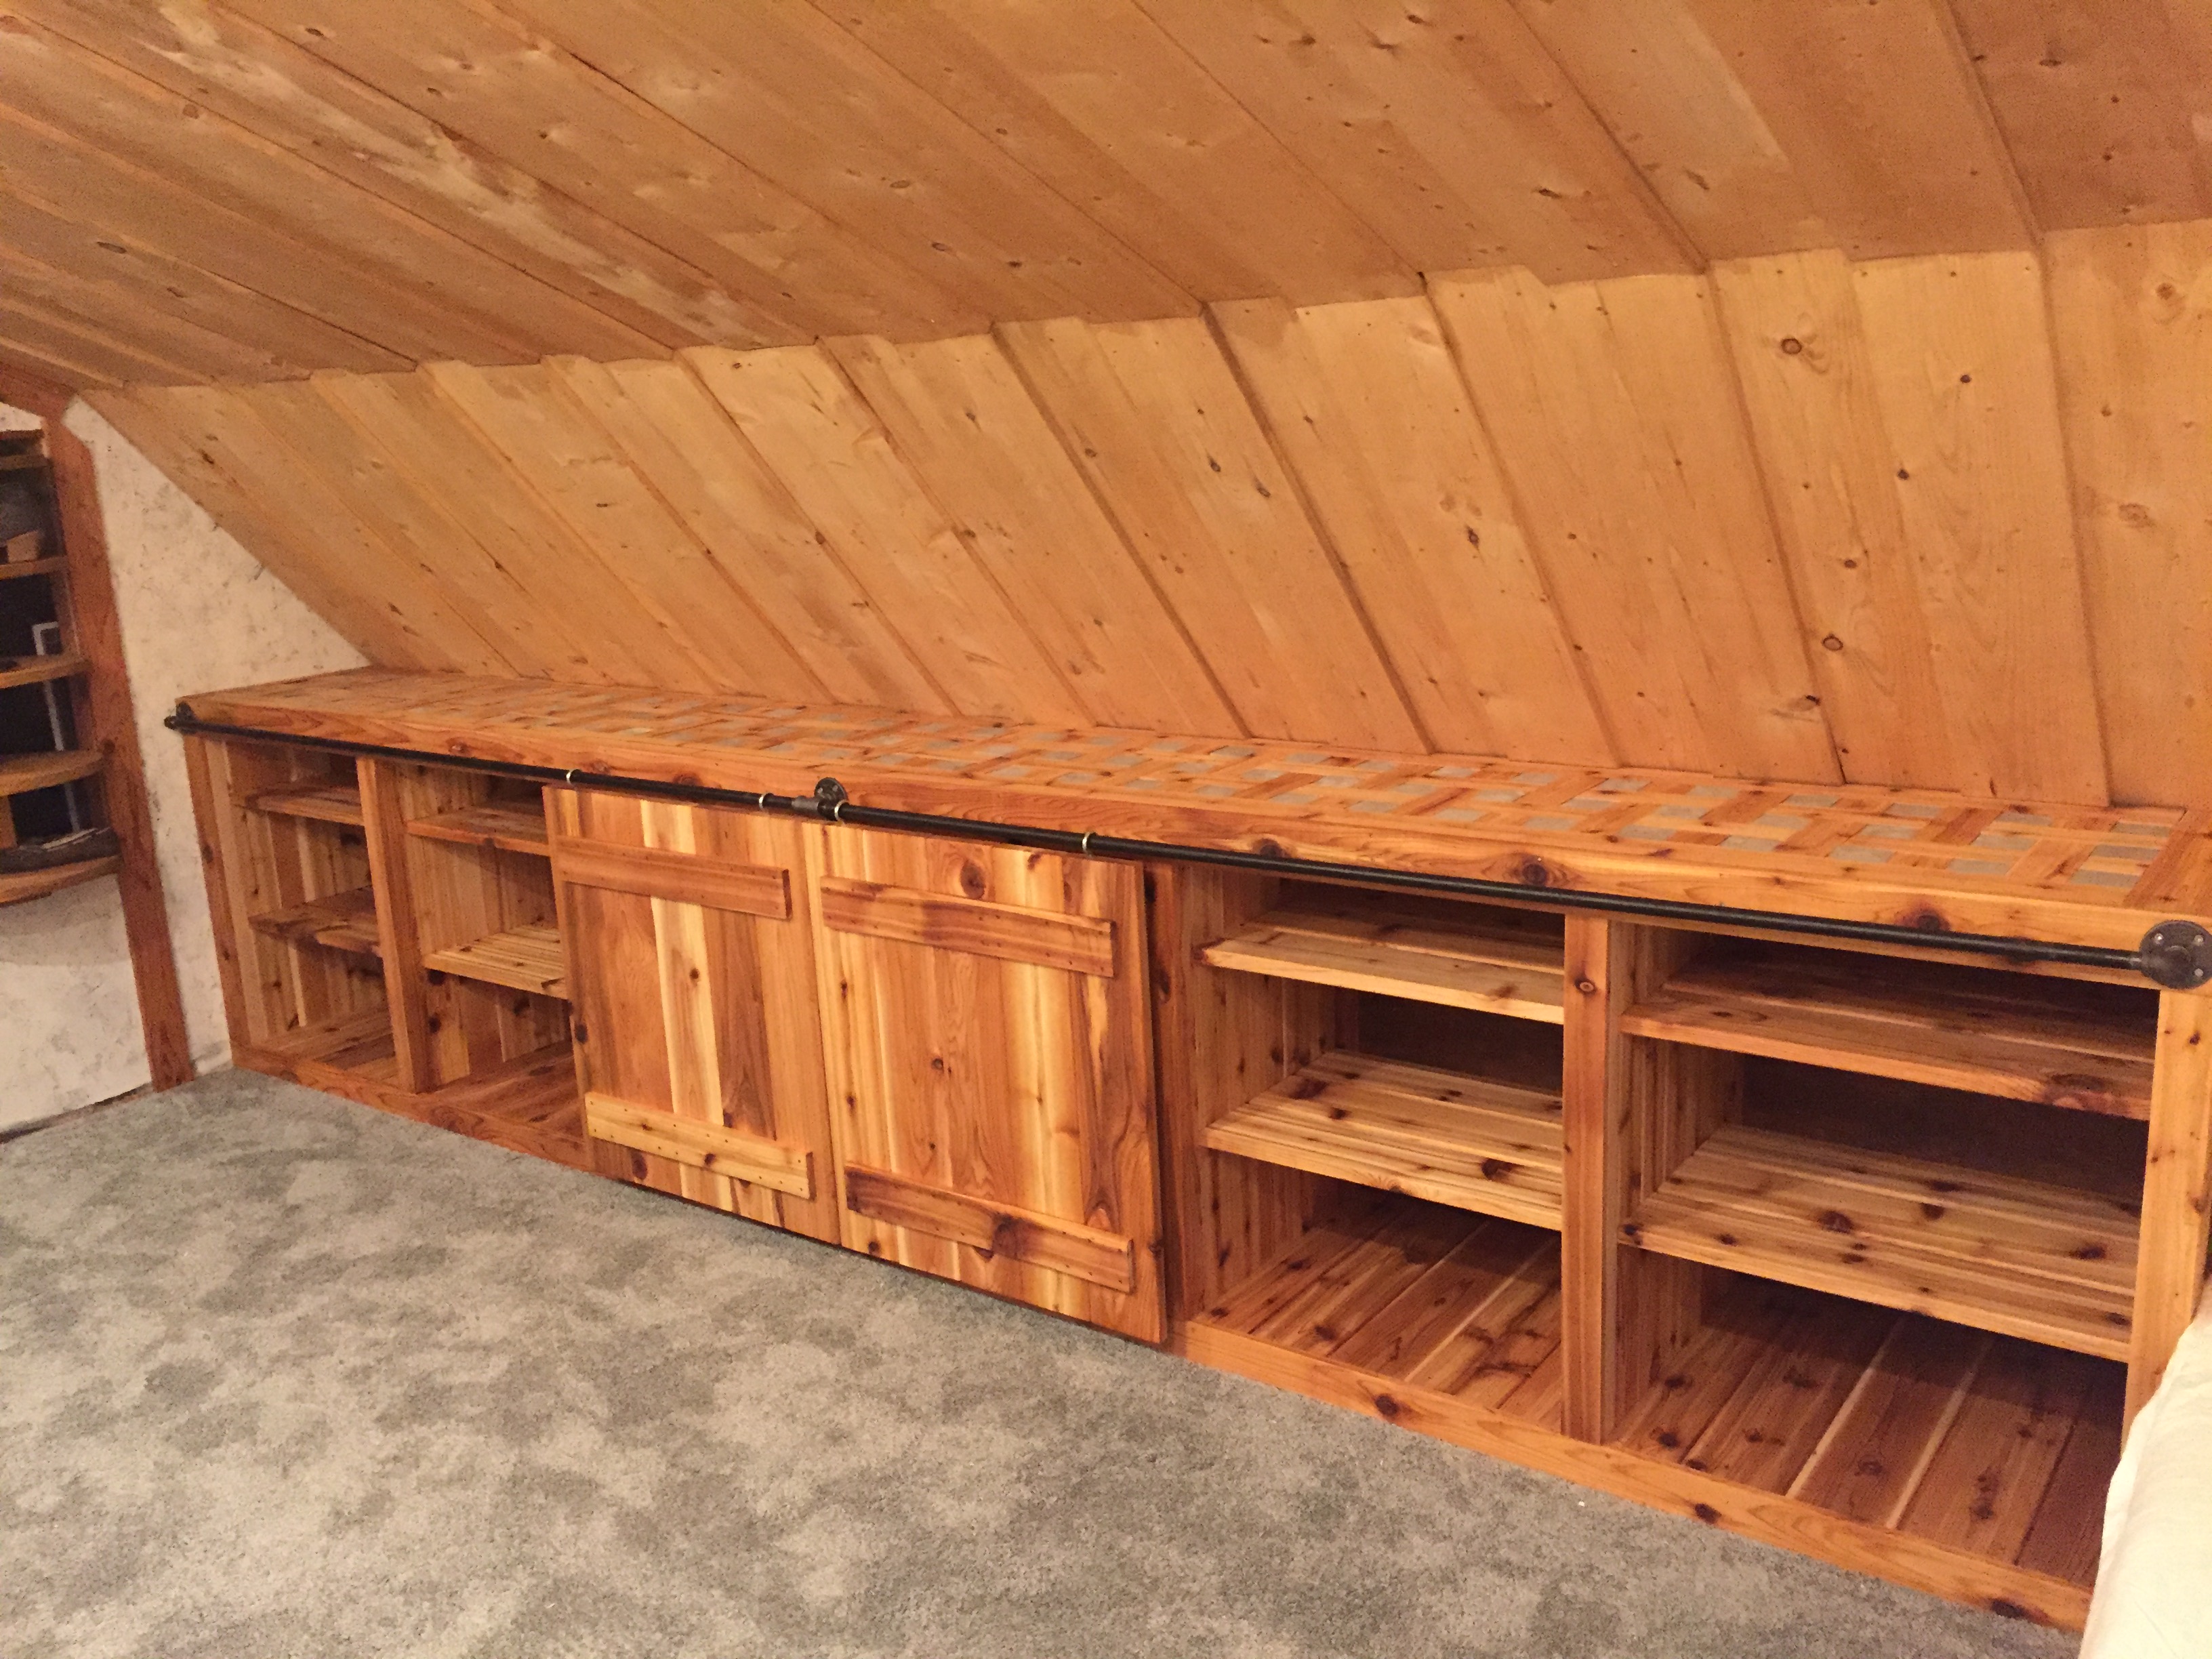
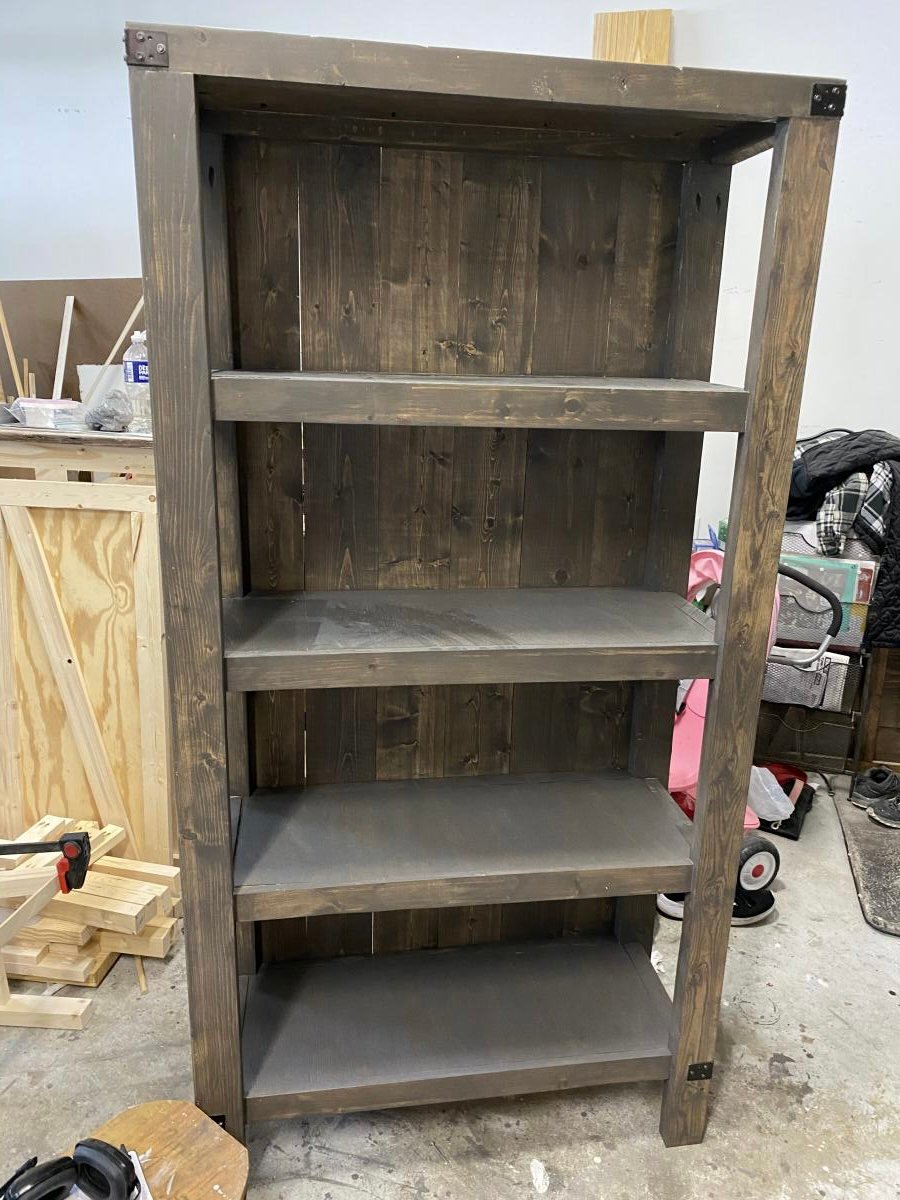
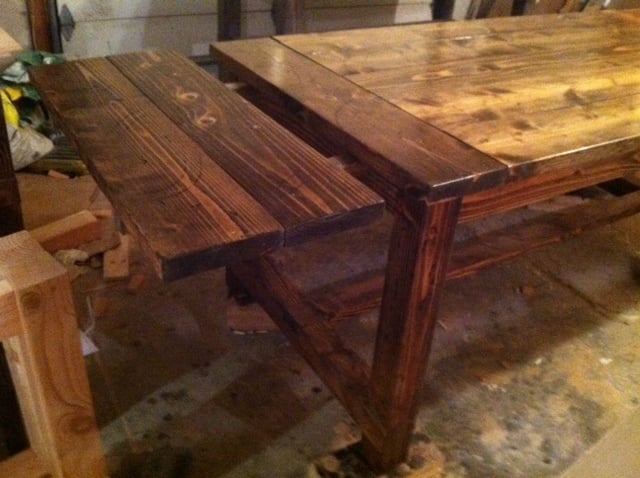
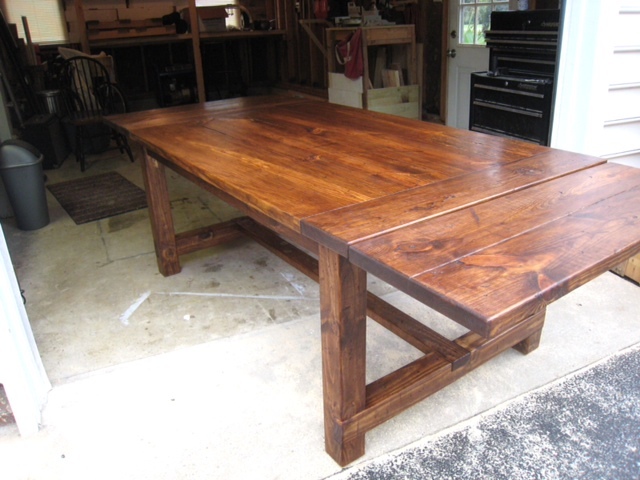
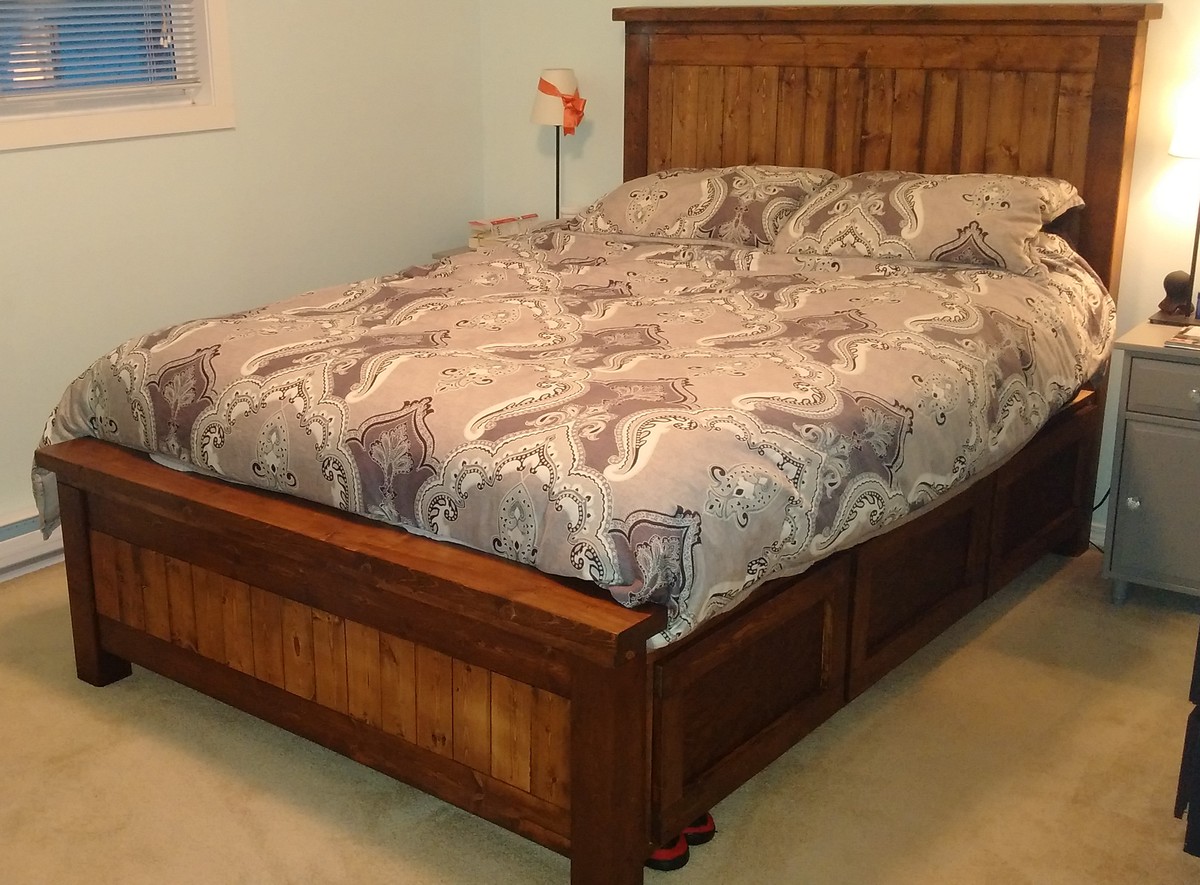
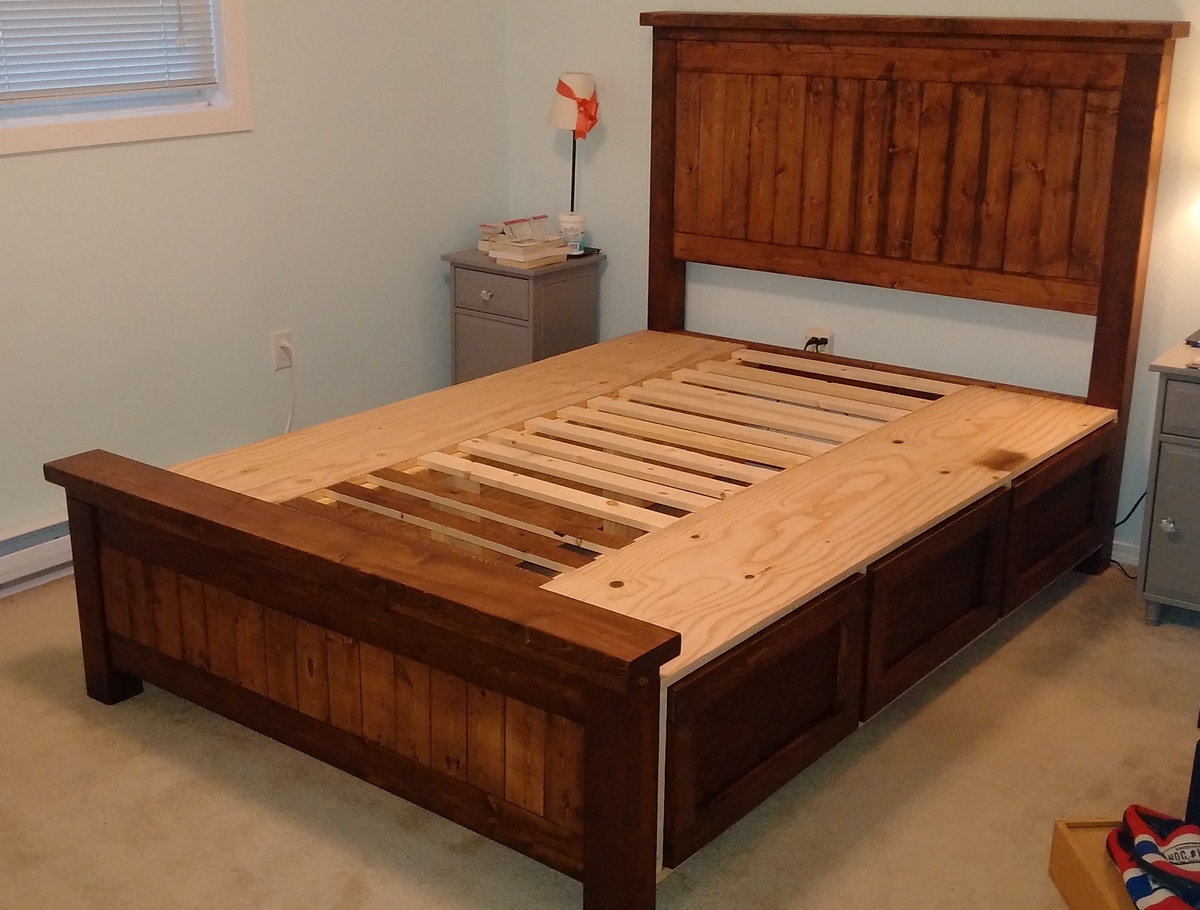
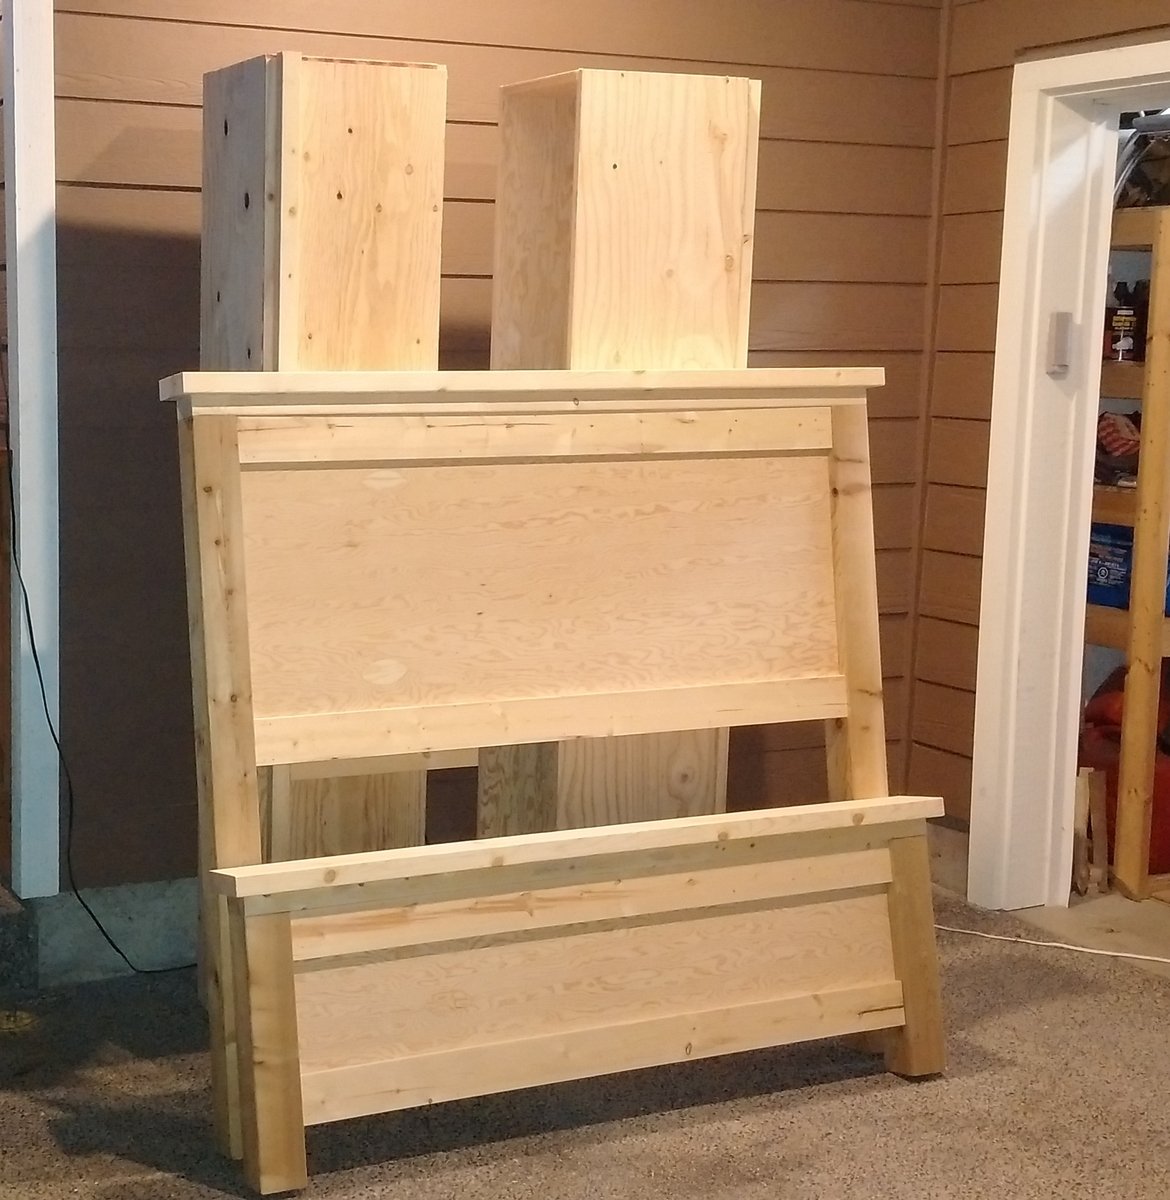
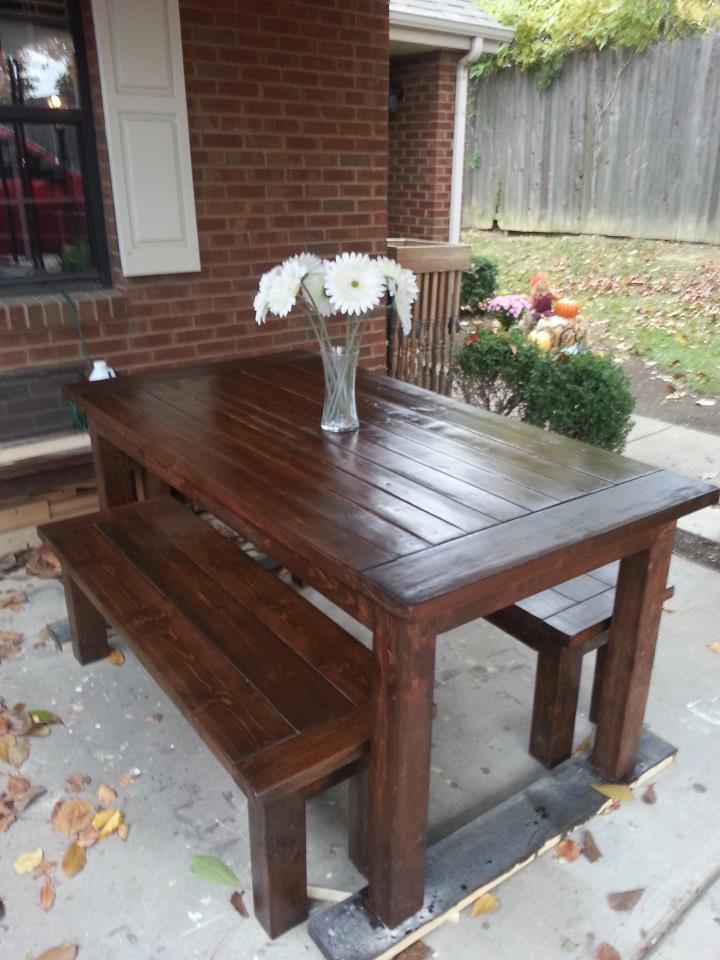
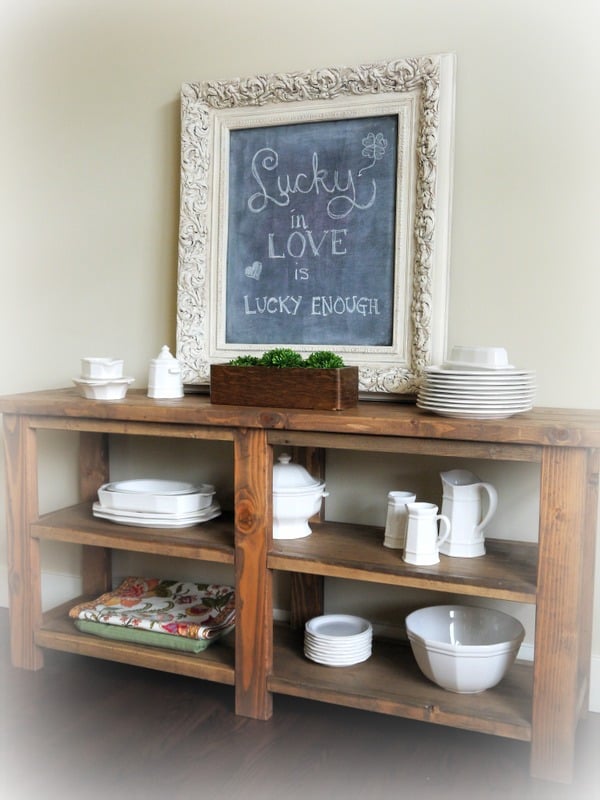
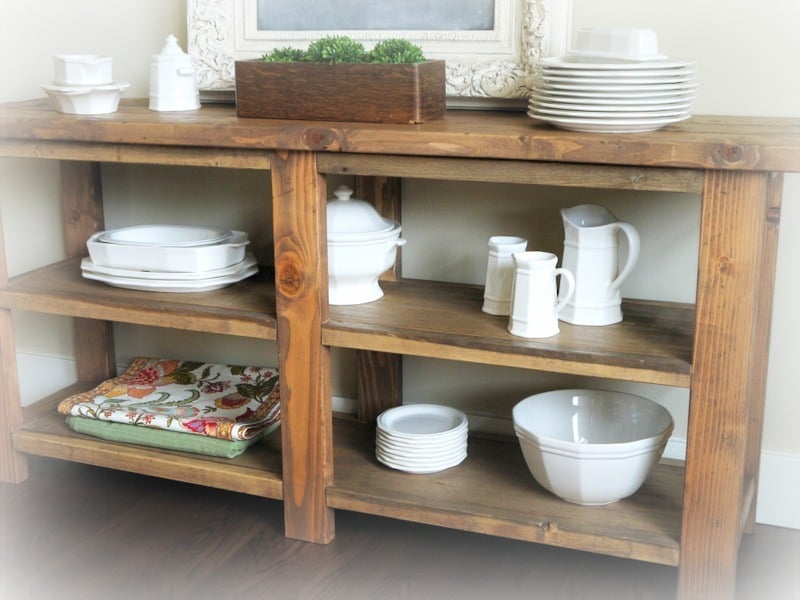
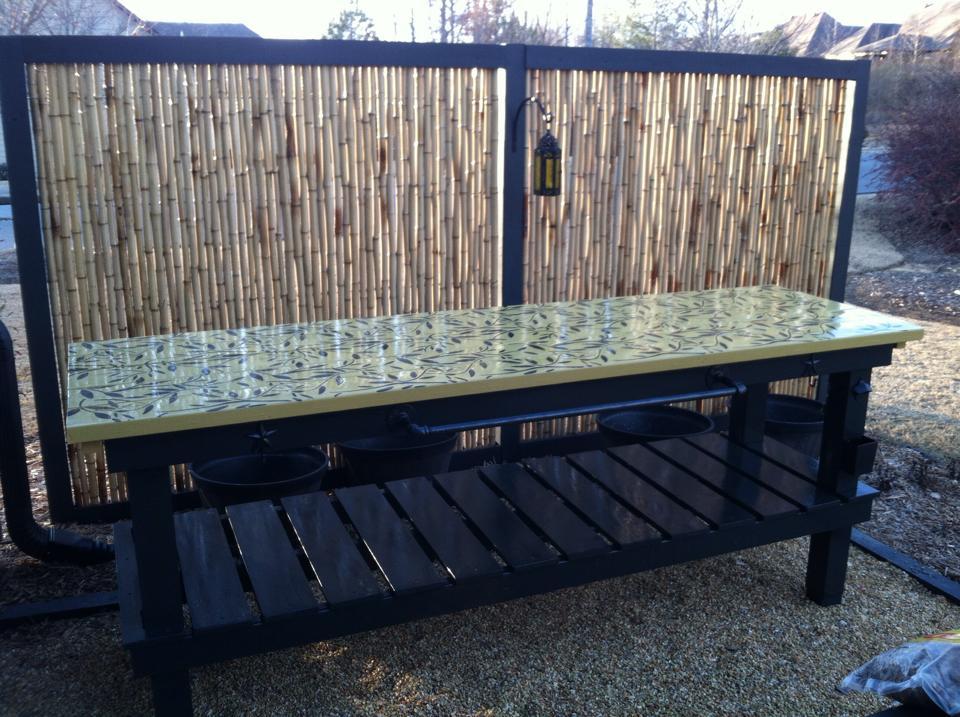
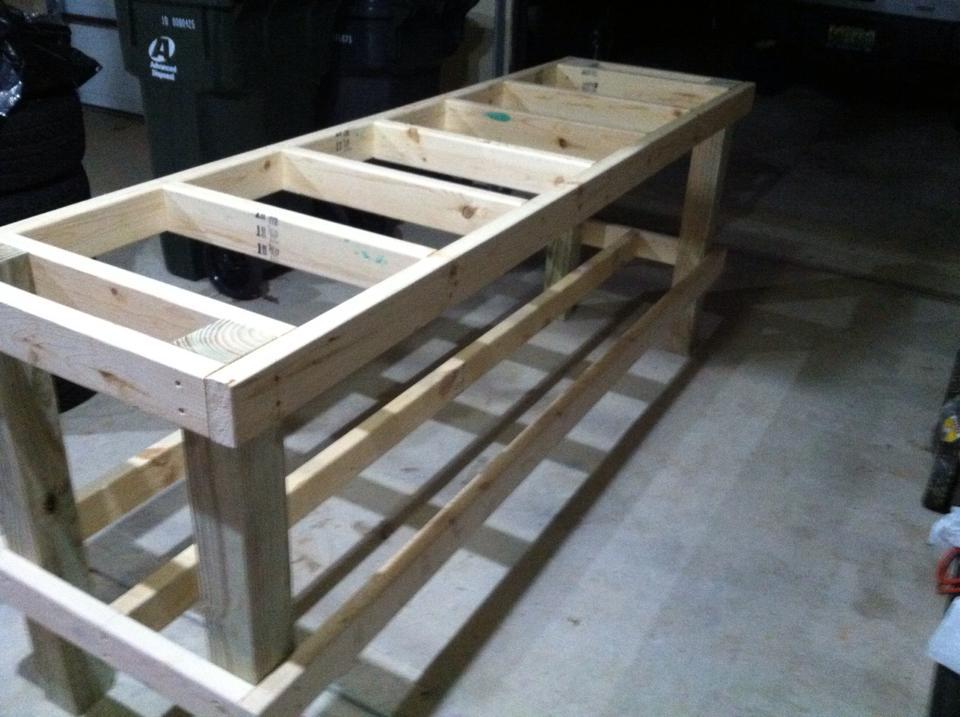
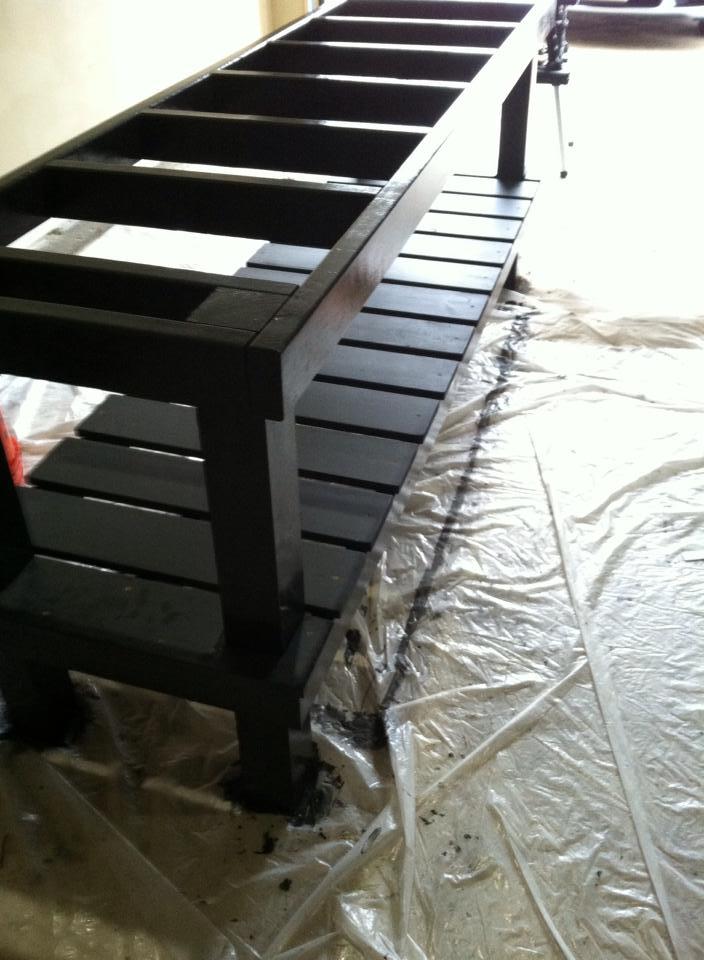
This was my Christmas present for my wife for 2014. Took about two days for me and my brother, with another 4 hours of staining and assembly. Could have been done quicker, but we took our time and enjoyed it! I have a good knowledge of tools, as does my brother, but I haven't done a woodworking project since Junior High School.
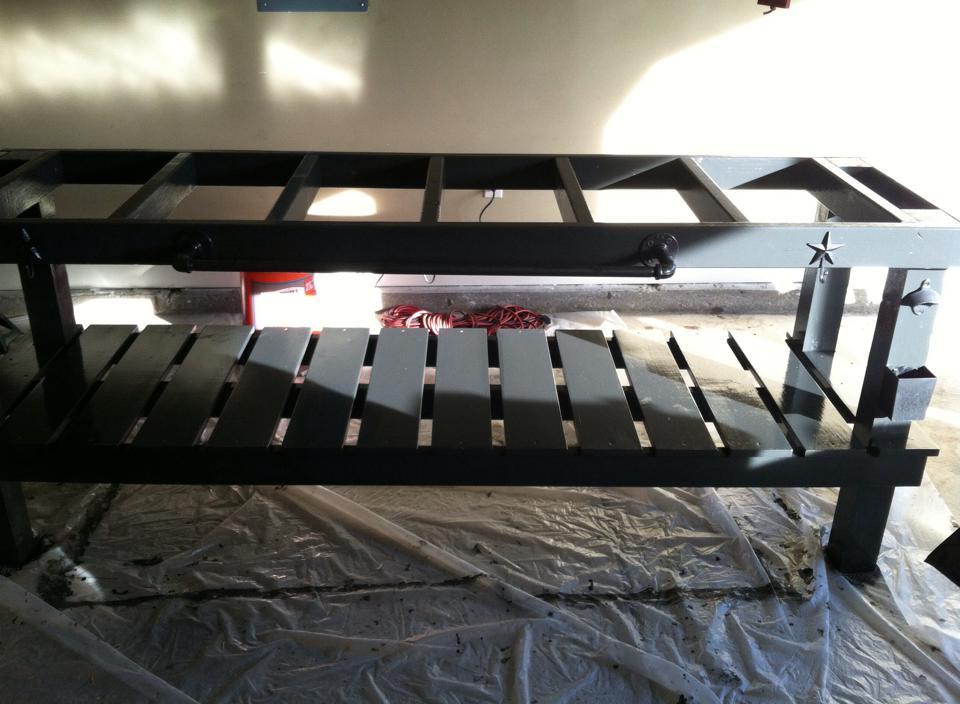
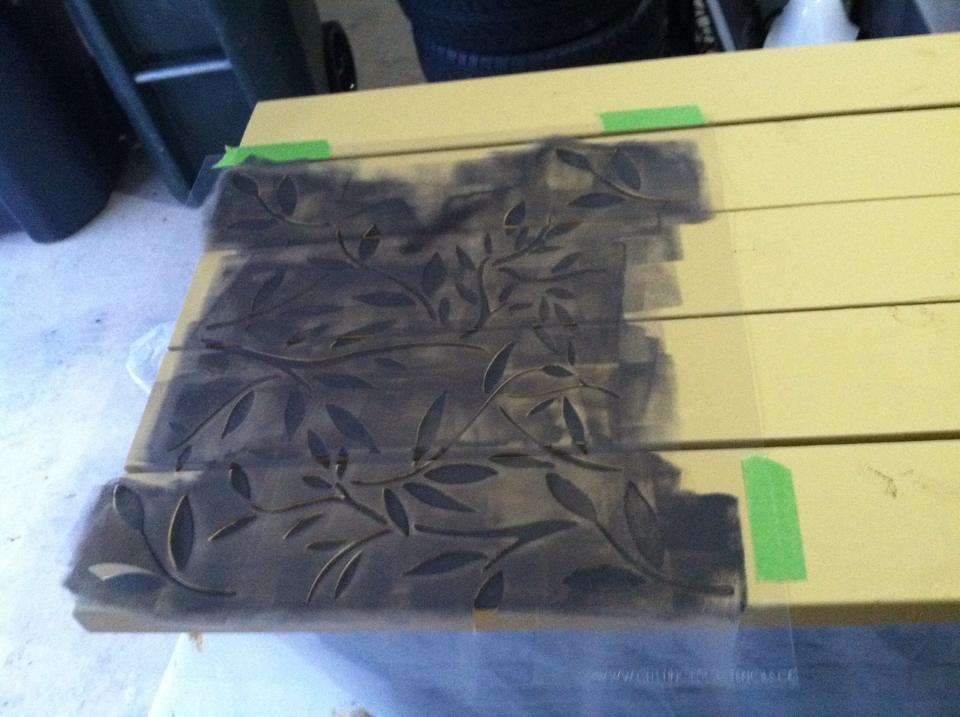
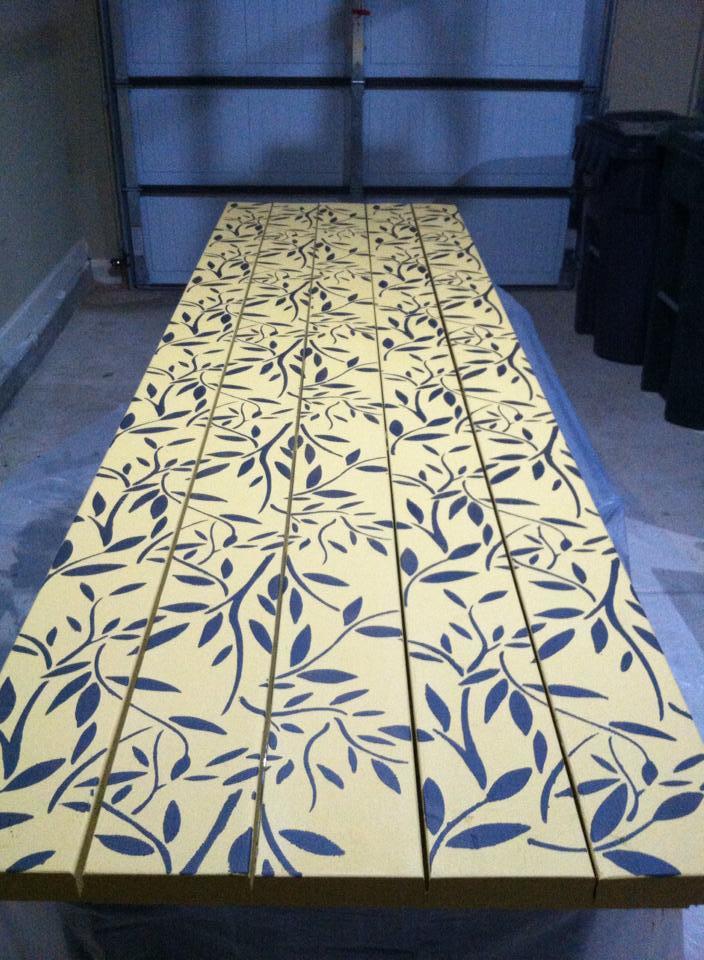
All in all, it was great and the result is perfect. I highly recommend using a pocket hole for the headboard attachment if doing the plywood - I didn't use one and it was tricky . You can't see the plywood because I decieded to add slats to the headboard and footboard in the end (wanted to stain the wood, not paint it as planned originally).
Looking for a cute, interactive pet to add to your home. What about bunnies? These creatures make great indoor pets. But before getting the rabbits, they will need a hutch to live in. To solve this problem, I’ve made detailed plans on how to build a DIY rabbit hutch that could be used indoor and outdoor.
The hutch has a litter pan under the floor that could be removed for cleaning. Since the hutch is only 3 feet wide, it could be easily moved around.
See my website for additional pictures and how I've built it, TheDIYPlan.com
I used the idea of the Farmhouse Table and Coffee Table to build this table and benches. I used simple whitewood for the table because it's cheap. This table doesn't take long to build, only a few hours. But this time I used oil-based stain and had to swap out a few boards because they were warped so it took longer than expected.
Thu, 03/14/2013 - 13:32
love it great patio table. what are the dimensions, looks great for 4 people
I could have sworn this project was inspired by a stool I saw on here but I just spent way too long trying to find it. I wanted these to match our bed frame, which is really tall combined with our mattress. We needed stools that could be comfortably stood on with two feet, but could also slide under the bed when not in use. This was my first "finished" DIY project besides a dog house I made from plans from Lowe's. This was the first time I planned it and created it myself. They are very sturdy and look like they came with the set. I am very happy with them. I took my time on them because I was doing a lot of learning and wanted to get it right. I distressed the wood with chisels, files and carving knives.
Loved this project! We had an old headboard so my wife came up with the idea to cut off the top posts and use them as legs.
These are my second ever project. The plans were really clear to follow so thank you for sharing them. The spacing between the seat and back slabs is a bit less than what it says in the plan because I live in the UK and the dimensions I could find were a bit different. Overall assembly didn't take too long, maybe 10-15 hours for both. Finishing seemed to take ages between filling the screw holes, sanding etc. Really happy with the end result!
Love how this rustic buffet / console table turned out! It was made as a companion piece for a Farmhouse - style table. Modified to be shorter (64"), and made without the decorative hardware or the "X" detailing from the original plan.
Modified the dimensions to 13 inches deep, 40 inches wide and a lower clearance of 4 inches to accommodate a vent diverter for an exsisting heat vent.
I used Maple Plywood (3/4 inch) for the bench, and 1/2 inch for the back (to allow maximum seating depth on the bench). The paint was leftover Valspar reserve paint from a recent bathroom project... and the paint dipped baskets were found at a local store called "the christmas tree shops" for under 25 dollars for both!
The project came in at just under $150 - well below our budget if we had purchased something in store. It was mounted to the wall for safety, as we have a dare devil toddler!
Thanks for the free plans. I did have to make modifications for the doors. i hid the hinges to give it a clean look. i used cedar for the trim and Plywood Siding Panel T1-11 4 IN OC (Common: 19/32 in. x 4 ft. x 8 ft.; Actual: 0.563 in. x 48 in. x 96 in.) for the doors. i used a metal flashing for the roof so it will vent.
Desk made with Farmhouse Desk modified with 2x6 top
Made this for our daughter's American Girl doll for Christmas. The mattress is a basic box pillow, made out of the cheapest bleached muslin from Joann, and stuffed with polyfill. I had to make a couple before I got it right. It needed to be a little longer and wider than the dimensions of the bed to fill the space all the way. It's been a while since I made them, but I'm pretty sure I cut the box corners at 2" and added an inch to the width and length of the actual bed measurements, plus a 1/2" seam allowance on each side. It makes for a feather bed look. The coverlet is 2 pieces of broadcloth sewn right sides together (leaving an opening to turn) and then turned right side out. Then I sewed trim in rows down the front. The blanket at the foot of the bed is furry minky fabric from Joann. It was really fun to build this bed and design the bedding. Thanks for the plans! My daughter loved this!
I changed the dimensions to fit the entire width of my framed pea gravel patio and stenciled a design on the table top.
Comments
Ana White Admin
Mon, 01/12/2015 - 07:24
Very Pretty!
Thanks for sharing, what a great gift!
Ana White
Tue, 01/13/2015 - 02:15
Very nice!
Very nice!
dbermolen
Tue, 01/13/2015 - 04:28
non toxic finish
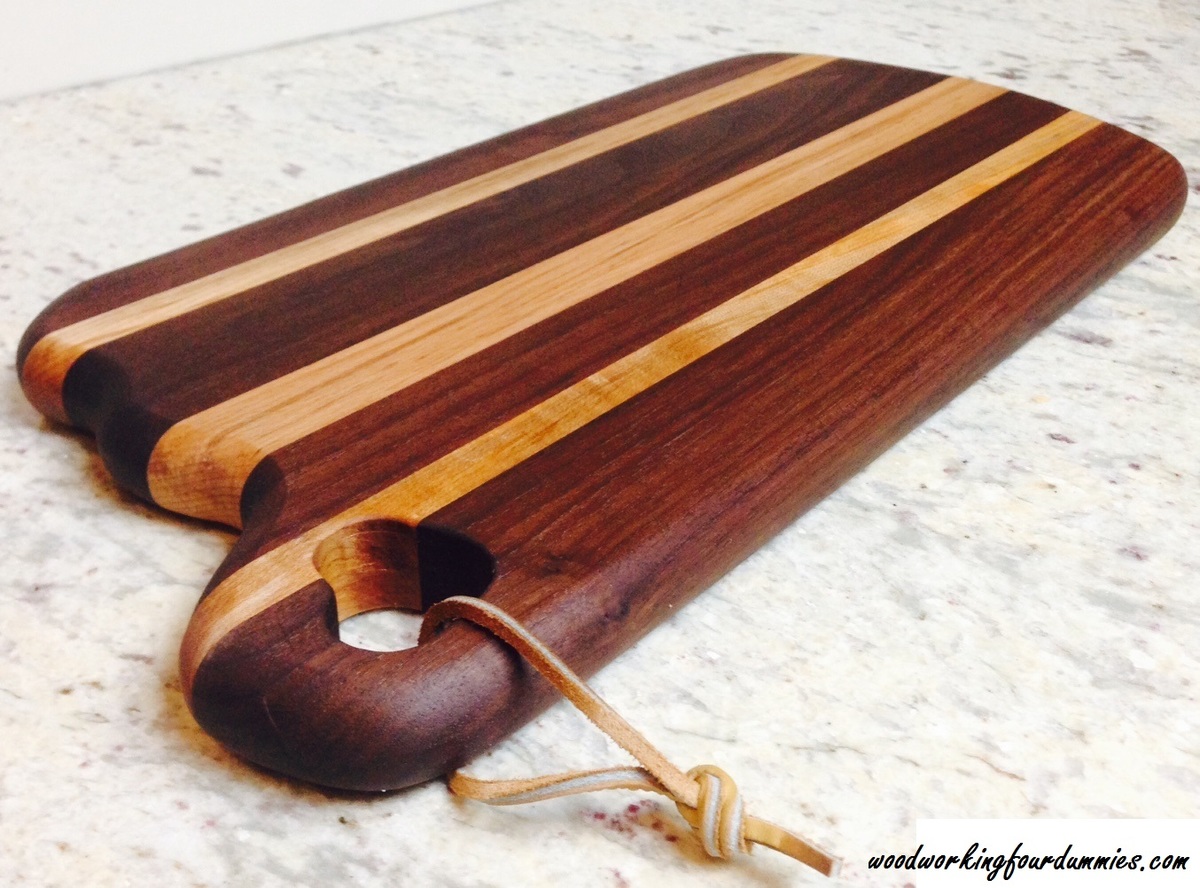
Hi Ana! Love your site!!!!!! Please tell me, did you use just mineral oil in order to make this non-toxic finish? I guess you would have done some posts including this kind of information, but I can't find it. Regards from Argentina! =)
woodworkingfou…
Thu, 01/15/2015 - 09:45
Only mineral oil was used, it
Only mineral oil was used, it is food safe grade and can be ingested. Mineral oil isn't a durable finish like polyurethane but it is safe.