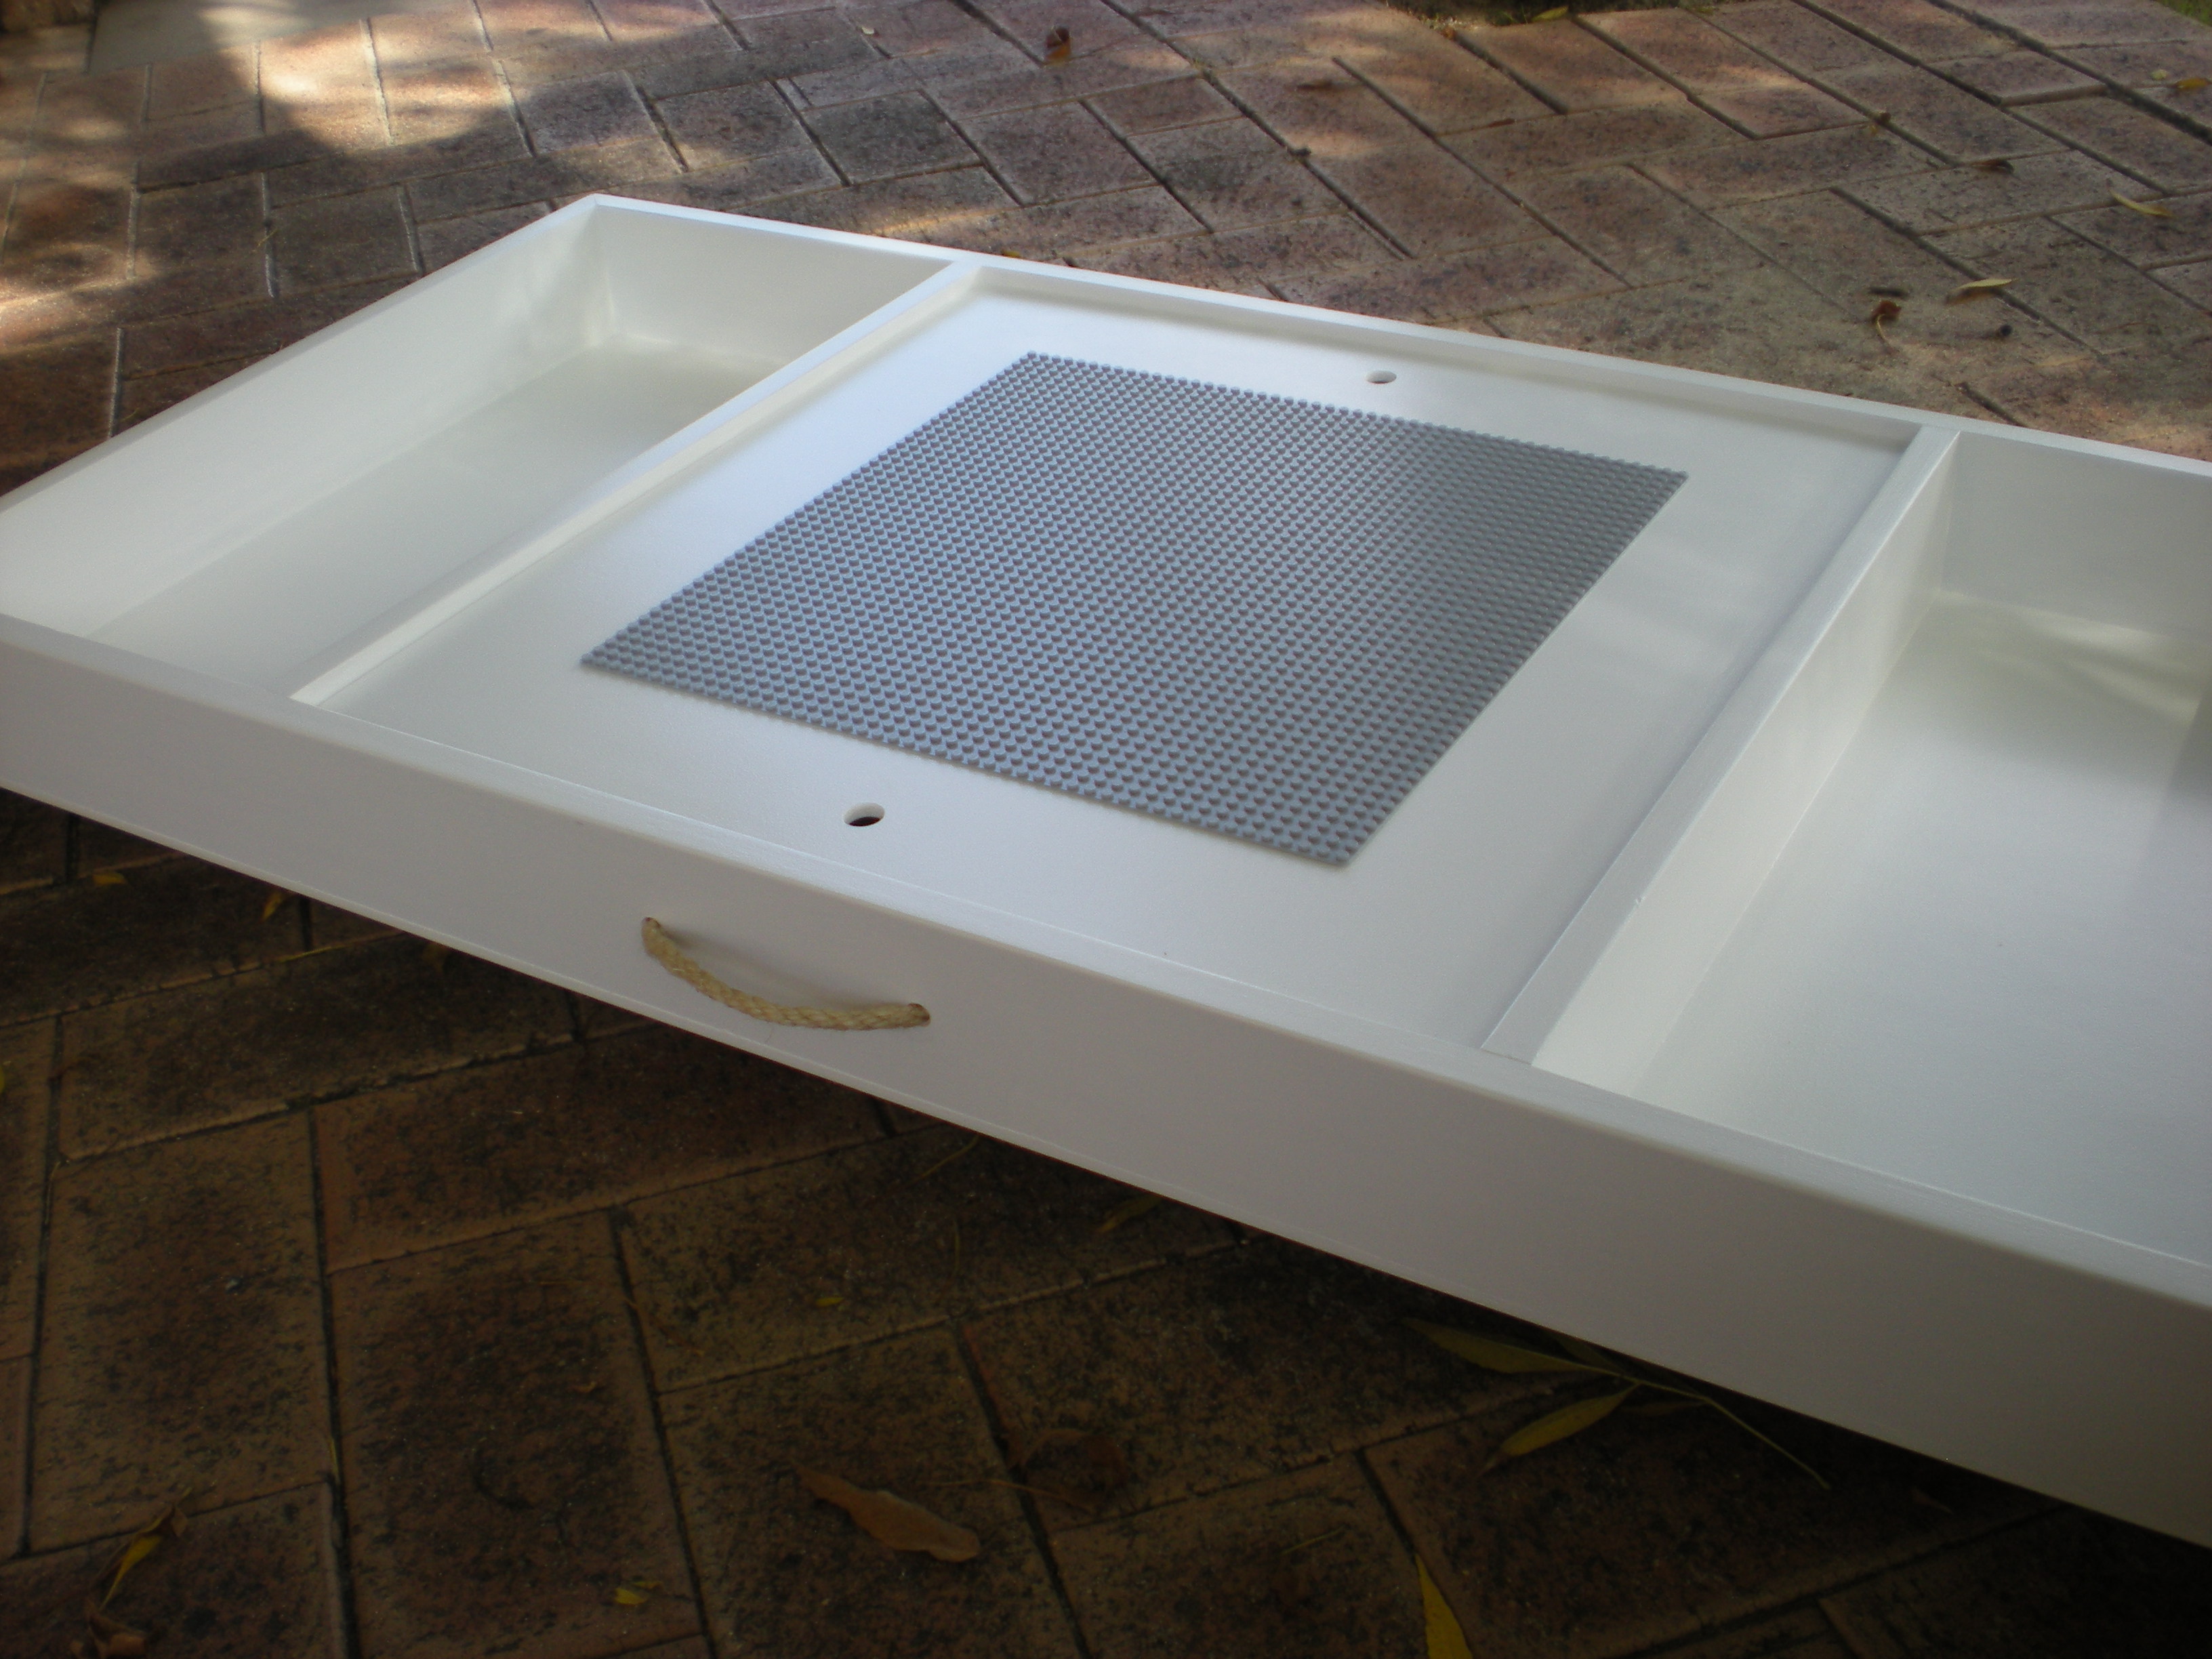
In Drawer Knife Block Includes Steak Knife Storage
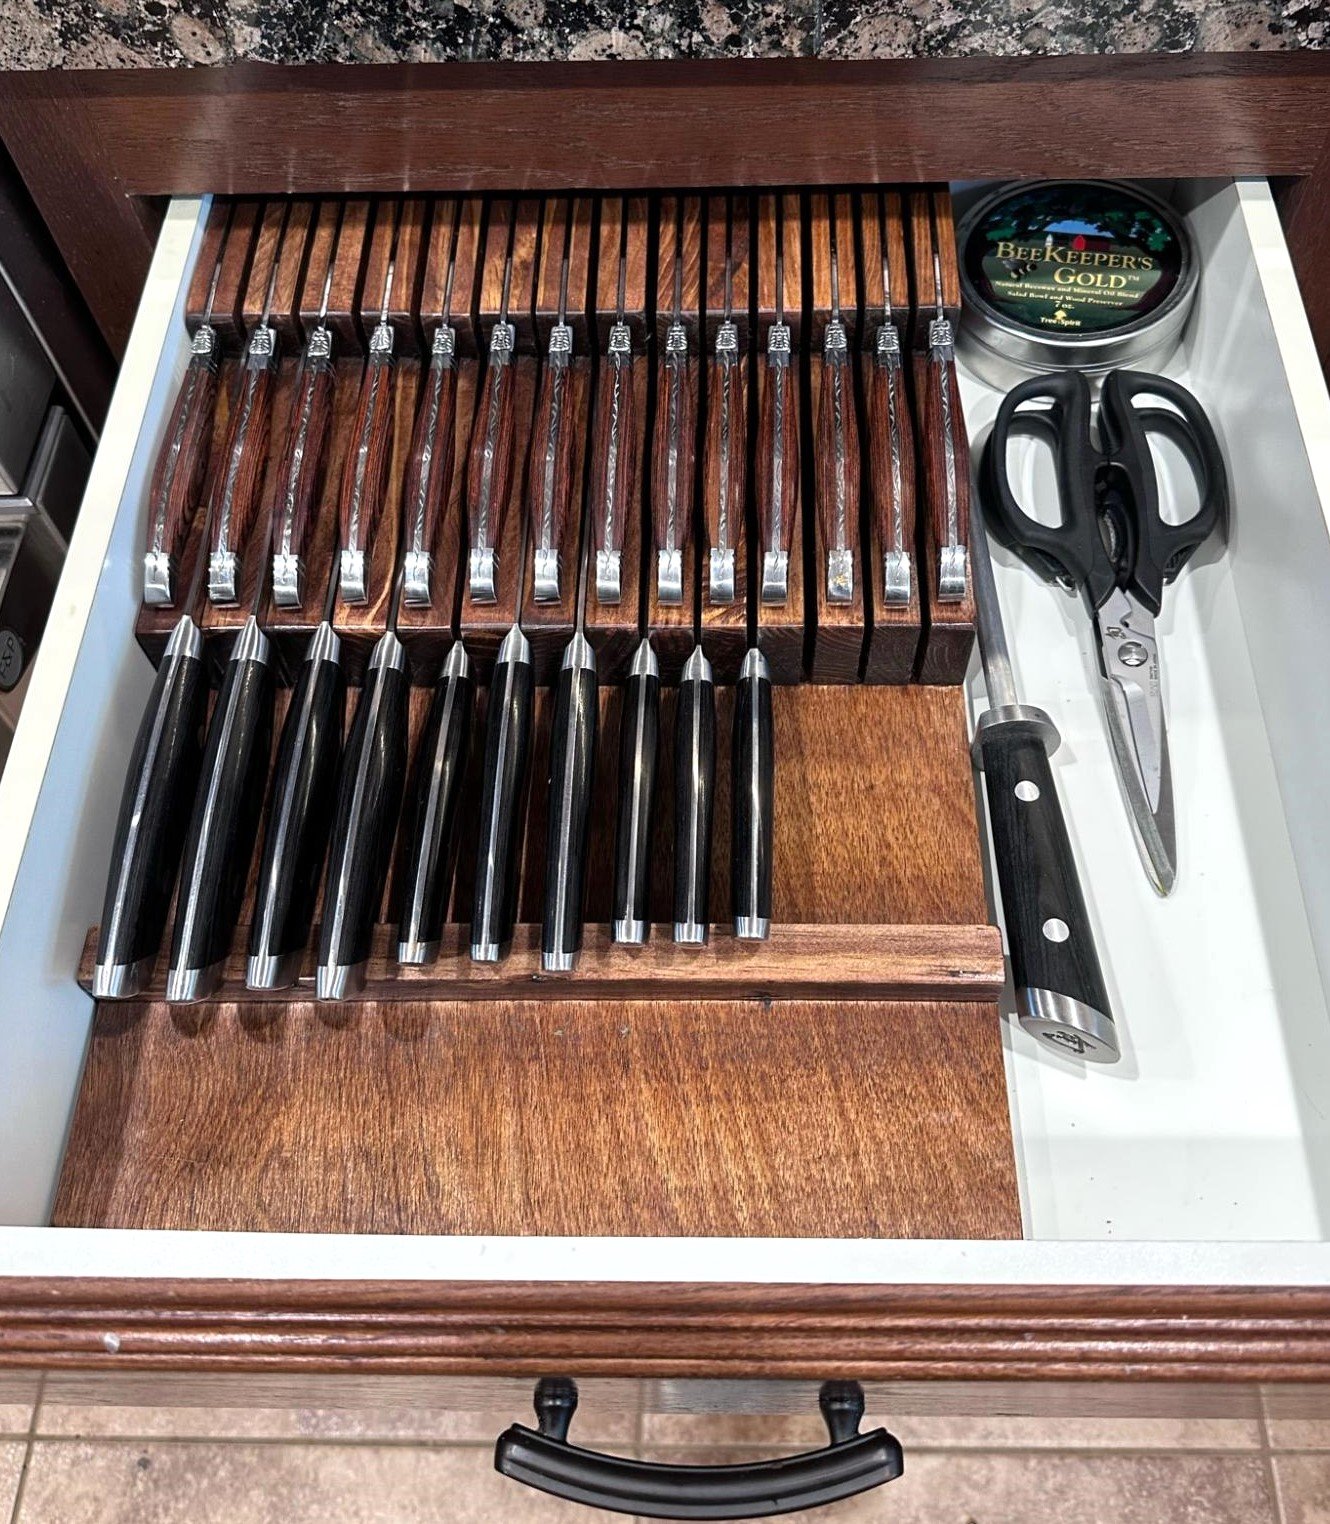
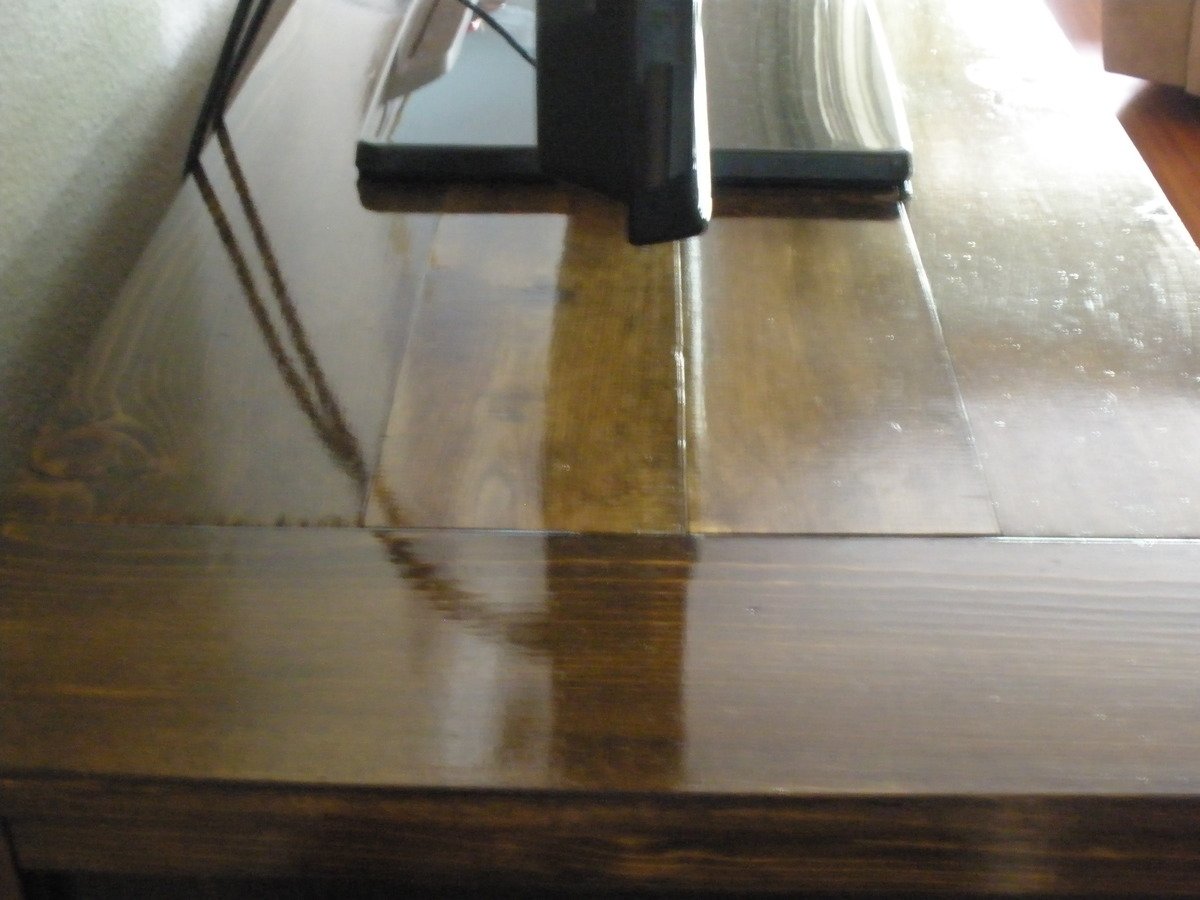
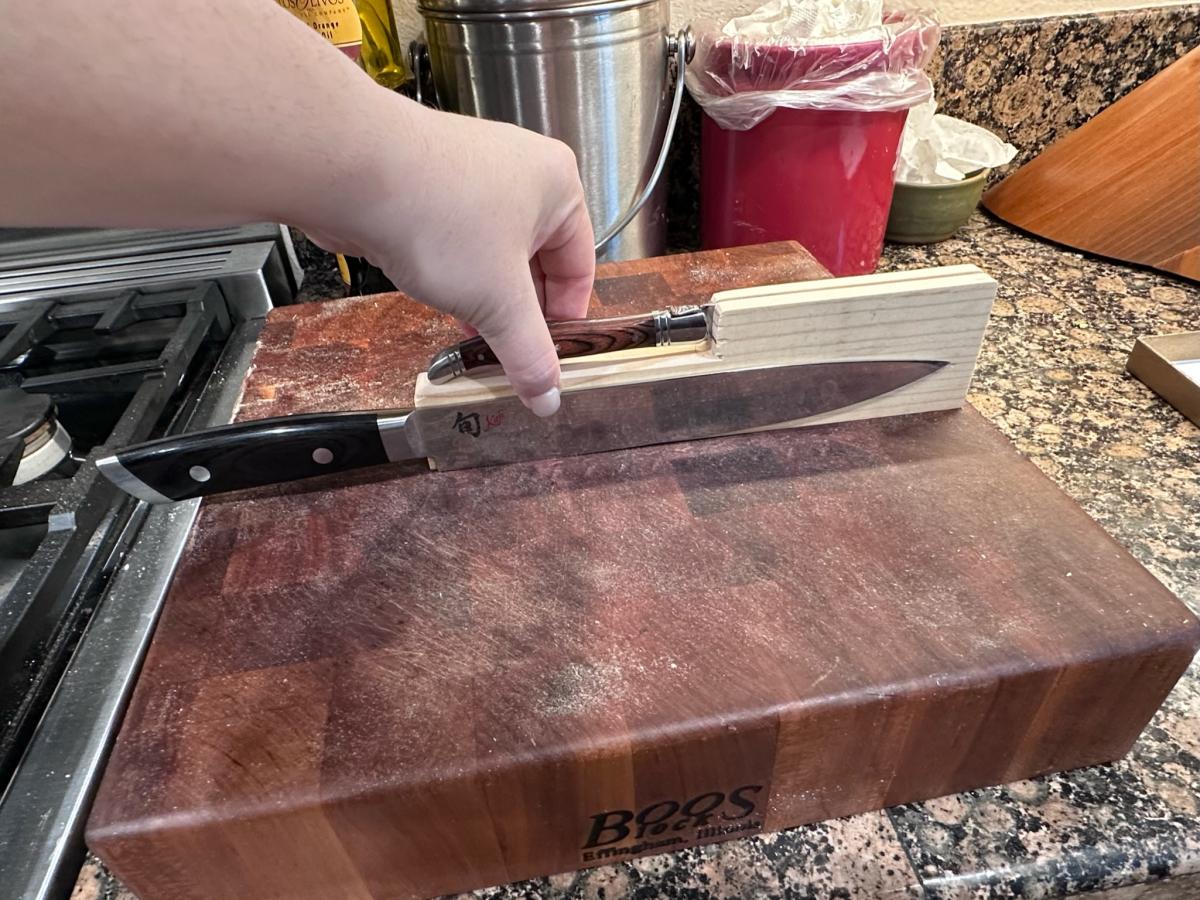
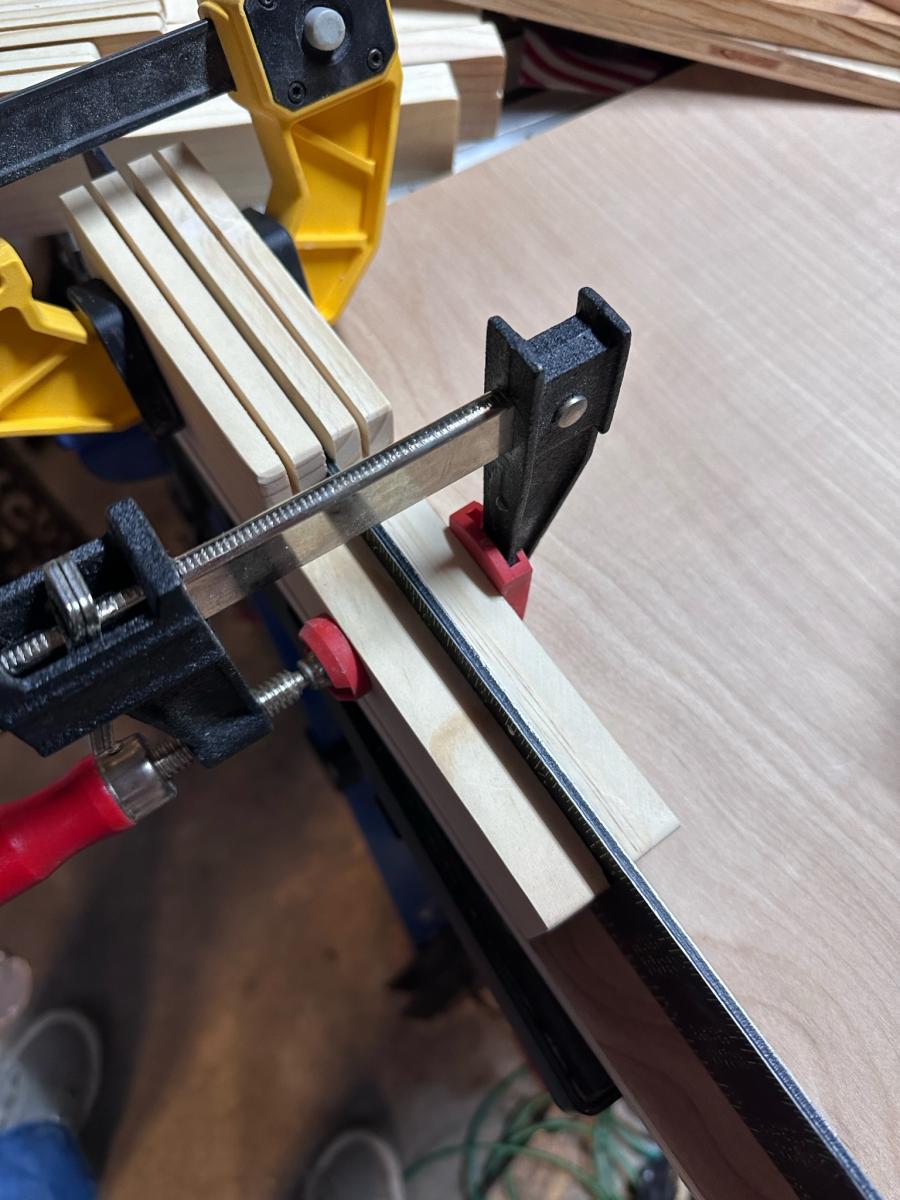
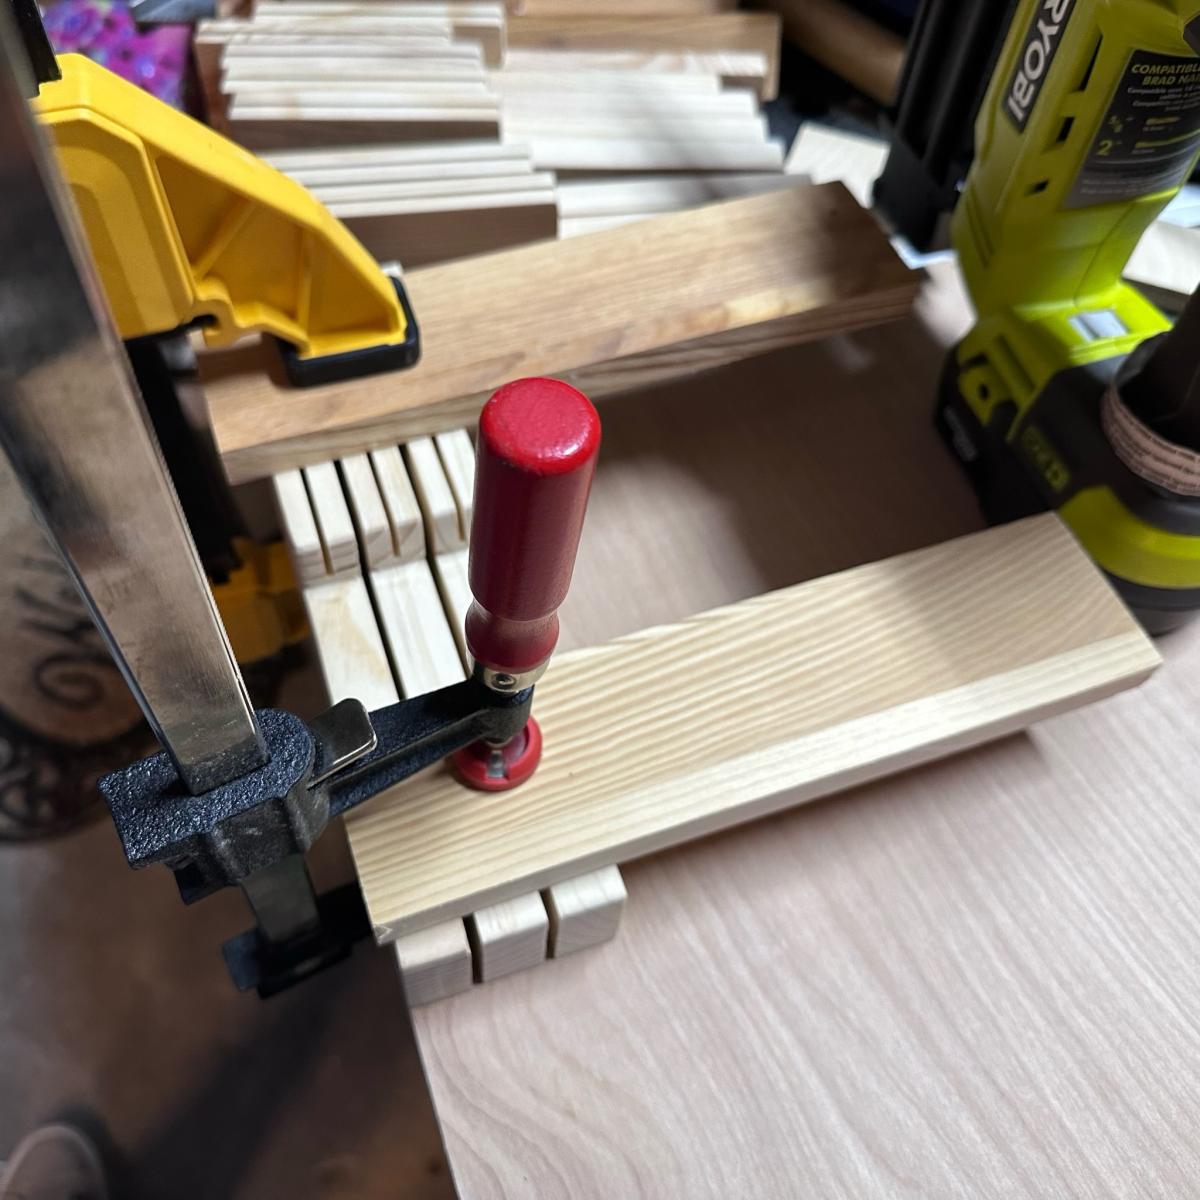
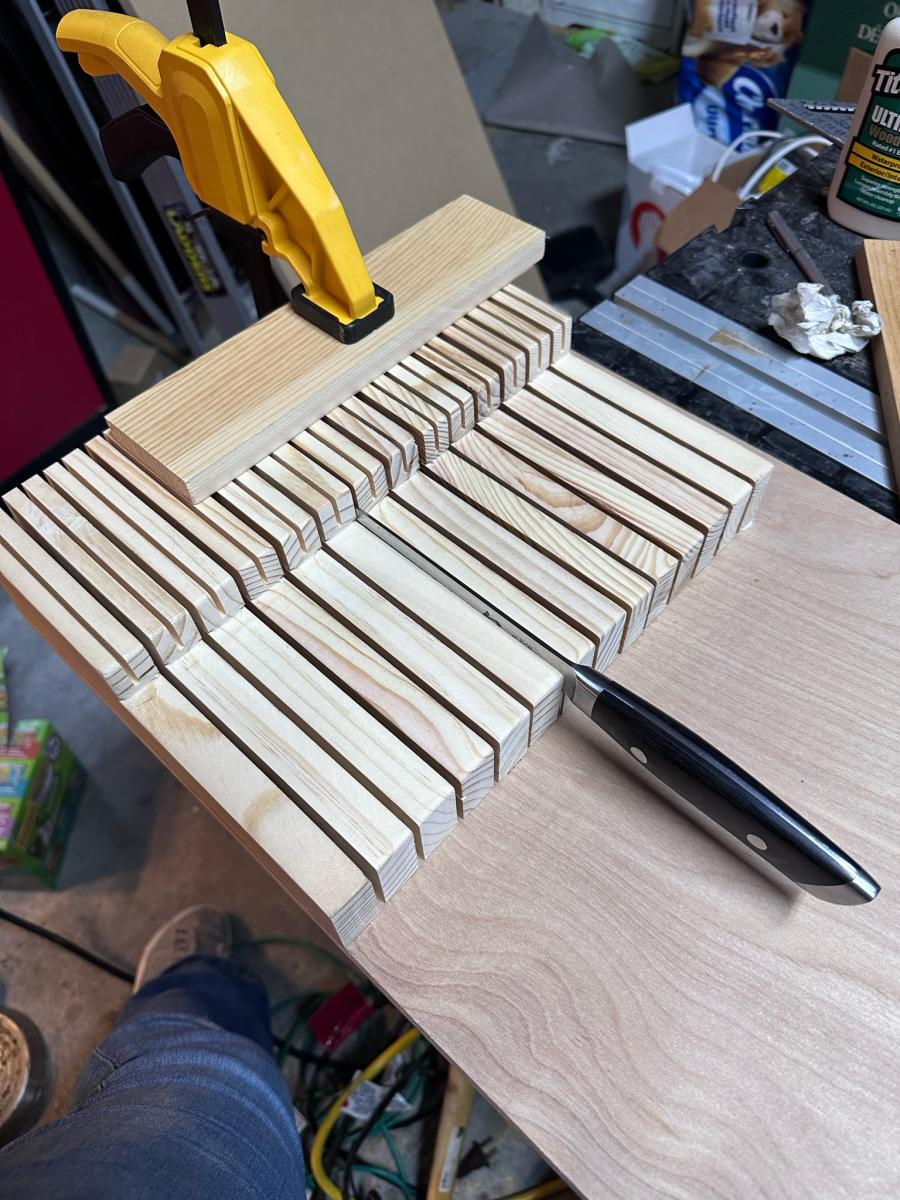
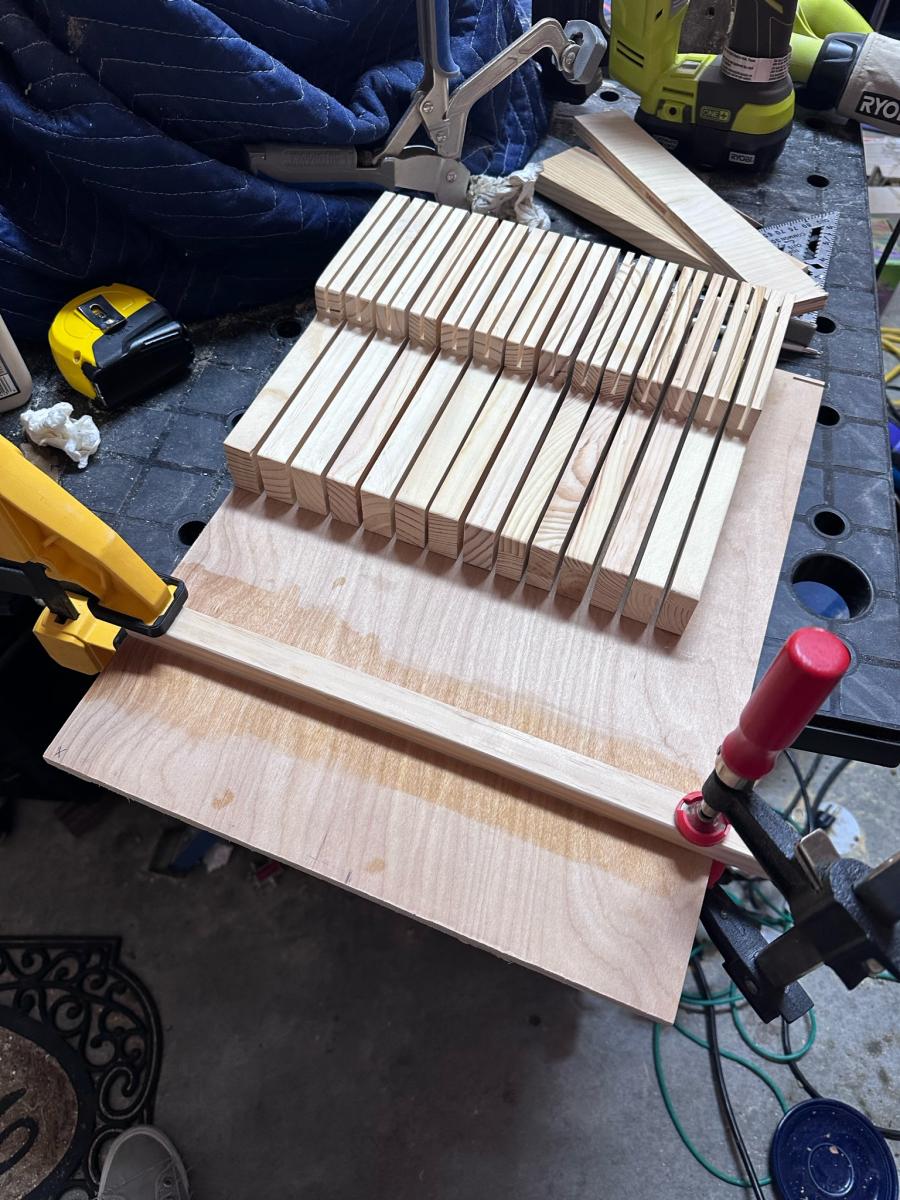
I watched your video and modified mine to take up less space by using 1 x material instead of 2X material, and I cut a notch in the top to allow steak knives to store on top. Once a cut a notch, then I used my table saw to create the space where the steak knife blades fit.
From there, lots of sanding and gluing. I made the plywood base about 1/4” shorter than the depth of my drawer so it could be easily placed inside my drawers that don’t fully extend out.
I finished it with pre-stain conditioner, stain, and then an oil/beeswax blend (used for cuttting boards) applied with 0000 steel wool for a super smooth, satiny finish.
Angie
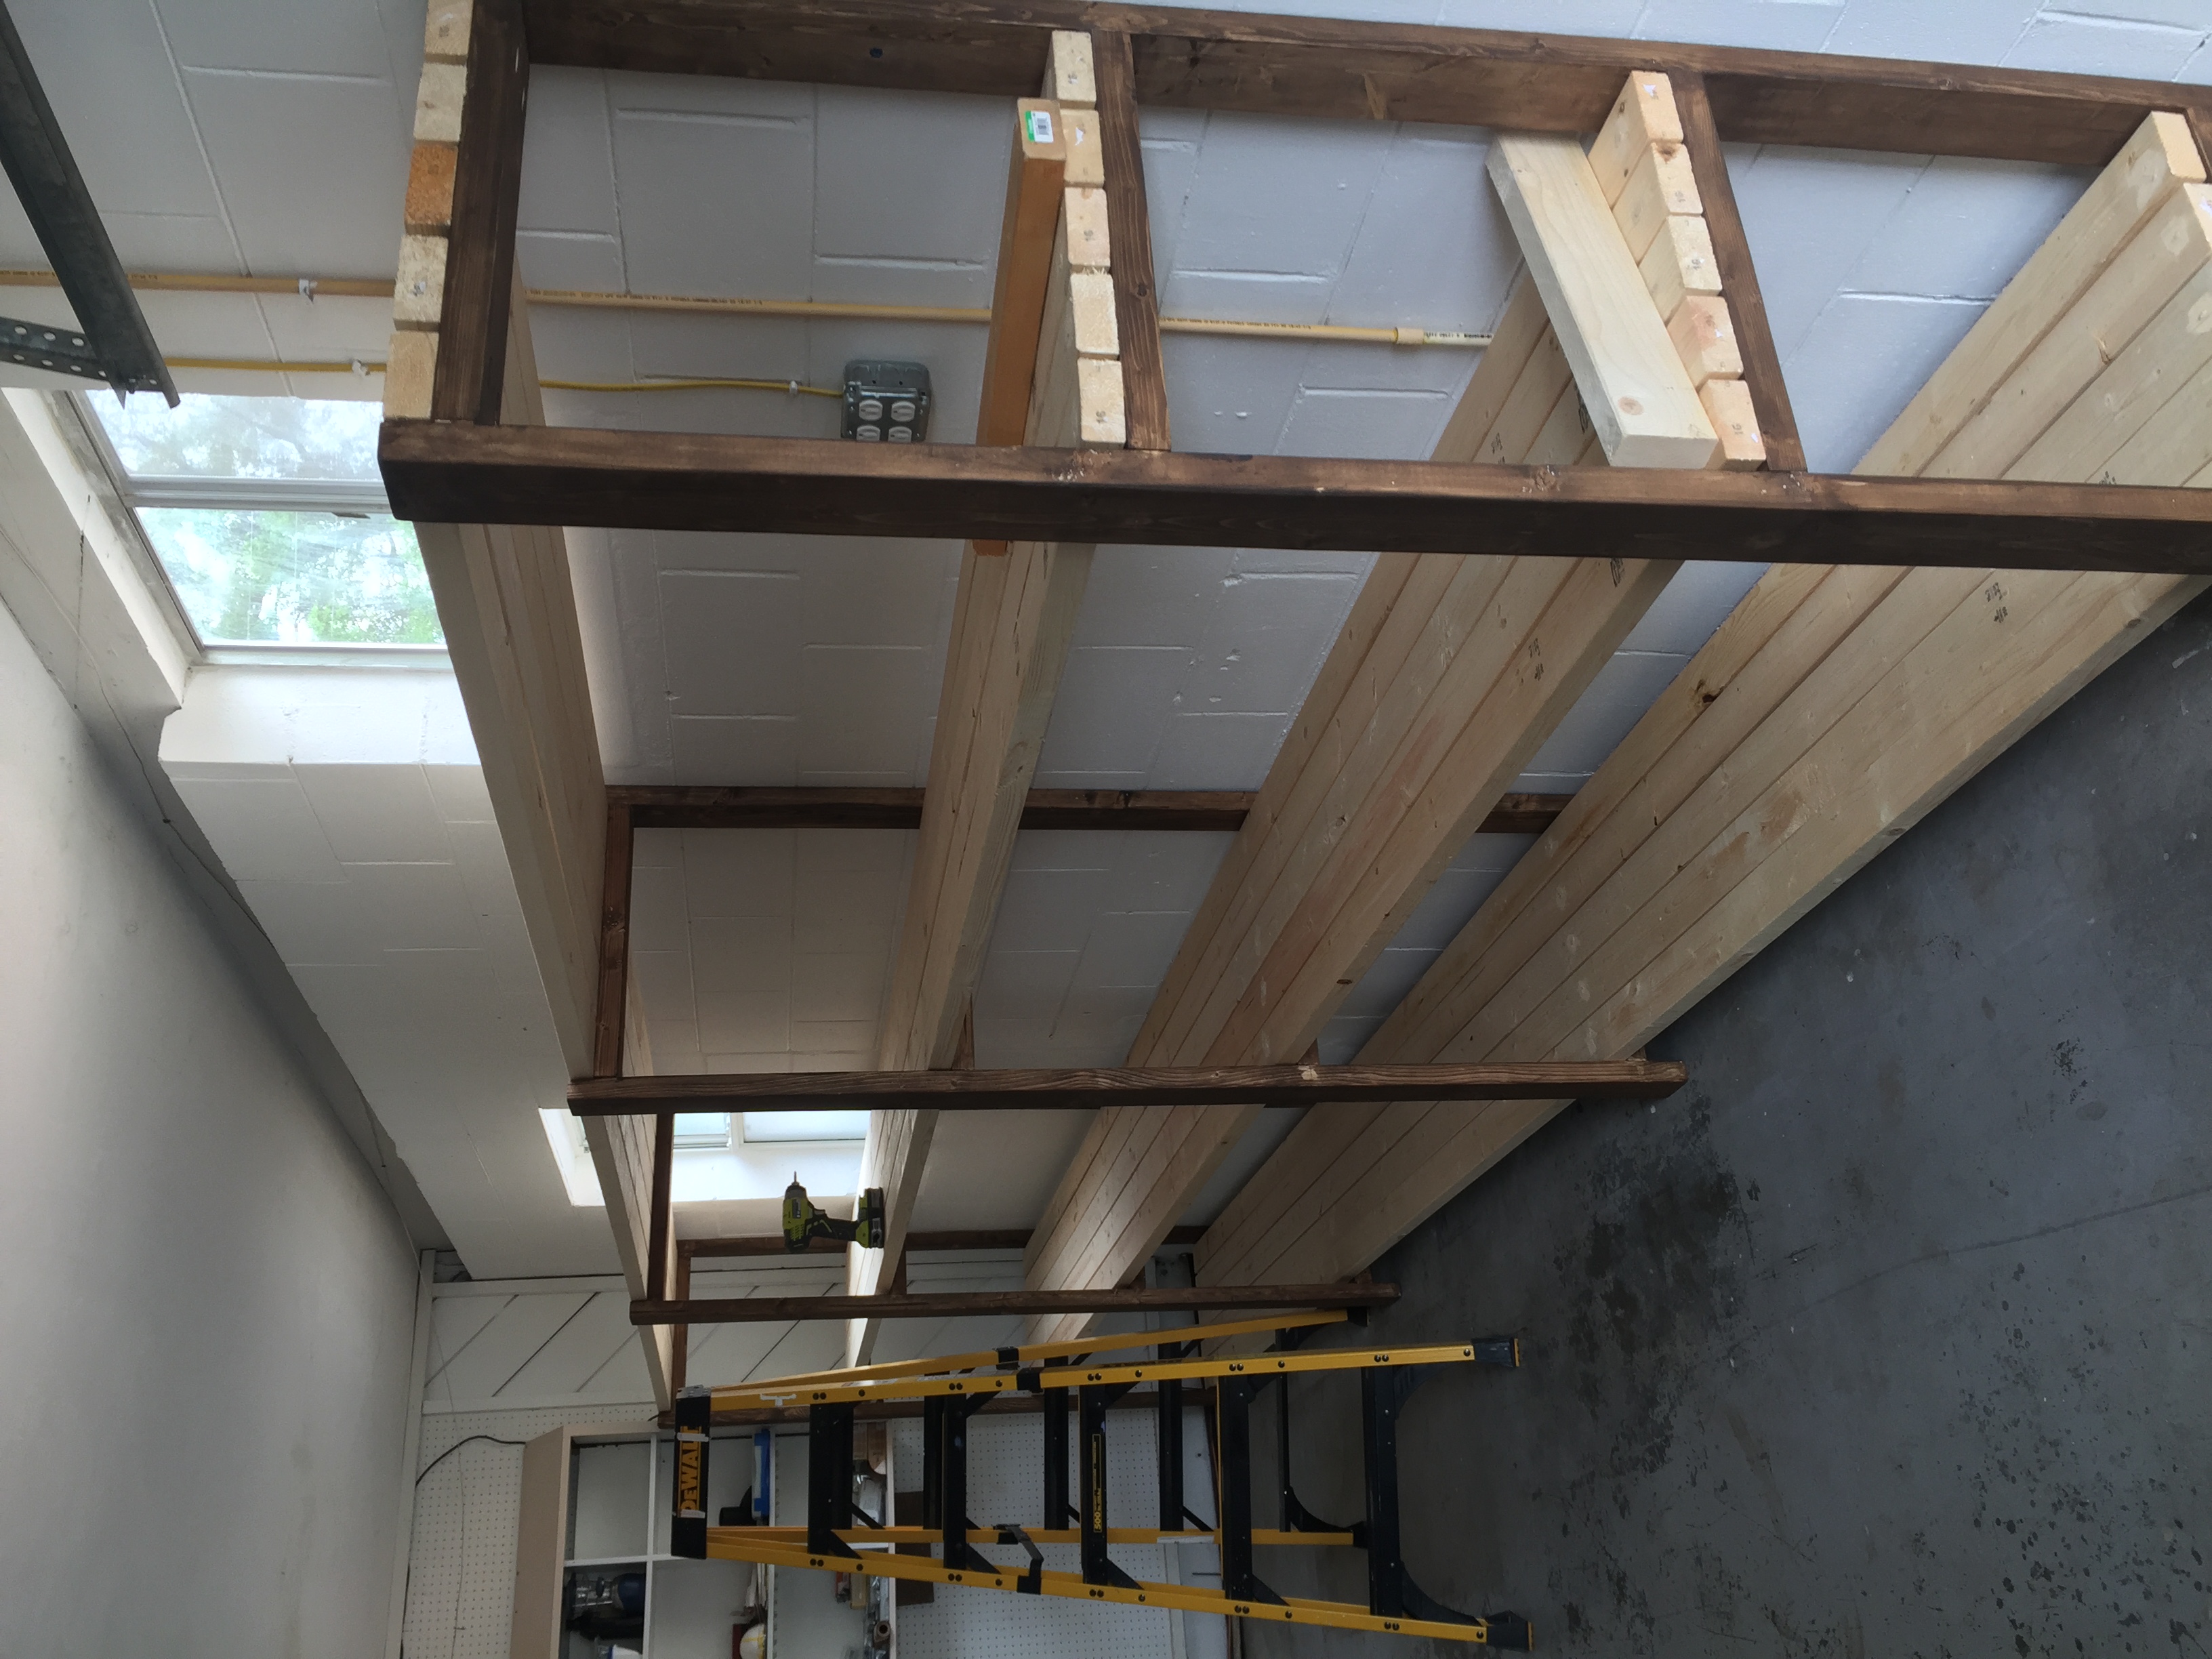
Built from Plan(s)