Community Brag Posts

Rustic rolling kitchen island

My version of the rustic rolling kitchen island. Really can't do the x's yet. It's all leftover wood and counter top. I use my other one similar to this as a coffee station.

Estimated Cost
This was leftover wood. Might run around 50.00.
Estimated Time Investment
Afternoon Project (3-6 Hours)
Finish Used
Min wax espresso.
Recommended Skill Level
Beginner

X Console Table

Submitted by Anonymous (not verified) on Mon, 01/28/2019 - 08:10

Easy to follow instructions.  Thanks!!

Estimated Cost
$60
Estimated Time Investment
Day Project (6-9 Hours)
Recommended Skill Level
Intermediate

Wood Sideboard

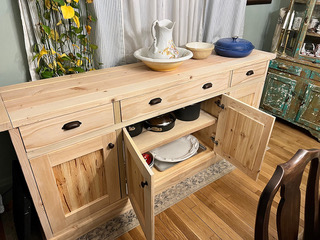
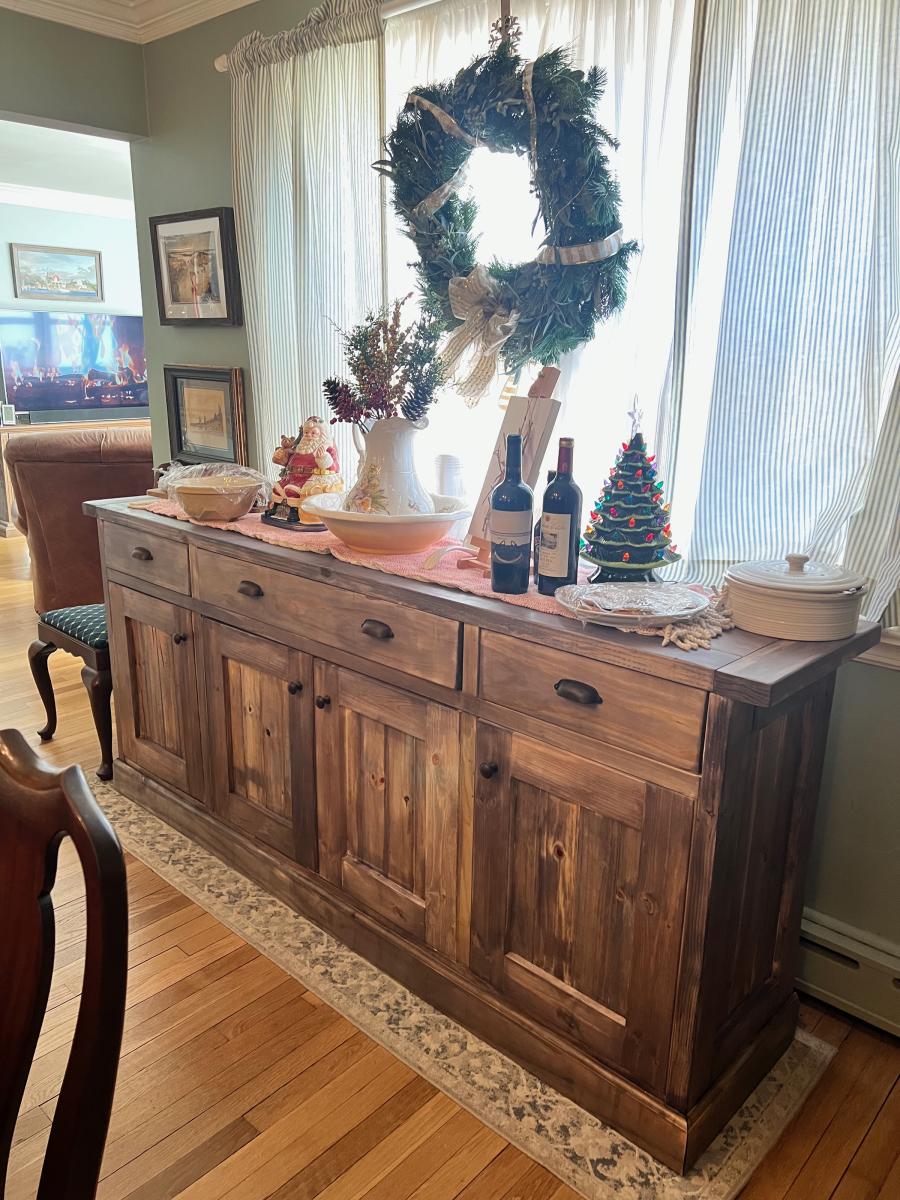
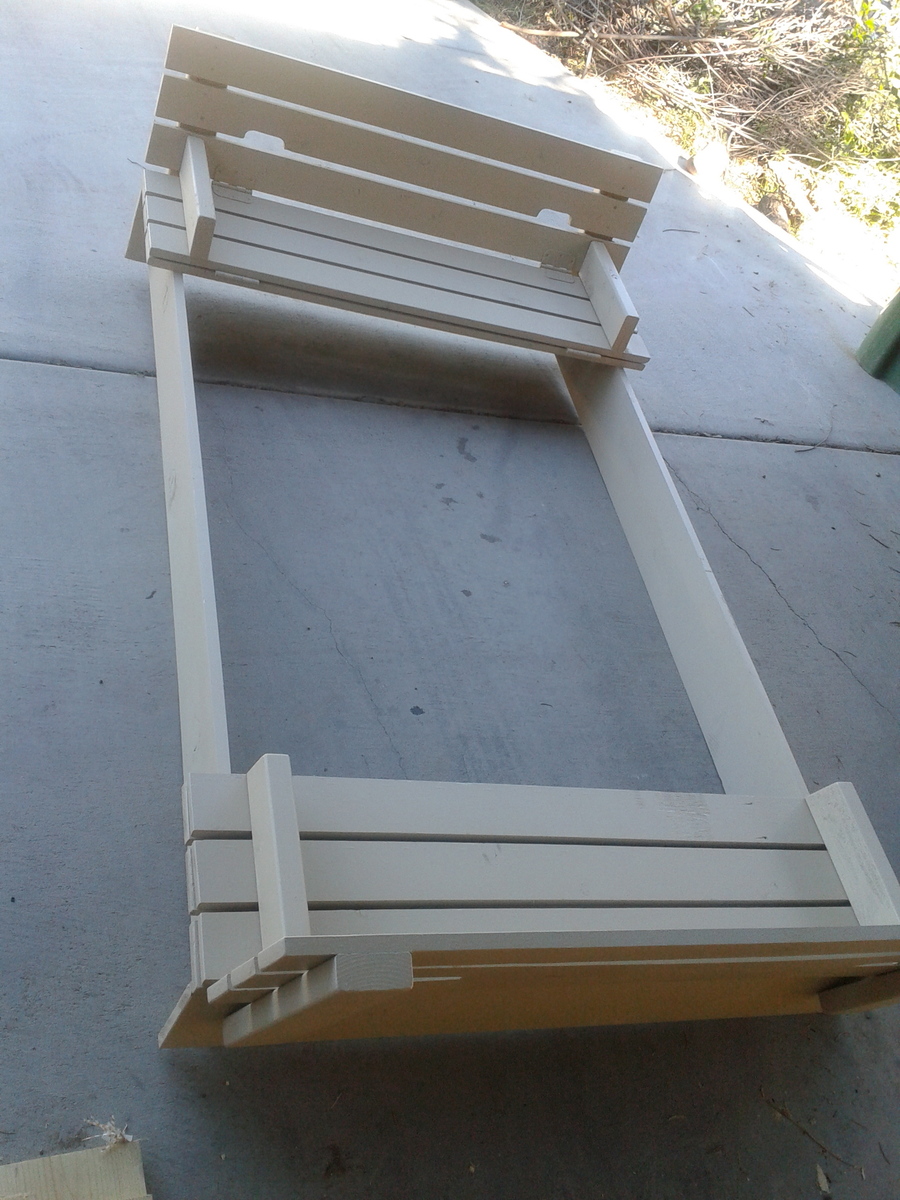
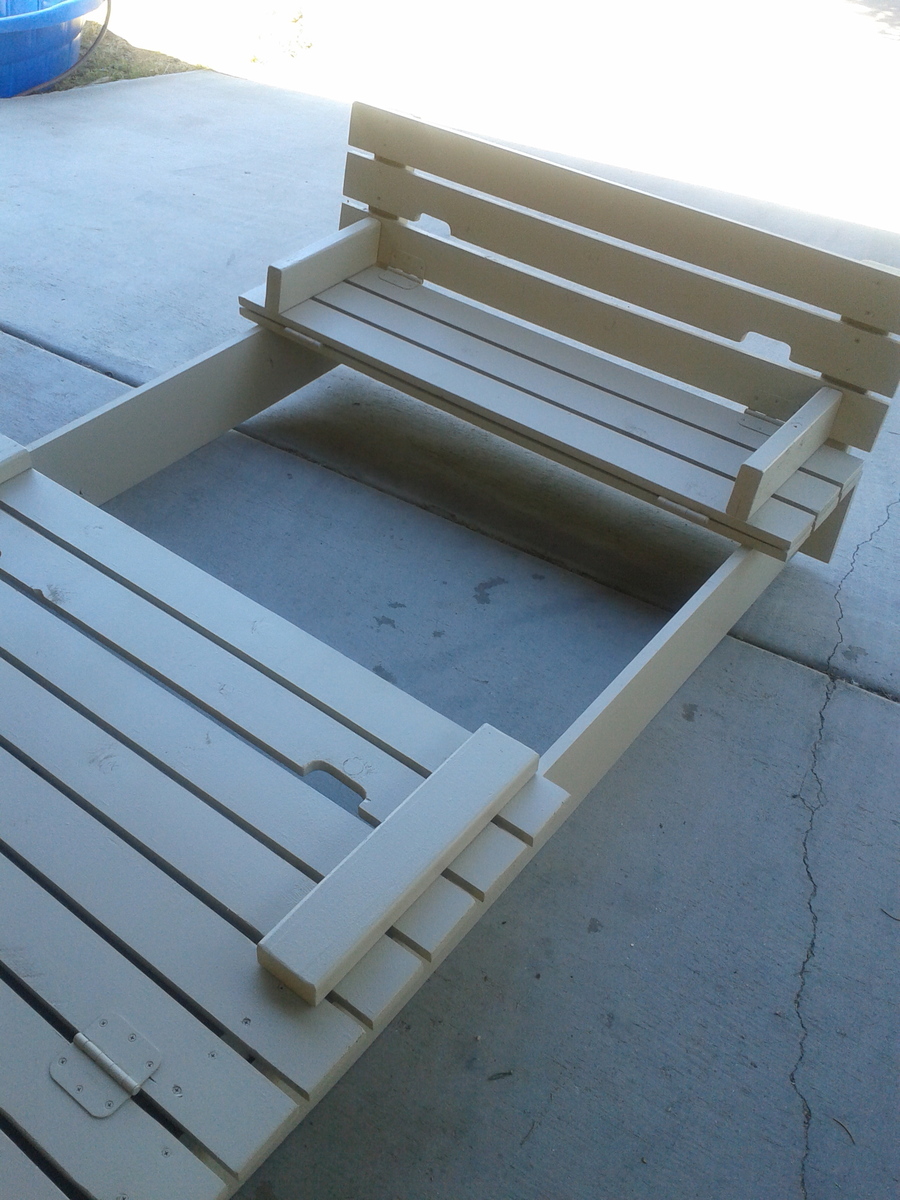
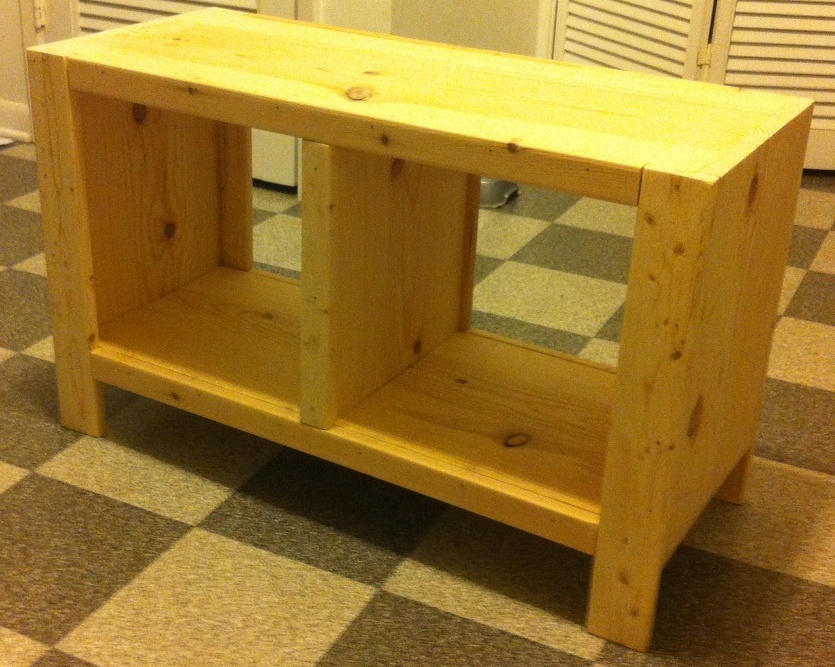
I decided to make this planked sideboard in early Nov. I just finished the build last week, working a few hours here and there in my basement. 
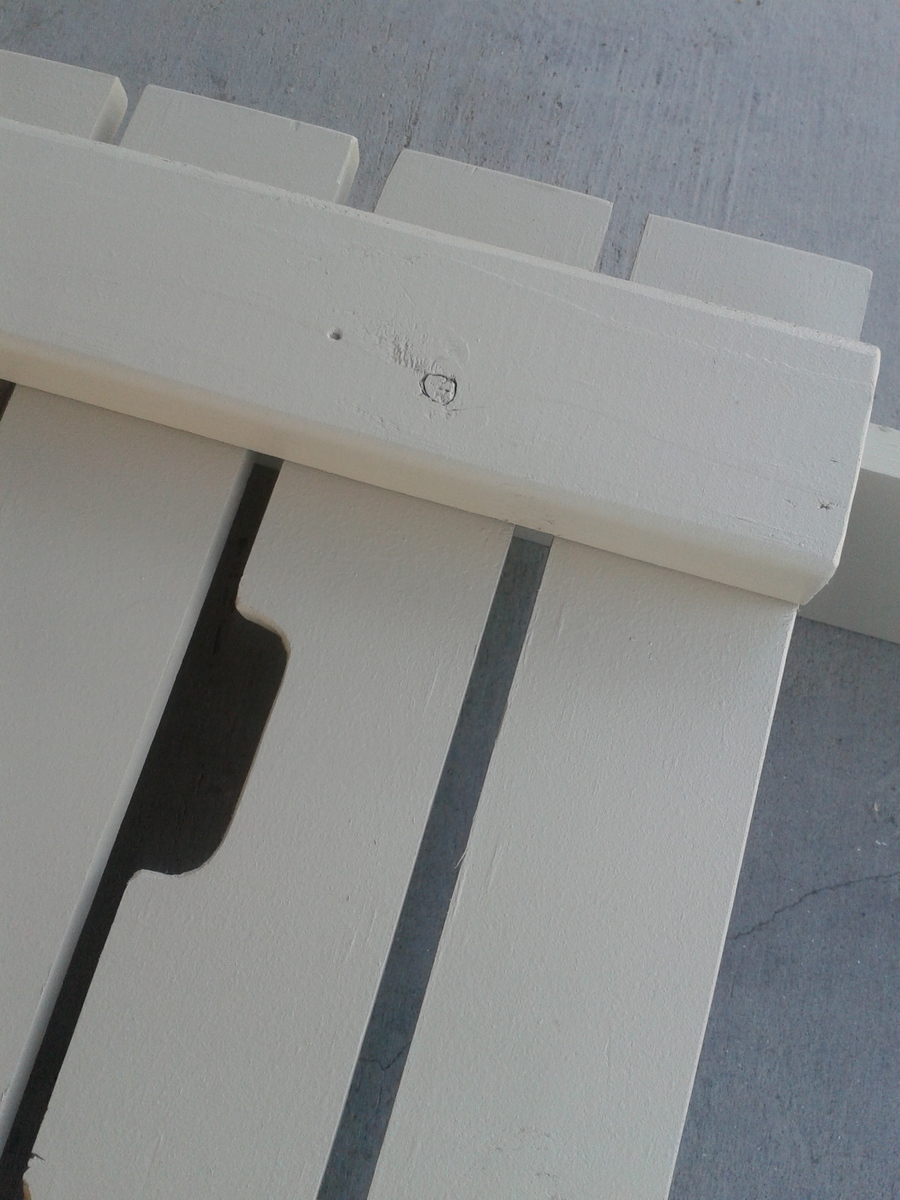
The plan is excellent and easy to follow. I’m a fine artist and graphic designer by trade so I am used to precise measuring, I strongly believe in the mantra of “measure three times cut once.” Follow the plan measurements to the 1/8” and your build will be spot on. I never have used pocket screw assembly before (I’m not really an active woodworker... my last build was a rustic farm table 17 years ago) 
so I invested in several Kreg jigs and practiced on some scrap pieces and was encouraged by the ease and accuracy!
This sideboard is a beast... so you will have to assemble the unit in its final resting place. 
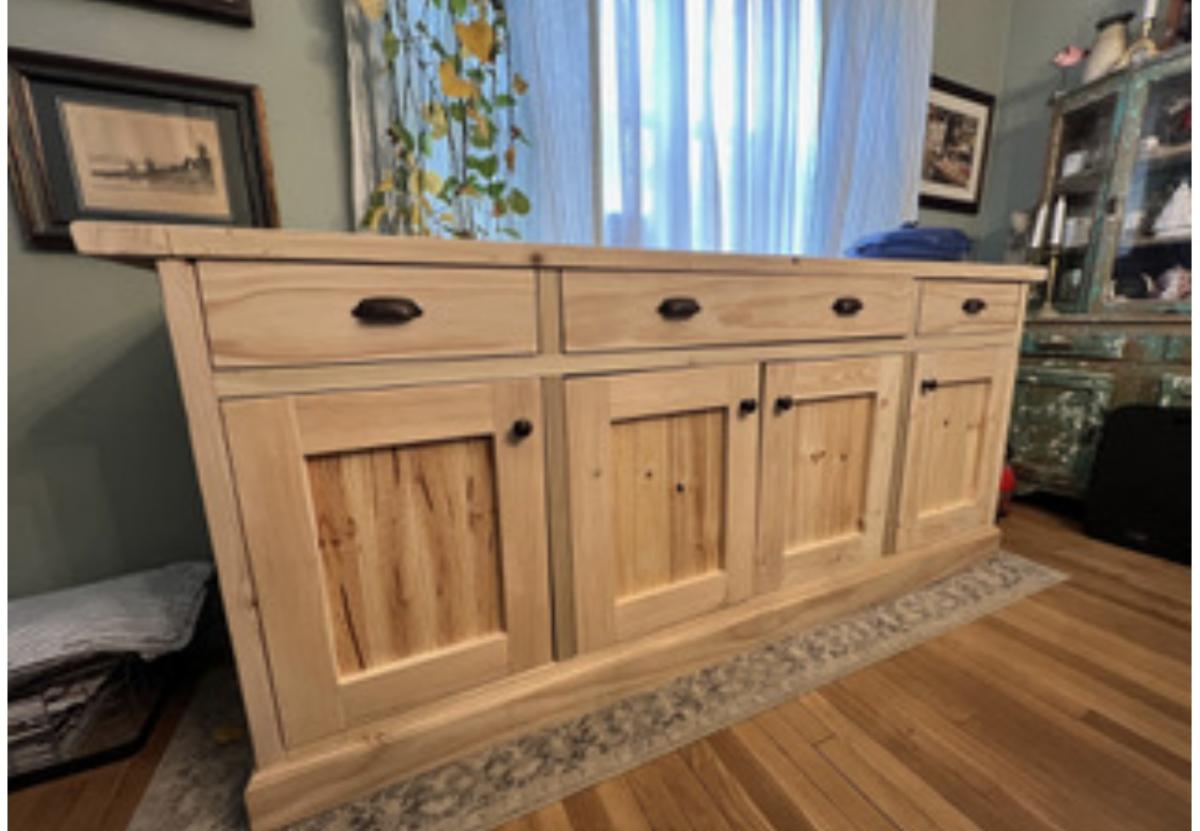
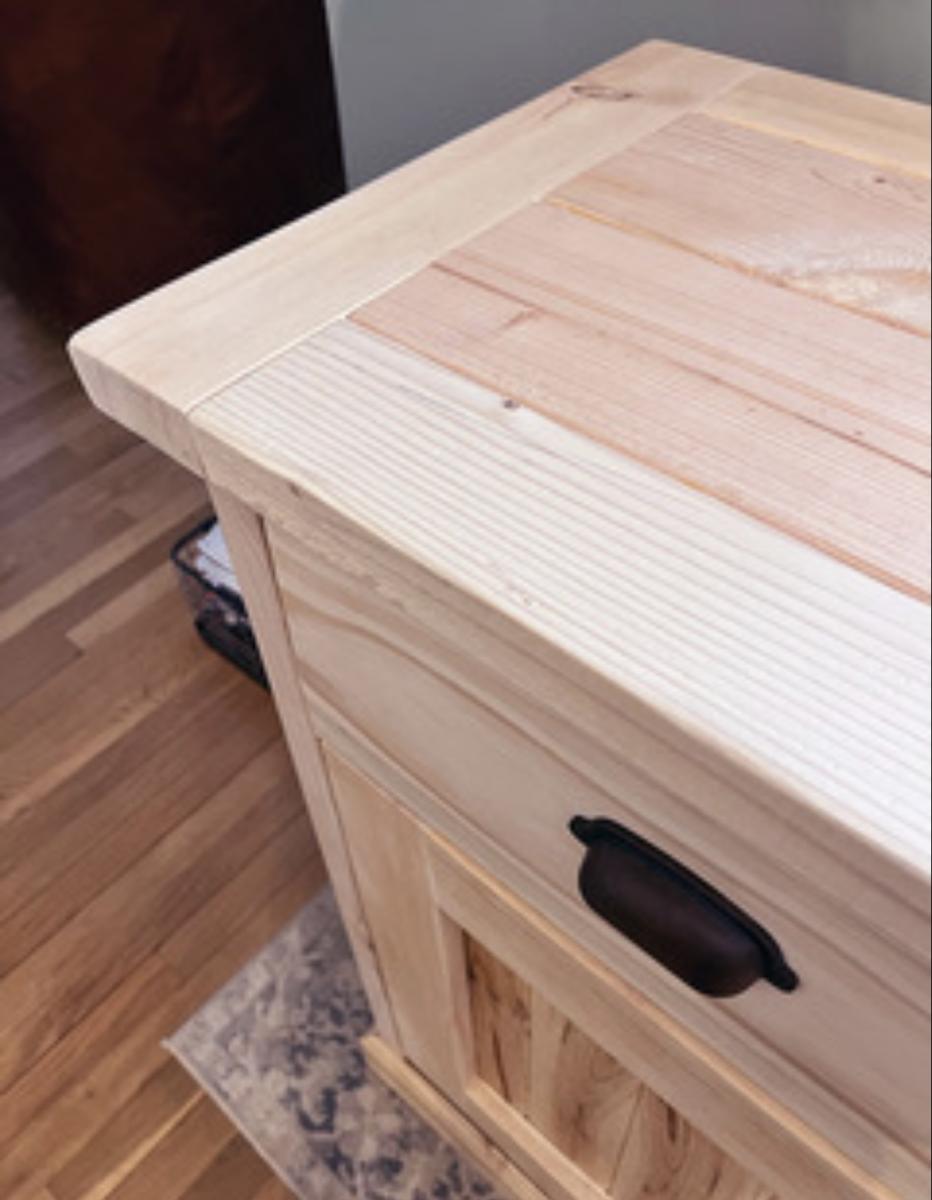
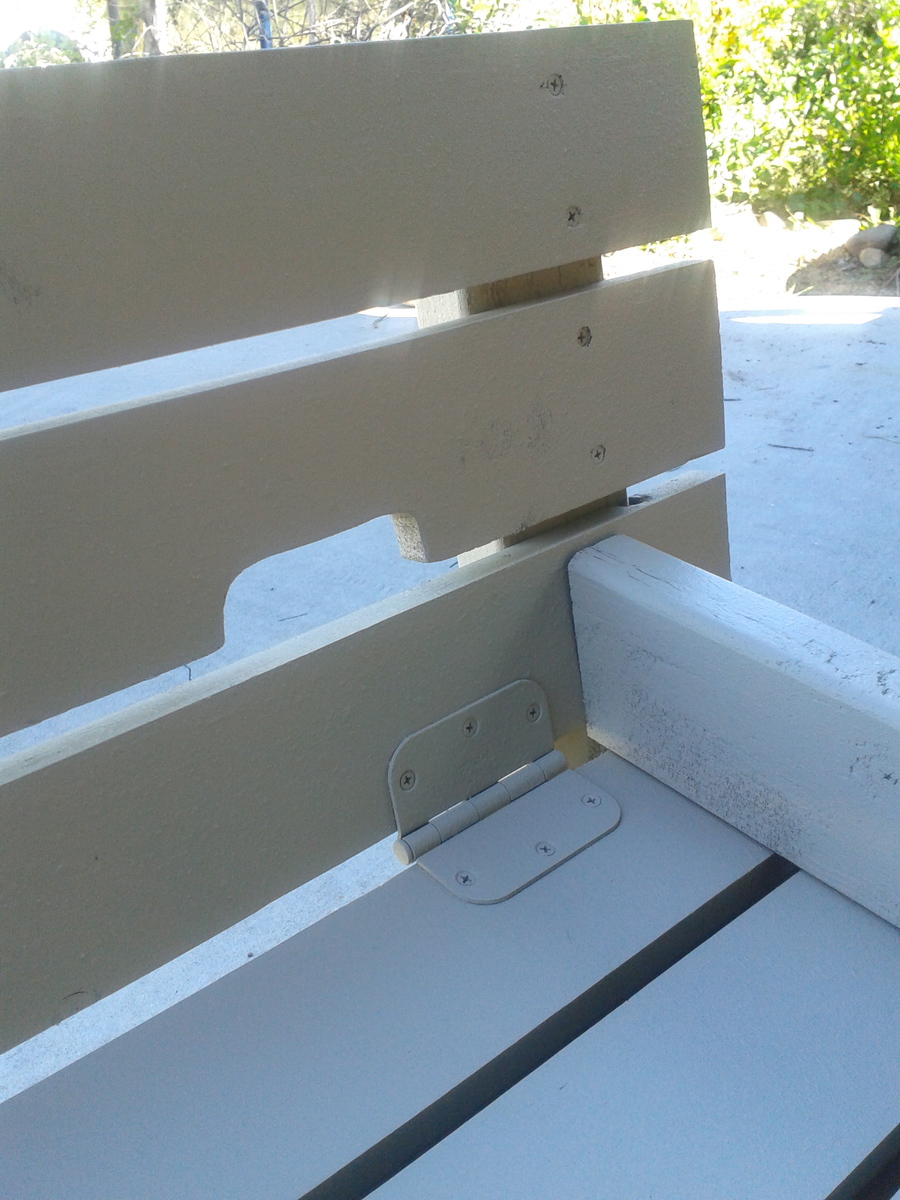
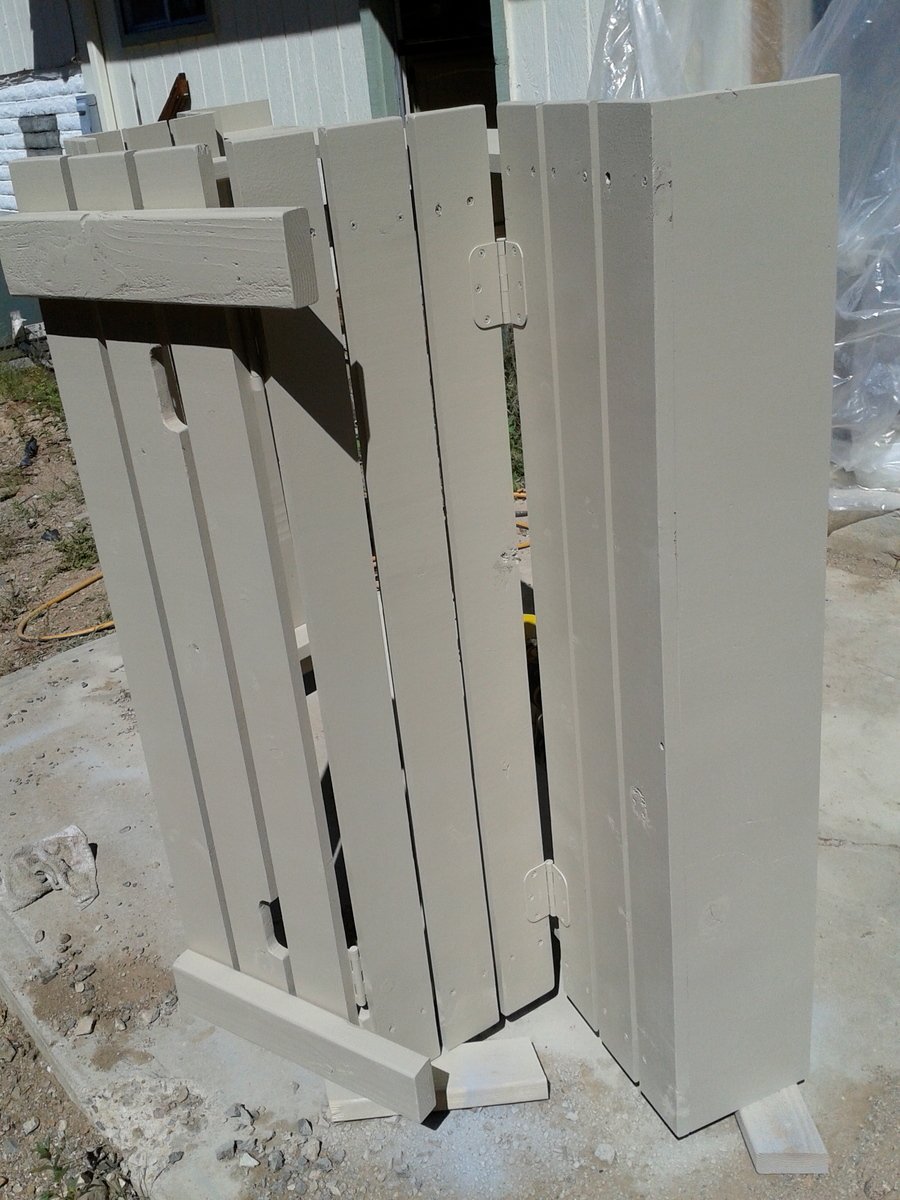
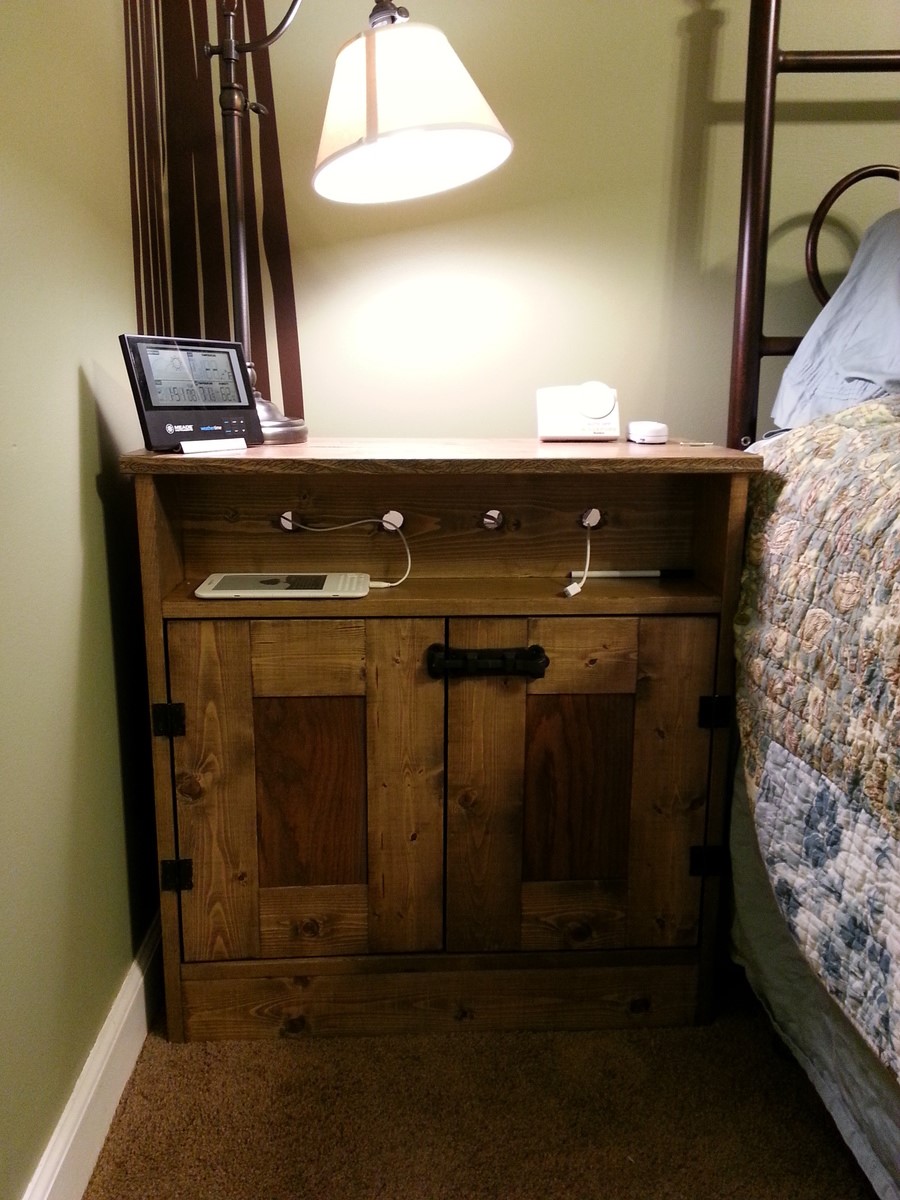
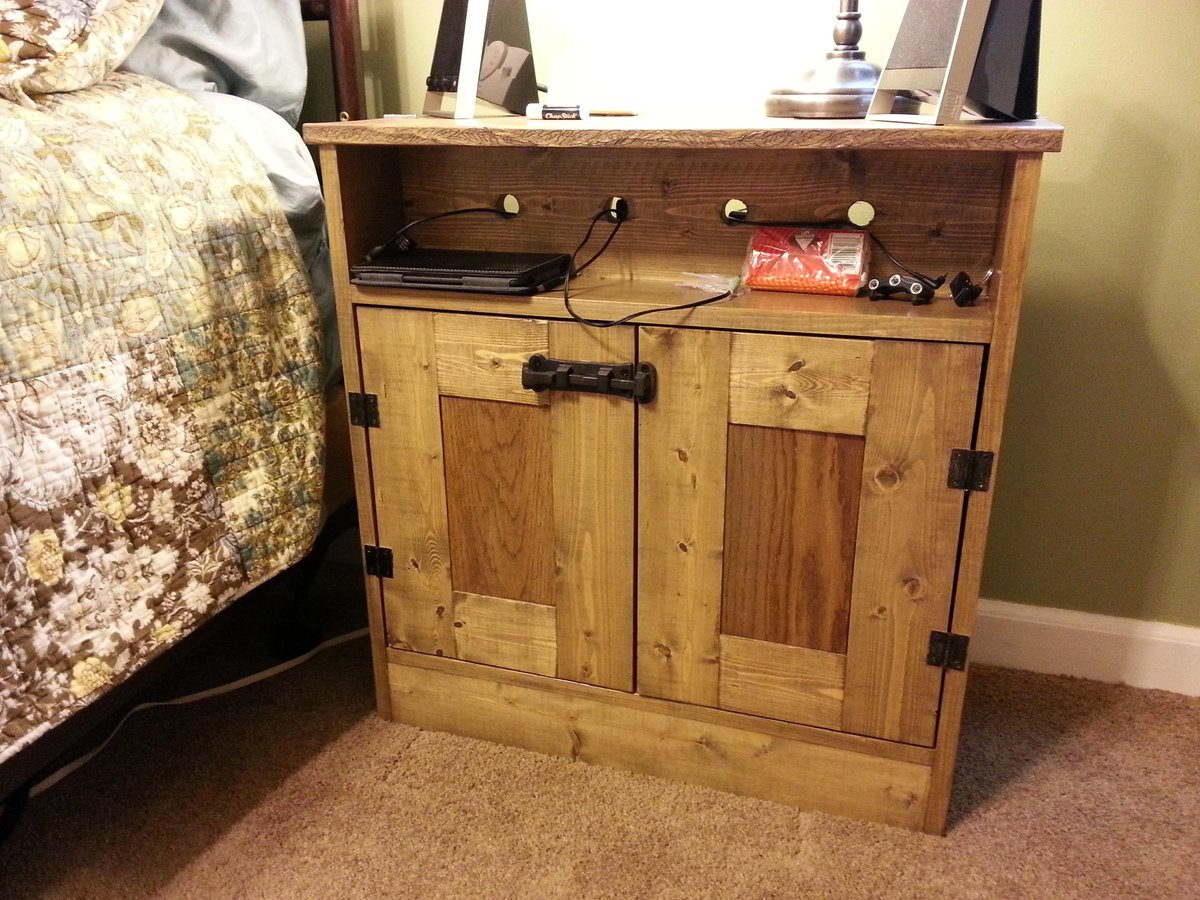
I can’t imagine what this thing actually weighs fully assembled. I opted to use Blum concealed hinges for the doors, Promark full extension soft close drawer slides. The knobs and pulls are from the Top Knobs Dakota Collection in patina rouge finish.
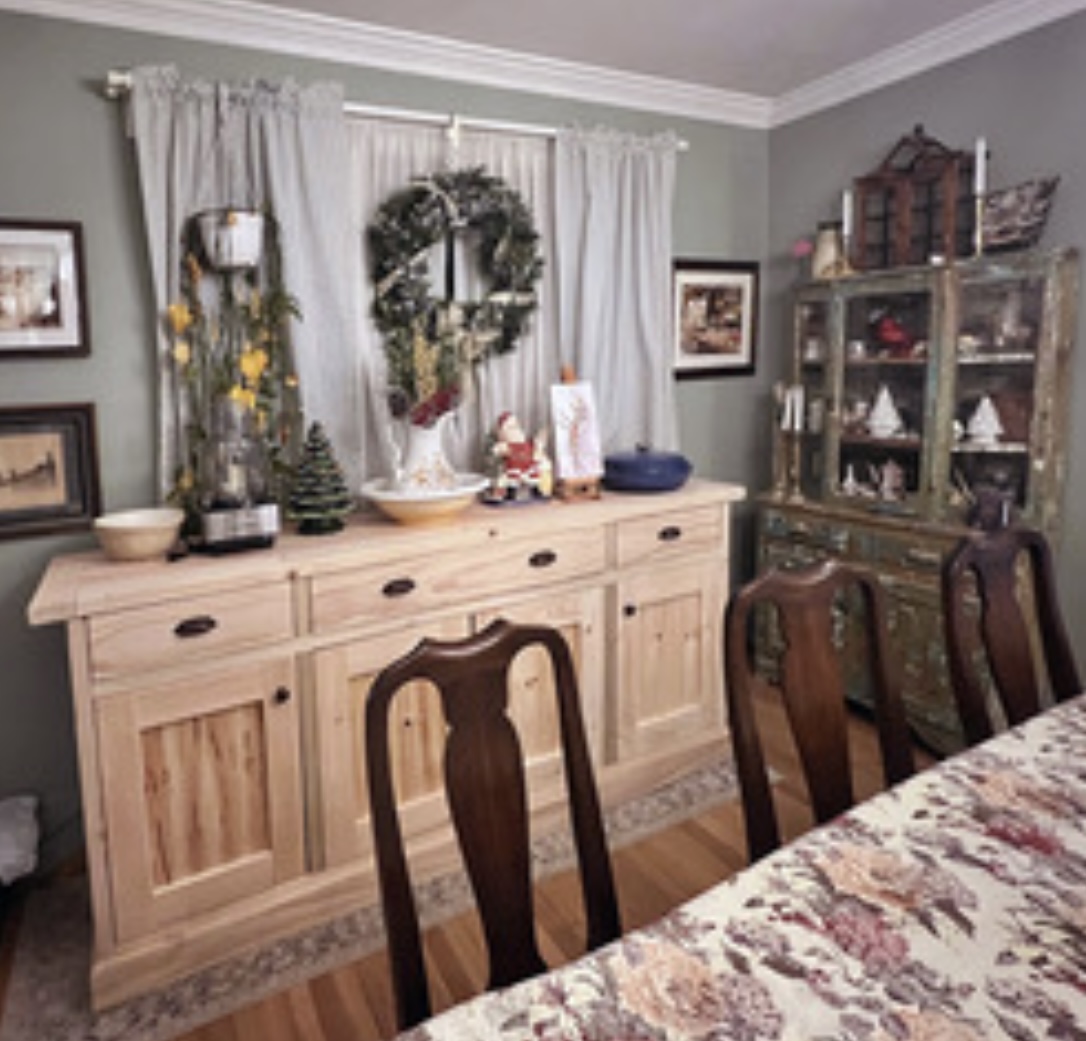
My one remaining task is what color finish to apply... I am pouring through color charts trying to decide. I know it has to be a water based low VOC product since the sideboard is in our living space and we don’t want fumes. Building this piece of furniture was a great experience, and knowing that I saved upwards of $2,500. on a similar store bought version makes it even sweeter.
Built from Plan(s)

Rustic Headboard

Submitted by Linaloo on Fri, 09/09/2011 - 12:34

Made by my husband.

Estimated Cost
$60 CAD
Estimated Time Investment
Afternoon Project (3-6 Hours)
Finish Used
White paint
Recommended Skill Level
Beginner

Comments

Theresa619 (not verified)

Mon, 09/26/2011 - 01:21

Love this! I also want to build this headboard and finish it in a bright white. One question- how did you secure it? Is it in any way attached to the wall or the bed frame or is it just leaning there? Thanks, and great job!

Custom Sandbox with built-in seats

Submitted by Ljmommy on Sat, 09/28/2013 - 10:13

On this project we modified a few things like the arm rests which we cut at an angle to keep kids from pinching fingers in there if someone decided to move the bench back on them. We also modified the size which we made 6'x4' to maximize play sand space and kid space. Therefore this made our benches bigger so that big kids (my husband) could sit on the benches and play in the sandbox. Yes there was talk about putting cup holders but I won the conversation by mentioning sand in his drink and we would have to do a sippy cup. We notched out the handles instead of installing handles which made it look sleek. We used the template from the hinge so it matched the shape....clever huh? We decided to primer and paint this one sandstone in the brick and mortar sample book by Behr and had them put it in an exterior paint color for us. We used a wagner paint sprayer which made the project fast at the end. Overall still an easy project for anyone. I do suggest pre drilling all holes first before screwing in screws so the wood doesn't split when doing the slats on the top.

Built from Plan(s)
Estimated Cost
$50-$75
Estimated Time Investment
Afternoon Project (3-6 Hours)
Finish Used
Primer/Paint
Recommended Skill Level
Intermediate

Comments

Farmhouse/Rustic table

Submitted by JruppJ on Sun, 12/13/2015 - 08:35

My Second DIY project! It turned out PERFECT :) 


Estimated Time Investment
Weekend Project (10-20 Hours)
Recommended Skill Level
Beginner

Comments

LOVE!

Submitted by Anonymous (not verified) on Sun, 02/03/2019 - 12:58

This project was simple and my husband didn’t have any issues following the plan. We did have to use an extra 2x4, because we didn’t cut the long pieces first. Cut the long pieces first, use the end pieces to make the smaller ones. :)

Built from Plan(s)
Estimated Cost
35
Estimated Time Investment
Afternoon Project (3-6 Hours)
Finish Used
Jacobean
Recommended Skill Level
Intermediate

DIY farmhouse table

Submitted by Anonymous (not verified) on Wed, 12/28/2022 - 16:05

A farmhouse table I built based on one of your inspiration projects! All by hand and chiseled myself 😍

Built from Plan(s)

Comments

Turquoise Chaise Lounger

Using this plan I built my lounger with some changes, mainly adding lawn mower wheels to one end. The cushions I made have a mesh bottom to let the cushions dry faster, and zippers so they can be removed and machine washed. More details on what I used and many more photos on my blog.

Built from Plan(s)
Estimated Cost
$60
Estimated Time Investment
Weekend Project (10-20 Hours)
Finish Used
oil based primer, 2 coats exterior latex paint: Glidden Swan White in semi-gloss, Minwax Outdoor polyurethane
Recommended Skill Level
Intermediate

Comments

Guest (not verified)

Tue, 09/20/2011 - 12:49

I love the idea of the mesh! It would work as a great bench when you need more seating too. I think it'd be nice with huge wooden wheels also.

Customized Bench with 2 cubbies

Submitted by DogDoc25 on Sun, 09/29/2013 - 20:06

I made this bench for a friend who had a very specific space that needed a bench. I had to make it so that there was about 30 inches of length on top but with enough room on the inside of the cubbies for 10-11 inch baskets but also had to make it so there wasn't enough space for a dog to get its head into the baskets when they were put into the cubbies. So it took some thinking with the math, but ultimately, I think they turned out great and the 10 inch baskets she bought work perfectly. I made the legs with 1x3s instead of 1x2s for extra support (and that's also what I had in my scrap pile). I left it unstained because my friend is going to do that part. This took about 3 hours to plan and build. I used the kreg jig to hide pocket holes to attach the legs to the top and bottom and also to attach the inside divider to the top of the bench (I used nails to attach the inside divider to the bottom).

Built from Plan(s)
Estimated Cost
I used all scraps, but if I were to have bought the wood it probably would have come to around $20
Estimated Time Investment
Afternoon Project (3-6 Hours)
Finish Used
none
Recommended Skill Level
Beginner

Coffee bar based on Easy Kitchen Island

Submitted by B.E. Lewis on Thu, 12/17/2015 - 13:25


Used 2x4s for the top instead of 2x6s. All the shelves are 1x2s. My first attempt at a door and drawer - it kicked my a**! 

Top stain: Minwax Golden Pecan

Then Minwax Polycrylic 3 coats

Estimated Cost
Wood around $35 not counting stain paint or clear coat
Estimated Time Investment
Week Long Project (20 Hours or More)
Finish Used
See description
Recommended Skill Level
Intermediate

Comments

Bedside table with phone charger

Submitted by Anonymous (not verified) on Sat, 02/09/2019 - 06:03

Adjusted the dimensions to make it smaller. I used scrap plywood and mdf for the base. I used oak for the top. I routed the top instead of using edge trim. I added a USB charging outlet on the table top that plugs into an outlet.

Built from Plan(s)
Estimated Cost
$100-$150
Estimated Time Investment
Day Project (6-9 Hours)
Finish Used
Satin white on base. Kona color stain on top. Two coats of furniture wax.
Recommended Skill Level
Intermediate

Tall farm table

Submitted by Anonymous (not verified) on Sat, 01/07/2023 - 08:21

I built this tall farm table for his new home. They love it and now need to get more furniture which I will over time build for him. Therefore, more to come.... I love your plans and keep them coming.

Comments

New Bookshelf, First Project!

Submitted by AmberAZ on Thu, 09/22/2011 - 19:16

My DH and I built this using the side tower plan. It was about $50 in materials, including the birch 1/4" plywood we used for the back. We made it 48" tall and 24" wide. I finished it with a charcoal grey water based Minwax stain, and then sanded that out to bring out the wood grain more. I topped it with two coats of wipe on poly, also by Minwax. It was not too hard to build and was pretty fun actually. I am just glad that it actually looks like a piece of furniture and not some boards screwed together. I kind of want to do one with red stain now to make it look like barnwood, hmmm...

Estimated Cost
$50 plus a little for finishing supplies
Estimated Time Investment
Day Project (6-9 Hours)
Finish Used
Minwax water based stain and wipe on polyurethane
Recommended Skill Level
Starter Project

Rustic X Kitchen Island - Double

Submitted by katie0910 on Tue, 10/01/2013 - 11:53

This is my latest project and my first project post on my new blog. I've included some step-by-step photos on my blog. I'm using this kitchen island as a craft cart in my craft room. This project was so fun and easy to put together. I love how it turned out!

Built from Plan(s)
Estimated Cost
$175
Estimated Time Investment
Weekend Project (10-20 Hours)
Finish Used
Valspar Paint + Primer in Rushing Stream
Valspar Antiquing Glaze
Recommended Skill Level
Intermediate

Comments

NimbleShopper

Wed, 10/02/2013 - 06:52

We have a small house and my craft closet shares space with well other household stuff. :( My sewing table is the computer table when my self employed husband doesn't need to work. Your work has give me a great idea for a roll away craft table. Something like this could really work for me. Thanks for posting it, and good work!

spagirlval

Thu, 10/31/2013 - 19:10

I'm in the middle of making one of these also. I had to shorten by 4" so it will fit where I need it to go. I love the color you used. I might need to try that with a dark stained top.

Farmhouse Bedside Table

Submitted by stacynabby on Sun, 12/20/2015 - 15:19

I made these two tables for a coworker who lost her home in the Valley Fire in California in 2015. She only had owned her home for 71 days and she lost everything. So, I thought I could make her some furniture as a very small token. They took me just half a day to build. I love this hobby.

Built from Plan(s)
Estimated Time Investment
Afternoon Project (3-6 Hours)
Finish Used
Minwax Sedona Red
Recommended Skill Level
Beginner

Comments

Great plans!

Submitted by Anonymous (not verified) on Thu, 02/14/2019 - 18:59

All pine stock from Home Depot. I had to mill some ofvthec2 x 6s to get straight edges for the top. Dark walnut stain. 3 coats varathane. Came out great! Thanks for the plans Ana!

Estimated Time Investment
Week Long Project (20 Hours or More)
Finish Used
Varathane water based
Recommended Skill Level
Intermediate

Entryway Hall Tree

Submitted by Anonymous (not verified) on Wed, 01/11/2023 - 04:01

I modified the plans for the farmhouse hall tree to build this for our entryway. The farmhouse hall tree was a perfect base plan for this project! We went from a mess of jammed in jackets and piles of shoes to a clean and organized entrance! Thank you so much for providing the original plans! We love this!

Built from Plan(s)

Comments

Doll Bunk Beds

Submitted by CUTiger89 on Thu, 09/29/2011 - 18:54

This is absolutely the first thing that I've built and I have the bug now. Having been recently laid off, this project peaked my interest from a creative and financial standpoint. Handmade gifts are the best and I've long been a paper-crafter. This was a birthday present for my daughter that would be something that she would love and that her friends wouldn't have. The challenge was impossible to resist. Aside from not mastering wood filler as well as I would have liked, I could not be happier with the way it turned out. Ana's plan was super!

Estimated Time Investment
Day Project (6-9 Hours)
Finish Used
primed and then finished with interior satin white.
Recommended Skill Level
Starter Project

Comments

Charging Nightstands

Submitted by SaraLodise on Thu, 10/03/2013 - 12:45

This was such an awesome plan for us. We have two phones, two kindles, a tablet, a laptop, lamp dimmers and heated mattress pad controls. Needless to say the wires got a little out of control. The plans were super quick and easy, and it was no hassle to make two of them. I used the same stain combo Ana used on her's but I finished with Miniwax Polycrylic for extra protection against wet water glasses, early morning coffee spills and dog slobber. I love the rustic earthy tone the stains make. Dresser set soon to come! P.S. the center pieces on the doors are left over oak scraps I had in 1/2" thick. Thus, they stained a bit more red than the pine boards. I was worried about the contrast but I really like the way it turned out.

Estimated Cost
$60 per nightstand (Inner shelf, ply backing & door centers were left over scrap, also got the door latches free with a PB coupon)
Estimated Time Investment
Weekend Project (10-20 Hours)
Finish Used
Prestain -> 1 coat Miniwax oil-based in Weathered Oak -> 1 coat Miniwax oil-based in Special Walnut -> 2 coats of Polycrylic
Recommended Skill Level
Beginner

Comments

TeriA

Thu, 10/03/2013 - 14:46

Why do you tease? That latch is no longer available!

But seriously, beautiful night stands.

Snowflake shelf

Submitted by Anonymous (not verified) on Thu, 12/24/2015 - 10:08

I just loved this shelf that I made 10 of them for family for Christmas! We made the original size but decided to size it down by a third. :)

Estimated Cost
less than $20
Estimated Time Investment
An Hour or Two (0-2 Hours)
Recommended Skill Level
Beginner

Comments