Cedar Fern Planter

Great plans as always. This was a quick build. I had most of the wood already and bought furring strips for the sides. I painted it to match the shutters on my house. I love it!

Great plans as always. This was a quick build. I had most of the wood already and bought furring strips for the sides. I painted it to match the shutters on my house. I love it!
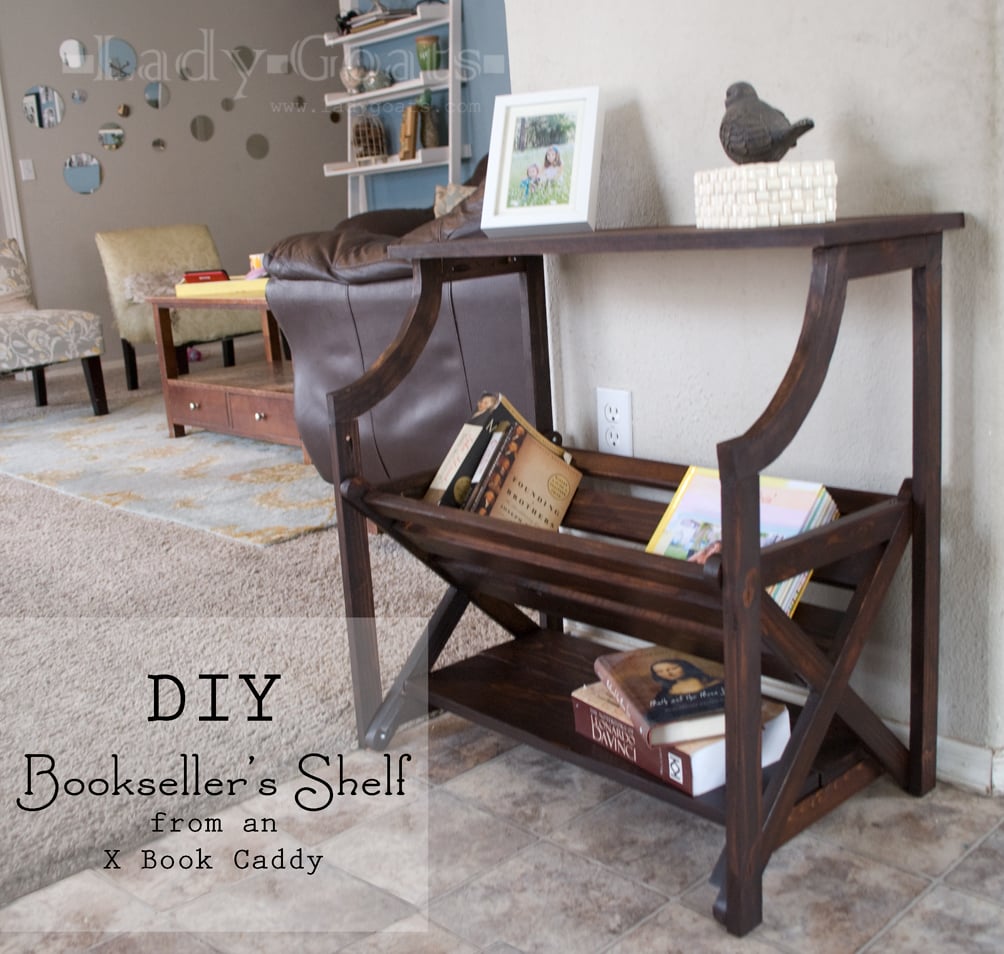
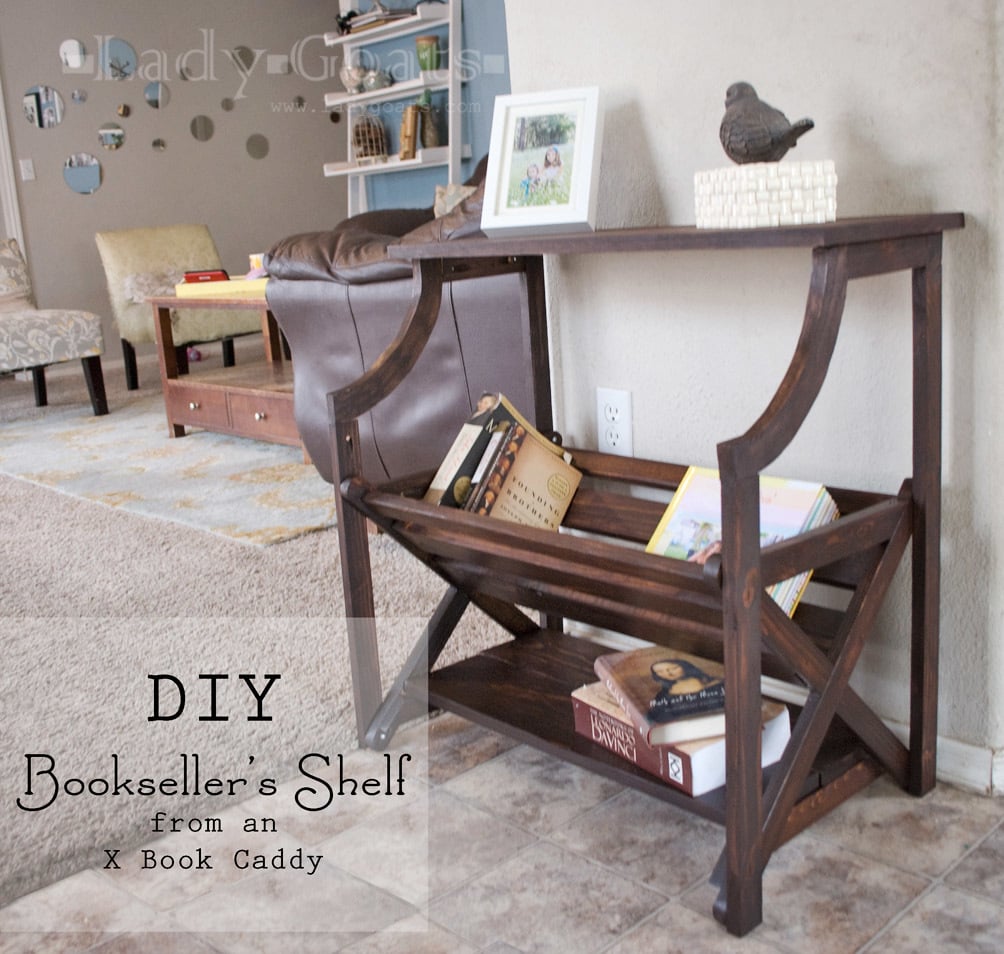
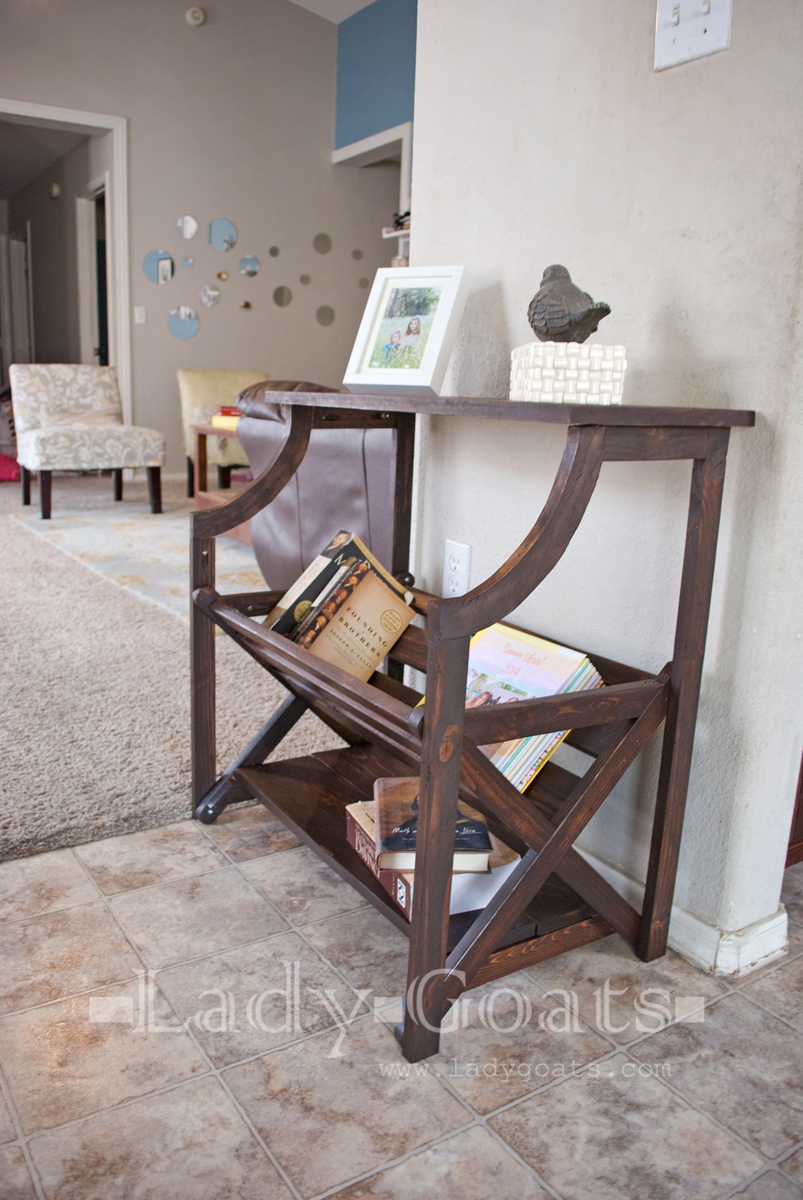
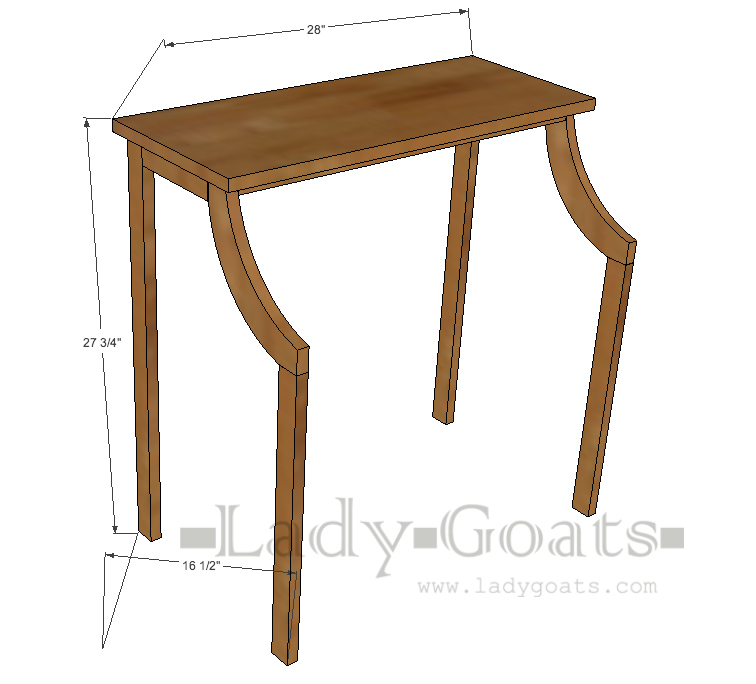
After building my daughter a storage bed, I no longer needed the X Book Caddy that I had built to contain her books. It's taken on a new life as a nightstand for me!! I modified the caddy to be nightstand height, but it can easily have height added to become a console table. If you want, go build the x caddy and then click over to my blog for the tutorial on making it the bookseller's shelf!
Tue, 01/27/2015 - 15:12
Wow I just love how this turned out! Thanks for sharing your talent!
In reply to Wow I just love how this by Ana White
Fri, 01/30/2015 - 19:24
Wouldn't do it if it weren't for you! <3
In reply to This is fabulous! by marenras
Fri, 01/30/2015 - 19:25
Can't wait to see it! I just saw that Ana did something very similar, so make sure you check it out, too! http://ana-white.com/2011/02/library-console-table
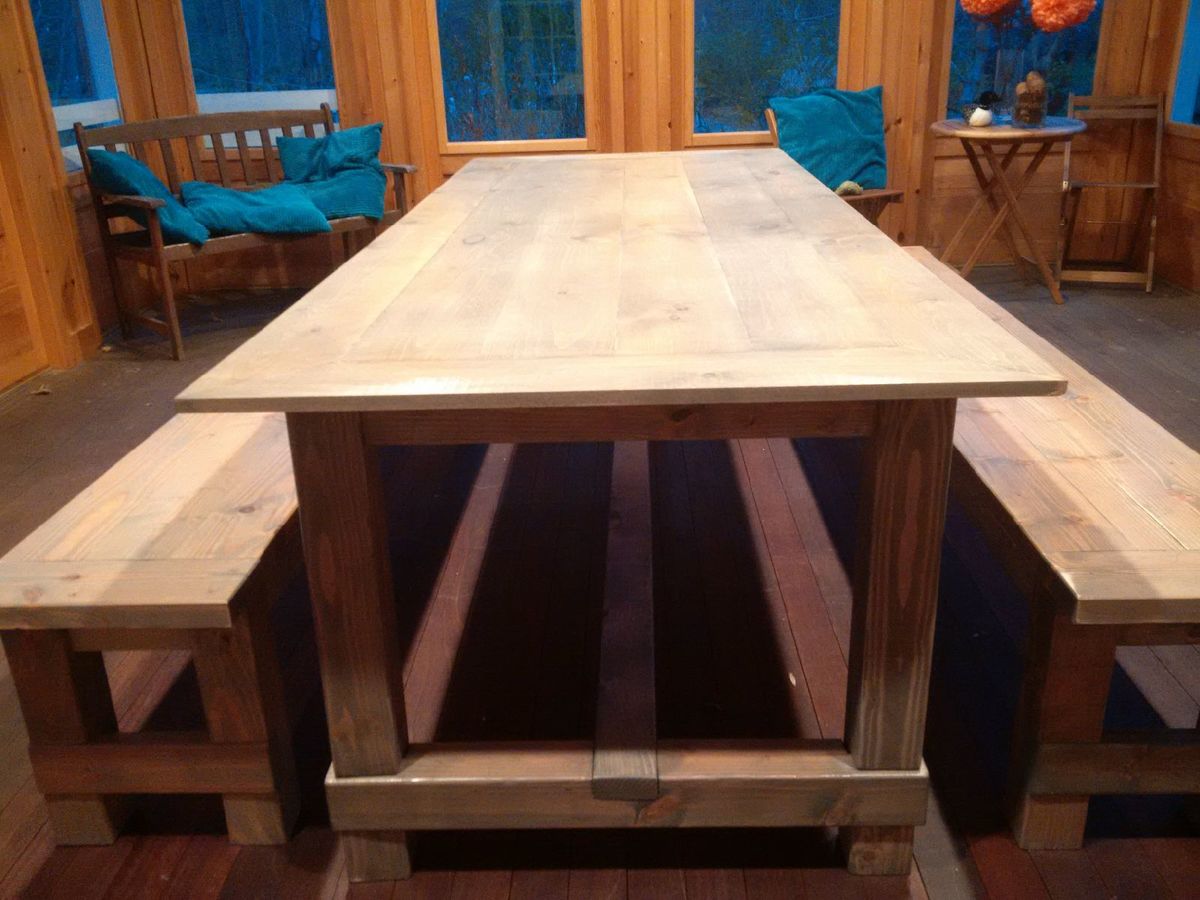
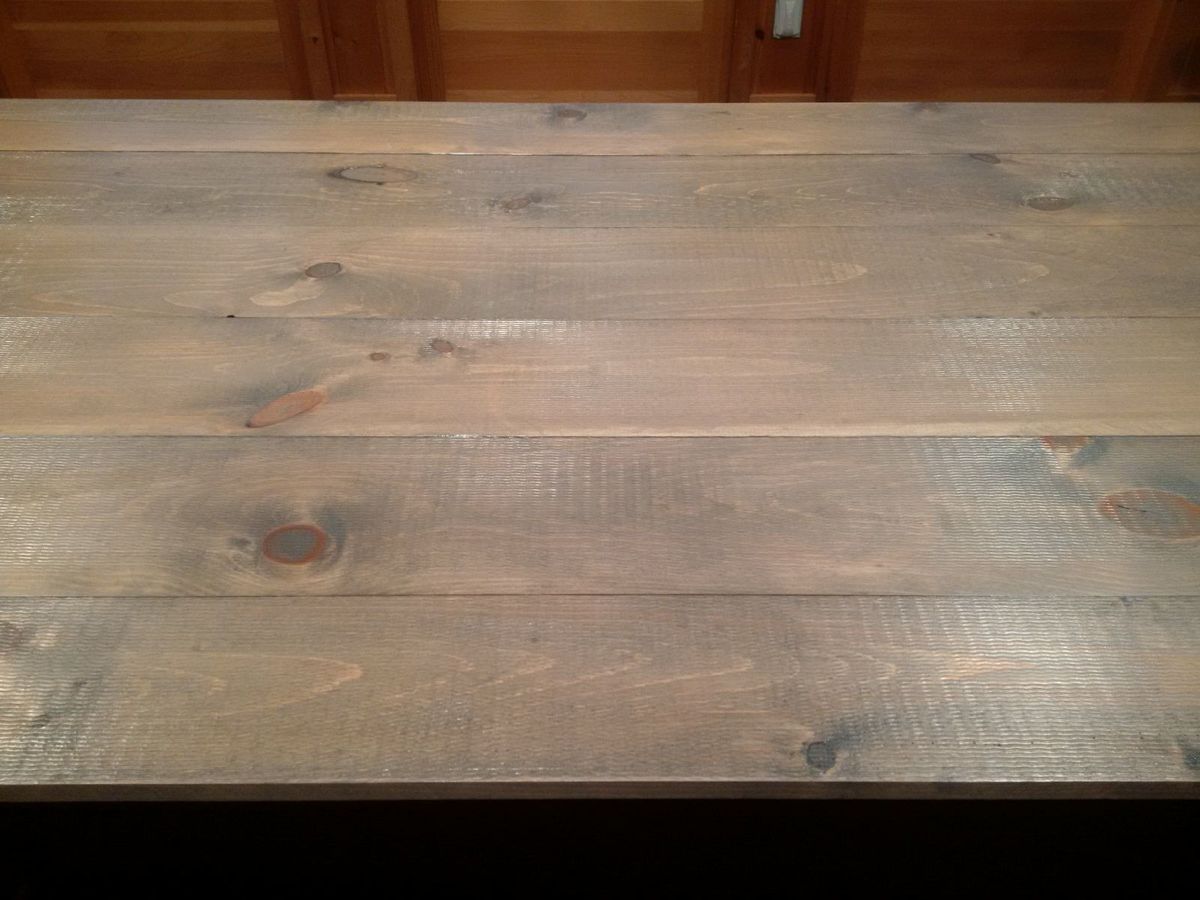
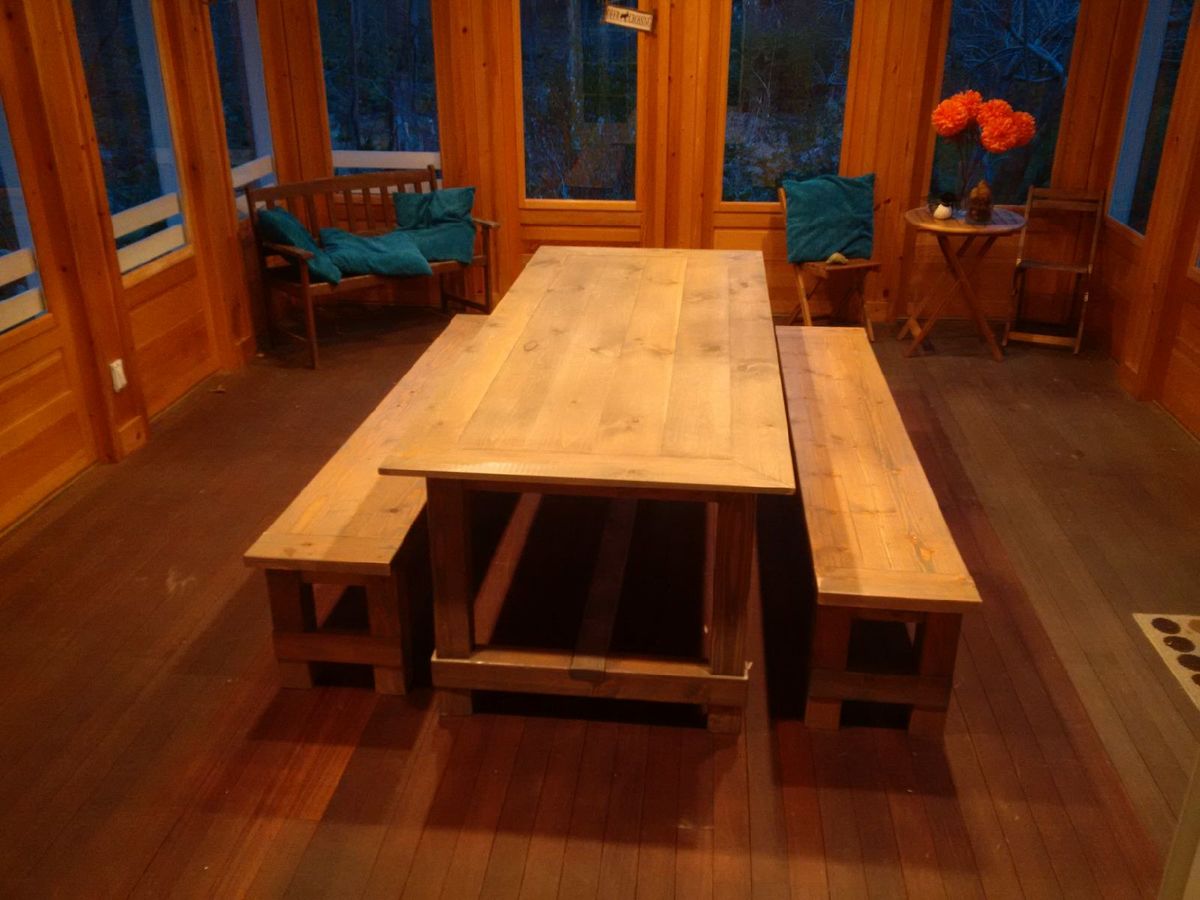
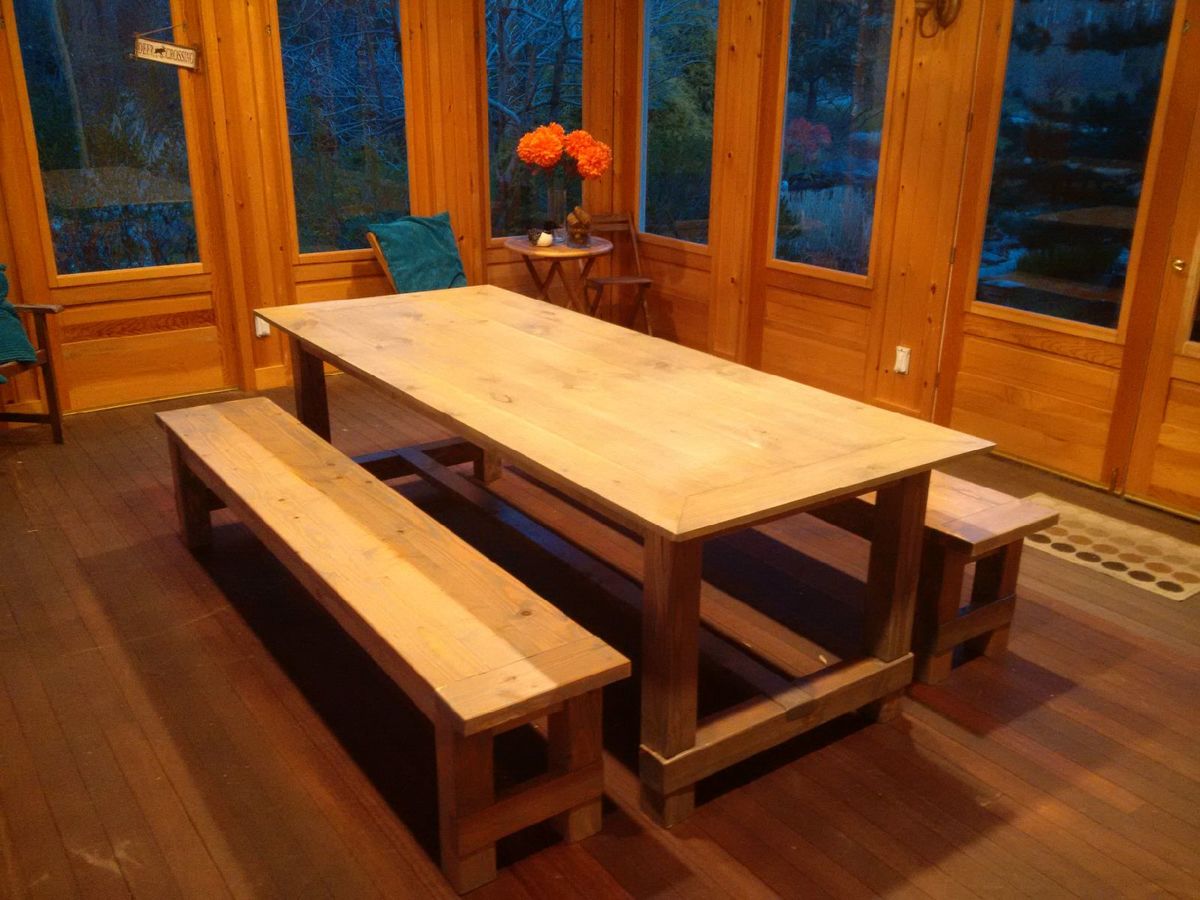
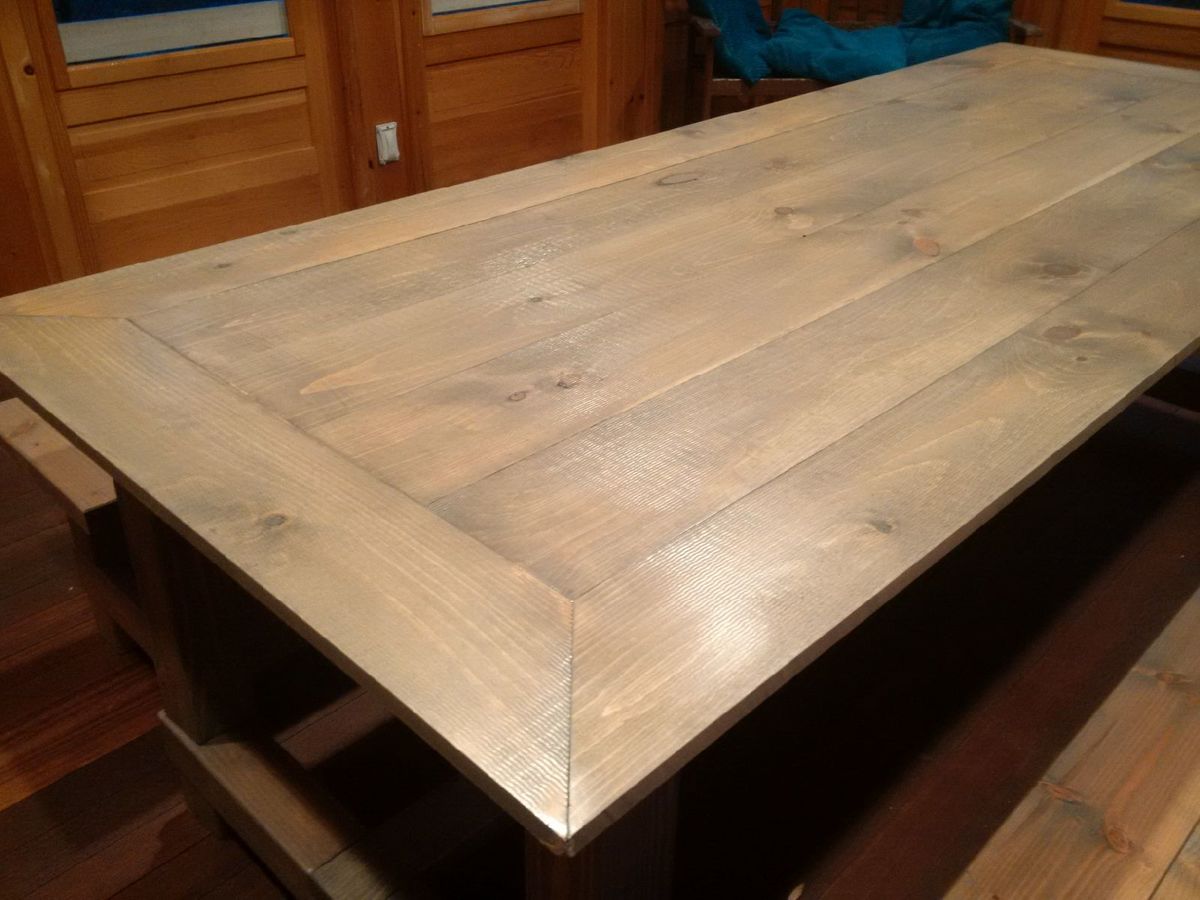
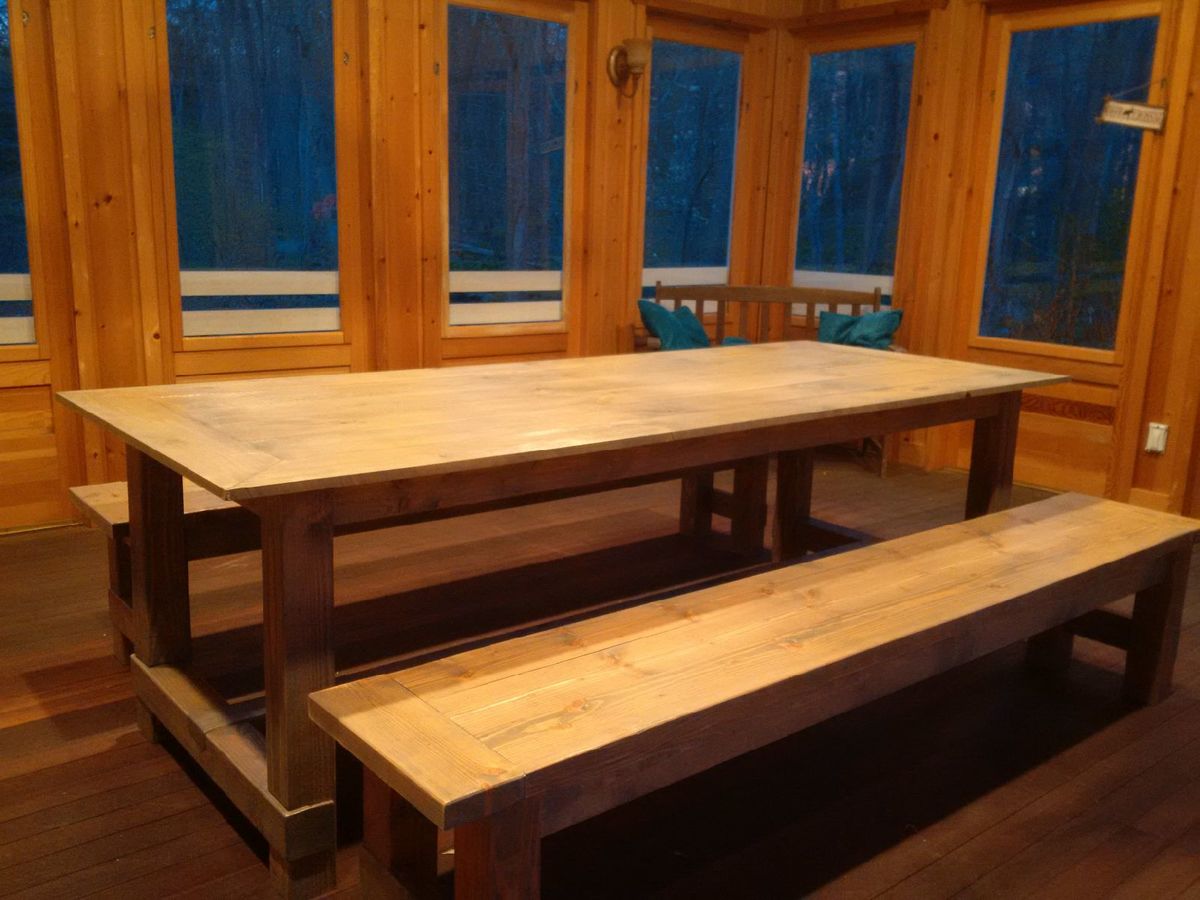
Slightly modified the farmhouse table plans to build the top out of 6 inch pine shiplap, its thinner than the farmhouse plans (its 3/4inch), but I liked the rough cut on the top surface, and overlapping edges made for a great fit.
I cut the outside edge boards down to 4inch wide, and then mitred the corners to act as a frame for the 6 inch boards. I will build copper corner protectors.
Finish was: pre-conditioner on the wood, 3 coats of minwax weathered oak stain, 3 coats of polyurethane. Sanded the benches between coats, but not the table, as the table has a rough surface.
benches are 2x6 fir boards, cut the long edges off on a table saw to make them join better, as I dont have a jointer. Same finish applied as the table.
Table is 8 feet long, 38 inches wide. seats 10 comfortably.
It was half finished in my garage for several months, in which time I used it as a workbench - so it has plenty of authentic weathering dings and dents.
It was my first project, as I have only recently moved into a house with a garage.
Loved the construction part, hated the finishing steps.
thanks!
oz
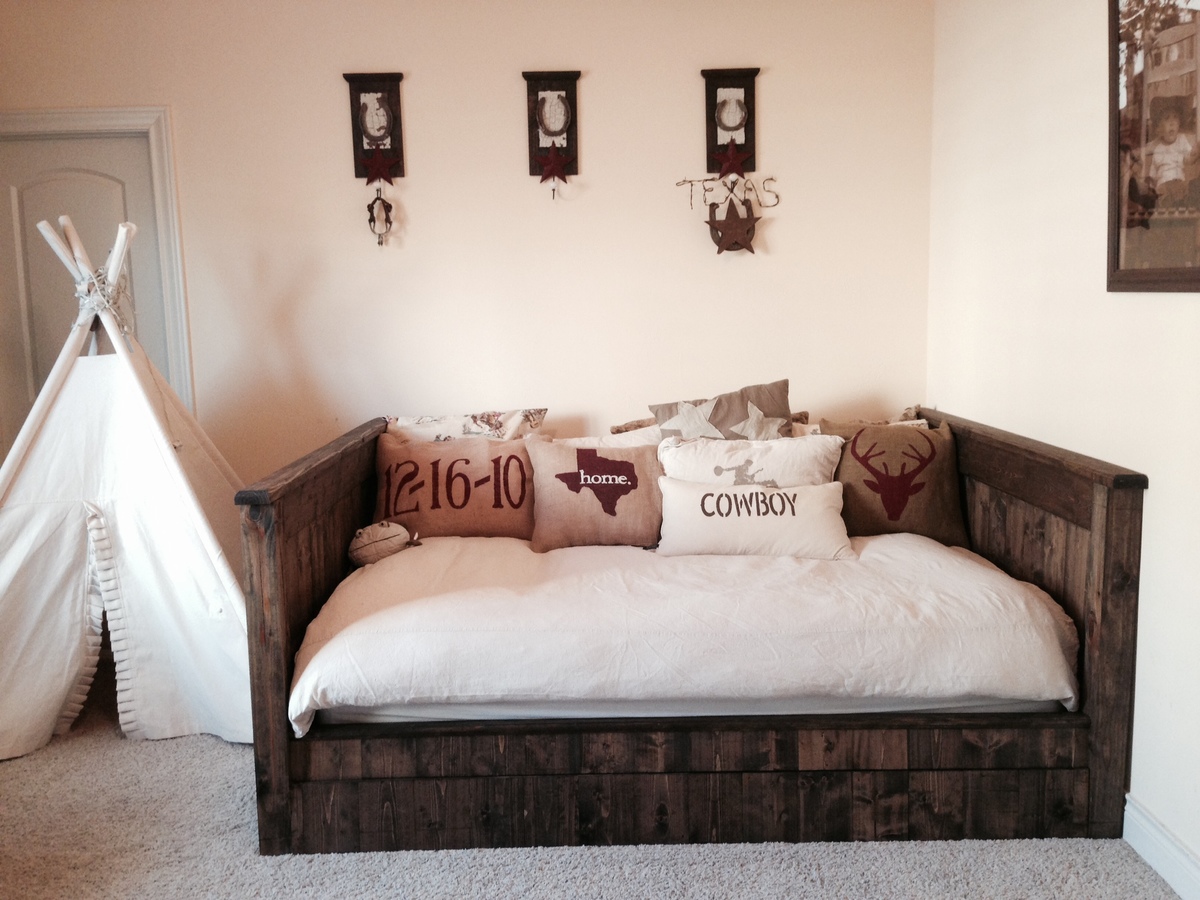
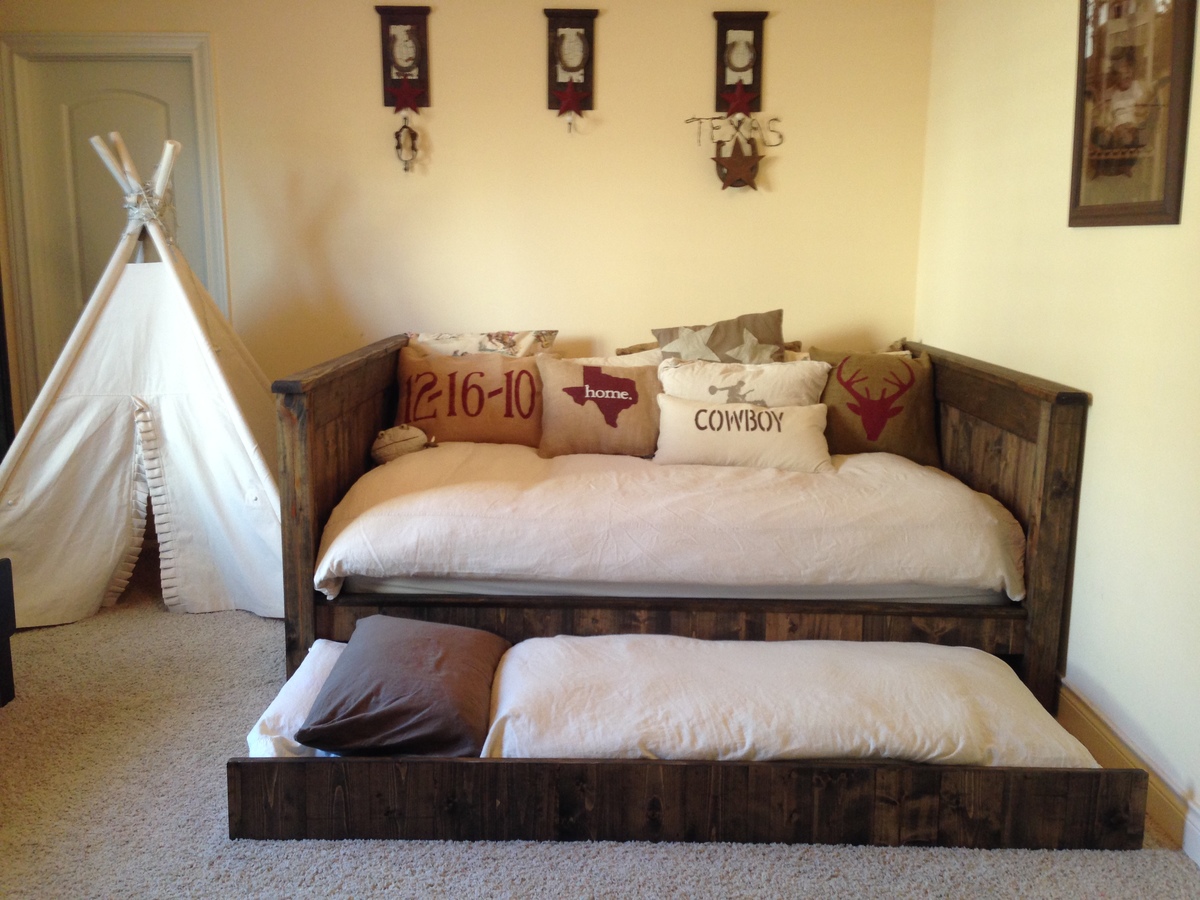
Queen size Day Bed with Full size trundle made of yellow pine and dark stain from Homedepot
Wed, 02/11/2015 - 10:37
This is on my "to-do" list, including the trundle underneath, for my guestroom. Glad to see that it turns out so well.
Sat, 10/24/2020 - 00:05
Please may I have the plans for this bed? I want to build it in a twin XL size. 39x80. The mattresses are 10” thick. I have tried adapting several of your daybed/ farmhouse bed plans to include a trundle and to be long enough to accommodate the XL mattresses and have been stumped. I like the lower arms of the Hailey and simple daybed and wish this bed had a back piece. But this would be the closest “jumping off point” to get what I’m looking for. (I think) Any help would be greatly appreciated.
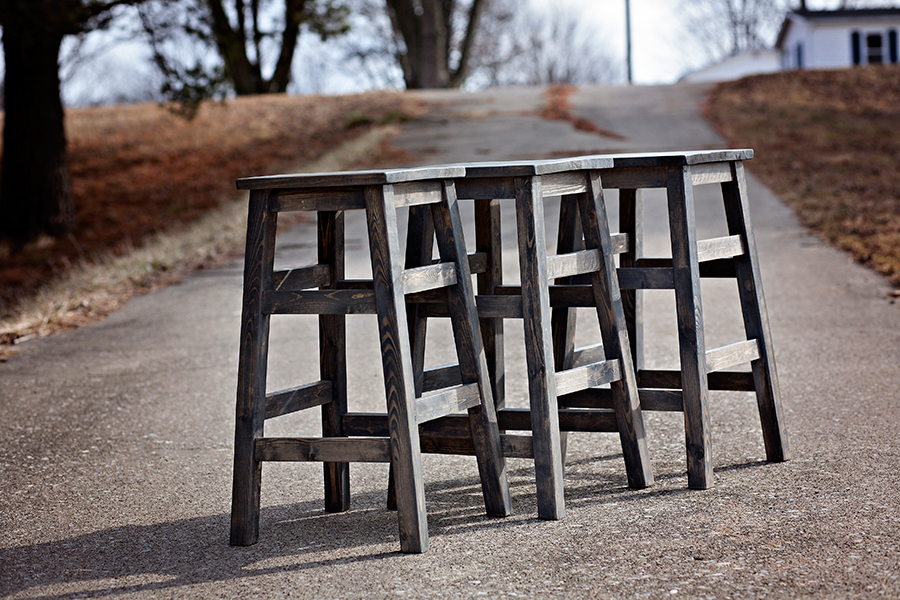
This was not my first woodworking project, but first where I had to figure out angles and bevels. So I'm pretty excited that all the pieces turned into stable stools.
Cutting wood and putting stools together took about an hour or two each .... filling kreg jigs holes and staining took a few weekends though.
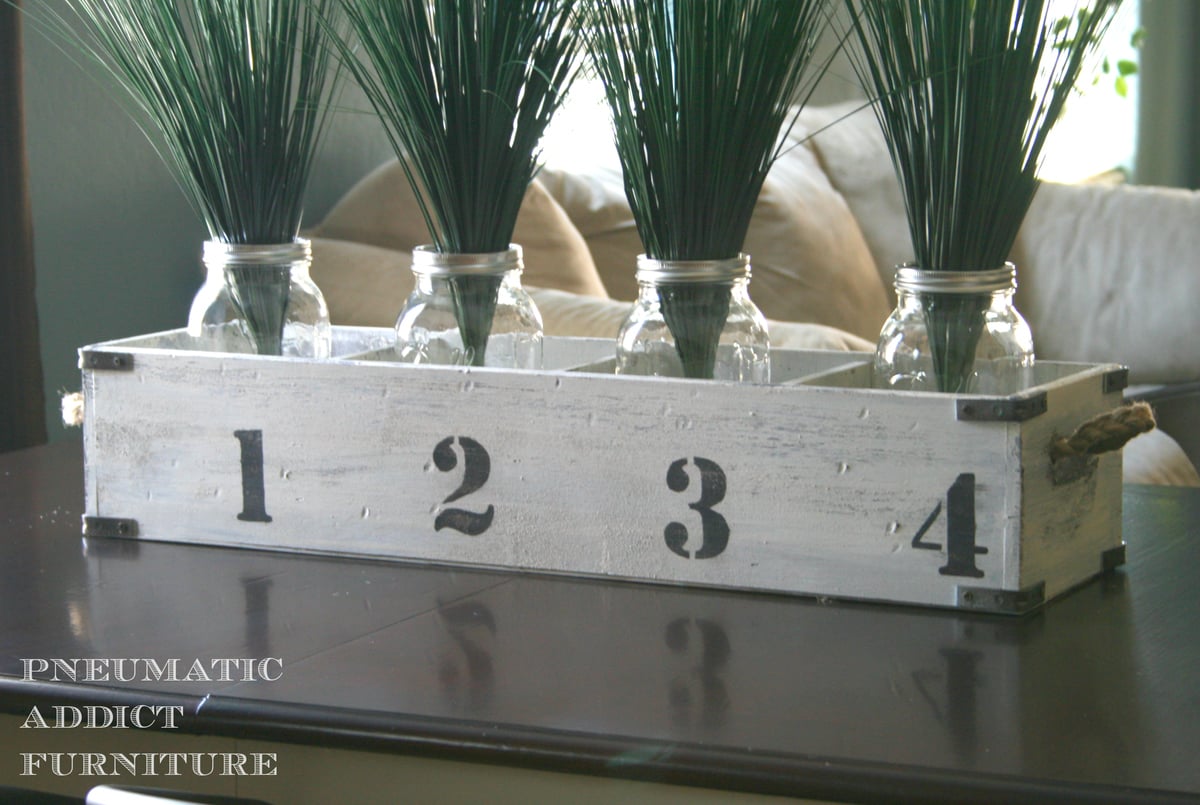
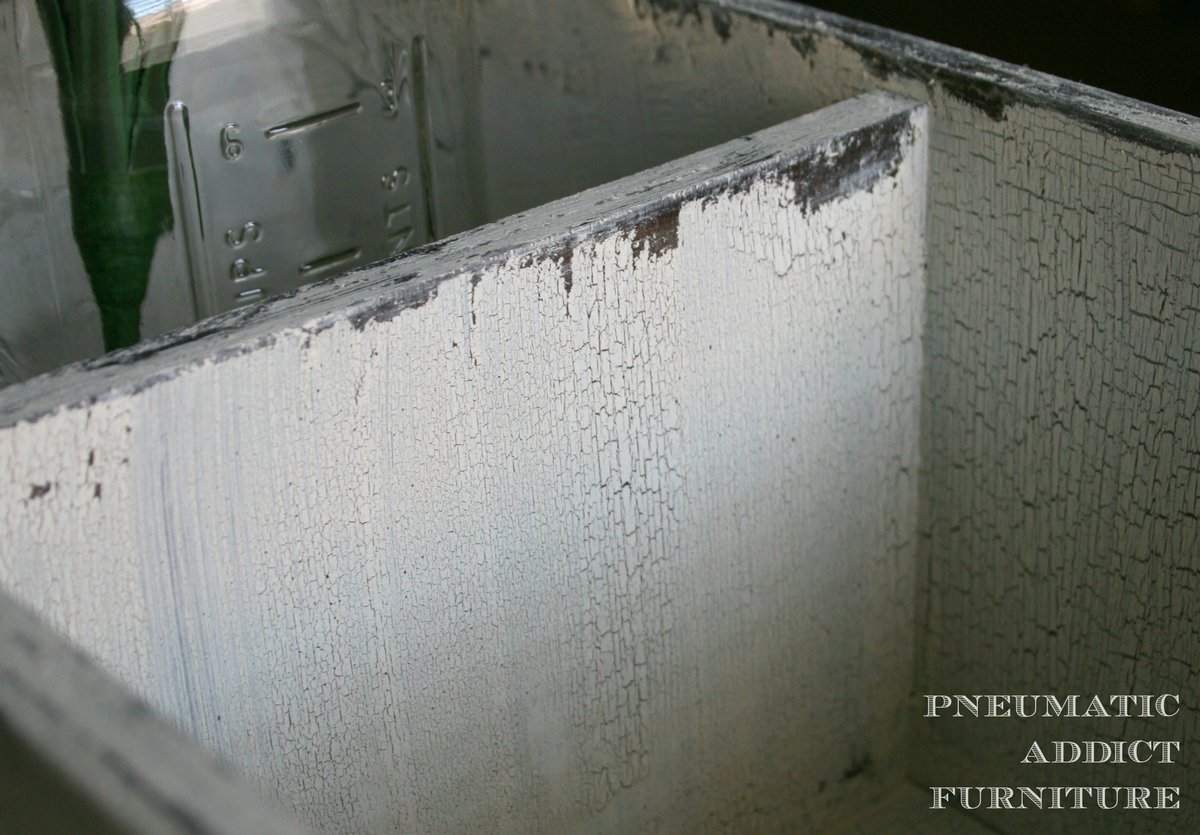
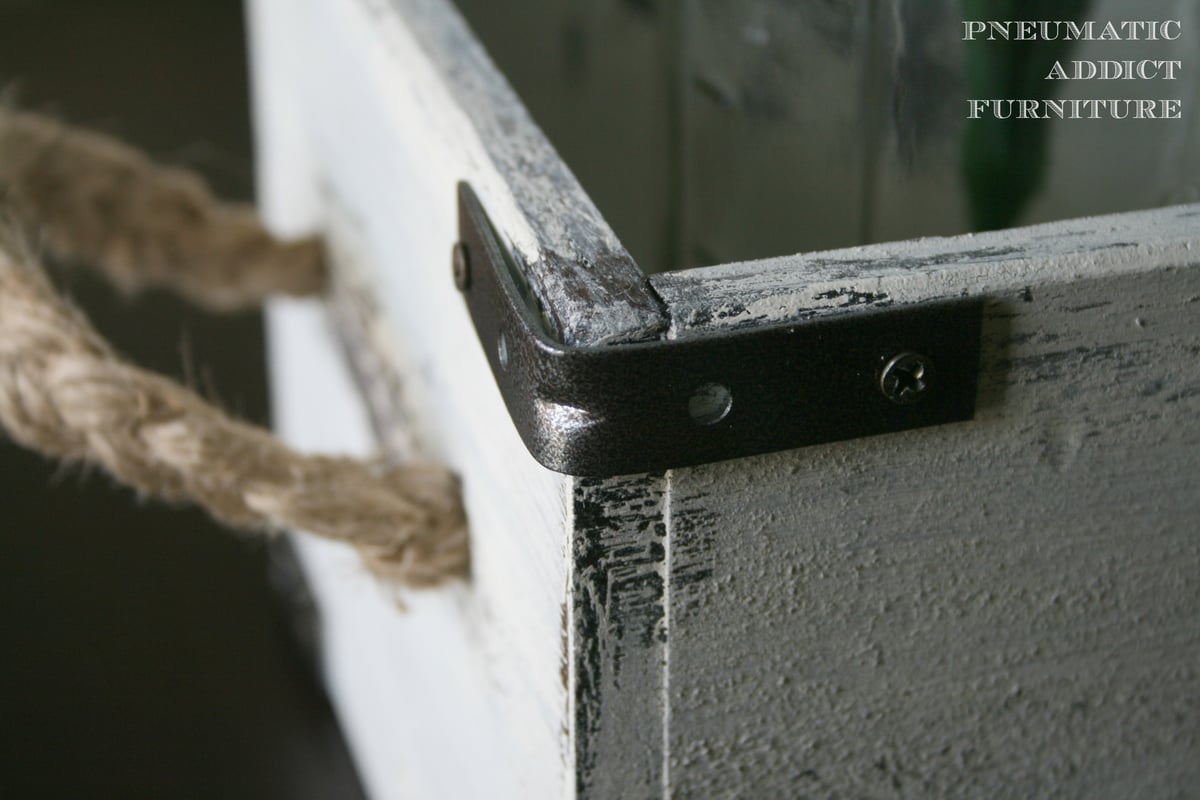
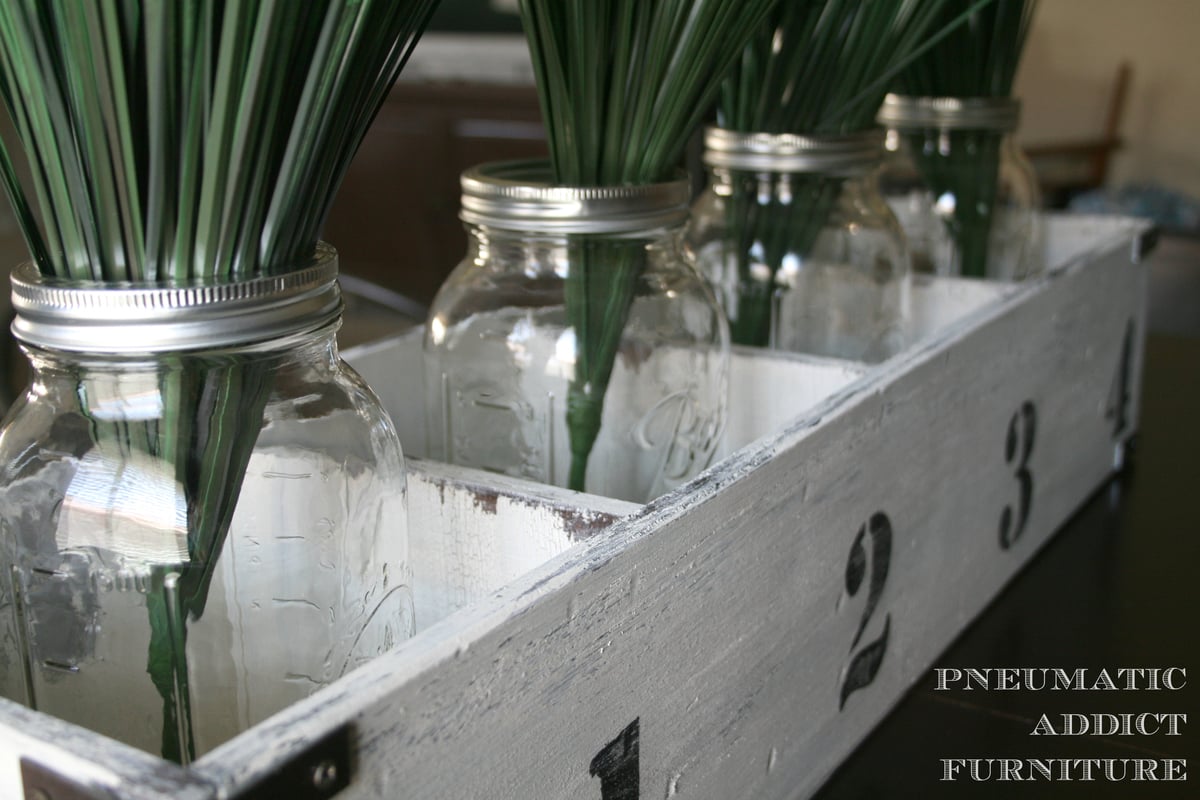
I built this storage crate to fill out space on top of my kitchen table. On my table saw, I ripped 1/2in birch plywood down to 6in widths for the outside frame and 5 3/4in for the dividers. The dividers are 6in wide and so I cut the outside ends to 7in. I attached the whole thing with 1 1/2 finish nails and glue. After finishing, I attached some L-brackets on the corners and drilled 2 holes on either end for handles. For handles, I simply braided 6 strands of jute together and tied knots on the inside of the box. I have more details and photos on my blog link.
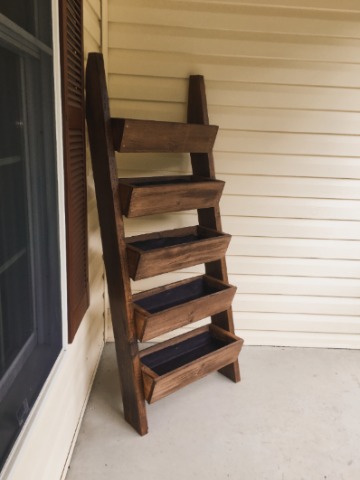
This plan was easy to follow, accurate and came together in just a few hours. I used some reclaimed barn wood for the 2x6s and dog-ear pickets for the remainder.
I made it harder for myself than it had to be. I didn't follow the directions closely enough and cut the box ends at 5 1/2" instead of 5 1/4". That meant that the bottoms had nothing to press-fit against. So, I had to do a little workaround to fix that. I made a 1" shelf at each end of each box so that the bottom could sit on these little shelves. The upside to this mistake is that there was now a drainage slot all along the front and all along the back of each planter box.
I stained and sealed it. Finally, I lined each planter box with weed matting that I'd cut to size and cut drain slits in. The matting doubles as a way to keep the planting mix from falling out of the long drainage slots while allowing water to drain through the little slits I poked in the fabric. (I poked drain slits only along the front edge so that water would drain into the planter box below instead of onto the ground.)
I'm happy with the plan and the finished planter!
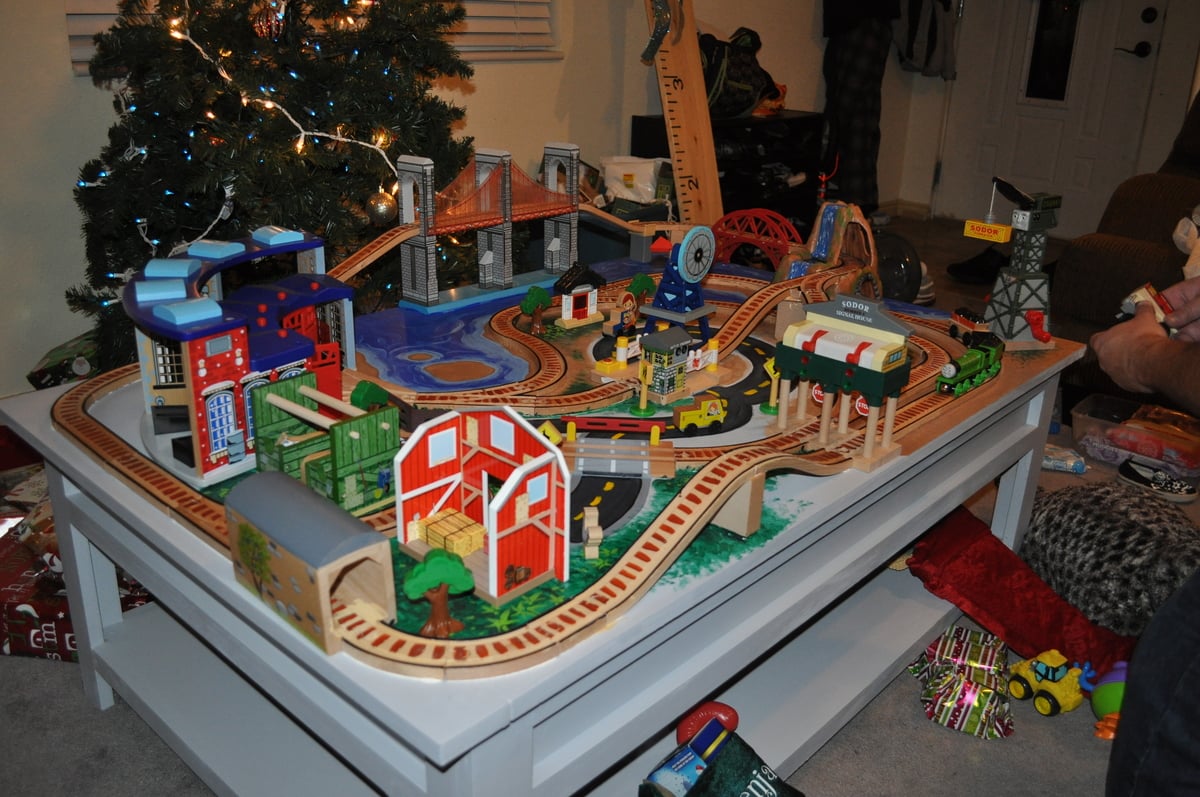
Santa decided to get come to Ana this year for some help with a train table instead of getting one from (insert big box toy store here). It ended up being pretty easy and a lot of fun, and our boys loved it! Santa decided he needed as much room on top as possible to put train and didn't need it to hide away so we skipped the cutting the top piece of plywood in half and left out the middle peice. We then added a track set and a few extras and painted the top. Thanks for the plans Ana! -(Santa)
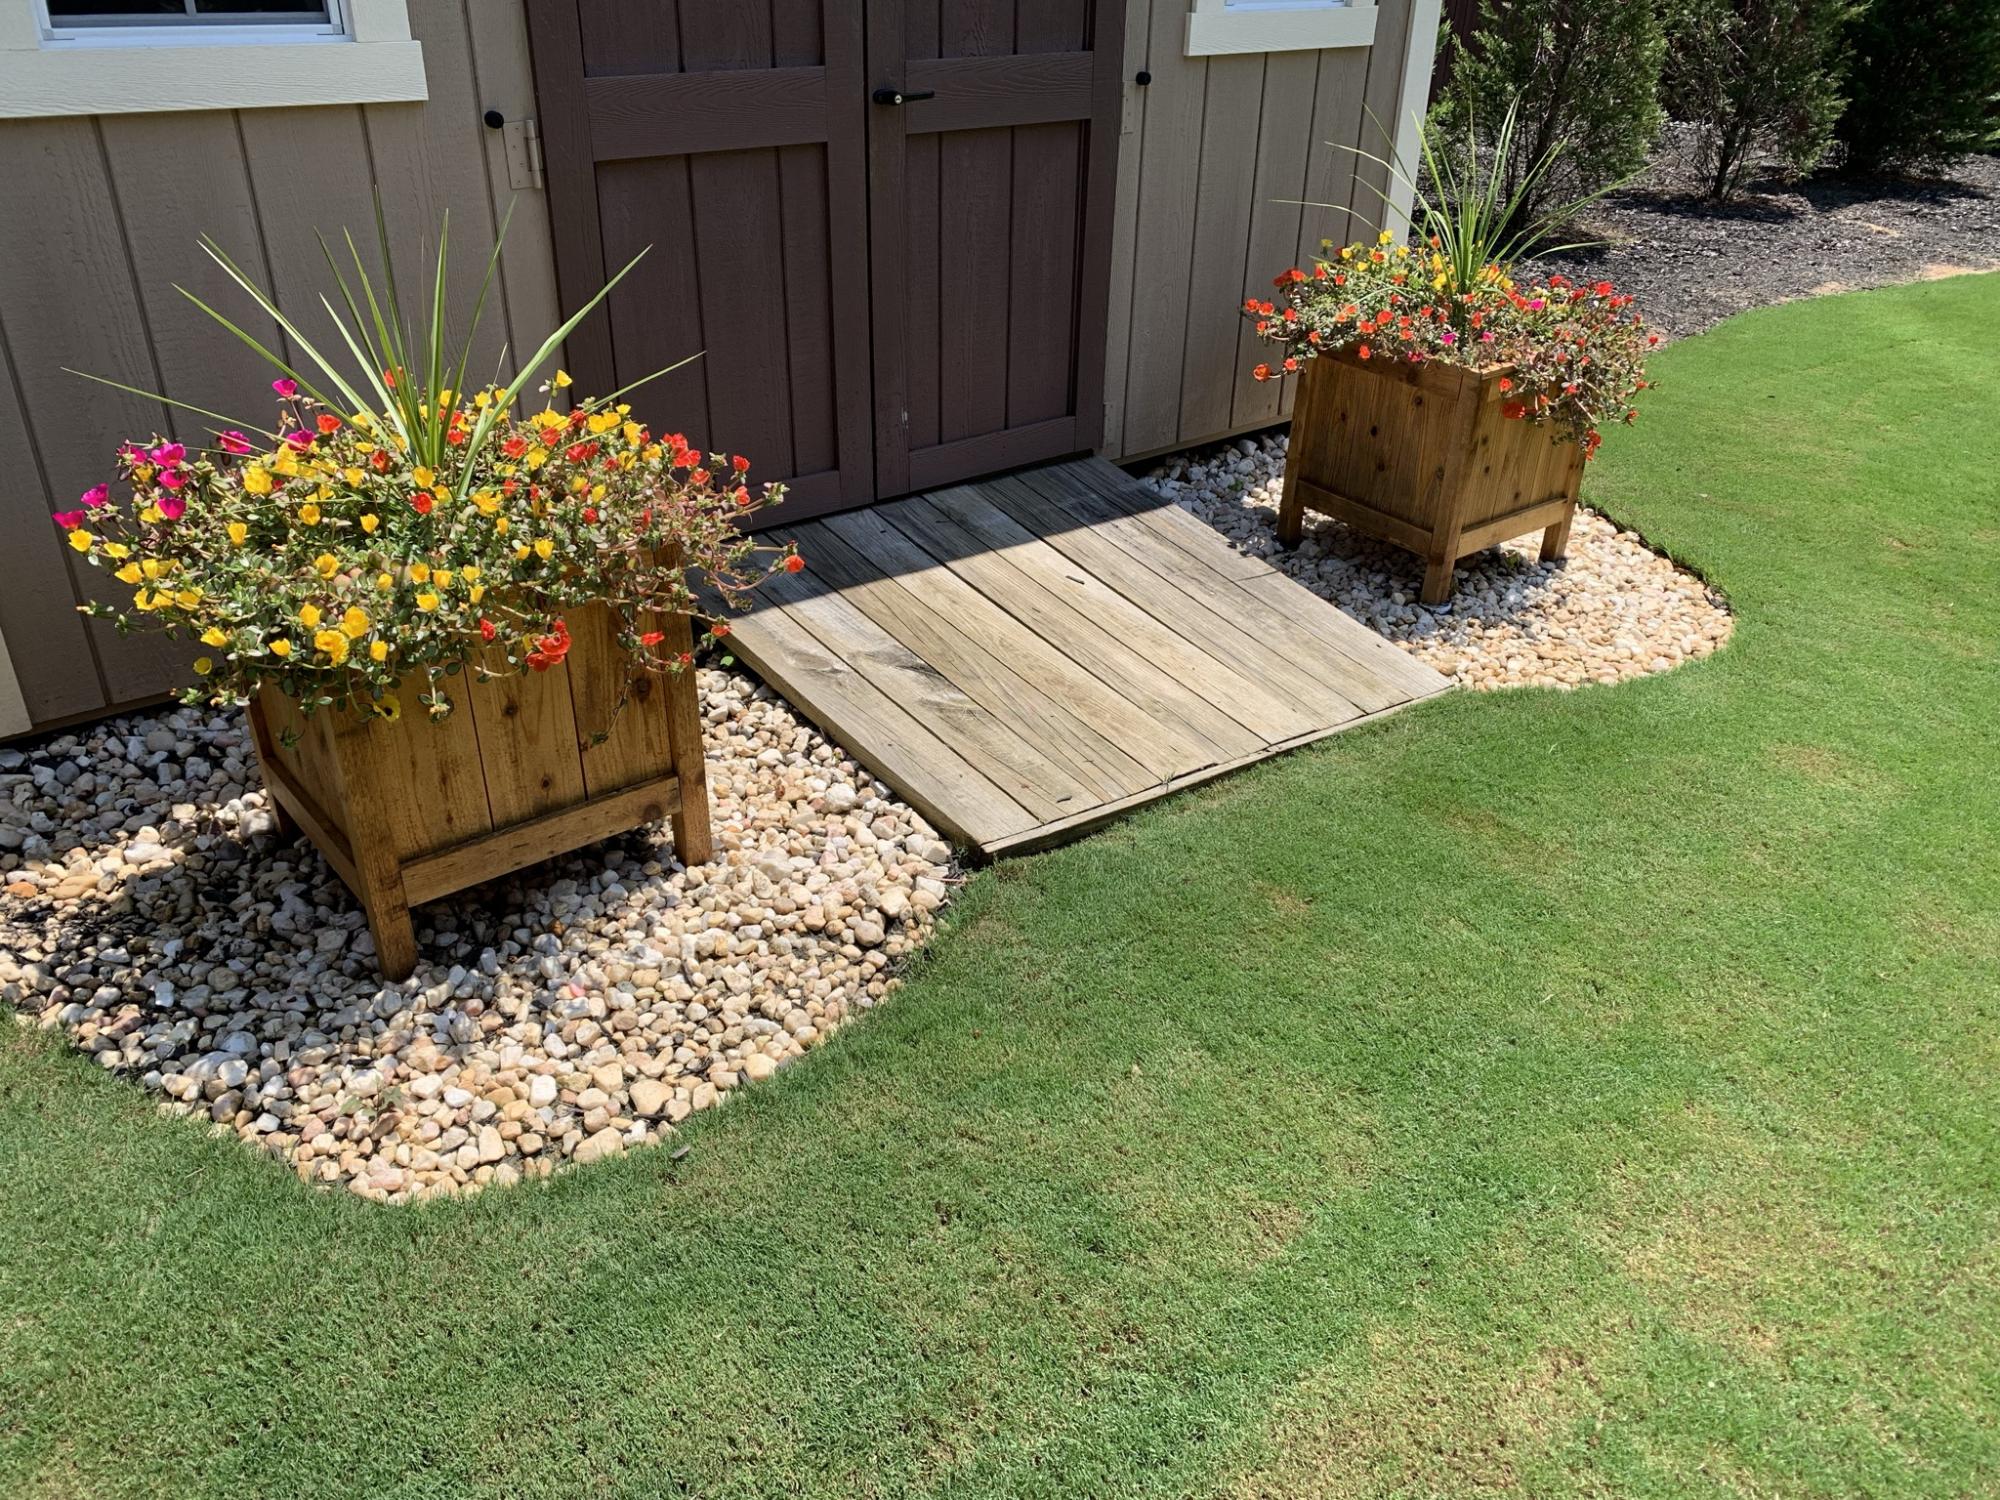
Cedar planter boxes made largely from fence pickets.
Tue, 10/05/2021 - 11:09
Wonderful way to dress up the yard, those look amazing, thank you for sharing!
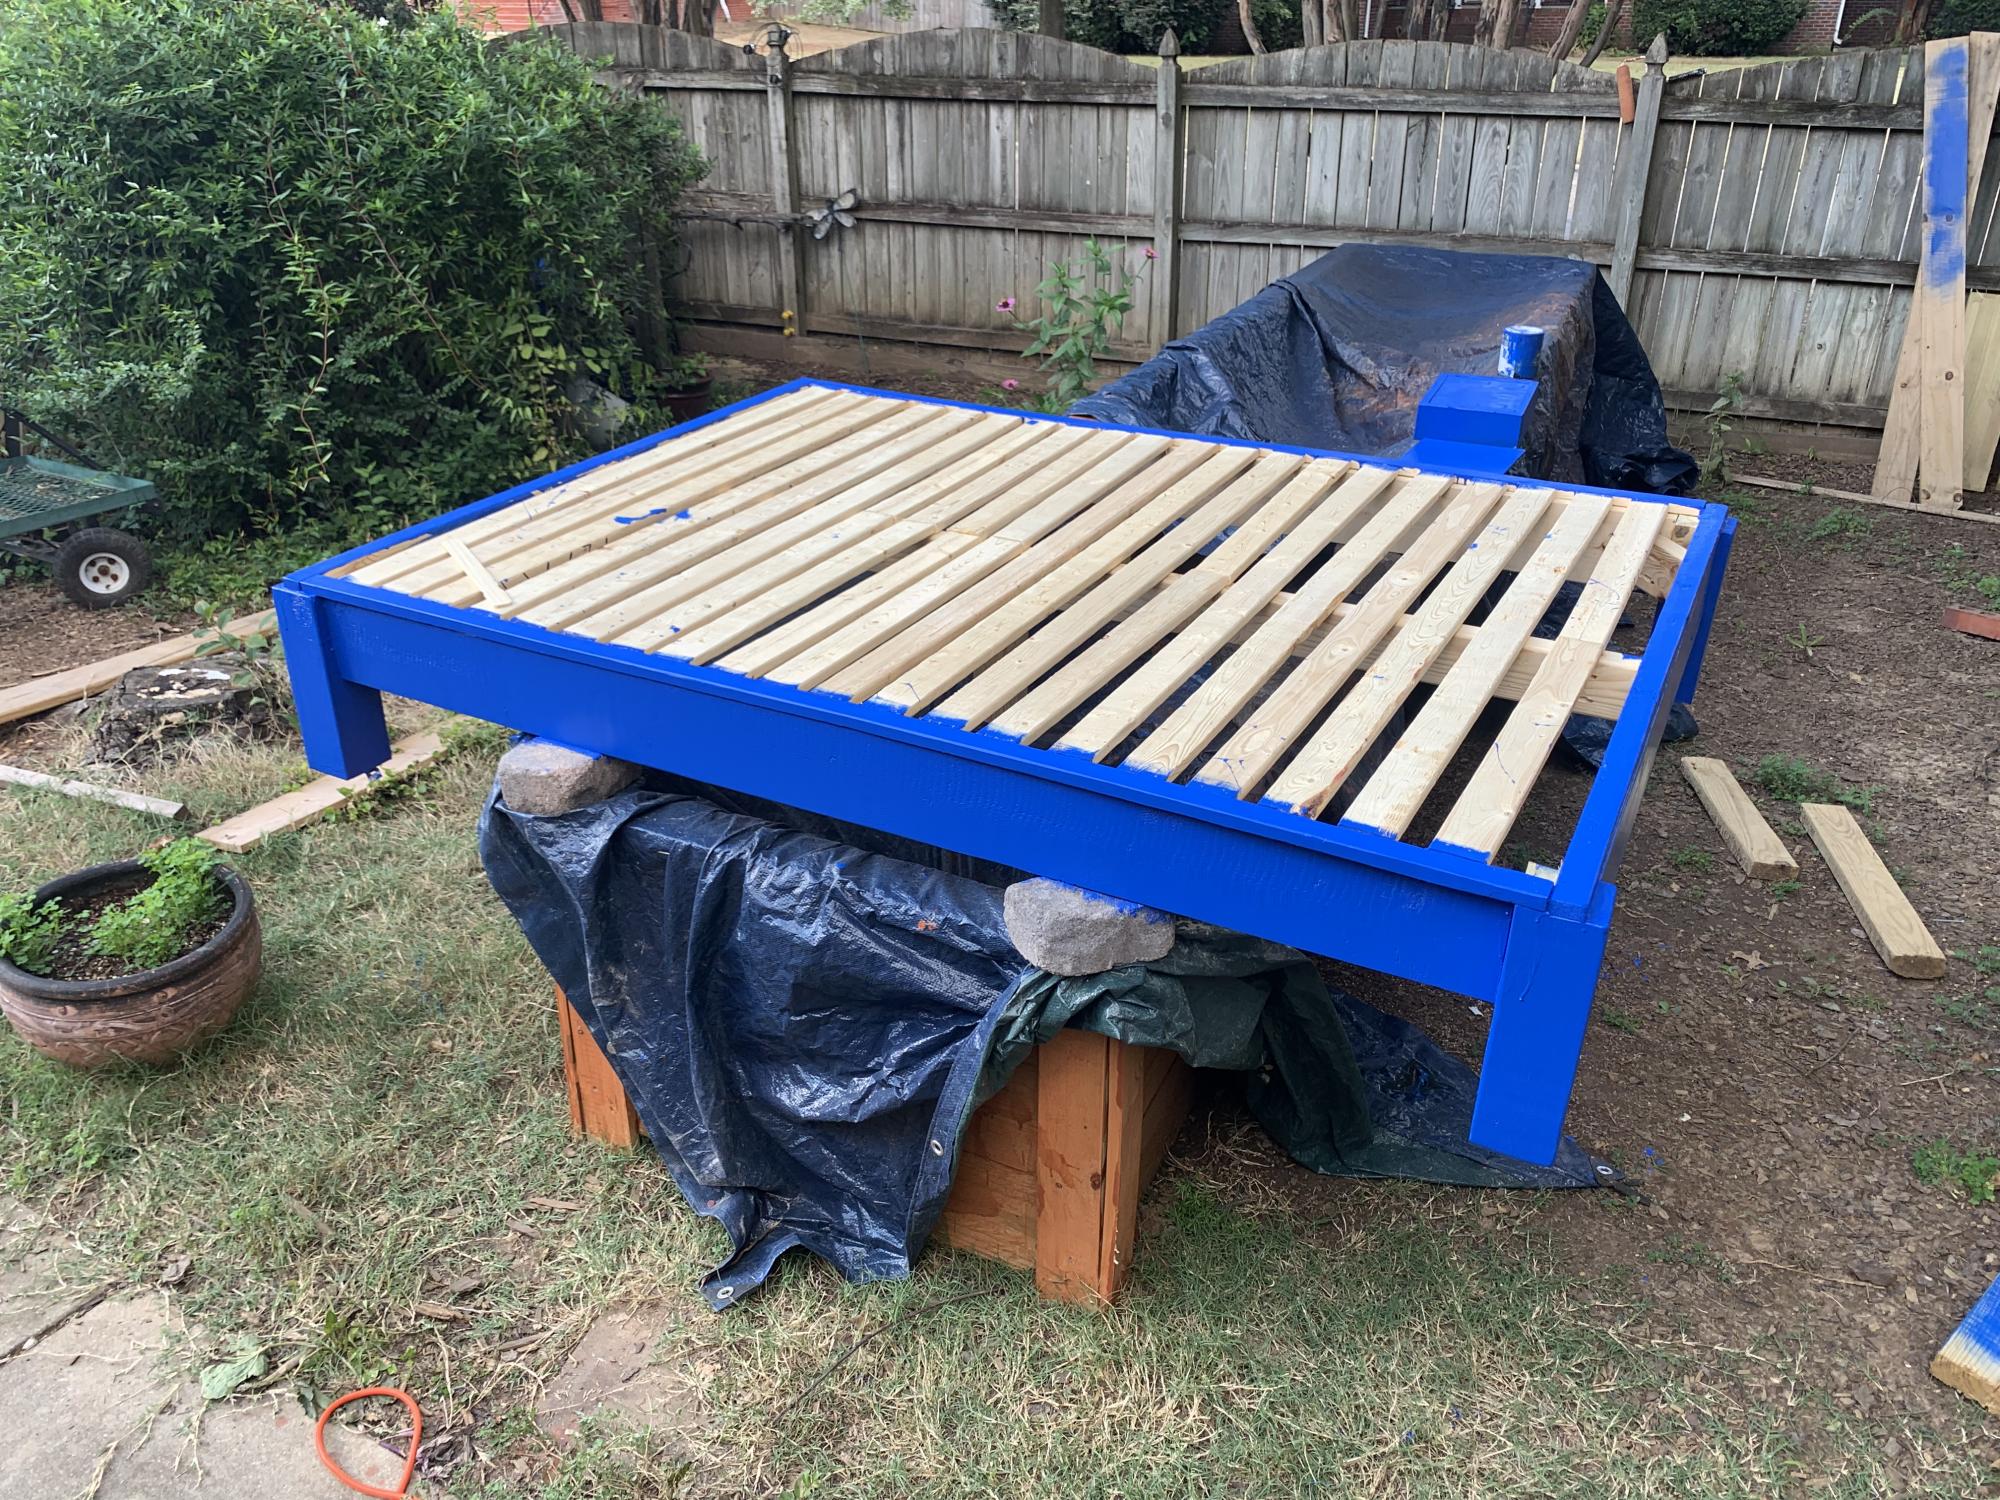
Loved your plans for building a bed frame- easy to follow.
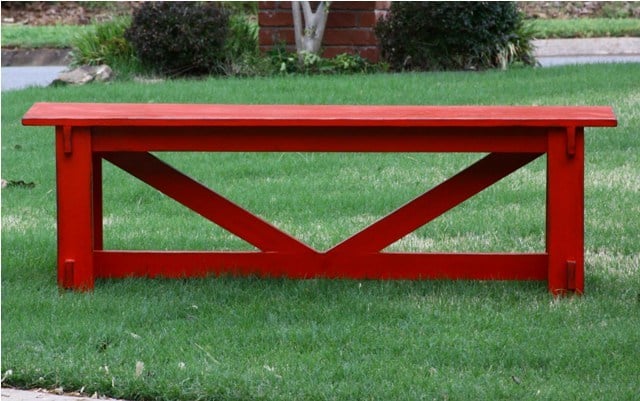
This was my very first project I tackled from Ana's site. I wanted to see if I could do it, so started with something easy. I think it turned out great and looks great in our flower bed in front of our house.
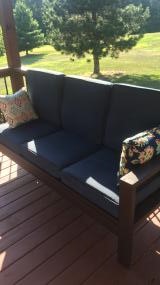
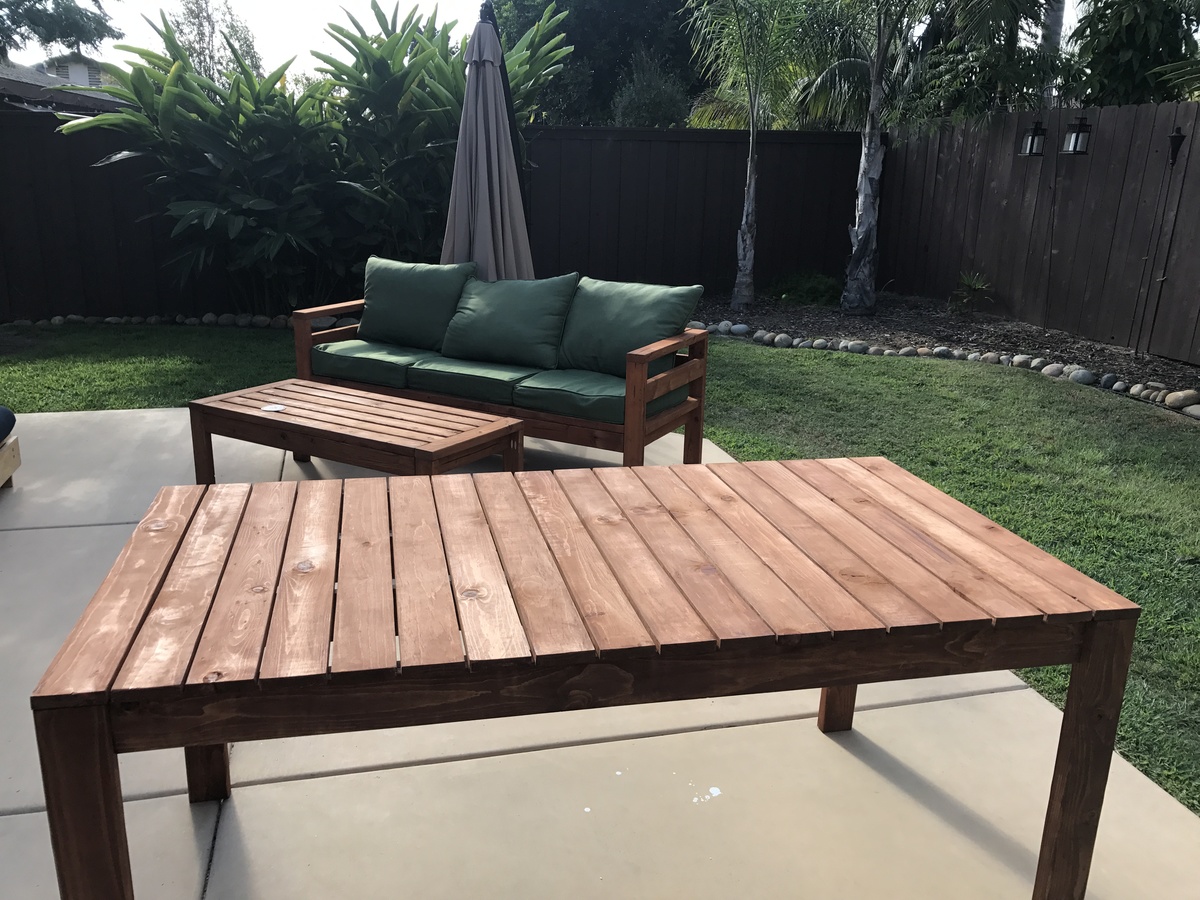
We've been wanting to tackle some outdoor furniture for a while and finally took advantage of a coupon to get a bunch of outdoor cushions. With a big mound of cushions taking up space, we had to force ourselves to get to it. We spent more time talking about cushion and stain colors then it actually took to cut and screw it together. This is a great solid project to start with. Don't be intimidated by it. We can't wait to start on some chairs to go with it.
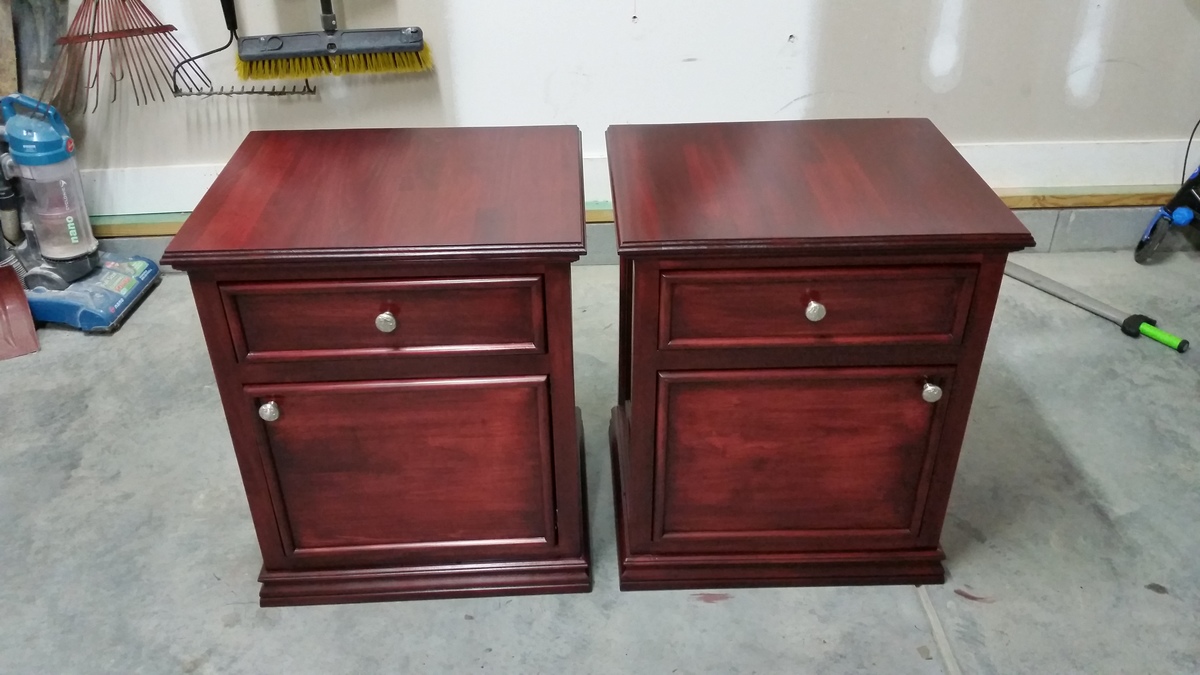
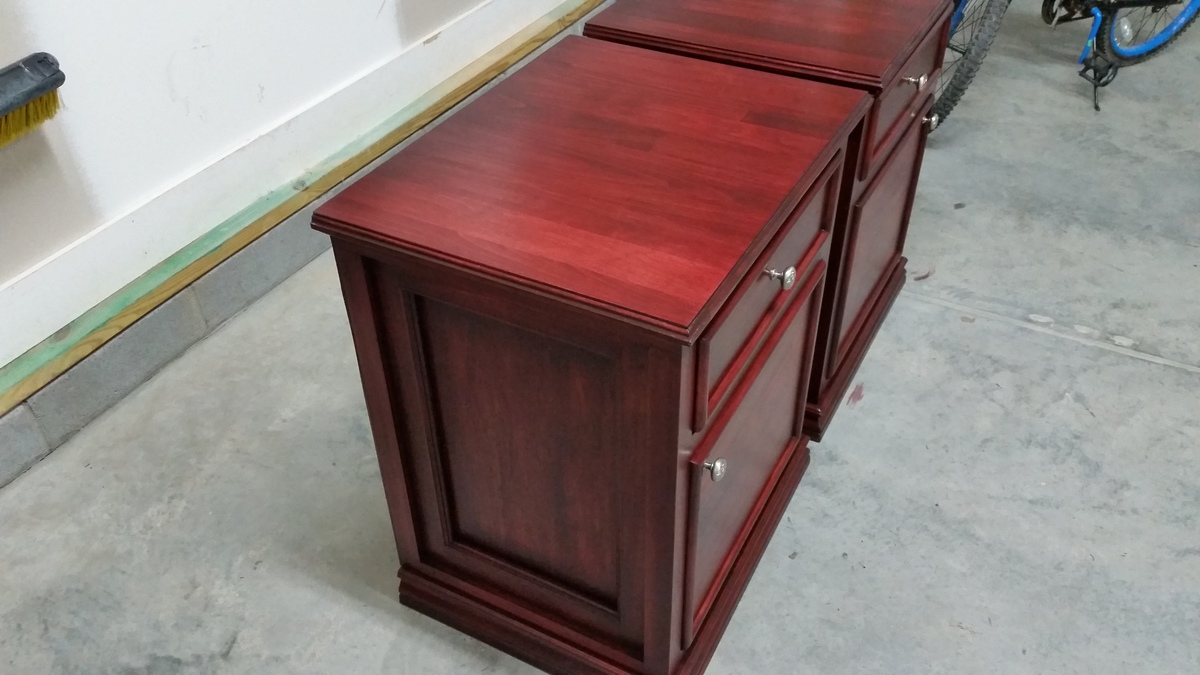
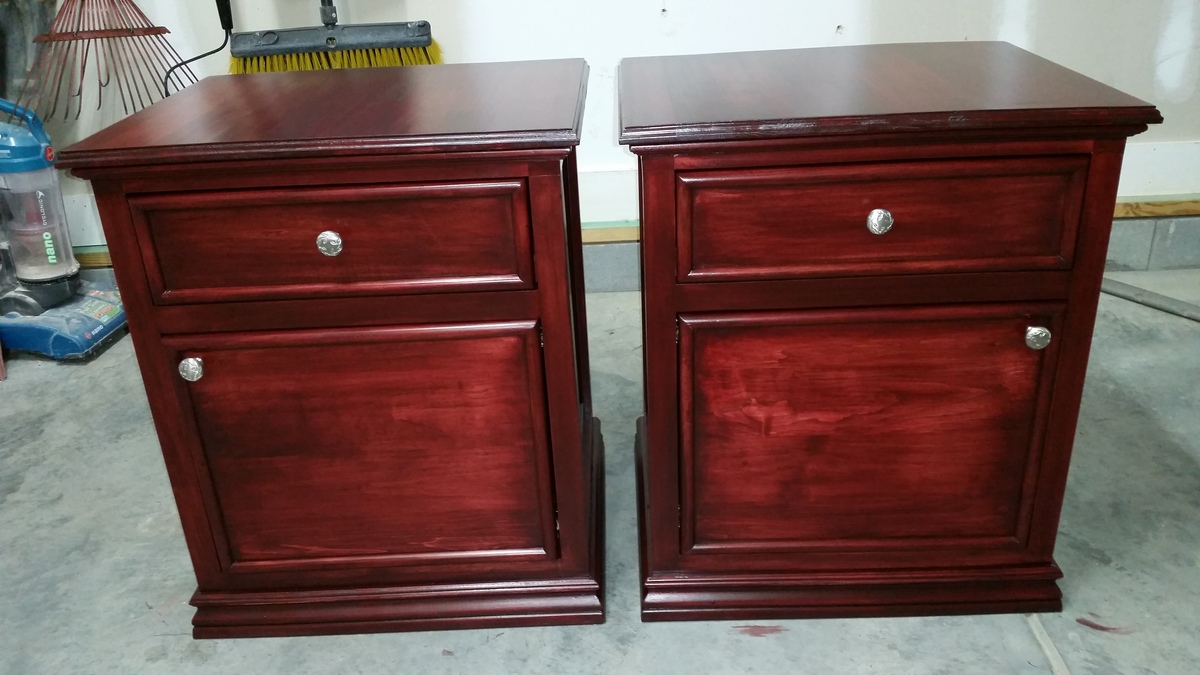
I added a cabinet door and put some extra trim on to fancy it up a bit. I also used my router and an ogee bit on the top. The top and plywood sides are aspen and the rest is poplar. They were finished using General Finishes Georgian Cherry gel stain.
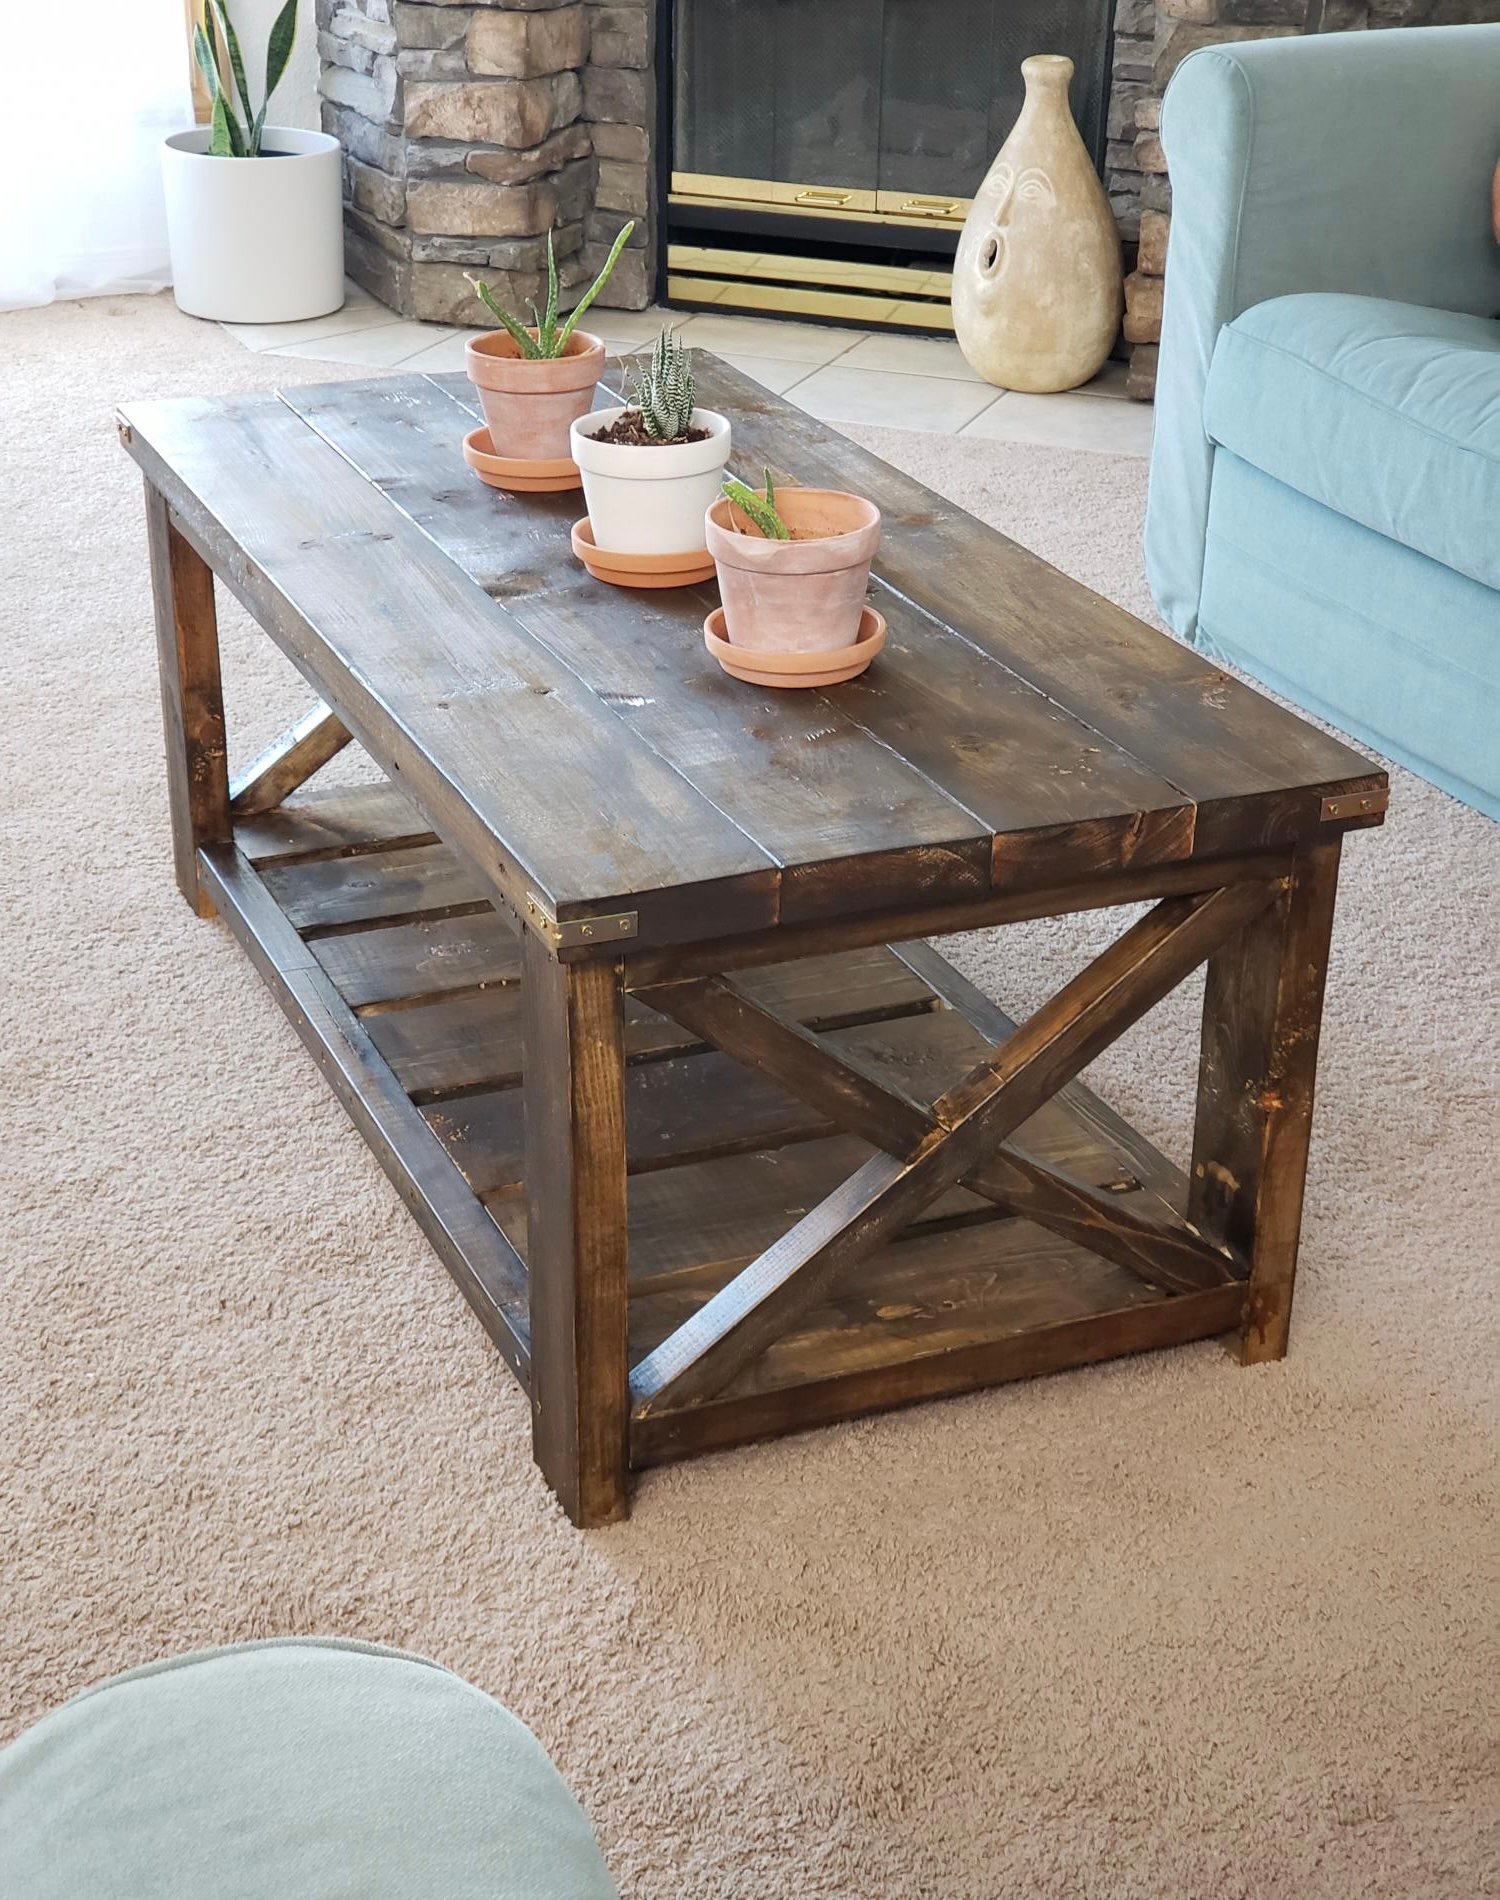
This table turned out exactly as I had envisioned. I've gotten so many compliments over it. I'm now ready to build the side tables. I like how simple and clear the plan is for this table. Thank you Ana for such a simple but amazing piece of furniture. I'm a newbie at woodworking :)
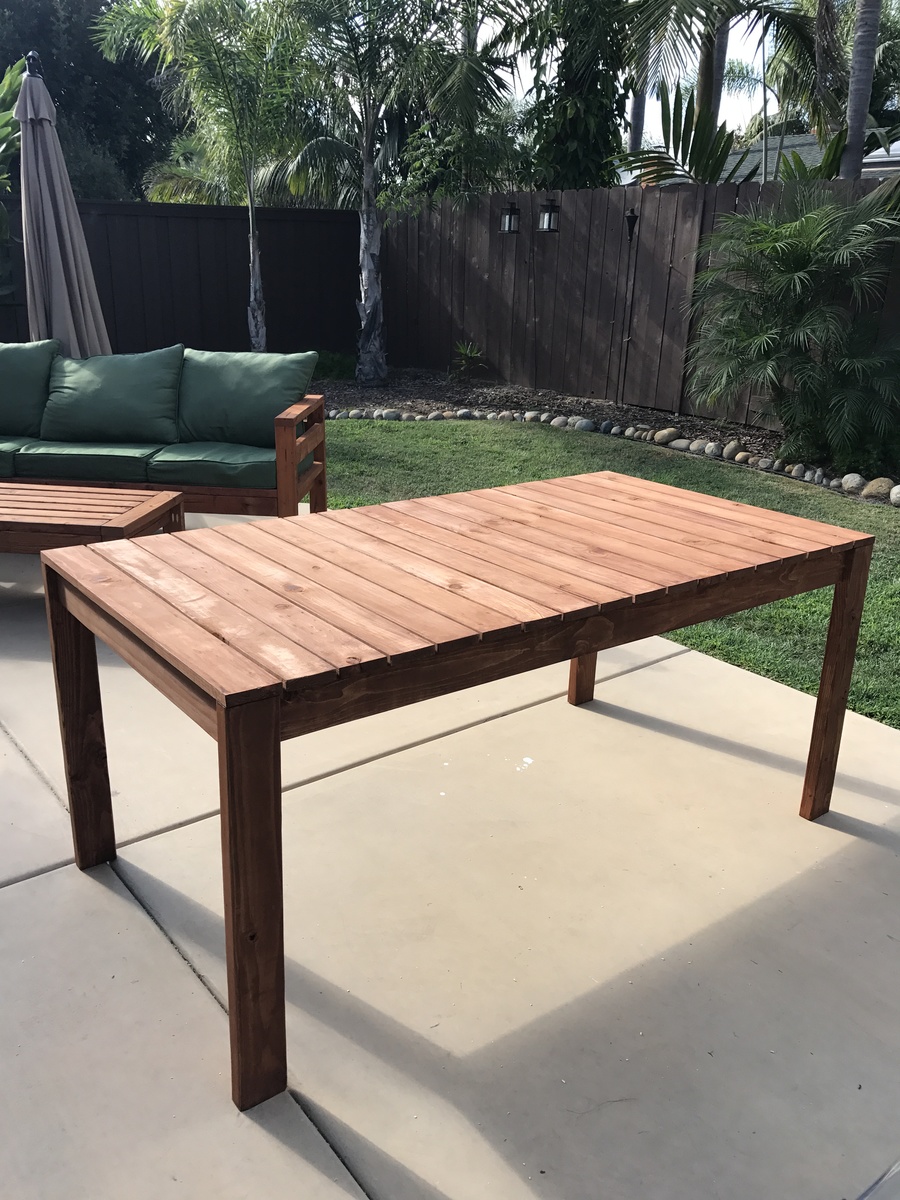
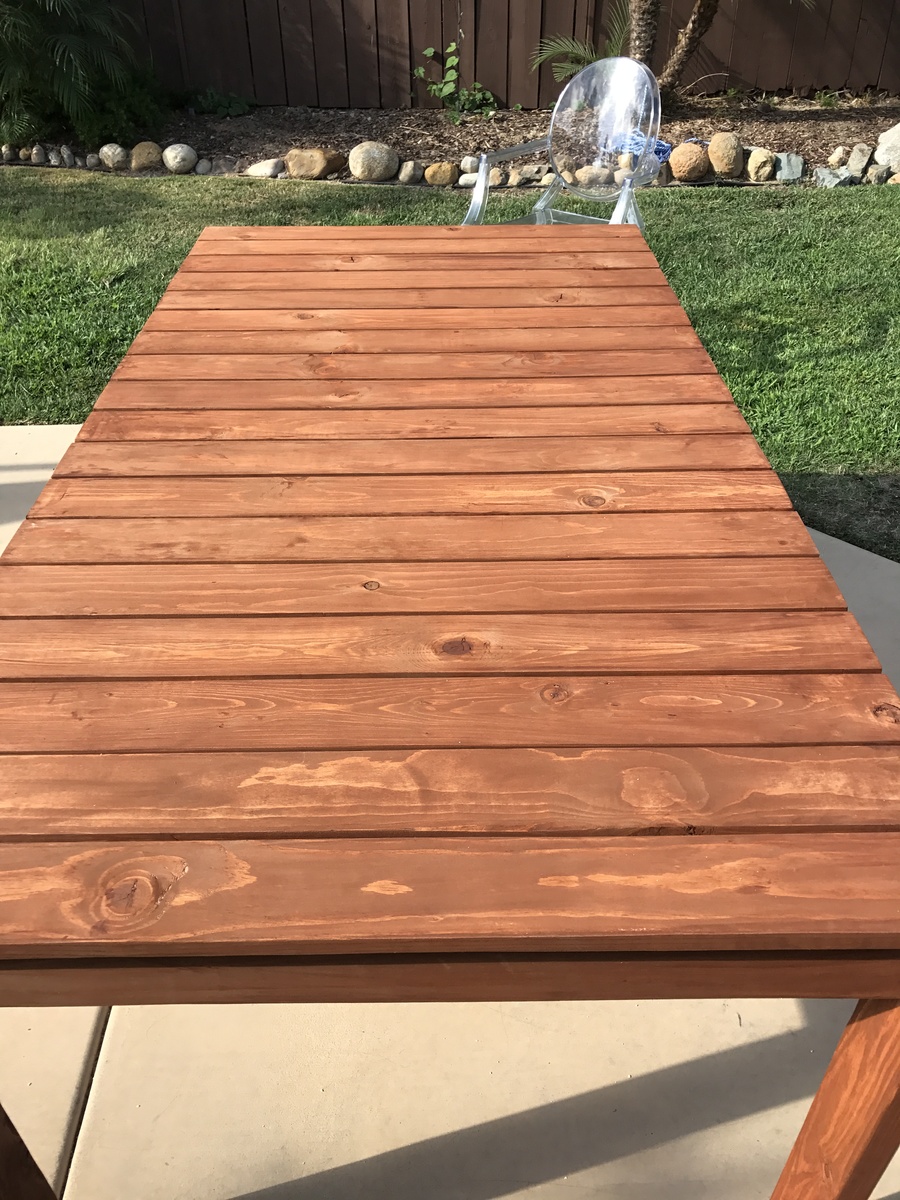
I followed the plans to the dining table with the suggested 1/4" spacing and extra slat so that this table will match the bench I will be making next. I used the kreg jig for everything so that there are no visible screws. This table is relatively simple to assemble and seems sturdy yet not too heavy.
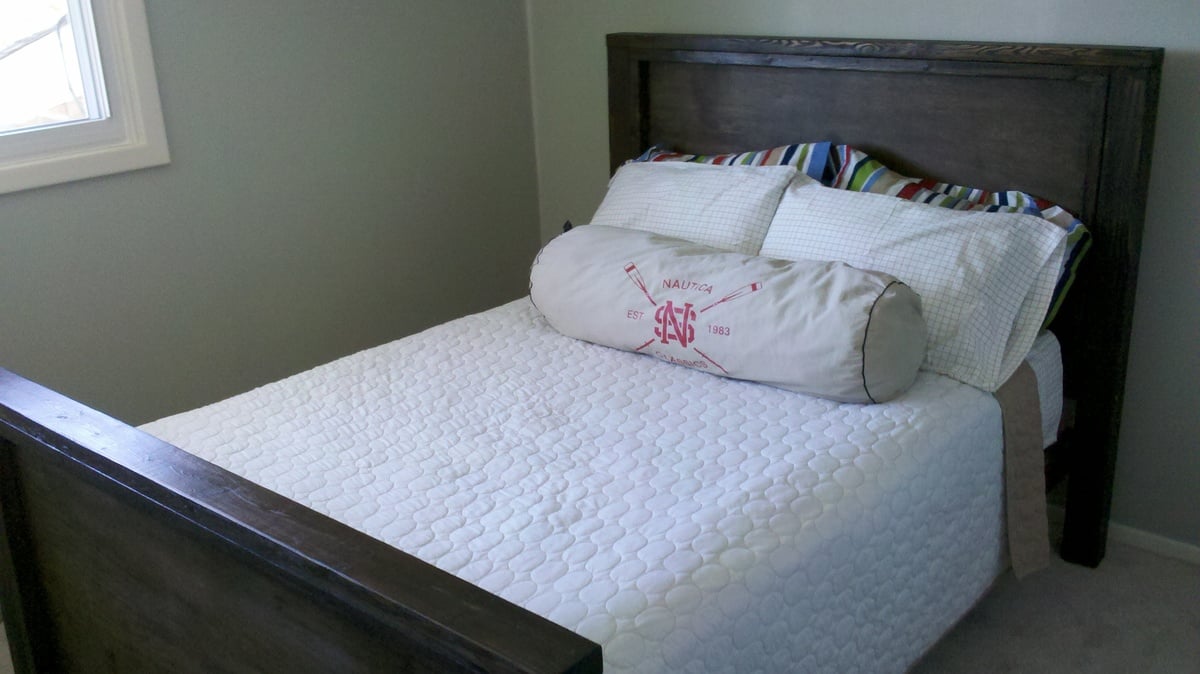
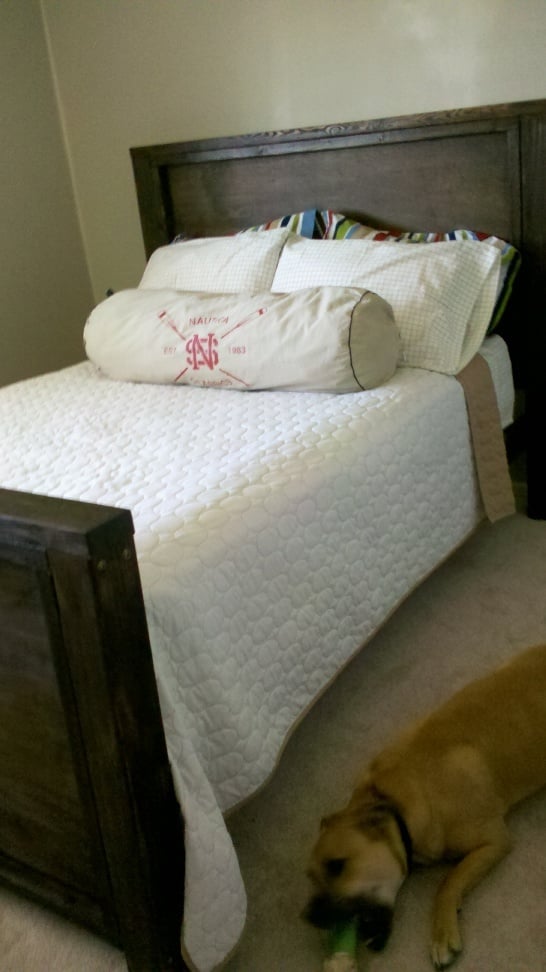
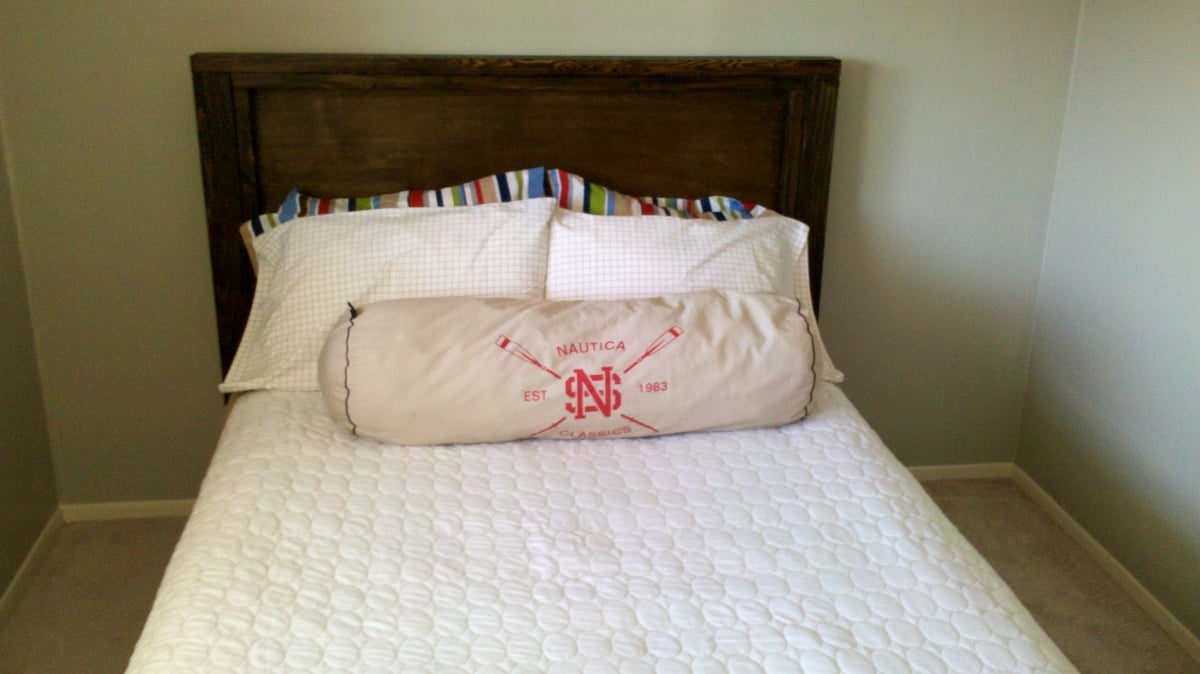
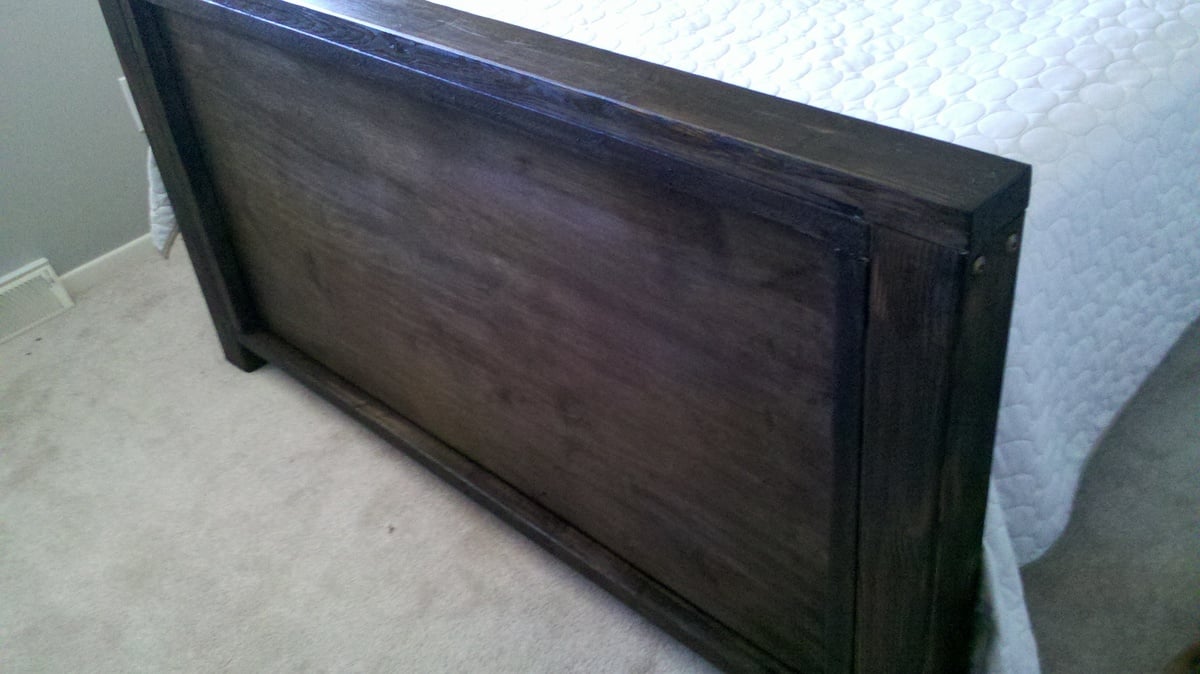
This started out a project driven by inspiration. I wanted a bed similar to the Hampton Bed in the Pottery Barn Teen Catalog, and I wanted a handful of beds from the newest Crate and Barrell Catalog. So, I sat down with a piece of paper, and a felt tip marker, and sketched out the bed. I had just built the farmhouse bed, and knew it was strong, so thats how I designed the frame. Then I used plans from the Simple Bed to get another reference point and for full size dimesniosn. Then I built it. I journaled each step of the way on my blog, if you want more info on how building went, or the learning process. I am truly very proud of this bed. Thank you Ana for giving me the courage to do this one without step by step instruction. You rock.
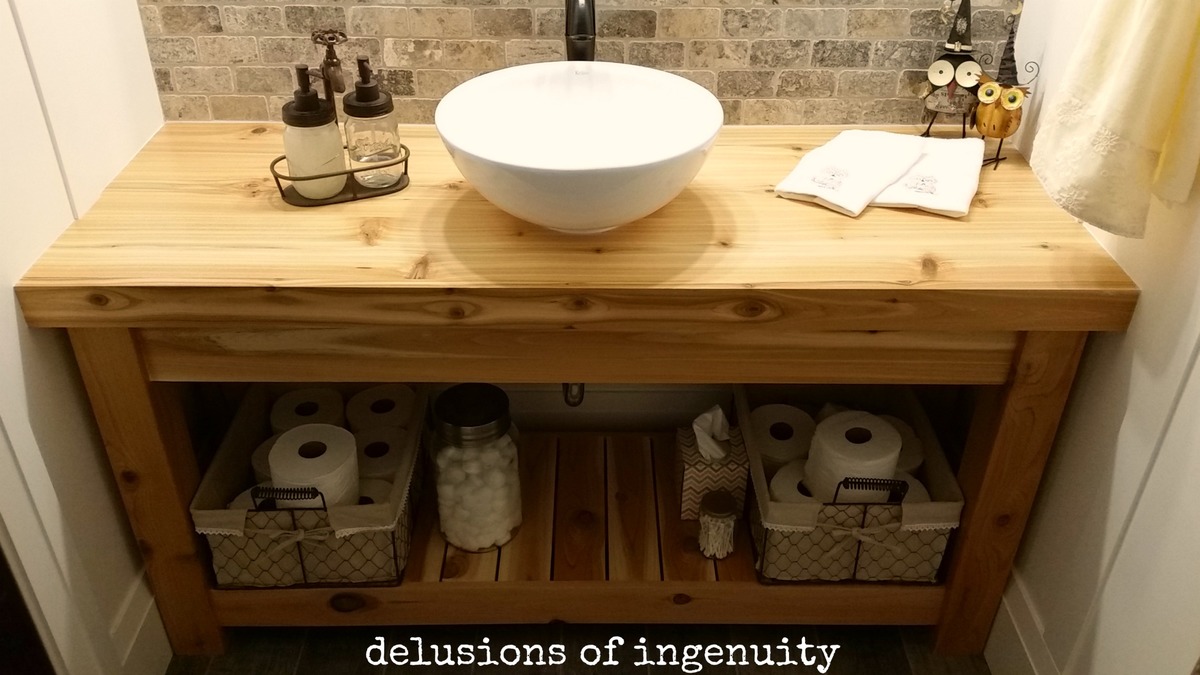
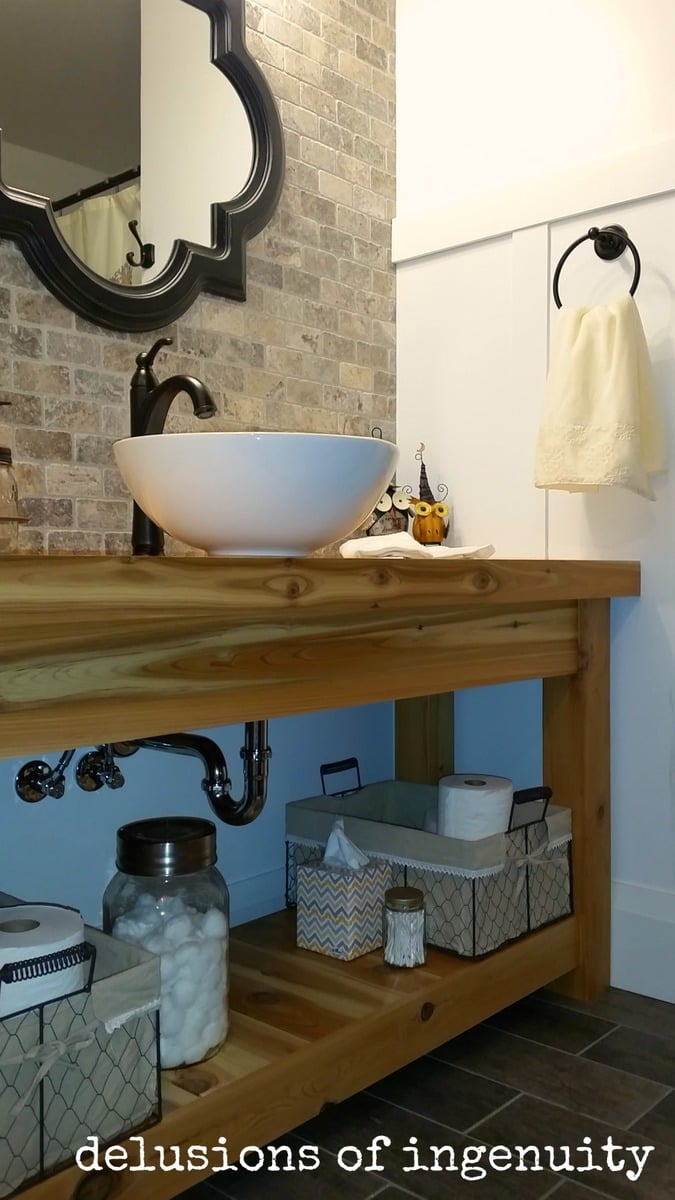
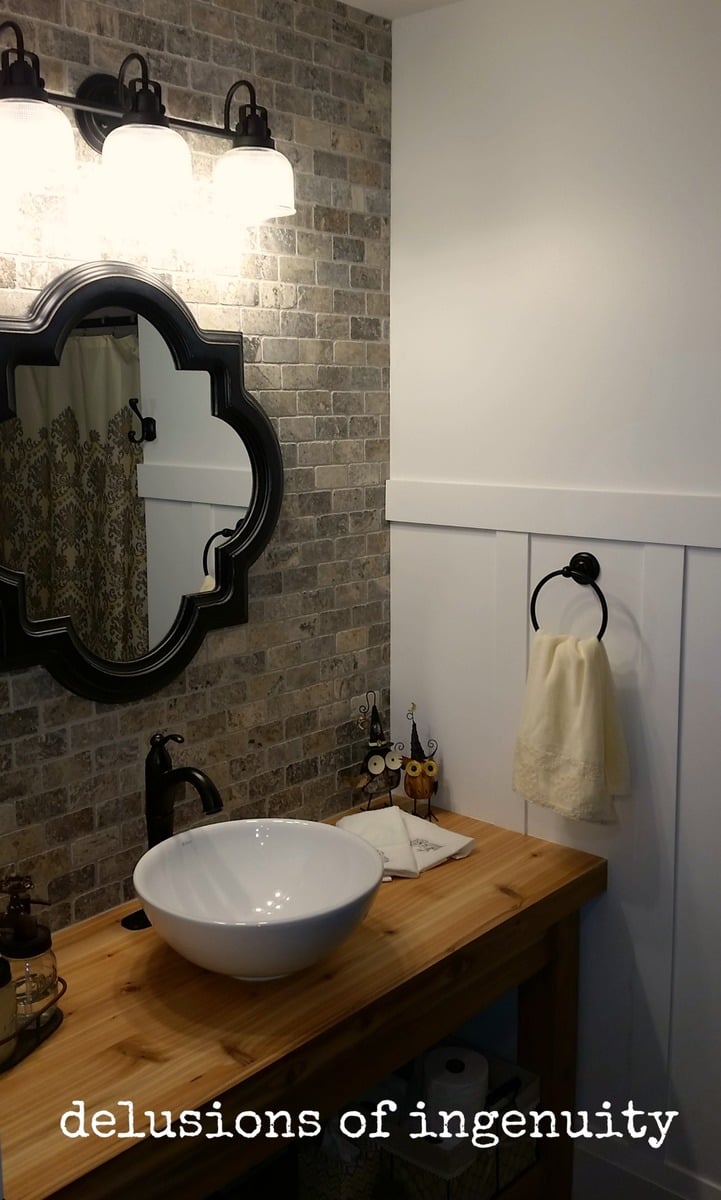
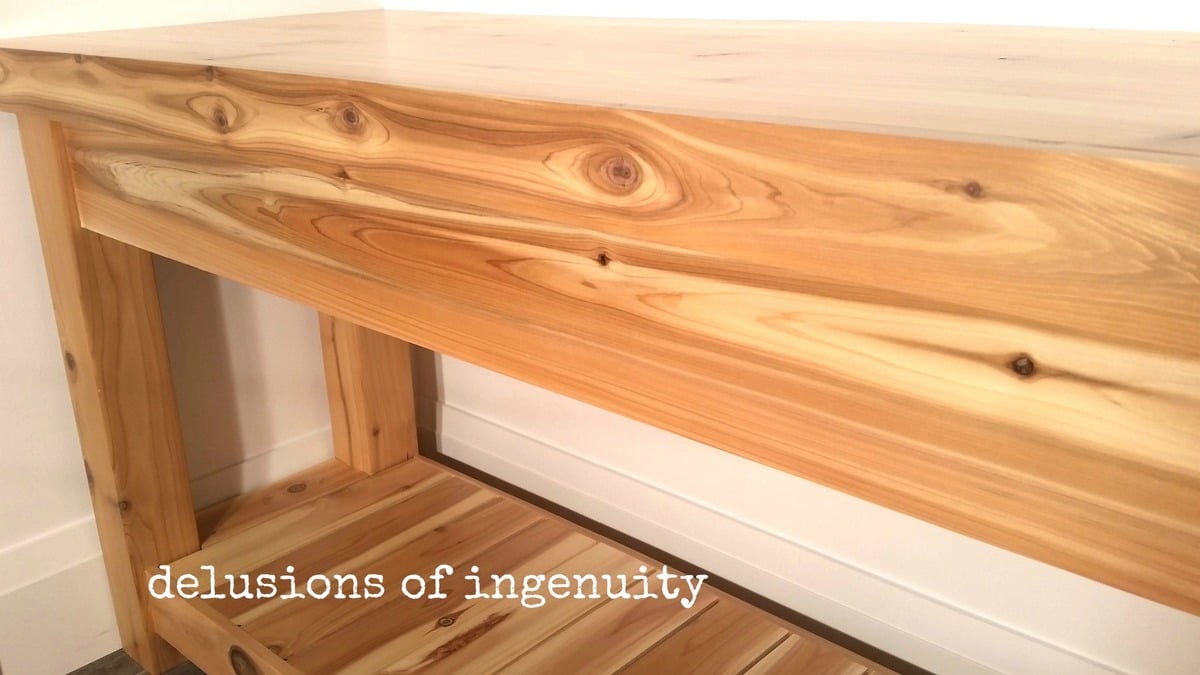
This plan from Ana's site fit the bill perfectly for the vanity in our guest bathroom. Only a short four years after building our home, our guest bath finally has a functioning sink vanity! We also added a Kraus brand faucet and vessel sink, as well as tiling the back wall and installing faux board and batten. The estimated cost is for the entire bathroom project.
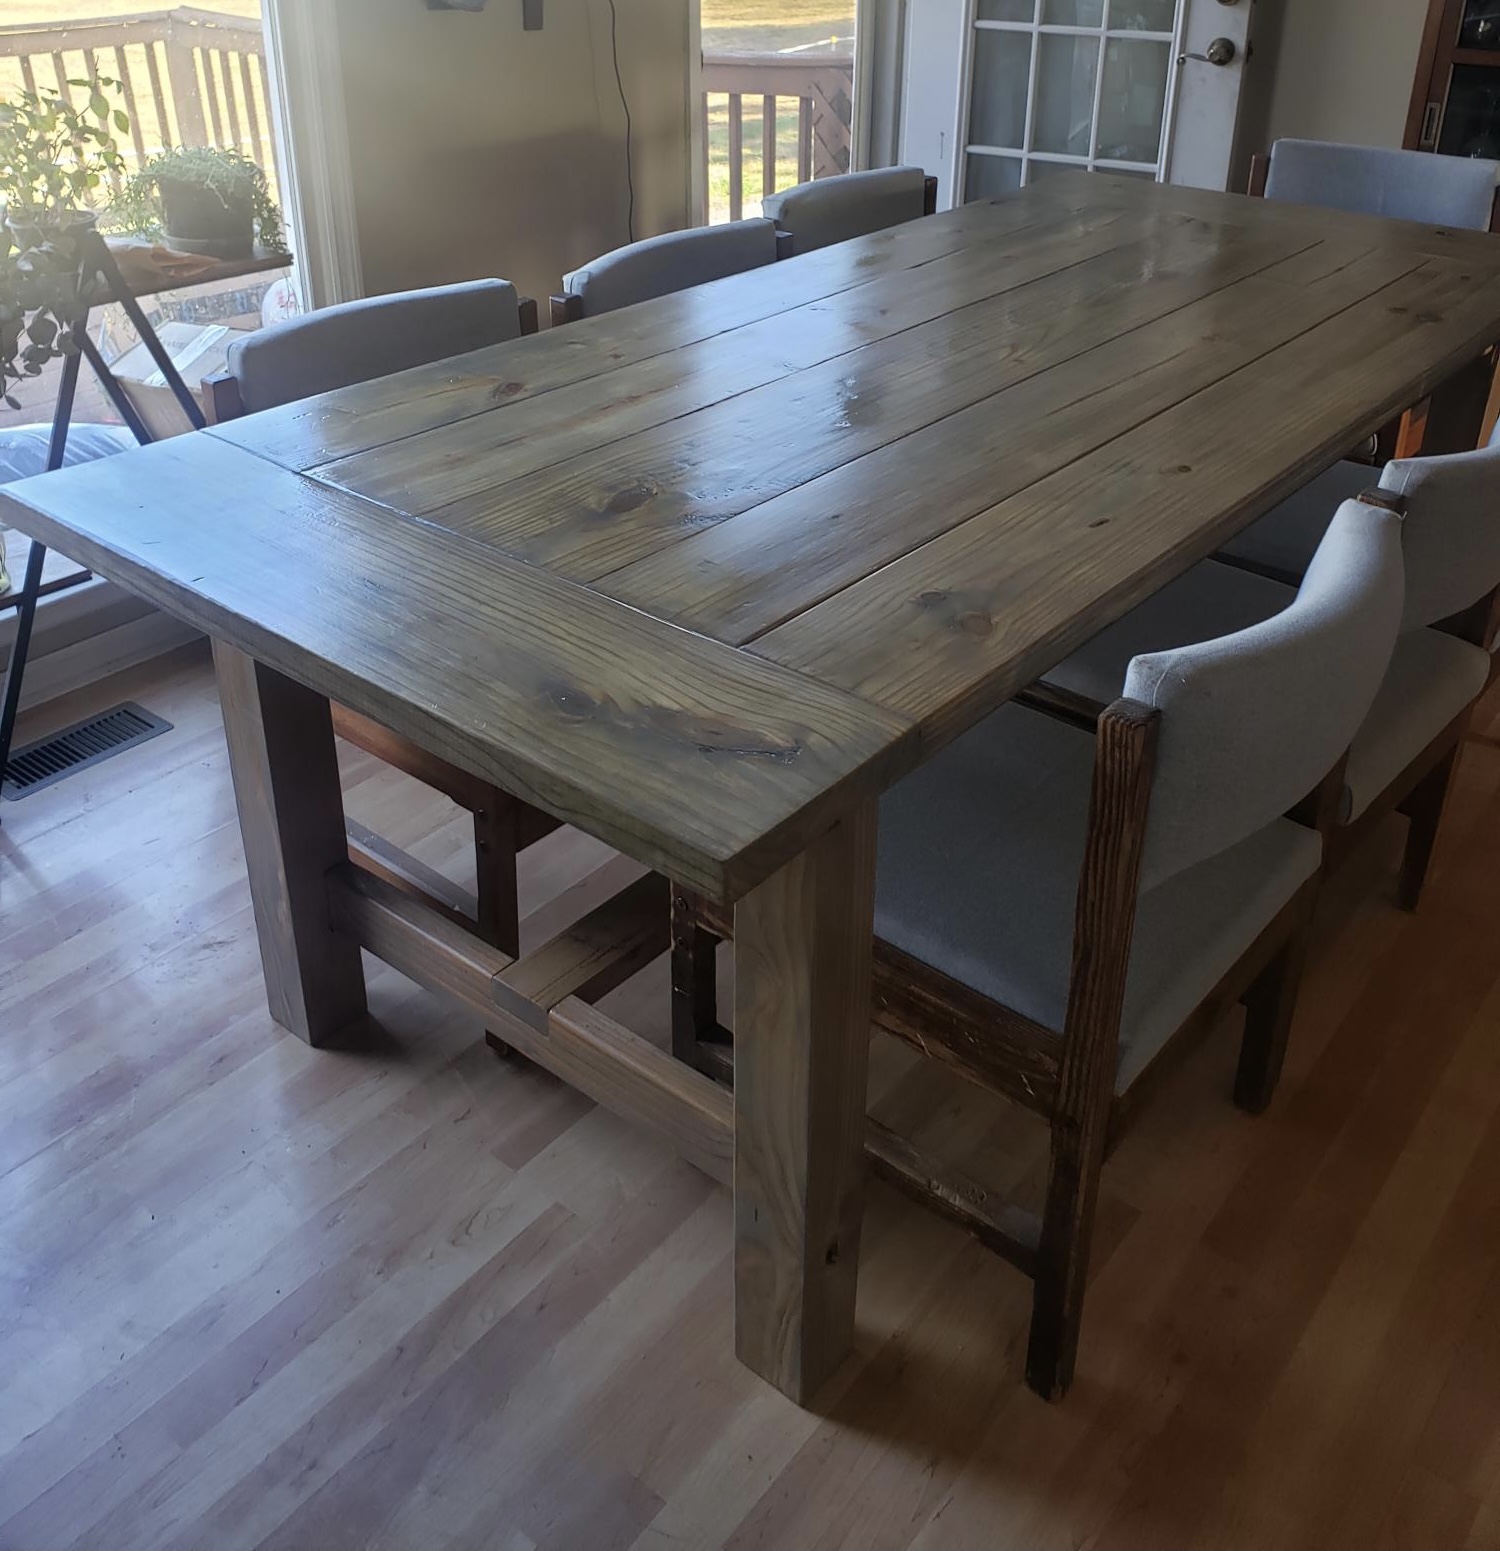
I had just had a bad experience with a furniture company that sent me the wrong table after I had waited for many weeks for it. I was so exasperated I decided I would make my own from your instructions. I am a 62 yo woman and I had a blast making it. I am now planning to make a bedroom set next!!!
Sat, 11/06/2021 - 17:32
That is absolutely beautiful, so much better than anything you could have bought in a store!
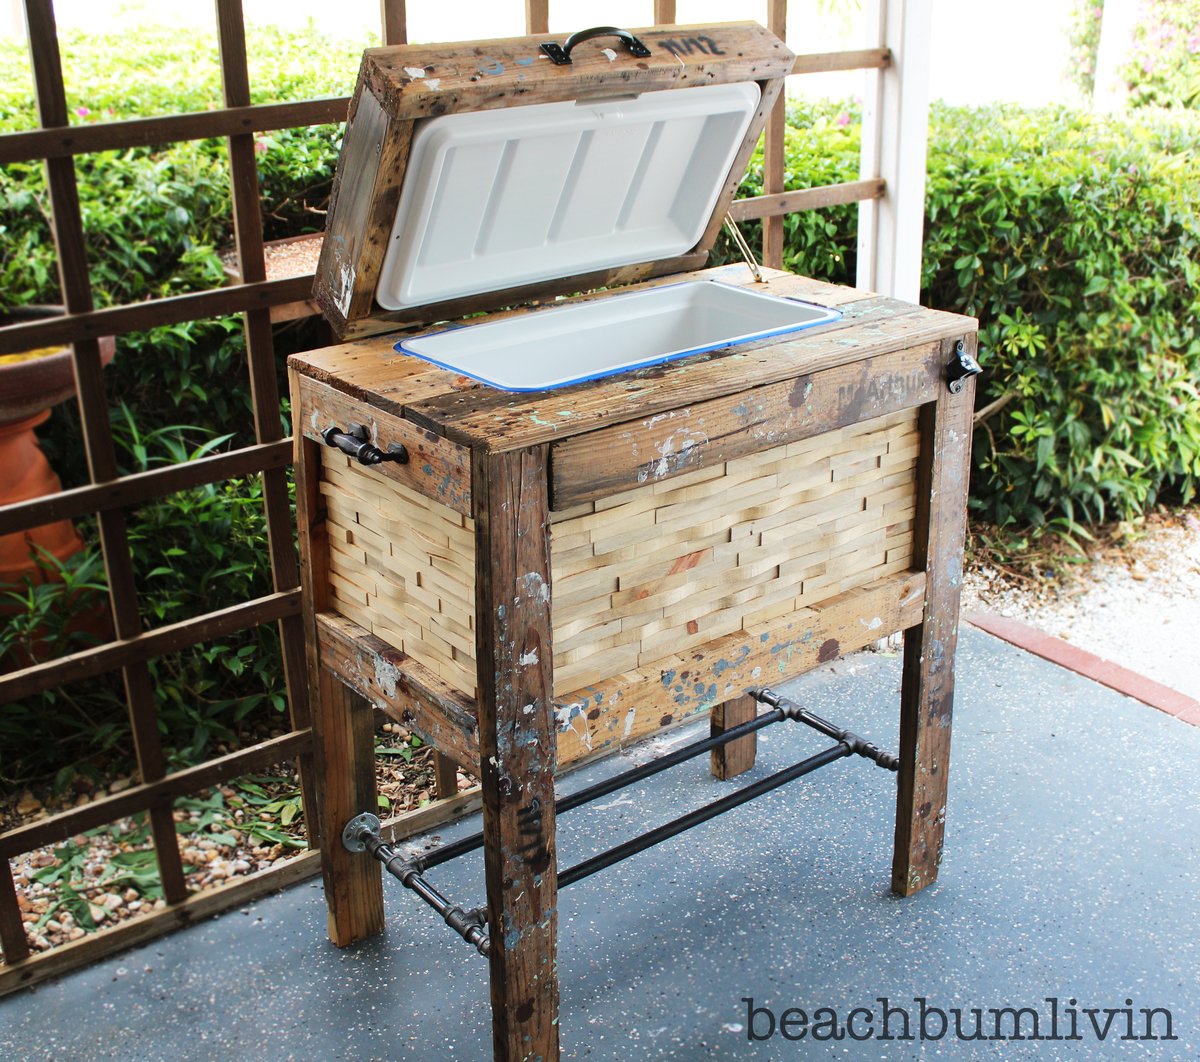
Watch the video on how I did this project here: http://youtu.be/IoP2cKN2WeY
For this week's woodworking project I'm building a Rustic Cooler Box from used Pallets. The project was a lot of fun to do and pretty simple! By just using some old Pallets that were free I was able to build something that will get a lot of use. Plus, by using the Pallets I think it turned out really cool looking!
How to video http://youtu.be/IoP2cKN2WeY
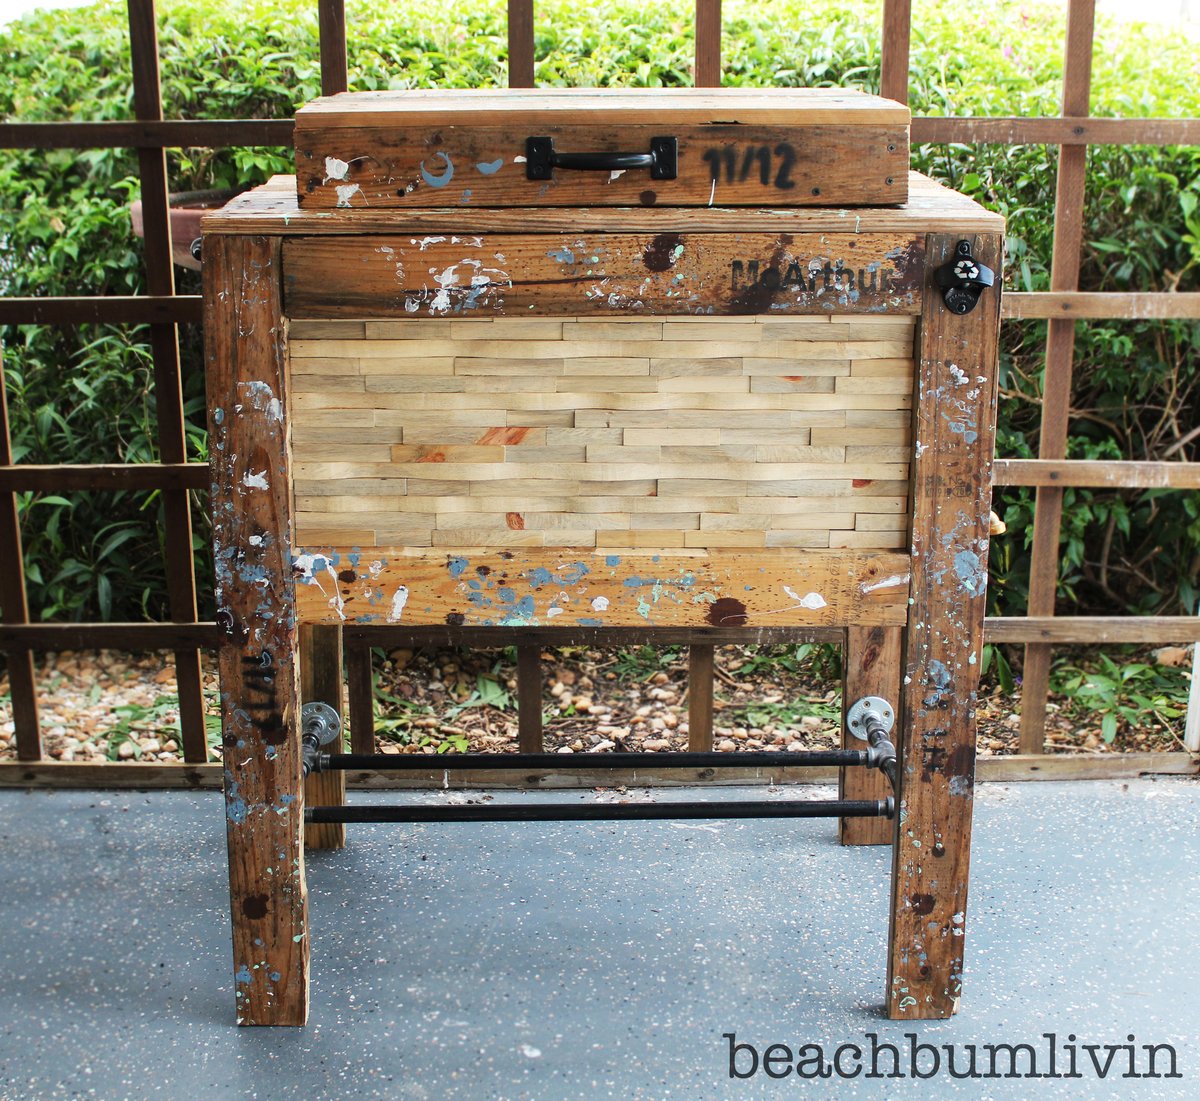
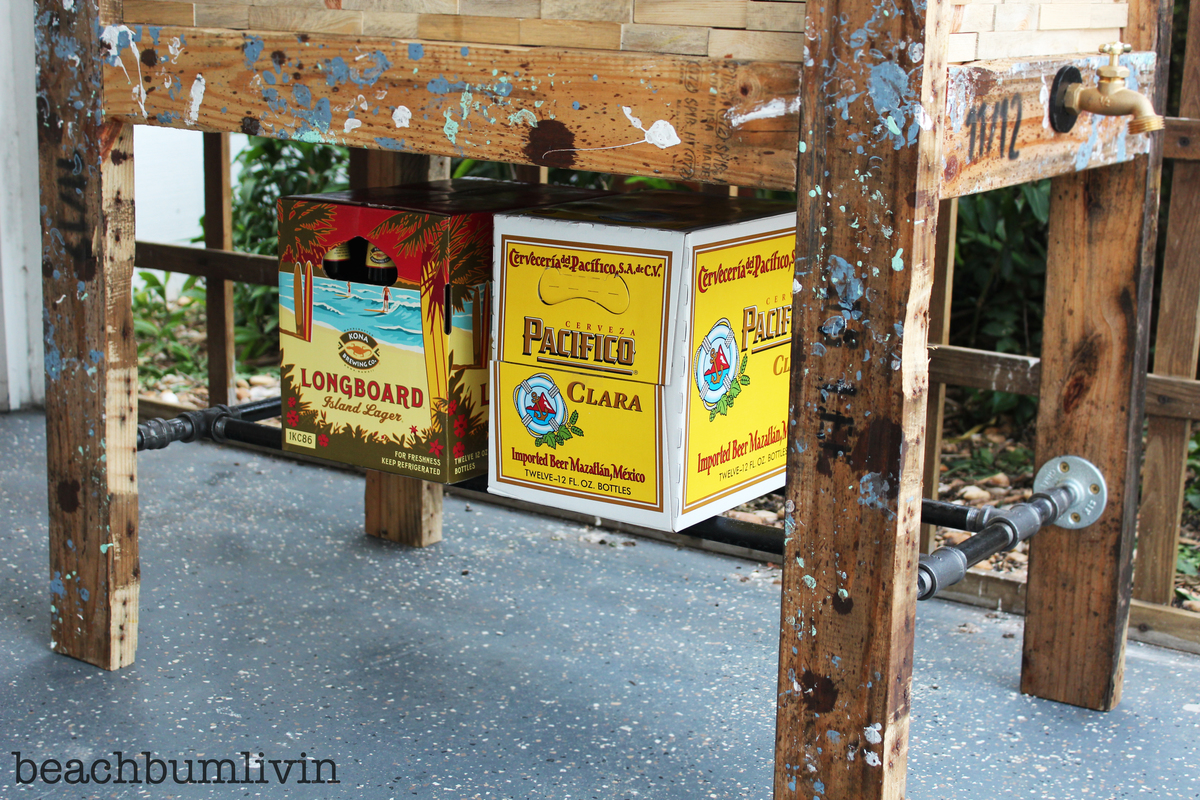
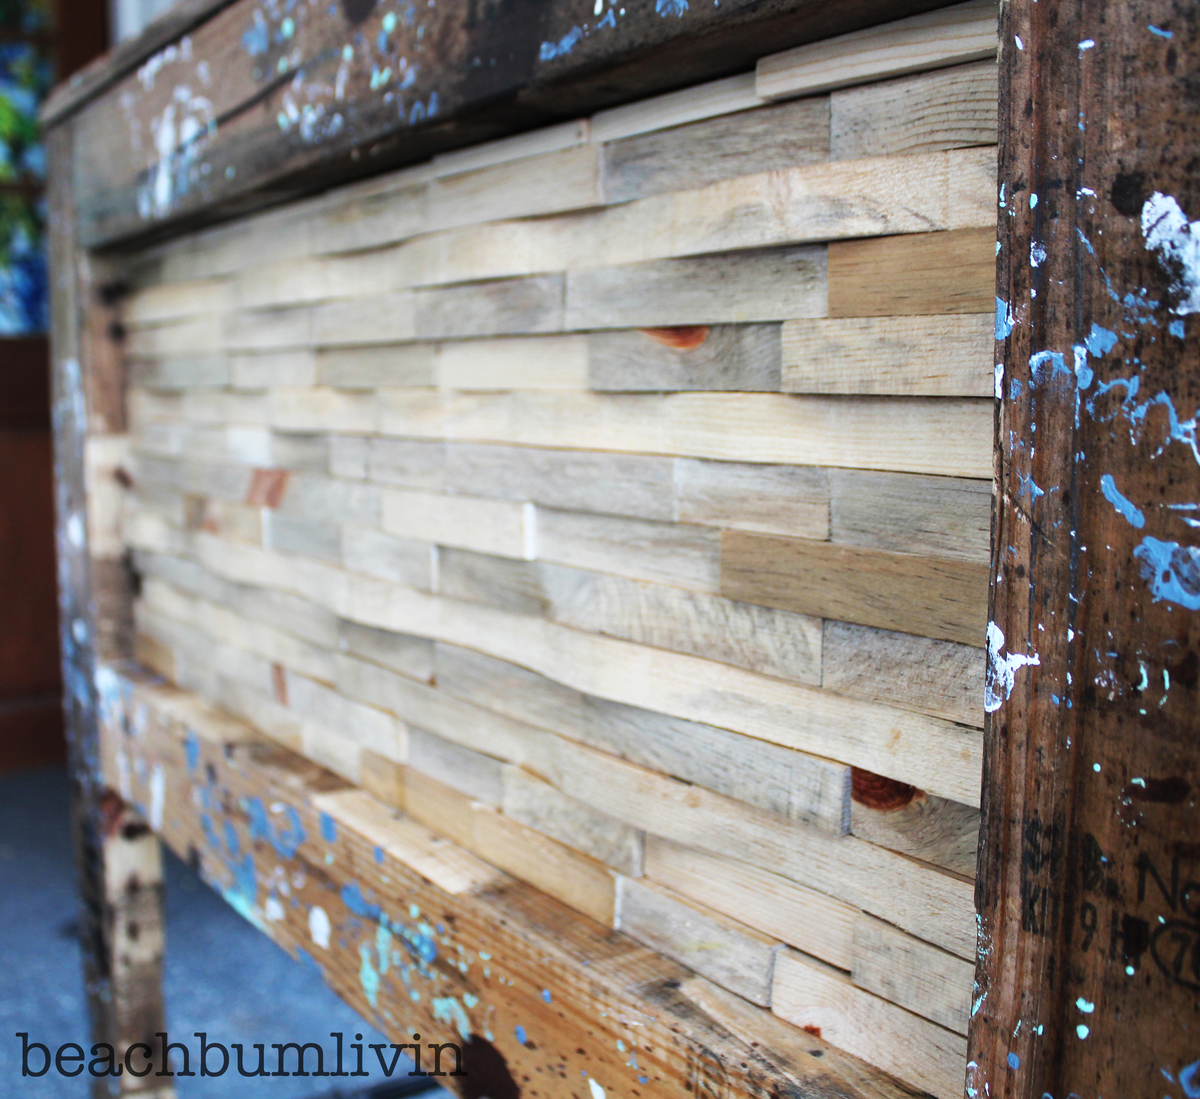
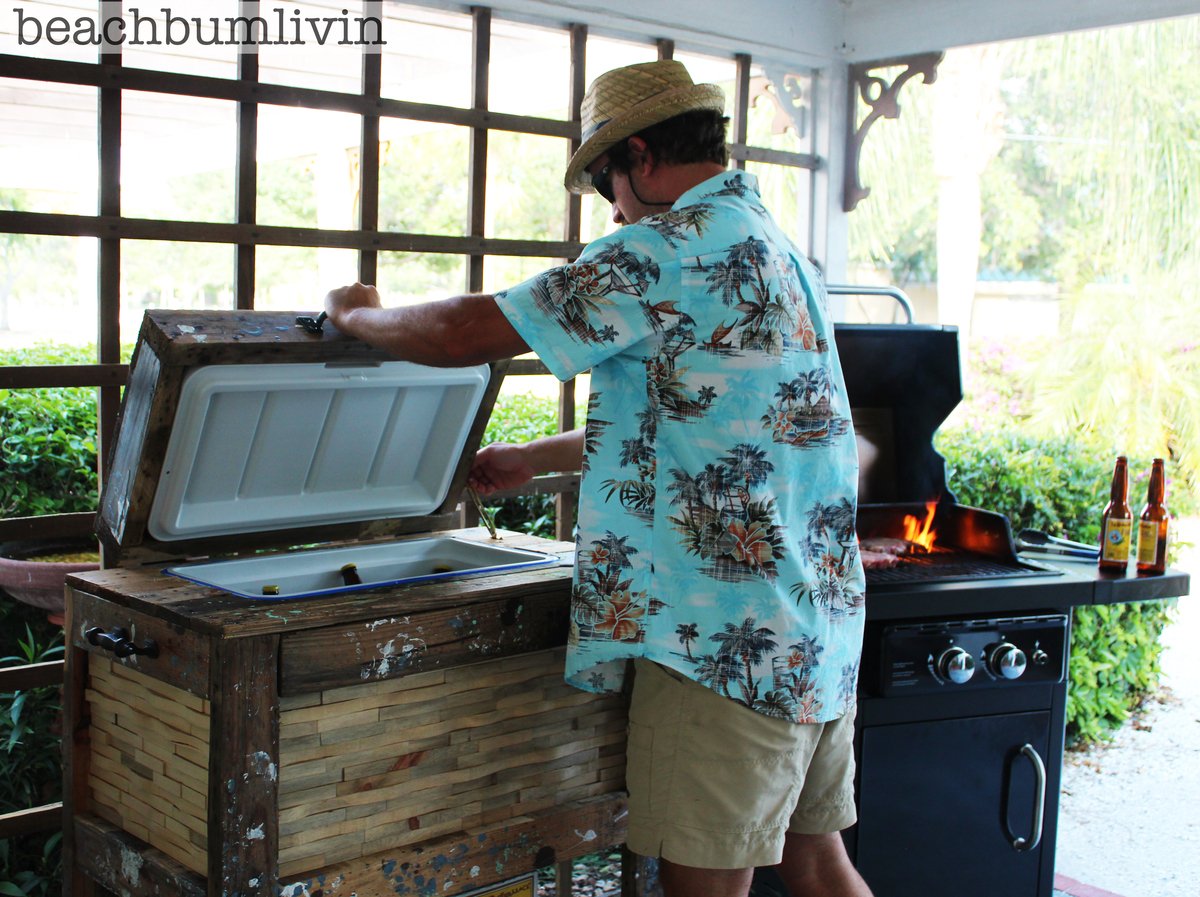
Wed, 11/27/2013 - 04:02
Awesome way of doing a pallet cooler. Keeping the cost minimal your way of finishing it was really good. Personalizing such coolers would be interesting!
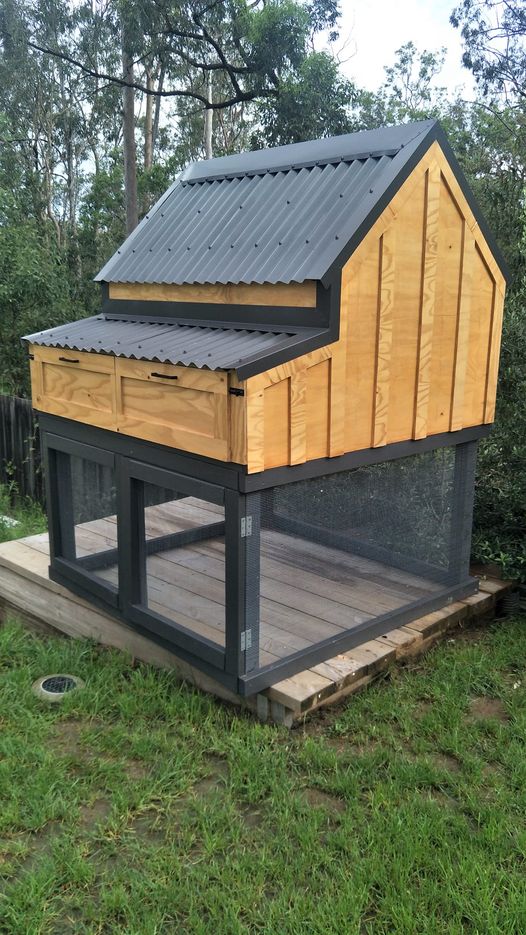
I had to convert all the measurements from inches to mm, but it was worth the brain drain. I didn't add the garden, but extended out the chicken coop. I am thrilled with the results! Thank you!
Fri, 12/03/2021 - 07:39
WOW, definitely worth the extra effort, just beautiful! I wish we could offer metric plans, may need to figure that out.
Wed, 03/23/2022 - 20:32
Did you change out the 2x4 and 2x6 on the lower half?

I went with a butcher block table top, 48x120”. Rostered the edges with a chamfer bit. I didn’t use the 45 braces Otis plenty sturdy. It would come through the door assembled so it was assembled in place and weighs more than any other piece of furniture we have. It seats 8 adults comfortably.
Thanks, Ana White


