Community Brag Posts

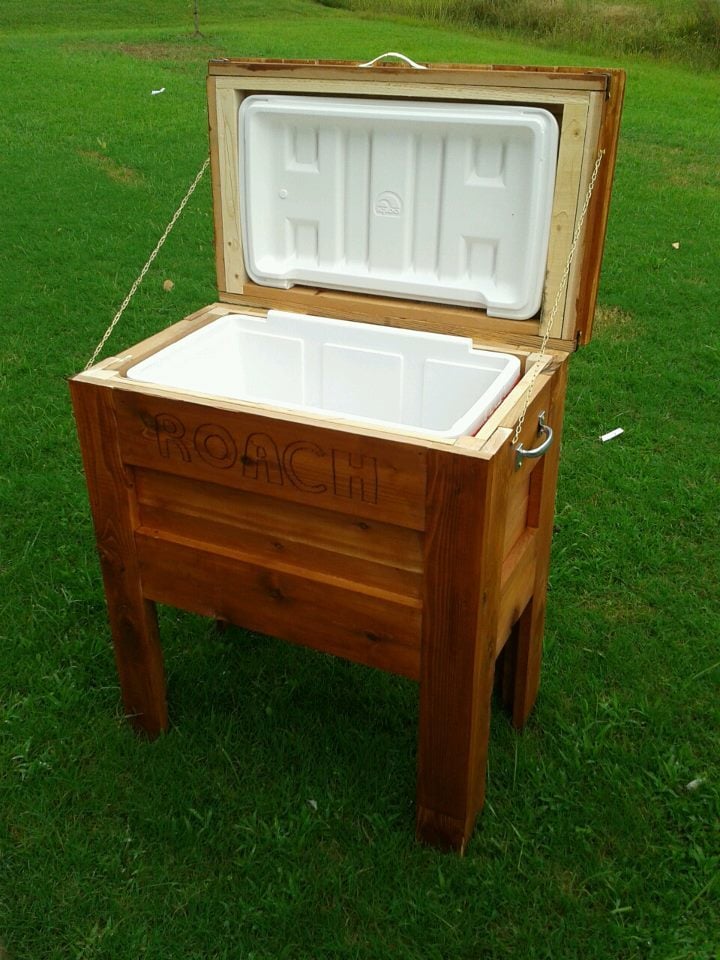
Outdoor Wooden Cooler

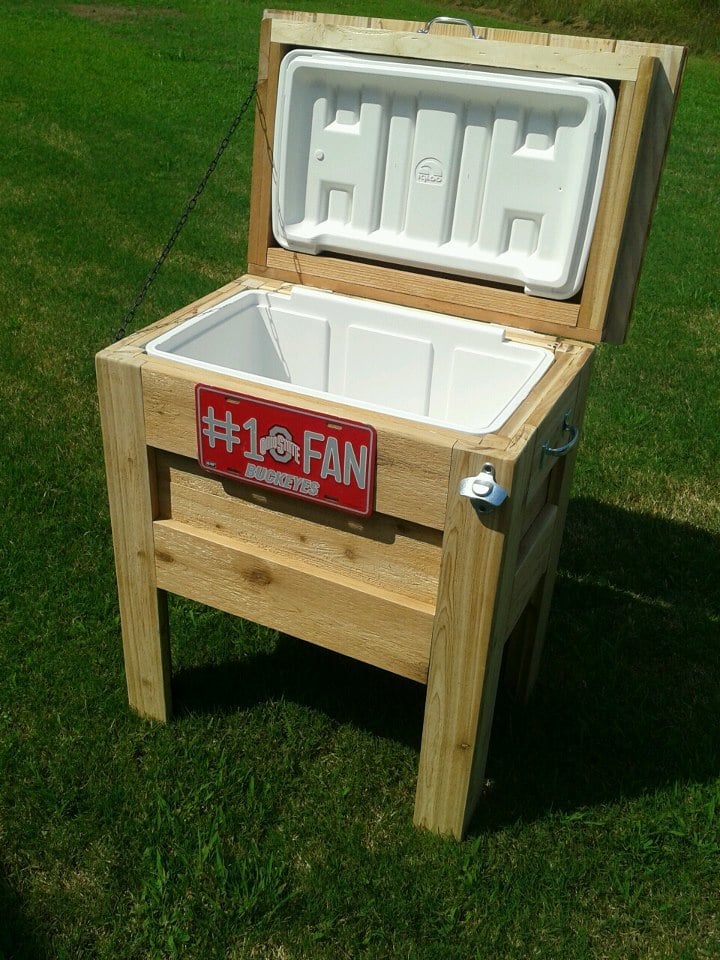
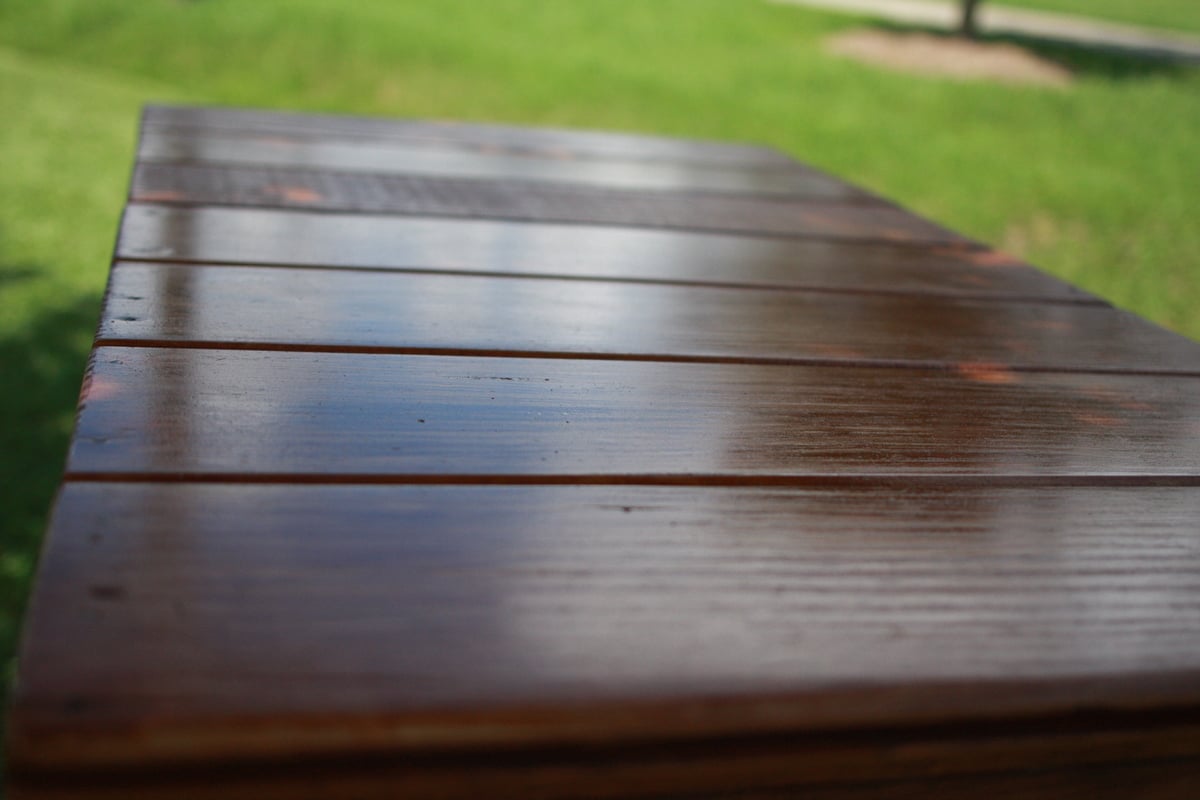
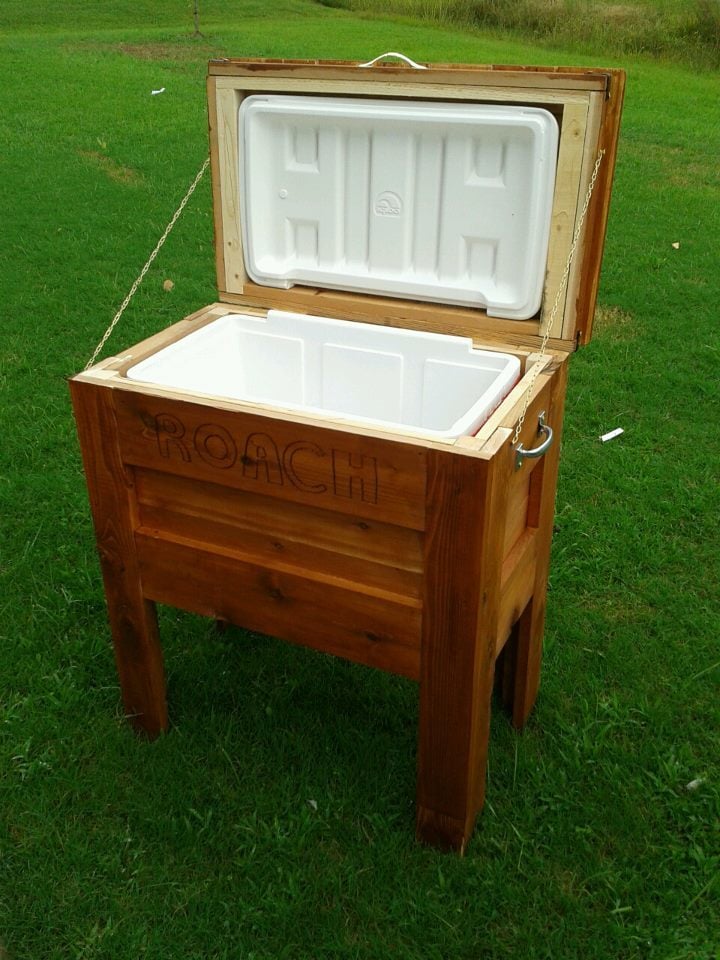
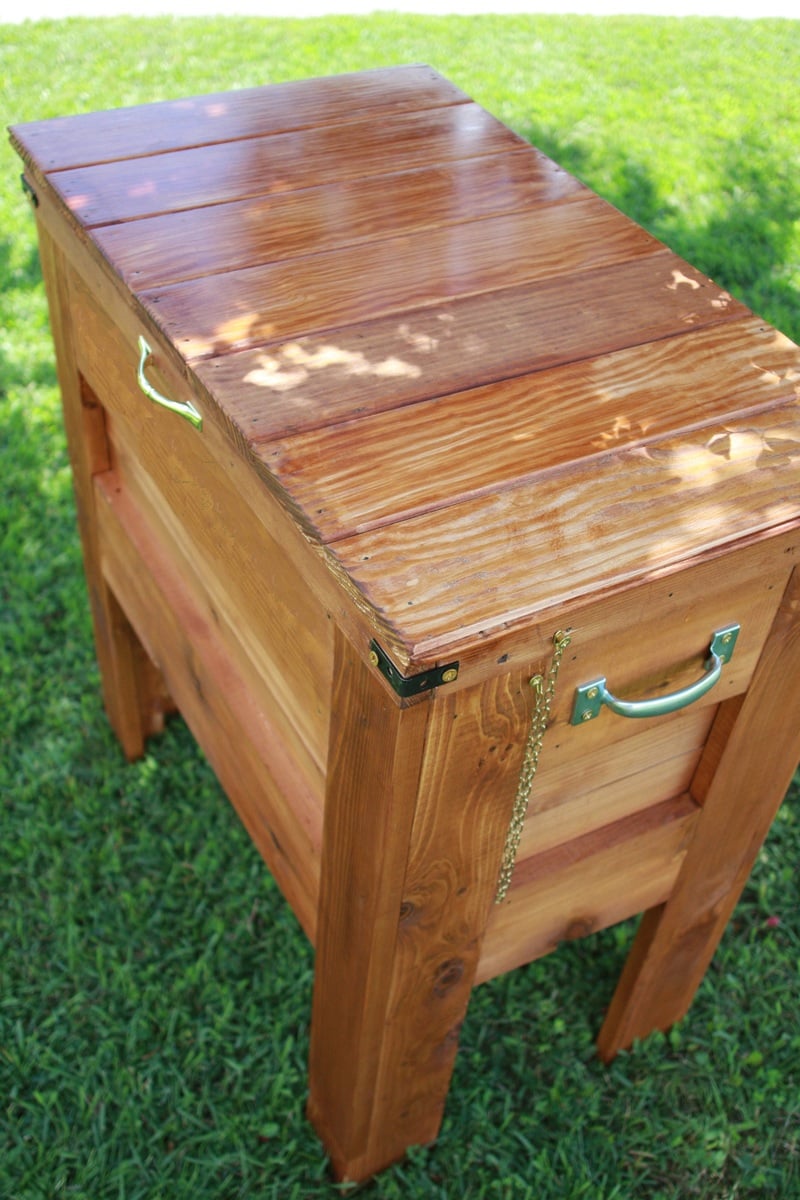
An Outdoor Wooden Cooler is the perfect way to accent any deck, patio, or garage. Can be made from Cedar, Pressure Treated, Cyprus, etc. Sizes can vary from small 28 qt coolers to Large 120 qt coolers capable of holding hundreds of drinks. These coolers can be themed for your favorite sports team, favorite hobby, or anything of your choice. Engraving or wood burning is available.

Built from Plan(s)
Estimated Time Investment
Weekend Project (10-20 Hours)
Finish Used
Stain, painted, distressed, etc.
Recommended Skill Level
Intermediate

Comments

sgilly

Fri, 08/31/2012 - 09:52

Well, actually, two. My beer loving son-in-laws would love this, and Christmas is coming! Do you happen to have any "step-by-step" directions you'd be willing to share? I can figure out the dimensions but it would be really helpful to read - or see - the components and how you put it all together.
Thanks for sharing!

Adam_Scheetz

Fri, 09/28/2012 - 11:41

I had to make a new page because of some password issues. Thanks for comments. I have no plans yet, I've built so many it's sort of muscle memory now. Shoot me an email at [email protected] and perhaps I can help.

And no, the lid style I like is nothing more than some tongue~n~groove boards cut to length, attached with pocket holes and nailed to the lid frame. Tongue~N~groove is optional of course, you could just use regular boards.

sgilly

Fri, 09/28/2012 - 11:58

I really appreciate your response. And, I did indeed send you an email!
I have a bunch of cedar milled and planed by one of my son-in-laws. He'll be thrilled to see that I've made something he can use for his favorite beverage!

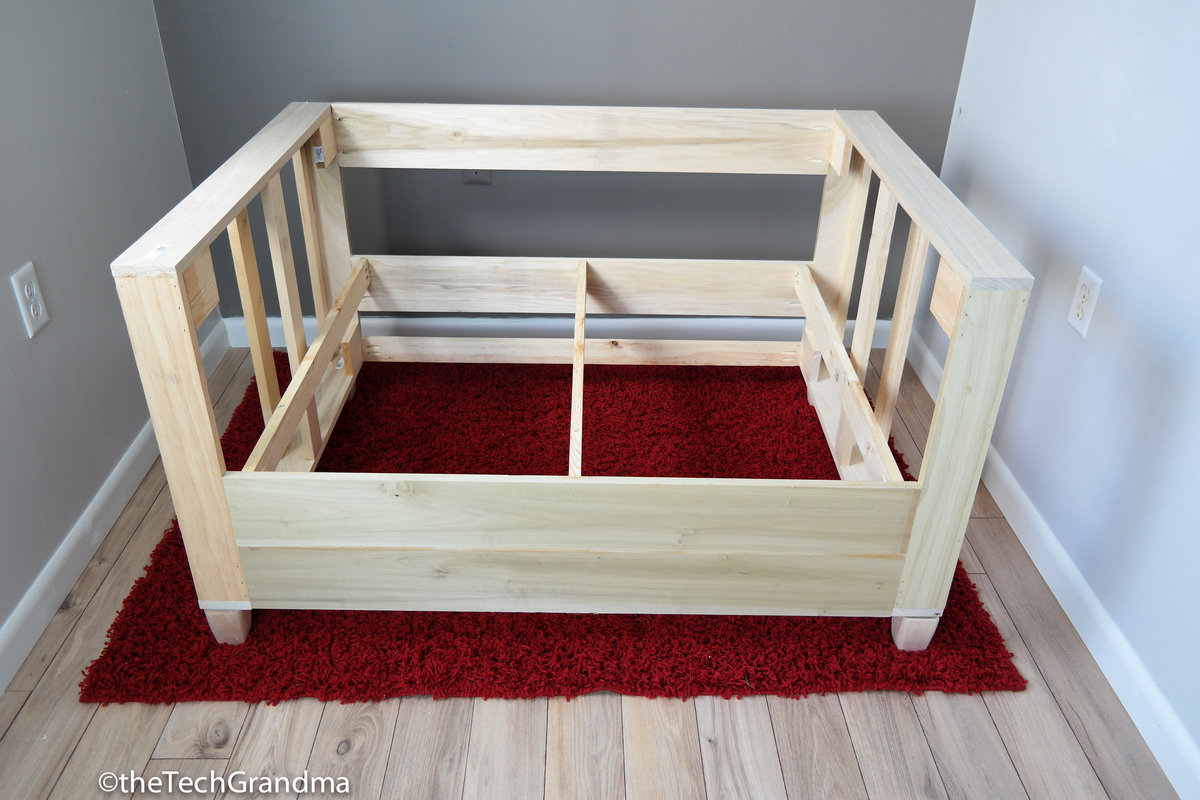
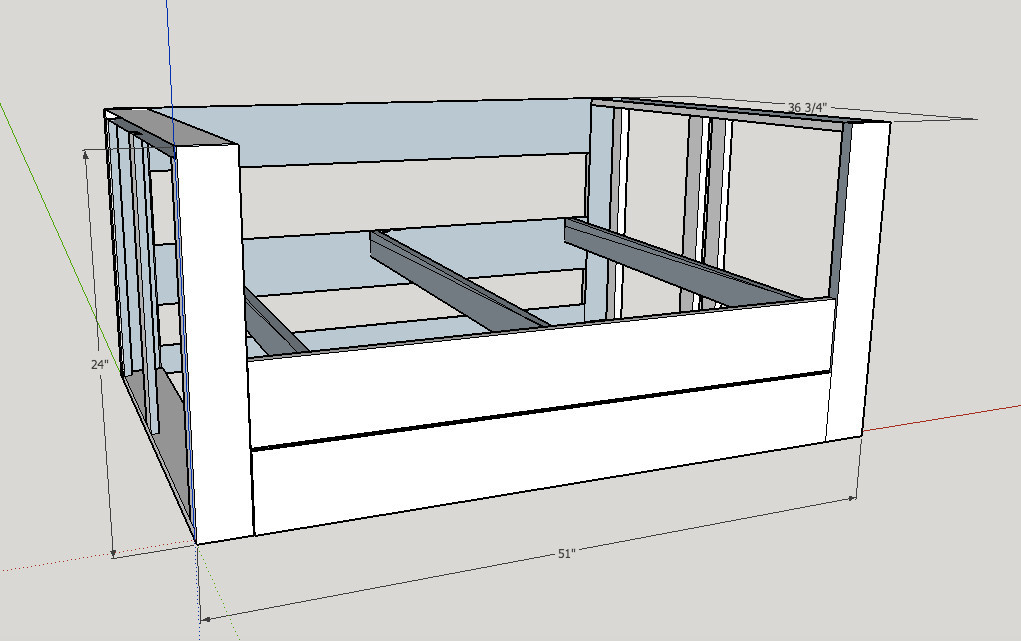
diy Oversized Chair

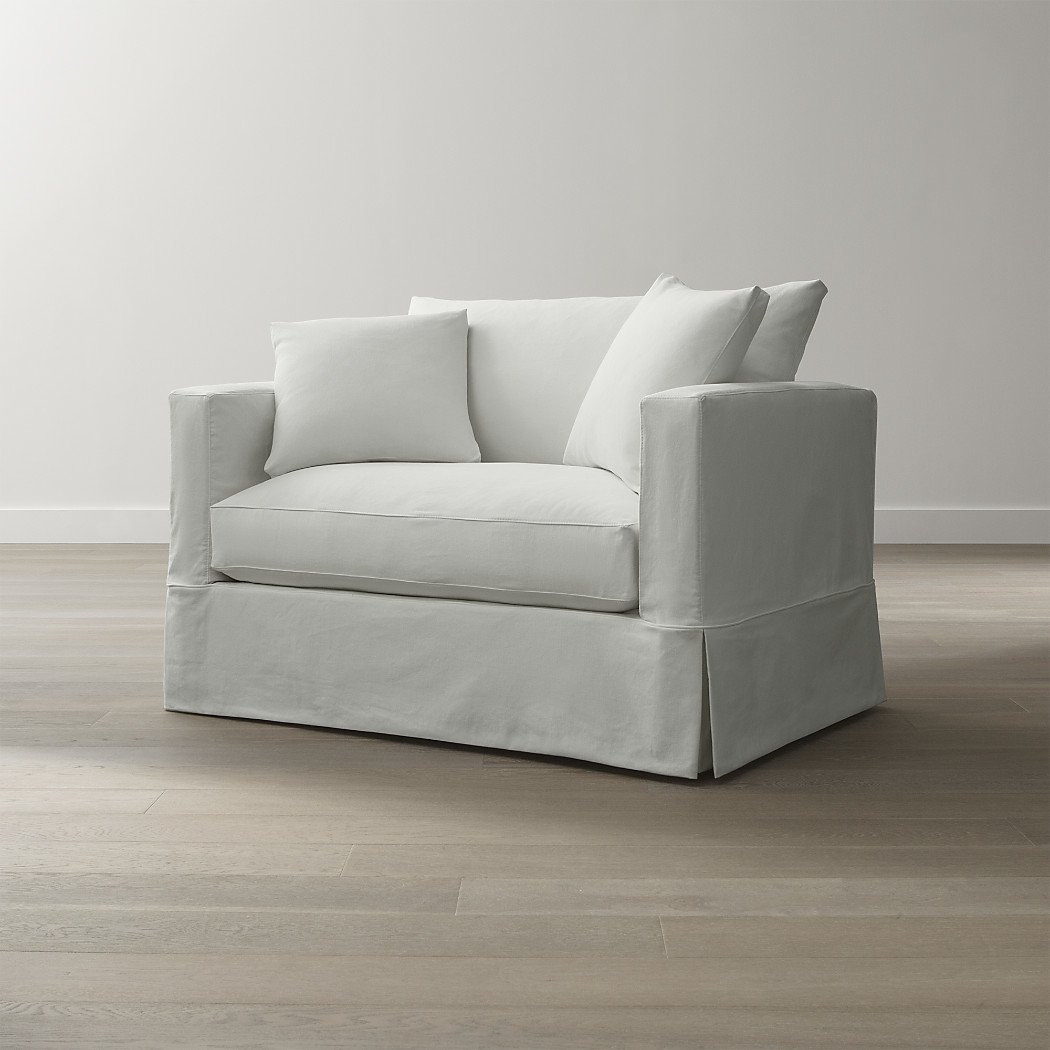
As I finished the basement, my thoughts turned to the upstairs furniture. We bought a sectional when we moved into our house 2 years ago from Art Van. We paid $2000 for it and it lasted about 3 years. We finally got rid of it after 5 years, but the frame was broke and the cushions were terrible!!


I looked around and couldn't find anything I thought was superior quality that didn't cost an arm and a leg. Quite frankly, this is expensive even to make but I'm up for the challenge.  

Estimated Cost
Frame cost was $120
Estimated Time Investment
Afternoon Project (3-6 Hours)
Recommended Skill Level
Intermediate

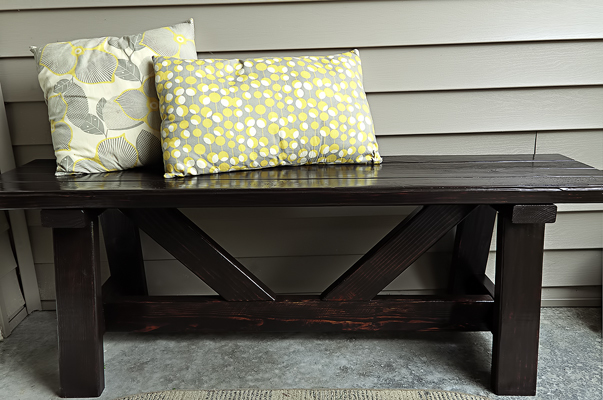
Providence Bench for my Front Porch

Submitted by kerrbear on Wed, 09/26/2012 - 10:30

This project was quick and simple. Just keep in mind and pay attention to the plans where they state "bevel" or "miter". There is a difference!

This project was free to me as we have a huge amount of 2x4 studs left over in our garage from a previous project so I should be able to do the table and another bench for free as well.

It went together within a few hours as the cuts are easy.

Working on the camp loft bed now with some mods to add a stationary bed beneath and more height for my girls room.

Overall great build.

I stained it with one coat of Kona. I did let the stain sit and barely wiped it off that is why it ended up being very dark which is the look I was going for. I then finished it off with 4 coats of polycrylic clear in high gloss which dries very fast and does not yellow.

Estimated Cost
$10.00 - 2x4's here are about $1.54 each
Estimated Time Investment
Afternoon Project (3-6 Hours)
Finish Used
1 coat of Rustoleum Ultimate wood stain in Kona. This is the best stain ever for dry time (its not clean like gel stain though so it is runny and can get messy just an fyi)
It dries within an hour! And only needs one coat!

Finished it with 4 coats of Minwax polycrylic clear gloss. Its ultra fast drying and water based for easy clean up. Comes in matte, satin, and gloss.
Recommended Skill Level
Beginner

Comments

Jamie Hynes (not verified)

Sun, 11/04/2012 - 14:15

Hi - would it be possible to get these plans also? Thx so much, it looks like a fun project with fast results. jamie

Vicki G. (not verified)

Fri, 11/23/2012 - 10:49

There is a clickable link above where it says "Blog Link: Build a Providence Bench"

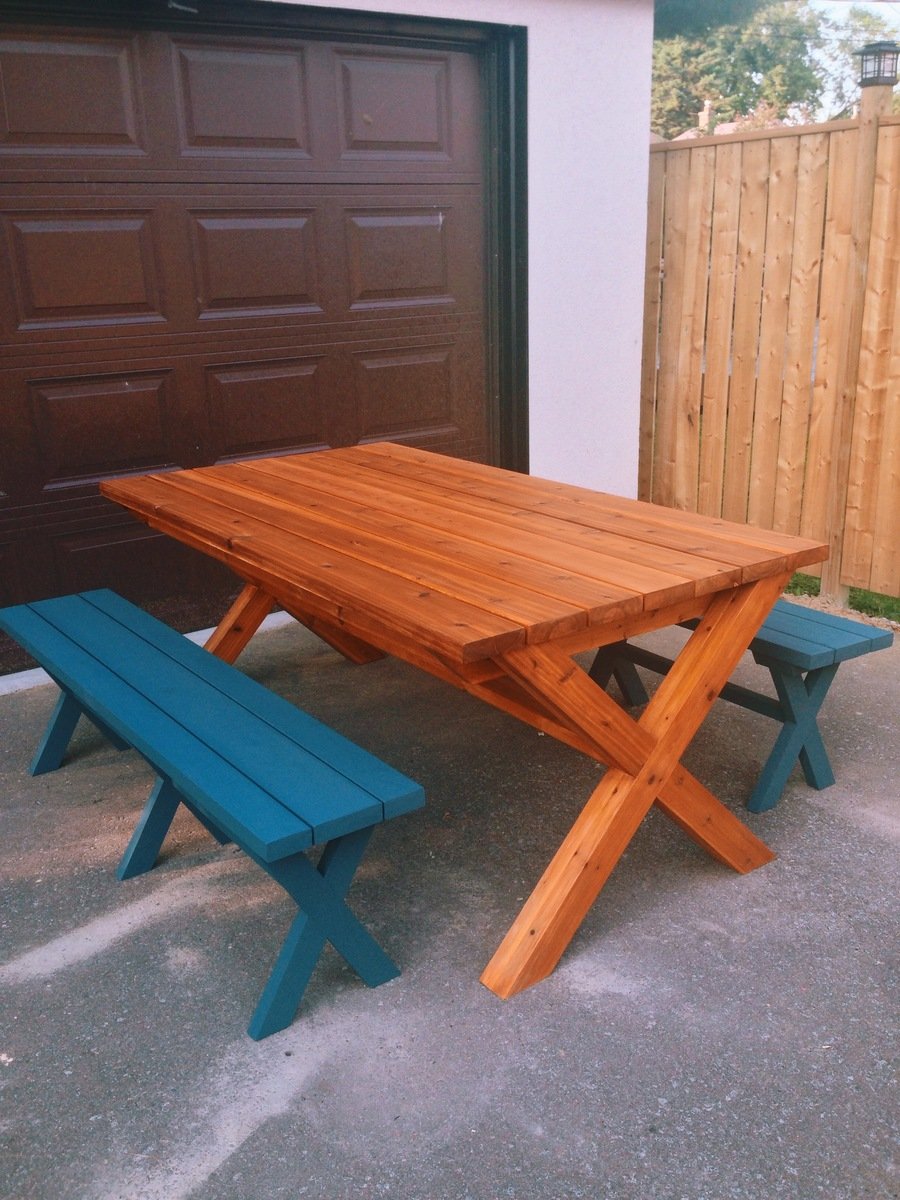
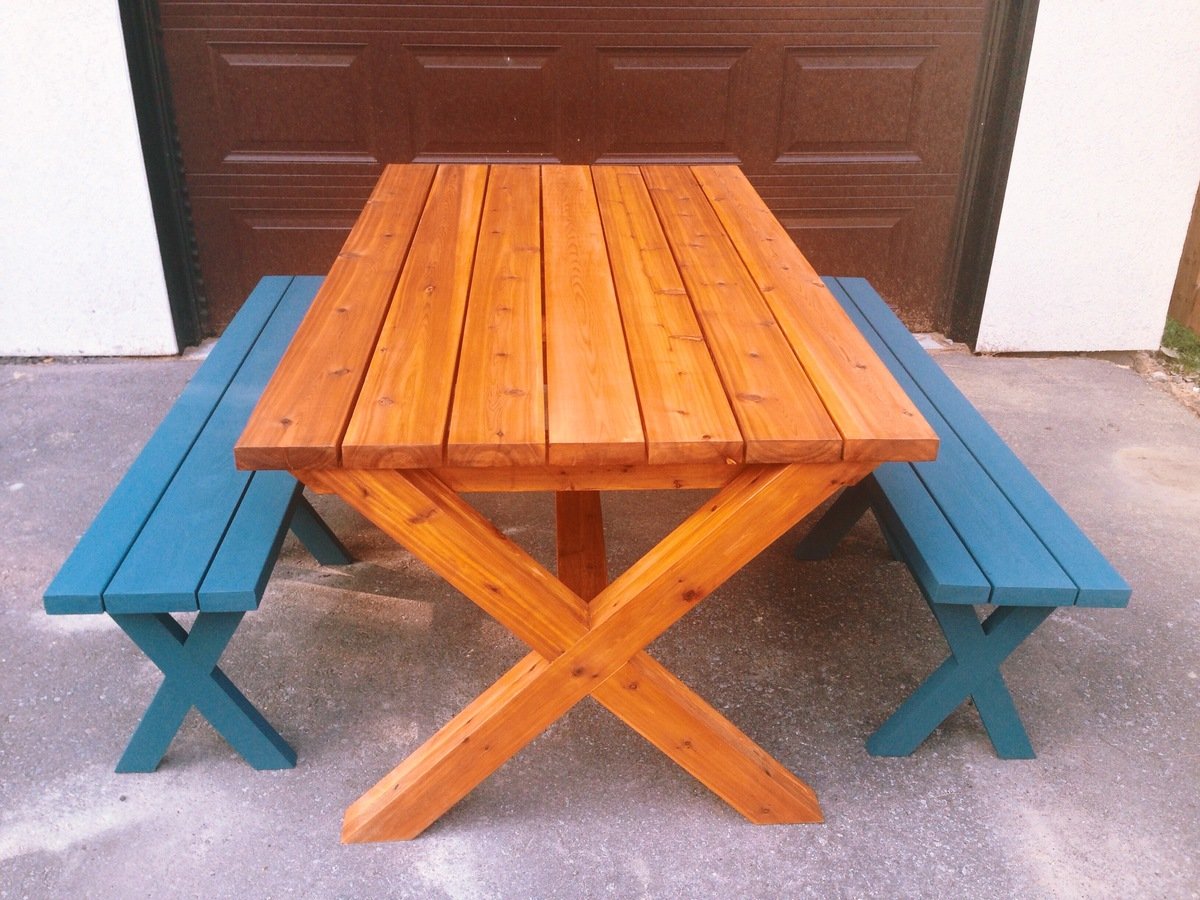
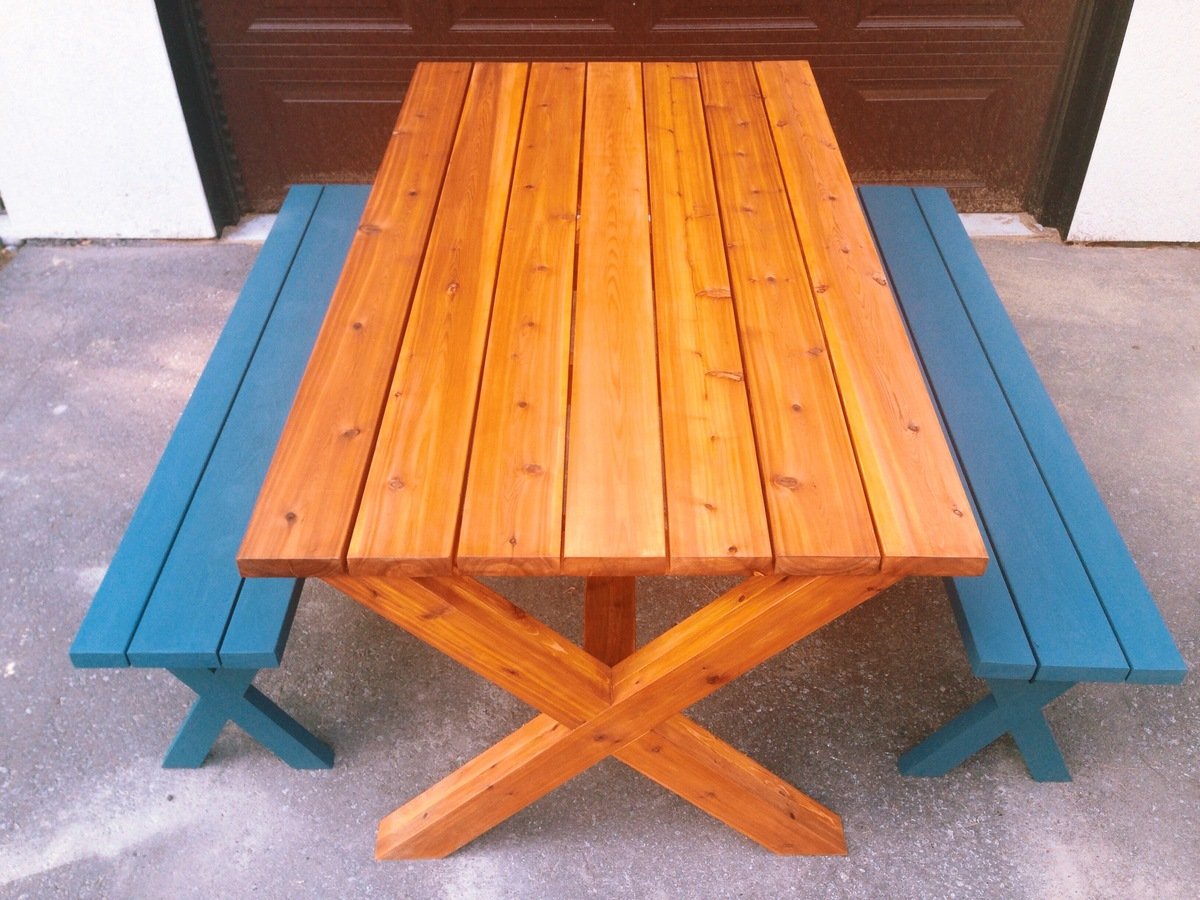
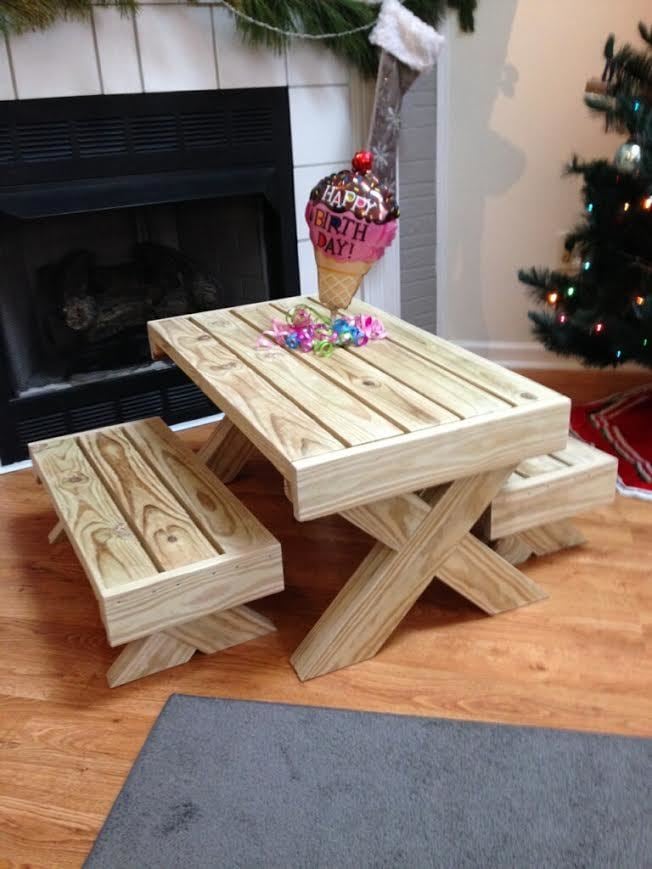
Outdoor Table and Benches - First Project

Submitted by linlet_e on Sun, 08/03/2014 - 10:26

First project of my husband. He had no experience at all in making furniture but when he stumbled on this website he was inspired.

I wanted to contribute so I volunteered to stain both the table and benches.

Modification: used 2x4 for the legs of the table

Estimated Time Investment
Weekend Project (10-20 Hours)
Finish Used
For the Table:
Cabot - Australian Timber Oil: Honey Teak.
I used a total of 1 & half cans (946 ml per can). I did it by sections - used paint brush to apply stain, gave it enough time to absorb (a few minutes) and then used a cloth to even out blotches. I also used a very small foam paint brush to stain the areas that are hard to reach - the gaps in between boards. Waited a couple of days to apply coat number 2.

For the benches:
Benjamin Moore Arborcoat - Solid: Spellbound
I used 1 can for both benches (414 ml). Again did it by sections, used paintbrush to apply 1 coat only and used a small foam brush for hard to reach areas. It dried very fast.
Recommended Skill Level
Beginner

Comments

Bar Height Farmhouse Table / Benches

Submitted by Anonymous (not verified) on Tue, 11/15/2016 - 12:07

I wanted to say thank you for the inspiration.

I took the general idea, made it bar height and my own preferred size and beefed it up by doweling together the top pieces.

Given the size, I made the top removable with threaded inserts as well as the removable support beams below.

For the benches, I wanted something sturdy and a look that was similar to the table.  I added in a nickel support rod for the foot rest for both strength and a nice look.

All in all this project took a lot of time, probably more so with my perfectionist ways and wanting to  make the finish perfectly smooth.  It's like glass, which I just love against the dents and dings of the wood.

Some of the challenges were wood that warped.  After putting together the bench tops, the wood warped quite a bit, nothing that a few clamps couldn't undo but a pain nonetheless.

Using black stain really brought out a nice look and I'm taking that same look to the new trim and door that are going into the dining area as well.


I've not seen a bar height (not counter height) table in a full dining table size before, it's what I wanted and I couldn't be happier with the results.   Was it worth all of the time?   That's hard to say, I really love it, but it took a long time to get it to be exactly what I wanted it to be.

Thanks!


Estimated Cost
$180 in lumber, $200 for stain/poly/sandpaper/steel wool/Kreg jig/screws. $20 for furniture screws that look sharp and allow the table base to be easily disassembled. Another $20 for threaded inserts and machine bolts to hold the top to the base.
Estimated Time Investment
Week Long Project (20 Hours or More)
Finish Used
Ebony Minwax oil based stain and Satin Poly.
Pre-stain, one coat of stain, wipe after 5 min, three coats of poly using steel wool (00) between each coat.
Recommended Skill Level
Intermediate

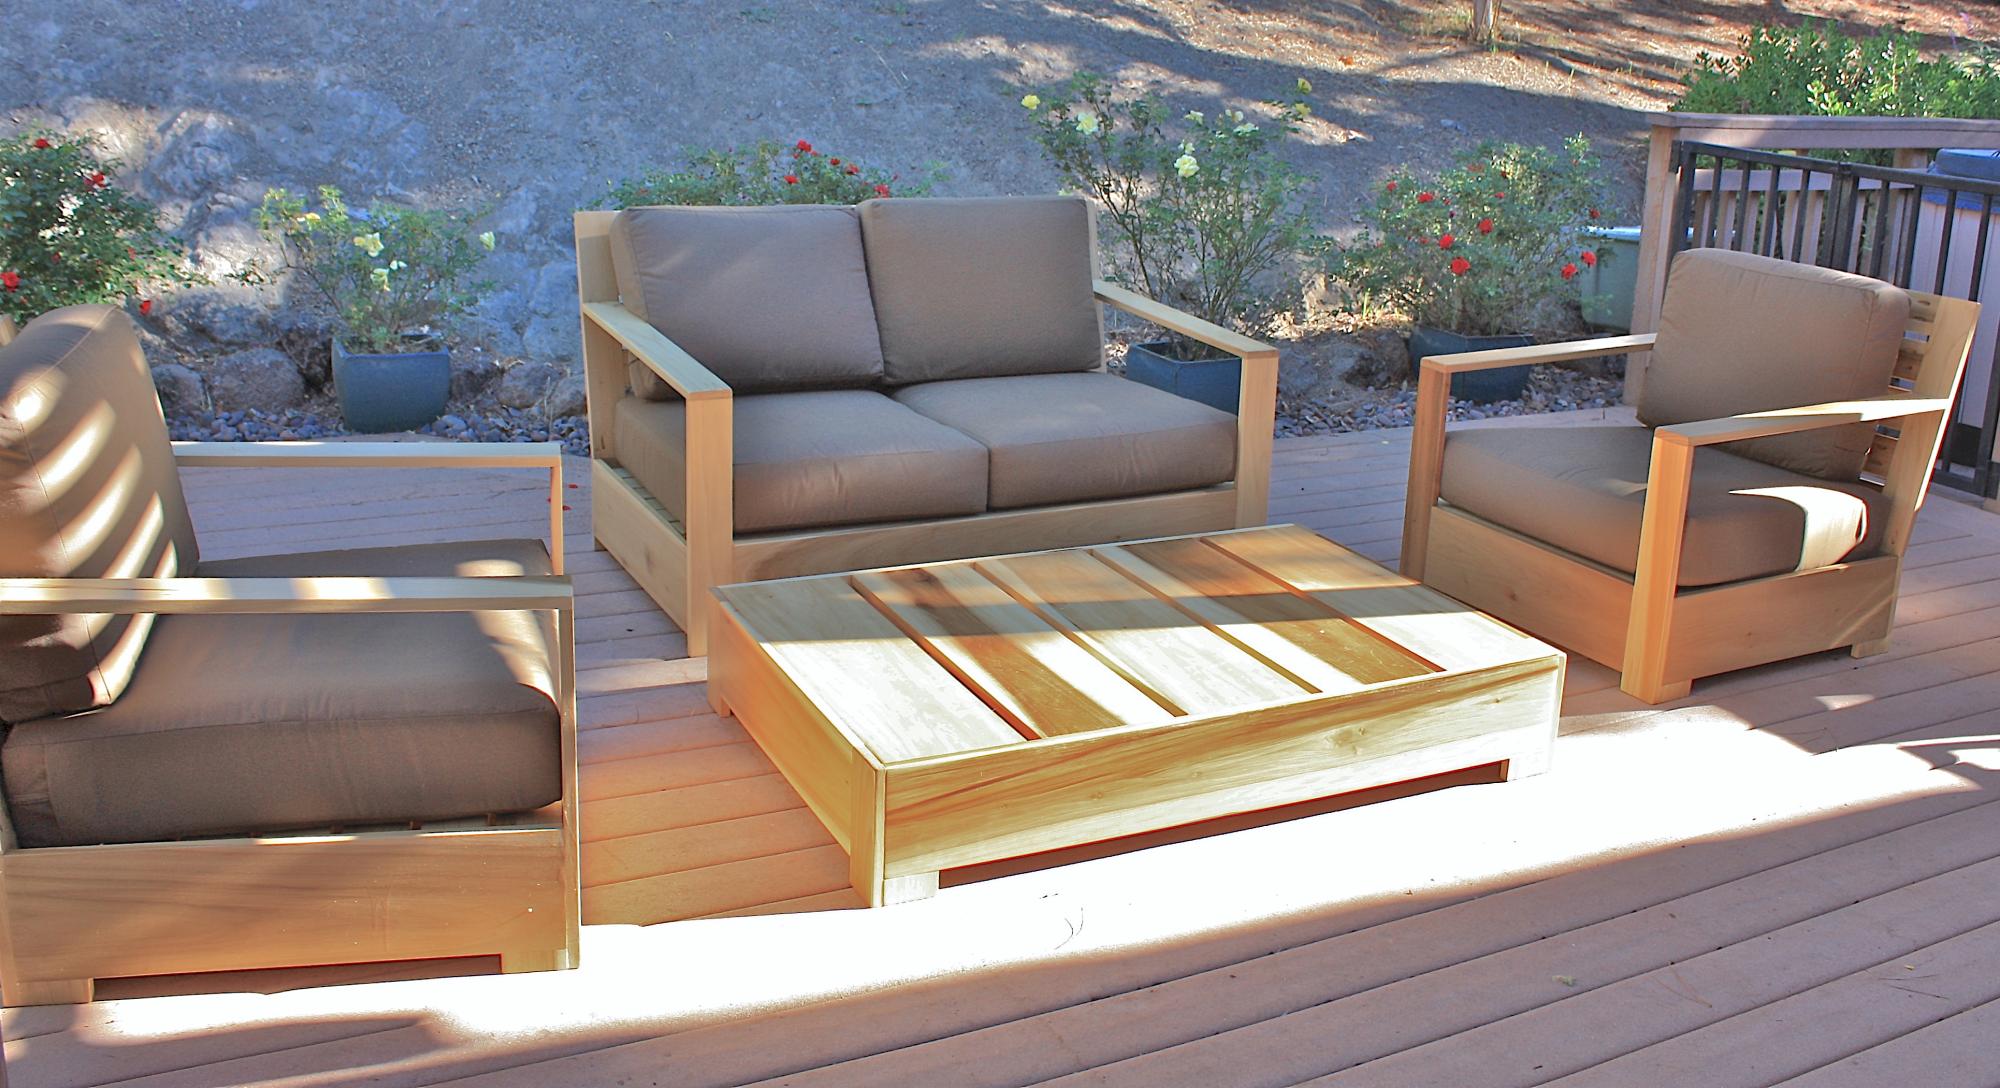
Outdoor Patio Set

Submitted by @m@nd@ on Wed, 10/17/2012 - 15:10

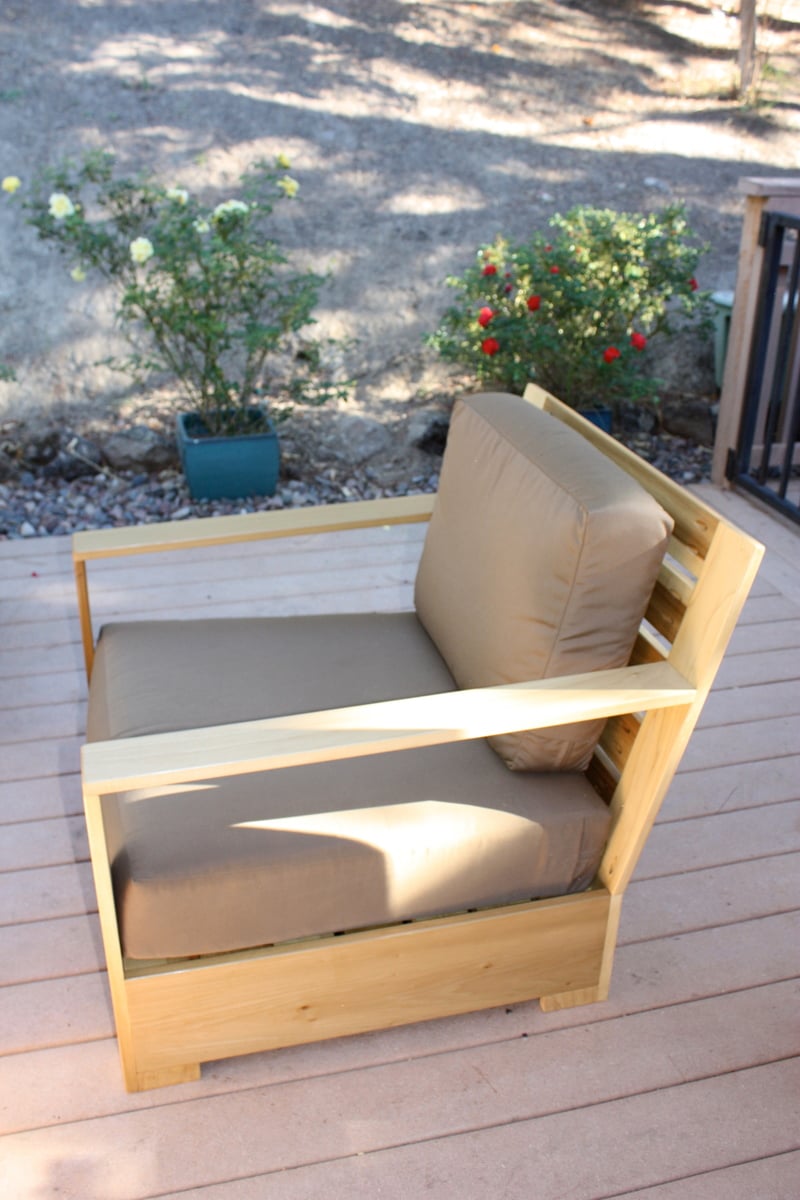
I started this project with just one of the Bristol Outdoor Lounge Chairs. I ended up liking it so much I decided to complete the collection with anther chair, a love seat, and a table. I got the designs for the other pieces from OldPaintDesign.com Poplar was my wood of choice because it is a hard wood that will last but won't break the bank. I also had a really hard time deciding how to finish it. Initially, I was going to paint the wood but liked the natural wood grain of the poplar so much I just simply put a few coats of polyurethane on it to preserve it. I ordered the cushions from Restoration Hardware this fall when they were on sale and even then they were expensive, but I love them. (Brown was the only color on sale.) Finishing the pieces was much more time consuming than I thought it would be.The first chair took much longer and required much more sanding since some of my joints weren't flush. The rest of the pieces combined took me about as long as the original chair. I wised up after completing the 1st chair and did the majority of the sanding before I assembled the boards together. Next, I am going to build an outdoor dining table to match.

Estimated Cost
$1600
Estimated Time Investment
Week Long Project (20 Hours or More)
Finish Used
Minwax Helmsman Satin Spar Urethane - 3 coats.
I used 220 grit sand paper before application and thoroughly cleaned with tack cloth before and in between each coat. I also lightly sanded out any rough spots in between coats.
Recommended Skill Level
Beginner

Comments

spiceylg

Thu, 10/18/2012 - 08:14

What a beautiful job you did. I've loved this set since I first saw it on RH website and requested plans for it. However, I realized with the cost of those cushions and such, my hubby probably wouldn't agree to the cost, at least now. So we built the outdoor sectional and got a great deal on the cushions from Costco. I haven't given up on this set maybe some day in the future when we built our pergola because it's just so beautiful. Again, great job!!!

MrsMcKay

Sat, 05/25/2013 - 14:56

My husband made the chair and it has turned out great, it just needs to be stained. My question is about the cushions... getting them on RH is expensive so If I want to make them myself how do I do that? What is the foam I need? Where can I get it?

Chestwick King Bed and Headboard

Submitted by ladybug618 on Wed, 12/28/2016 - 08:31

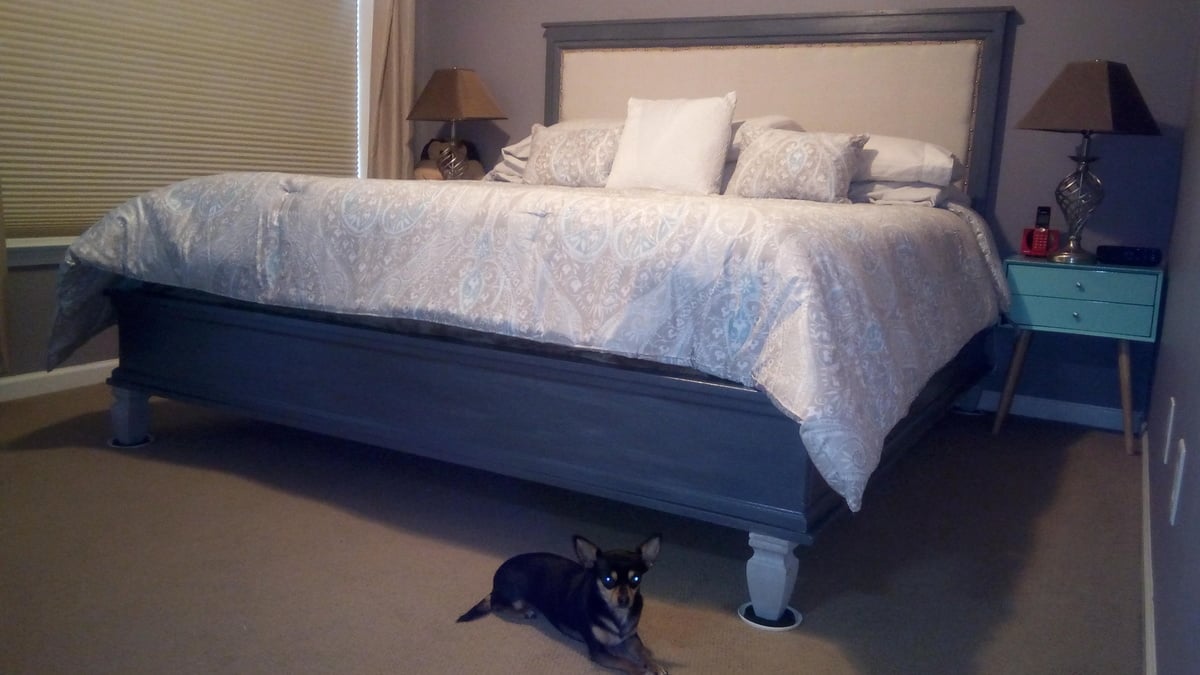
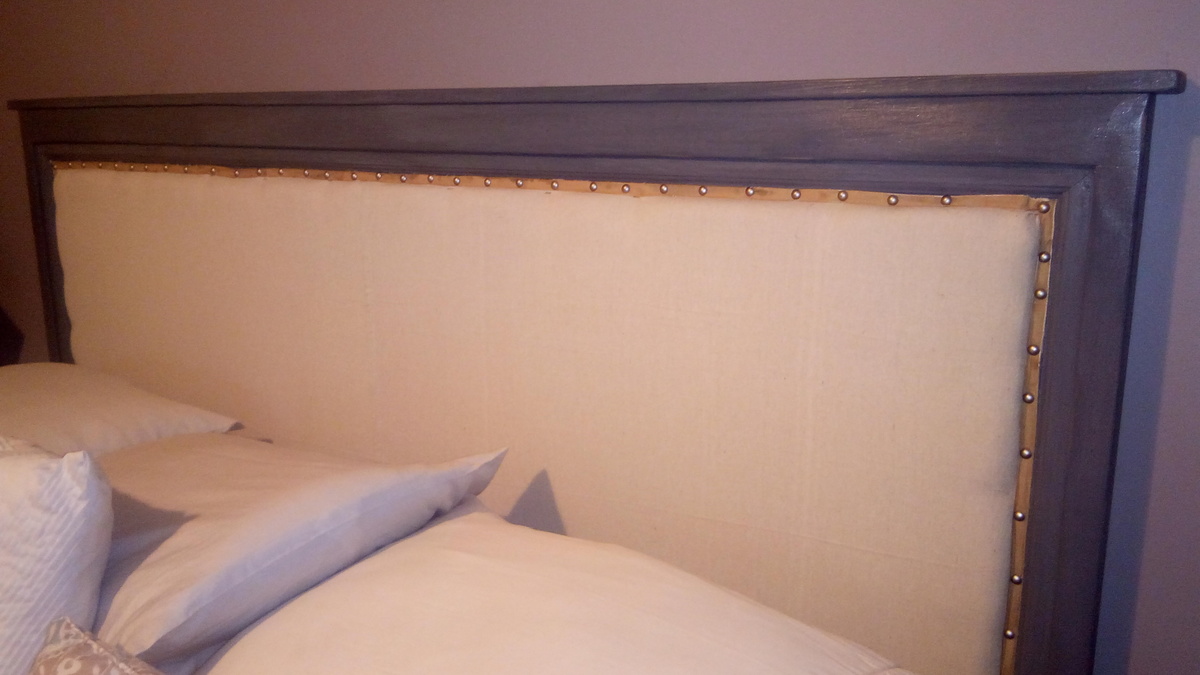
This project was a task! The bed is huge so we brought it into the room in pieces and put it together inside. Pretty happy with the outcome

Estimated Cost
$250
Estimated Time Investment
Week Long Project (20 Hours or More)
Recommended Skill Level
Intermediate

Comments

Adding a hutch to a desk

Submitted by kristen on Thu, 11/29/2012 - 17:05

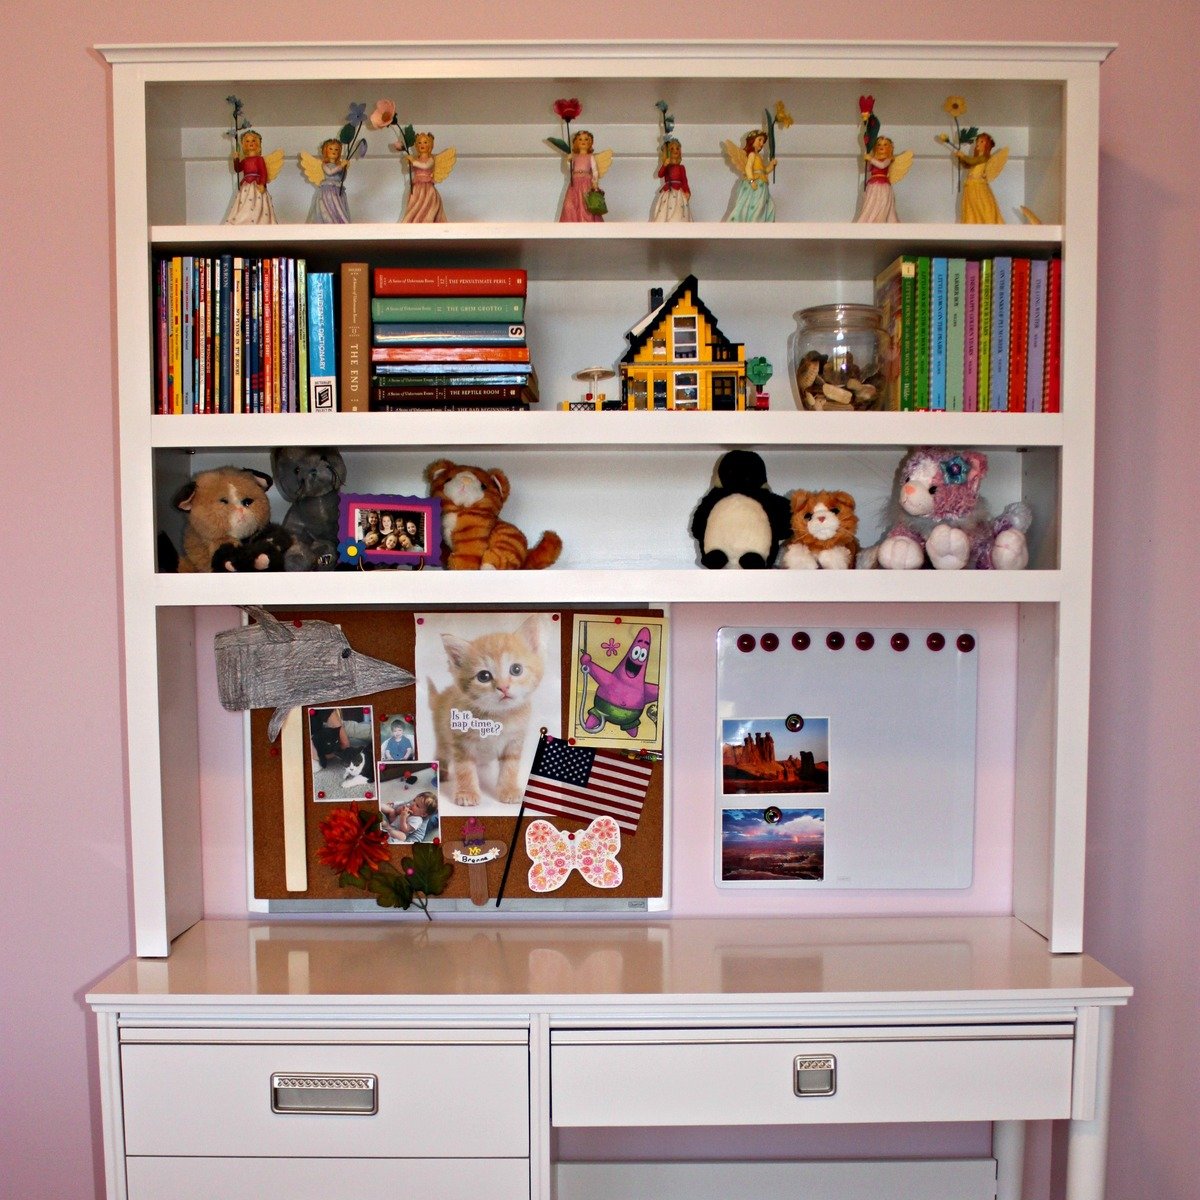
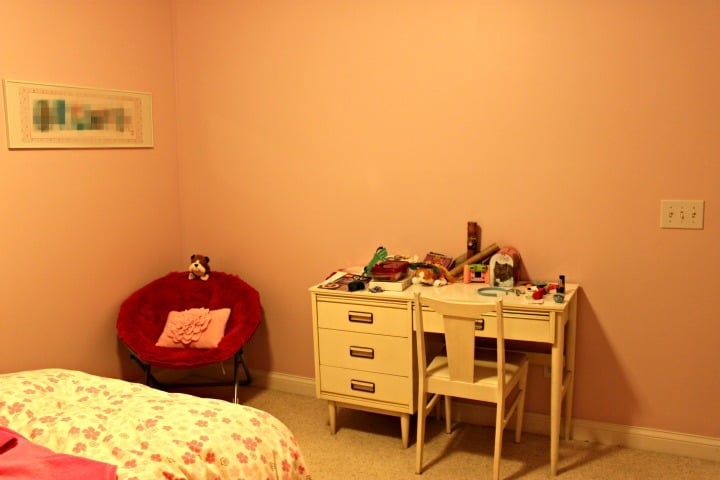
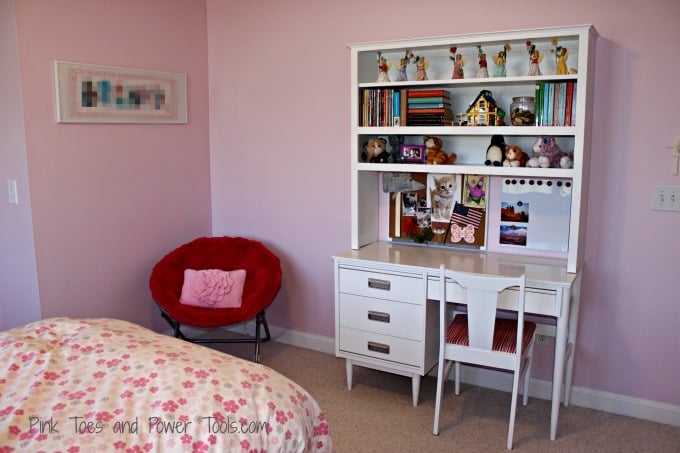
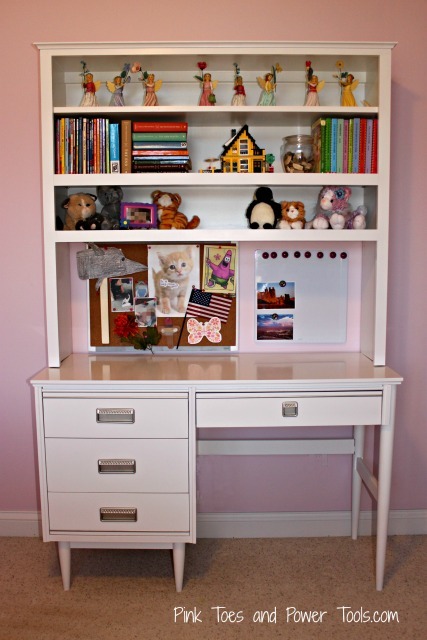
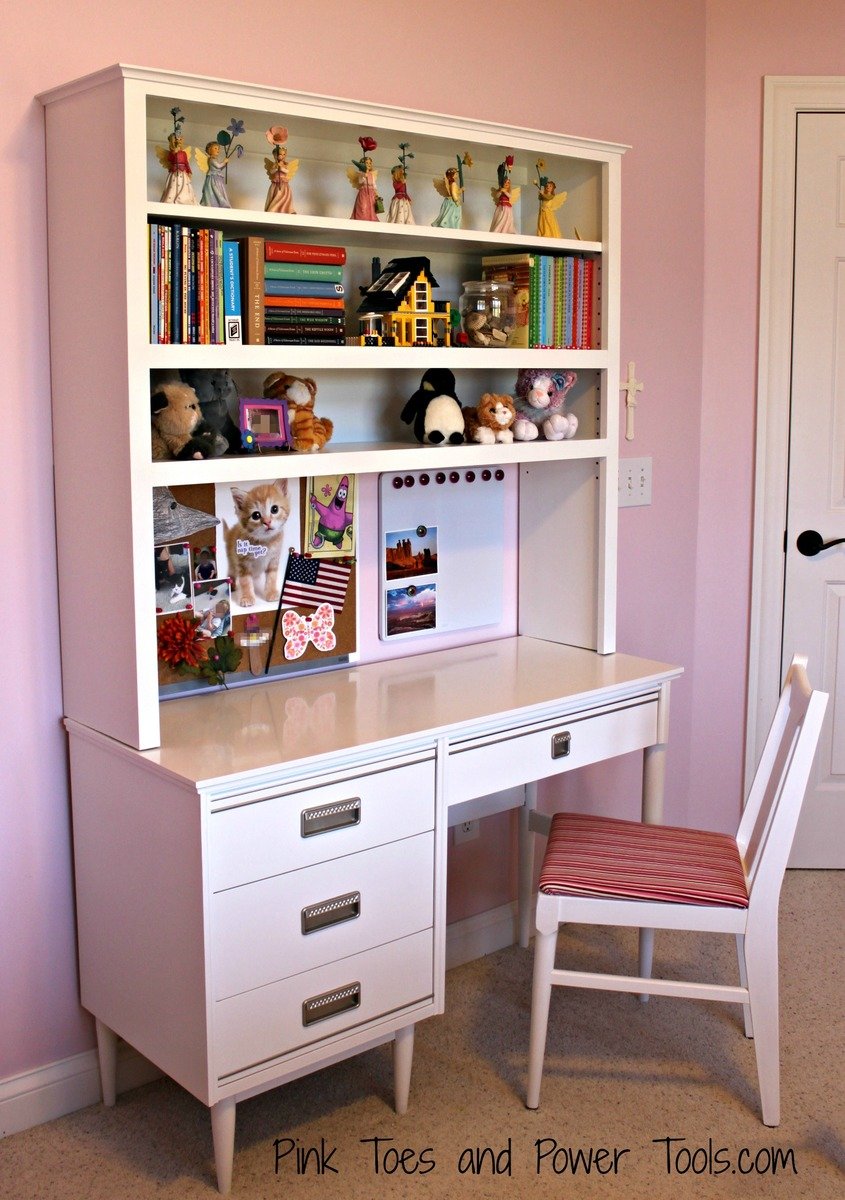
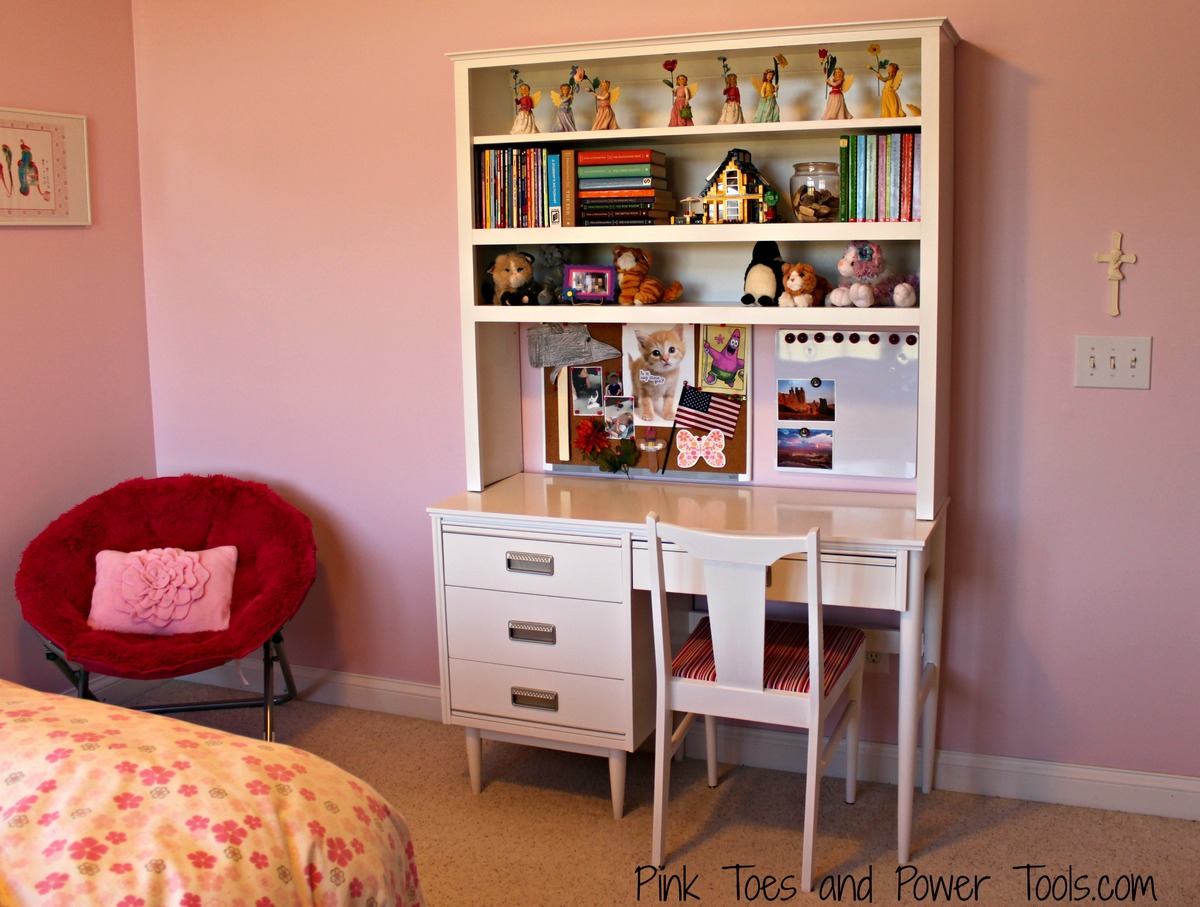
I bought a desk and chair for my daughter on Craigslist awhile back, but it did not include a hutch. I decided to add one and recently completed it...in addition to painting the desk a fresh white and then repairing the chair, painting it, and recovering the seat!

The hutch build was pretty straight forward and I used a Kreg Jig to assemble most of it. I built it to sit on the desk (not attached) but I included a cleat at the top to screw a couple of 3" screws into the wall studs to keep it in its place. It's nice and sturdy. I plan to add some puck lights under the bottom shelf soon.

The Lego house isn't quite up to Momplex standards :)

Estimated Cost
Around $75--with lots of extra for building other things
Estimated Time Investment
Afternoon Project (3-6 Hours)
Finish Used
Two coats primer and one coat of white semi-gloss paint.
Recommended Skill Level
Beginner

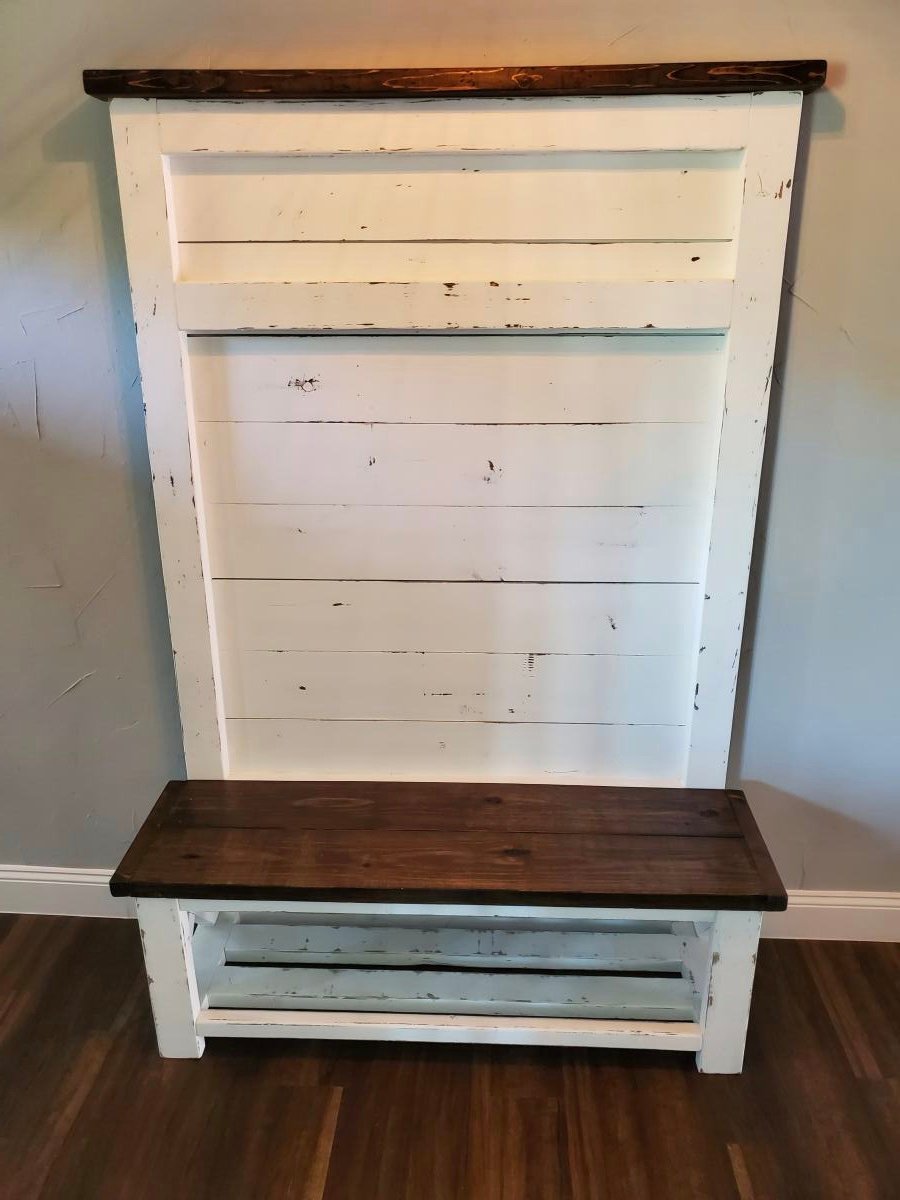
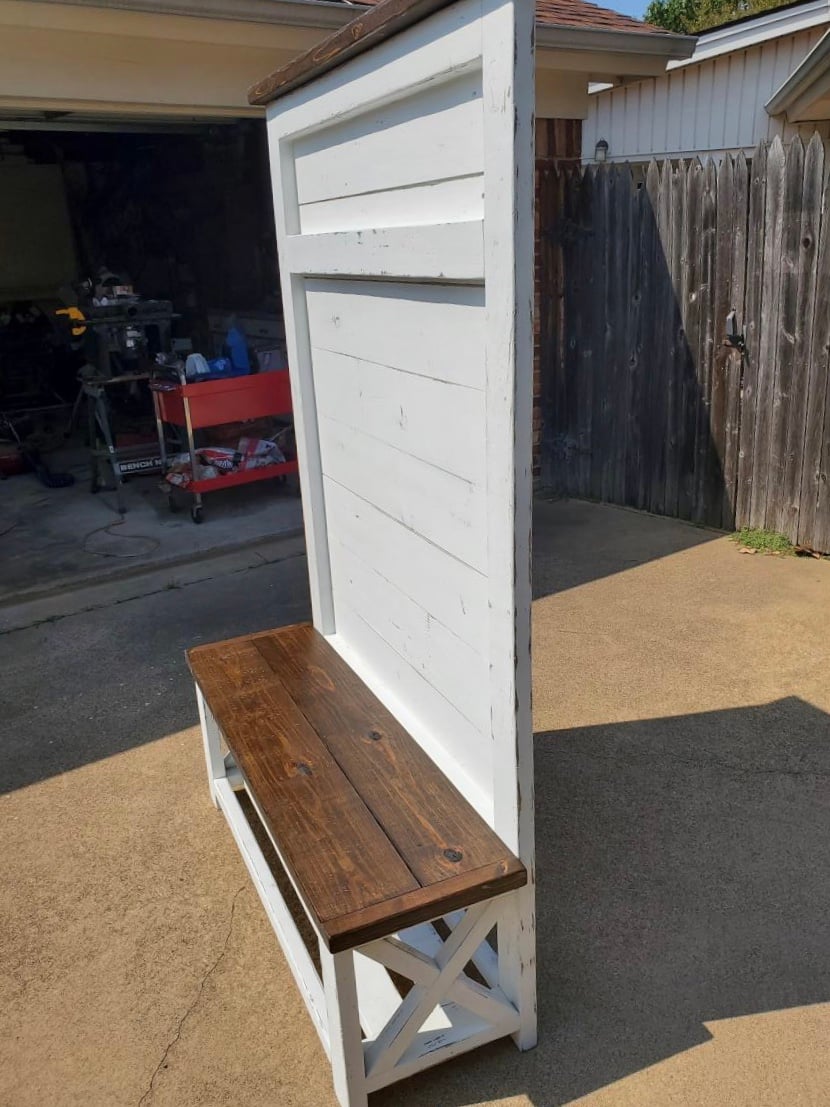
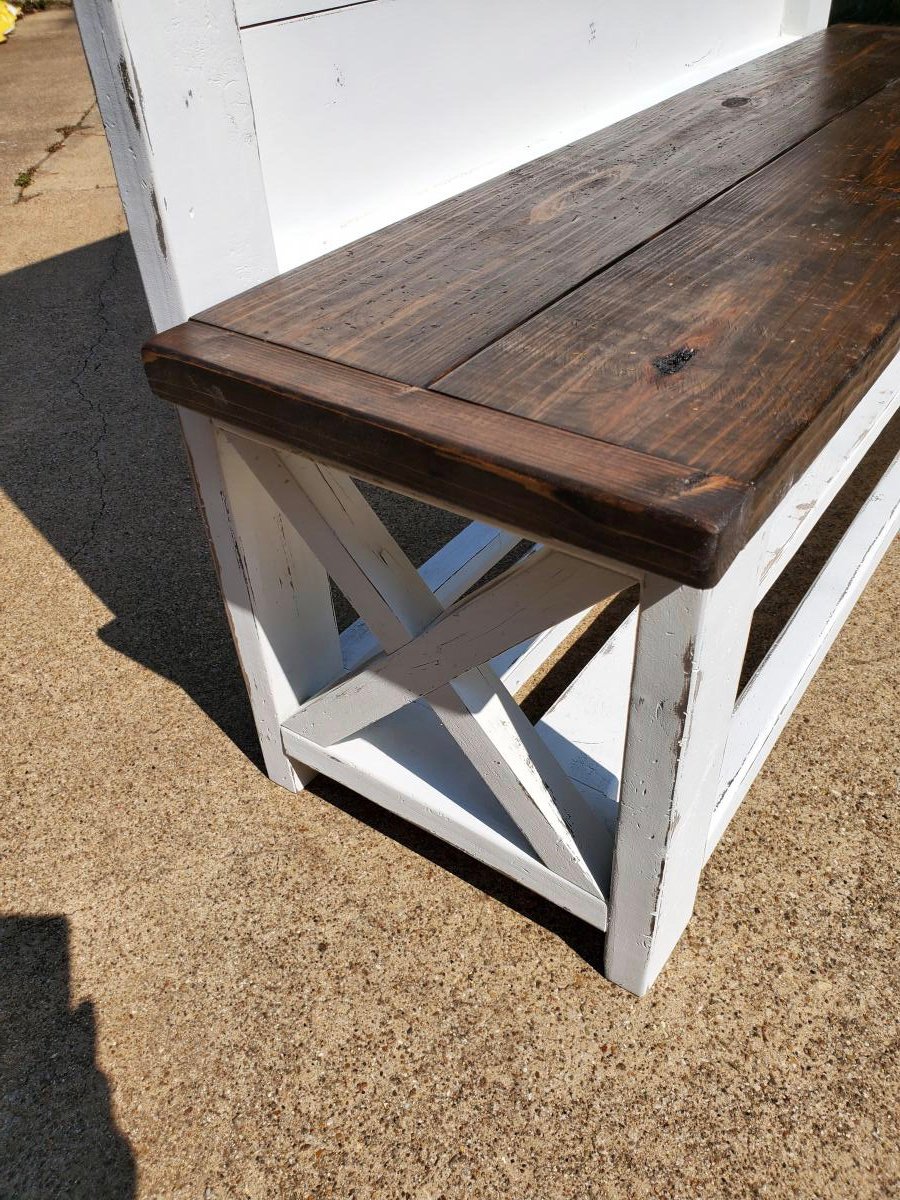
Rustic x hall tree

Submitted by Takoravi on Mon, 10/05/2020 - 08:50

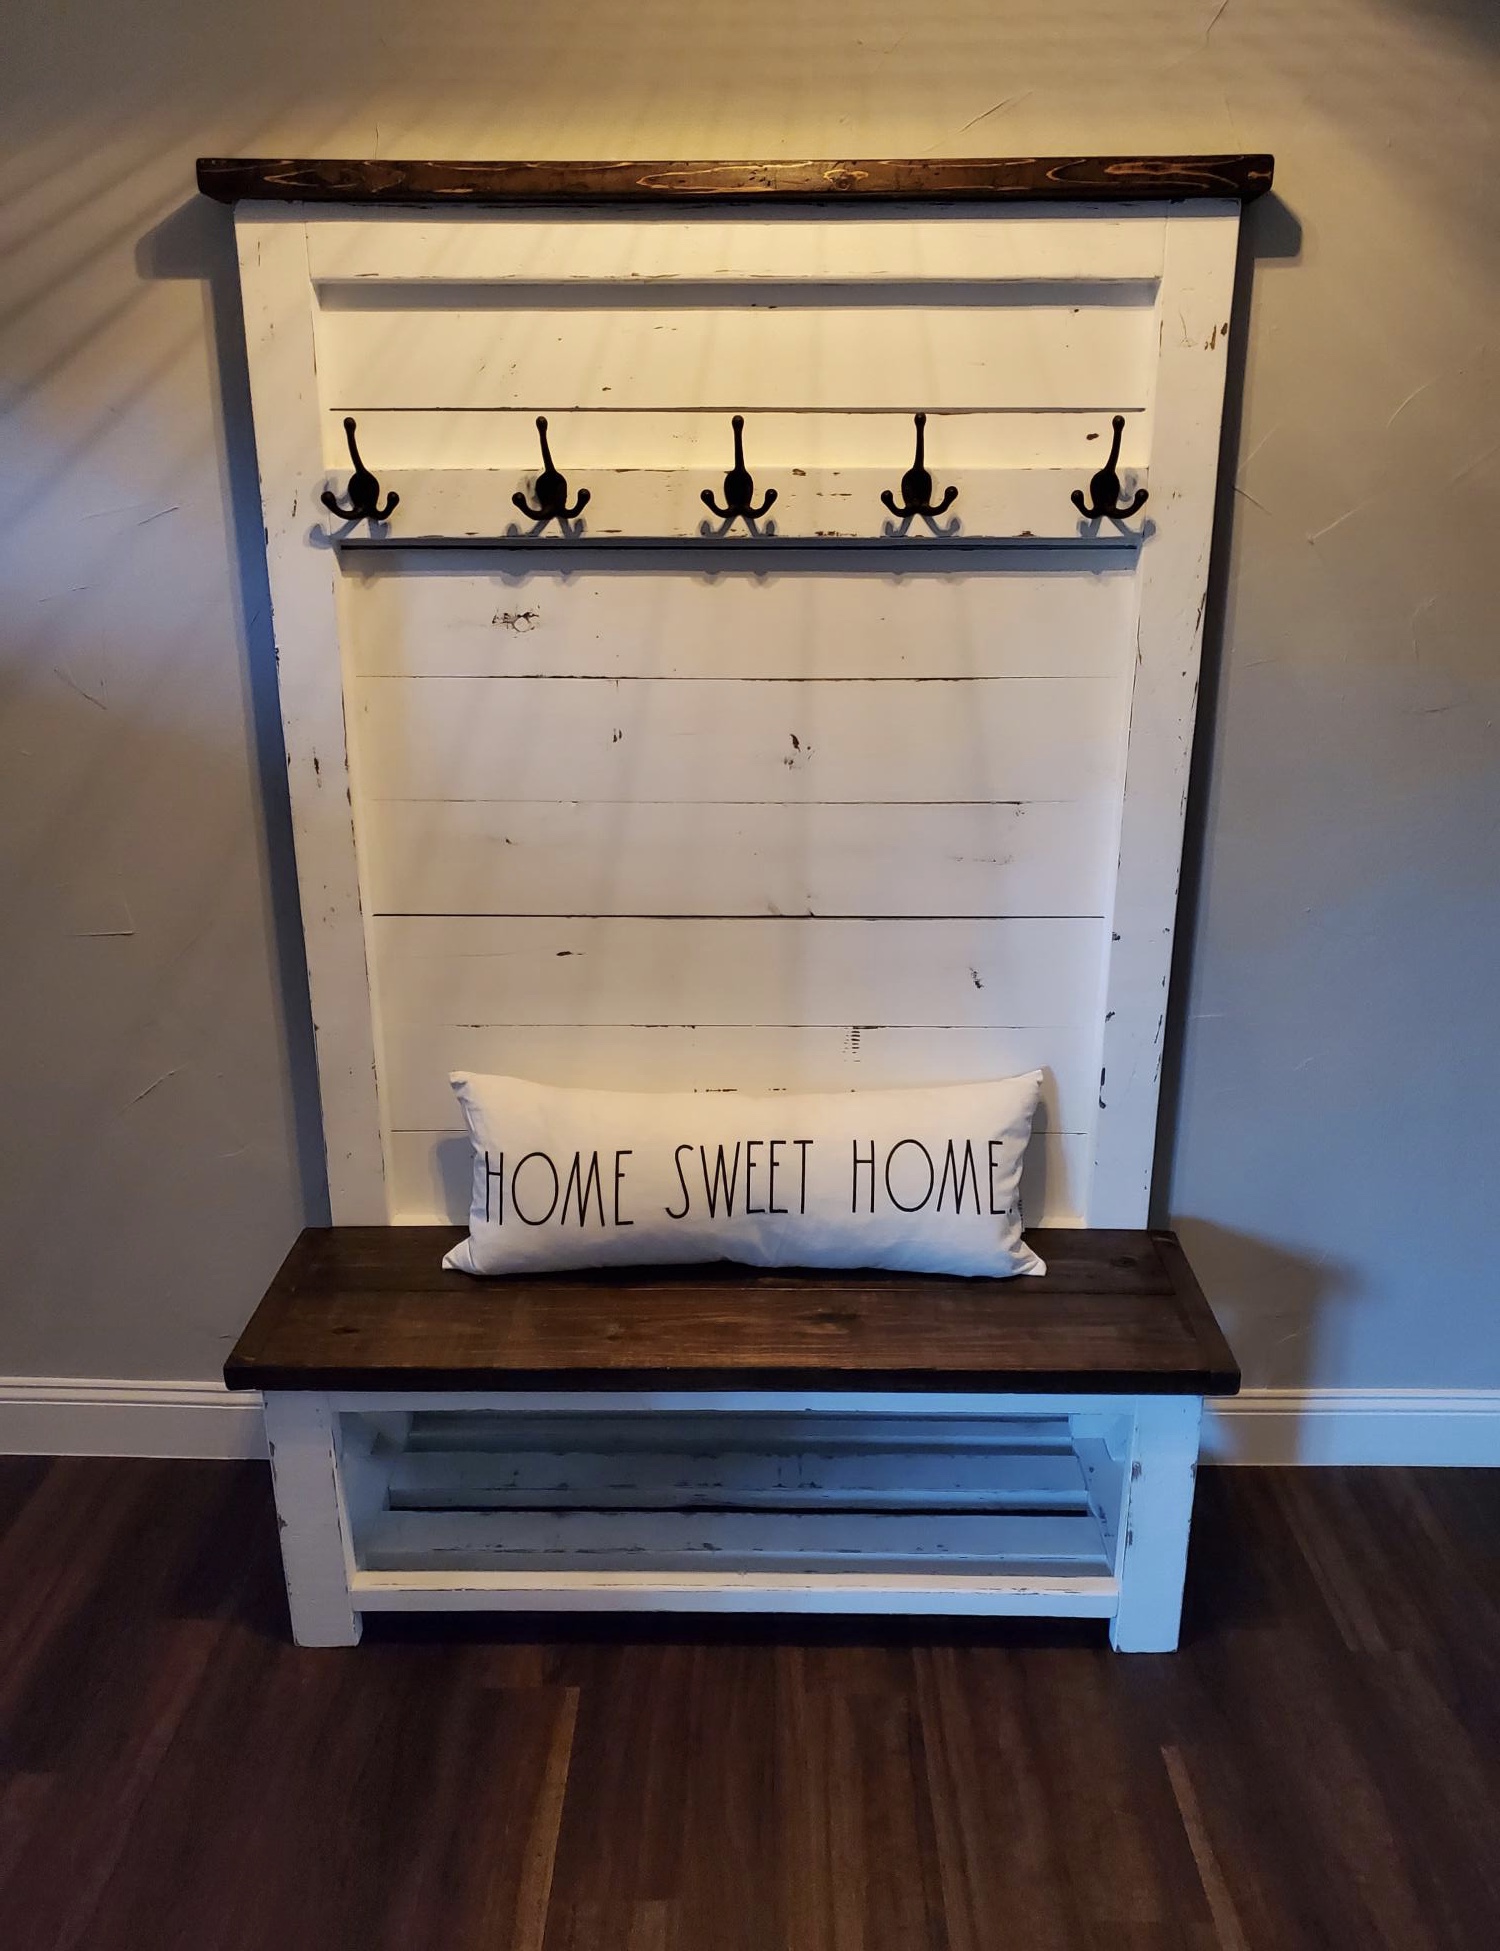
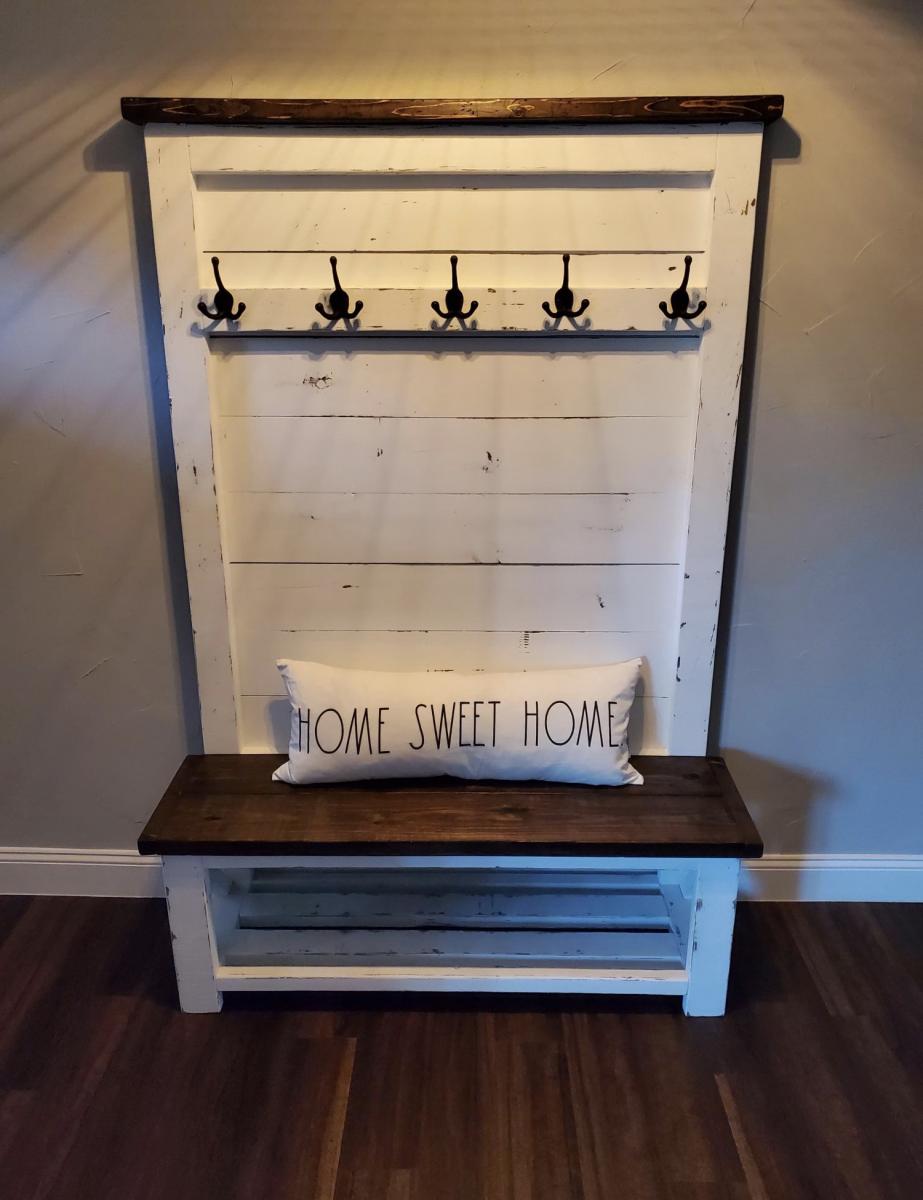
first furniture build from scratch. A few minor differences. I decided to distress by staining entire piece with minwax espresso stain, then painting over with white chalk paint and sanding through. Decided to leave bench and to molding stained for effect. Love the piece and so does my wife.

Built from Plan(s)

Comments

Butcher block

Submitted by Medickep on Wed, 02/01/2017 - 18:15

I decided to add this island to my kitchen as I had a lot of open space in my kitchen.   It gave a lot more counter space and when I adjust the pot rack, it will open up an entire cabinet too! The body is painted the color my cabinets are about to become and the stain matches some other woodwork in the house. I applied polyurethane to the stained pieces and plan on using cutting boards to avoid the look of a beat up butcher block as well as the maintenance that goes with them!  Wherever I could hide the edges, I used plywood instead of 1x8's as I had leftovers from a bench I made.  

Built from Plan(s)
Estimated Cost
100.00??
Estimated Time Investment
Weekend Project (10-20 Hours)
Finish Used
Alkd pain, minwax Ebony 2718, wipe on polyurethane.
Recommended Skill Level
Intermediate

Comments

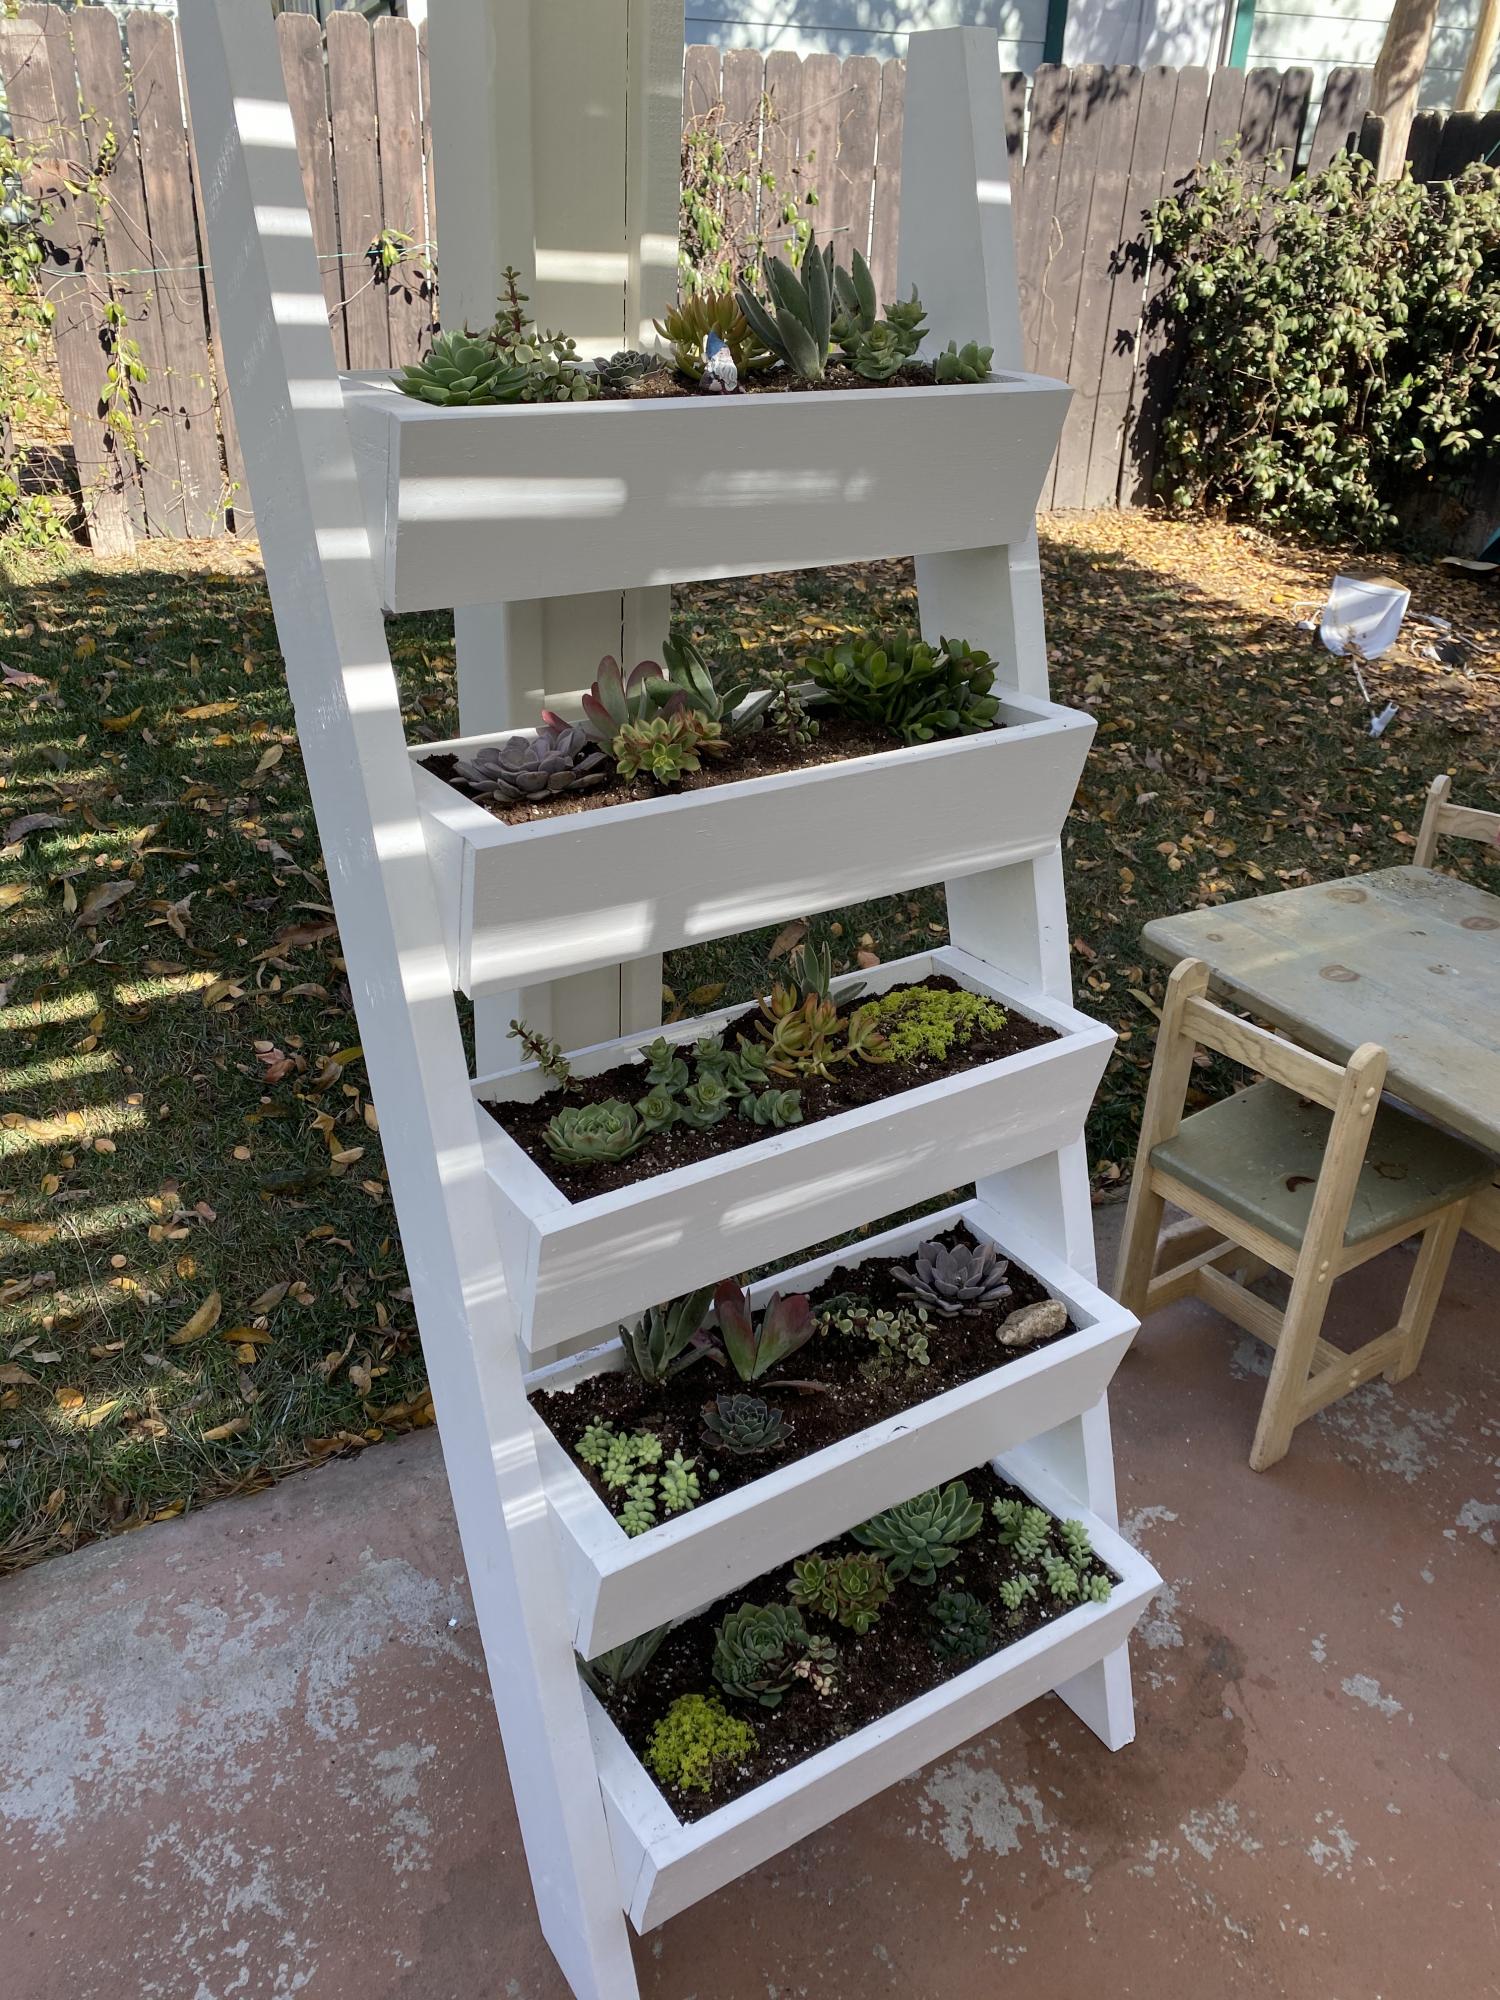
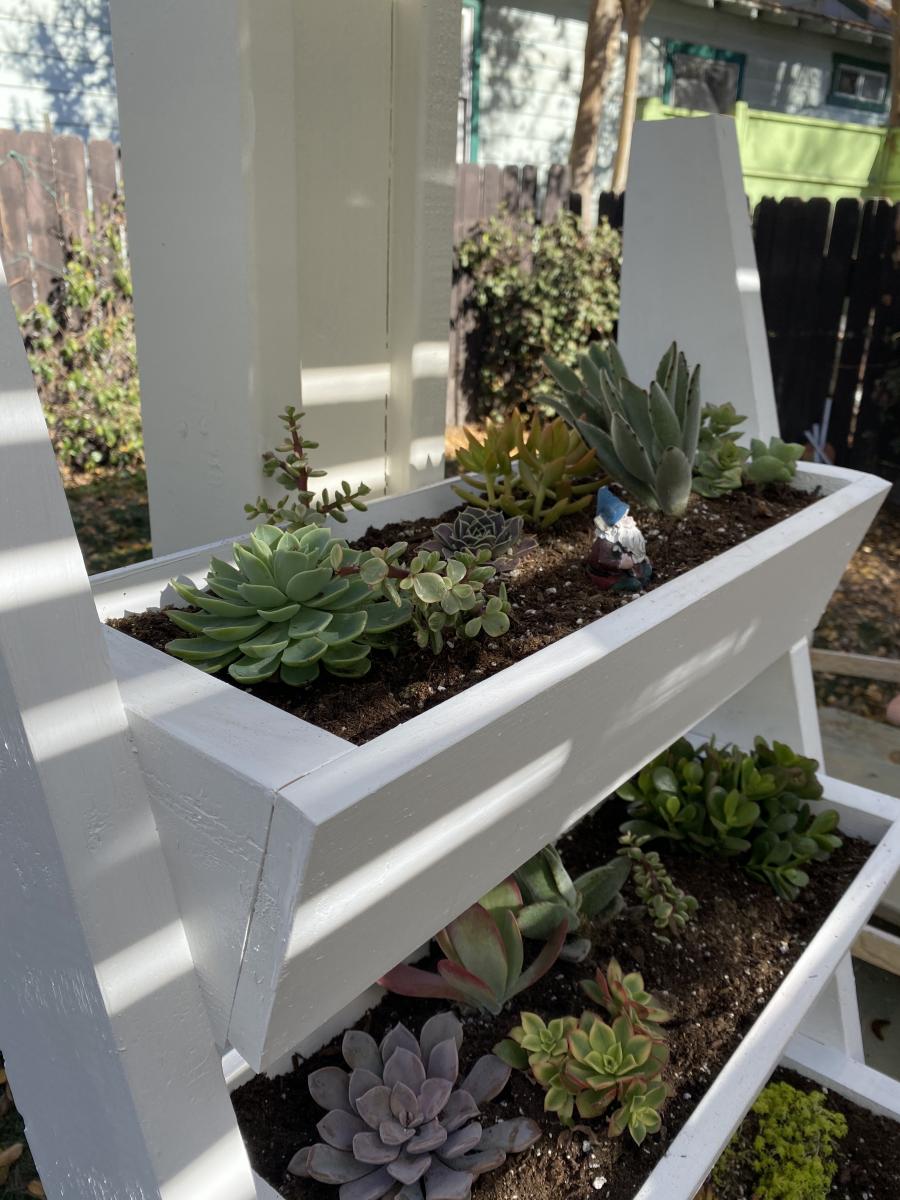
Vertical Planter w/ Succulents + White Opaque Stain

Submitted by Anonymous (not verified) on Tue, 12/22/2020 - 23:20

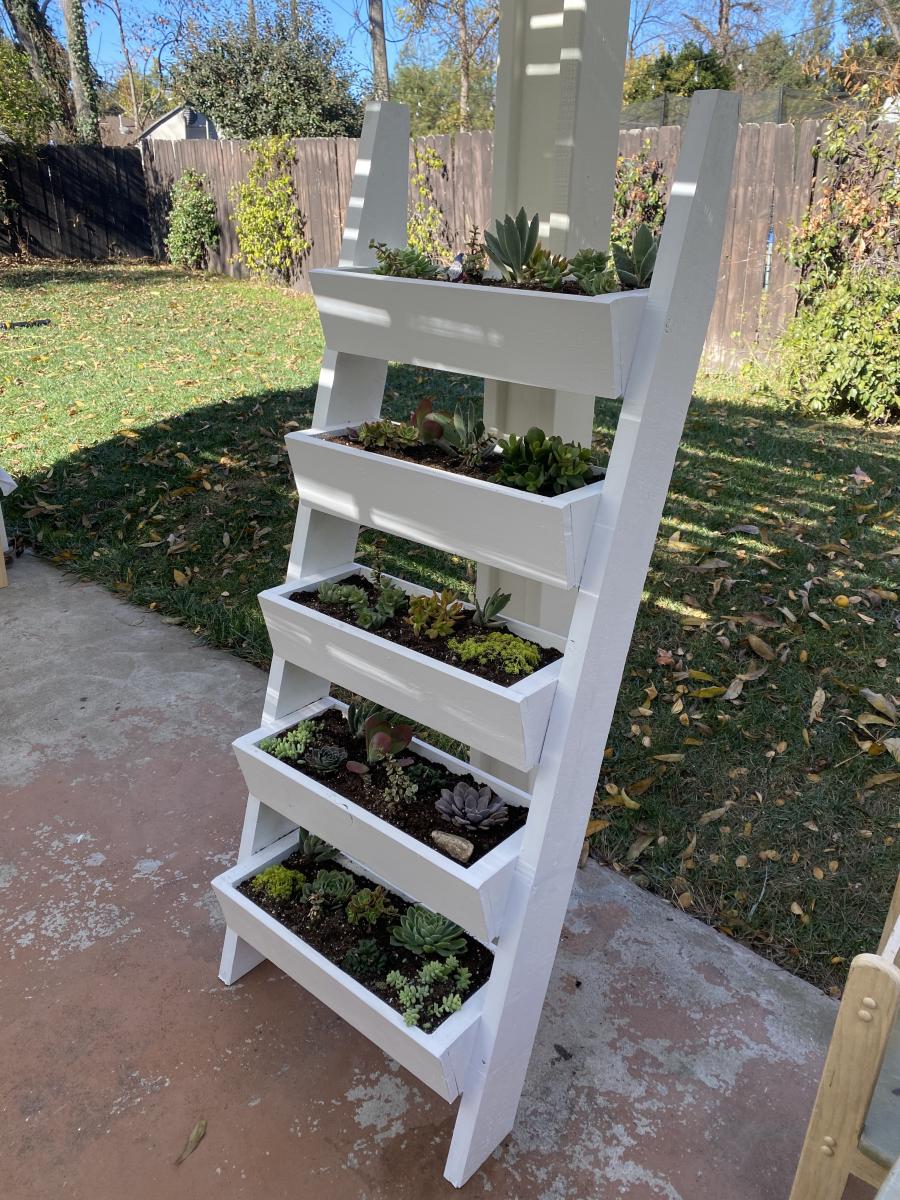
Made this over a few afternoons during the interesting year that is/was 2020! First DIY project and really enjoyed it! I used an opaque white stain and it's filled with succulents from our local nursery (Lincoln Nursery in Pasadena, CA). Painting took the longest as one coat of the stain still let some of the knots in the wood show through. Thanks so much for the plan and inspiration!

Estimated Time Investment
Day Project (6-9 Hours)
Finish Used
Opaque white Behr outdoor stain
Recommended Skill Level
Beginner

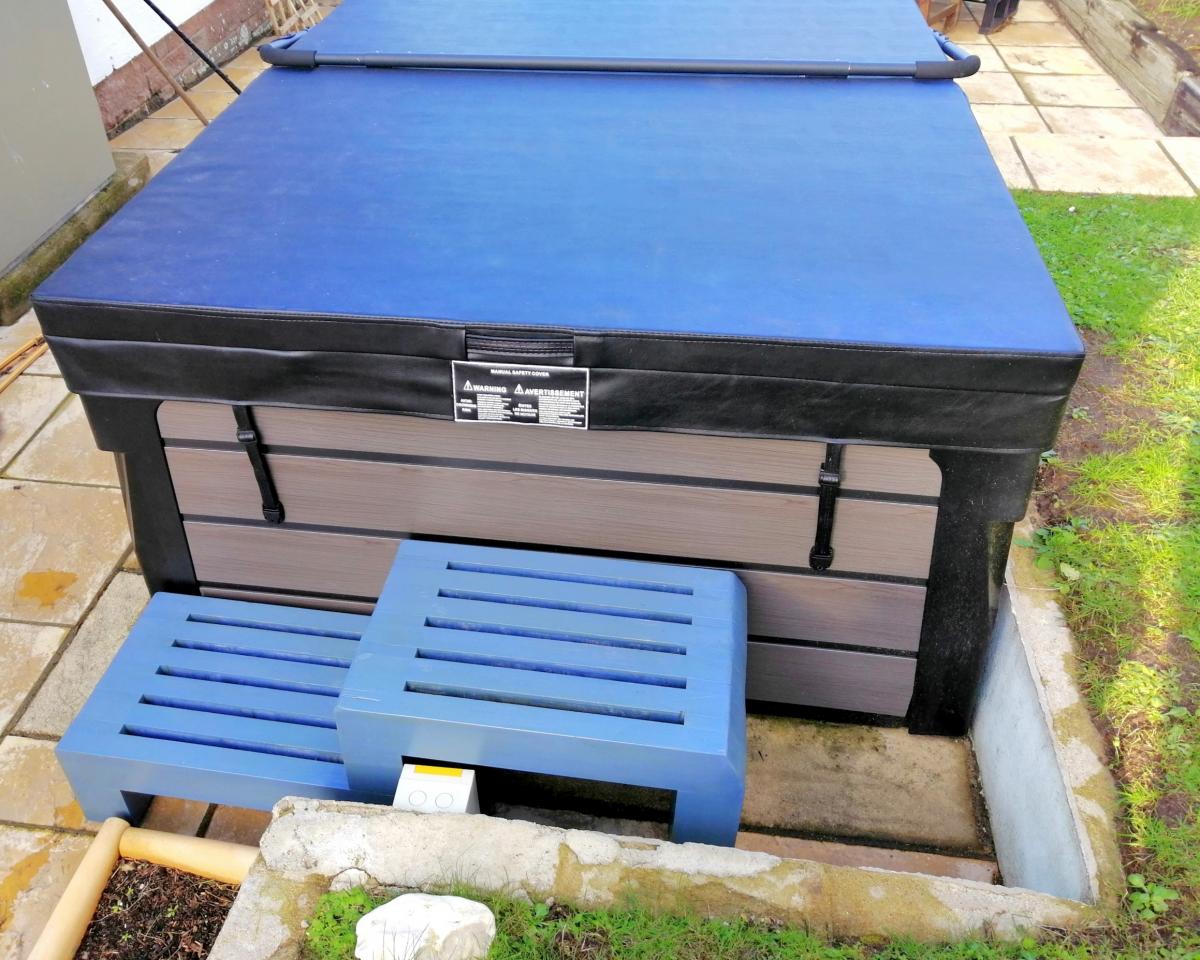
Slatted Bench / Steps

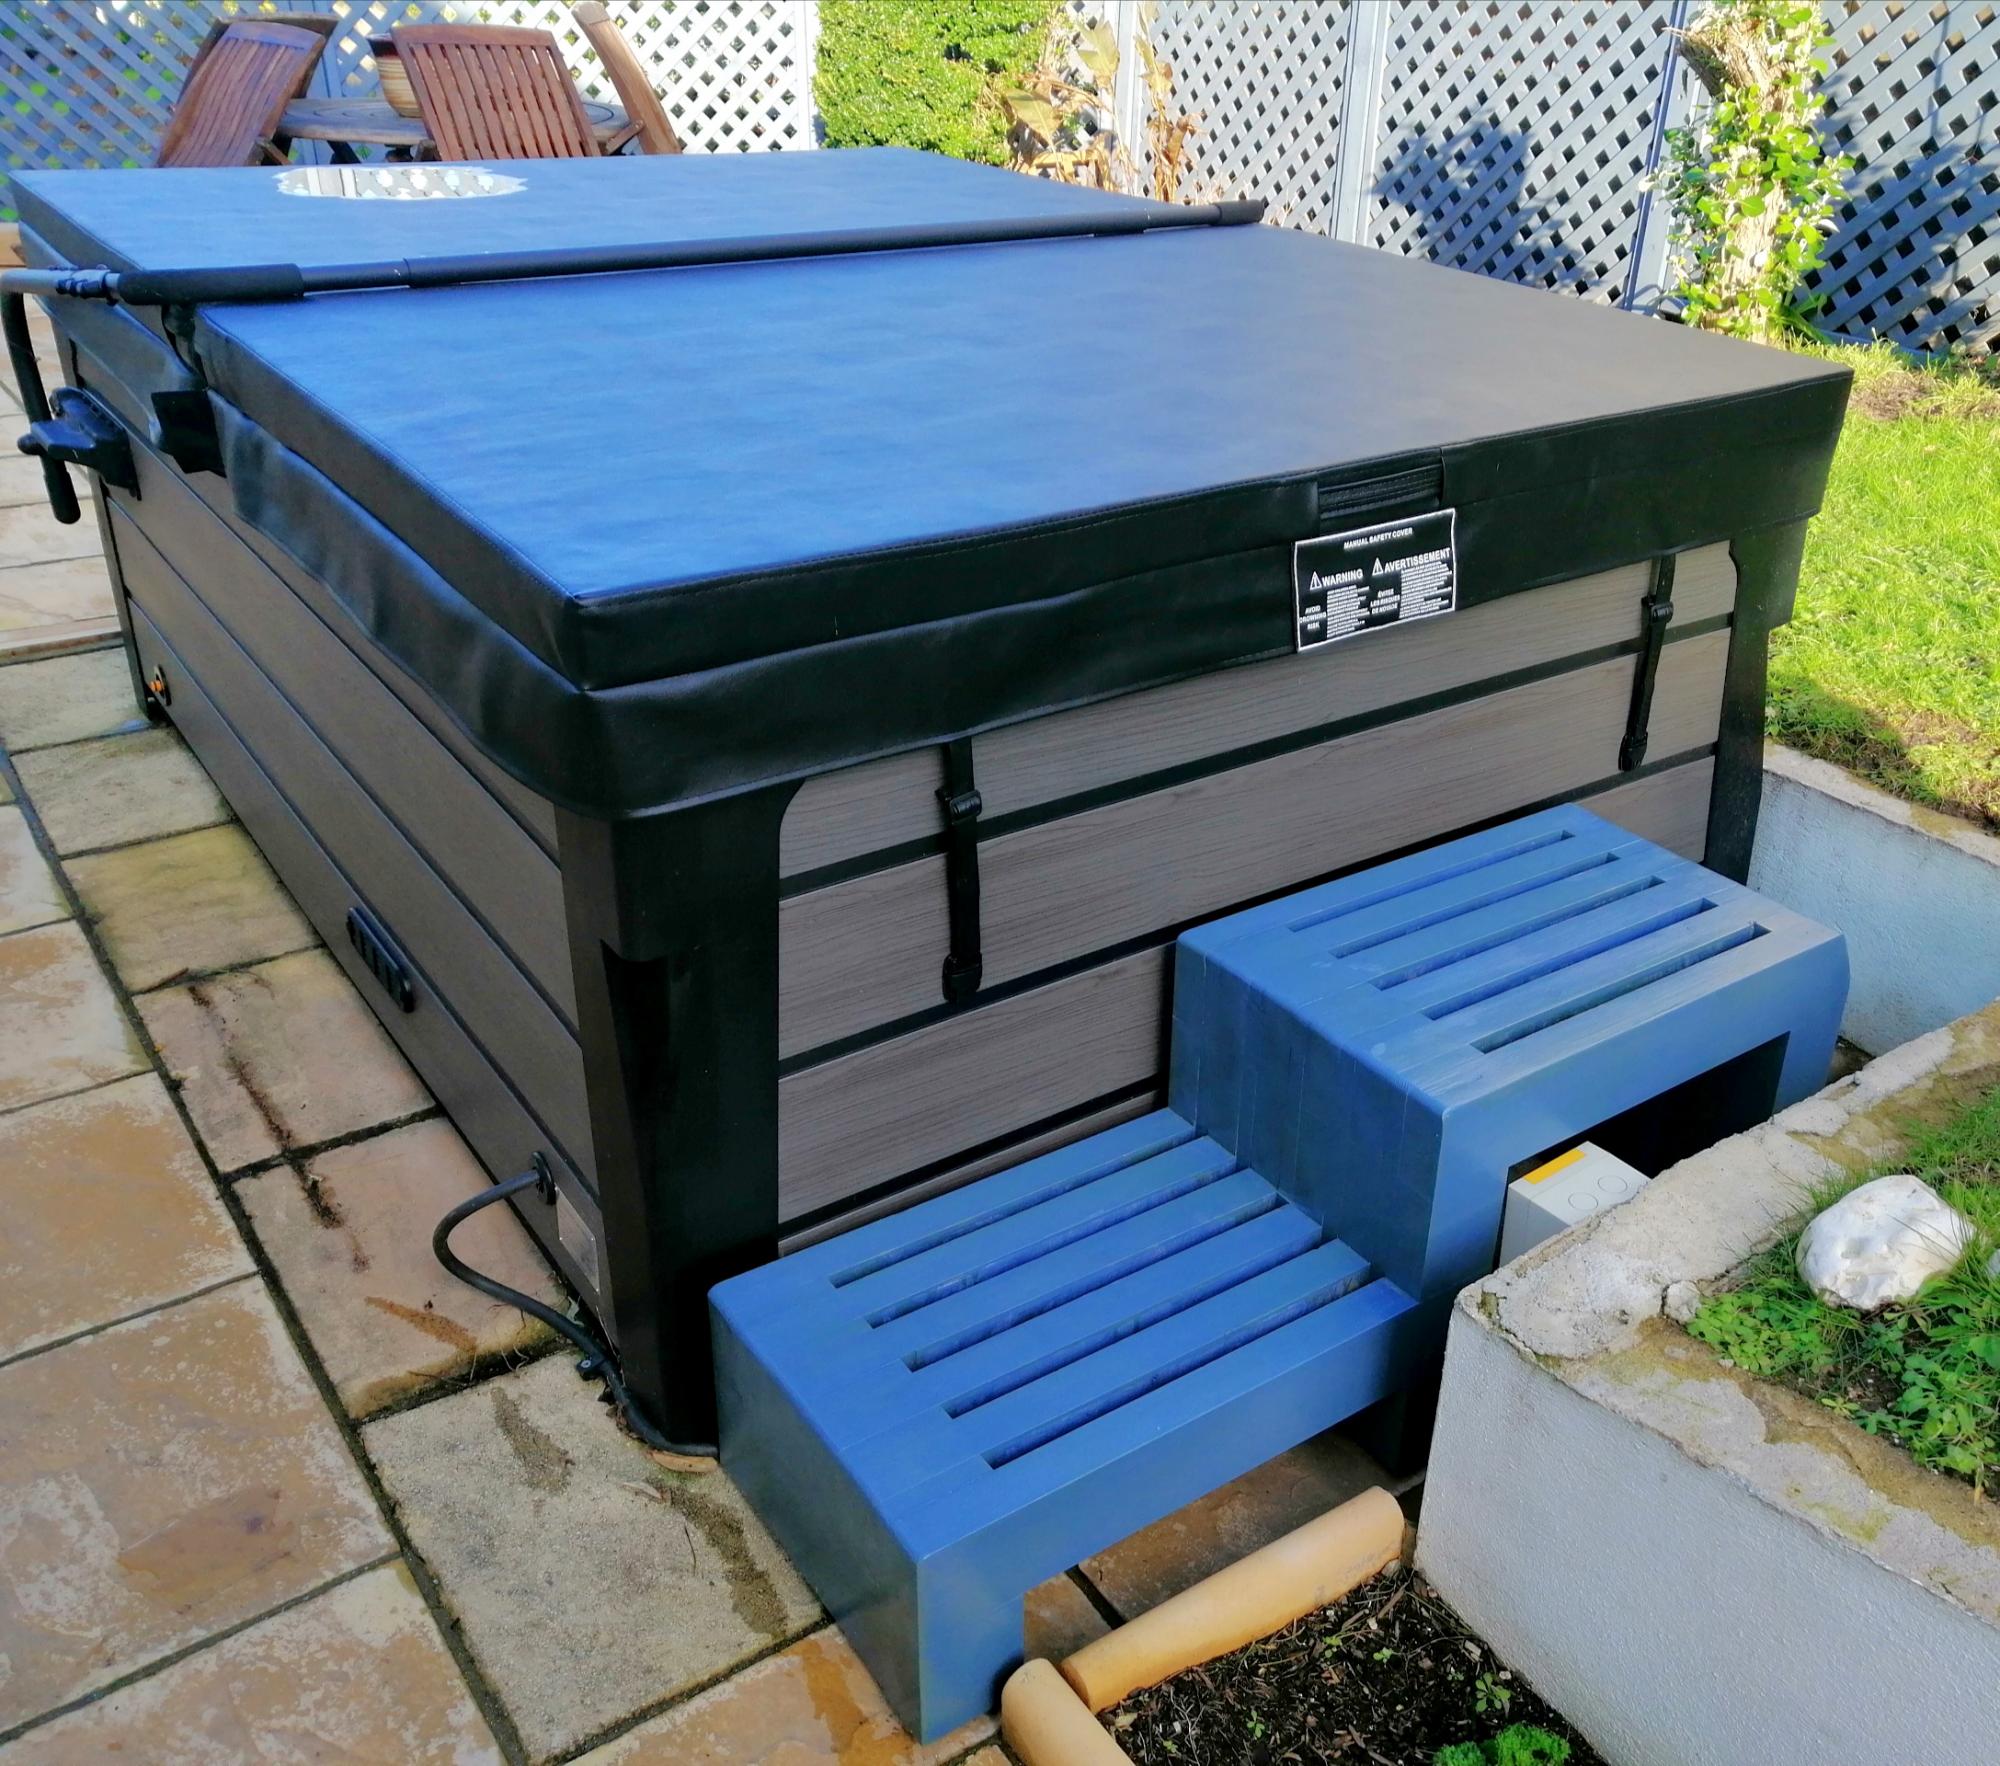
Submitted by Ali Bongo on Thu, 01/07/2021 - 11:50

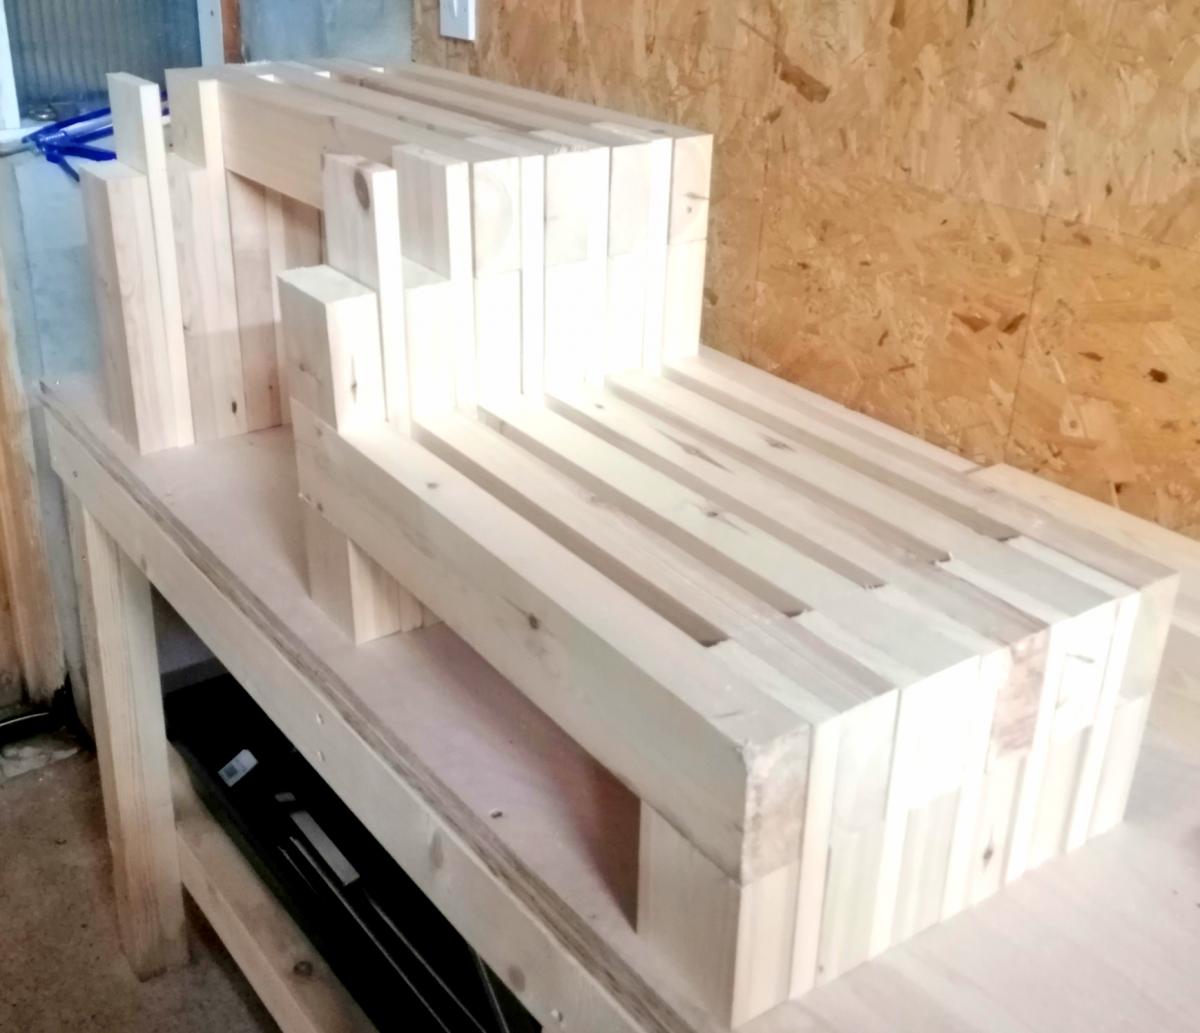
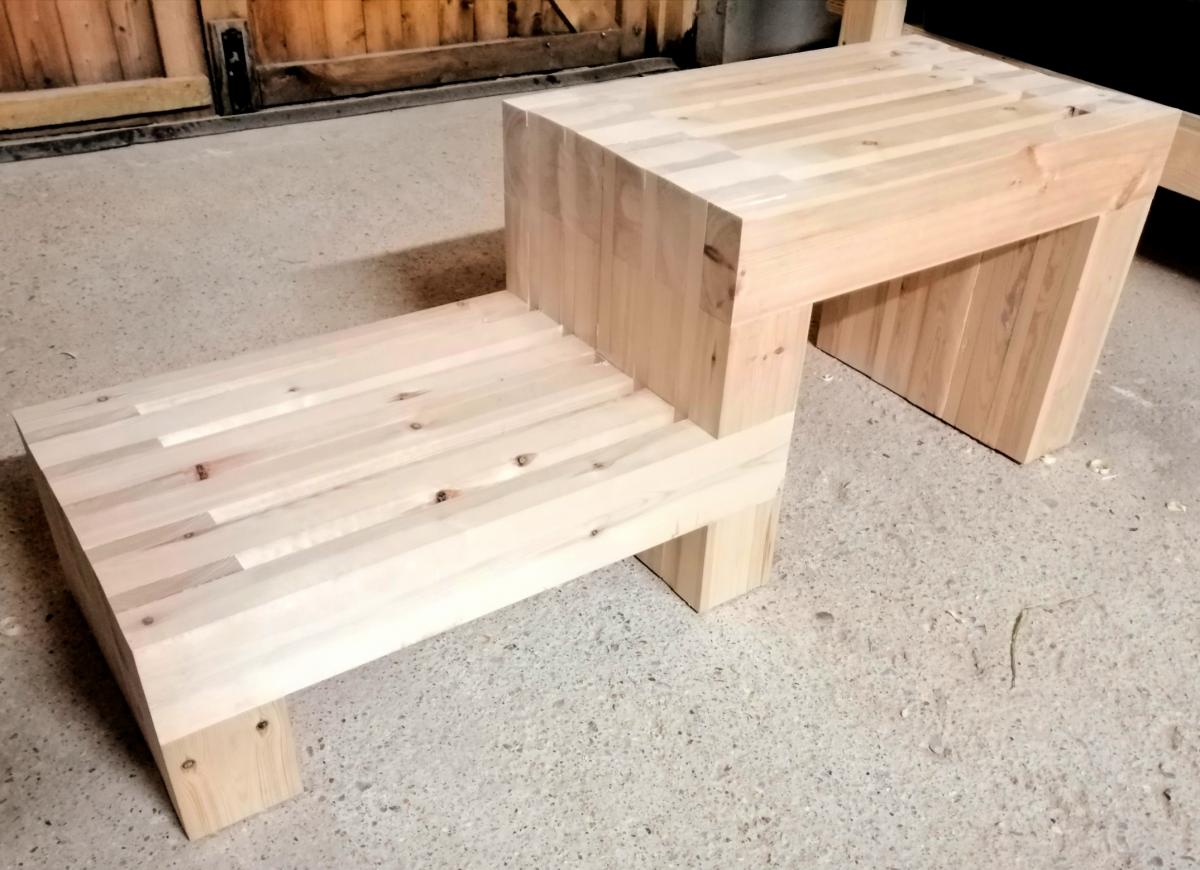
I saw Anna's slatted bench (and other members brags) and thought I could adjust the design for some hot tub steps.

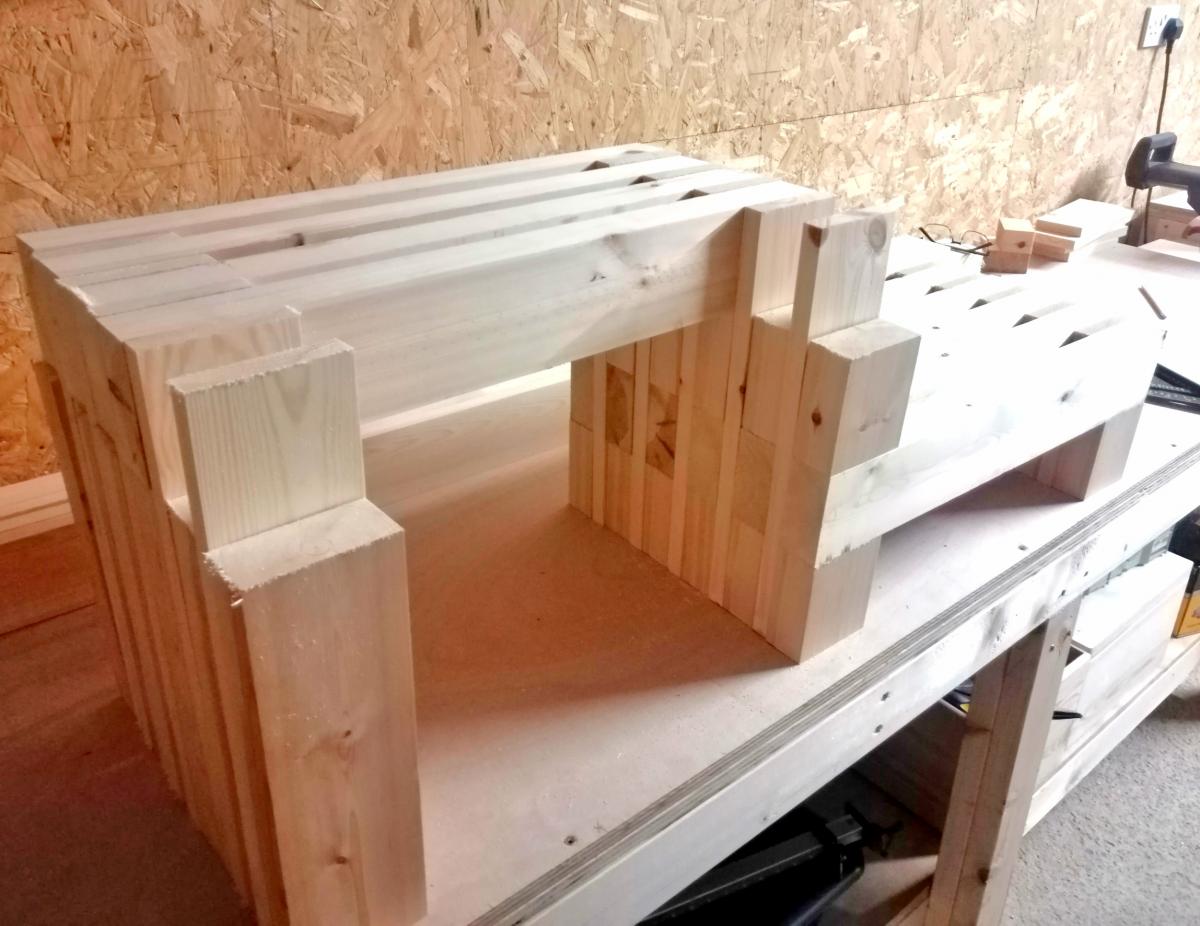
The design is simple but effective, (but very heavy).

It is slightly more complex and the cuts need to be pretty accurate, (which mine weren't), but you can sand away most mistakes.

I ended up putting adjustable height feet on each leg. This assists with height but also keeps standing water off the wood.

Anyway, I put see through grip tape on the steps to avoid accidents and overall it does the job.

Estimated Time Investment
Weekend Project (10-20 Hours)
Finish Used
I used a preservative fence paint and then re-covered with 3 coats of external yacht varnish.
Recommended Skill Level
Starter Project

Comments

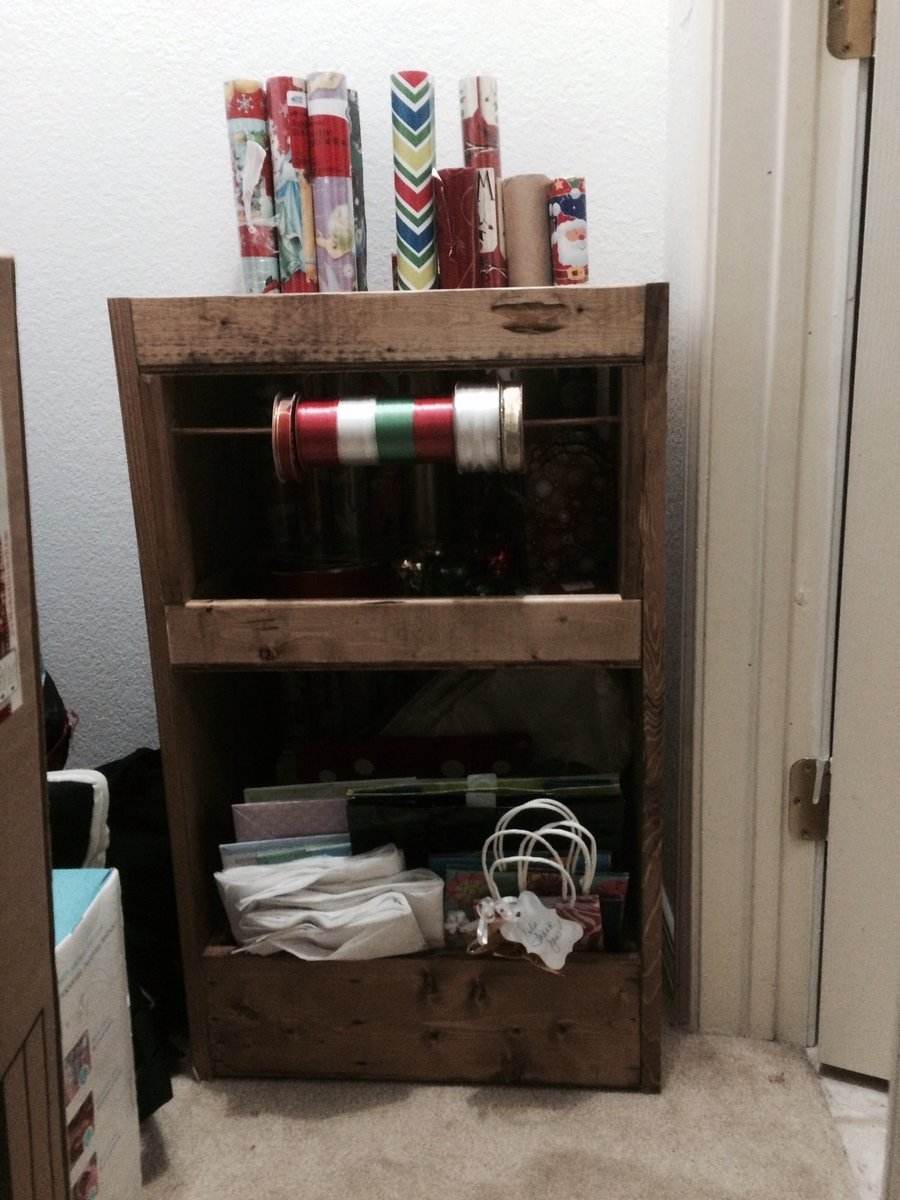
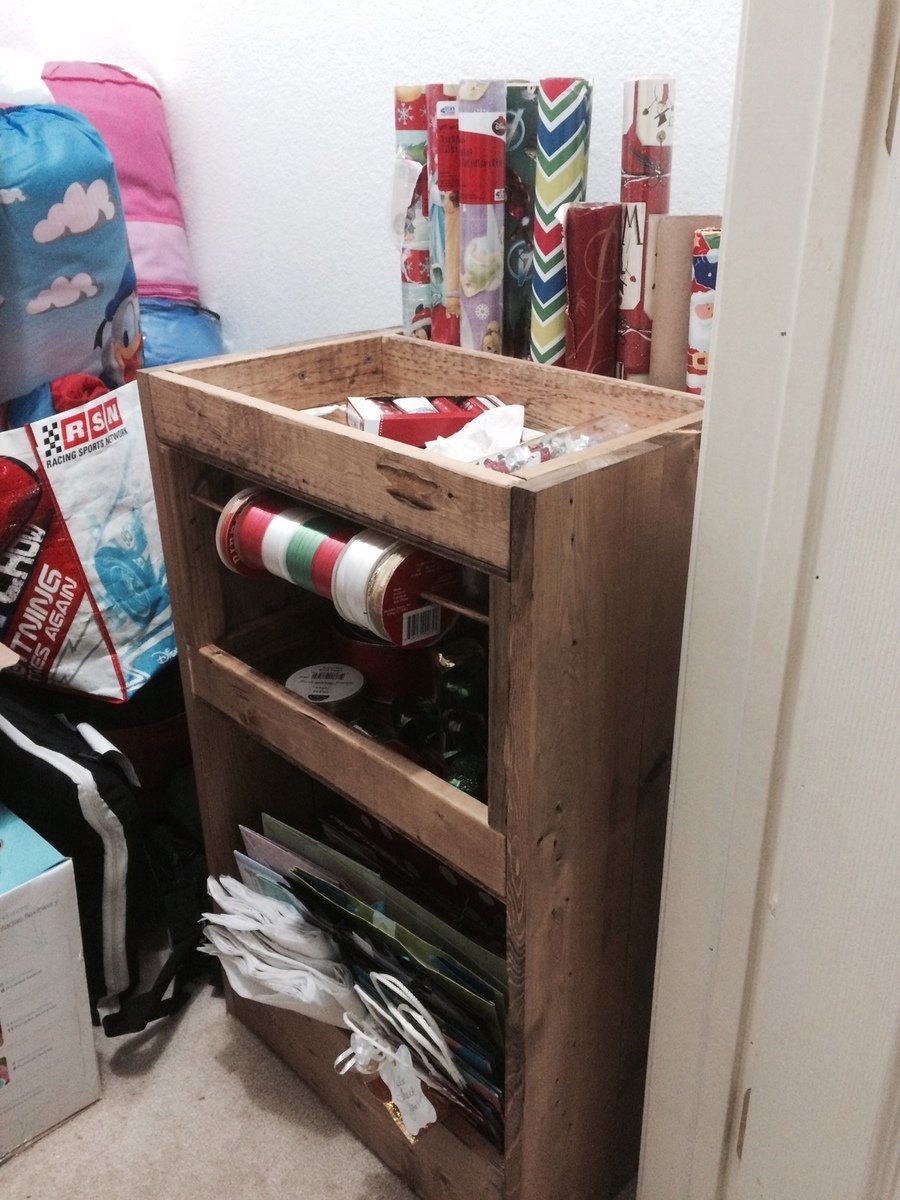
Gift wrapping cart

Put this together after Christmas. Not too difficult of a project. Decided not to put casters on to save a little money. Can always add them later if needed. I think if I created it again I'd make more space for the rolls of wrapping paper and smaller space for the trays. We have a lot of wrapping paper.

Built from Plan(s)
Estimated Cost
Cost about $50 because I bought some of the better 1x2's instead of the cheap ones just because I was trying to get straighter boards for the trays so I didn't have to work as hard.
Estimated Time Investment
Afternoon Project (3-6 Hours)
Finish Used
Used Early American stain just because we had some around. Not my favorite stain though but it sits in the closet 99% of the year.
Recommended Skill Level
Beginner

Tilt out trash can cabinet

Submitted by Anonymous (not verified) on Sun, 04/09/2017 - 19:53

Wood tilt out trash can cabinet made from this plan, with some changes. I did a fancier cabinet door, along with a top that overhangs on the sides as well as the front. 

Estimated Time Investment
Weekend Project (10-20 Hours)
Finish Used
Old Asphalt stain
Recommended Skill Level
Intermediate

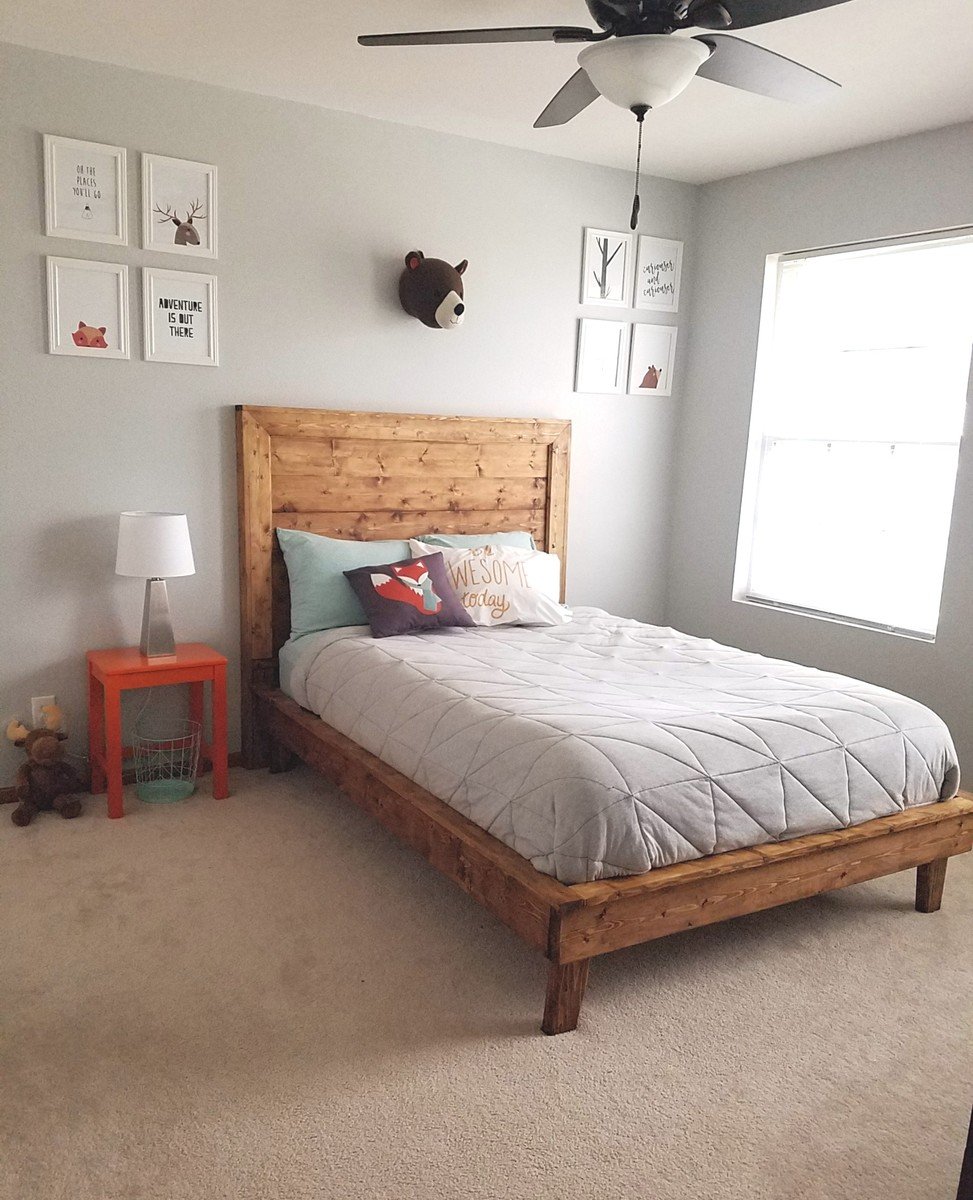
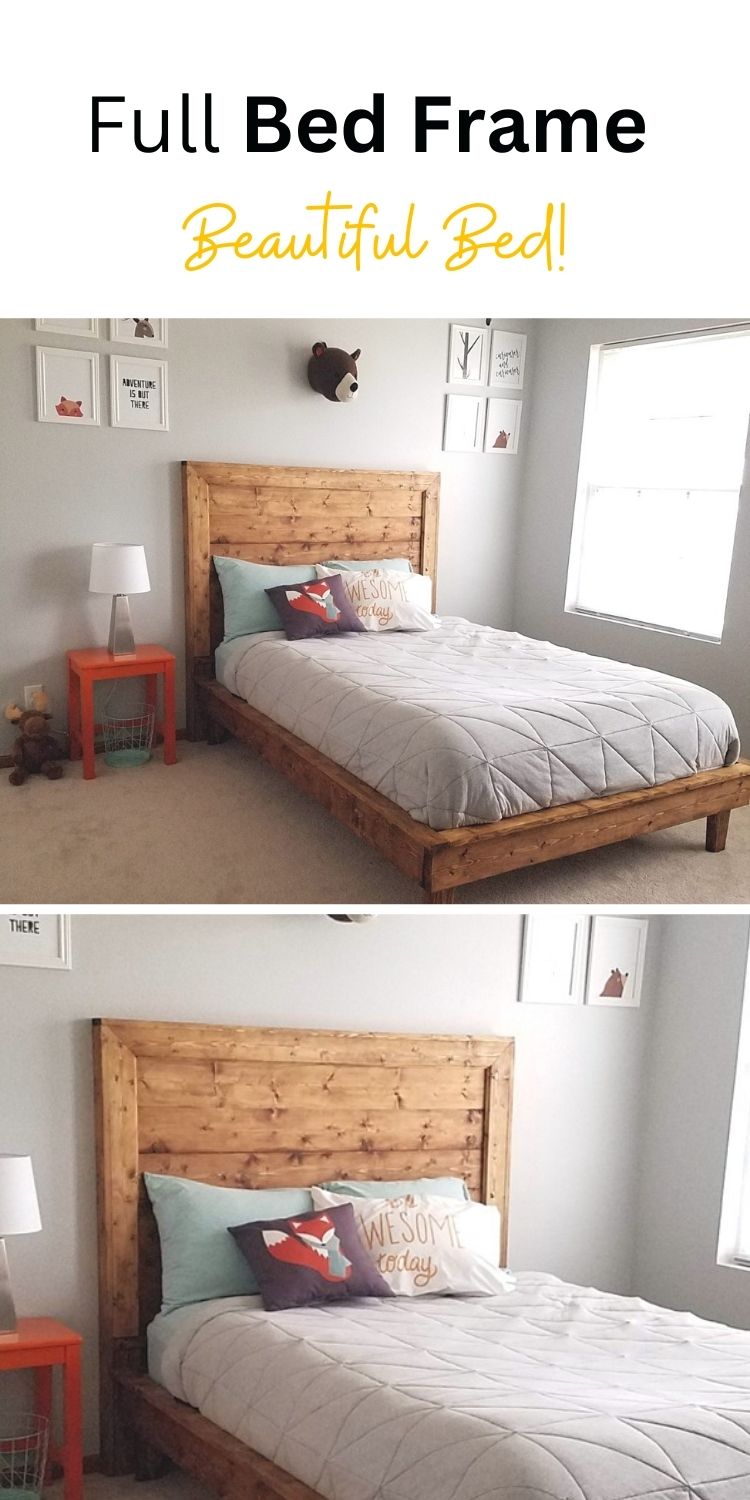
Beautiful bed!

Submitted by Anonymous (not verified) on Mon, 08/19/2019 - 09:05

This bed is gorgeous and the plans are perfectly laid out for even a beginner to use.  We were making a full bedframe, so we used the exact measurements given in the cut list and it fit the mattress just right.  We made the accompanying headboard with a few changes.  We were using pine and wanted the headboard casing to match, so we just used 1x4's and routed the edge with an ogee bit we had on hand.  We also wanted the platform just a tad bit higher and made the legs 10 inches instead of 7.  We also ended up making the platform slats out of 1x4's instead of 1x3's as they were cheaper.


Pin For Later! 

Beautiful bed!

Estimated Cost
$80.00
Estimated Time Investment
Weekend Project (10-20 Hours)
Finish Used
One coat of Minwax Honey stain, finished with flat spray poly
Recommended Skill Level
Beginner

Comments

My Mother's day gift (Chicken Coop)

Submitted by Bondgirl8 on Wed, 06/02/2021 - 19:44

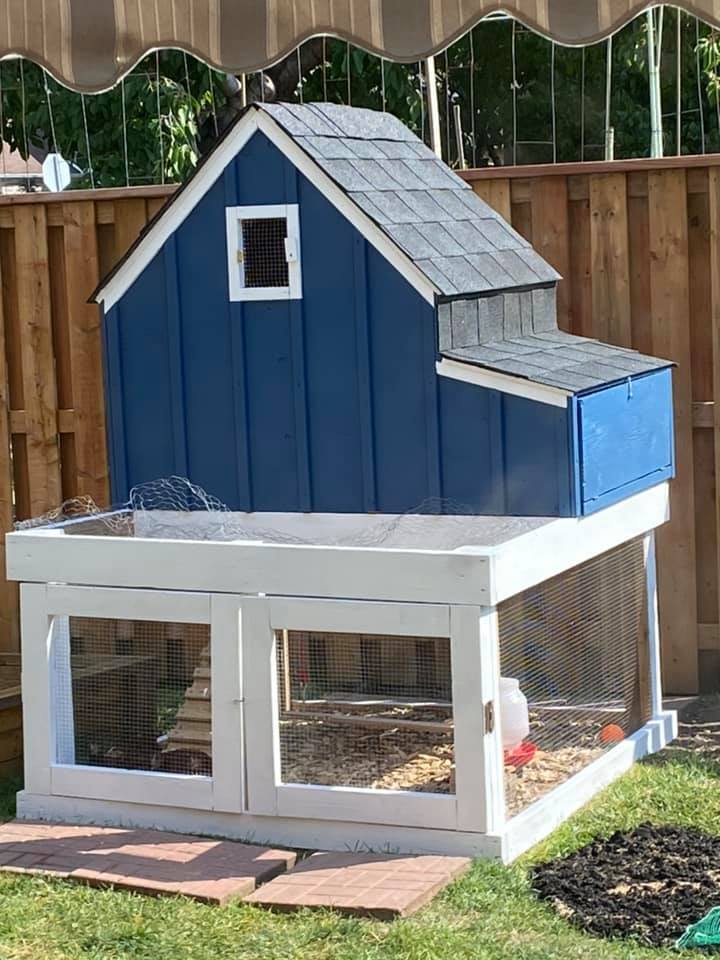
I printed off your instructions and I had all the wood in the garage already. My husband and son finished this in a day and a half. I love it! I painted it. Still not sure what I want to do instead of the planters. I like that idea but I like to have access if I need to clean it. I love all the ideas on this site.

Estimated Time Investment
Weekend Project (10-20 Hours)
Recommended Skill Level
Advanced

Comments

Outdoor 2x4 sectional sofa

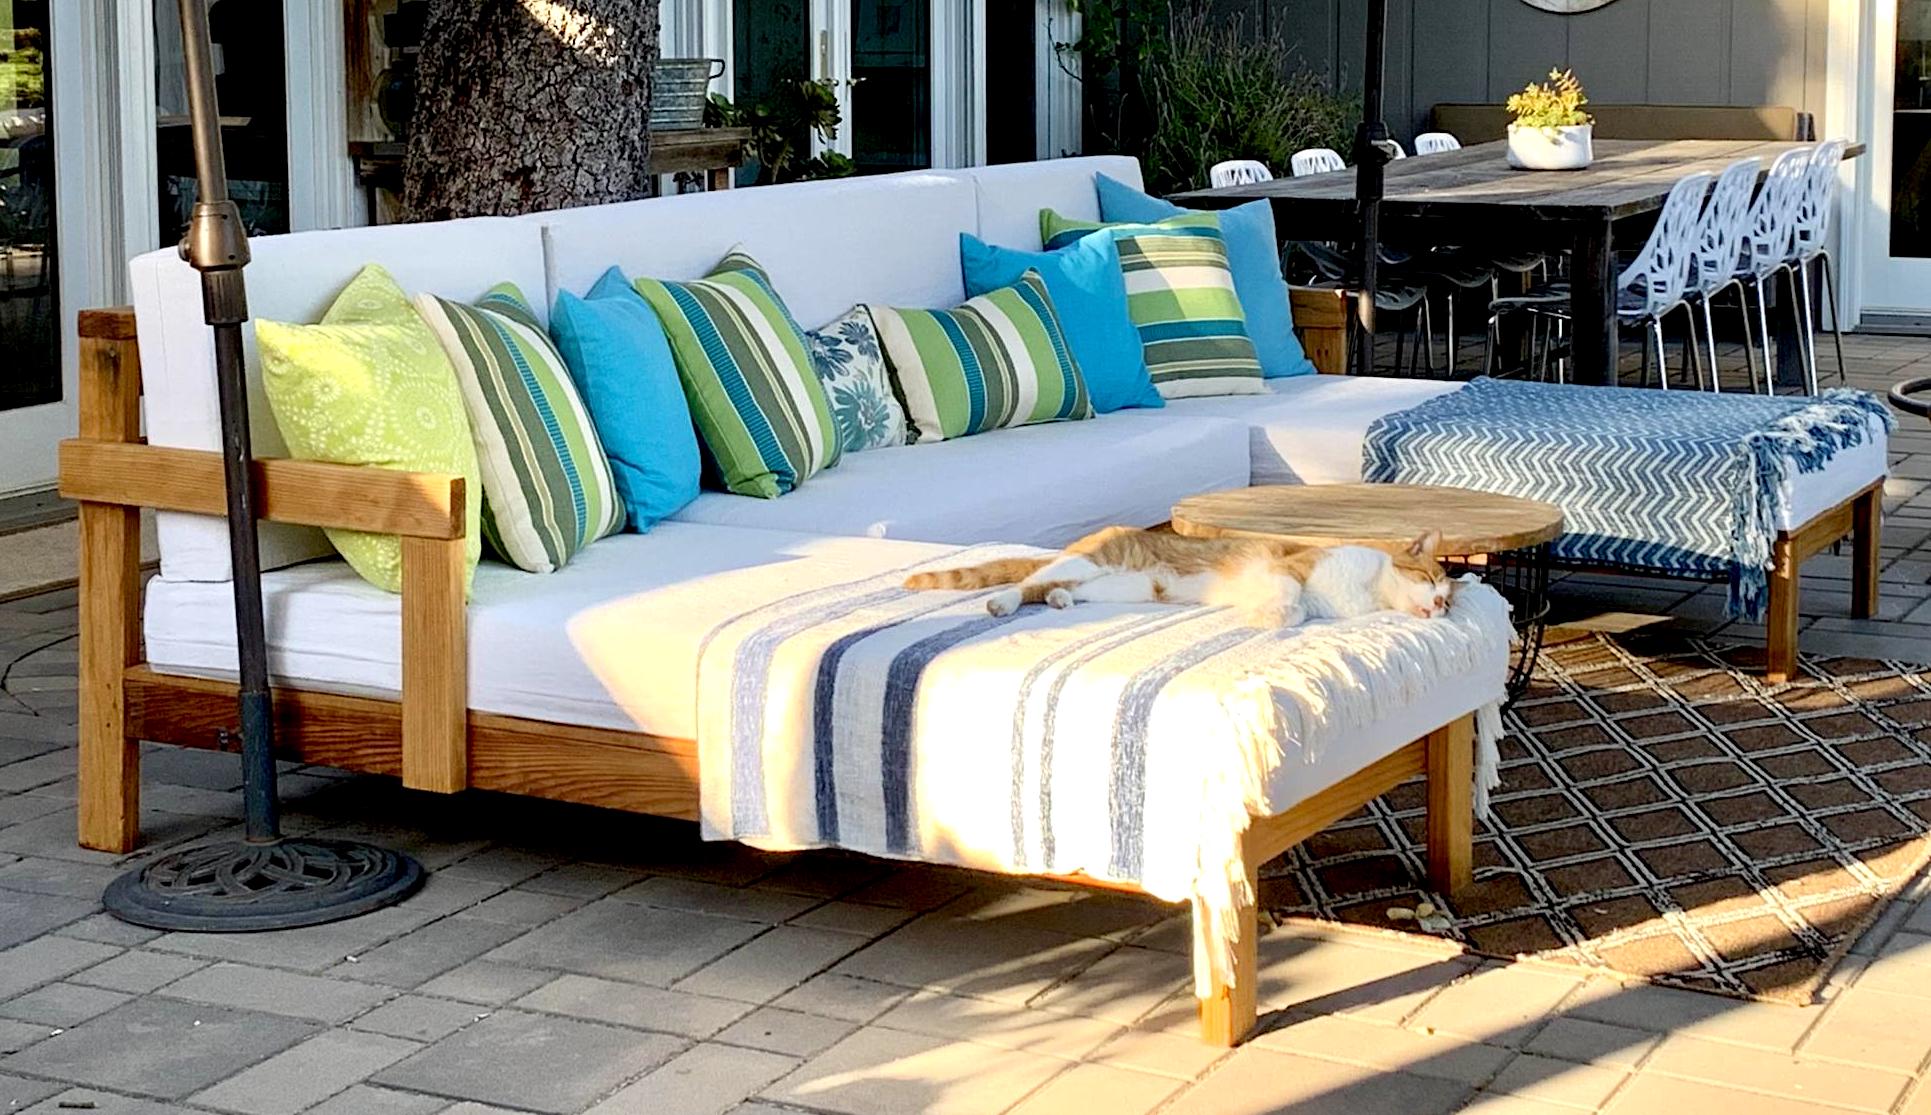
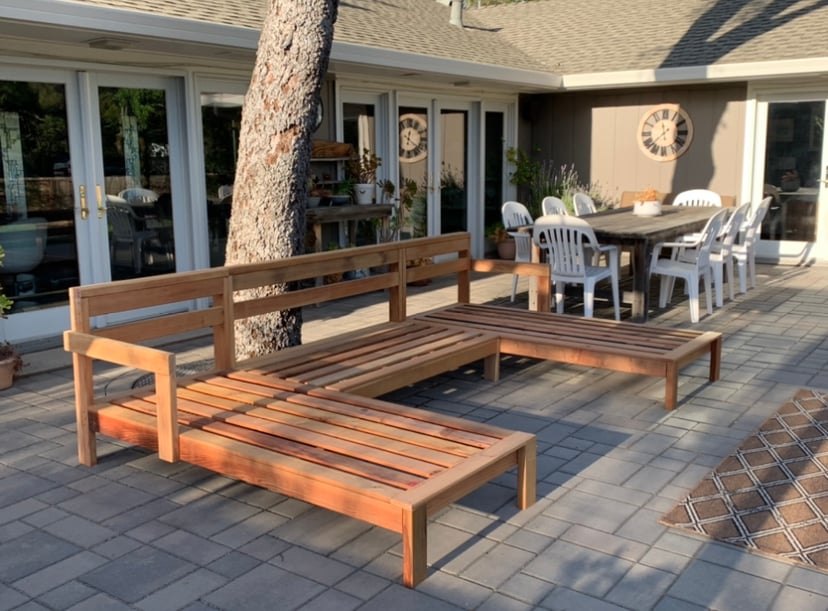
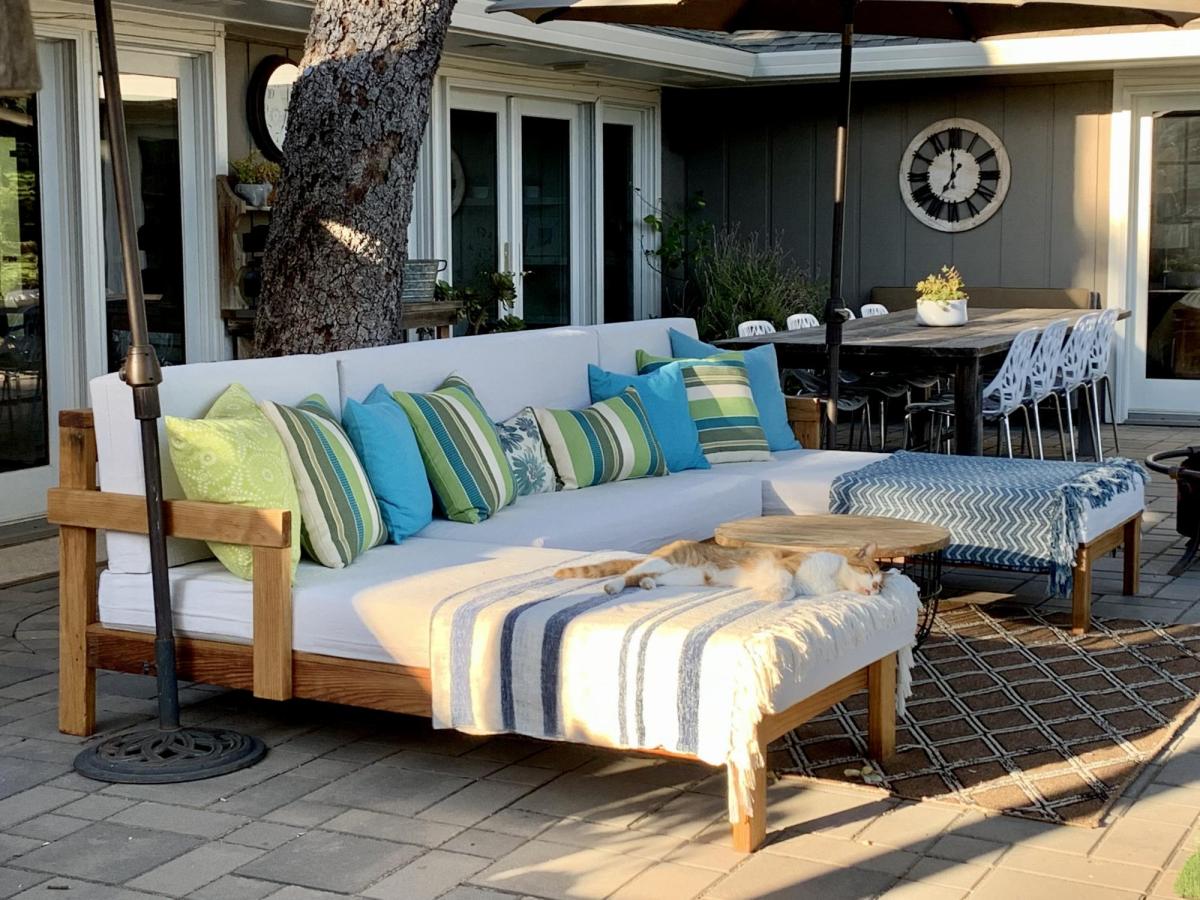
First wood project, thanks for the great plans Ana! I made the bottom cushions using 3" thick firm foam, 2" thick memory foam, and 1" thick batting (purchased in bulk and then cut to size), and covered them with outdoor fabric. The back cushions are 4" thick soft foam. I added easily removable/washable drop cloth covers on top of all the cushions. I don't have a finish on the clear redwood, but might add a clear coat to protect it. The memory foam makes this sofa very luxerious!

Estimated Cost
$1800
Estimated Time Investment
Weekend Project (10-20 Hours)
Finish Used
None
Recommended Skill Level
Intermediate

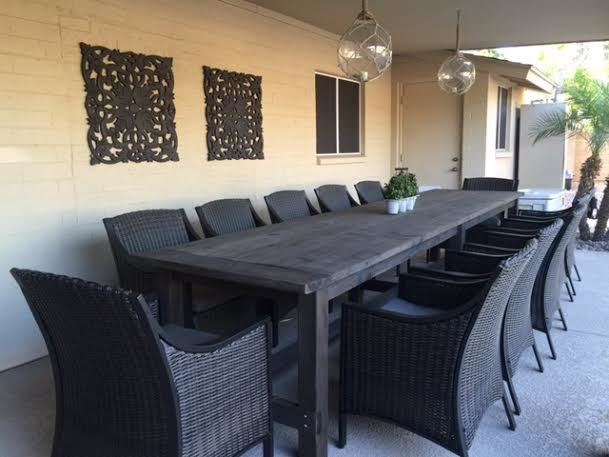
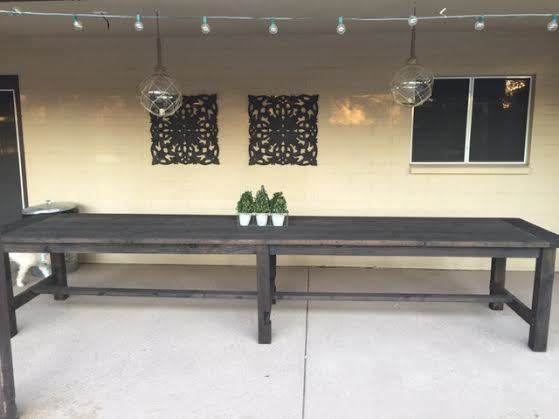
I doubled the recipe and built a table that seats 12!

Submitted by JMRojas on Fri, 03/06/2015 - 14:07

I used the Farmhouse Table plans and just extended the measurements to build an extra-long outdoor table that seats 12.


Estimated Cost
$250
Estimated Time Investment
Weekend Project (10-20 Hours)
Finish Used
Tea, vinegar, and steel wool
Recommended Skill Level
Intermediate

Comments

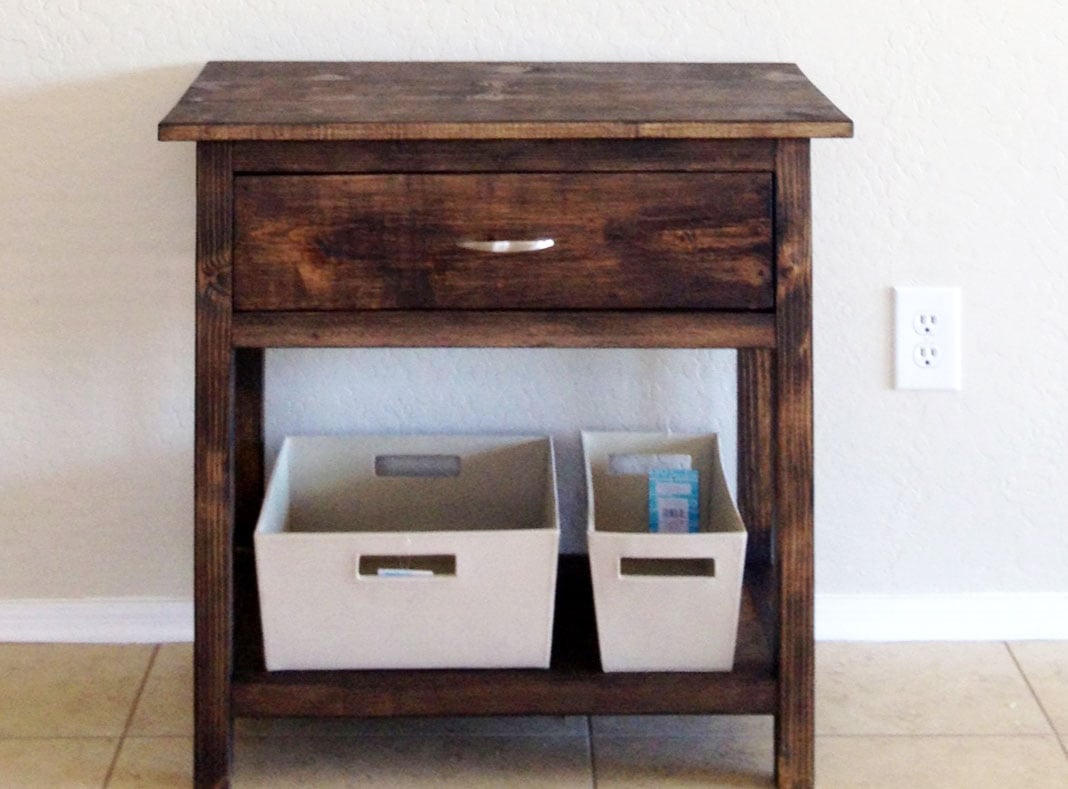
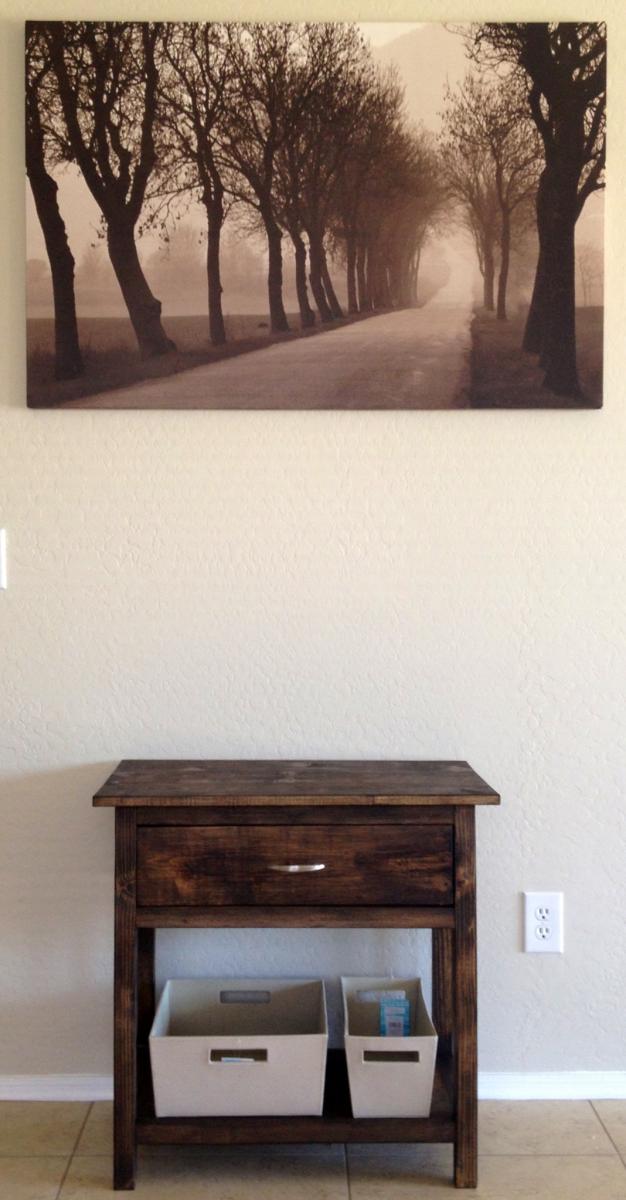
Pottery Barn Style Night Stand (thank you Ana)

Yesterday I built two of these for my wife and I's room, we just moved from Hawaii to Arizona. The plans were clear and simple, and the end product turned out awesome. Next I will tack the dresser/tv stand. Thank you Ana

Built from Plan(s)
Estimated Cost
$65 for two tables
Estimated Time Investment
Day Project (6-9 Hours)
Finish Used
MiniWax Espresso applied with a paint brush. I used an extremely thin coat.
Recommended Skill Level
Beginner

My first DIY project!

Submitted by Celeste808 on Sun, 05/05/2013 - 10:30

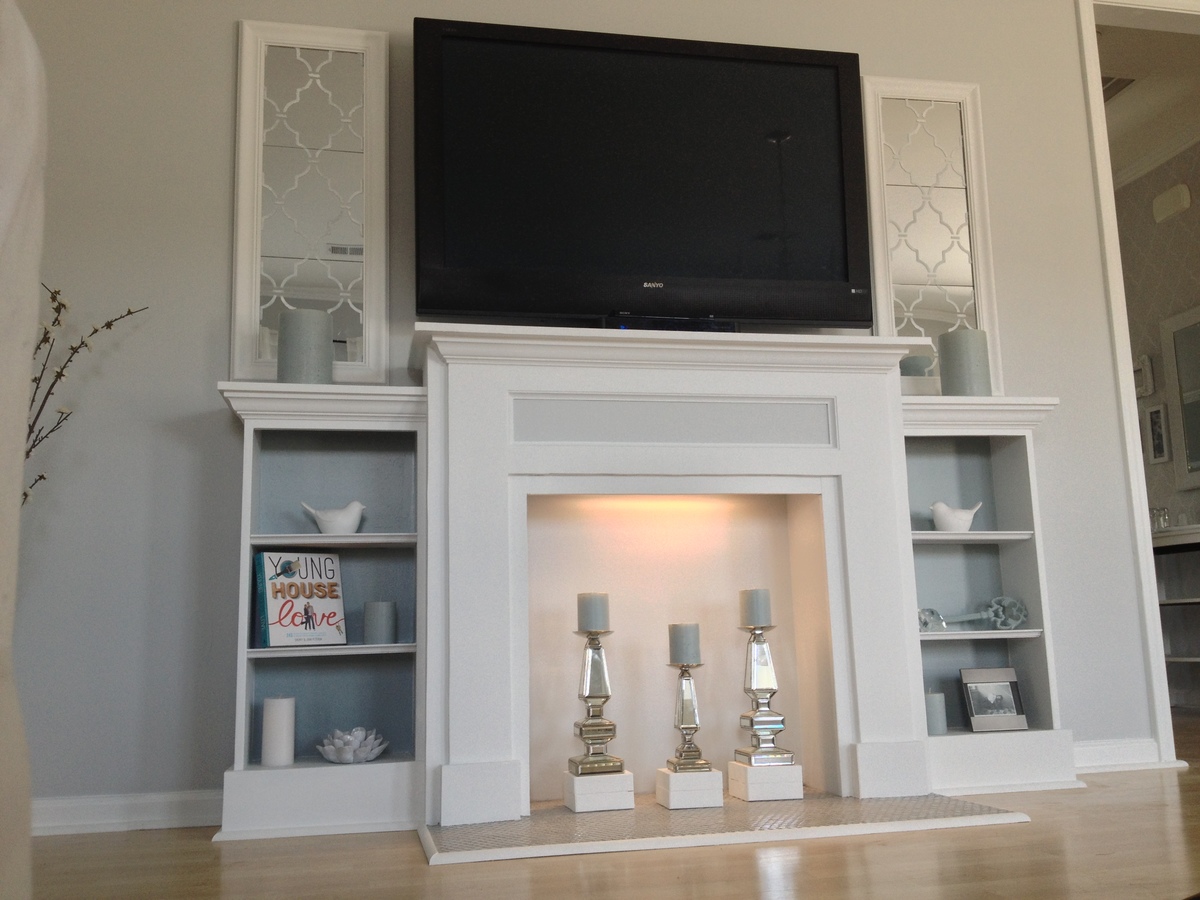
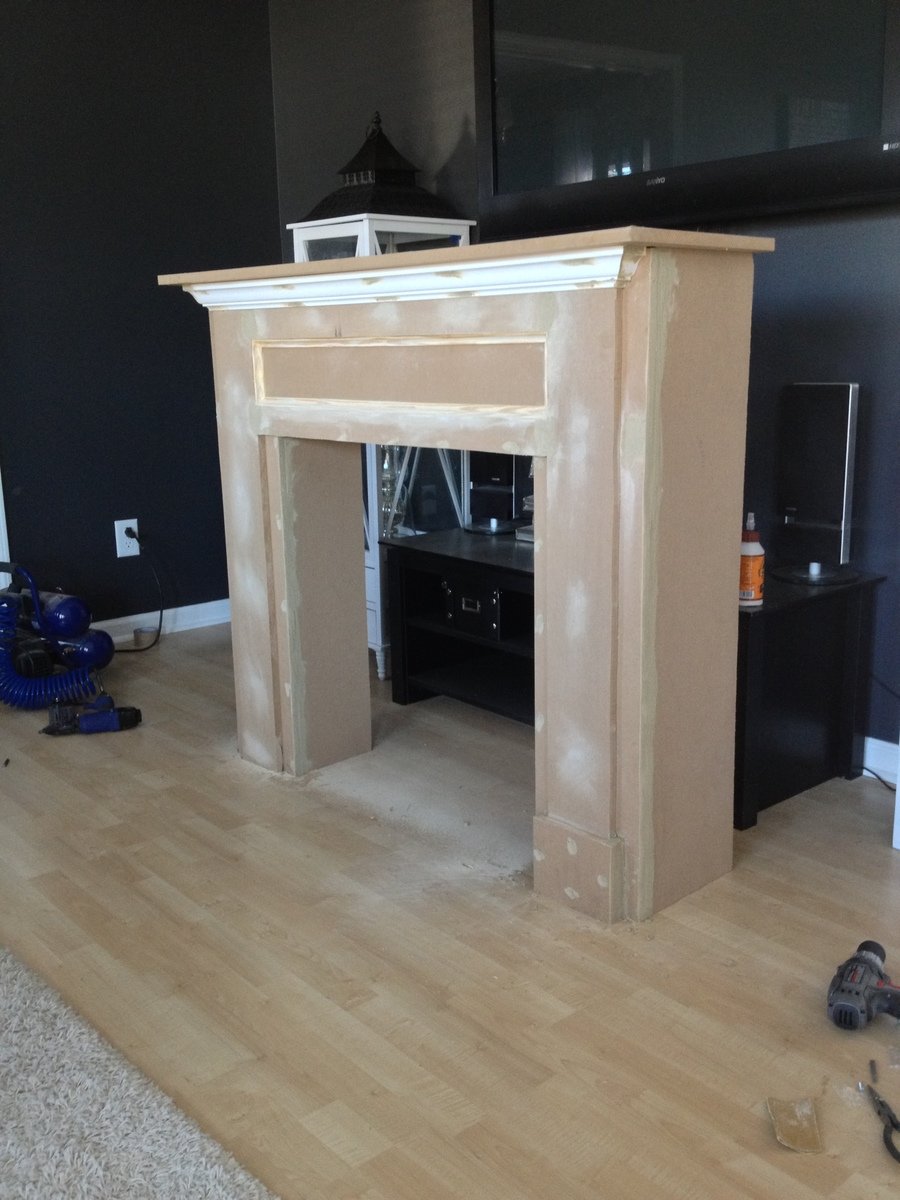
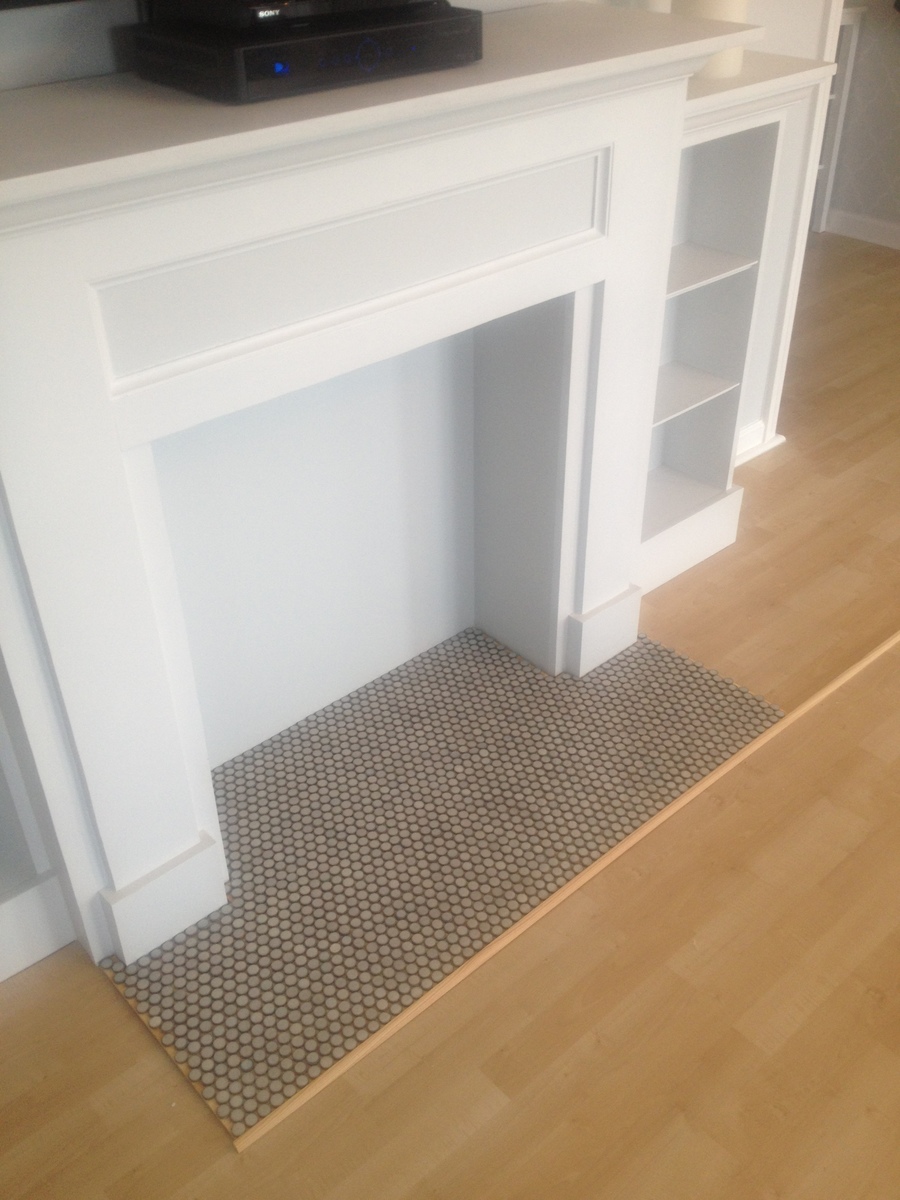
Finally Completed!!! Thank you rainy Saturday! So I wanted a new entertainment center of sorts... couldn't find one that was just what I wanted..... so why not just build what I want! Just DIY it. ;)

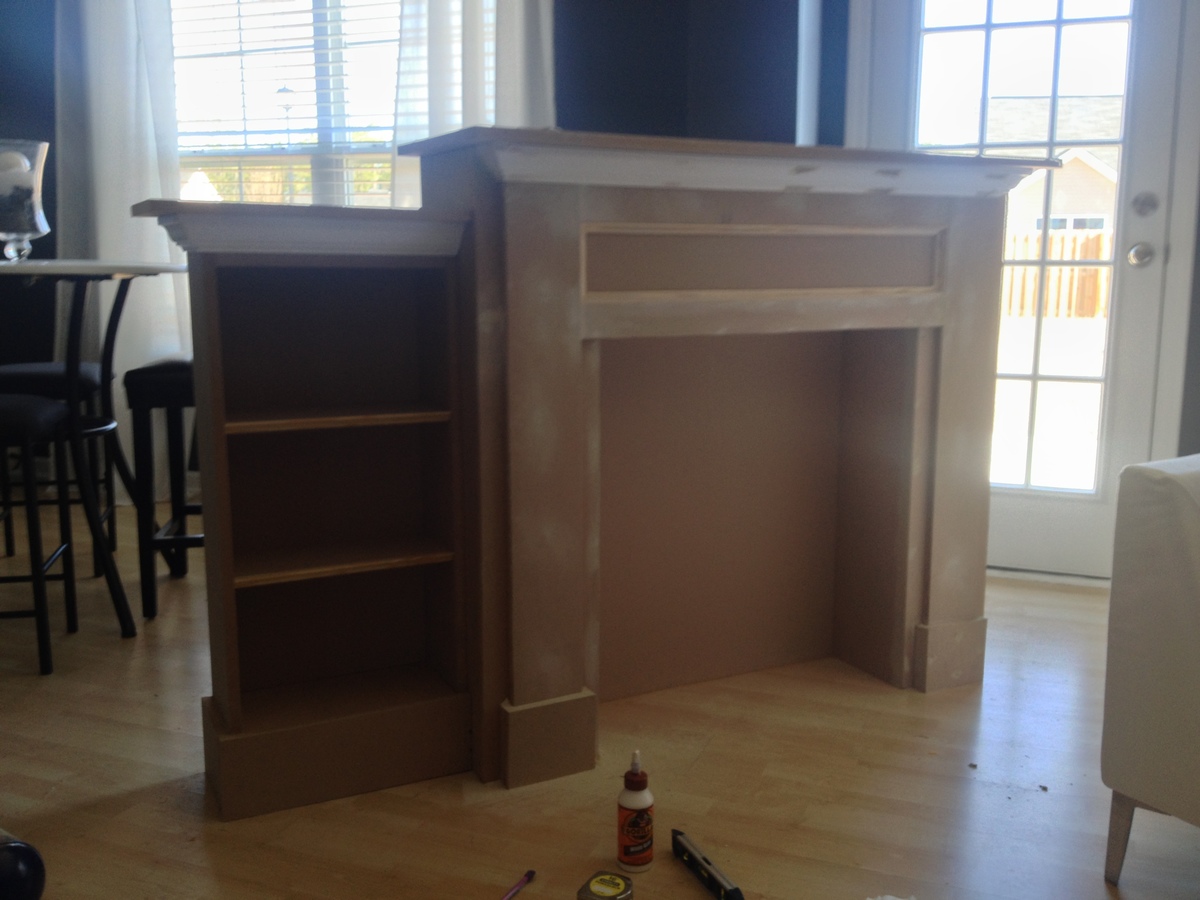
I used the faux fireplace plan and modified it to have attached shelves on the sides. I also added an extra strip at the top of the fireplace opening so I could mount an LED bar light.

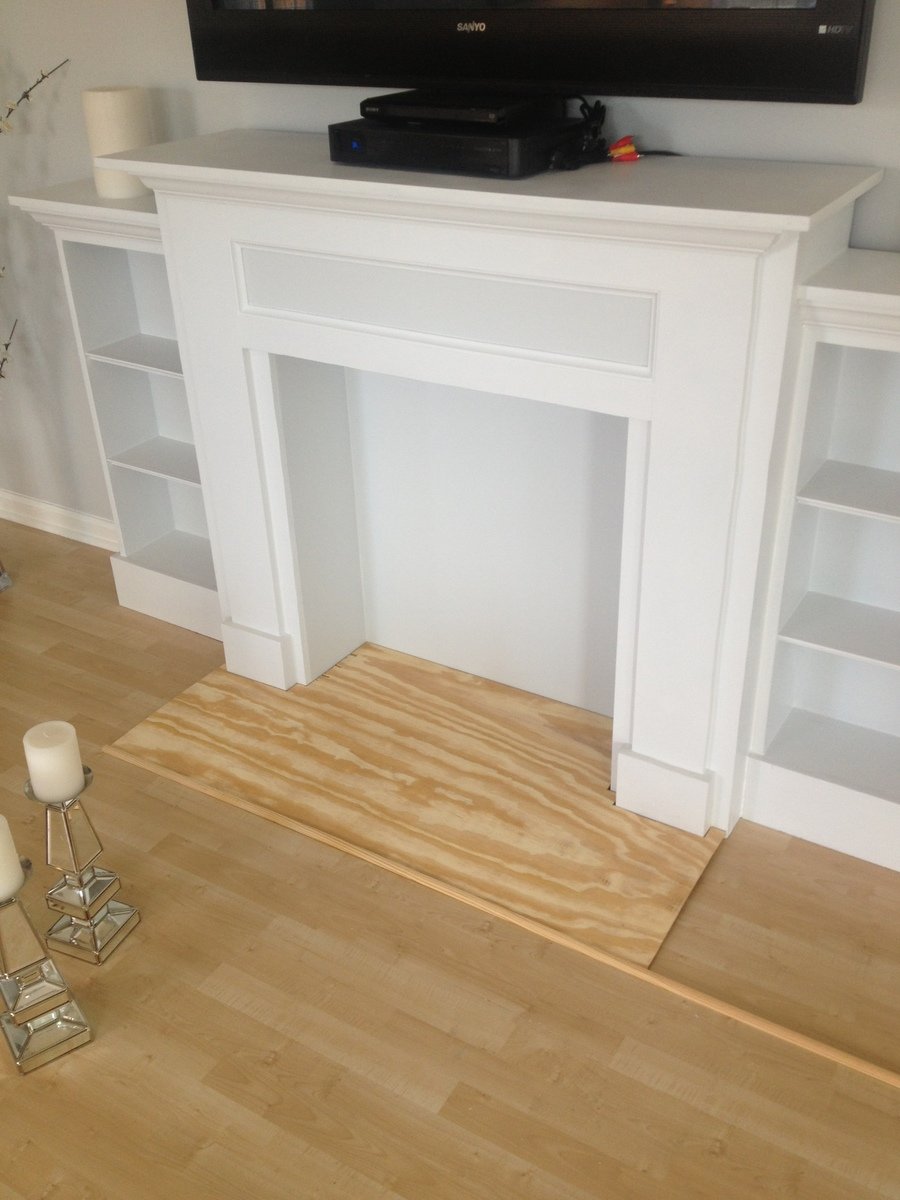
I used 1/4 plywood to make a tile base, penny tile, and 1/2 quarter round to finish out around the entire bottom.

Total project cost was less than $200 including the tile and light!

Best part is the whole thing is movable!

Thanks Anna White for such an awesome plan to start with!

Estimated Time Investment
Week Long Project (20 Hours or More)
Finish Used
MDF & plywood
Recommended Skill Level
Beginner

Comments

spkramer

Wed, 07/03/2013 - 10:24

This whole unit is great. My wife LOVES it, which means I will be building it! Did you purchase the two shelf units or build them yourself? Did you use a pattern or plan? Thanks!
Alisonwunderland

Wed, 07/31/2013 - 13:09

This is amazing! Exactly what I'm looking for! Did you change the depth of the mantel to make sure the shelves would be deep enough to hold things?

Celeste808

Sat, 08/03/2013 - 18:25

I did make the depth of the fireplace deeper so I could have room for the halves on the side. I just sketched out the dimensions I wanted the side shelves and built them along the same lines as the fireplace. Wasn't hard to figure out and just made it to fit the size I needed. The inset of the fireplace does not go all the way back to the wall either, that way the power strip can fit on the floor behind it. Glad you like it and thanks for the compliments!
EAnne

Wed, 07/23/2014 - 14:54

Hi Celeste 808, What a wonderful faux fireplace WITH the bookcases, especially. I'm hoping I can try this in our space challenged bedroom. Did you by any change reply to the chap who asked if you had some kind of dimensions or plans you could pass along to us? I would love to see if we can make it work in the space we have available.
Thanks again for the inspiration,
e

jrybolt26

Mon, 10/28/2013 - 18:25

I absolutely love what you did with this. I am going to have my fiance help me make this for our house. If you still have the dimensions and details of how you built the whole unit I would greatly appreciate it if you could post it.

mommyof2cuties

Sun, 04/13/2014 - 13:00

This is gorgeous & I can't believe it's your 1st project. I would love to build this too. Did you use any particular plans for the side units? If you have any tips or information to share, that would be great! I've actually been trying to make up my own plans using Sketch Up, but that's not working too good, lol. Again, great job & thank you.
Lynda

emswave

Sun, 02/08/2015 - 12:31

I'm dying to know the dimensions you added to the width. Also, the dimensions of the book shelf. I have been trying to draw up plans for the last week and I'm stuck with trying to figure it out by looking at your pictures.

PLEASE HELP!

Thanks!!

mrittgers1

Mon, 07/27/2015 - 09:15

Do you have the blue print of how you built the mantel and side book shelves? I am wanting to go buy supplies to build this tonight!!!


Thank you!