2x4 Sectional , table, and chairs
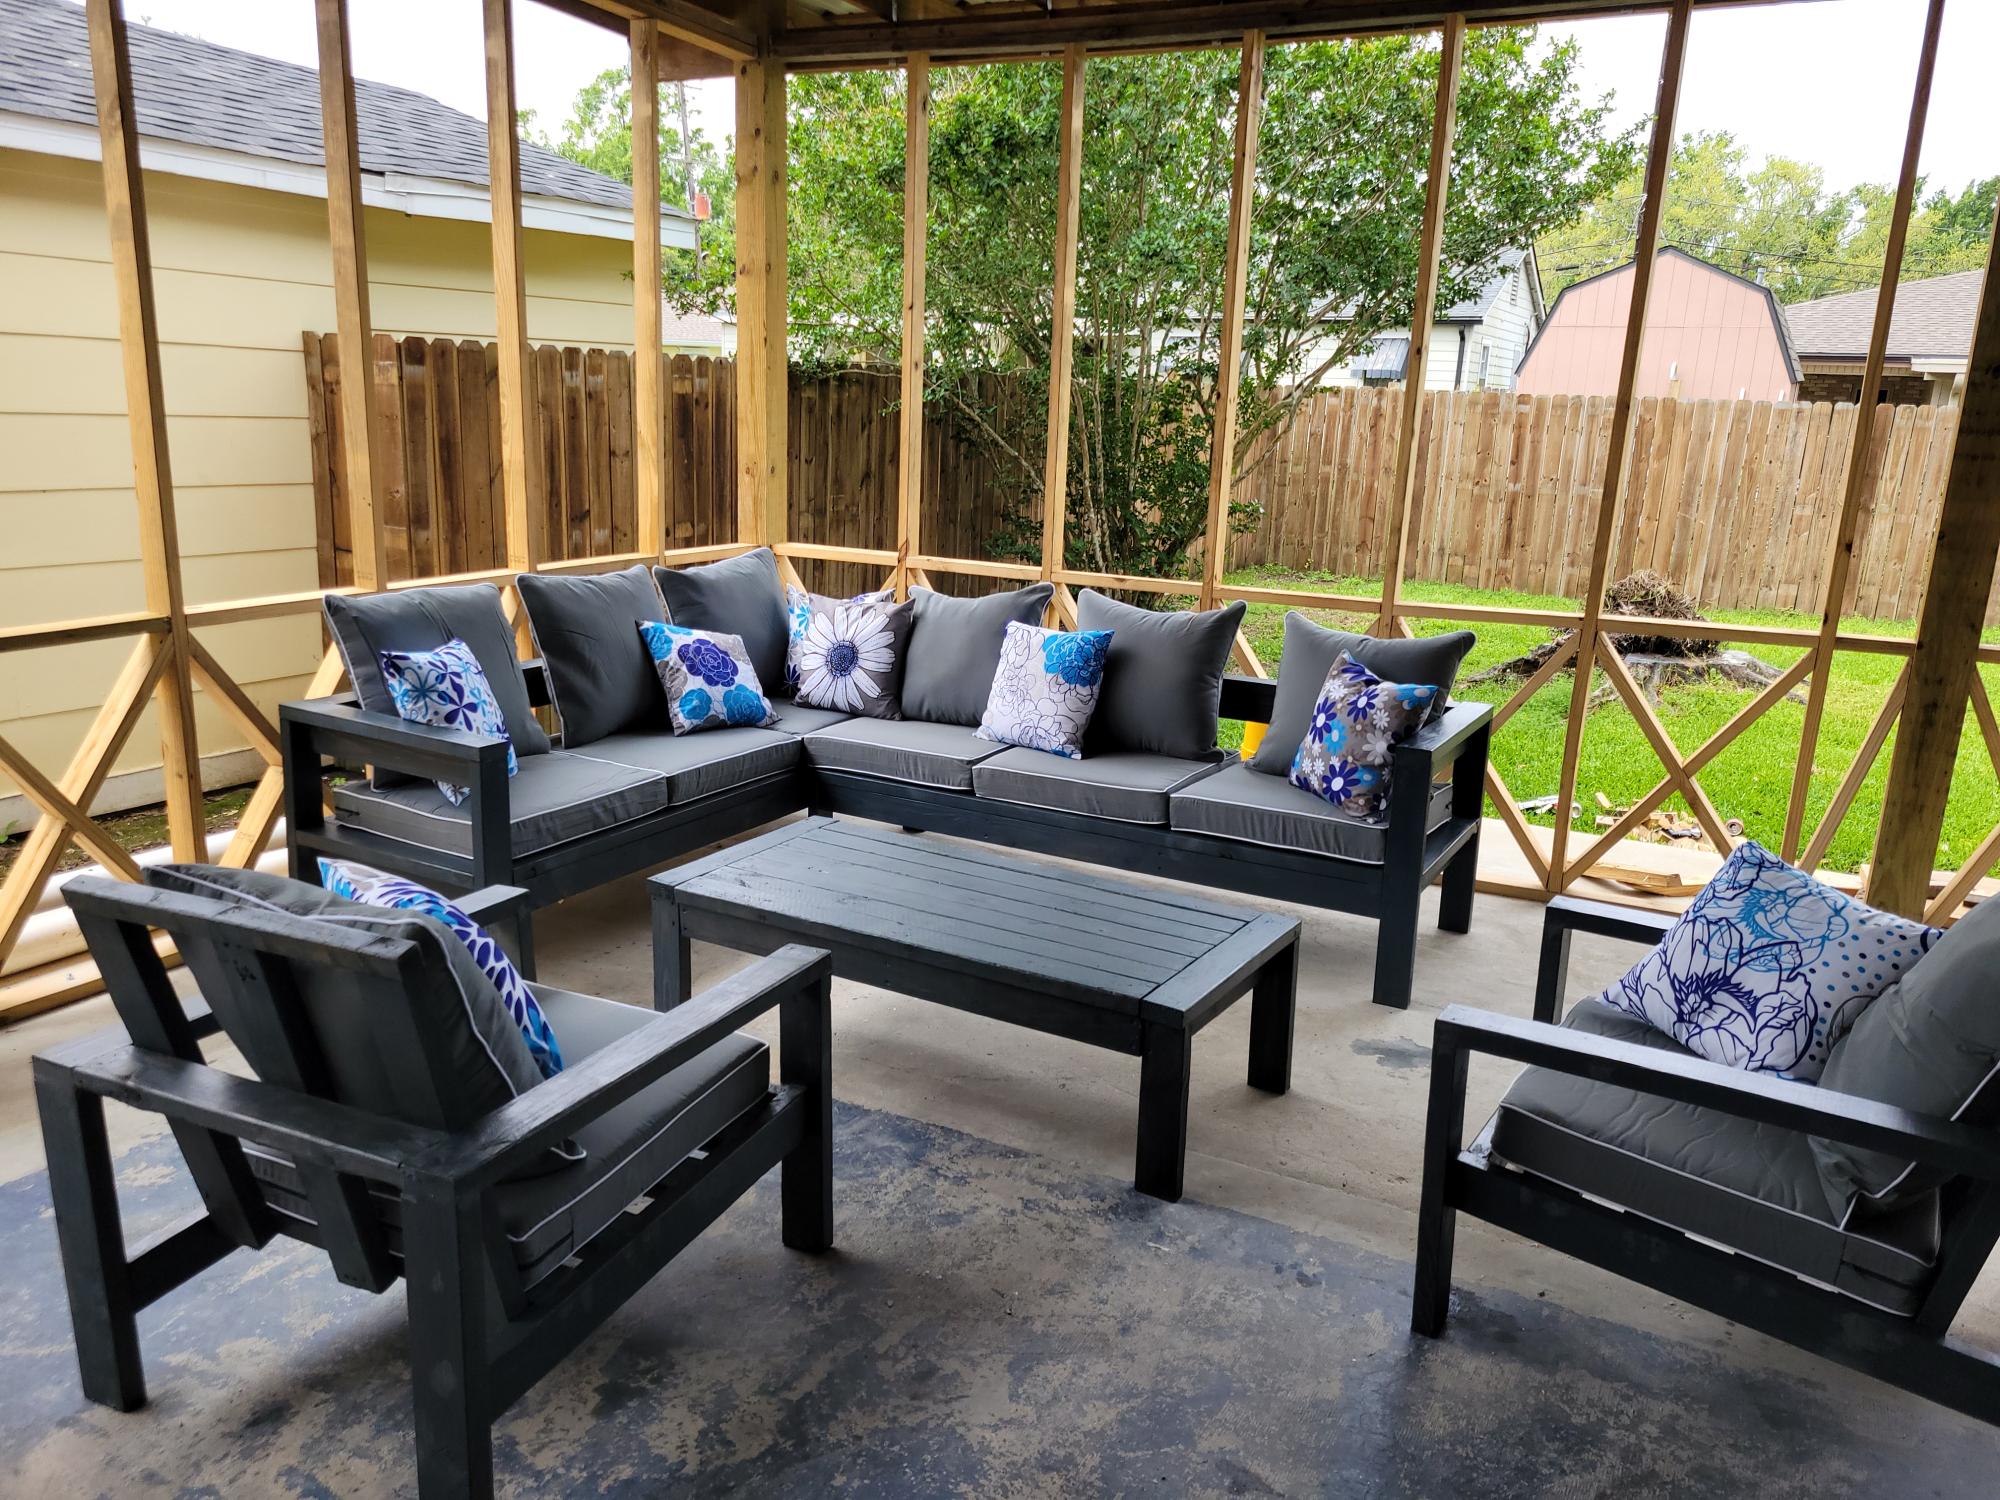
Your easy to follow 2x4 proje ts turned out amazing. My outdoor set is complete. The chairs, also, came from your plans. I built all of it by myself in one weekend. Thank you

Your easy to follow 2x4 proje ts turned out amazing. My outdoor set is complete. The chairs, also, came from your plans. I built all of it by myself in one weekend. Thank you
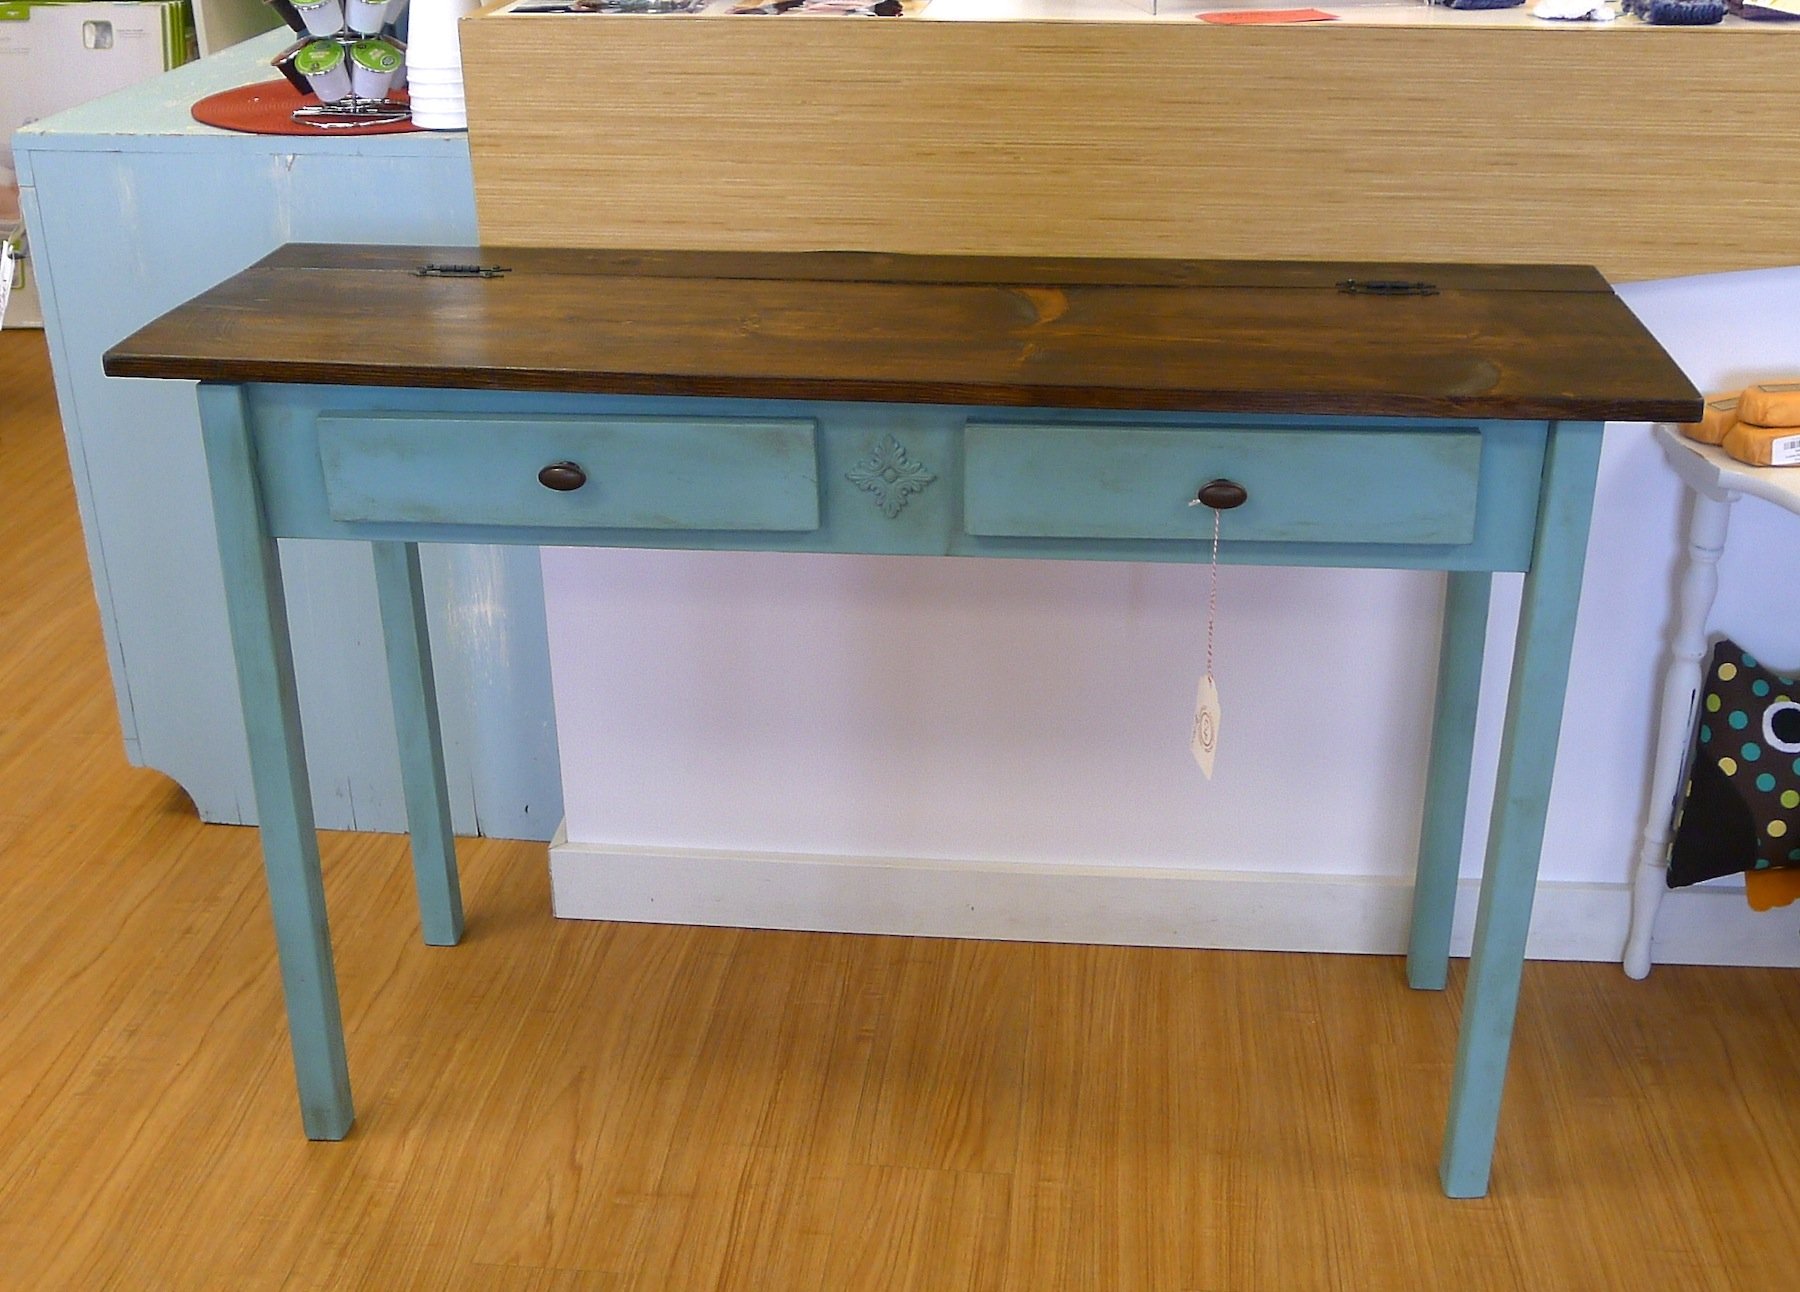
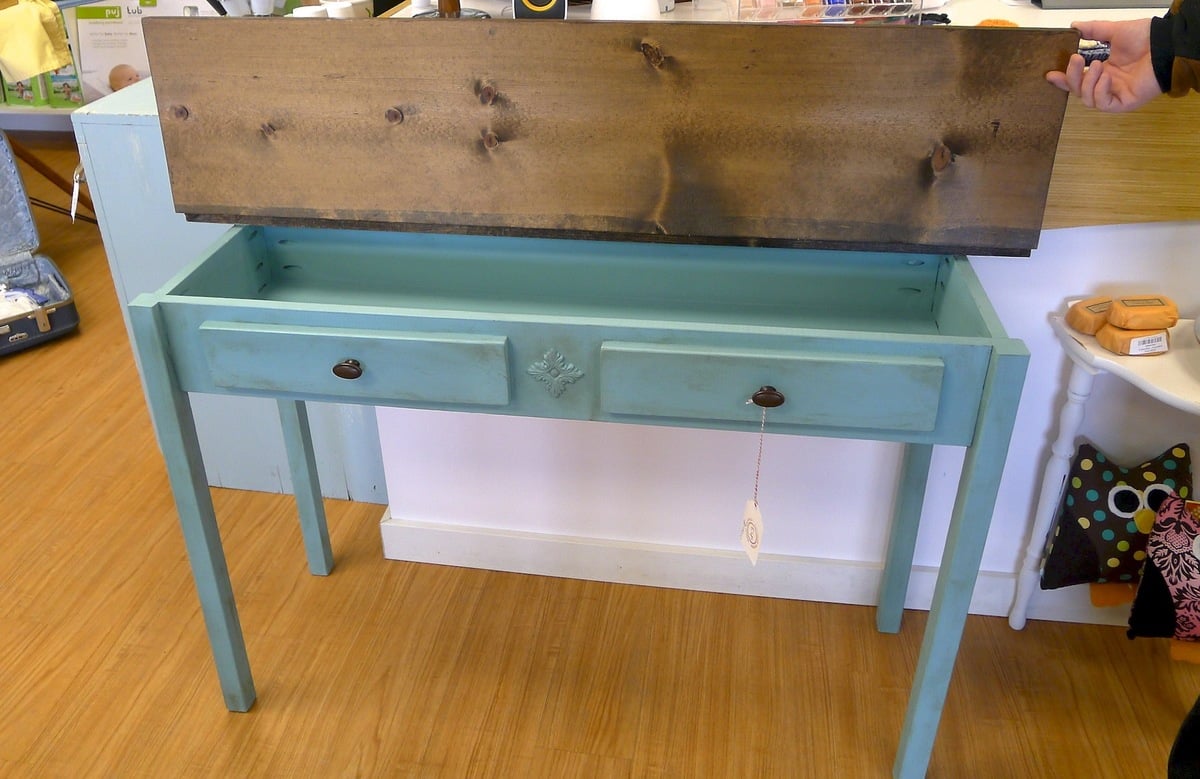
This was my first time building furniture. I've restored and refurbished antique furniture for years and but never imagined building my own before. I have a small kitchen and had to modify the size to accommodate area space. I also added breadboard ends to the tabletop. I am now planning to build more furniture using your plans. Thank you Ana White for providing such a wonderful resource to help beginners build their own furniture!
Fri, 09/22/2023 - 08:01
WOW, you did such a great job! Love the finish choice and added breadboard ends. Thanks for sharing:)
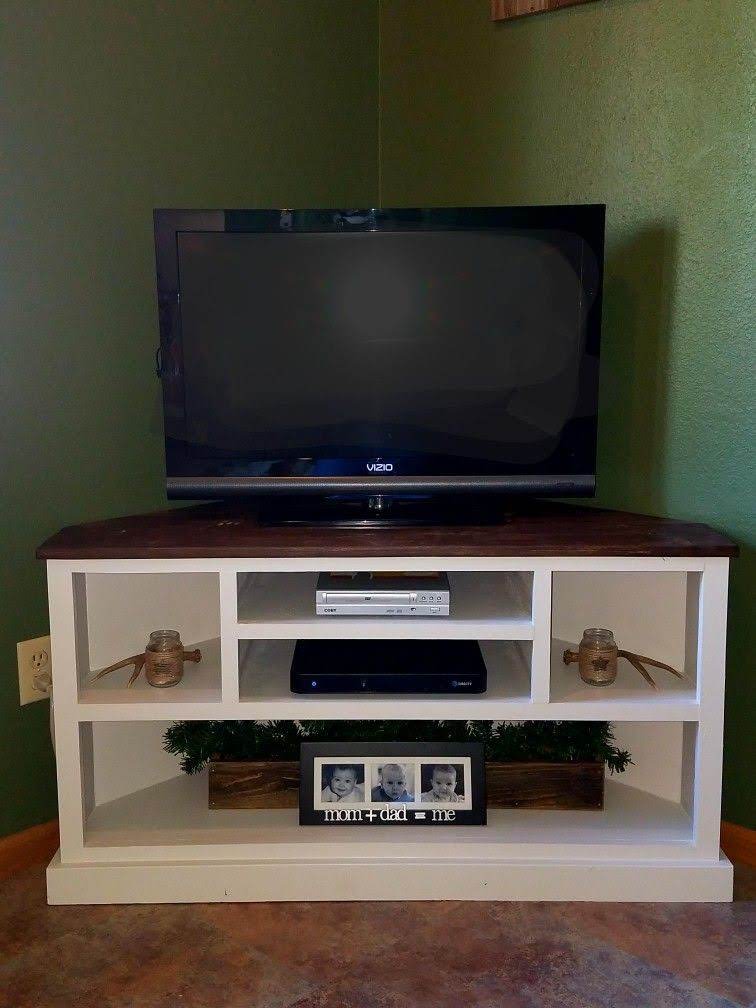
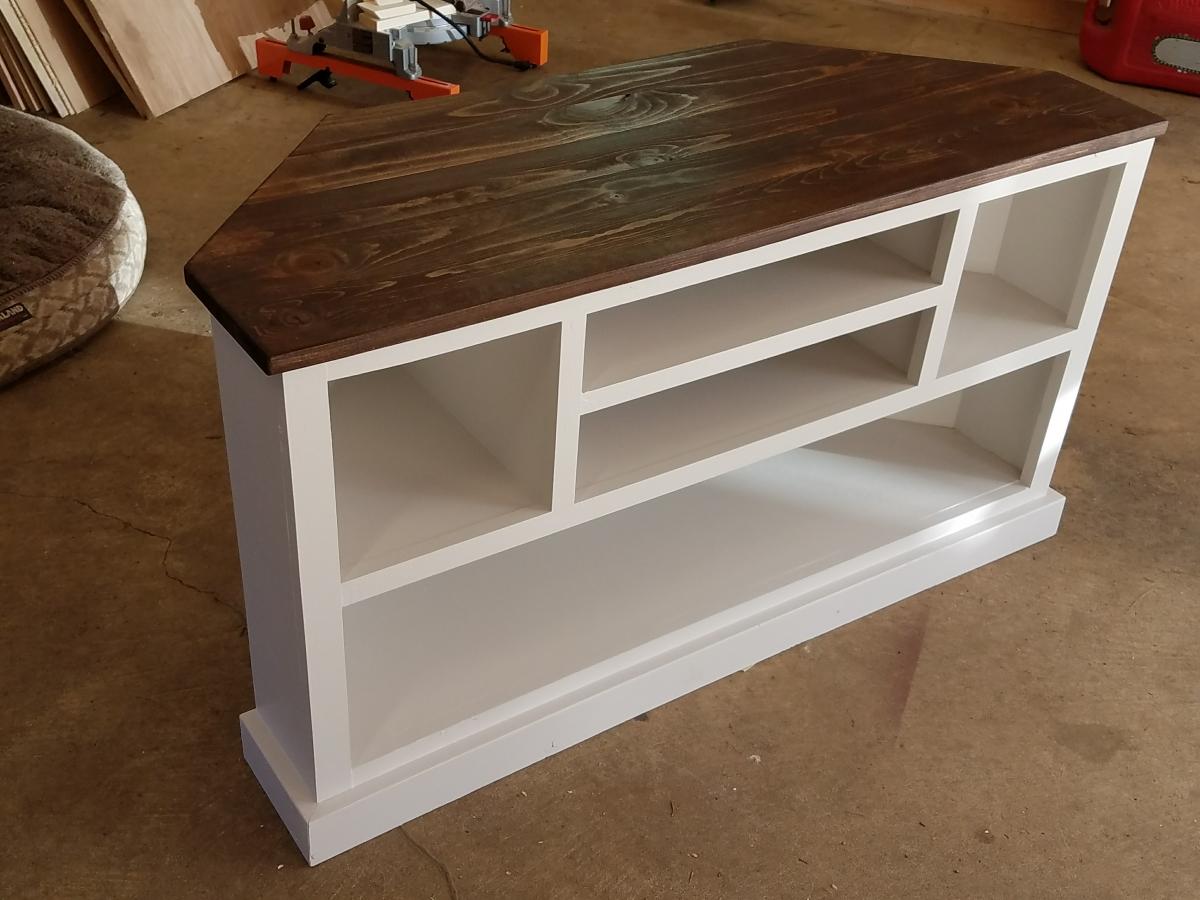
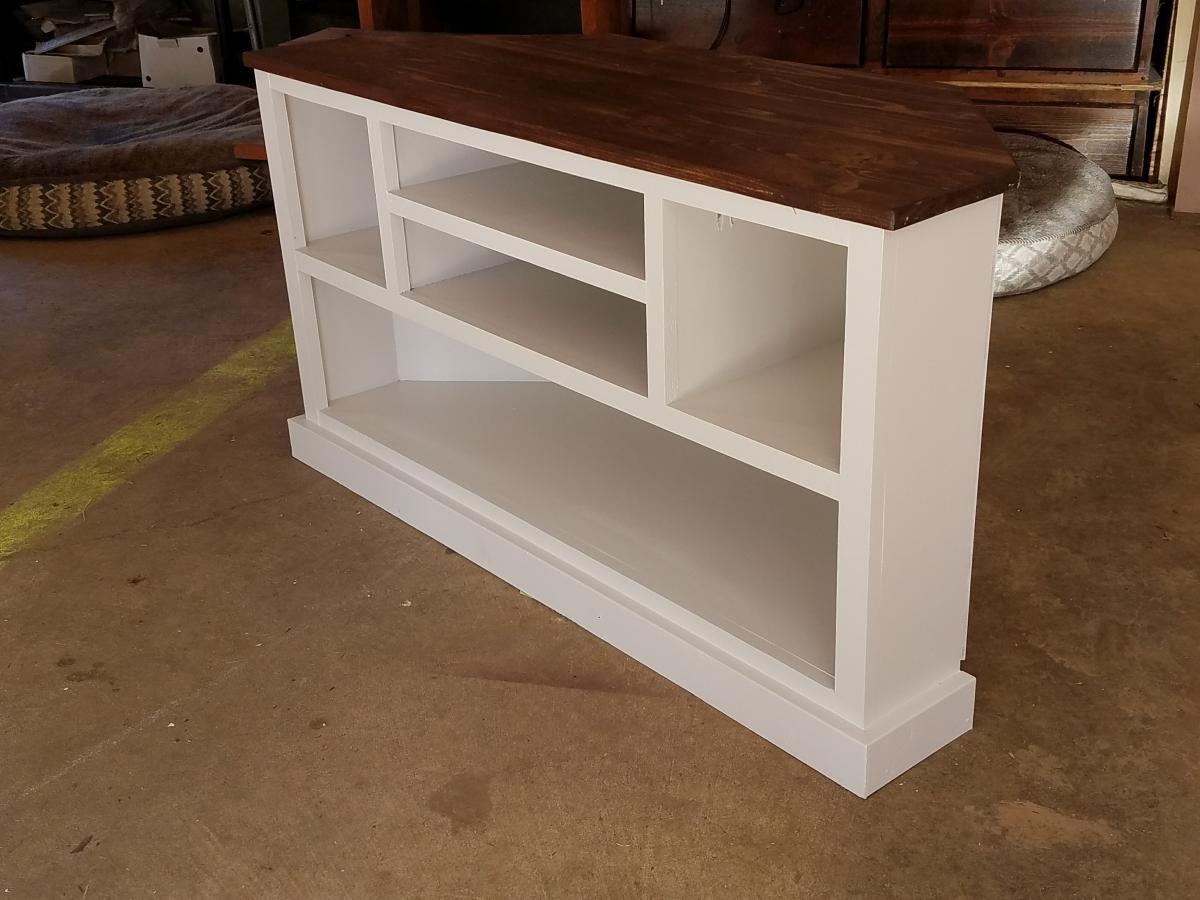
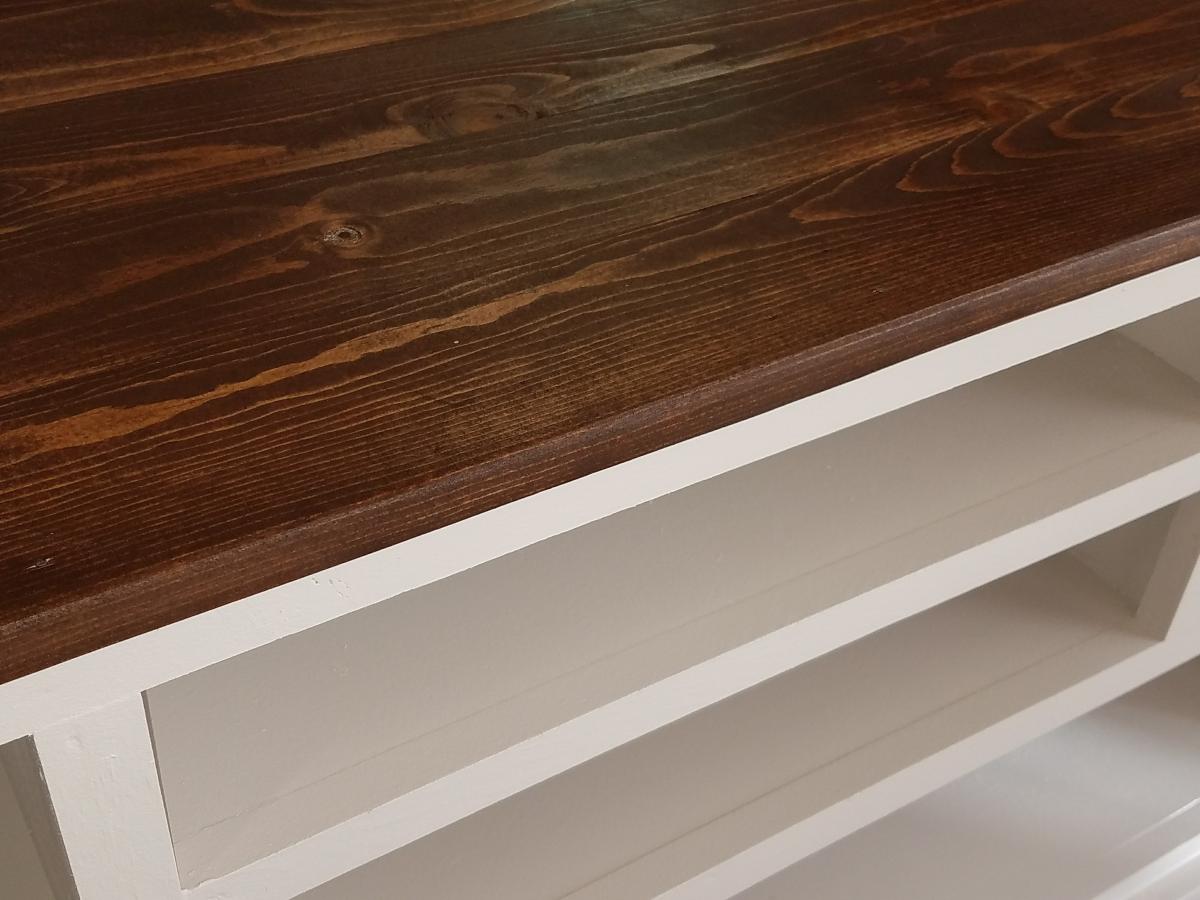
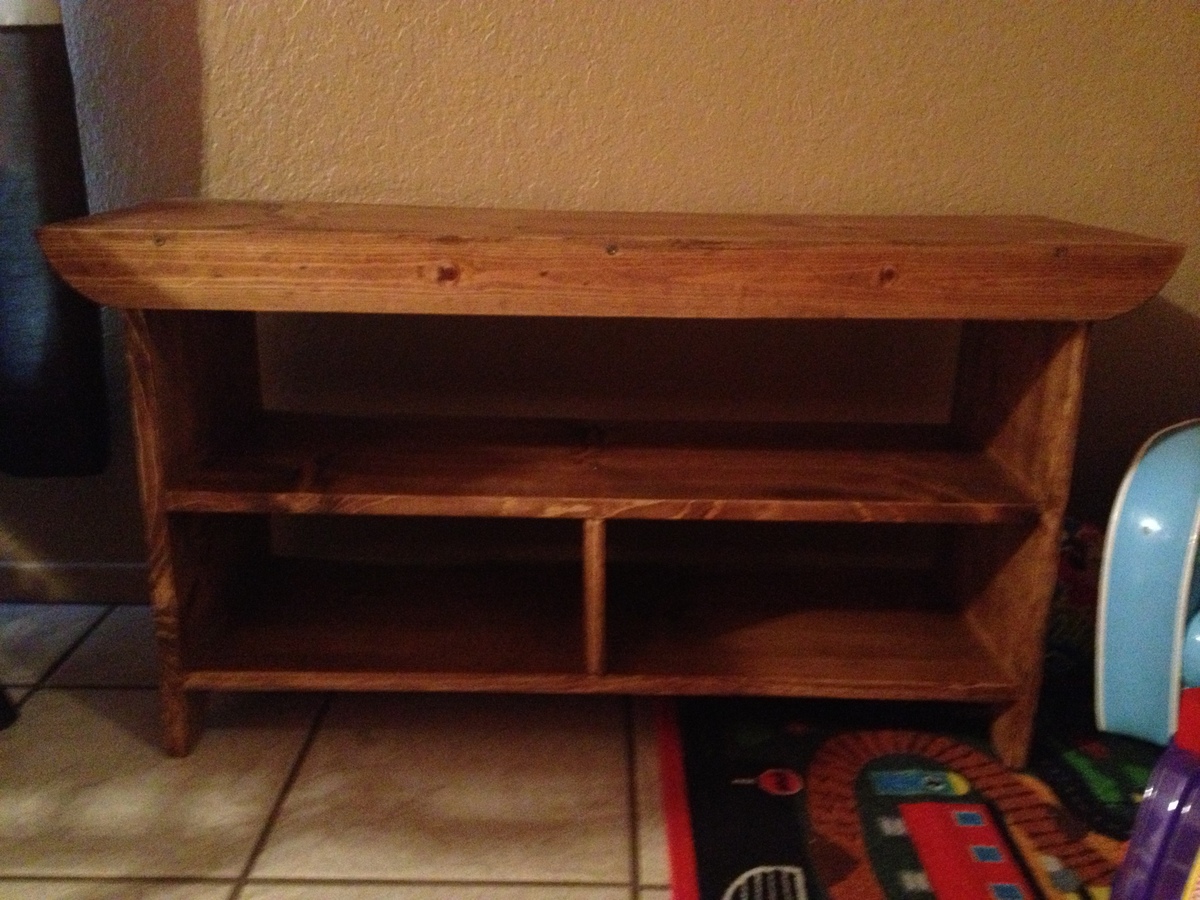
We had just moved into our new house and were using an end table for our TV stand I just didn't like it. I found this and modified it so it's shorter and fits in our room better. I also opted to not put doors on it and use it to display items instead. This was a relatively easy build and I'm learning new things with every build I make. It took about 2 days to complete not including filling holes/paint/stain. I love it, it looks so great in our room and I am planning on building end tables to match as well as replacing our buffet with movies in it to match also. Thanks for the easy-to-follow plans!
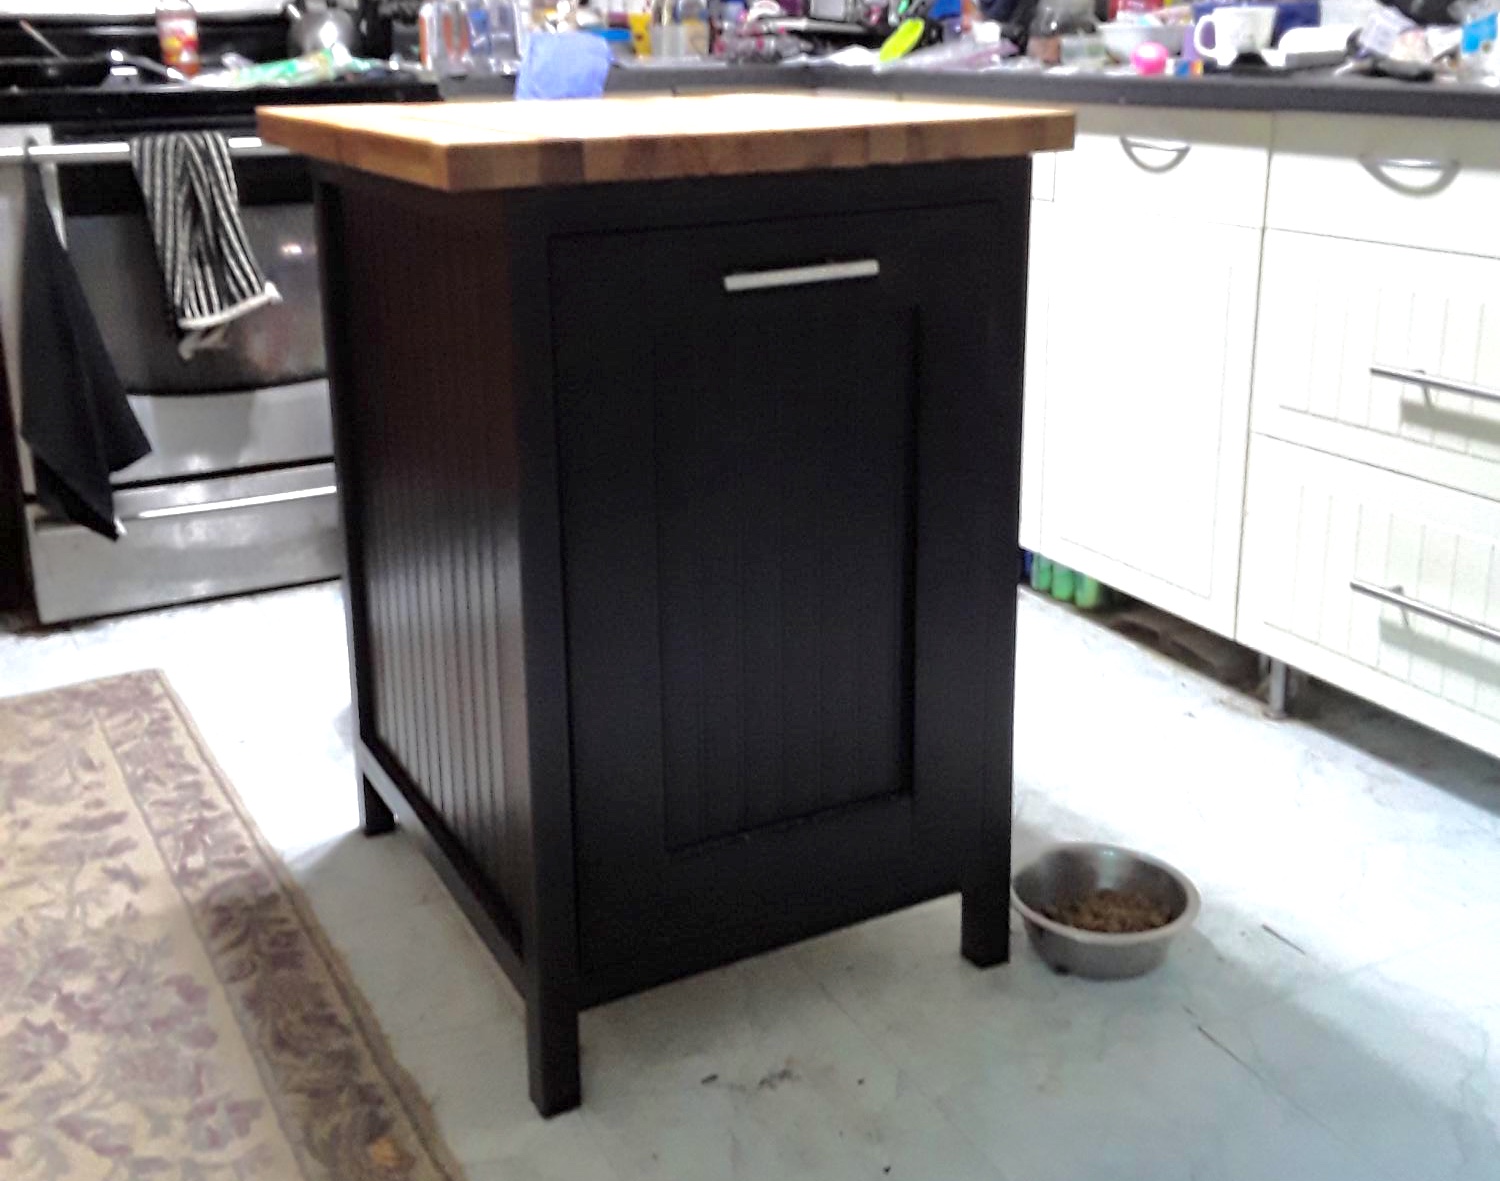
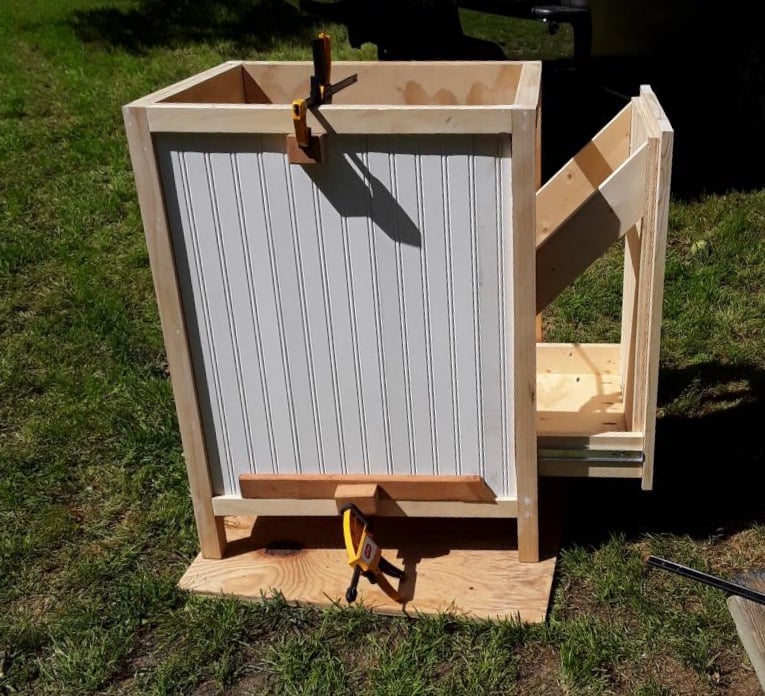
This was a mommy do during work furlough. Wasn't too hard. I have minimal experience with saws, but with hubby help, we got it done. Some of the instructions didn't make sense, but but we were able to figure them out or change them to work. I used bead board on the front and sides that we added over the existing sides. I used a manufactured butcher block that had to be cut down. Looks great and now my trashcans don't walk around the kitchen when the dogs play. The downside, the dog bowls slide under the island. If you have to cut down butcher block, make sure you have the proper blade.
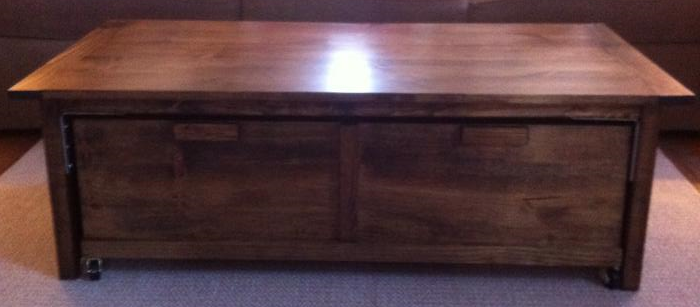
I made this coffee table almost a year ago. It has withstood the use and abuse of my five year old and still looks great!! Thanks Ana for the awesome design!
First "big" woodworking project. A lot of fun and my daughter couldn't be happier
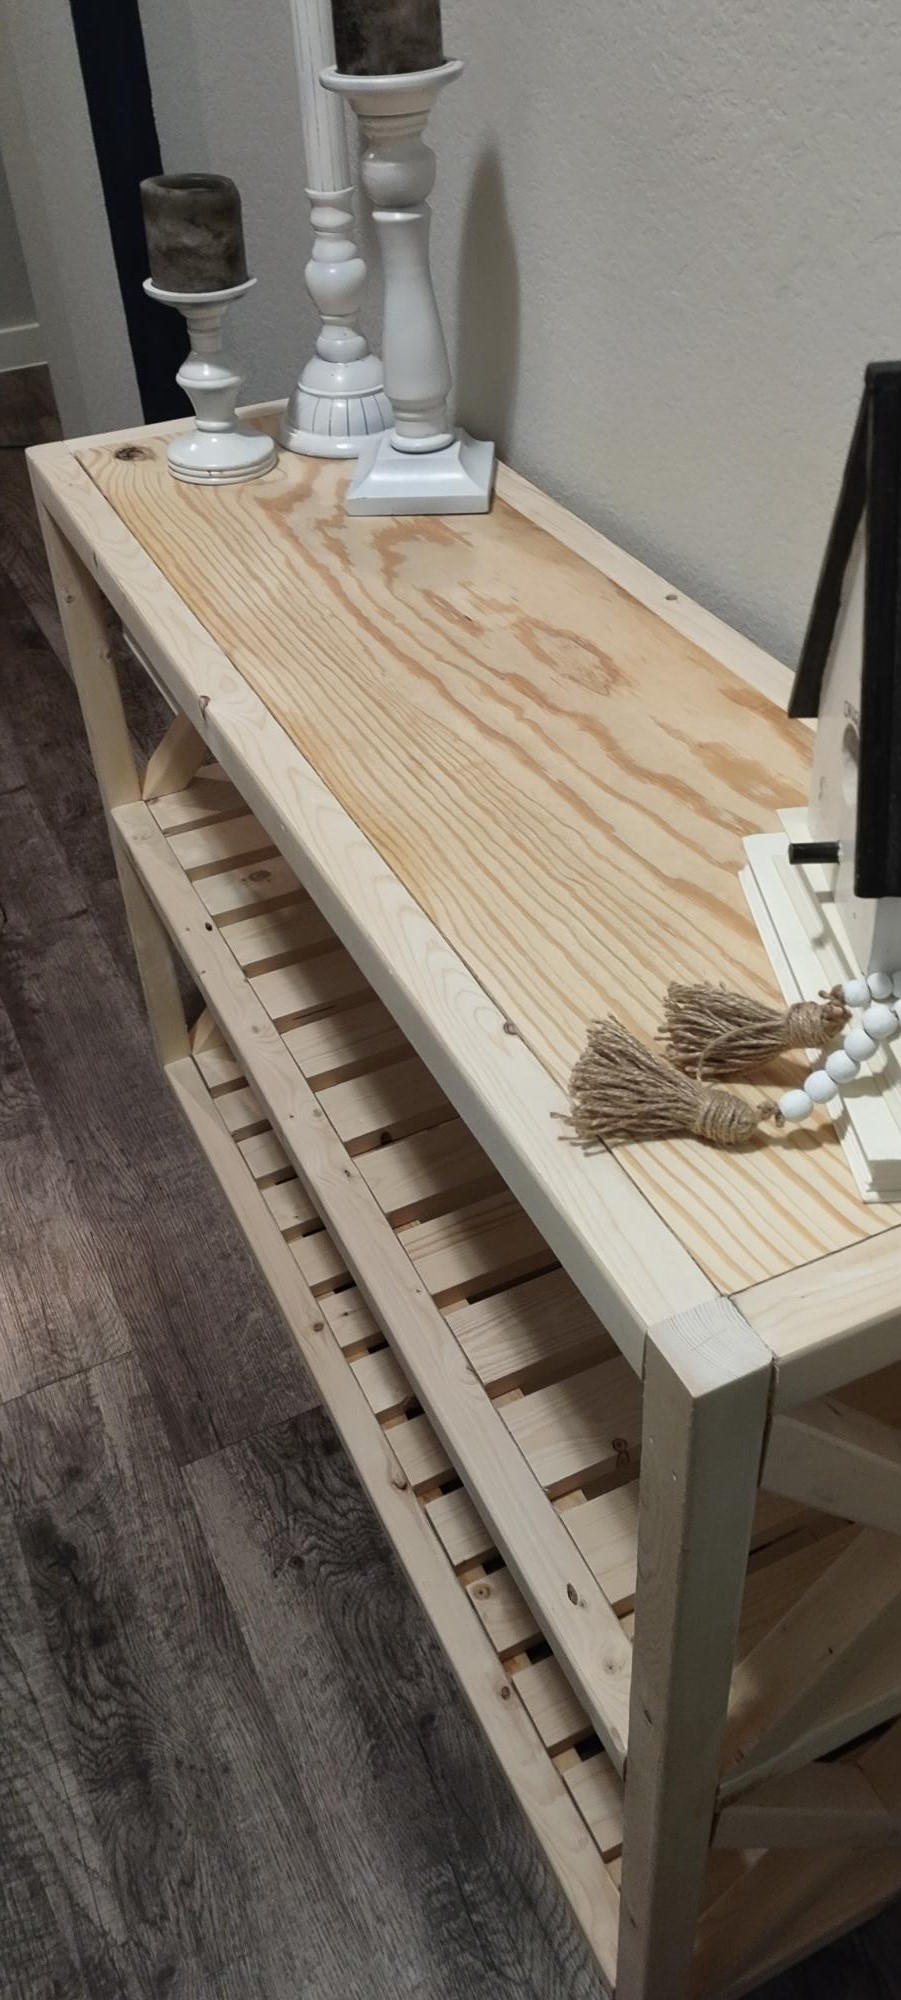
So the x's were hard but by the fourth one I got better. This table is super easy if you do the clears for slats. I cannot imagine doing all those pocket holes!

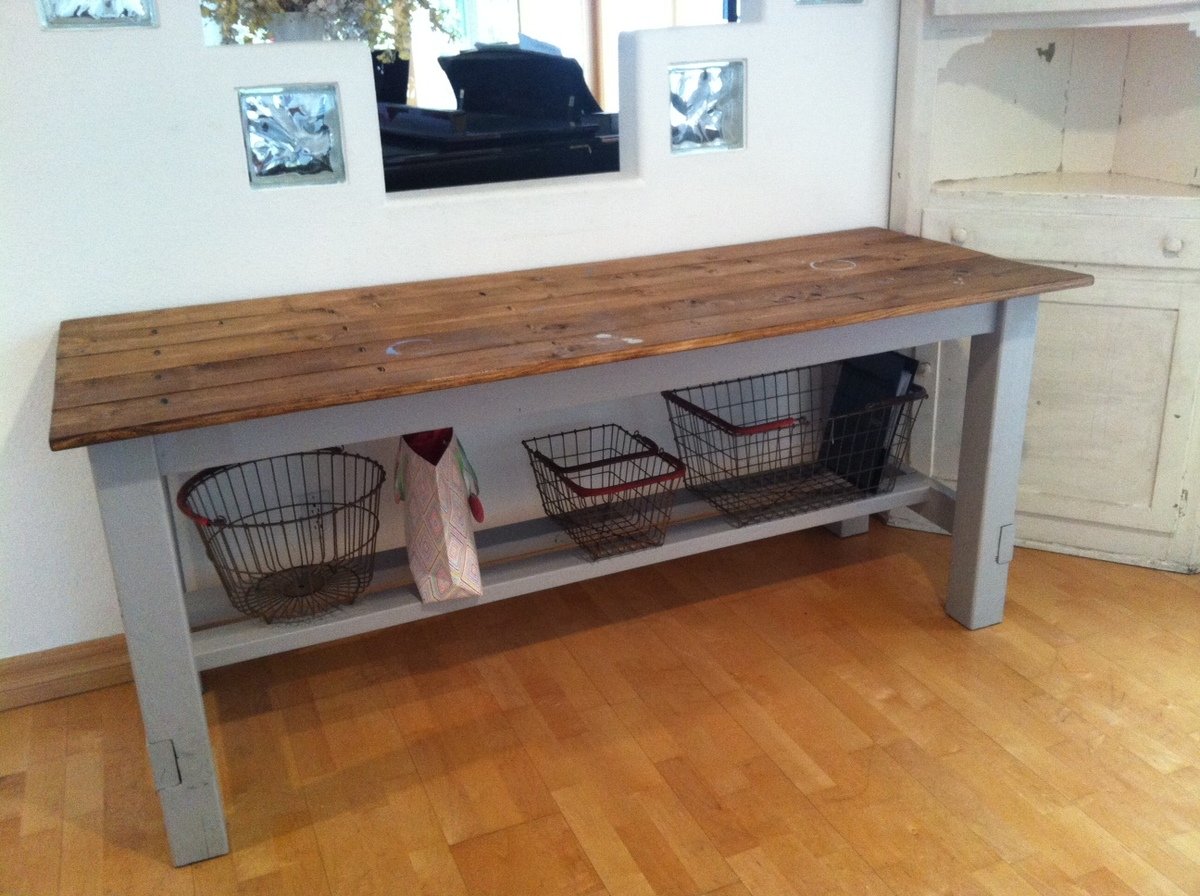
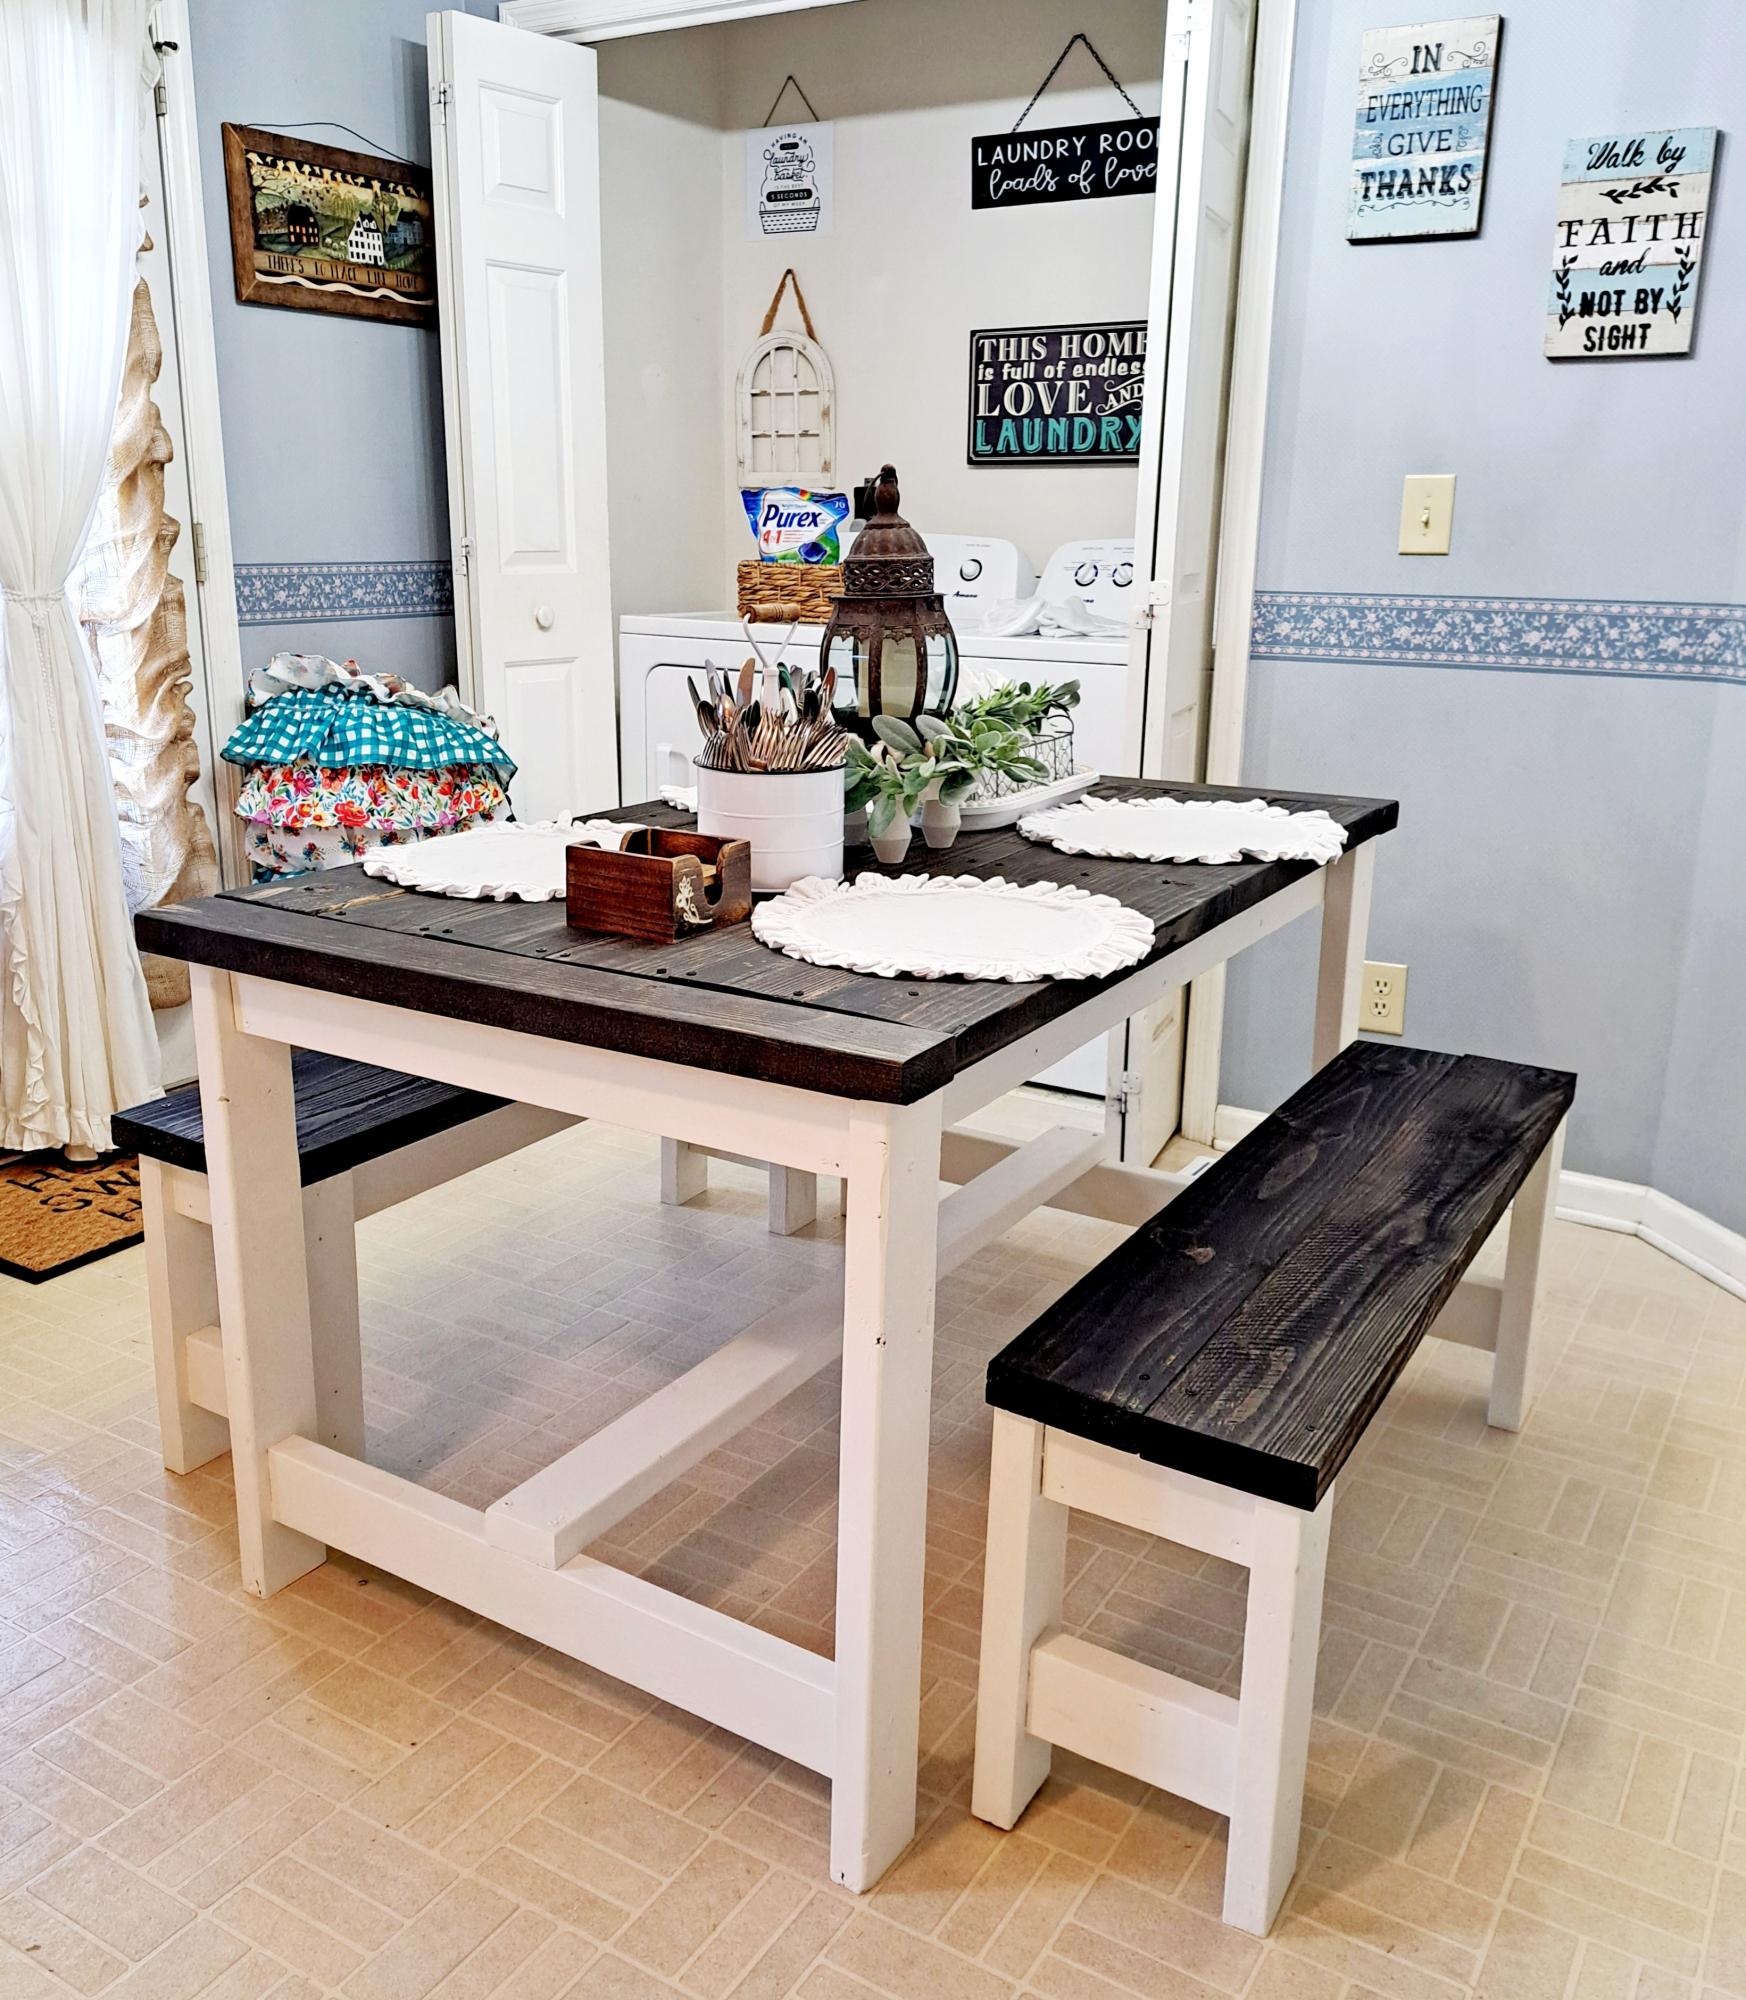
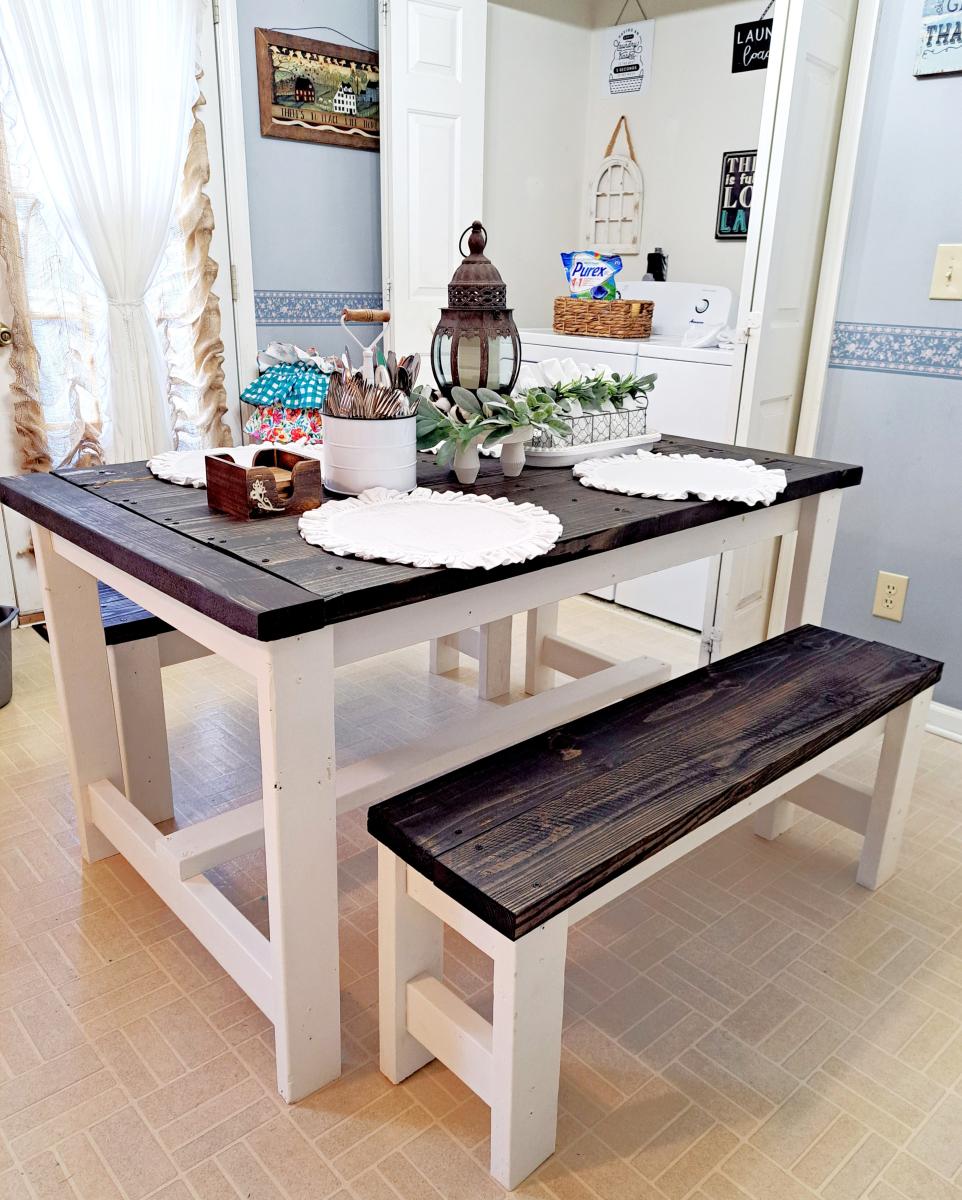
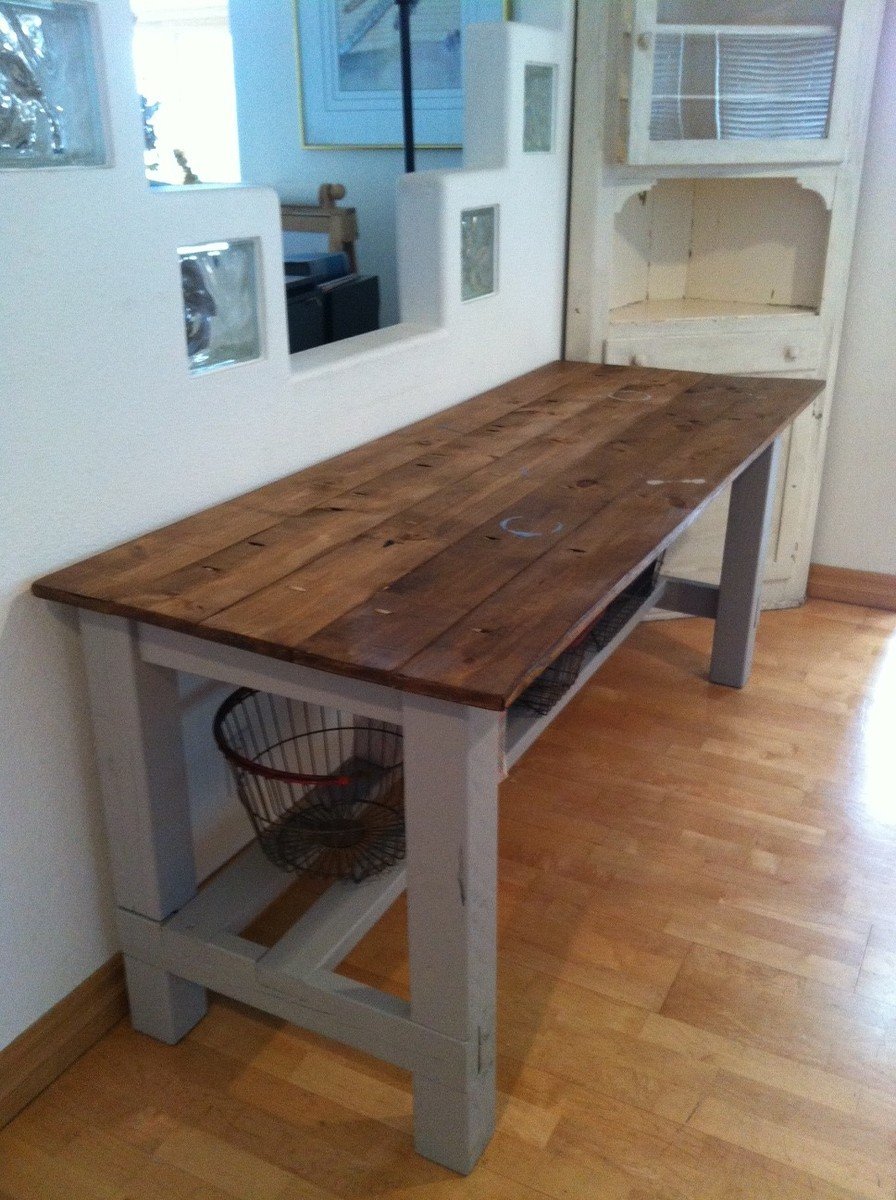
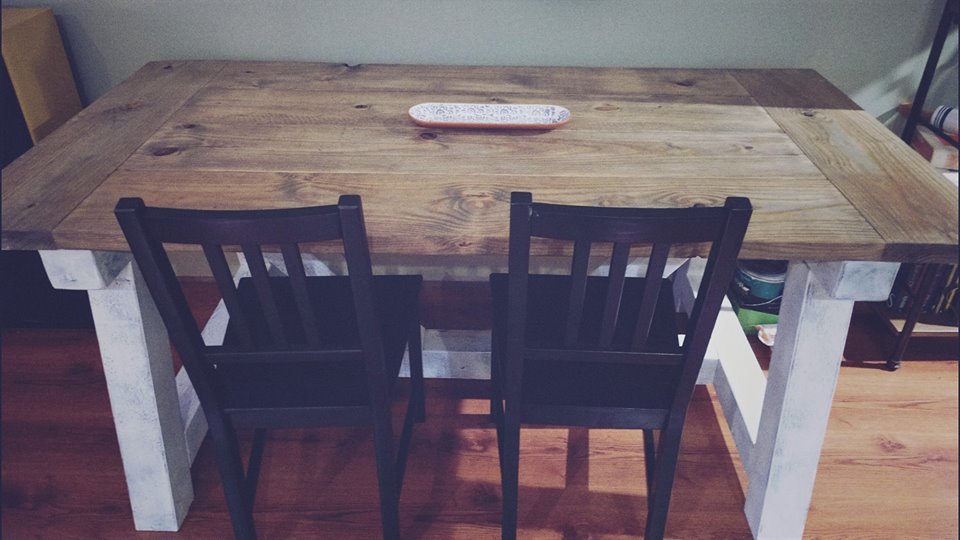
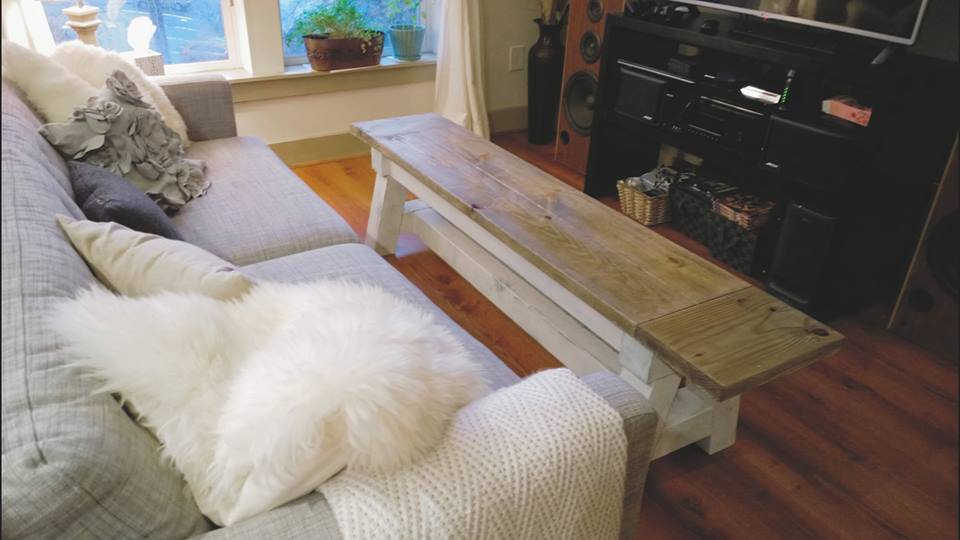
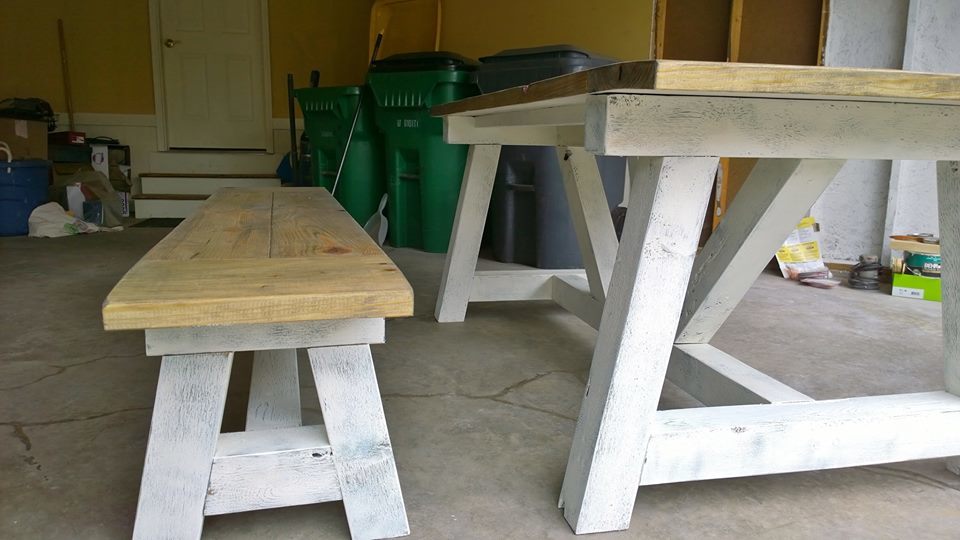
This was my husband and I's first furniture building exercise. We've been looking at farm tables but the prices were astronomical ($500 to 1,000+)! So, we came across this plan and thought maybe we could do it. And we did!
It took us about a weekend...we have two kids - ages 3 and 6...so we have frequent interruptions...including my daughter spilling my brand new quart of paint...so another trip to Home Depot.
We made some alterations to the plans...to fit our needs.
List of Alterations:
- Moved apron back (and would move it back more if I built again) 1" further.
- Added another stretcher on the bottom so that we could put a shelf there. We will probably add wood to the shelf in the future. Another blogger used a free pallet that he took apart. Seems like a good idea. Also moved the stretchers toward the back so that stools can sit under the table and be out of the way. Our table (as seen in the pictures) is up against a wall...so it made sense.
- Didn't add breadboard - the look was too finished for us.
- Used 1", 2x6 pine boards for two reasons - 1) liked the thinner material. 2) needed a smaller table than then 2x8's would let me do.
Tools:
We did have to buy tools to accomplish this project. My husband has a lot but obviously not enough.
- Purchased a table top miter saw - Harbor Freight - $89 on sale. Our circular saw just wasn't powerful enough (battery operated) and too hard to use.
- Purchased the full Kreg Jit (because it has the clamp mechanism) - $99
Thanks for looking!


Wed, 02/20/2013 - 21:37
Lovely! The deliberate stains are a cool feature! Can't wait to see the "real" top.
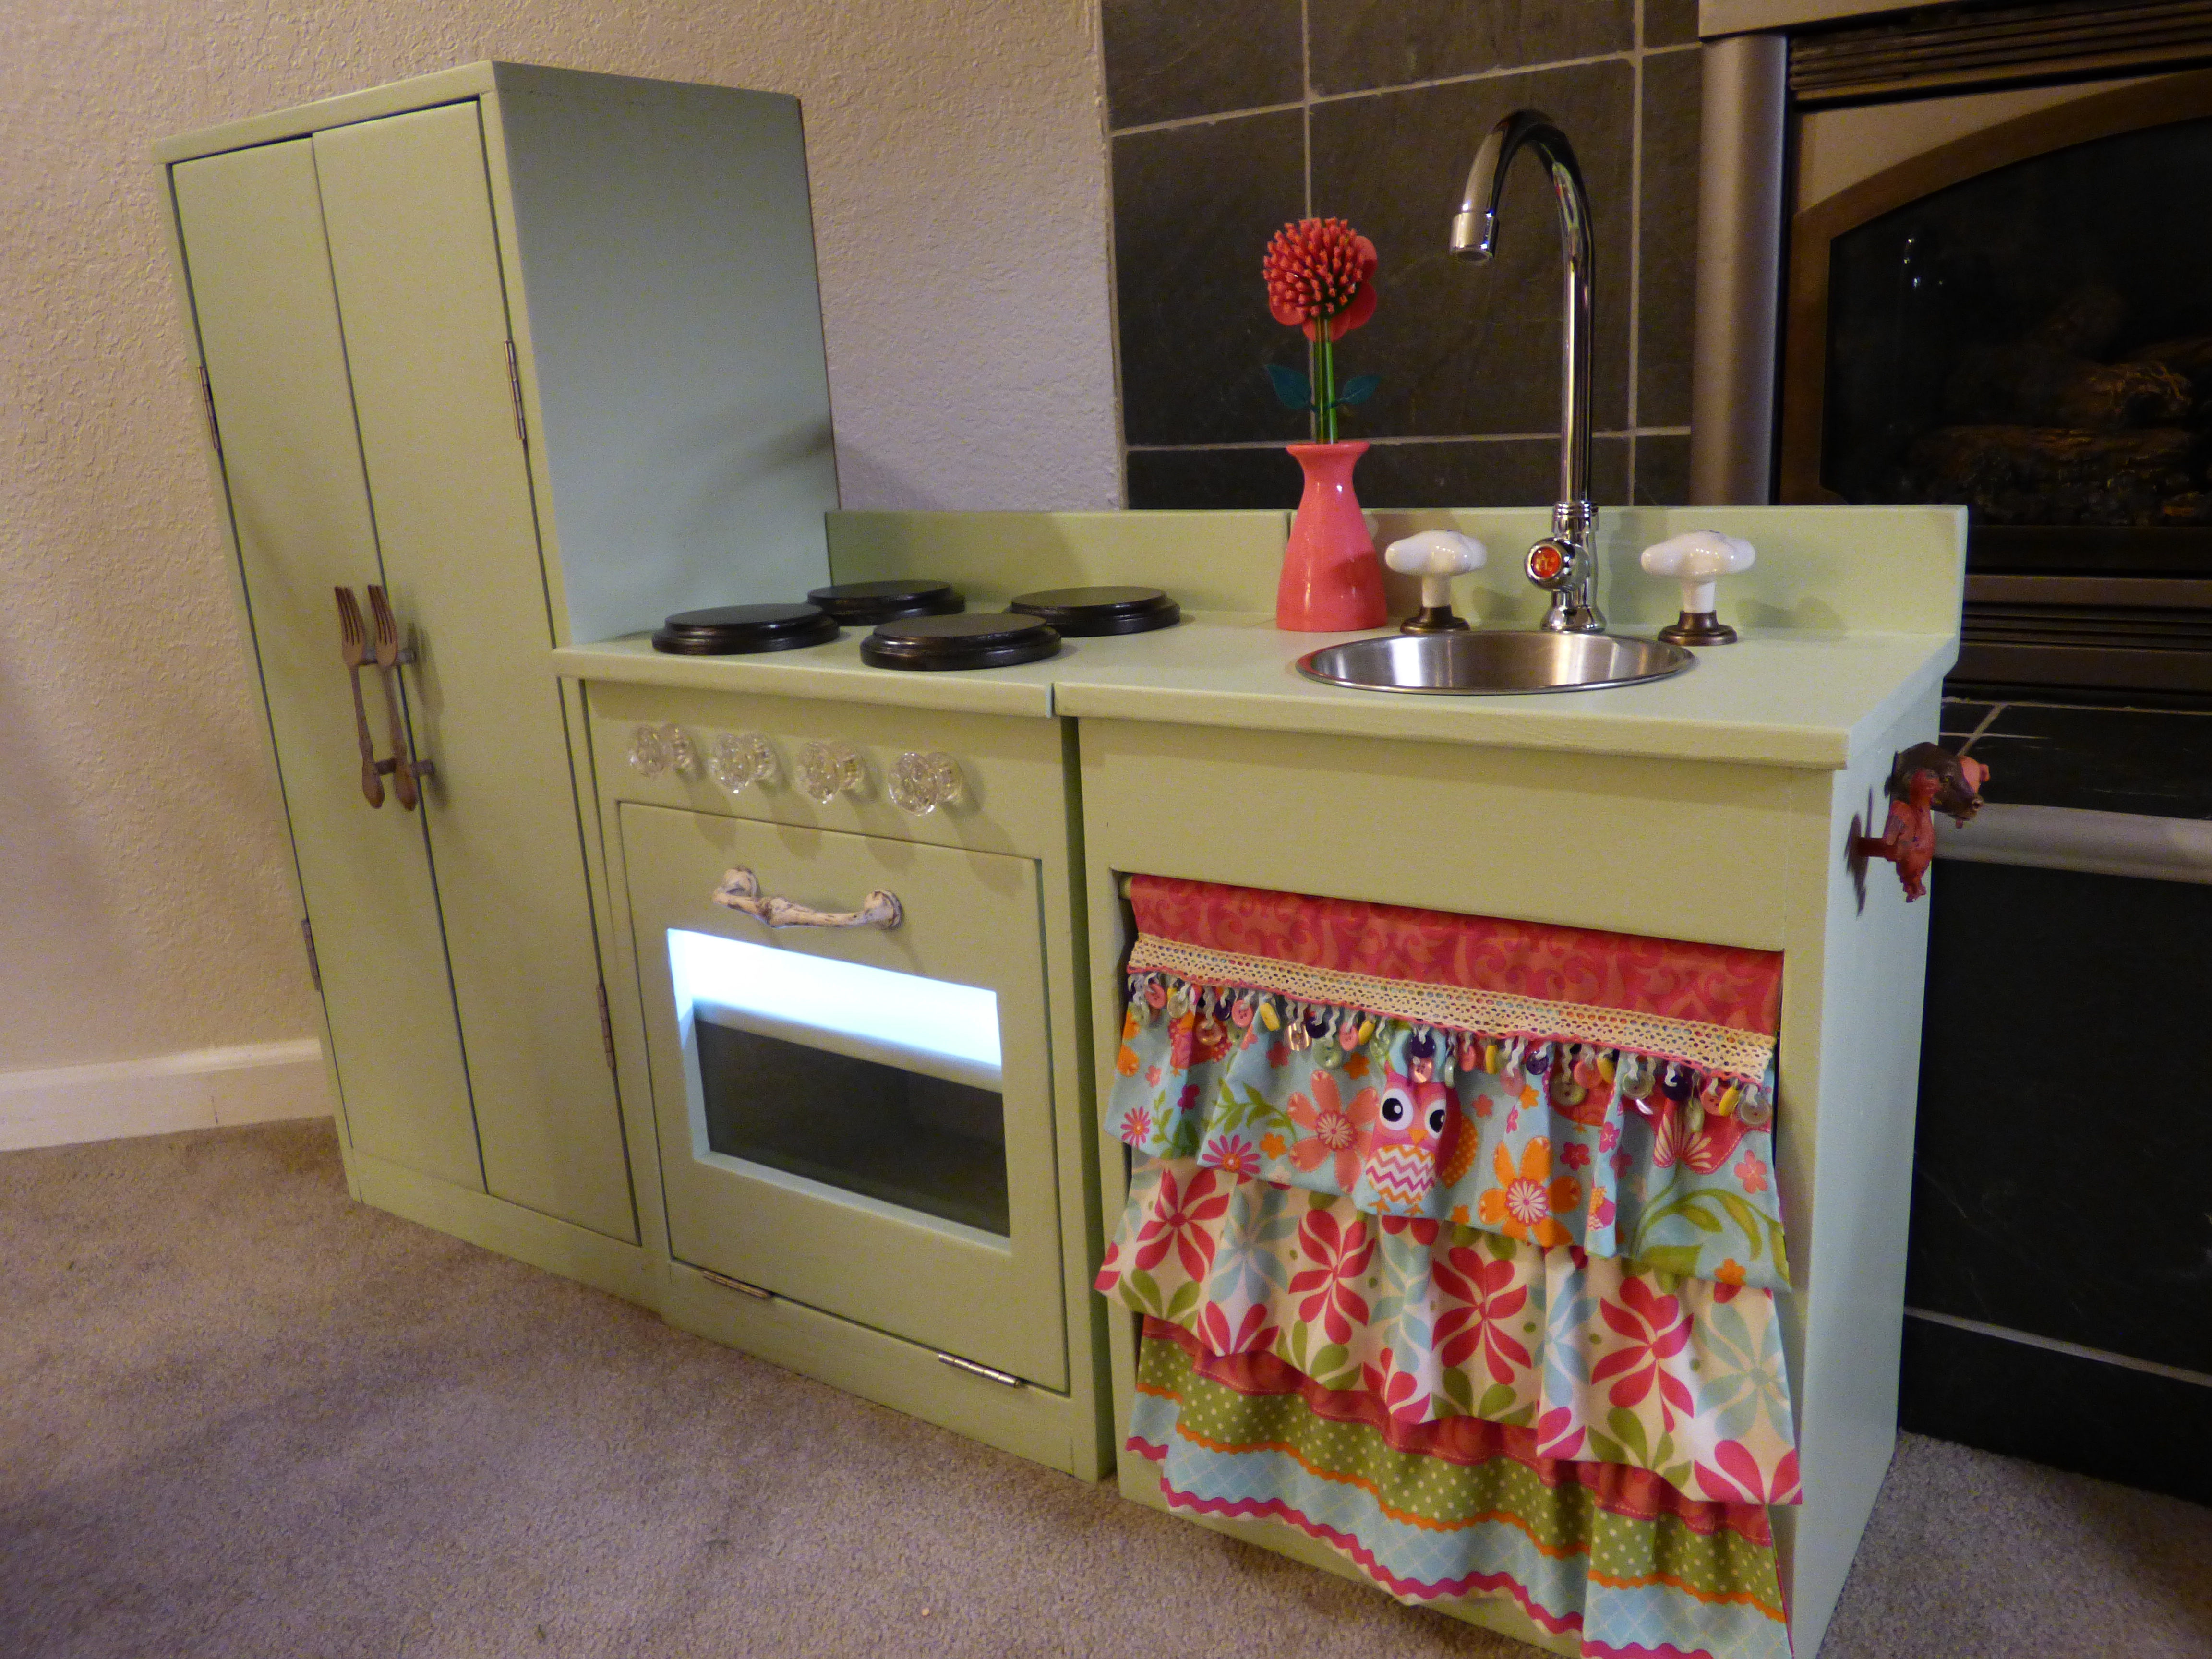
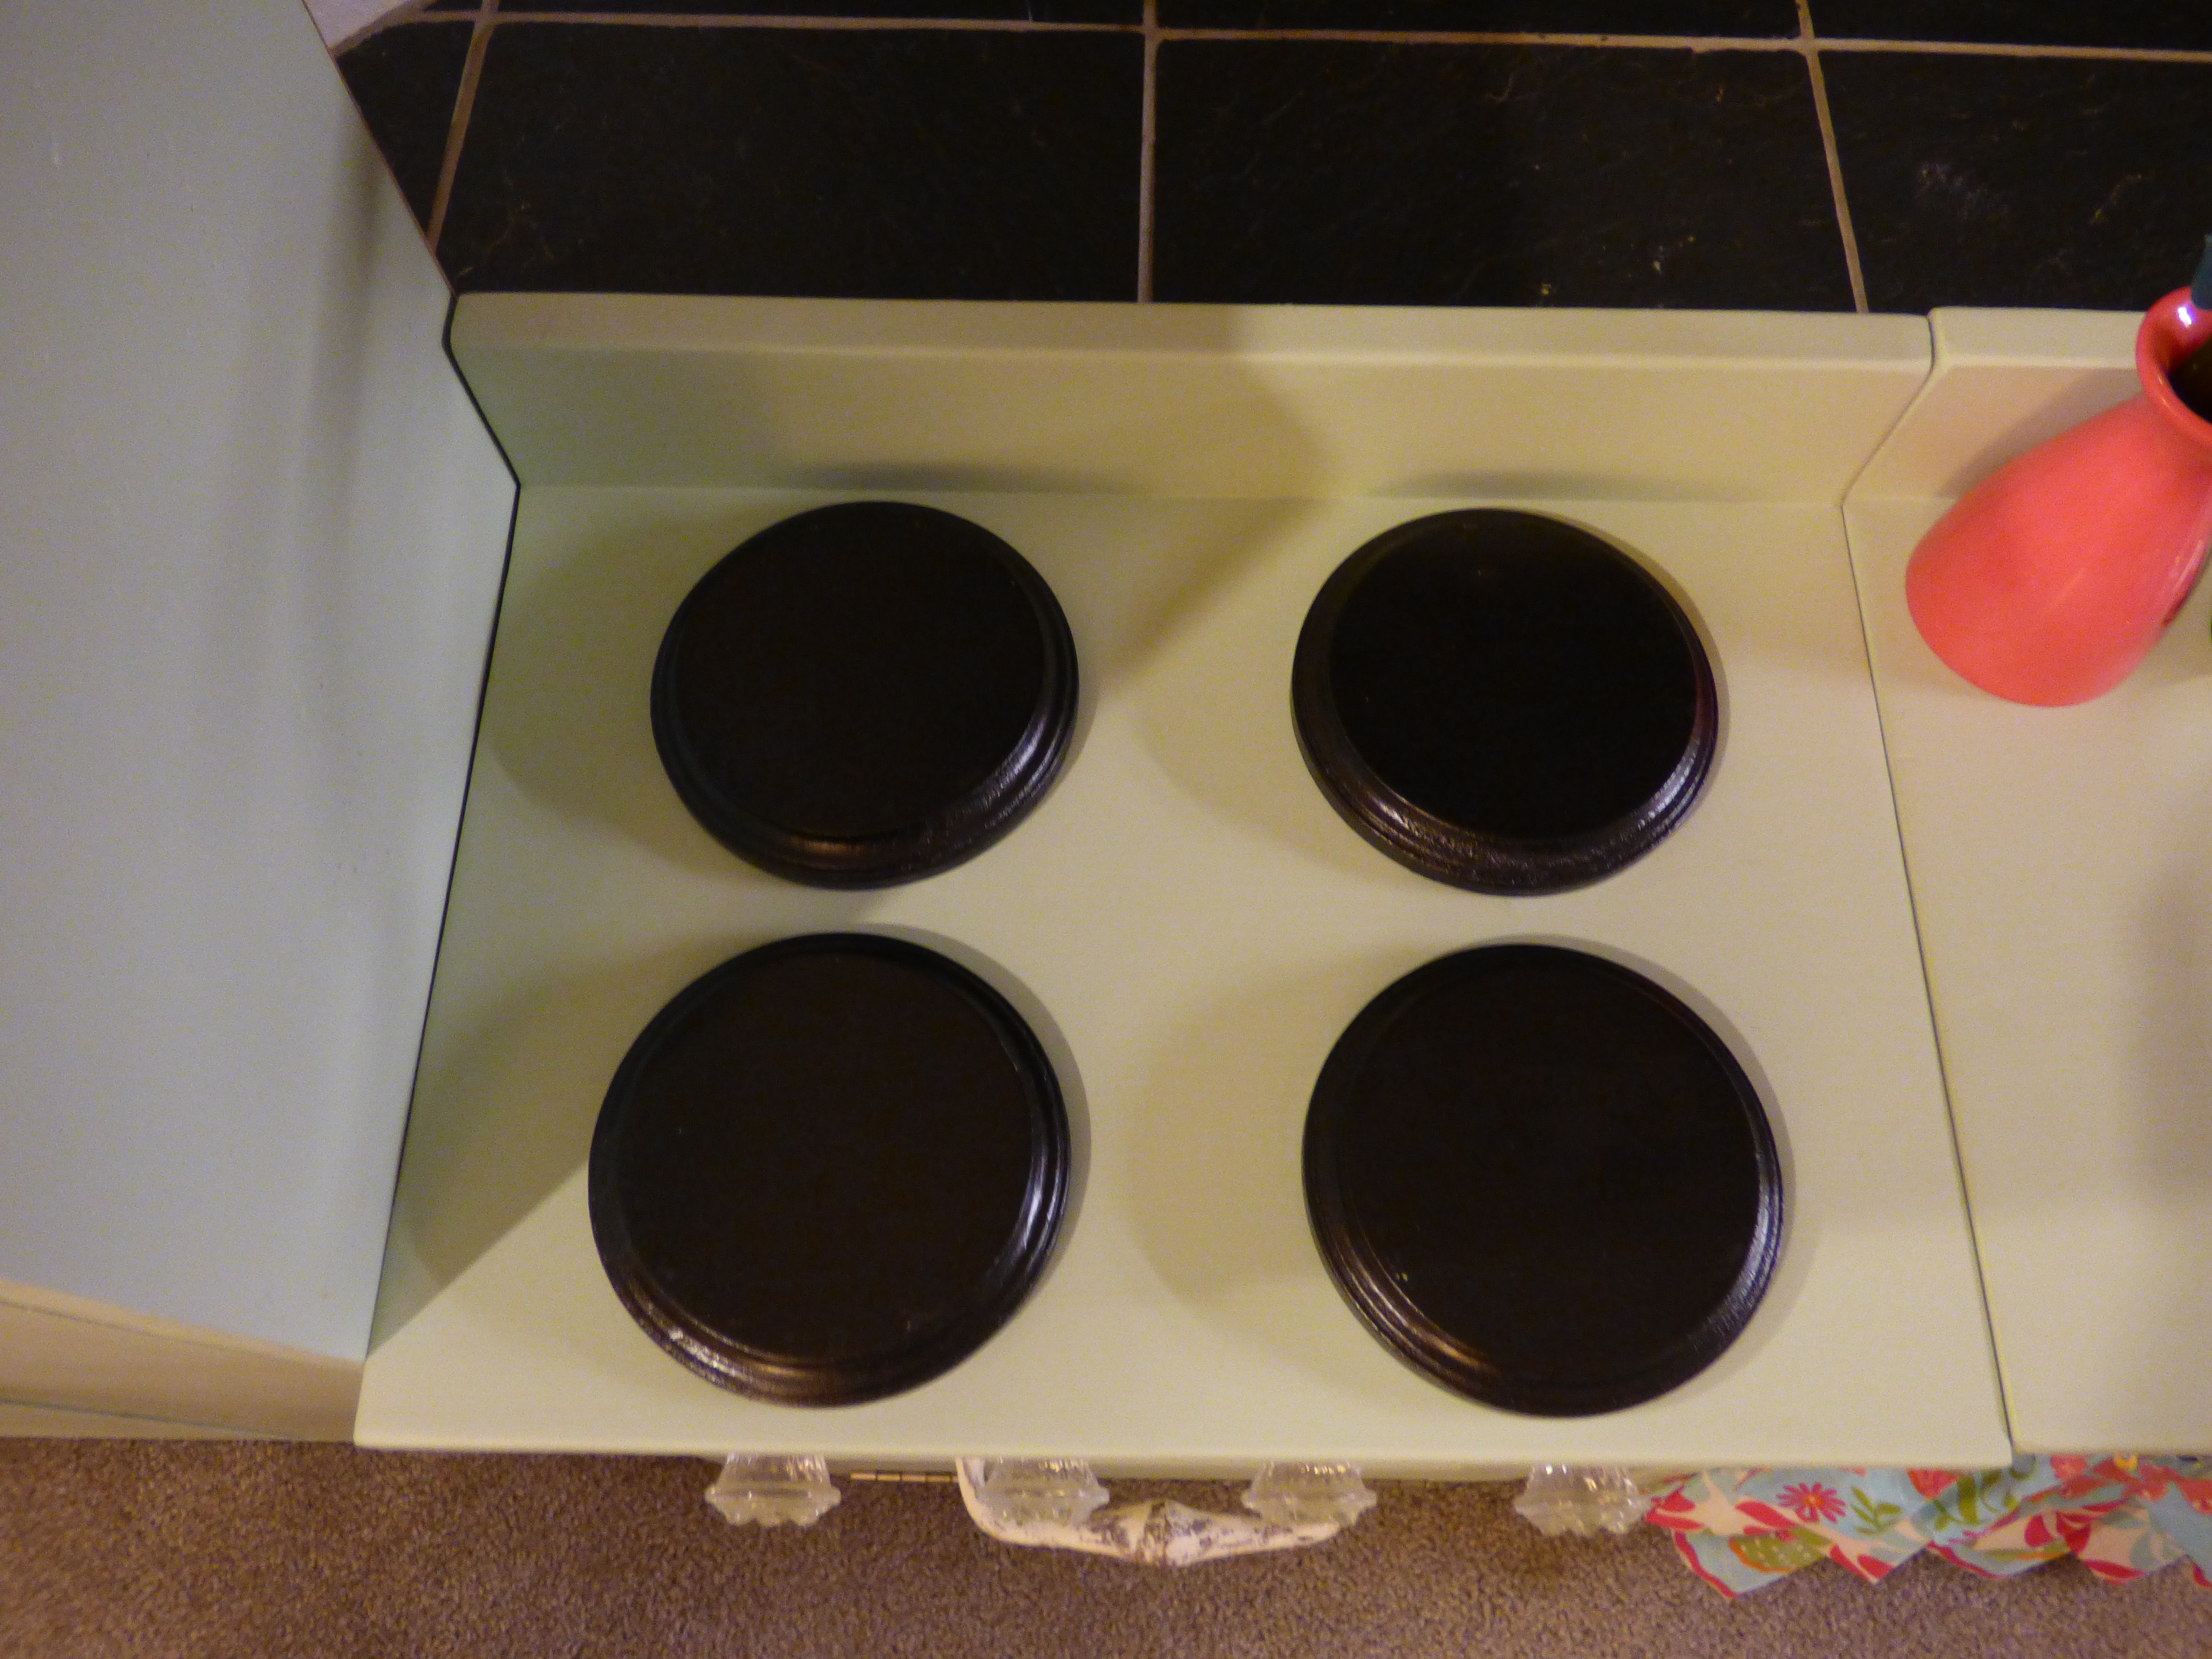
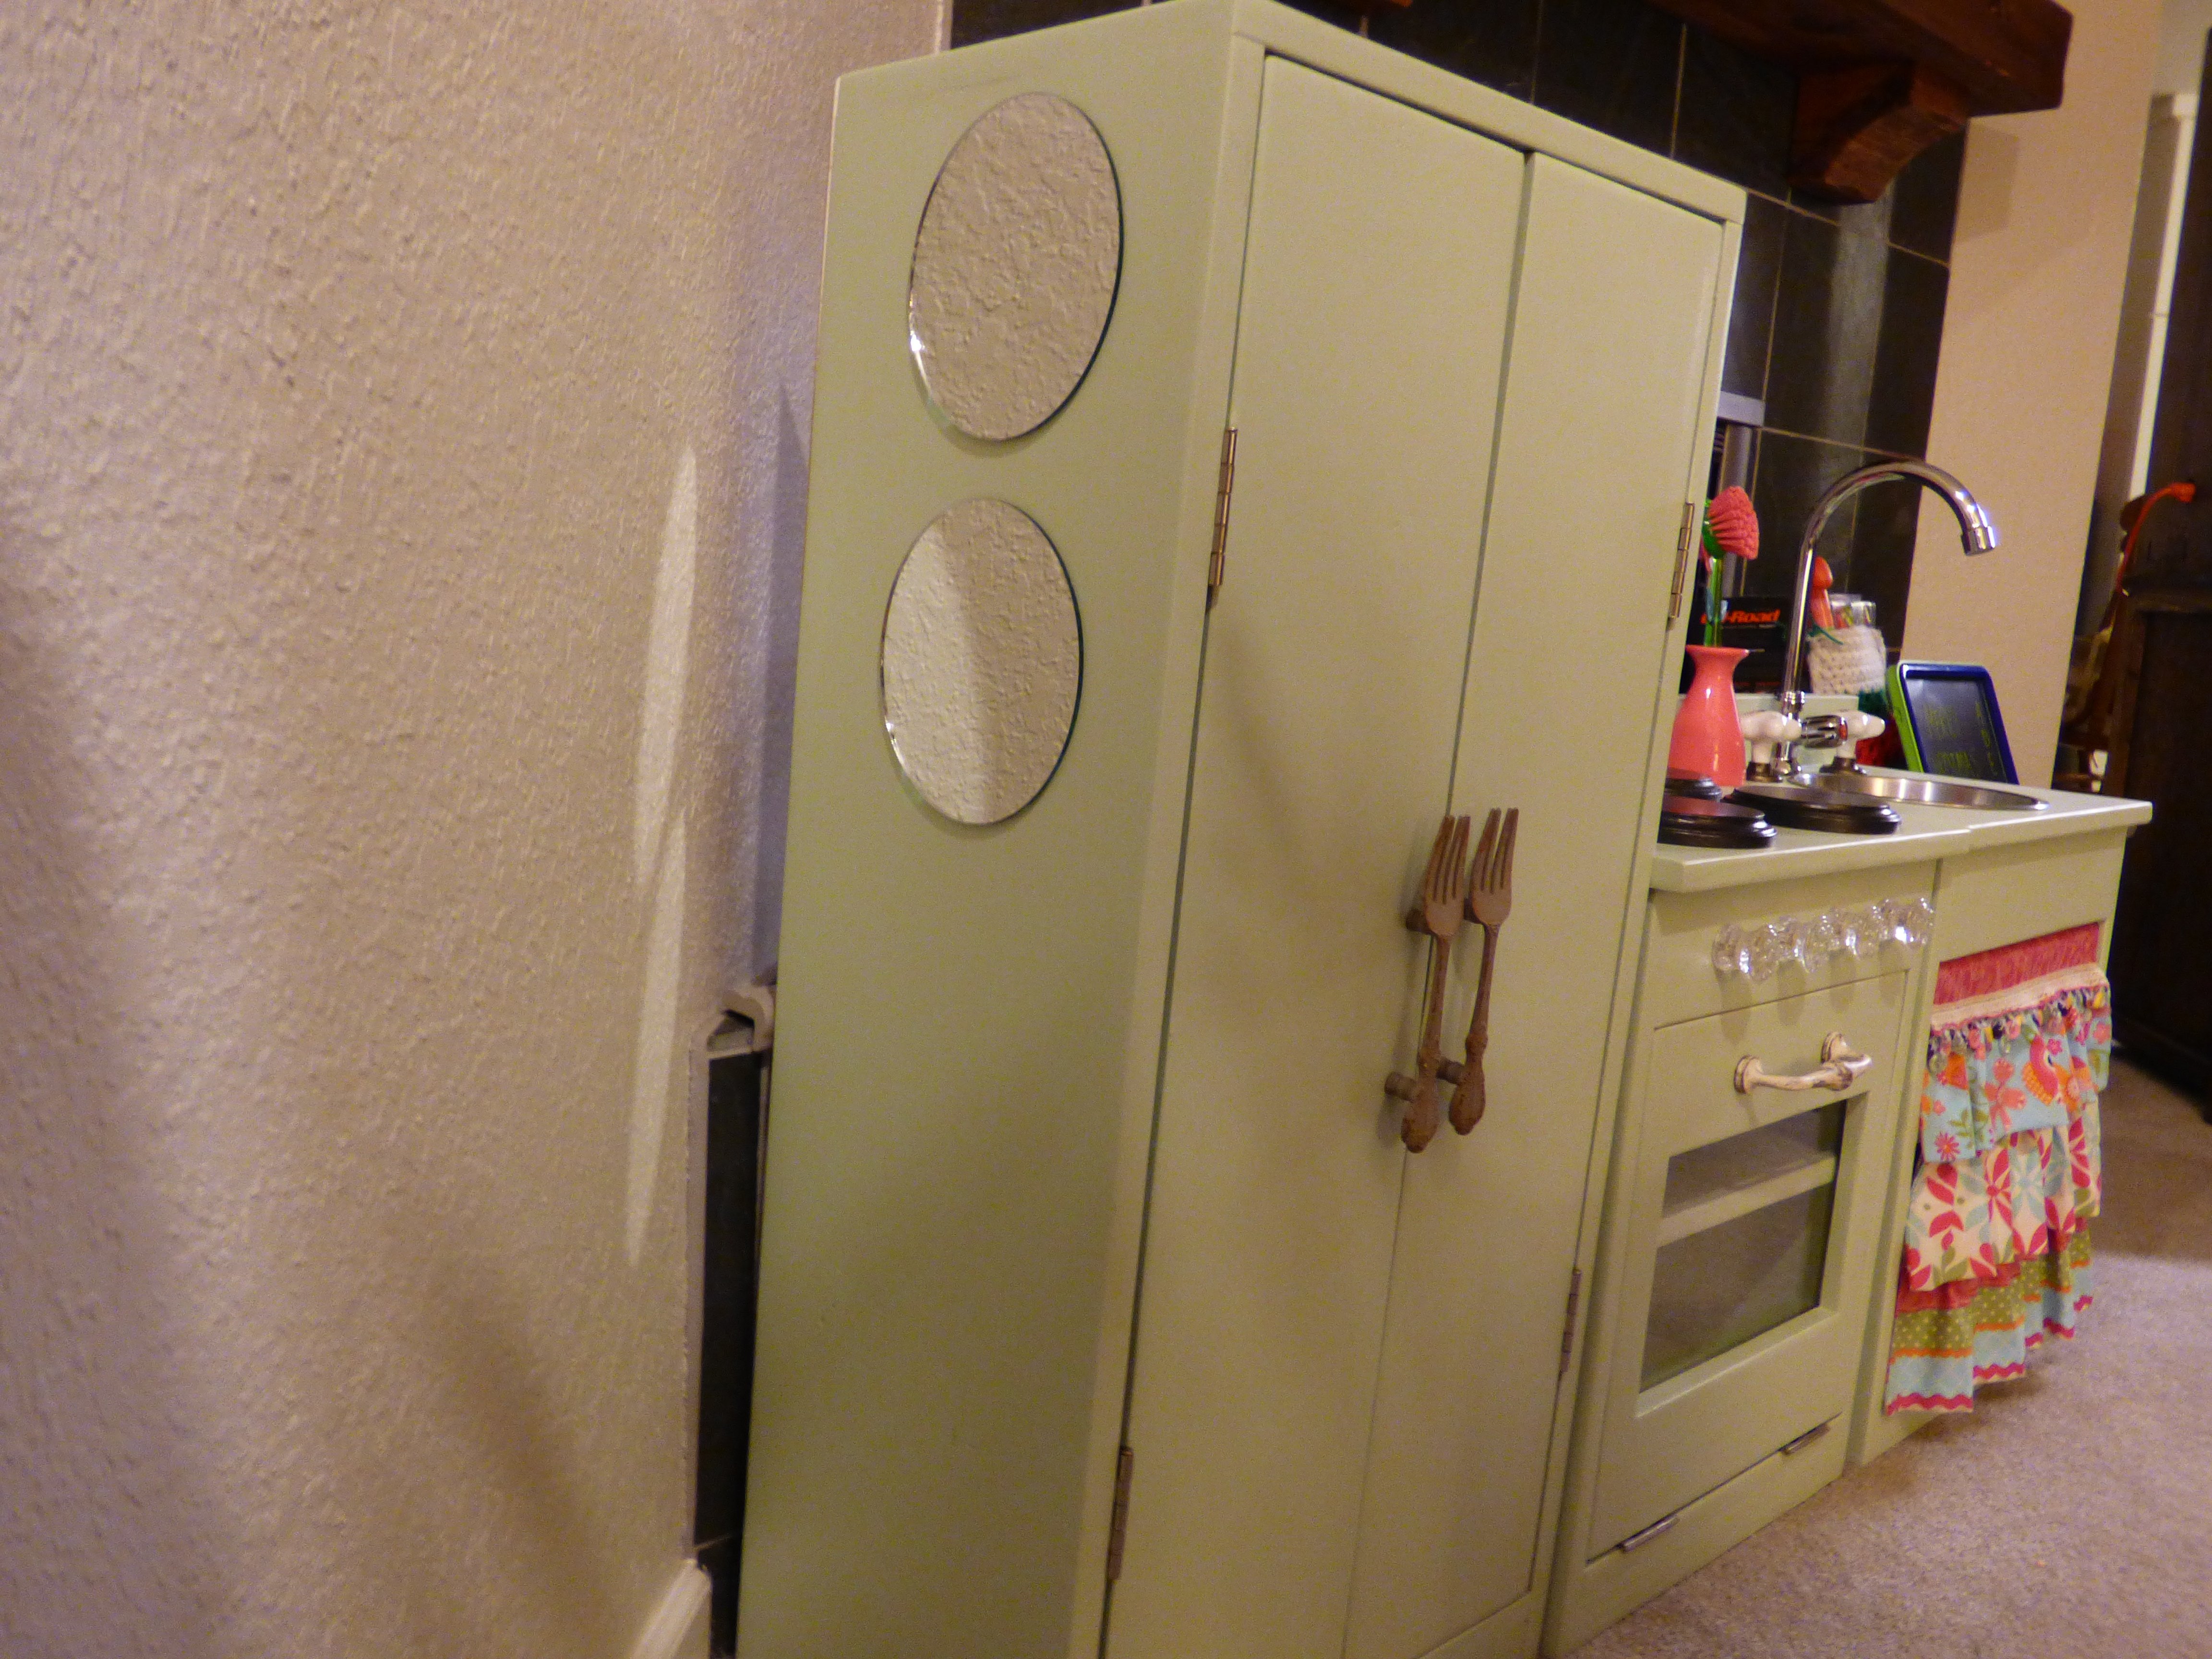
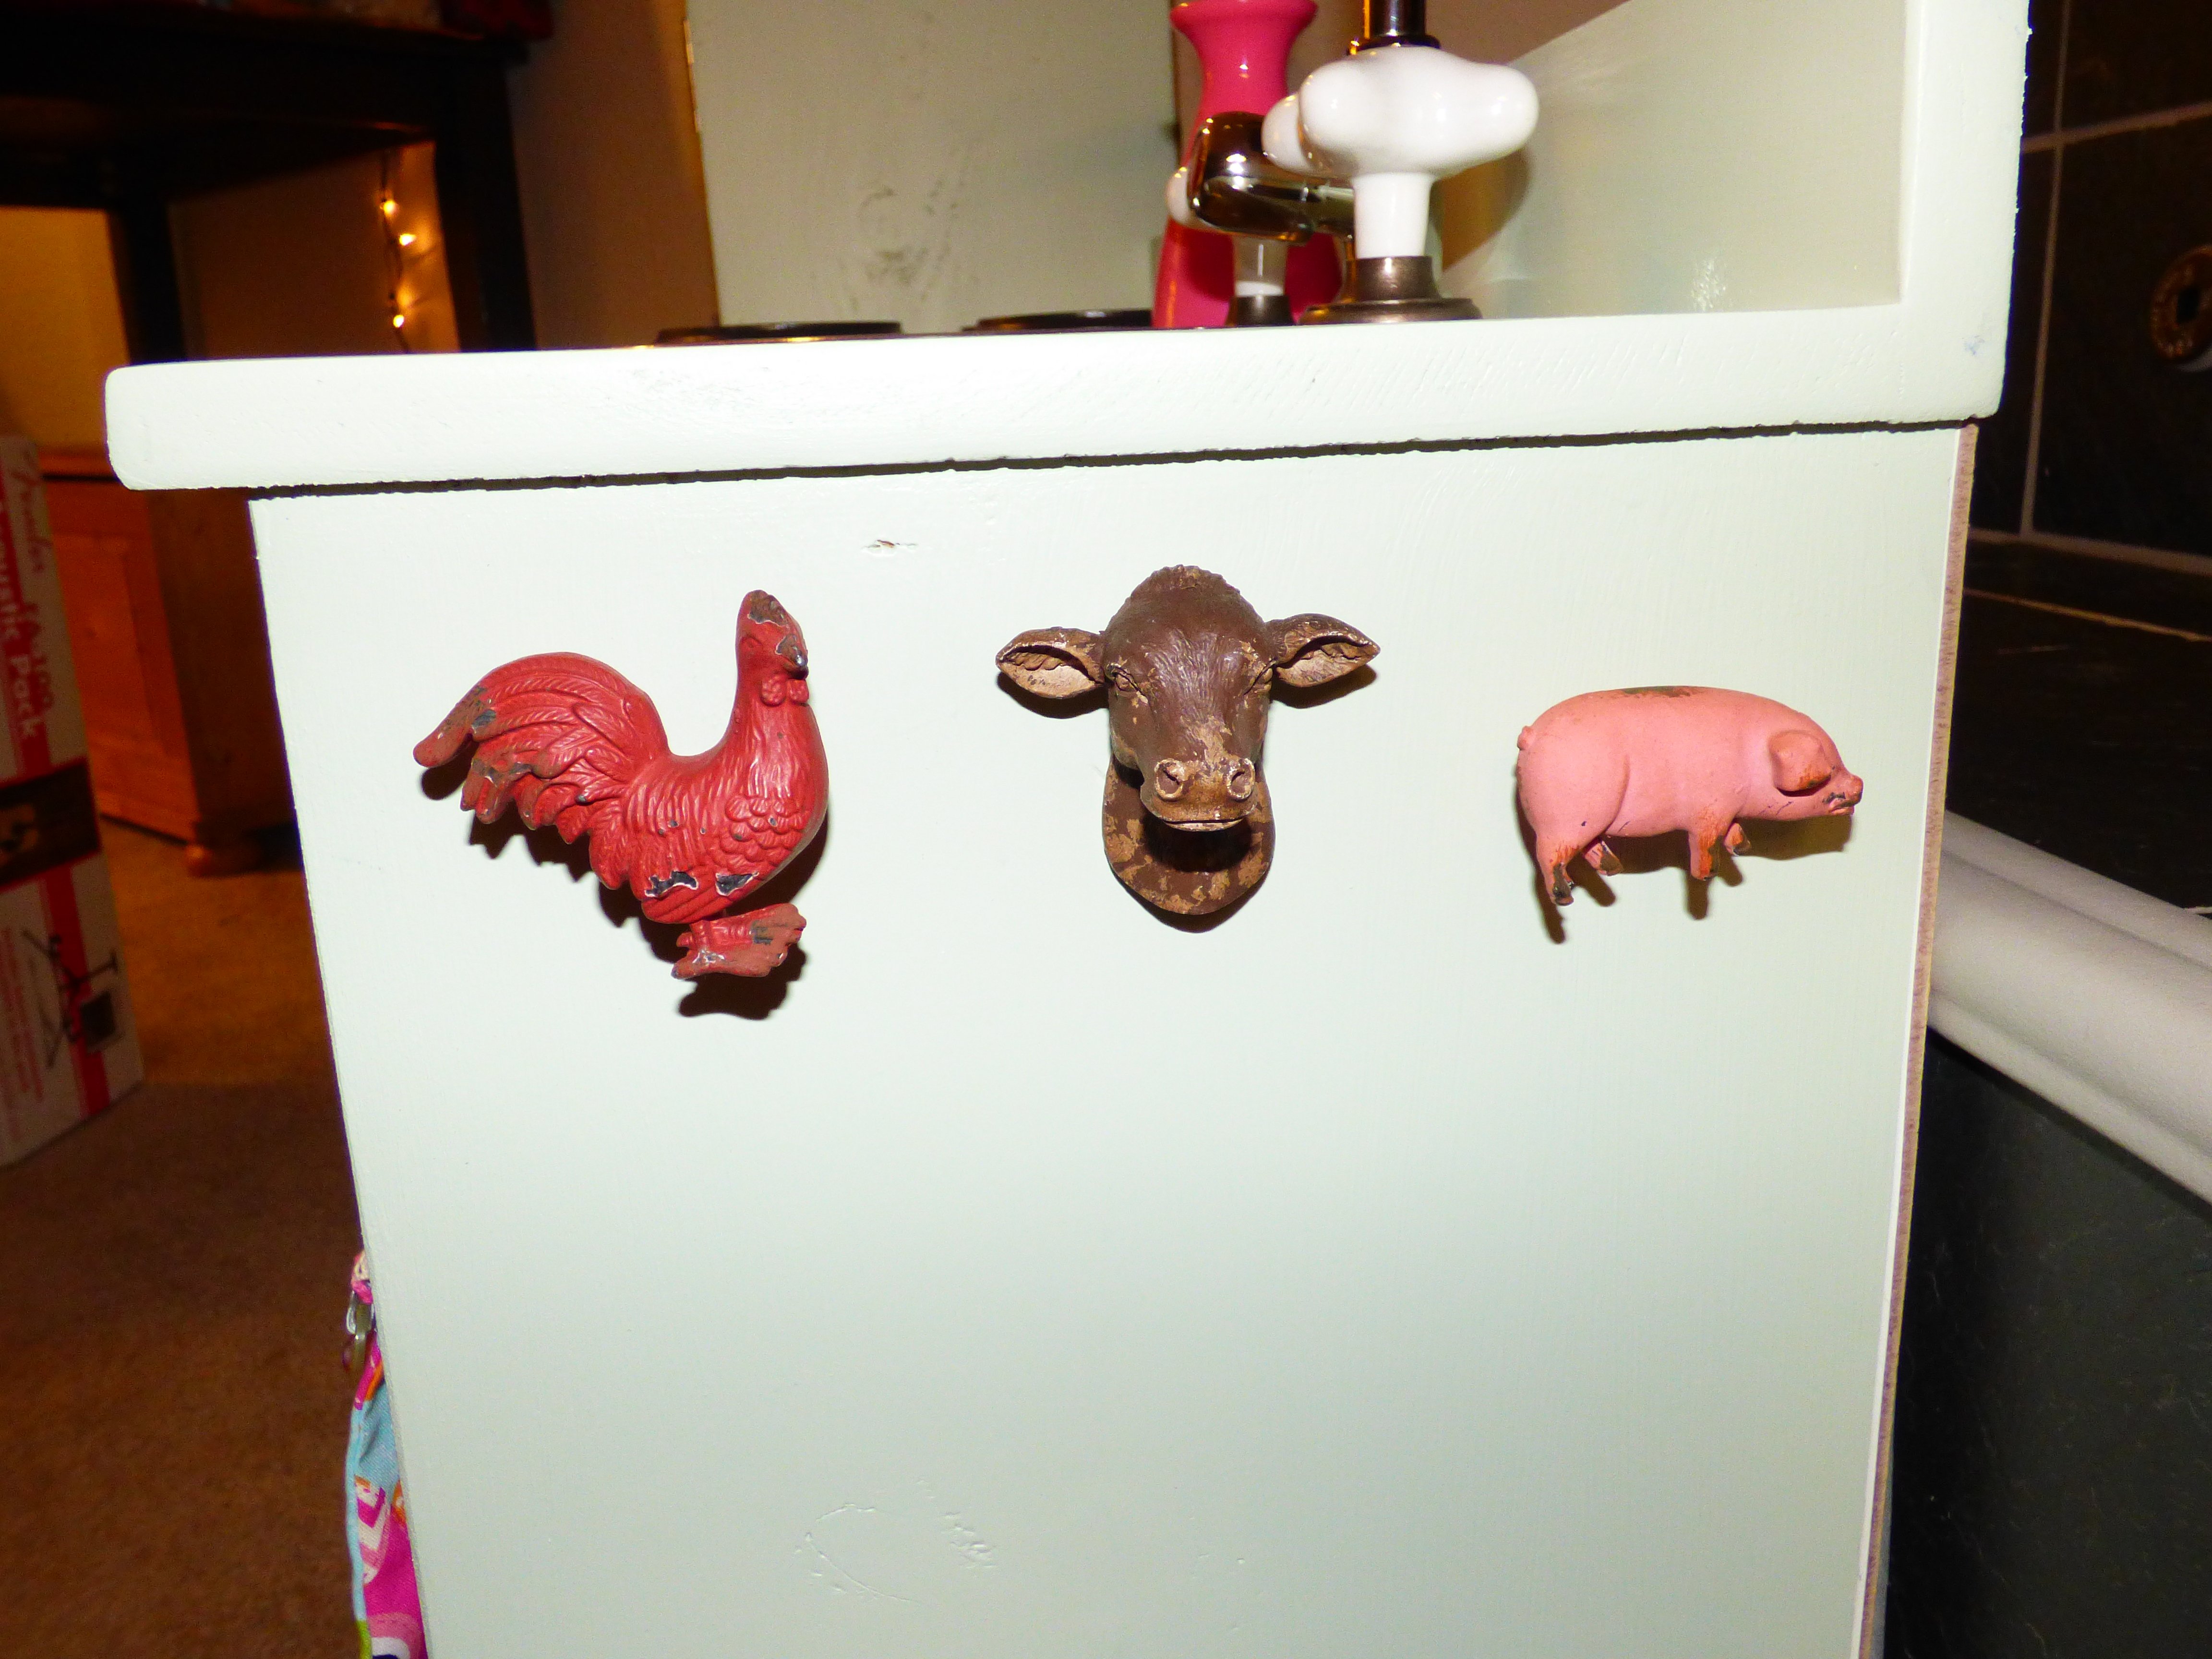
Built out of love for my 3 year old and 1 year old daughters. Christmas morning was awesome! We also bought play kitchen pots and pans from IKEA and a couple of play food sets off of Amazon. Had an old push button led light for closets that is inside the oven. It is on a timer set for 30 seconds so the batteries will not drain too fast.
Great plan & project for the kids.

Mon, 12/29/2014 - 08:19
My wife and mom stitched up the kitchen skirt. Fabric found and Hobby Lobby. Thanks Mom!
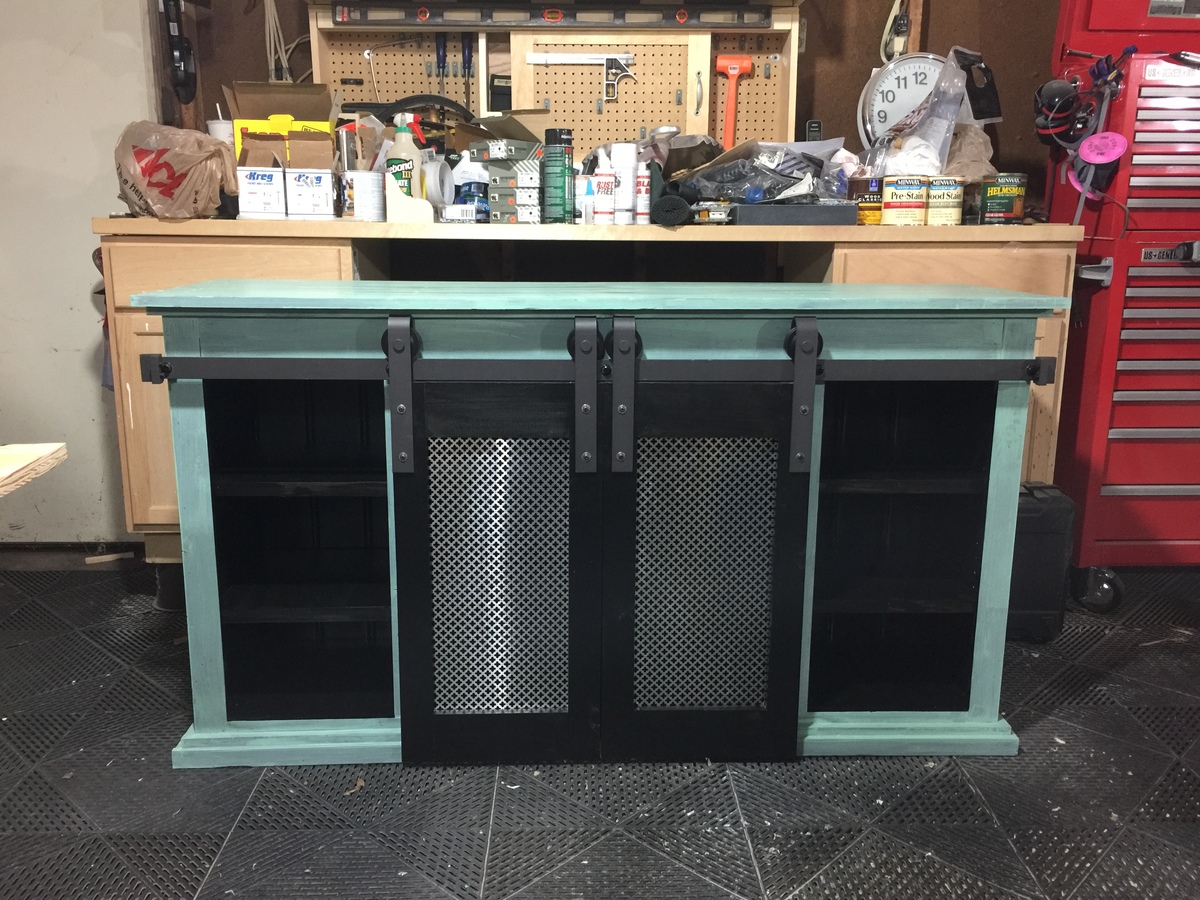
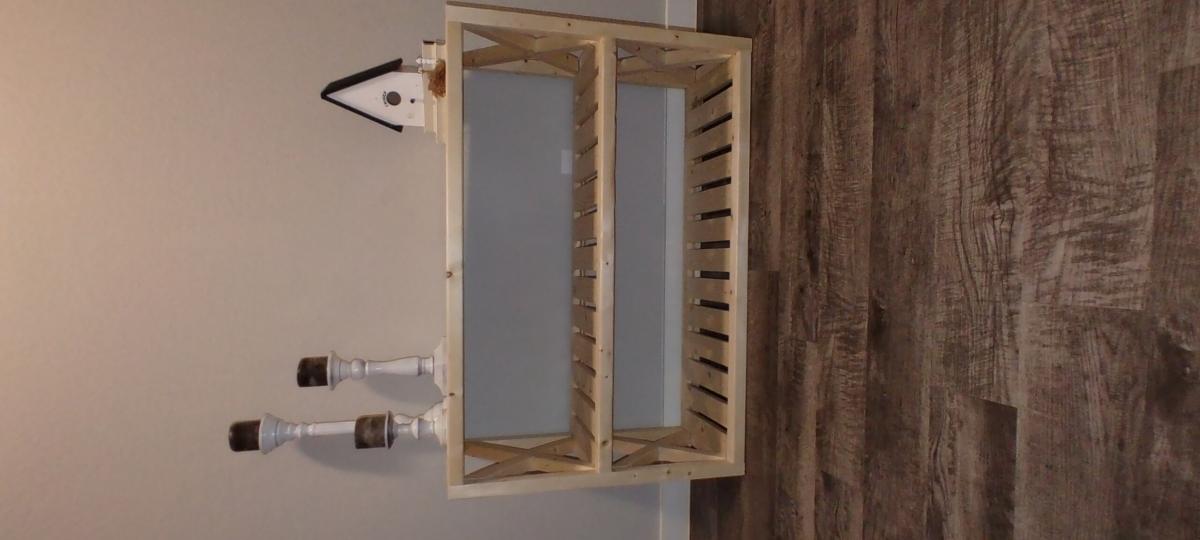
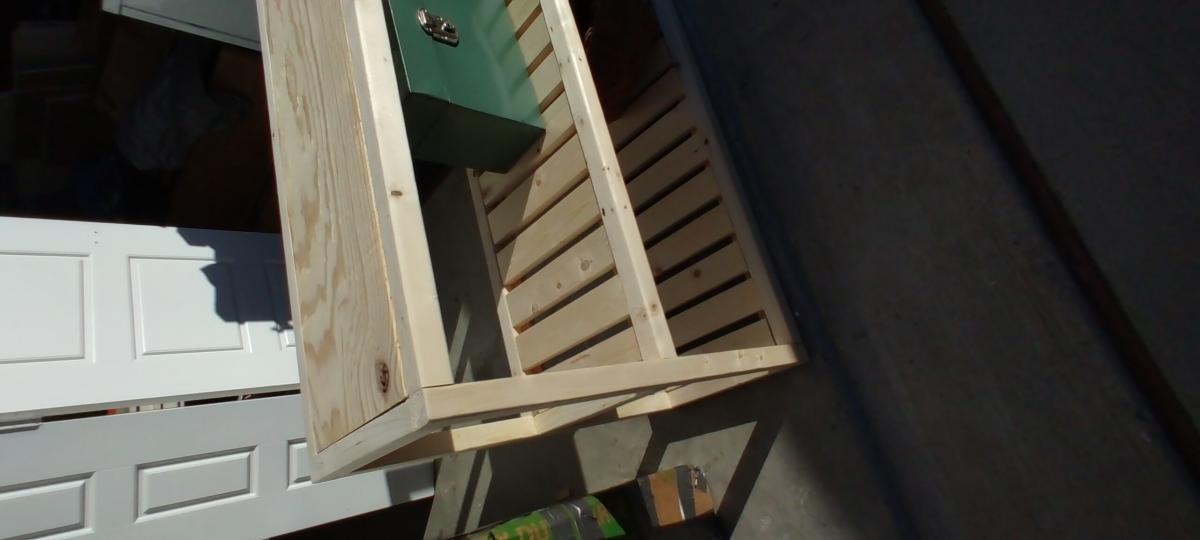
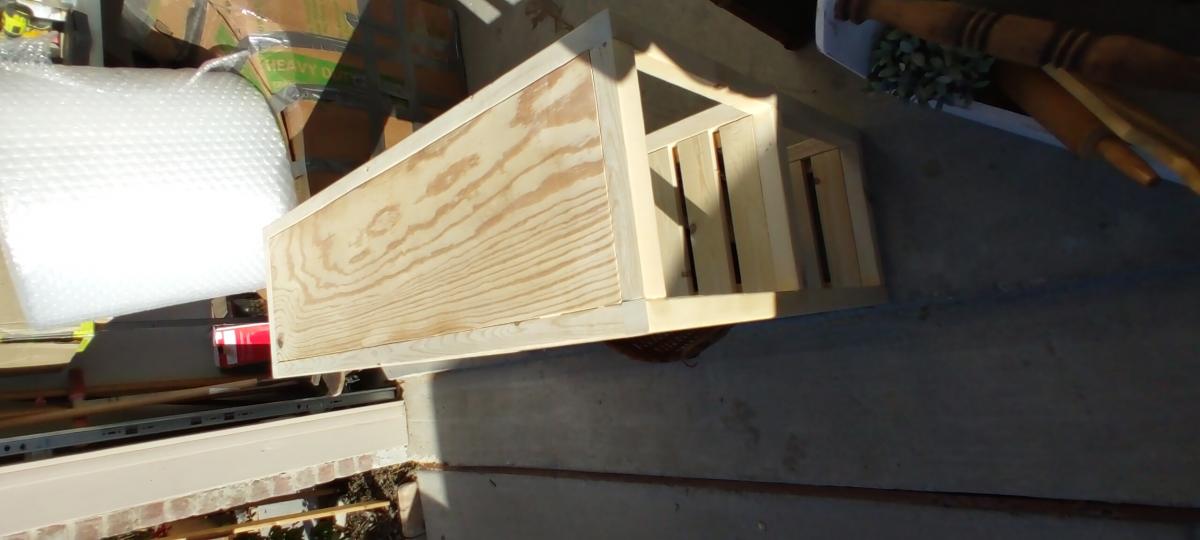
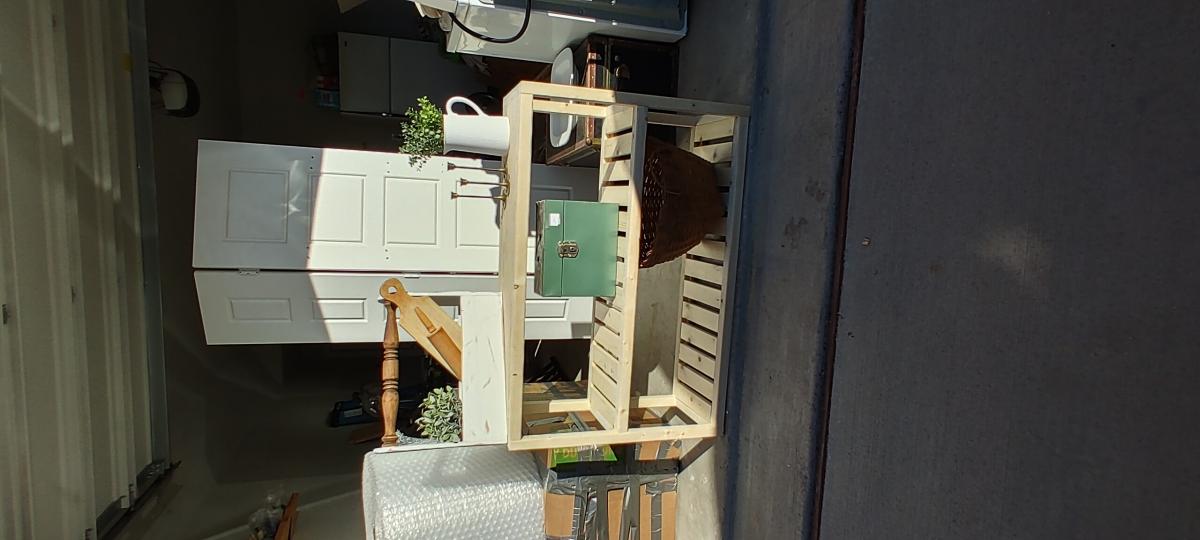
Have always liked sliding door style furniture and once I saw this, I was inspired.

My husband helped with the cutting of the woods :)
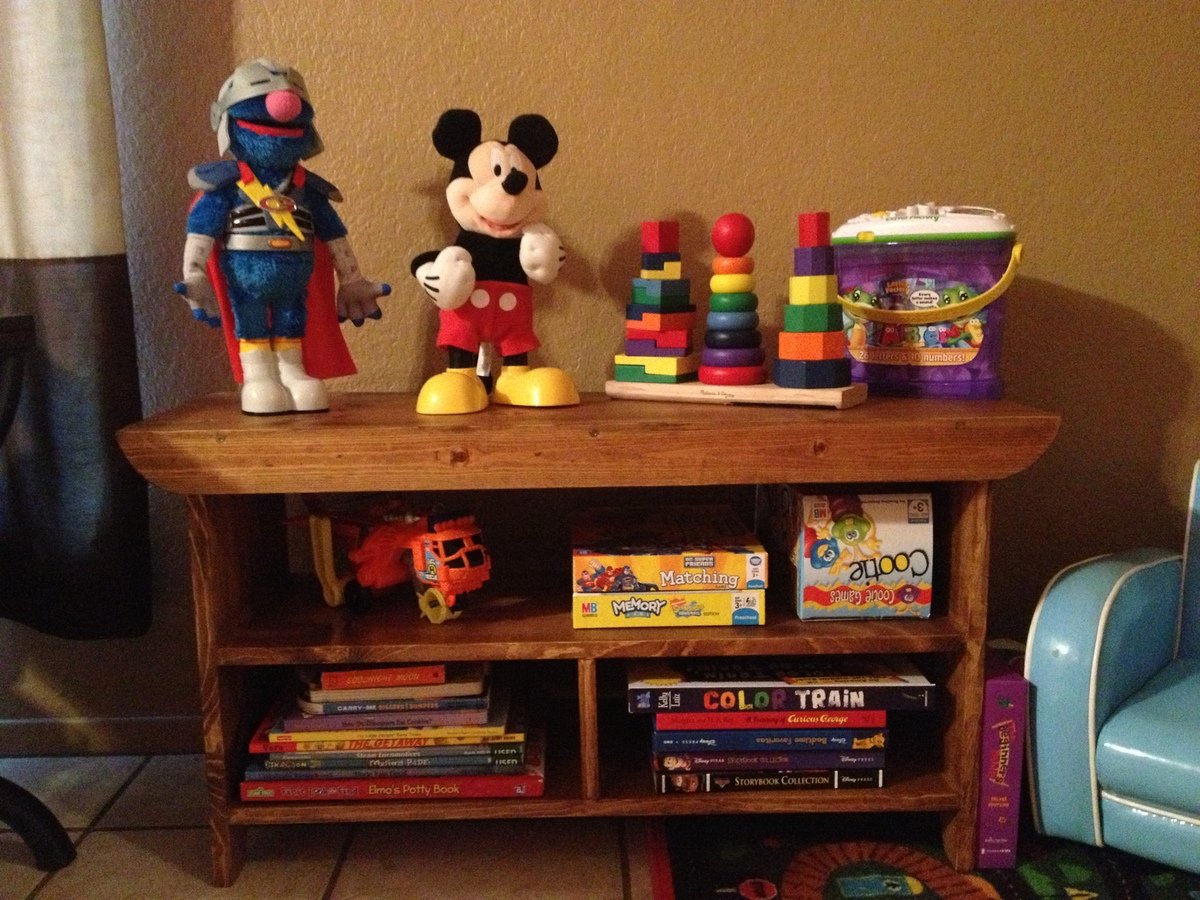
I built this Kid's Country Bench for my son's play corner in my living room. It was so easy! The hardest part about it was waiting for the finish to dry lol. My 3 year old was able to help with a few things and he absolutely loves it! Thank you so much Ana!
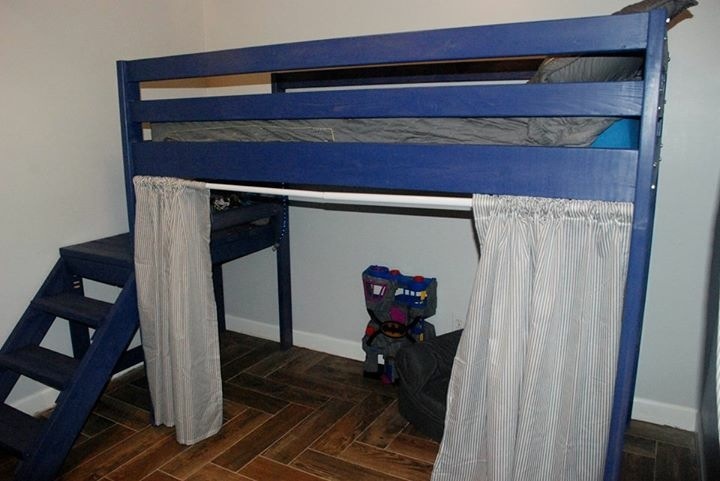
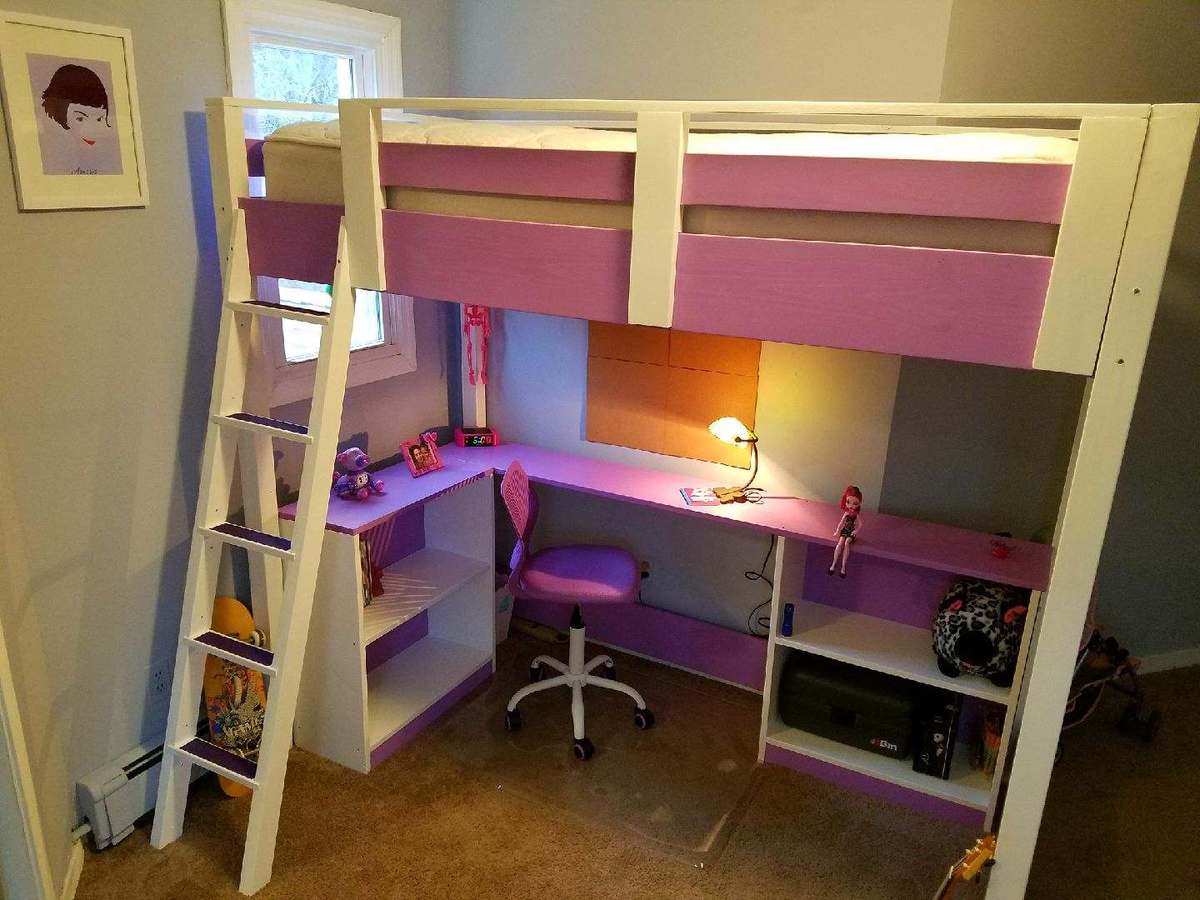
Perfect for our 5 year old! He's too scared to climb Big brother's scary bunk bed ladder. This one is much more to his liking!
My husband is going to be busy now that we've discovered you Ana White!
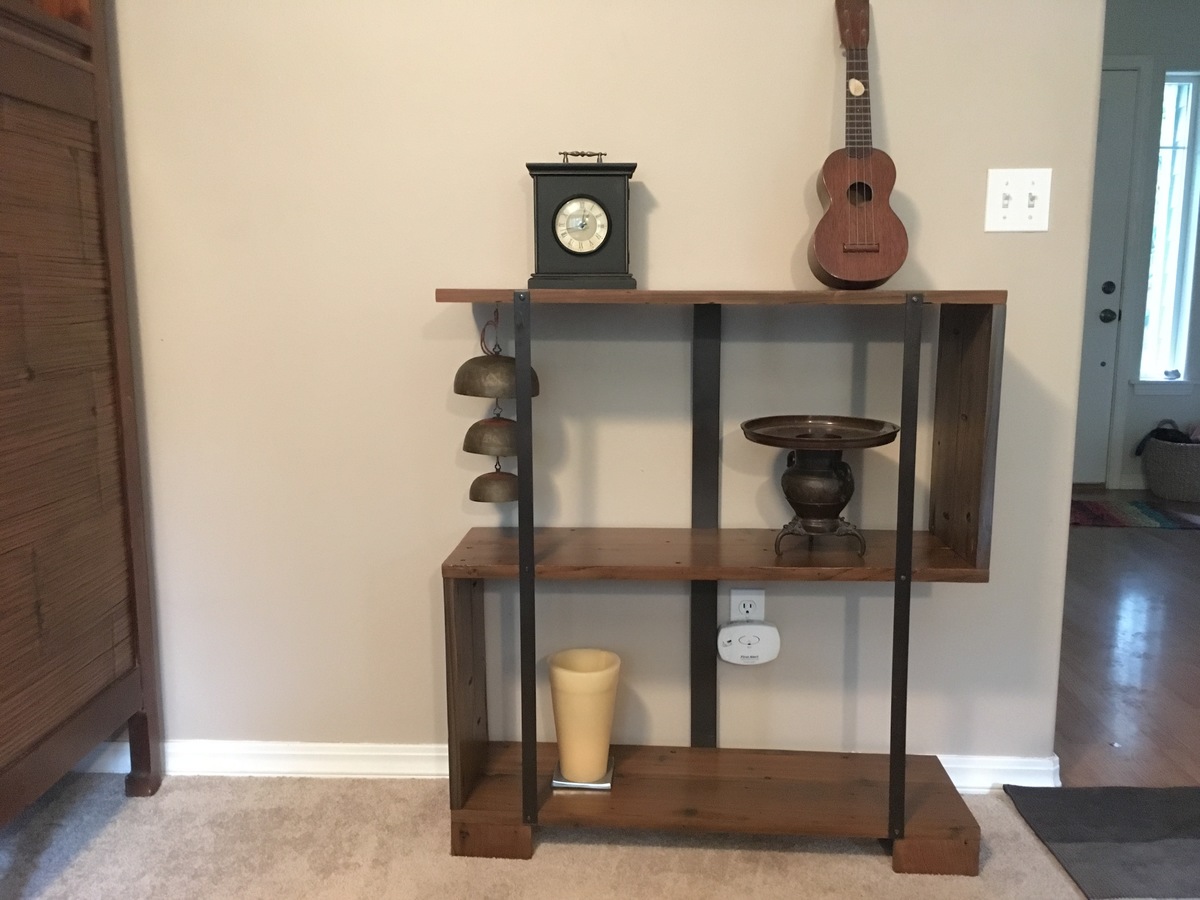
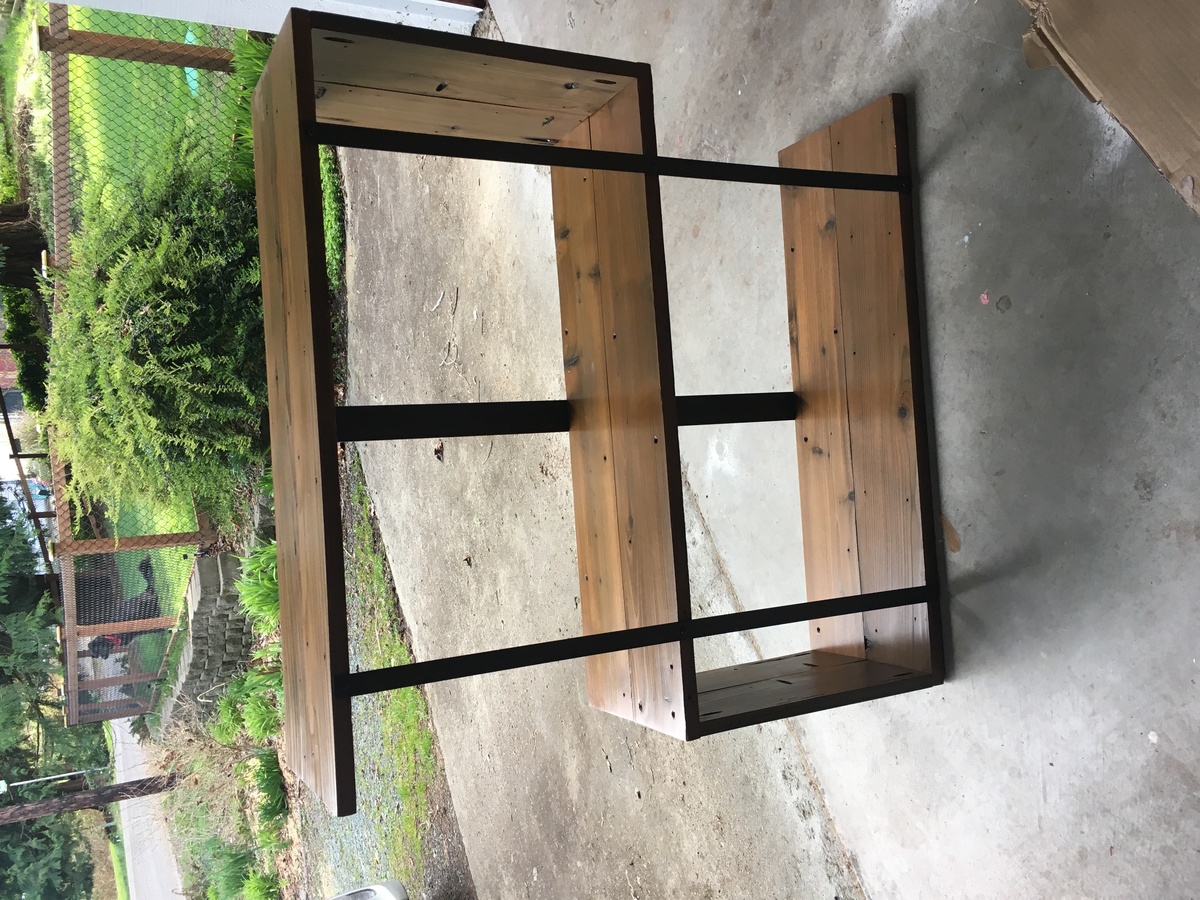
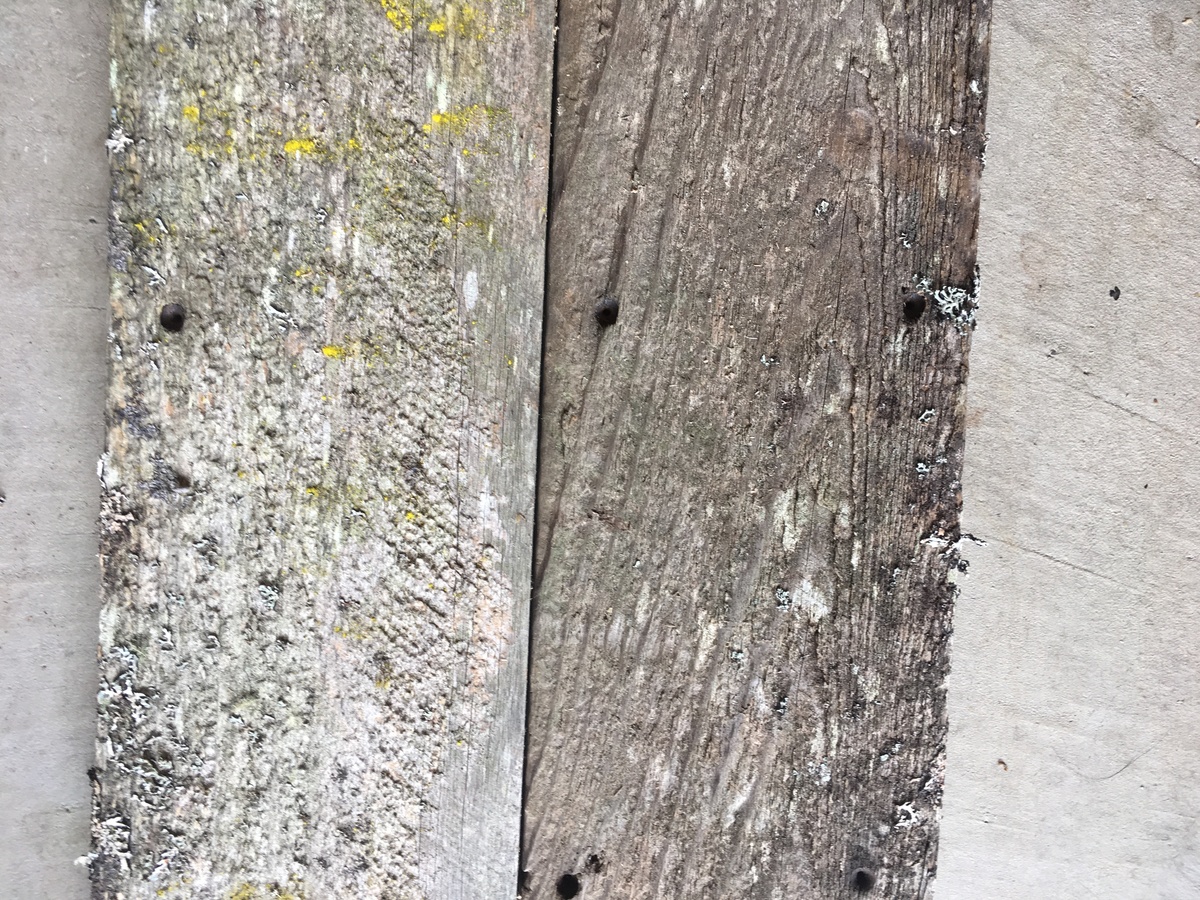
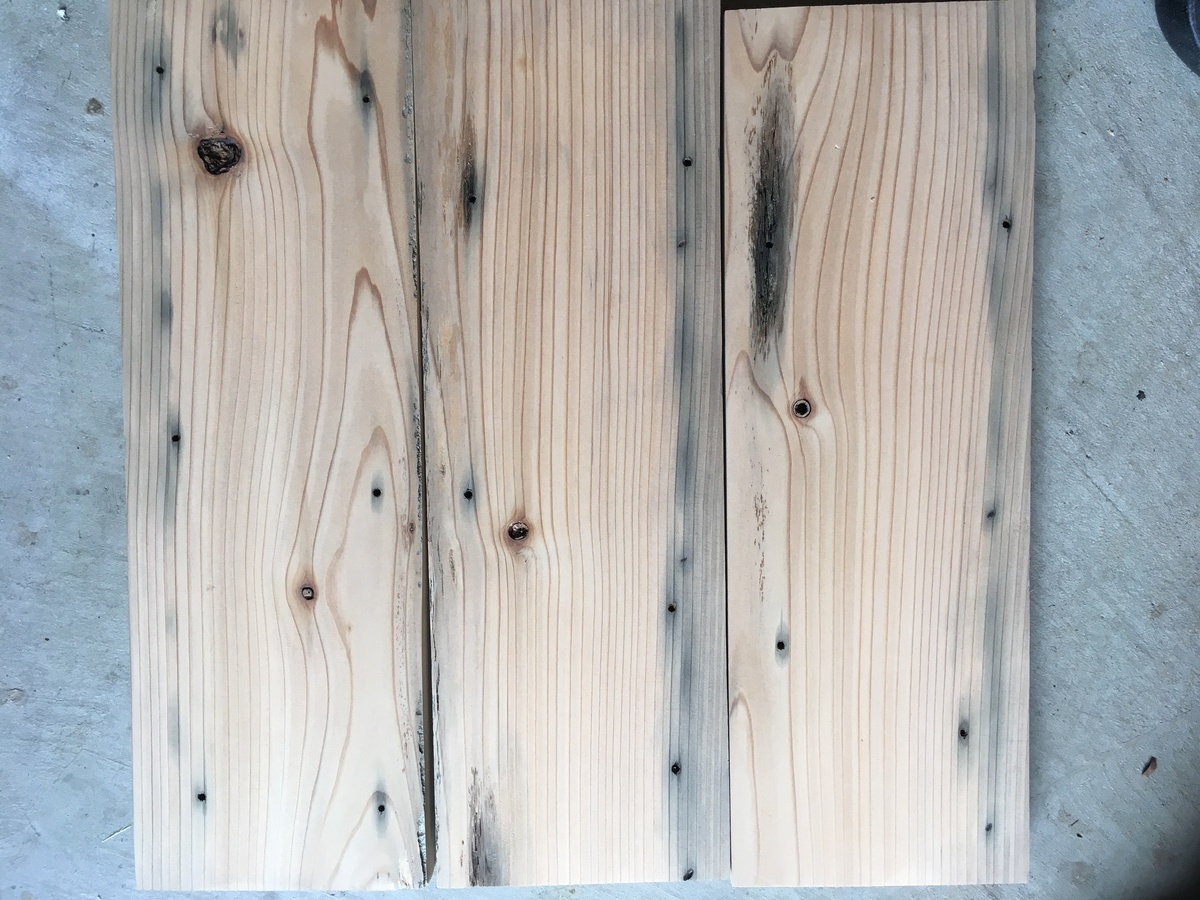
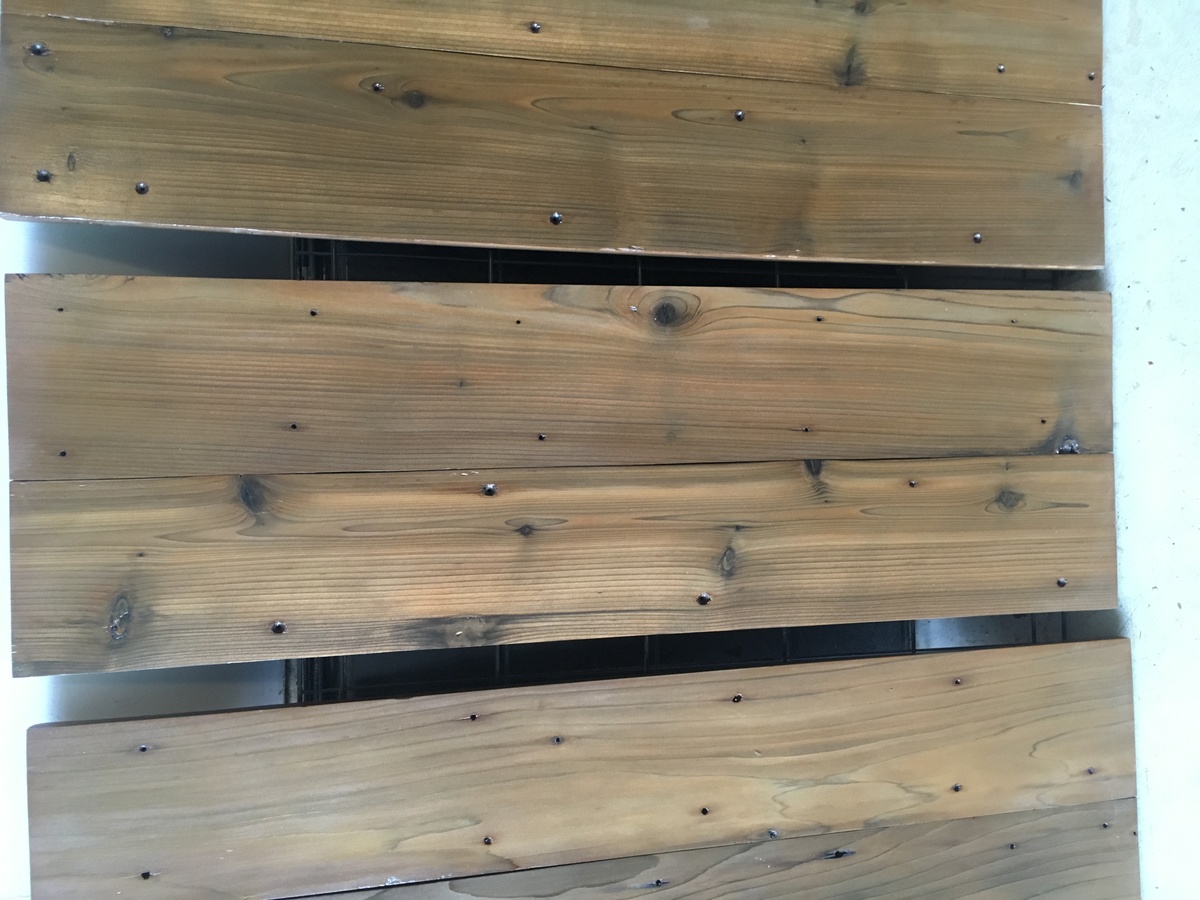
I took down a gate for my parents that had been up for over 20 years. I couldn't bear to get rid of the wood. I found these plans http://www.myrepurposedlife.com/rustic-industrial-narrow-bookshelf/, and modified them. I wanted wider shelves with more space in between shelves, and I wanted a steel bar in the back. It took a lot of planing and sanding to get the wood ready and there are challenges to working with wood that has been outside for over 20 years, but nothing beats the look of truly vintage wood. I love the color variations caused by weathering and the rusted screw holes throughout the wood. I got steel bars at home depot, sprayed painted them with rustoleum bronze spray paint, and drilled holes in them with a cobalt drill bit. I used steel wool dissolved in vinegar for the stain and finished off with three coats of polyurethane.

Made a few adjustments to the farmhouse toy box. Made it a little bigger and added Xs out of 1x2s around it to give it a little extra something! I'm using it as a storage coffee table and I couldn't be happier with it! So in love!
This was my first real build. I used the Kreg pocket hole system and it worked great! With Ana's instructions and the Kreg Jig it went together in a couple of hours! Thanks, Ana for your great site and plans!
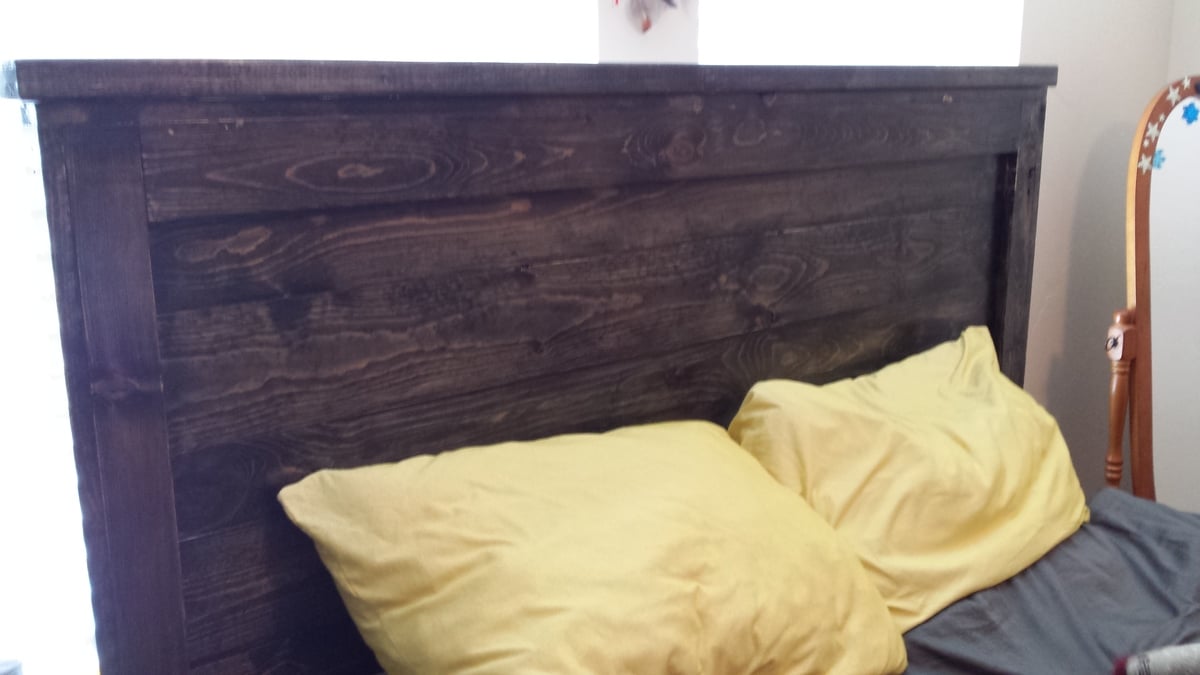
My husband and I spent an afternoon making this beautiful headboard. It turned out great and I am so happy about the upgrade to our bedroom.
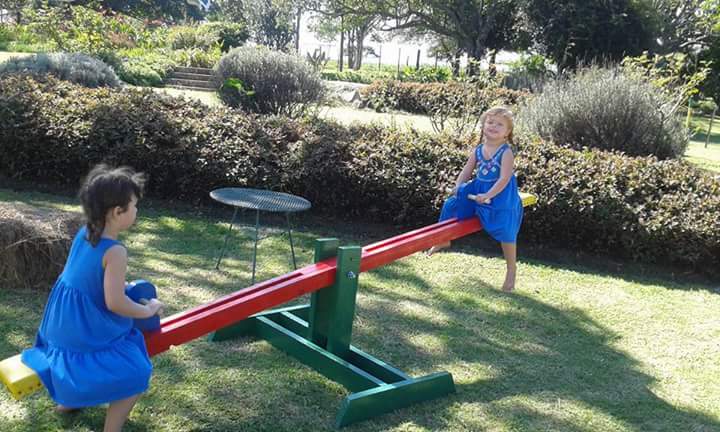
Hi I made this seesaw for my great nephew's 2nd birthday off plans on your website. I painted mine and covered seats with yellow vinyl. I found the plan really simple to use and not an expensive project. I delivered it to the party at the farm and it was an instant hit. Linda Byron (great aunty), Port Elizabeth, South Africa.
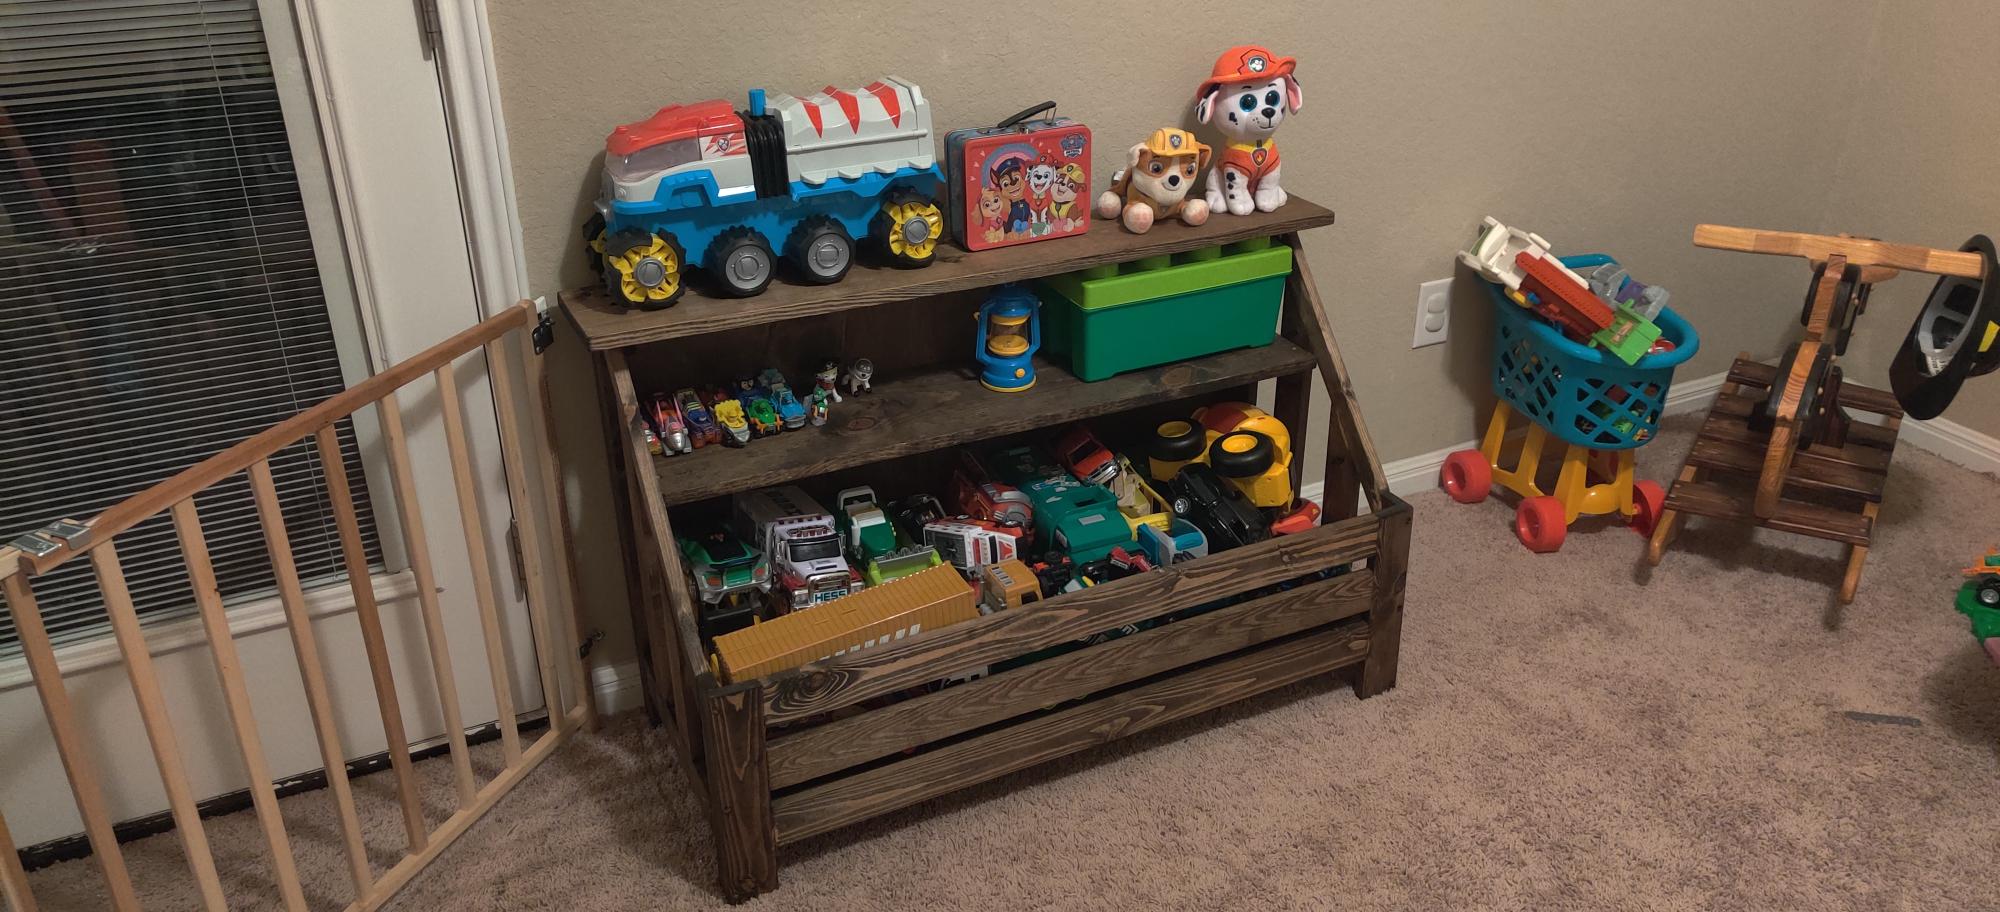
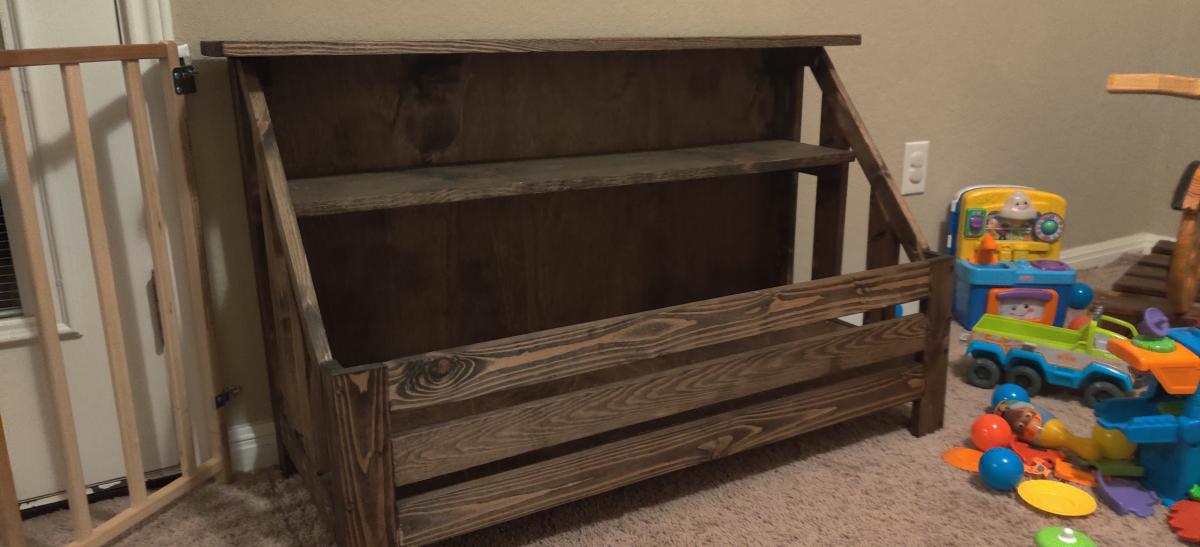
Decided a week ago that our son's playroom was way too busy and he needed a toybox. I started working on this and halfway through showed my wife how big it would be. She suggested I modify the plans to make it wider, and I'm glad I did!
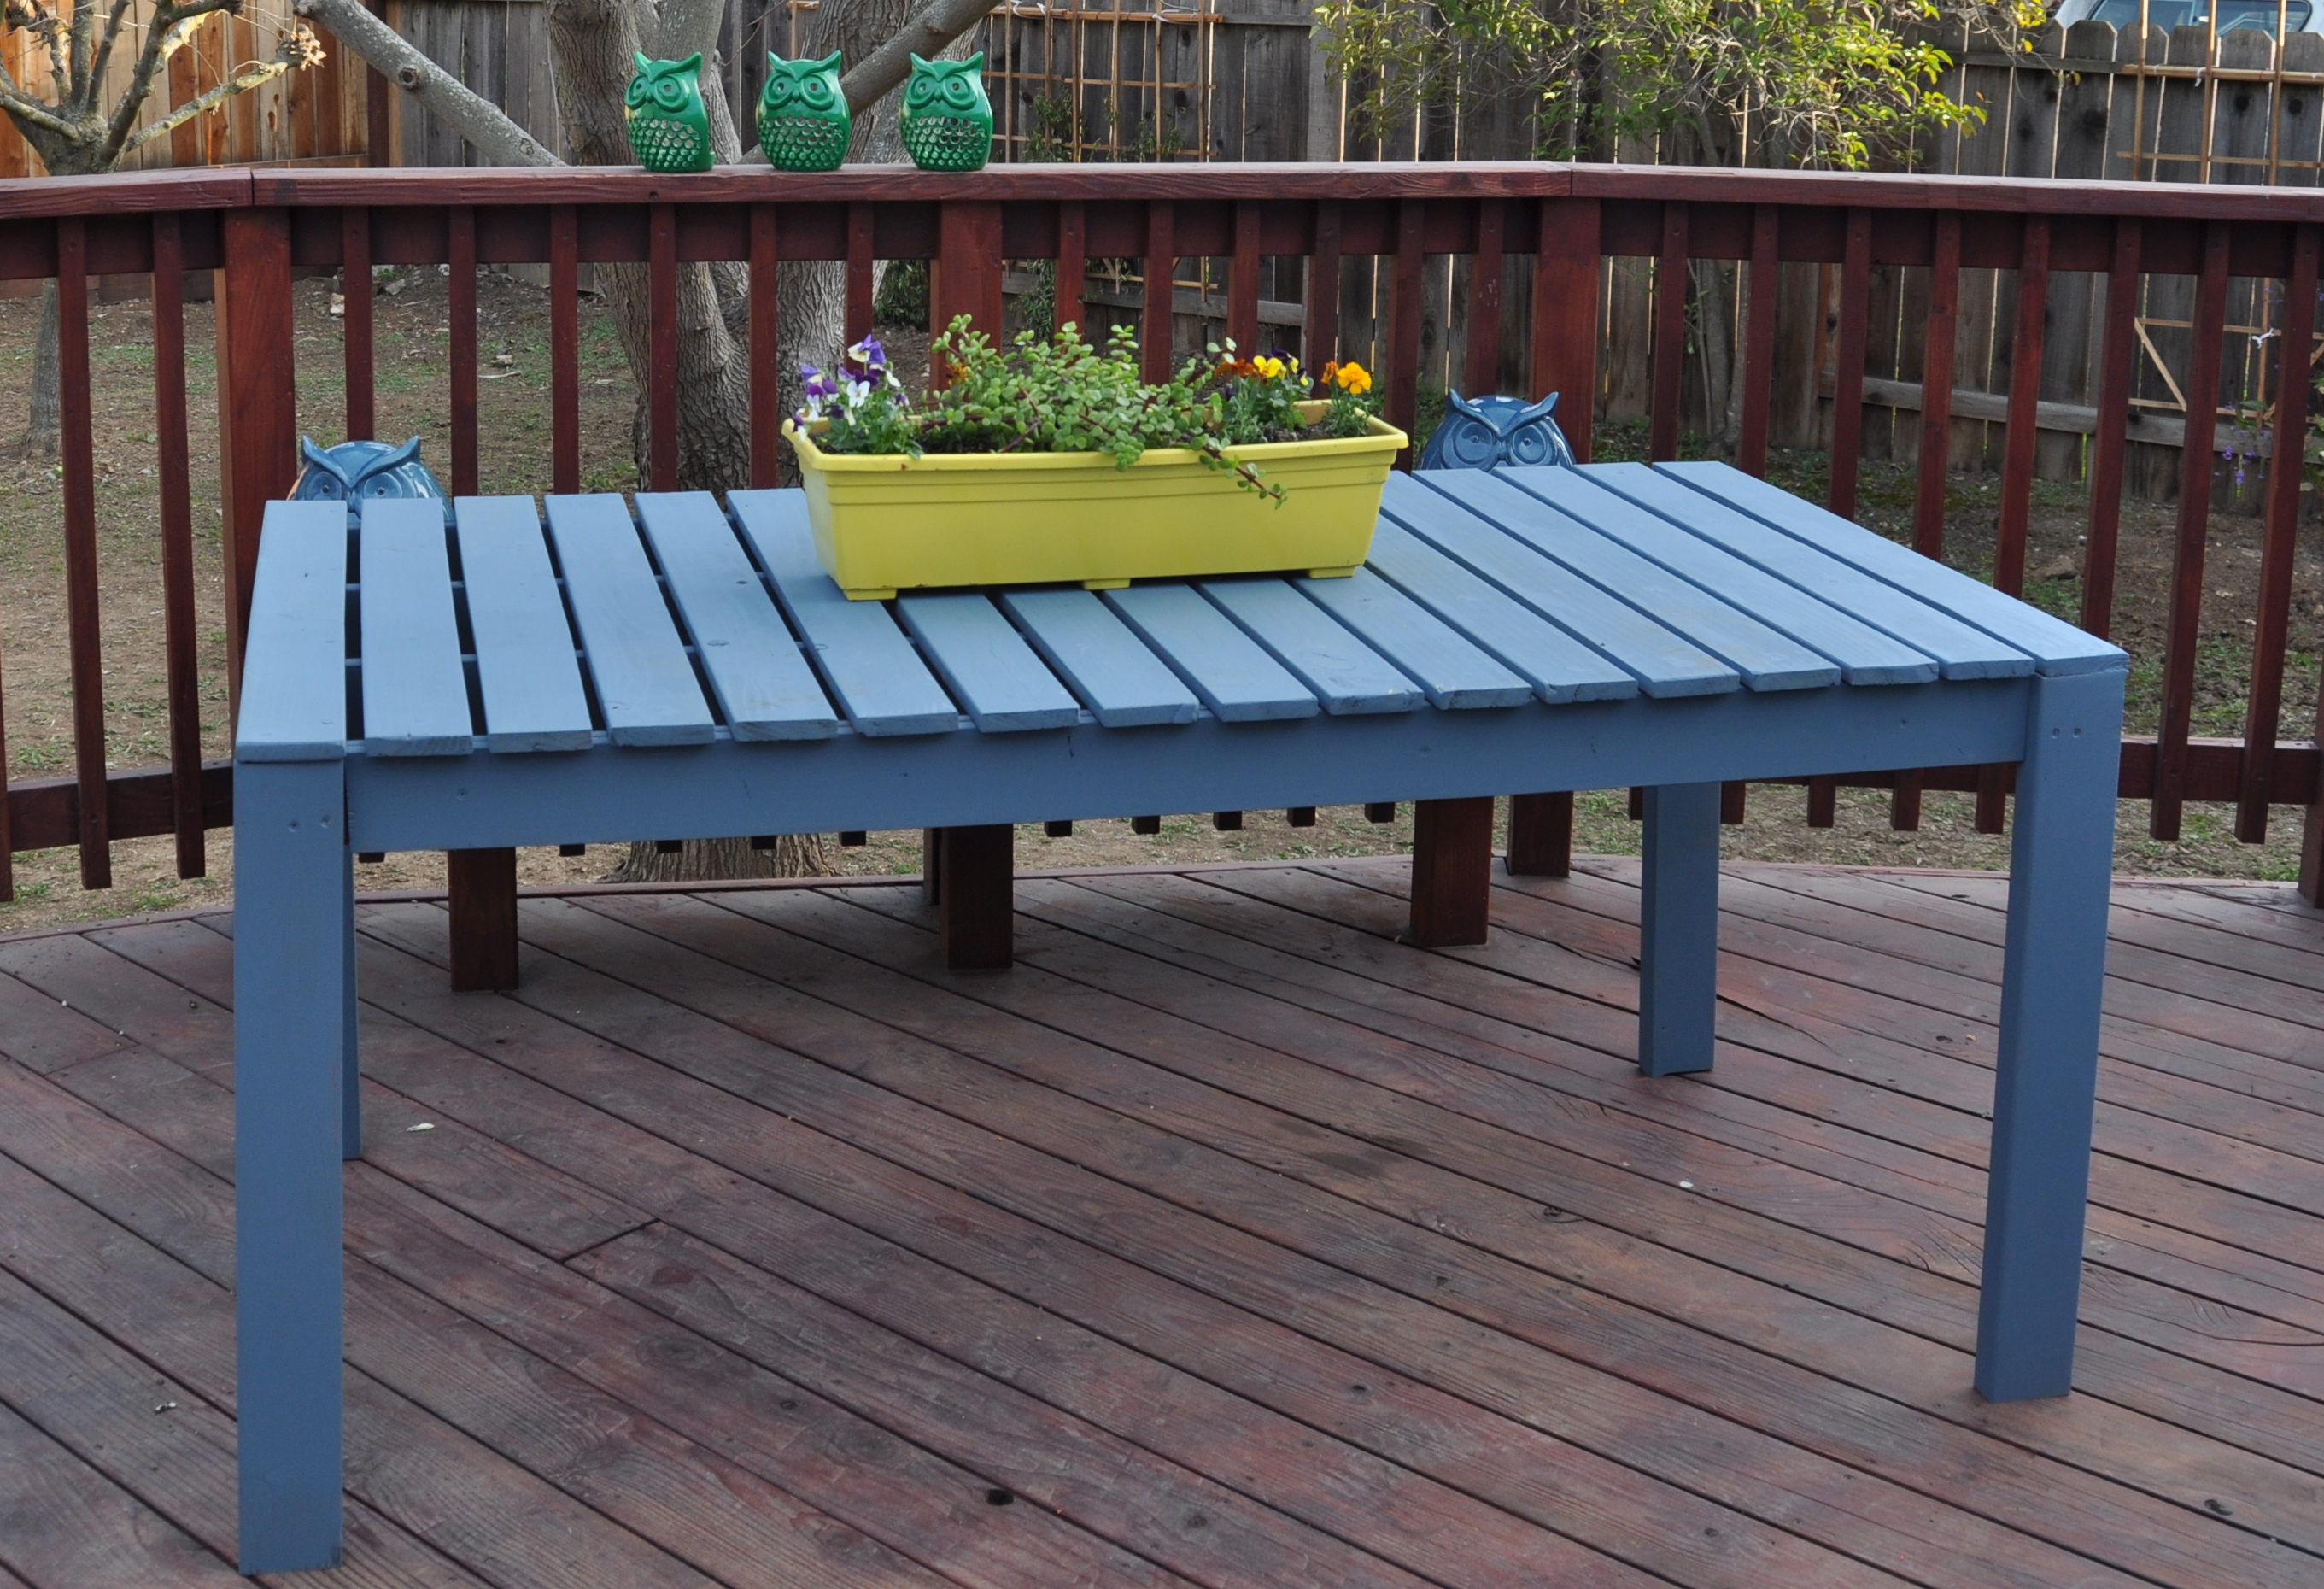
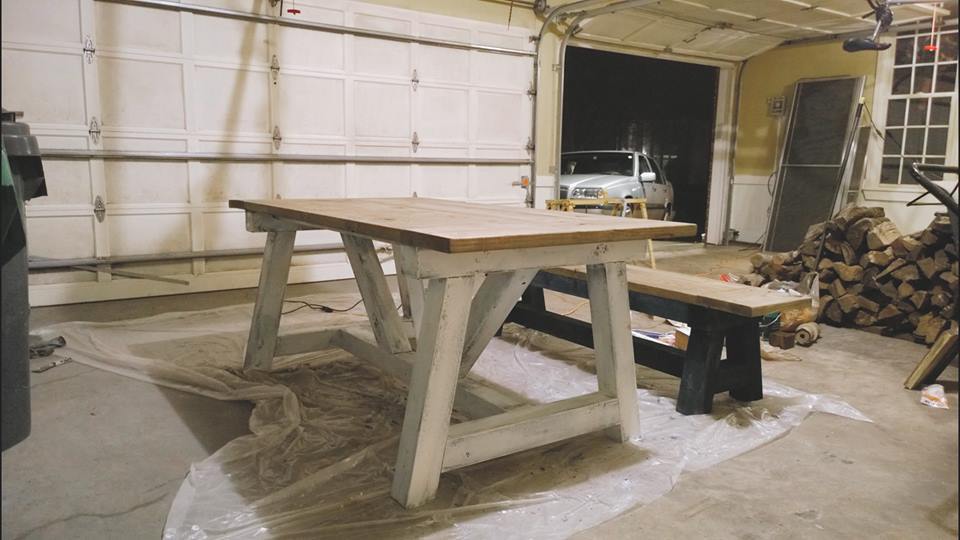
We built our first DIY project together using the plans for the simple outdoor dining table. It was so much fun we are on to more projects.
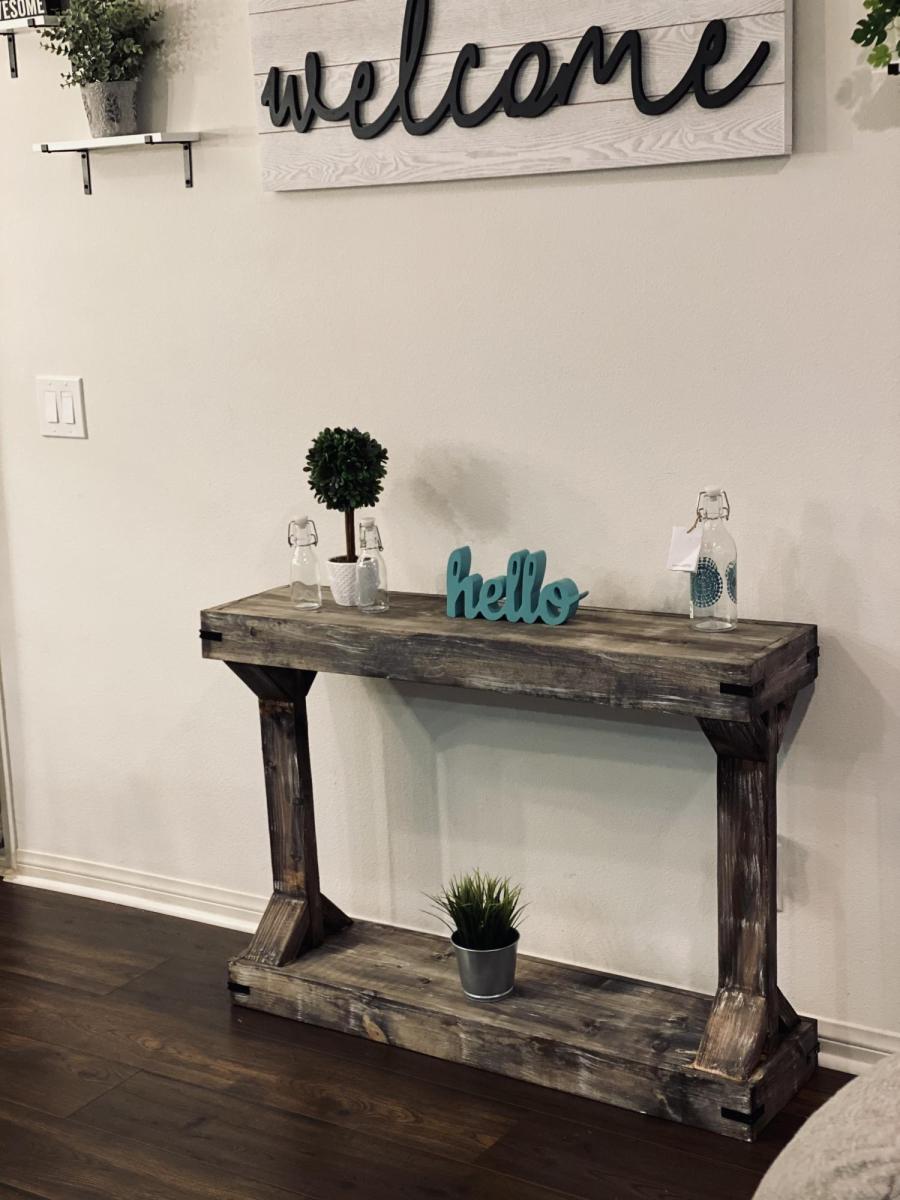
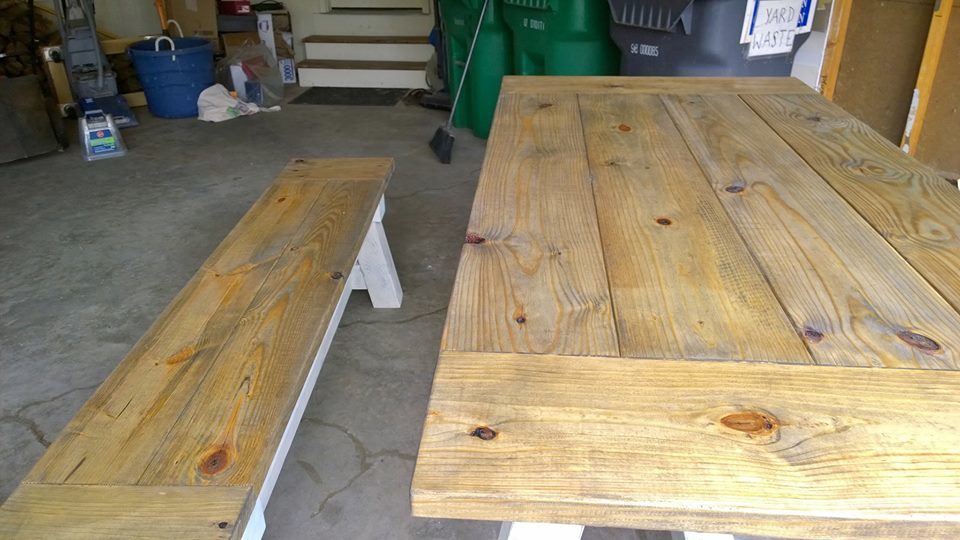
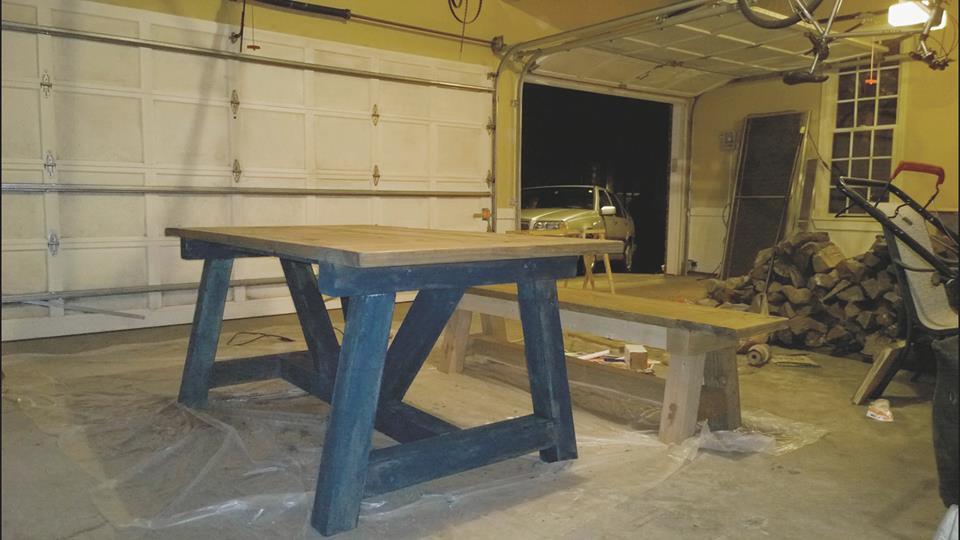
First DIY. Took roughly 17 hours completed over 3 days. Used untreated pine from Home depot for top and untreated cedar (the only 4x4's available) for legs.
Total cost $270
Top stain: weathered oak (2 coats)
Top finish: Rustoleom polyeurothane clear satin
Legs: undercoat of Behr's Nautical blue and two thin coats of a white paint we had on hand. Then we distressed with an orbial sander and a 220 grit paper.
Comments
Ana White Admin
Fri, 04/14/2023 - 13:35
Built in one weekend!
This looks fabulous!!! Thank you for sharing.:)