Community Brag Posts

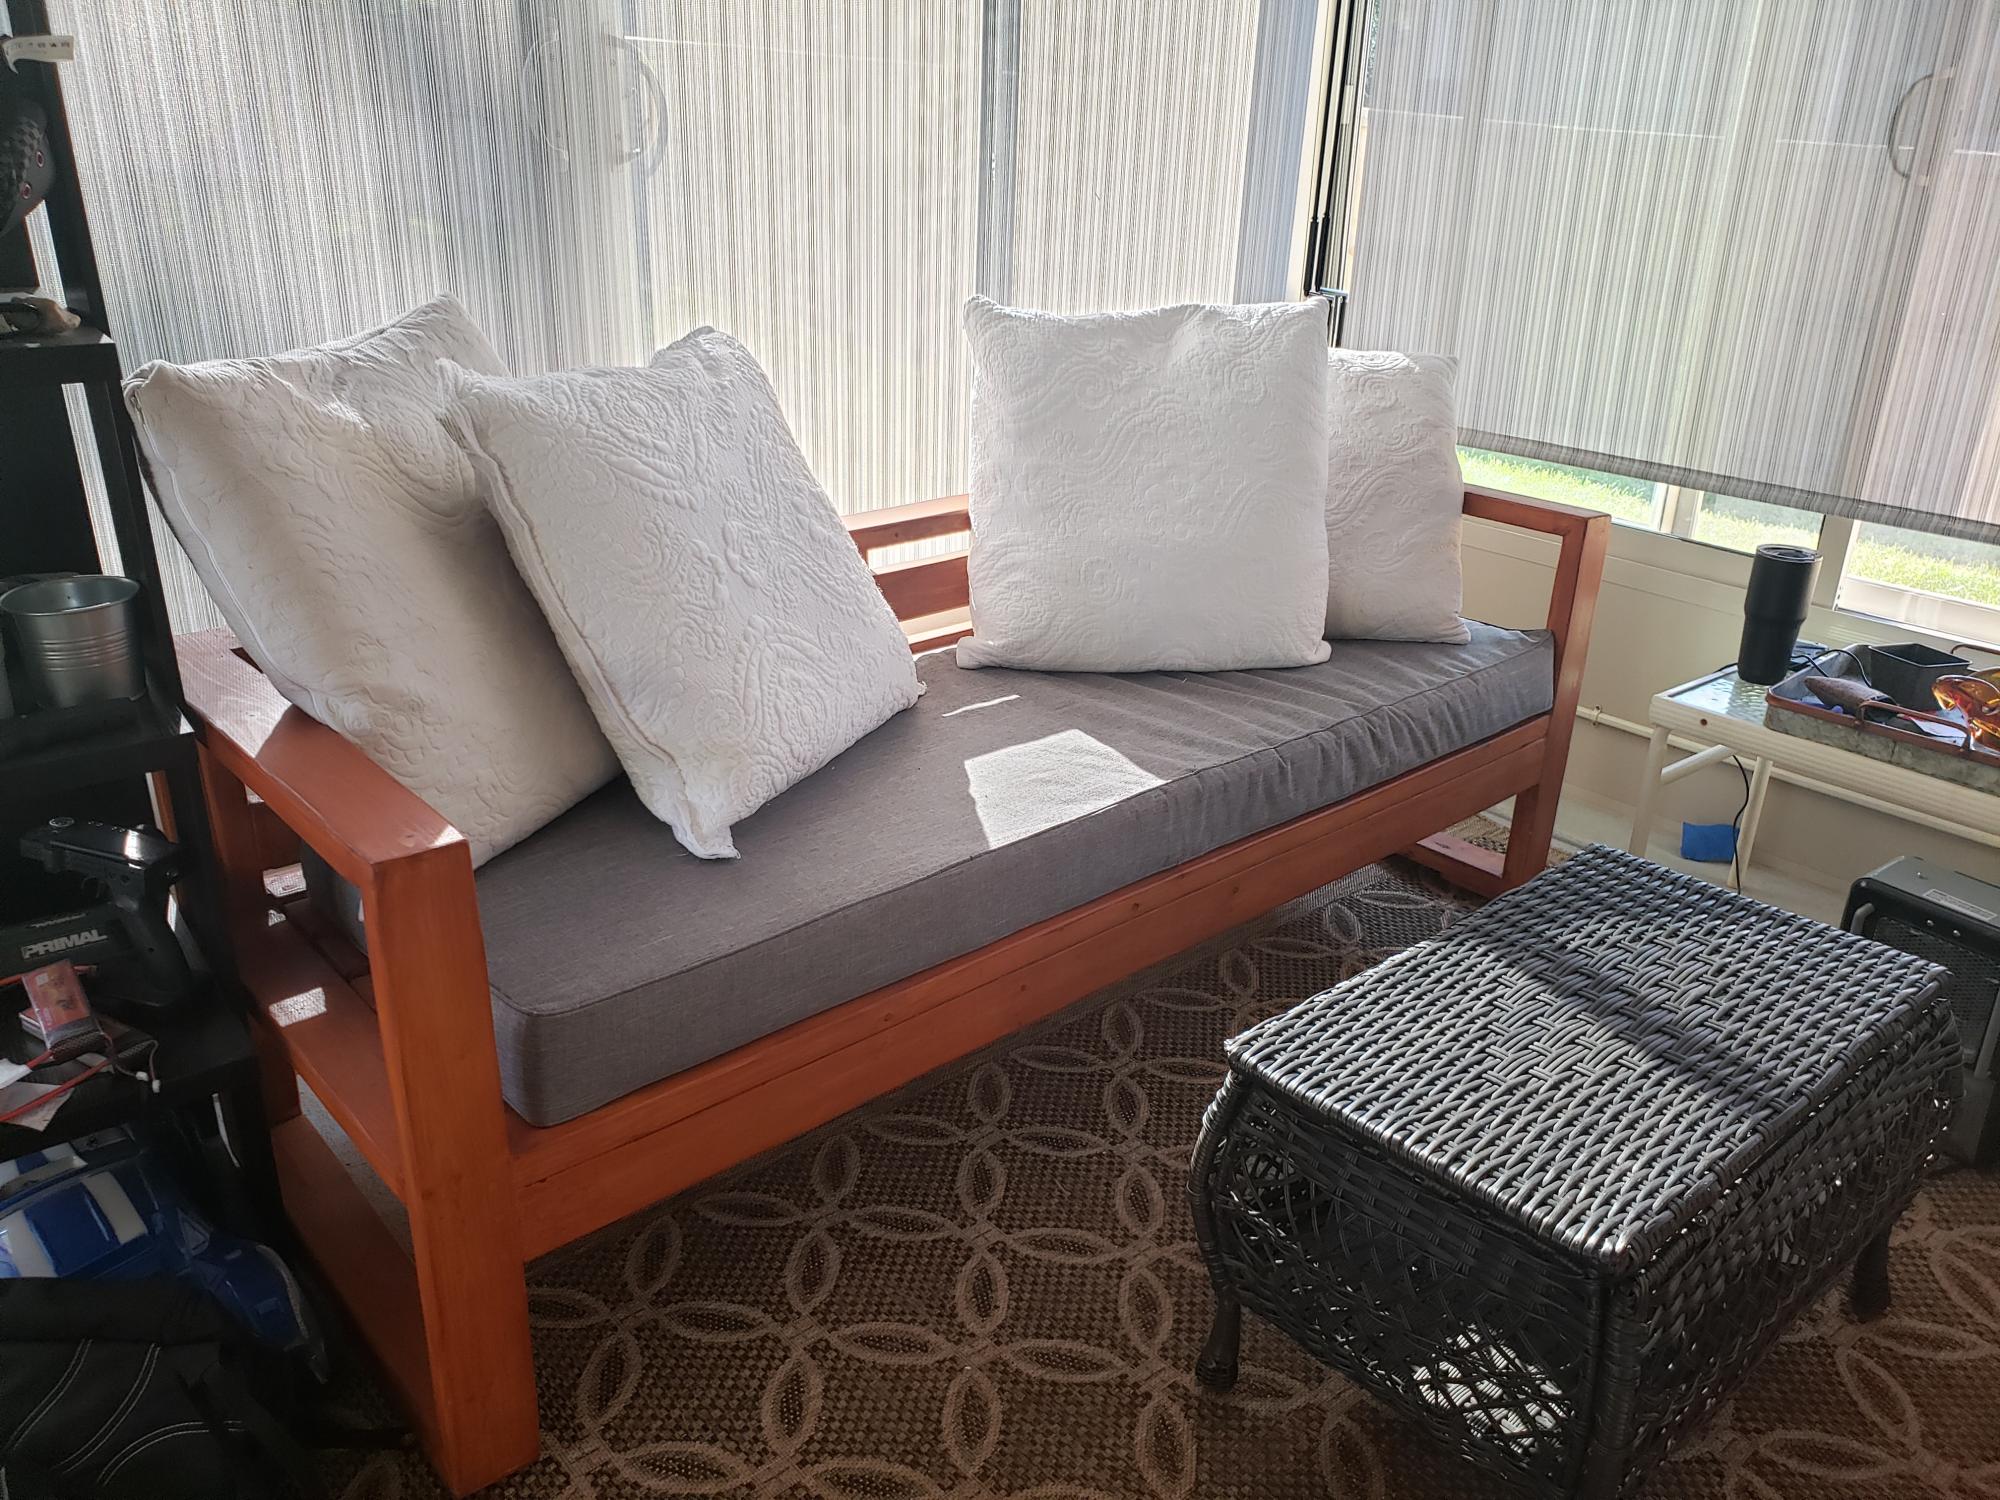
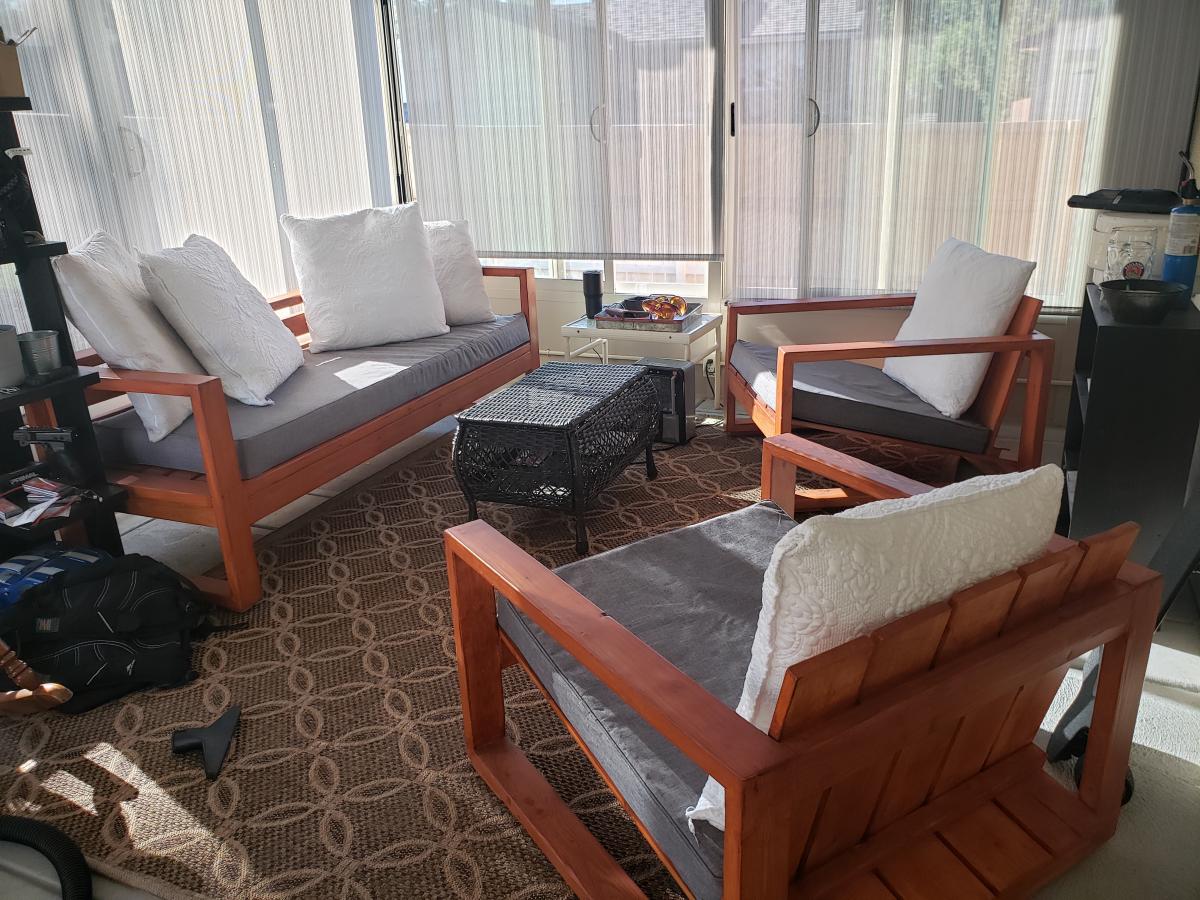
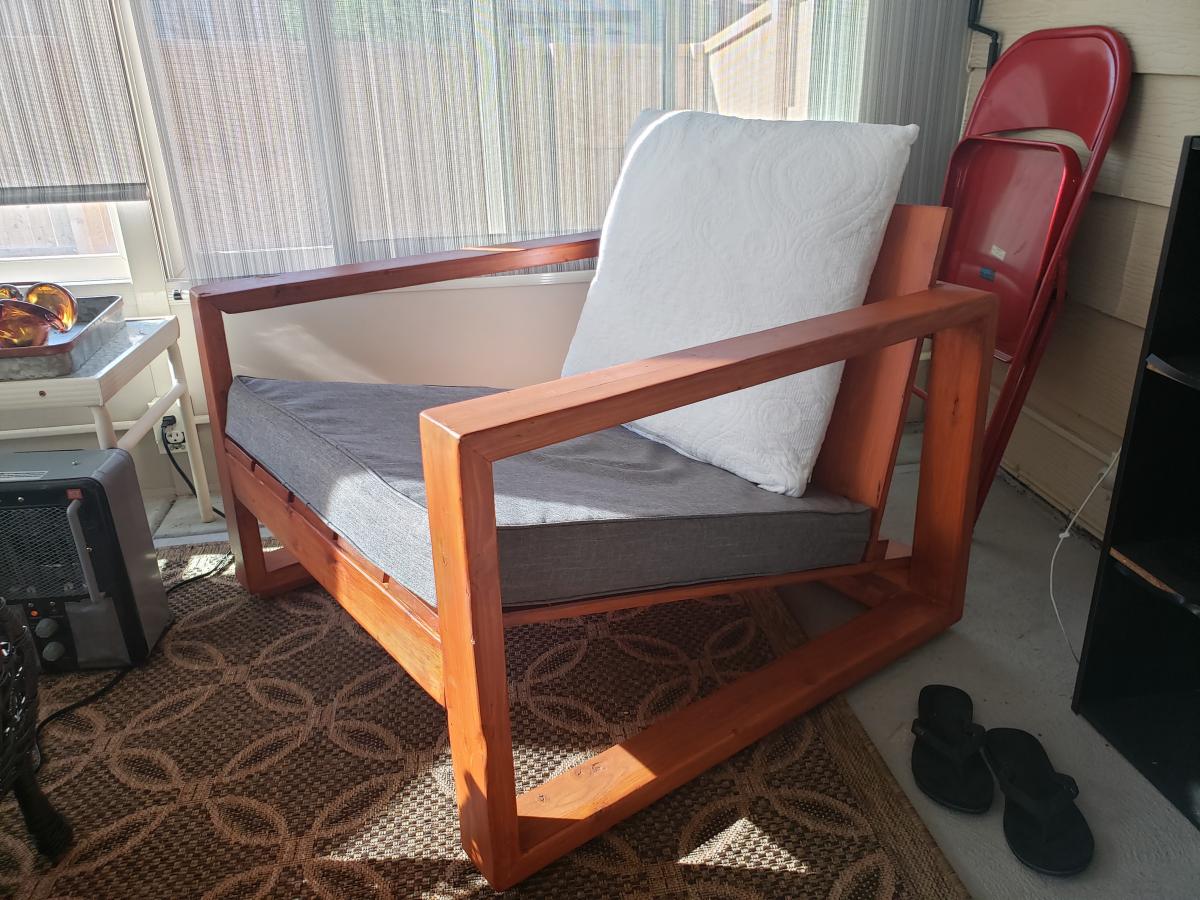
2x4 sofa and chairs

Submitted by Anonymous (not verified) on Mon, 10/04/2021 - 15:08

Well, I had just bought a house. We had no furniture for our sunroom, so I took it upon myself to build some while materials were still cheap.
Hindsight, the chairs rear end should have been a level seat instead of trying to build an Adirondack style club chair. I modified the ends to match the modern style so they would match the chairs.
The sofa turned out great, all are solid and built with pocket screws. Sealed with redwood deck sealer, should last forever!
For the covers, we had them made from covers and all, and went to the local Joann and bought 4" thick foam.and wrapped it with with polyfill. Can't tell that they were made in a backyard, but they've been great for 18 months so far!

Comments

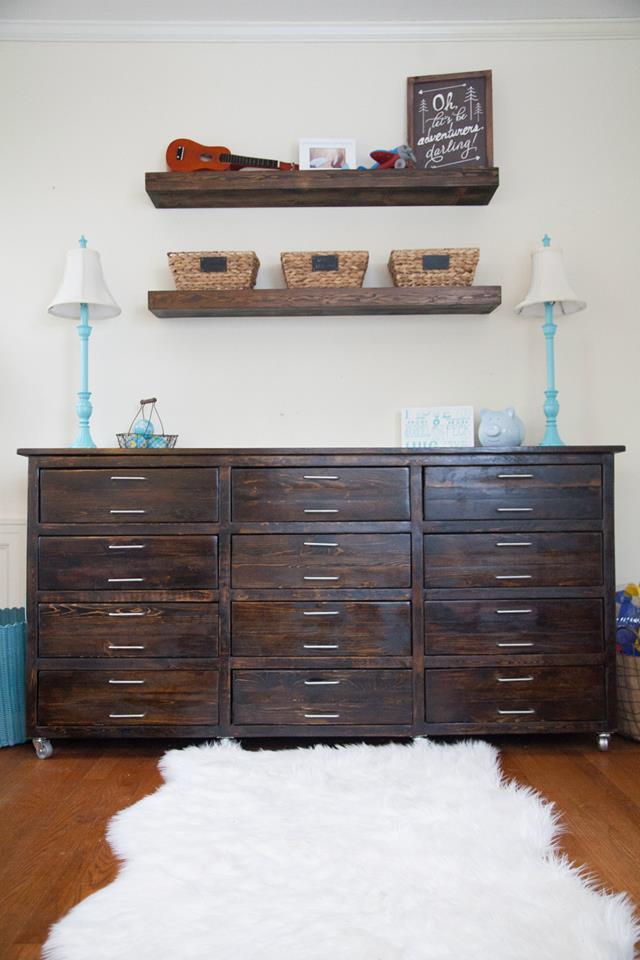
Triple Printer Console (Dresser)

Submitted by jbolson21 on Tue, 04/07/2015 - 16:03

My wife and I need a big dresser for the new addition to our home.  So instead of a media console we turned this into a dresser.

Estimated Cost
$350
Estimated Time Investment
Week Long Project (20 Hours or More)
Finish Used
Danish Oil
Recommended Skill Level
Intermediate

Comments

handmadewithash

Tue, 04/07/2015 - 20:37

Beautiful job!!! I am currently in the process of building the triple printers console as well. I love you choice of drawer pulls. I may have to reconsider my selection ;)

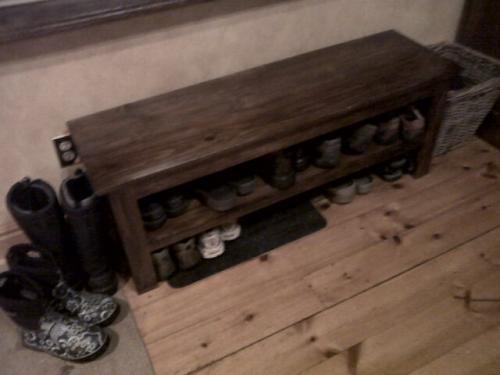
Entry Shoe Bench

I've officially stopped stalking and started building! First project a modified spa bench. Still have to stain it, but it already makes the big pile of shoes by the door look neater! I'm a hands-on person and not afraid of power tools (got a band saw for my birthday!) but it's still a challenge building a piece of furniture. I've already learned lots of do's and don't do's for next time!
Thanx a bunch for your site, Ana! It definitely gets the mind plotting great projects to come!

Built from Plan(s)
Estimated Cost
~50$ (honestly, I can't remember!)
Estimated Time Investment
Day Project (6-9 Hours)
Finish Used
PolyShades Royal Mission, several coats... and a spray can of clear coat too.
Recommended Skill Level
Beginner

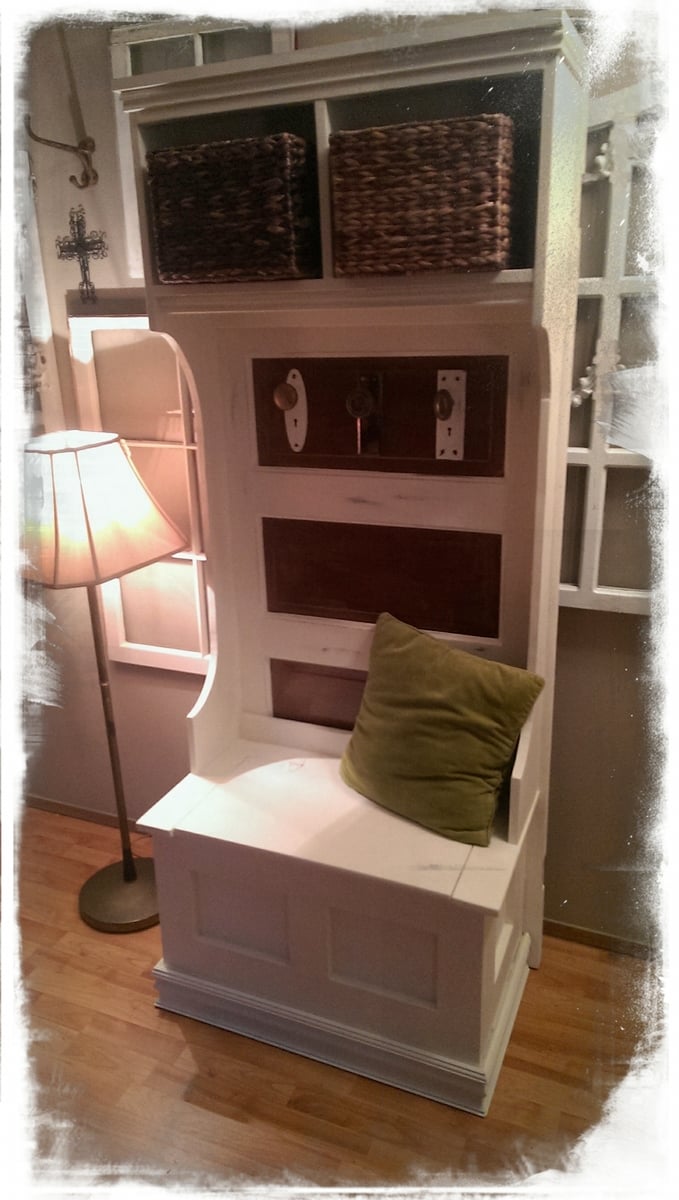
Hall Tree made from old door

Submitted by novofinds on Fri, 05/24/2013 - 20:56

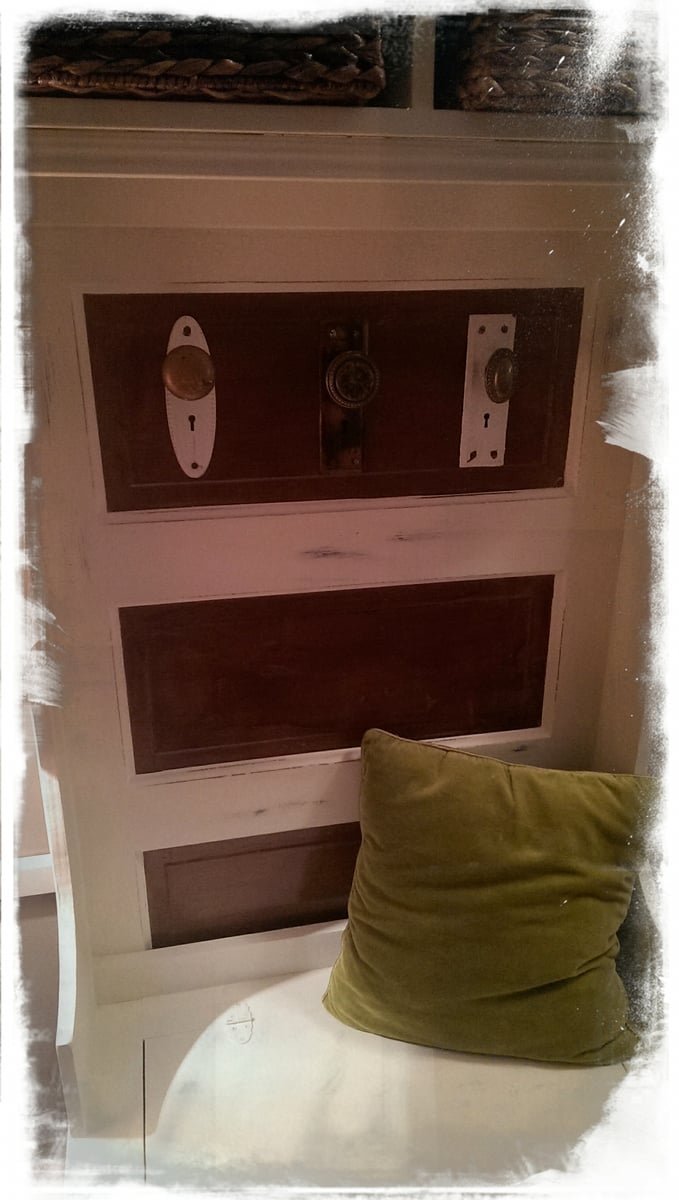
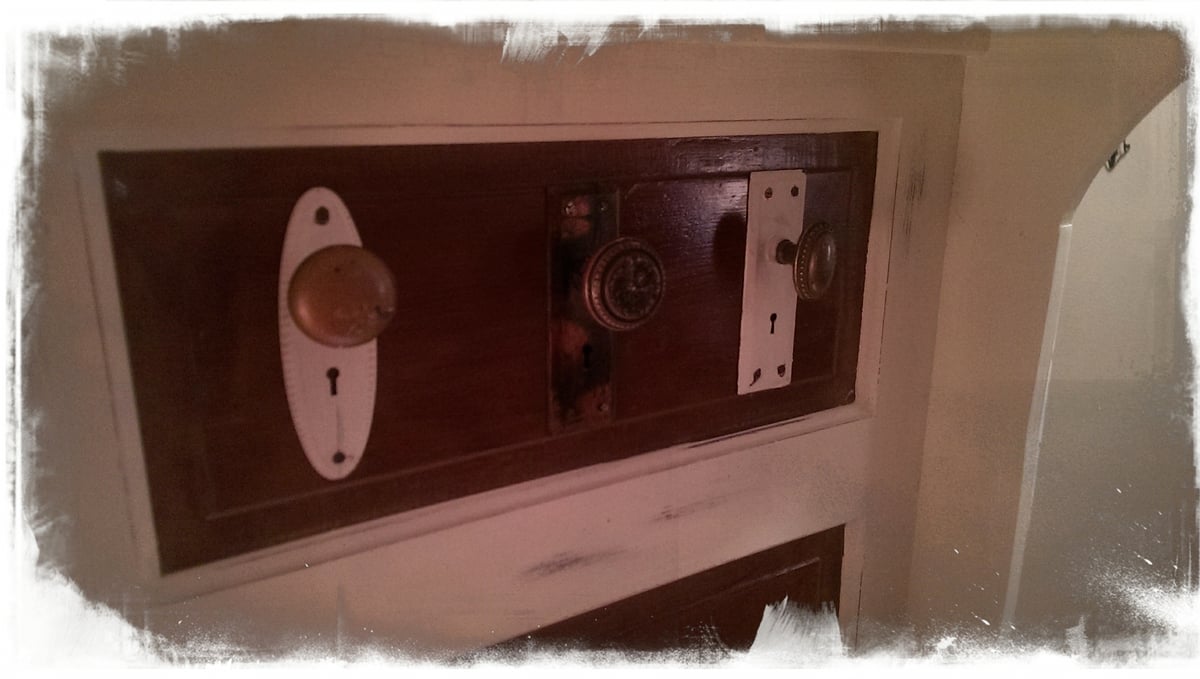
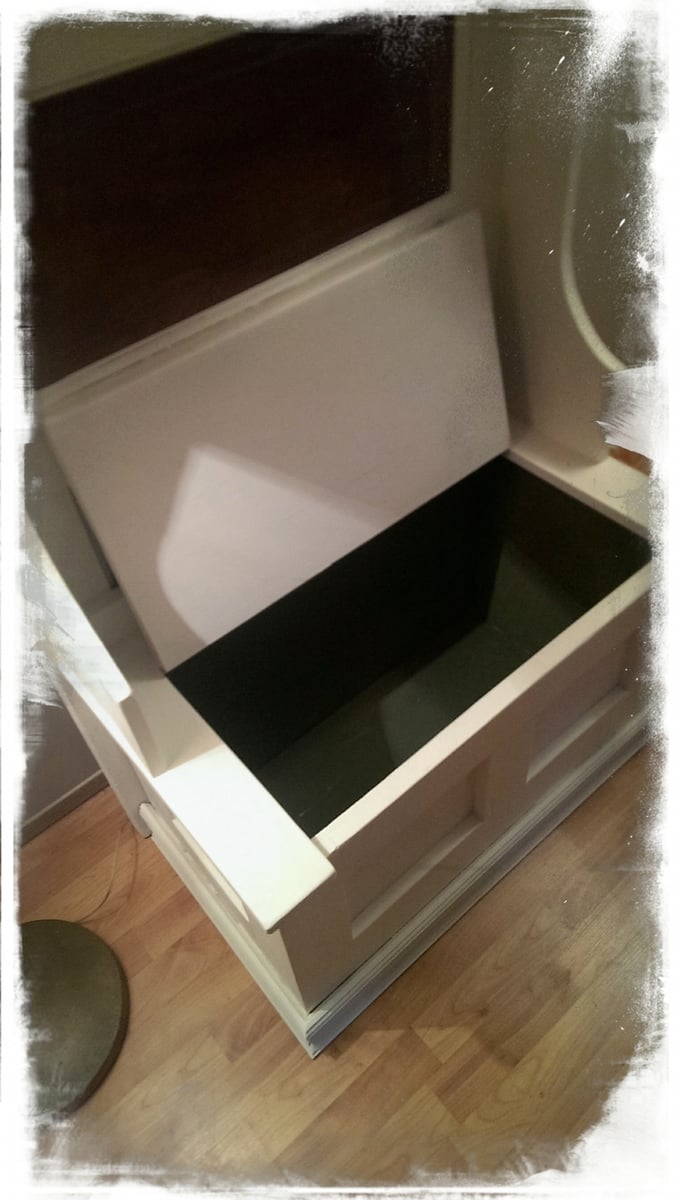
This is my first Ana-White build and I love it so much! I used a 100 year old door for the back and antique knobs for the hooks. I plan on making a farm house table next :)

Built from Plan(s)
Estimated Cost
120
Estimated Time Investment
Weekend Project (10-20 Hours)
Finish Used
Annie Sloan chalk paint in old white and olive on the inside. Waxed and lightly distressed.
Recommended Skill Level
Intermediate

Farmhouse Benchright Table Build

Submitted by tcoche on Tue, 05/28/2013 - 17:59

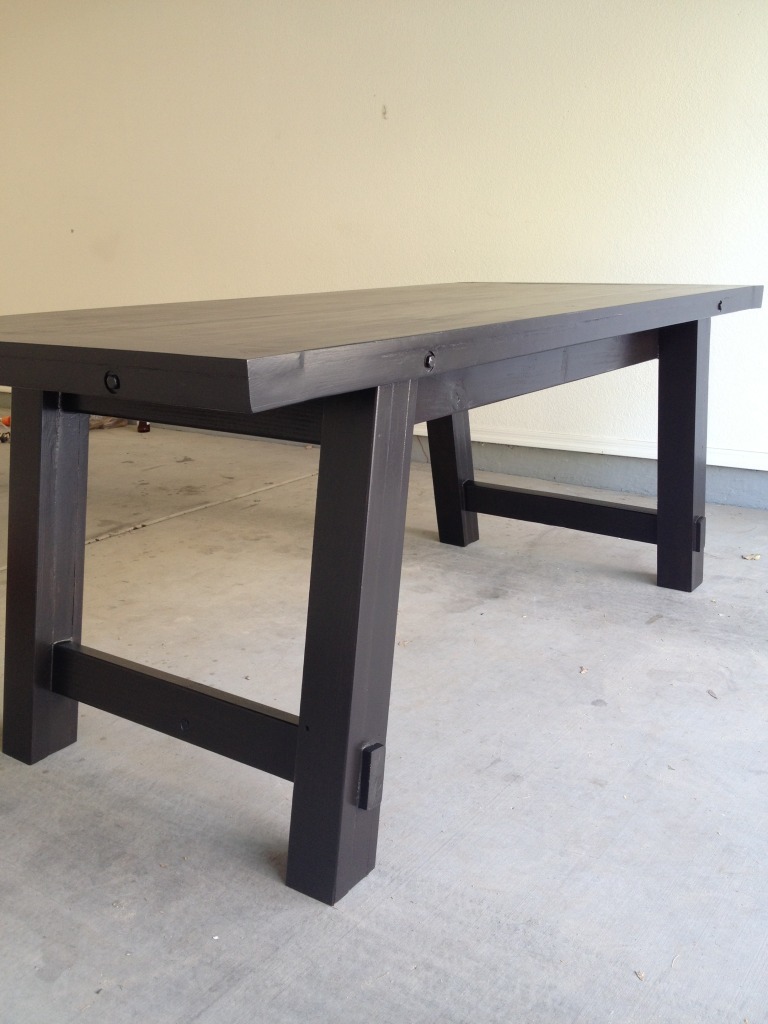
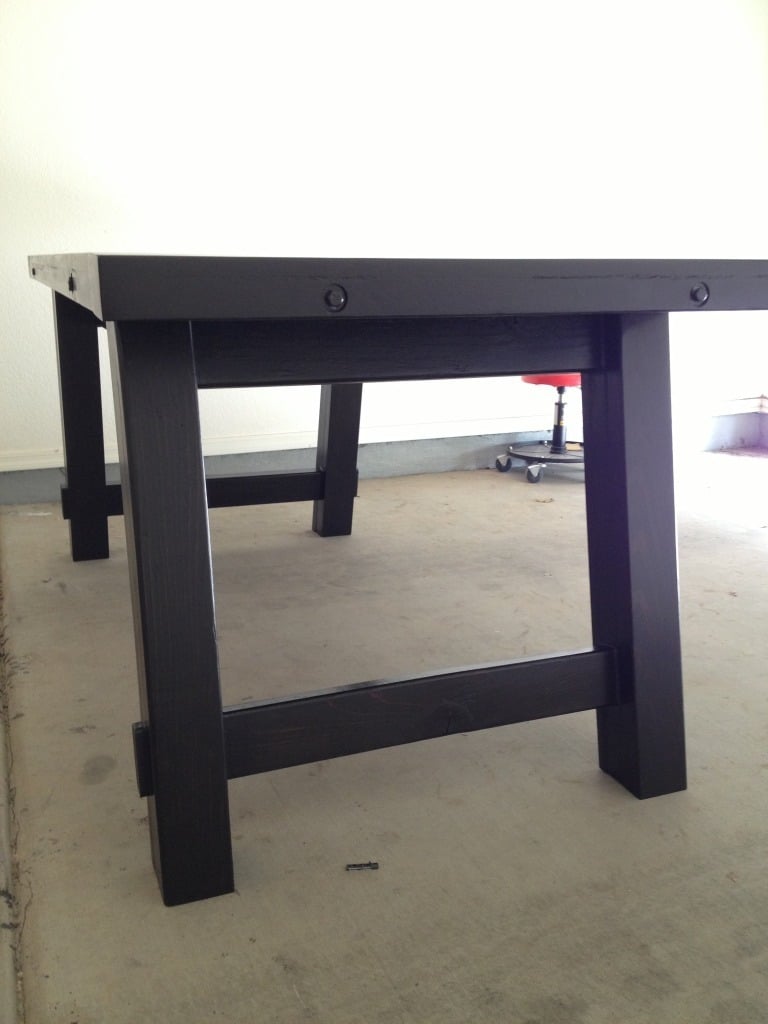
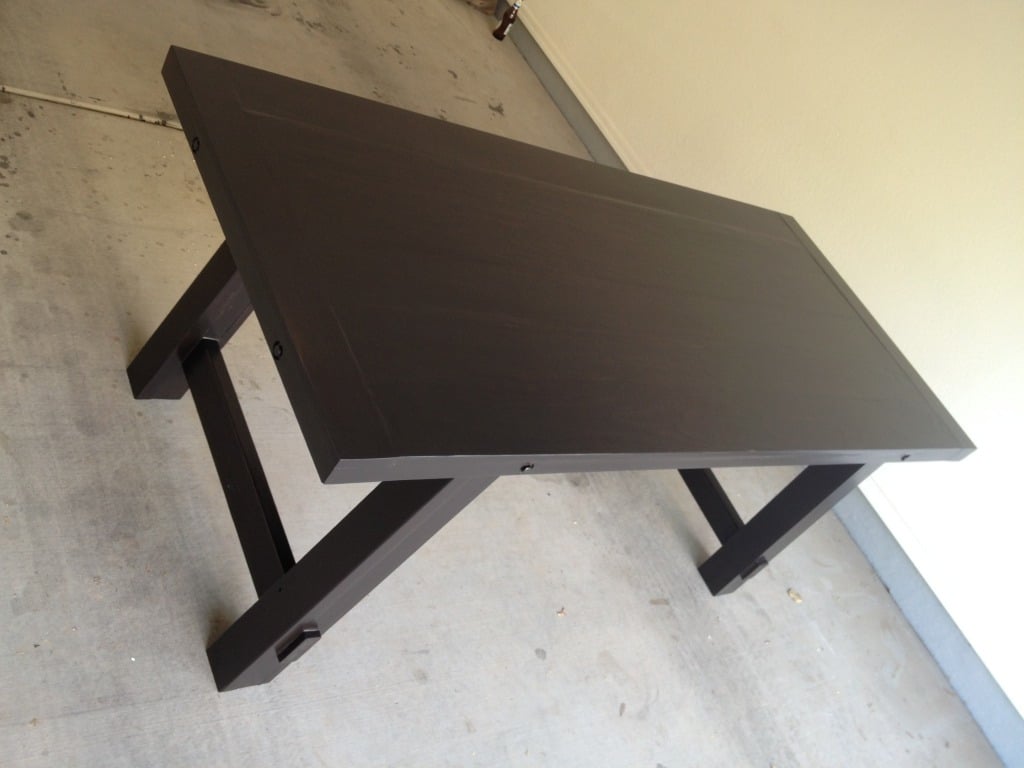
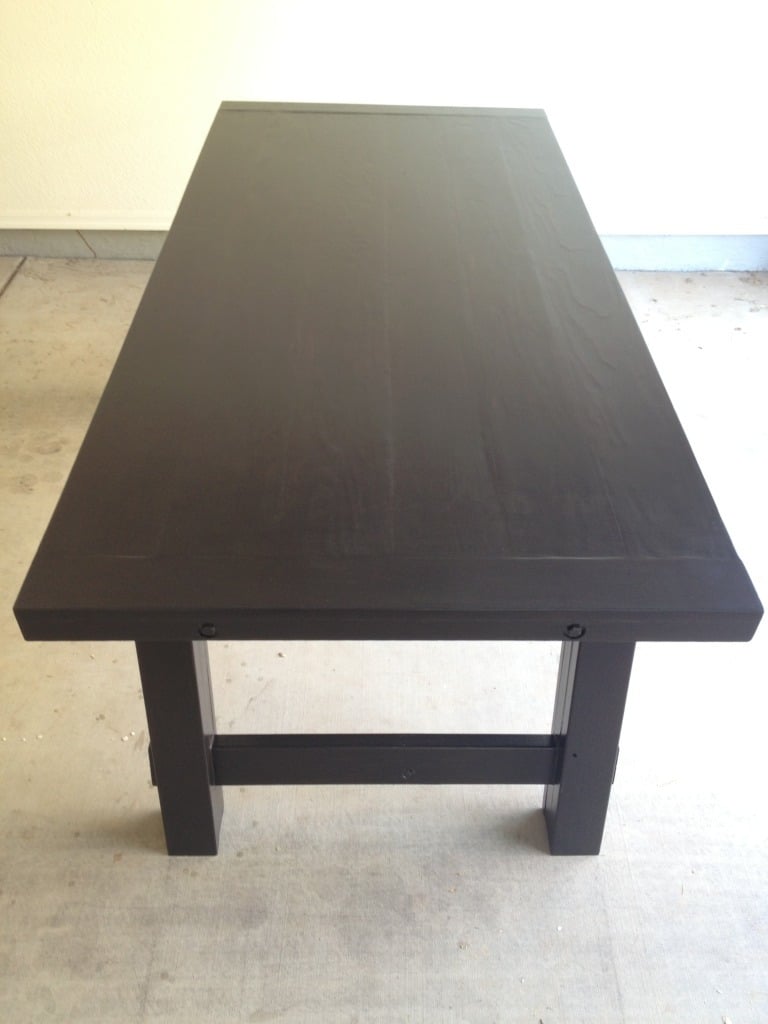
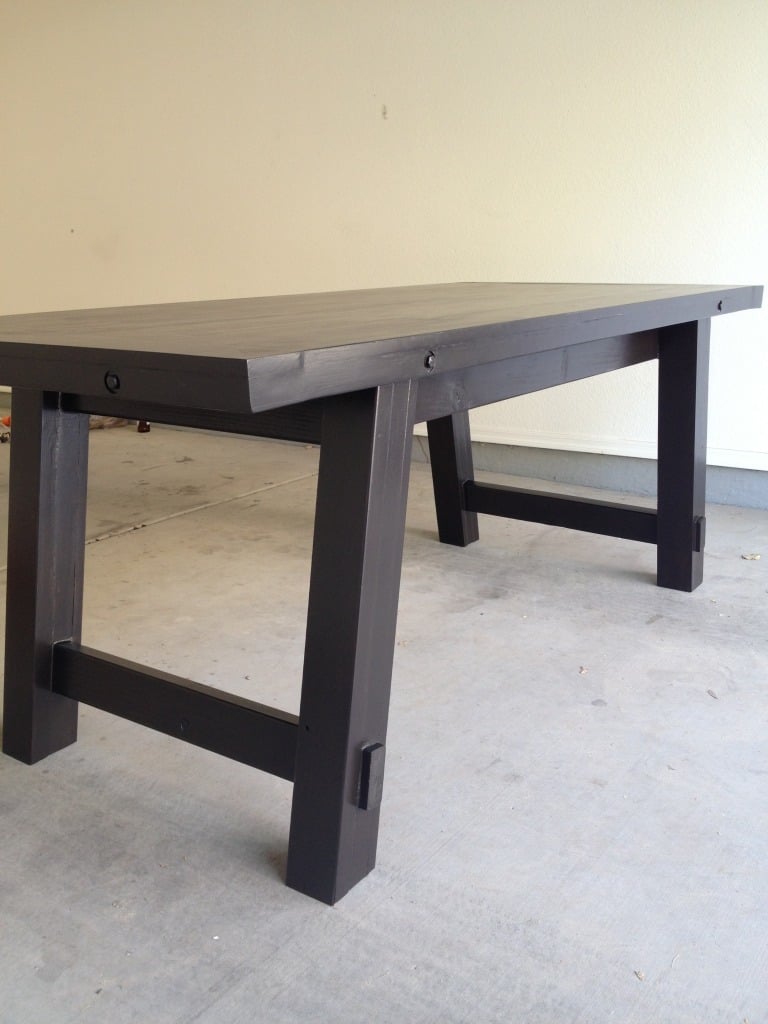
After doing my first build, pallet media center, I was hooked. My family and I desperately needed a dining room table. We wanted a rustic looking table and I was thankful I found the benchright table plan. Thanks Ana!! This build was fairly easy. I did mess up a couple times with the angle/bevel cuts. Totally ruining a couple boards. Which I had to run back to Lowes and purchase a couple more boards. I used 3/8 hardware bolts/washers/nuts in galvanized for the sides (3") and breadboards (6"). The stain basically painted them, which we love. I still need to add the hardware for the bottom (threaded rods, turnbuckle, nuts/bolts/washers, etc). The pics above really dont show the detail with the stain. The pics make the table look black. But you can actually see the wood grain on the table top. The table looks amazing in person, we love it!!! Thanks again Ana!!

Estimated Cost
250
Estimated Time Investment
Weekend Project (10-20 Hours)
Finish Used
Rustoleum Kona stain and Rustoleum Satin Polyurethane. 2 coats of stain and 3 coats of urethane.
Recommended Skill Level
Beginner

Planked Wood Headboard in Cal King

This project was a blast to make. And, it really is doable and a lot less time then you would think. And finishing it with milk-based paint is even more enjoyable. I used screws and a drill (pre-drill!) and it was wonderful.

Here's some advice for the plan:

- Mount the back of the headboard with a piece of wood and use a metal support as shown here. Just make sure the board is wide enough to be level with your back trim, or else the metal support won't be even when you screw it down. And when you pre-drill this board, make sure you don't go all the way through, or else you will have holes through the front! It stunk to have to putty them all in, but thank heavens for putty.
- Although the instructions say to make your top 1 x 3" trim to fit in line with the top of the headboard, I made mine one inch longer on both sides, and then the 2 x 4" one inch longer to go on top of that 1 x 3" on both sides. That was just the look I wanted. Although you can get your wood pre-cut, I would recommend cutting it all yourself, especially since you will need these cut afterward once the rest of your headboard is put together.
- Ana's 'get started' tips are very helpful. Be sure to check them out first!
- Make sure, make sure, make sure you dry thoroughly between coats. Patience is a virtue.

Estimated Cost
$125
Estimated Time Investment
Week Long Project (20 Hours or More)
Finish Used
I distressed with milk-based paint... it always gives it such a unique look every time! Here's what I did:

- Stain your wood with a foam brush that you can by essentially anywhere--craft stores, home improvement stores--going along the grain of the wood. Do this for all painting and staining. For a dark finish underneath, use a dark stain. I used Minwax in Dark walnut. Leave the stain on for at least 15 MINUTES before you wipe it with an old t-shirt or a lint-free rag, like the one you would use to polish your car.

-Buff with a crinkled brown paper bag. You won't need to do this too intensely, but make sure you're thorough.

- If you want some of those big, antiqued stain spots, take a candle and really rub certain spots, such as the knots and the edges of the wood. However, it can be easy to forget where you rubbed with the candle, so you might want to draw up a rough diagram of a headboard and mark an X where you rubbed the candle. Rubbing with the candle will make the spot of the paint come off much easier--you'll see how well it will come off when you sand. But I would hesitate from rubbing it too much, because it makes your paint 'peel off' eventually if you do it in excess.

- Paint your headboard, giving it at least thee coats. My first coat was really thin so during my first coat I went right ahead and painted it again right then. Then I did a second and third coat. Let it dry completely between your second and third coat. I waited at least eight hours between coats.

- Once it's dry, sand your headboard BY HAND with at least 100 grit sandpaper. If you want your piece to have a more distressed look all-around and not just in certain places, sand your piece after each coat of paint dries. Just rub with your hand smoothly in strokes, and you will see how easily the paint comes off, and how it will give you that distressed look like magic. I did this for my dresser and I loved the look. However, I did not use the candle-wax method because I sanded after each coat. If you wait until after the third coat to sand, you will have to work harder, but your paint will still come off and look distressed very nicely.

- Stain the top of your paint (I used the same dark dark walnut color). Immediately rub off the stain with an old t-shirt or a lint-free rag. Rub it down to get the desired look of your stain. If you choose to have it a little less antiqued, you can skip this step.

- Finish with a Polyacrylic topcoat. They are safe and it really gives a nice, finished (and less DIY) look.

- Mount it with bolts on to your bed frame!
Recommended Skill Level
Starter Project
Farmhouse Nightstand

Submitted by RenoRustic on Tue, 05/12/2015 - 10:17

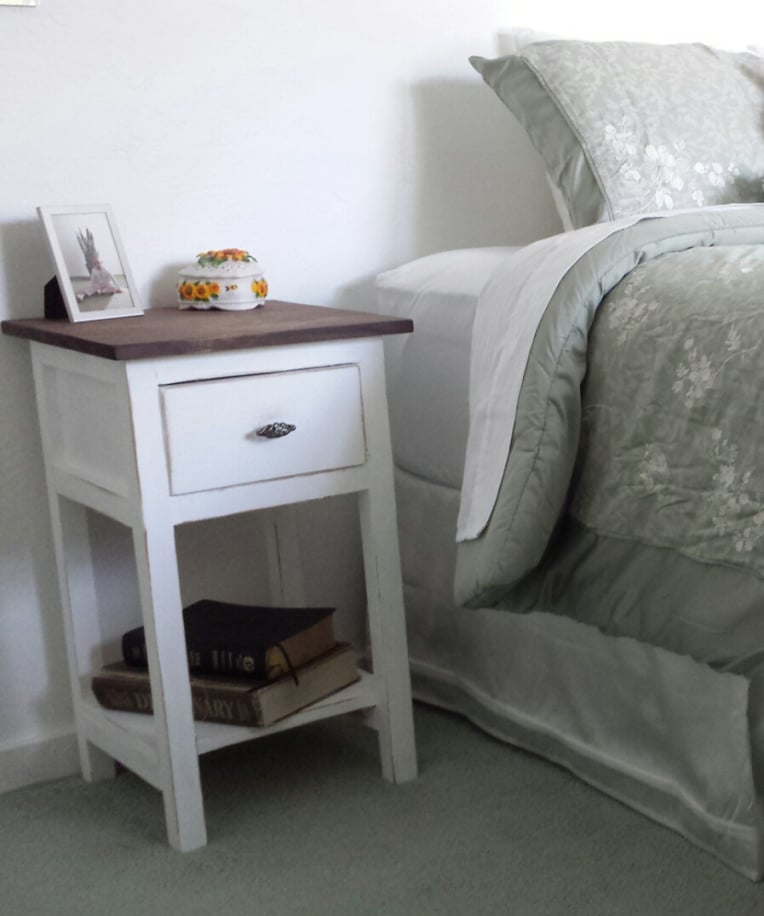
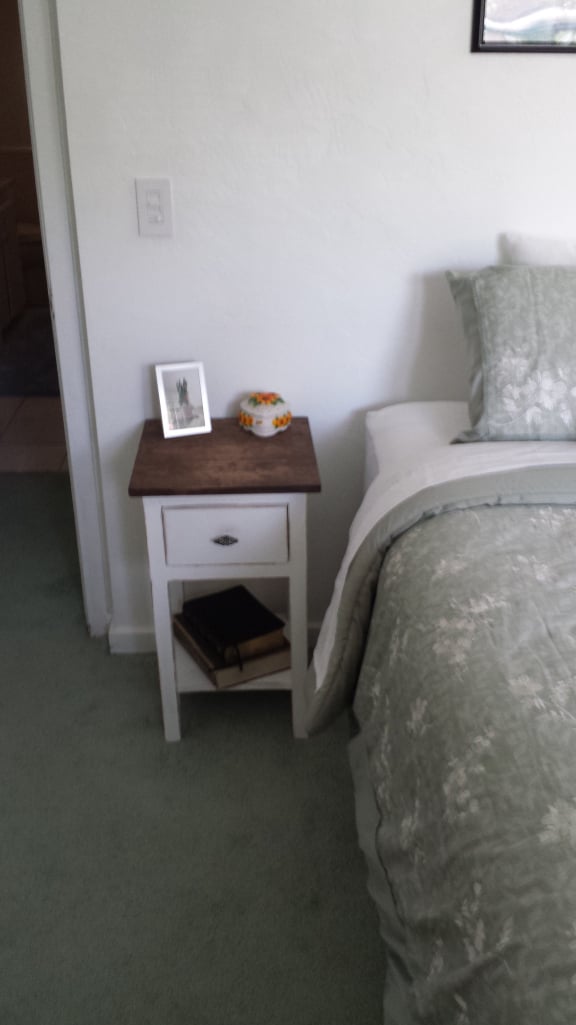
I built this nightstand when my wife and I purchased a new bed. We had to rearrange the bedroom and as such, I no longer had a desk or table on my side of the bed. I wanted something "country" style and after searching through several different plans I found a brag post that fit exactly what I was looking for. Well, technically, I found the original Farmhouse Bedside Table plans and modified them to fit what I needed. It wasn't until after I completed the project that I realized there was a "Mini" version as well. What can I say, I'm not that great as using search. I actually built this over a year ago at this point, and it was the second project I ever built. I learned quite a bit on this project, including the fact your project will only come out as good as your lumber selection! This build actually created my addiction for DIY and woodworking. Thank you Ana!

Estimated Cost
$40
Estimated Time Investment
Day Project (6-9 Hours)
Finish Used
I used Minwax Special Walnut for the entire project, then painted the base and drawer Behr white (their basic white off the shelf, I didn't have the paint mixed) in semi-gloss. I antiqued everything for a more rustic look.
Recommended Skill Level
Beginner

Comments

Planters

Submitted by Liz H. on Thu, 03/31/2011 - 11:33

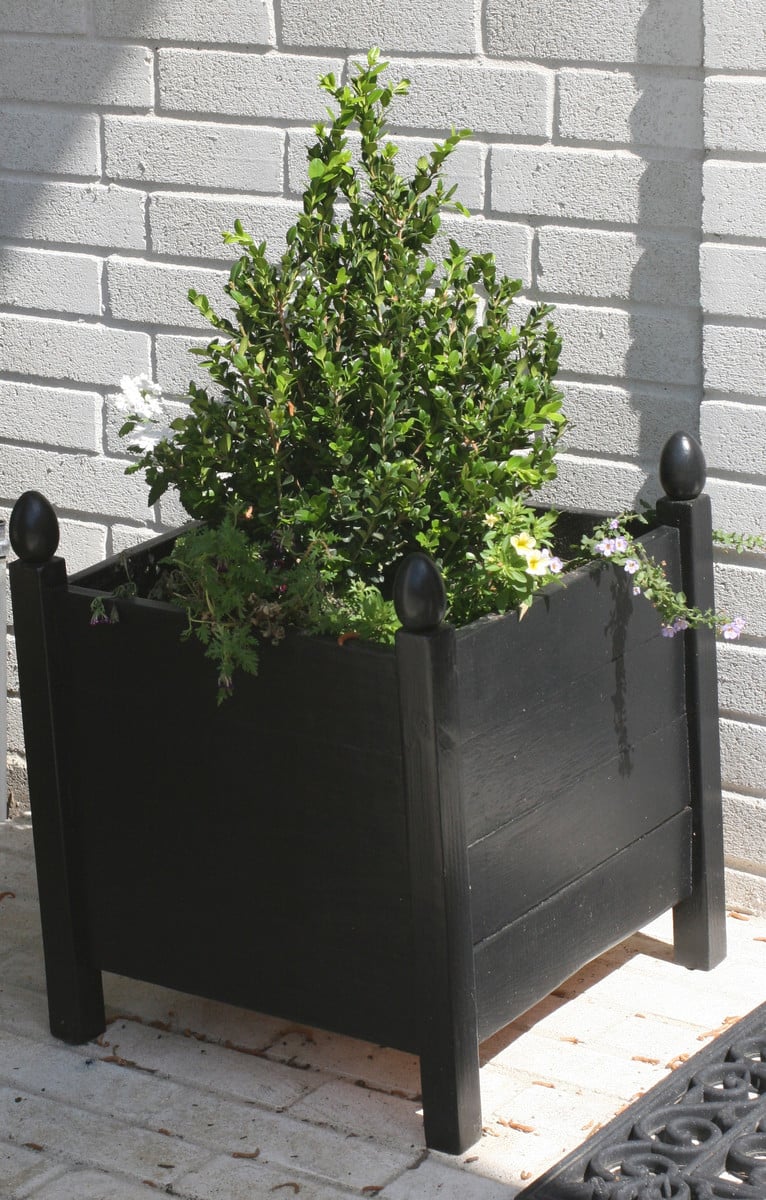
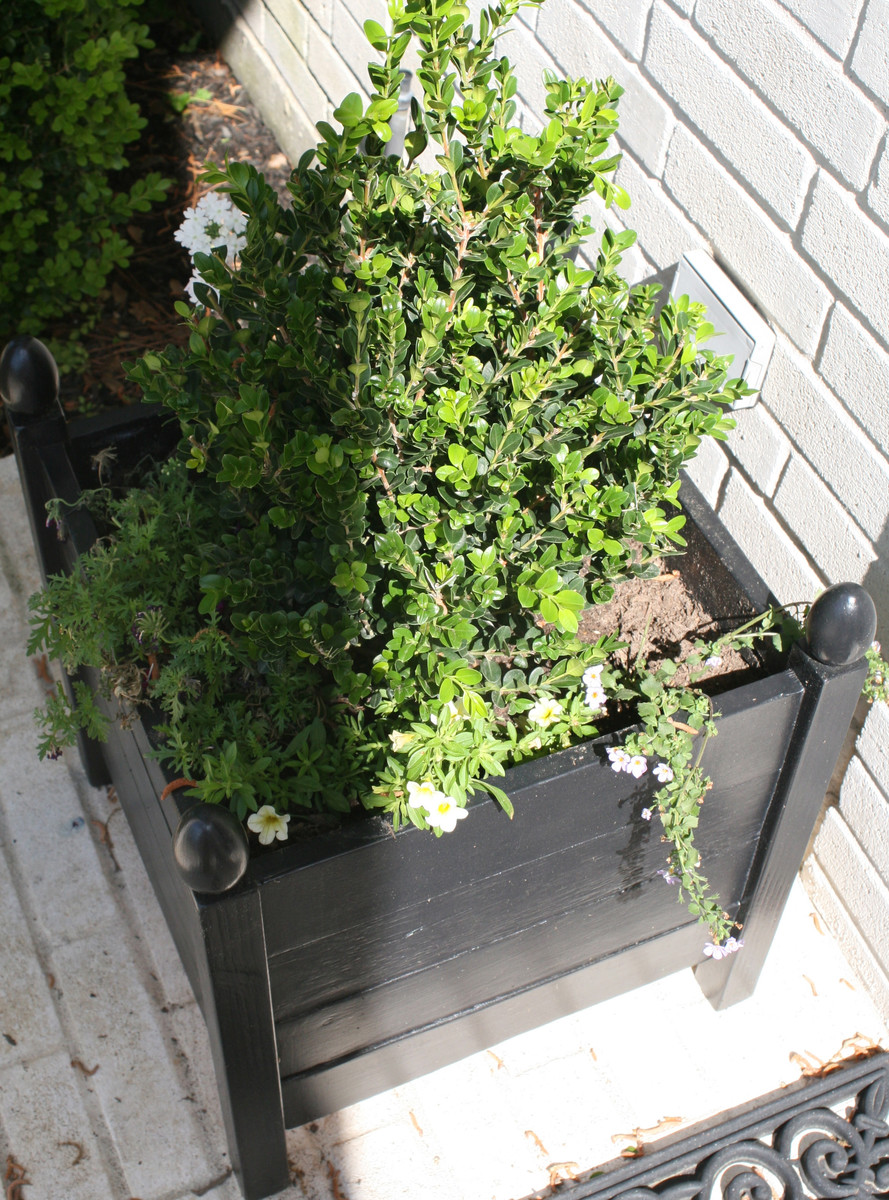
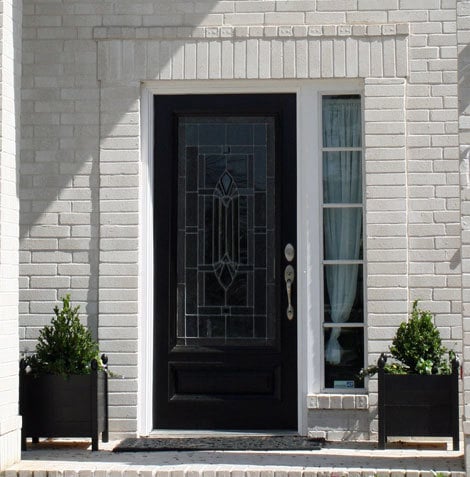
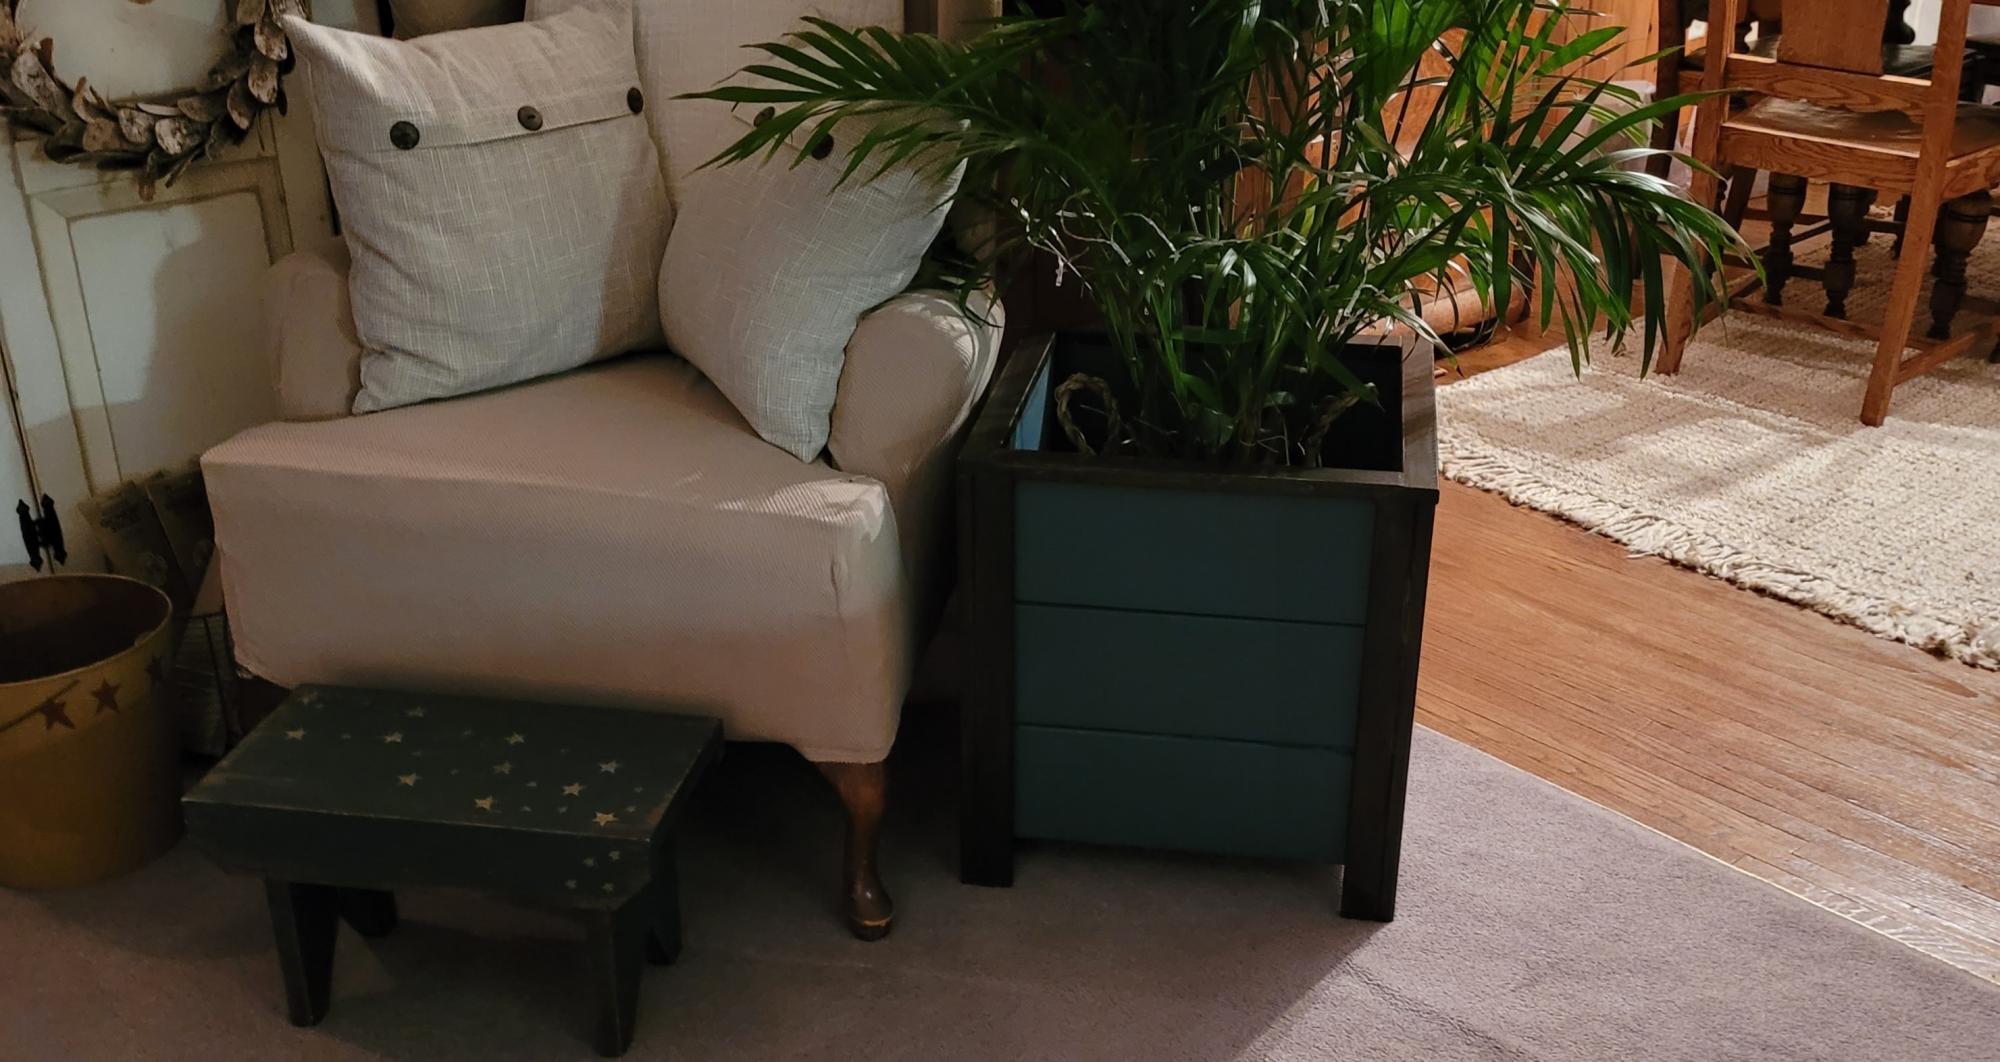
This was a fun easy build...I took the toy box plans and used 1X4s instead of solid sides and bottom.  I cut the legs short and put finals on.  

Estimated Cost
$25
Estimated Time Investment
Afternoon Project (3-6 Hours)
Finish Used
Black outdoor paint.
Recommended Skill Level
Starter Project
Farmhouse table & bench!

Submitted by jamie_C on Sun, 04/03/2011 - 19:42

This was quite the project- took us several weekends to finish (we don't have a garage or really any good working area- we rent.  Oh and we also have a toddler).  We assembled the table in the living room, stained it on our front sidewalk, did a couple coats of poly in the backyard, and finished the last coat of poly in the dining room!  (we know how heavy this table is, that's for sure!  We modified the original farmhouse table dimensions so that this table would fit in our oh-so-tiny dining room.  As you can tell, we also decided to build a bench to go with it.  We are extremely pleased with the results!

Estimated Cost
$125
Estimated Time Investment
Week Long Project (20 Hours or More)
Finish Used
Used wood filler on screw holes, and did LOTS of sanding. Used two coats of Cabot Early American stain. Followed by 3 coats of polyurethane, and 2 coats of Minwax Polycrylic on the table top.
Recommended Skill Level
Beginner

DIY Planter Box

Submitted by Anonymous (not verified) on Sun, 12/12/2021 - 17:37

My very first project. Was so easy thanks to Ana's instructions. Dark walnut gel stain and Fusion Seaside. Thank you so much Ana.

Comments

Barnwood Frame

As part of a redecorating project using reclaimed barn wood for our guest bedroom, we constructed this window frame to display some photos from one of our siblings of barns found in Iowa.

The dimensions are 44” X 33” with each photographic image being 11” x 16.5”.
Since the wood had so many bore holes, we used ¾” redwood under the visible fascia for added strength.

Cost - $75 / 4.5 hours to build.

http://ana-white.com/2009/12/plans-barnwood-frames-1-and-10-minutes.html

Estimated Cost
$75.00
Estimated Time Investment
Afternoon Project (3-6 Hours)
Finish Used
None
Recommended Skill Level
Intermediate

triple pedestal dining table

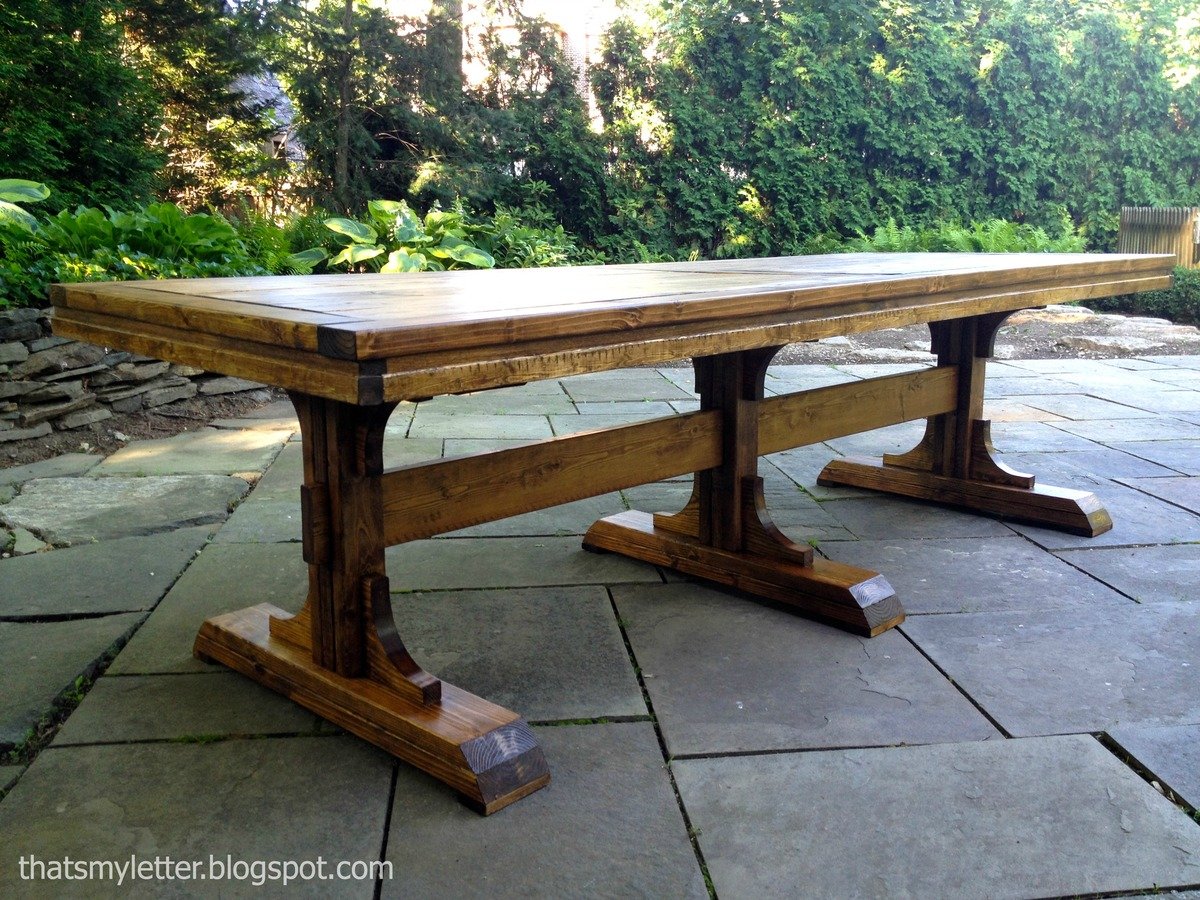
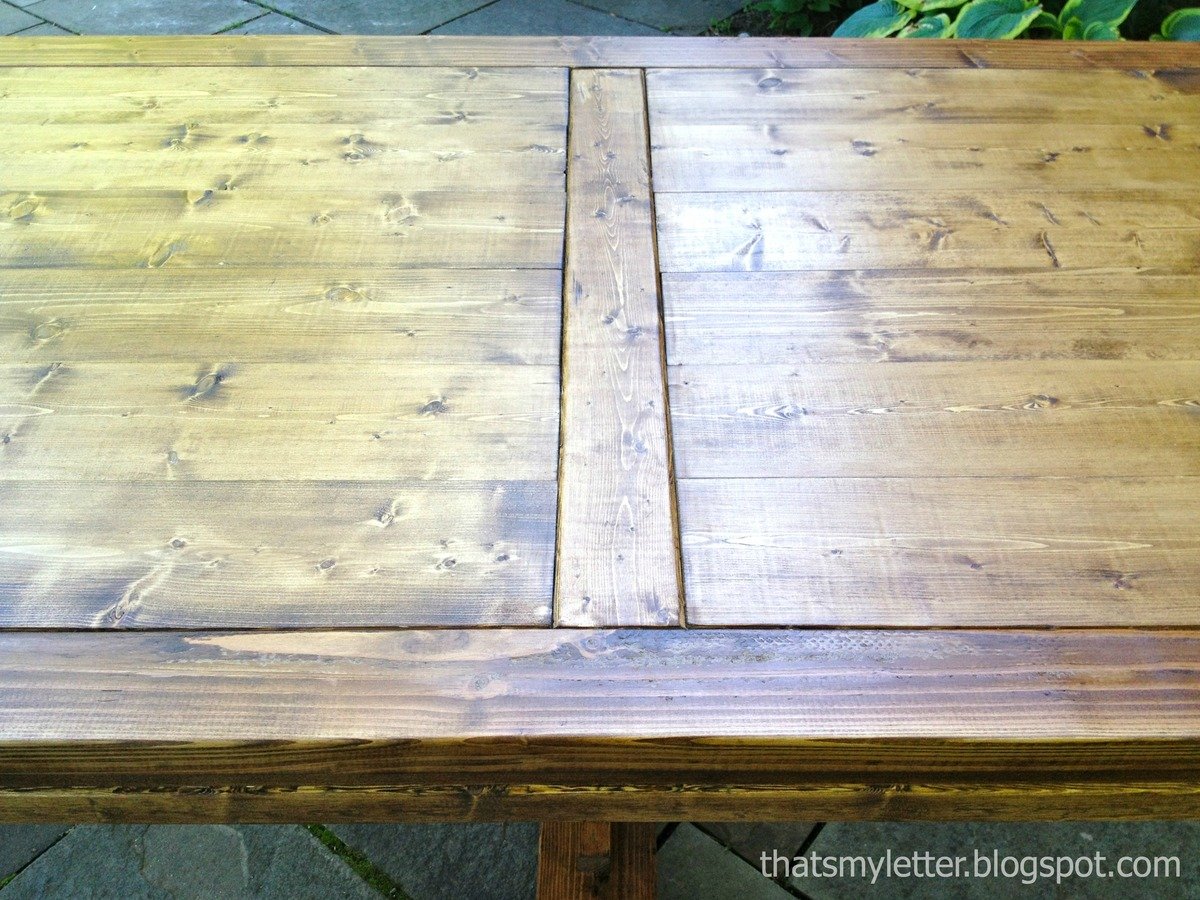
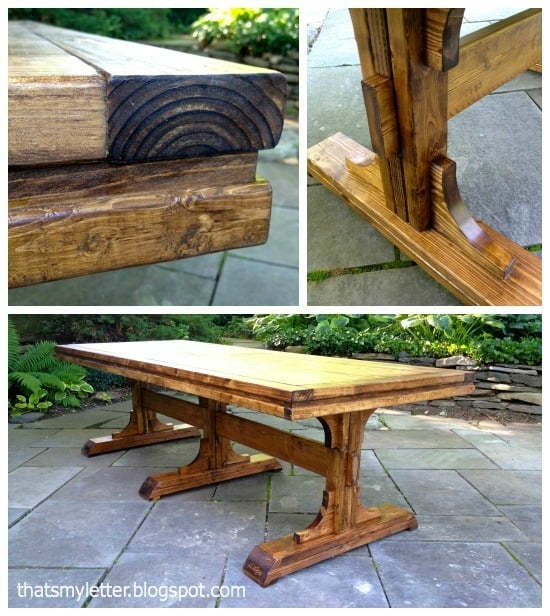
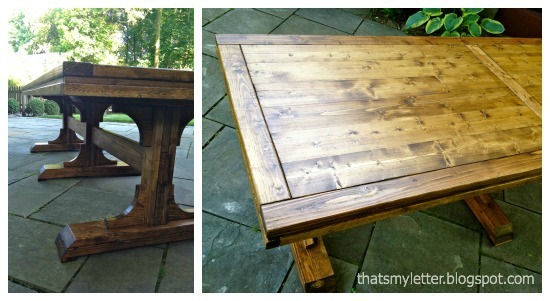
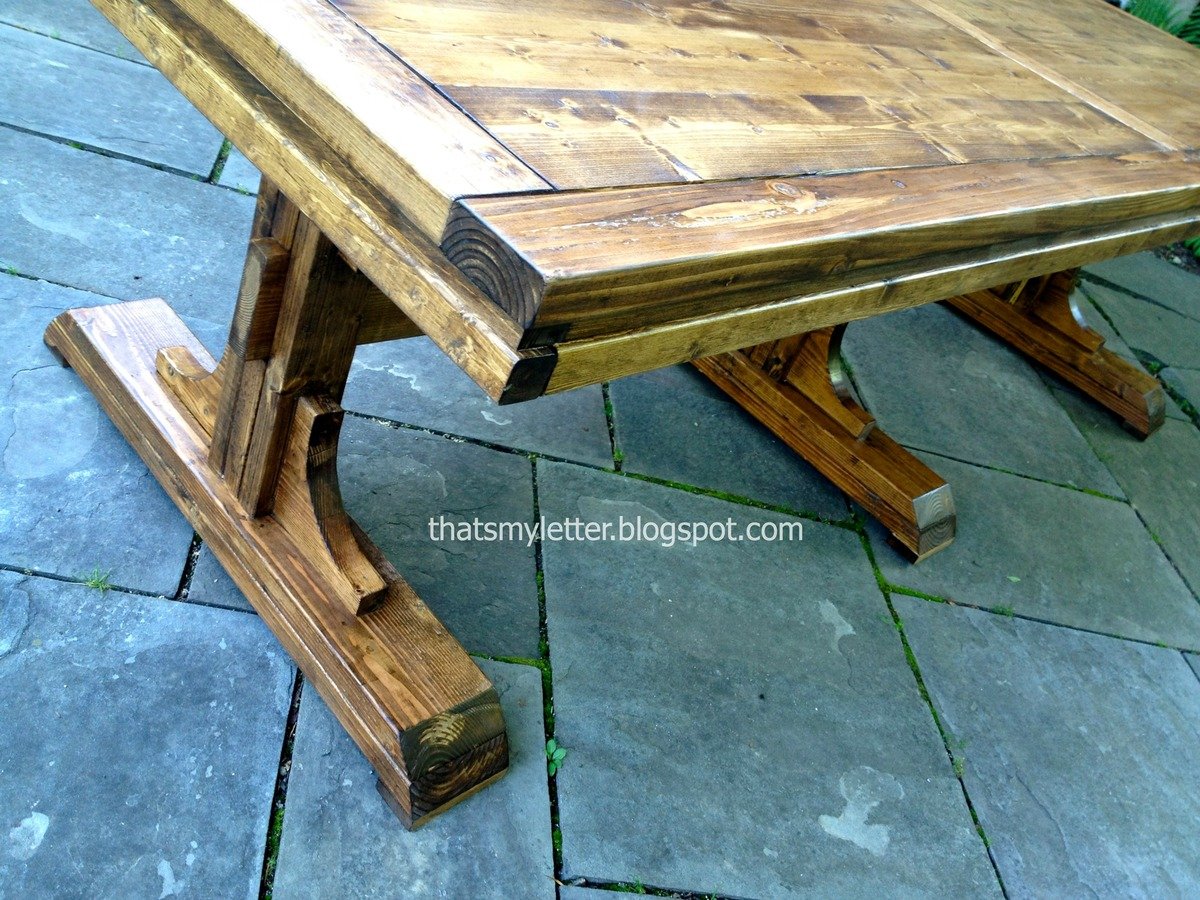
This table is enormous at 106" long made from pine boards and fir studs. A very easy build considering the final outcome, totally doable by any DIYer.

Built from Plan(s)
Estimated Cost
$200
Estimated Time Investment
Weekend Project (10-20 Hours)
Finish Used
1. Minwax provincial stain
2. Two coats Minwax polycrylic clear satin
Recommended Skill Level
Intermediate

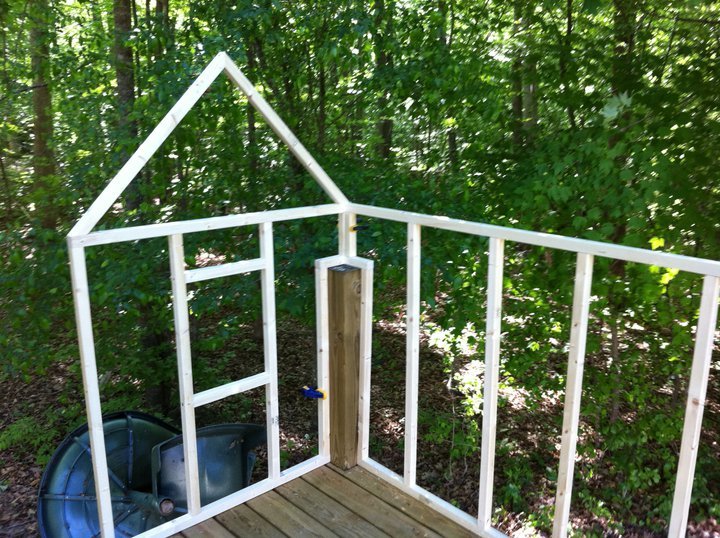
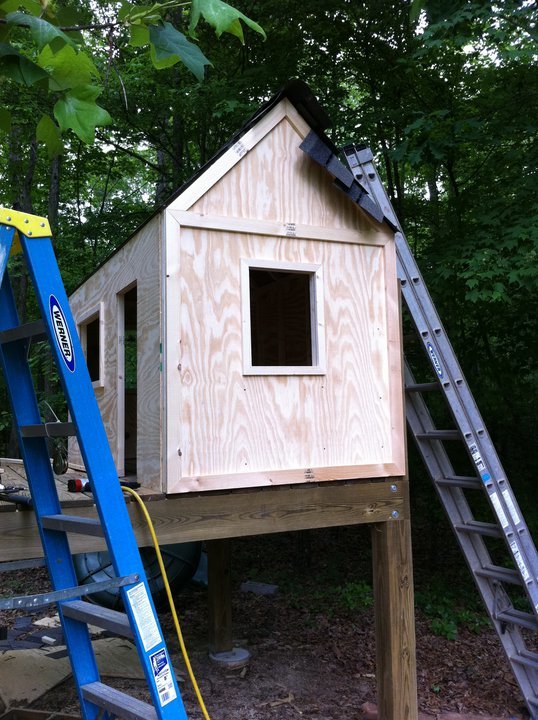
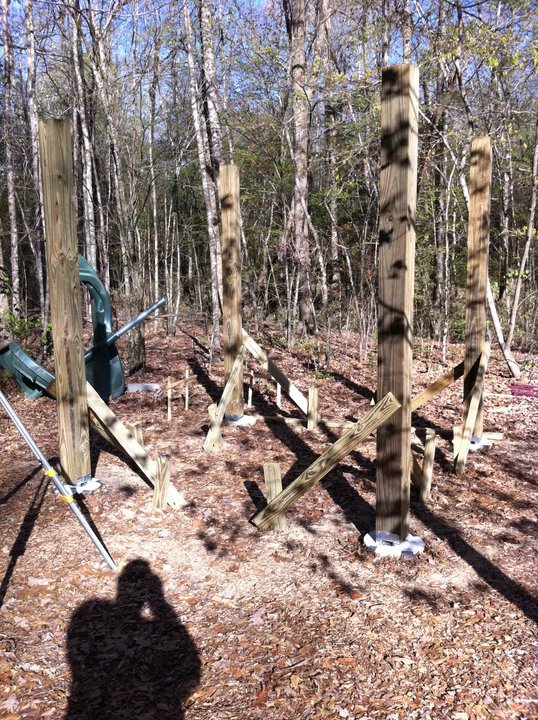
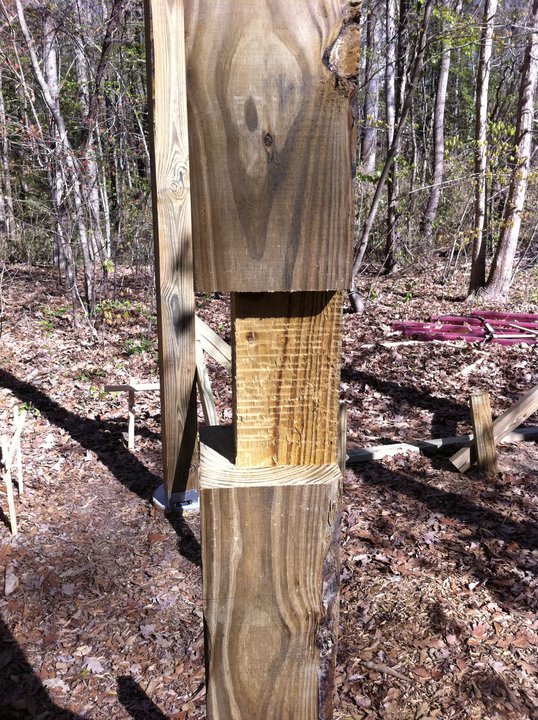
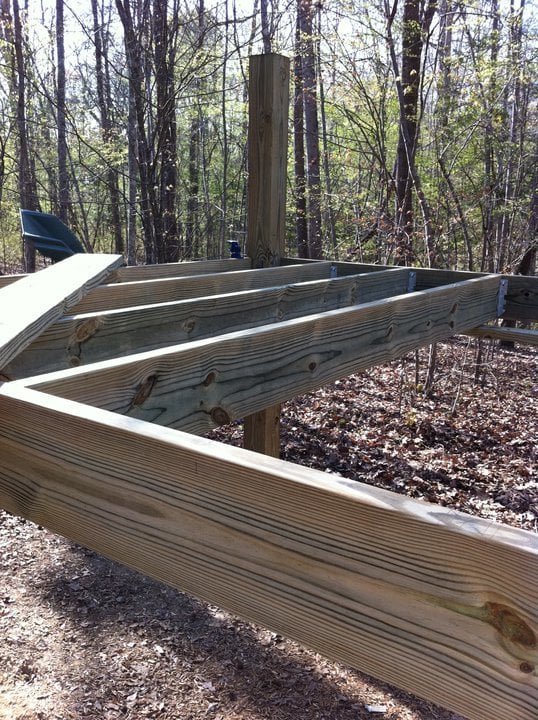
Playhouse in-progress

Submitted by DoctorEw on Mon, 05/02/2011 - 06:49

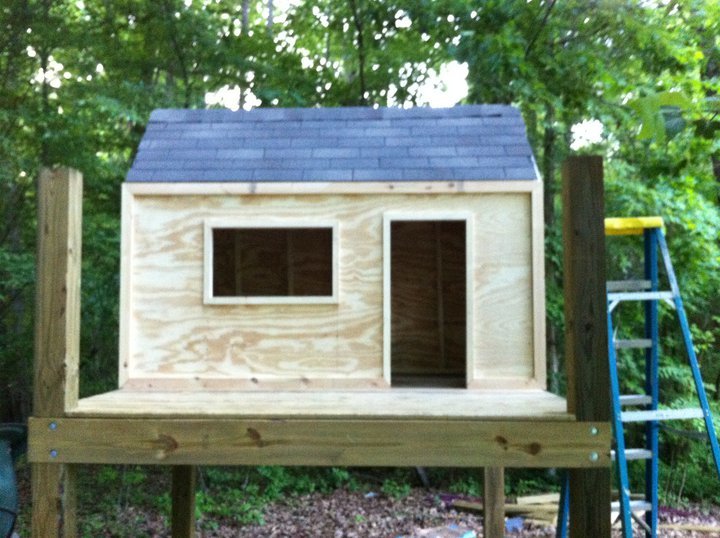
Due to rain (and horrible ability) this project has been taking a LONG time it seems. =) We had one of those "cheap" playsets from one of the warehouse clubs that would scare me to death anytime my girls got to swinging on it. So... we knocked it down and I took some liberty with the details from Ana's playset plans.

Estimated Cost
~$600 so far (concrete, wood, fasteners, shingles, etc..)
Finish Used
Will paint
Recommended Skill Level
Intermediate

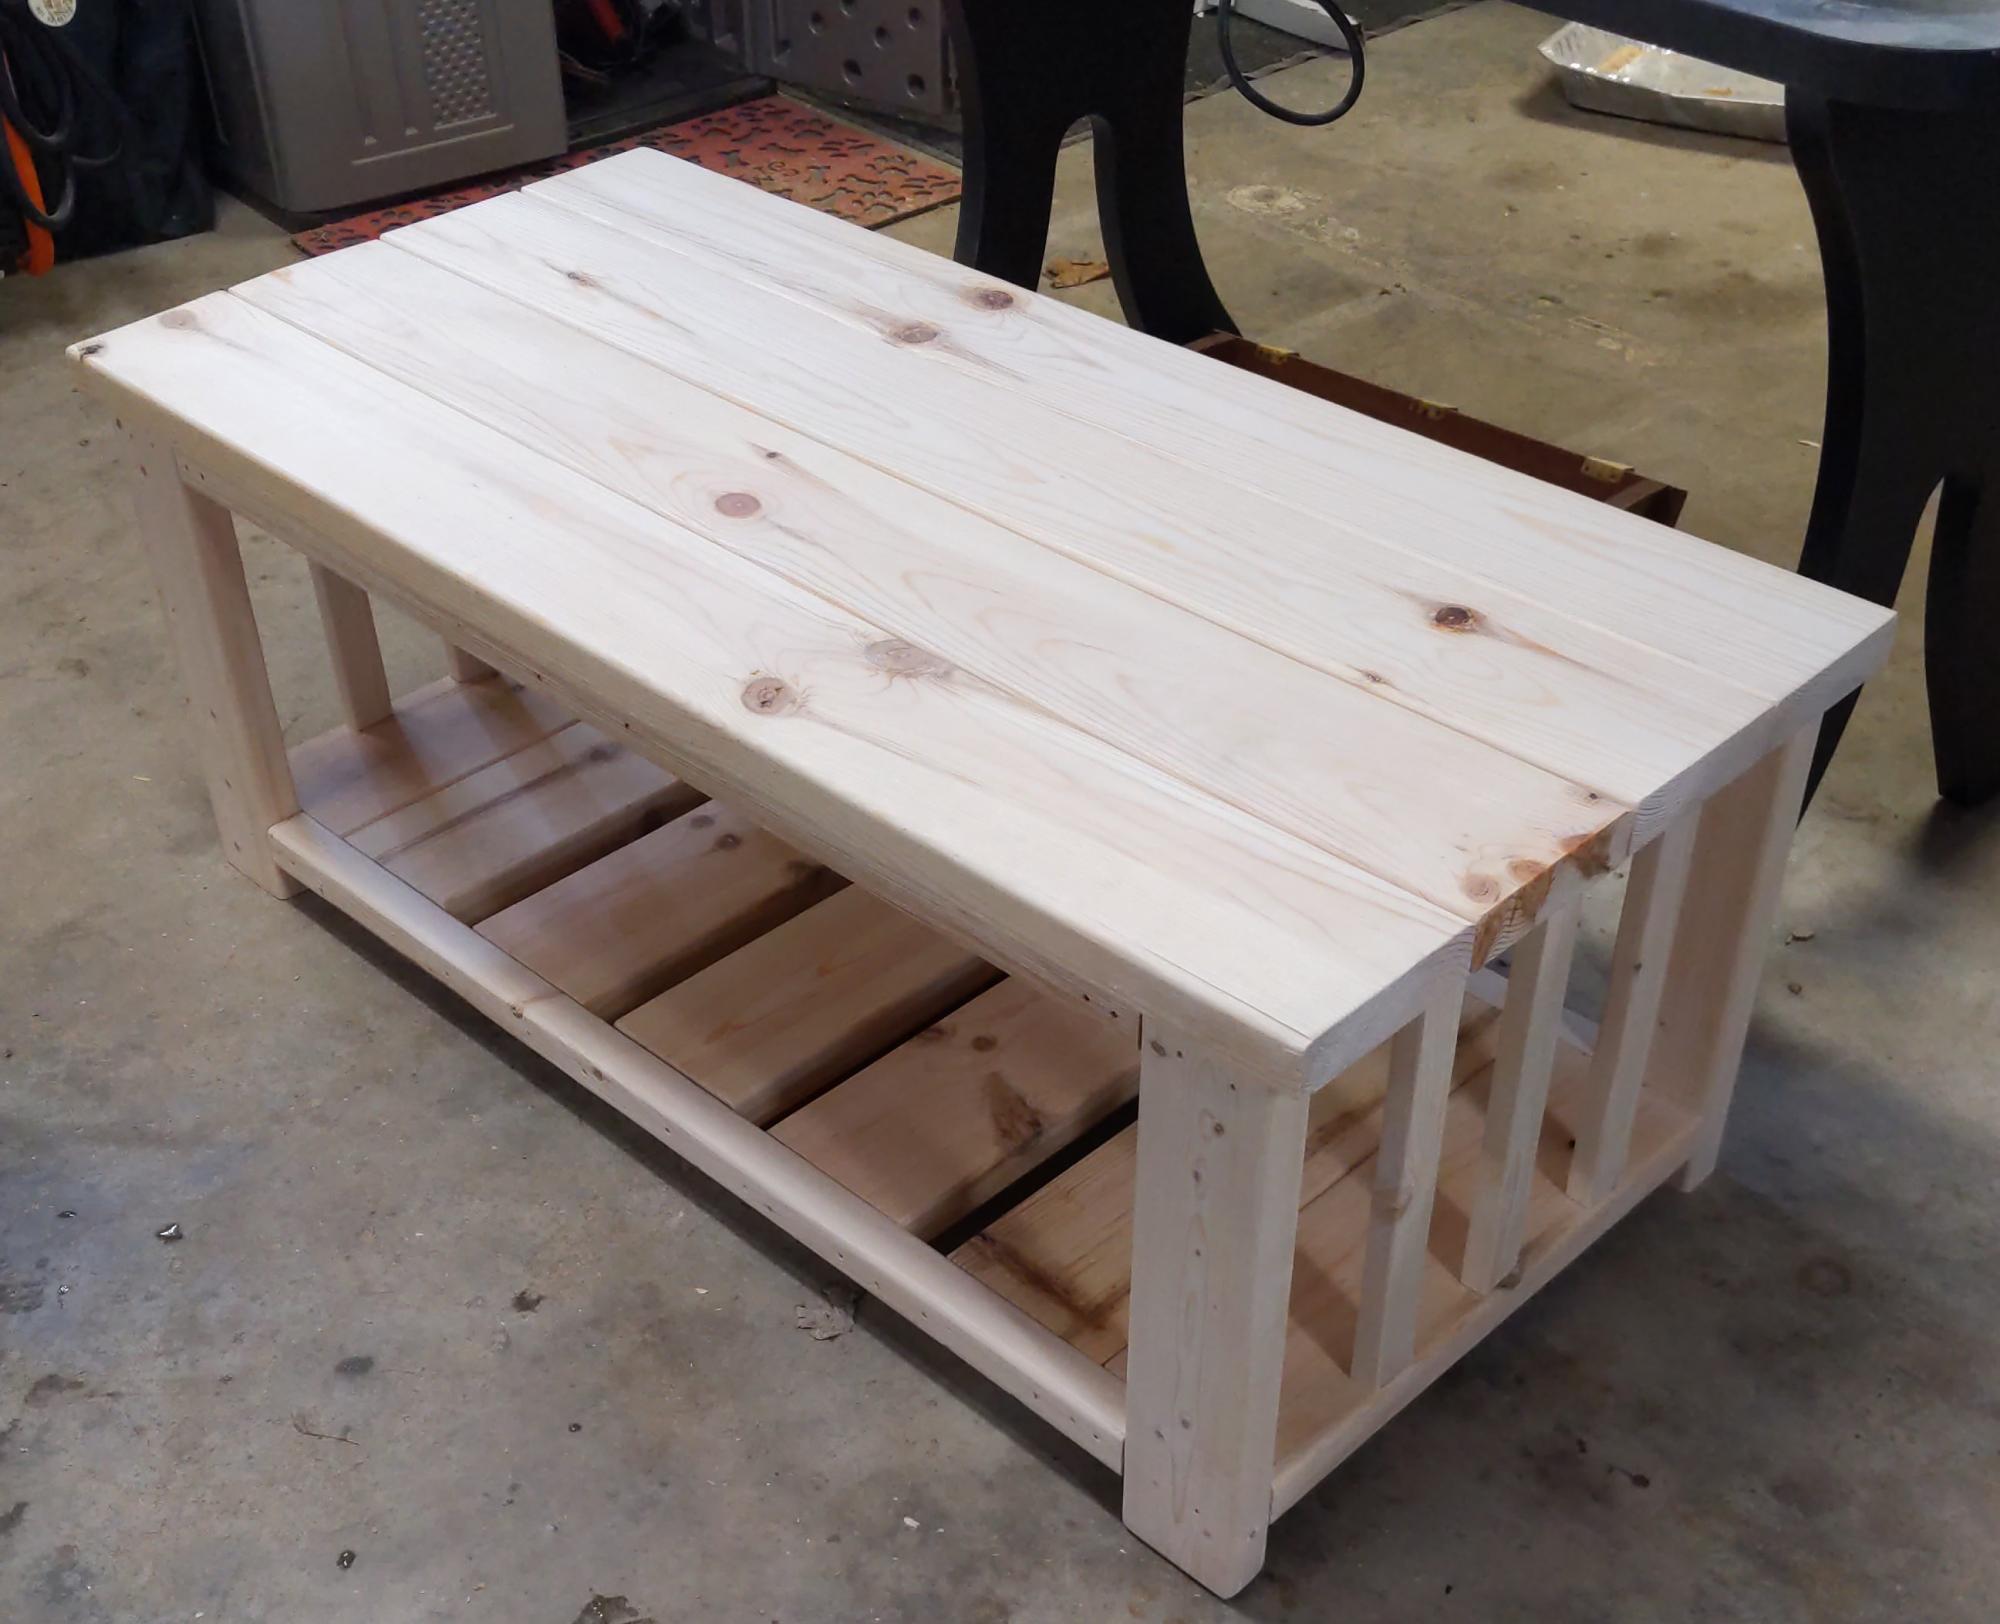
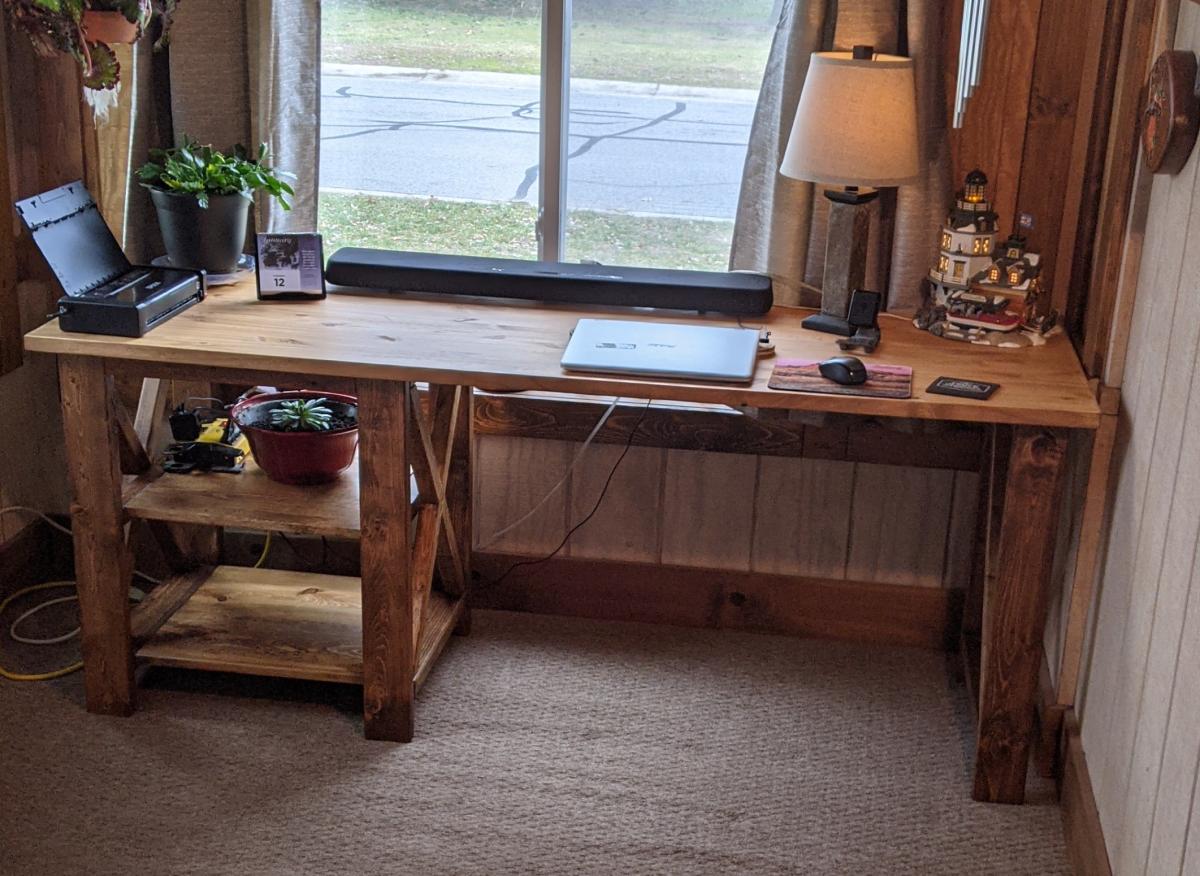
My first coffee table and desk!

Submitted by Anonymous (not verified) on Mon, 12/27/2021 - 03:59

Ana, thanks for the online lessons! I’ve built four desks and the coffee table. Having fun too great retirement gig!
Ron from Ohio

Comments

Shoe dresser

Submitted by RoseOfShaz on Thu, 07/04/2013 - 15:26

I didn't build this shoe dresser because I particularly needed one, but it looked so lovely that I couldn't resist.

- I modified the plans by building 3 bins instead of 2 so it could hold more shoes.
- I decided against the dowel stick and opted for hinges instead, which were surprisingly not too difficult to assemble. I found that I didn't even need the magnets after installing the hinges as the doors stay closed.
- I used 7" chains on both sides of each bin instead of a belt to make it extra sturdy.
- I added two back legs.

Et voila! This is the end result. I'm very pleased.

PS. Those flopping bins are a pain when you're trying to build!! An extra pair of hands is definitely recommended.

Built from Plan(s)
Estimated Cost
$150 (with extra bin)
Estimated Time Investment
Weekend Project (10-20 Hours)
Finish Used
Walnut (can't remember the exact name of the stain, but it's the one Shanty 2 Chic always uses!)
Recommended Skill Level
Intermediate

Comments

SoCaliforniaMel

Fri, 07/05/2013 - 22:49

Pretty :) Good Job. Now if I only had the space for one thats 10 rows high :P I like the stain color too. Shanty 2 Chic always uses Rust-o-leum. I think its called dark walnut. Dont quote me though. I love the stain and spray paint combo colors they use.
~Melody

Nursery Room Book Shelves from $10 Ledge Plan

Submitted by karahart on Wed, 05/11/2011 - 08:42

I built these bookshelves with the help of my husband for our daughter's nursery. They were so simple to build, the finishing work is what took the most amount of time. They're very sturdy, and we get tons and tons of compliments on the 'feel' that they add to the nursery!

Built from Plan(s)
Estimated Cost
$35
Estimated Time Investment
Afternoon Project (3-6 Hours)
Finish Used
I put on a coat of white primer, and then painted quite a few coats of ultra-white paint on each shelf. I sanded between each coat of paint, and finished it off with a top coat of polycrylic. I also filled in the screw holes with white caulk and painted over that once they were all mounted.
Recommended Skill Level
Starter Project
Inspo + Direction

Submitted by CarrieLJP on Tue, 01/16/2018 - 15:36

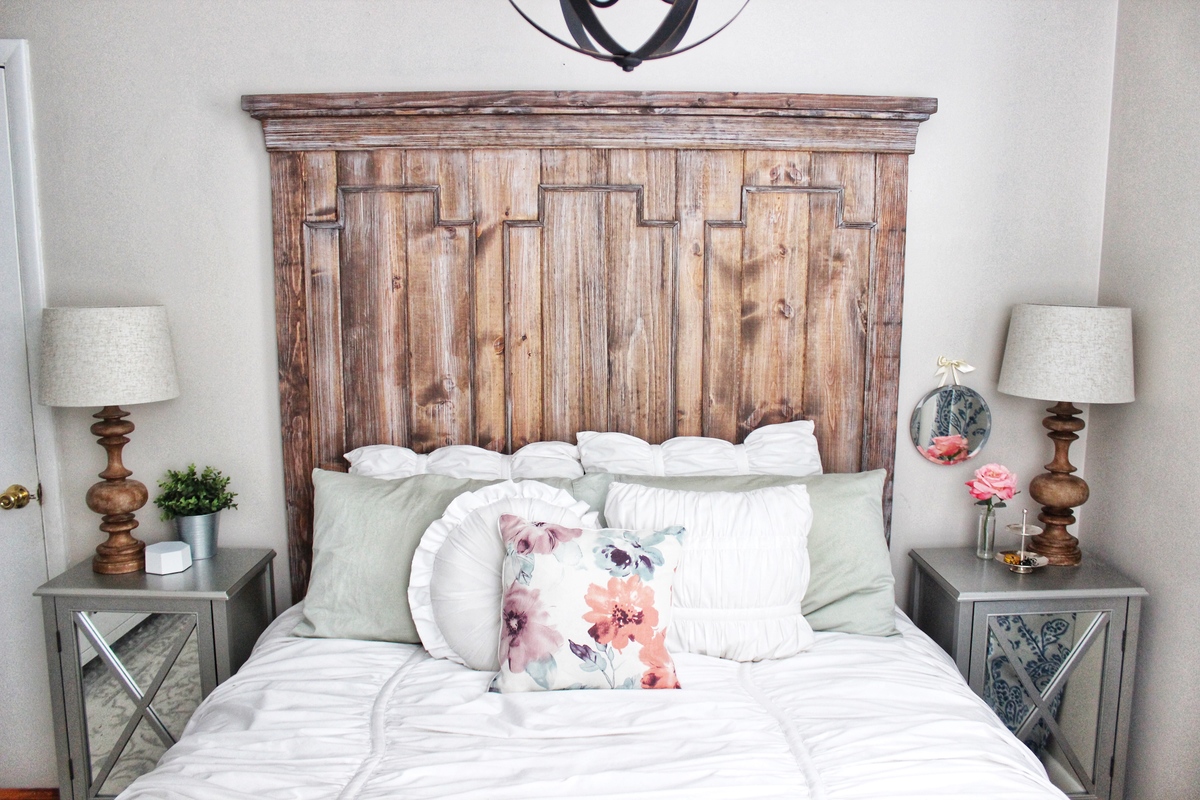
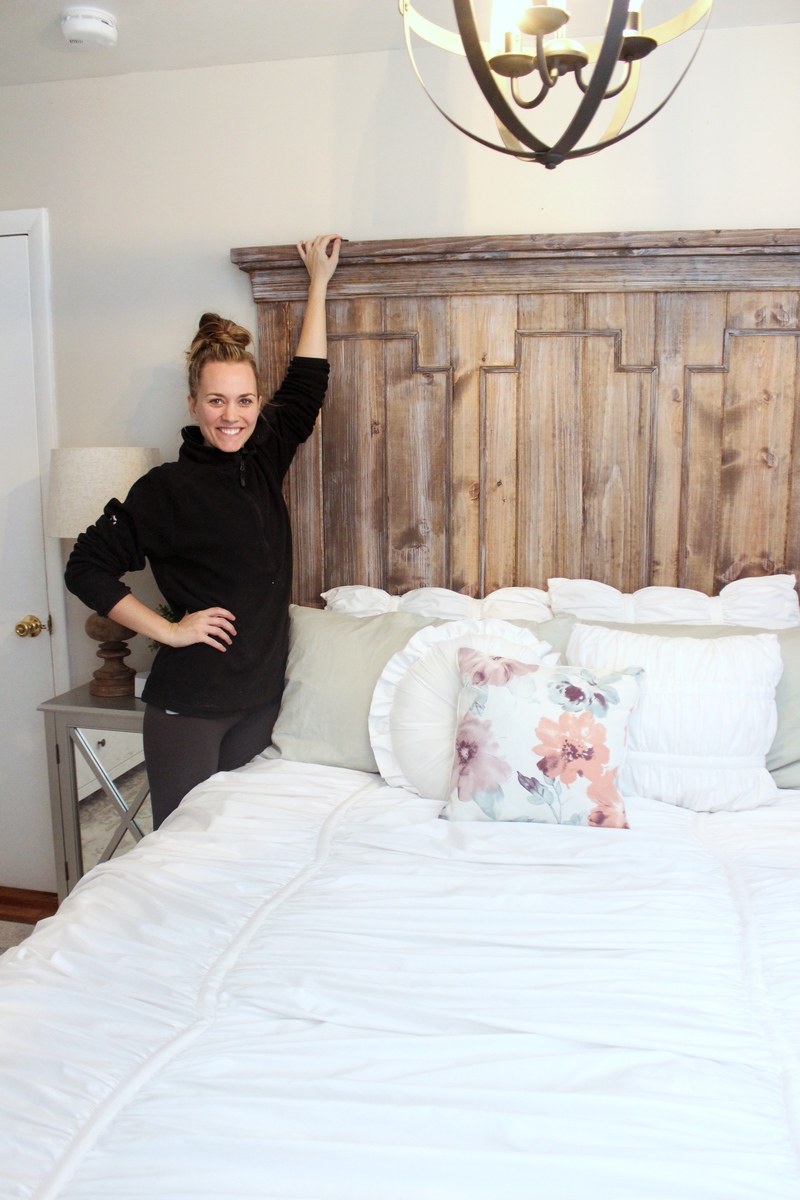
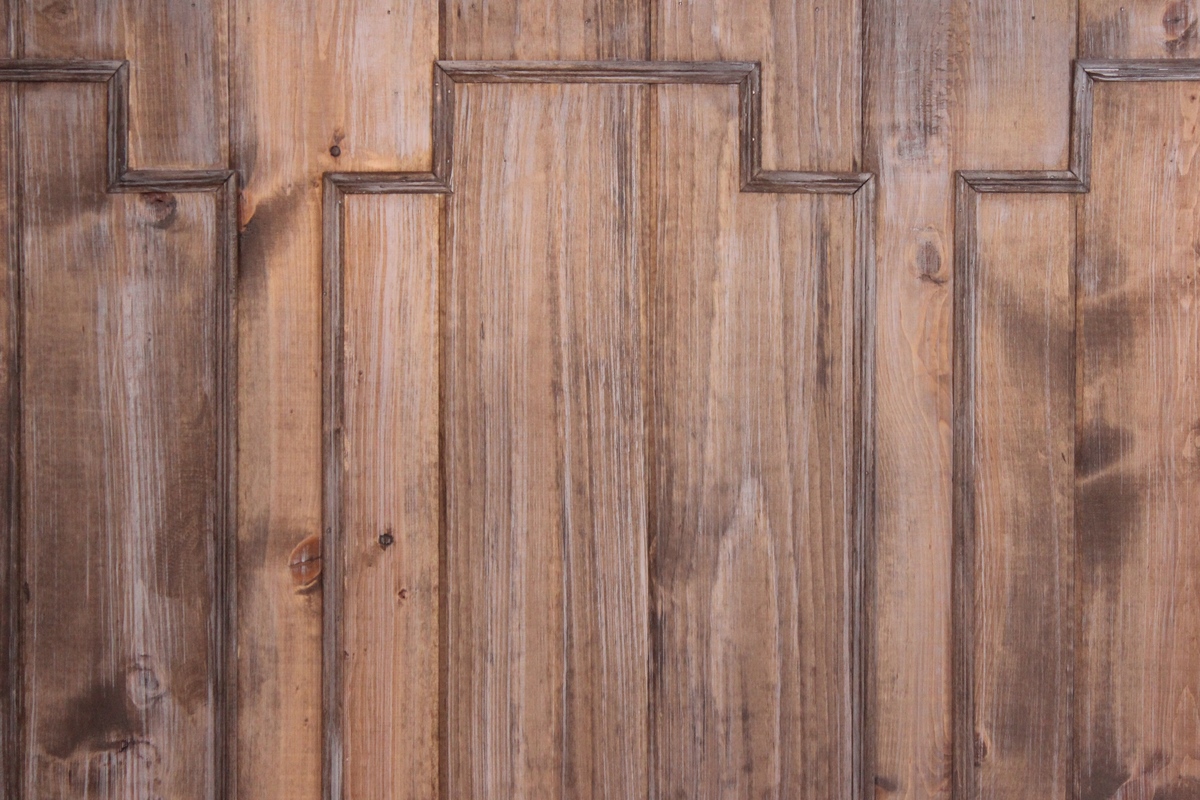
I fell in love with a headboard I found on Houzz that was priced over $1,500. I knew I wanted to build it myself but I had never built a headboard to this scale before. Several headboards from Ana's site helped give me direction and this is what I ended up with. My husband and I build furniture for a living, so we had plenty of lumber around to put most of the body together, but we don't often work with trim in such fine detail, so that added significantly to the cost (and time) invested. If I had to guess though, the headboard as we built it was probably around $125.

Built from Plan(s)
Estimated Cost
$100-$125
Estimated Time Investment
Day Project (6-9 Hours)
Finish Used
Special Walnut stain (let sit for 20+ minutes before wiping off), dry-brush white wash, finished with Johnson hard wax.
Recommended Skill Level
Intermediate

12 ft farmhouse table with extensions - reclaimed wood

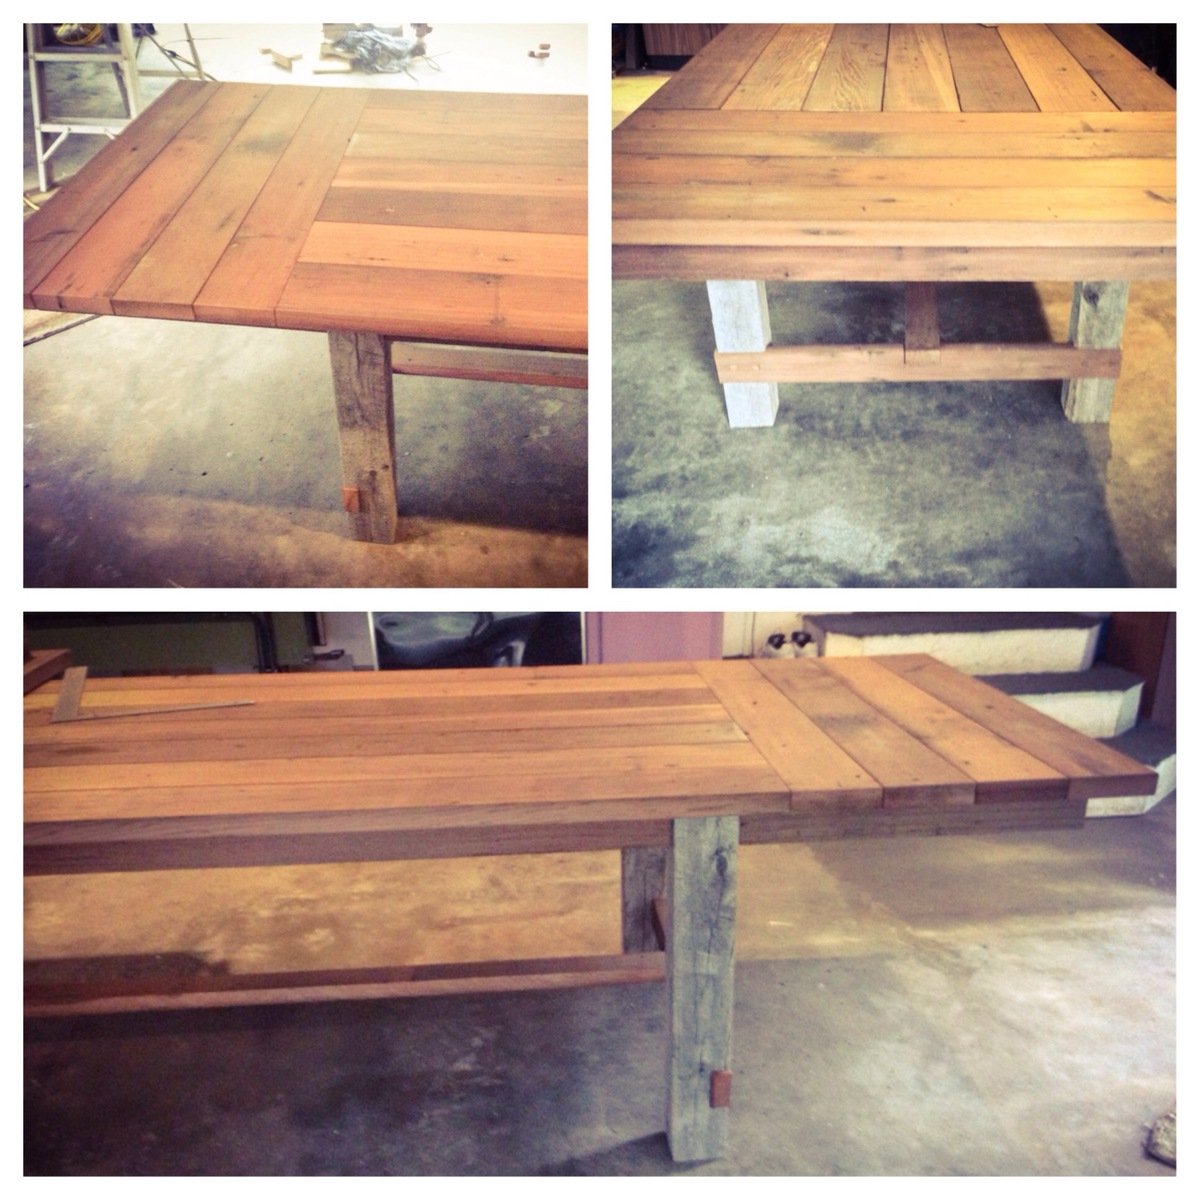
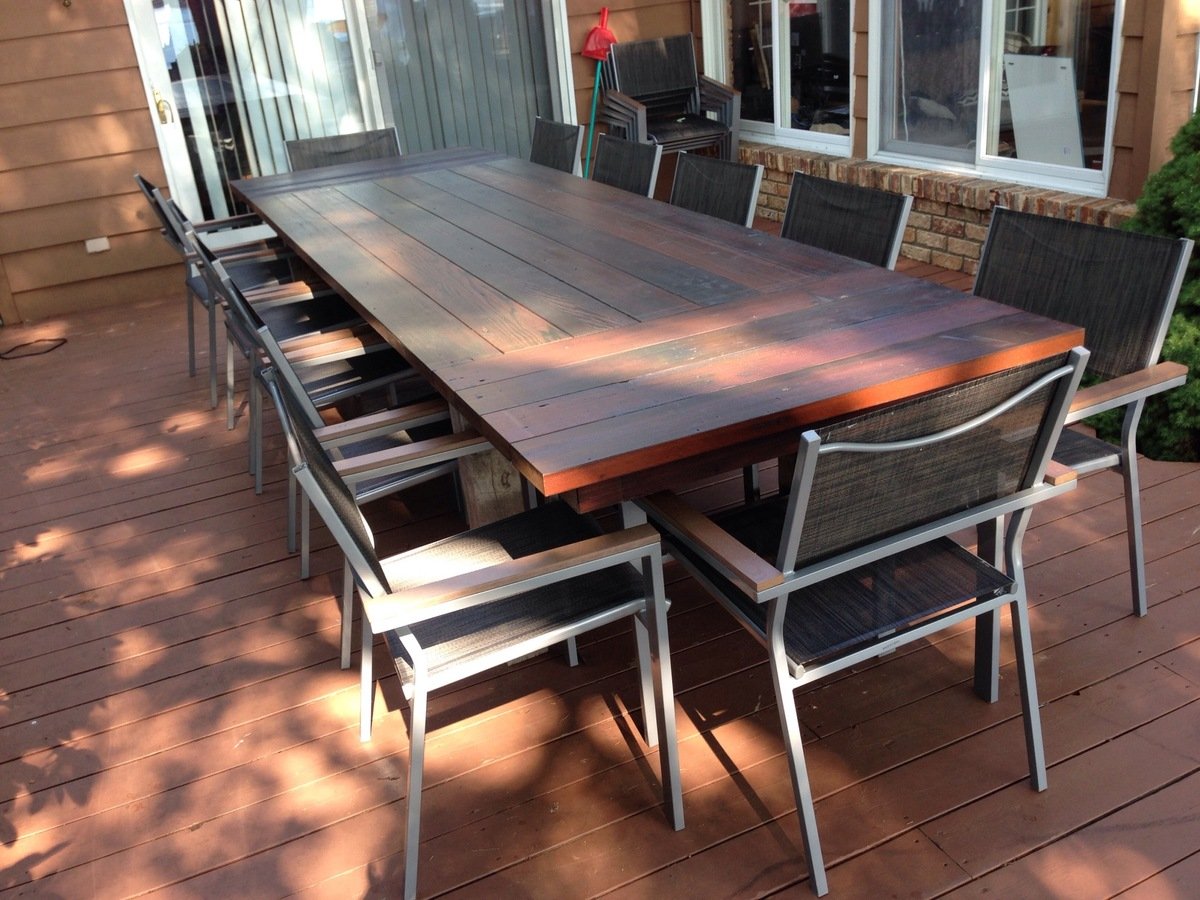
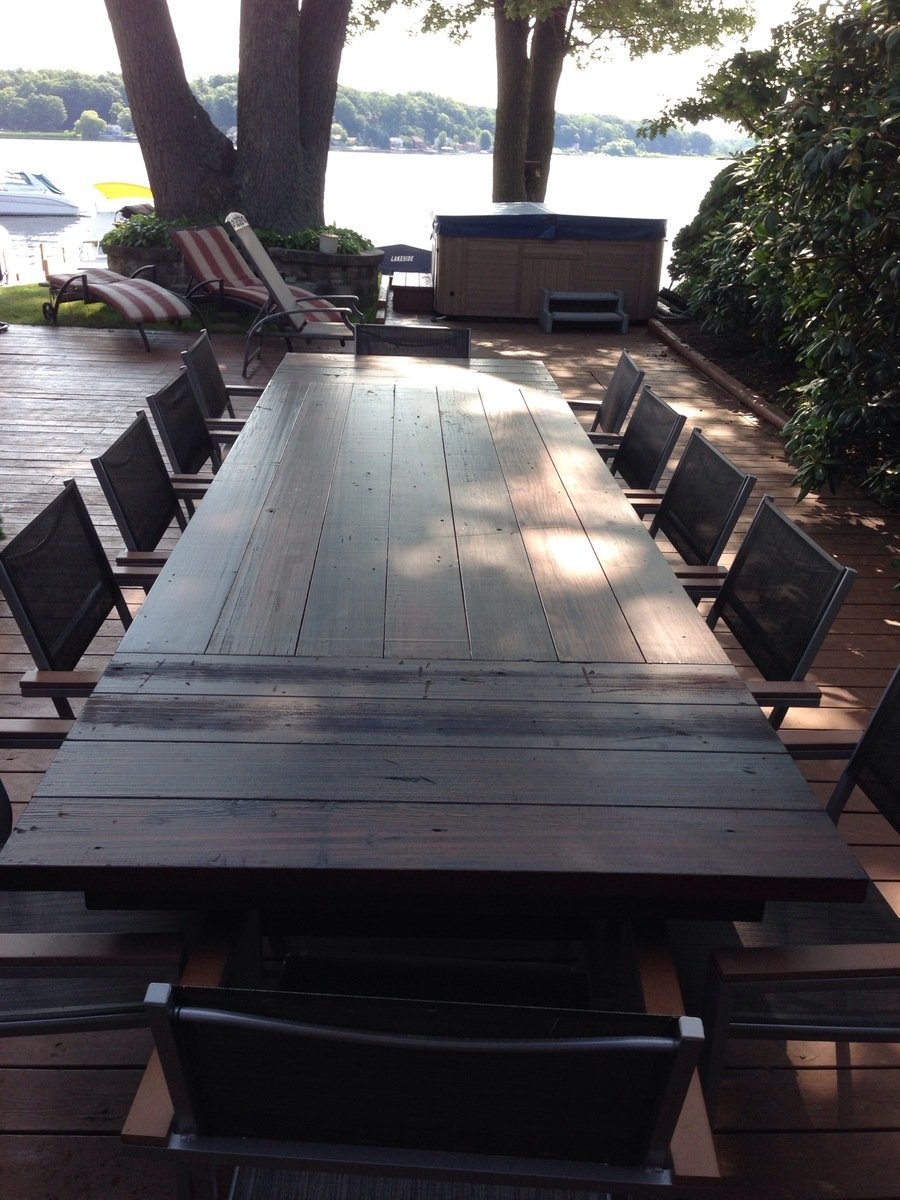
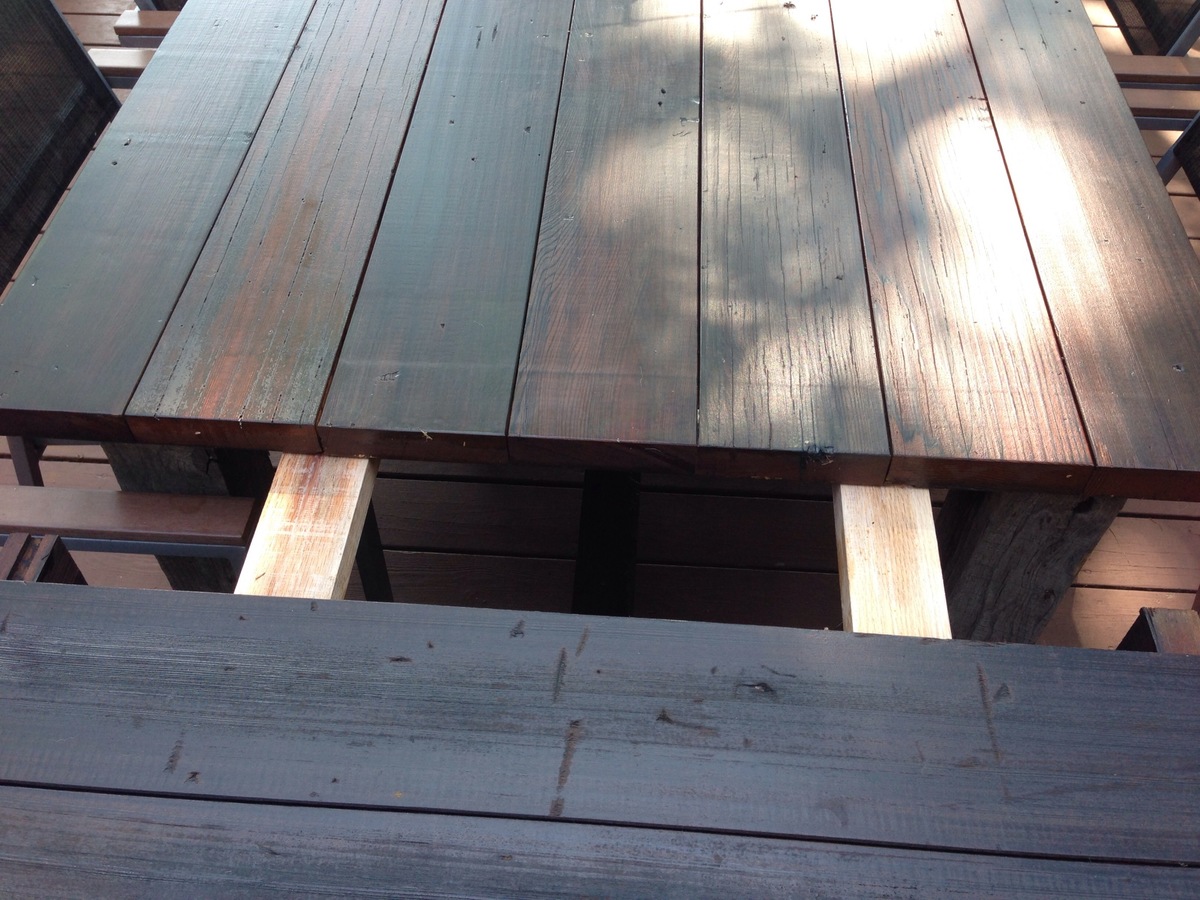
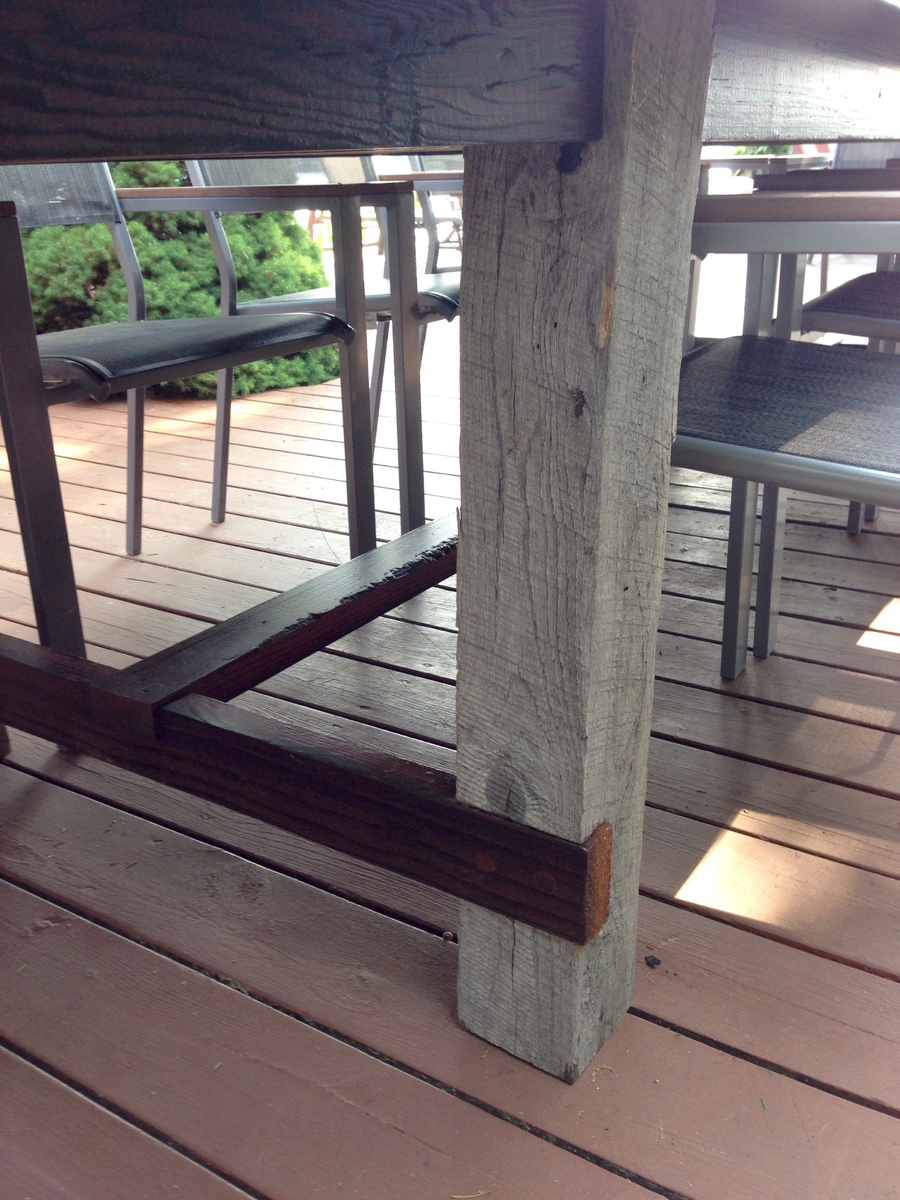
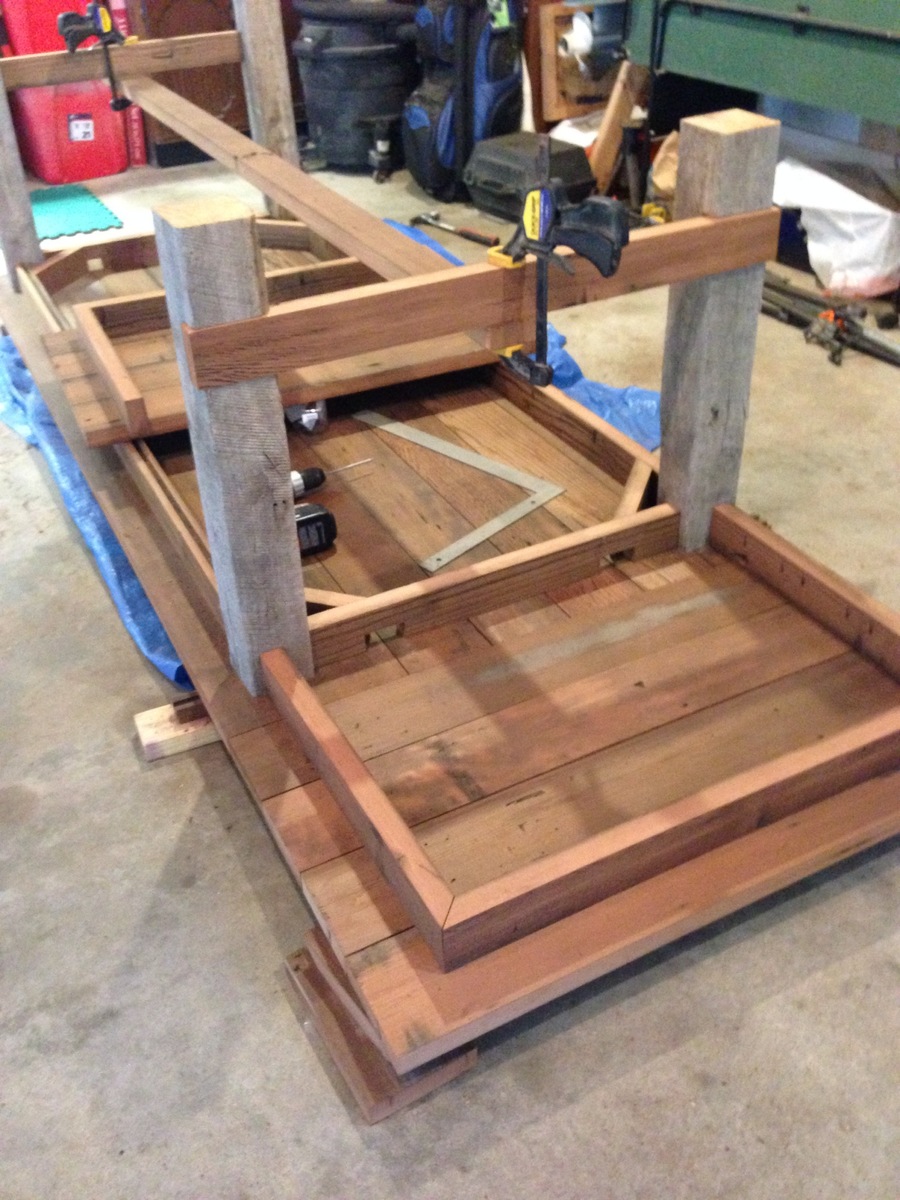
I had no experience building furniture prior to this project but I wanted a 12 ft outdoor table and could not find one.  This tables center section is 8 ft and was built roughly following the plans for the farmhouse table.  I added two 2 ft extensions at each end making the overall table 12 ft.  The extensions included aprons so when installed they look to be part of the table.  The extensions just plug into the end apron of the center section with 2x4 oak braces which engage in the apron and under the table approximately 2 ft from end.  There is no visual sagging of the extensions. I finished the table with Sikkens DEK finish.


Estimated Cost
The lumber was reclaimed and cost approximately $400 for this project.
Estimated Time Investment
Week Long Project (20 Hours or More)
Finish Used
Sikkens DEK transparent
Recommended Skill Level
Beginner

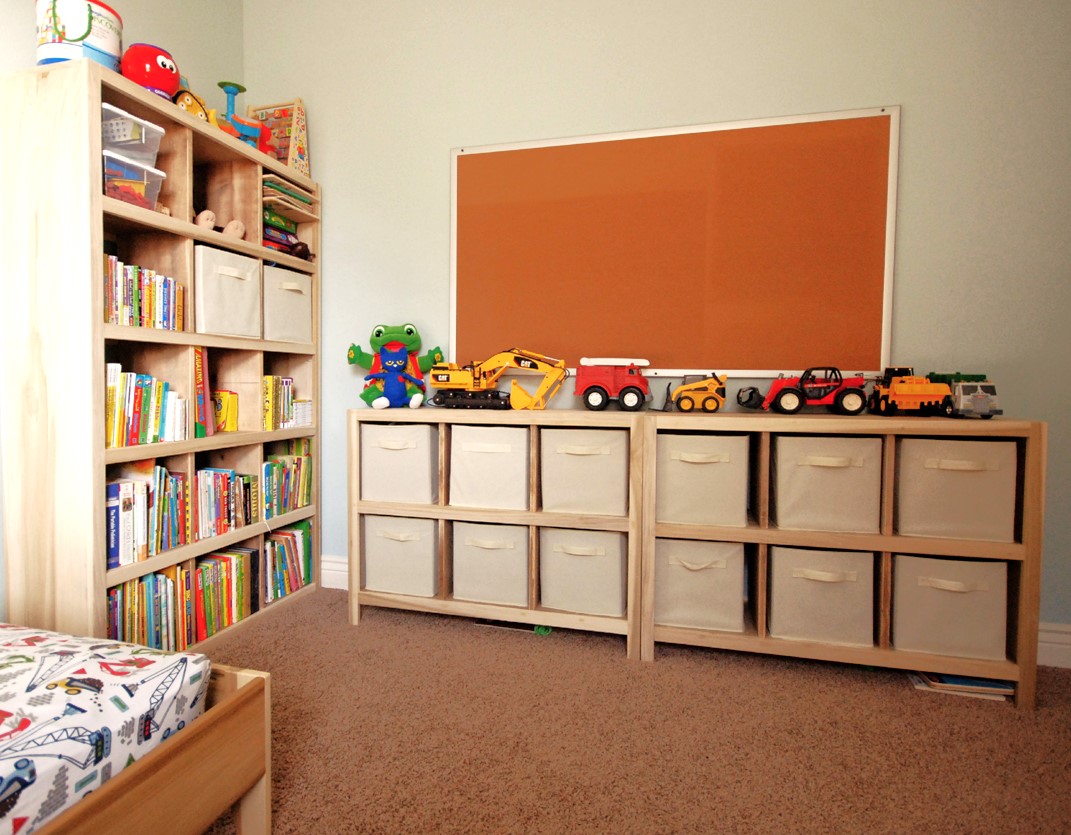
6 Cube Bookshelf - Poplar

Submitted by kev117s on Tue, 07/28/2015 - 18:29

I built this set of cube shelves for my 3 yr old son's room. THANK YOU, ANA! I used poplar as I did not want to paint the wood and I love the irregular pattern of the wood grain. To save money, I used pine for the inner shelves and dividers. I stained it using the oxidized solution (http://www.friendly-home.net/2012/05/oxidized-x-console.html) that Ana recommended from the instructions of the Rustic Console. I added a cup of coffee to the solution to get a darker browner shade and unevenly sanded the wood for the distressed look. It matches the poplar wood more so than keeping the pine wood as is.

I also created a 5-tier version to match the 6 cube shelves but did not include the legs. I thought it would be more stable to keep the lower frame on the ground.

I purchased the storage boxes from Amazon It was around $20 for 6 boxes!


I am ready for the next project!

Built from Plan(s)
Estimated Time Investment
Week Long Project (20 Hours or More)
Finish Used
Oxidized solution for the shelves and dividers.
Recommended Skill Level
Beginner