8 Foot Rustic X Console
![](/sites/default/files/20181226_192007.jpg)
Was inspired to build this to go behind our sectional. Next year, it will house our Christmas town.
![](/sites/default/files/20181226_192113-2.jpg)
Was inspired to build this to go behind our sectional. Next year, it will house our Christmas town.
My daughter has a small 1 bedroom appointment and needed a place to eat. I built this table and stools to give her and her friends somewhere to gather. The stools came out darker than expected after I put a harder finish on it. They we’re getting scratched up from the sitting on them. But over all she loves it.
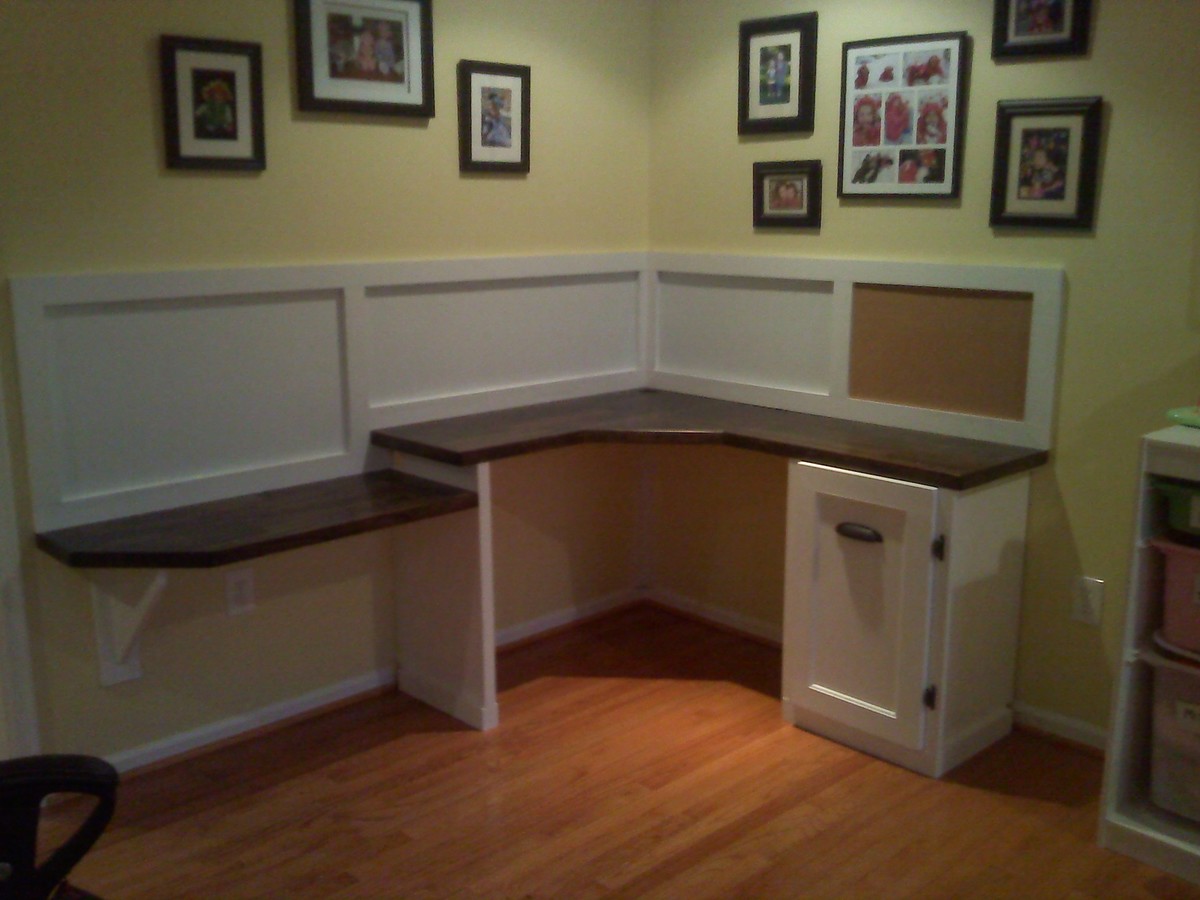
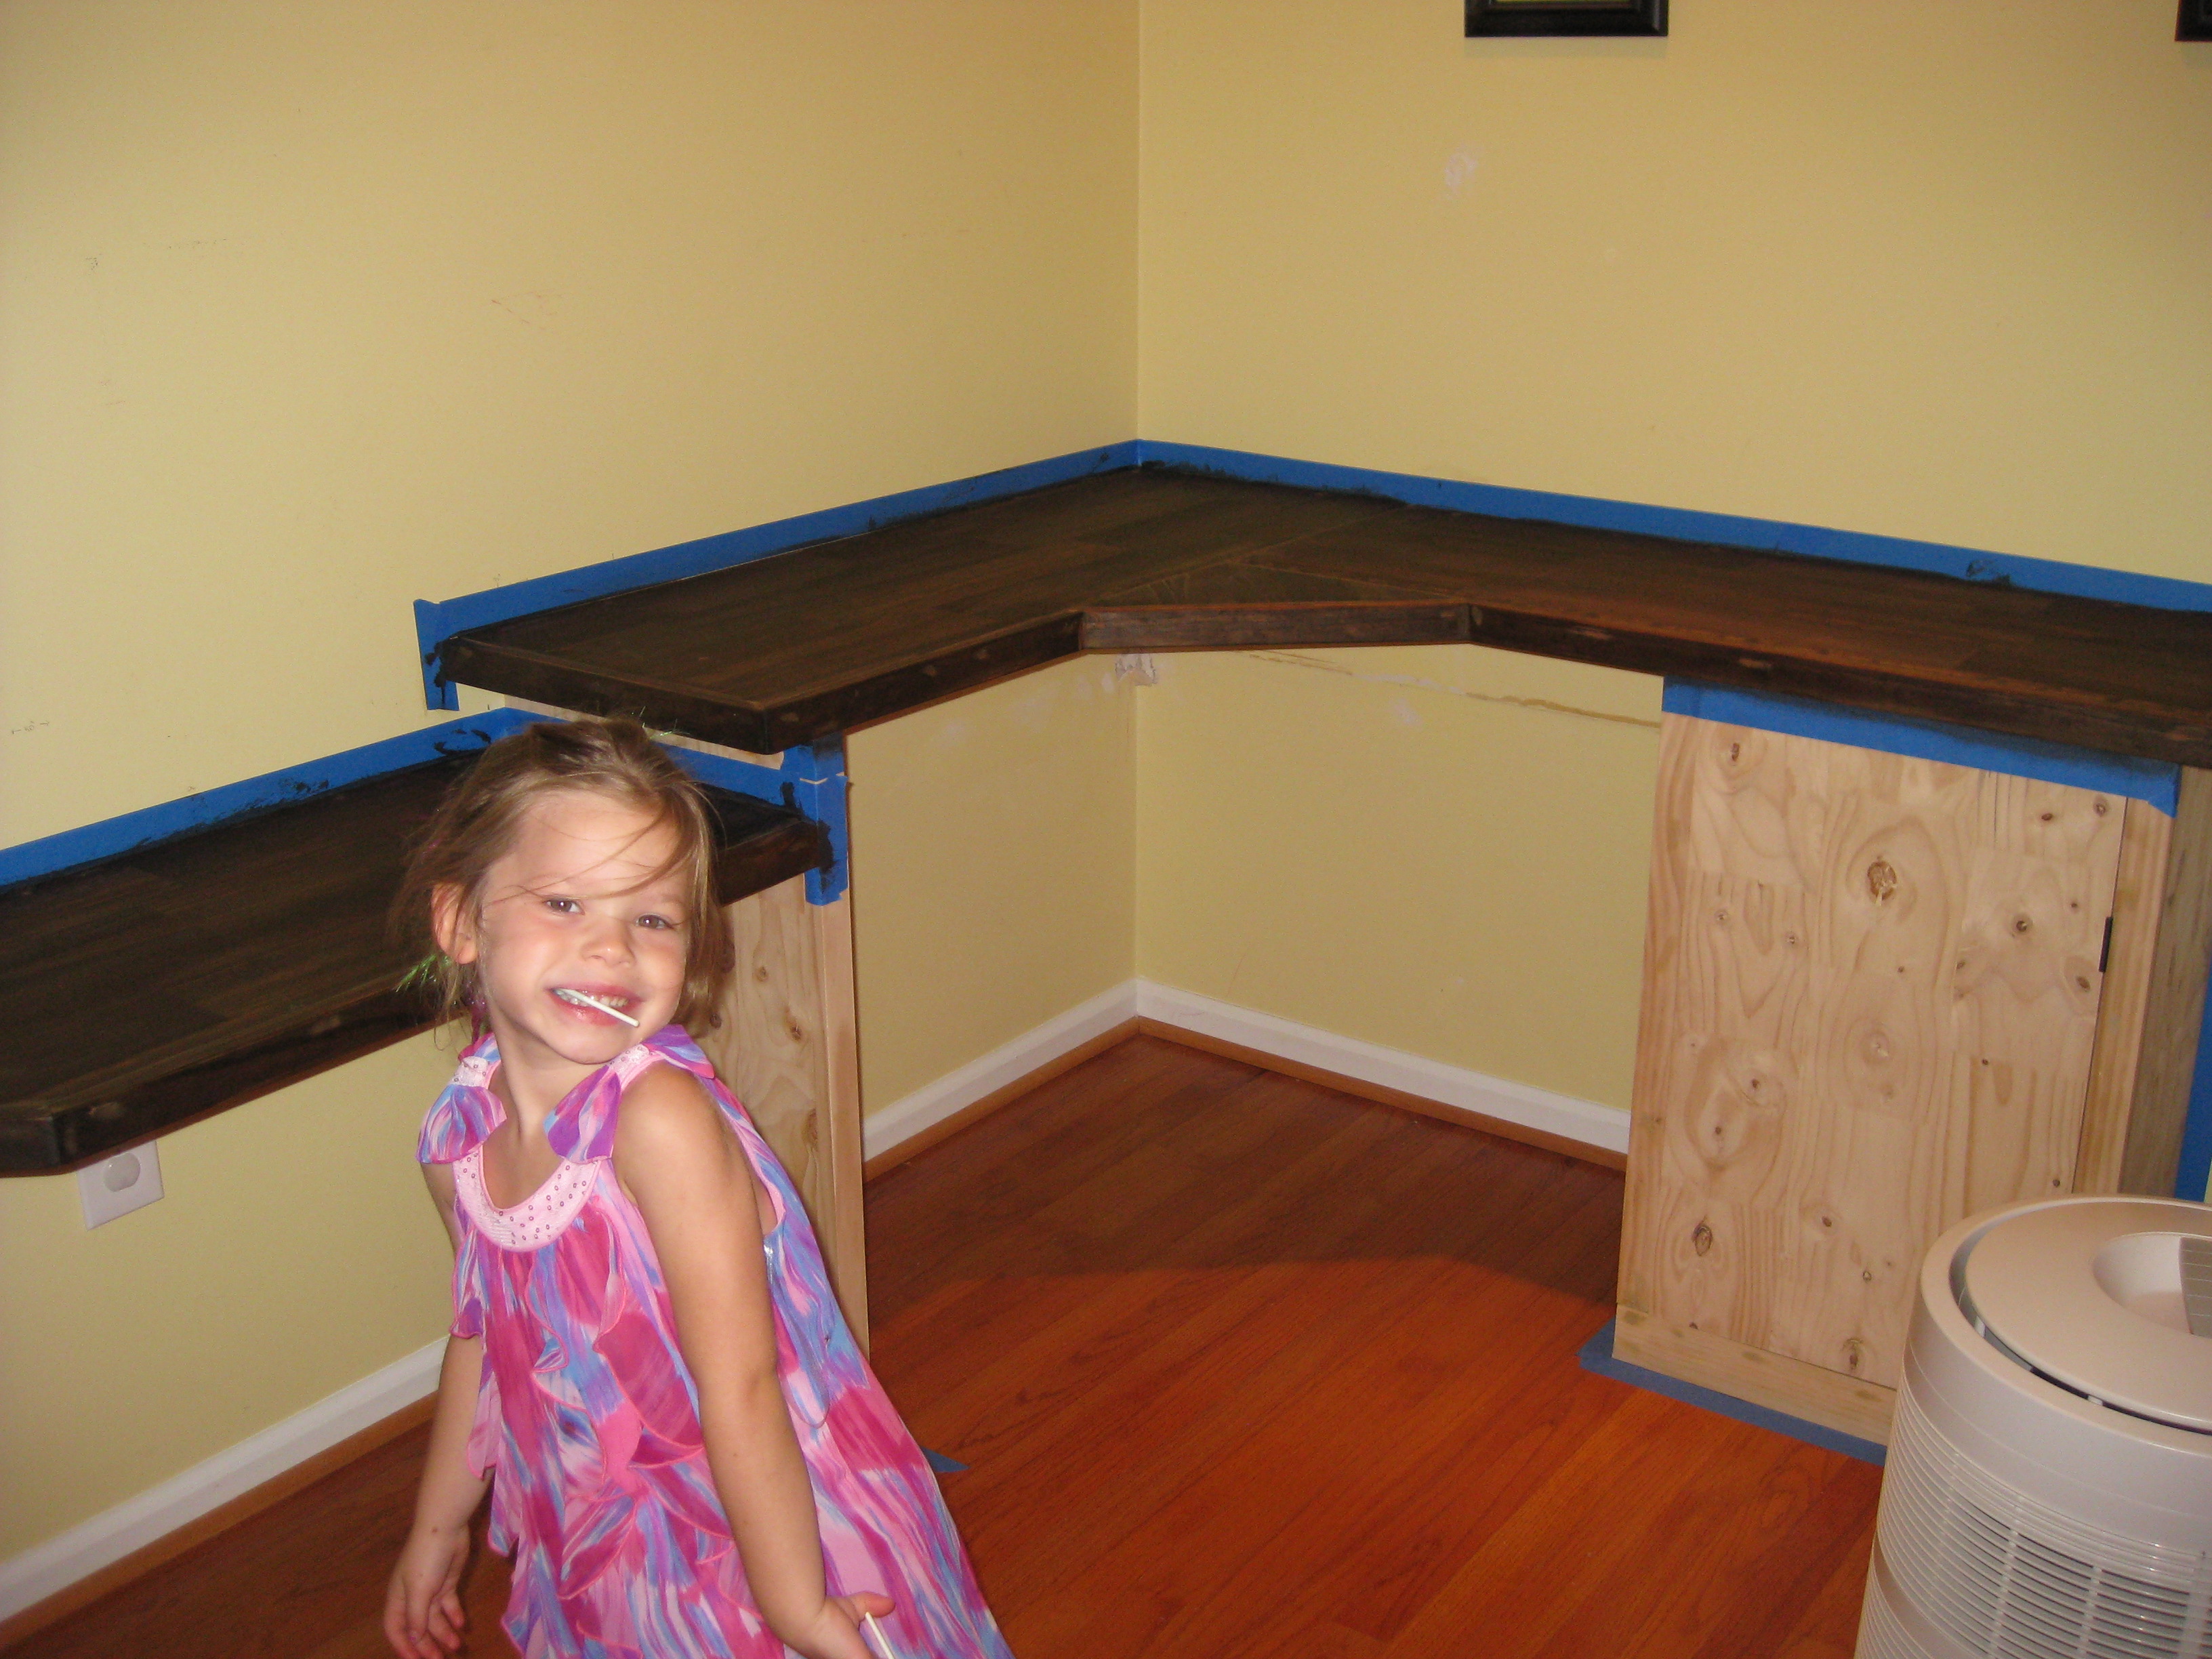
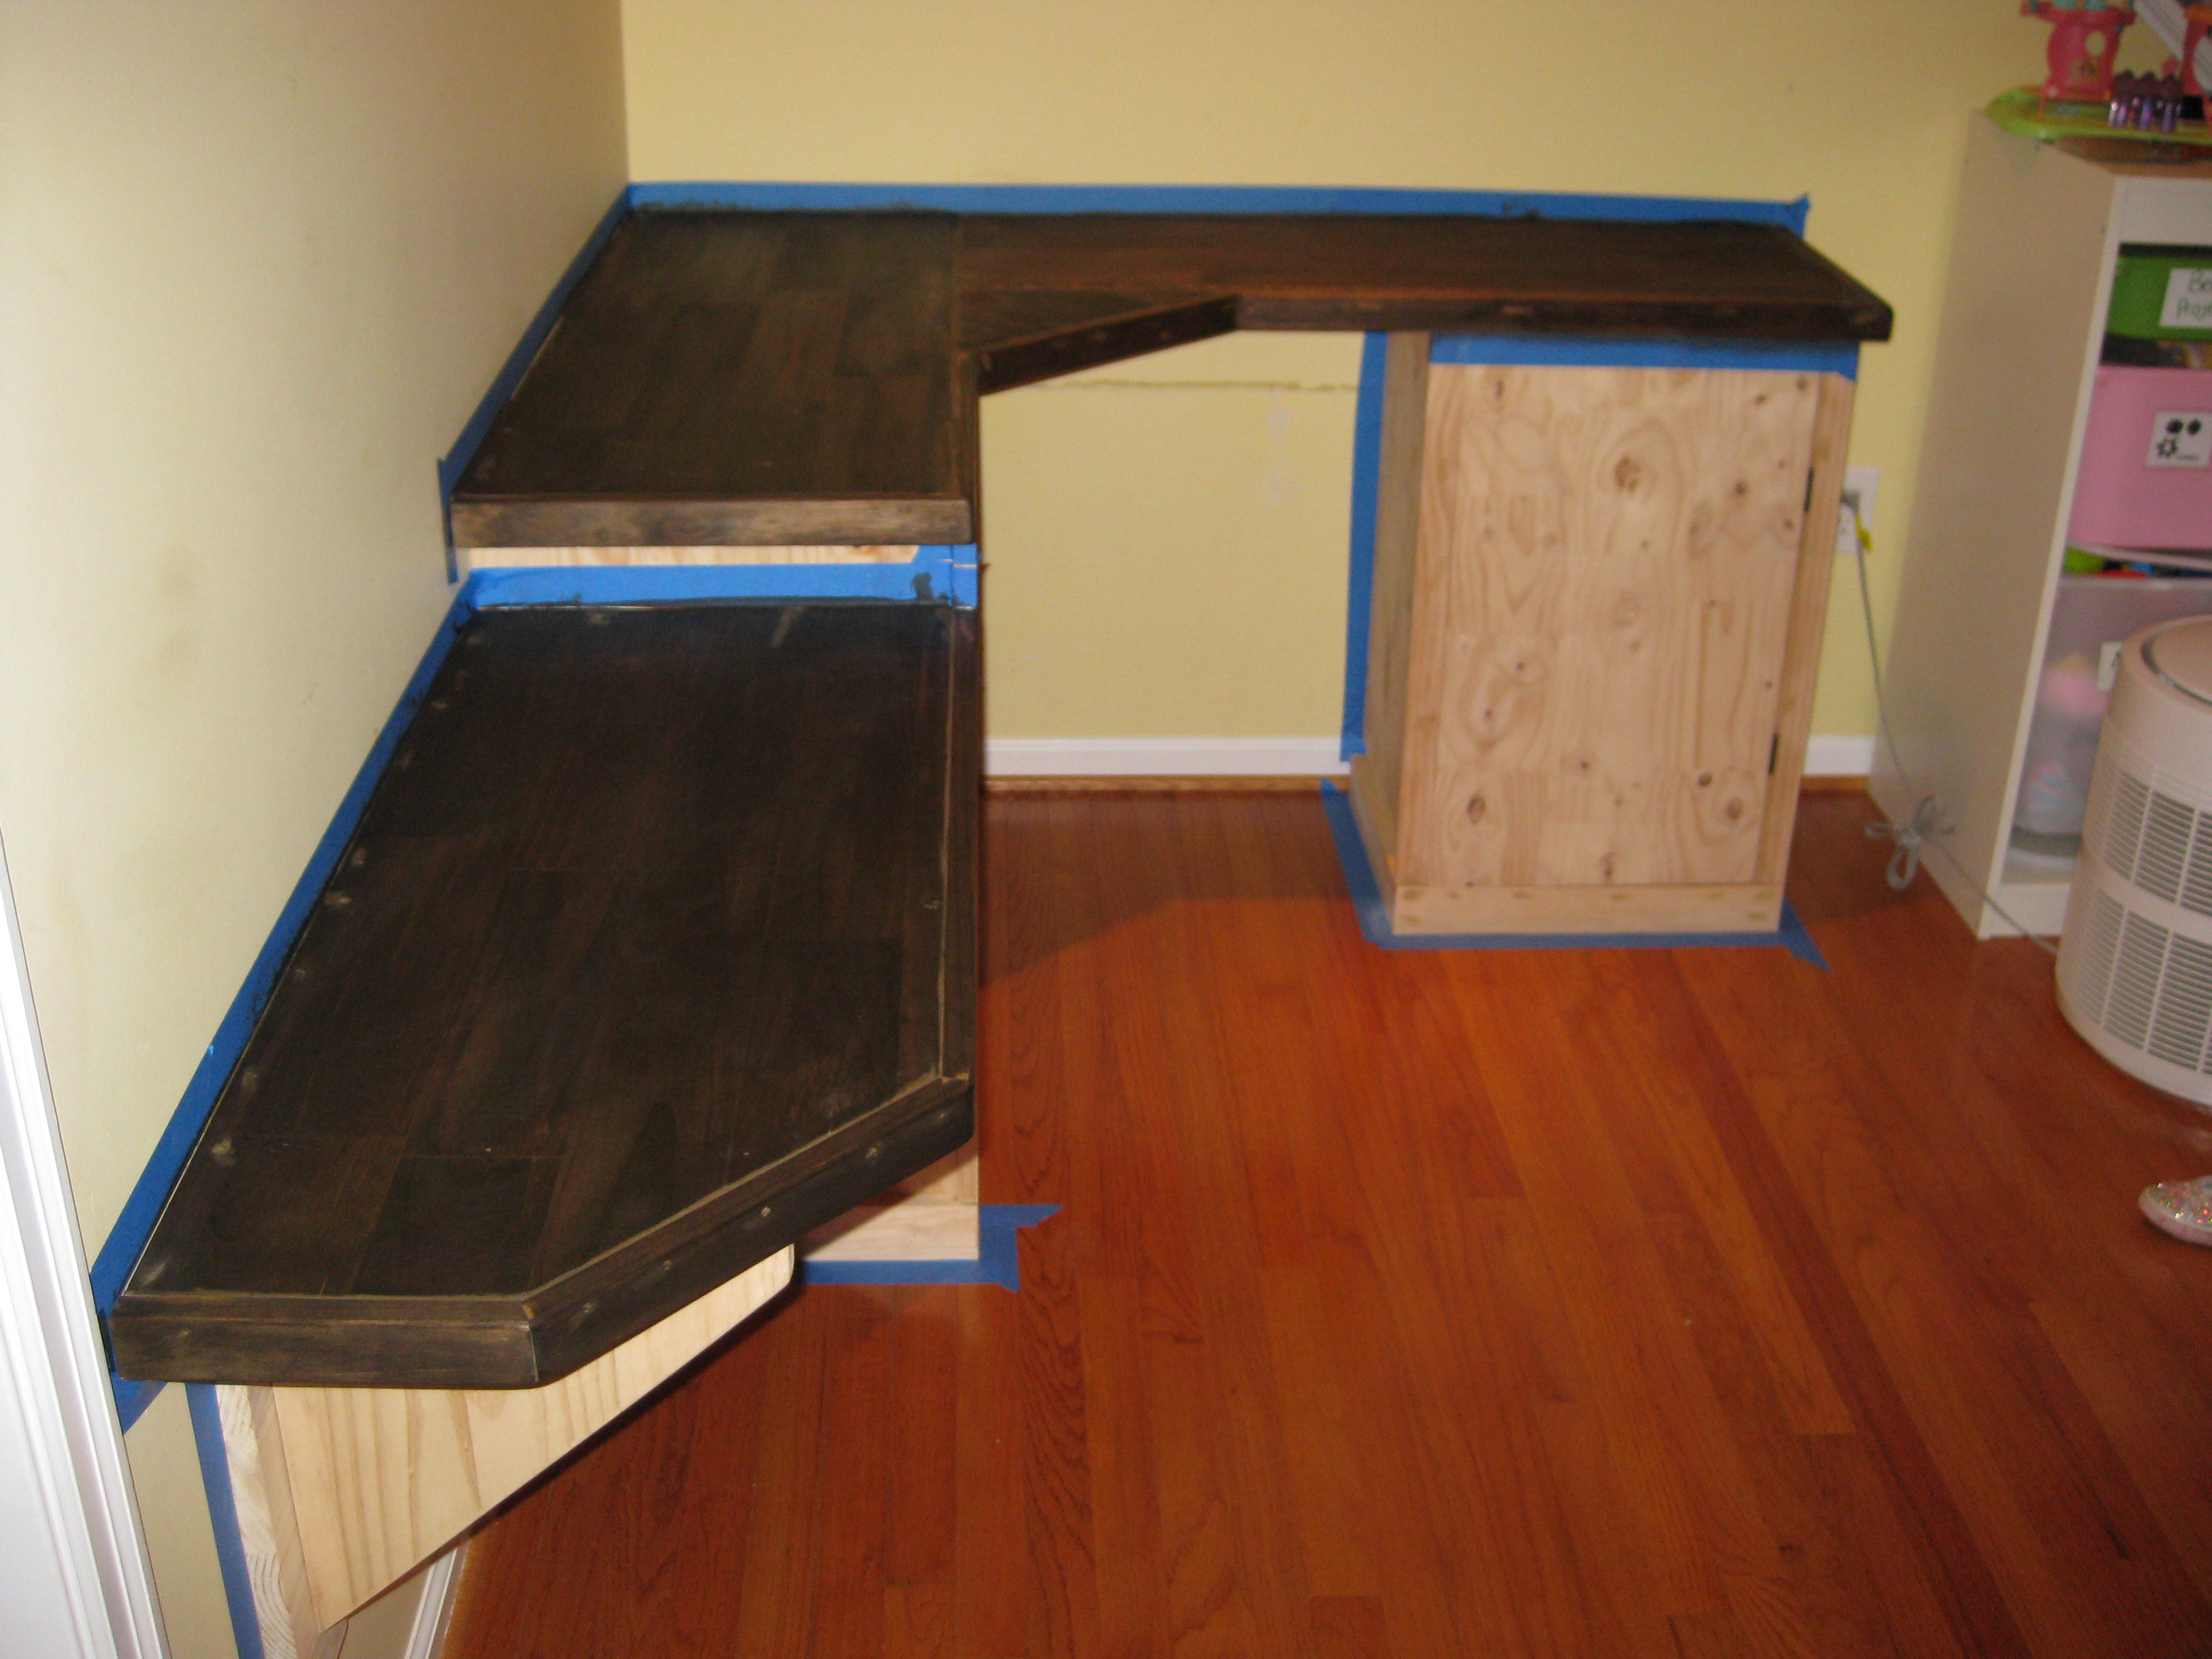
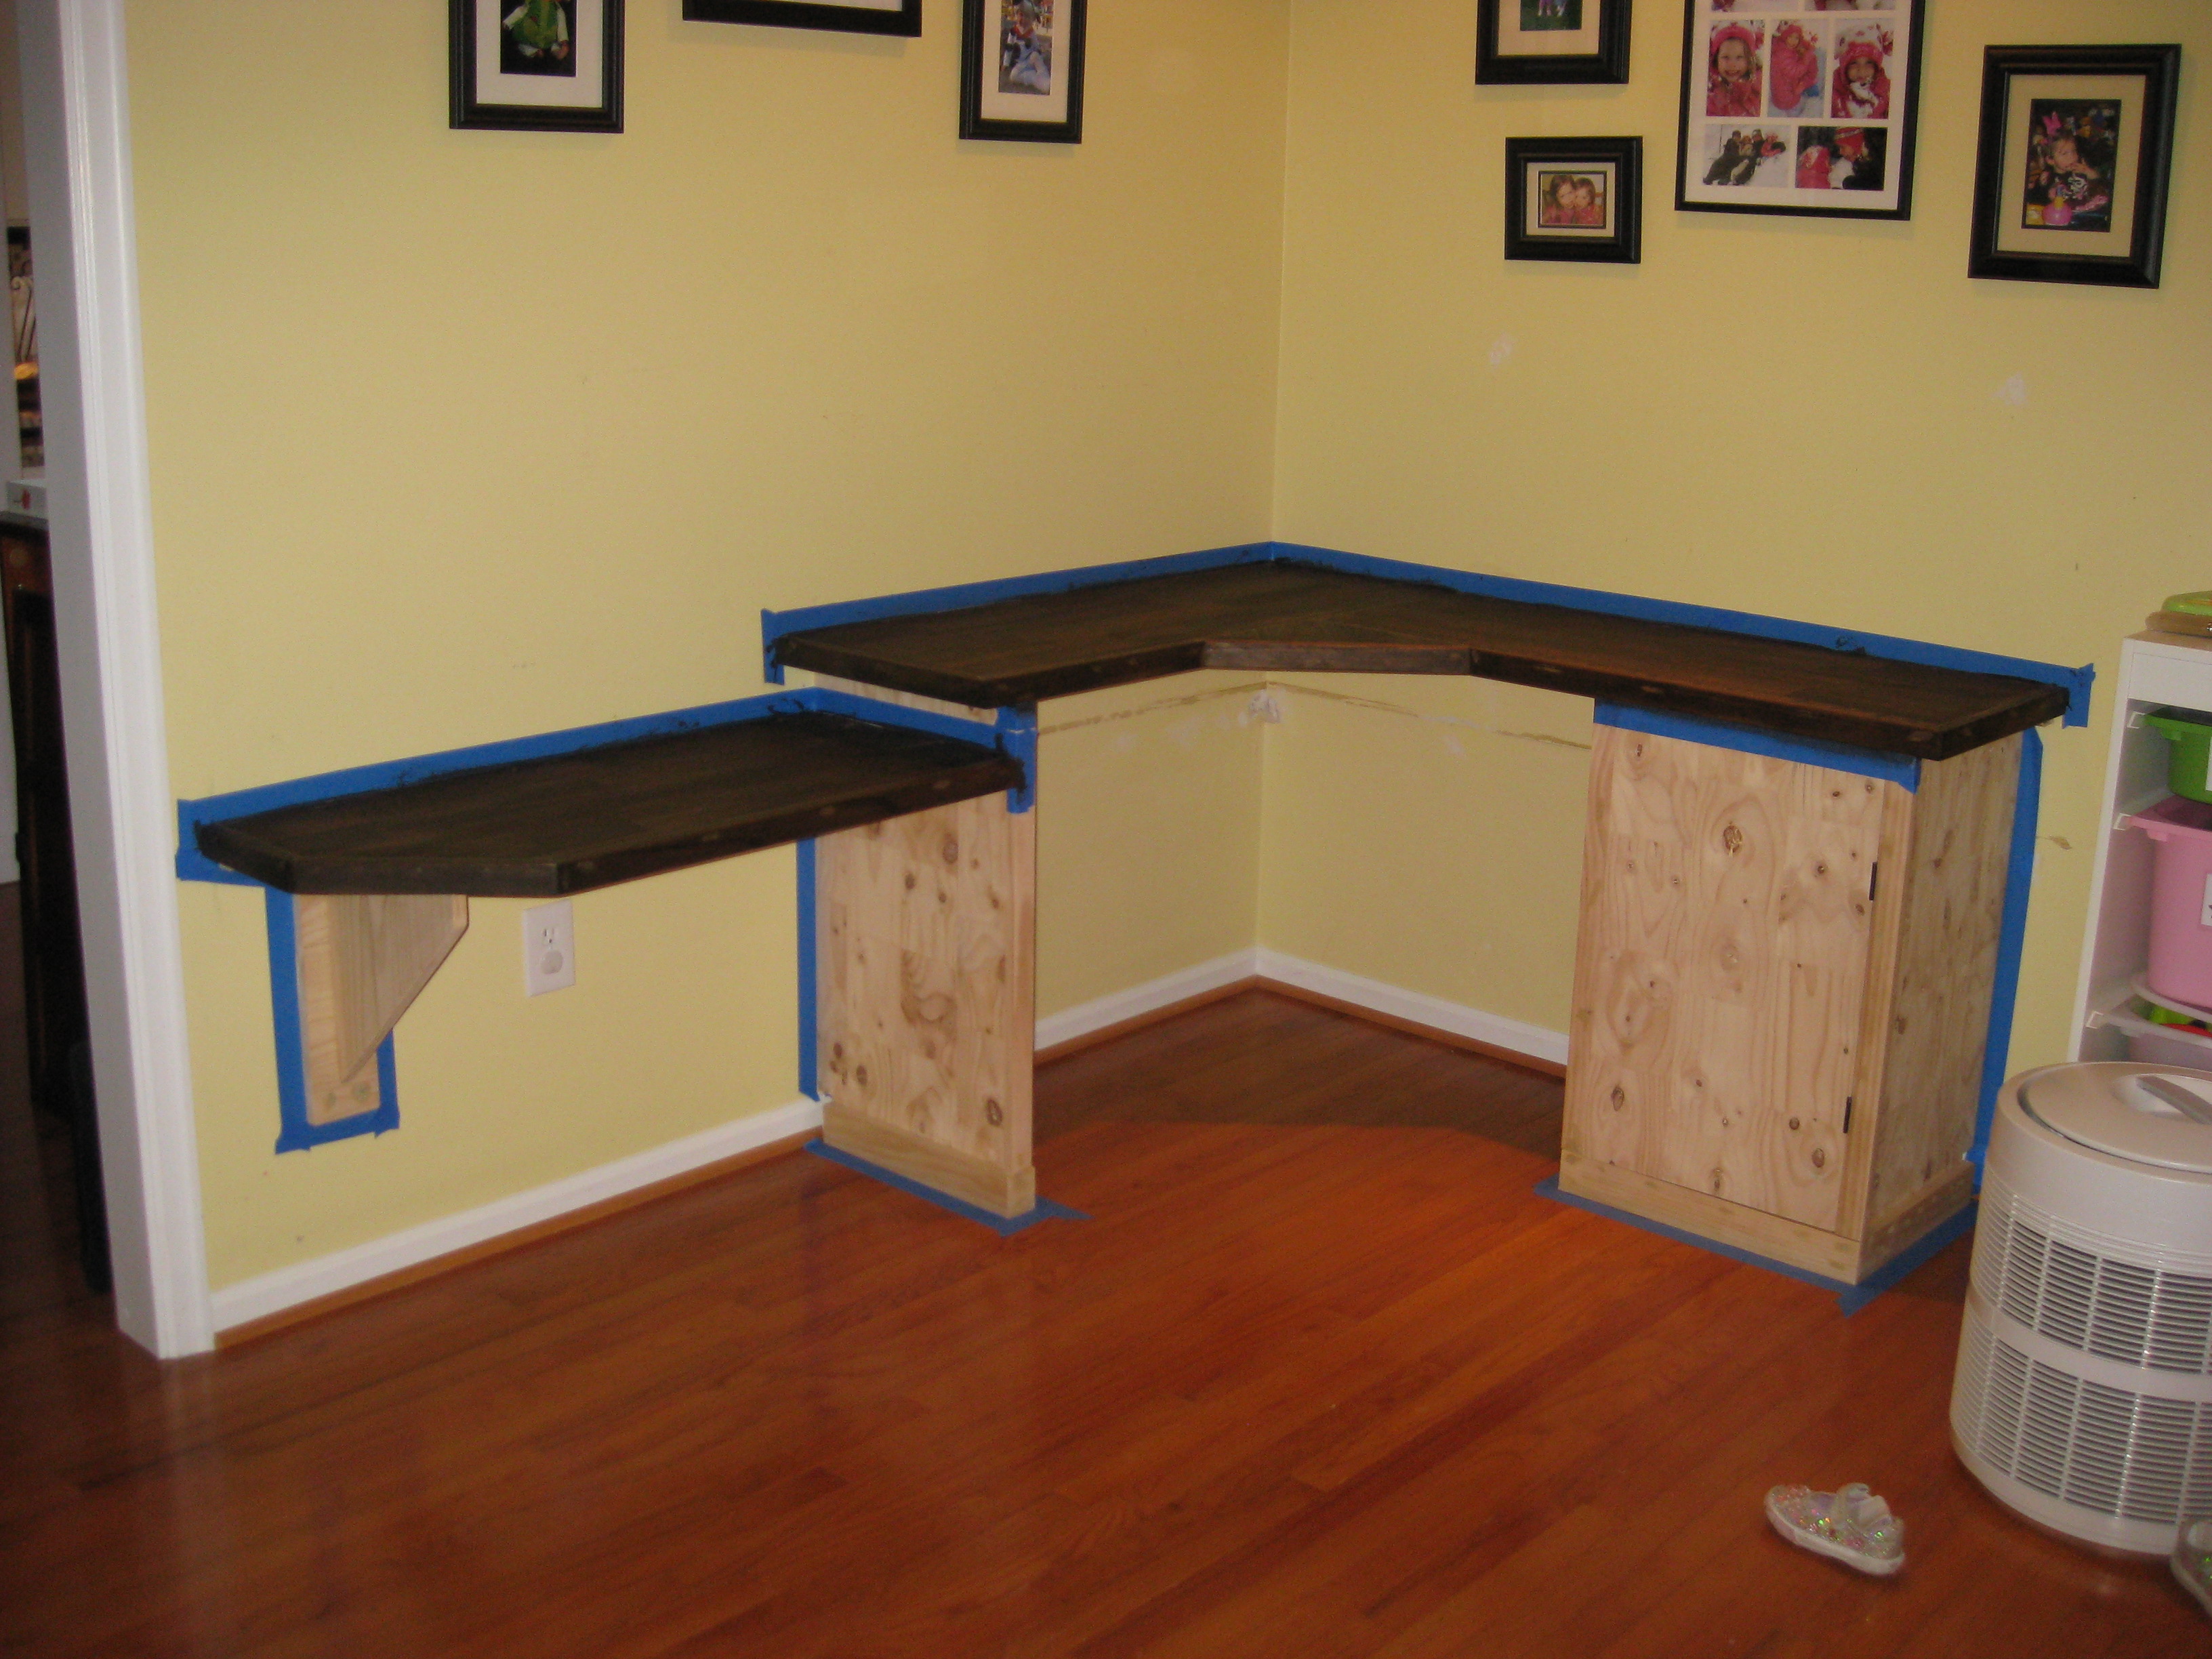
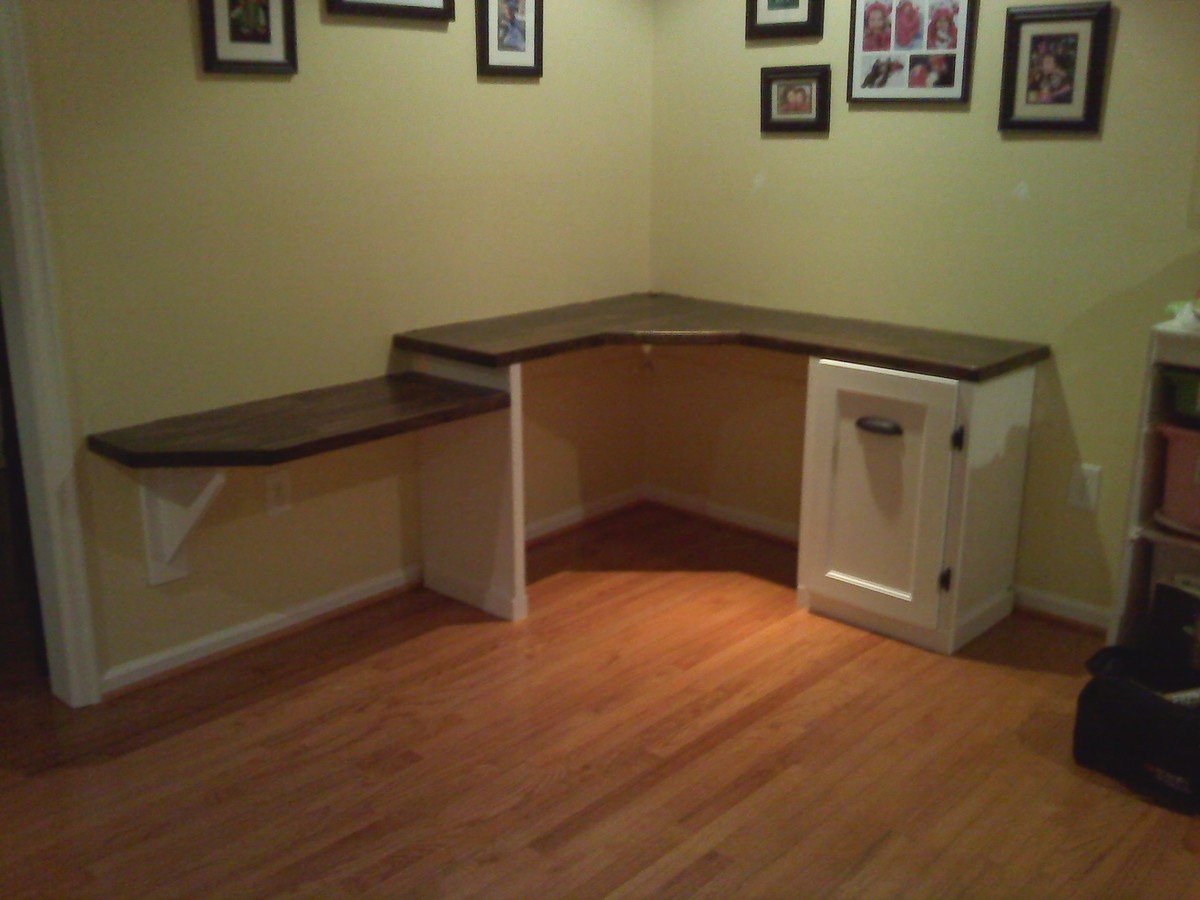
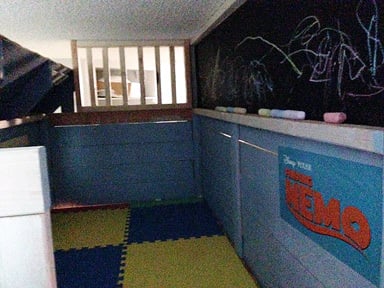
It was an unused corner of the playroom and I decided to put it to use with a computer station with an area for the kids. The desk top is stain grain ply, stained a satin dark walnut. Body is paint grade ply, painted white. On the walls I used whiteboard/dry-erase paint over a magnetic base so the kids can draw on the walls and hang pics with magnets, and added a cork board to the right. Built the cabinet for the computer and printer using same wood with a sliding shelf. This turned out to be one of the best things I've done in the house, the kids do their homework here and we use the desk all day long! A really cheap project that has very few parts. With paint, wood, stain and hardware its a $150 weekend project. I didn't use any plan here from this site but I've taken a lot of inspiration and tips!
Mon, 01/16/2012 - 19:47
Could you mind providing the dimensions of your desk? It looks like the perfect size to fit our needs!
Wed, 01/30/2013 - 18:04
L.O.V.E. This!! If I had a little more room in my house, I'd be building this for sure! Alas I don't so I must find another solution!
Thu, 01/31/2013 - 05:41
Looks great, you can paint and stain prior to putting together saves on taping everything off and possibility of bleedthru of tape. Amazing job and design.
This stool was made as a b-day present for my nephew Ryder (hence the play on words "free Ryder") . His dad, an avid motorcycle enthusiast, is deployed w/ the army in Afghanistan so I went w/ a patriotic motorcycle theme. Ryder just turned 2 so he is about to start the adventure of potty training si I figured this would be perfect for that and double as bath toy storage. To keep the wood from getting damaged by the humidity of the bathroom, I used pressure treated plywood and further protected it w/ tompsons wood waterproofer. I also drilled 3 rows of drainage holes in the bottom so water wouldn't be sitting in there.
Used 4x4s instead of 2x4s
The instructions were easy to follow. I didn’t have the exact wood so I improvised with what I had on hand. Thanks Ana!
This is not my first Ana project, but it is my very first brag post! :) I am thrilled with the way this turned out.
We to make a Loft turn into a closed room for my grandson. We used the Sweet Pea Plan and made it a boy bed. We enclosed the back of the bed. the top bunk is a play area for him and my grand daughter. He loves it. Thanks for the Website.
Mon, 09/09/2013 - 13:32
This is an awesome project! I love how you took the plan and customized it to be a boy's space. And the shark motif - how cute is that!?! Love it, great job!
Mon, 09/09/2013 - 21:35
I absolutely love this! You did a great job with converting it to a boys bed. I was actually going to do the same thing to this exact plan when we move in a few months! Very well done. Love your taste.
Thanks for the inspiration!!
Tue, 09/10/2013 - 21:23
I love this! The play area up top with the chalkboard wall is so cool! I love the stain you used on all the boards too. Impresssive!
This was my first big project. Came out out pretty well.
I was looking for a console table just like this one. A friend of mine told me to check out your website and I found this one. I was so excited. My husband bought a miter saw and I got my table. Lol. Love it.
I wanted 3 shelves so I took apart the entire pallet (44 x 44) Sanded and spray painted two coats. Only advice is next time I will make sure the pallet is in better condition. Less time sanding. My 4 year old daughter loves her new reading area!
I've fixed up an old table and borrowed Ana's plans for farmhouse bench. I've modified them, and this is the outcome.
Love this table!
Sat, 01/05/2019 - 14:27
WOW! This is gorgeous! What a beautiful setting! Thank you for building and sharing!
Outdoor - pressure treated; added 1 foot to length.
This was my second project. My eleven year old son and I had great fun building it together.
This is my version of Patrick's jelly cupboard. I made some changes to he dimensions by making it taller and a bit wider.
Sun, 09/15/2013 - 17:57
Thank you very much I also forgot to add that the shelves are adjustable.
Wed, 06/11/2014 - 05:00
My husband and I built one of these last year and made it into a wine cabinet. My Mom wants us to build her one but she would like it to be a little bigger also. Do you mind me asking what you changed the measurements to? It looks like the perfect size for her. :)
Wed, 06/11/2014 - 12:23
I believe the measurements are 72" high by 35" wide by 12" deep. I built that last year and I sold it at a antique shop that I had a booth at. But to the best of my knowledge that was the measurements. Thanks for taking a look at it!!
Used scrap pine sitting around- a 1x10 and 1x3's. Most time consuming part was cutting out the hand holds. Wanted a rustic look, so I weathered the boards by first beating them with hammer, screwdriver and crowbar, then with tea and steel wool vinegar "stain" to age the boards. One coat of poly on top. Made the plugs with dowels, adds to the rustic look.
The entire project cost $70. Also, I finally bought a Keg pocket hole jig for $35.
I spent about $9 and my scrap pile to build Ana's Farmhouse Bedside Table. I used scrap MDF and furring strips. I got it finished during a nap time... Easy peasy!
You can see more at http://www.shanty-2-chic.com/2011/08/farmhouse-side-table.html
Built according to plan, adding embellishment to cover decking seam. Painted with three coats of paint and a sprayed clear coat.