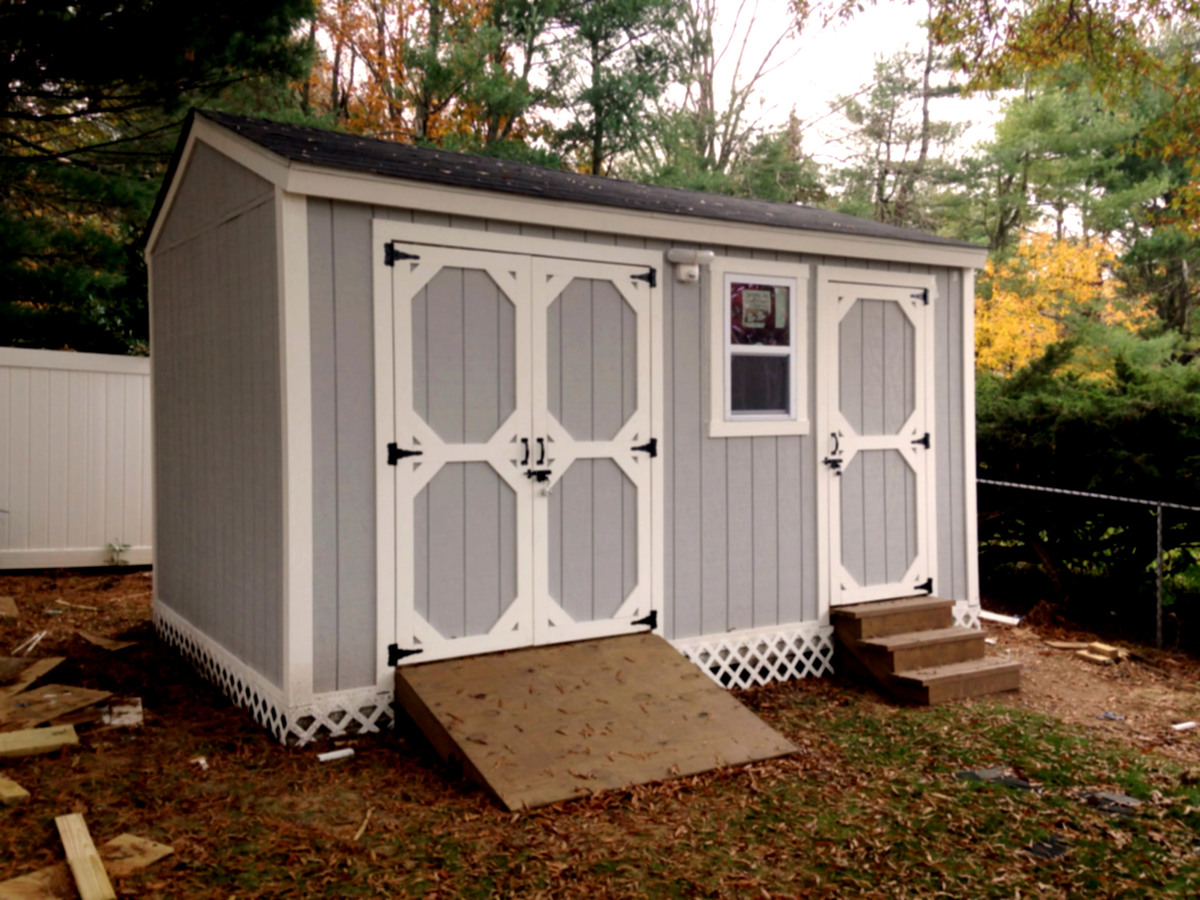
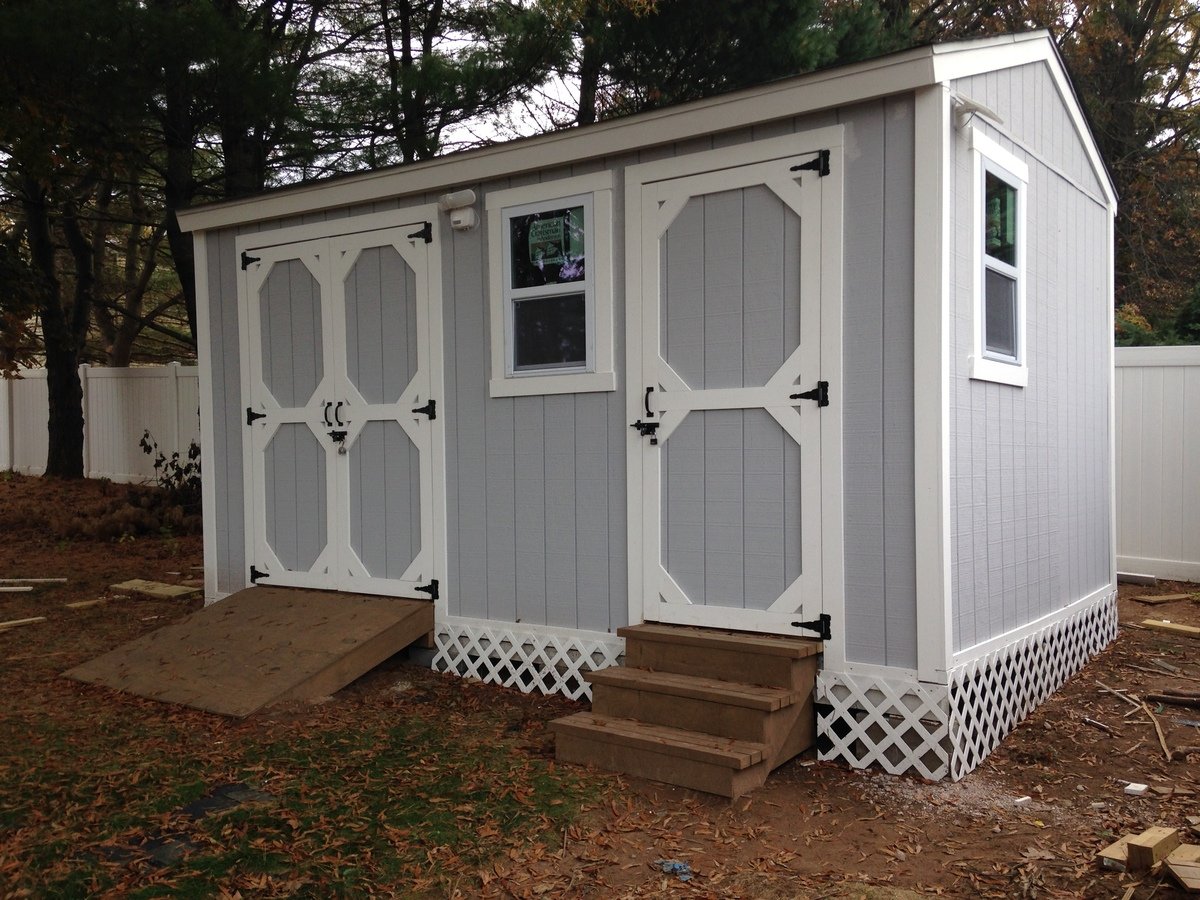
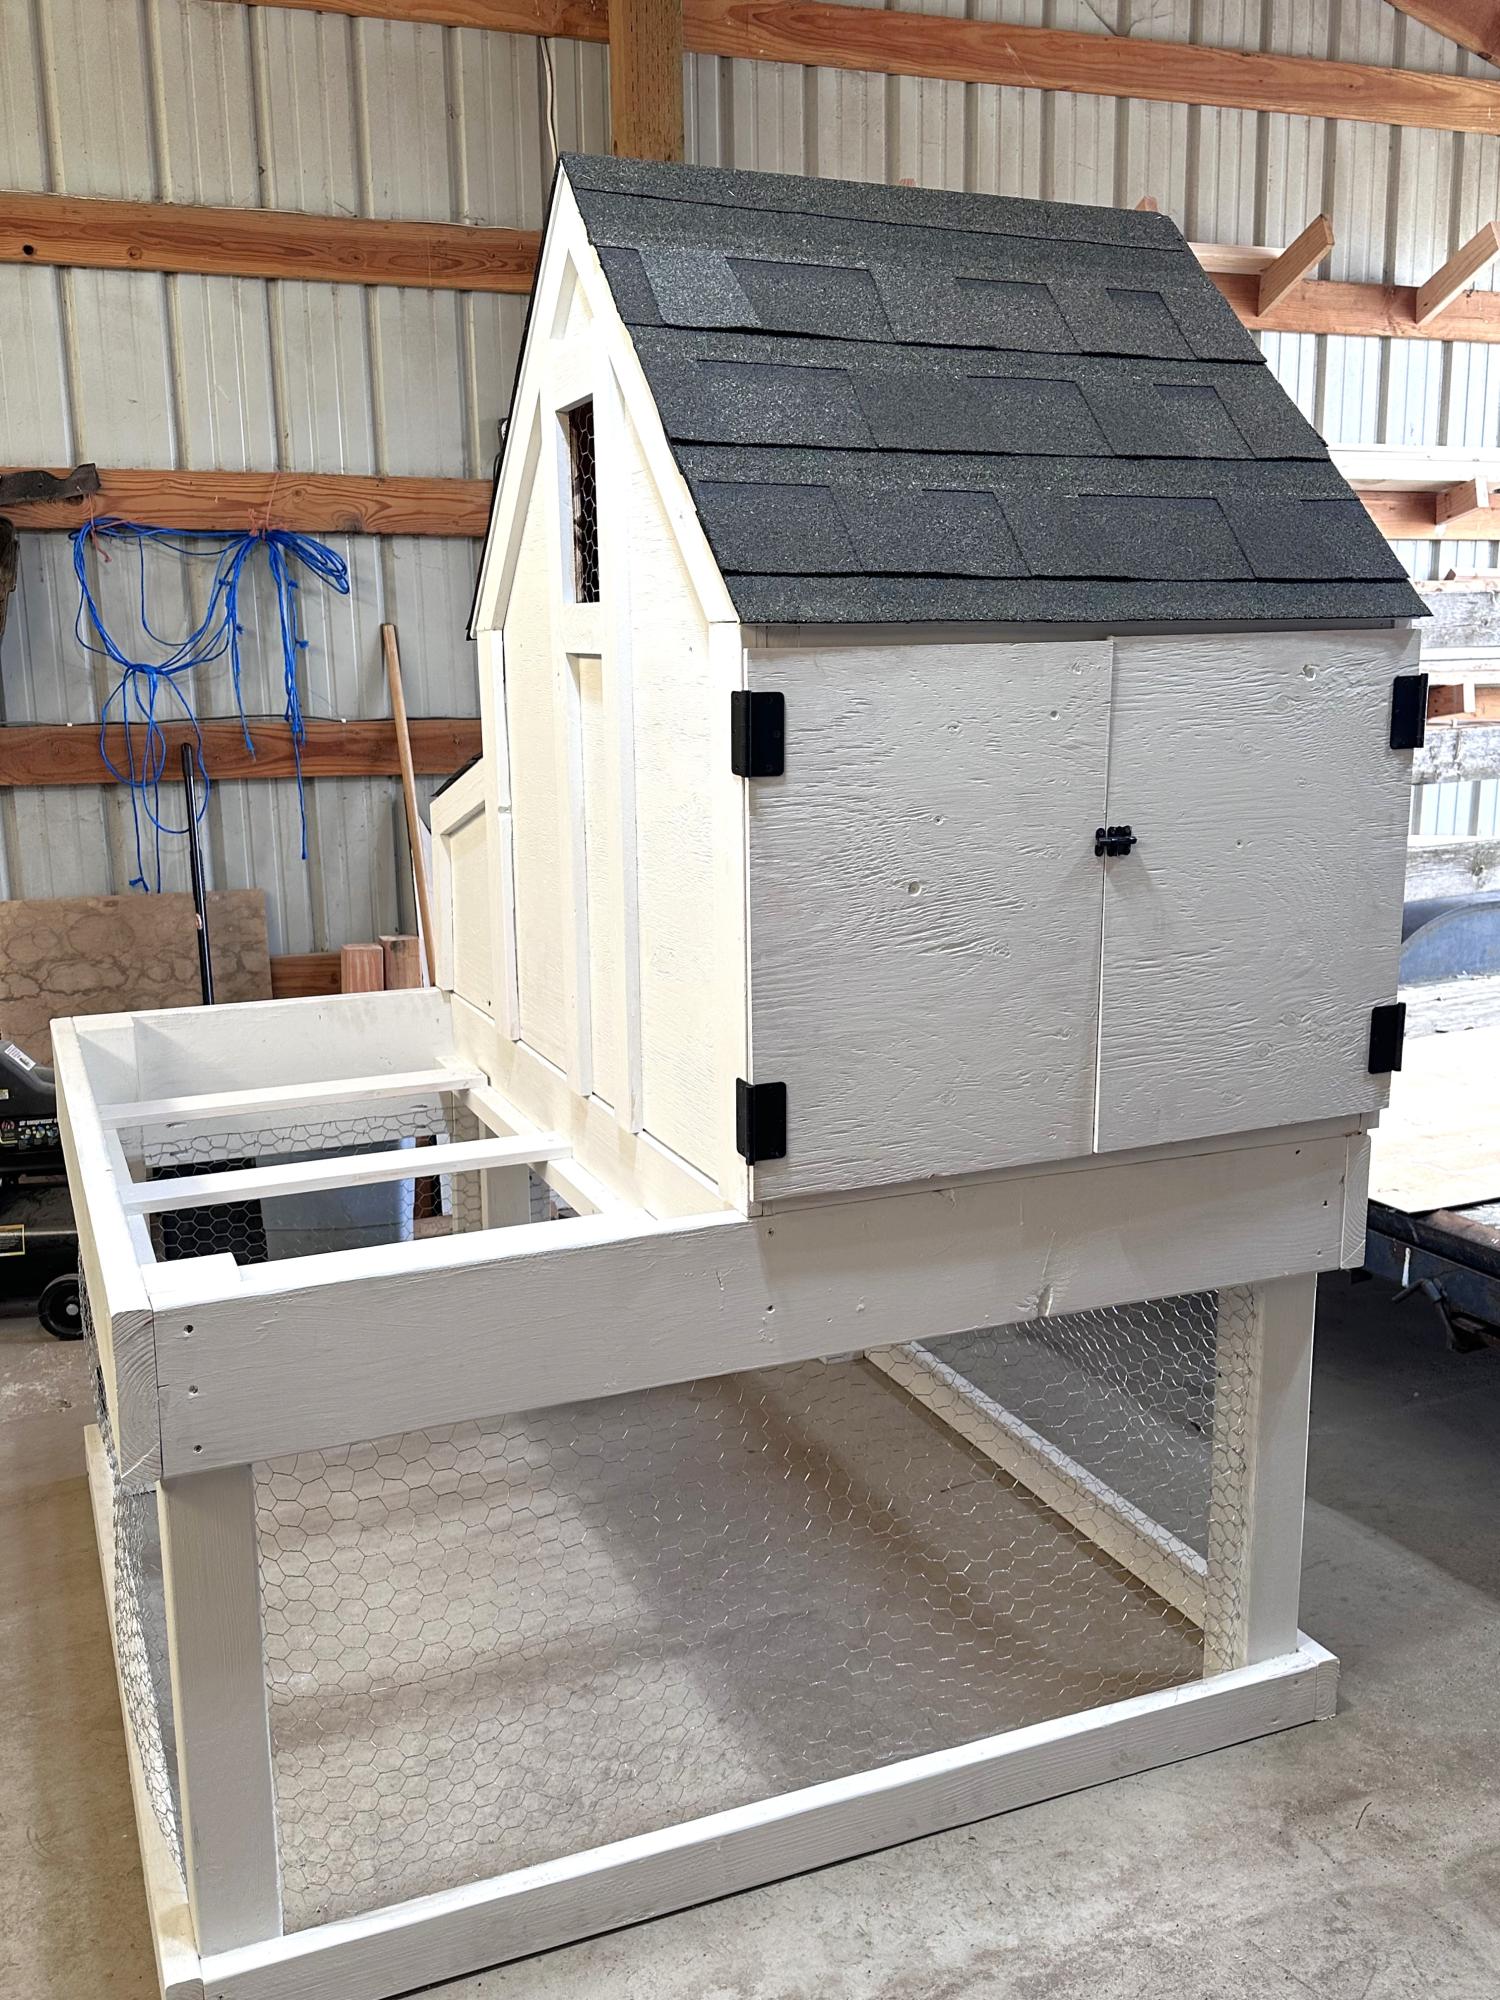
DIY storage shed with mower ramp and steps
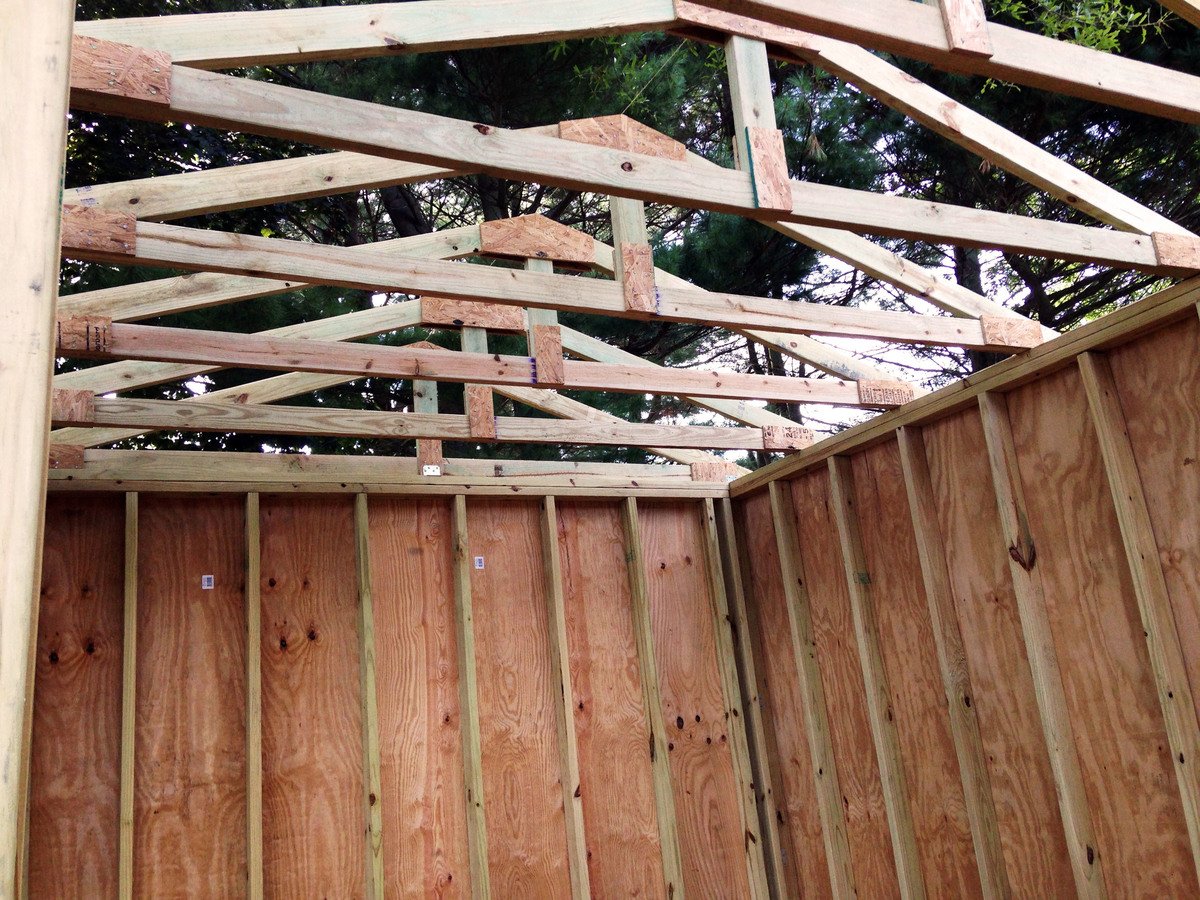
I used ideas on your site for inspiration for my current back yard shed. I did a lot of research before choosing one. If you've never built a shed before from scratch, it can be a little daunting, especially if its a larger shed. I also documented my whole process from the laying the foundation to putting the last nail on the shingles. Here's the link for you to my blog post:
http://www.justmeasuringup.com/blog/the-shed-project-phase-1
It was a lot of fun for me, and a huge wow factor to impress my friends ;) I store everything in there from my riding mower to all my patio furniture in the wintertime. It's such a useful thing to have.
I spent around $1500 and it took about 2 months to complete (working on it while having a full time job - otherwise would have finished a lot faster)


Comments
trojan24man
Fri, 07/29/2016 - 07:12
nicely done!
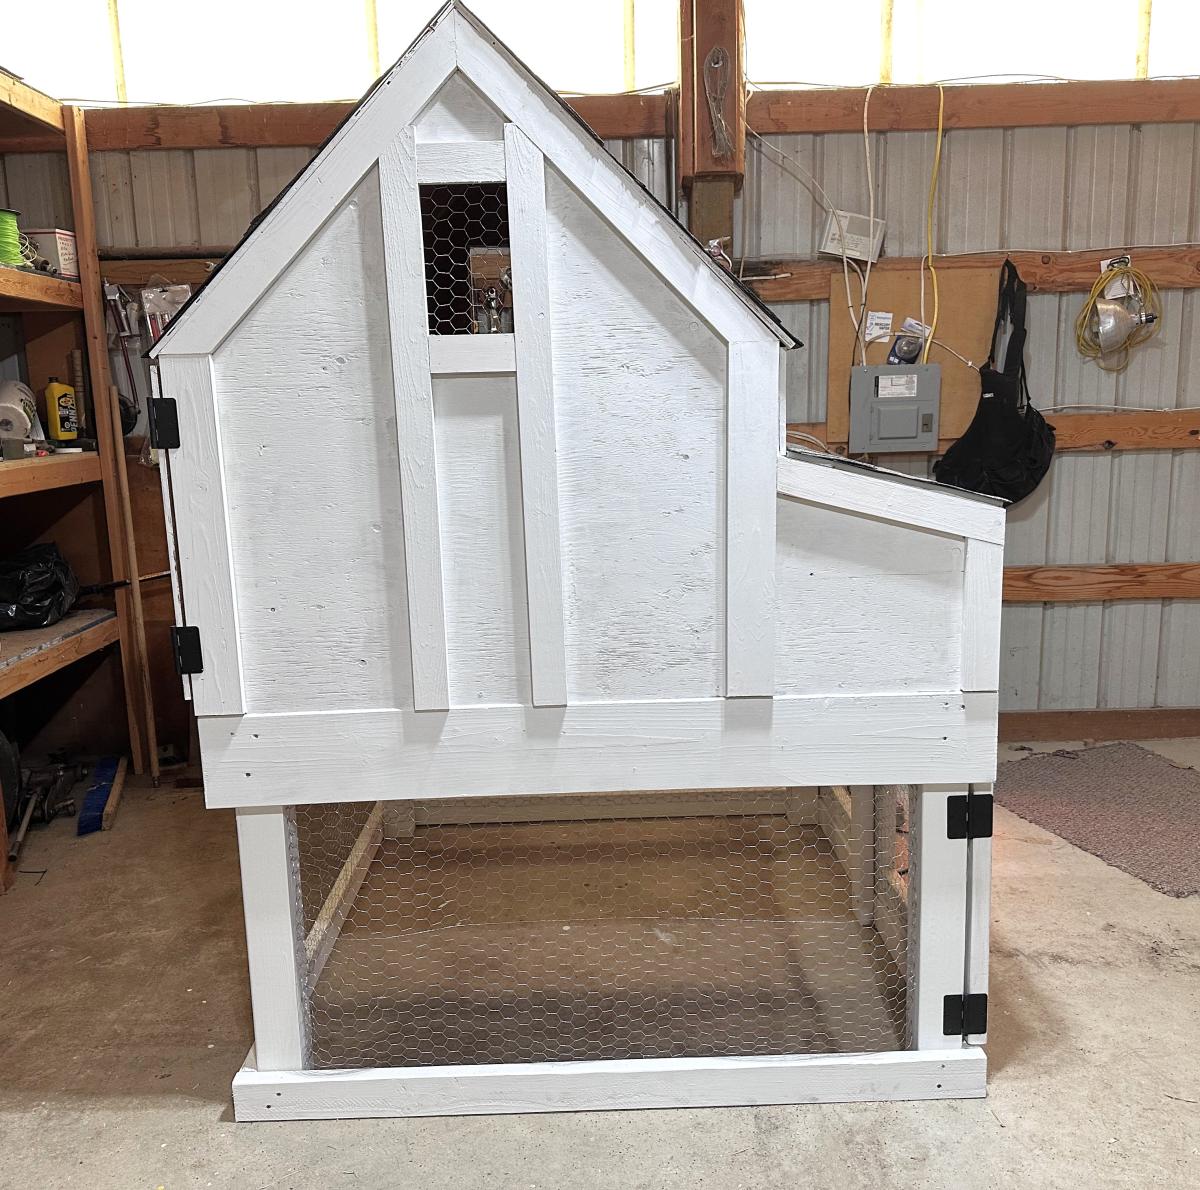
The details on the doors are great.
lookitsash
Sun, 07/31/2016 - 17:44
thanks!
Thanks! I looked at a bunch of different door trims online and found this pattern that I liked. The mitre saw made quick work out of it, and it only took about 10 minutes to cut and install.