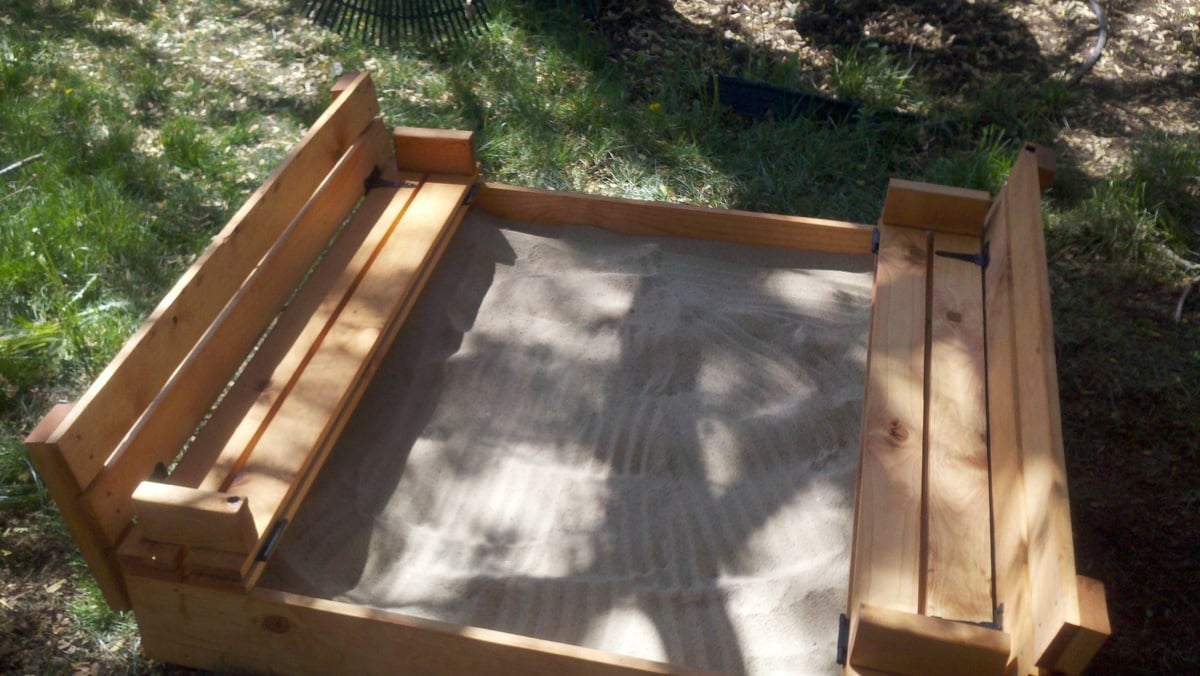
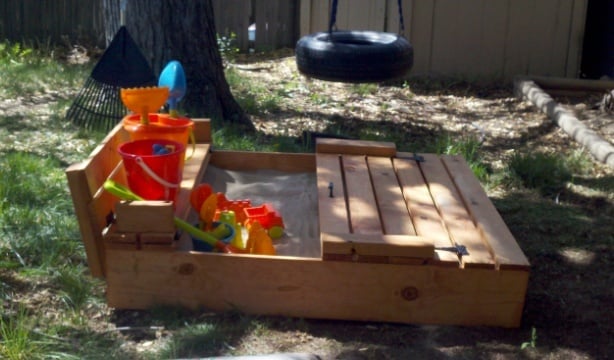
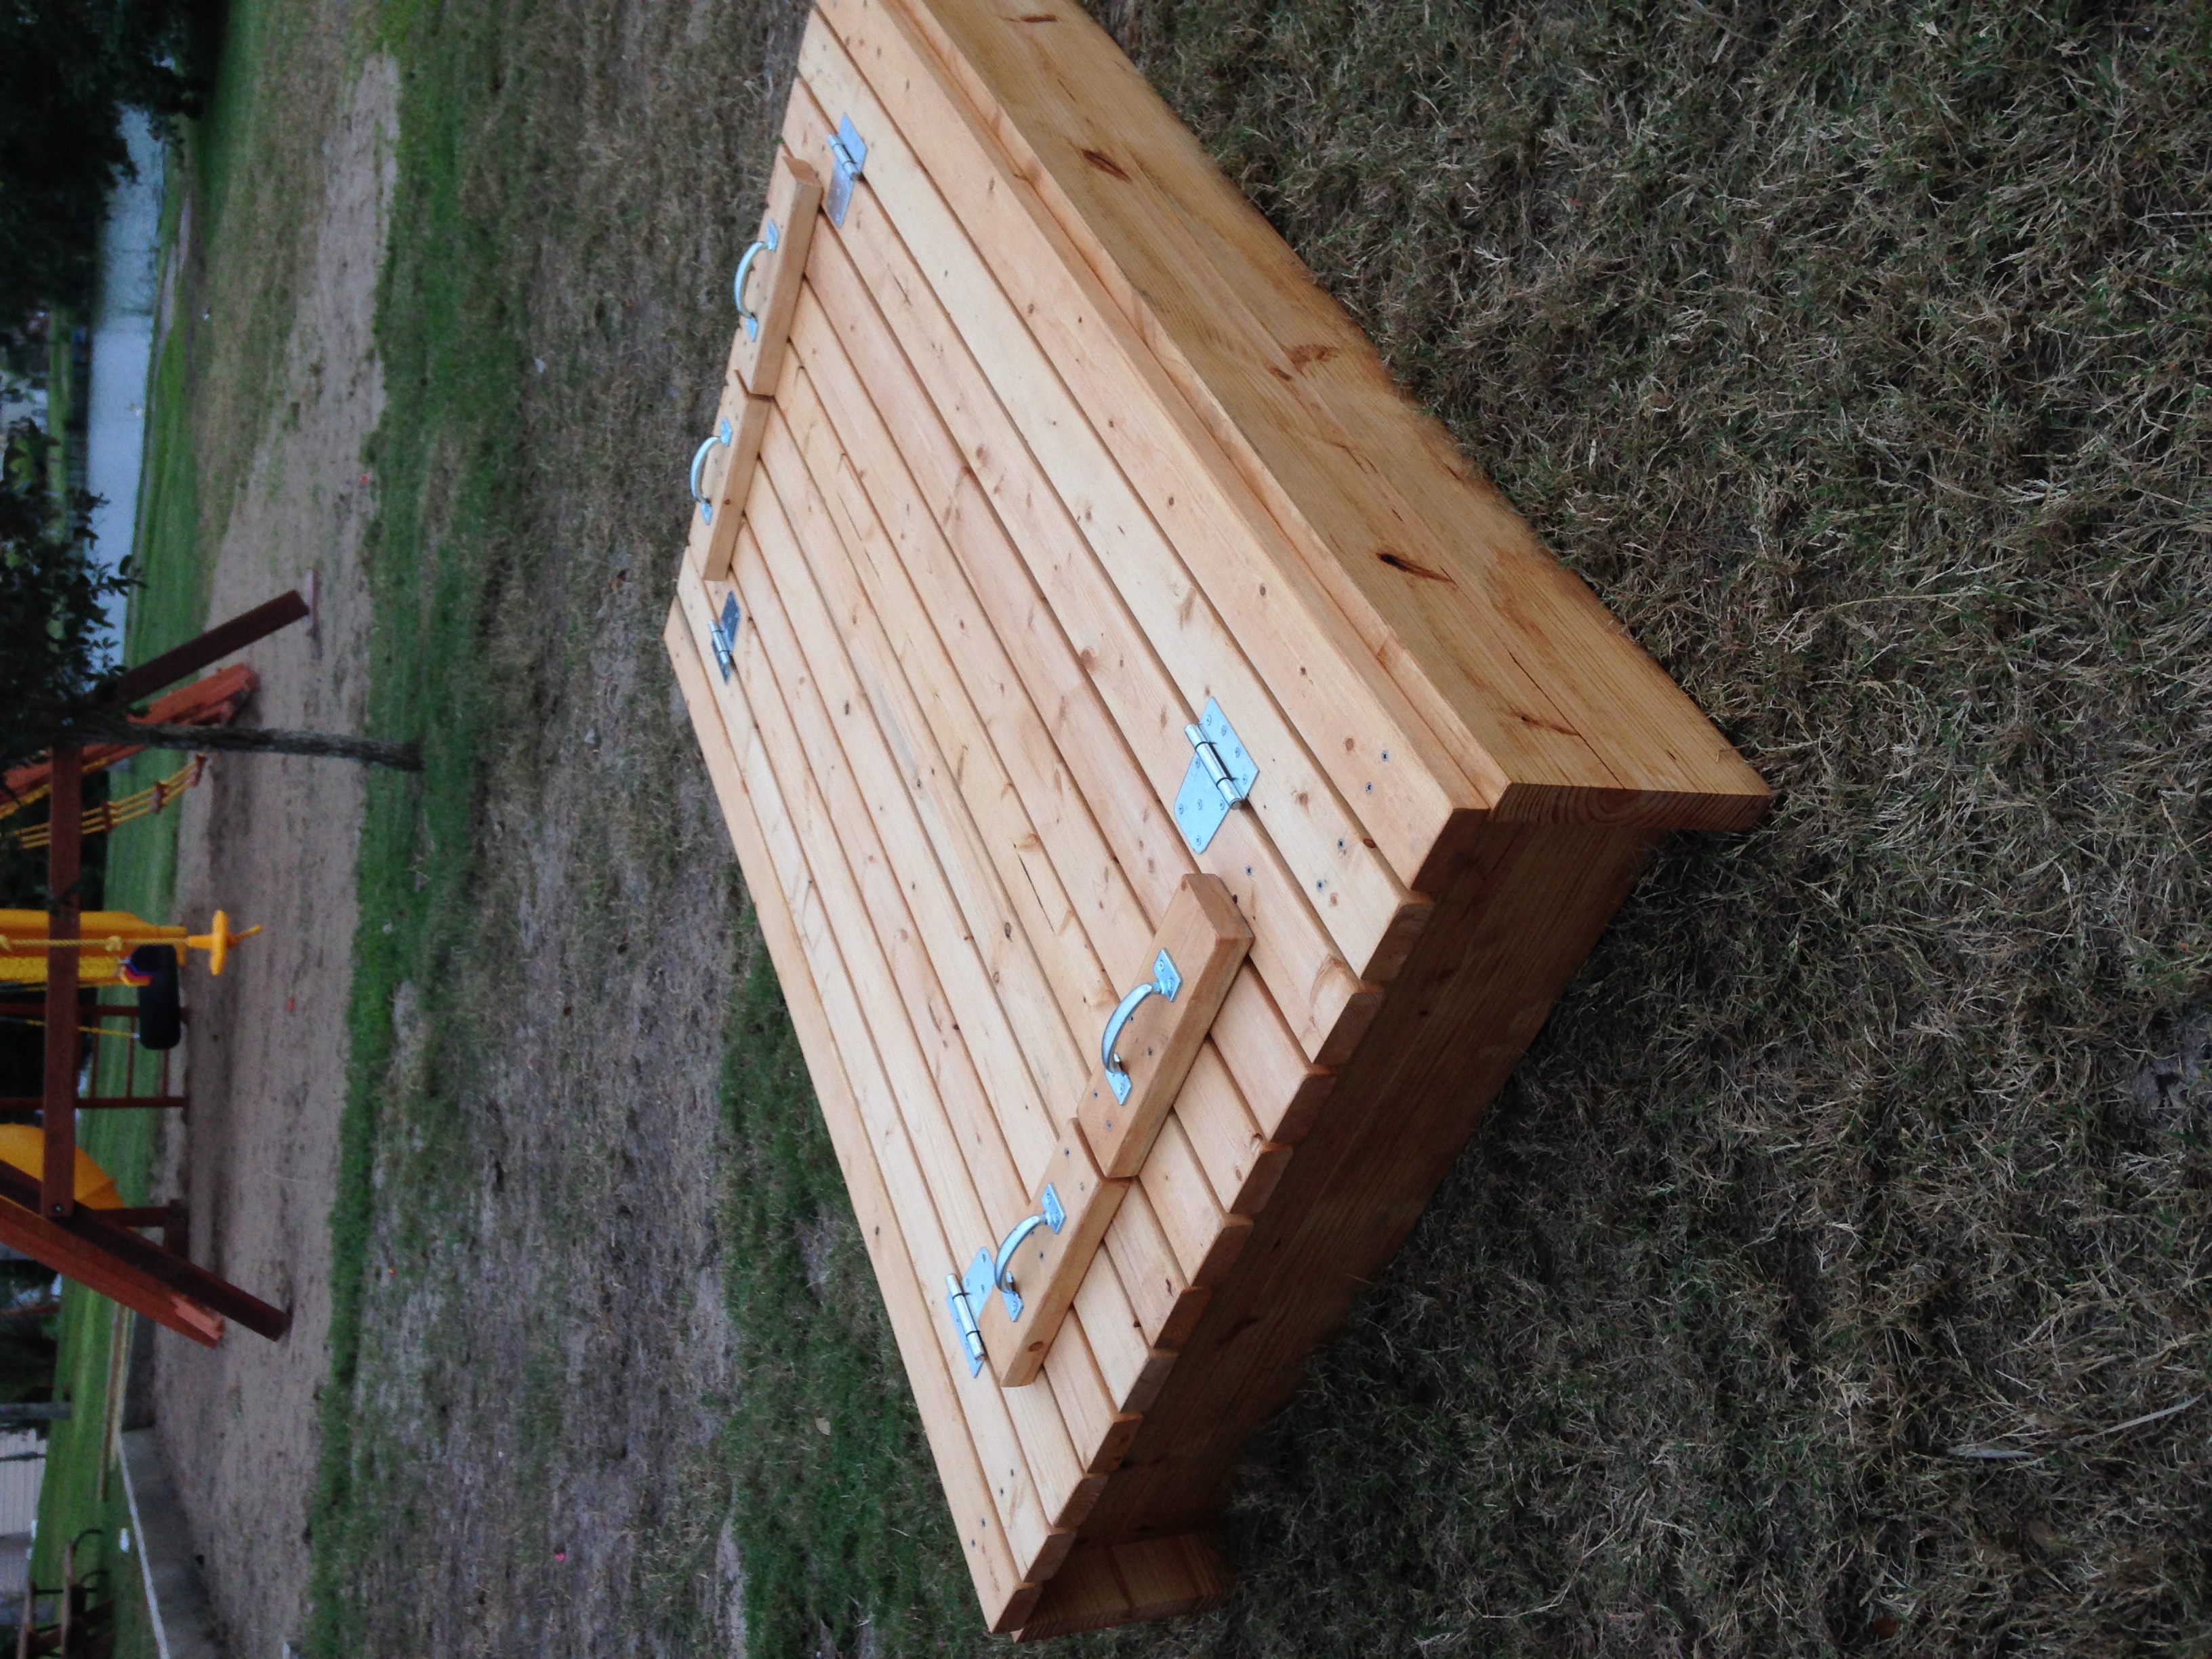
Community Brag Posts

Sand Box

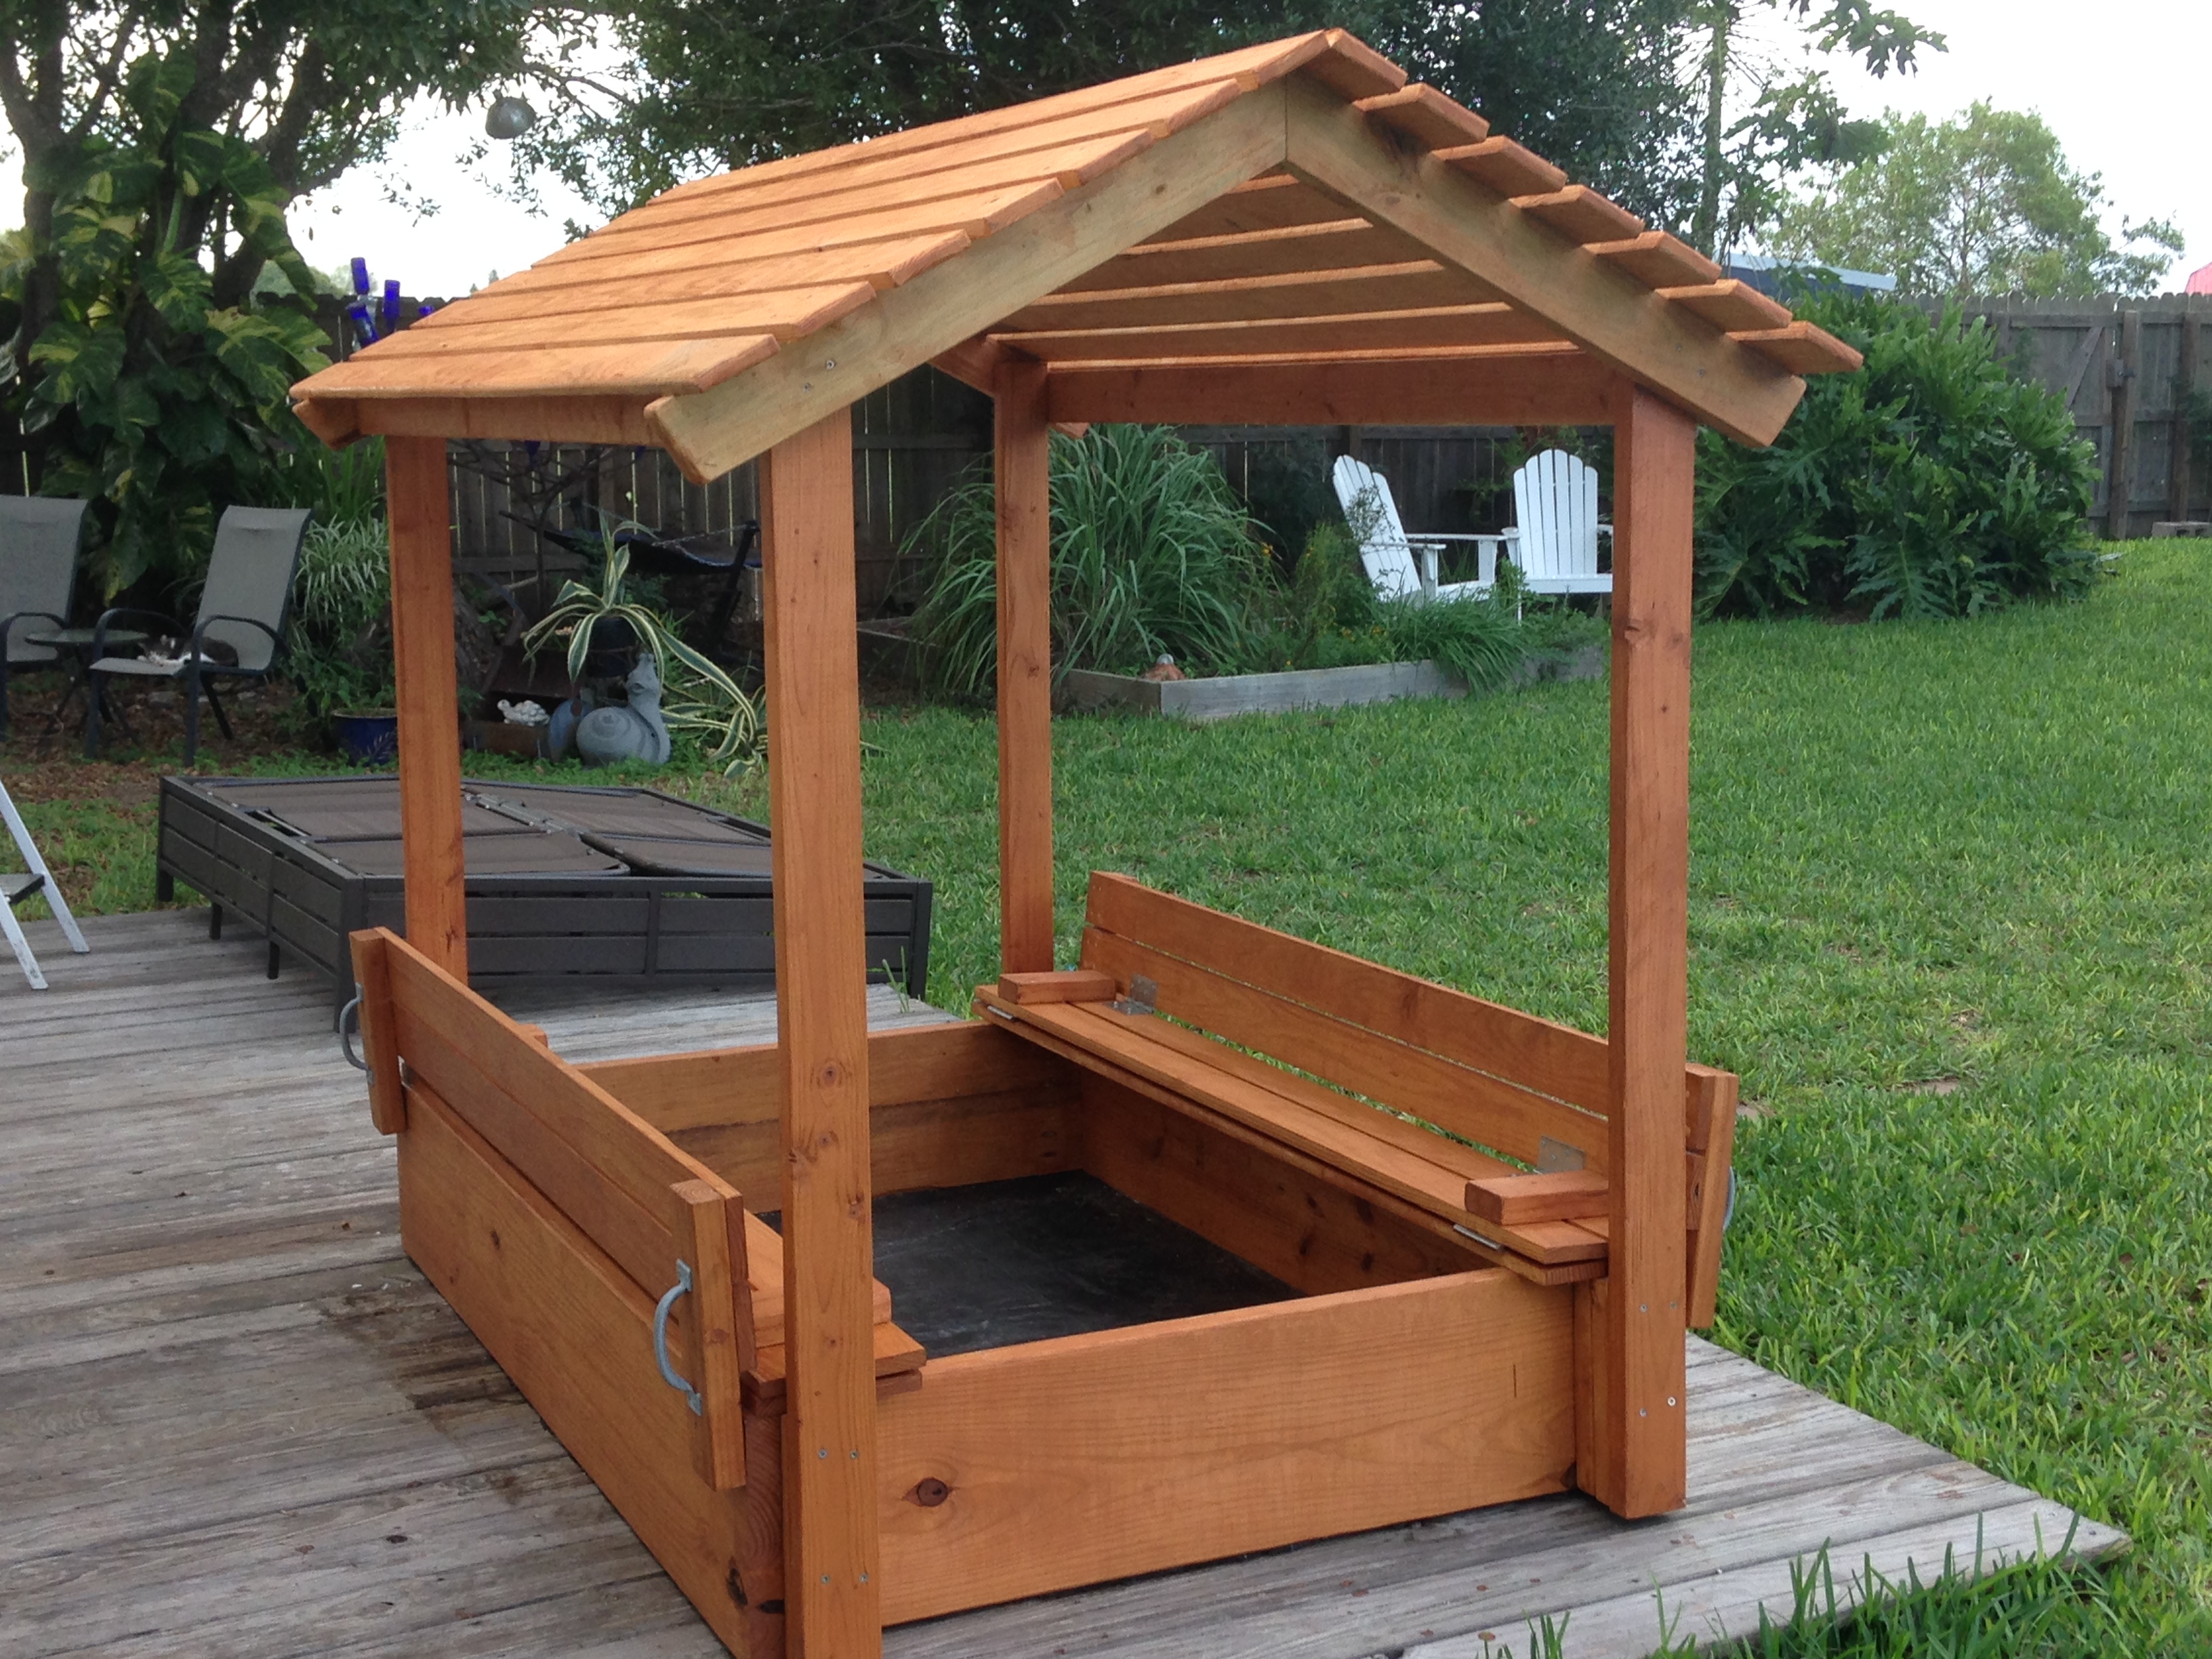
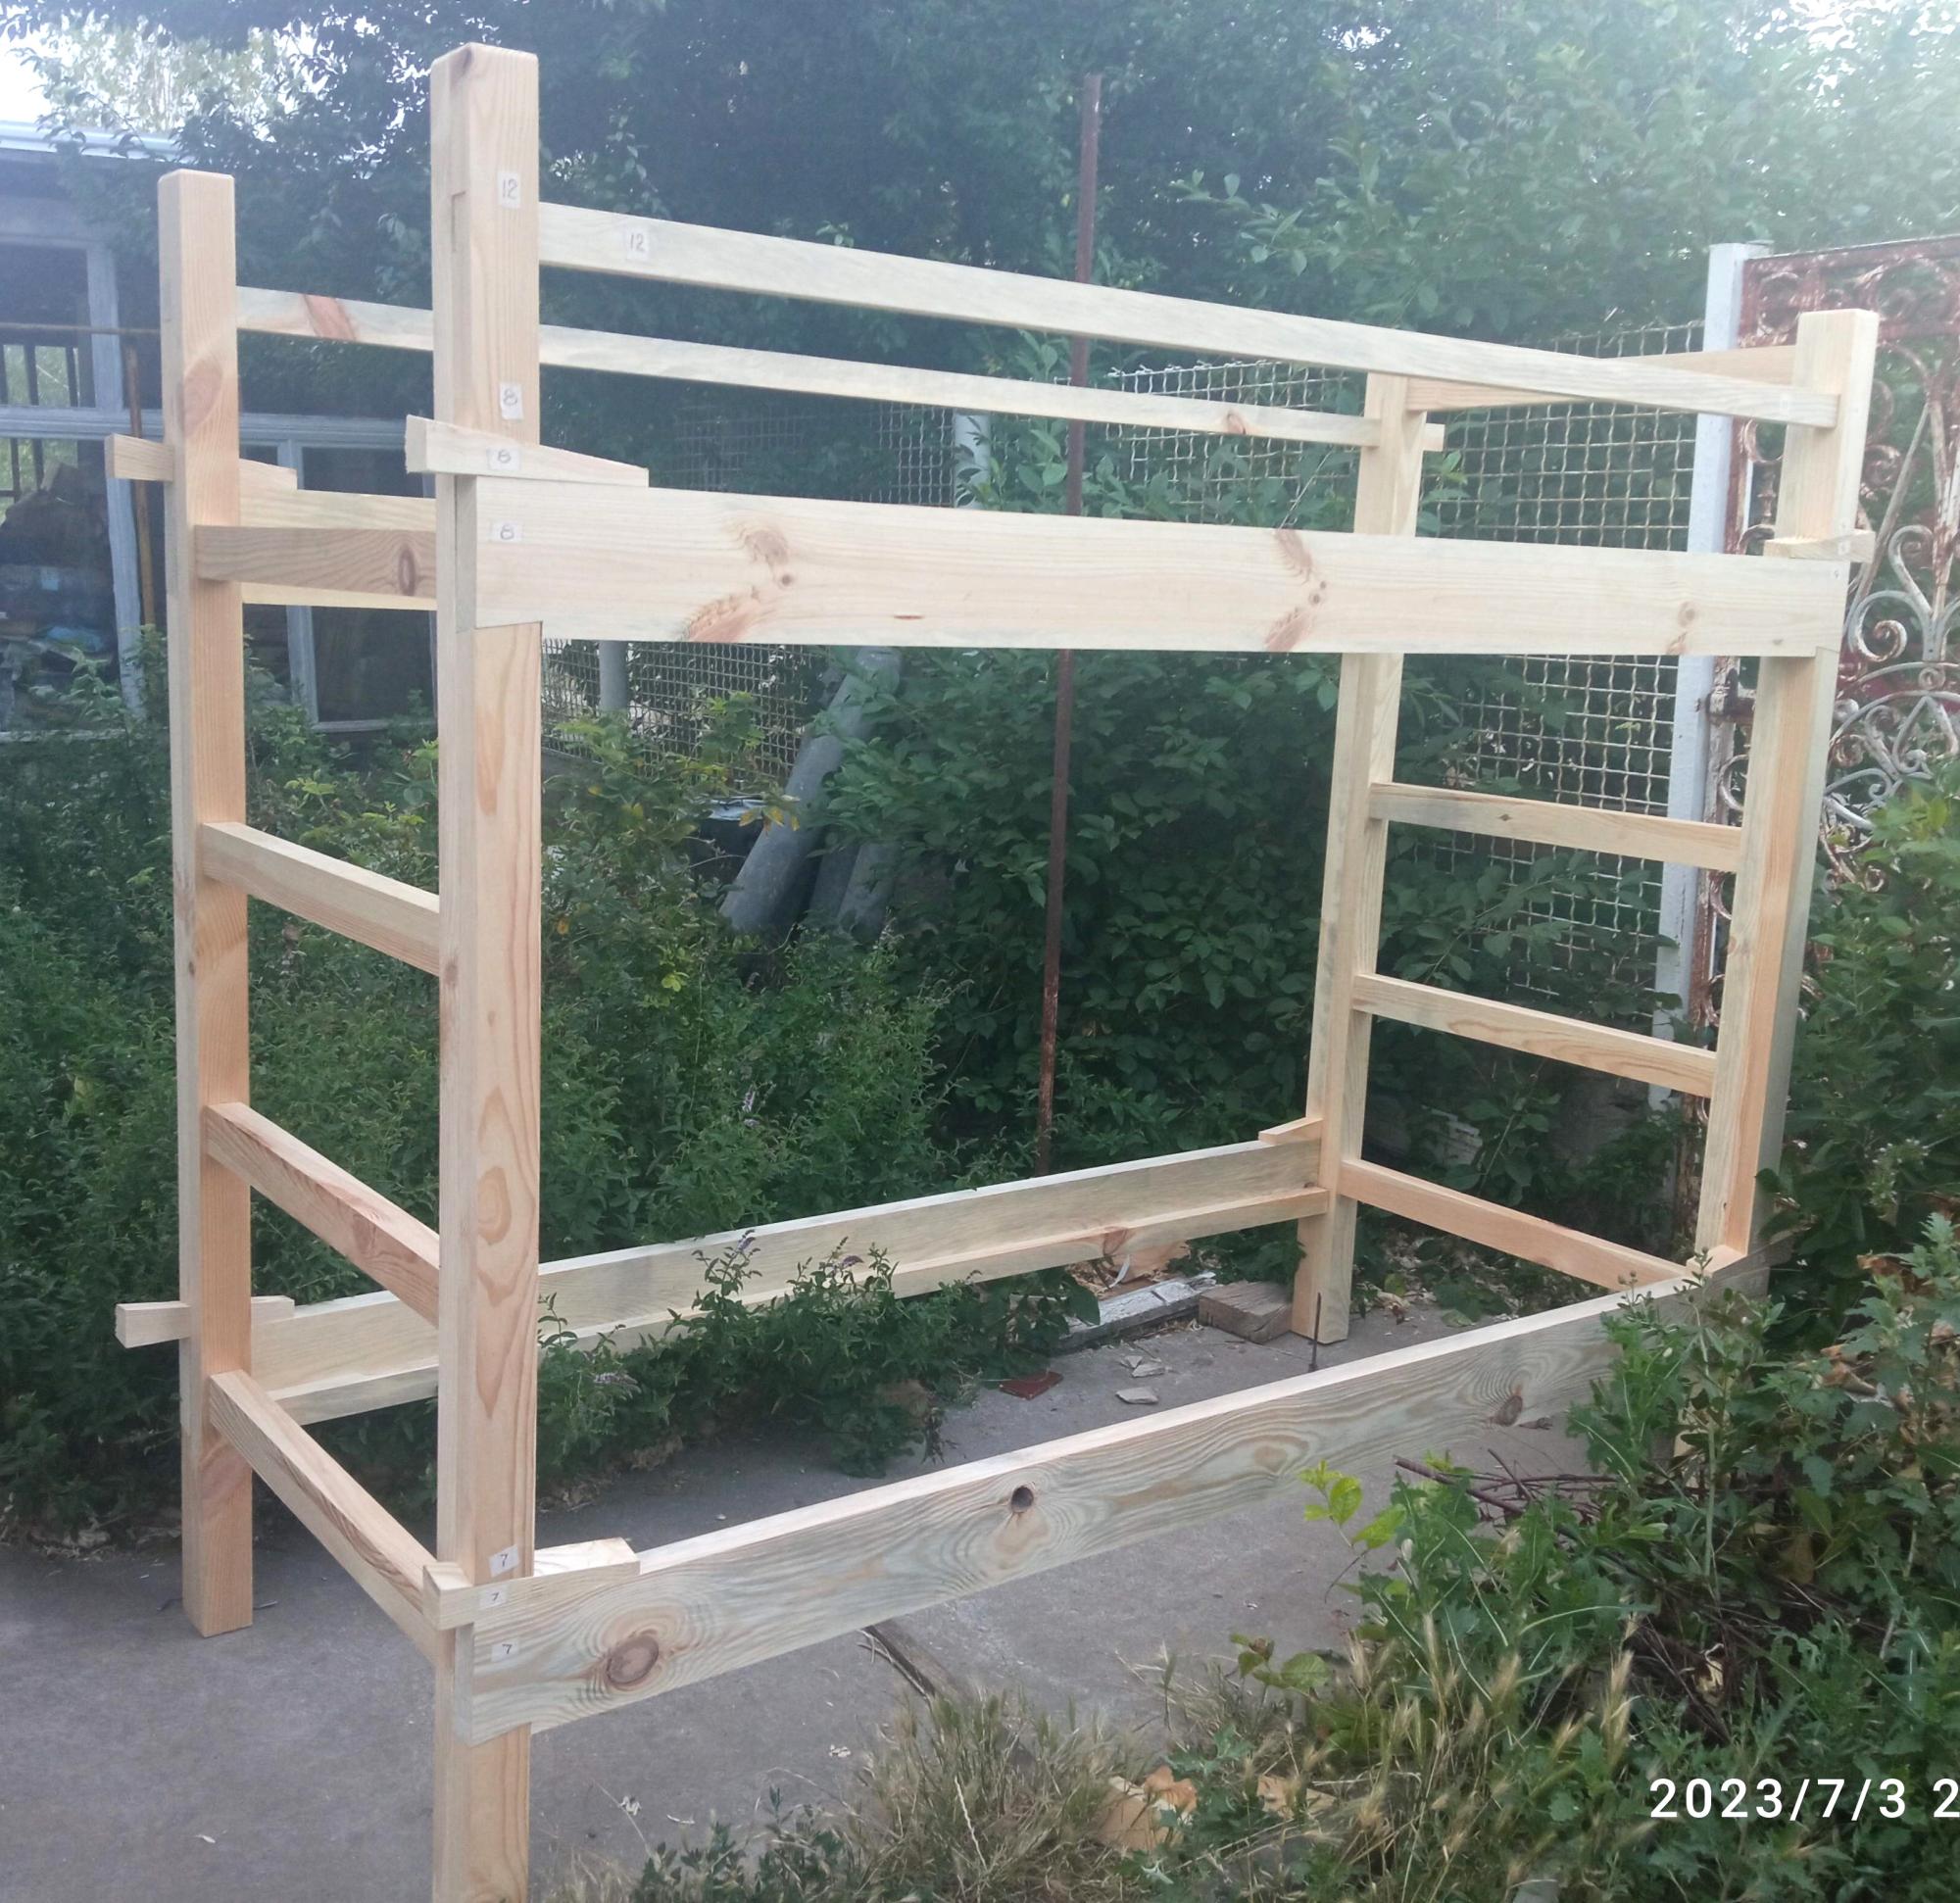
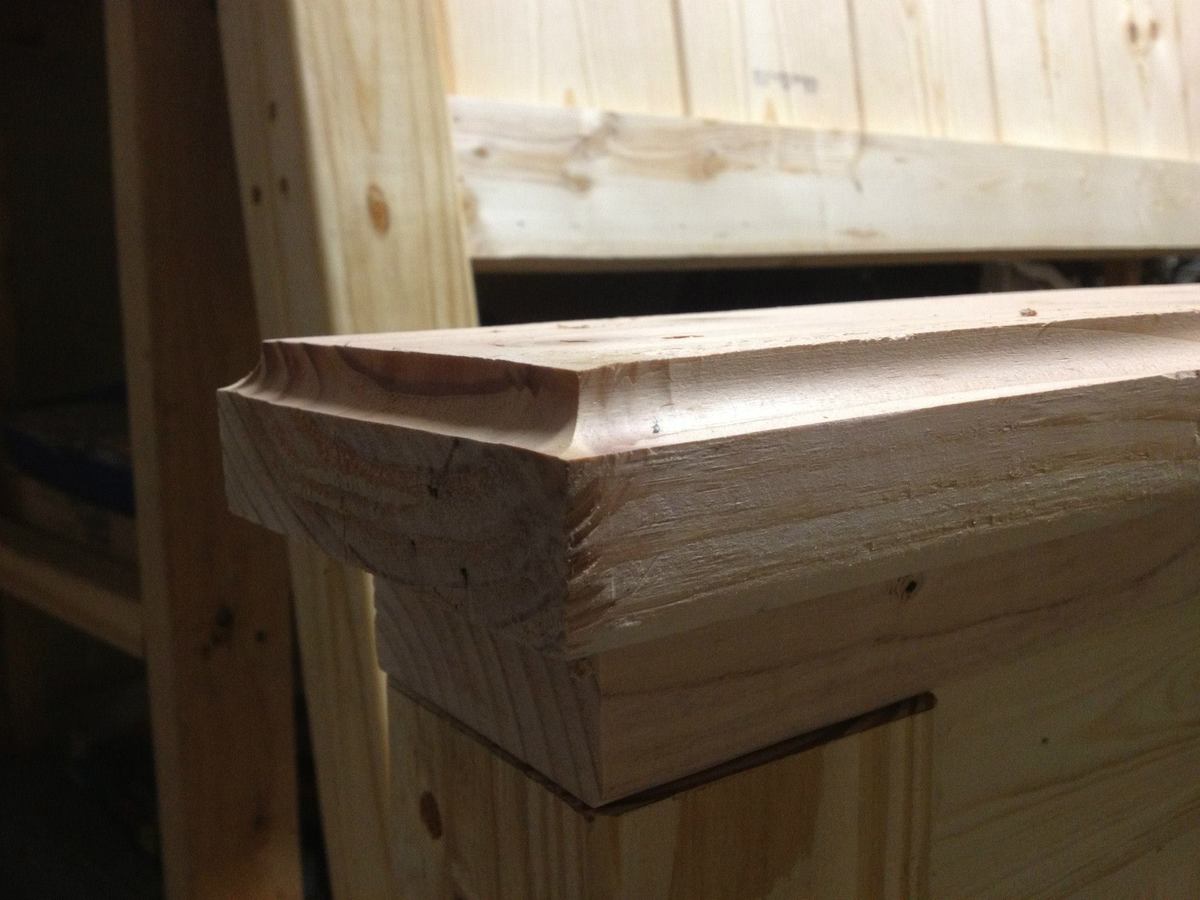
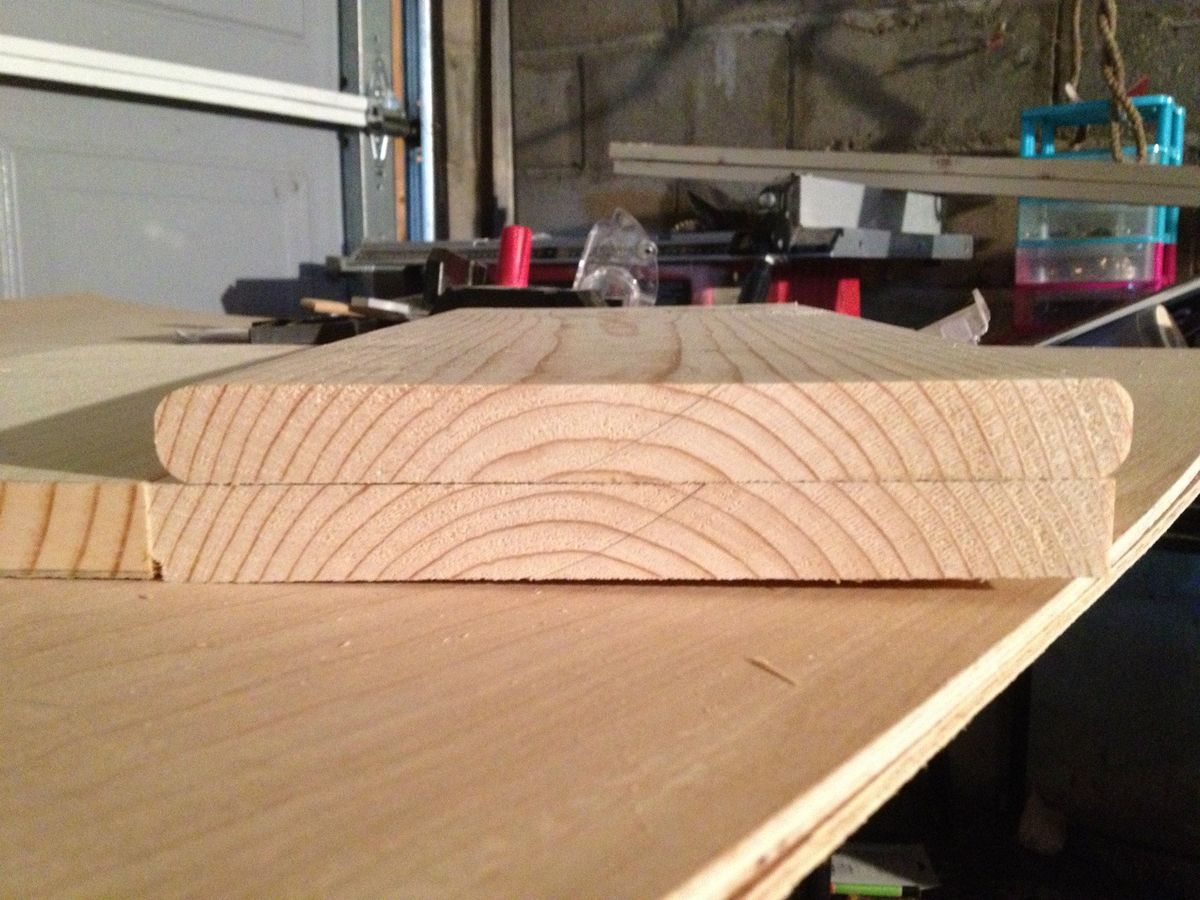
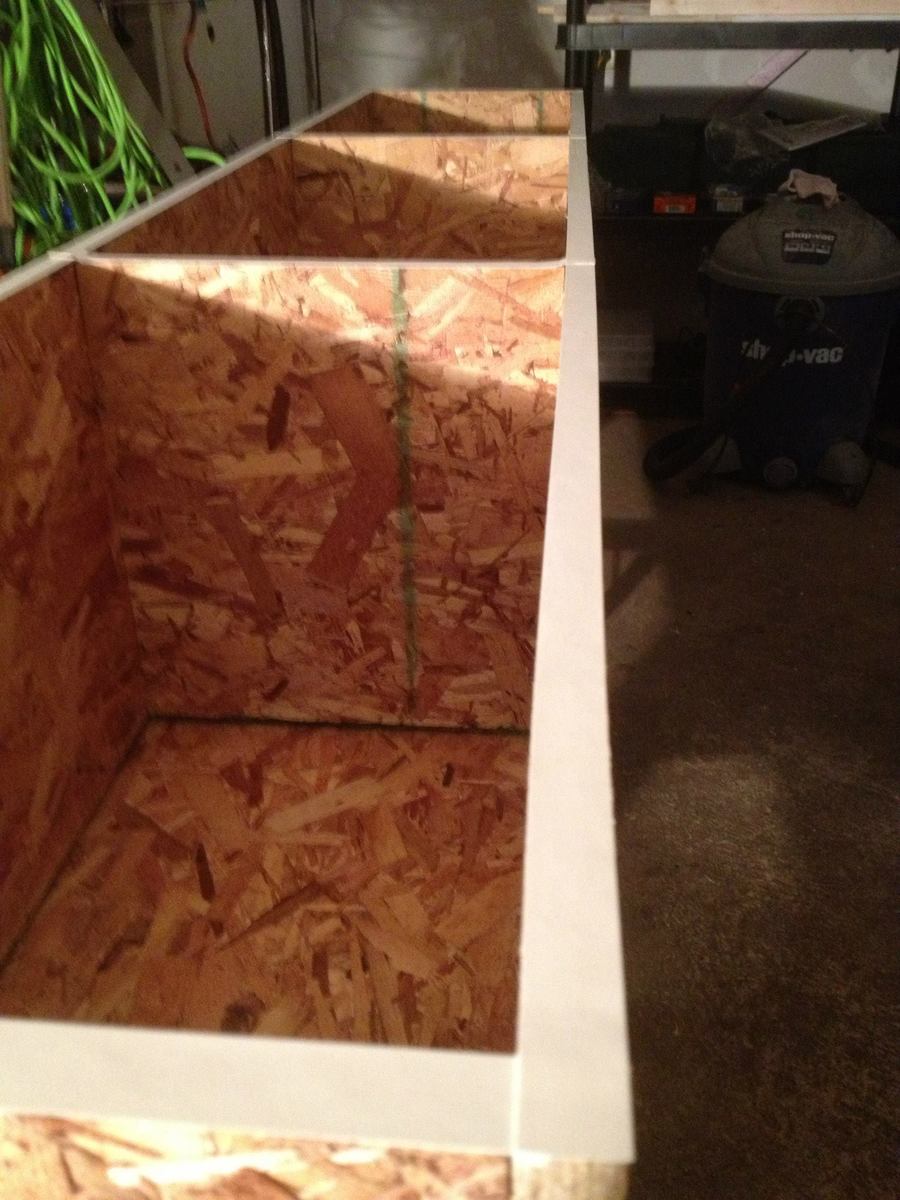
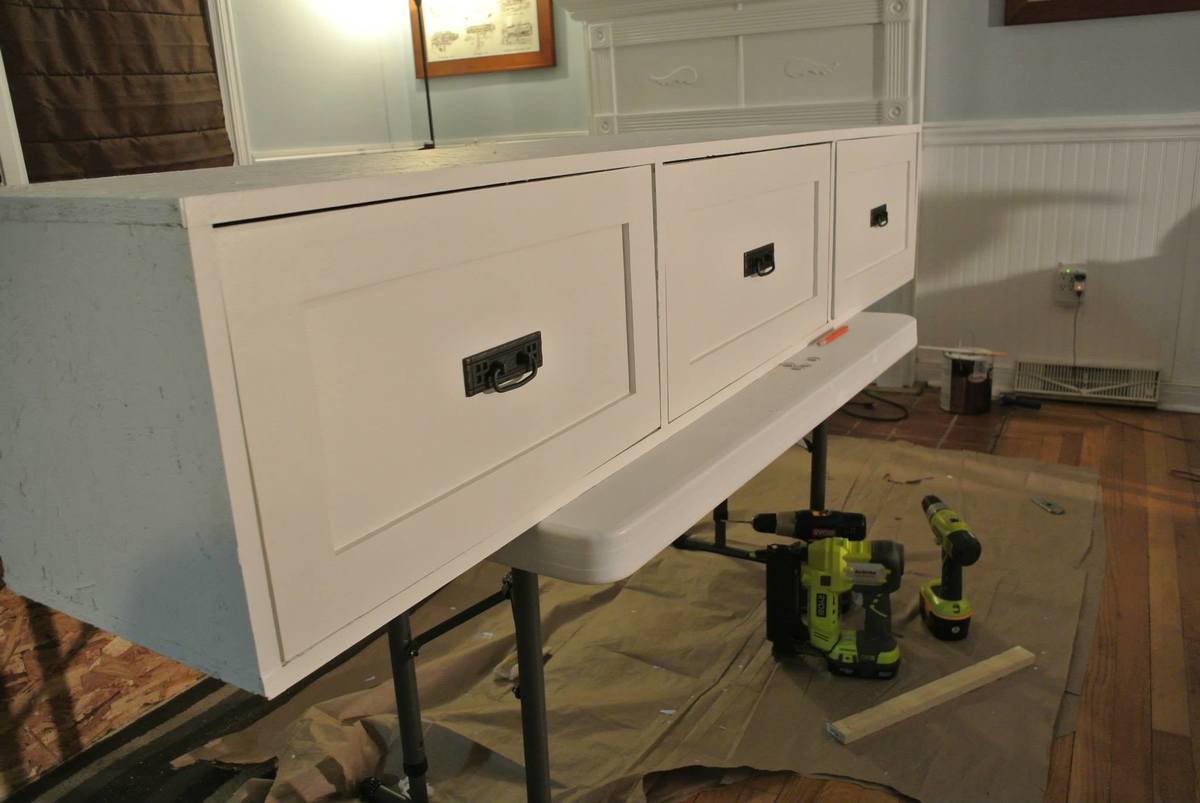
This is a 4 x 6 sand box. I took the Idea from this website and add a roof just for looks. It is made with 2 x 12 , 1 x 4 and 2 x 4. I used Flood Stain which I loved the clean up. I made the second one with 2x12 and 2 x 4 because it was going on a comminuty playground and I thought it sould be stonger. It takes 22 50 pound bags of play sand to fill it. Had a great time building them Thanks for the idea

Estimated Cost
160 without the roof and 200 with
Estimated Time Investment
Day Project (6-9 Hours)
Finish Used
Flood Sealer
Recommended Skill Level
Intermediate

Pantry Storage Rack

Submitted by Anonymous (not verified) on Sun, 12/27/2015 - 16:16

I changed the original plan a little so it would hold bigger items in the bottom shelves

Built from Plan(s)
Estimated Time Investment
Afternoon Project (3-6 Hours)
Recommended Skill Level
Starter Project

Sturdy Workbench Sink

Submitted by Anonymous (not verified) on Mon, 05/01/2023 - 09:57

Used sturdy workbench plans with 2x6 cedar top for outdoor sink. Turned out much better than I expected!!

Built from Plan(s)

Comments

Sliding Barn Door Console

Submitted by Anonymous (not verified) on Tue, 02/16/2016 - 12:14

We wanted to build this piece for so long, but couldn't find 1/2" metal anywhere. Mind you, we live in a pretty small town. We finally just decided to use 1/8" Metal, which works just fine in my opinion. We followed the rest of the tutorial, but I find that they don't go over how to install the metal at all. That needs a tutorial all on its own. We improvised with what we had here in our small town. We ideally wanted to find old metal, but that didn't happen. So we bought new steel, spray painted it & then beat it up so it looked more vintage. 

I'd say hanging the barn doors & the track is the longest part for sure. 

Built from Plan(s)
Estimated Cost
300 ( We live in Canada, so everything is much more expensive here )
Estimated Time Investment
Day Project (6-9 Hours)
Finish Used
Top is stained in our Beachwood ( colors mixed from the Minwax stains ) Bottom is painted in pure white. Hardware is black & beaten up
Matte Polyurethane finish.
Recommended Skill Level
Intermediate

Comments

Double Bunk with Dovetail Joinery

Submitted by Anonymous (not verified) on Wed, 07/05/2023 - 08:34

This double bunk bed has been inspired by Your plans for modern bunk bed - Side Street. To facilitate quick assembling - disassembling of beds for relocation dovetails joints with double inclined tails and wedges have been made. Because the beds has been made for orphanage/"kids in difficult life situations" I changed spacing between headboard and footboard rails to let footboard serve as ladder and in this manner reduce costs and time of construction, save place for installation, avoid tripping hasard. Thank You very much for detailed and simple plans.

Andriy Pronin, Ukraine

Built from Plan(s)

6-Pack Carrier

Submitted by stacynabby on Mon, 01/20/2014 - 20:55

I've seen a couple of photos of "bottle caddies" for sale and I figured I could make my own. Seemed easy enough. I used 3/8" project wood from the Blue Store. I made the six-pack carrier for my neighbor who has been teaching me how to make all-grain homebrew.

http://www.pinterest.com/pin/179369997632846325/

Estimated Cost
$20 (including hardware and bottle opener)
Estimated Time Investment
An Hour or Two (0-2 Hours)
Finish Used
Danish wood oil
Recommended Skill Level
Starter Project

Comments

tommybo76

Tue, 01/21/2014 - 14:56

I home brew myself and I think this is a fantastic idea! How did you go about putting the label on the side?

tommybo76

Thu, 01/23/2014 - 07:09

This will come in very handy for lots of projects. I really appreciate you sharing this with me!

Debbie742

Thu, 11/27/2014 - 05:49

I checked the PDF and can't seem to find the plans to make this. Are they available??


debbie.

Combo of Farmhouse Bed with Farmhouse Storage Bed

Submitted by jeniroosen on Mon, 01/27/2014 - 21:39

I meshed the Farmhouse Bed with the Farmhouse Storage Bed with Storage Drawers and this is the final product. Let me know if you have any questions. I learned along the way.

A few things I modified -

I knocked off the corners of the 1x8's used in the footboard and headboard as I wasn't a fan with how they butted up straight. I liked the rounded edges of the routered boards instead.

I cove routered the tops of 2x6's and loved how they turned out

When I handed my cutlist to the kid at the big orange store, he pulled OSB instead of plywood for the storage cabinets. I realized it halfway through the cutting as I was shopping for other things and didn't have the heart to tell him halfway through the job. I had to edge band (first time) the edges and the OSB soaked up a lot of primer.

Estimated Cost
$400
Estimated Time Investment
Week Long Project (20 Hours or More)
Finish Used
Glidden Antique White
Recommended Skill Level
Beginner

Comments

Headboard with Fold Down Tray Tables

Submitted by t856463 on Sat, 01/25/2020 - 21:05

Wow, my 2nd piece of furniture I attempted.  A lot of wood filler was involved.  My shelves seemed too big, so I just did one, then my back board accidentally got used in “open shop” so I used some left over pegboard.  I had fun but spent a lot of time fixing “oops, that doesn’t seem right”. Peg

Estimated Cost
$40
Estimated Time Investment
Week Long Project (20 Hours or More)
Finish Used
Paint and stain

Shed

Submitted by frankb03 on Sat, 05/07/2016 - 18:56

I couldn't find cedar shakes locally. For the front I used pine fence shakes from Lowes. They cost $1.56 each. For the sides I used Smartside 38 series primed engineered treated wood siding panel. They cost $32/panel. I had to buy two panels. On the back I used 1/2 plywood. I made the roof 76x46. All the materials were purchased from Lowes except the shingles. I used GAF Timberline HD Barkwood shingles.

Built from Plan(s)
Estimated Cost
$286 including gate hardware kit, gate pulls, shingles and stain.
Estimated Time Investment
Weekend Project (10-20 Hours)
Finish Used
Thompson's WaterSeal Stain and Sealer Nature Cedar. A great product. A stain and sealer in one product.
Recommended Skill Level
Intermediate

Sand box with benches

Submitted by Big Grizz on Sat, 04/28/2012 - 19:51

This sand box was very easy to build and it works great. The only thing I would change is cutting the "arm rests" at 7 1/2" instead of 6 1/2". I did that for the second set of arm rests (when I downloaded the plans many weeks ago the cut list was wrong). It made putting that section together a lot easier.

I easily spent more on the hinges (at $5 per hinge x 8 hinges) than I did on the wood itself.

My 1 and 1/2 year old loves playing in it and now I need to build a toy box for him to put all of his sand toys in!

Built from Plan(s)
Estimated Cost
$115
Estimated Time Investment
Afternoon Project (3-6 Hours)
Finish Used
Redwood colored stain
Recommended Skill Level
Starter Project

Comments

T. Holloway (not verified)

Mon, 09/17/2012 - 10:29

I just want to say that I asked for my husbands help, and his advice increased the price significantly.
He does not like to paint, and will spend the extra dollar to purchase pressure treated wood. So I sent him with my materials list and the wood he purchsed was $60.00, plus $22.00 for hinges and $10 for a box of deck screws. Actually, I am a artist and had wanted to paint the project to look like a big frog.

Laundry Sorter

Submitted by CPeezy on Sat, 05/23/2020 - 20:17

My wife had begged and begged for something like this, so I took the plunge. This was my first build and I’m getting the itch to try other things! We built the ship lap wall and sign together as well!

Comments

Outdoor Sectional

We have been looking for a deal on an outdoor sectional for a whole year. Nothing. The cheapest we could find was $899 for one that was much smaller than this one and with thinner cushions. So we upped and drove to the lumber yard and purchased the lumber on the list and got to building. The total cost of lumber was $200, the Spax screws we already had on hand. We used pocket holes for the joints. The wife made the cushions herself. She had most of the fabric on hand, we just had to buy 3 yards for the back cushions, which are made of standard size pillows. They have been sprayed with fabric protectant for outdoor use (I think she used the Scotch brand). The seat cushions are 5 inches thick (they are wrapped in silk film to protect them from getting soaked when it rains or when someone who just got out of the pool sits on them), around $100 for both. It took her a couple of days to sew the box cushion covers.

Estimated Cost
$400
Estimated Time Investment
Weekend Project (10-20 Hours)
Recommended Skill Level
Beginner
Seasonal And Holiday

Garden Shed

Submitted by Deborah on Sat, 08/18/2012 - 23:01

I have been dreaming about building so many things featured on this website, and I finally buckled down and built something. I figured that an outside garden shed would be a bit more forgiving than a project requiring a bit more precision, and from the picture, you can see that it's not perfect! I'm still working on trimming the shingles and I still have to stain/seal it. I've got to admit, when I first picked up the wood for the project at the store, I wondered what I had gotten myself into. But I just jumped in, and here it is.

Built from Plan(s)
Estimated Cost
$300
Estimated Time Investment
Weekend Project (10-20 Hours)
Finish Used
Plan to stain it with some sort of deck stain.
Recommended Skill Level
Beginner

Comments

Laundry Sorter

I was tired of having my laundry piled on my garage floor. These plans were the perfect solution. It fits great in the small space I had next to my washer. And it was so easy. I was able to do it all by myself. My husband just had to catch the plywood for me when I ripped it. I was able to find the baskets on the plans at Target and used left over paint from my sons' playroom. My laundry is now always sorted, making it much easier and faster to clean.

Estimated Cost
$60
Estimated Time Investment
Day Project (6-9 Hours)
Finish Used
Water based paint in eggshell finish. Since this was going to be in the garage I just used leftover paint. If it would have been used anywhere else, I would have used a semi-gloss.
Recommended Skill Level
Beginner

DIY Attached Garage Shelves

Thanks to Ana's plans for the attached garage shelves, we've managed to change 12' of garage space into 60! A quick trip to the local Home Depot and following the included instructions, these SUPER easy shelves were perfect for our needs. Thanks, Ana!

Estimated Cost
$160
Estimated Time Investment
Day Project (6-9 Hours)
Recommended Skill Level
Beginner

4 Drawer Entry Way Bench

Submitted by Anonymous (not verified) on Mon, 04/15/2024 - 10:49

I had an empty space next to my stair case and desparately needed a place for my kids to hand their back packs and put their shoes that wasn't all over the place! I adjusted Ana's plans for 4 drawers since there are 4 of us and added board and batten. I also was placing the bench over an outlet which I didn't want to lose so I got an extension piece and cut a space out for it on top with a jig saw. Love the way it came out!

Built from Plan(s)

Murphy Bed - queen

Submitted by fielden_m on Mon, 10/08/2012 - 08:15

Taking the plans for the full sized Murphy bed (http://ana-white.com/2010/03/plans-a-murphy-bed-you-can-build-and-affor…) I added a few inches to convert to a queen and raised it off the floor 5 1/2 inches with removable fence post toppers.

The yellow head board lifts up and stores inside the frame when up. If I had it to do over again, I would sand and paint as I built. Thanks to Ana, I now have a guest room!

Estimated Cost
$150
Estimated Time Investment
Week Long Project (20 Hours or More)
Finish Used
wood was sanded, primed and painted
Recommended Skill Level
Intermediate

Comments

Cindy from Indiana (not verified)

Mon, 10/08/2012 - 11:13

Holy smokes! Great job! I just got my early birthday present - a Kreg Jig Master System!!! One of the first things I will be building is a murphy bed, so thank you for the inspiration.

It looks great!

nasrockswell

Wed, 04/24/2013 - 19:55

I love your adaptation of Ana's plans. Would you be willing to share the dimension for the queen murphy? Thank you!

fielden_m

Fri, 07/26/2013 - 18:51

I fudged the plans by adding to the width and height to make up for the change in bedding but also for the hinges and detachable feet. Measures will differ based on your hinges and feet.

vgb777

Mon, 04/29/2013 - 14:32

I am wondering what king of hinges you used for the bed. Did you use continuous (piano) hinges or regular door hinges? How wide are they? I am not sure what the acceptable width for the hinges is to be safe. Thanks.

fielden_m

Fri, 07/26/2013 - 18:47

I used 3 5" gate hinges. They are thick enough to leave a gap of 3/8" between my base and the part of the bed that swings down.

phelan1202

Wed, 06/12/2013 - 16:35

What were the altered measurements and exactly how did you raise it? I really like Anas plan except that the mattress was so close to the ground. I want to make this for my apartment and I'm painting the outside like a tardis. (:

fielden_m

Fri, 07/26/2013 - 18:50

I raised it 5 1/4 " using fence post toppers from home depot. The fence post toppers unscrew for upright storage. You could leave them in for a more dramatic look but I liked the cleaner lines with them out until needed

intrigued89

Sat, 11/02/2013 - 15:33

Would you be willing to share the dimensions you used when building your queen murphy? Even if they aren't exact, it would be such a big help to me!

rfpeterlin

Sat, 12/28/2013 - 03:33

That is definitely an attractive and well finished project. I am interested in how you finished the legs. I see in the second picture (bed in closed positions) where the toppers may have attached. Where do you store them?

fielden_m

Sat, 12/28/2013 - 22:56

In that same picture, if you look at the bottom 6 inches of the closed bed (under the hinge) there is a storage section where I hide the legs when the bed is raised. It is otherwise dead space and made for an easy storage conversion at the last minute.

Ben Childs

Sun, 01/10/2016 - 17:02

Can someone please help me I see this can be adjusted for a queen size bed. I don't know how to adjust the measurement to make it work. 

Ben Childs

Sun, 01/10/2016 - 17:04

Can someone please help me I see this can be adjusted for a queen size bed. I don't know how to adjust the measurement to make it work. 

Frame around bathroom mirror

I built a frame around the bathroom mirror. I used pine 2x3s. I used pocket holes and glue on my joints. I used minwax dark walnut. I’m happy with how it turned out.

Estimated Cost
Less than $10
Estimated Time Investment
An Hour or Two (0-2 Hours)
Recommended Skill Level
Beginner

2 X 4 Farm table with Maple and Walnut top

I really liked the basic table design.  But since it was going in my wife's medical office I decided to make the top out of Maple and Walnut.  It turned out to be a very big job.  I had to Straighten the edges of the boards so that they would fit together without a space between the boards and then put them through a planer.  I then glued the edges and used Kreg screws to put it all together. Surprisingly it all fits and the base sits flat and level.  I spent a great deal of time measureing all of the 2 X 4s in an effort to make sure that the base was level and the angles all work. 

Estimated Cost
$300
Estimated Time Investment
Week Long Project (20 Hours or More)
Finish Used
We first stained the base and then painted it white. The intent was to sand through the white paint for a used look. It did not really work so we left the base white. The table top was finished with Teak oil in order to bring out the Walnut grain. It works well but smells awful and we had to leave the top outdoors for two weeks until the smell dissipated.
Recommended Skill Level
Intermediate

Comments

Back