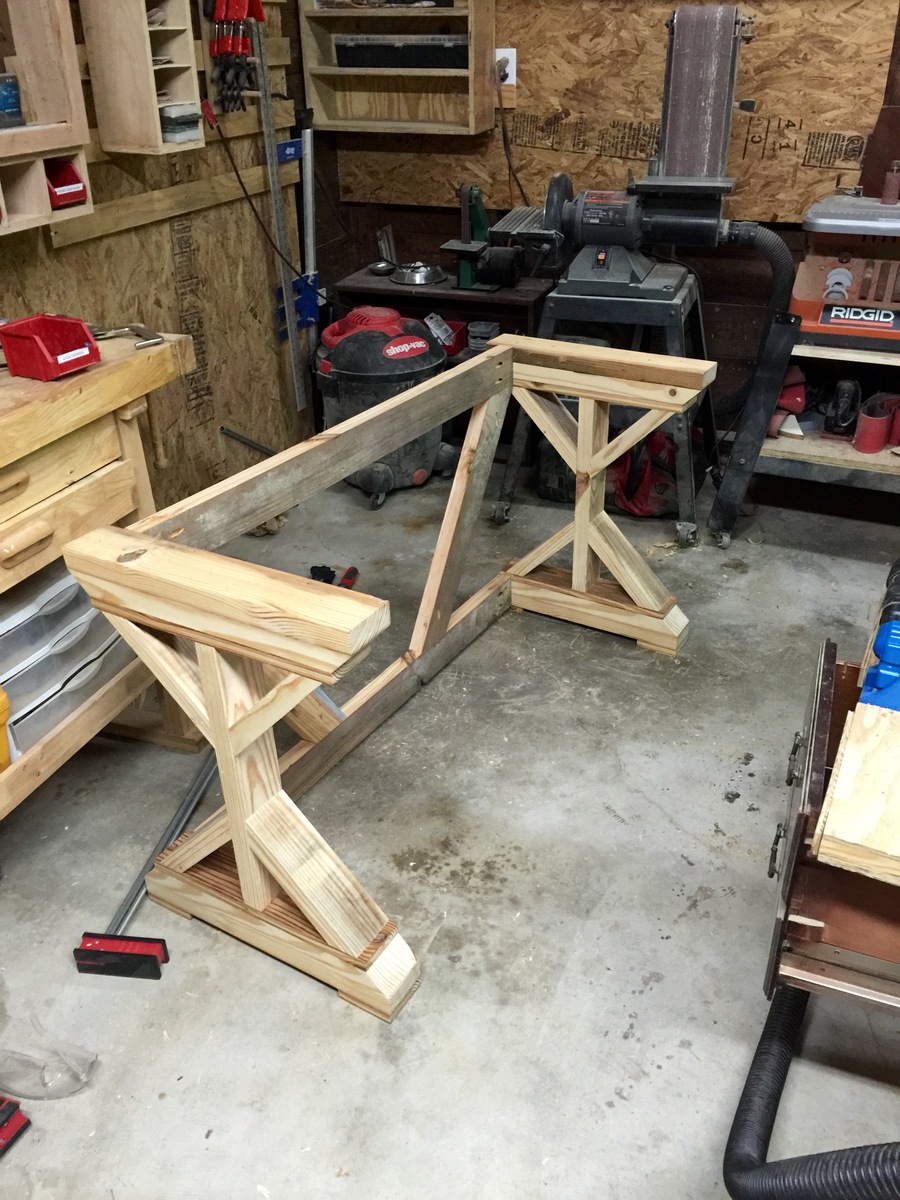
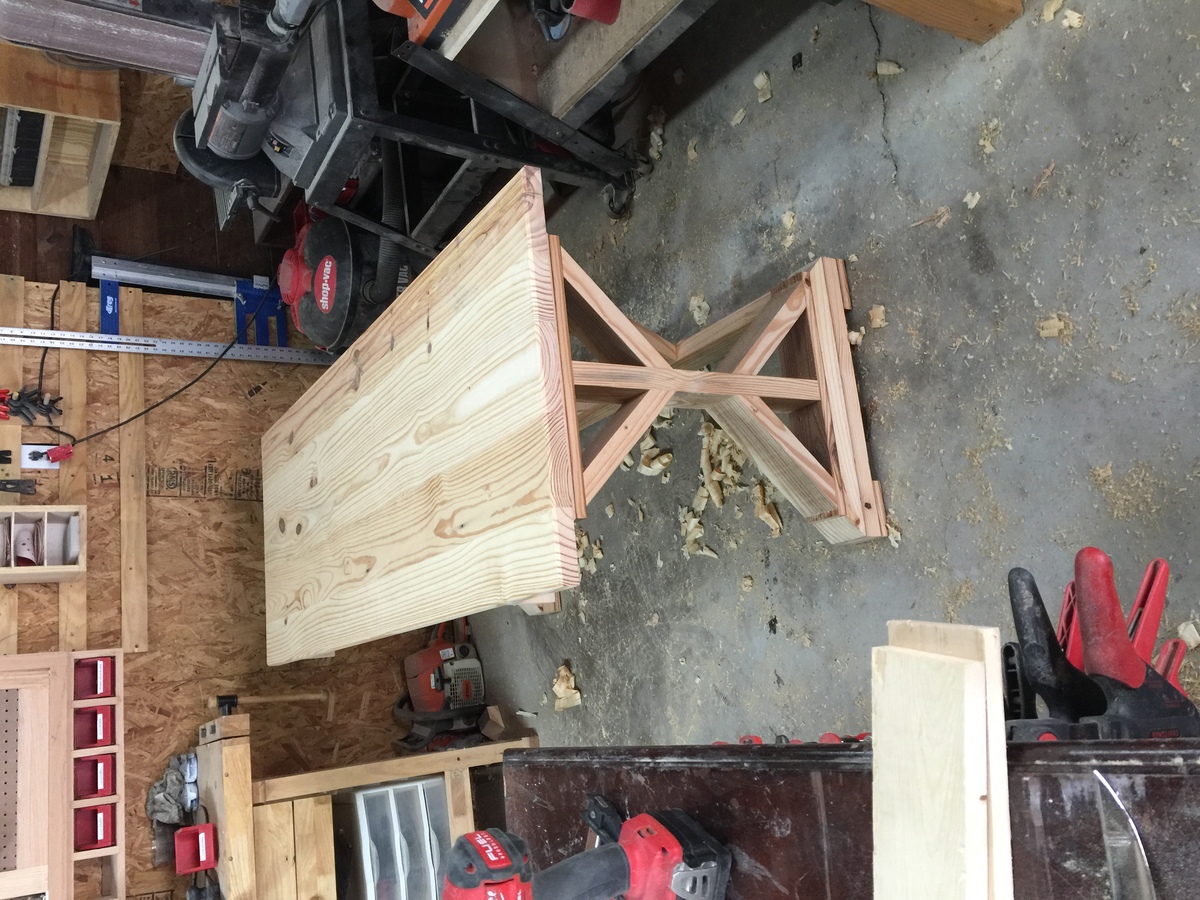
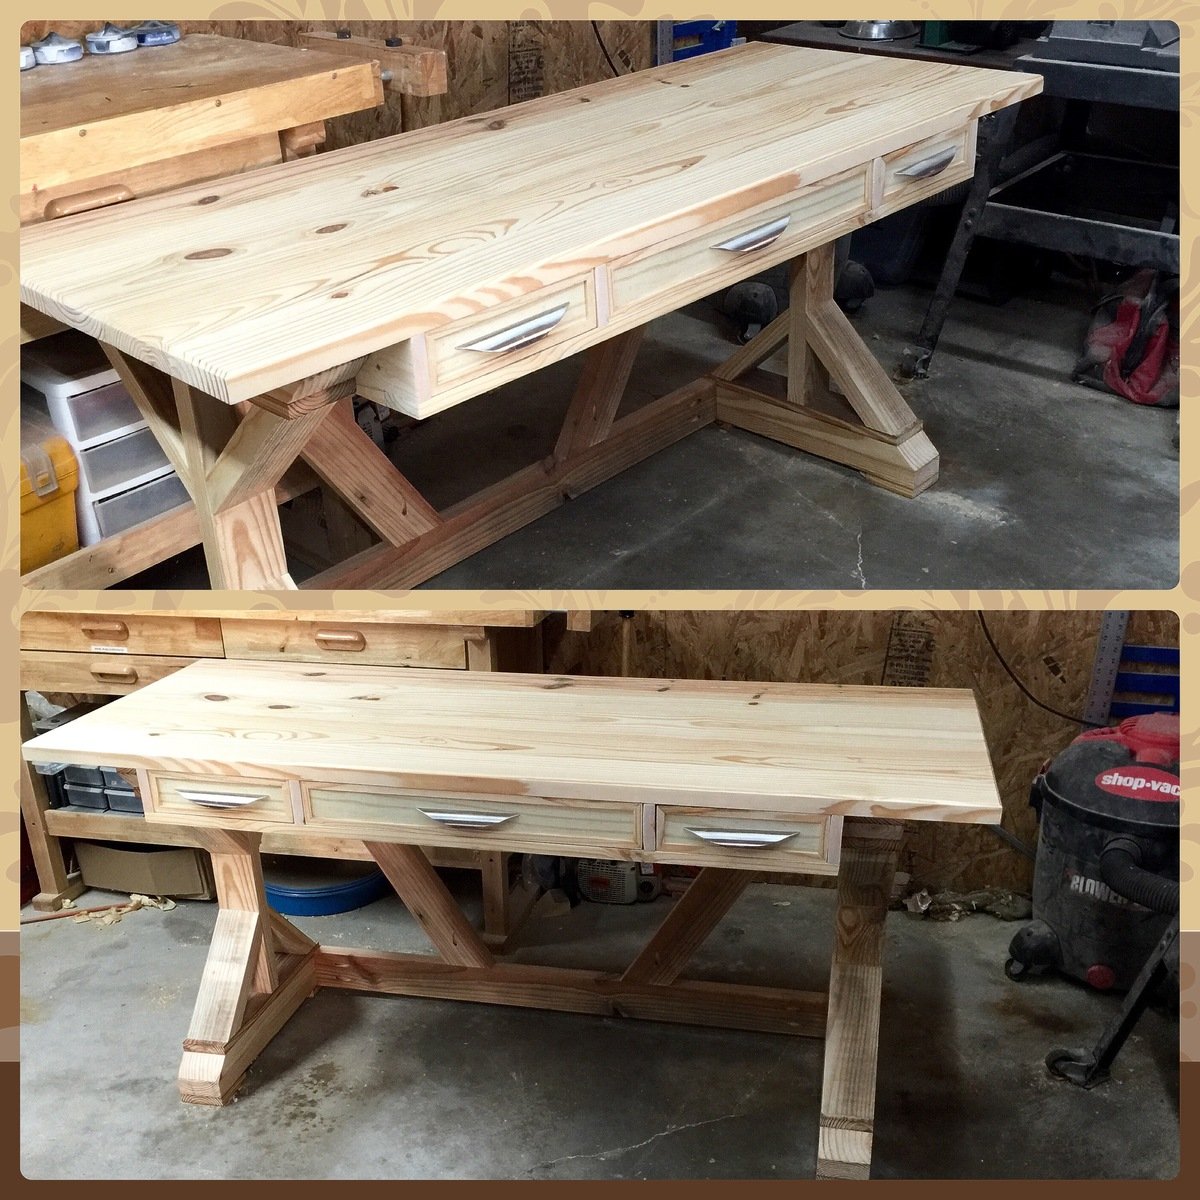
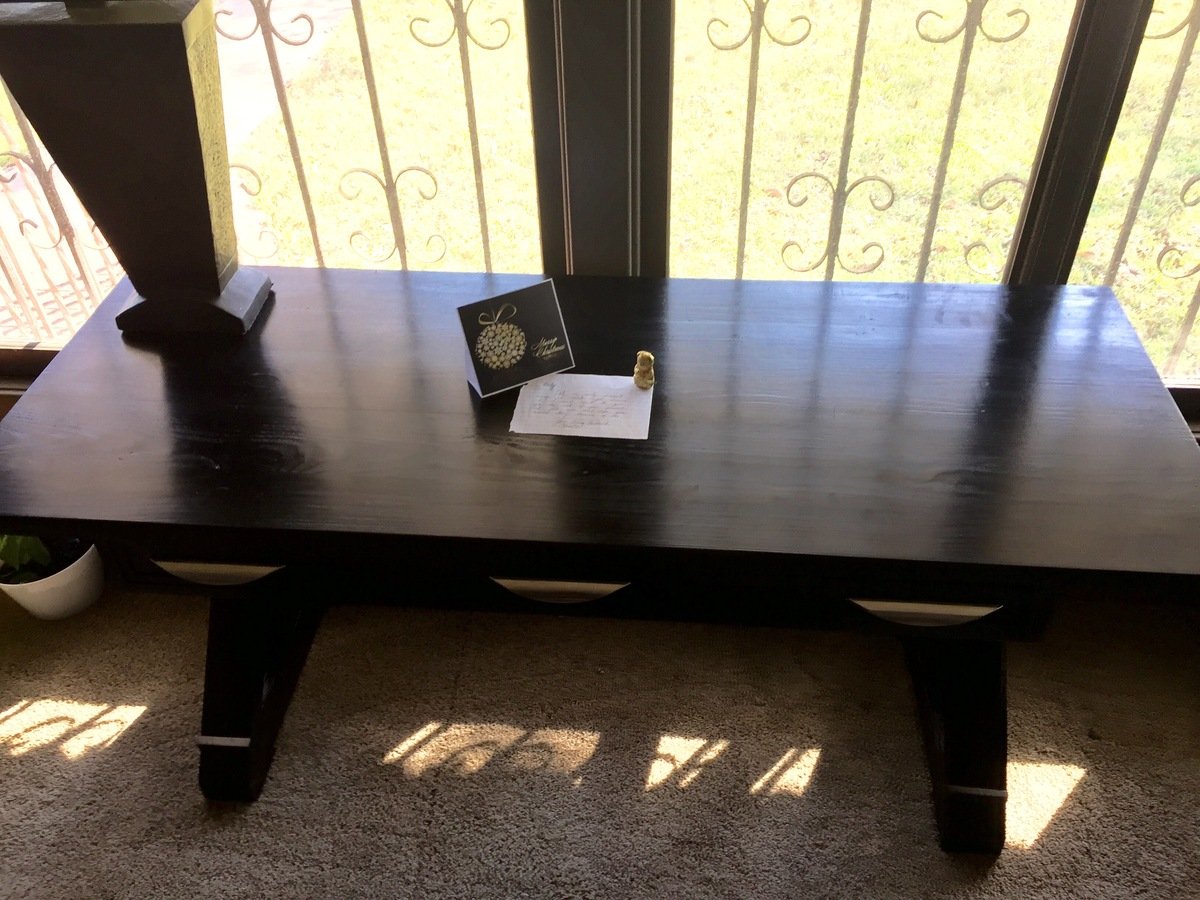
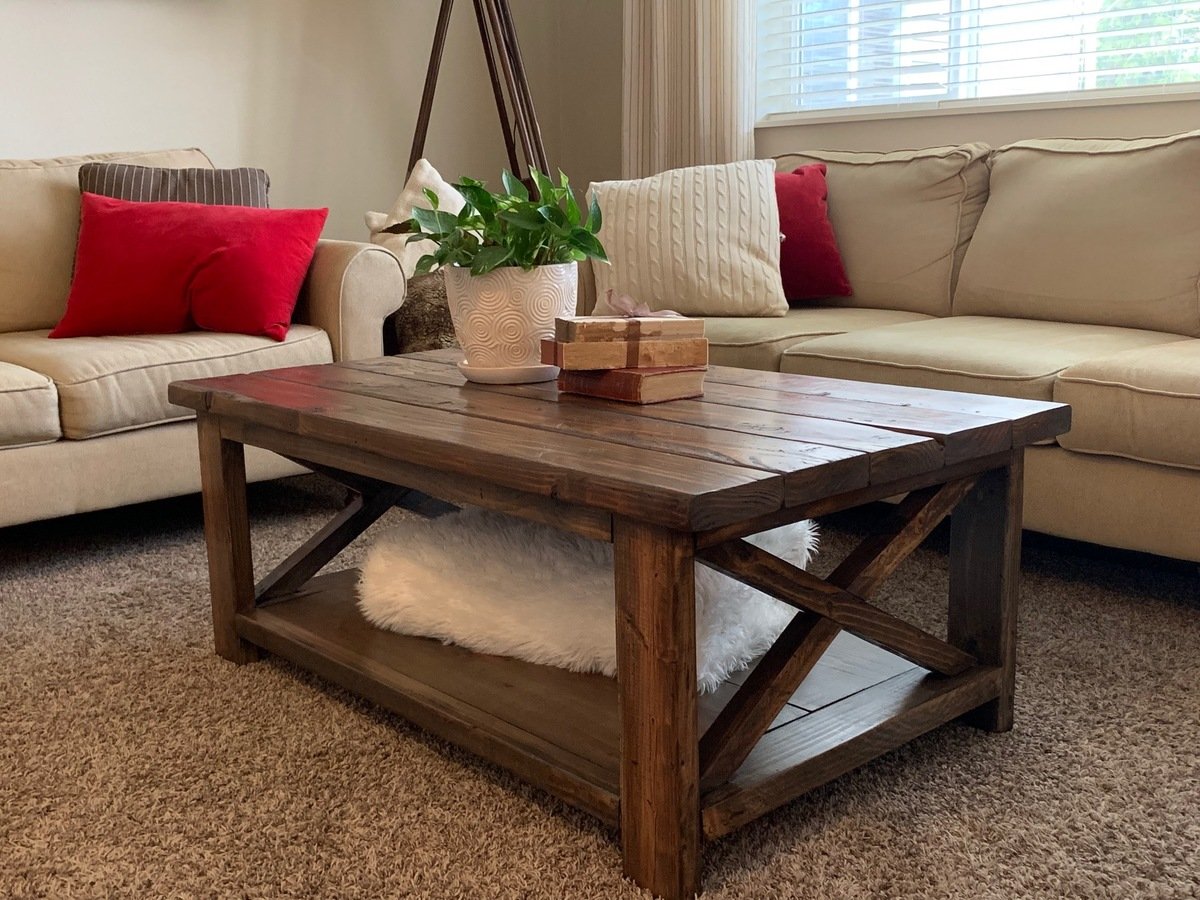
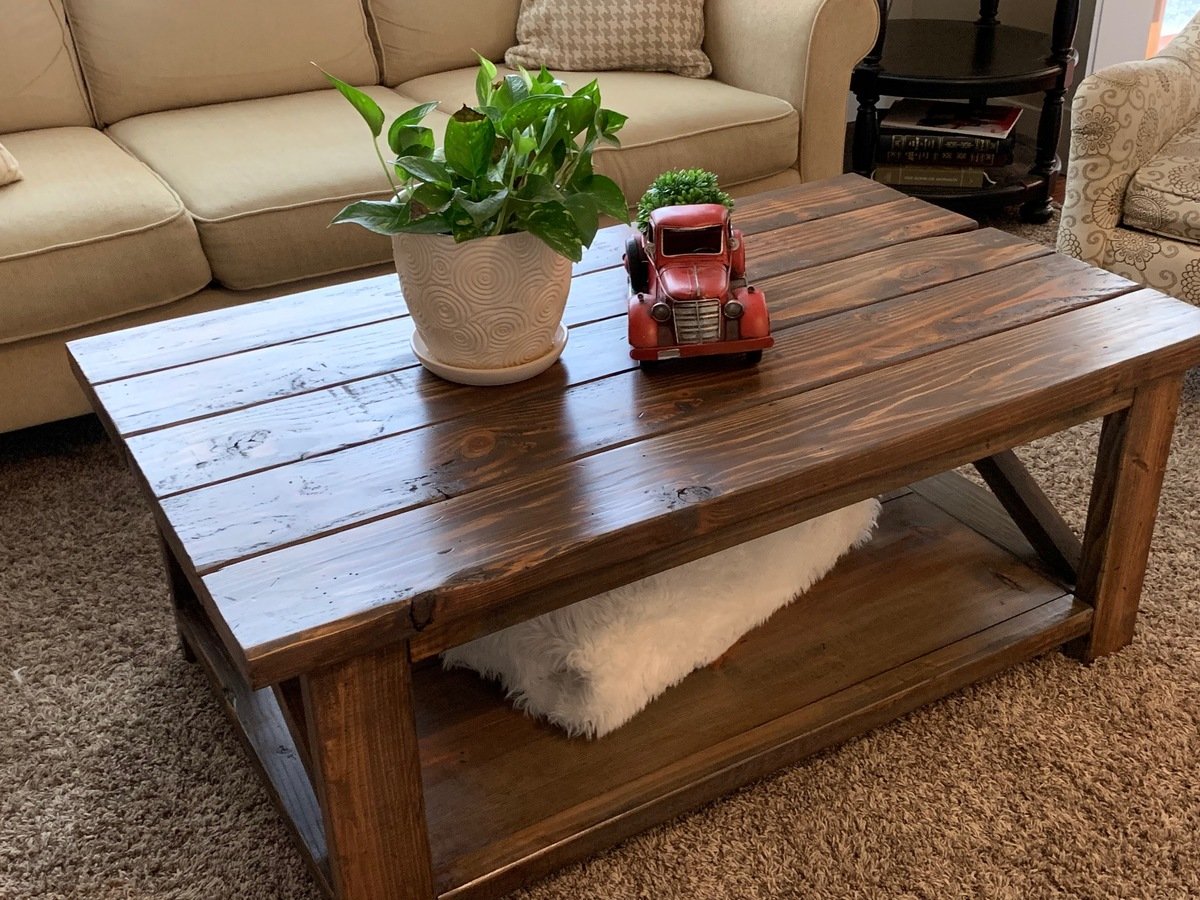
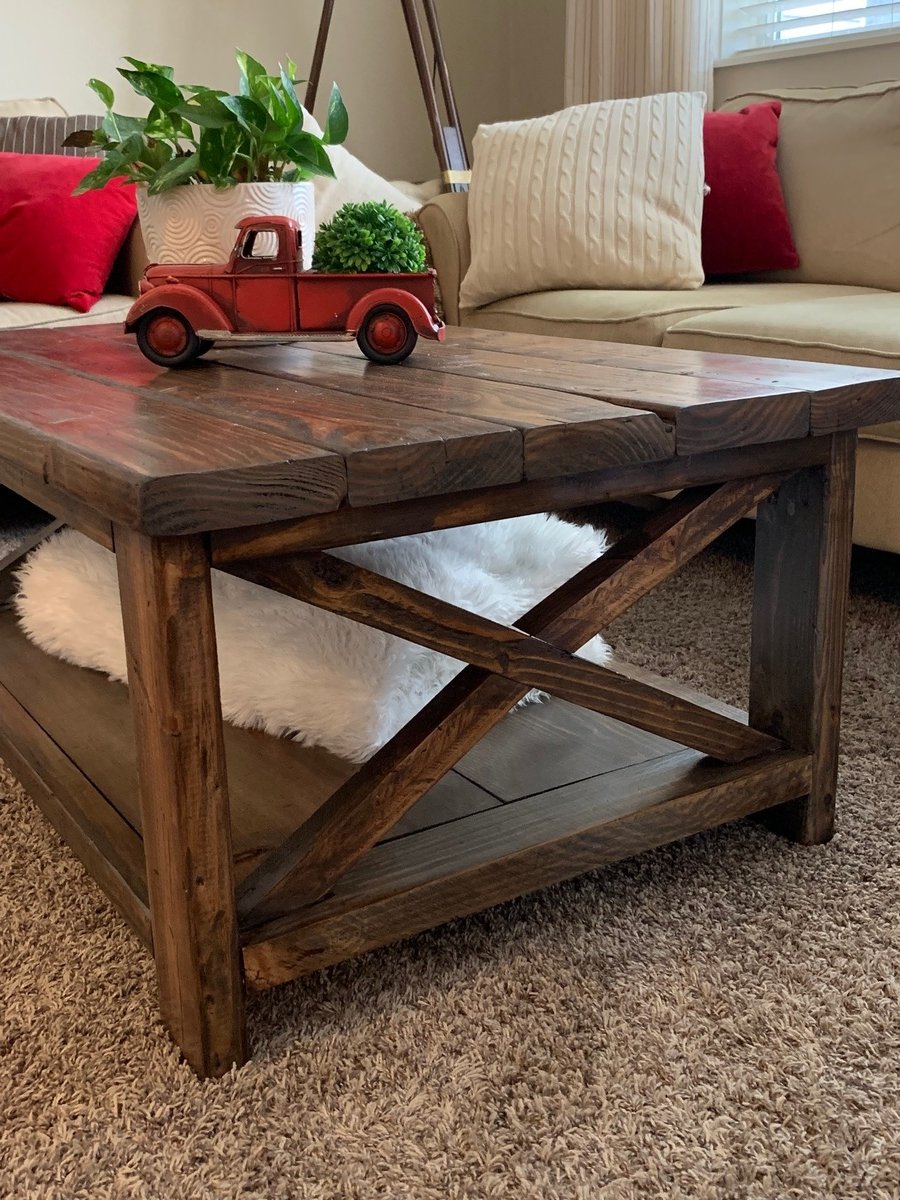
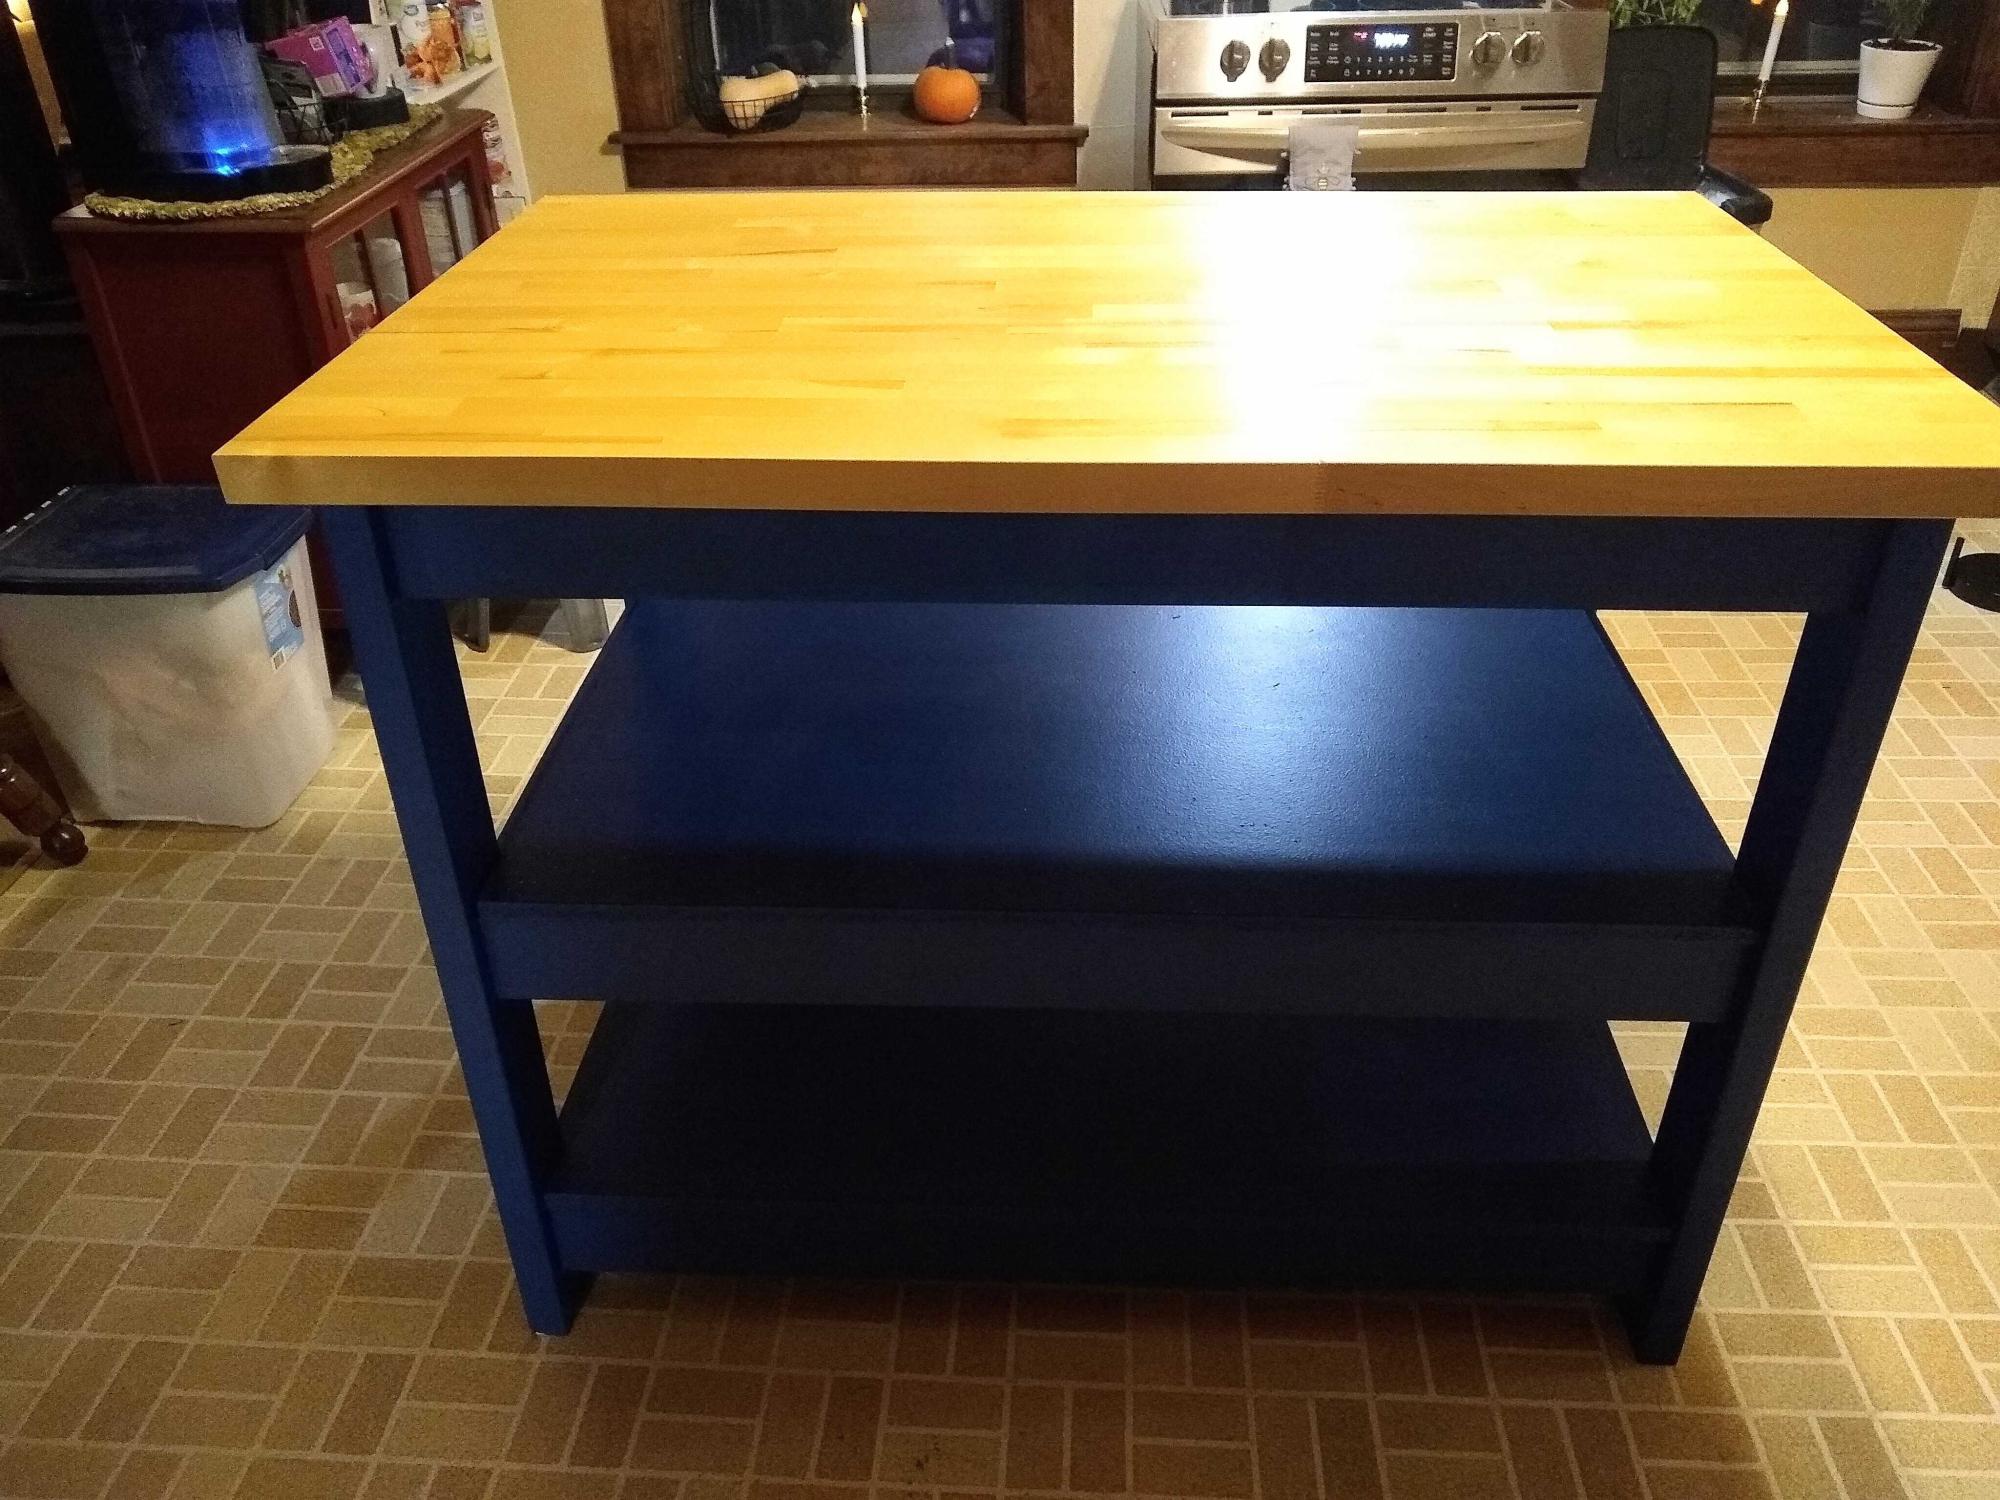
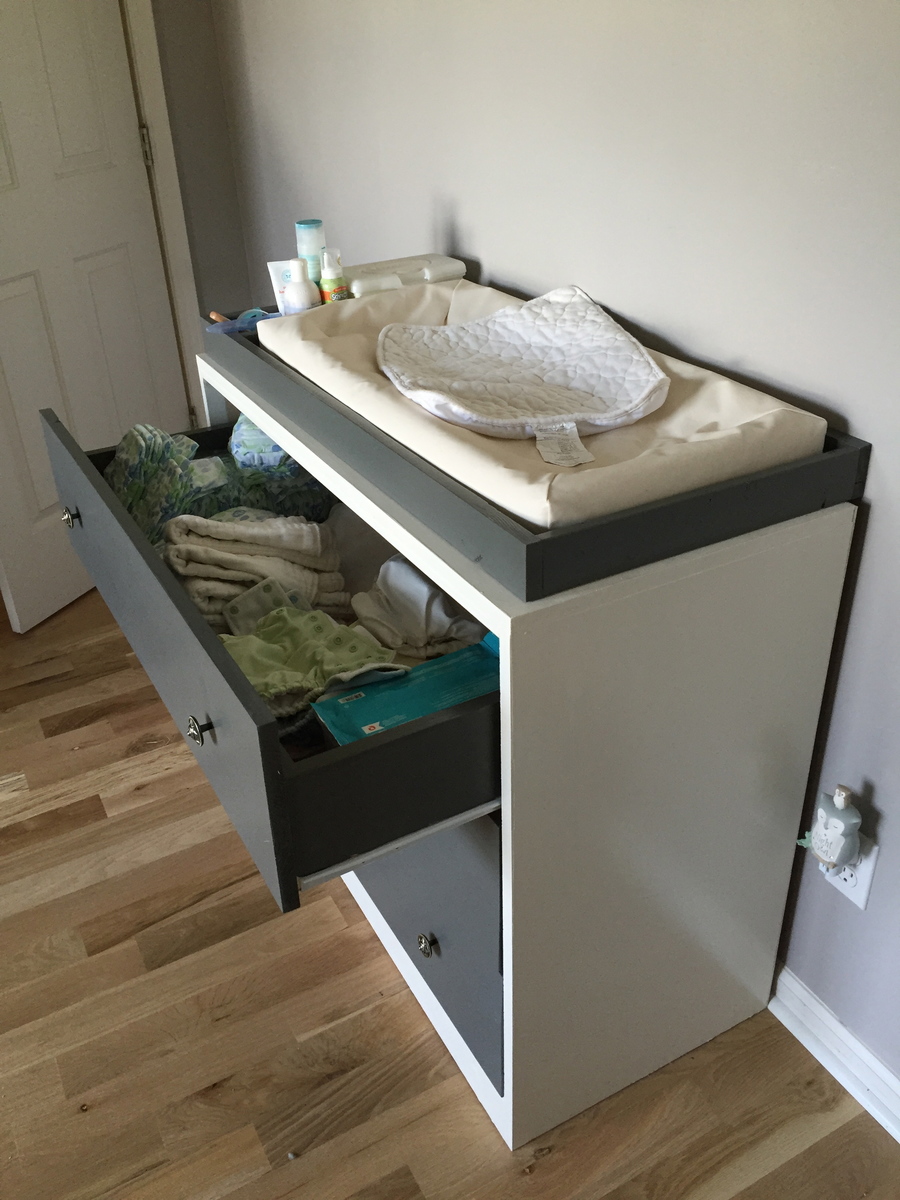
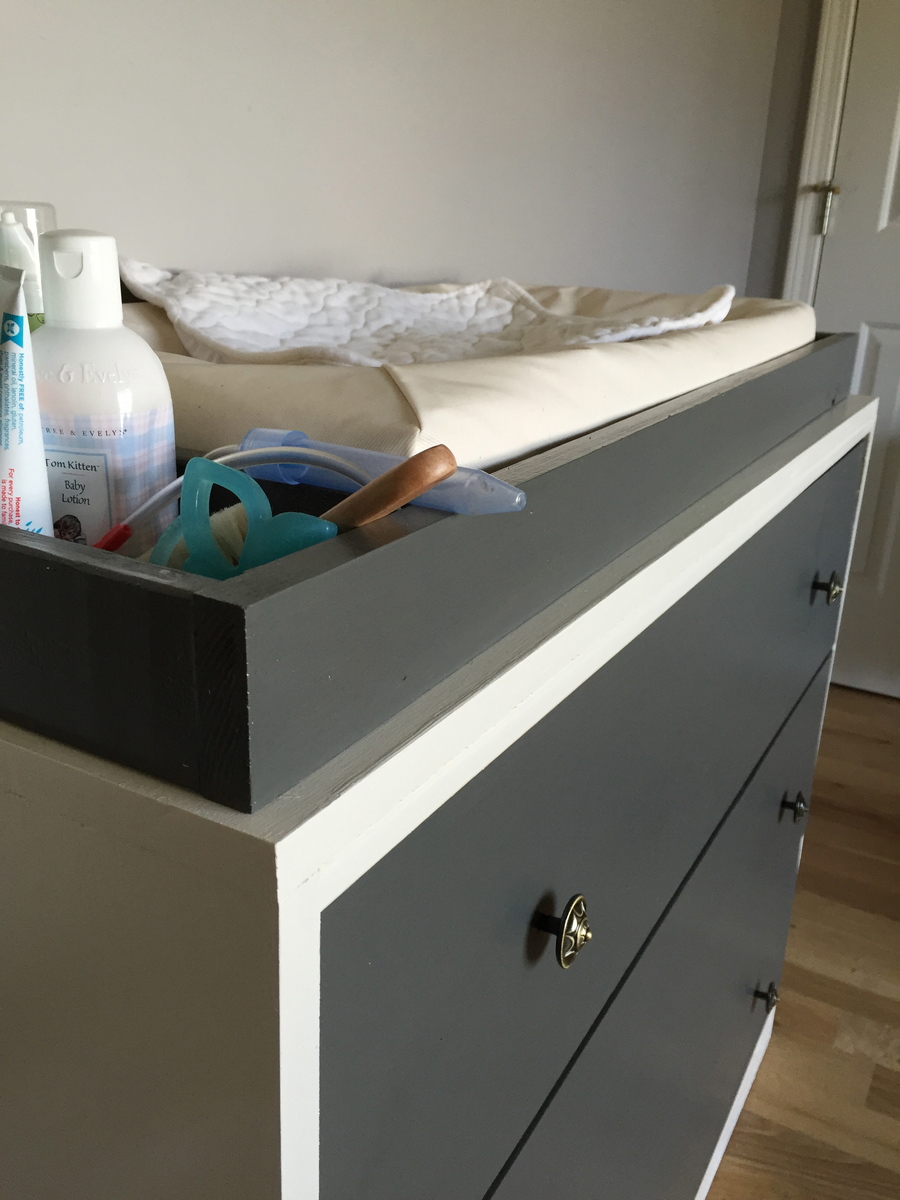
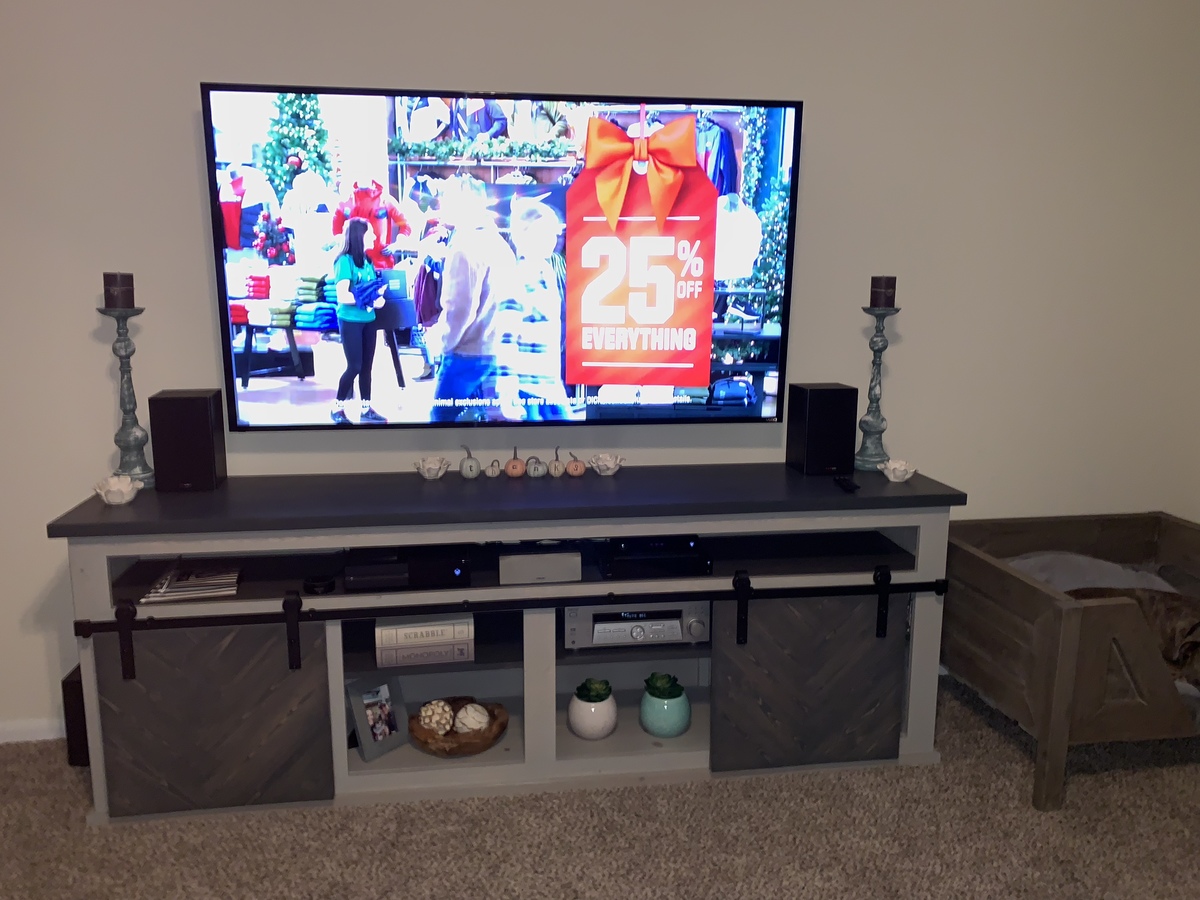
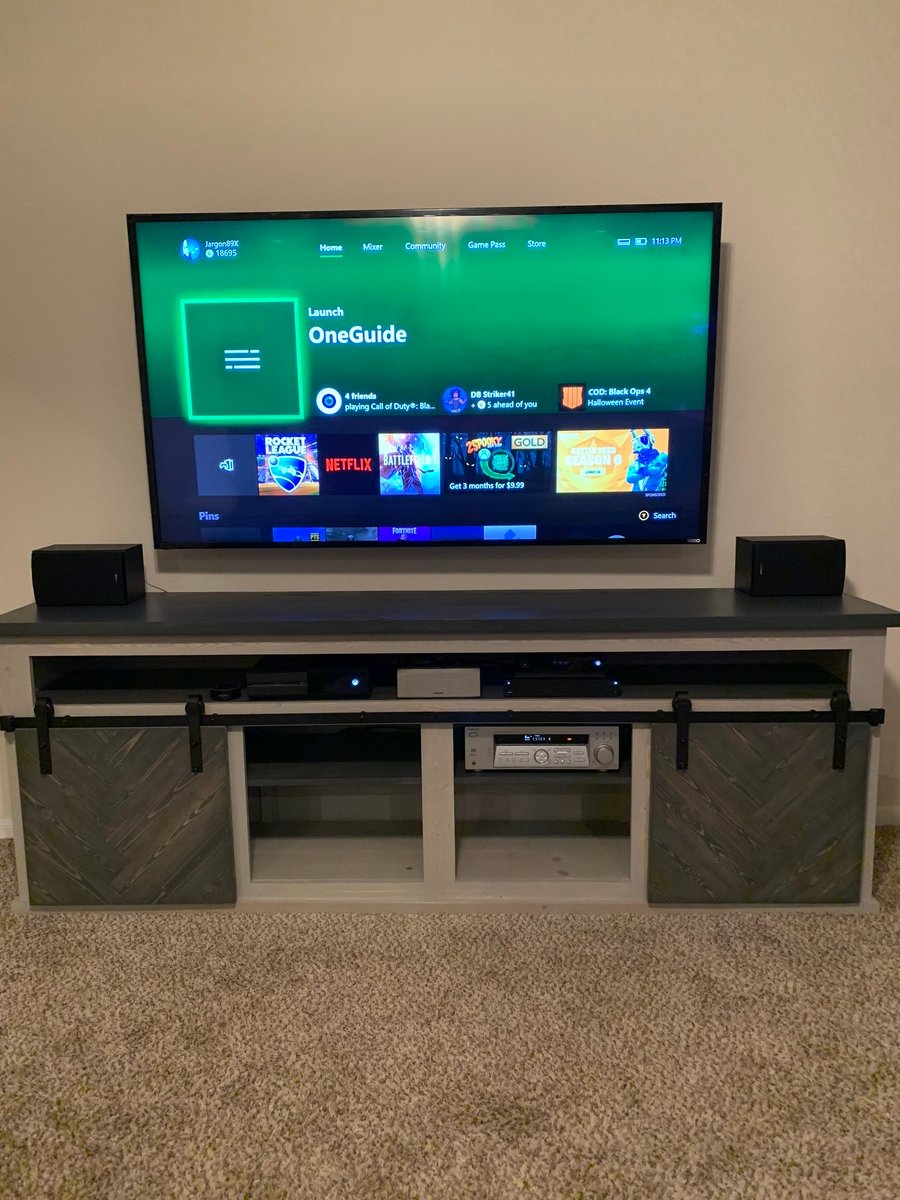
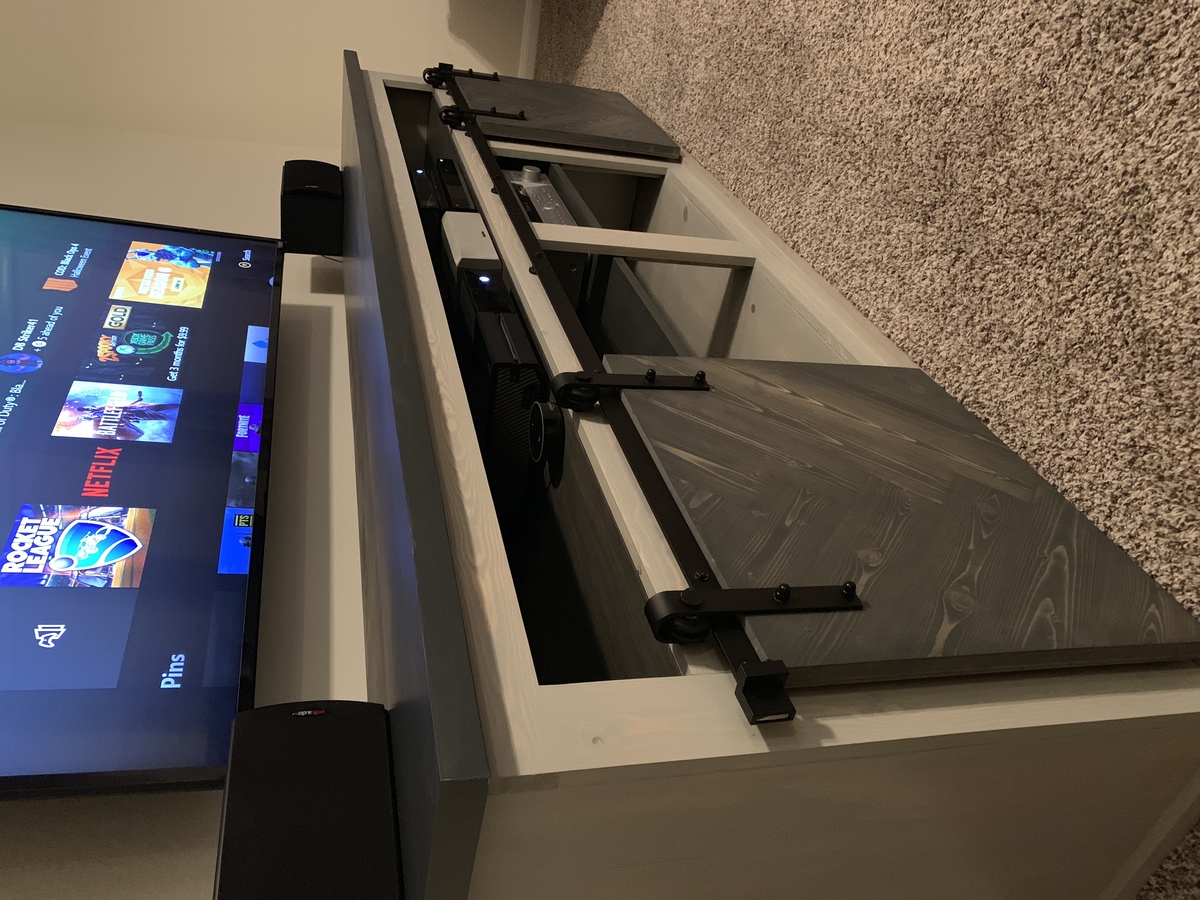
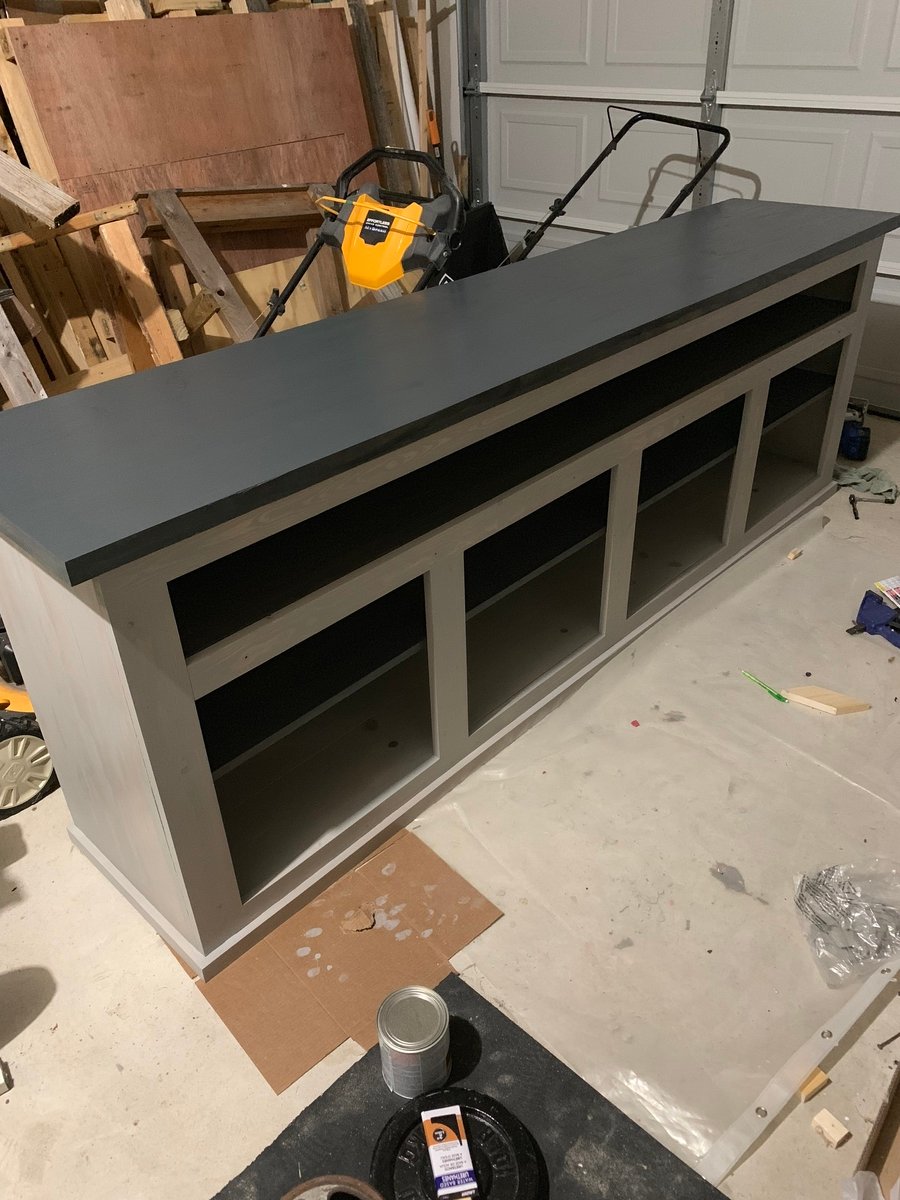
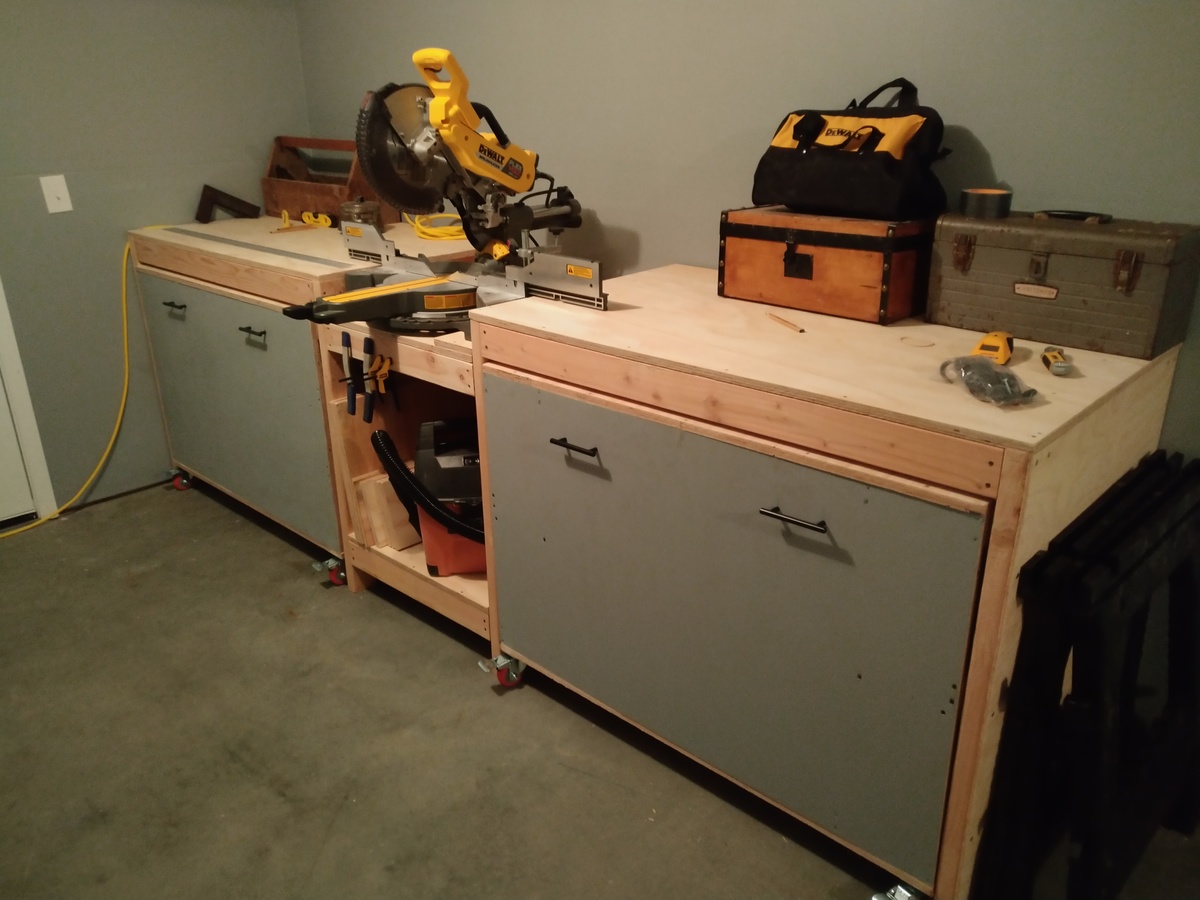
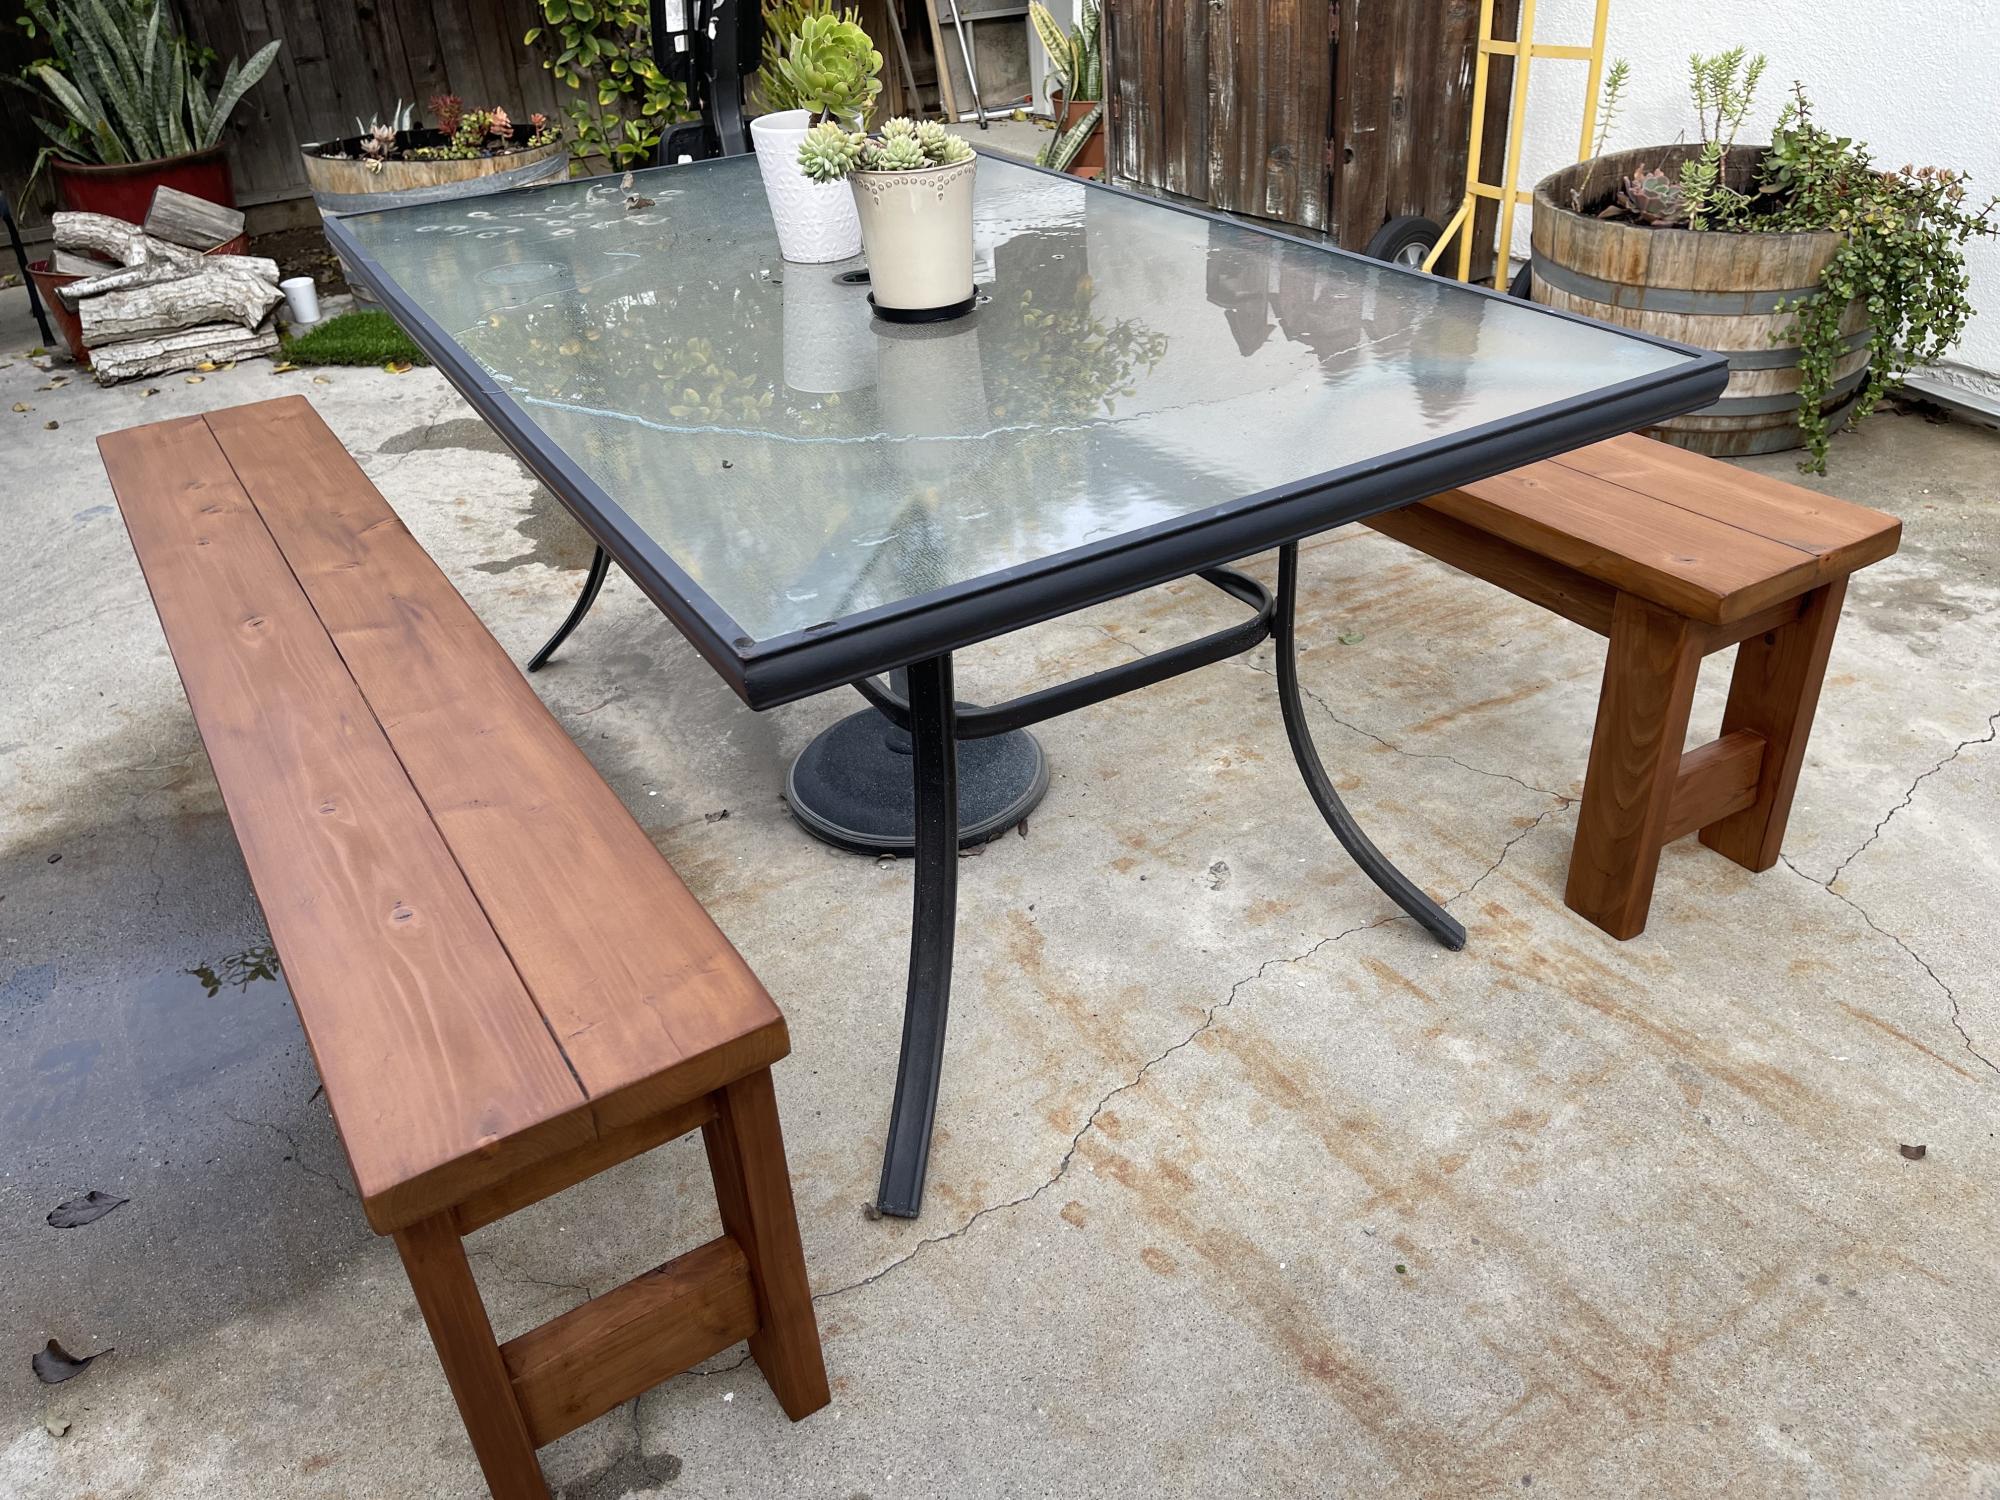
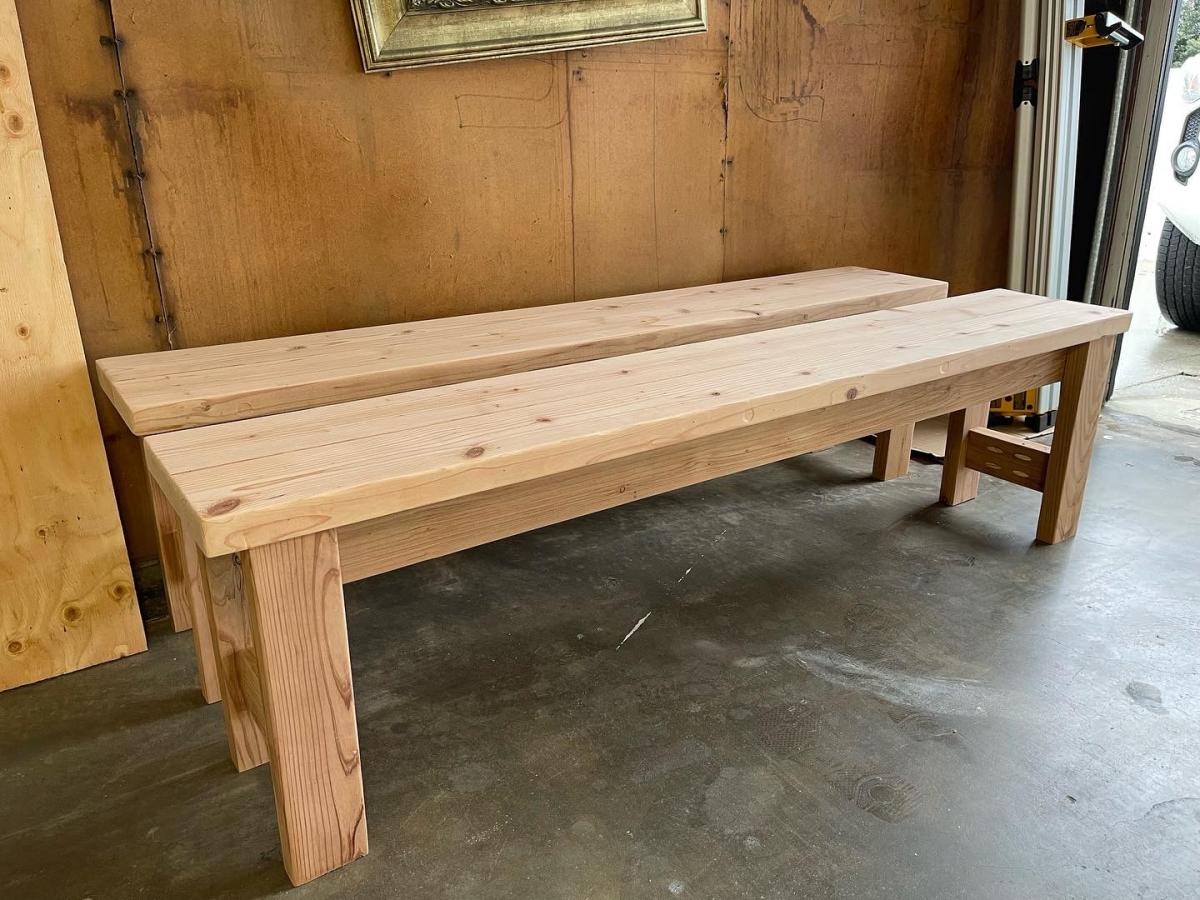
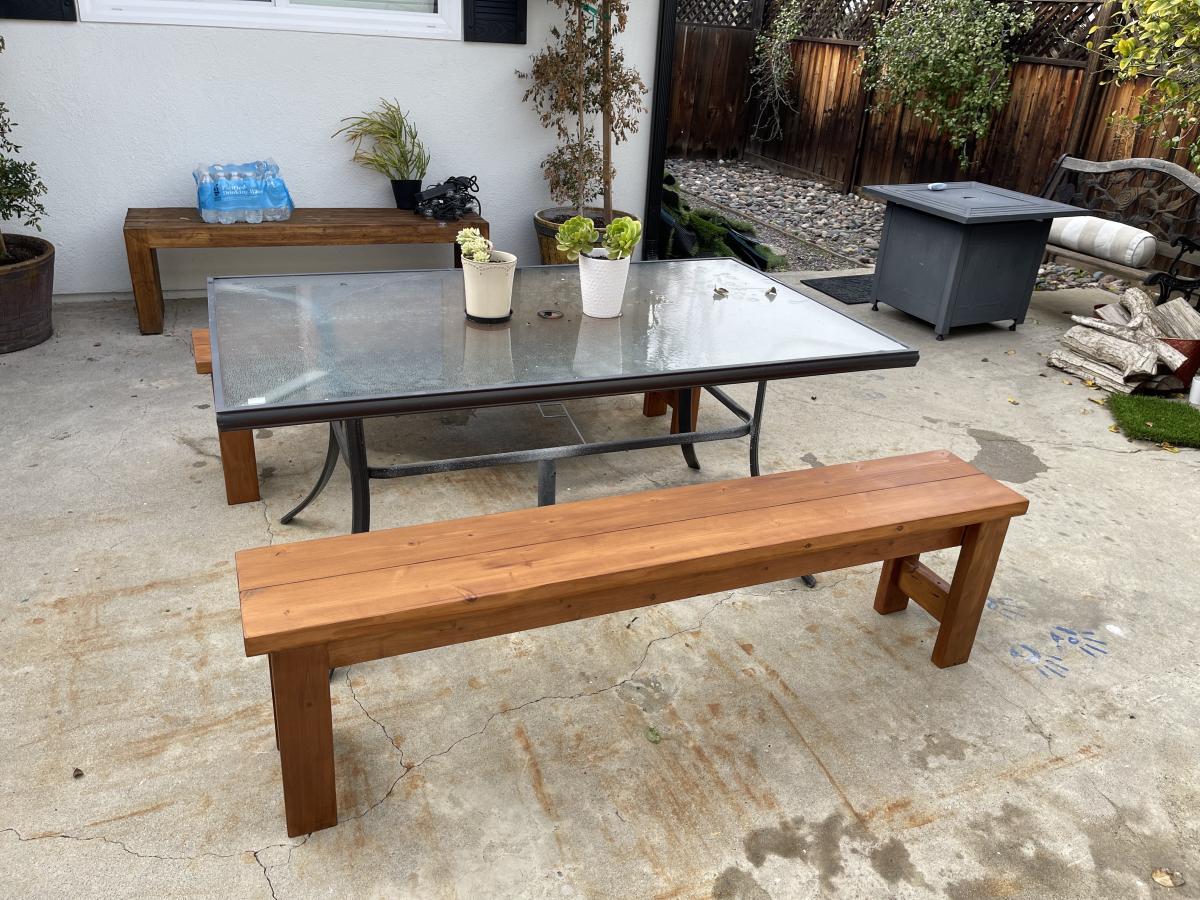
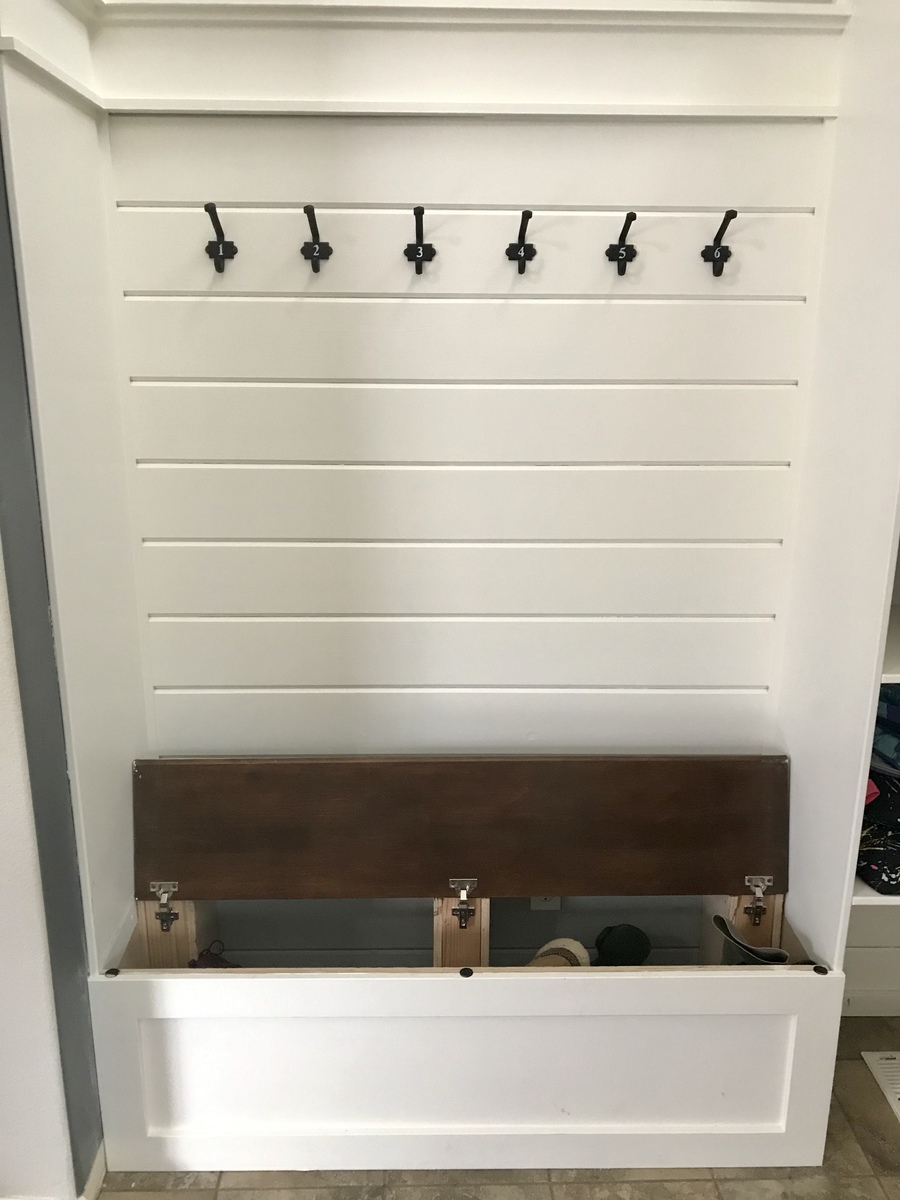
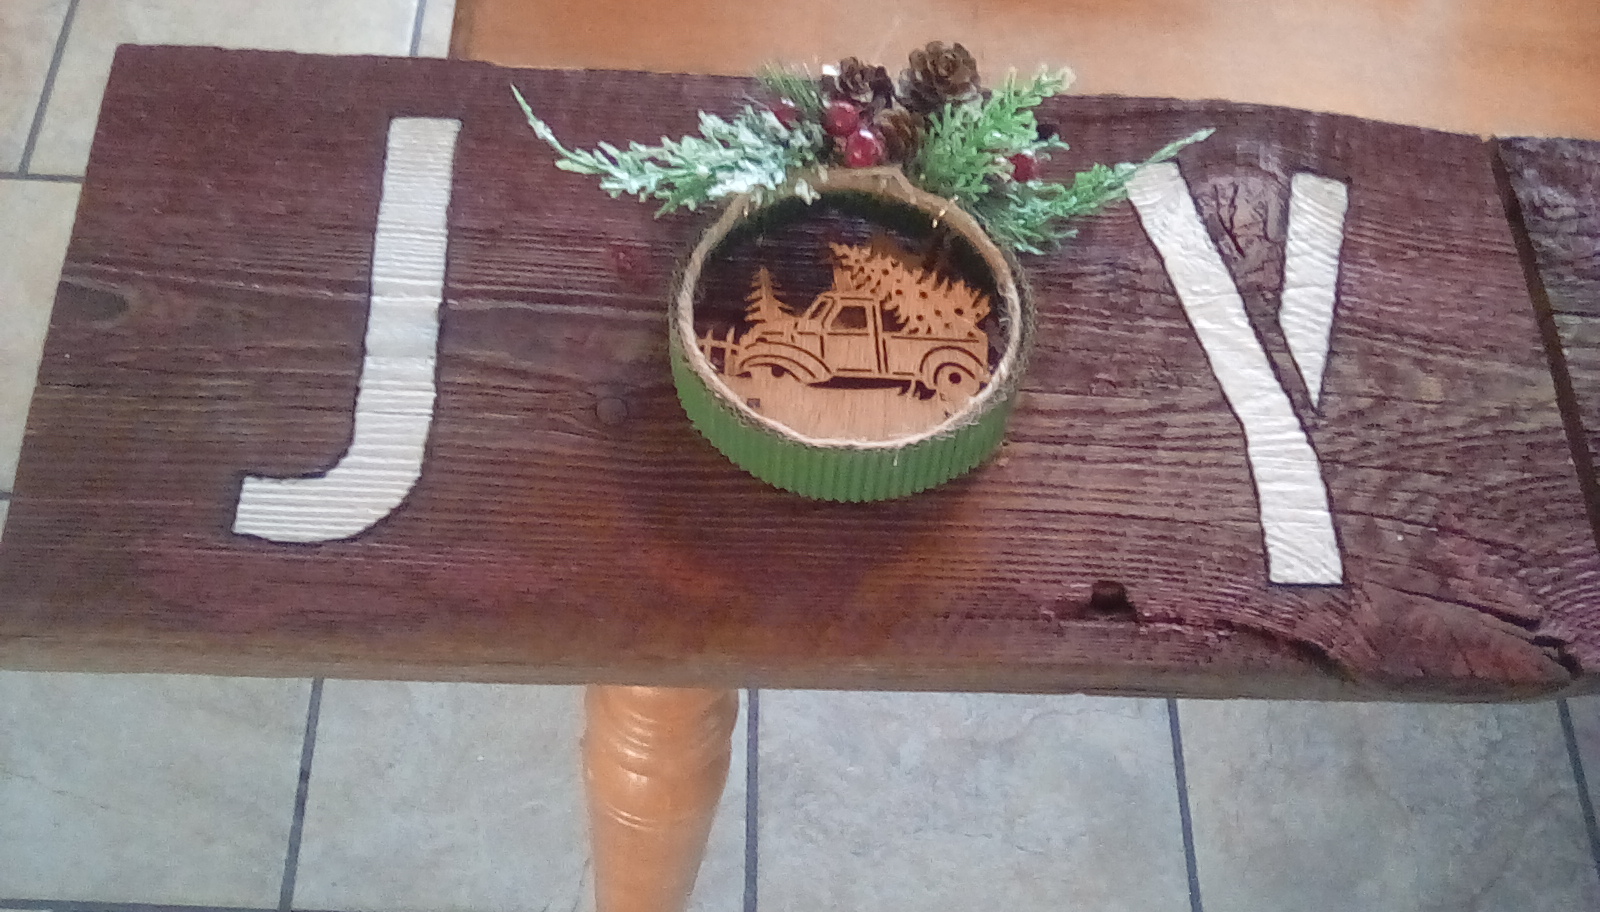
Extra fancy x desk
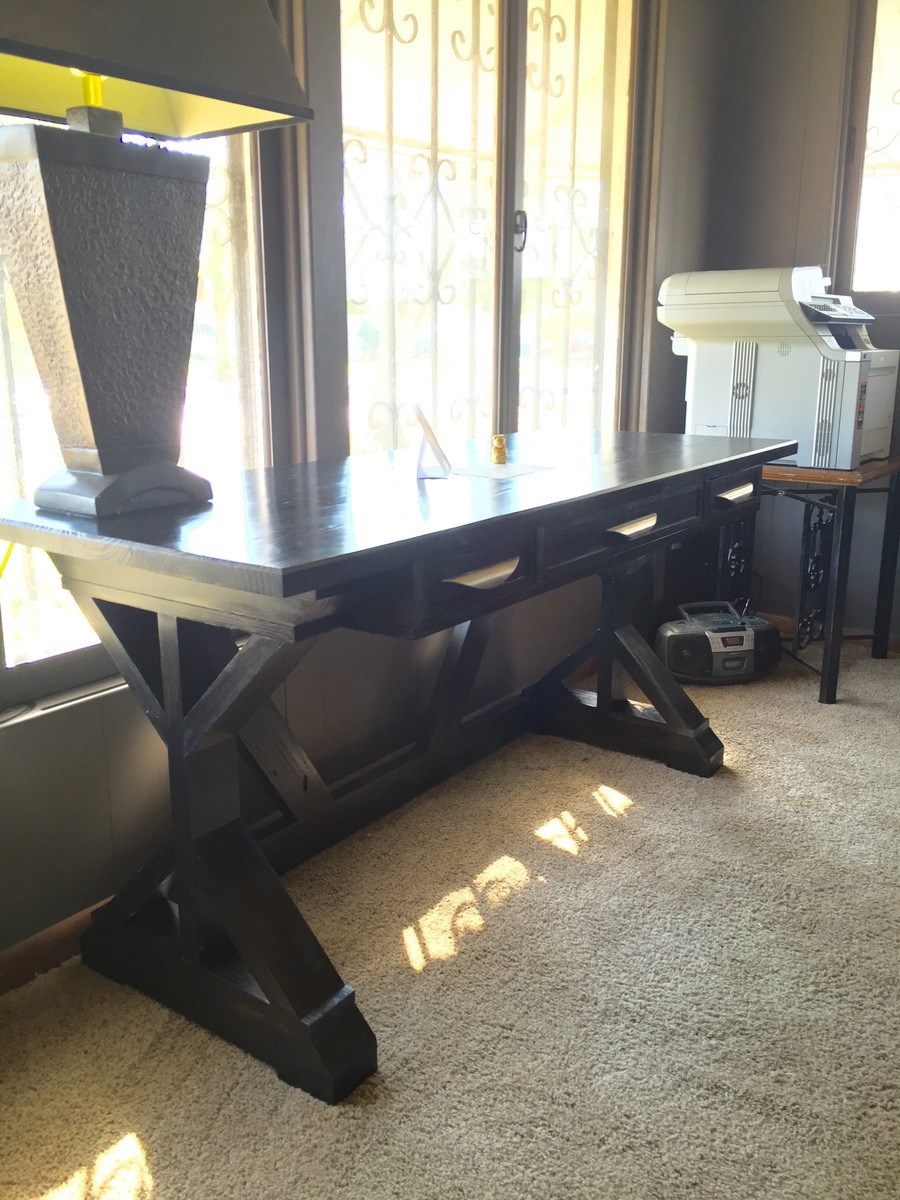
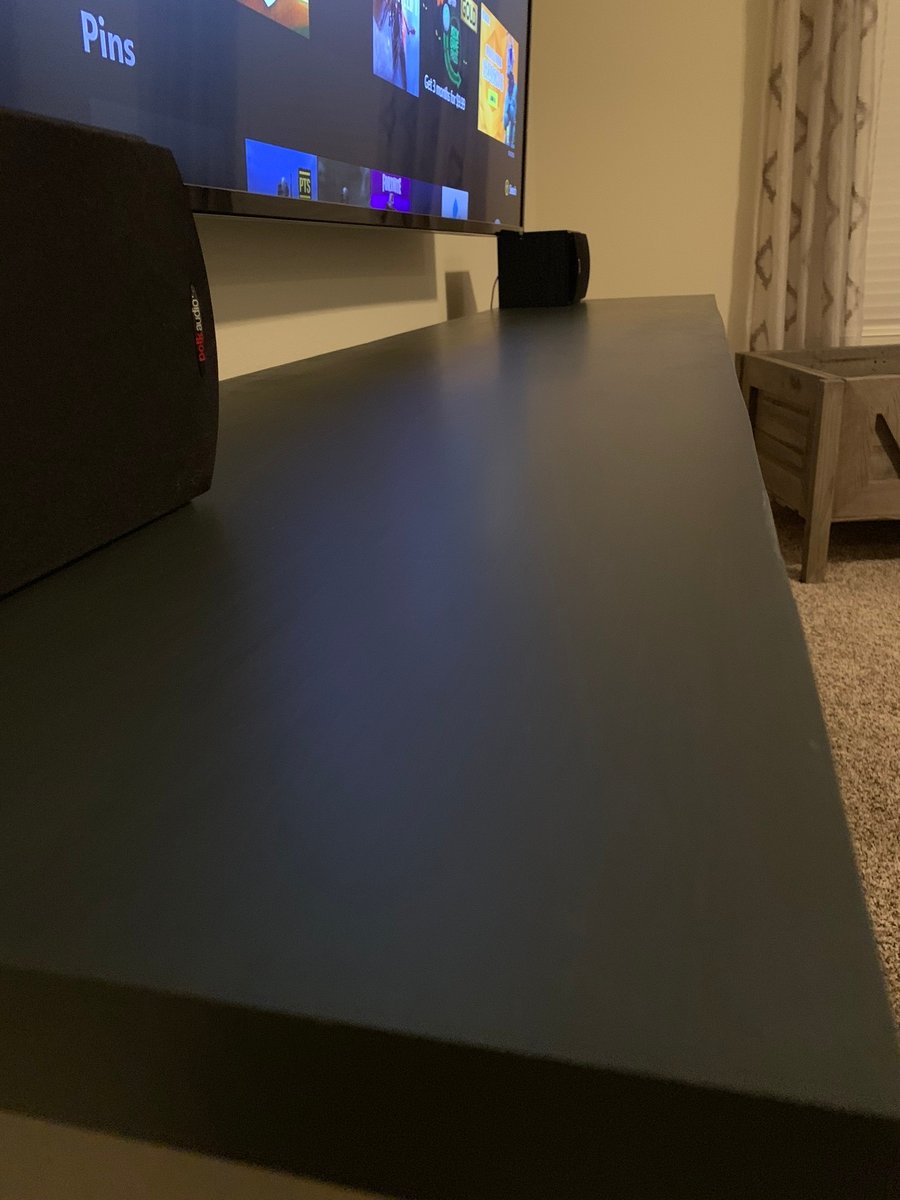
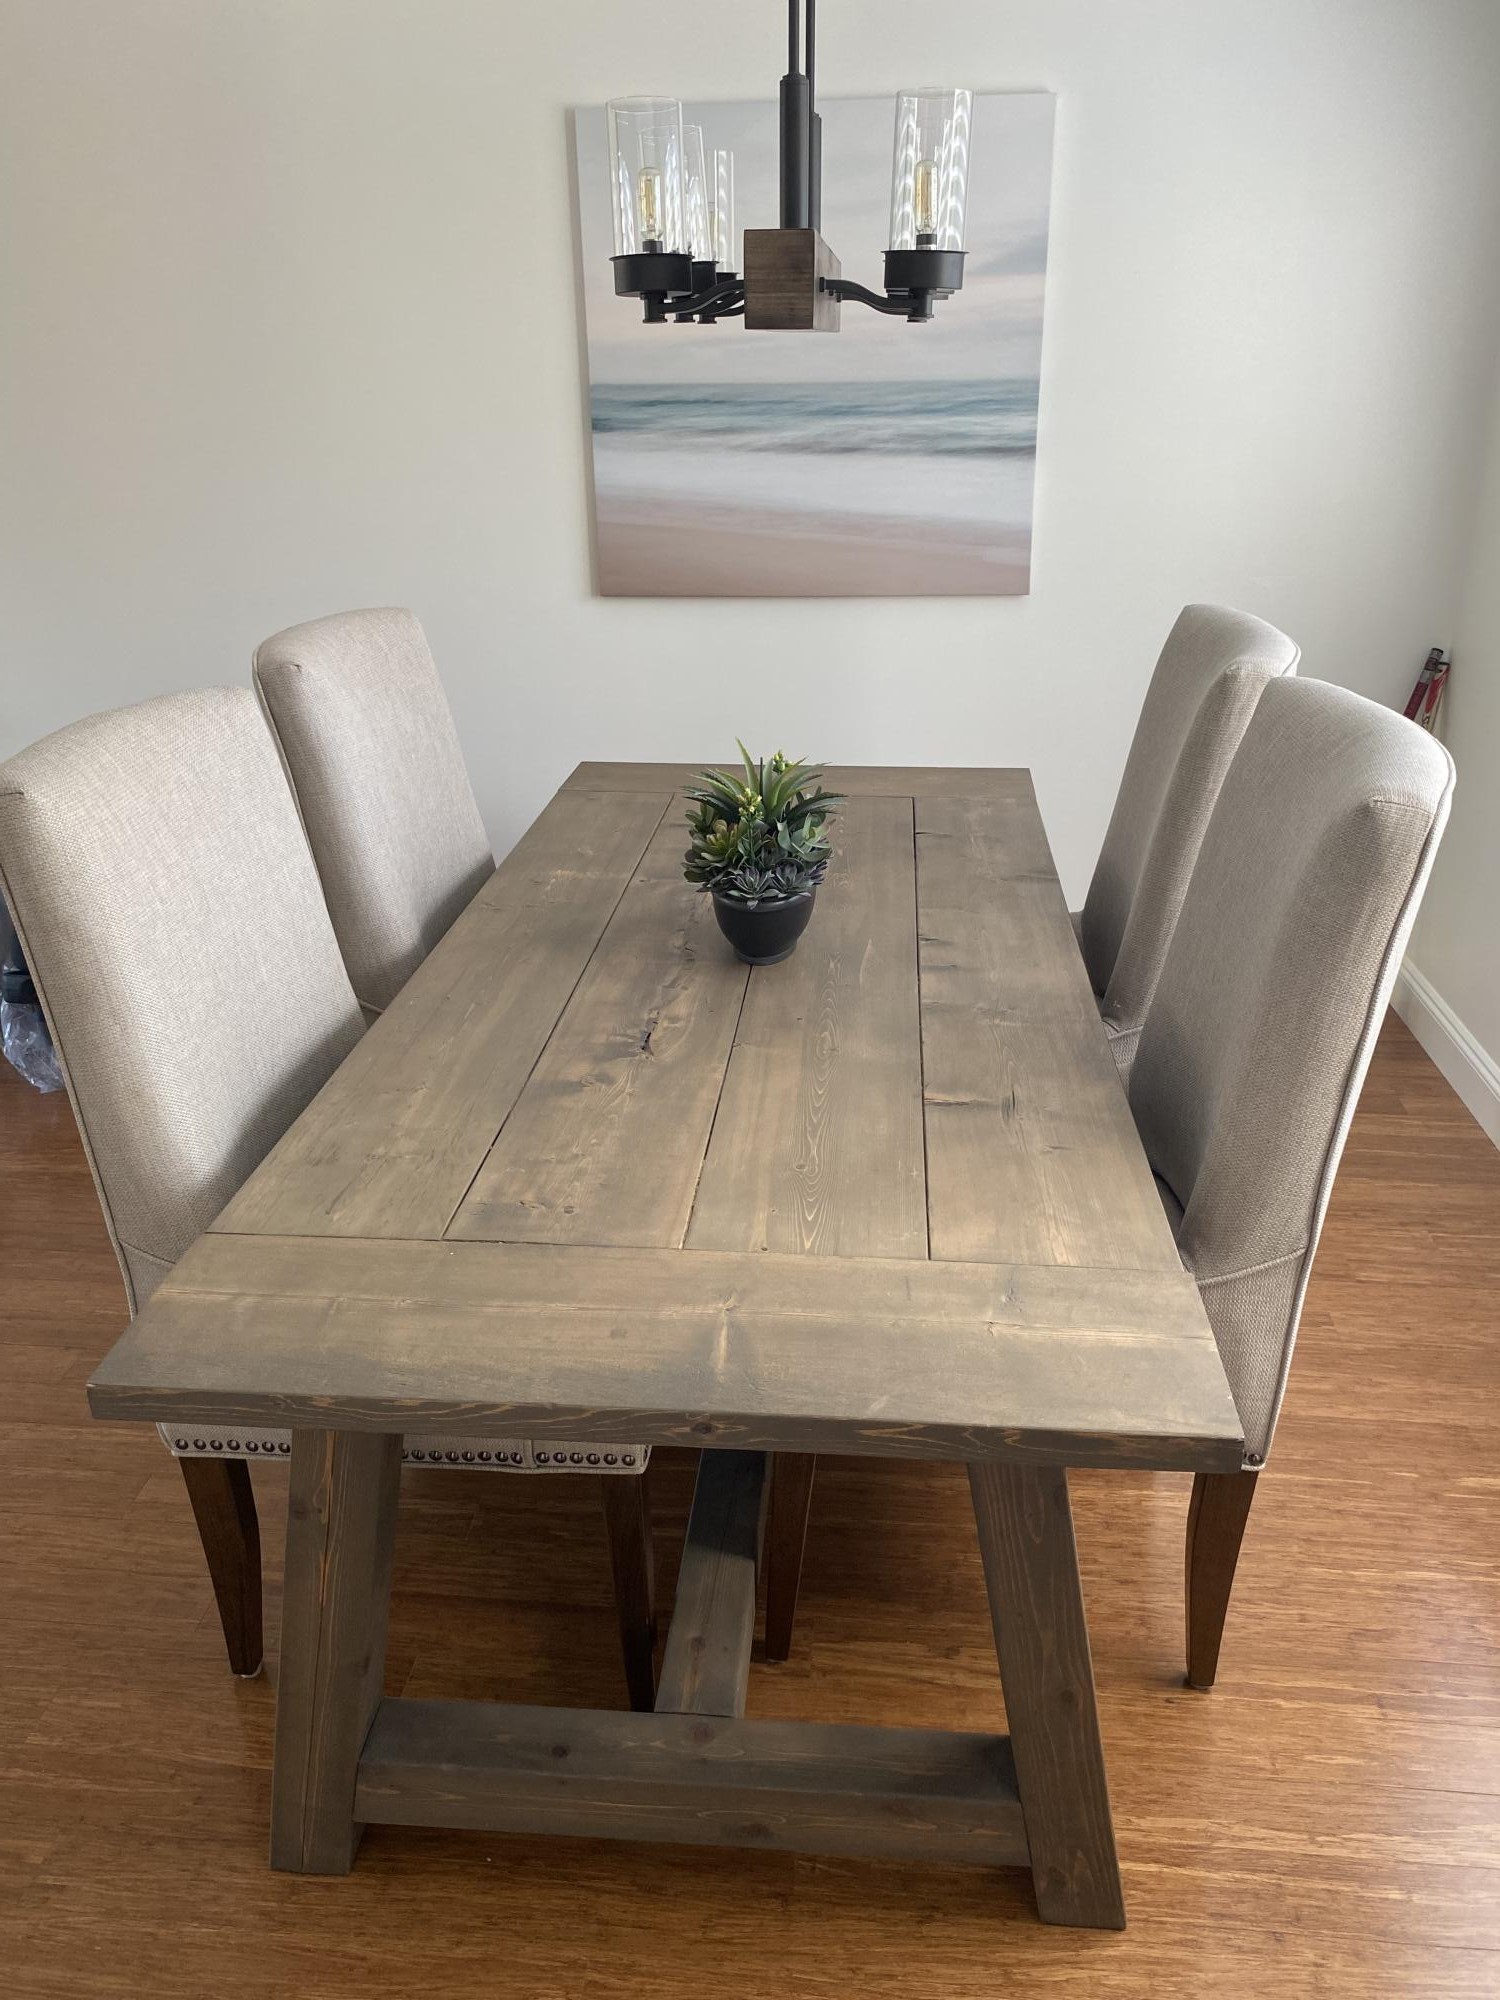
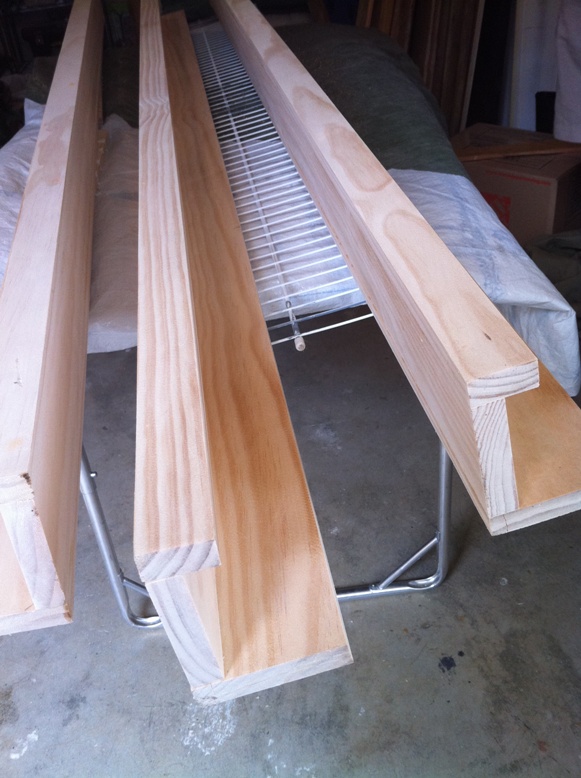
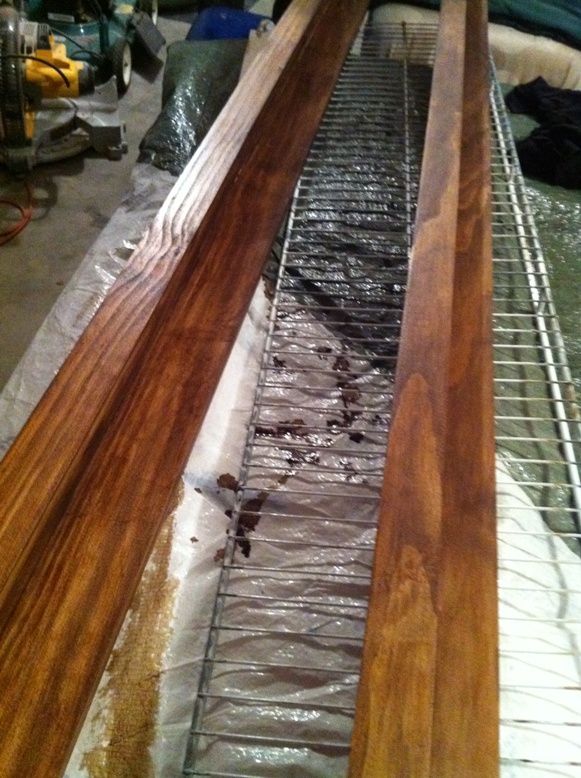
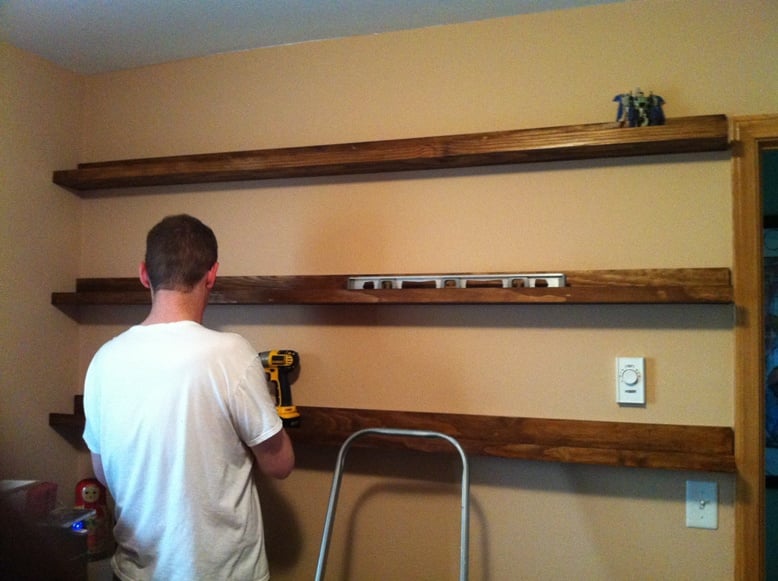
Built with all recycled material. Wanted to try out a gel stain on pine to get more even results and I love it!!
Built from Plan(s)
Estimated Cost
$16 in stain
Estimated Time Investment
Weekend Project (10-20 Hours)
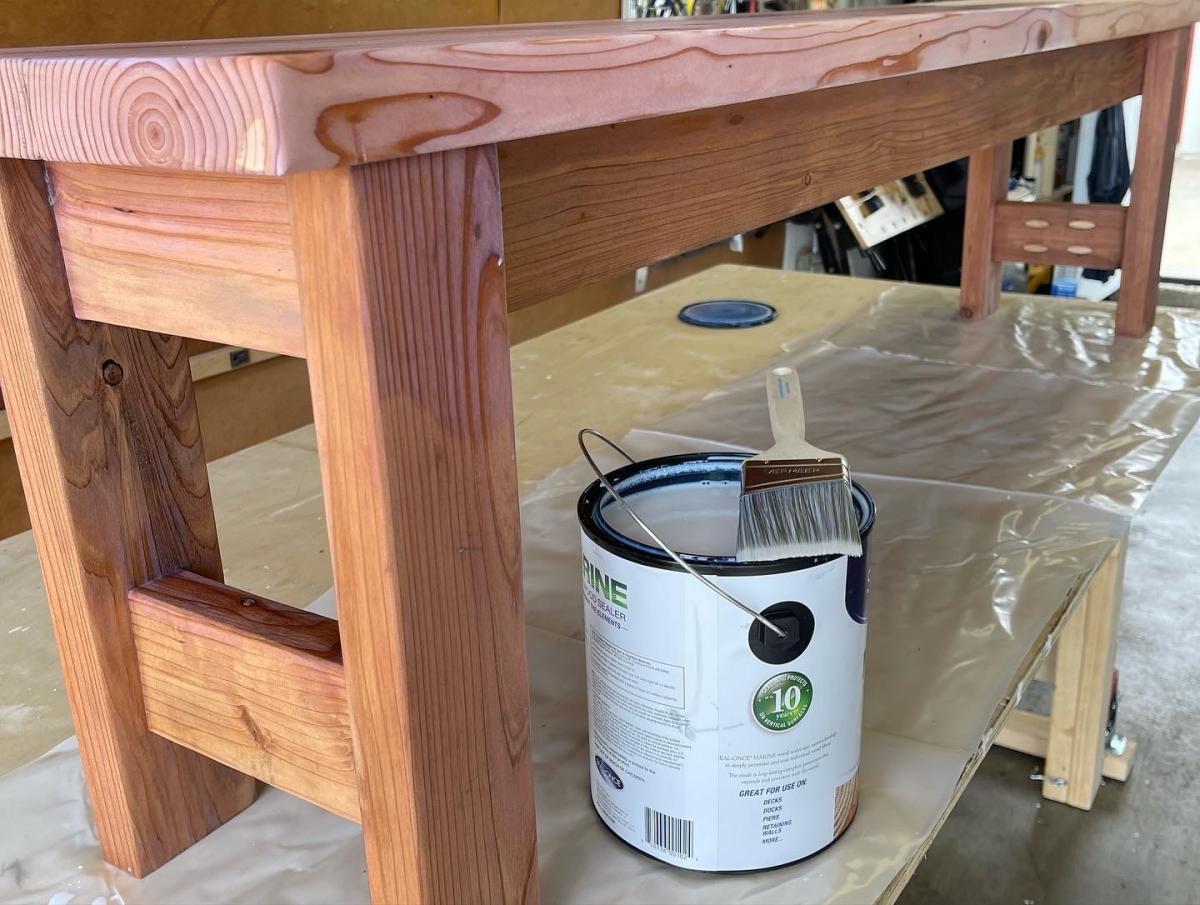
Finish Used
Minwax pro series antique black
Recommended Skill Level
Beginner


Comments
BlakeBurns20
Tue, 01/05/2016 - 06:19
Plans
Why am I unable to find the plans with the drawers? I have been looking all over this site for them.
emfrandsen
Wed, 04/27/2016 - 07:25
Plans for drawers
Are there plans for the drawers?
itsnikkilyn
Wed, 11/02/2016 - 06:34
Drawers
Would you be able to provide the plans for the drawers?