Community Brag Posts

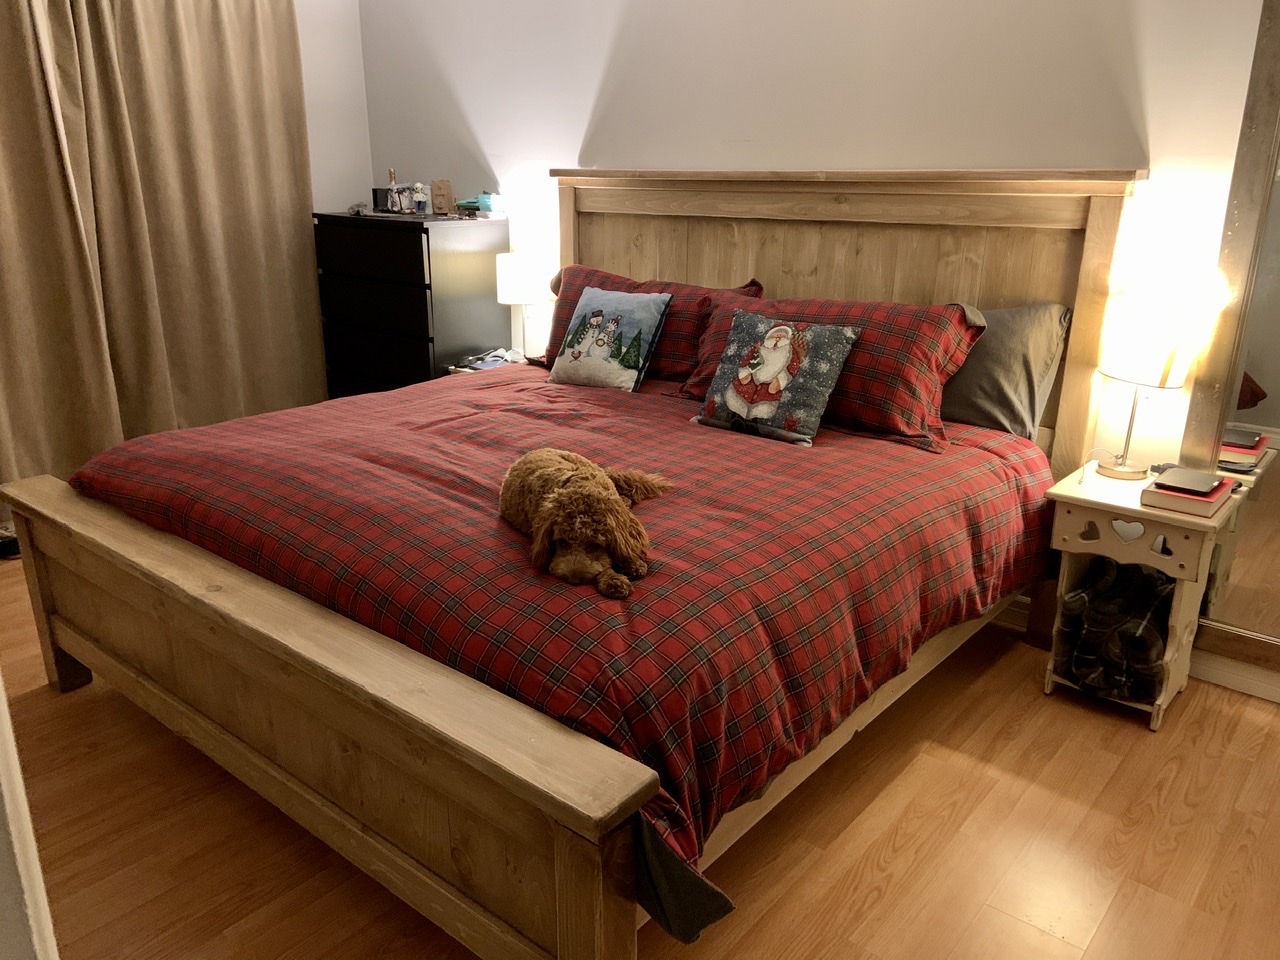
West Elm Bed Knockoff

Submitted by Anonymous (not verified) on Fri, 07/14/2023 - 13:00

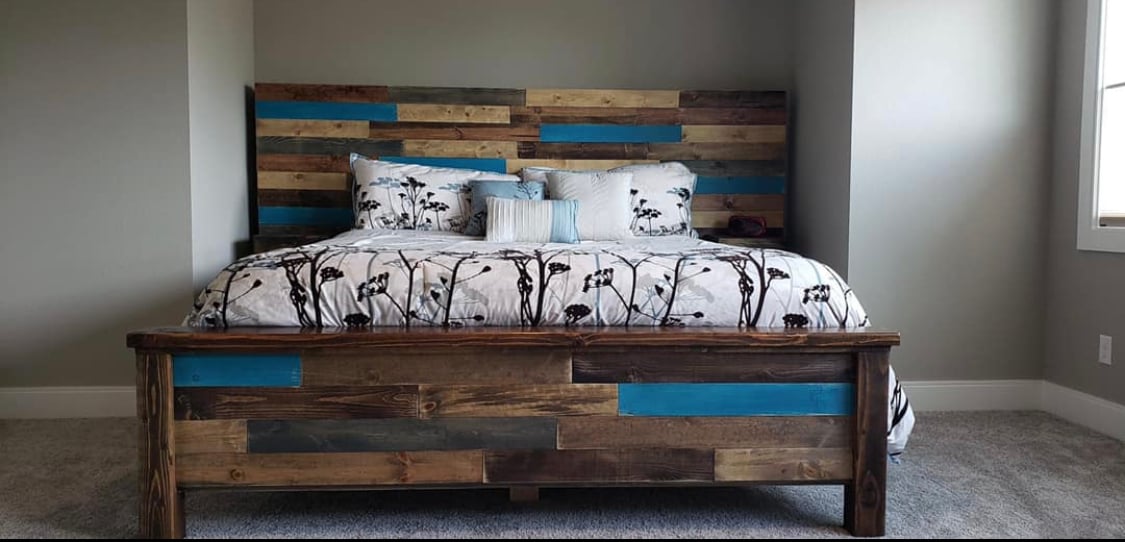
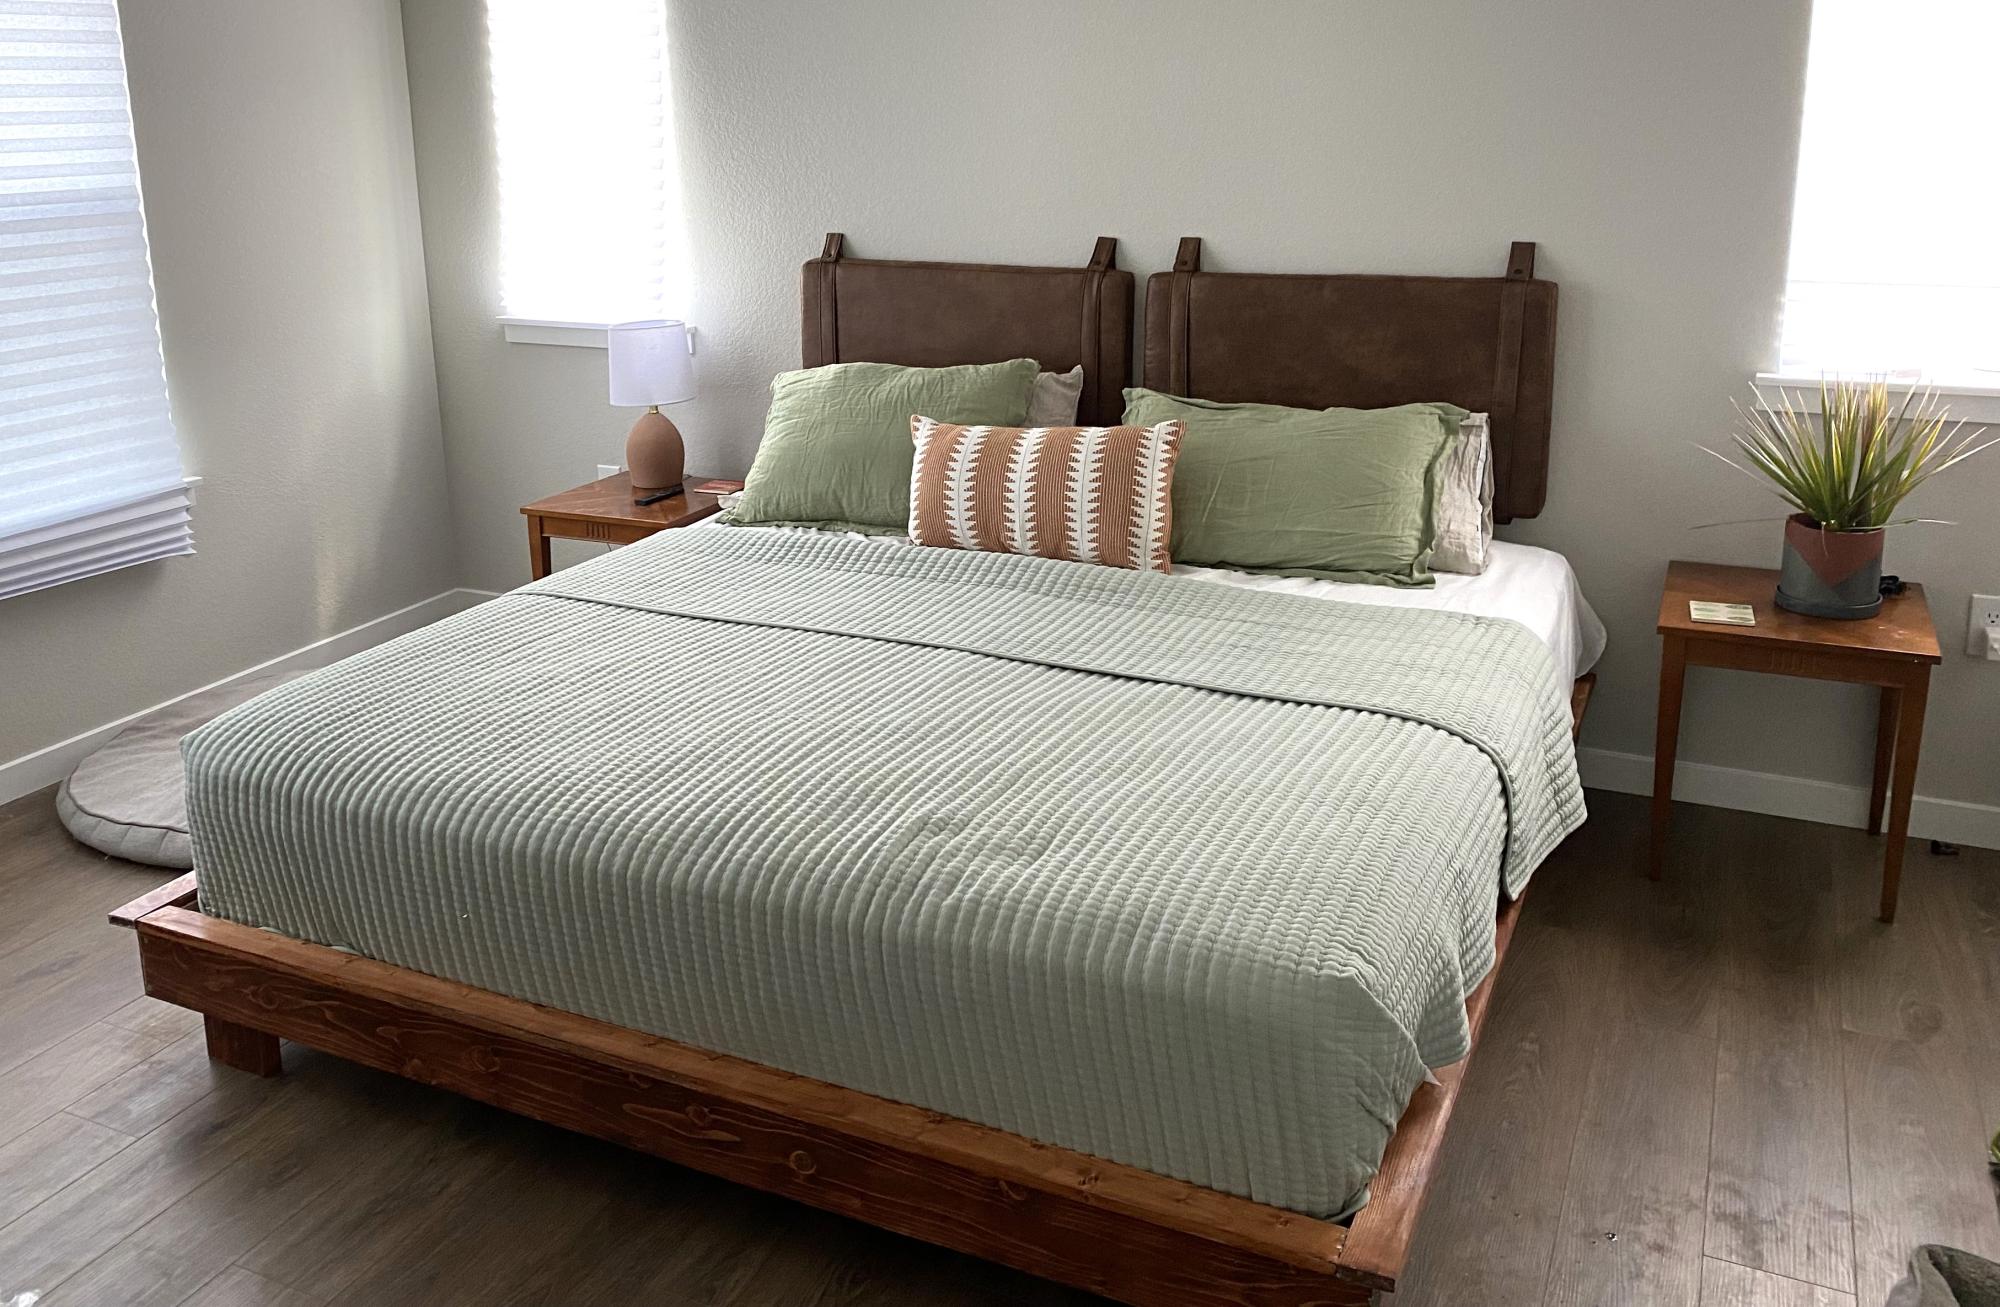
We paired this bed frame with Nathan James upholstered headboard to replicate our favorite Airbnb we stayed at in Telluride. That bed was a $1300 from West Elm. Minus the tools, this bed came in around $500 for everything (including bedding).
Wood: Douglas Fir
Stain: American Walnut

Built from Plan(s)

My first build. Queen size playhouse loft bed.

Submitted by Bunnie1978 on Sat, 03/10/2012 - 18:57

Aiden's Clubhouse.

I can't even believe I was able to build this! Everyone thought I was crazy for undertaking such a huge project. I made it a queen size because my son would always sleep in my bed anyways... so I just gave it to him. The bed took 4 weeks because I could only work on it on Saturday afternoons. The first week, I made a frame with cleats on the wall. The second week I built the house and stairs. The third week I built the slide and did some of the painting. Today, I finished painting and trim.

I did modify the plans and merged the plan for the slide into my plan, which was a last minute addition. As such, I had to "measure-and-cut-as-you-go" build this bed. I would highly recommend to anyone considering such a task, don't do that. Make a plan, cut all your wood, paint before assembly, and stick to the plan. My stairs all lift up, and under the top landing there is also a cut out inside Aiden's clubhouse-you can see it behind him in the picture below. Also under the slide is a cut out for storage. I have not done anything with the inside of the clubhouse yet. Someday...

I designed the bed specifically so that I could take it apart if we ever move... we live in an apartment. The stairs/stairwell are only connected to the rest of the bed with a single screw. The other wall is a bit more difficult to remove, but not impossible.

I learned a few things doing this, that I want to share with you all..
1. The Kreg-Jig is the best thing ever.
2. I LOVE LOVE LOVE power tools.
3. 4x4 sheets of MDF are difficult to carry upstairs by myself.
4. I can do anything.

I hope you all like it. This was my son's 4th birthday present and he really loves it.

It isn't finished yet though. The far wall in the room is about 2 ft away from the bed, and I haven't decided what to do with that side of the bed, so it's still plain. I would love some ideas! What do you think?
Estimated Cost
$800 including the new tools.. table saw, nailer, kreg, new drill
Estimated Time Investment
Week Long Project (20 Hours or More)
Finish Used
Behr paint. I coordinated the colors on the Behr website to try and match the colors already on the wall.
Recommended Skill Level
Intermediate

Comments

Bunnie1978

Sun, 03/11/2012 - 06:30

I did make a couple mistakes with the slide. I made it too narrow. Right now it is 1 foot wide. Next time I would do 1 1/2 feet wide. I also would make the landing at the top bigger. I like the angle of the slide now at 45 degrees, but my son did have to learn how to slide down it without falling foward at the bottom. So, a more well designed slide would be less steep, wider, and with a bigger landing at the top. Another tip... for the top of the stairs, take extra care to make sure they swing straight and are about 1/2 inch less wide than the space so they don't scrape the side of the stairwell walls.

spiceylg

Sun, 03/11/2012 - 03:56

This is you FIRST build? Impressive indeed. You did a great job and Aiden is one blessed boy!
Bunnie1978

Sun, 03/11/2012 - 06:32

Technically, I did finish the ten dollar ledge above his bed earlier this week, before I completed the bed, but it was all part of the same project! :) The only other thing I've built is 2x4s slapped together to hold aquariums. My other hobby is breeding fish. :)

Ganny Girl

Mon, 03/12/2012 - 11:01

This is amazing! I can't believe it was your first build! Did you add any extra support to accommodate the queen size mattress?

Bunnie1978

Mon, 03/12/2012 - 11:29

Yes I actually made a whole frame. Basically just studs - on the walls they are just screwed into studs in the wall, then the other two sides are supported by the walls of the house and a vertical frame piece also. There are two stud slats connected to that, so that bed isn't going anywhere. This is the same method I use for supporting 1500 pound aquariums. I have a bunch of 1x3 slats in there as well...

So, if I want to move the bed, I would remove the side with the stairs (~62 inches)- that whole side is one unit, secured to the frame with one screw, and secured to the other wall by about 5 finish nails and one screw. The longer wall (~85 inches) is secured to the frame by 6 screws.

Queen mattresses are HEAVY. :) I learned that too.

Dani83264 (not verified)

Sun, 01/06/2013 - 08:21

we're making the Playhouse Loft Bed for a queen bed as well. Maybe you can answer a question for me. Are the dimensions to fit a queen size bed as written, or do we need to convert them. A queen mattress is 75 x 80 and it looks like that's what this is made to fit, but I don't wanna find out i'm wrong after I already have that thing hoisted up over my head :) Thanks for any advice you can offer!

ashleymyers233

Thu, 06/25/2015 - 00:53

Can anyone guide me as to what parts of the clubhouse and castle bed plans were used here to make this bed

Farmhouse Bed - Canadian King

Submitted by rbernier09 on Thu, 11/28/2019 - 06:39

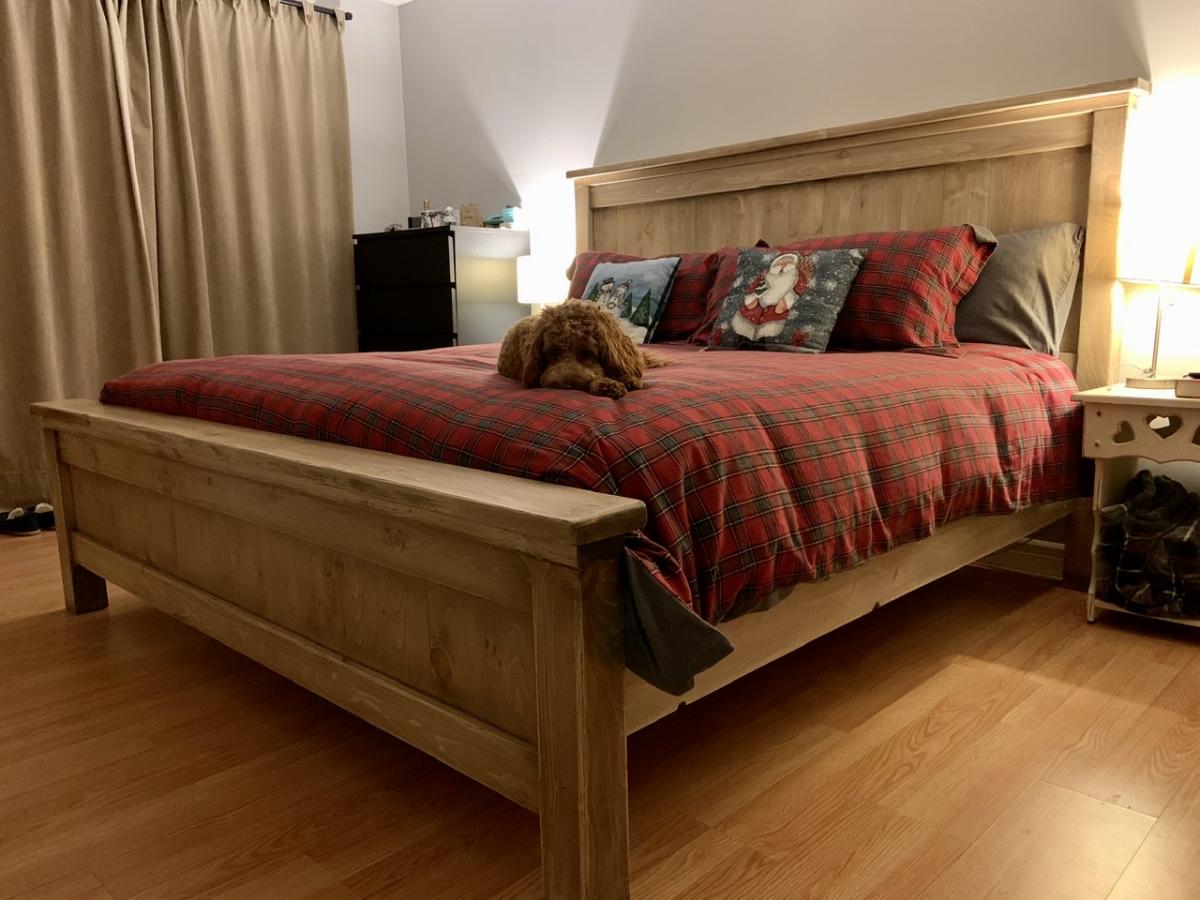
Followed Anaโ€™s plans to the inch and I had no issues at all everything fit like a glove. I used knotty pine for all facing boards except for the 2x4 sandwiched second from the top on both head and footboard (used spruce). I used spruce for anything that would be hidden. Glue and #10 fasteners. Instead of screwing the side rail cleats to the foot/headboard post I used 3.5 inch bolts and washers.

A Canadian King is when your dog owns your bed and allows you to sleep in it.

Estimated Cost
$500
Estimated Time Investment
Weekend Project (10-20 Hours)
Finish Used
Circa 1850 Bleach.
Minwax white wash pickling stain.
Old Masters Wiping Stain - Dark Walnut.
Varathane Diamond water based clear coat - Satin.
Recommended Skill Level
Intermediate

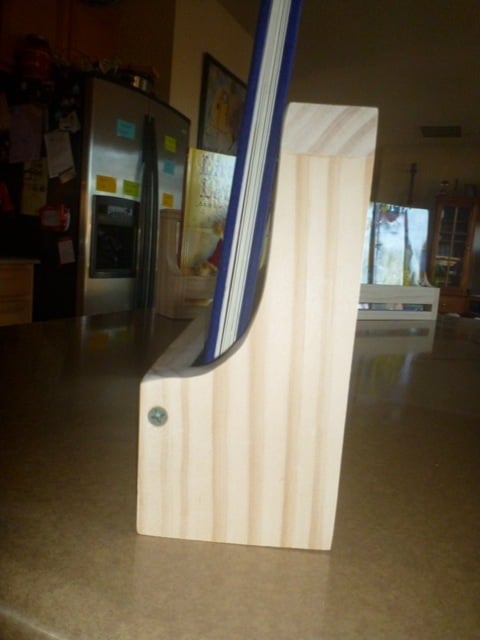
Flat back book racks

Submitted by Spolitte on Wed, 03/21/2012 - 20:39

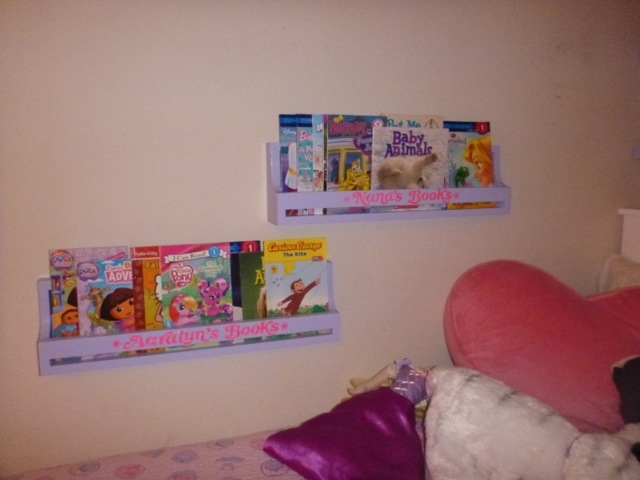
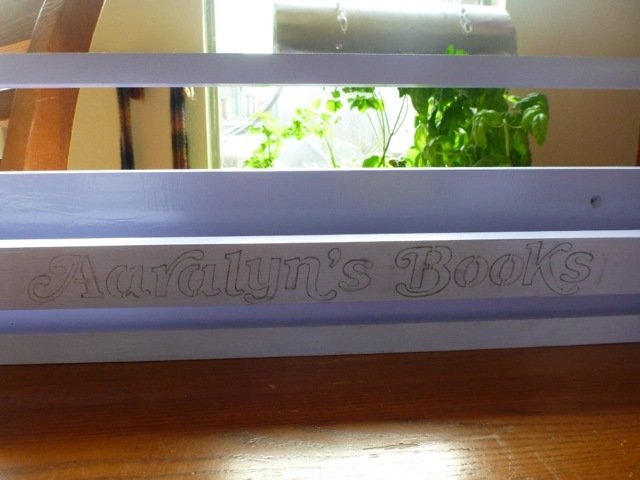
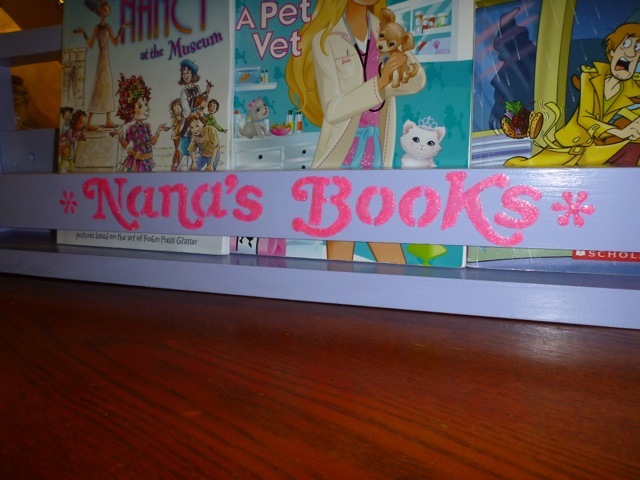
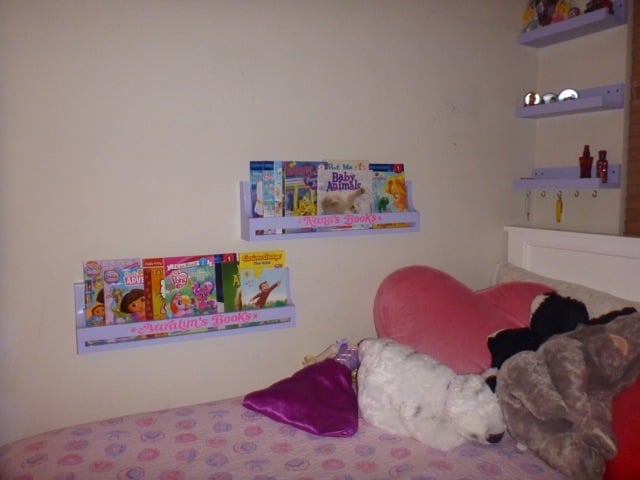
These came together nicely but I definitely advocate the right tool for cutting the curves on the sides. Also, the next time we make them, and we most likely will, I will make the roomy version. The wider size will give us a little more room for a few extra books. All in all the girls are very please with them. I like that they are just above their bed to make night time reading easy and fun. Couldn't have done it without you Ana. Thanks.

Estimated Cost
10ish dollars minus paint
Estimated Time Investment
Day Project (6-9 Hours)
Finish Used
We painted all the surfaces a No Voc semi gloss for easy cleaning. When it came time to add the girls names I found that a bright semi gloss with layers of corresponding glitter paint added the vivid contrast and bling that all little girls love.
Recommended Skill Level
Starter Project

Folding workbench

Submitted by mellyc_fl on Mon, 12/30/2019 - 17:42

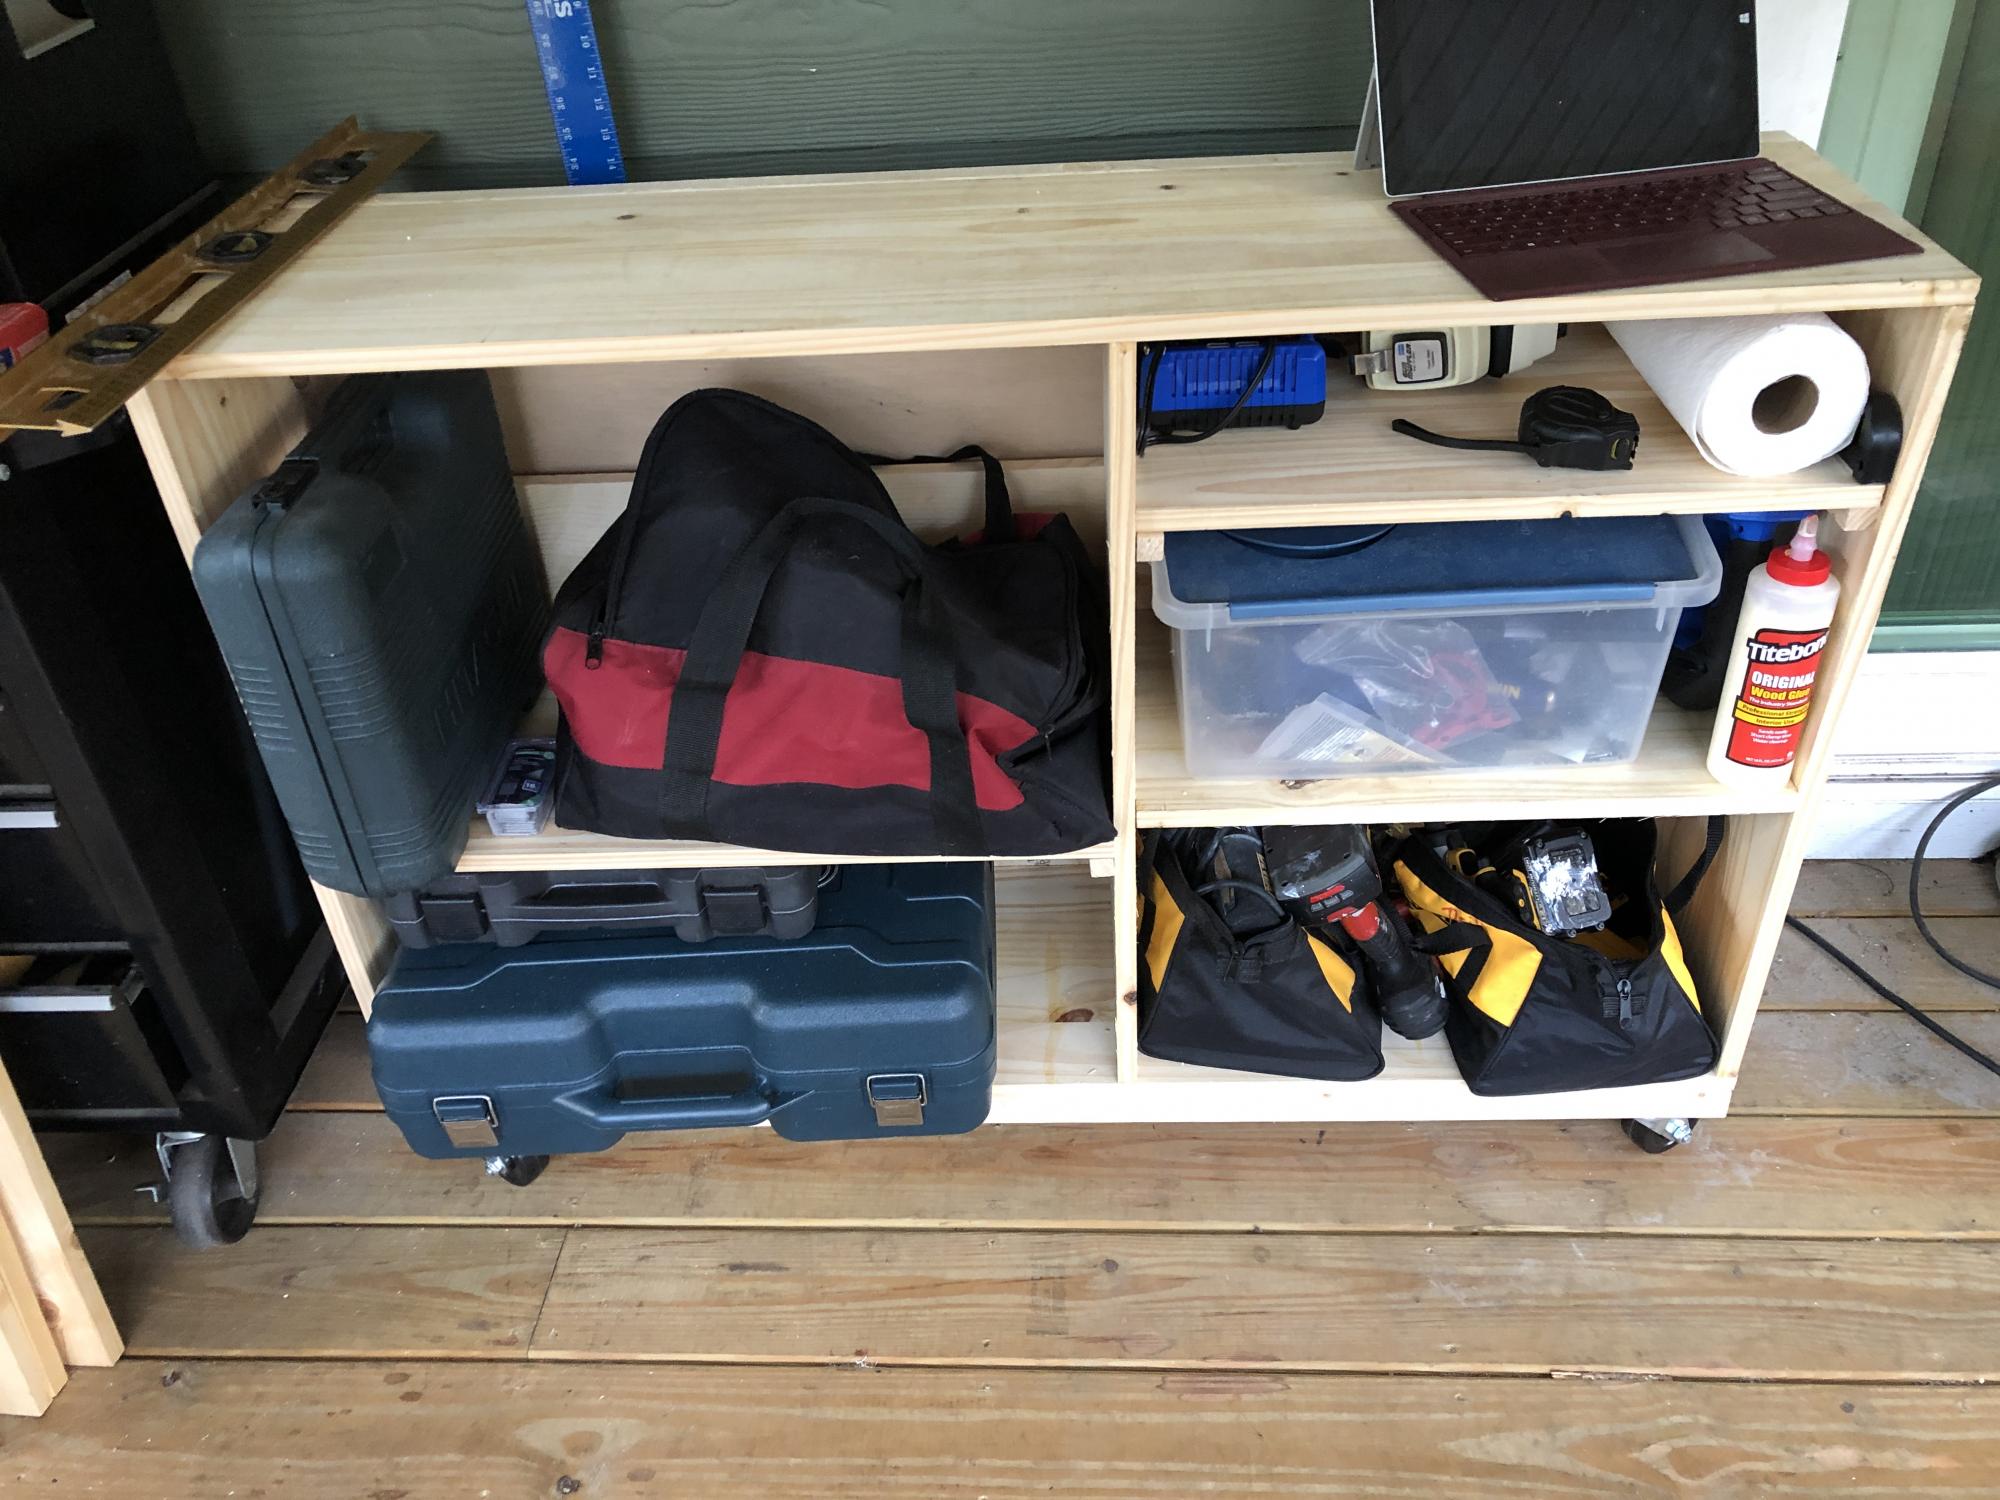
We do not have a garage yet, so this size works great to push out of the way when notย being used and pull out for a workbench and also to extend the table top for the saw. ย The plans were easy to follow and easy to modify. ย I added a base made of 2x4โ€™s to make it sturdier sinceย it will be moved across a deck vs a level floor. ย I also added some boards behind the shelf to keep things from falling out the back and adjusted the height to match the table saw top.ย ย  Next up will be a router table stand to replace the camping footlocker.ย 

Built from Plan(s)
Estimated Cost
$100
Estimated Time Investment
Afternoon Project (3-6 Hours)
Recommended Skill Level
Starter Project

Book Rack

Submitted by Anonymous (not verified) on Fri, 04/22/2016 - 11:08

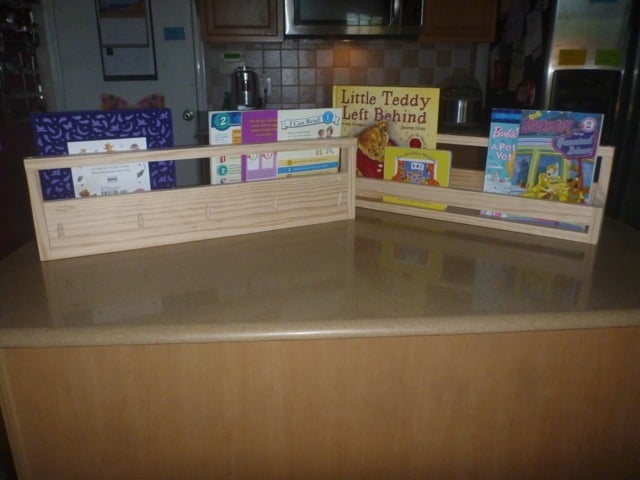
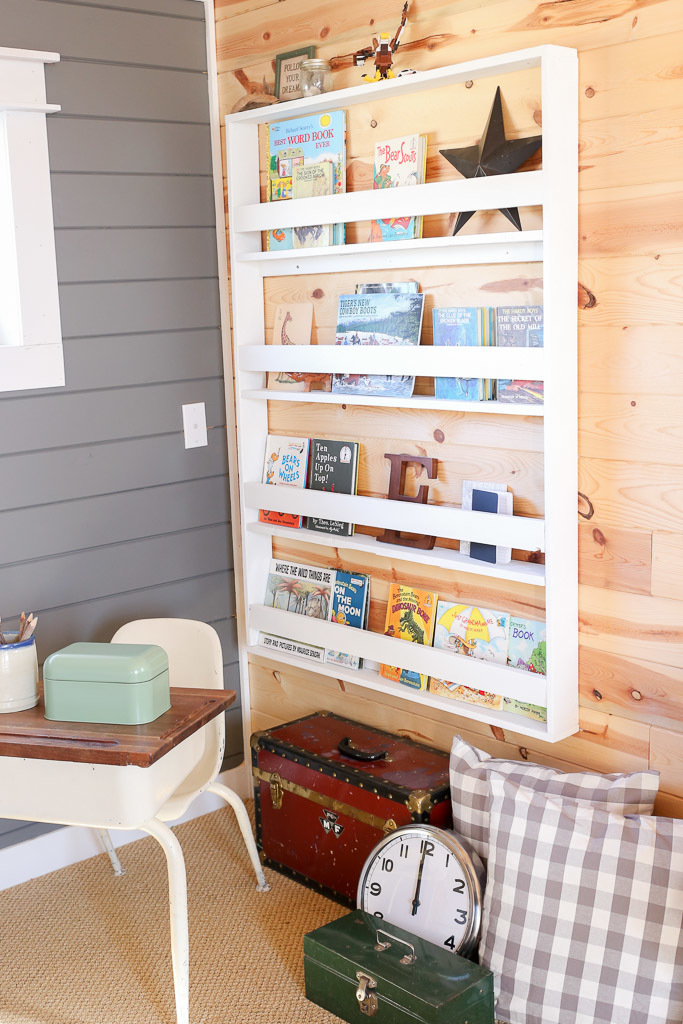
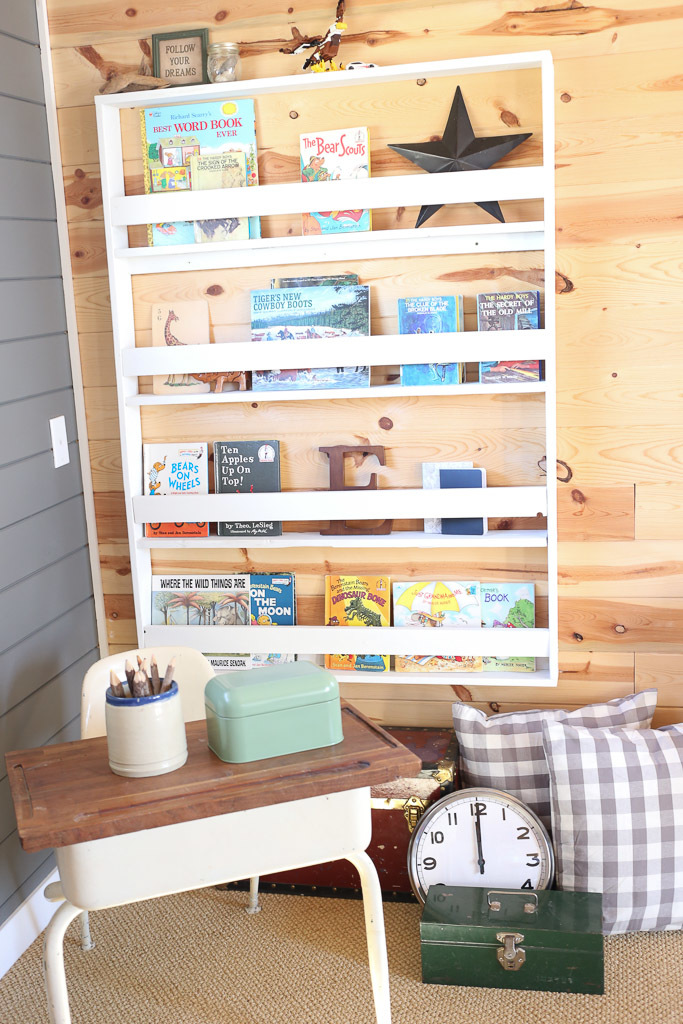
I built this book rack using scrap wood and modified plans from the Full Length Plate Rack. It was a really straightforward build, and functions very well as vertical storage that takes up little space. I predrilled, screwed and glued all of the joints, vs. stapling.

Built from Plan(s)
Estimated Time Investment
Afternoon Project (3-6 Hours)
Finish Used
2 coats of "Simplicity" country chic chalk paint.
Recommended Skill Level
Beginner

Comments

4x4 Truss Table

Submitted by BojackH on Mon, 05/02/2016 - 20:08

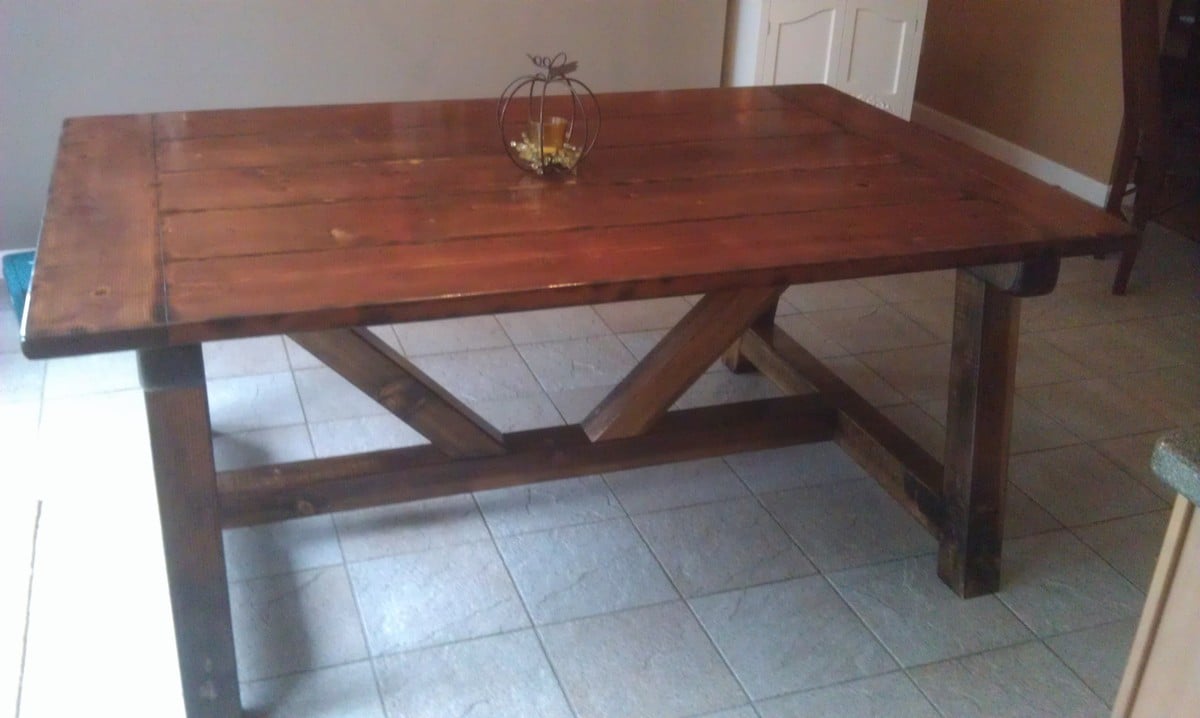
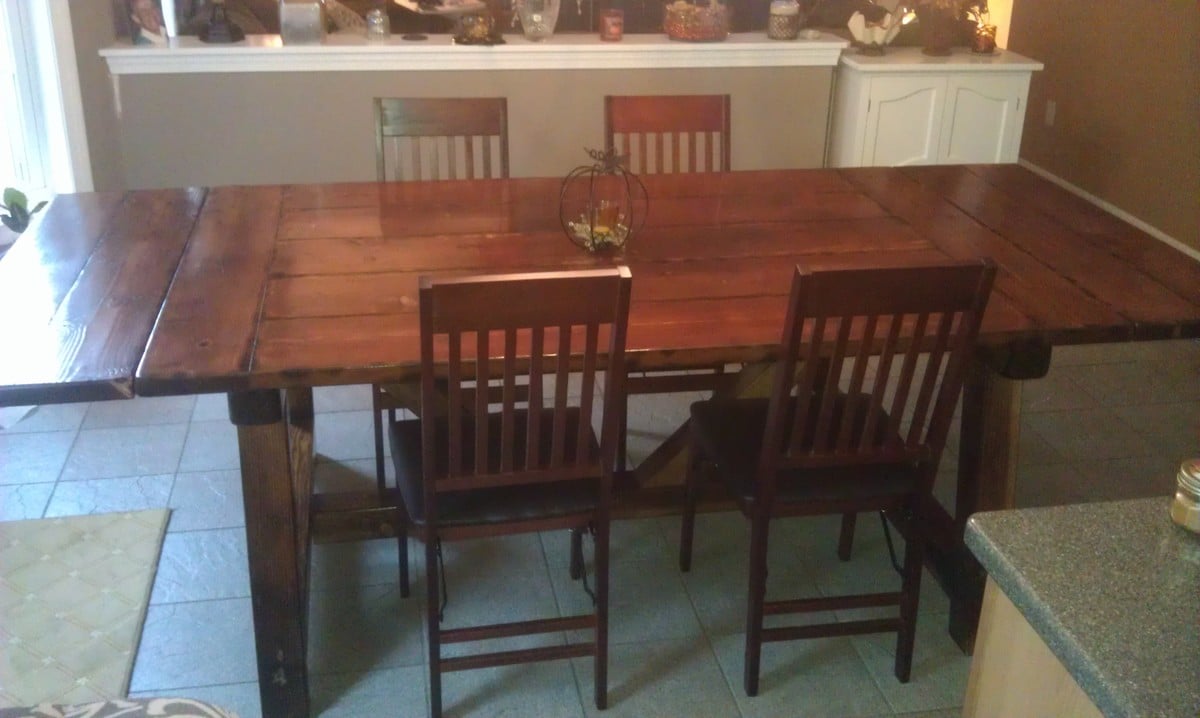
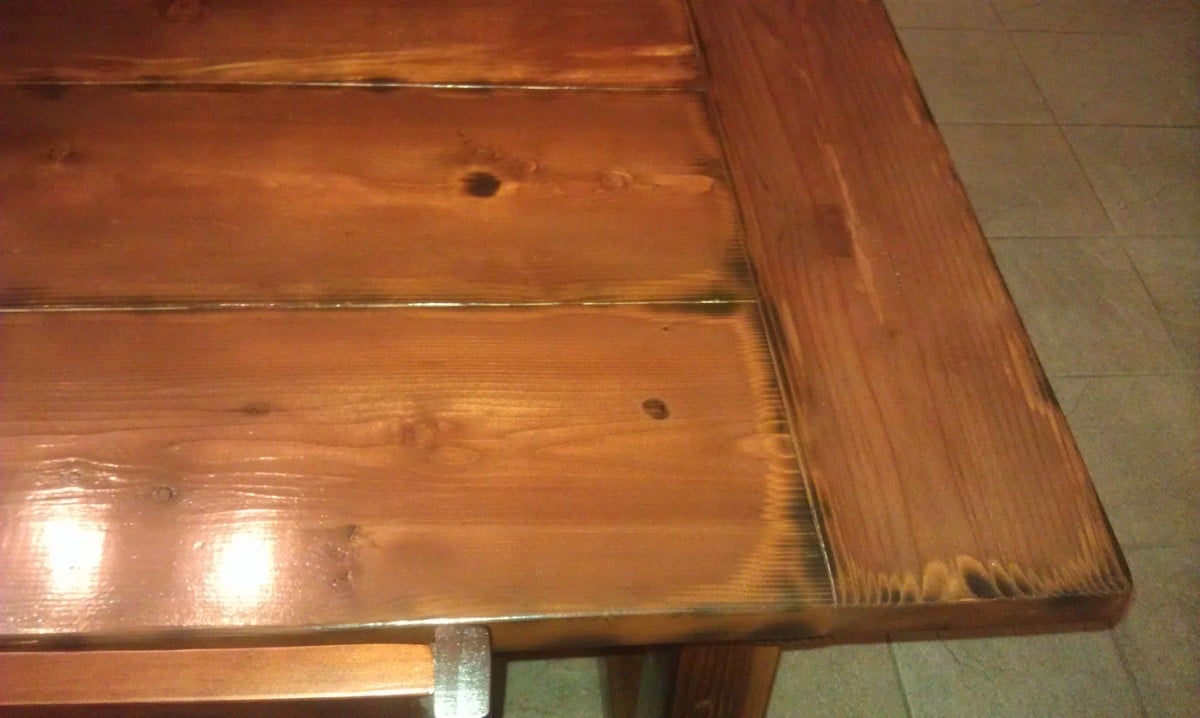
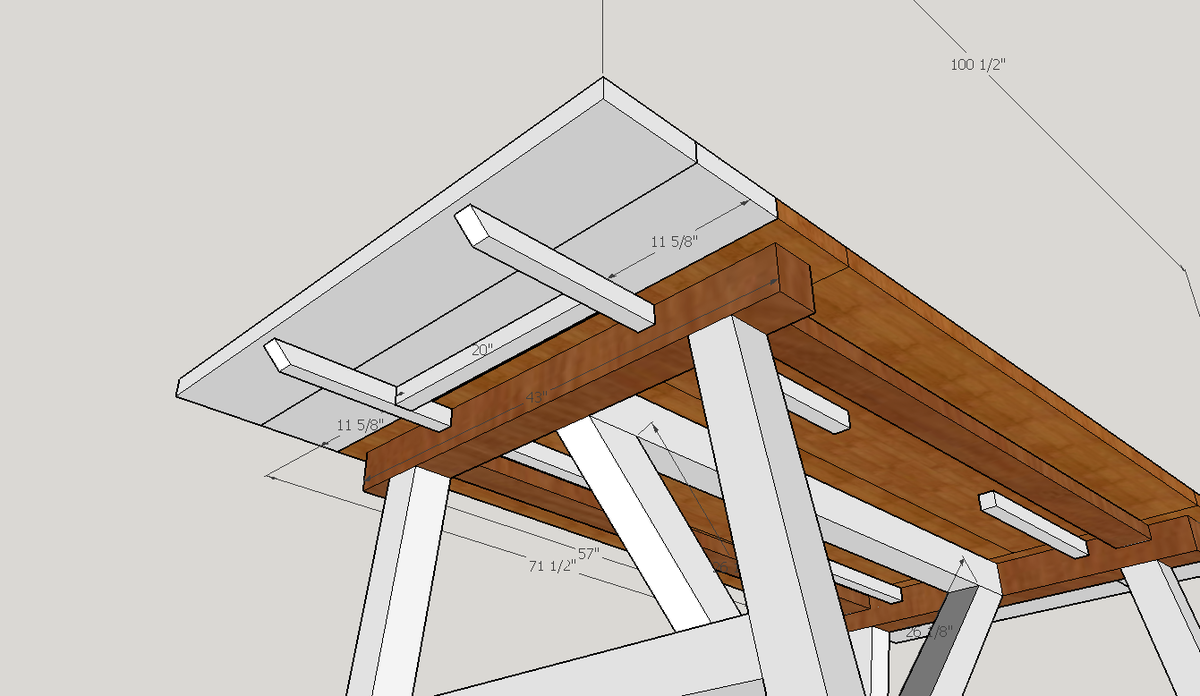
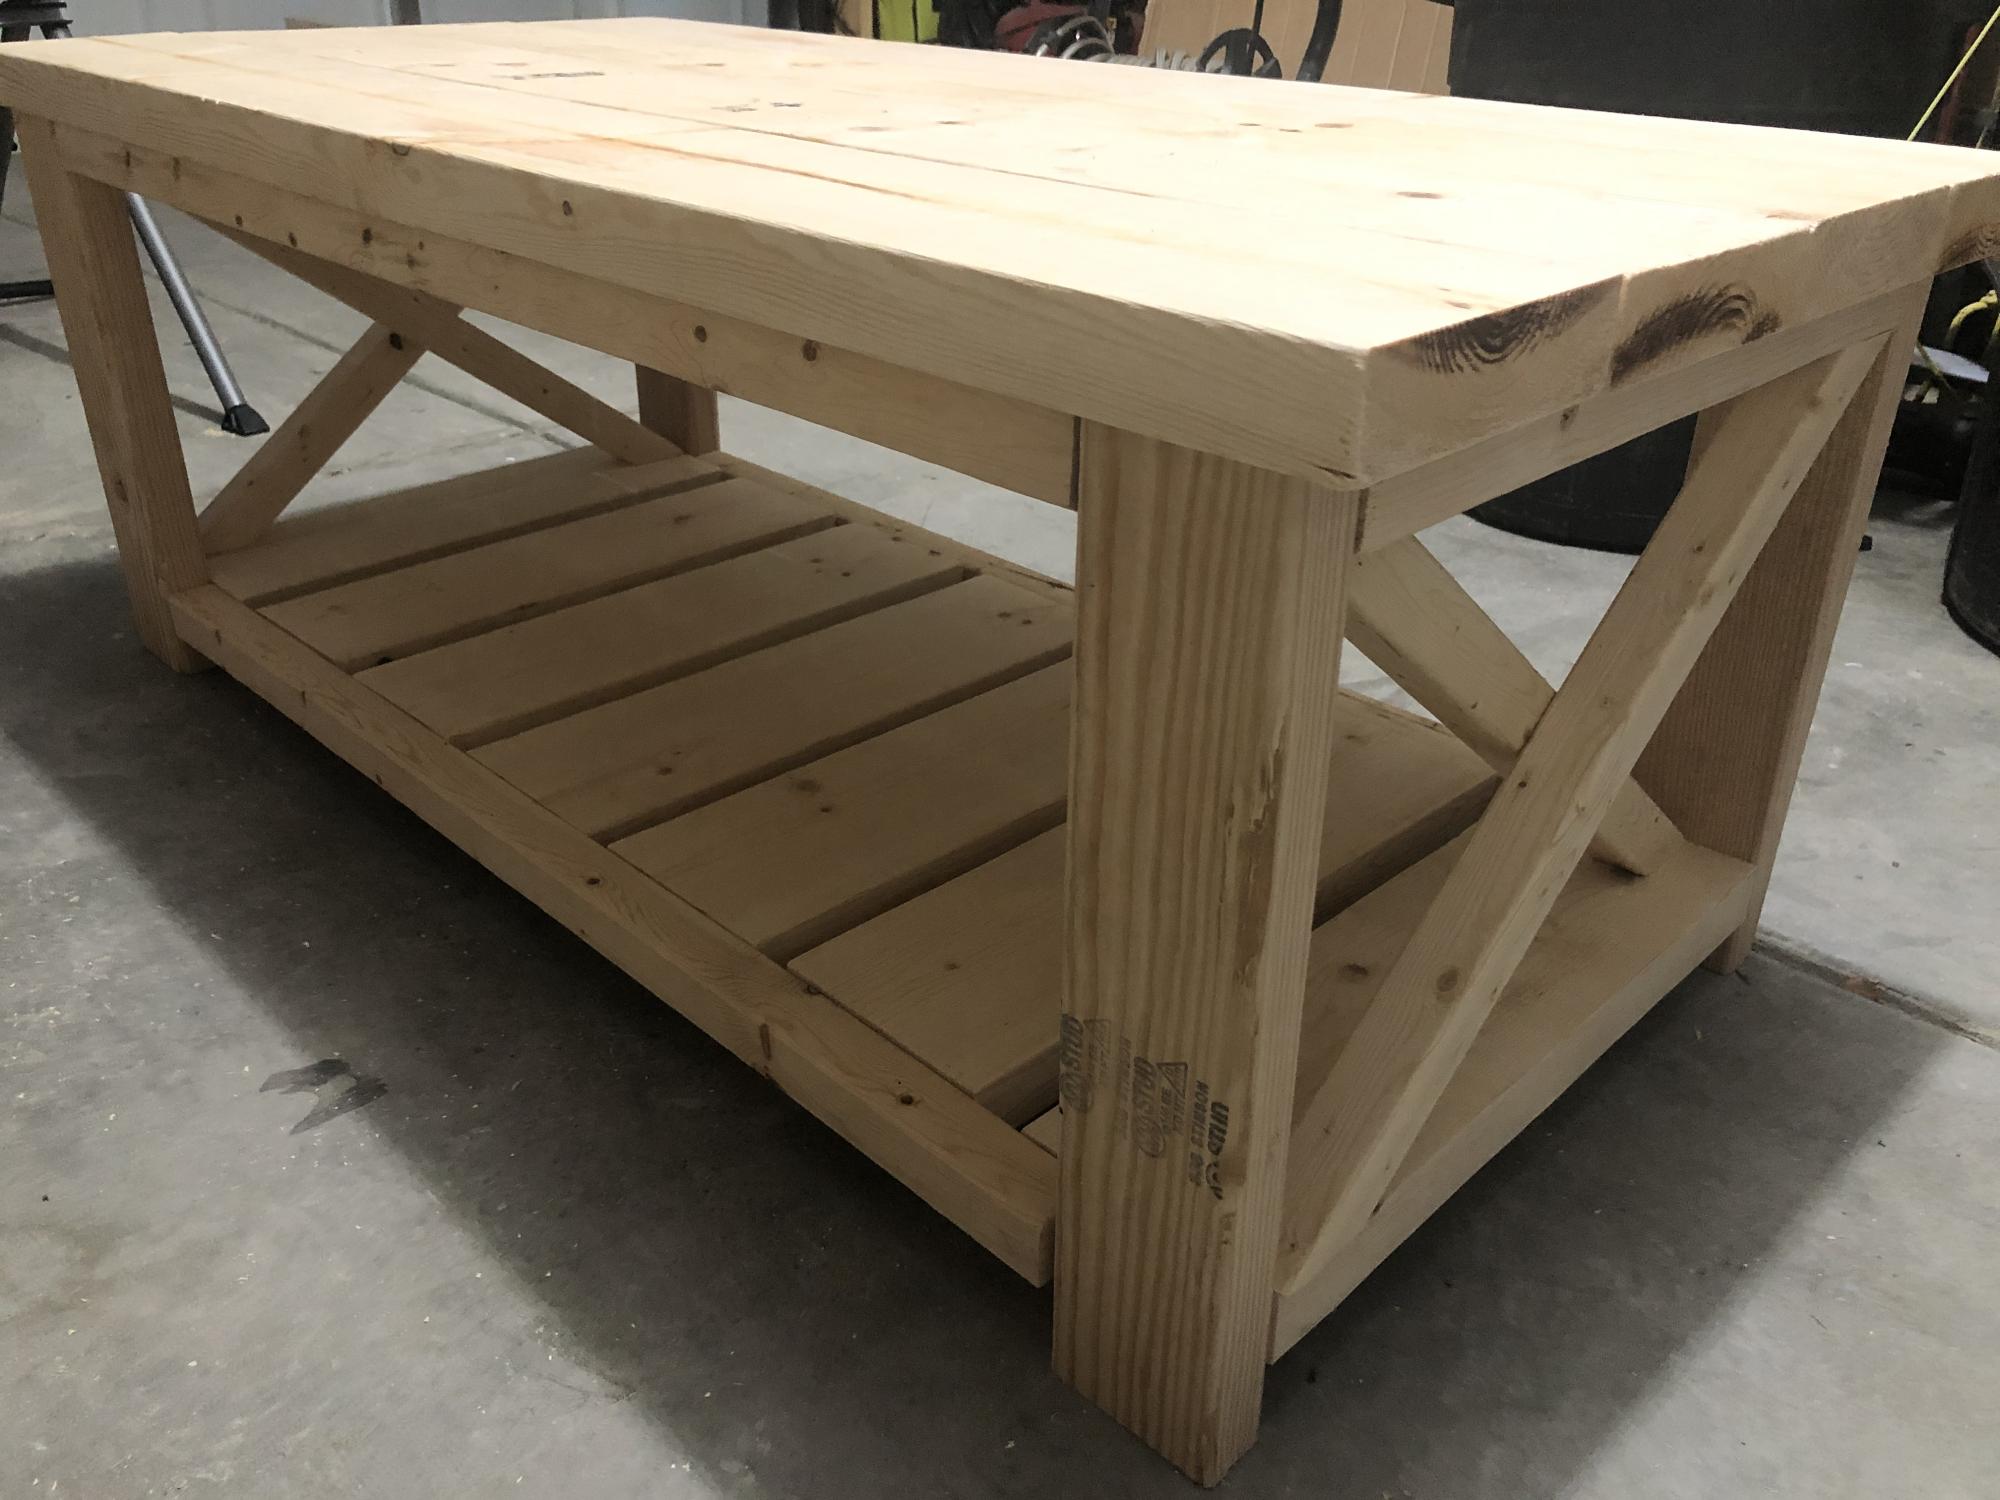
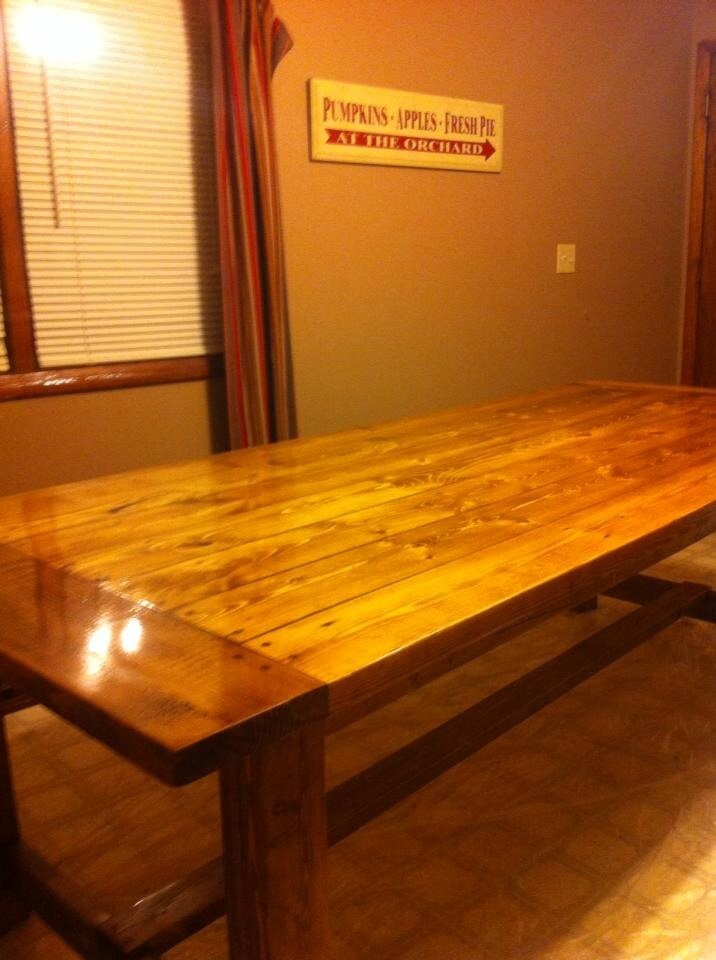
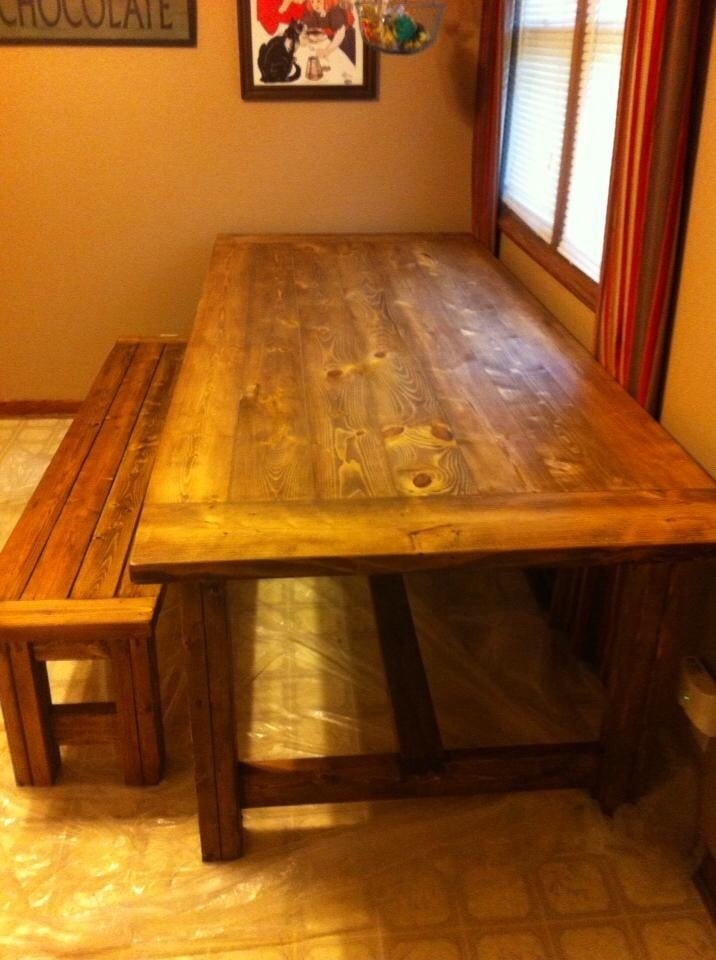
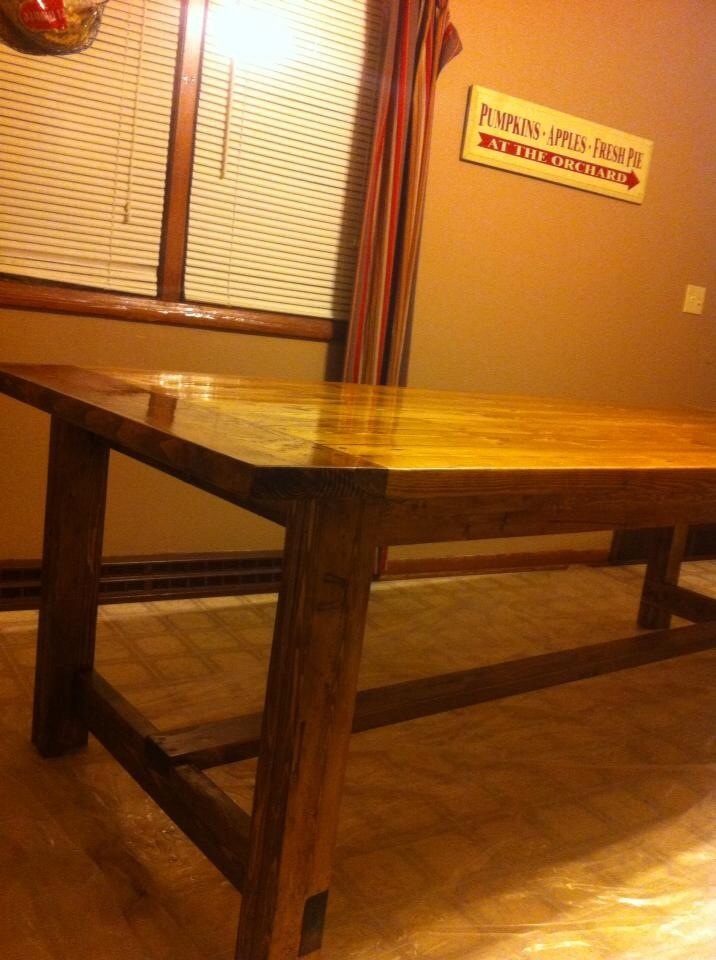
We needed a sturdy table but didn't want to spend a fortune buying one so decided to take a stab at building one. ย Our space isn't too large but also wanted the ability to expand the table with leaves if we have a large crowd. ย I built leaves by cutting notches in the horizontal leg 4x4 and then sliding in/out with 2x2's attached (see pic).

I will say it makes life a whole lot easier learning how to use Sketchup or some other design software. ย That way you can visualize what it will look like, cuts you need to makeย especially if you will be deviating from the original post design and don't want to do math in your head (like me).

ย 

ย 

ย 

ย 

ย 

ย 

Built from Plan(s)
Estimated Cost
~$200 for wood
Estimated Time Investment
Week Long Project (20 Hours or More)
Finish Used
I used the vinegar/ steel wool solution and then 6 coats of Minewax semi gloss polyurethene. Before applying polyurethene, Iย used a blow torch on the corners to make some neat burn marks.
Recommended Skill Level
Intermediate

First Project - Farmhouse Storage Bed

Submitted by kmac1036 on Fri, 04/27/2012 - 11:55

Working on getting furniture done for my kids. Gives me something to do when they are away on visitation. New furniture from a store is too expensive right now & gives me something to work on to keep my mind off of things.

Modified to fit a Twin XL mattress.

Estimated Time Investment
Week Long Project (20 Hours or More)
Finish Used
Passion Pink latex enamel semi-glass from Sherwin Williams. top coat with polyurethane for chip/scratch resistance
Recommended Skill Level
Starter Project

Comments

birdsandsoap

Fri, 04/27/2012 - 13:37

Beautiful job! I love the color. I have memories of being gone for weekends on visits and coming home to a newly decorated "Rainbow Brite" bedroom and my mom assembling a waterbed for me on the kitchen floor (it was the eighties); it felt great to know that my mom was thinking about me while I was gone, your kids will not forget those things.

amercado

Wed, 05/16/2012 - 09:48

Hi!, i am new to all of this and would love to make this bed for my daughter, could you share the measurements for the twin version? thanks!

fortmac (not verified)

Sat, 06/02/2012 - 03:12

Hi, I like this bed for my son, also looking for the measurements for the twin version.Thanks

Nicole 1016

Mon, 08/27/2012 - 11:05

This is gorgeous! I would love to know how wide you made this and if you only had to adjust the headboard and footboard?

grreenbeans

Sun, 01/17/2016 - 09:17

Hi! I know this question has been posted before and replied to but, for some reason, I can't see the replies so... would anyone mind maybe sharing their converted measurements for a twin sized bed? Thank so much! This will be our first project and I'm sooo nervous!

Firemedic

Fri, 02/05/2016 - 20:20

I made this bed in a twin. The twin mattress is 39x75. That's 21 inches narrower and 5 inches shorter than a queen. So just make the head board,ย foot board, and slatย measurements 21 inches shorter keeping the height the same. The length is five inches shorter but to get three drawer slots the same size I madeย mine 75 3/4 long. ( 24 1/4 for each drawer slot).

Kind bed

Submitted by Anonymous (not verified) on Sun, 02/16/2020 - 22:07

King bed hand made made with 1by4 pine boards

Estimated Cost
200
Estimated Time Investment
Day Project (6-9 Hours)
Recommended Skill Level
Intermediate

Comments

My very FIRST build!! LOVE IT!!

Submitted by AmJoy37 on Sun, 02/23/2014 - 09:11

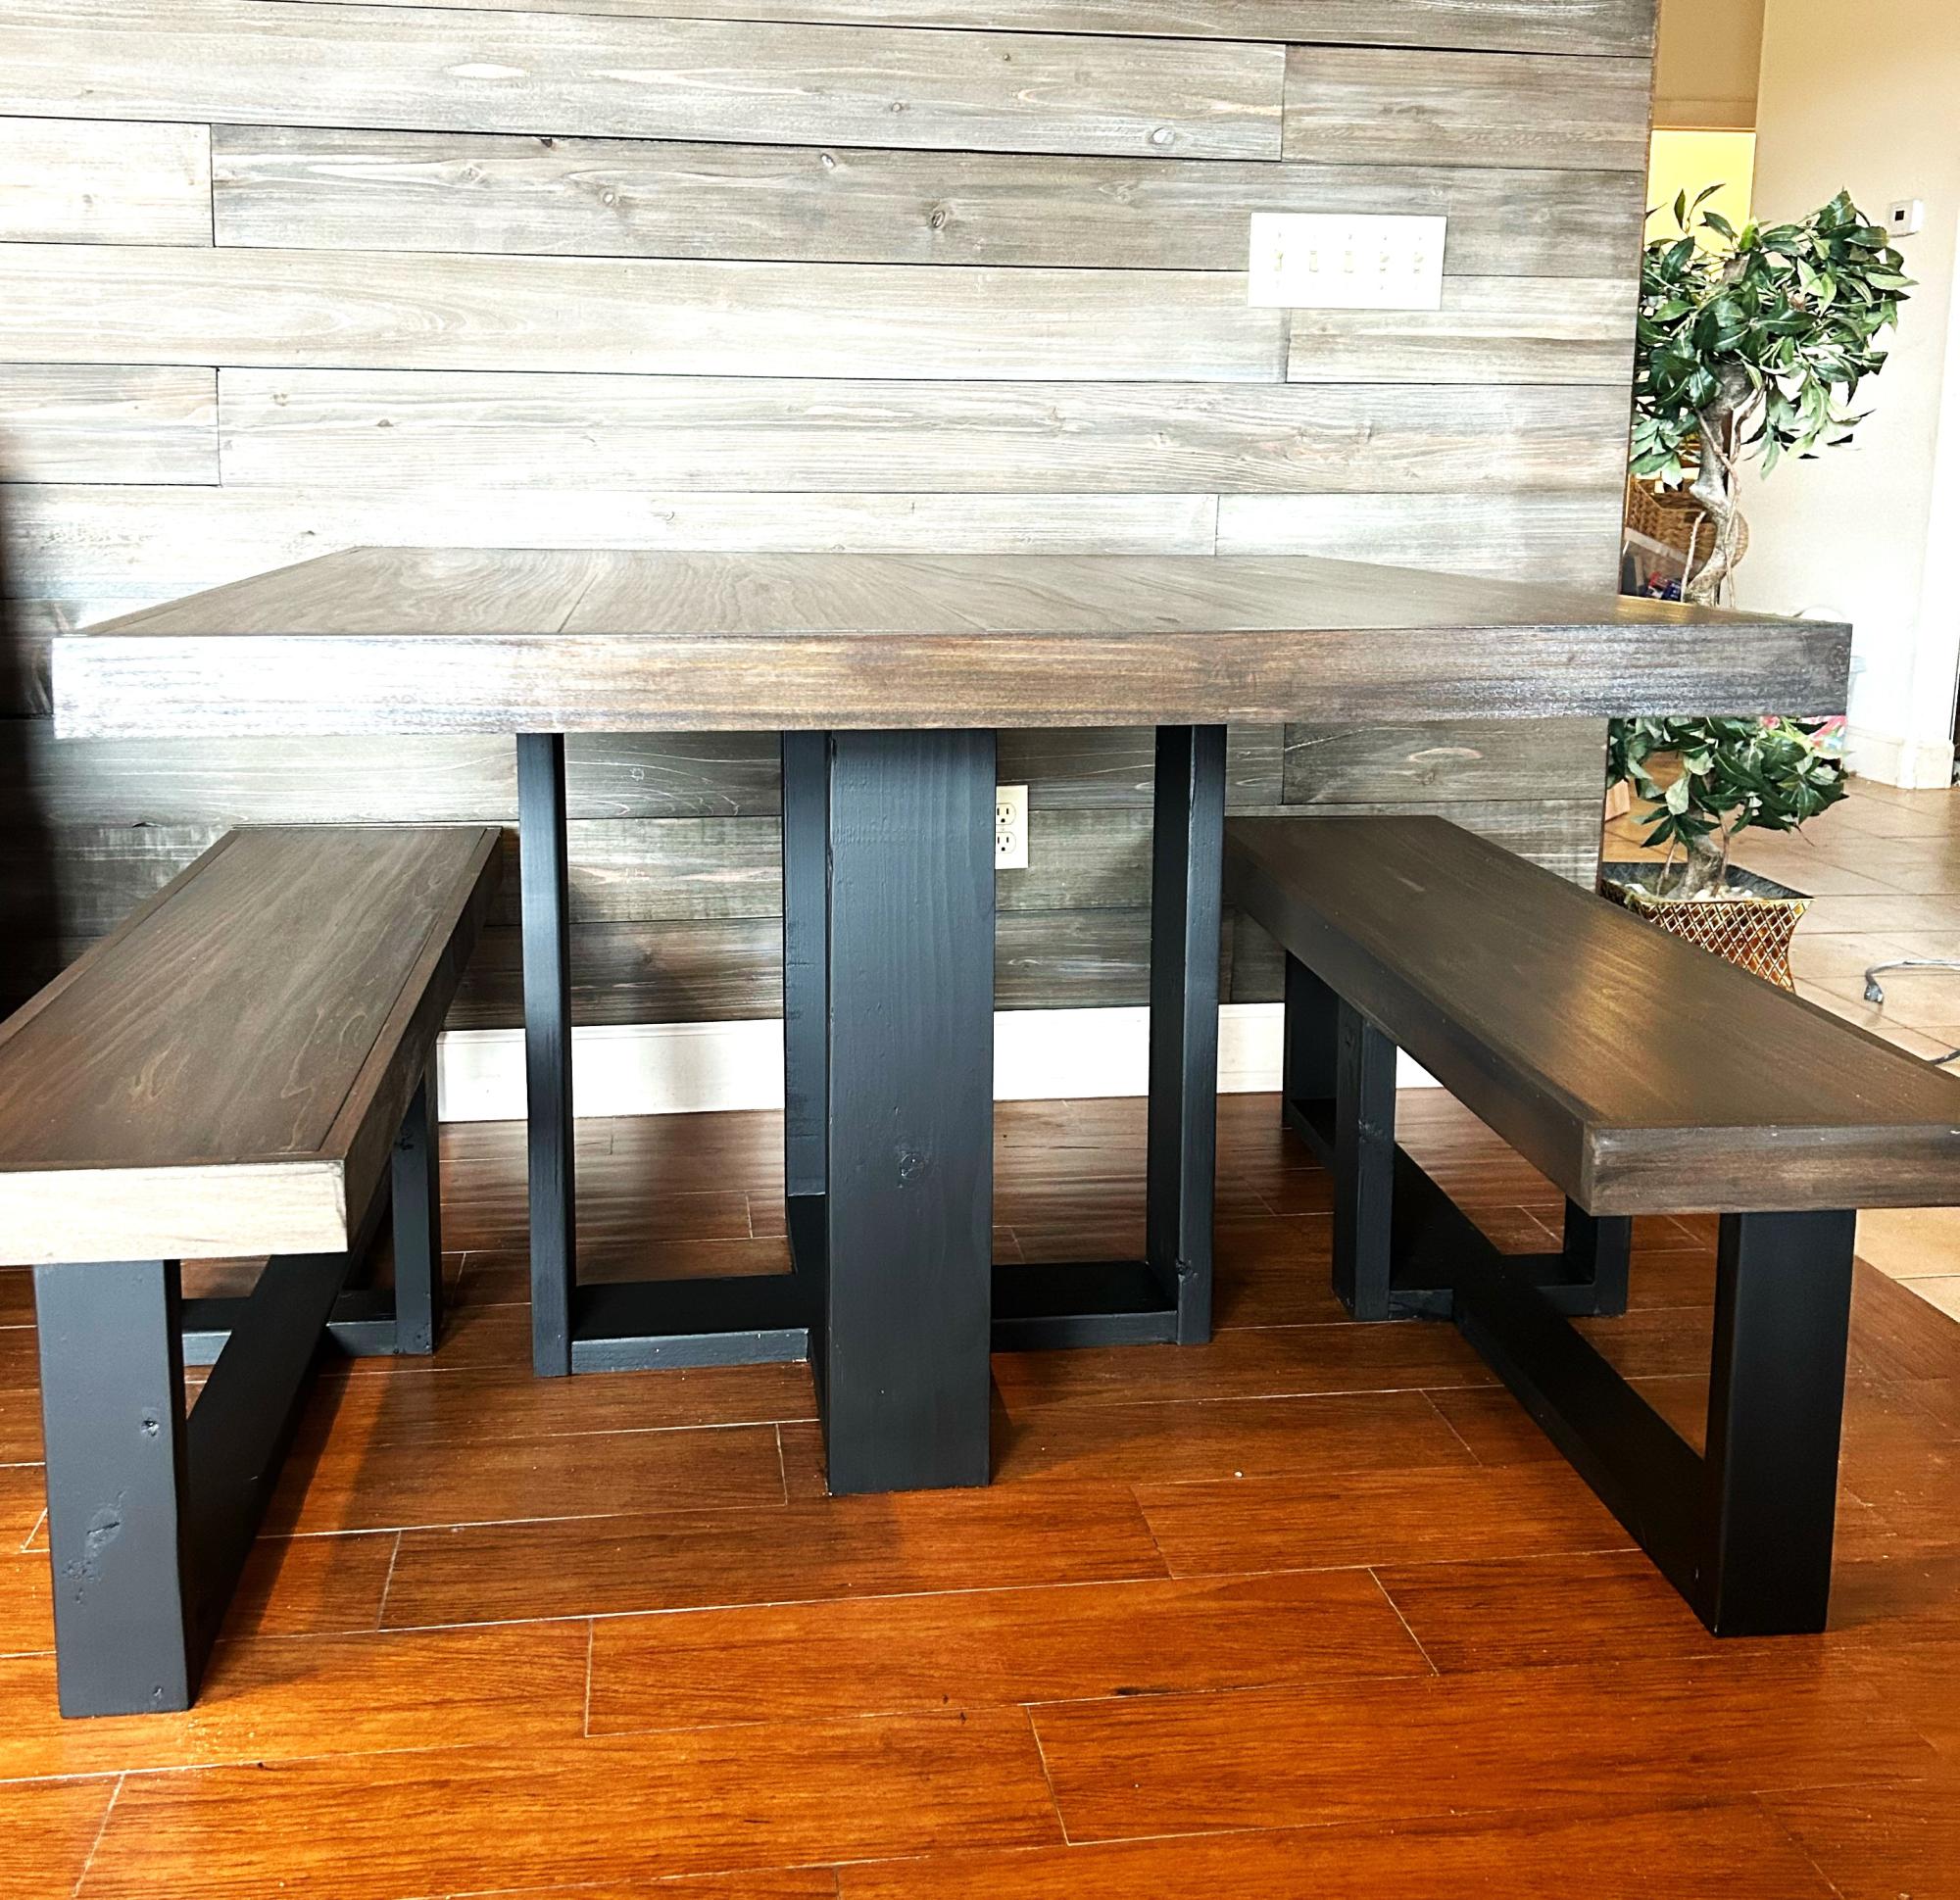
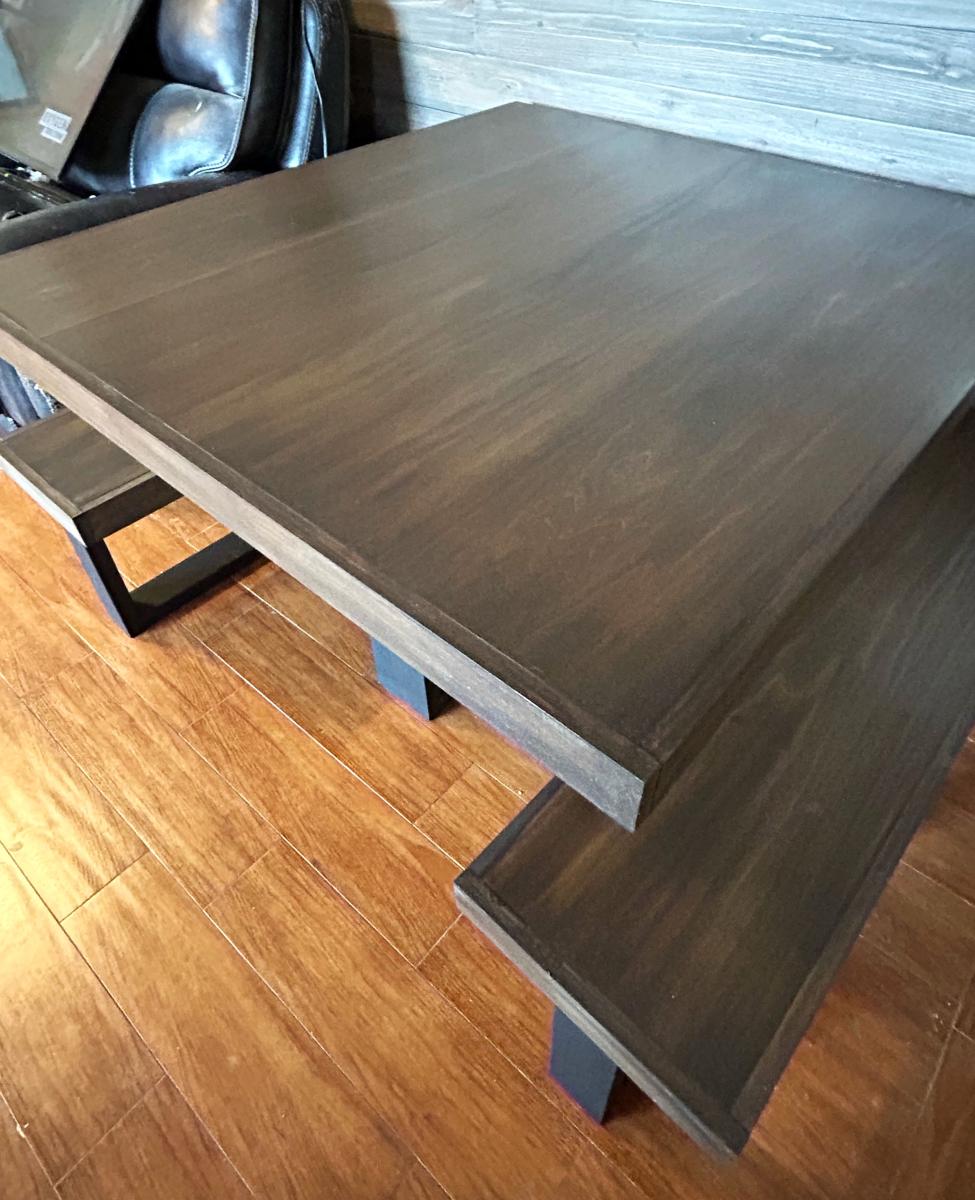
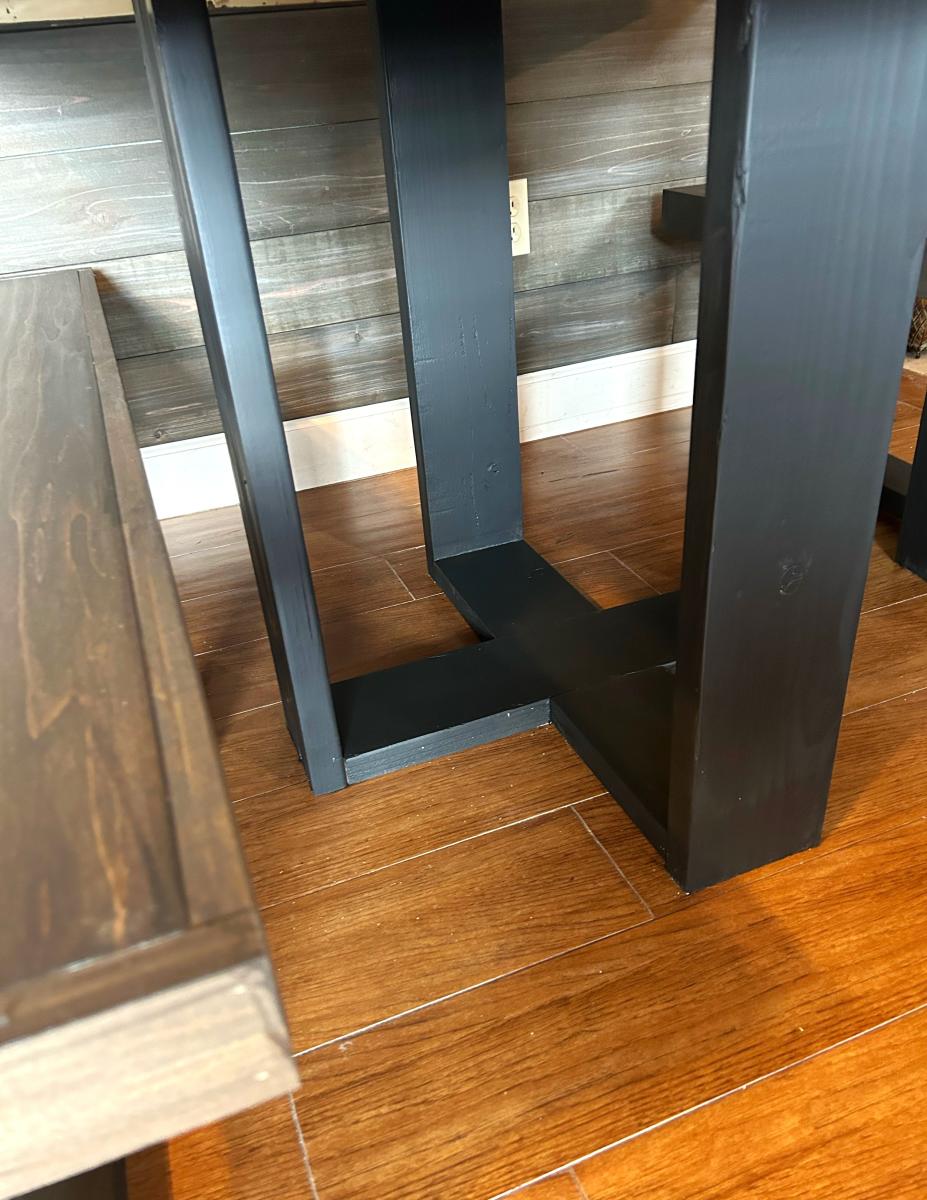
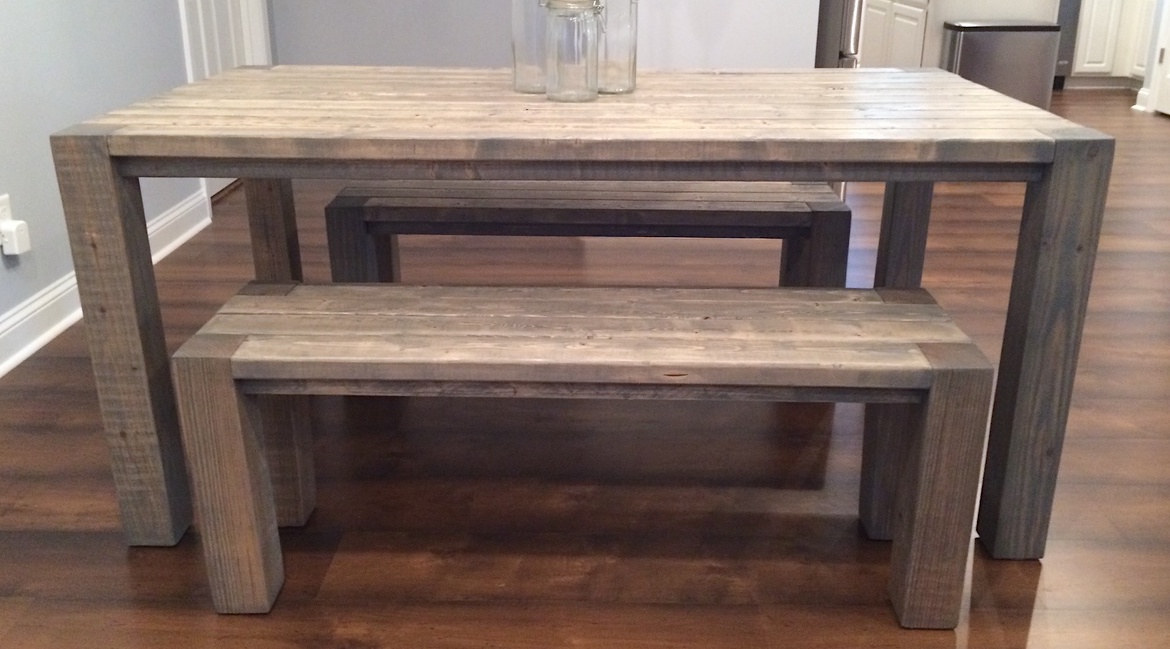
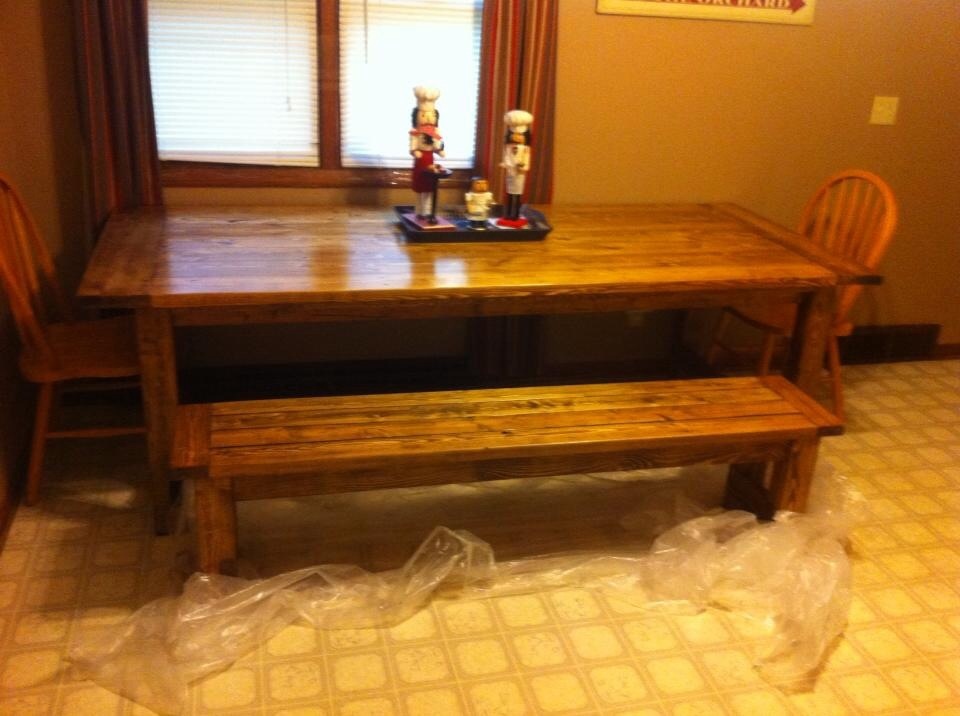
My husband is deployed and I just decided to start building, to keep my mind busy. I built this table & benches, sanded, stained it & had it in my nook in just 6 days!!! I worked on it every night when the kids went to bed. Thank you Ana White!! :) I will be using this site quite a bit to keep me busy!

Built from Plan(s)
Estimated Cost
$140
Estimated Time Investment
Week Long Project (20 Hours or More)
Recommended Skill Level
Beginner

Comments

Simple Adirondack Chair

Submitted by HoodFam on Sun, 05/13/2012 - 12:27

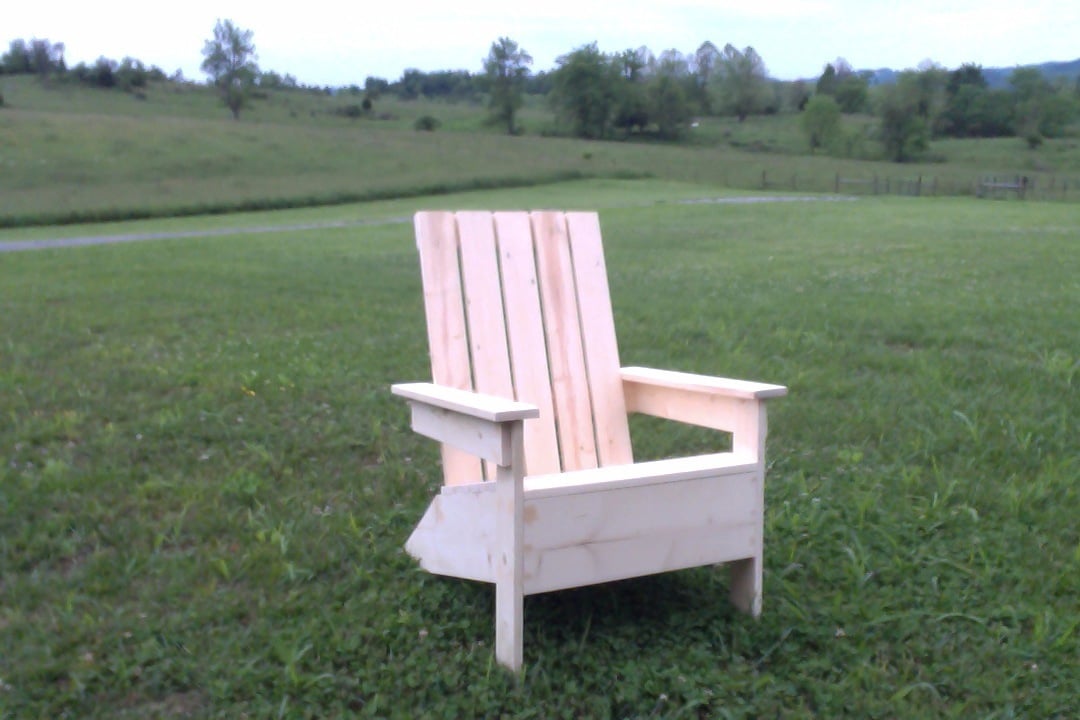
This was the second (larger) type project my husband has completed and I got to help this time! We made this for the loving ladies in our lives for Mother's Day. This one is his mom's and we didn't finish it because we don't know if she'll want to stain or just paint it. It was relatively easy!

Built from Plan(s)
Estimated Cost
25-30
Estimated Time Investment
Afternoon Project (3-6 Hours)
Finish Used
Not completed yet! We are making two for ourselves so I will upload those when we get them finished.
Recommended Skill Level
Beginner
Seasonal And Holiday

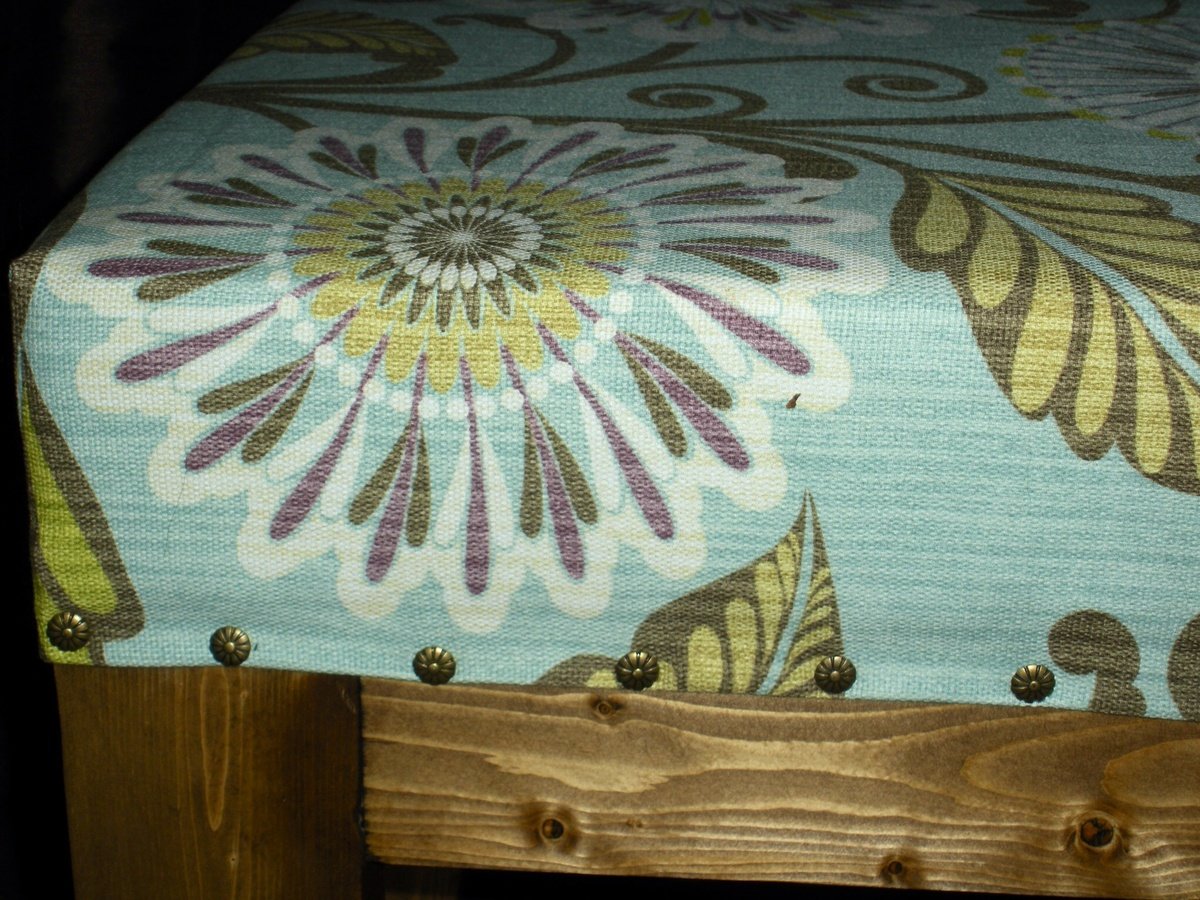
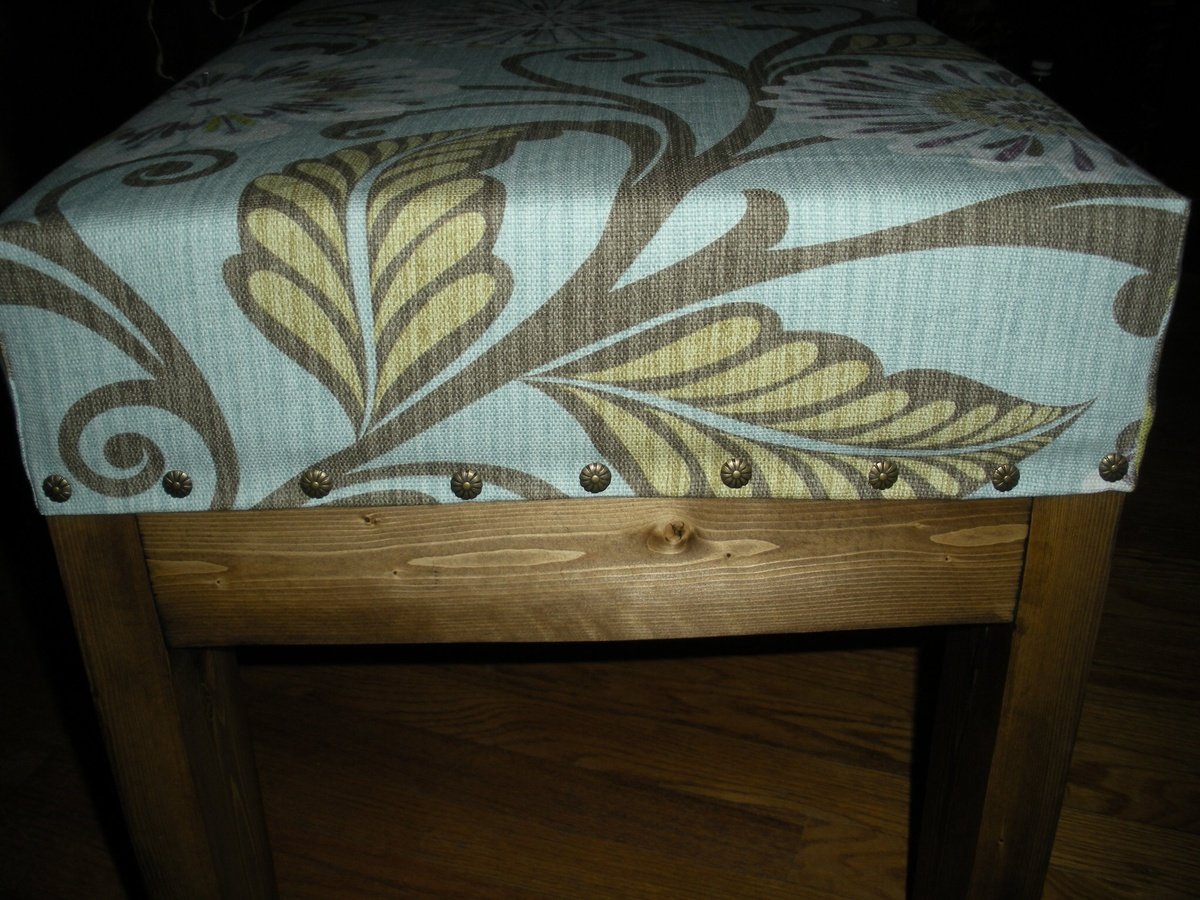
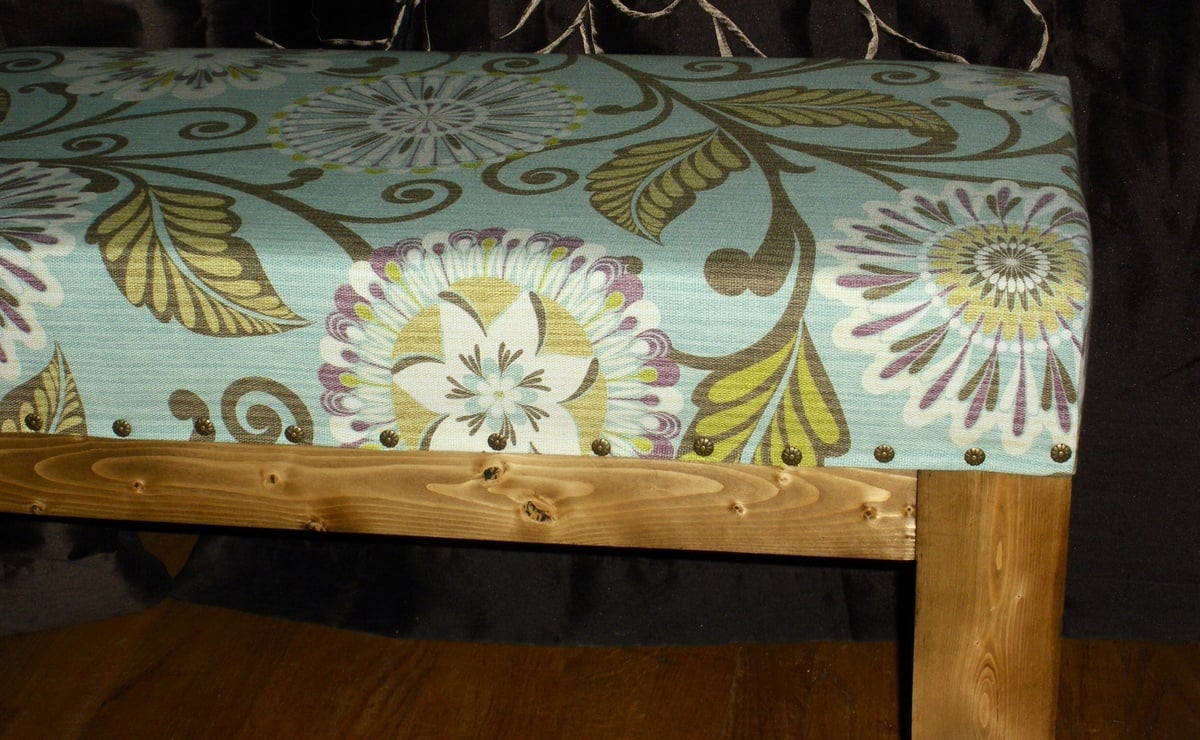
Easiest Upholstered Bench

Submitted by TLinskey on Sat, 03/15/2014 - 08:51

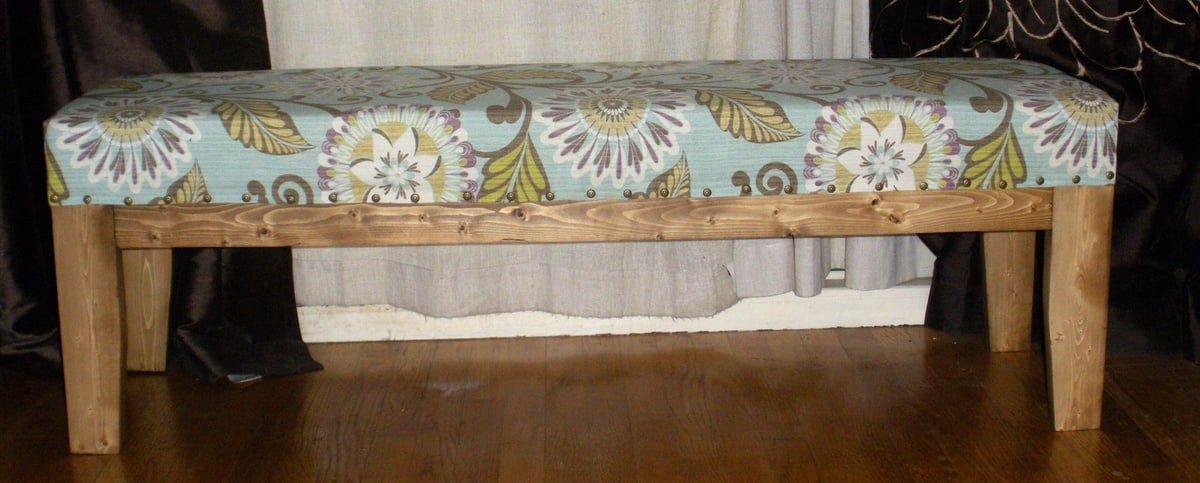
This was a very simple and fun project!!! One of my favorites!! Plus I learned two new DIY SKILLS......upholstery & tapered legs!!!

Built from Plan(s)
Estimated Time Investment
An Hour or Two (0-2 Hours)
Finish Used
Dark Walnut, HGTV FABRIC
Recommended Skill Level
Starter Project

Vintage pew bench alteration

Submitted by Wnolan on Mon, 03/17/2014 - 11:16

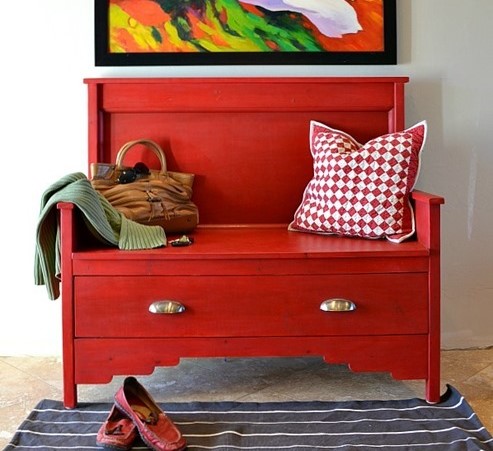
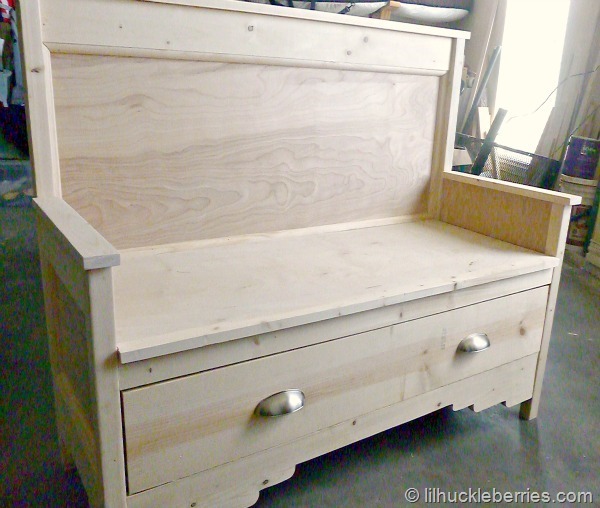
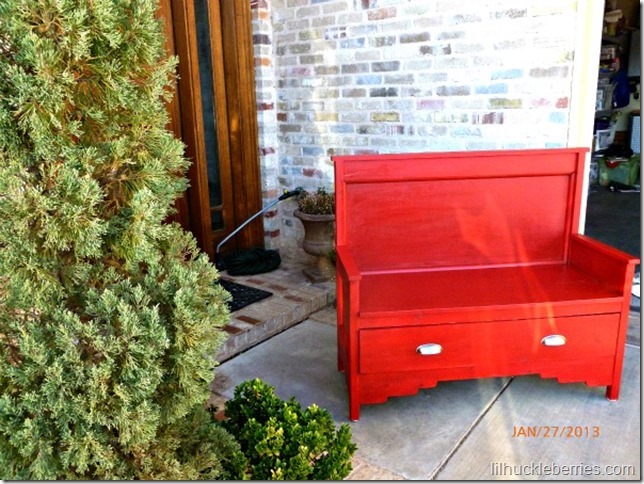
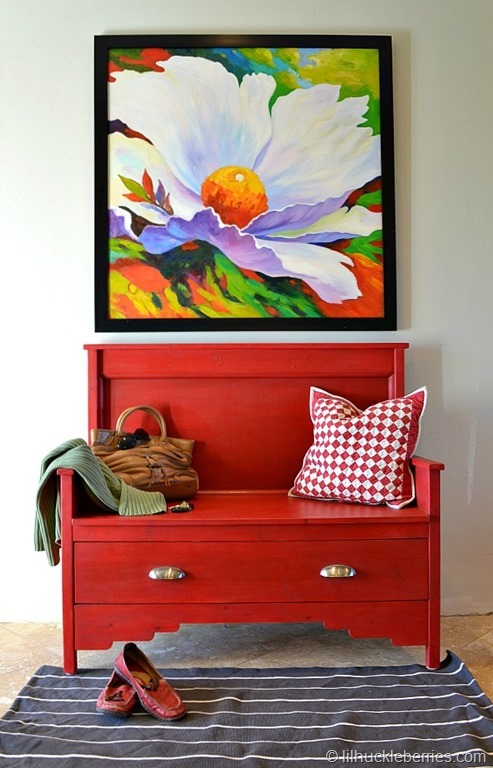
I needed additional seating for my dining room table and wanted something a little unusual. When I saw the vintage pew bench, I loved it. After looking at the plans, I determined I could alter the arm height so we could use it at our dining table. Now that we have moved, we no longer need it at our dining table, so it now sits in our entry. It has been a great multifunctional piece.

Built from Plan(s)
Estimated Cost
less than $100.
Estimated Time Investment
Afternoon Project (3-6 Hours)
Finish Used
Miss Mustards Seed's Milk Paint with a clear coat of wax and an antiquing glaze over that.
Recommended Skill Level
Intermediate

Comments

Ana White

Tue, 03/18/2014 - 10:44

Amazing Pop of Color, Love the Bench! Is that a print or painting, may I ask where you found it?

Wnolan

Mon, 03/24/2014 - 13:25

Thanks Ana! It is a painting. I bought it in South Korea while we were living there.

I may be able to track a canvas down for you, though. You would have to get it stretched...it would be too large to ship. I have a friend who is living there now. ;-)

Kae429

Sun, 09/20/2015 - 16:44

What's the new arm height? I'm going to TRY to adapt this to a 60" bench with two drawers, and the lower arms.

Seasonal And Holiday

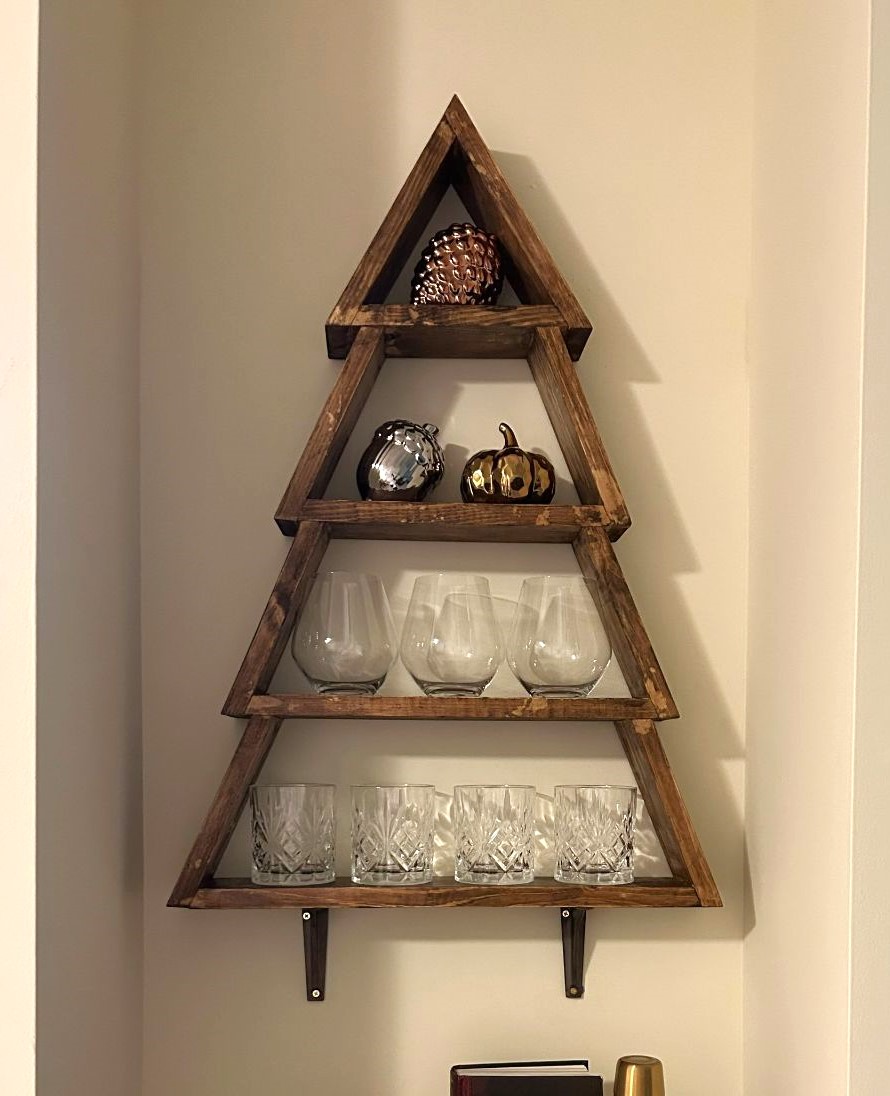
Christmas Tree Cup Shelf

Submitted by Anonymous (not verified) on Mon, 12/04/2023 - 08:50

Hi Ana,
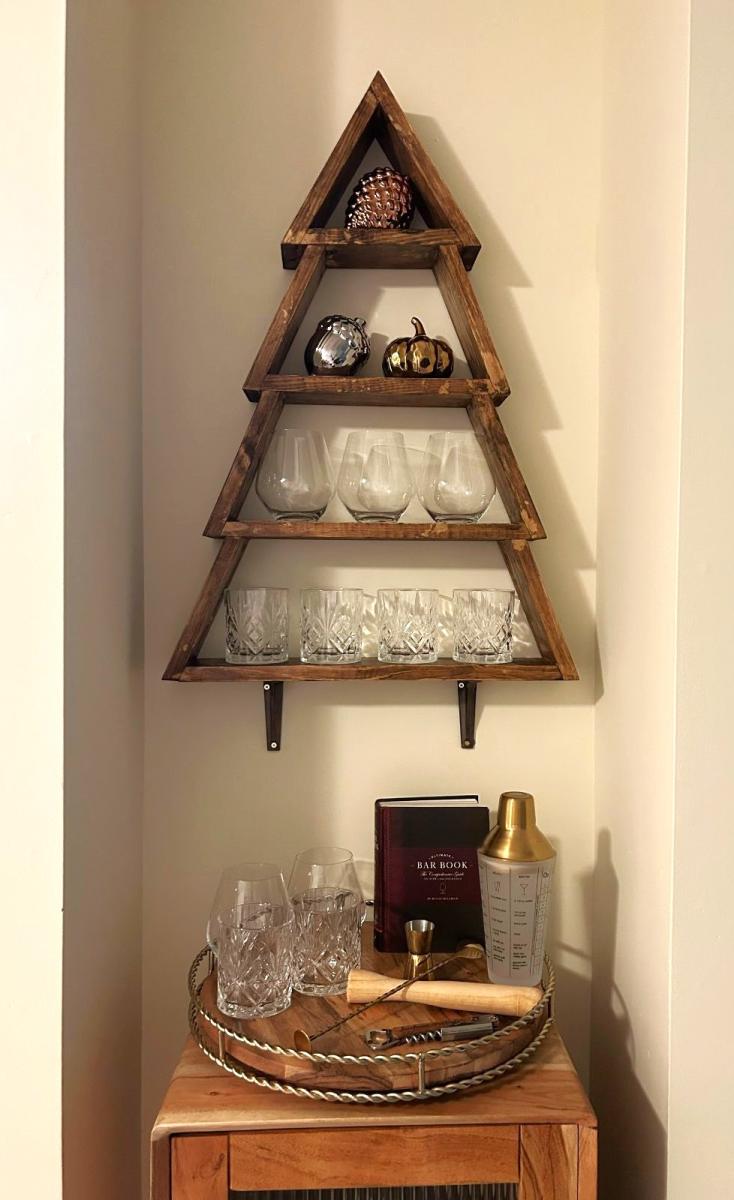
I just want to thank you for sharing your projects. My father is 92 years and was always a "maker." For the last three years he is living with and being cared for by my sister, but while he no longer has use of his basement workshop, he still gets up early each morning and goes to his small work area in her craft room where he does small projects like bird feeders. He had made and given away so many bird feeders that we were searching for another small project he could take on. I came across your Christmas Tree shelf. My husband cuts the pieces to size and then my dad completes the projects. He has made enough to give his six children and 10 grandchildren each one as a keepsake. Pictured is the way one of the grandchildren has recently used the shelf he was given. So thank you for being so generous with your ideas and plans!

Mary Beth Sharp

Built from Plan(s)

Comments

Seasonal And Holiday

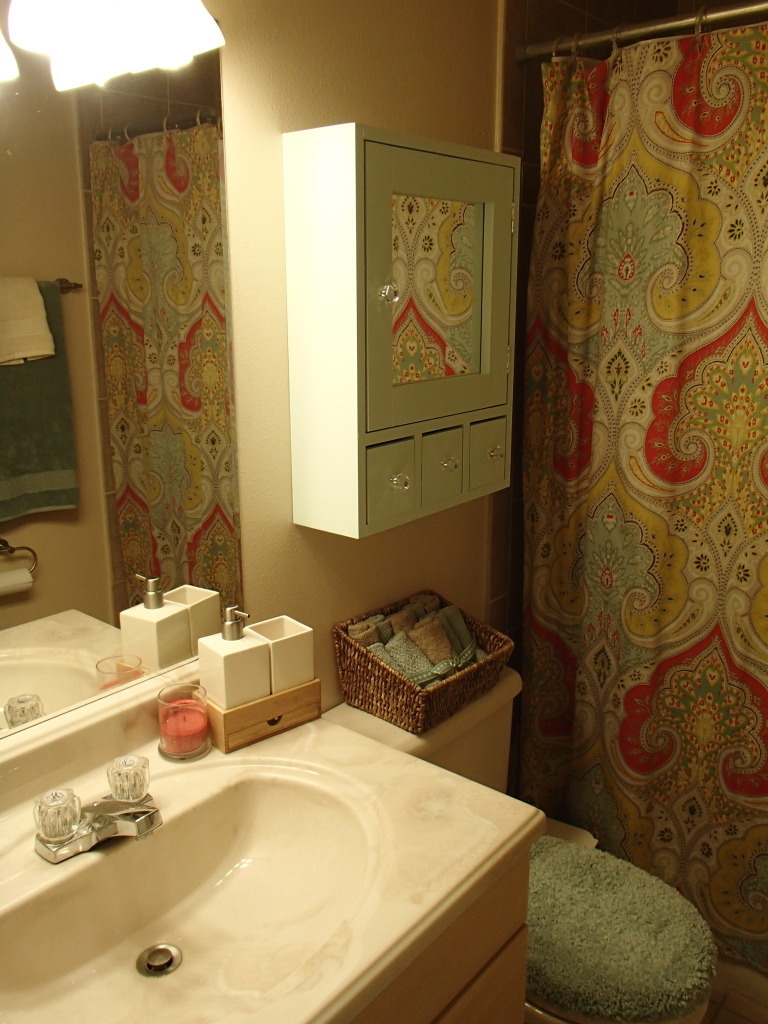
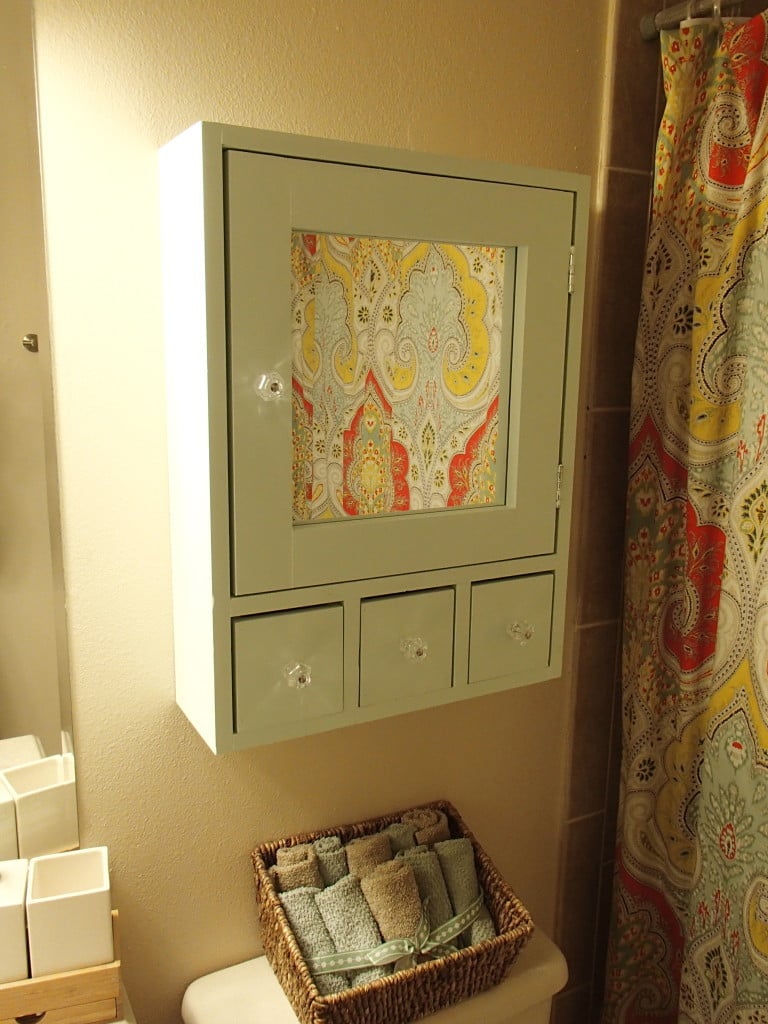
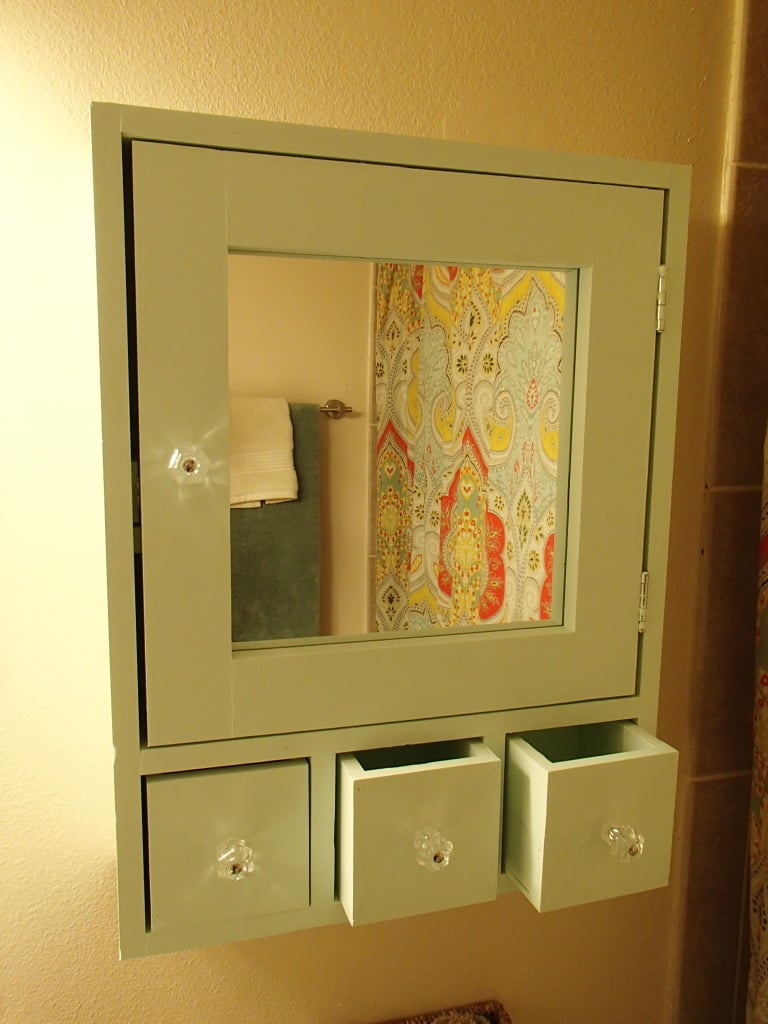
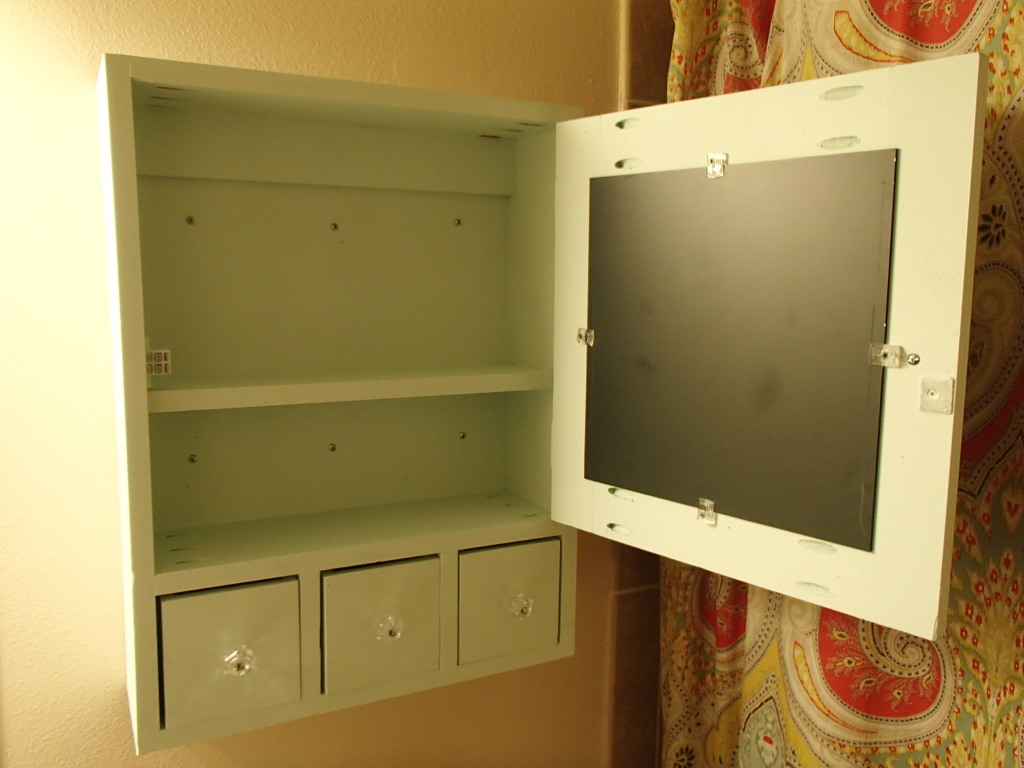
Medicine Cabinet

Submitted by beansurfin on Mon, 07/02/2012 - 18:12

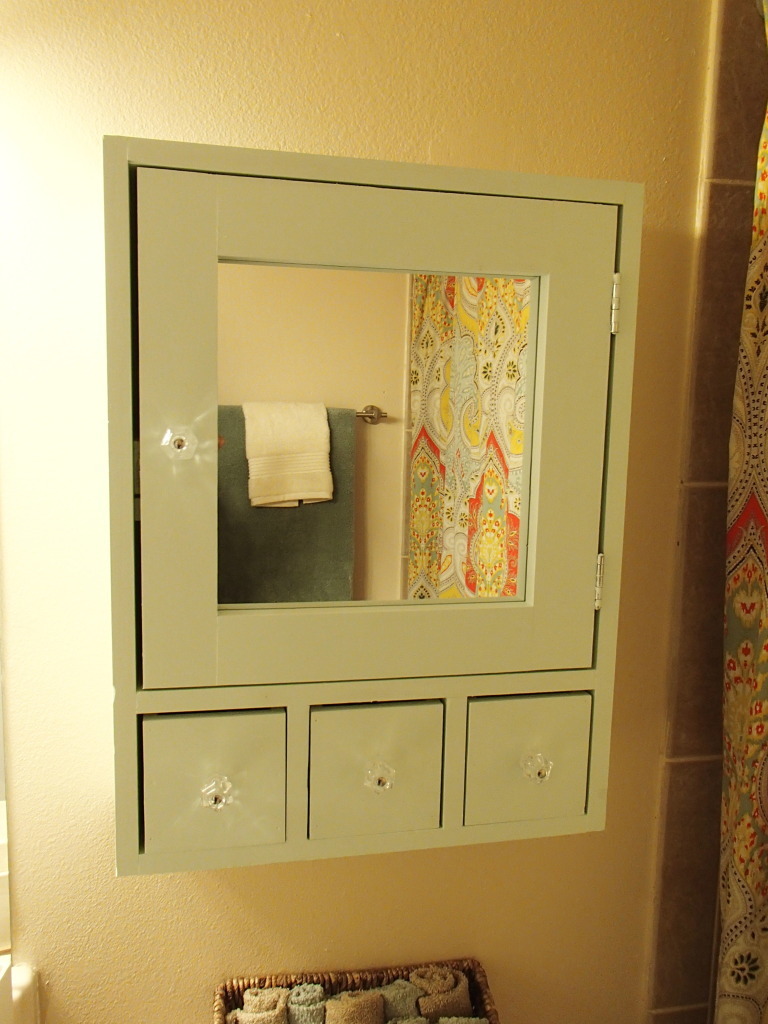
I found this project on I different site (sorry) but really wanted to make it for our quest bathroom. It was not to difficult and it really helps to finish off our quest bathroom since it was missing a medicine cabinet.

Estimated Time Investment
Day Project (6-9 Hours)
Finish Used
Painted
Recommended Skill Level
Beginner

Comments

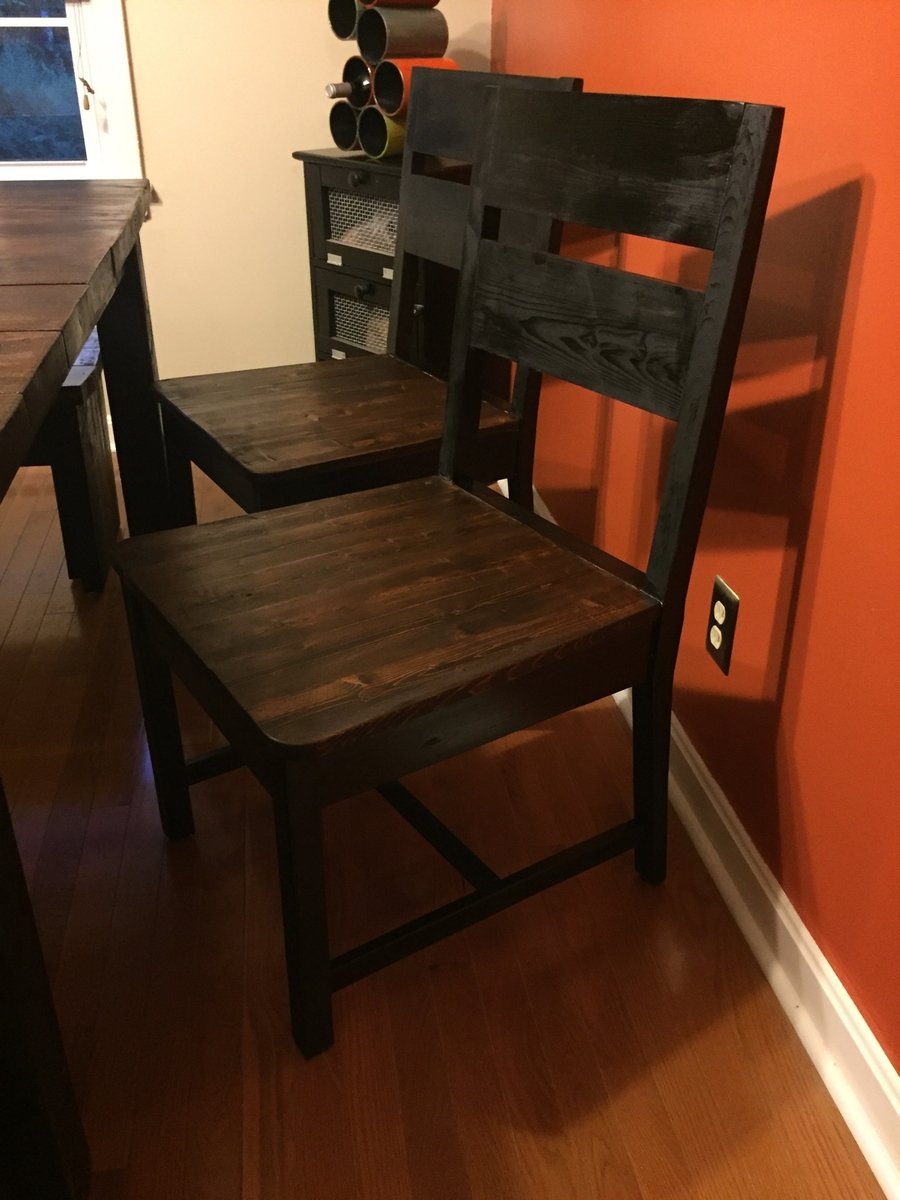
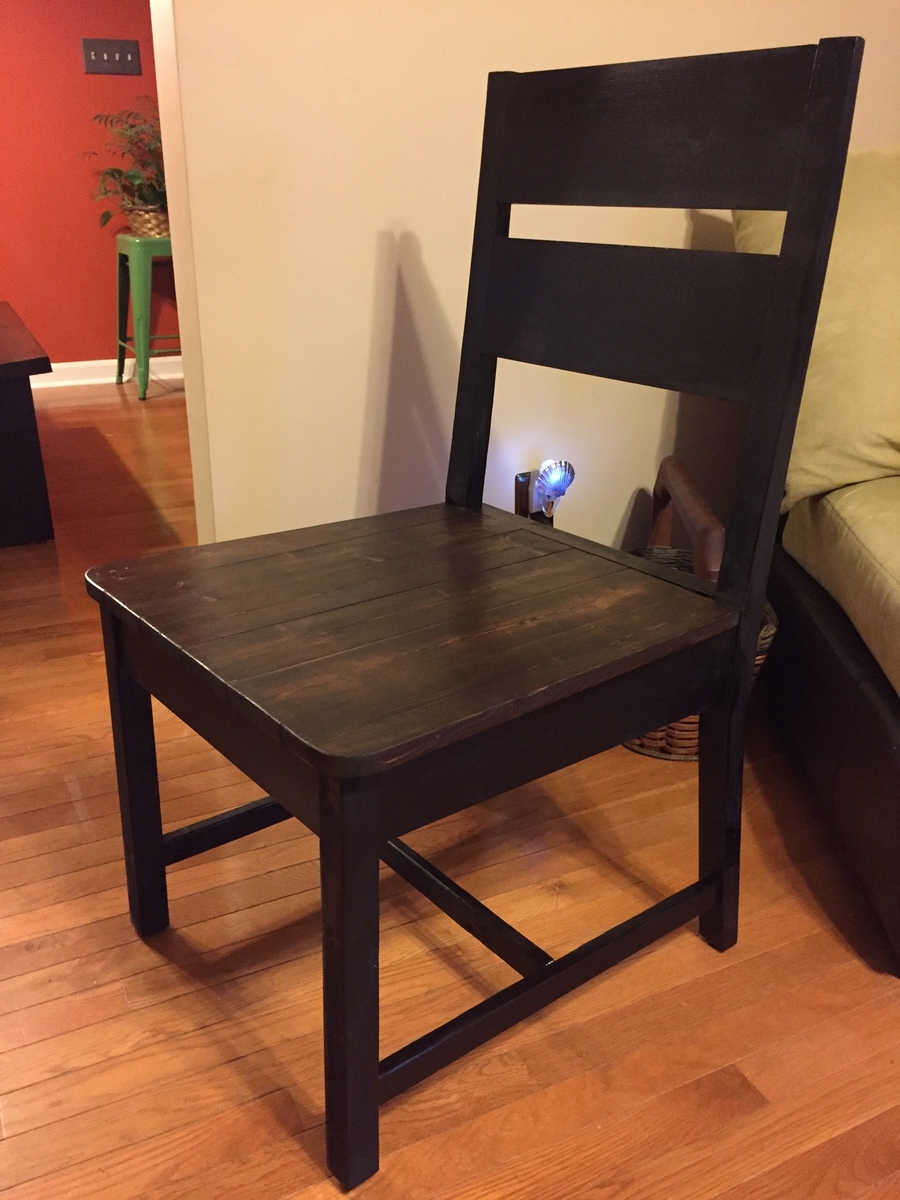
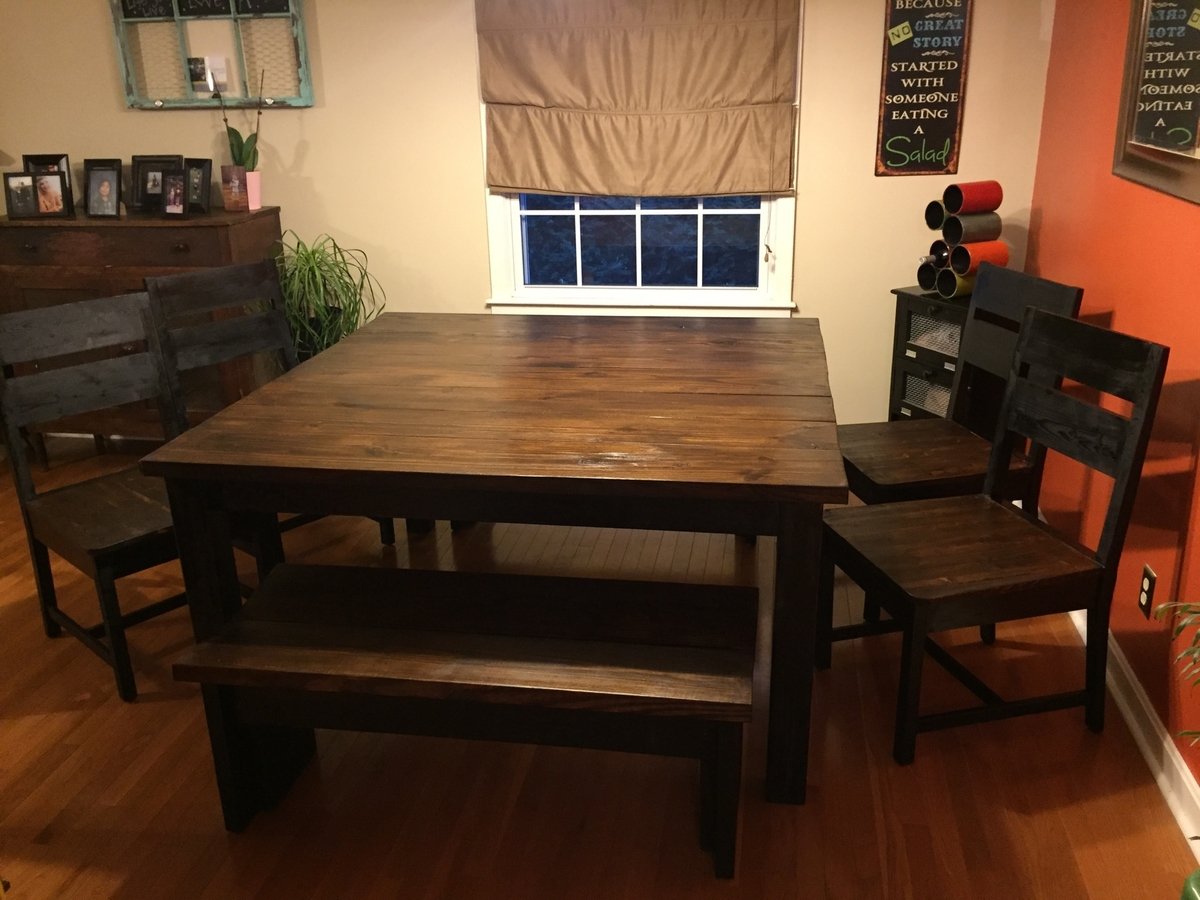
Dining room set (with Classic Chairs made Simple)

Submitted by Anonymous (not verified) on Mon, 07/18/2016 - 10:16

This was my first attempt at making furniture...but it turned out GREAT!ย  My fiance was about to buy a VERY similar dining room set for $1300 before I stopped her and insisted that I could build it myself, finish it to match our kitchen/dining room, and save a TON of money!

Built from Plan(s)
Estimated Cost
$350 total
Estimated Time Investment
Week Long Project (20 Hours or More)
Finish Used
Minwax Expresso Stain plus 2 coats of Minwax Polycrylic on table top and seats
Minwax Classic Black Polyshades on frame
Recommended Skill Level
Beginner

Comments

Back