Simple Slatted Back Potting Bench

This was such a fun project! I’ve wanted to build a potting bench for years. I can’t imagine why it took so long take a shot at it, it’s such a simple build and only took a couple days.

Built from Plan(s)
This was such a fun project! I’ve wanted to build a potting bench for years. I can’t imagine why it took so long take a shot at it, it’s such a simple build and only took a couple days.
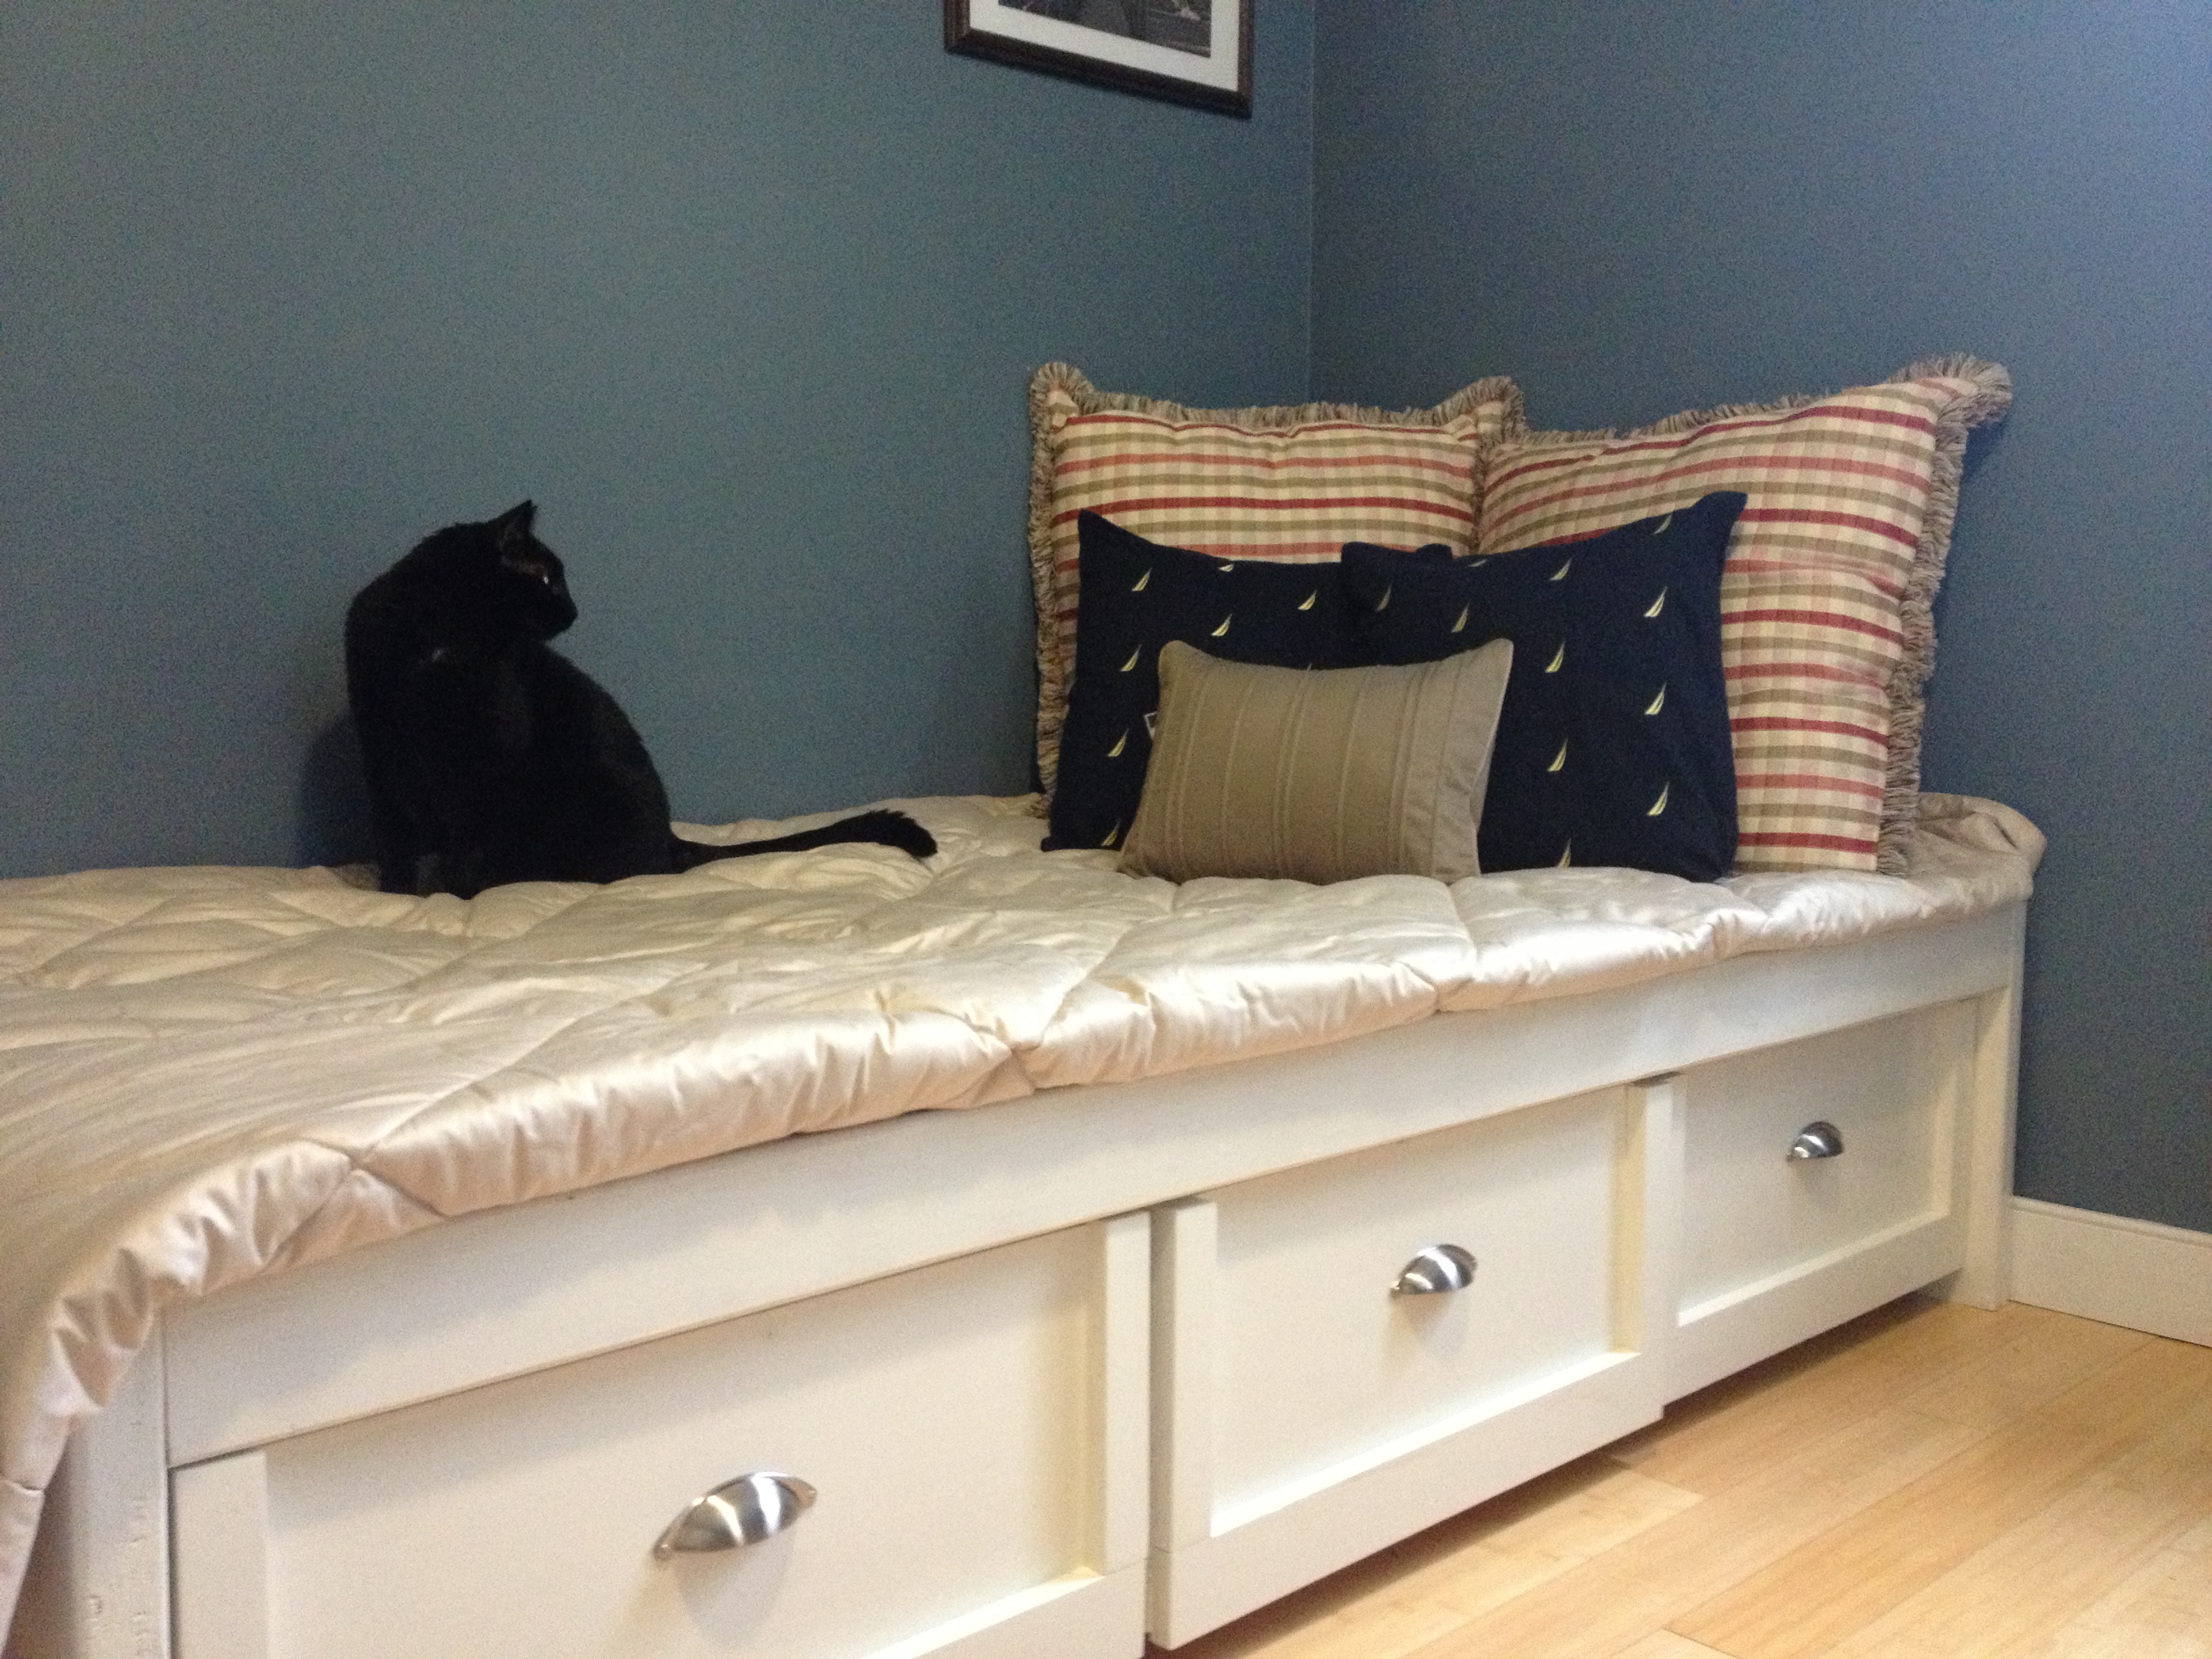
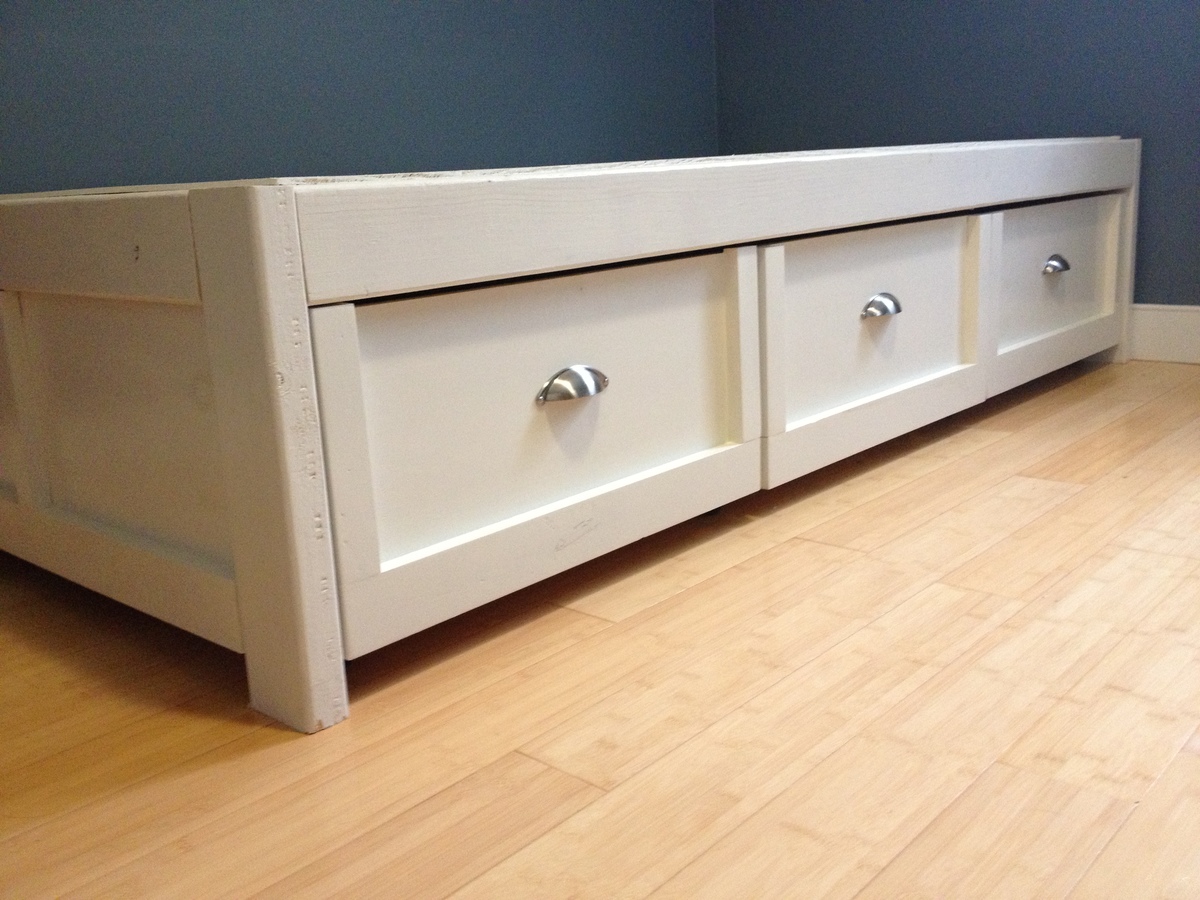
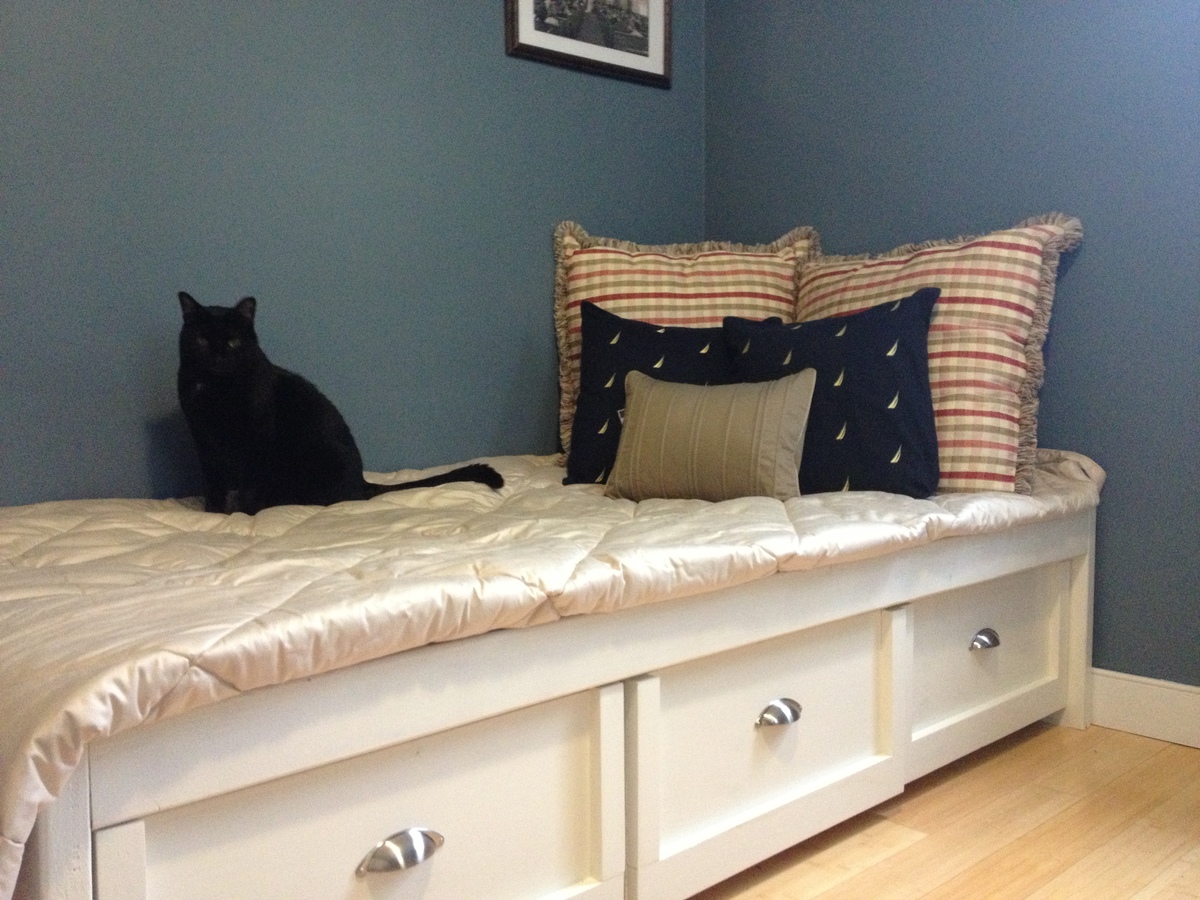
This was my and my husband's first project and it was easier than expected. There were slight imperfections with the drawers, but they were hidden by the faces and trim. It was our first time using a Kreg jig and we LOVED it!! We will be building furniture for Christmas presents this year, we are hooked!! The project took one weekend to build, and we spent around 4-5 hours a day.... remember we are newbies so we had to refer to the plan ... a lot! We went with the plywood top and it is sturdy and we can't wait to paint it and get it looking like a finished product. My husband was testing the daybed sans mattress.


Mon, 01/11/2016 - 23:06
Great job!!! I can't believe I didn't see this until now. Thanks so much for sharing, glad you liked the plans!
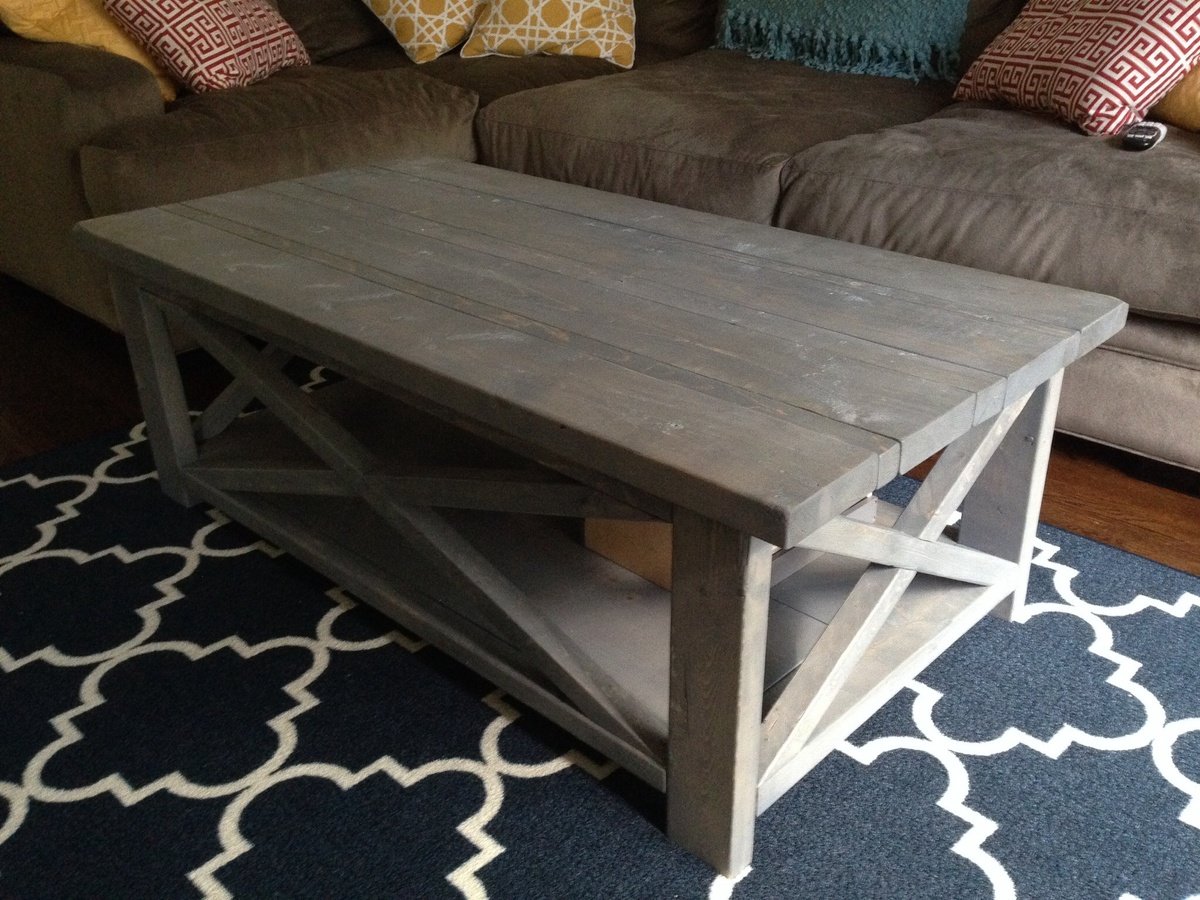
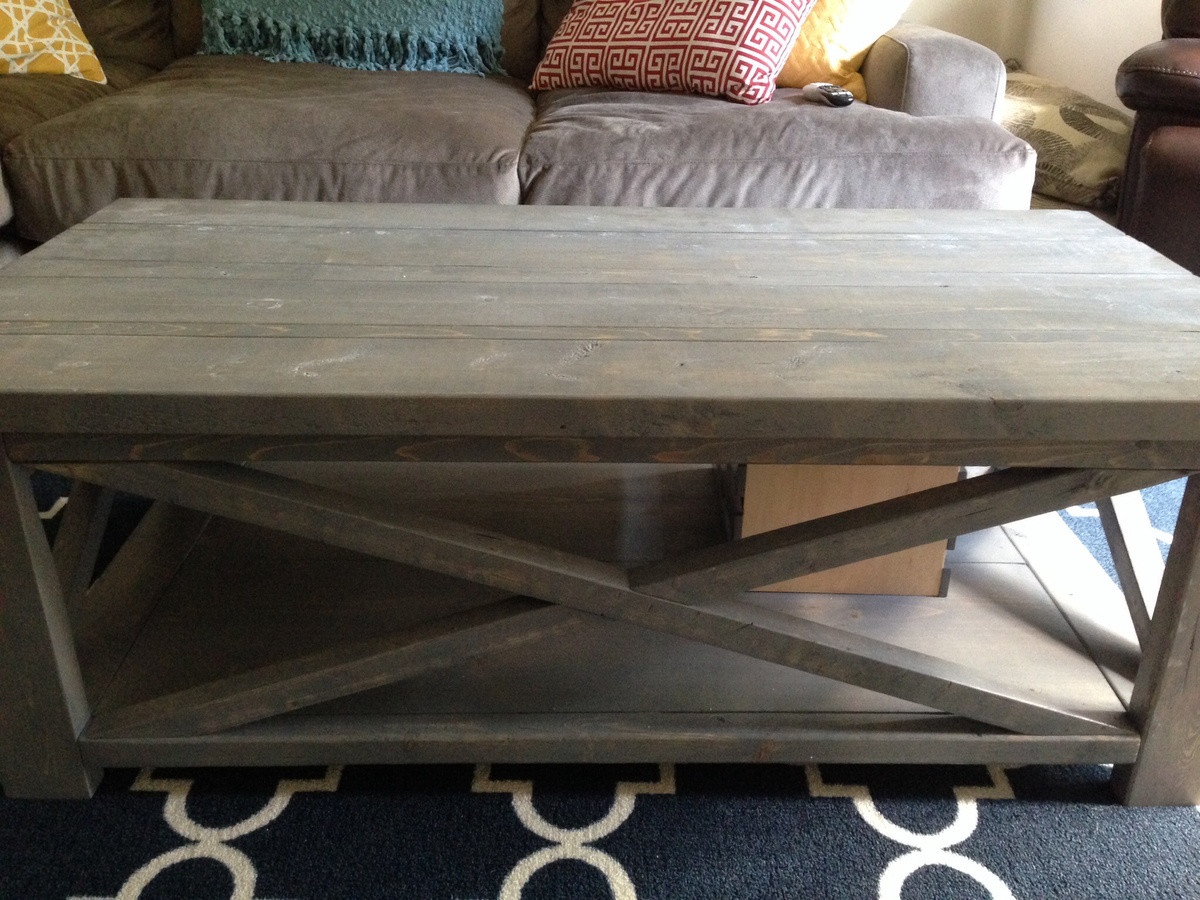
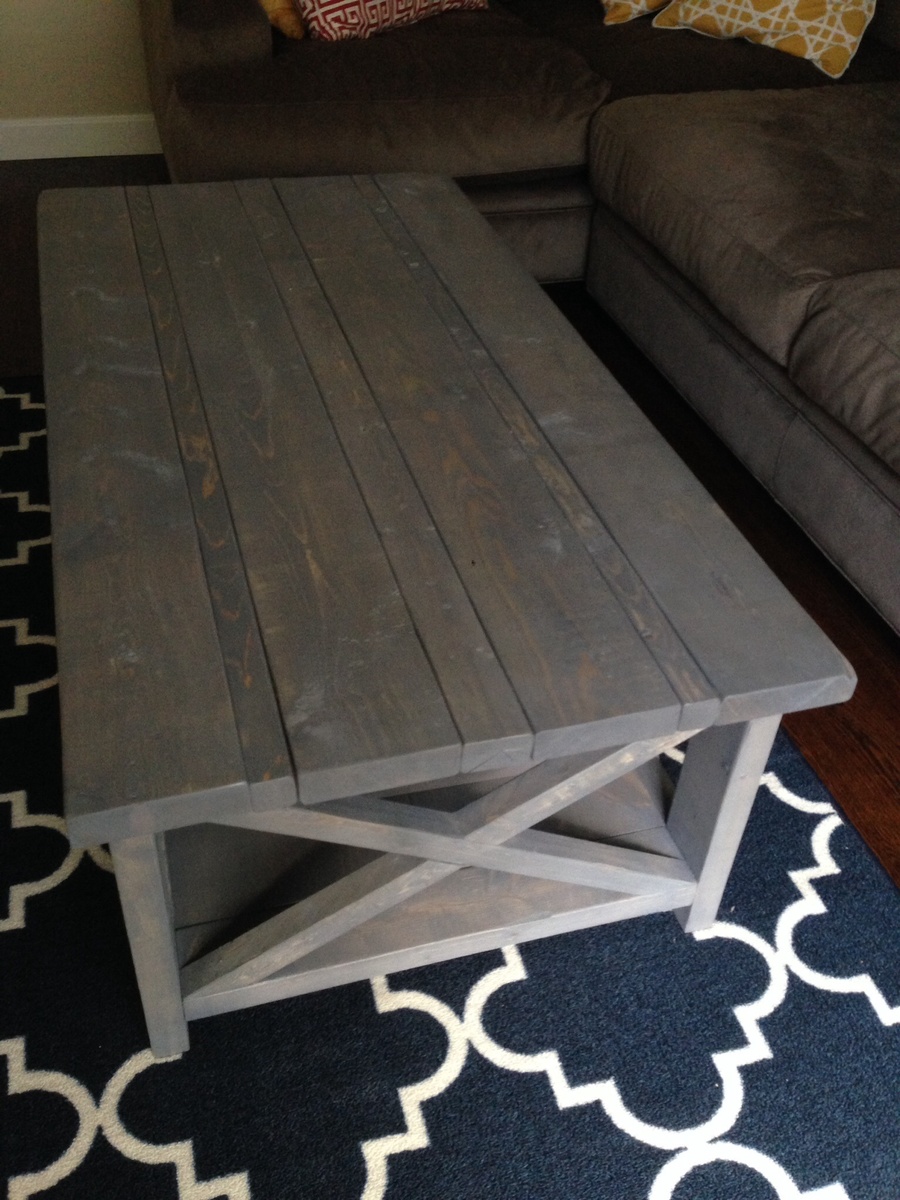
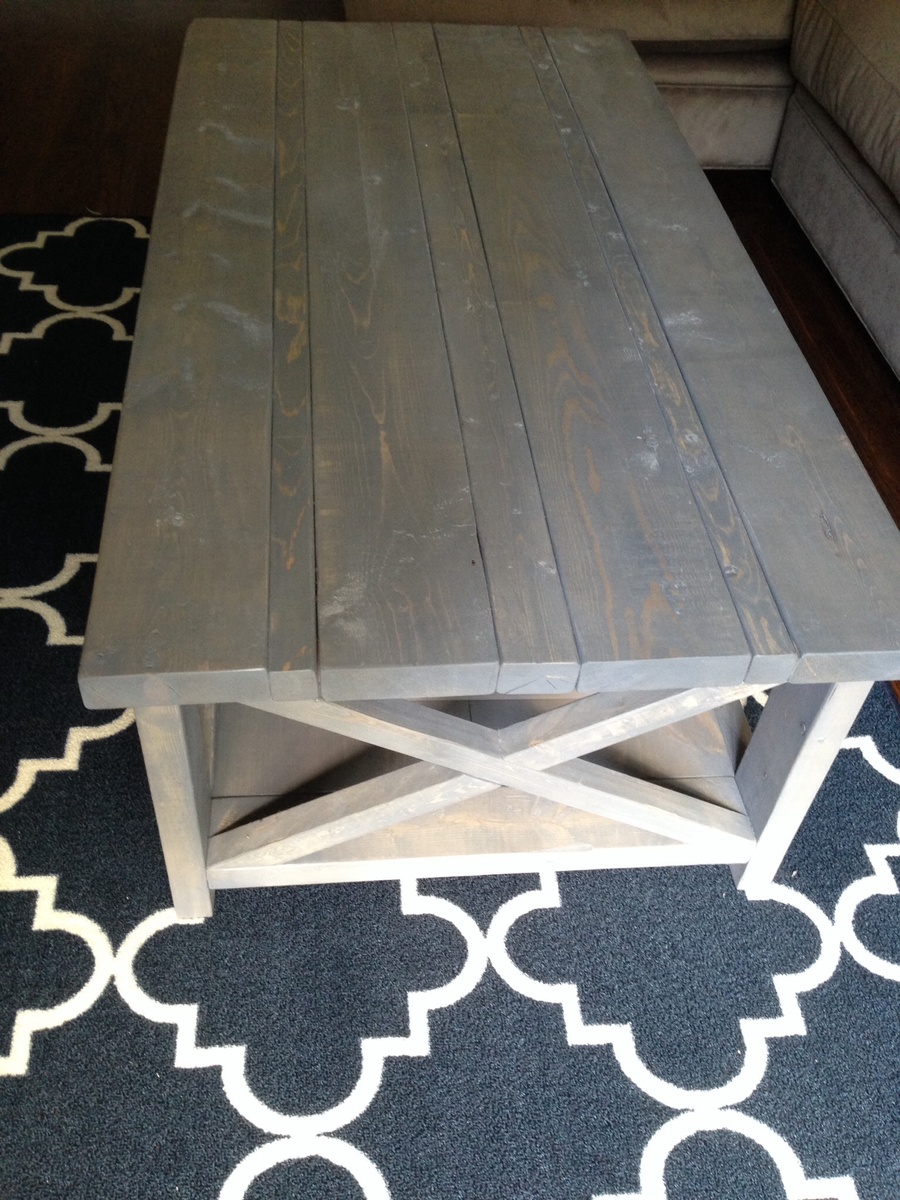
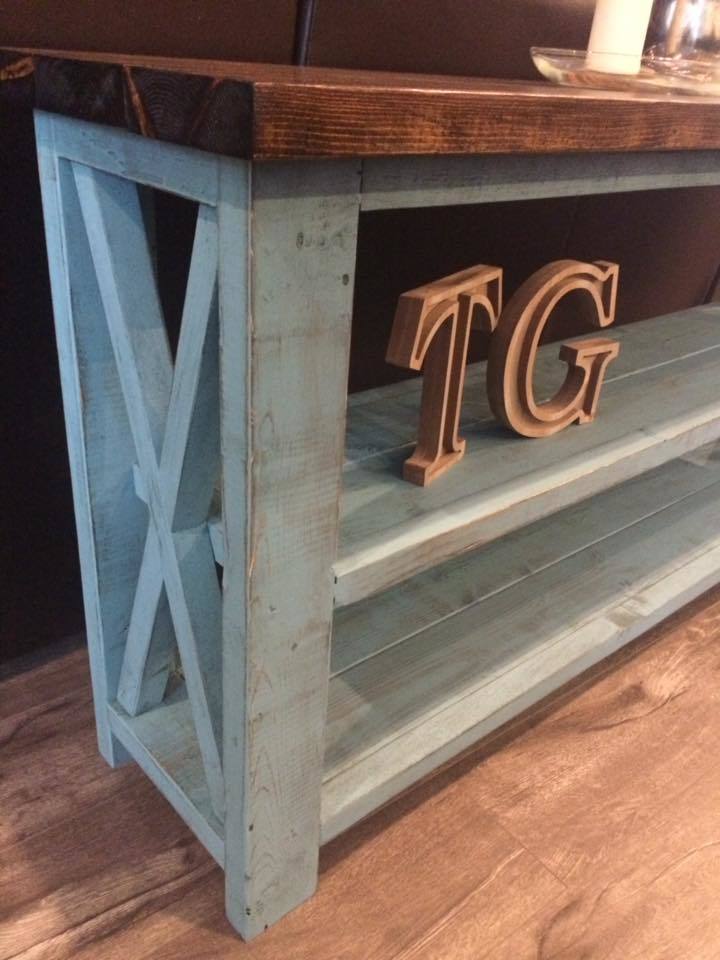
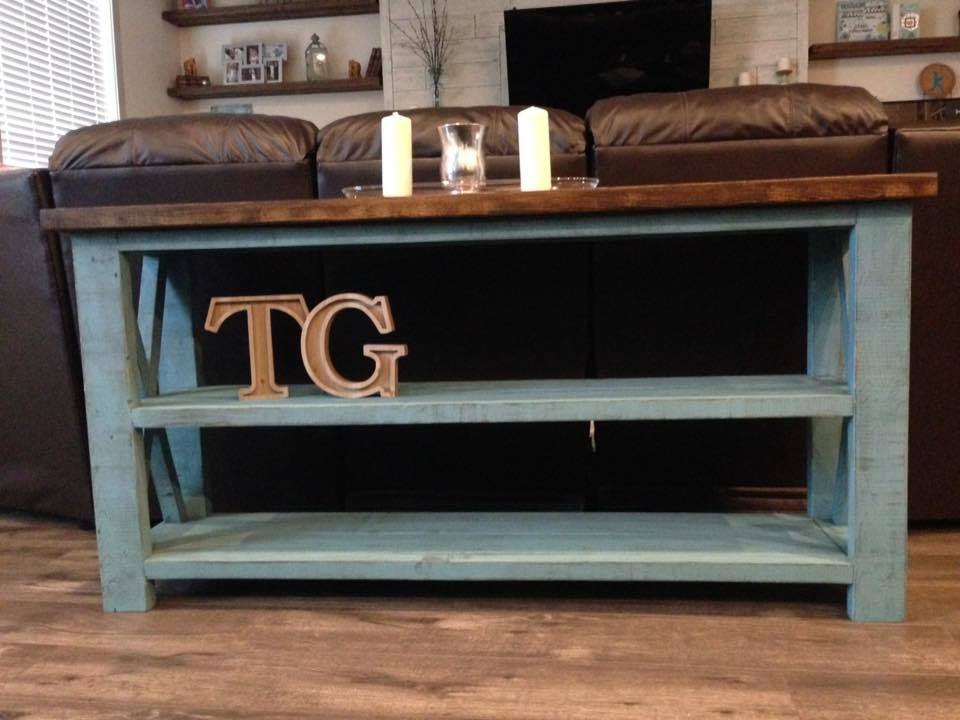
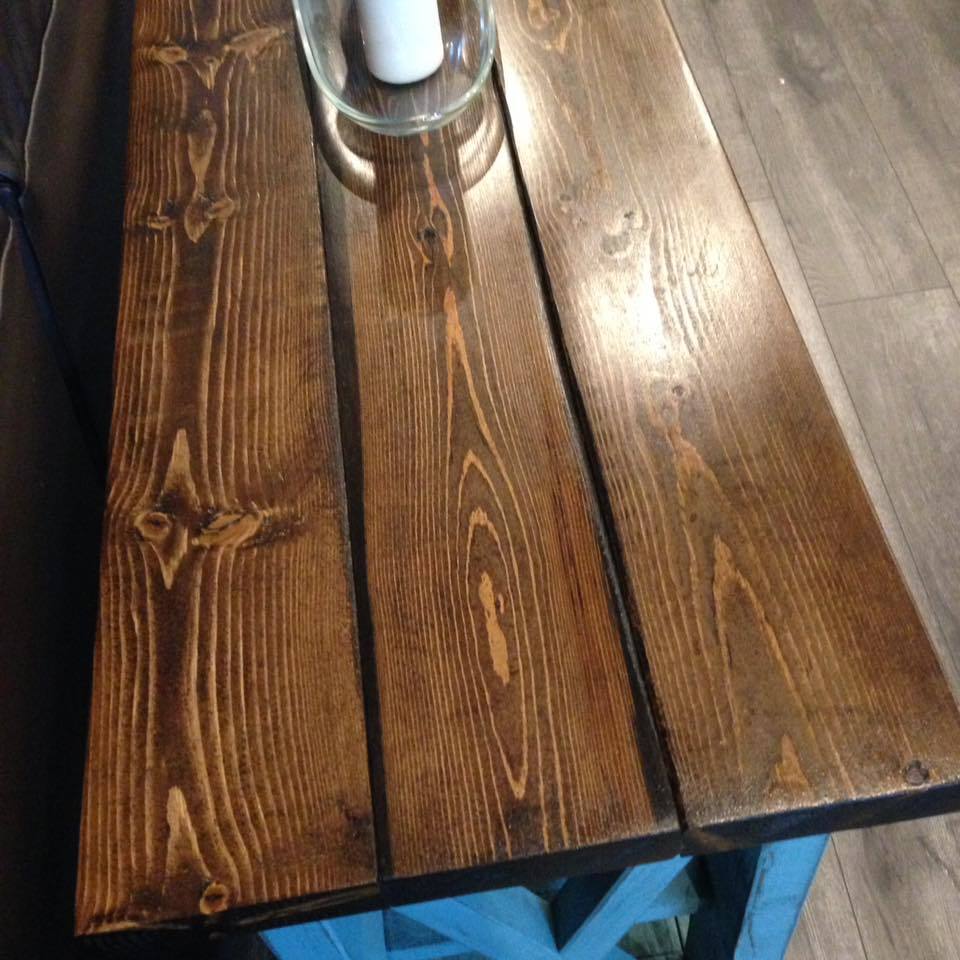
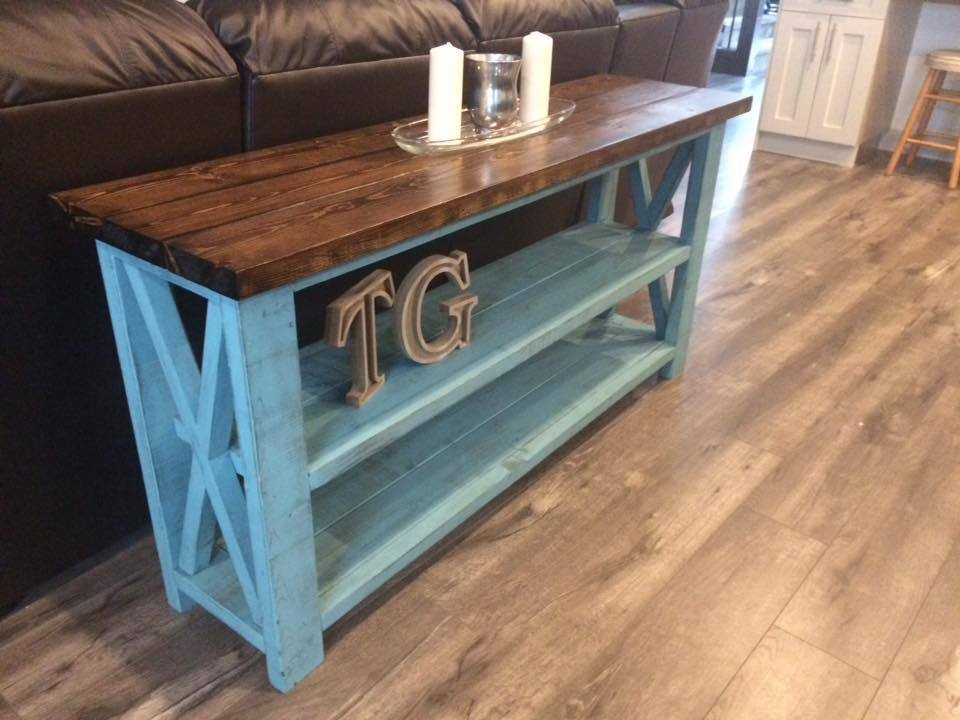
Easy and fun plan for a great looking coffee table. I changed the top a bit by adding two 2x2's and a 1x3 in the center, the five 2x6's looked a little plain to me. I also added an X in the front, I don't know why but really I really like it, almost gives it an open storage feel. The strain is "weathered gray" by rust oleum.
I built another record cabinet for a client. I actually made two since because the person wanted 12 drawers!
More details and photos on my blog if interested:
http://www.woodworkingfourdummies.com/blog/vinyl-record-cabinet
Cheers,
Ian
This is my third DIY project and it was a difficult one...I would recommended a beginner (like me) to do this alone. It took two weeks to get it done but I am impressed with how it turned out!
I needed storage for my office and decided to make this on a smaller scale. The doors did not work for me (and it may be because of the type of wood I used) so I decided to leave them off.

I made the grill table to match my chicken coop and my garden beds. Absolutely LOVE it!! (Ignore my cracked concrete (the table is level). The plans were easy to follow and it all came together great!! Thank you!
Kelly

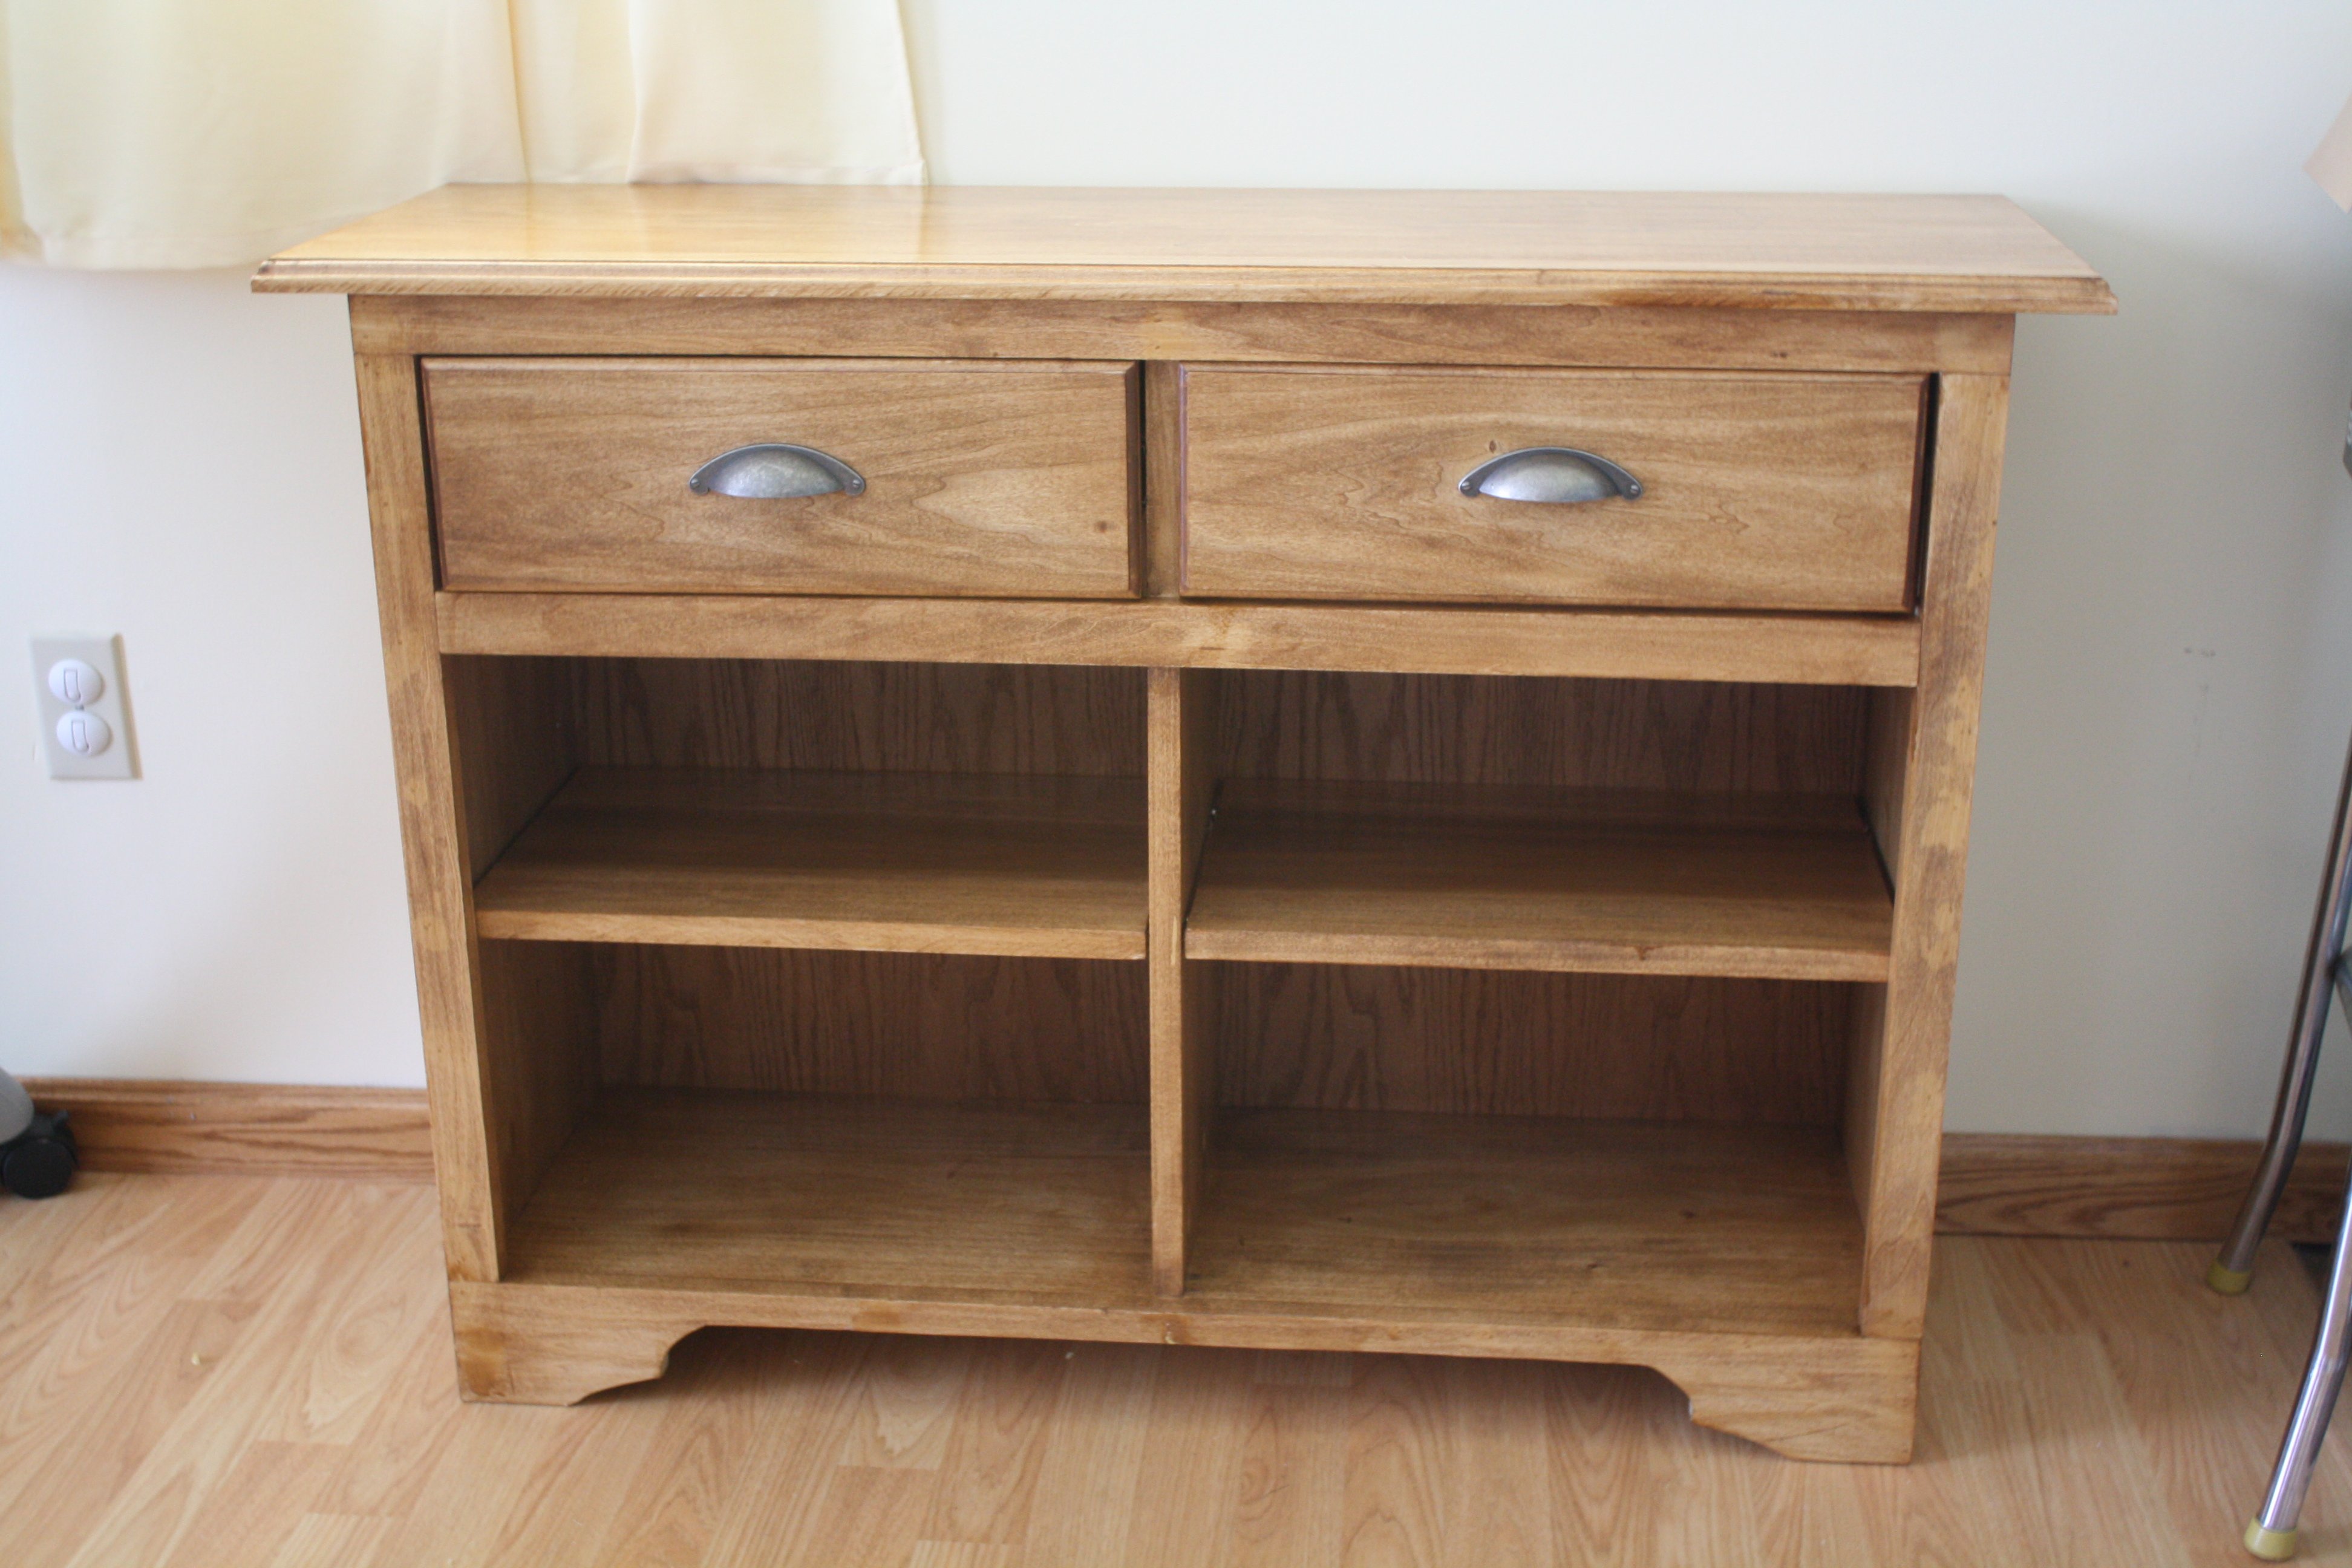
Here is my version of the Cyndi Console Table. Made from poplar with oak backing. Took me about a week working on it in the evenings.
Wed, 02/11/2015 - 08:37
Love the look of this. Great job. What did you use for the drawer faces? 1 x 6?

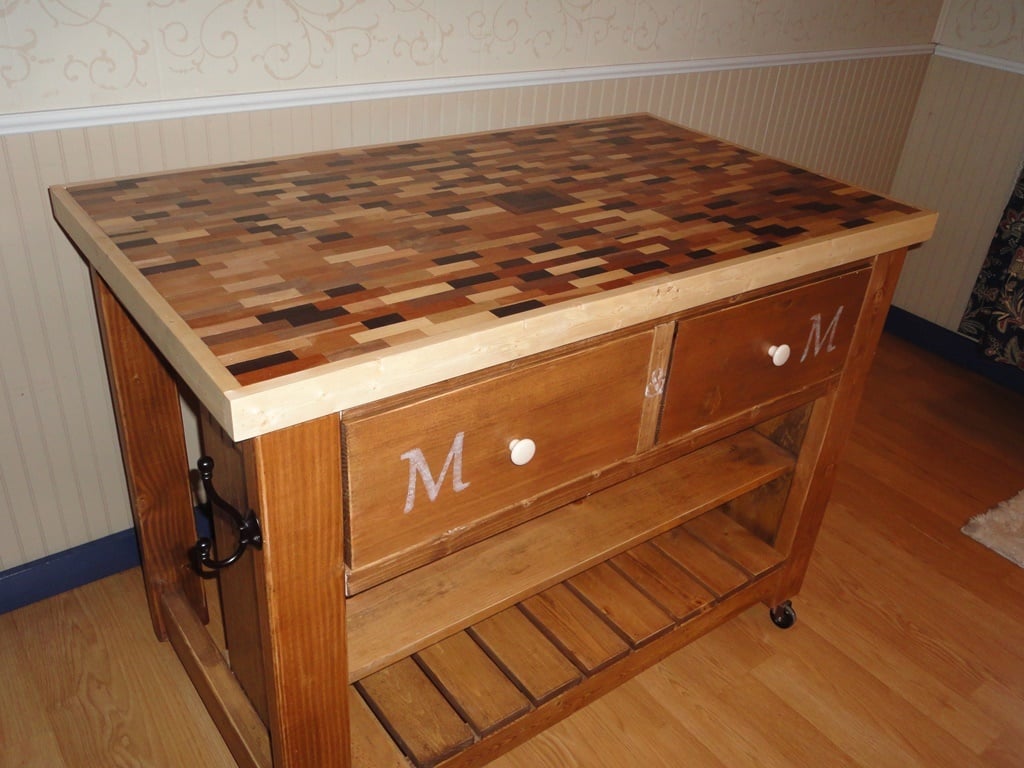
I made this rolling kitchen island out of pine using plans found on Ana White's website. For the top I wanted to do something different. I found a tub of wooden blocks in the storeroom; they belonged to my husband's grandfather.
The blocks were made out of all different kinds of wood. I used a plywood base and simply glued them on then added a pine edge. I love the way it looks!
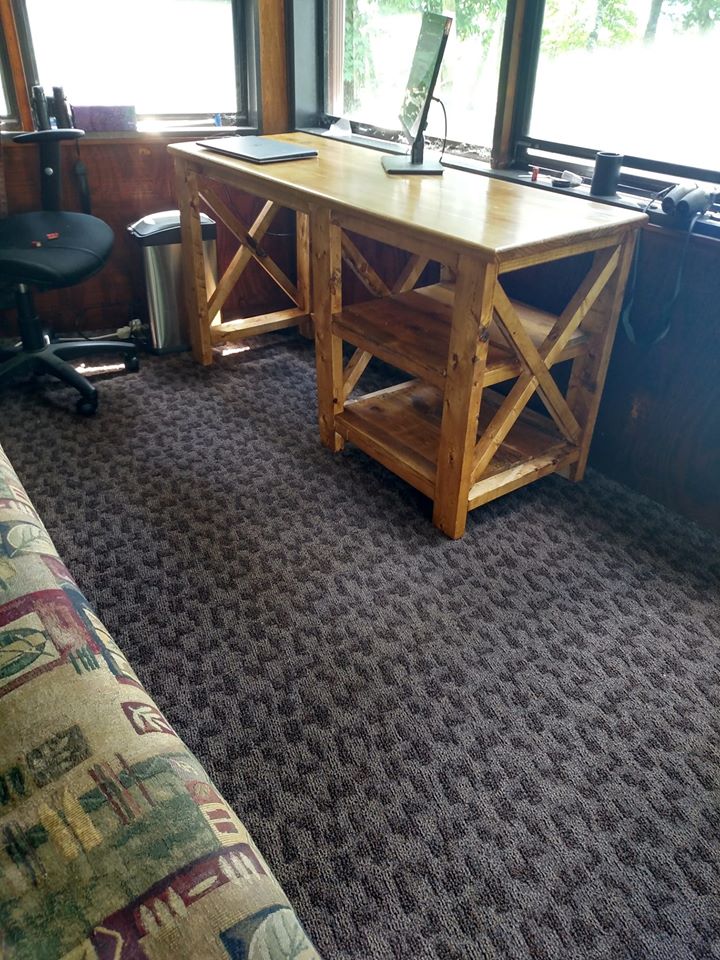
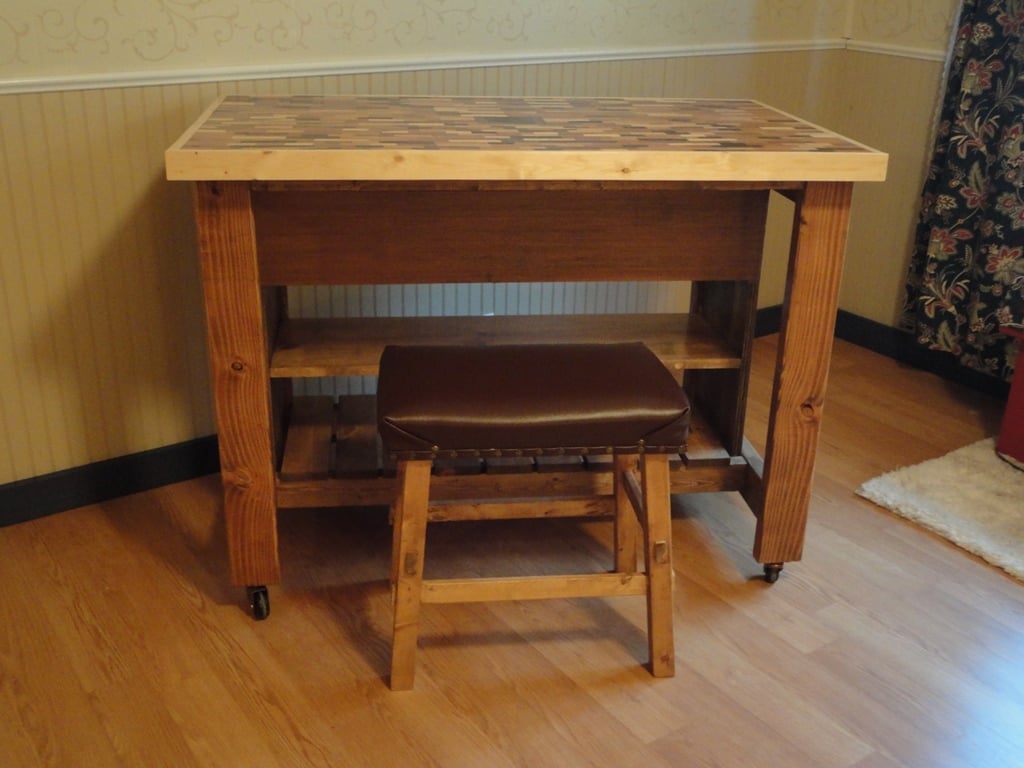
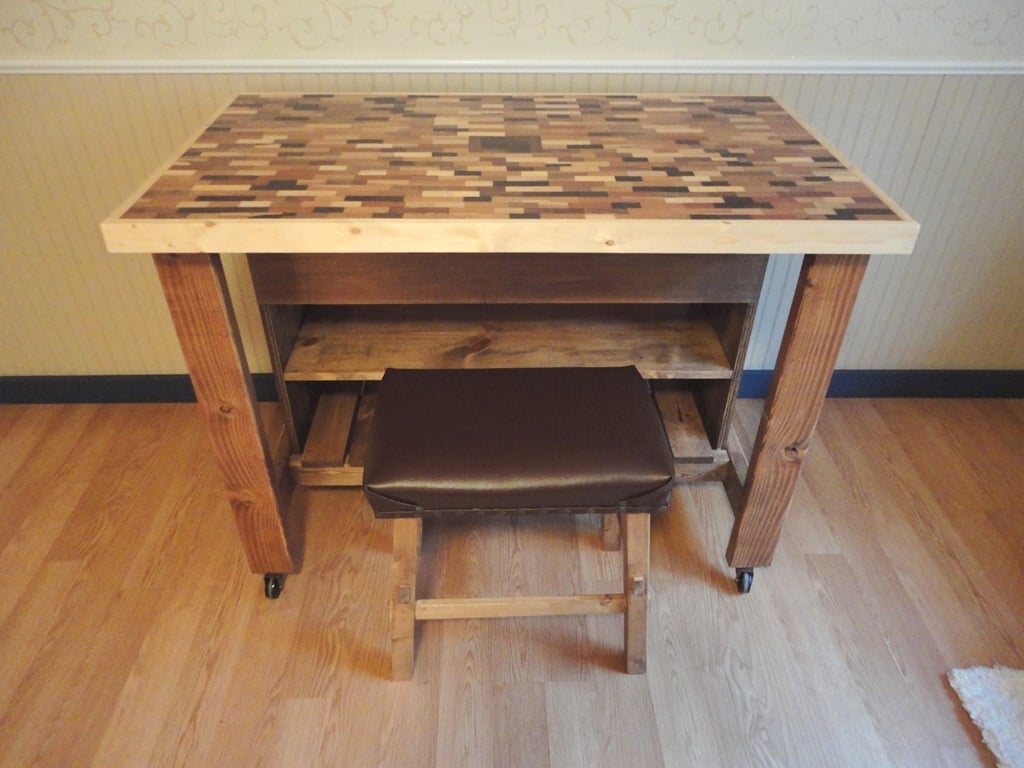
The back is open halfway so that when it is pulled out it can be used as a desk or small table.
The stool is from Ana White as well.
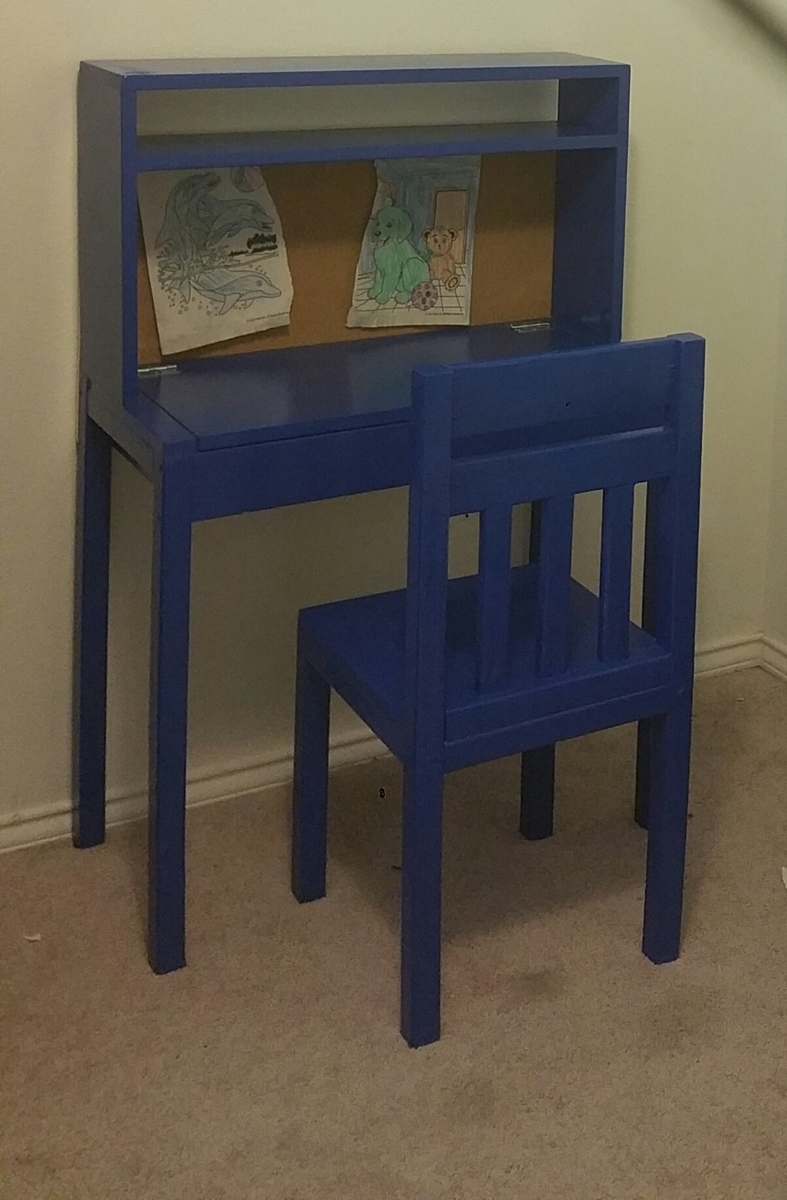
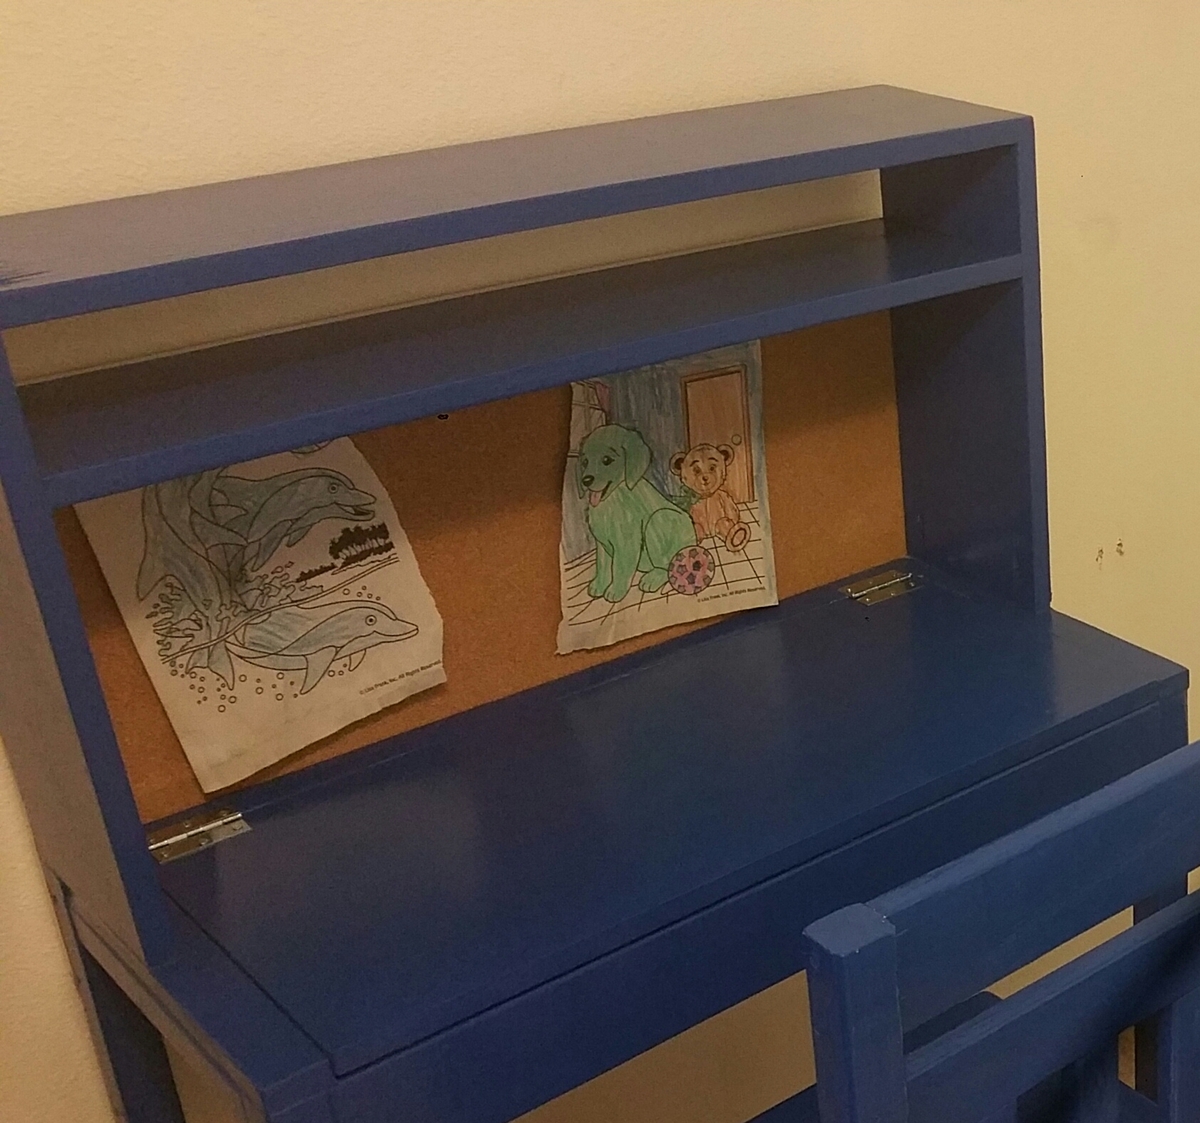
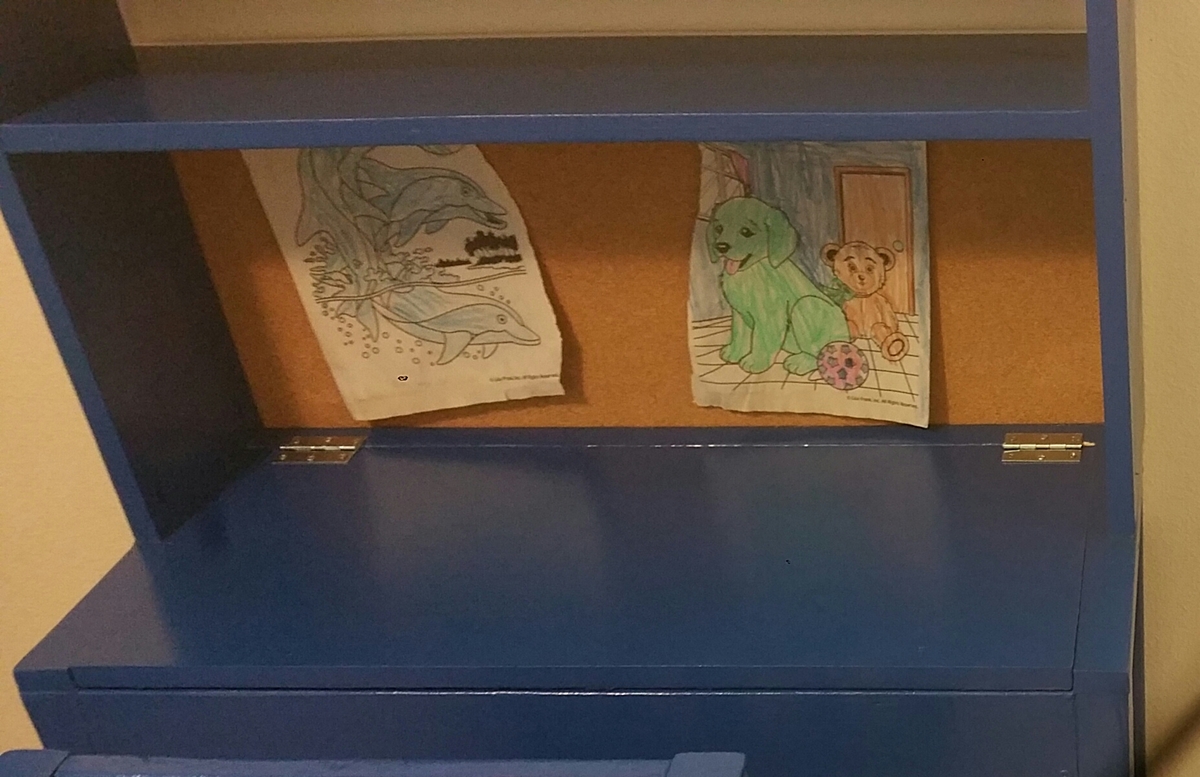
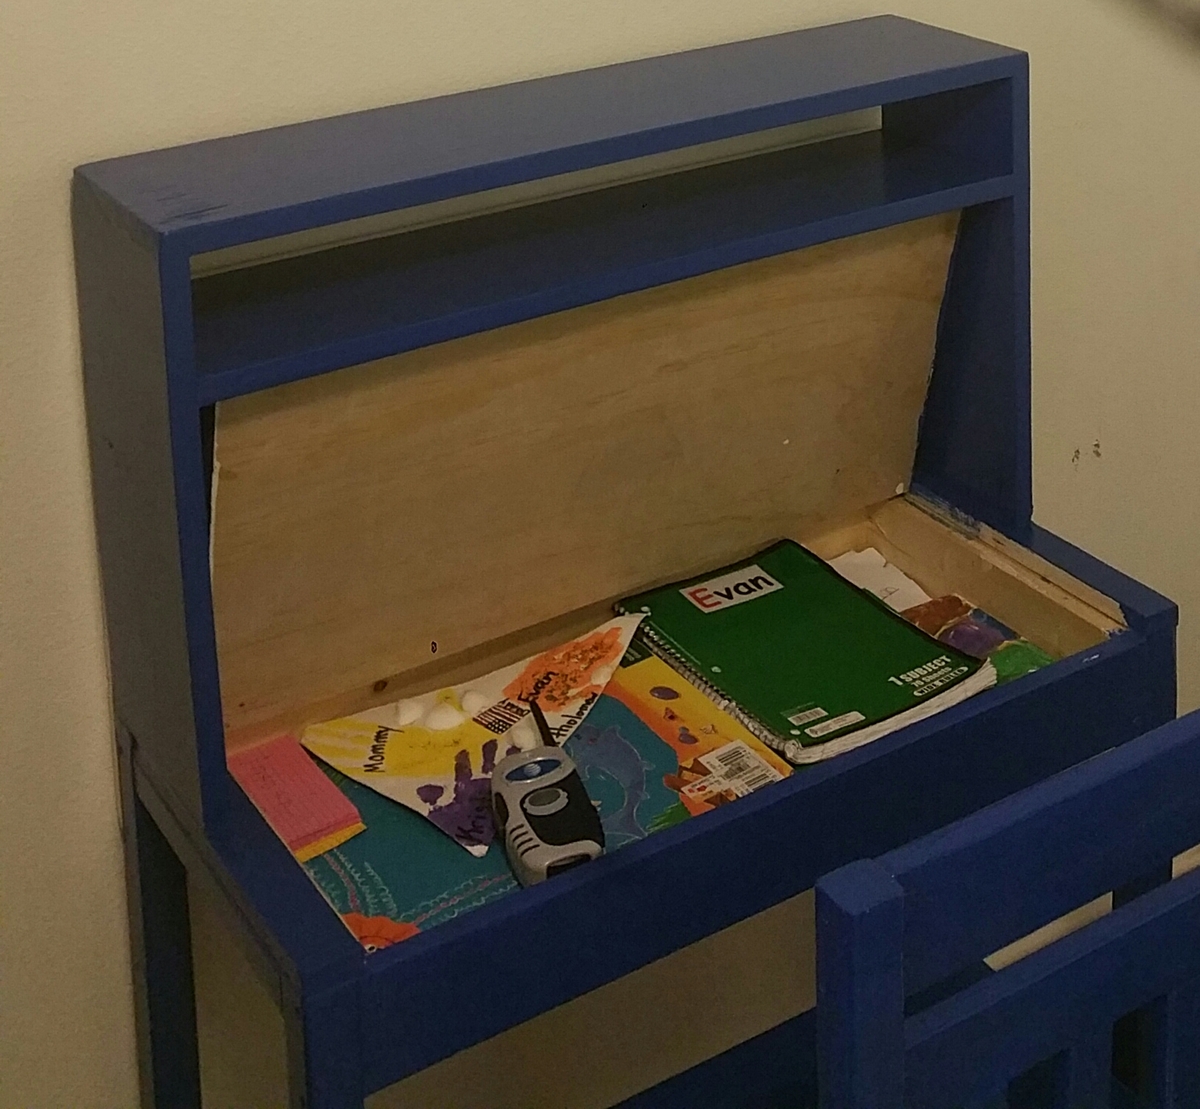
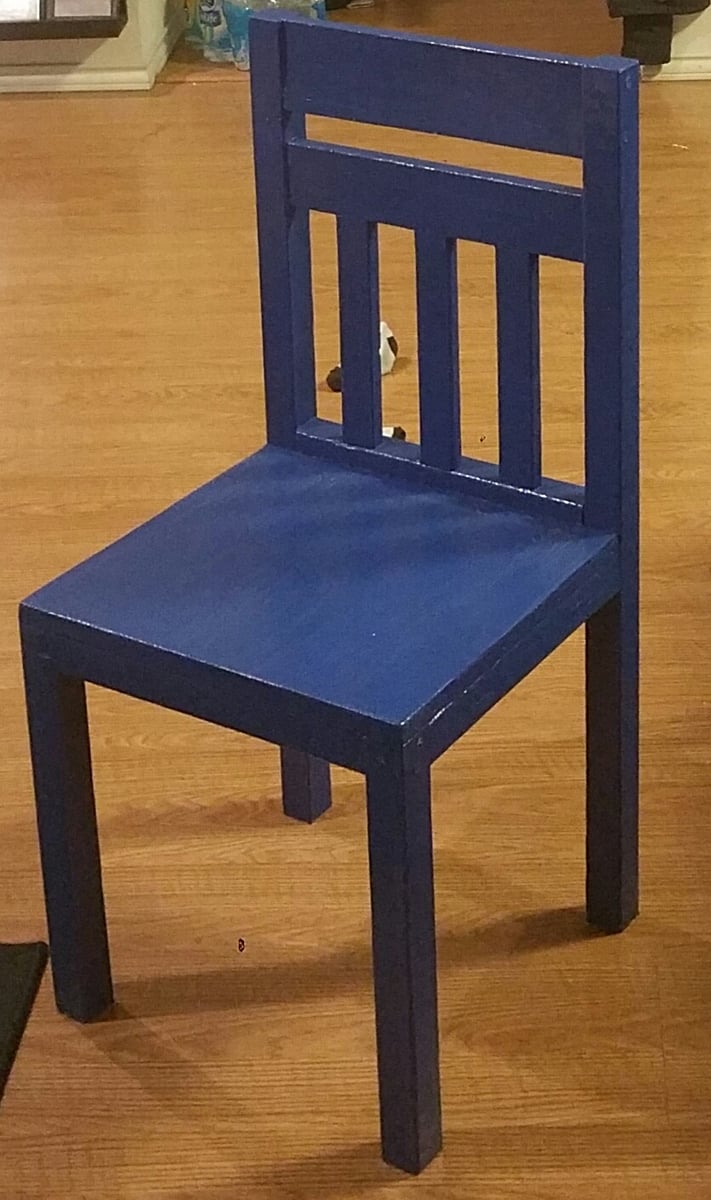
I wanted to build a desk for my son that had a compartment for storing his things. I also wanted it to have a place for him to pin his drawings up so I added a corkboard. I modified Ana's scrap lap desk plans and this is what I came up with. I also built him a matching chair. I think it turned out great!!

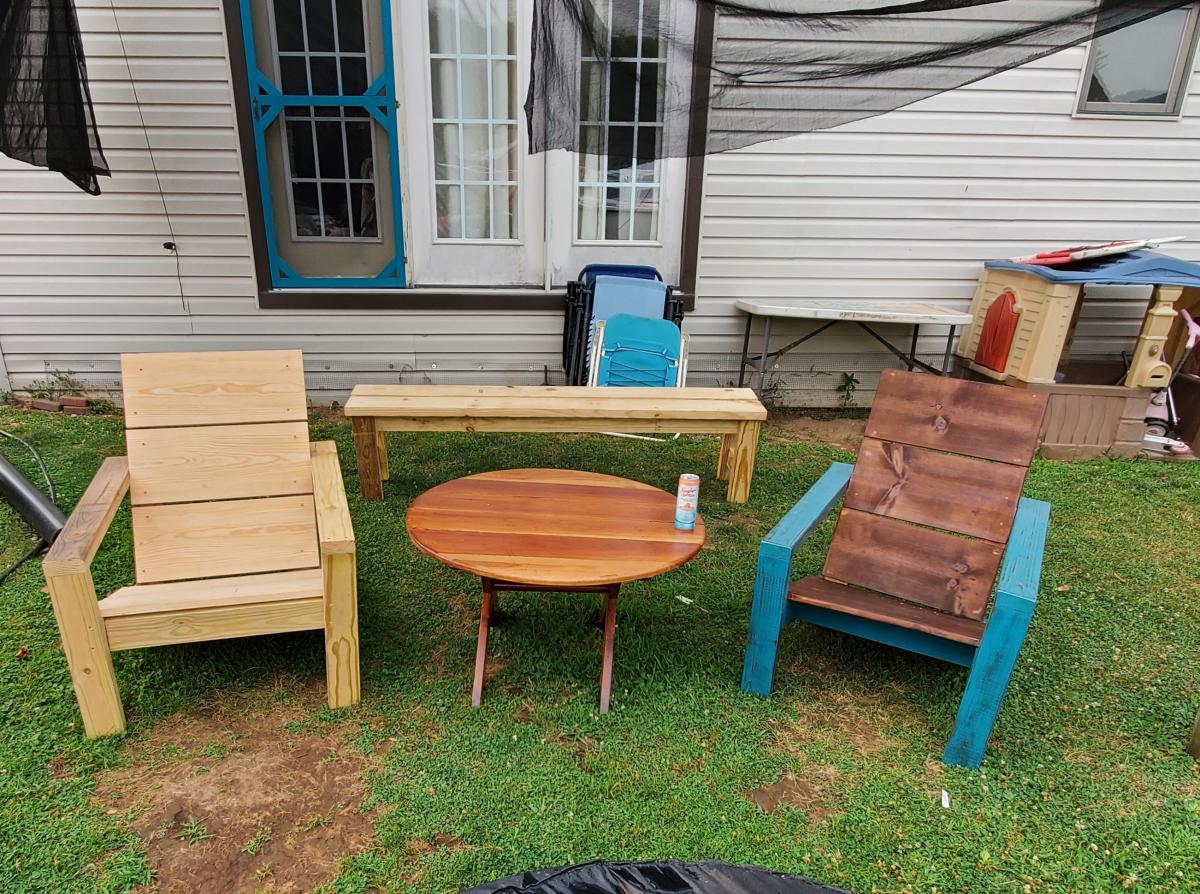
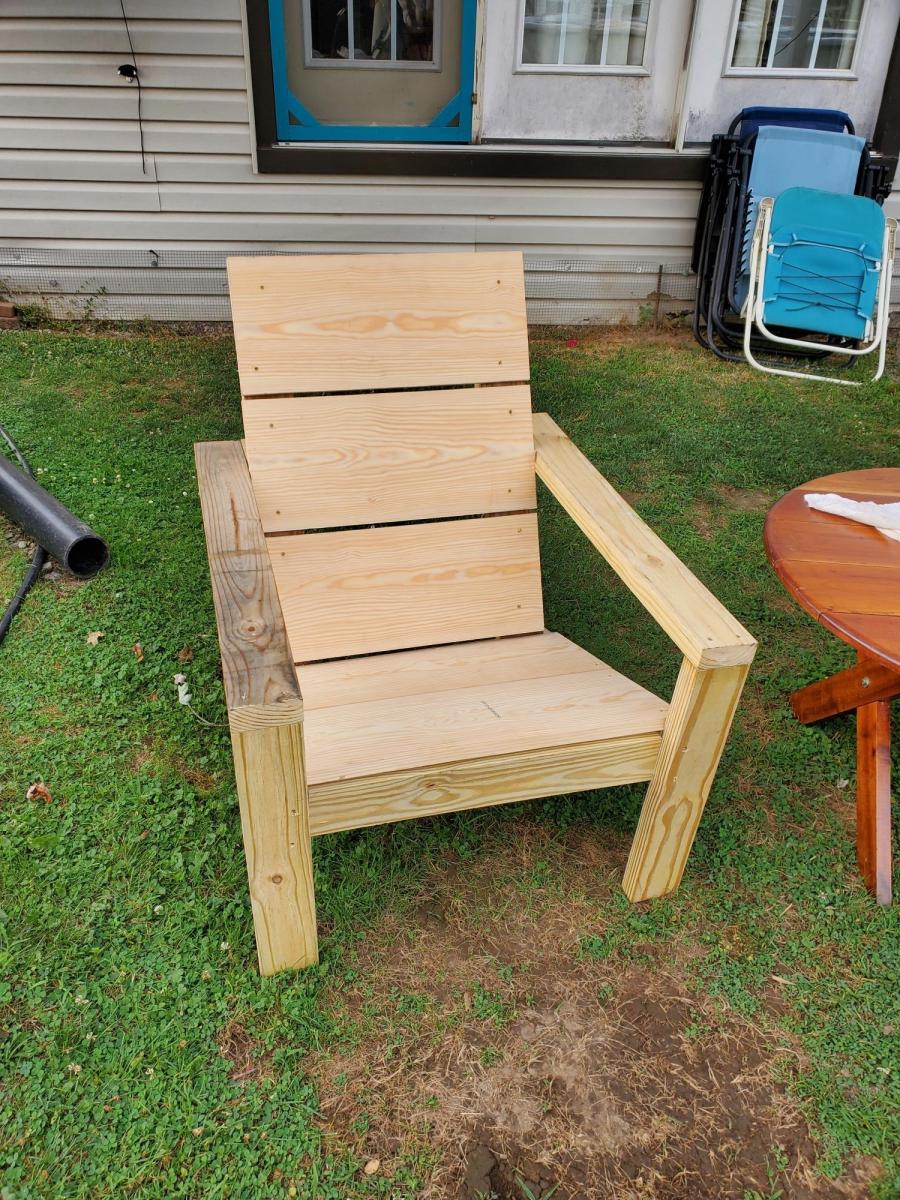
I LOVE this project!!!! Great directions! Amazing results. It makes a very comfortable, and sturdy chair. So far, I have made two. Three more to go. 😄
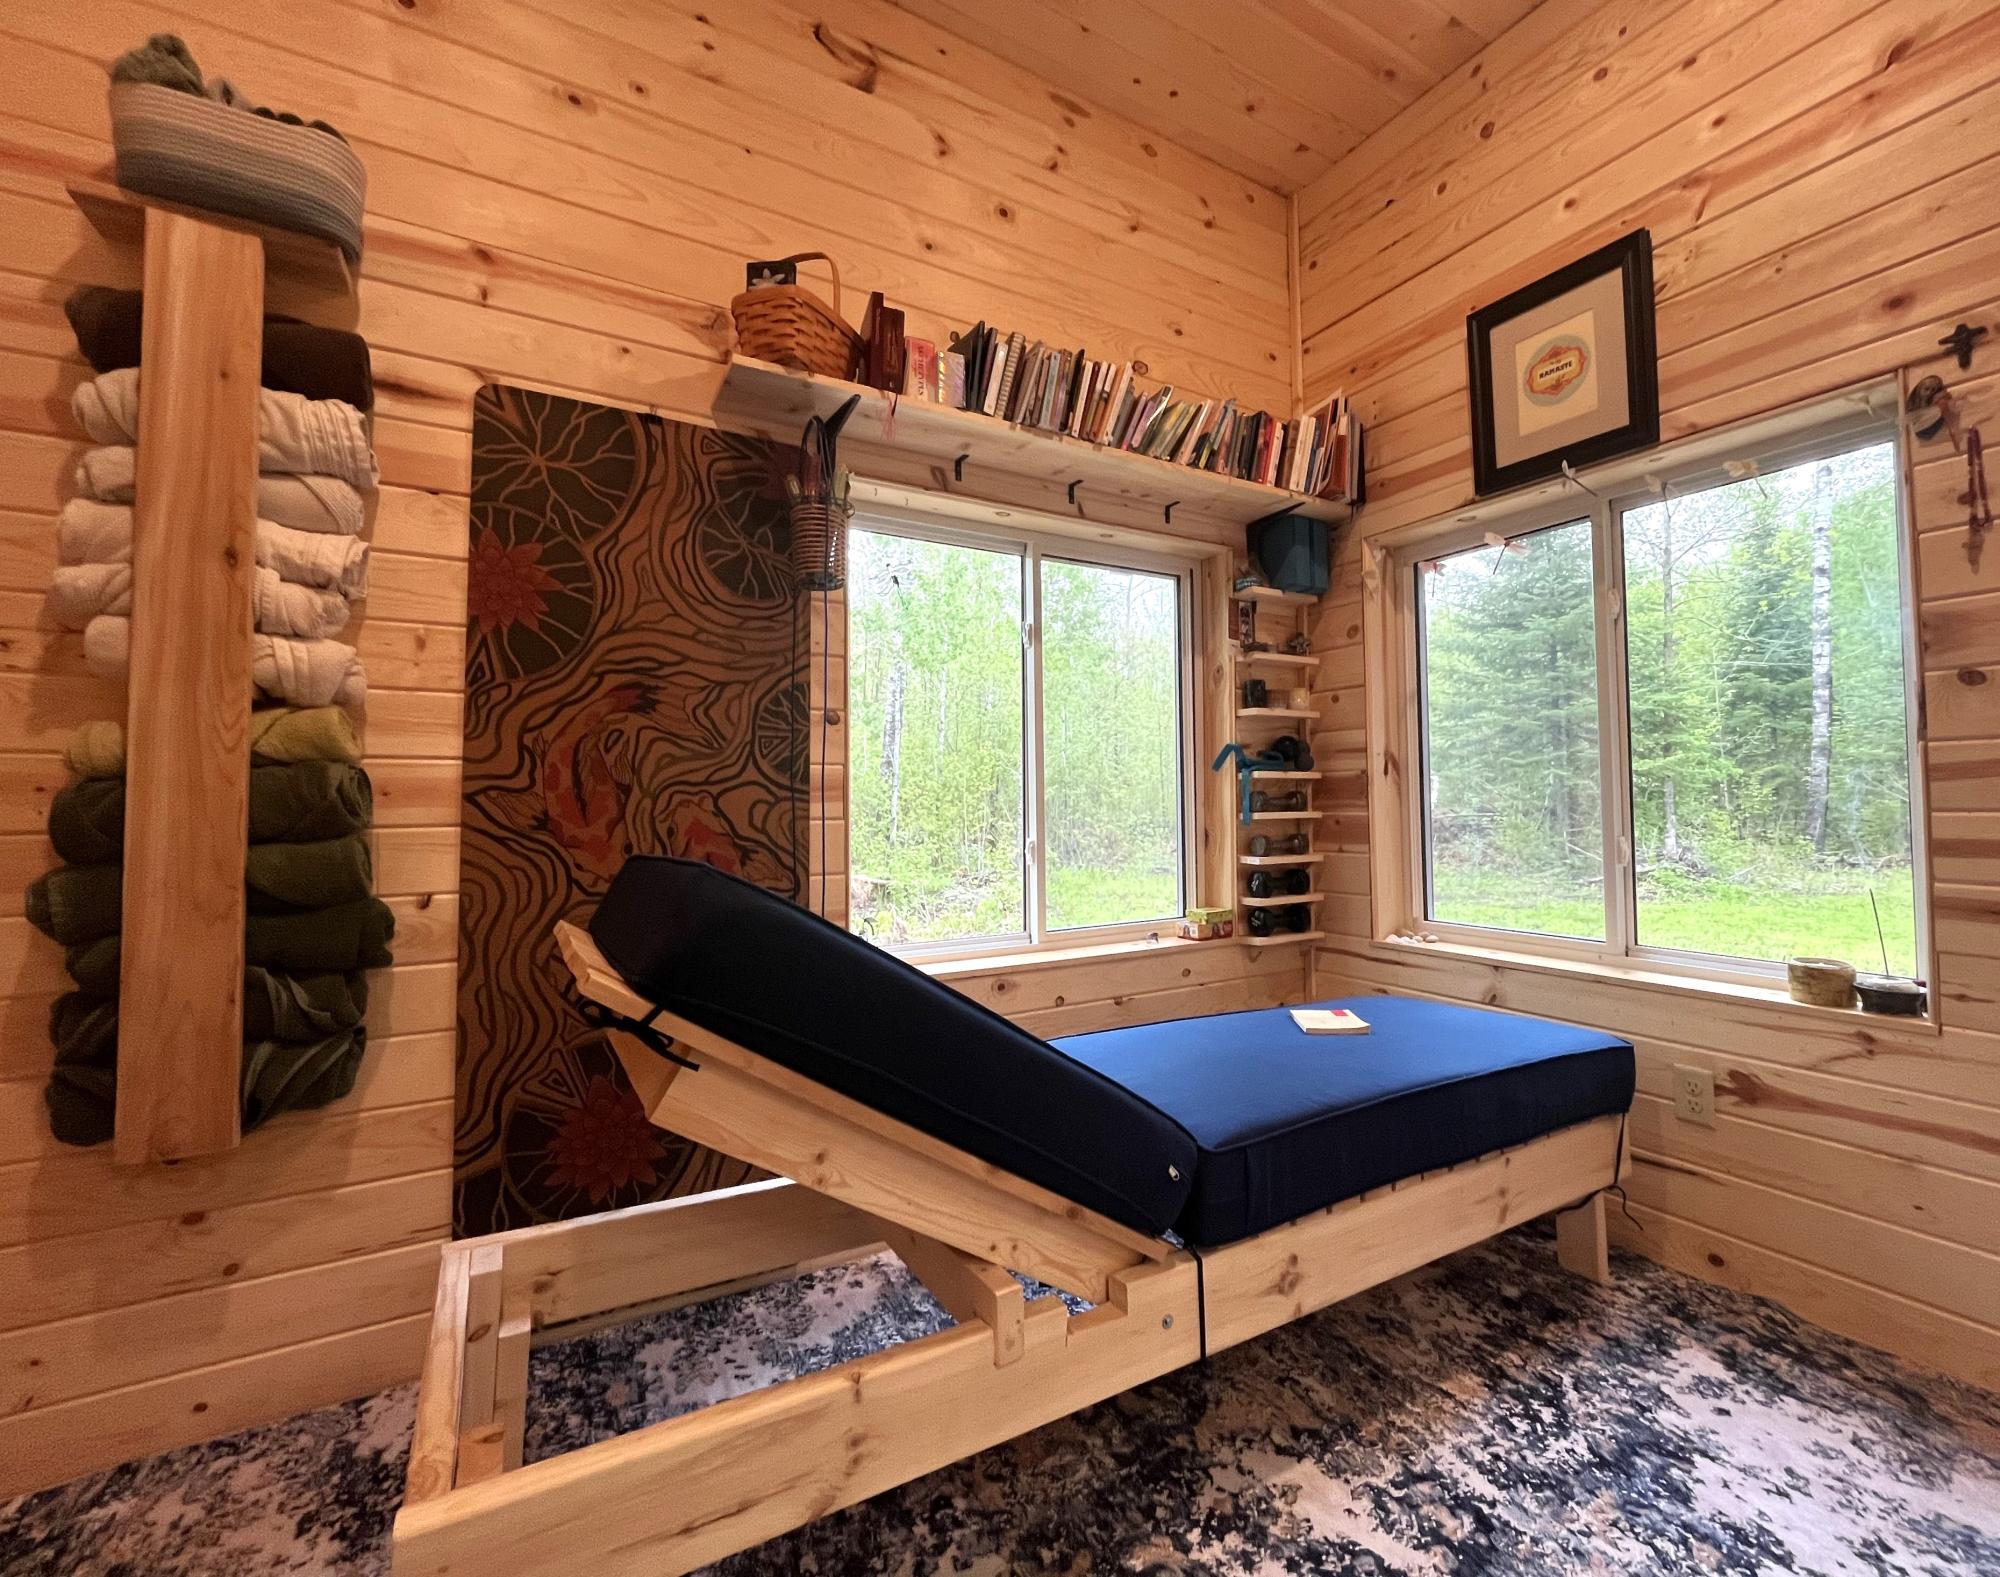
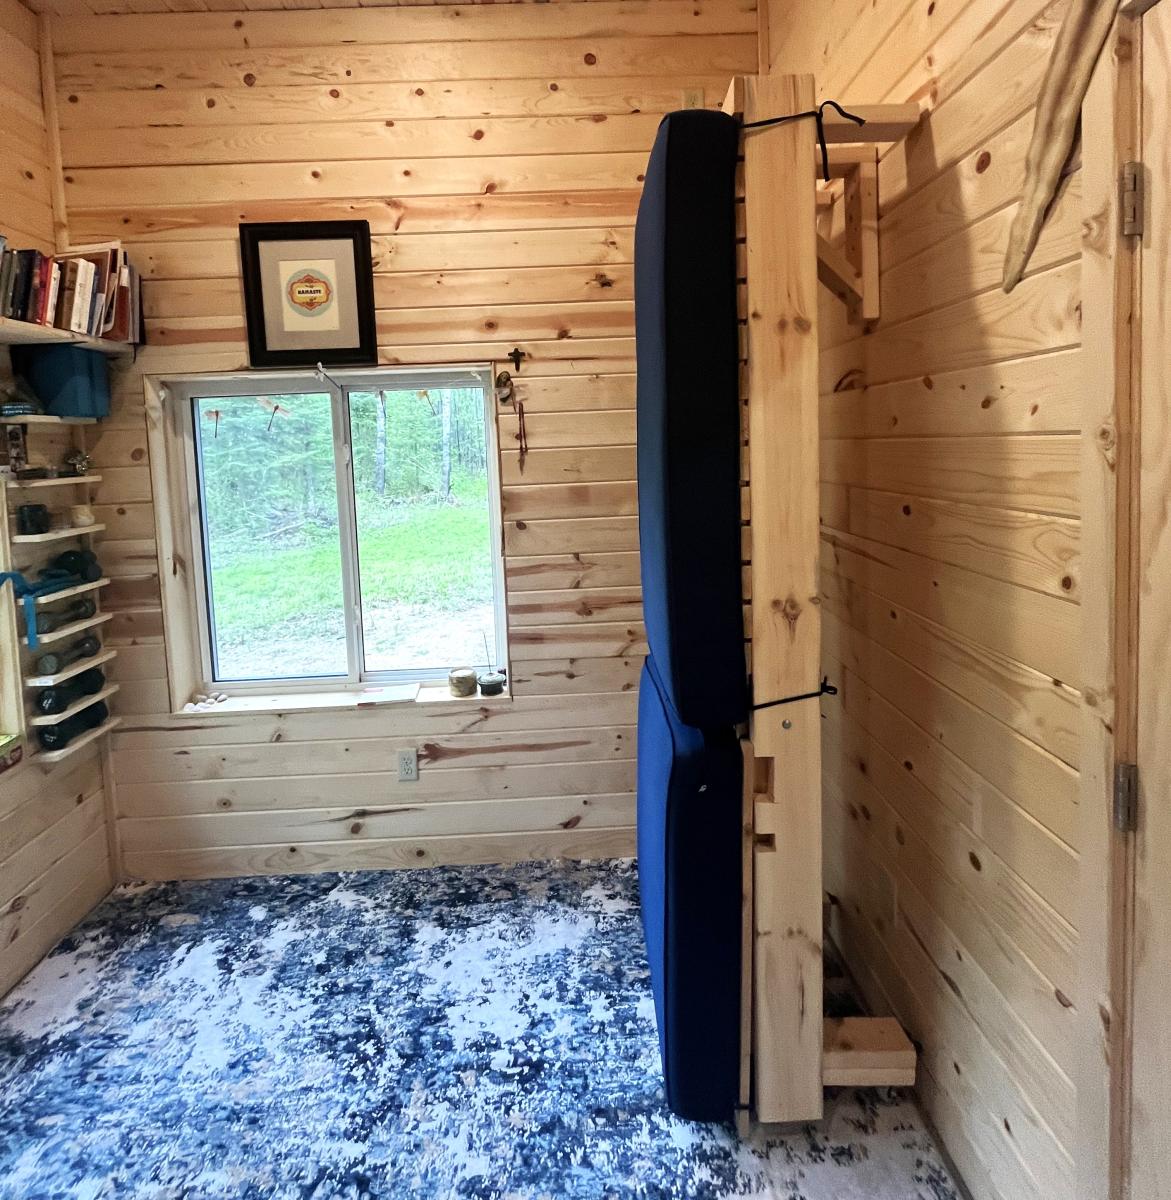
The 8’ chaise lounge… my first furniture build. Such a great plan to follow Ana! And since I need space for yoga I made a triangle brace to hang it on.
Laurie H
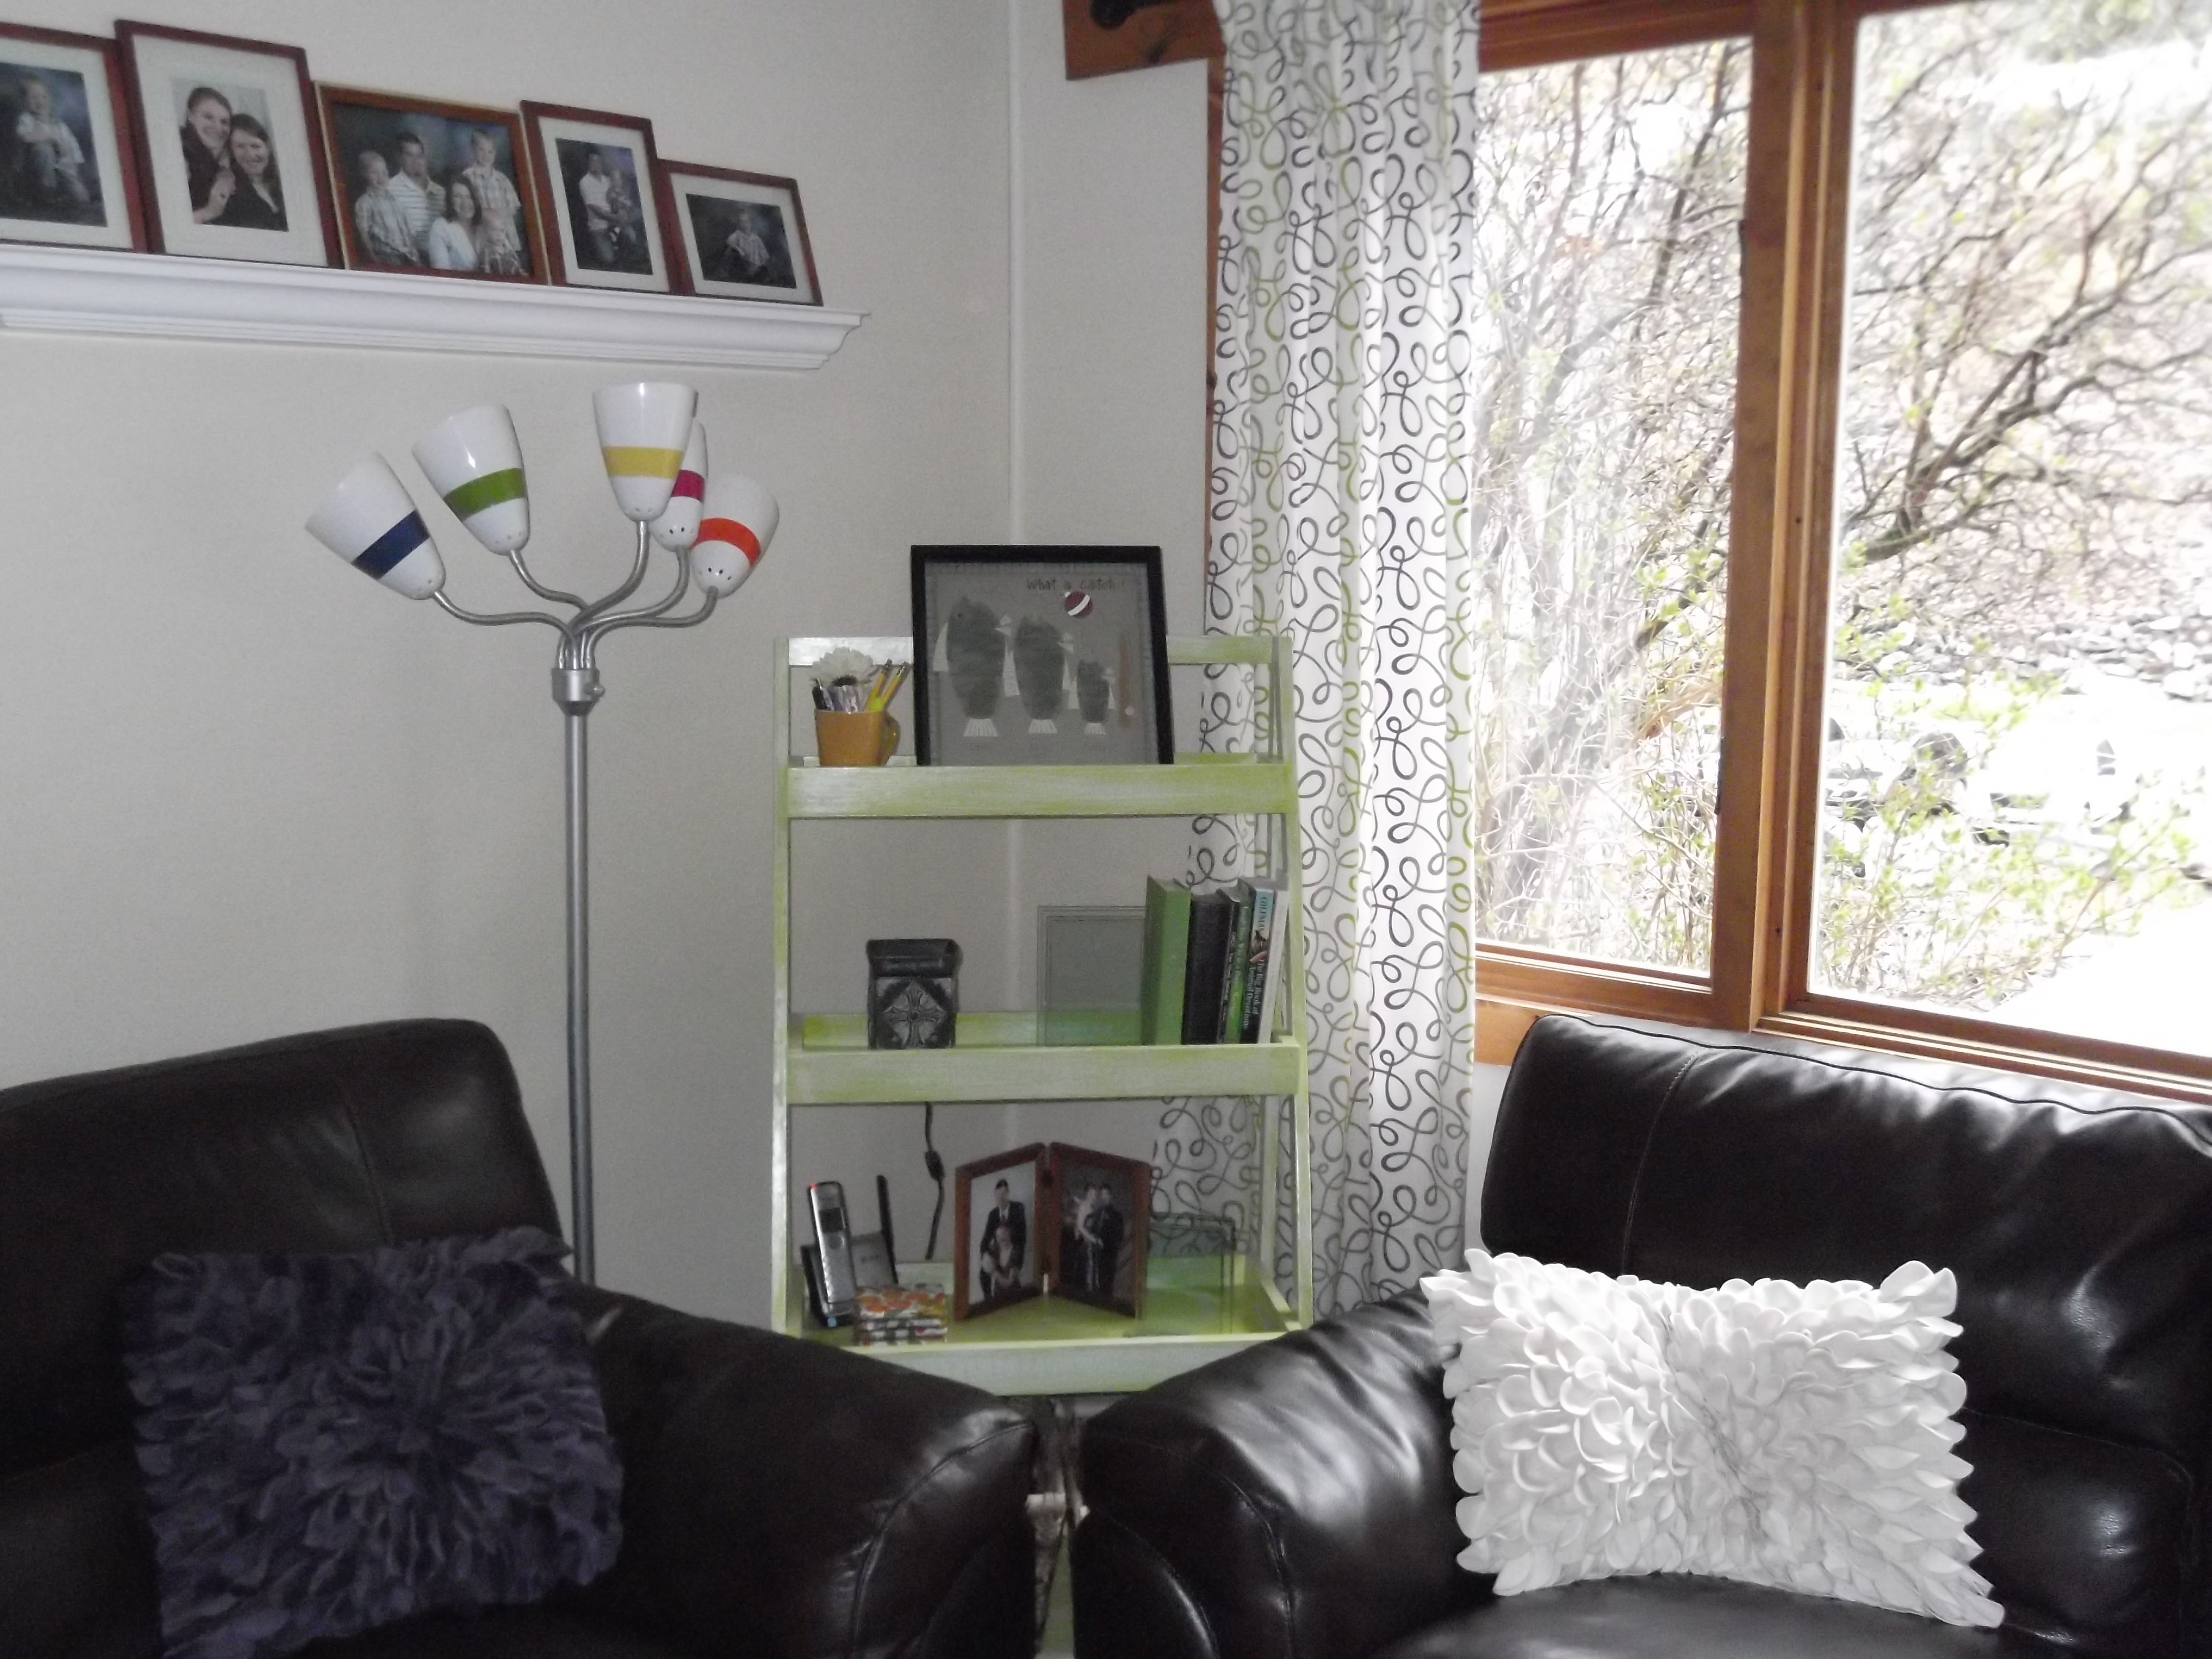
I just swooned when Ana posted her Tab-top curtain tutorial! I decided right then and there I'd be tackling all of the window treatment-less windows in my new home using her instructions. I'm no whiz on the sewing machine but I couldn't be happier with the way my curtains turned out!! No joke, if I can do this, so can you!!
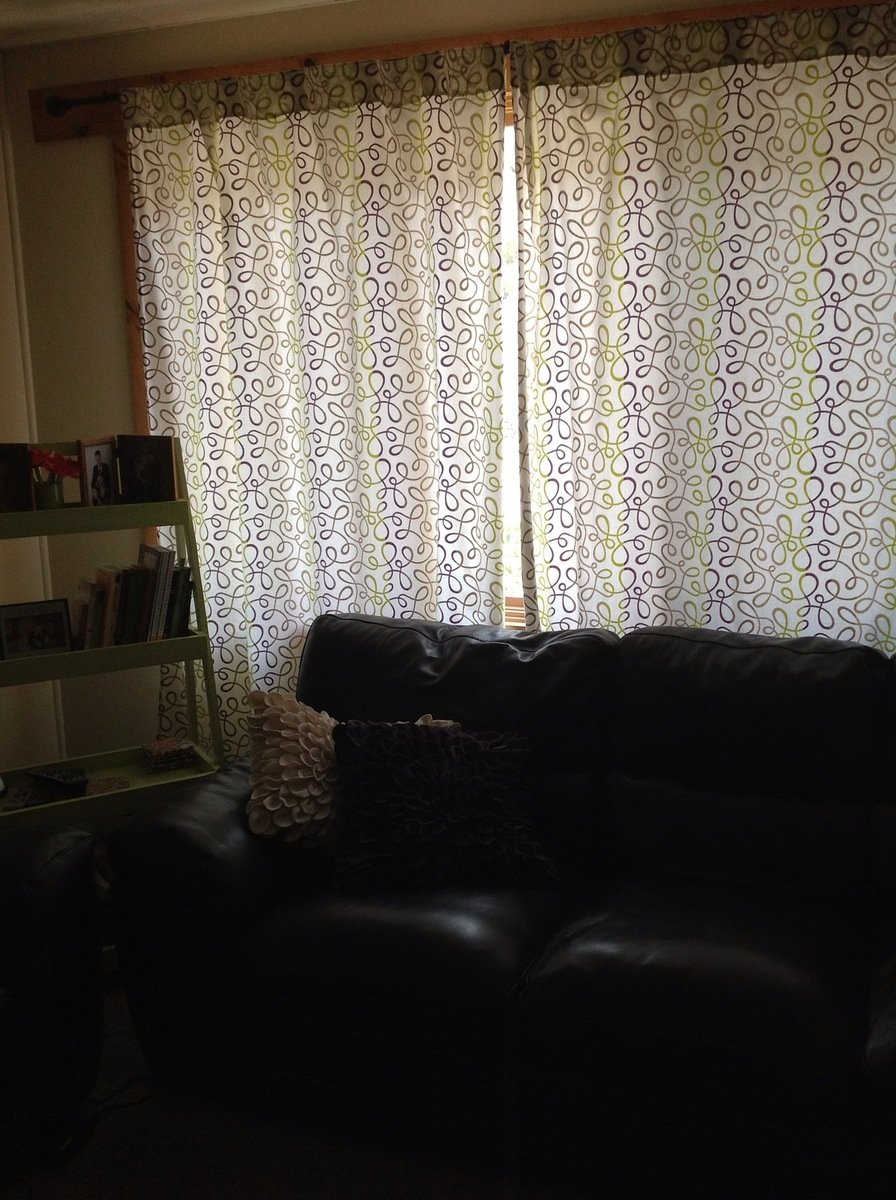
I made the green shelf in my living room all by myself a couple years ago from Ana's Painter's Ladder Shelf plans. :-) It used to be red but I refinished it to match the decorating scheme in my new house. I love how everywhere you look in my home you see some piece of furniture or project that came about as a direct result of finding and embracing Ana's DIY spirit!! My curtains are no exception. :-)
I've made the curtains for my living room and my bedroom, and I just started the set for my boys' bedroom tonight. I've gotten better with each set, and this third time around I'm pretty confident in what I'm doing. Lucky for my kids, they're going to get the best set, lol!
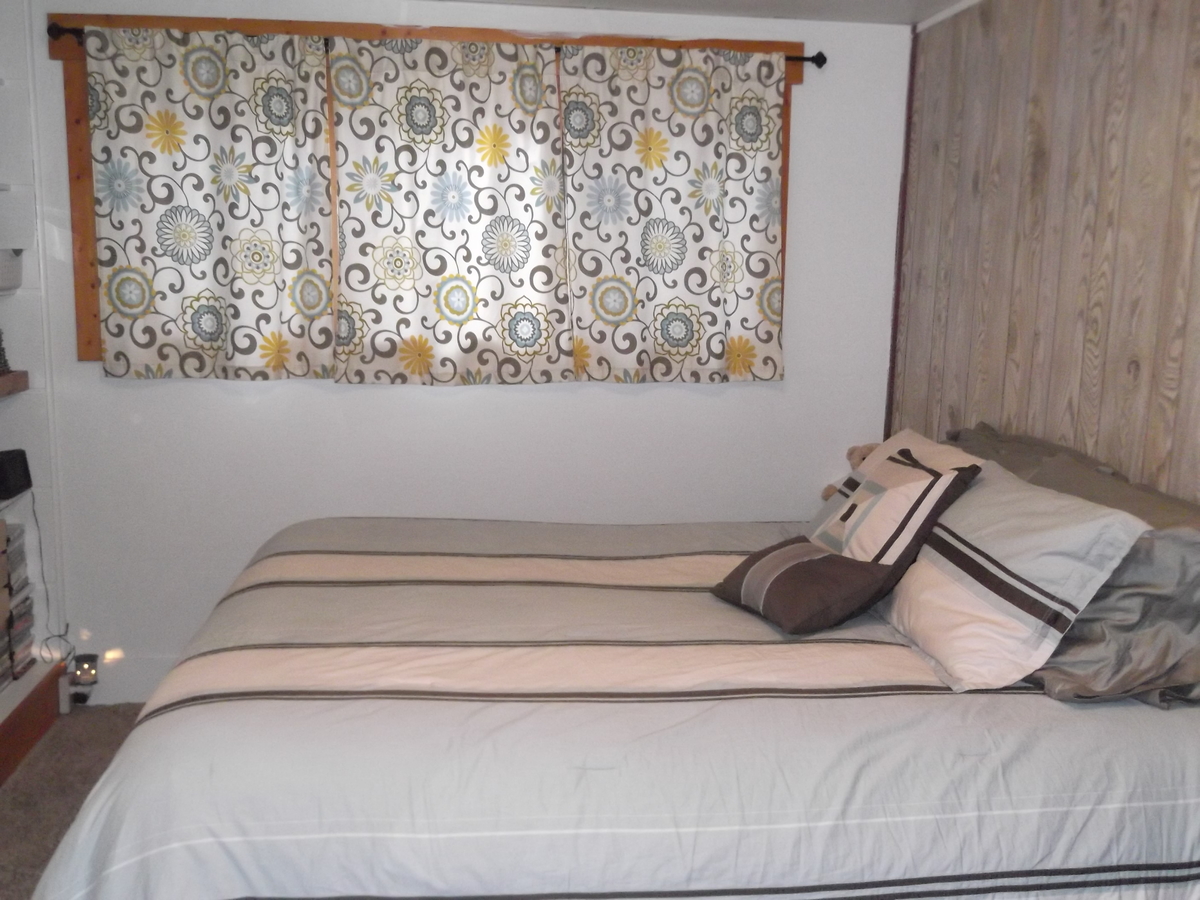
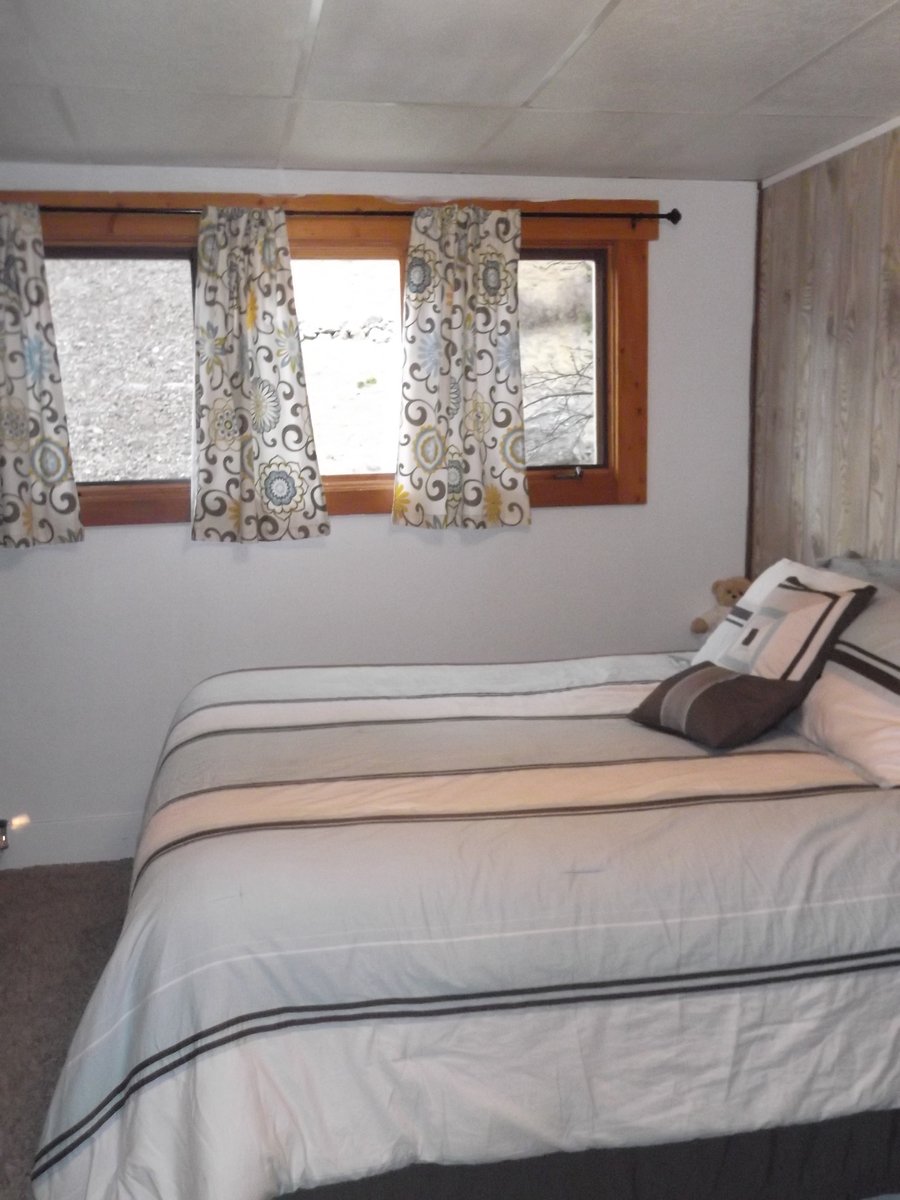
I'd already been agonizing over what to do for curtains in my bedroom and I fell instantly in love with the fabric Ana used for hers. I already had bedroom linens that would match perfectly so I went ahead and snagged a few yards. All three of the fabrics I've used have been in the Waverly Home Decor line. The patterns are fun and modern, the price is right, the quality is great and I've always been able to find the perfect design. I usually buy from Fabric.com as it tends to be cheaper once you search for readily available online coupons.
I've really enjoyed making my window treatments! I get to have exactly what I want, in a better quality for a better price than I would ever be able to find in a store. It takes me about a day to finish a set (or at least the first two did) and I have relished the excuse to watch girly movies or listen to music while I get these babies sewn. I've had my first two sets done for 4 & 6 months respectively and they still bring me such joy every day.....give it a try, you wont regret it!!
Thu, 10/17/2013 - 01:14
Its better to have a window blinds than curtains when your window is made of glass but anyway its a nice bedroom of Danielle.
This was not my first build, but it was the first time I have done miter cuts. It was an easy to follow plan. The hardest part was trying to decide on the stain color! I am thrilled with the way it turned out. This table will easily seat 10 people which will be perfect for parties and dinners.
We made the entry way bench down to 40 inches. It was my first Ana project. Will do many more! www.amyjoprice.com
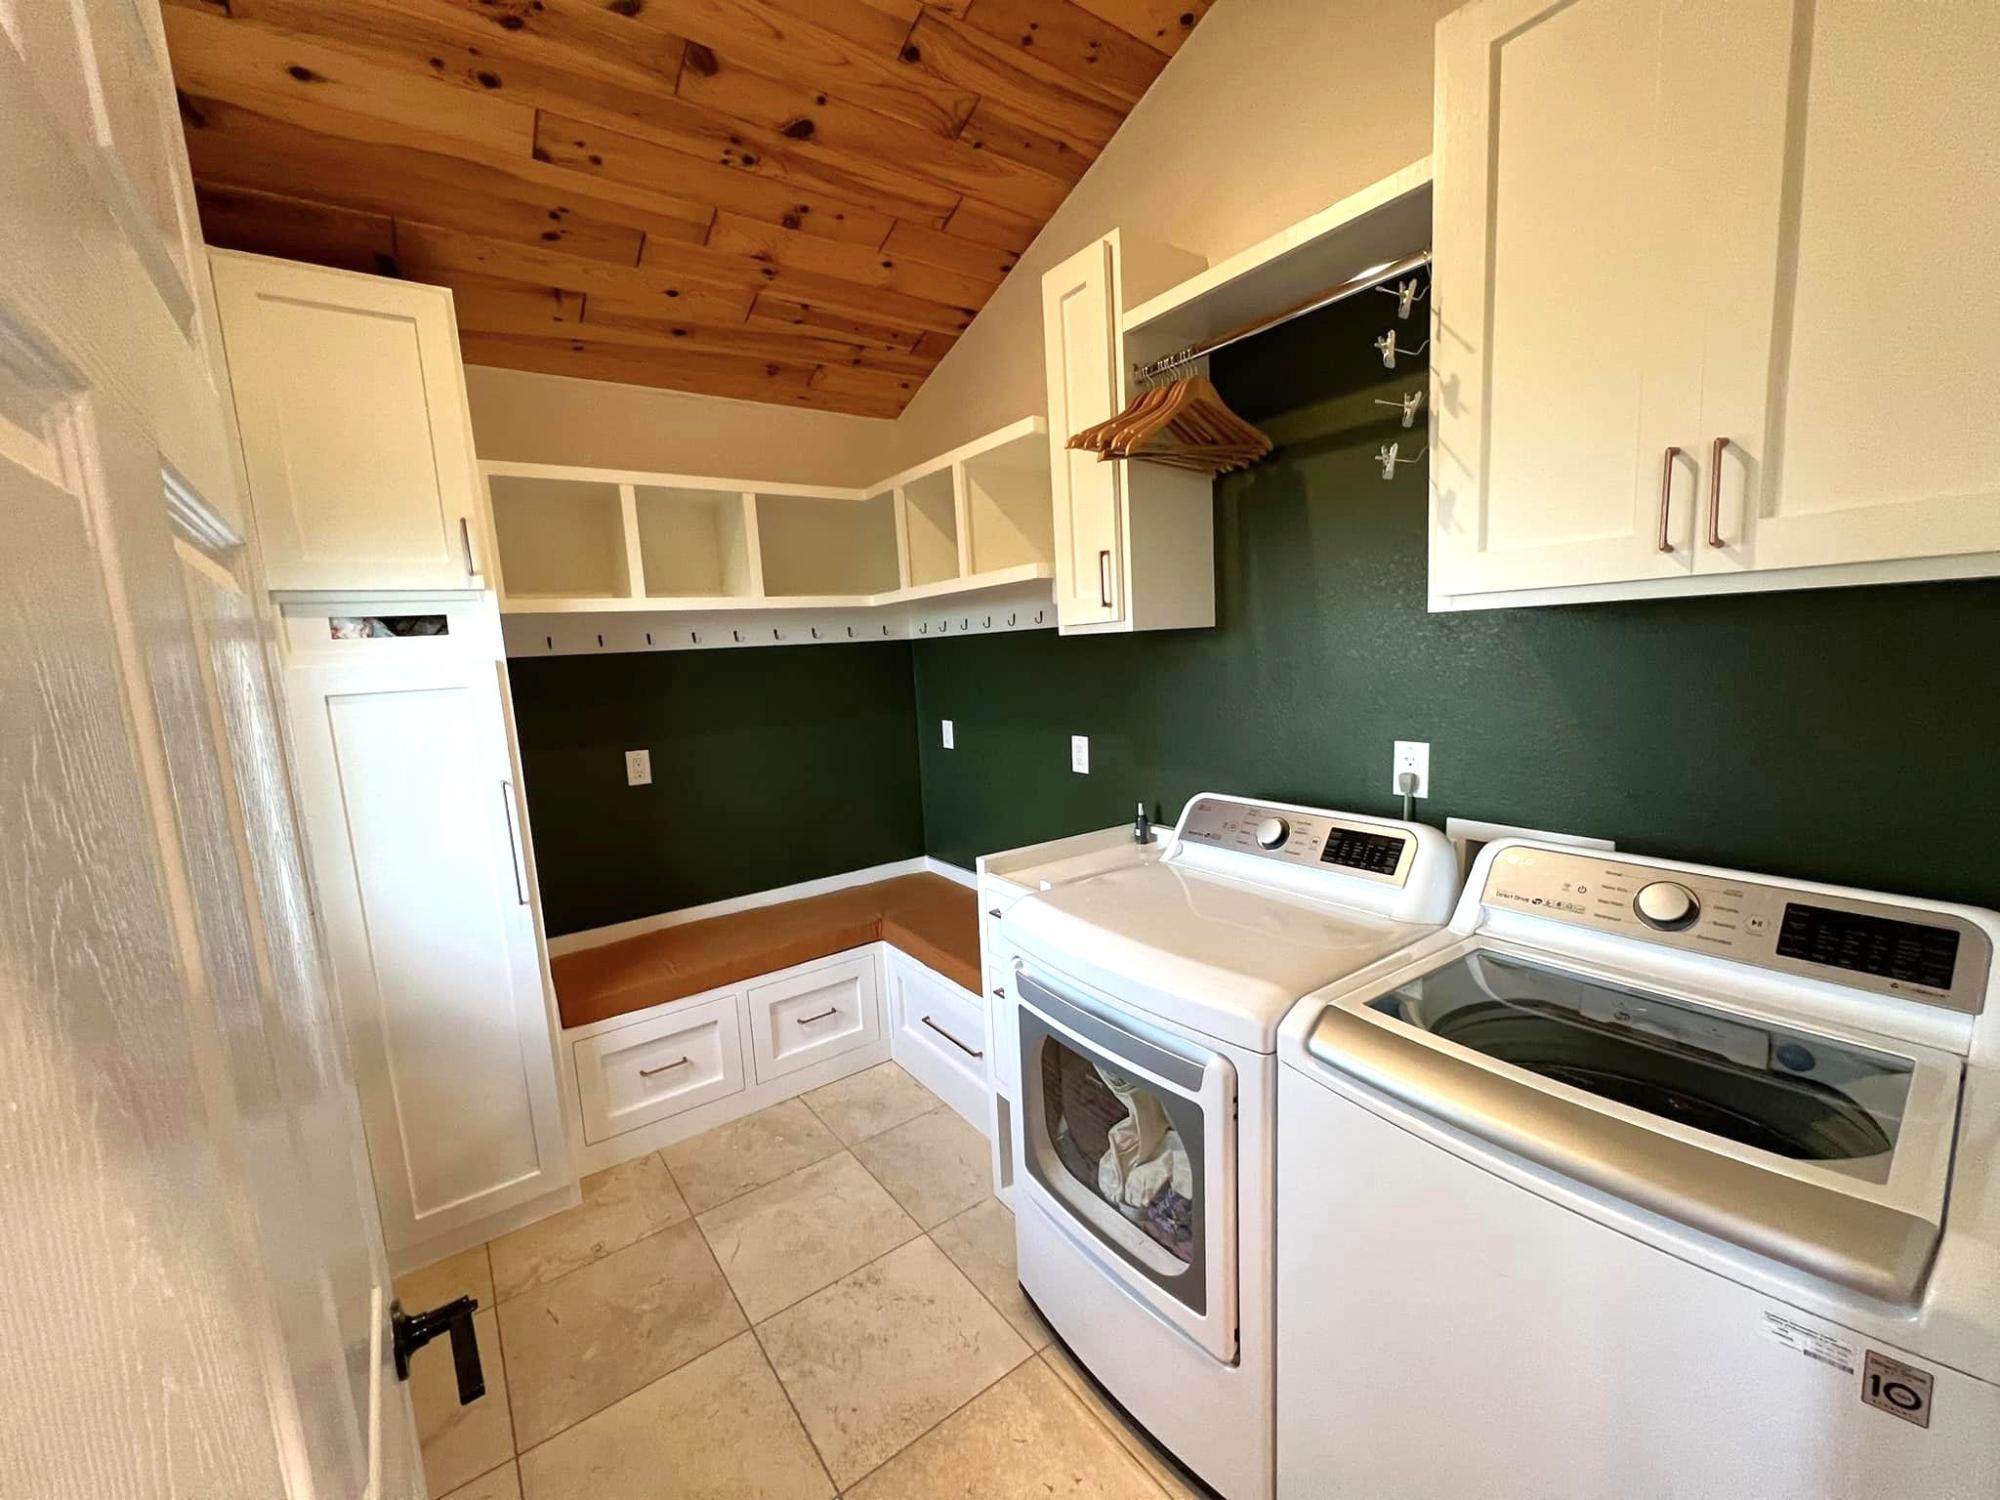
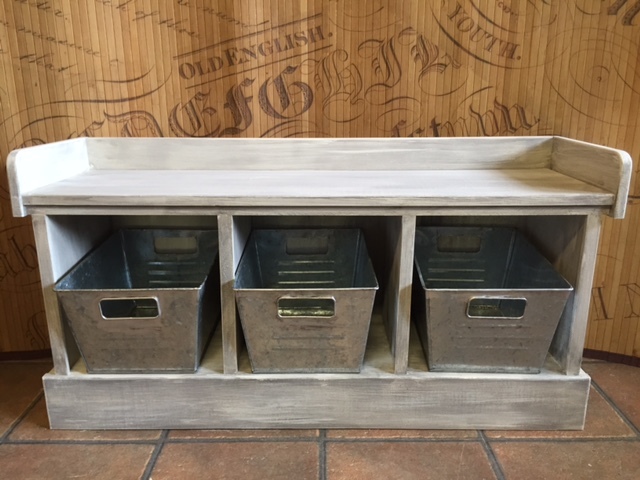
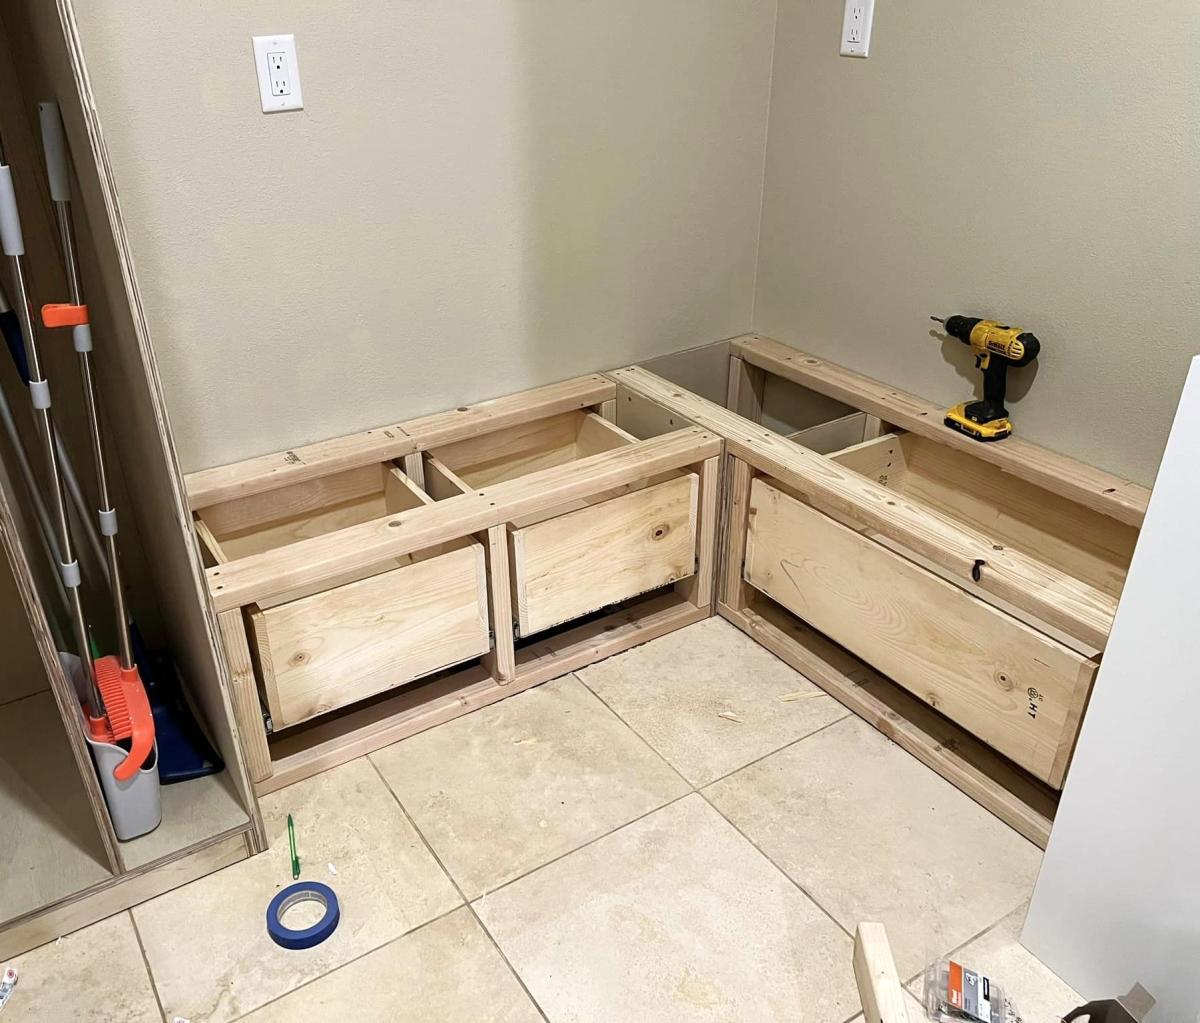
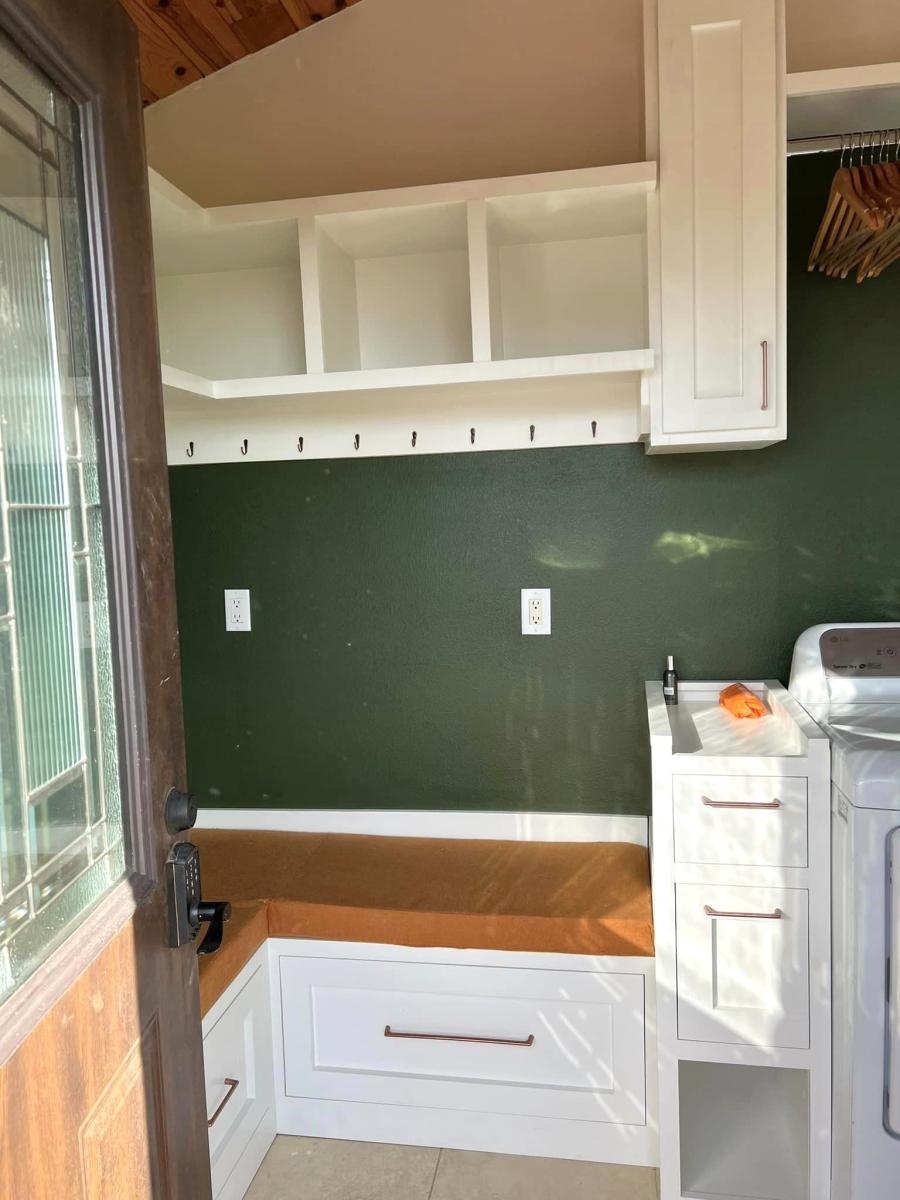
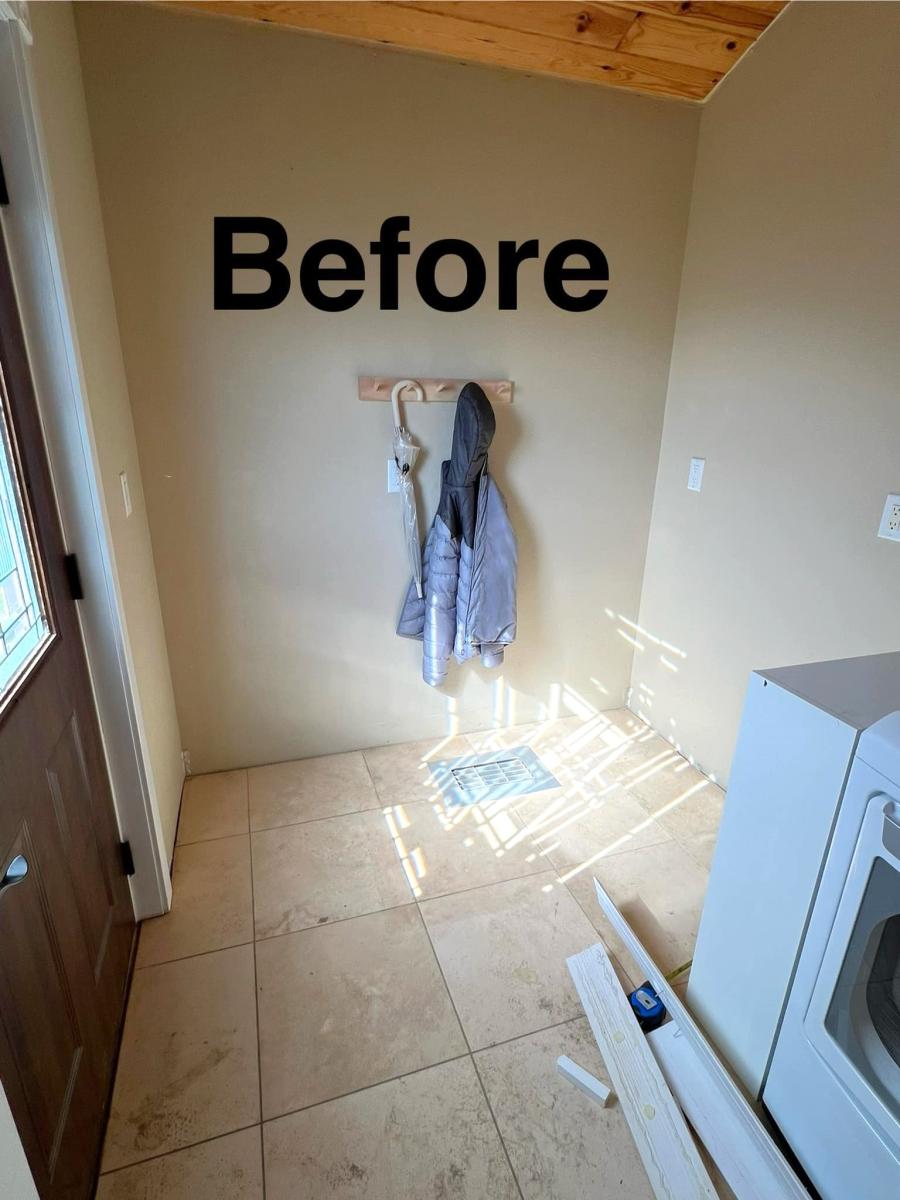
When looking for ideas/plans for designing my mudroom I came across Ana’s plans for the bench with drawers. I’ve NEVER built anything like it, or cabinetry, or anything like that type of stuff, but with her videos and plans I was able to design my own layout and make it all completely by hand and by myself. I’m in love with how it turned out!! Her designs/plans are so easy to follow and customize!! I can’t wait to do more in my house.
Mikishea Mauss on Facebook


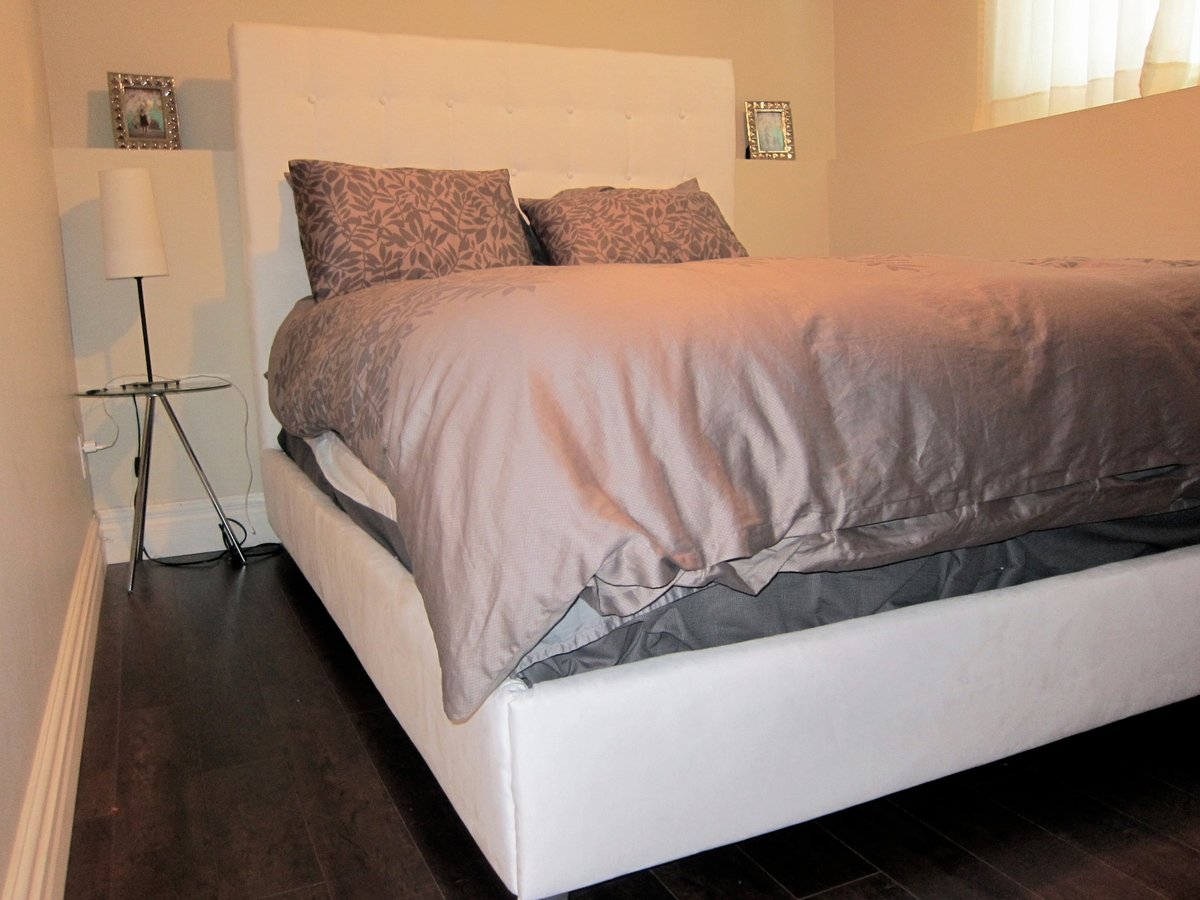
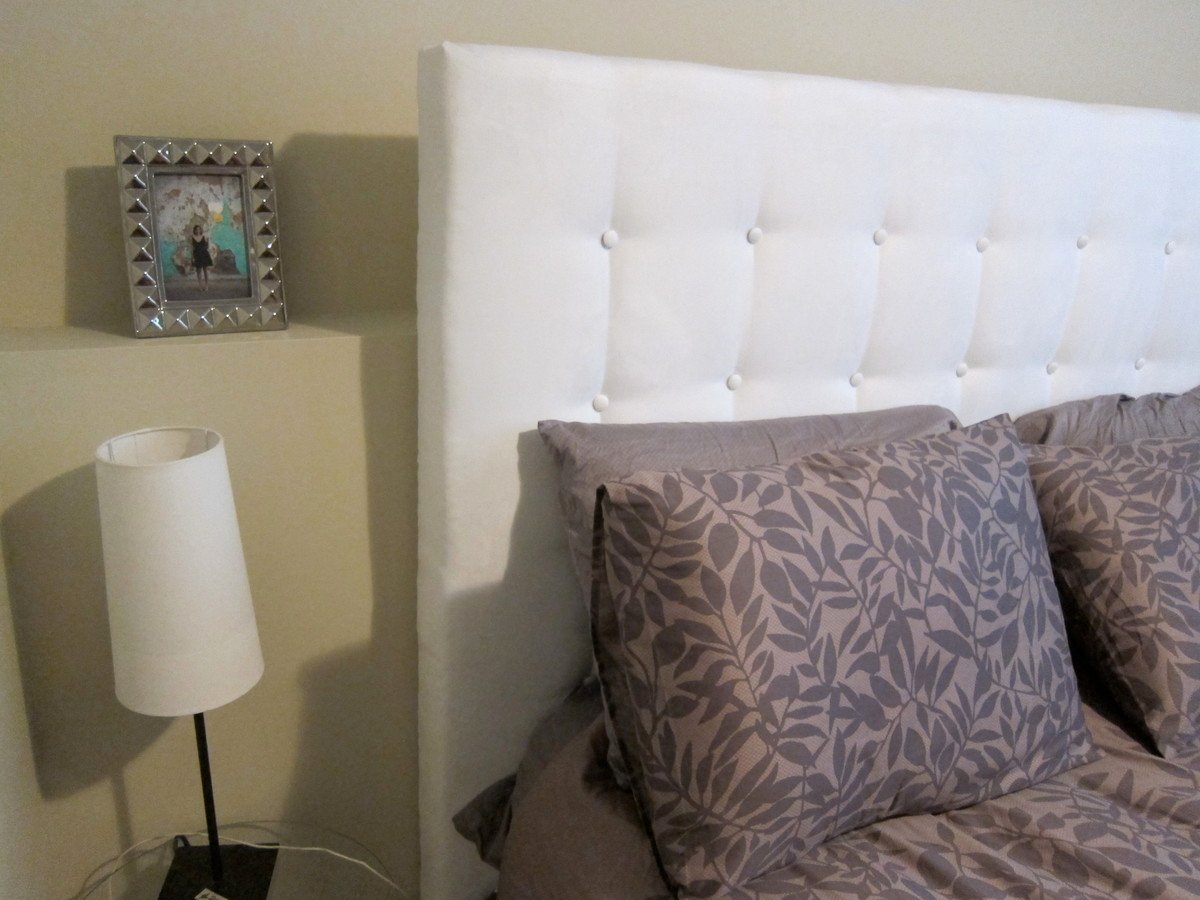
This is my first big build. I did make a small twin sized headboard a few years ago. But this time we built the entire bed frame along with the headboard. It took a loooong time but was totally worth it!

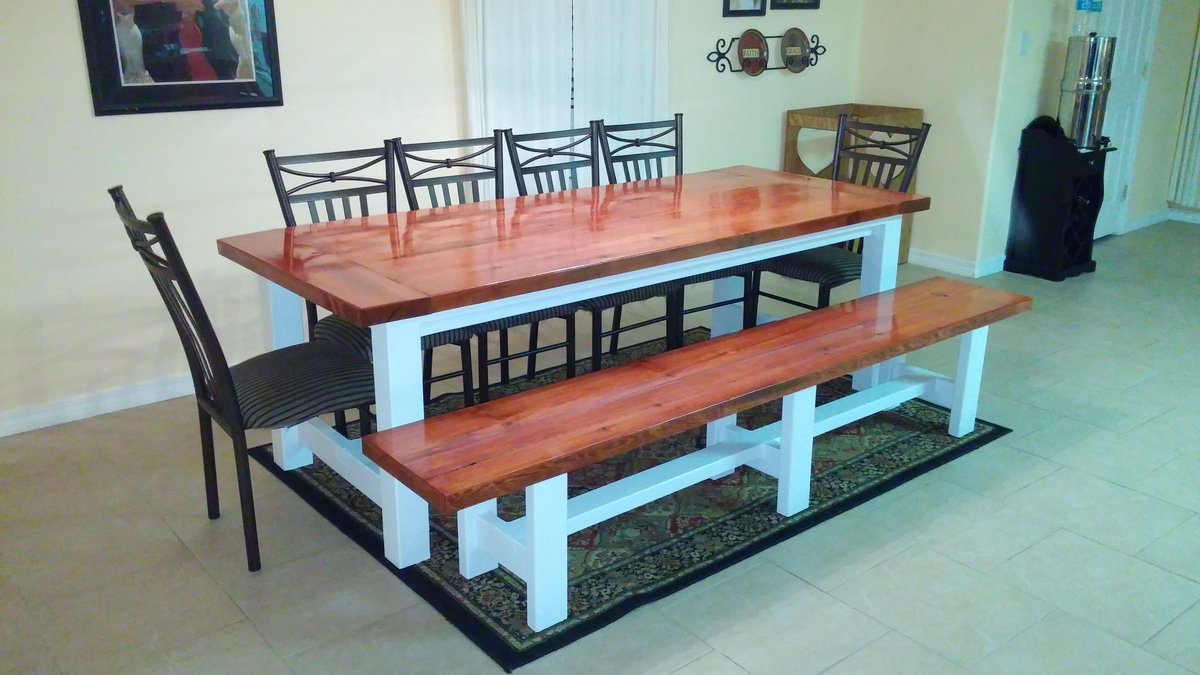
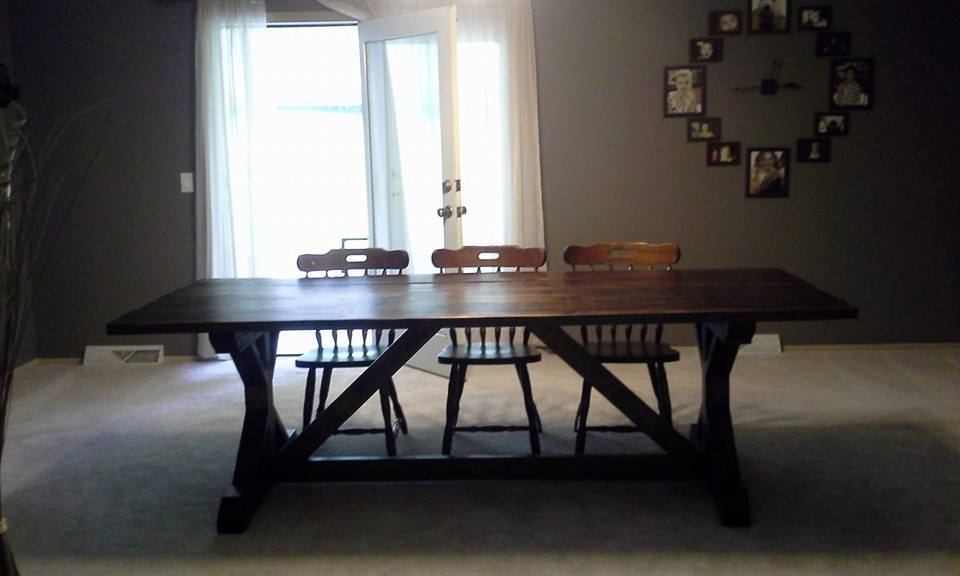
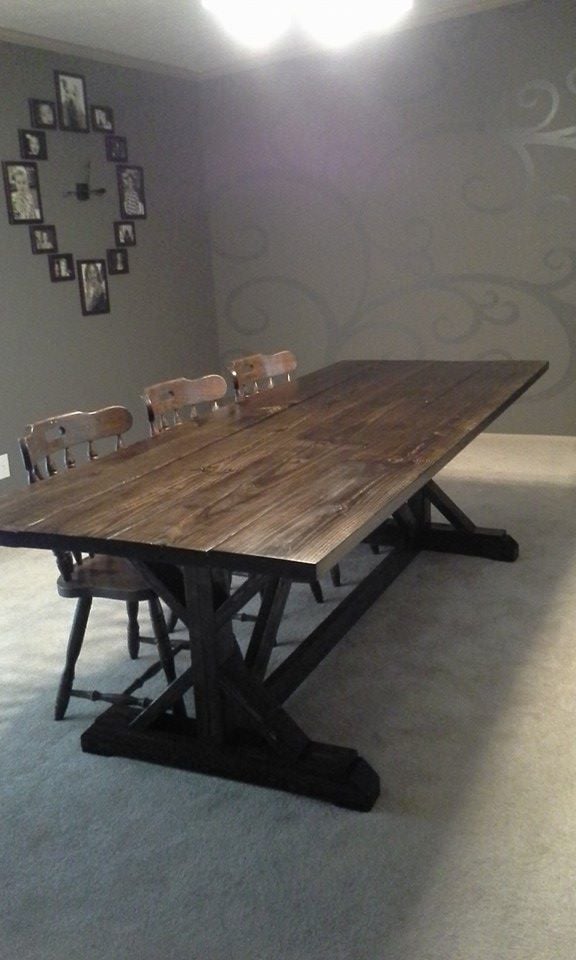
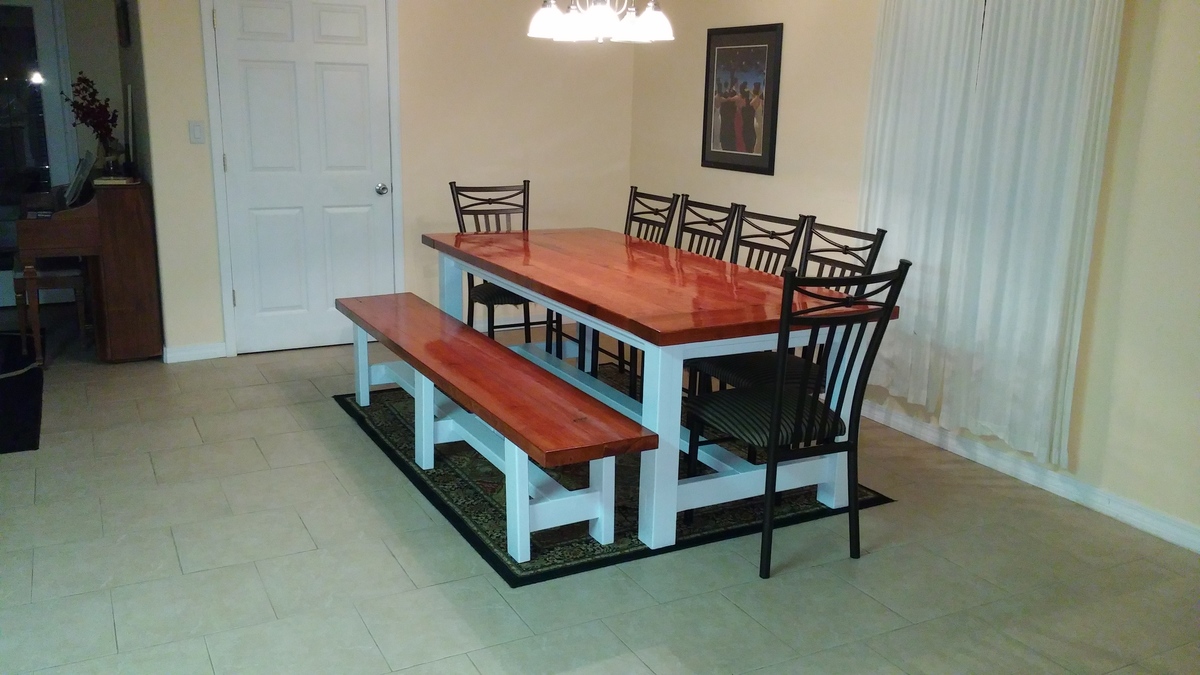
I built the Rustic Farmhouse table and I only had to make minor changes because I got the wood rough cut milled in my neighbor's backyard. I built the bench with the left over pieces without any plans, just tried to make it match the table. We love it and it is definitely a step up from what we had before! I just have to browse your chair plans now because these chairs in the picture are from our old table.
Wed, 08/13/2014 - 13:07
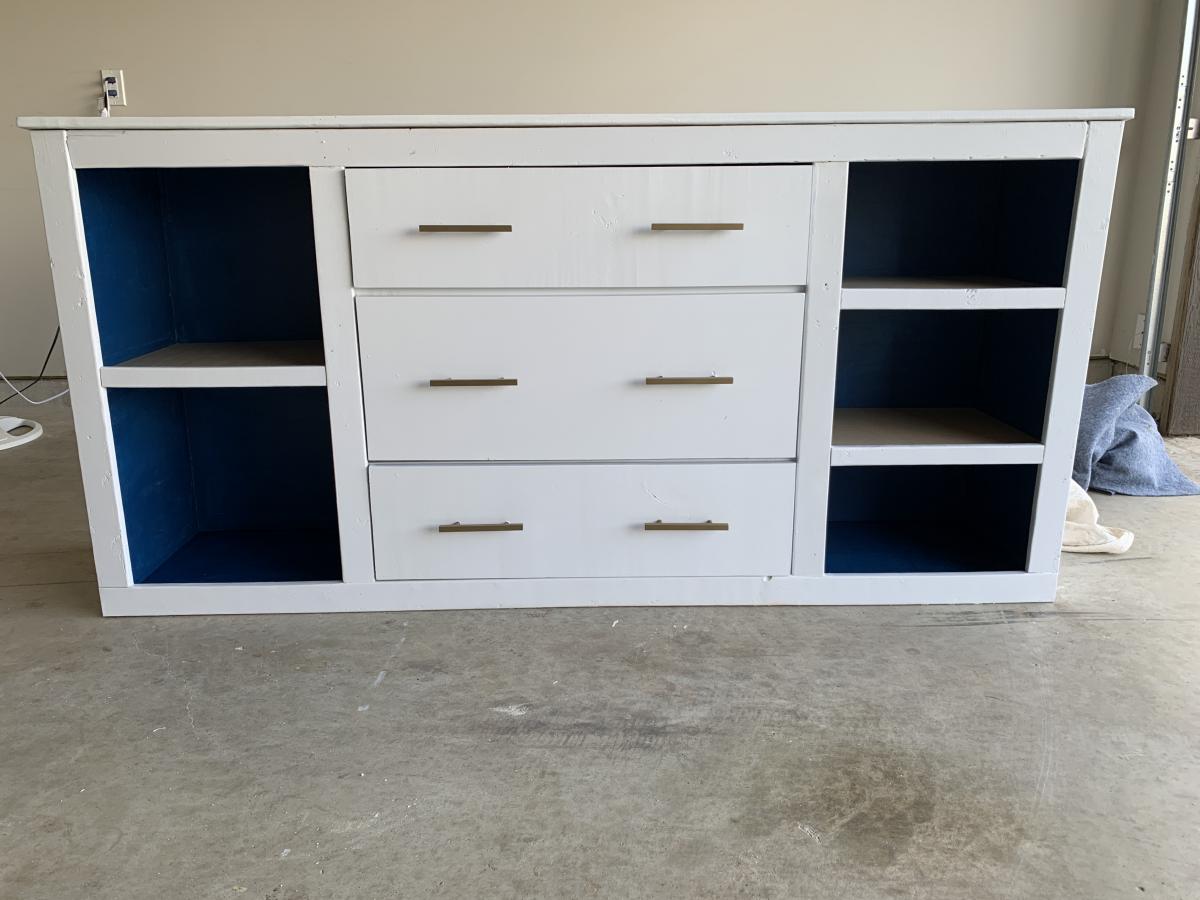
Are you willing to divulge your exact paint color and stain? Is it white? Looks kind of bluish. Love the contrast. Great job.
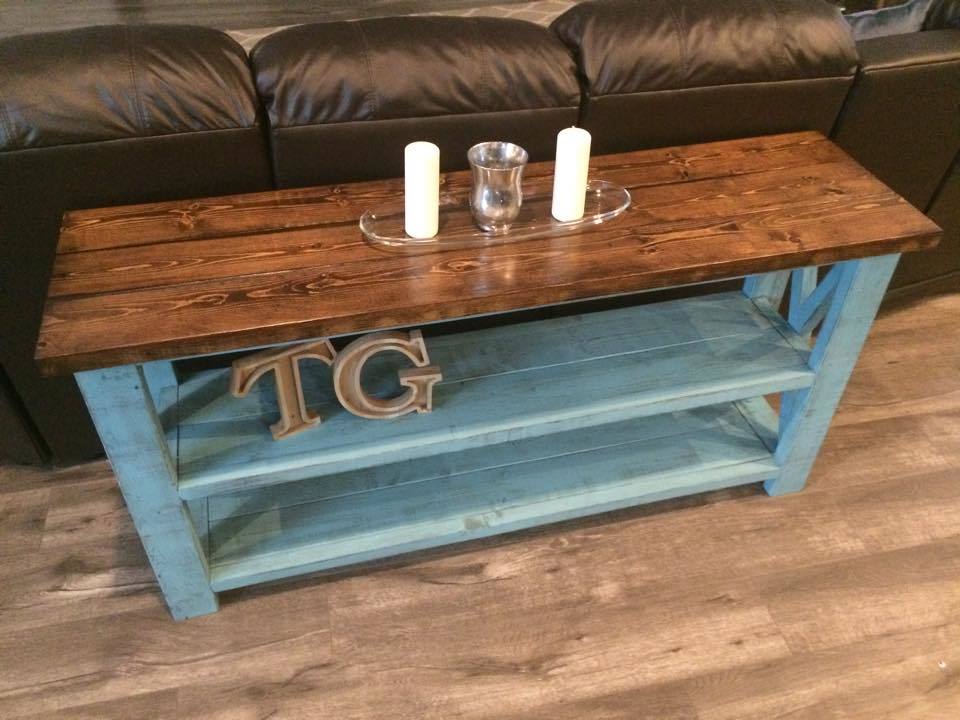
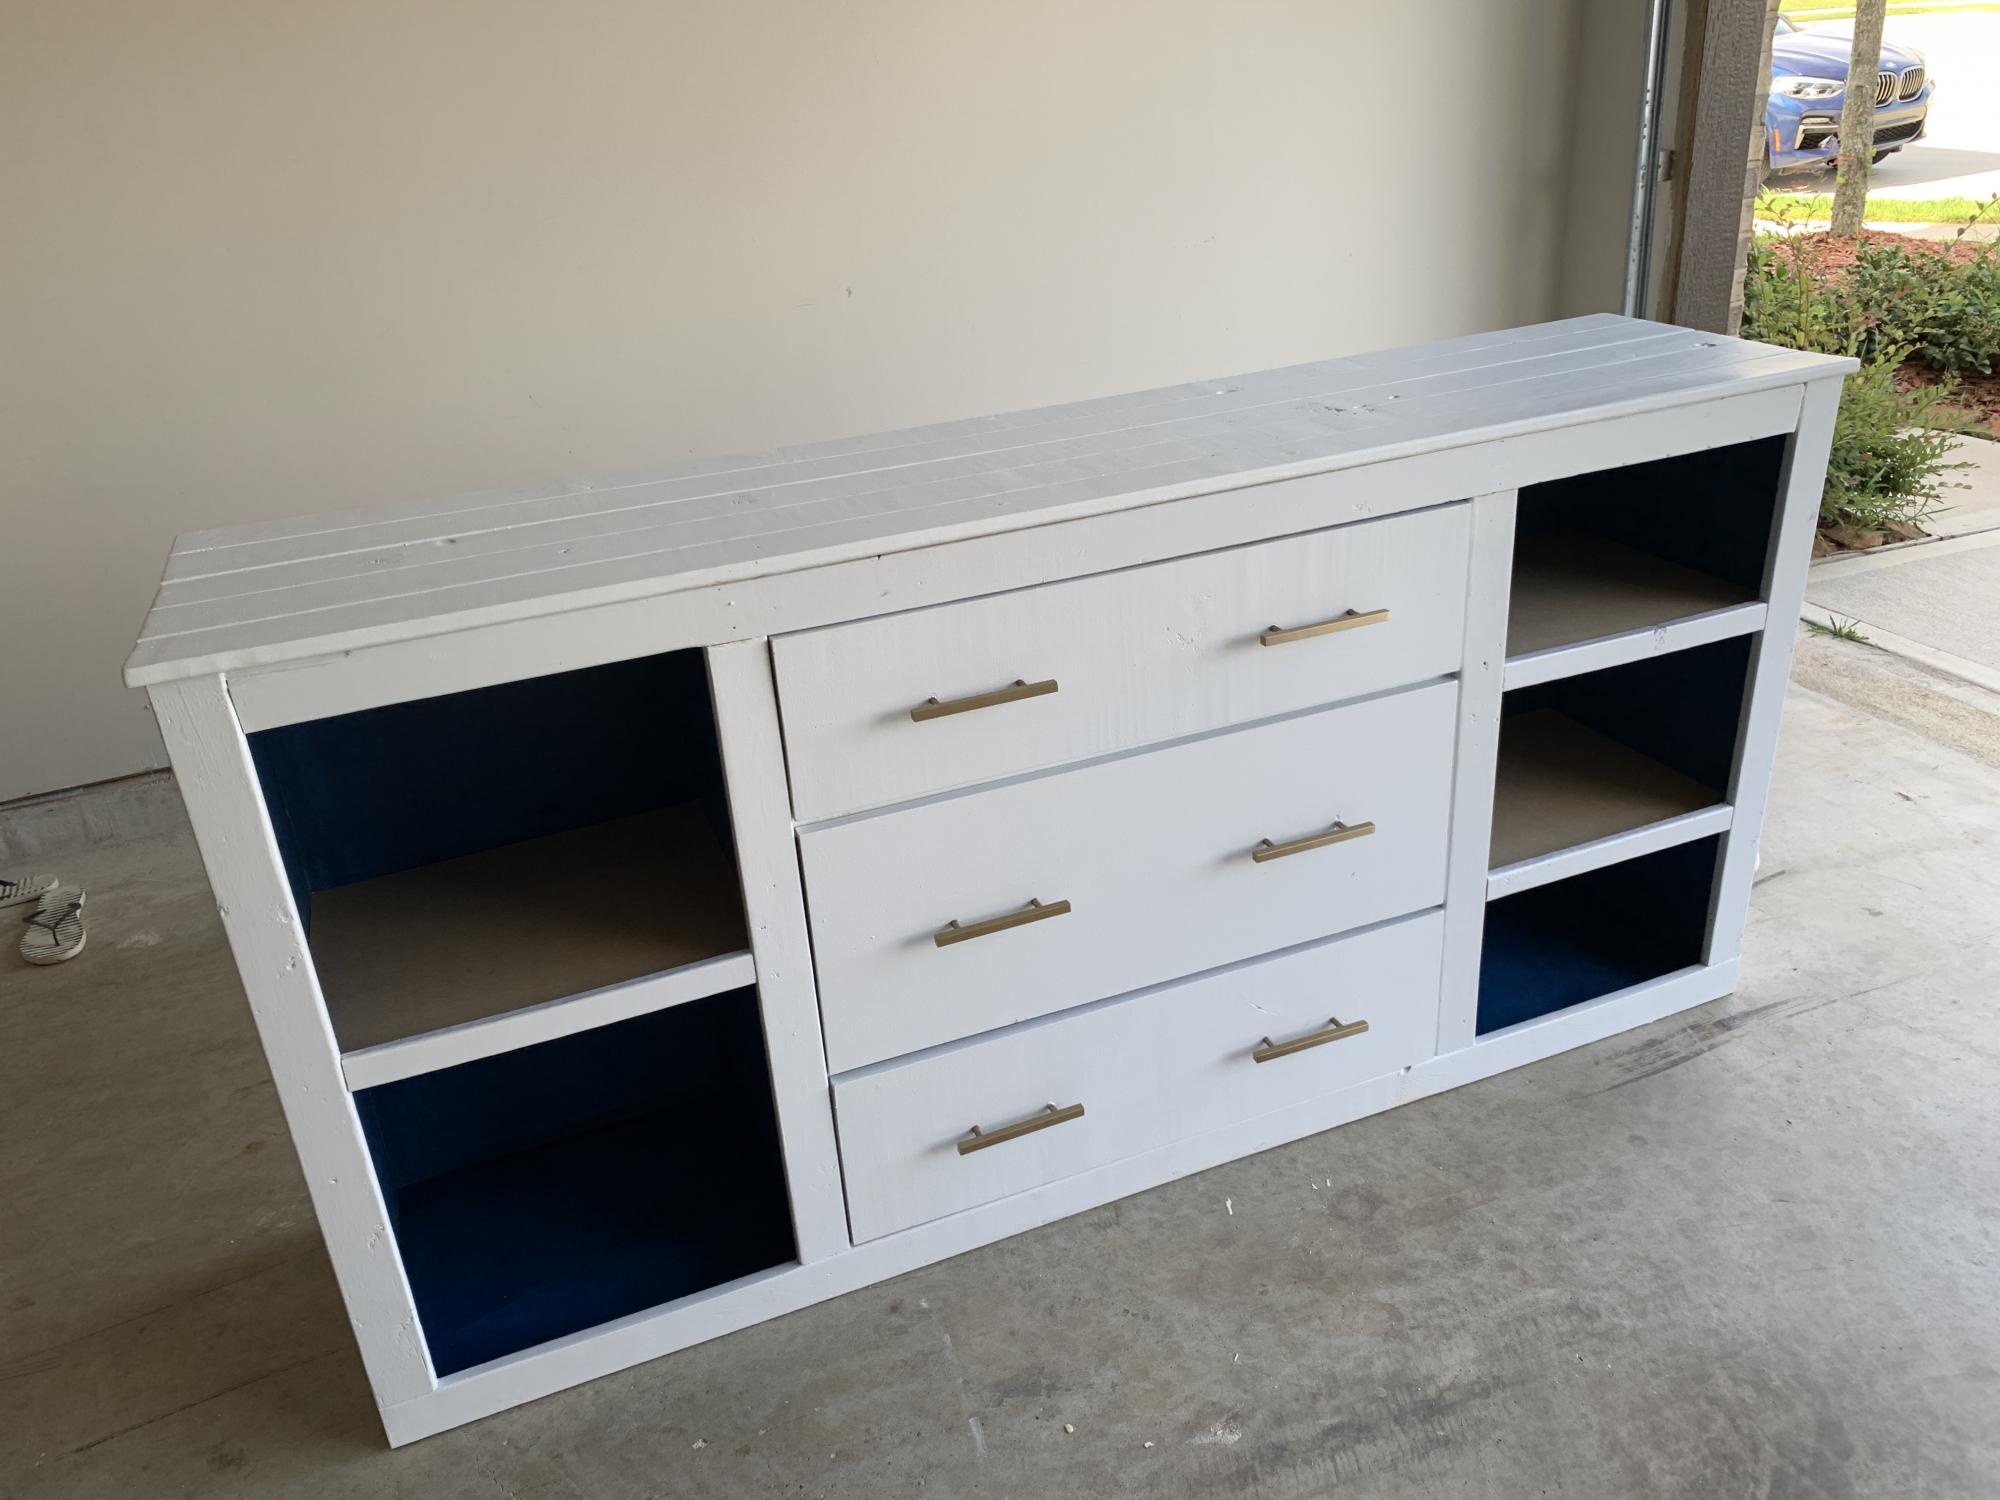
Slightly Modified from the Console table plan, but 2 toned Rustic X Console or Sofa Table with colored distressed finish
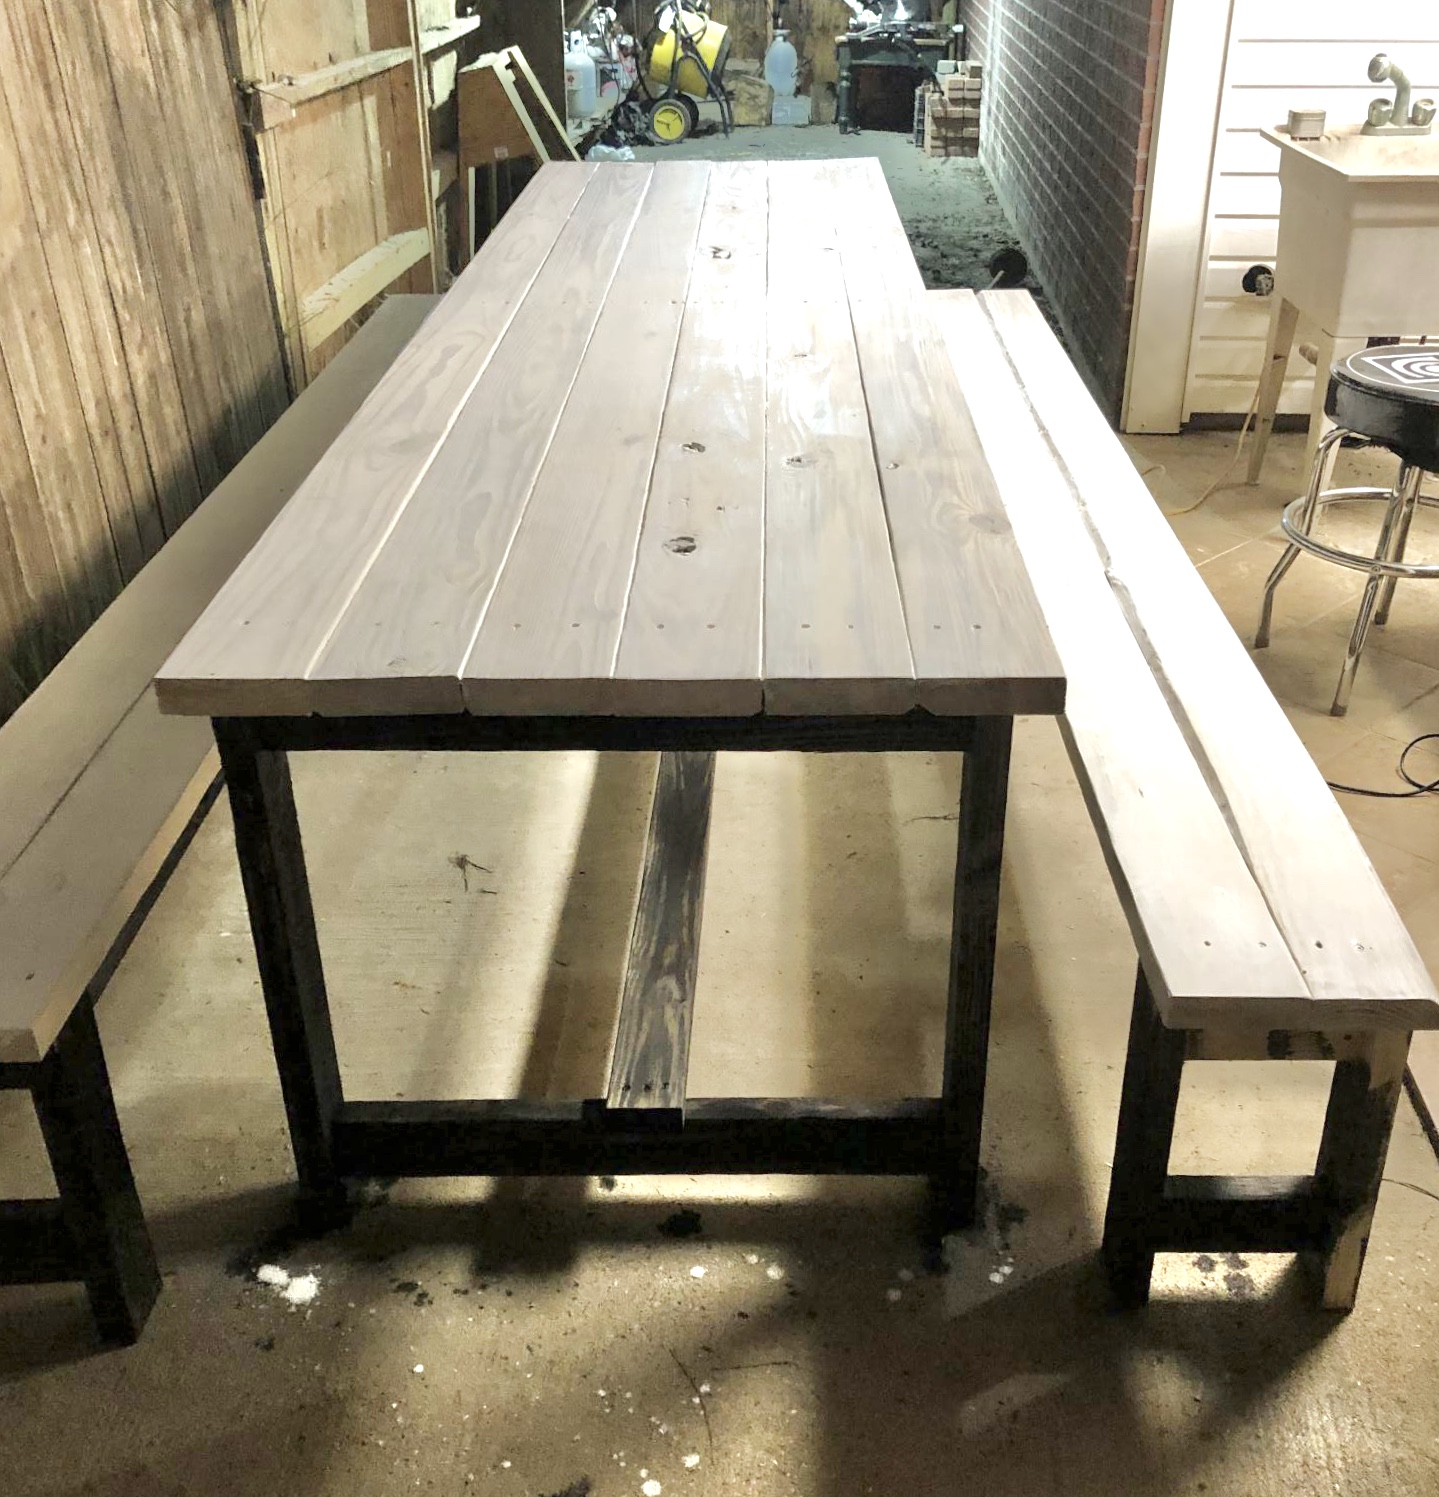
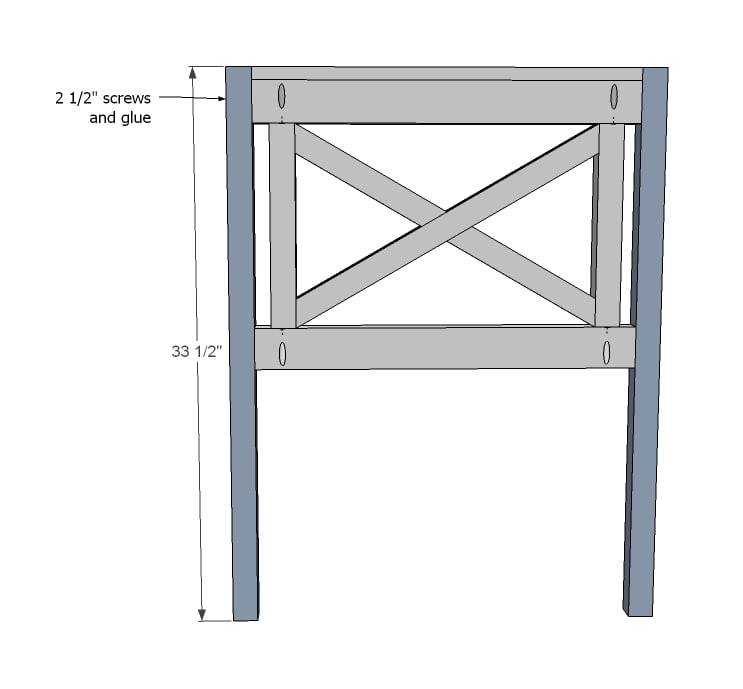
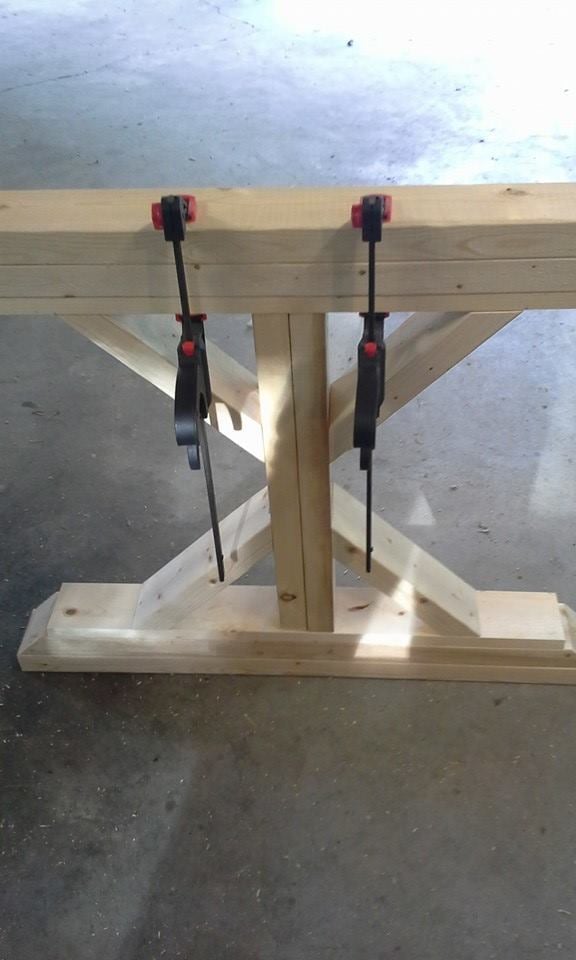
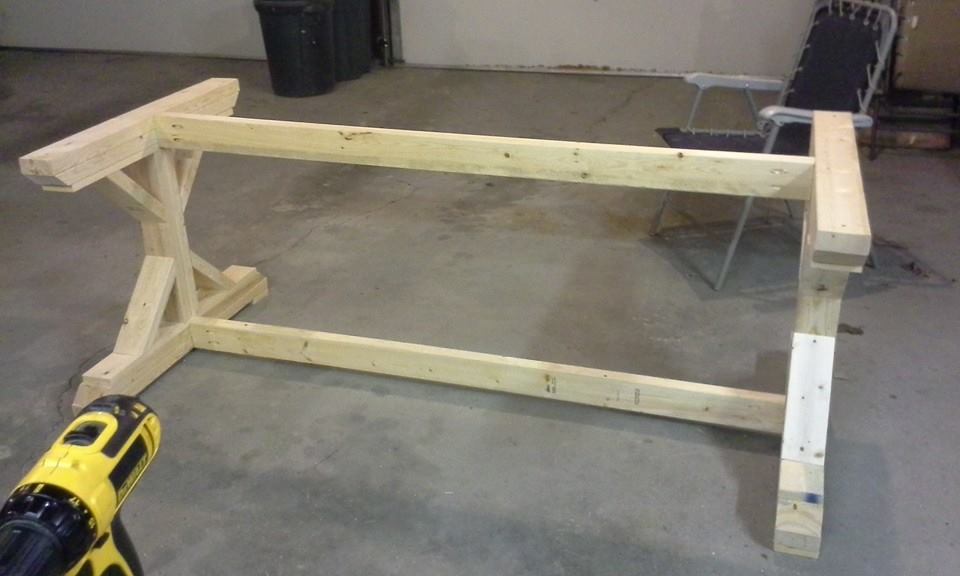
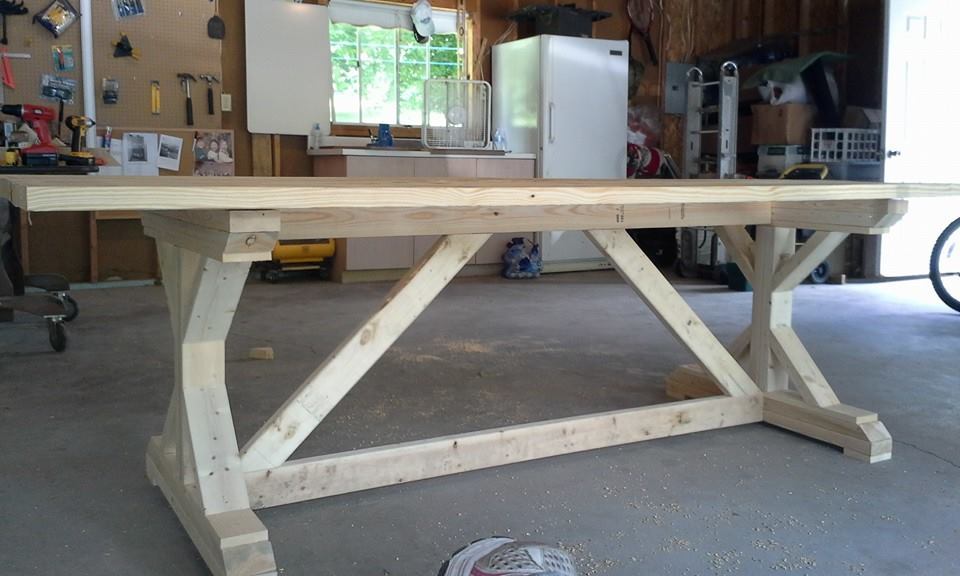
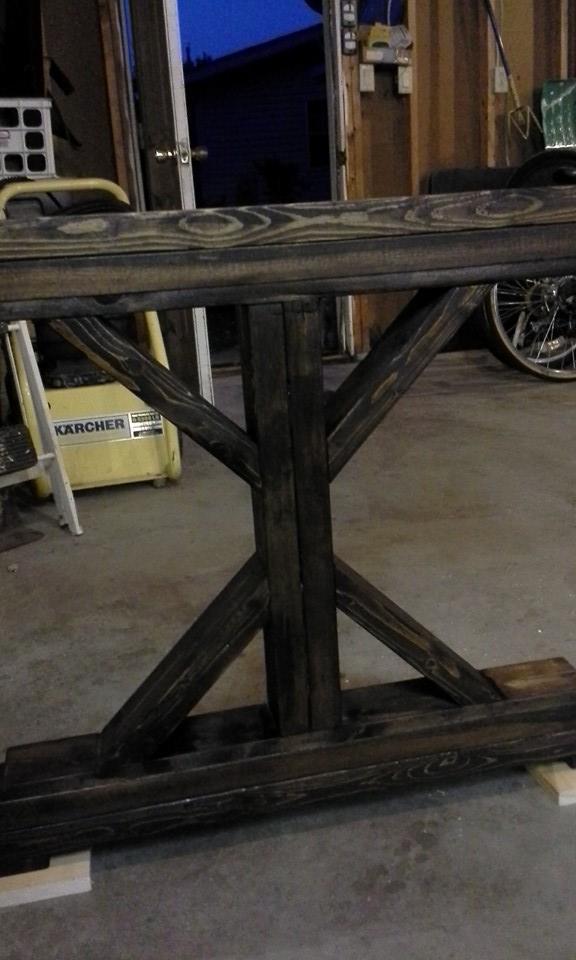
We built a larger version of the farmhouse table. It’s always been a dream to have a massive table for family dinners. I loved the look of the table and have wanted to attempt it for a couple of years. I finally got the courage up. We kept the legs the same size and just used 10 ft 2x6 and stretchers. It’s extremely solid and heavy! We are exhausted, it took all day! But we are so proud of ourselves. It’s definitely not perfect but it was our first and we love it!
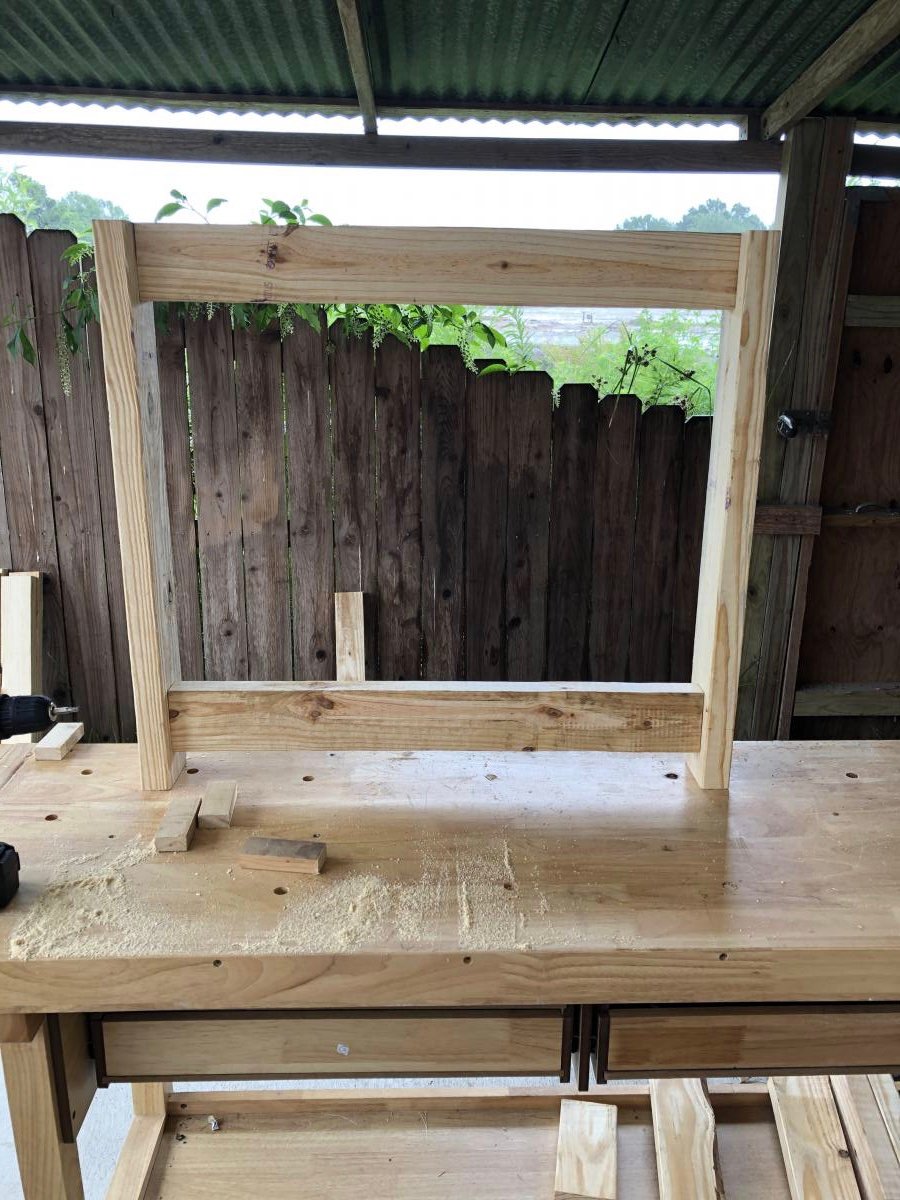
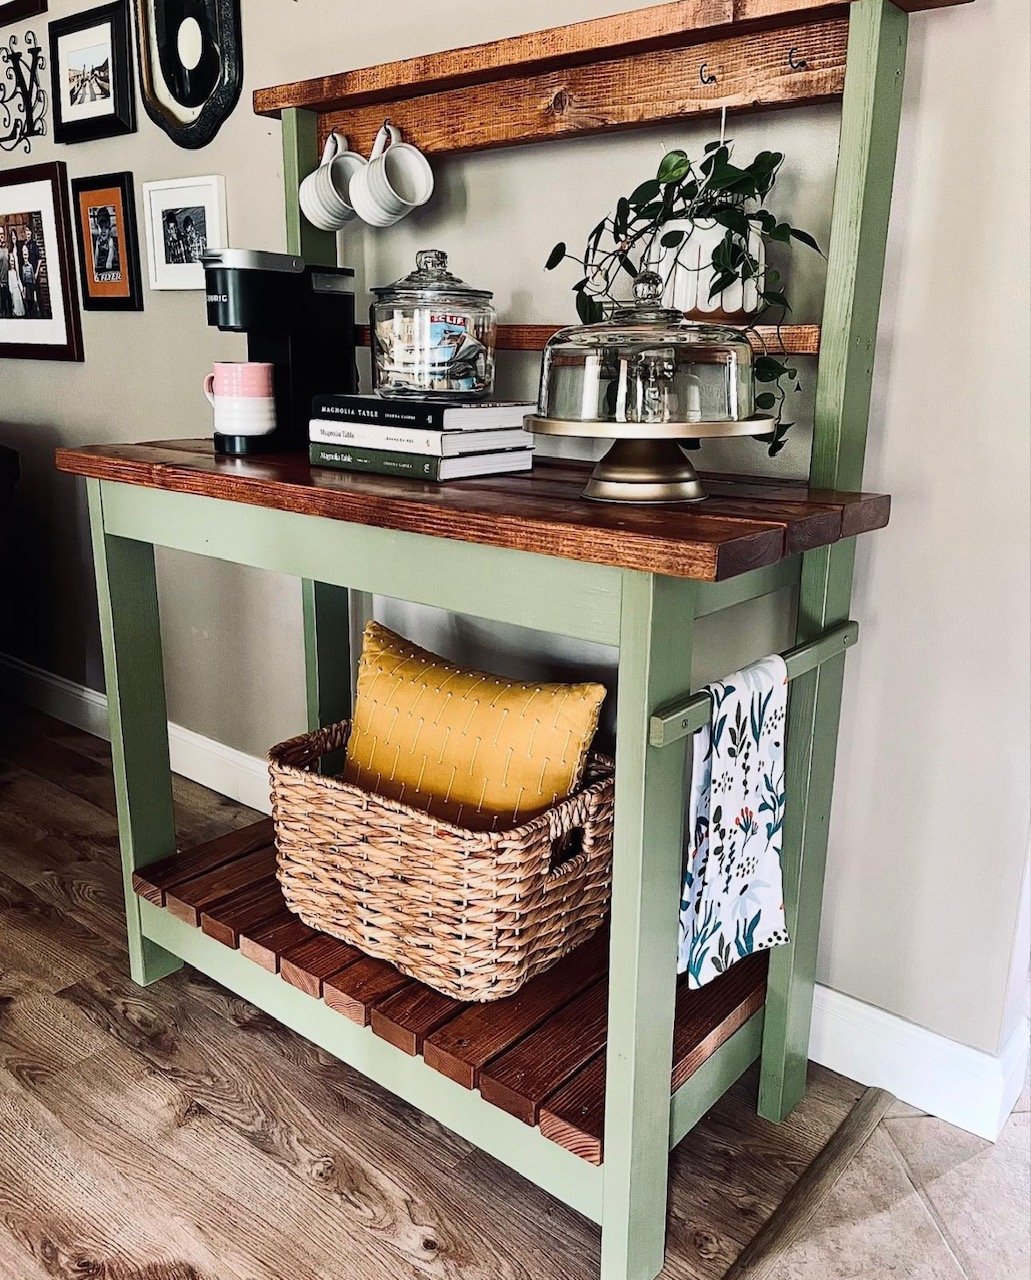
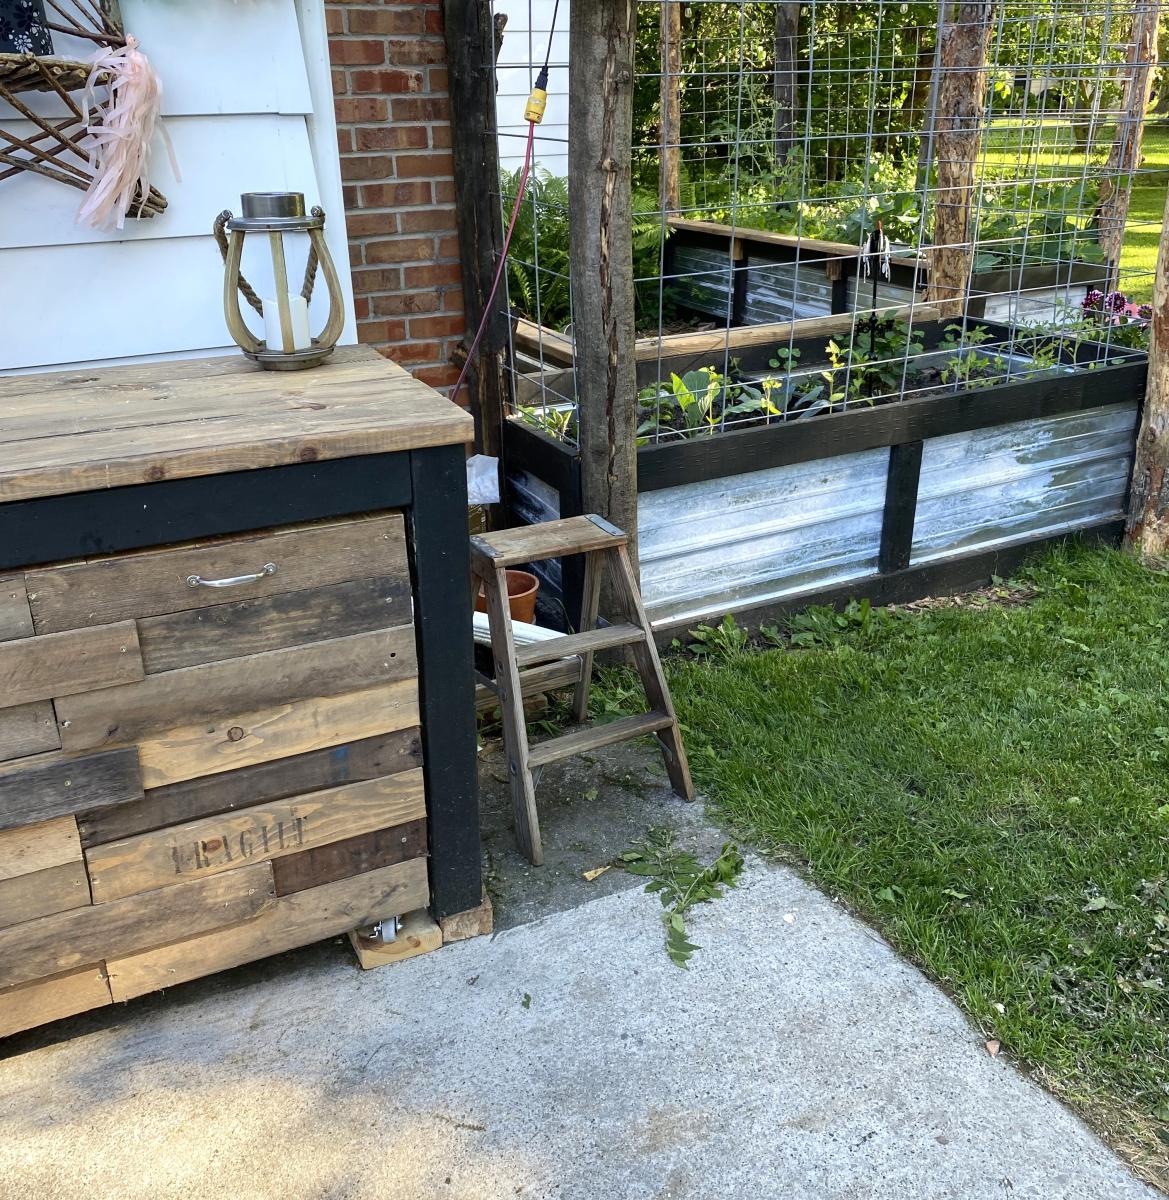
Beverage Station using the Farmhouse Potting Bench Plans by raising4kingsdesign on Instagram