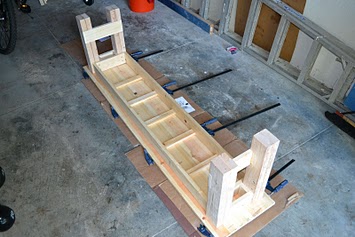
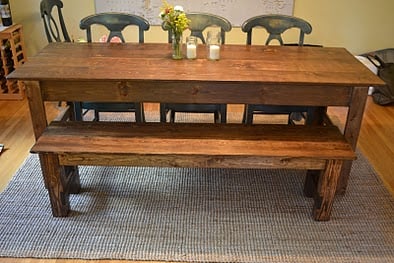
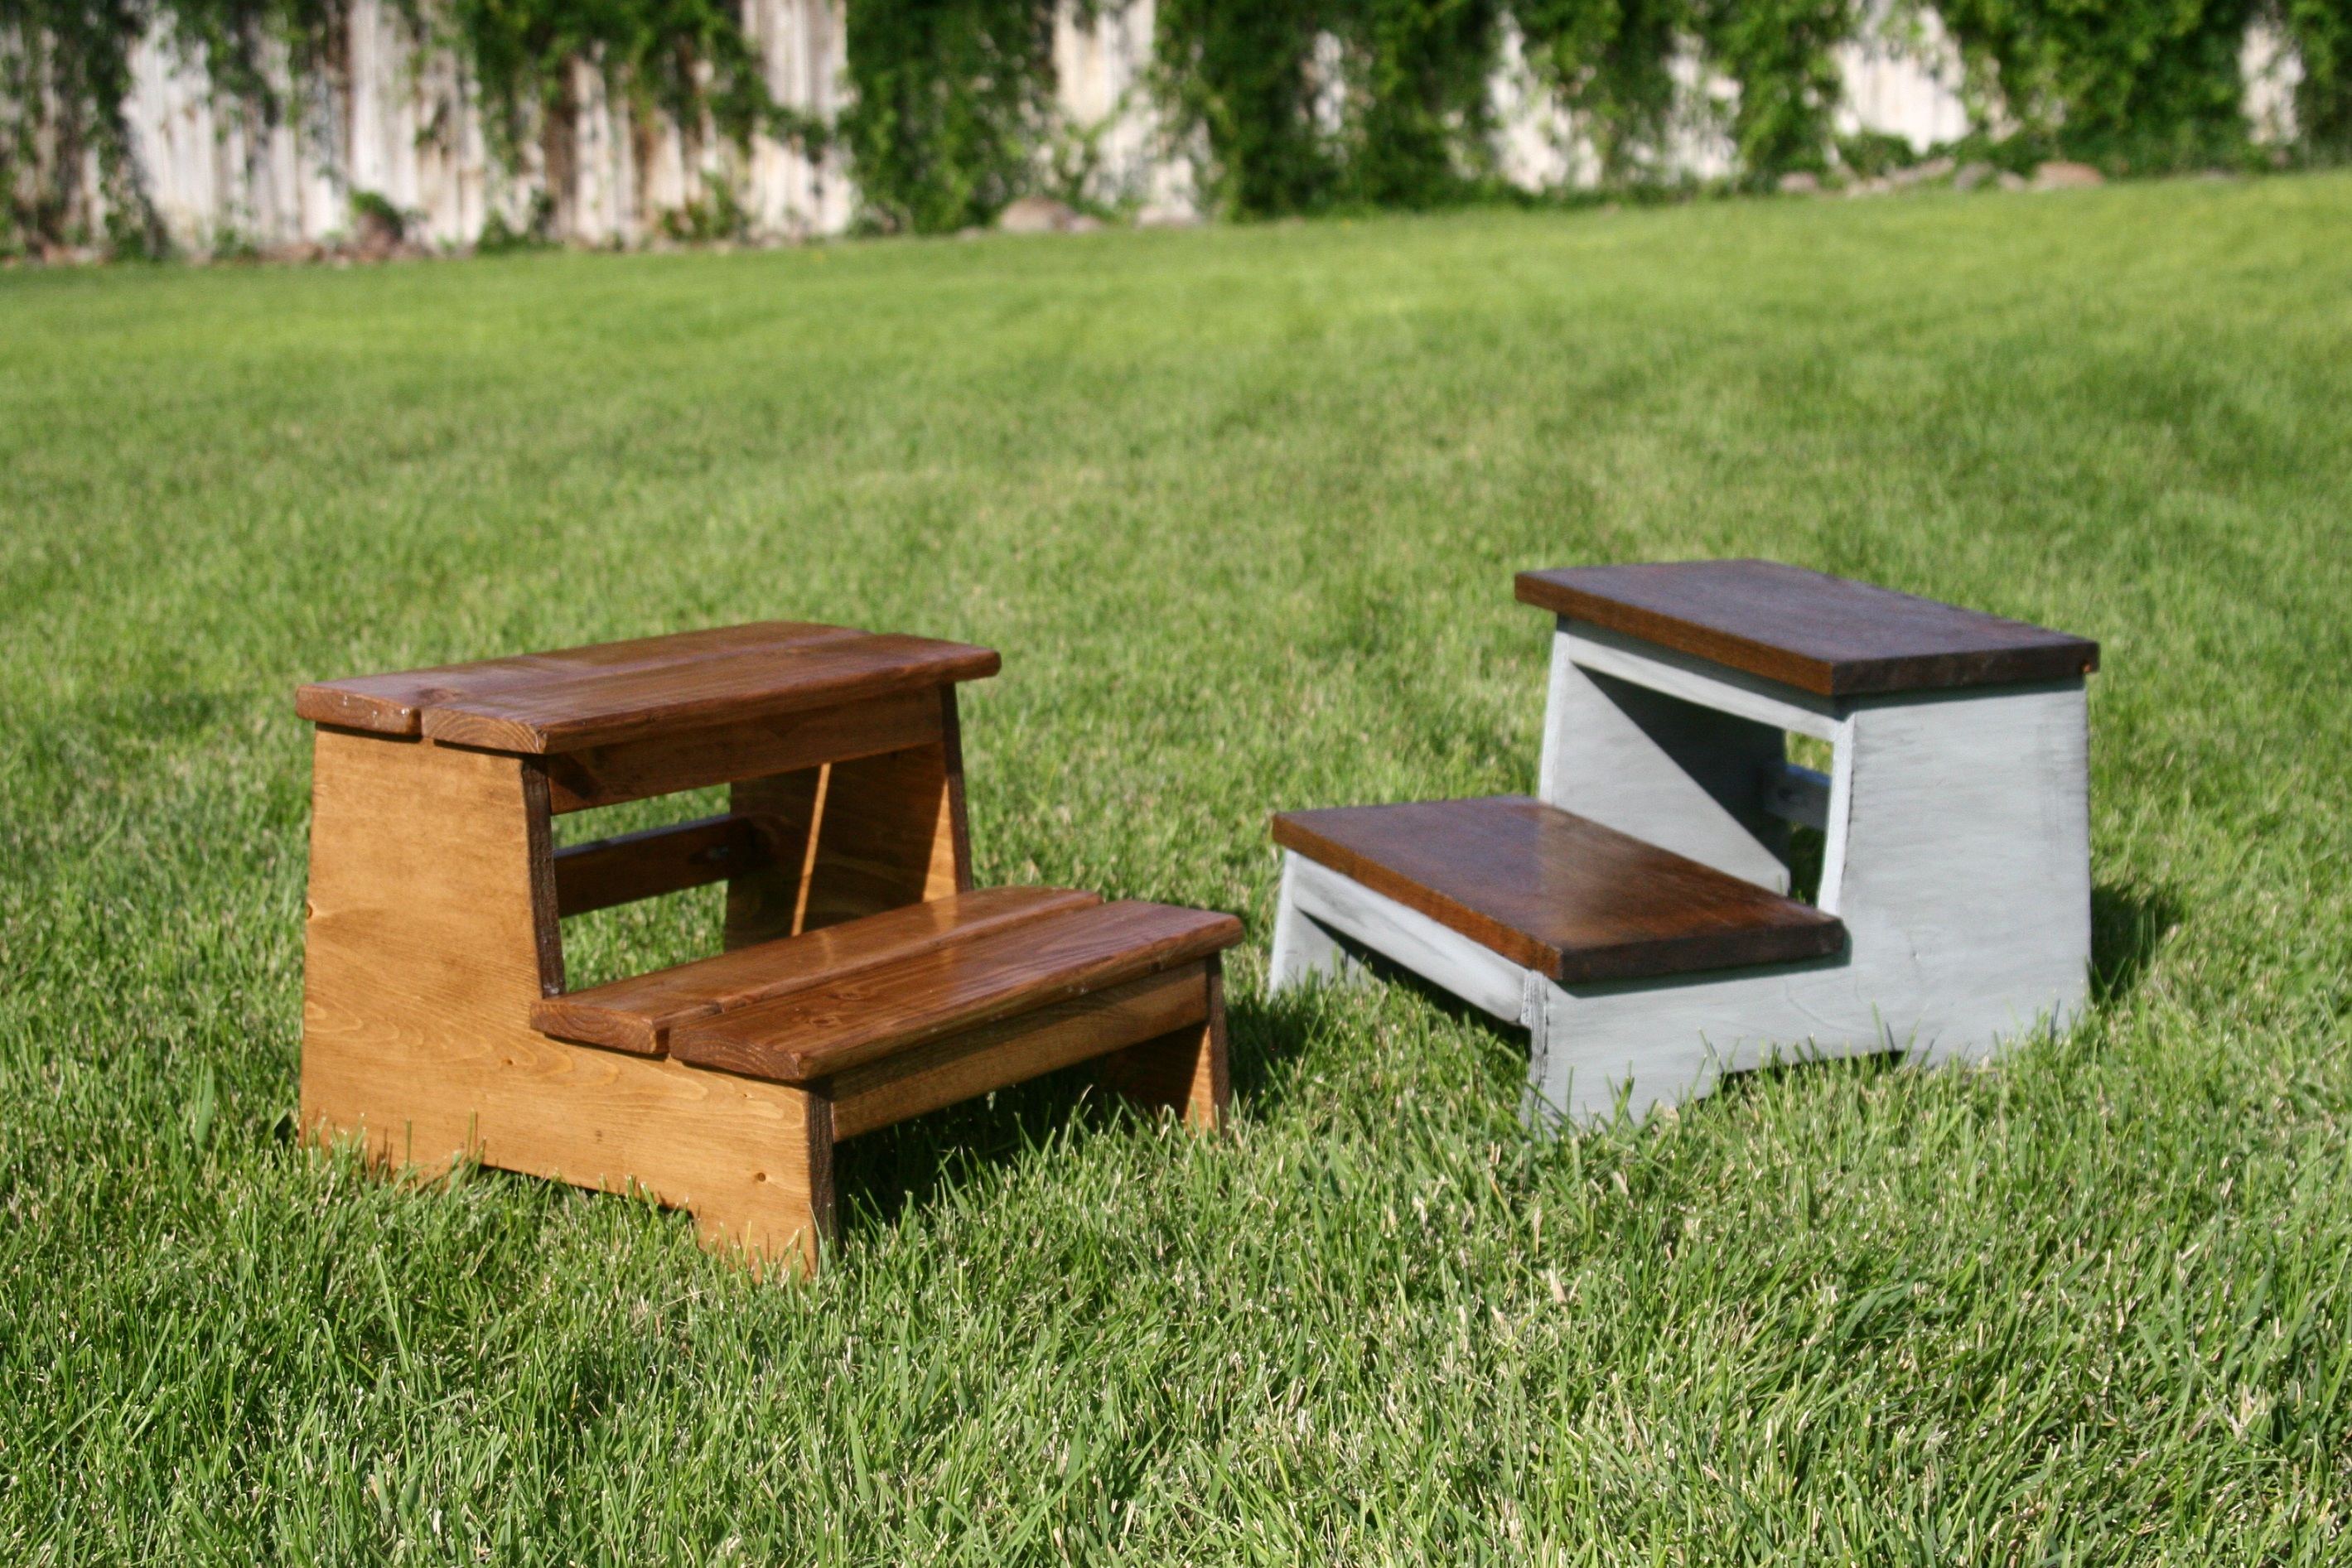
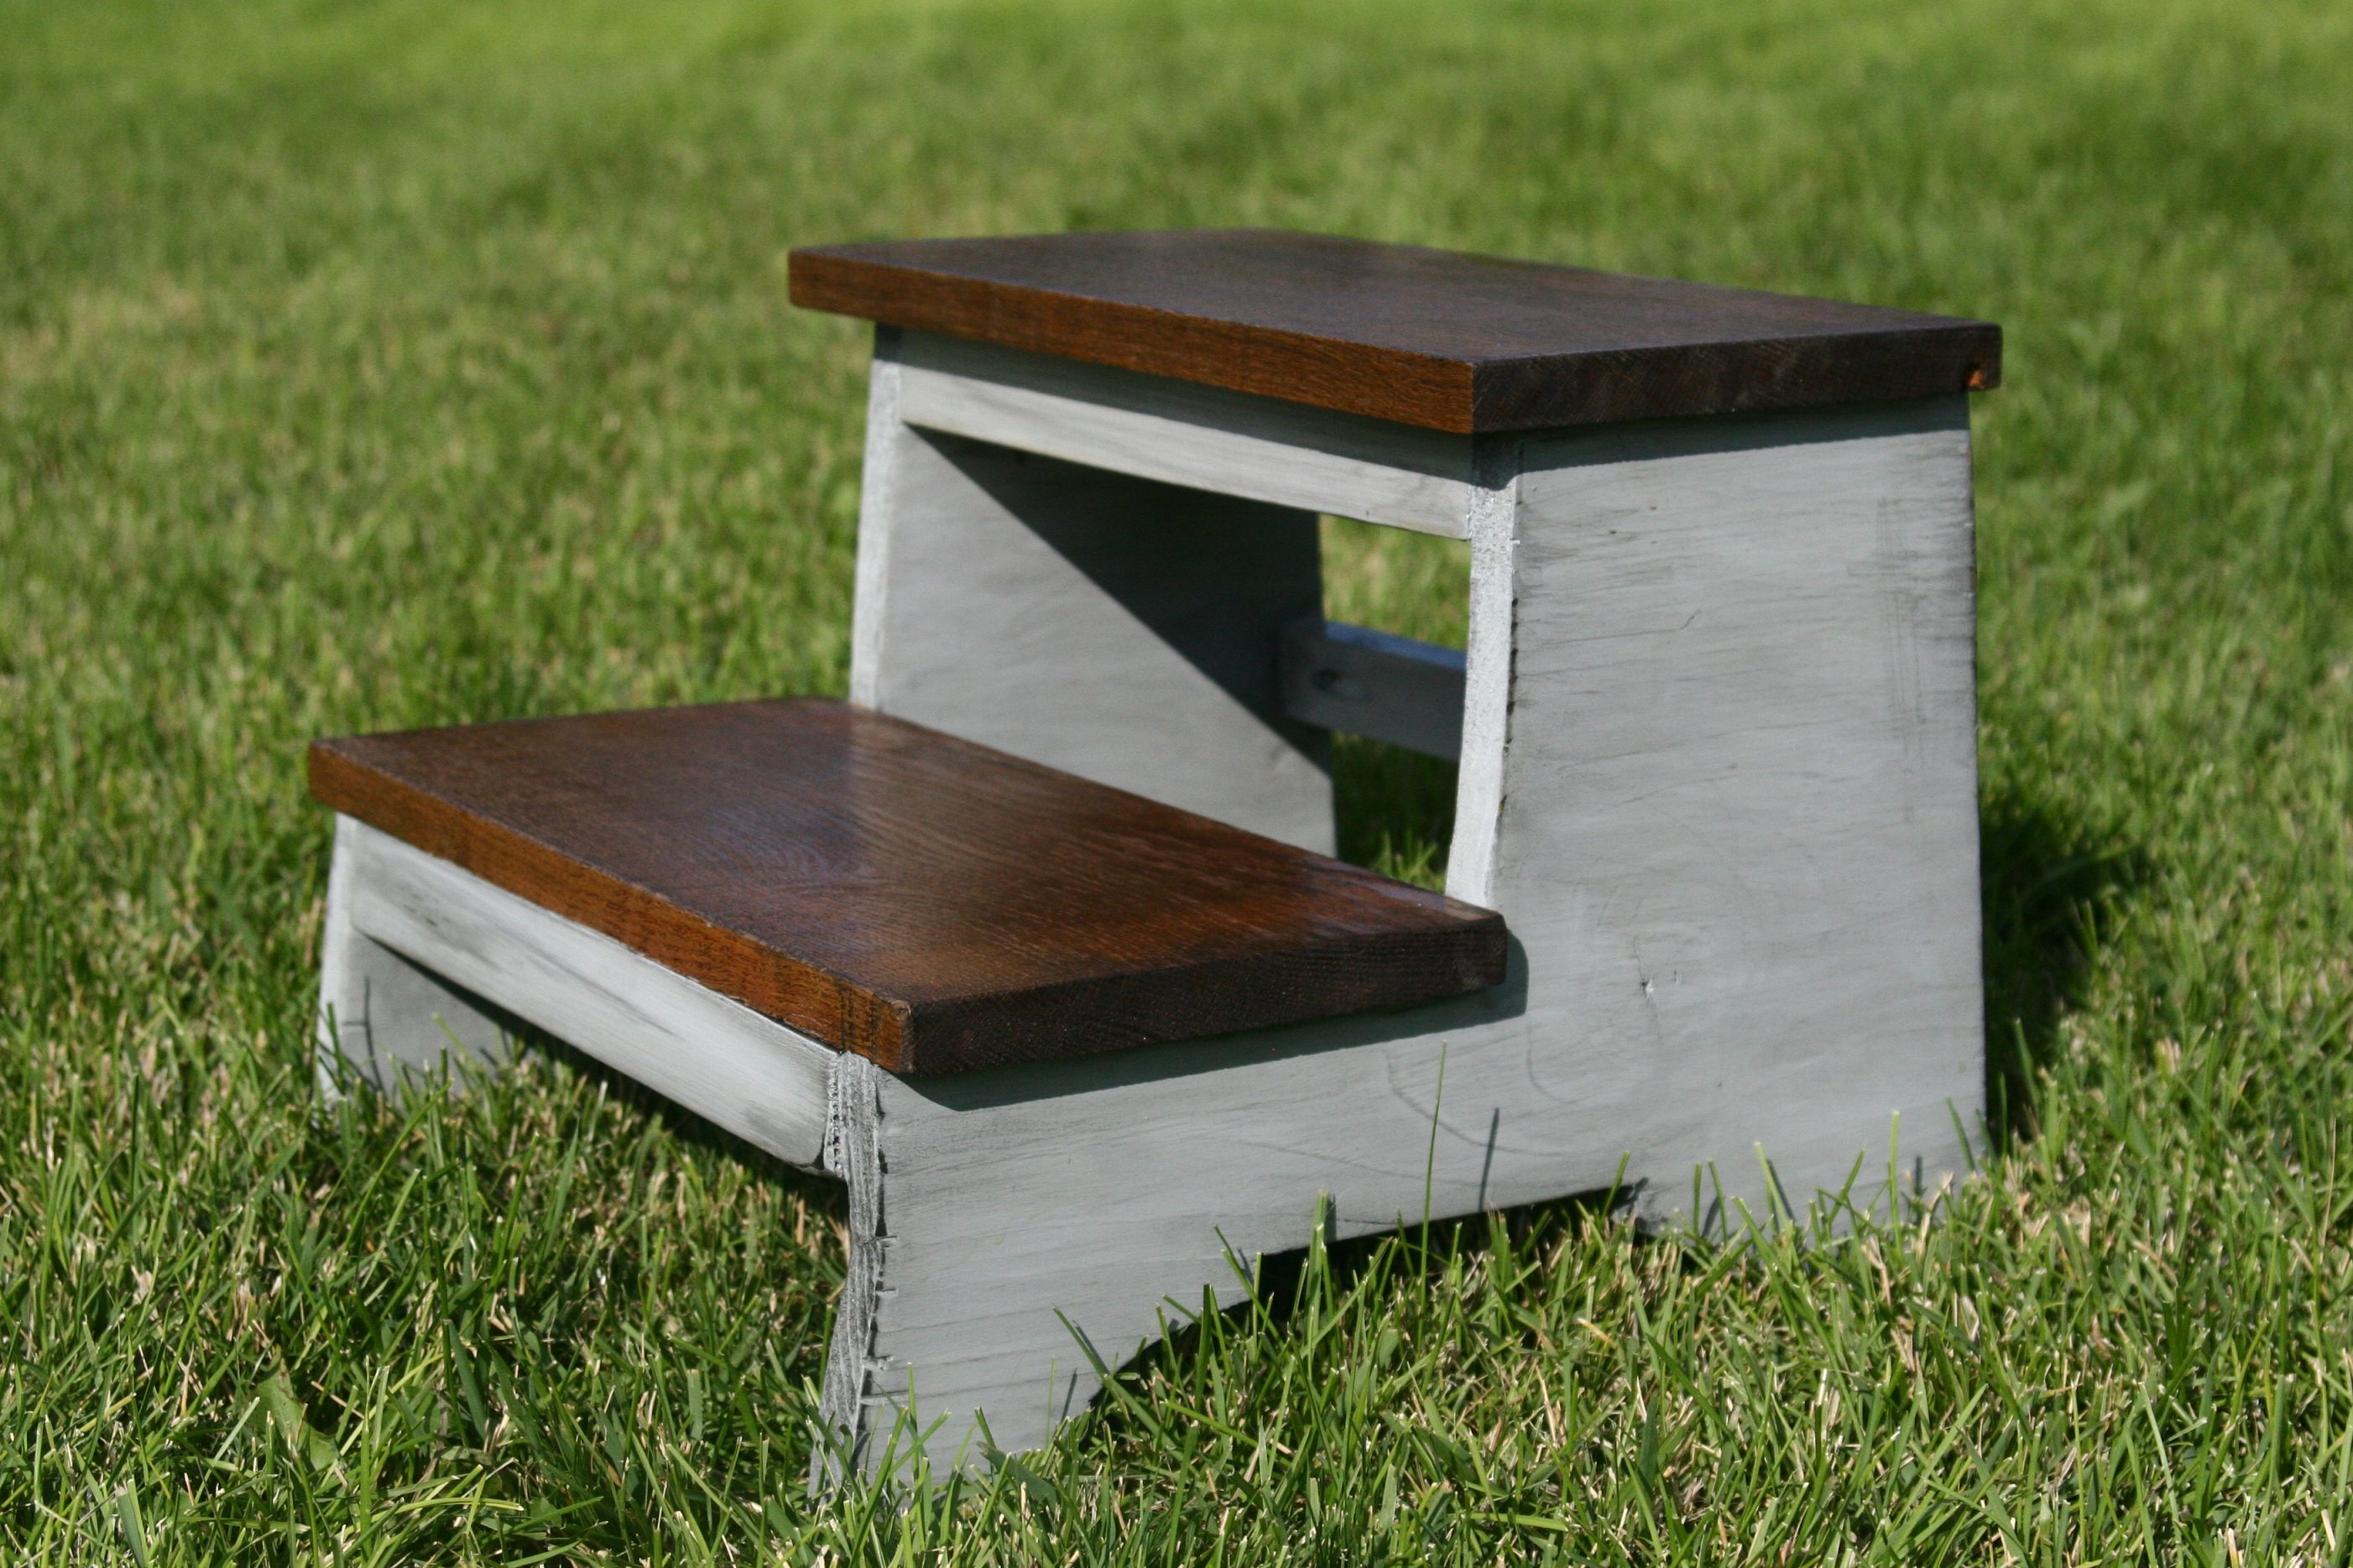
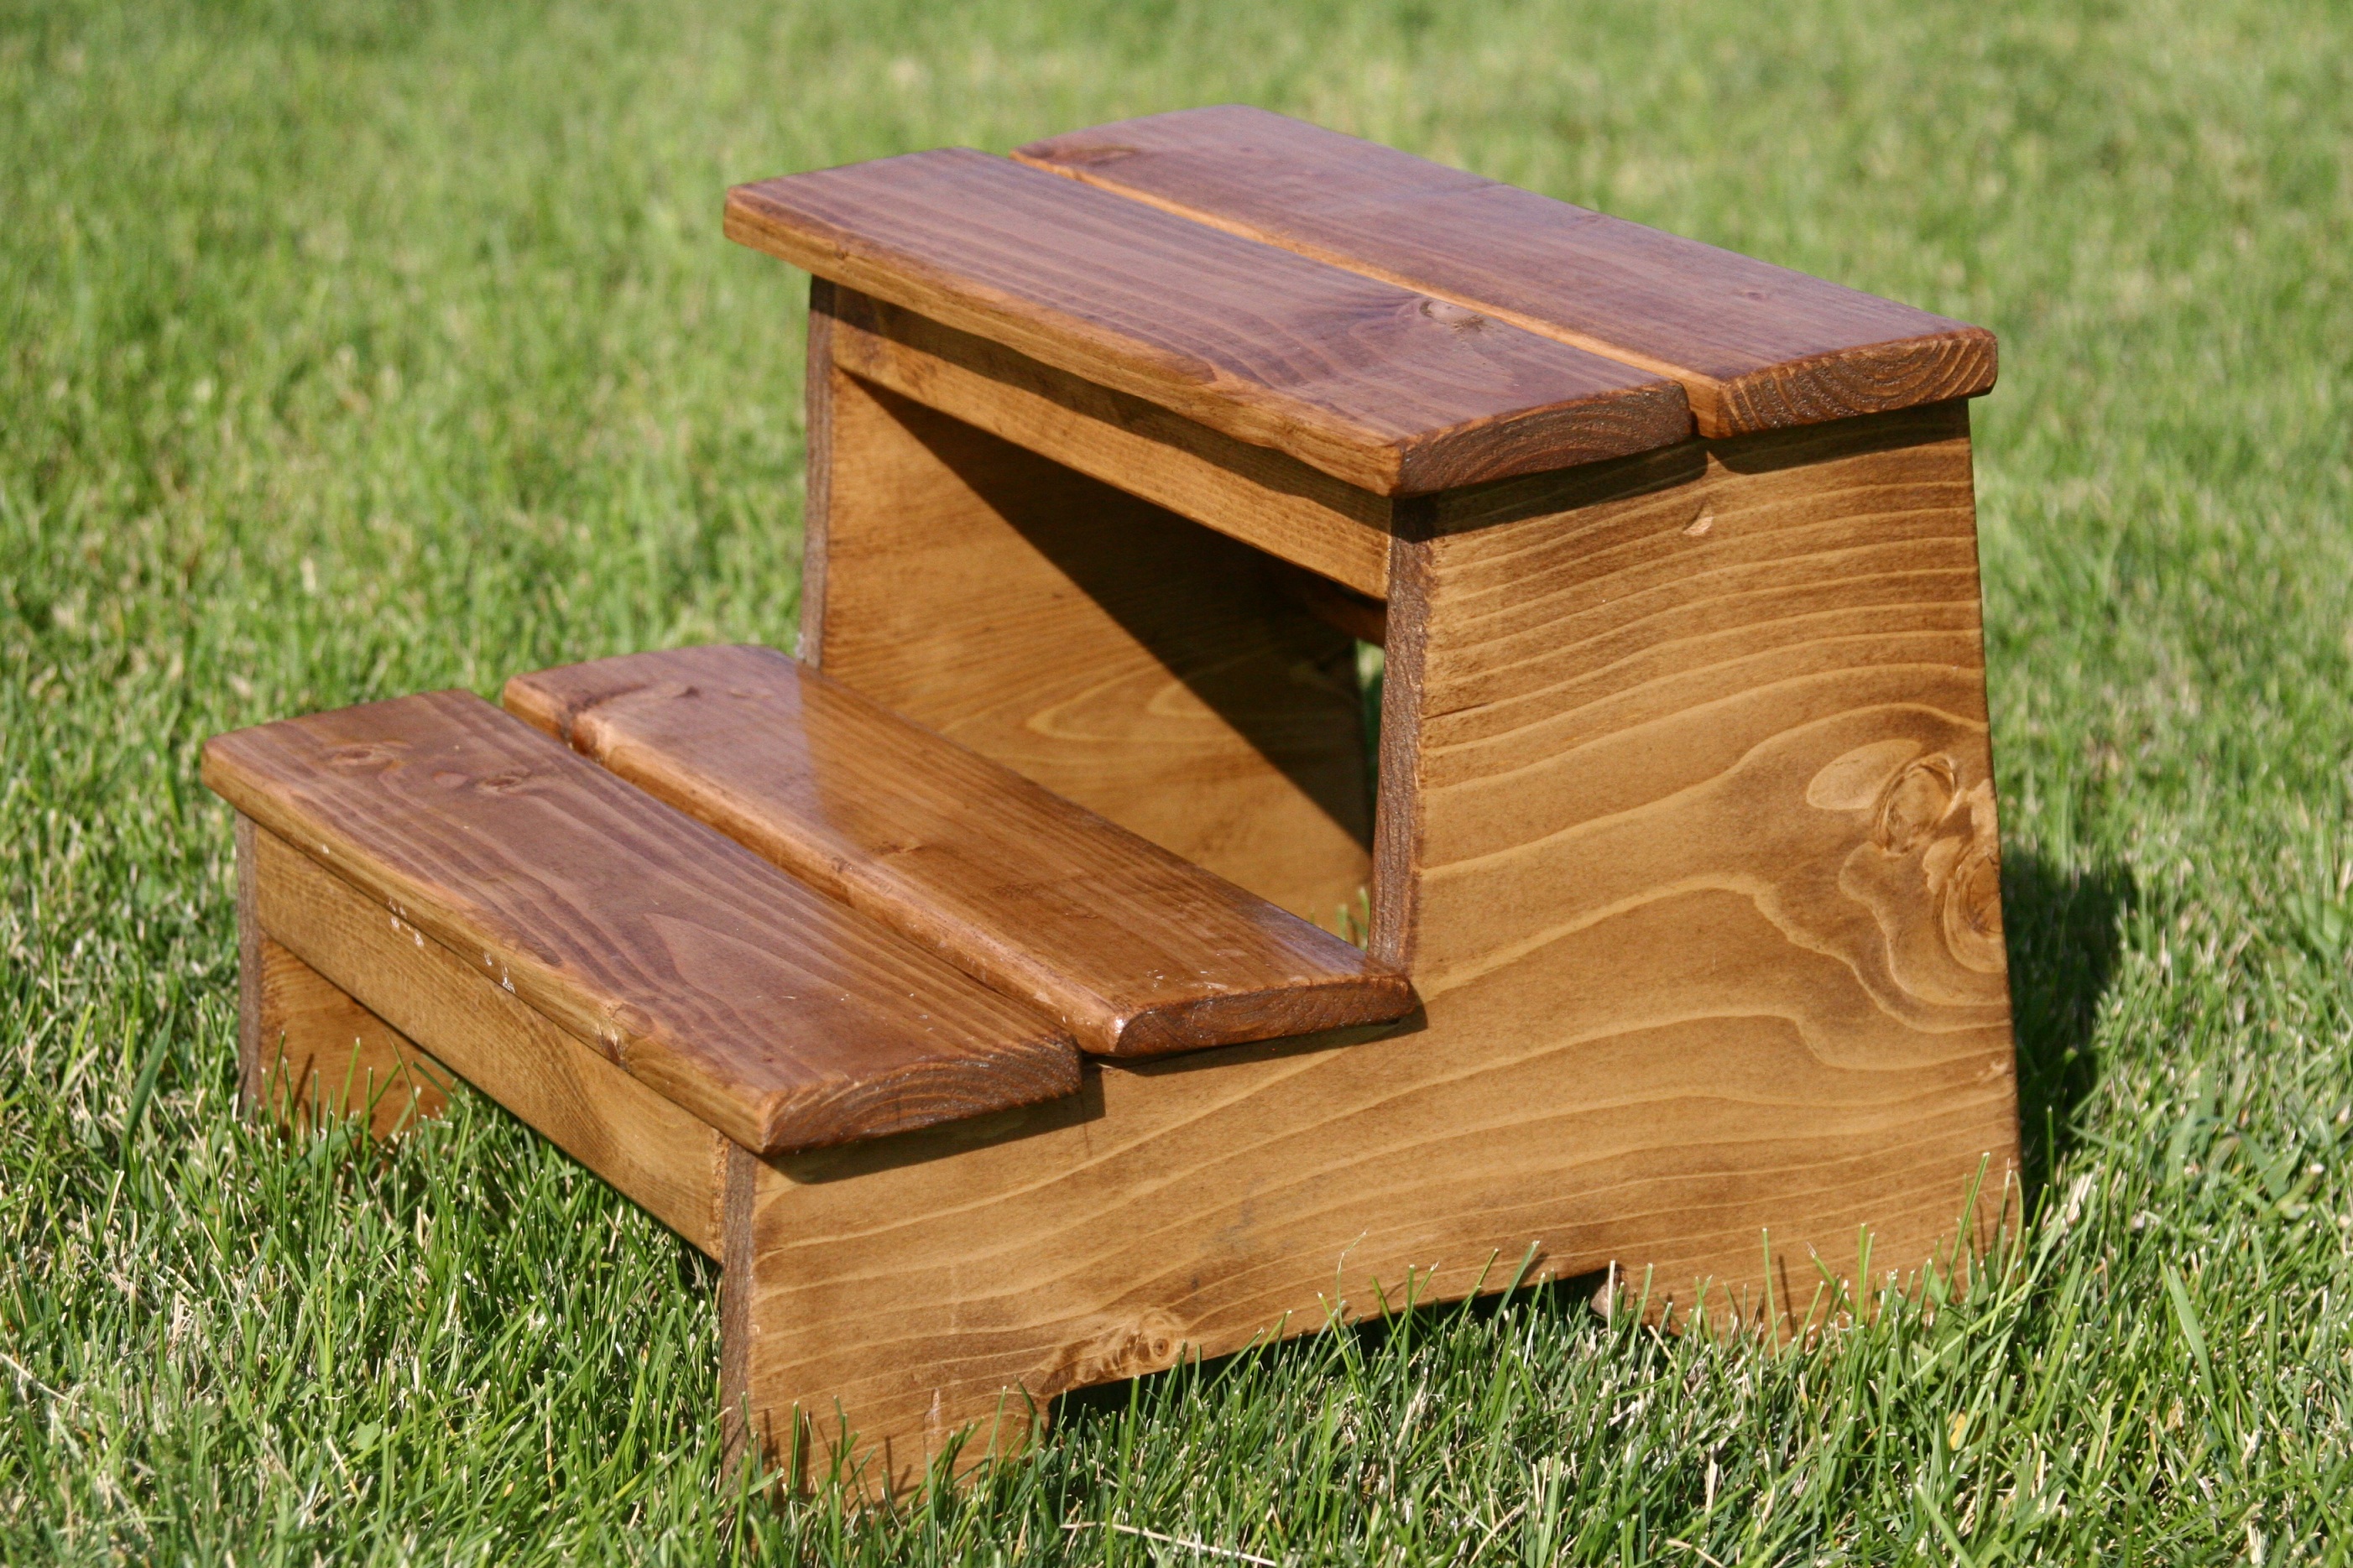
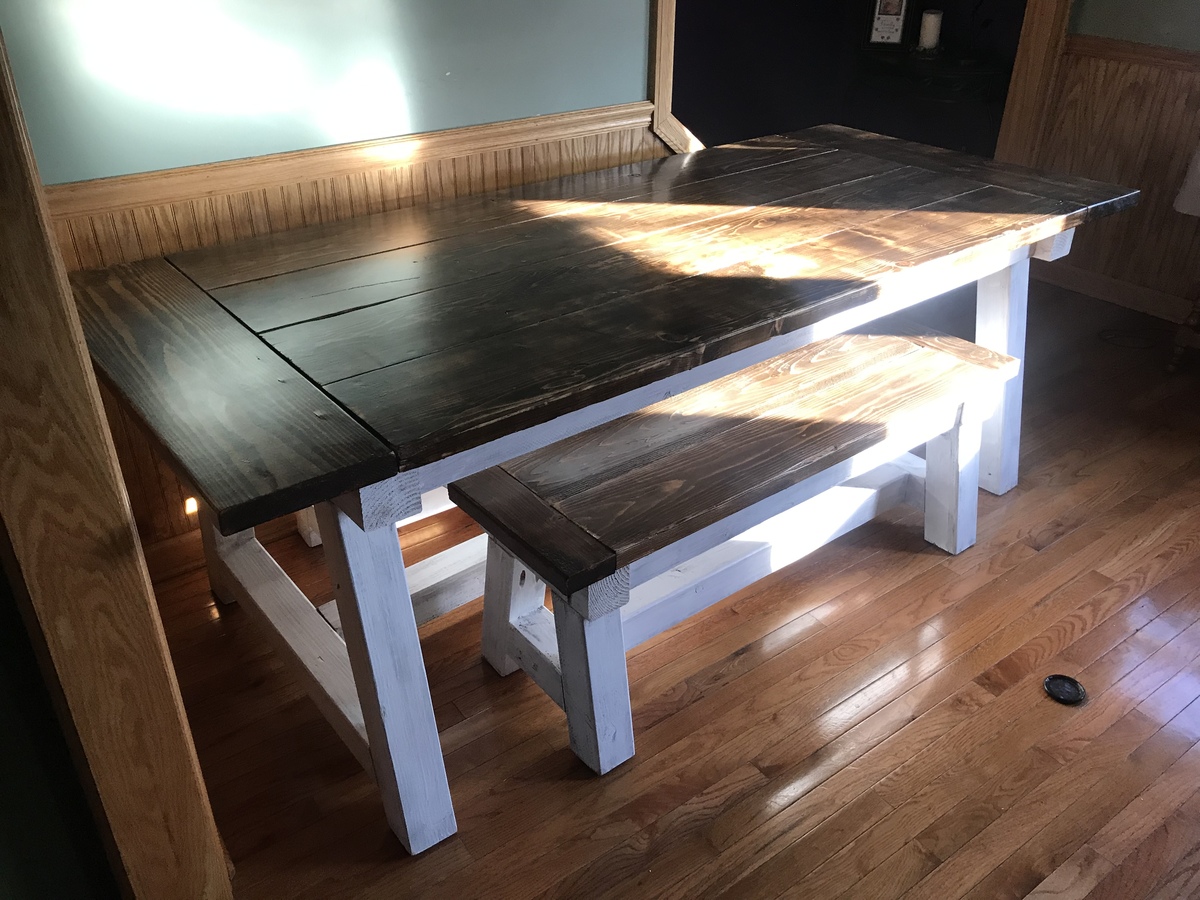
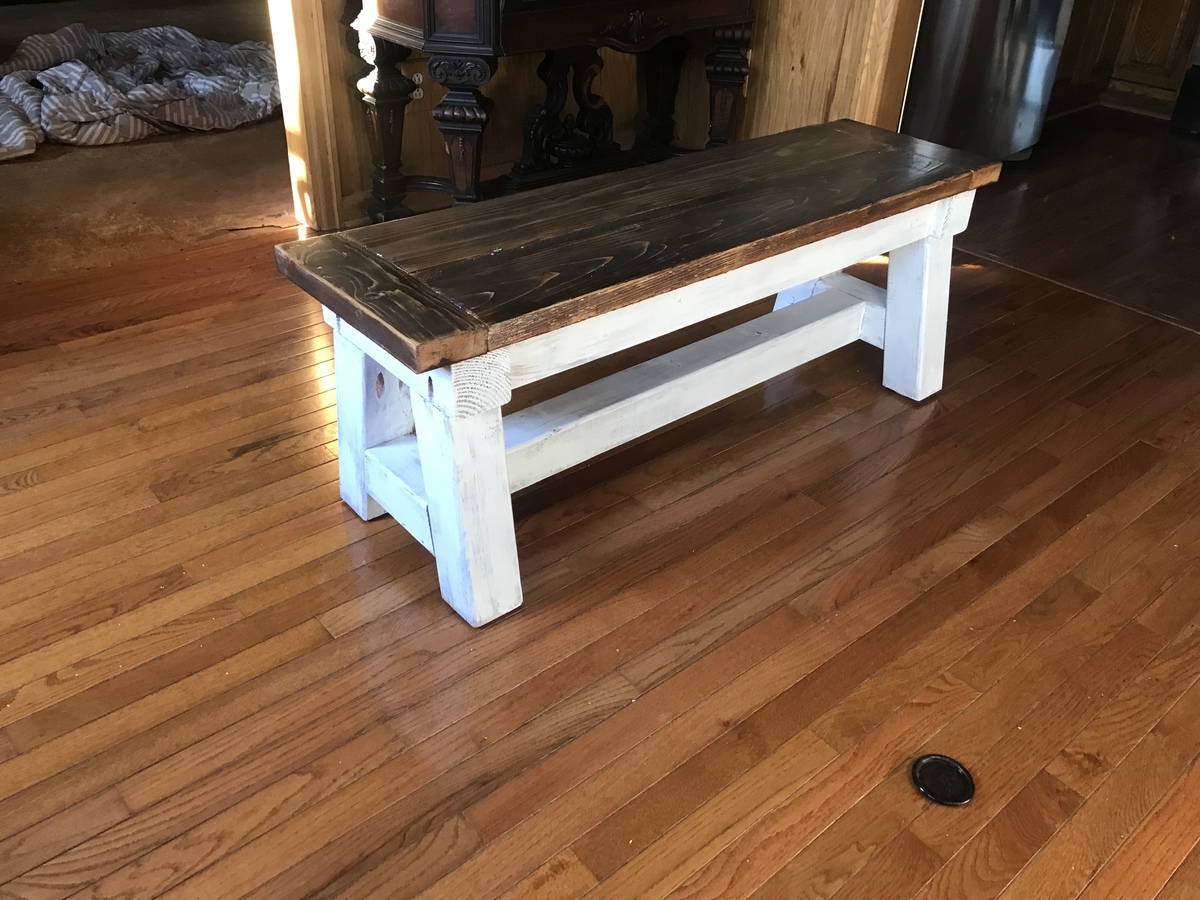
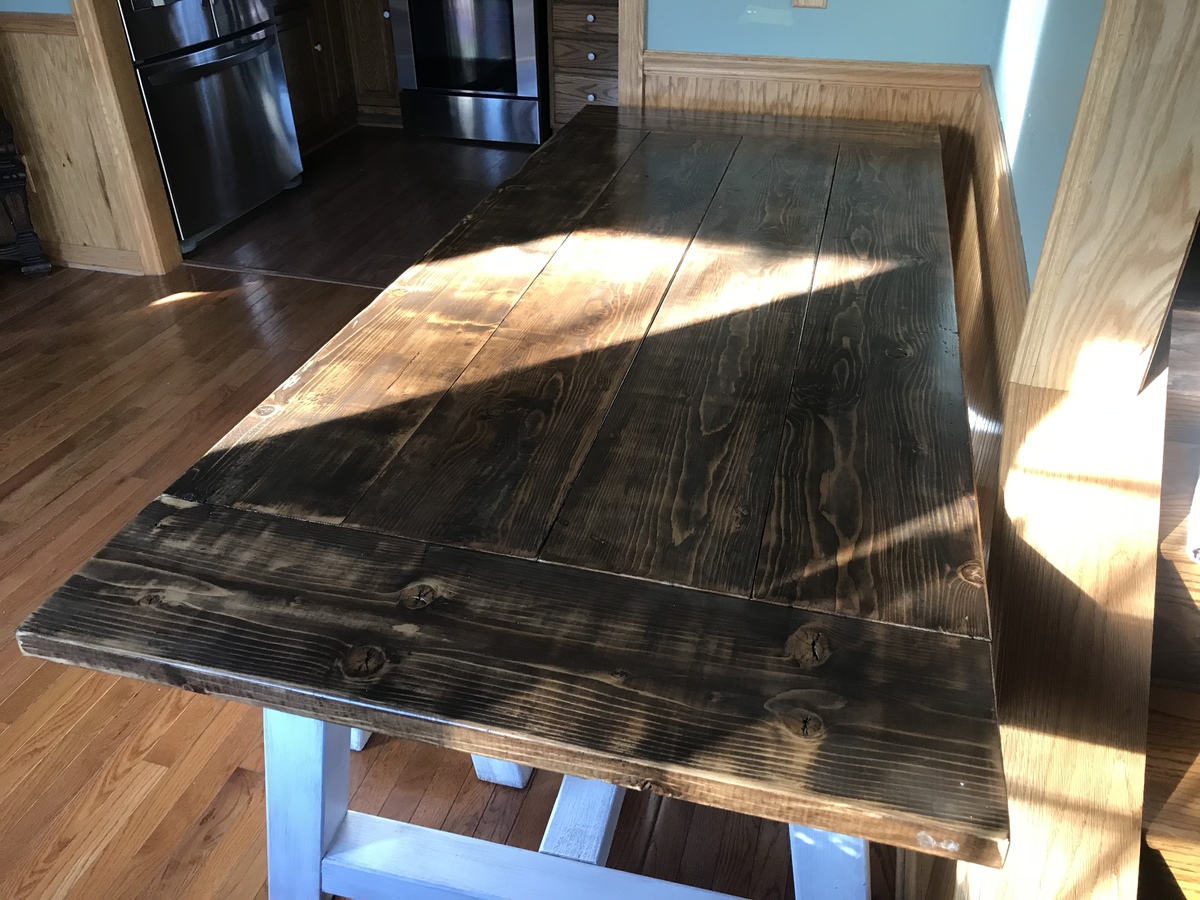
Vintage Simple Bench Nightstand
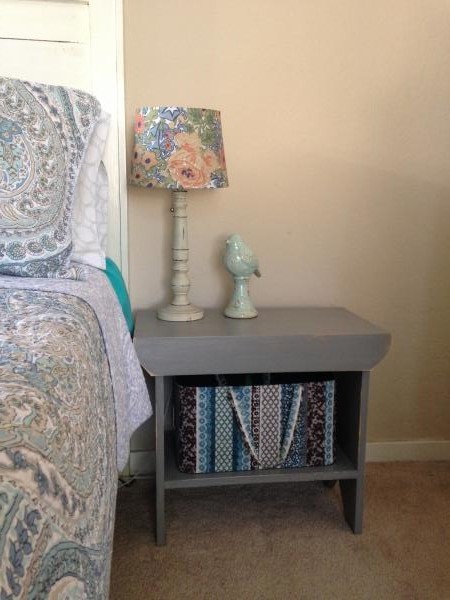
I loved the country gray paint, so stayed with that. But my bed is one of the farmhouse beds and needed it to be a little taller. It turned out beautiful and have already made a second to match!
Pine box with walnut top and drawer faces. Behr paint on the box and tung oil finish on the walnut.
Designed a loft bed for teenage son. We used iKea shelving cubes for stairs/storage. The boards(flooring) are pine boards stained a dark brown. The other wood is painted black. The "headboard" is actually the bookcase shelf from his desk.
I had been eying the IKEA Expedit 4-cube bookcase and figured I could build it for cheaper and have lots of leftover plywood for some other projects. I was right!
I built this shelf for my mudroom. I modified this plan to fit my space, it is 36 inches wide. I also used 3 - 1x3" pine boards for the top. Love this plan so much that I've made two more to give away as gifts!
I built the beauty storage cabinet with sliding mirror door from Ana White's website.
Queen bed with shim head and foot boards
Just wanted to share the results of the sectional I built with your plans.
I’m new to woodwork, newly retired, built these for my daughters, with a twist, she wanted a lounger sofa, hope you like.
I made a few changes to the Farmhouse Bench plans as I wanted to match the design of the table. Most notably, I lengthened the seat boards to replace the breadboard end caps. This made my total length 67″, the perfect size to fit under the table if needed. The width was changed to 15″ and the height remained 18″.
In reply to finish by suze (not verified)
Wed, 08/08/2012 - 13:31
I did. Being that it was cheap pine, I used Minwax pre-stain conditioner as directed on the label.
We haven't had bed frame since we moved from Florida and as we now have our own home, it was time to get one. My friend gave me headboard they had no use, so I just had to build rest of a frame.
Notice that we are middle of the hole house renovation so we have no trims, walls are lacking paint etc :) I still need to make night stands and closet for us :) Let see how they come out.
Follow our projects and life middle of the mountains in my blog :)
Followed the plans for the Easy monogram snowflake, painted it with pewter gray, and added a set of battery powered led lights to the back. Thanks for the plans Ana fun build and now everyone wants one.
Mon, 11/23/2015 - 07:21
What a great idea! How are you hanging this? It looks like it is floating.
Great project for my first attempt at building a farmhouse table. I adjusted the base to allow a chair to slide in at both ends. Braced breadboards on each end with (3) 2x4. Very strong and sturdy. Decided not to use the lower base support to see how it held up and has been extremely stable. My wife liked the open look so that's all I needed to hear. Excellent plans, had fun and came out better than I anticipated!
Built-in floating shelves!
by Lisa
I fell in love with Ana's plan for this vintage step stool. I made three, but one has already gone to a new home (my sister's house). I used all scraps, I didn't have 1x8 for the treads, so I slatted two 1x4s. Then behind my husbands pile of scrap wood in the shop I found two planks of 1x8 oak!!!! I made the second two stools with the oak for the tread, but didn't want to cover it with paint, so I stained the top treads. This also was my first build using a kreg jig, I borrowed my sister's 'kreg jig jr.' It made the assembly so simple and quick! These have been so nice to have around the house for the kids washing and brushing and helping in the kitchen!
This project was made from Ana White's apothecary media console plan. The finish is Minwax Special Walnut on the drawers and top. On the sides is a finish technique I found on thehouseofsmiths.com - Faux Barn Wood Painting Tutorial.
Anna White Beam Table with Benches
This was a fun build. I used the HD Kreg Jig for the 4x4 beams and a standard Kreg Jig for the table. The bases were done with a white wash finish and the tops done with a few different stains to give it more of a barn look
Using 6’ fence slats. Planed until smooth then assembled to fill opening. Finished with beeswax and mineral oil with additional hanging hardware, handle and floor roller.
I saw this bed and just had to have it for my daughter. She loves it so much and it looks great in her room. It was easy to make, but very heavy. We were very meticulous to hang, we might have spent more time hanging it than building it :) There is more info on my blog.
Sat, 05/19/2012 - 01:31
Thu, 08/04/2016 - 18:45
I needed to use my small coat closet more efficiently (observe the disaster in the before picture!), so I installed built-in shelves along a side wall for all our board games. Not a plan really, but just a simple solution. Measure the height you want your shelves to be, install a 1X3 at that height on either side wall, making sure they are level and secured to studs or anchored (Mine are 1 foot apart up to 5 feet). Then install plywood or solid wood shelves across the supports. Screw in to secure and you've got functional, inexpensive shelving, built to fit your unique space.
I made a few changes to the chairs and the table plans. Most notable, I added a storage box for chalk for the chalkboard table top. The build was incredibly easy. You could assemble the table and chairs in just a few hours.