Community Brag Posts

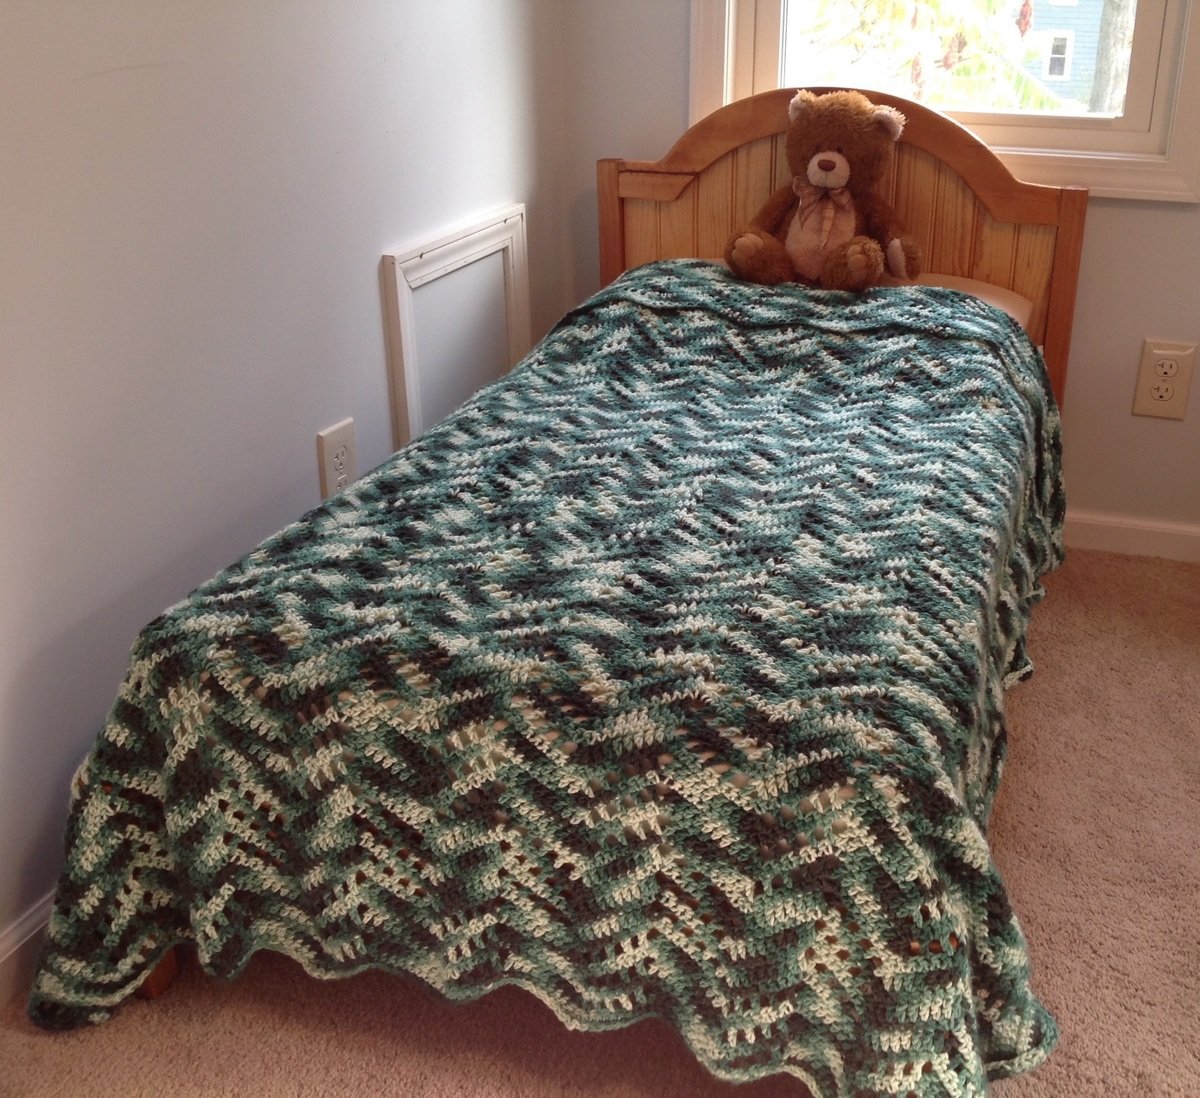
Toddler bed

Submitted by Mommaoven on Fri, 10/24/2014 - 21:38


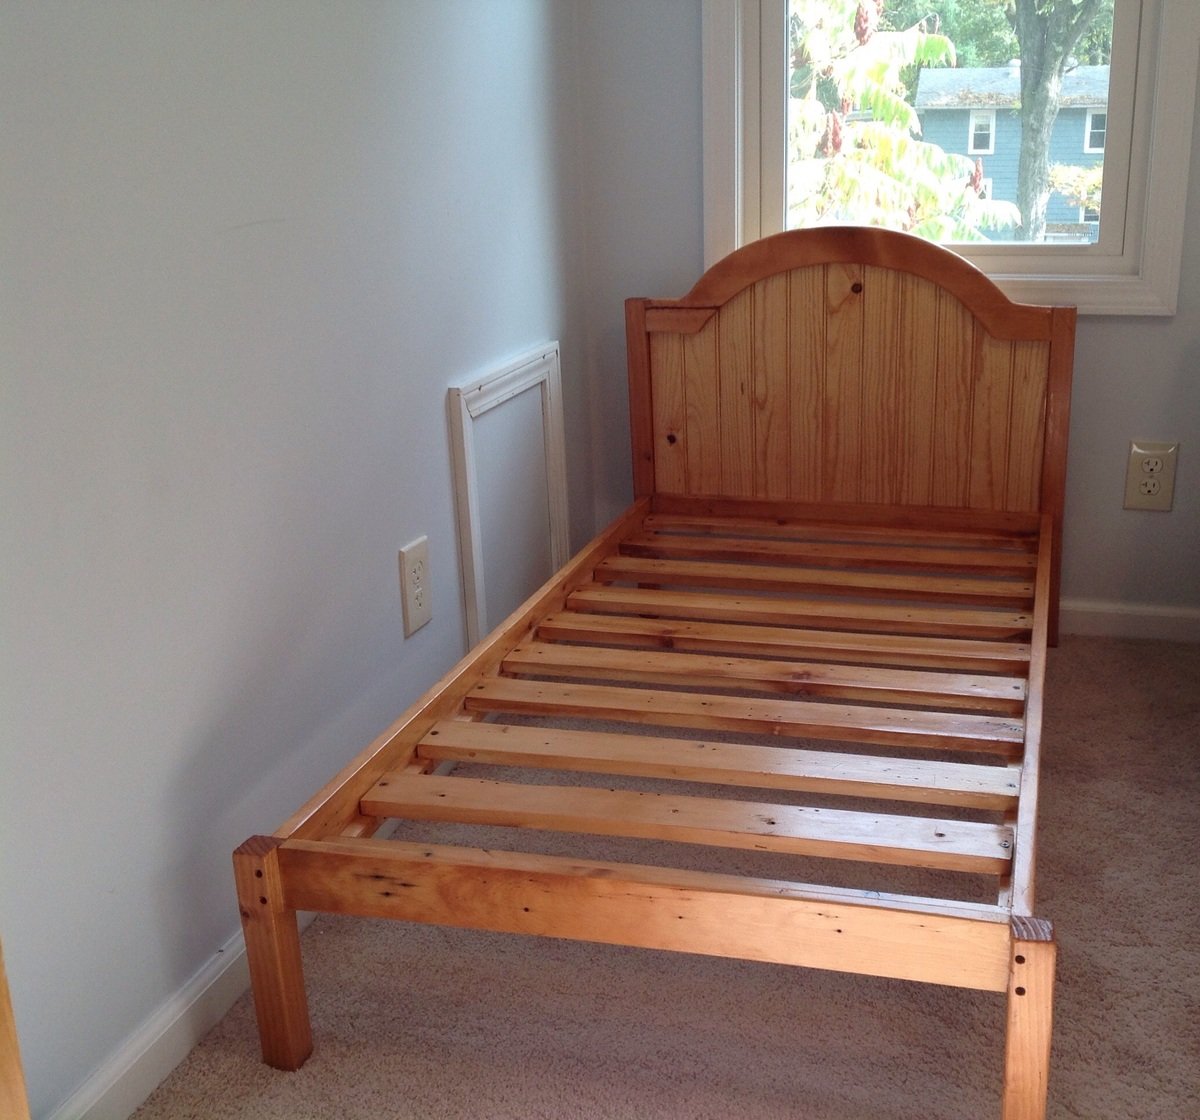
Pottery Barn inspired toddler bed, made with reclaimed lumber from our home reno. The wainscoting is real (not mdf), $2 from the HD cull lumber rack. It had a damaged piece, but the remaining part of the board sufficed for this small project. Screws are countersunk. 

The curve is elliptical (drawn with loop of string and two nails for foci, transferred to board and cut with jigsaw)

The construction is lighter than the original plan, using what was at hand and for a young toddler. 

Built from Plan(s)
Estimated Cost
$2 lumber
$3 stain
$1 screws/sandpaper wear/saw wear/etc.
Estimated Time Investment
Weekend Project (10-20 Hours)
Finish Used
Minwax "golden pecan", clear poly.
Recommended Skill Level
Beginner

DIY BARN DOOR STYLE SHUTTERS IN THE MAN CAVE!

Submitted by Anonymous (not verified) on Thu, 02/02/2017 - 08:39

Ever since we've moved into our new home, My Husband Matt has put his room (Or "Man Cave" as we know it) on the back burner so that other things could be done first. He has been so sweet about letting me use it for home decor, event decor, clothes, and misc. storage. 

Well, since the hectic first couple of months as new homeowners is starting to die down, I had made my mind up that I would help him get started on his Man Cave as an early Birthday present! He deserves it!!

In passing, he made a comment to me the other day that he would love to have some kind of rustic window treatments in his room. I pulled up Pinterest and nonchalantly pointed out a couple of ideas to see which one he liked the most. We went in the room together and he started to describe what he wanted them to look like. (Again, he was saying this in general. I doubt he thought I was crazy enough to attempt it. Welllll…)

The next day I worked on my usual “project prep” routine:

  • Find the best design that will fit the space.
  • Take measurements
  • Draw up a plan of what it should look like and include measurement points
  • Take measurements, AGAIN, just to be safe
  • Look for Lowes or Home depot coupons
  • Head to the store and get this bad boy rolling!

I first measured the window casing. (My window casing doesn’t have crown molding around it on the sides or at the top, which was a plus! This will make them easier to attach!)

My window measures 35″ wide and 58″ tall. So, here’s how I figured the math:

  • If the window is 35″ wide, and we need two shutters, we will need to divide 35″ by 2, giving us 17.5.
  • I would like to get a little room for clearance, so lets round both sides to 17 even, giving us a 1 inch clearance. (Room for the doors to open and close properly without worrying about rubbing.)
  • You will want the shutters the same height as the window of course, so each of my shutters will need to measure 17″ wide and 58″ tall.  There are tons of different styles for these shutters so all you need to know is that each shutter needs to be half of the window width (minus 1/2 inch from each shutter for clearance.)And then you can just decide what design and boards you want to use.
  • I used (4) 1×10’s for my shutters. (And if you are familiar with wood, you know that the real measurement for a 1×10 = 9.25, so I had 37 inches of wood to work with.) I trimmed 1 1/2 inches from each of the inner 1×10’s to get them where I wanted them to be. Leaving them as 7.75″.
  • You will need 1×4’s for both sides on the window to attach your shutters to. They will need to measure the length of your window as well. (1×4’s are really 1×3.5)
  • For the boards that lay across the shutters, I purchased (4)  3×24 thin boards.
  • Cut these boards to the same length as each shutter. Which in my case, would be 17″. DON’T FORGET you will need to also cut (4) pieces to go on each of your 1×4’s that are on the sides. The latches will sit on these pieces and make them even with the pieces that are on the shutters.

So, after my cutting was all said and done, I had:

(2) 9.25×58 

(2) 7.75×58

(2) 3.5×58

(4)3×17

(4)3×3.5
Estimated Cost
This entire project cost somewhere around $100 to make! Including the hardware!
Estimated Time Investment
Afternoon Project (3-6 Hours)
Finish Used
Minwax Stain in Dark Walnut
Recommended Skill Level
Beginner

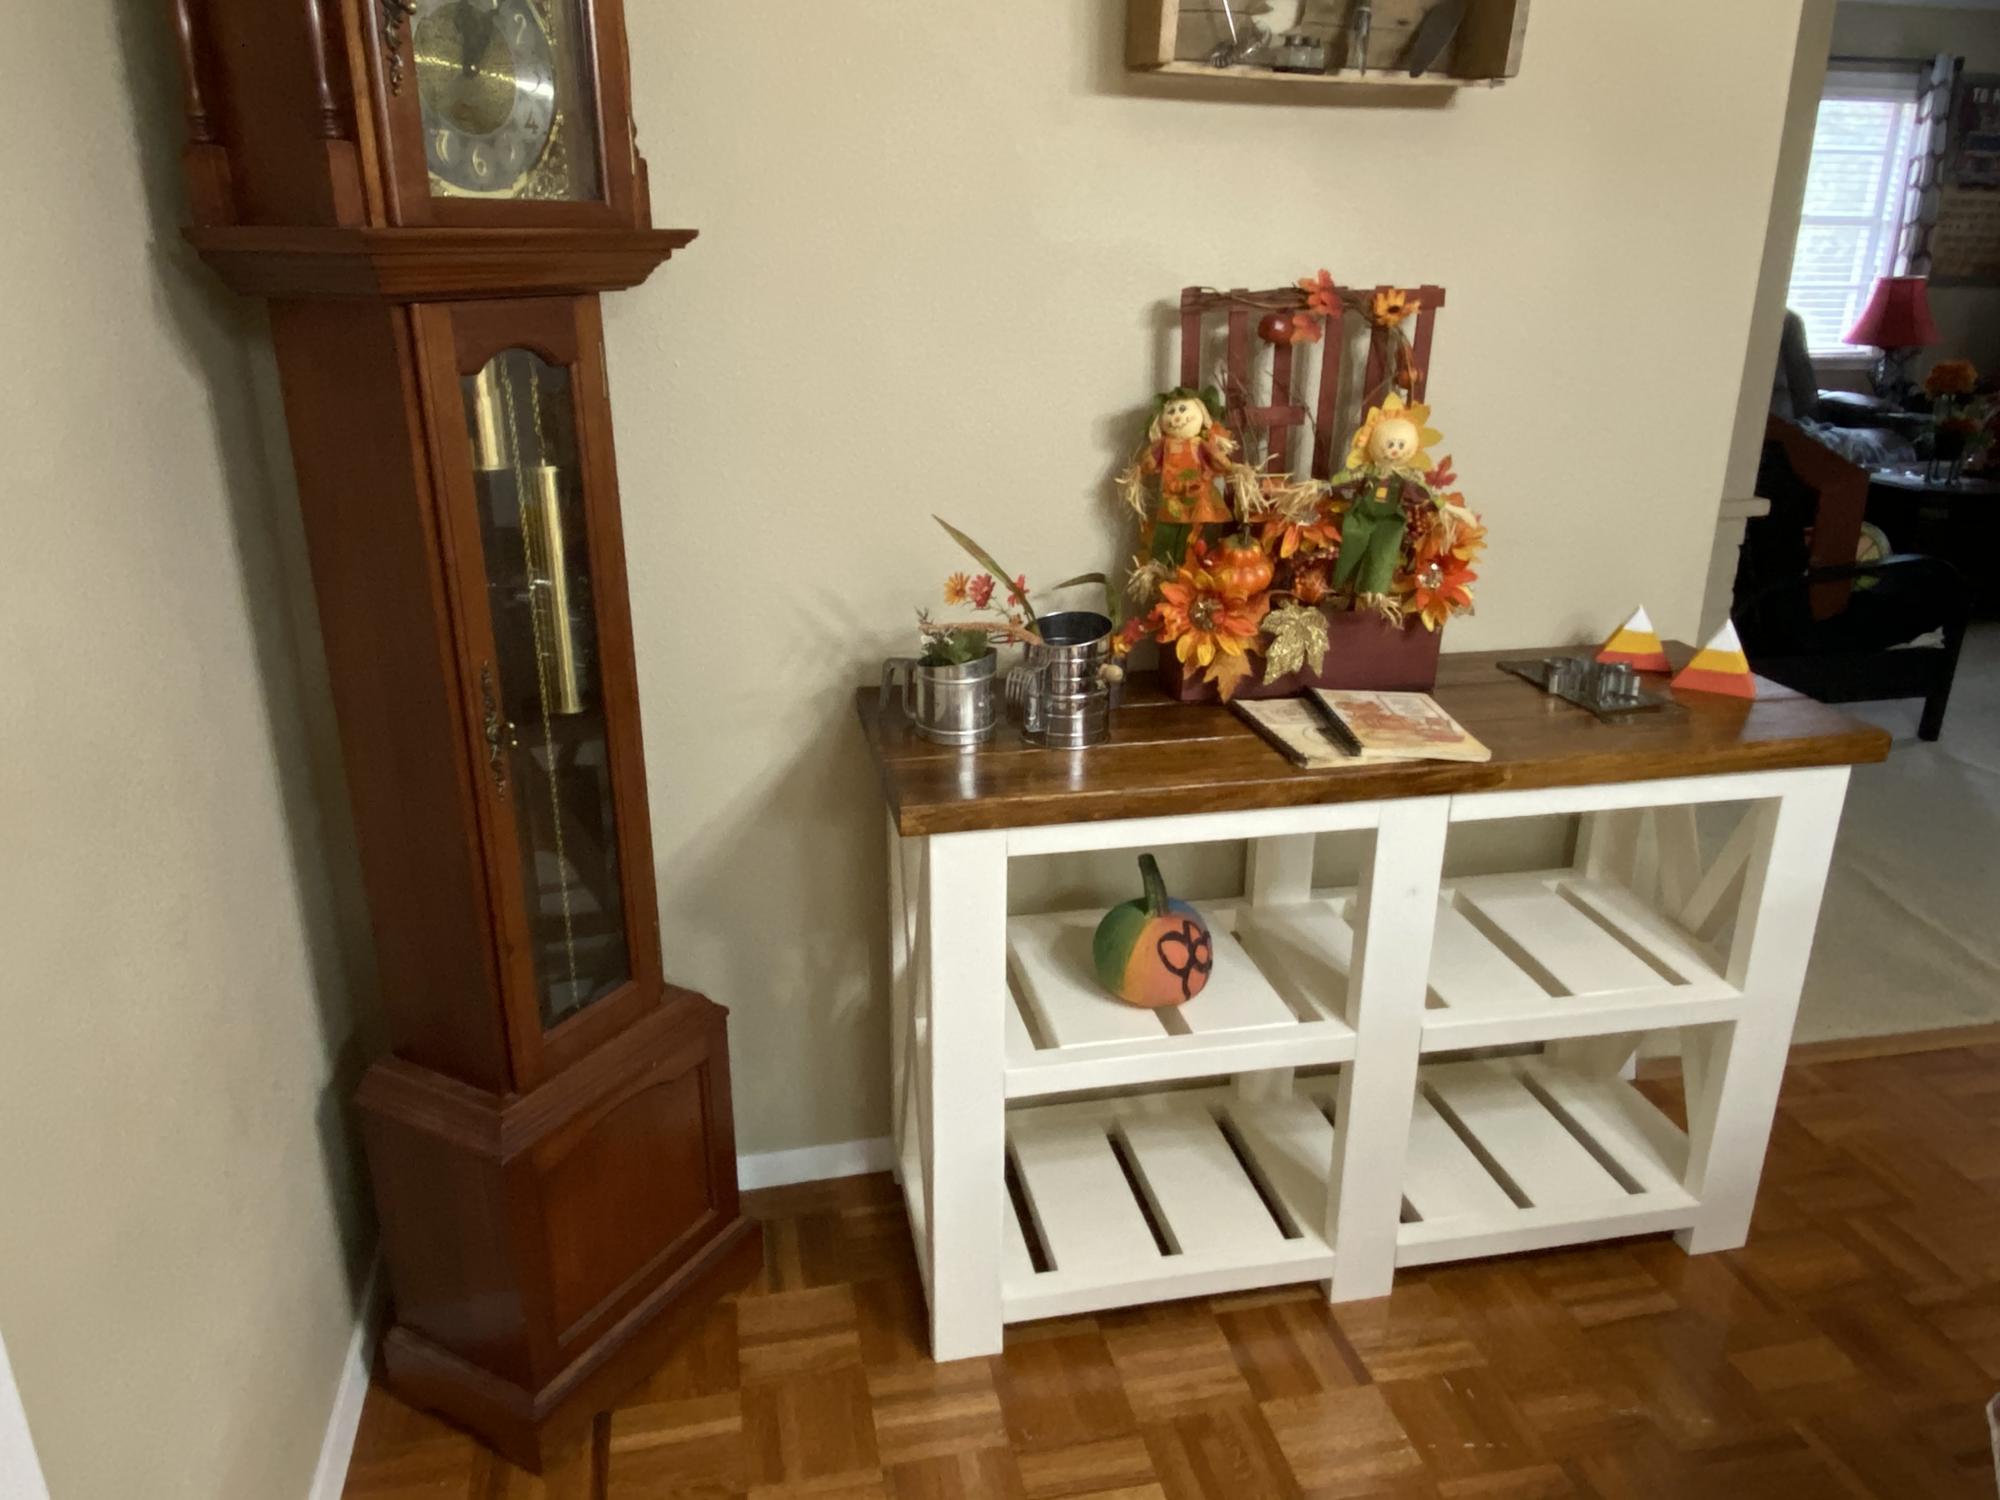
Farmhouse console table - Shortened

My wife wanted a console table for our dining room but the original plans were too big for the spot next to the grandfather clock, so I shortened them a bit and this is the result.

Built from Plan(s)
Estimated Time Investment
Day Project (6-9 Hours)
Recommended Skill Level
Beginner

Comments

Flat Wall Bookholders

Submitted by vpihoney on Sat, 01/05/2013 - 18:23

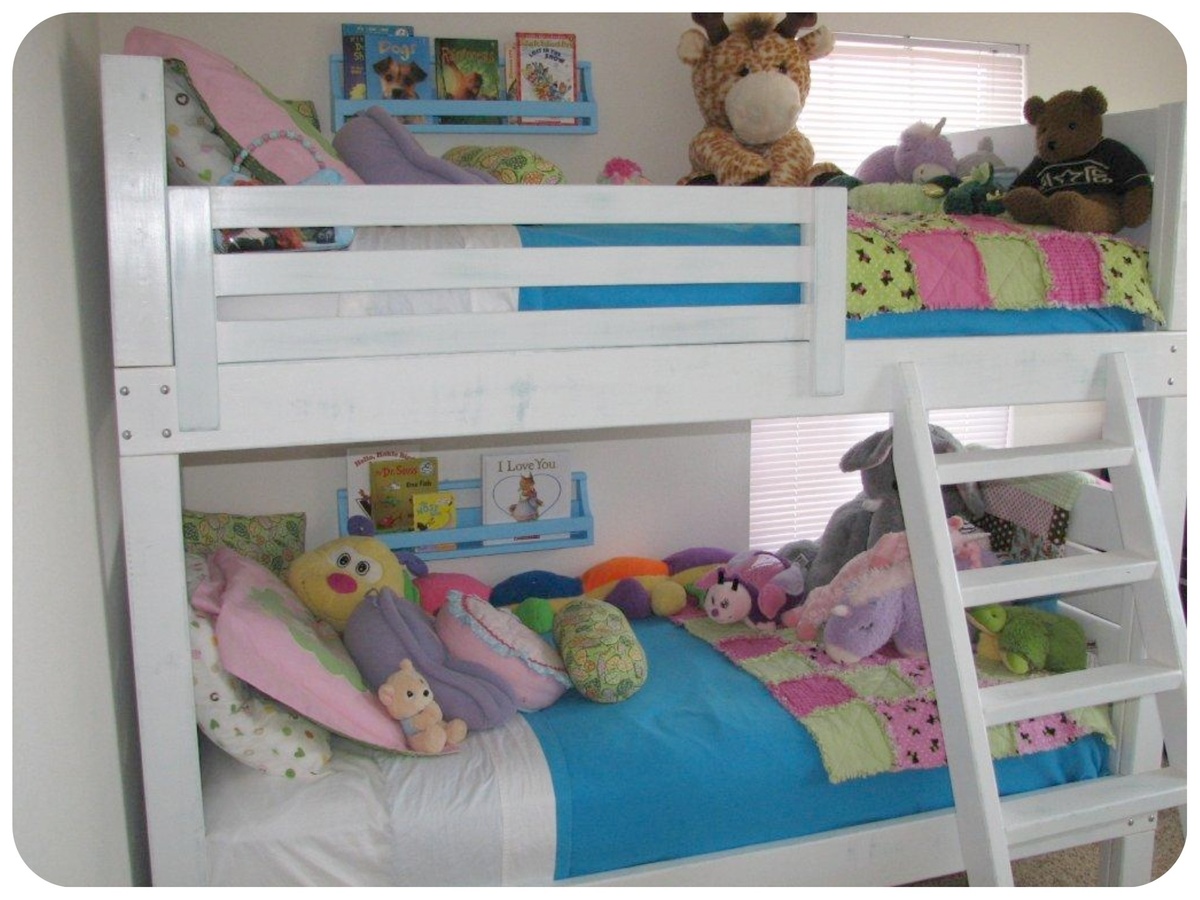
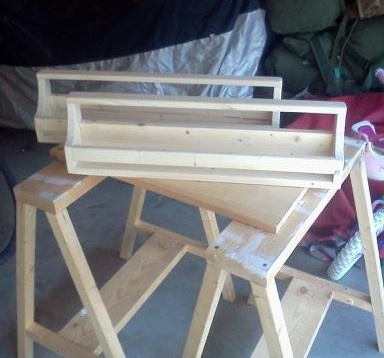
I built the flat wall bookholders to go with our new bunk beds! We love them! I built the small, 24" shelves.

Estimated Cost
Less than $10 for both 24" shelves
Estimated Time Investment
An Hour or Two (0-2 Hours)
Finish Used
A blue latex paint from Behr. Primed it with one coat of 123 Bullseye since we had a small can already.
Recommended Skill Level
Starter Project

Not So Rustic Table

Submitted by Oawad79 on Mon, 10/27/2014 - 06:44

I have built this table following the plan from the woodwhisperer website under the name "Not So Rustic Outdoor Table", Used white pine

Estimated Cost
$100
Estimated Time Investment
Week Long Project (20 Hours or More)
Finish Used
PolyShade
Recommended Skill Level
Intermediate

Farmhouse bed

Submitted by Anonymous (not verified) on Sun, 02/05/2017 - 16:19

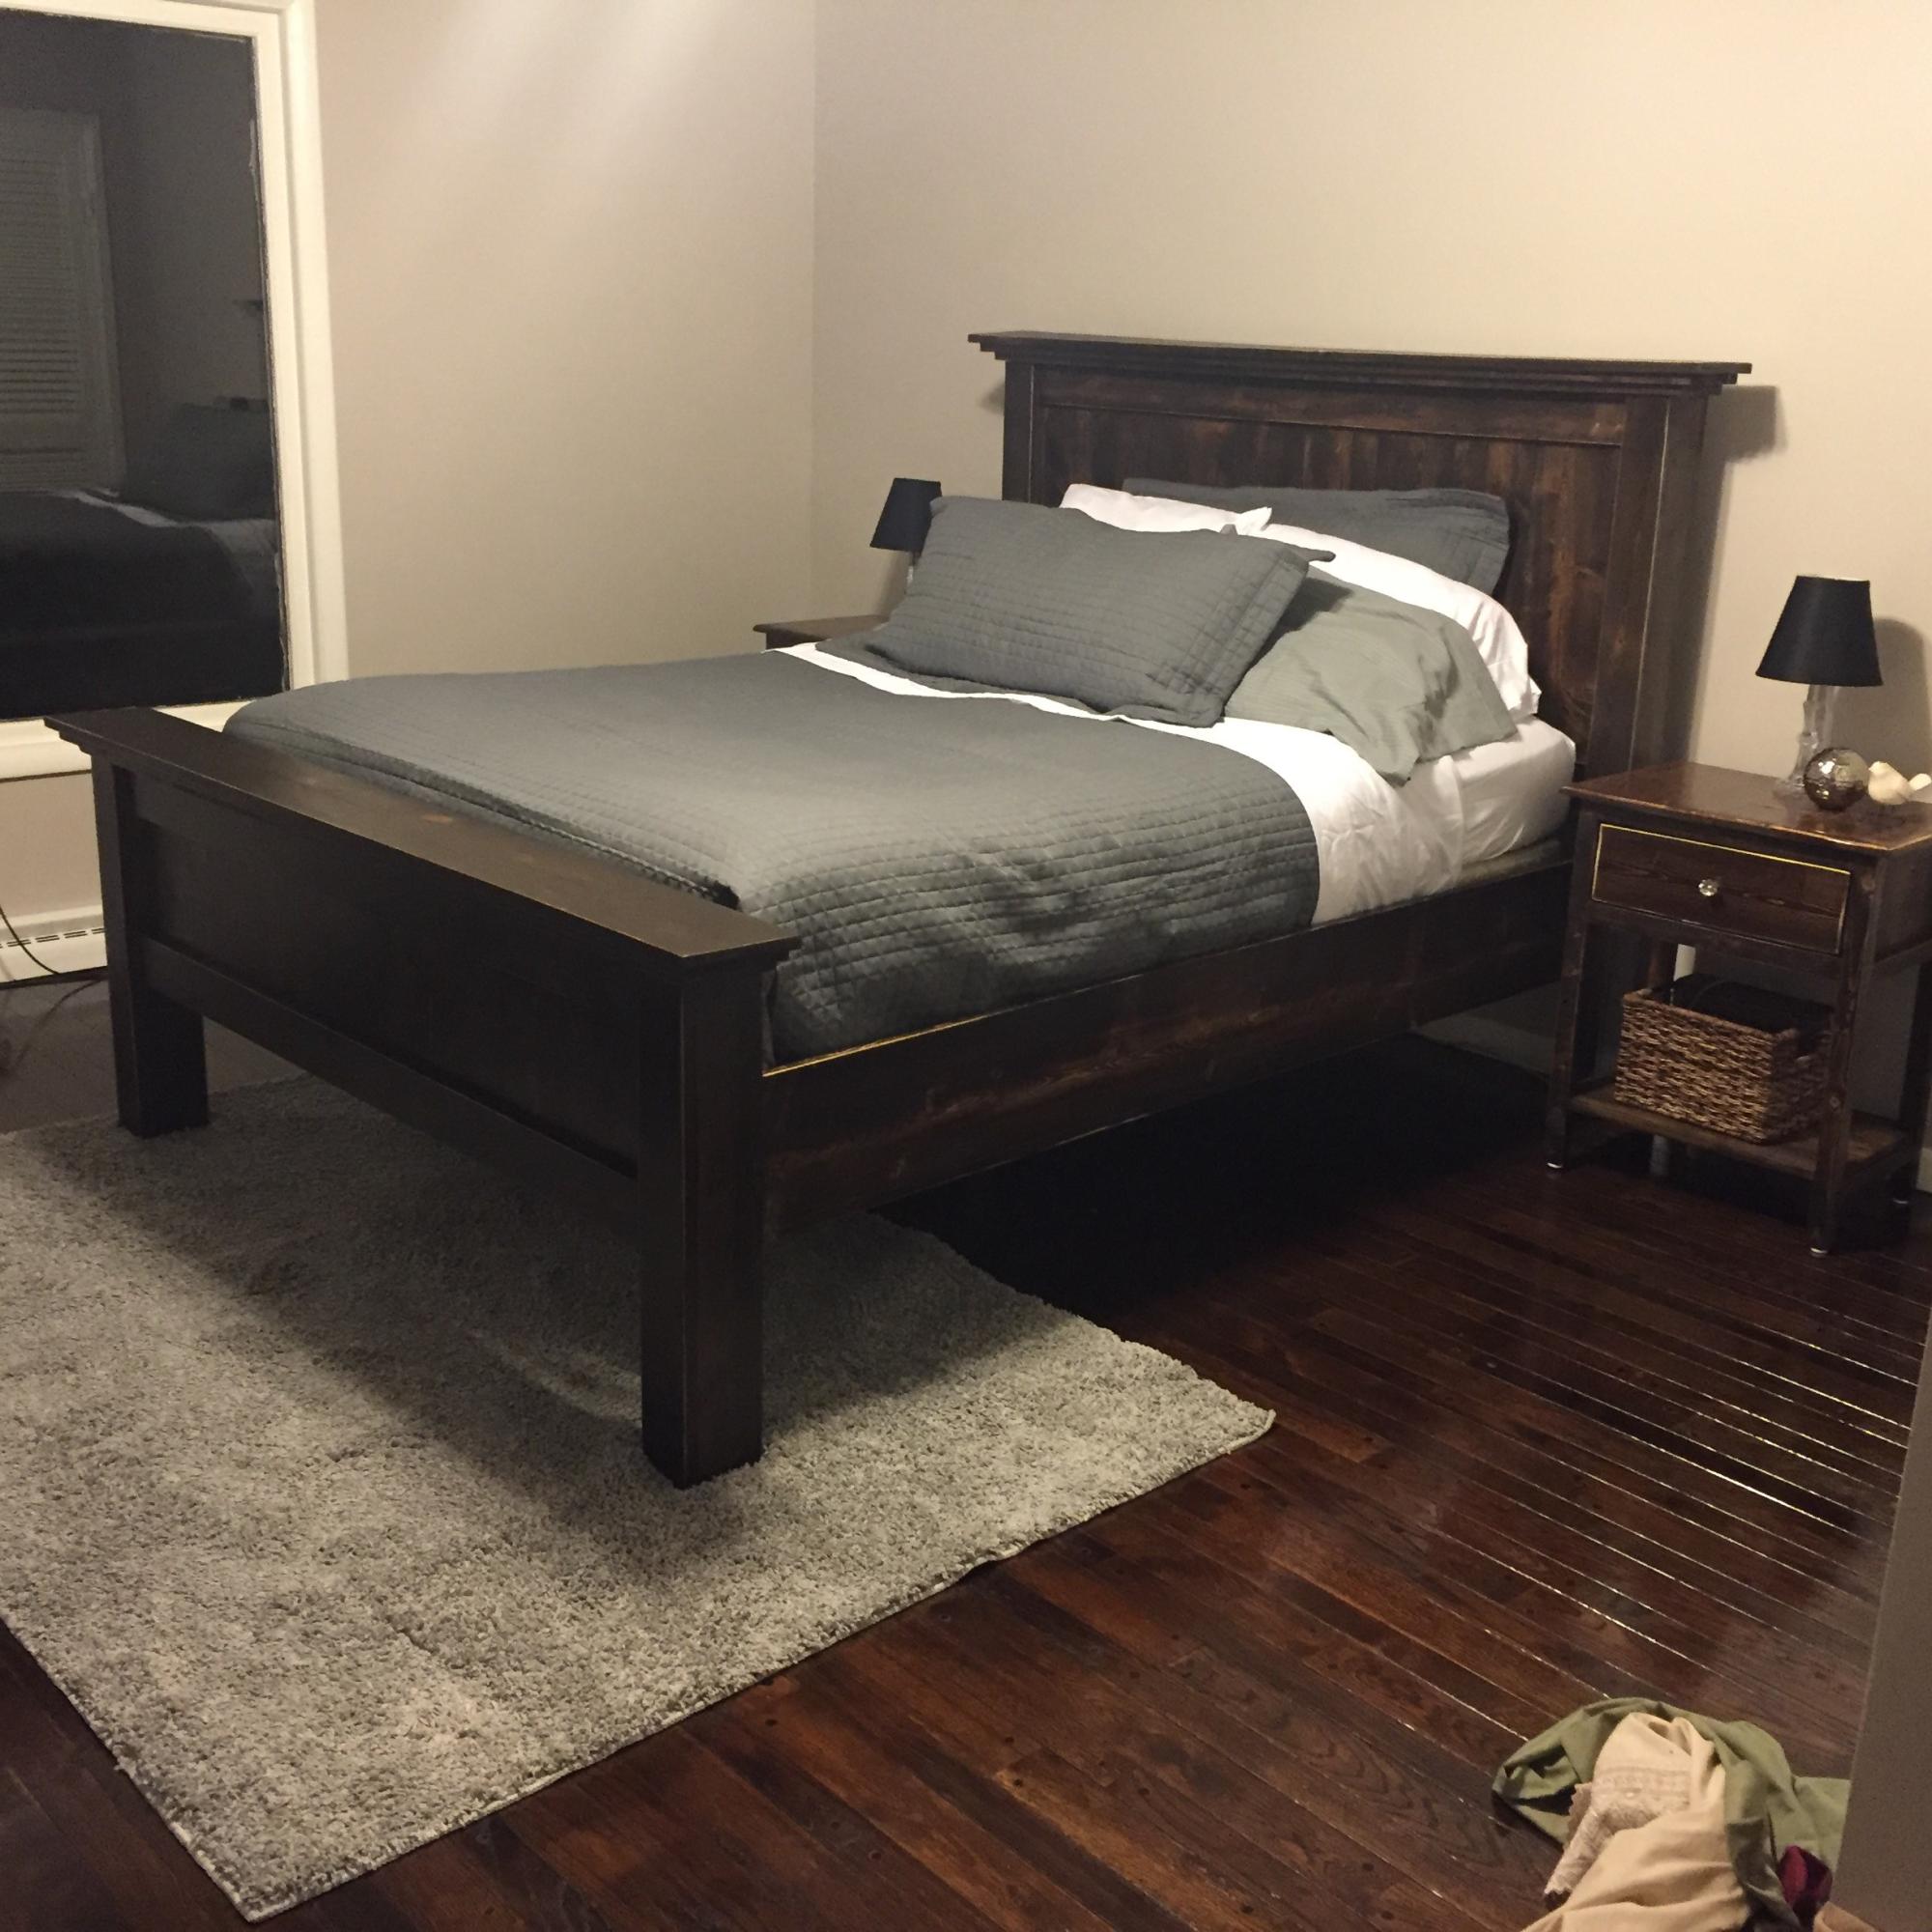
Farmhouse bed and night stands. Second bed I've made with Ana's plans, absolutely love it and easy for all........Deb M.

Estimated Time Investment
Week Long Project (20 Hours or More)
Finish Used
Mixed dark walnut and ebony
Recommended Skill Level
Intermediate

Brookstone Desk

This was a fun project. My first using drawer slides. Best advise would be to recheck squareness before attaching top.

Built from Plan(s)
Estimated Cost
$65
Estimated Time Investment
Weekend Project (10-20 Hours)
Finish Used
Dark Walnut stain
Poly top coat
Recommended Skill Level
Beginner

Comments

My First Build -- the $55 Fancy X Desk

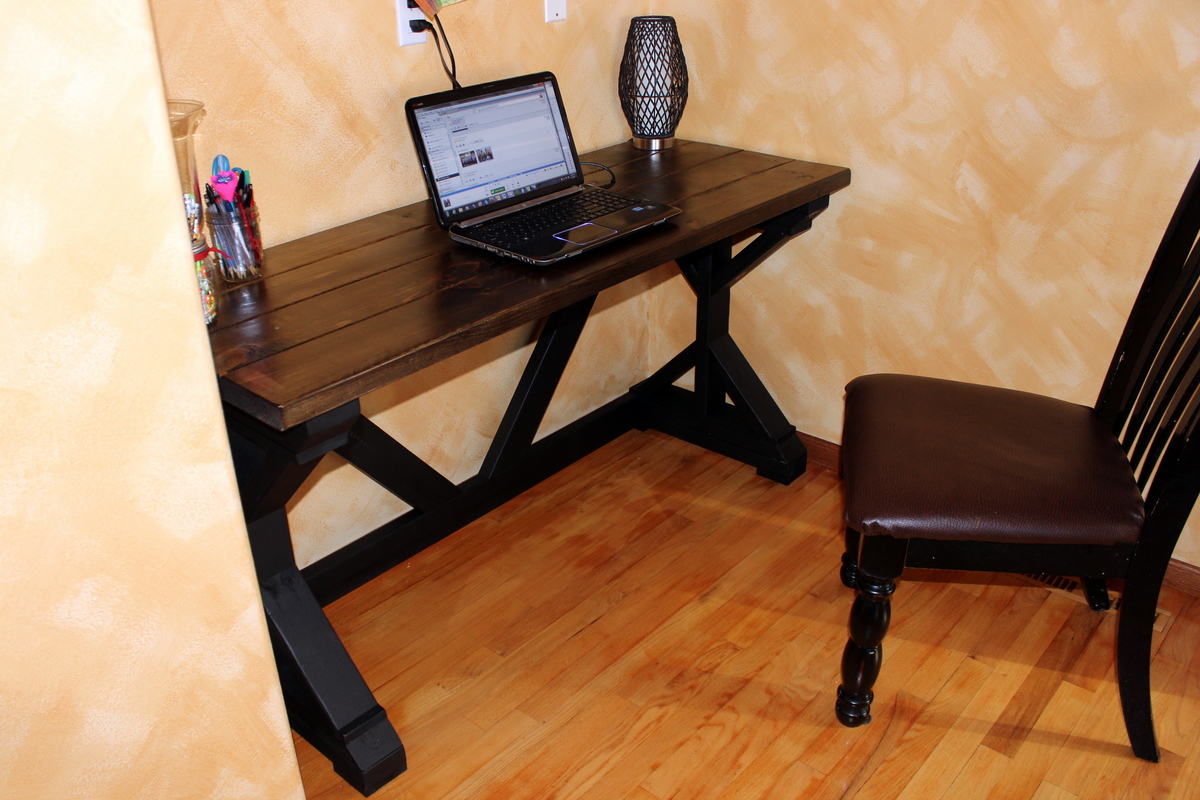
This was my first build EVER. I had never even used a saw before, so if I can do this, so can YOU!

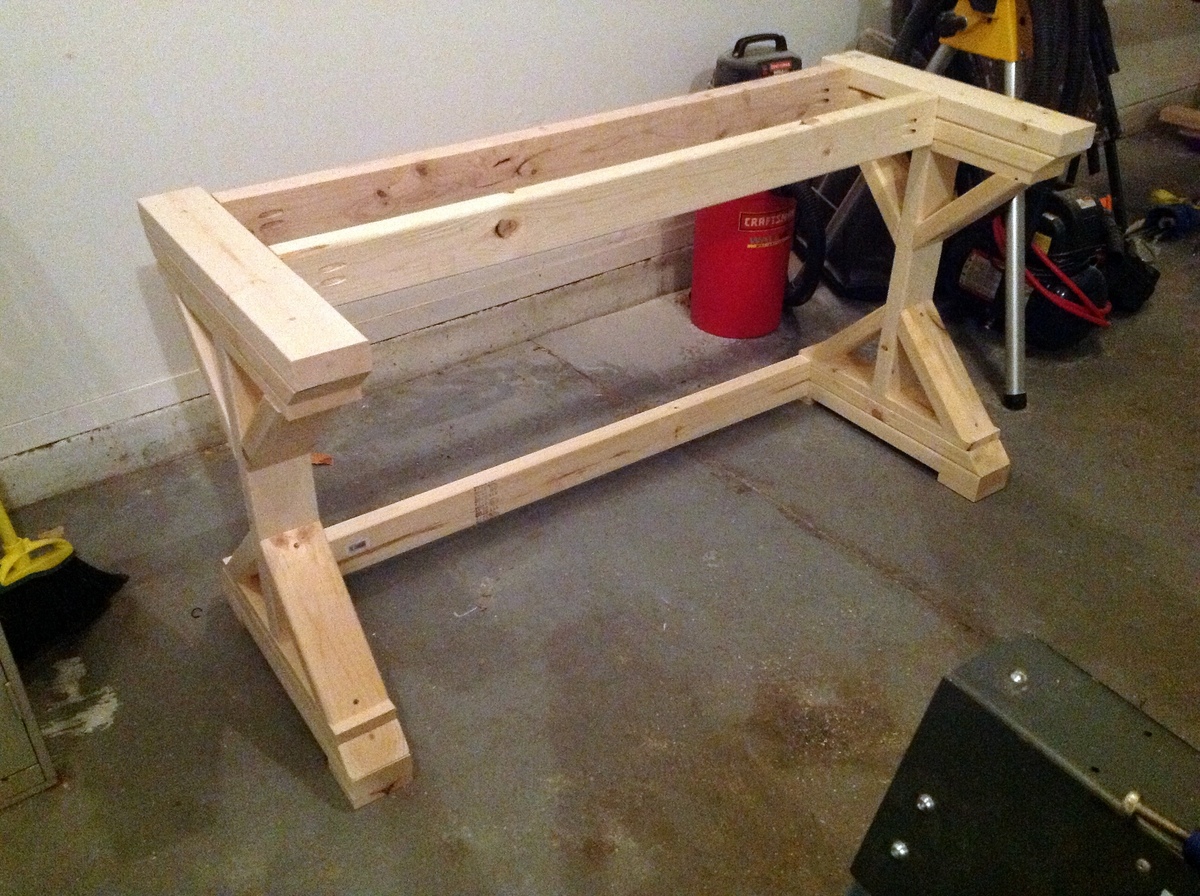
The original plans call for this desk to be 72" in length, but my space only allowed for a 60" desk, so I cut the 3 braces that go along the back down by 12", as well as the 2x6s that make the desktop. The cross-braces in the back were also cut down, but I did that by measuring for fit (as demonstrated by Ana in one of her videos where she made the x-bench).

I described this as a weekend project ONLY because of the time I had to allow between coats of paint, etc. I built it easily in one day (with kids at home!).

This was a GREAT experience and I am HOOKED! Thanks to Ana and Shanty-2-Chic for designing this!

Built from Plan(s)
Estimated Cost
$35
Estimated Time Investment
Weekend Project (10-20 Hours)
Finish Used
I painted the base with flat black paint, and the top of the desk with Minwax Jacobean stain (primed with the Wood Conditioner first, and finished with the Polcyrilic Spray that Ana recommends).
Recommended Skill Level
Intermediate

Comments

Lianna (not verified)

Tue, 01/08/2013 - 08:27

I hope to build this desk this week! Your post timing is great! AND your end result is gorgeous!!!

berryrach89

Thu, 01/10/2013 - 19:31

I absolutely love this. I've been searching for a new desk and I think I want to copy yours. Love it.

Jodye (not verified)

Fri, 01/11/2013 - 00:35

Well done...I too have been contemplating giving this ago. Our out door glass table exploded due to the heat here in Australia on monday...never going glass again...did I mention the nightmare clean up job :-((
Im building the big version....Im excited..you did it so I can too!

Writing Desk and Bookcase

Inspired by Ballard  Designs Turin Bookcase http://www.ballarddesigns.com/turin-bookcase/237257

and the Marche writing desk http://www.ballarddesigns.com/marche-writing-desk/278164

with some tweaks to my liking :0)

Built from Plan(s)
Estimated Cost
$700
Estimated Time Investment
Week Long Project (20 Hours or More)
Finish Used
Tidewater by Sherman williams
Recommended Skill Level
Intermediate

King Easy Build Bed - Headboard / Footboard

Submitted by imsomark on Wed, 02/08/2017 - 07:26

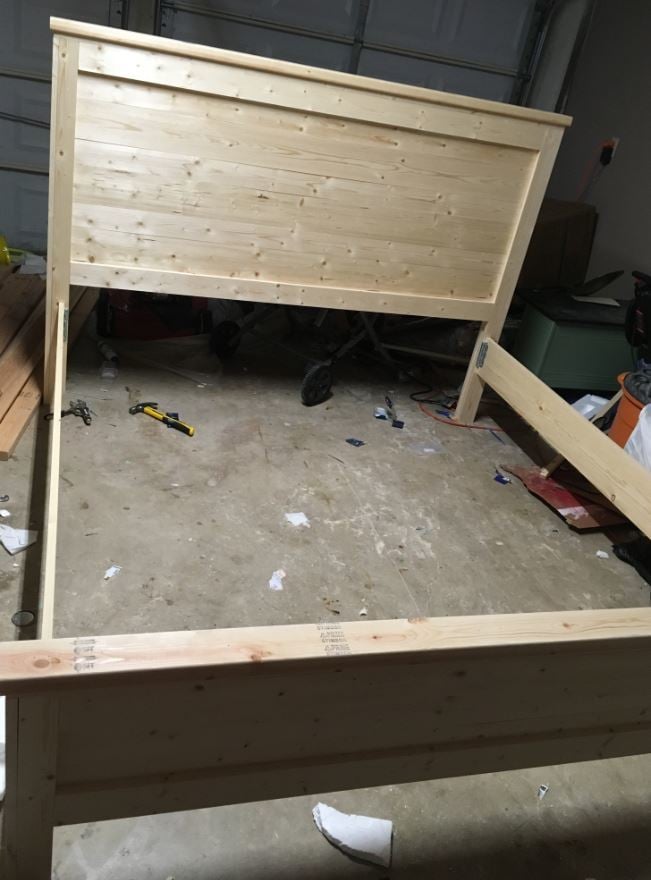
First of all, thank you to the site for this plan. The headboard specs were spot on. I was interested in making a footboard as well, and you actually will end up with a few scrap pieces that will help you build the footboard (the 1x3's and 1x2's). My footboard ended up being about 23 1/4" high. For reference, the mattress in the photo is 10". I included a picture of the total boards you will need to buy to do the headboard, footboard, and side rails (I used 8 inch boards for the side rails, not 10 inch, but those could be interchanged). One thing to note is the plan calls for pocket hole screws but these are not necessary. I used 2" brad nails, 1 1/4" brad nails, and 2" screws (for the slats and the support rails on the slats. You could use 2 1/2 inch for the slats but the support rails need 2".). Not included in the picture I included is another 2x4x8 that I bought that I placed three scrap 4x4 posts that I had under the middle of the slats for extra support. I also bought steel bed rail fasteners ($11.30 from Amazon) to attach the side rails to the headboard and footboard. They worked great and the bed is extremely sturdy. Can't budge it at all. I used the common whitewood boards from Home Depot, which are all the correct width - the fur boards are cheaper but are not the correct width, you would need to adjust the plans if you were to use those. Overall I am very pleased with the bed. Please ignore the half dozen water bottles in the photo.

Estimated Cost
$190
Estimated Time Investment
Weekend Project (10-20 Hours)
Finish Used
75/25 mixture of Classic Grey and Jacobean.
Recommended Skill Level
Intermediate

Comments

8' Farmhouse Desk

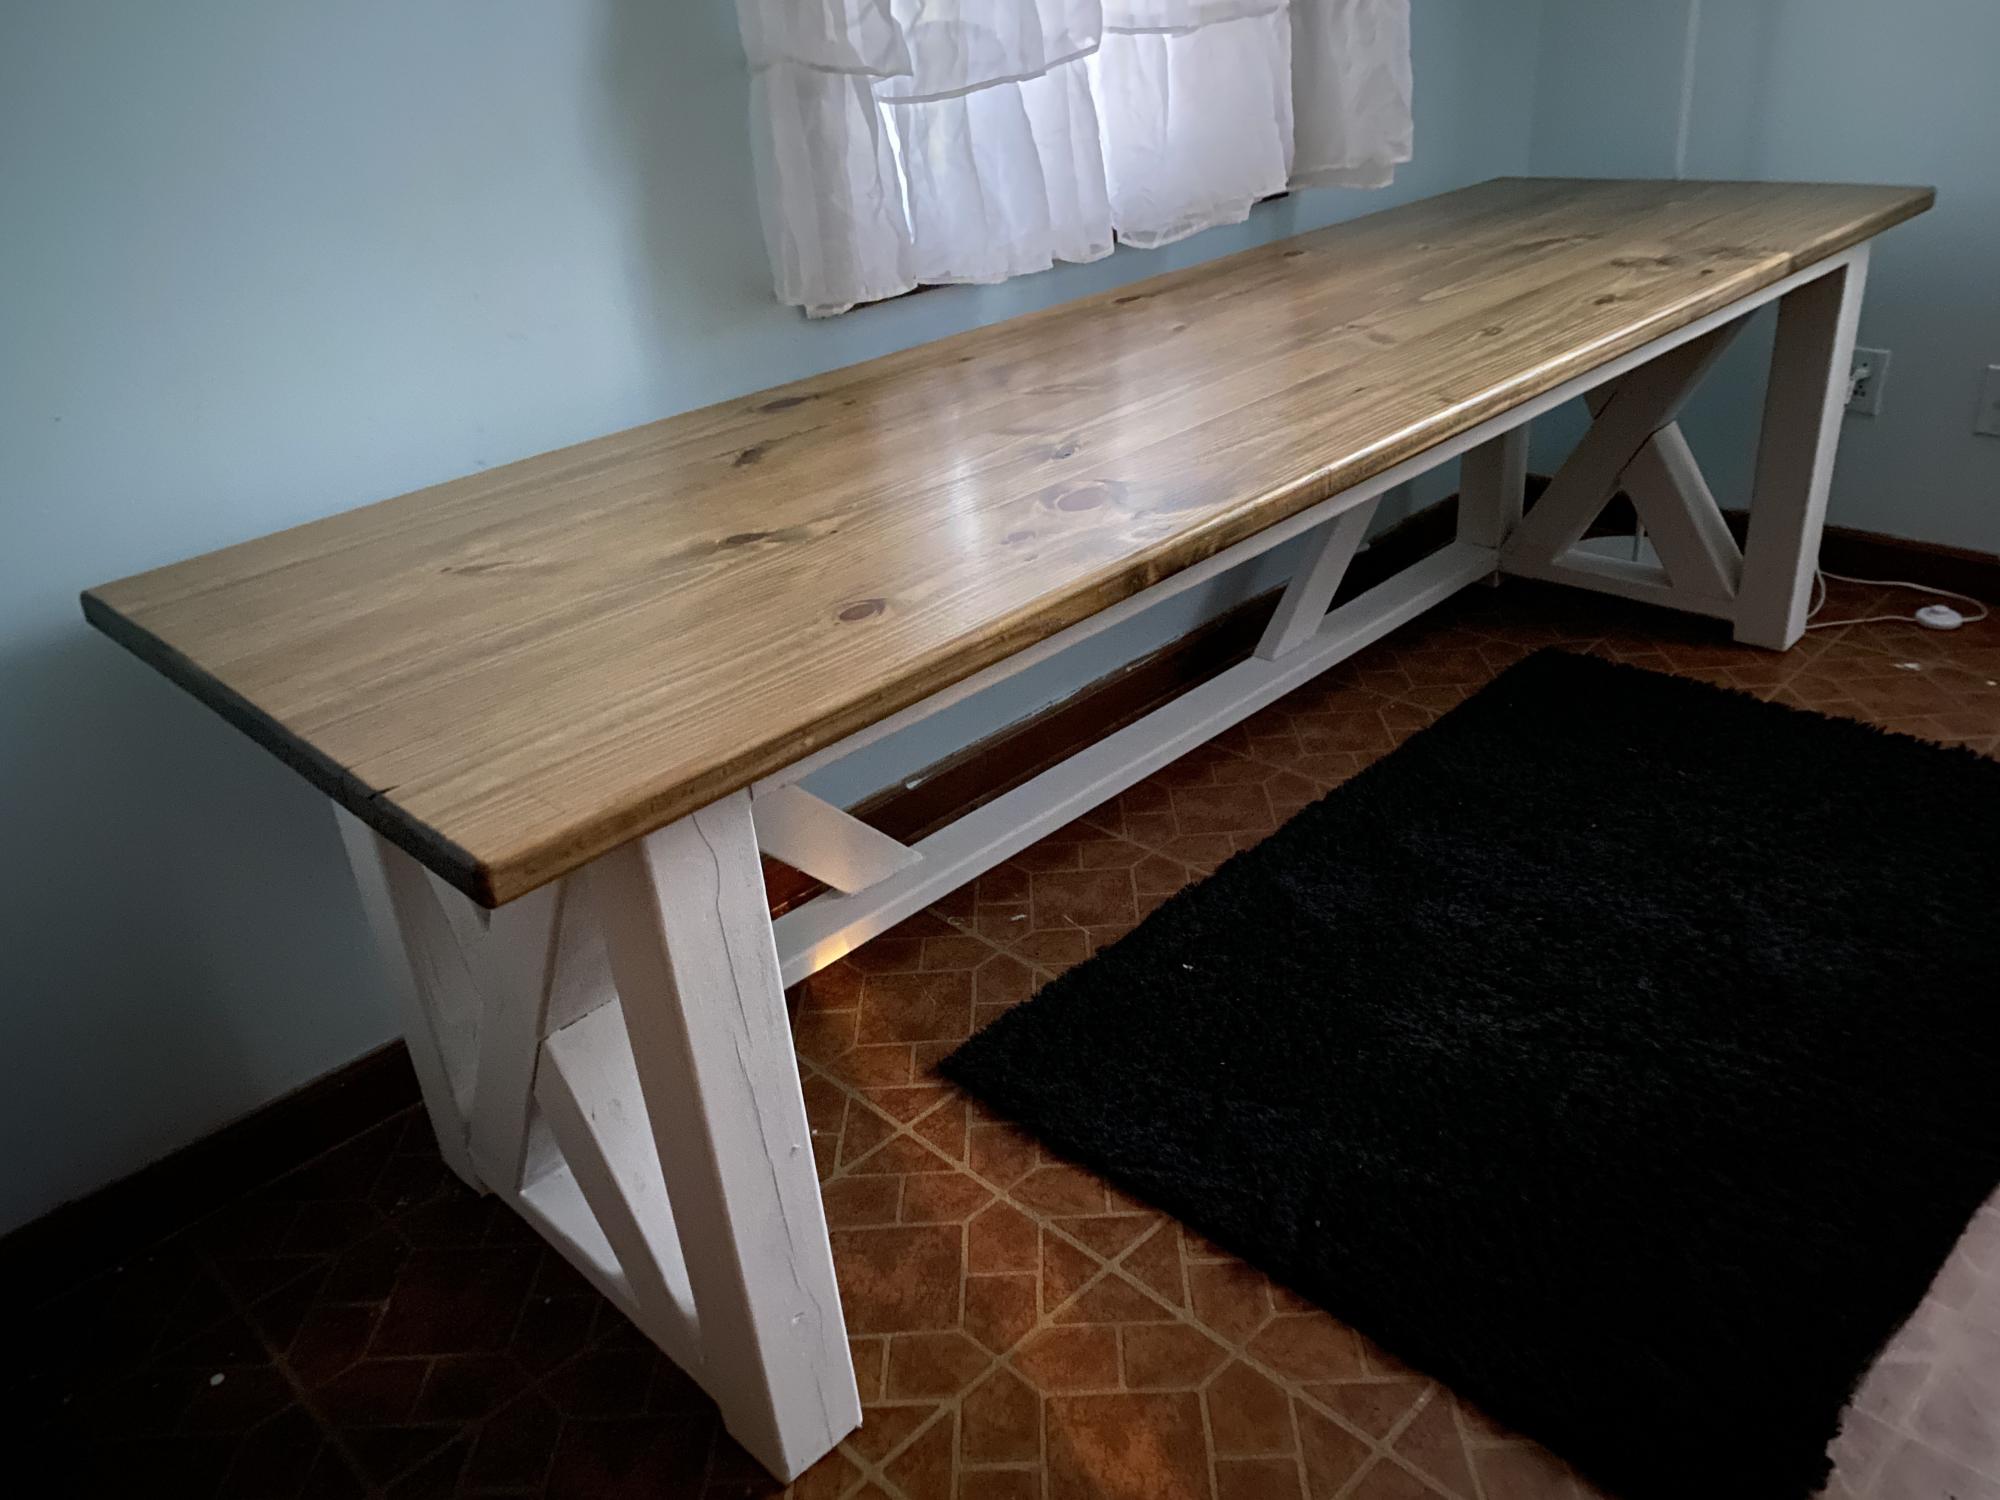
I created this farmhouse style desk. Quite the challenge dealing with such long boards!

Estimated Time Investment
Week Long Project (20 Hours or More)
Finish Used
Top: Varathane Dark Walnut x1, Minwax One Coat Satin finish x2, Minwax paste wax
Bottom: Rustoleum Espresso brown spray paint, thick coat of Behr smokey white matte finish.
Recommended Skill Level
Beginner

Comments

Rope Trim Console Table

Submitted by efmolly on Wed, 01/09/2013 - 08:58

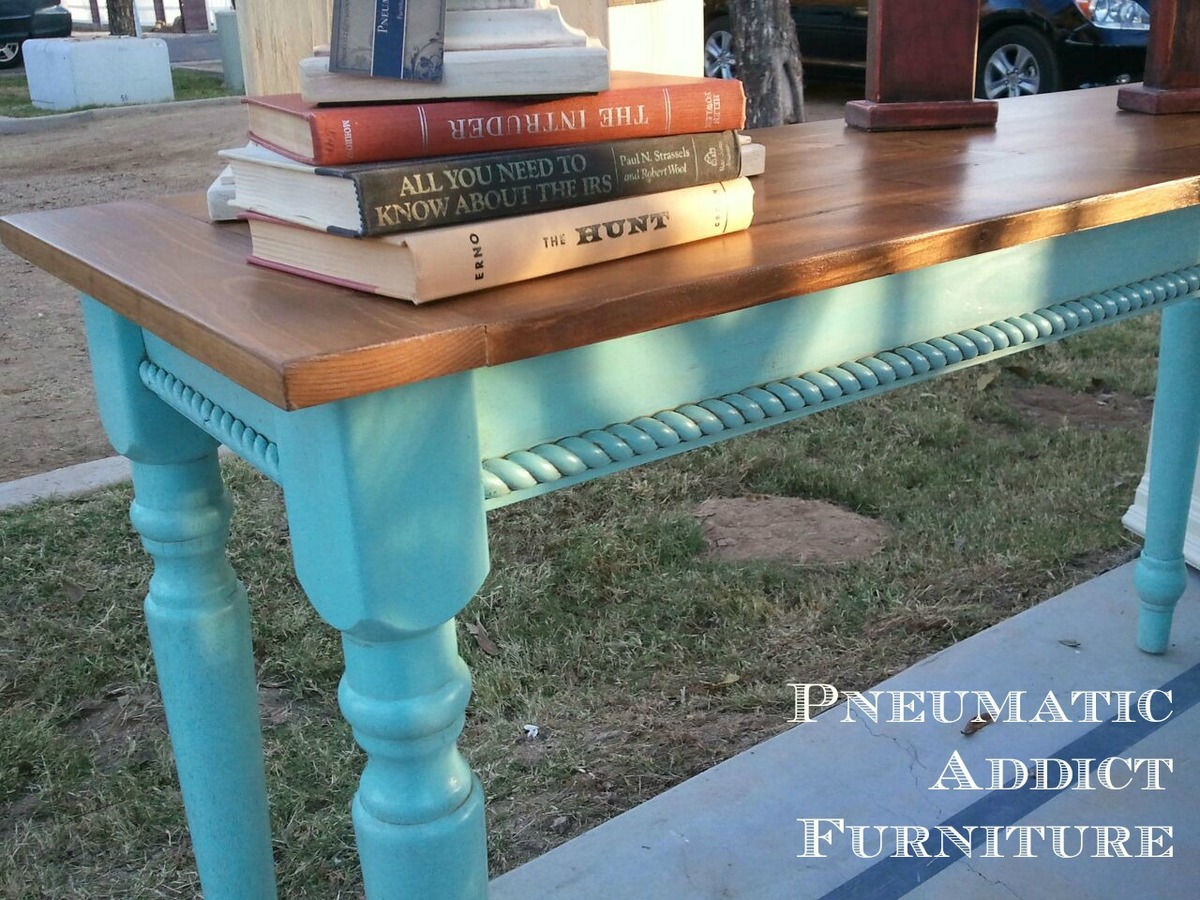
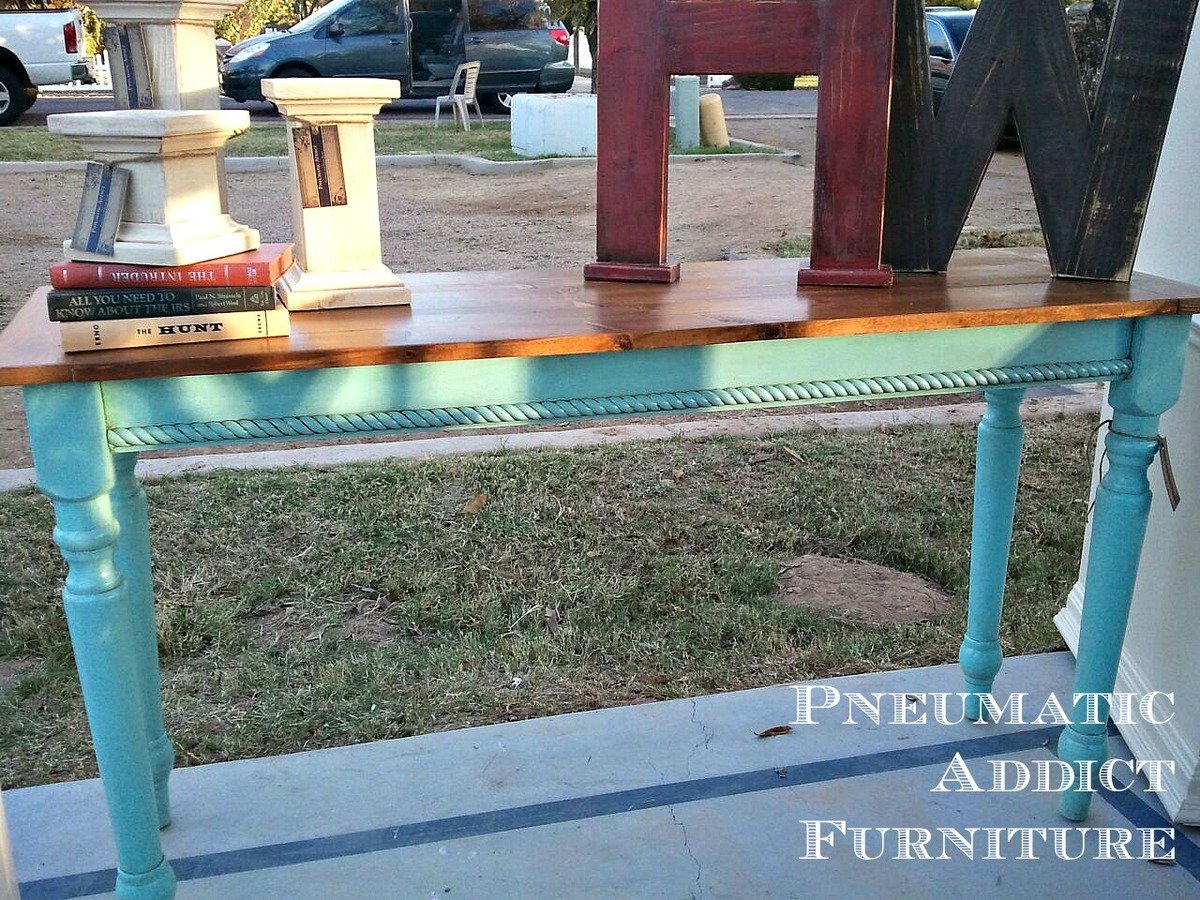
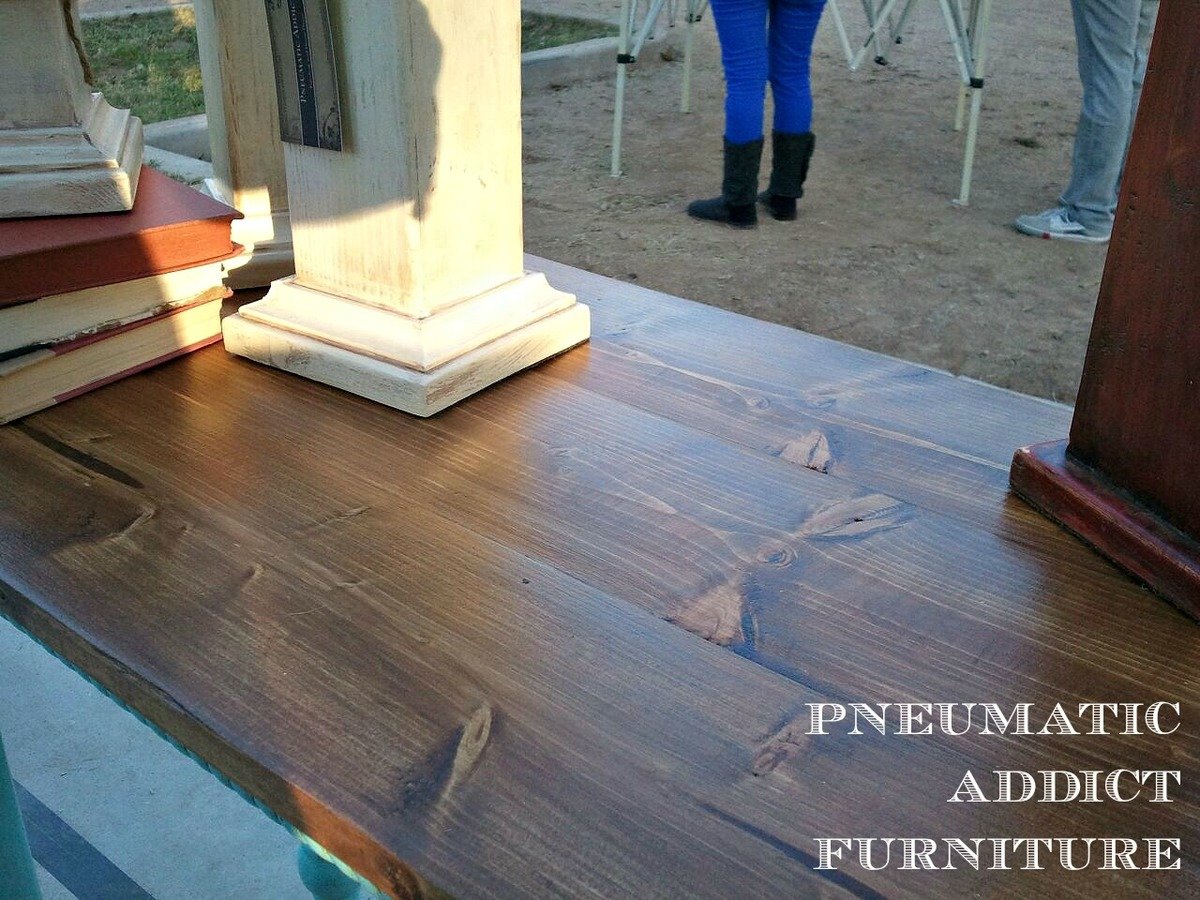
This is a pretty basic console table I built for a craft show last month (that's why I don't have better photos). I started with the top. Using my Kreg Jig, I pocket holed 3, 1x6's together and added some 1x4's to make breadboard ends. For the base I used reclaimed table legs from a table I bought at a garage sale for $5! The aprons are 1x4's, pocket-holed to the legs. I did add some diagonal support blocks in each corner to keep the whole thing square. Using pocket-holes once again, I attached the top. I then simply measured the aprons, cut the rope trim and attached with glue and 3/4in finish nails. I have a few more projects like this featured on my blog http://pneumaticaddict.blogspot.com .

Estimated Time Investment
Afternoon Project (3-6 Hours)
Finish Used
The top I blended 'Golden Oak' and 'Walnut' oil-based stain from Minwax. The base was 'Aqua' spray paint from Rustoleum and then glazed with a light mix of 'Raw Umber' tint and Martha Stewart glaze. The whole piece is sealed with 2 coats of Polyacrylic.
Recommended Skill Level
Beginner

Comments

rocking Moses basket stand

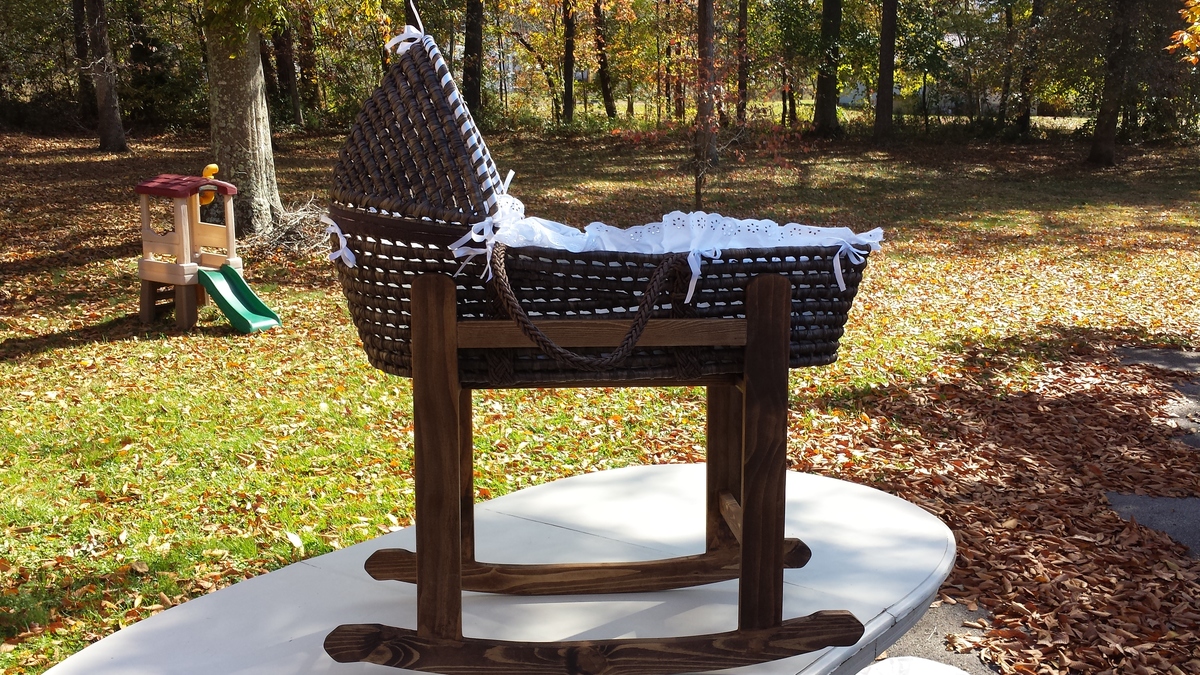
This is my third Ana White plan. Thanks to you, Ana, and other inspirations I have came to through you, I have seriously improved my skills. This project took me about 3 nights, working around the schedule of my almost 2 year old. Would probably be a one day project. Took me a little sanding to get those rockers right, but overall much easier than I expected. I believe my neighbors will be very excited when they arrive home from the hospital tonight to find this in their living room. Thanks so much for all you do to teach and inspire all of us!

Built from Plan(s)
Estimated Cost
$10-15 for materials plus $40 for Moses basket, purchased from Amazon
Estimated Time Investment
Afternoon Project (3-6 Hours)
Finish Used
Rustoleum, dark walnut
Recommended Skill Level
Intermediate

Comments

Simple stool modified

Submitted by Anonymous (not verified) on Fri, 02/10/2017 - 20:23

Simple stool plans modified.

Estimated Time Investment
Weekend Project (10-20 Hours)
Finish Used
White exterior gloss legs. Minwax honey stain seat with 8 coats of gloss varnish.
Recommended Skill Level
Intermediate

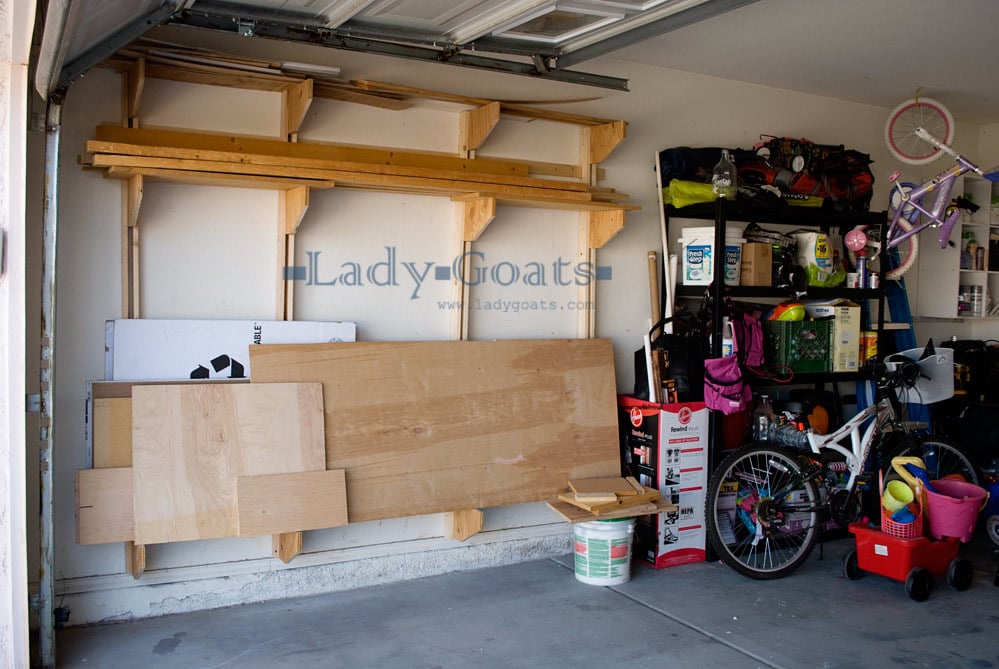
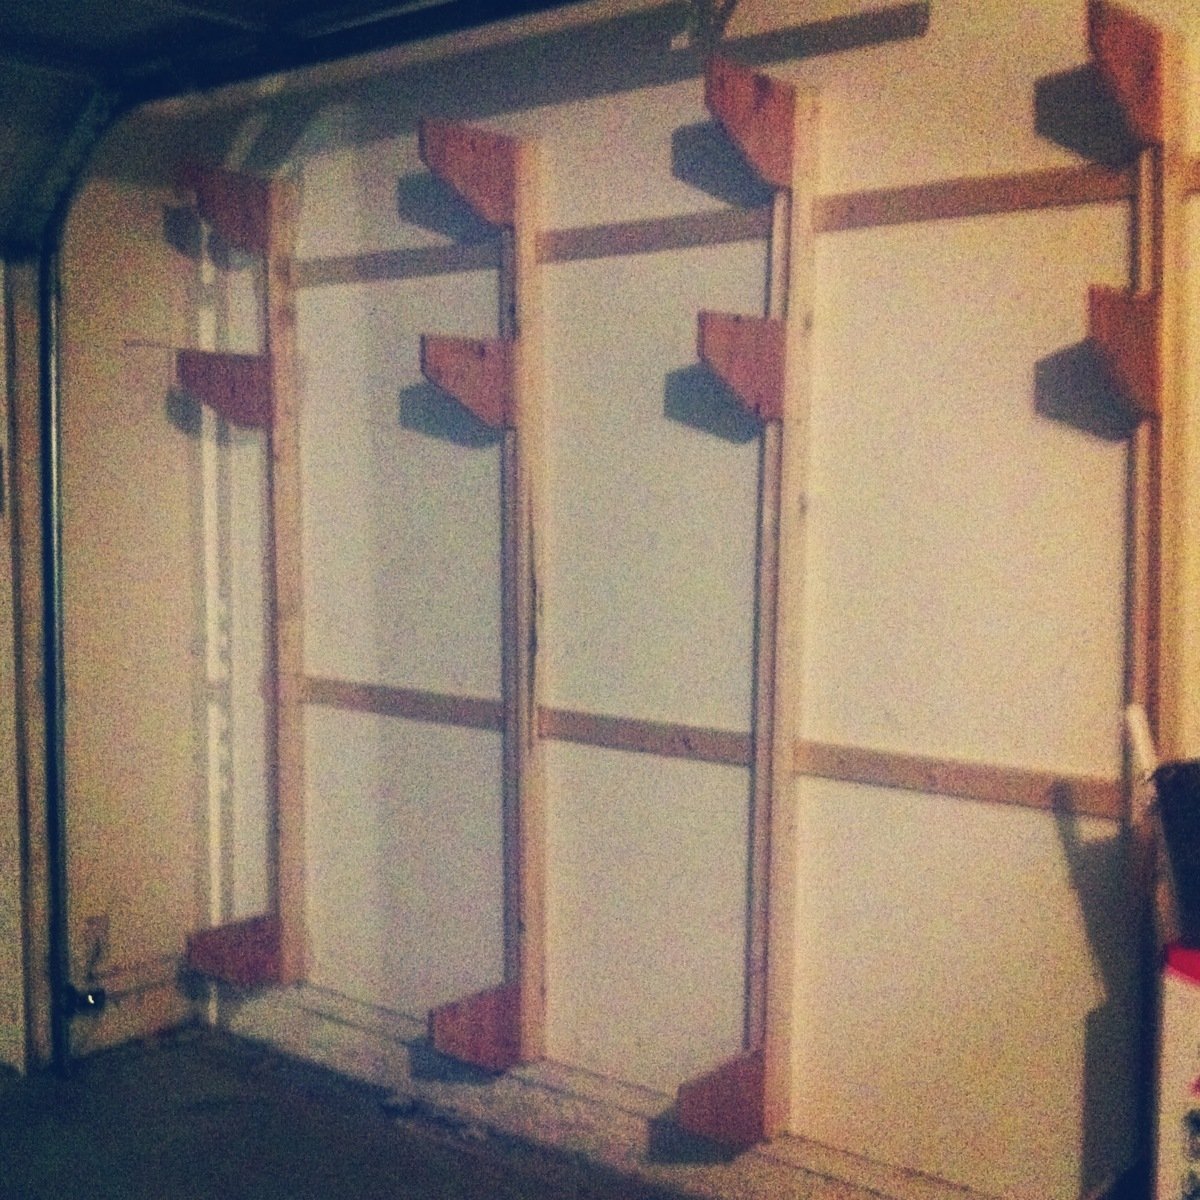
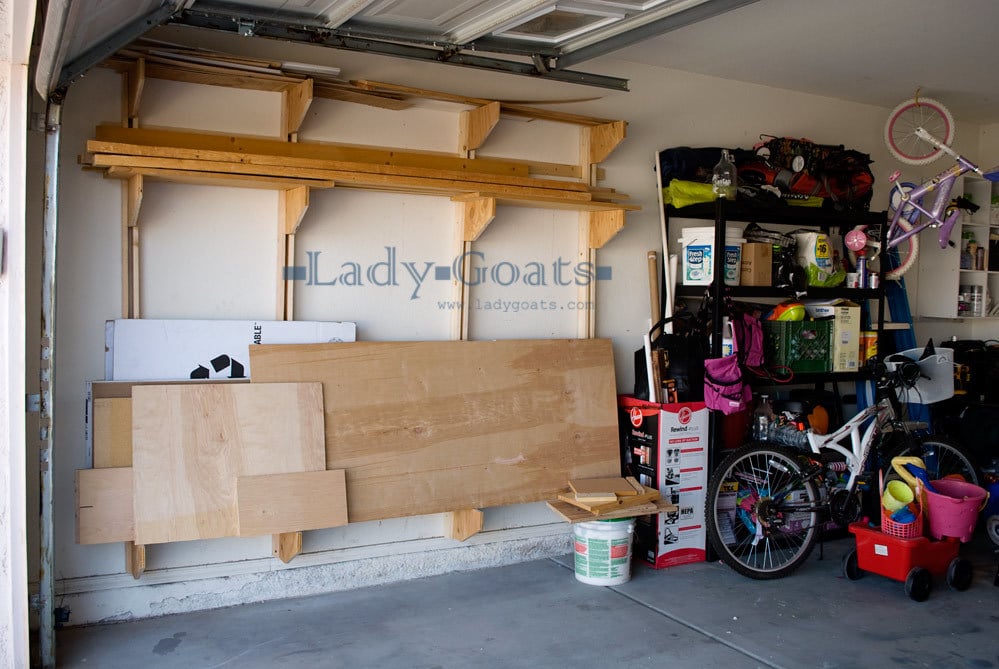
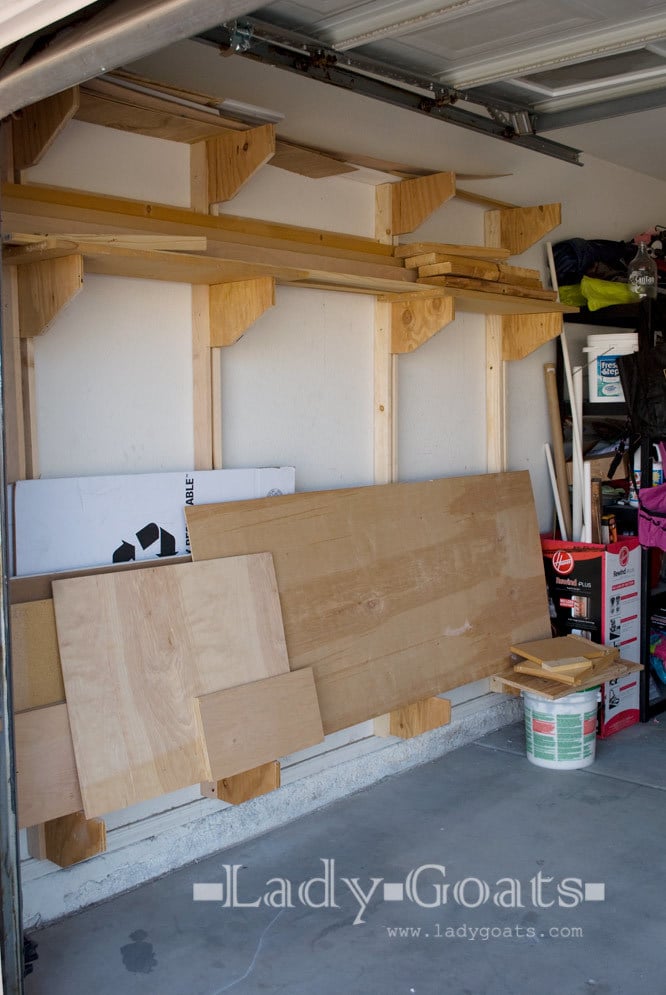
Wall-Mounted Lumber Rack

Submitted by Lady Goats on Thu, 01/10/2013 - 10:26

I decided it was high time to organize my garage and needed somewhere (preferably off the floor) to store my lumber. This isn't an Ana project, but I know that we're all suffering from lack of a lumber storage system and thought I'd show you all what I did. You can visit my blog for more info on how I created it by clicking here. Hopefully this great plan can be useful to a lot of us!

Estimated Cost
$15-$50
Estimated Time Investment
Afternoon Project (3-6 Hours)
Finish Used
n/a
Recommended Skill Level
Intermediate

Comments

Arrow Pallet Art

Submitted by sraper2 on Wed, 11/05/2014 - 21:11

I made this quick and simple wall art using some scrap wood and some pieces I got from a pallet.  I nailed them onto a scrap of plywood and used a stencil and some spray paint to finish it up.  It came out great! 

Estimated Time Investment
An Hour or Two (0-2 Hours)
Finish Used
spray paint
Recommended Skill Level
Starter Project

Two seat outdoor bench

Submitted by Anonymous (not verified) on Sun, 02/12/2017 - 20:22

Easy build and looks fantastic! 

Estimated Cost
200
Estimated Time Investment
Weekend Project (10-20 Hours)
Finish Used
Minwax spar poly
Recommended Skill Level
Beginner

Comments

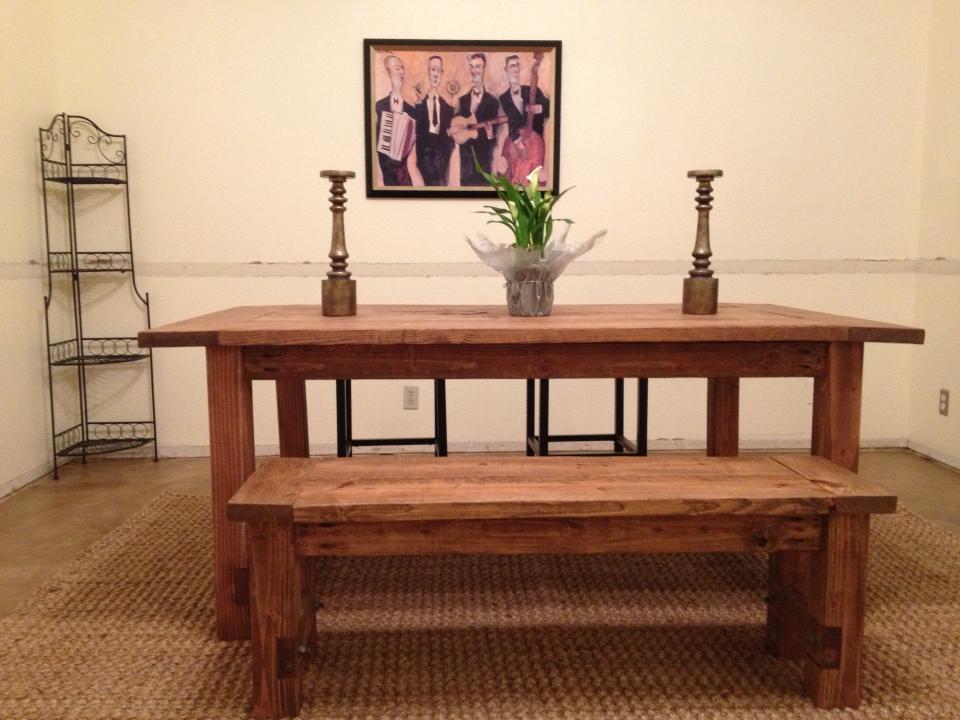
farm table

Submitted by jclarkusaf on Sat, 01/12/2013 - 10:04

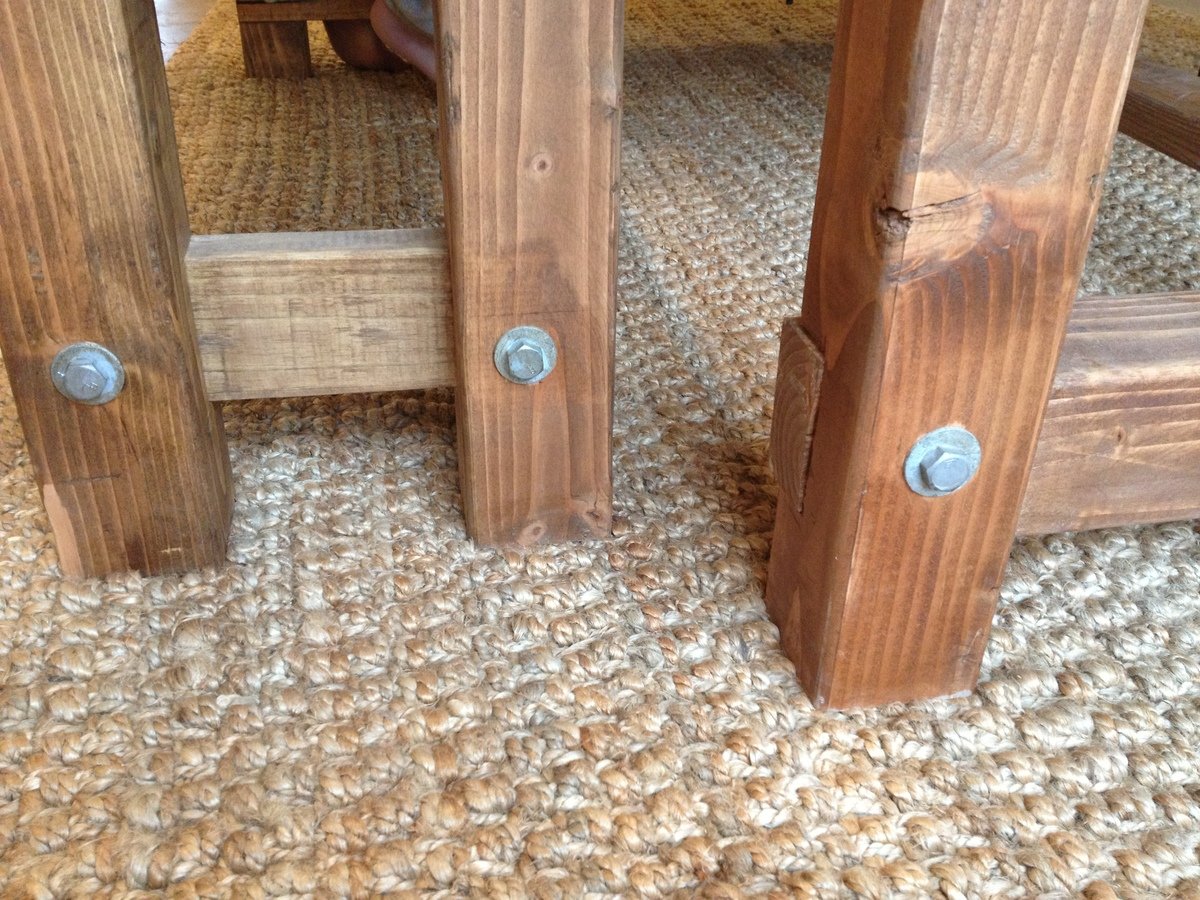
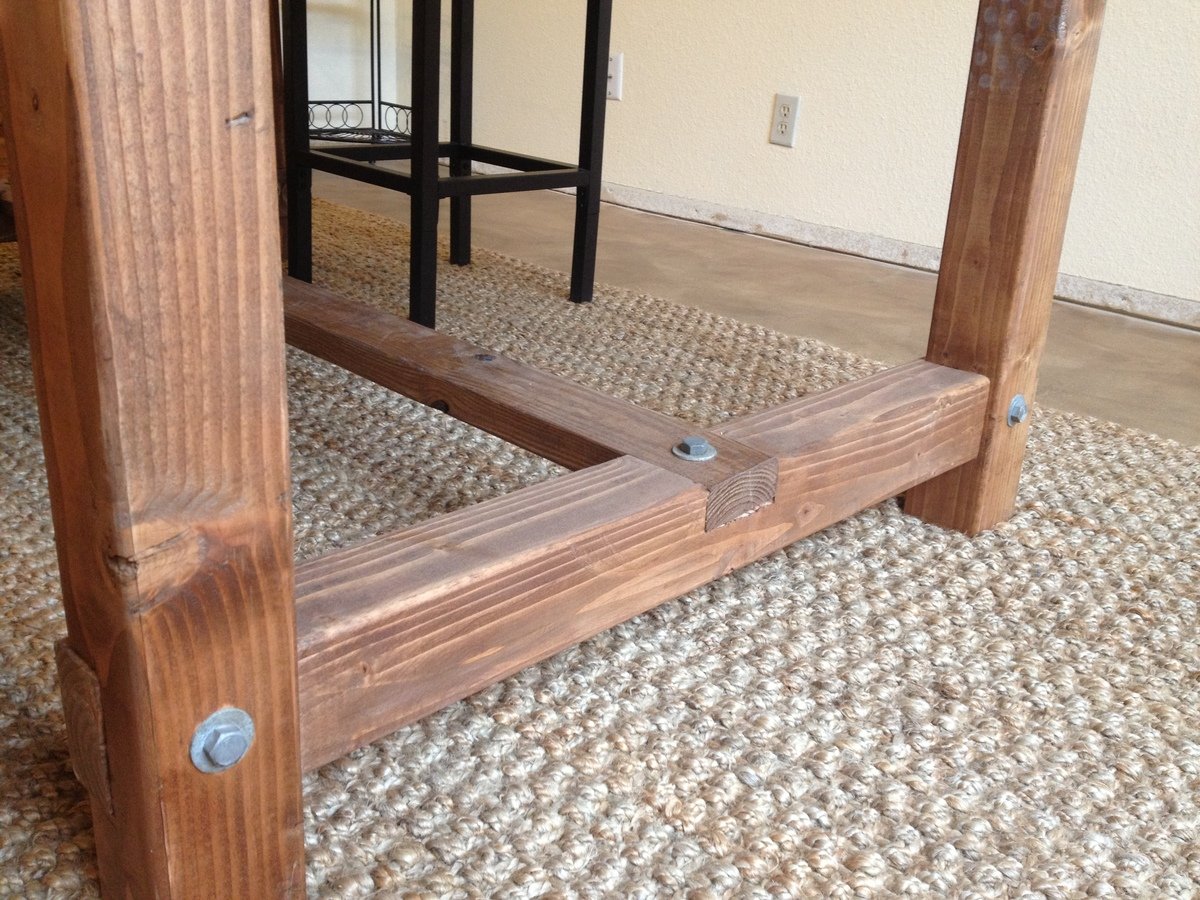
it was a great project i made a few mistakes here an there but i really like the table. and i love the lag bolts makes the table a little more interesting to me.

Estimated Cost
$150
Estimated Time Investment
Weekend Project (10-20 Hours)
Finish Used
miniwax early american and matte finish polyurethane coating
Recommended Skill Level
Intermediate

Maple and Walnut Farmhouse Table

Submitted by ChtistieH on Sun, 11/09/2014 - 09:48

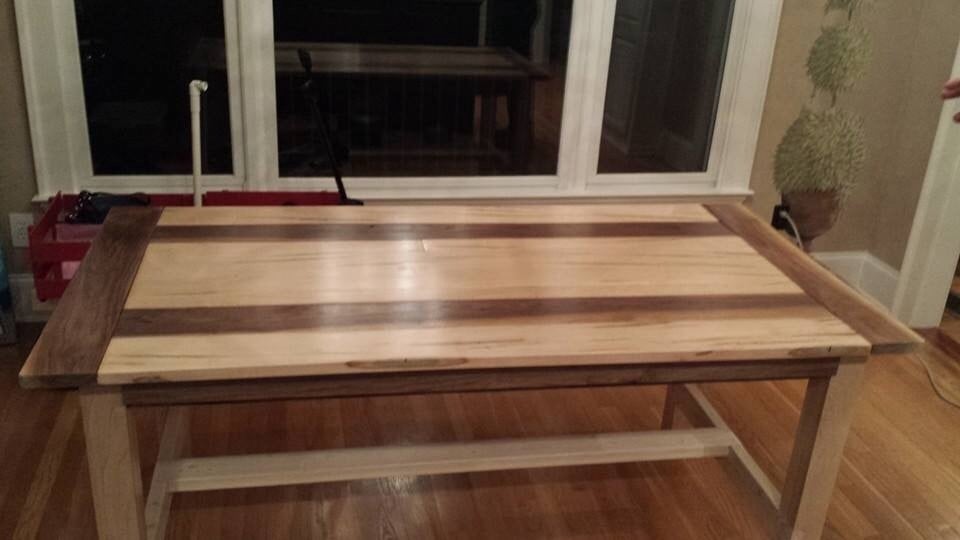
We built this table from Ana's plans using only a circular saw.  Yea Ana's plans!

Estimated Cost
$300
Estimated Time Investment
Weekend Project (10-20 Hours)
Finish Used
Clear polyurethane
Recommended Skill Level
Intermediate

Comments