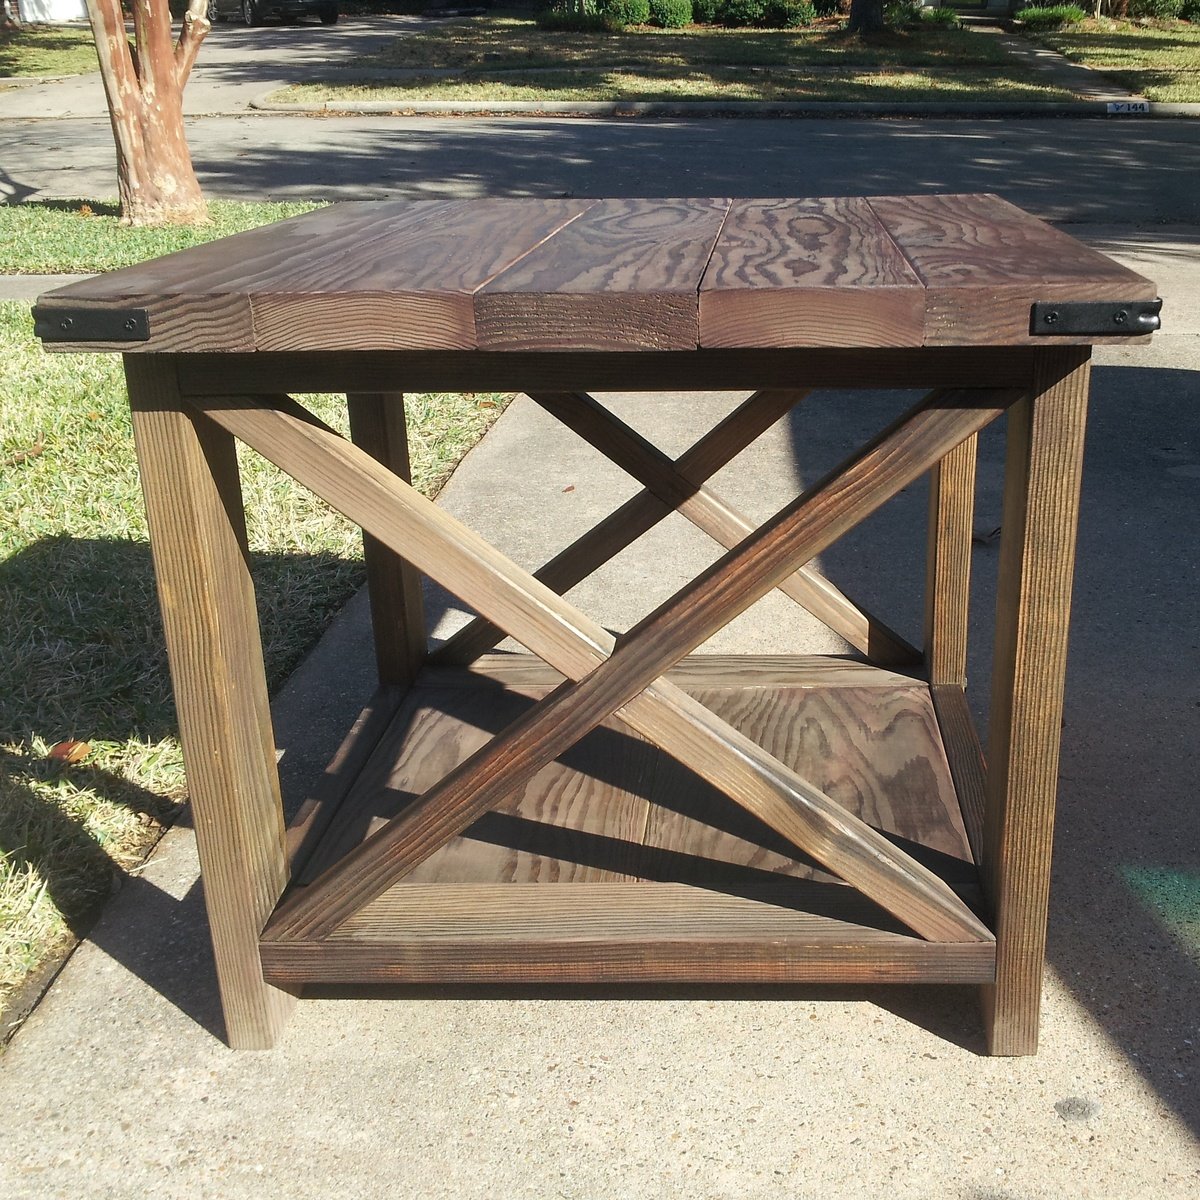
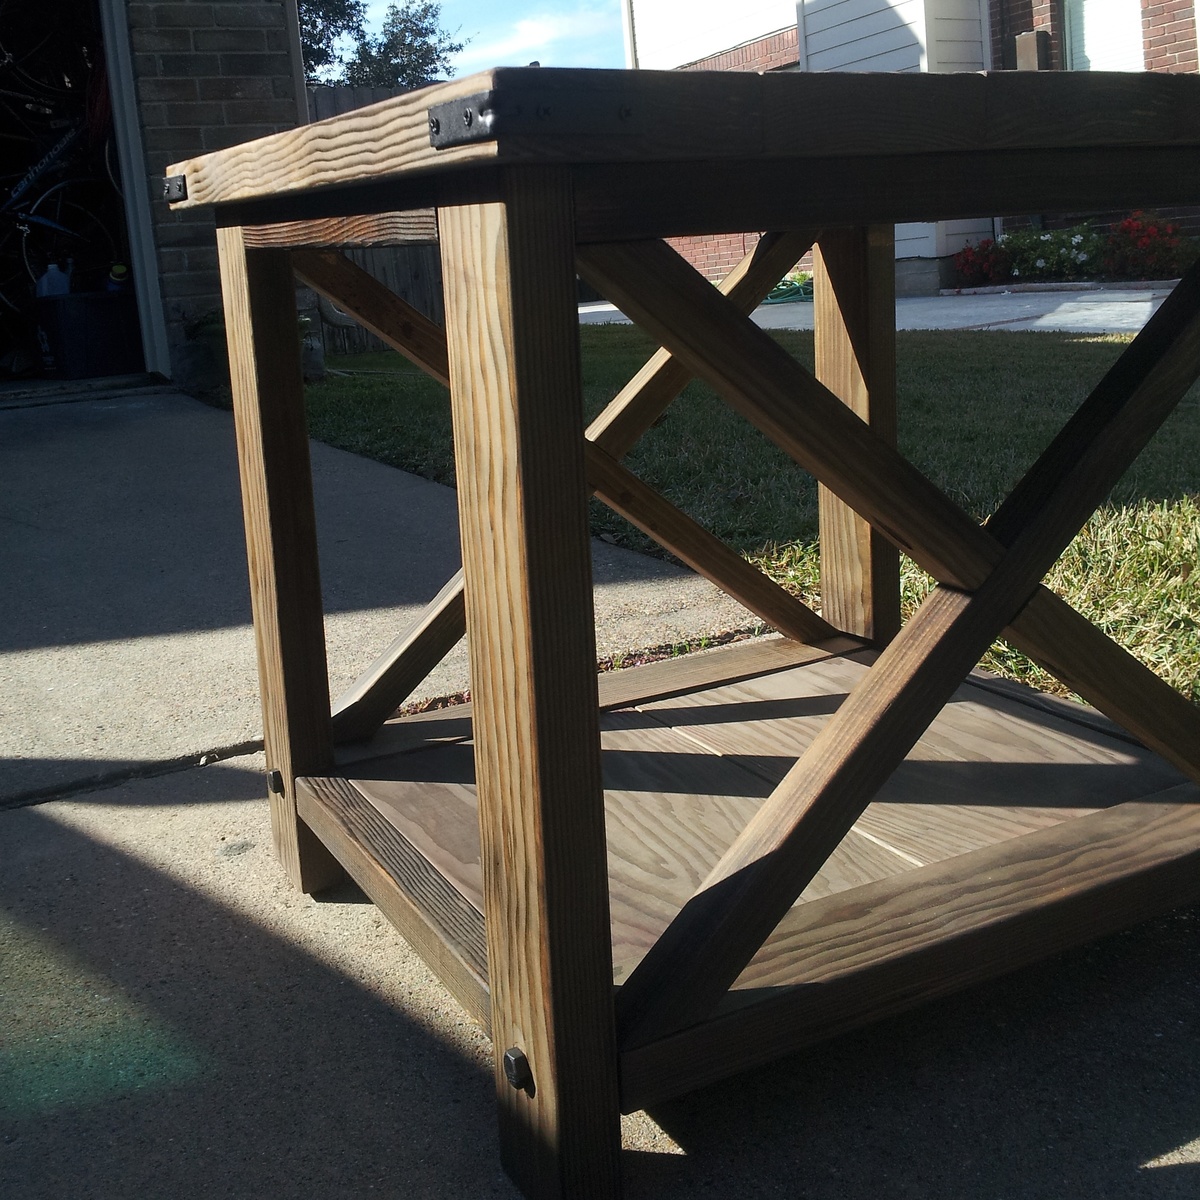
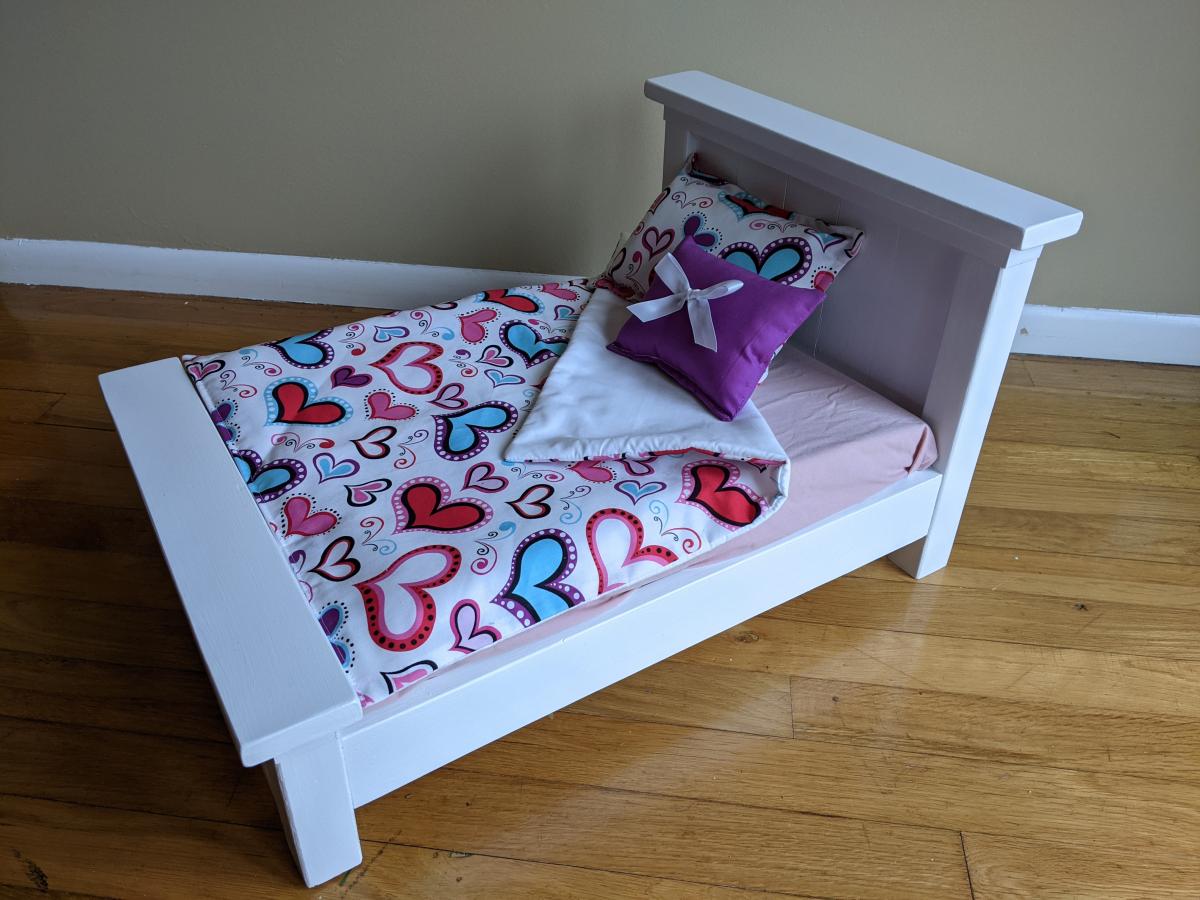
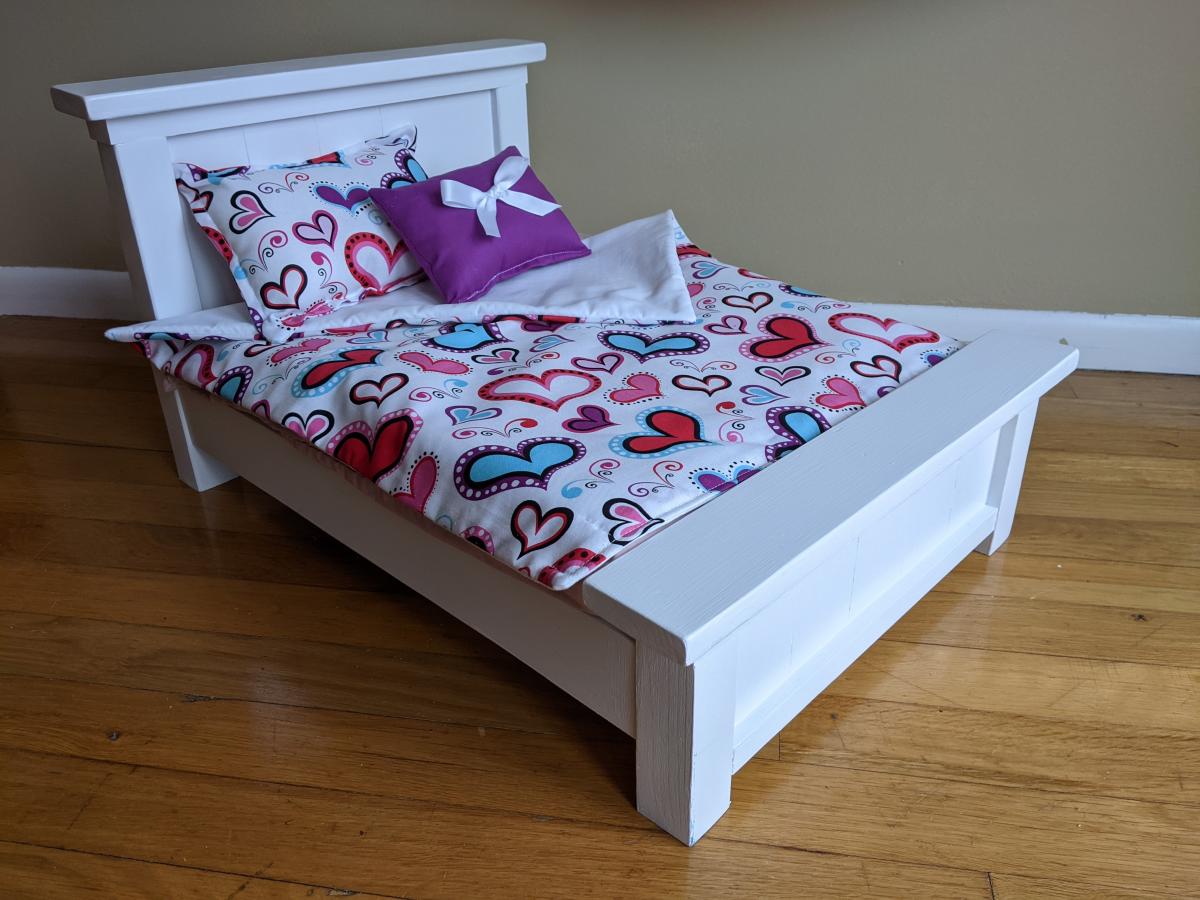
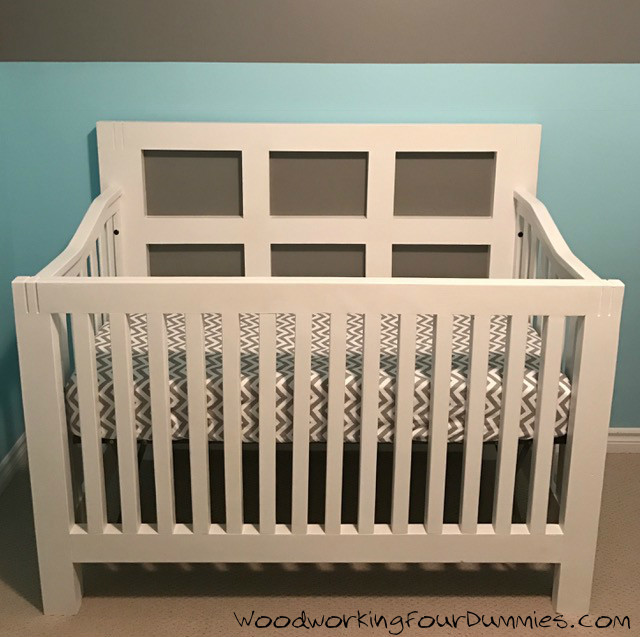
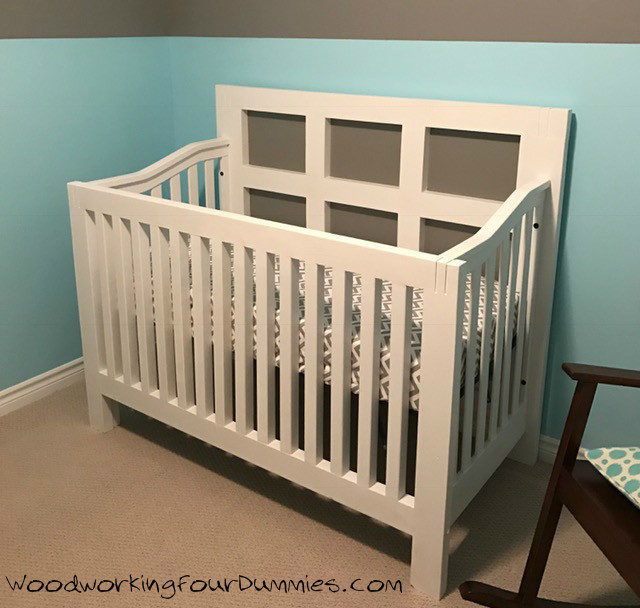
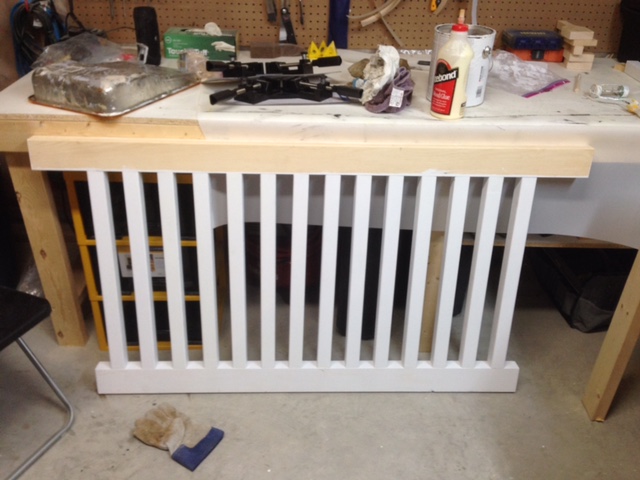
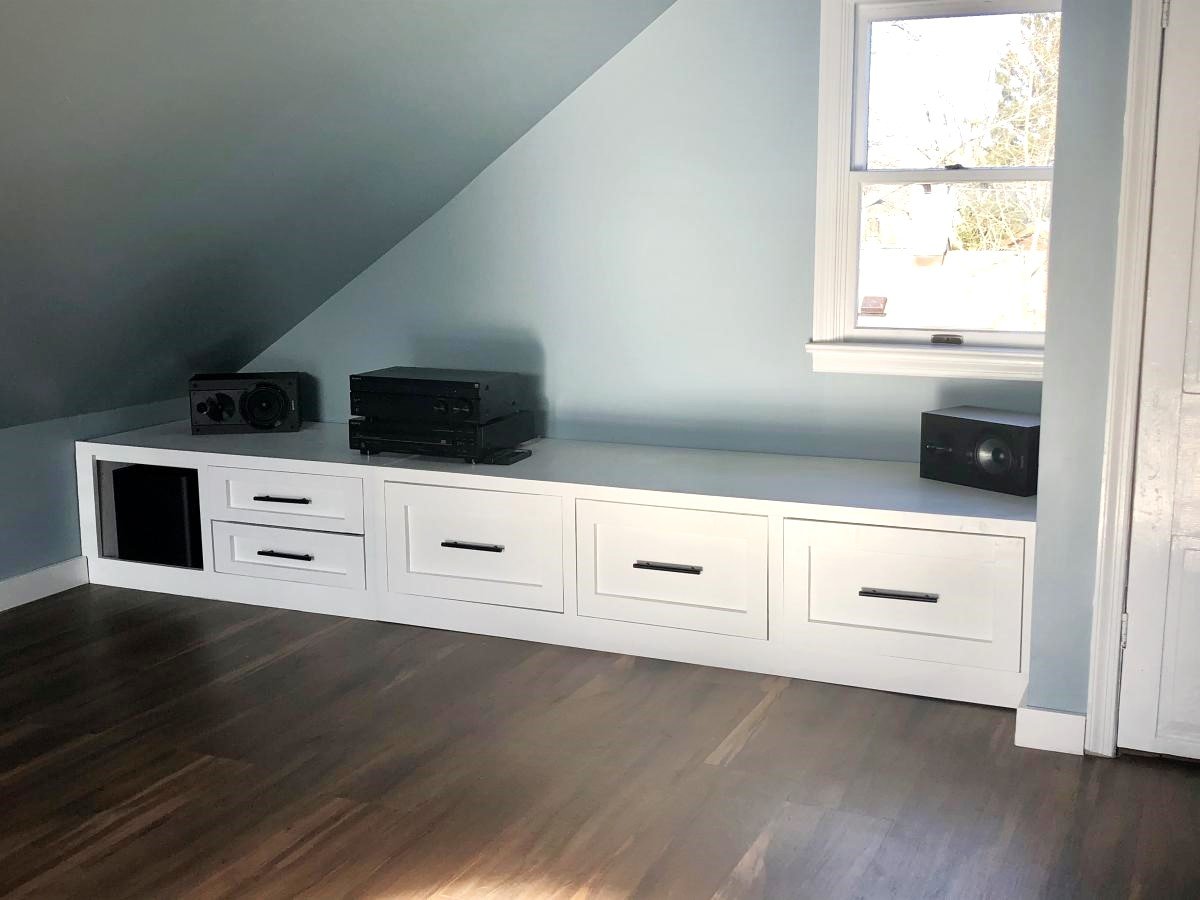
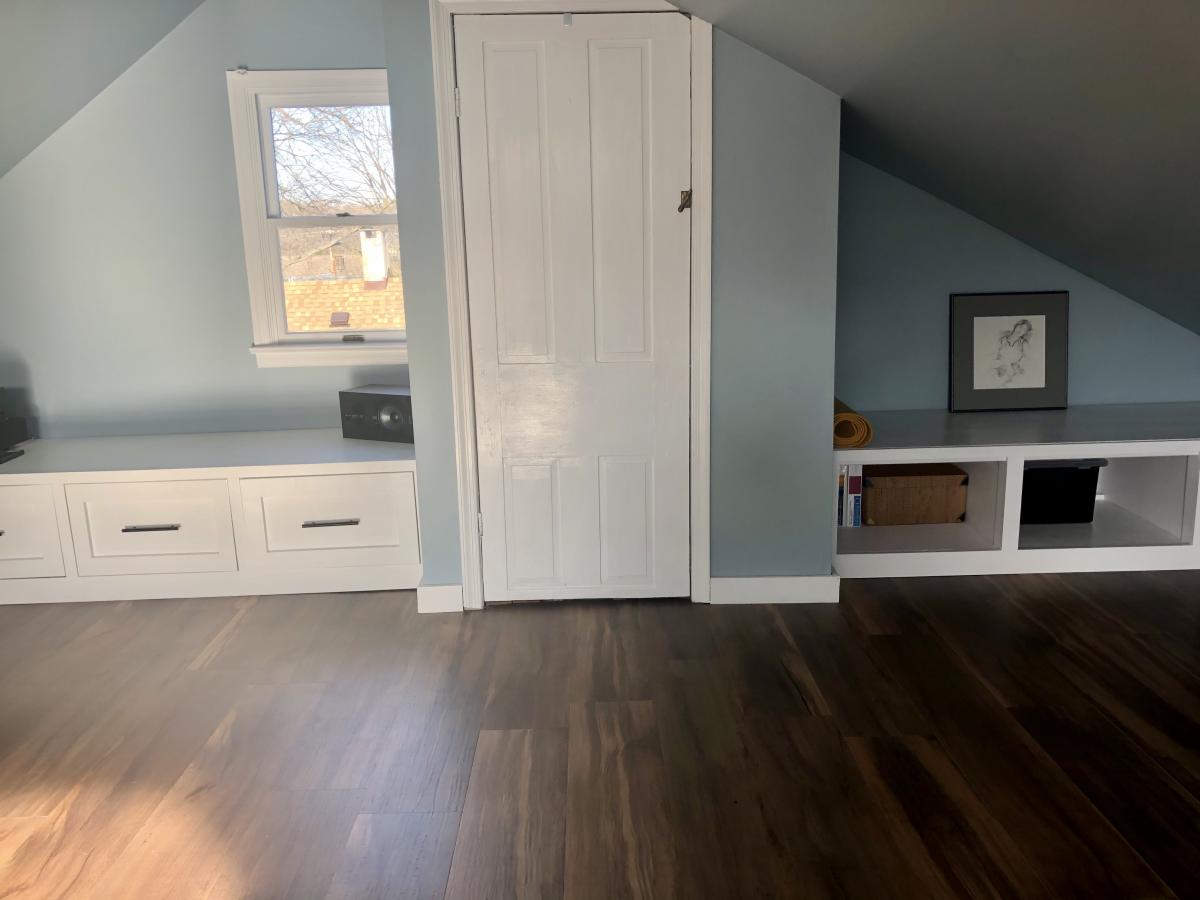
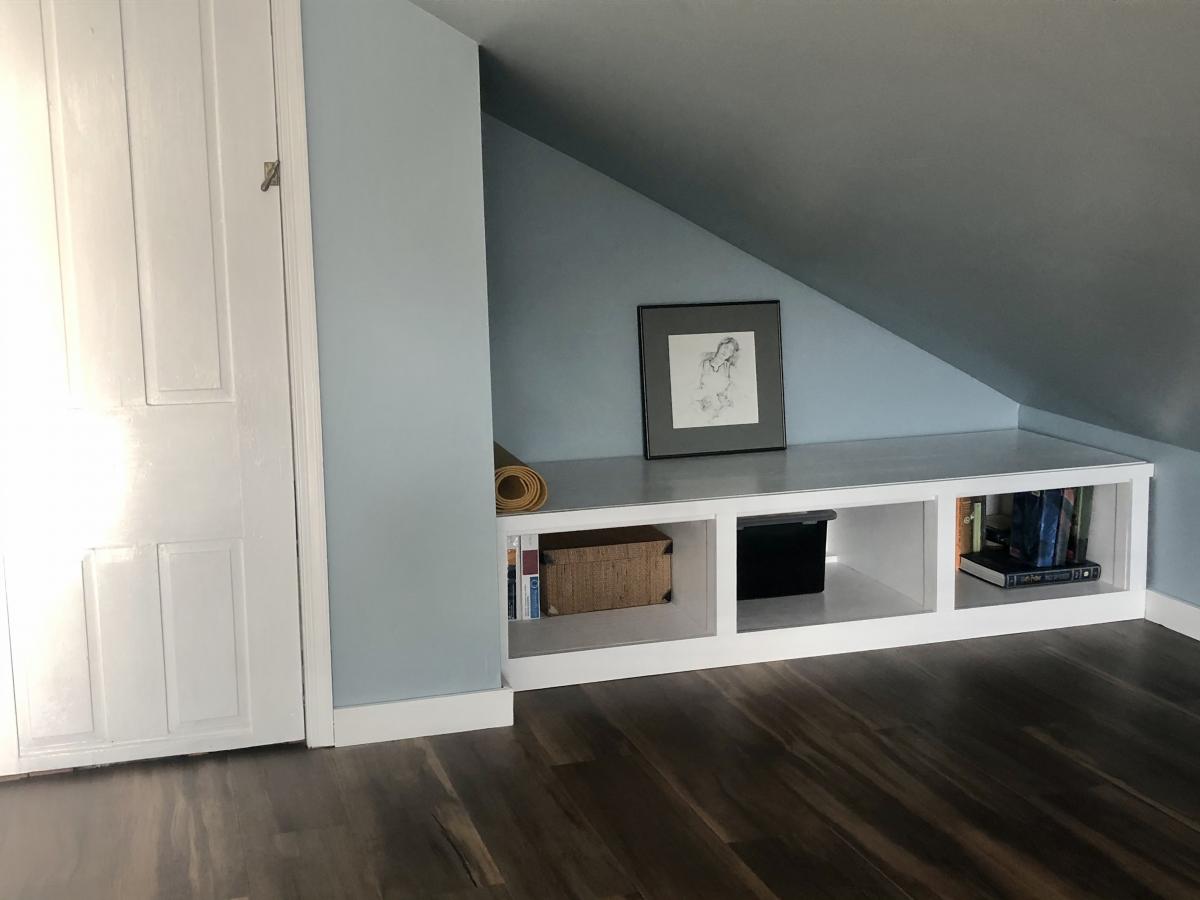
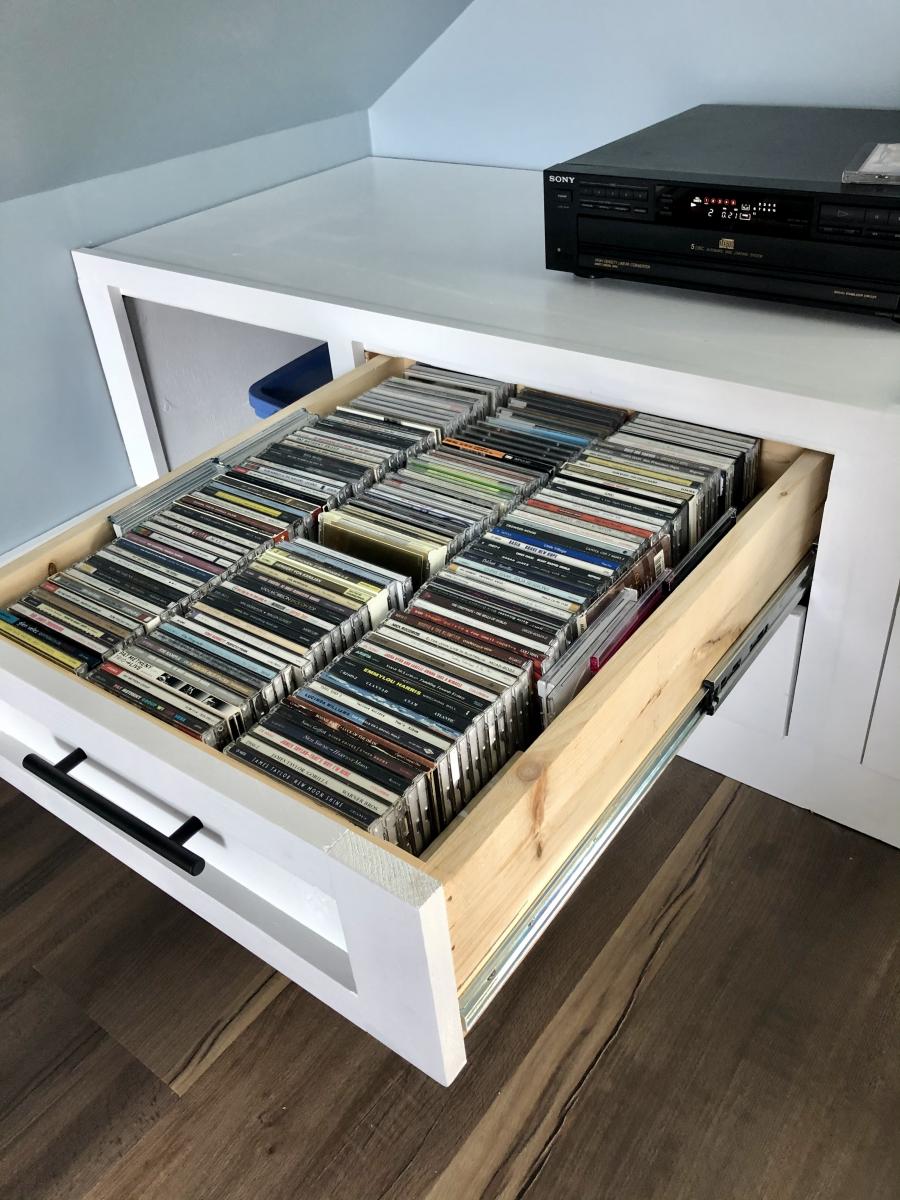
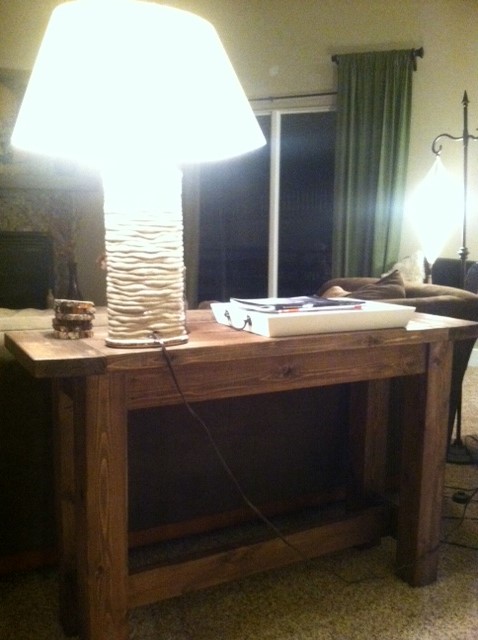
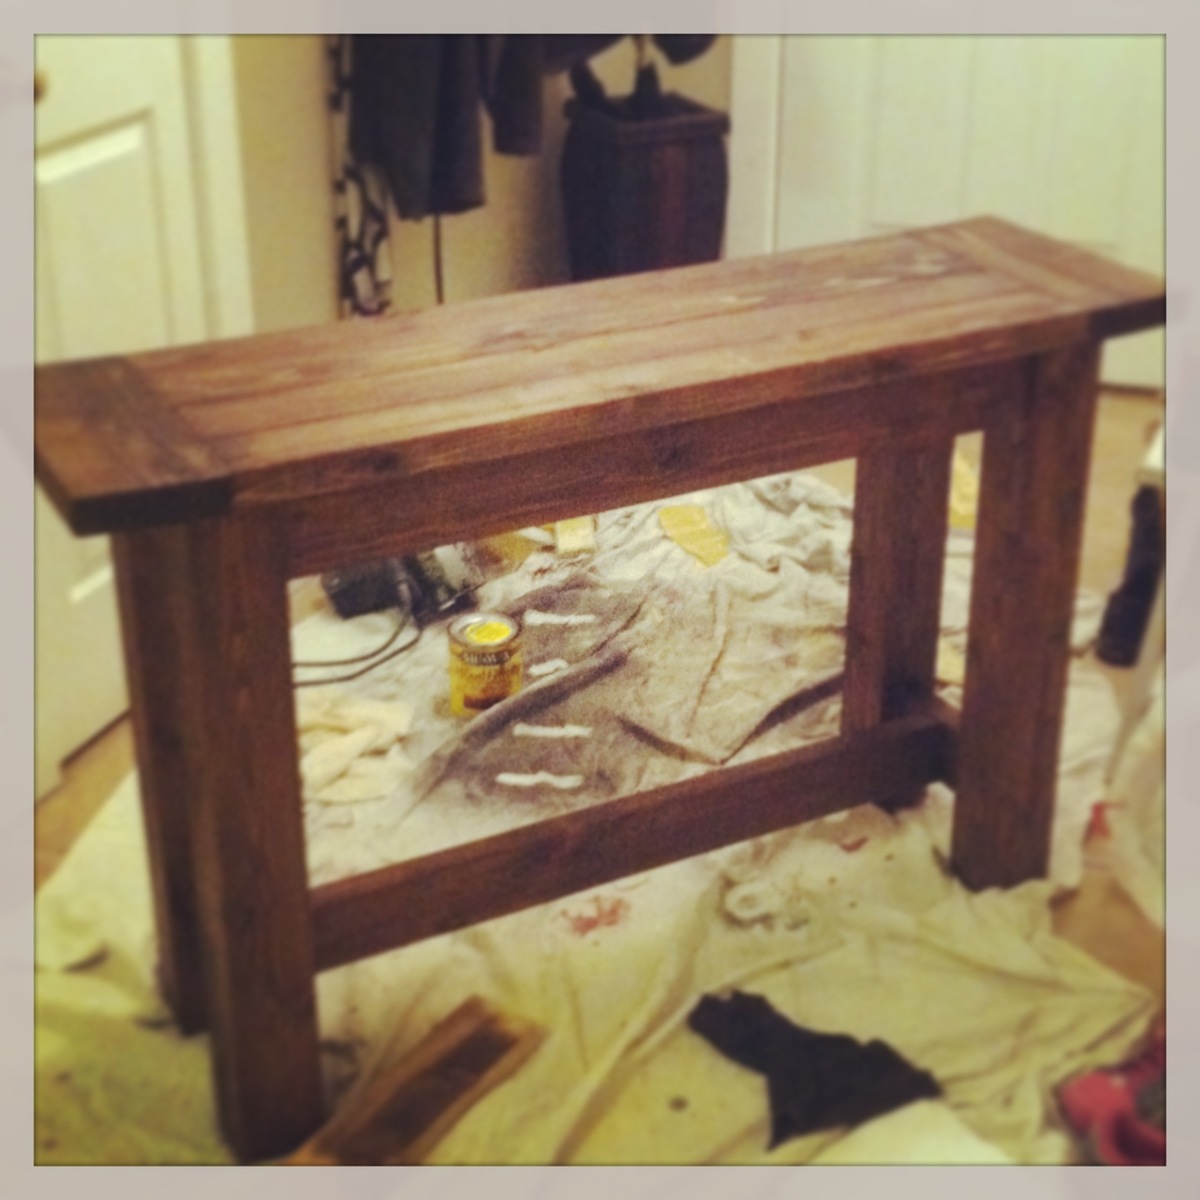
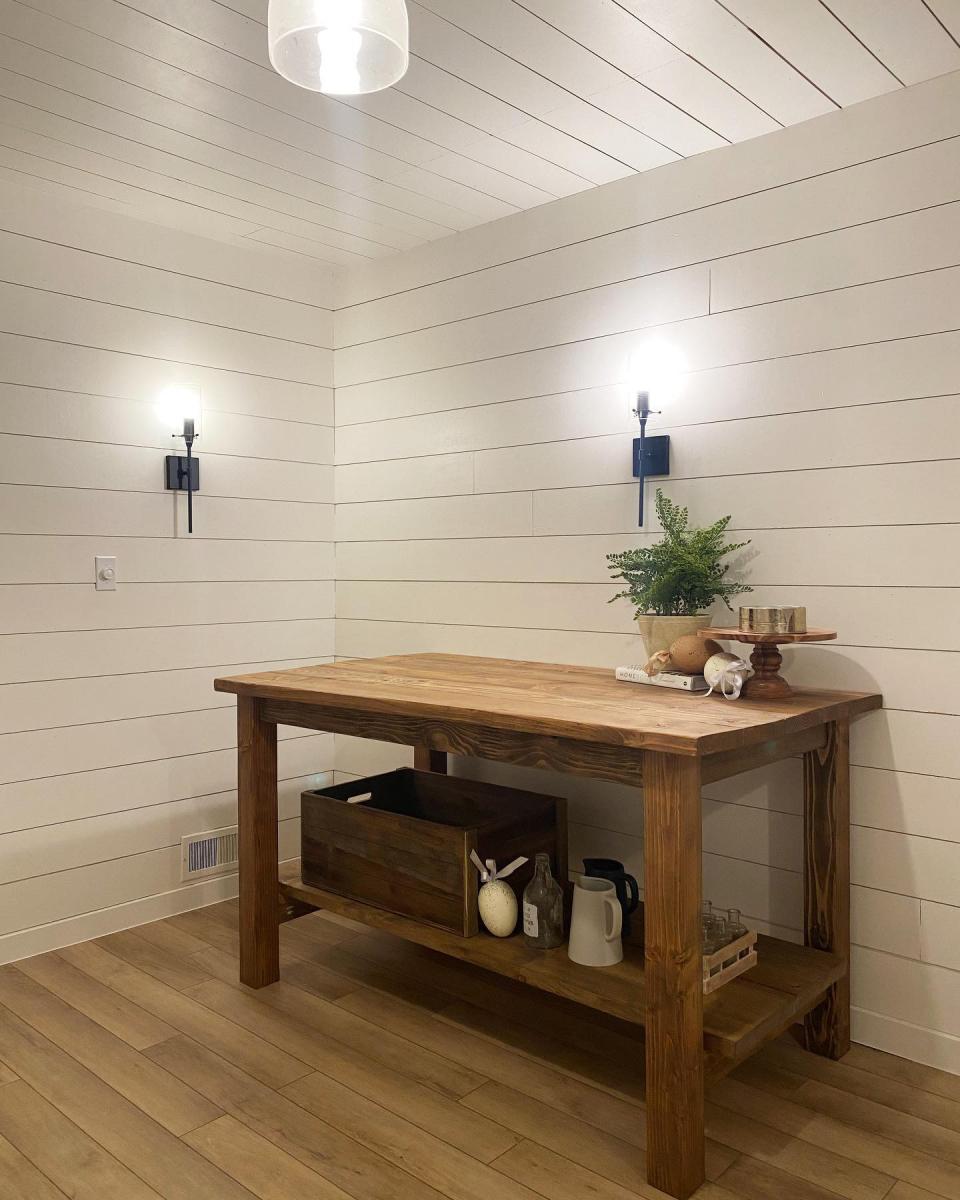
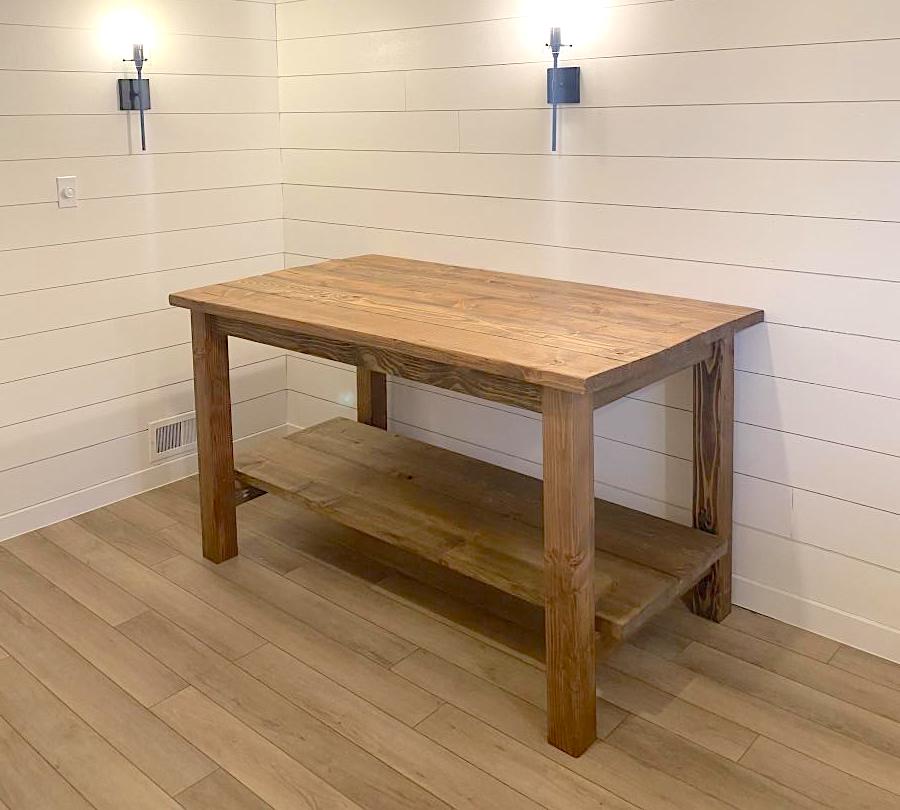
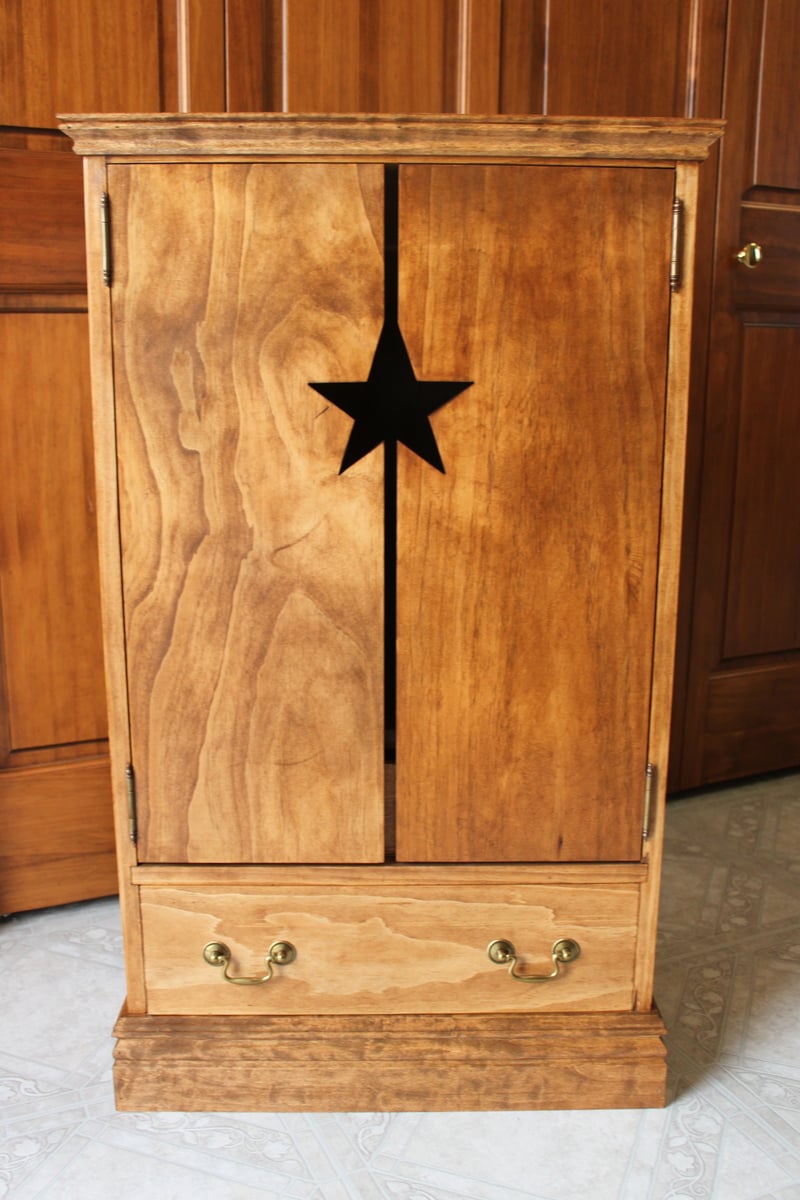
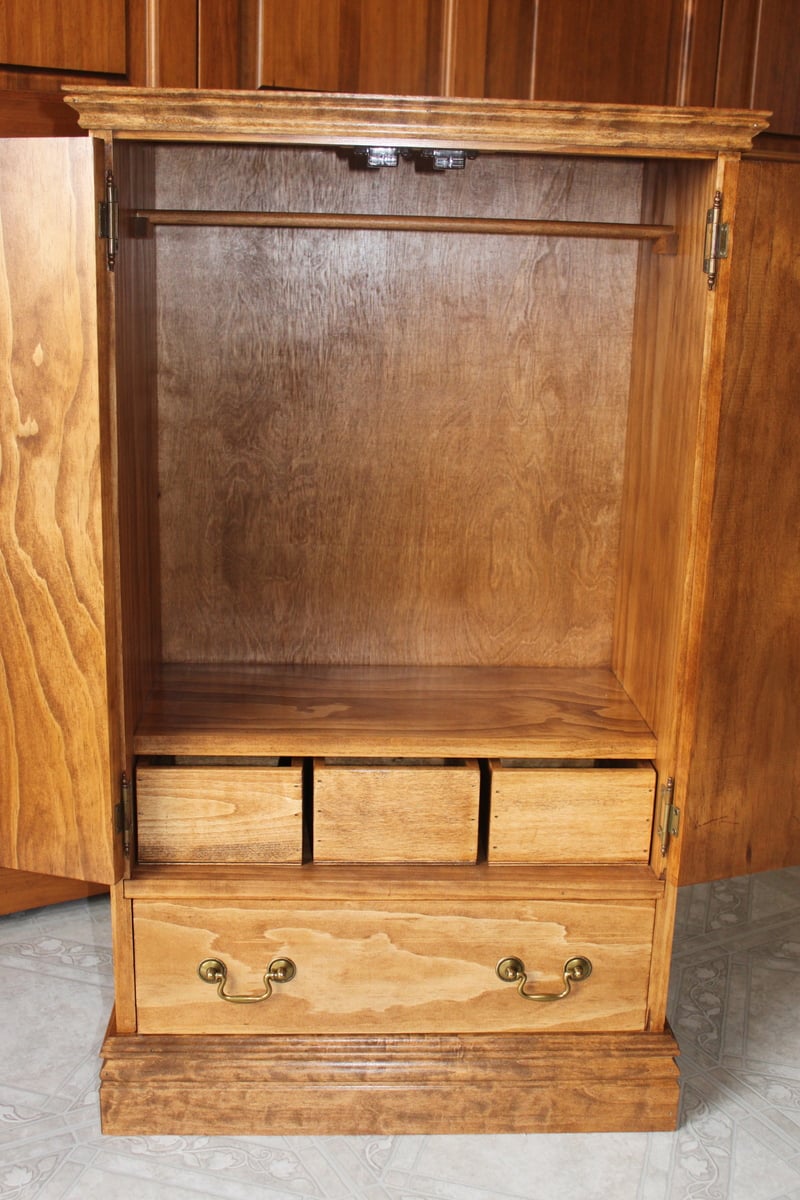
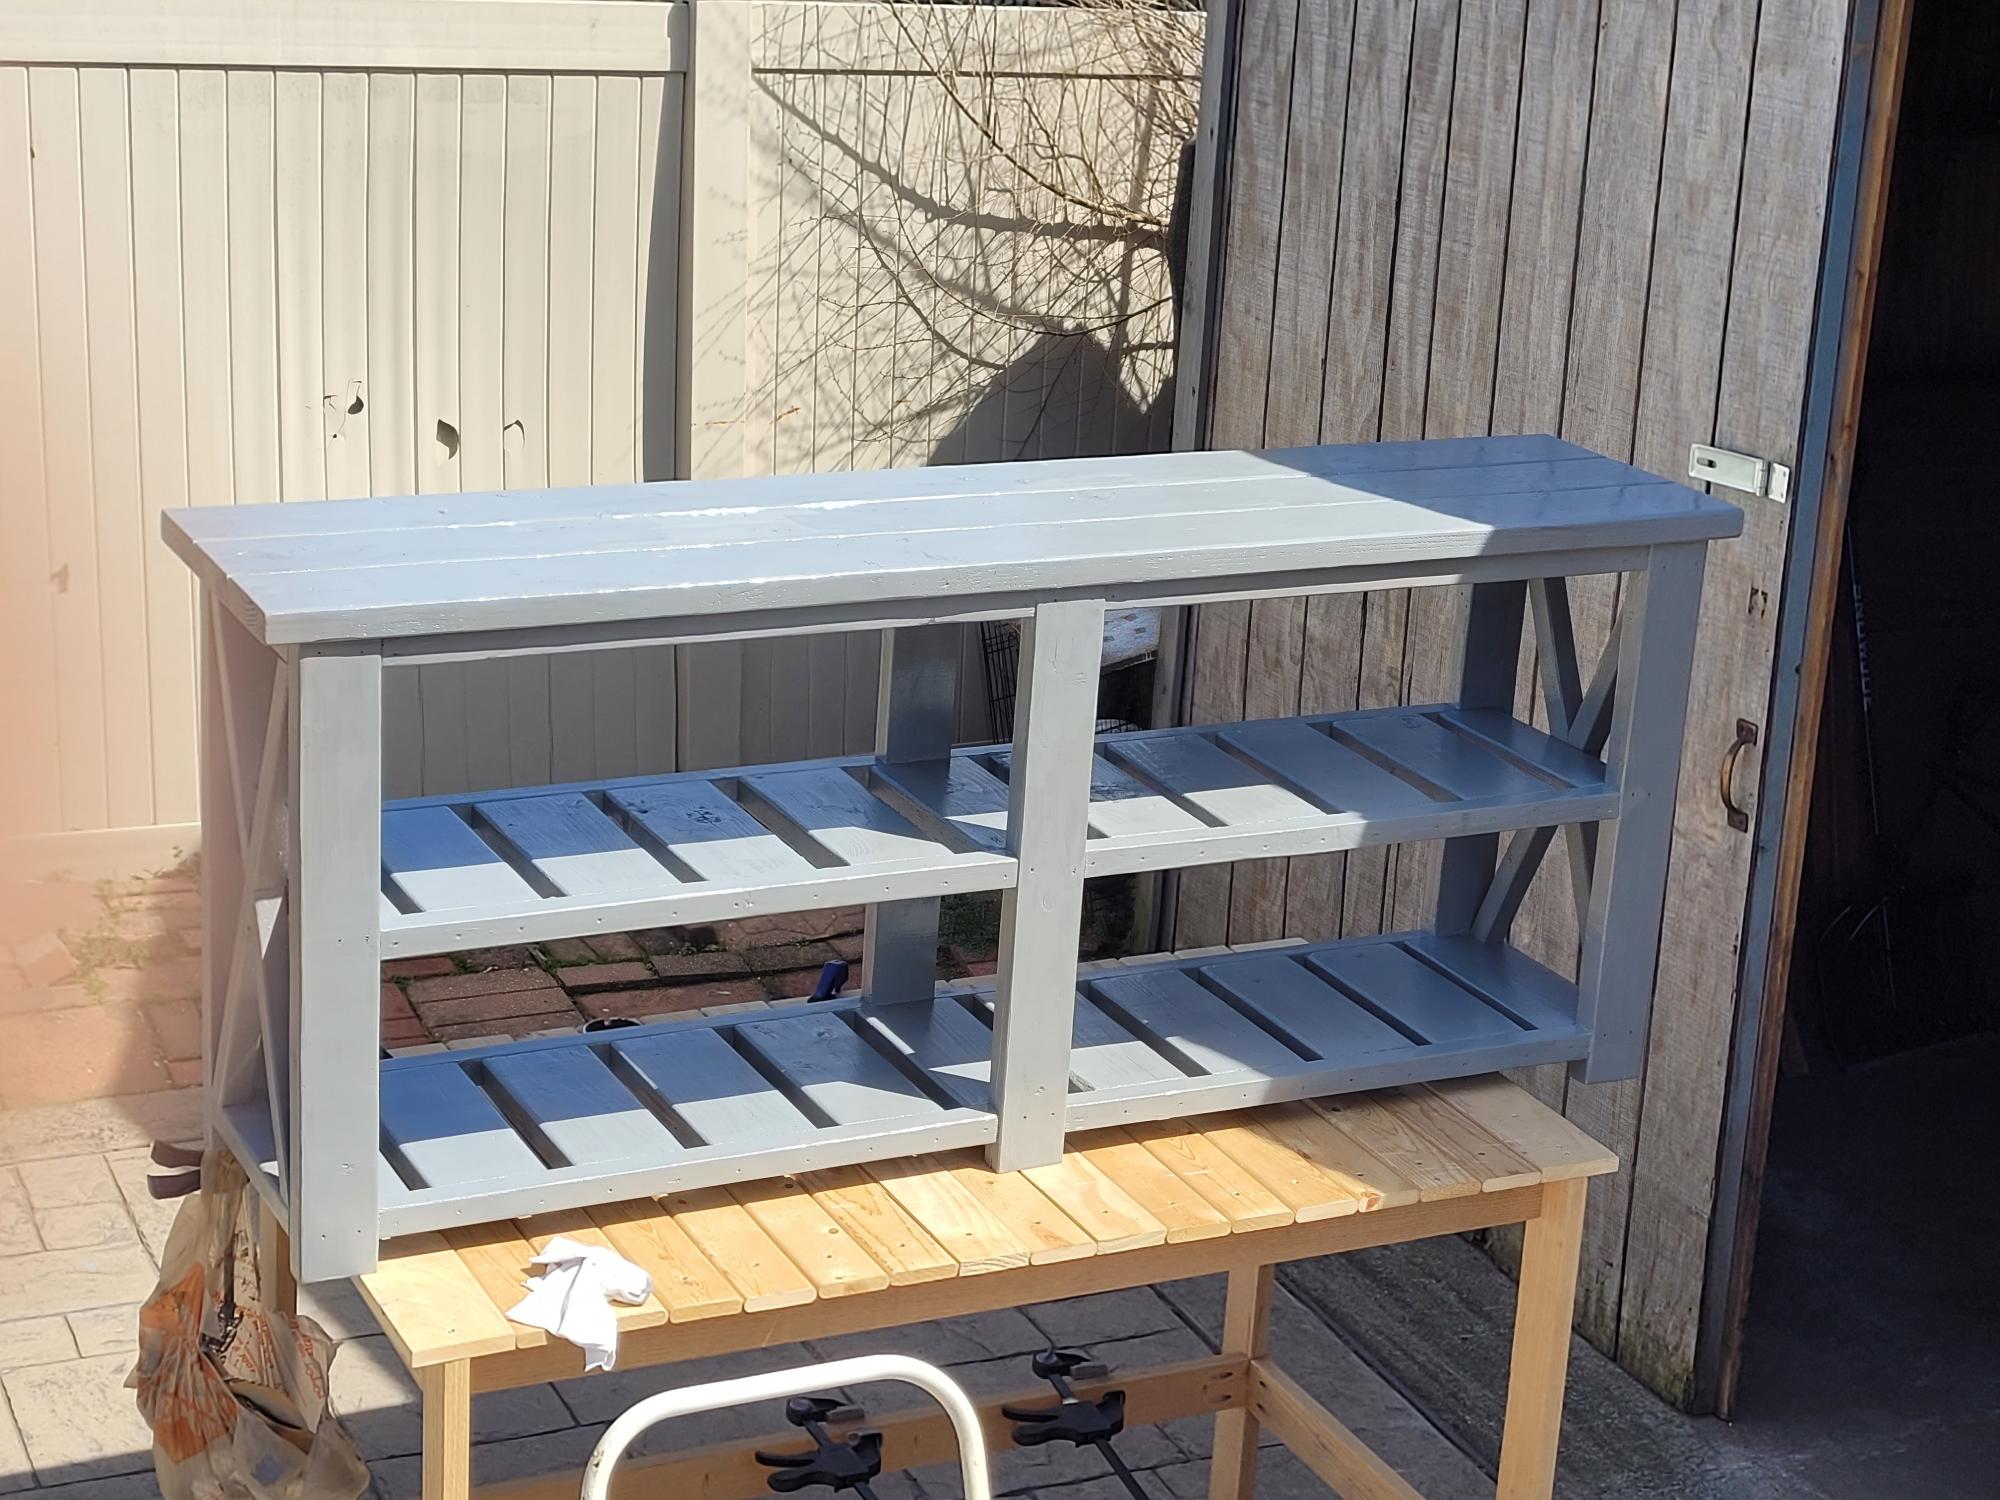
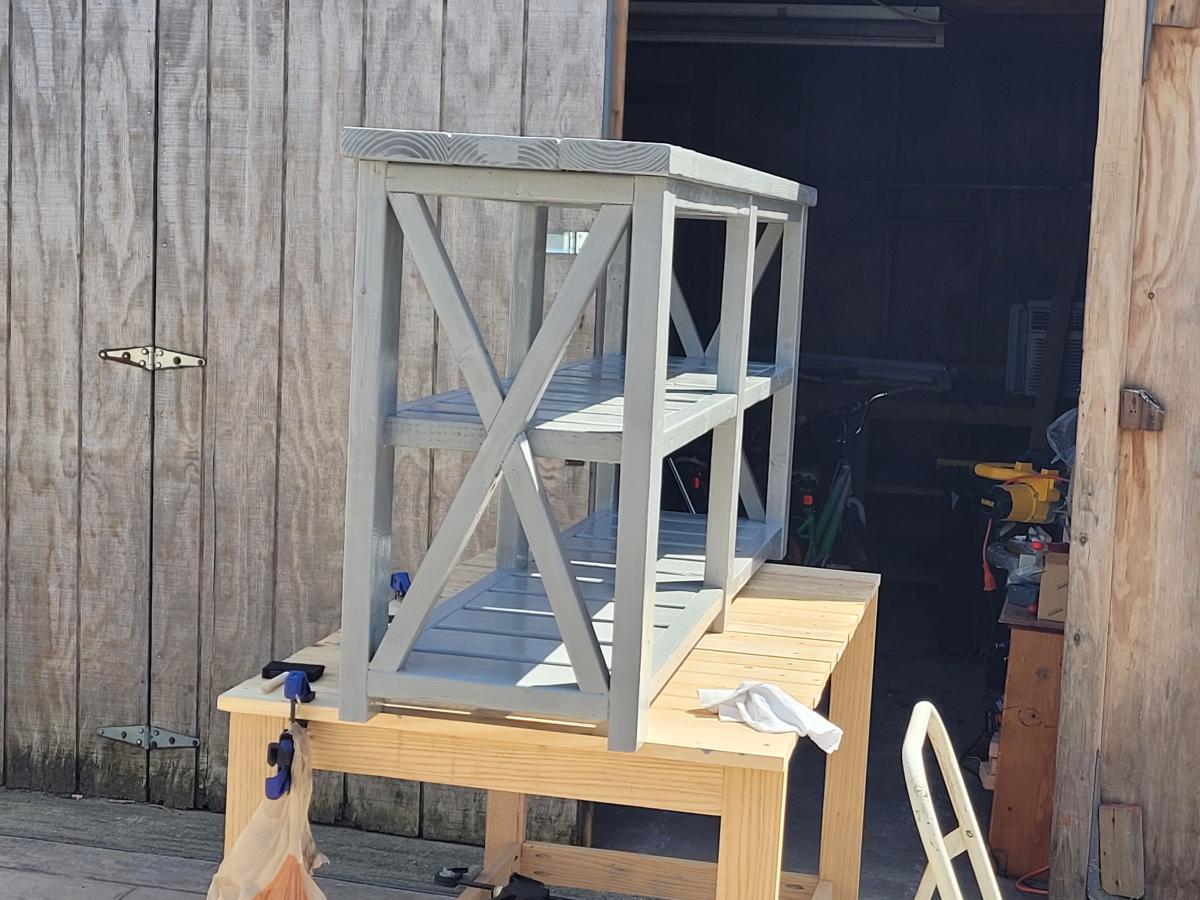
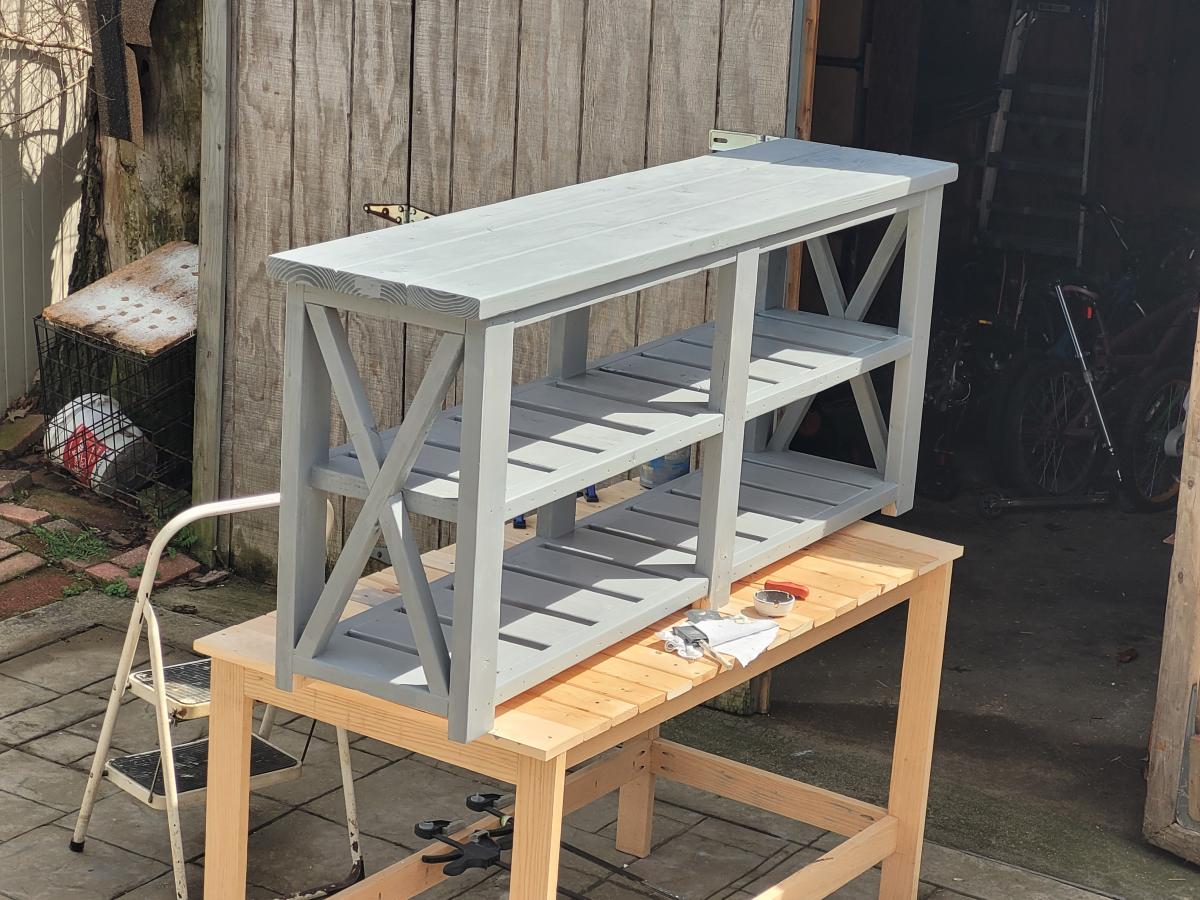
Media Console
I have been wanting to build a media console for a while and finally got around to doing it.
This was my first project. I used Douglas Fir from a great lumber yard in Houston. I used DIYPete's cocktail for the grey finish then applied 4 coats of tung oil by hand.
Our headboard. The dog loves it.
Made from 1x3 and 2x2 pine furring strips and a piece of 1/4" scrap plywood. I added an additional support across the center of the bed to provide some extra strength as was suggested in the tutorial. Painted with Benjamin Moore Select Soft Gloss White. Mattress is a foam pad inserted into a pillow case which is folded over to make it easy to wash. The bedding was purchased through TreasuresDollShop located on Etsy. https://www.etsy.com/shop/TreasuresDollShoppe
I wanted a tree feature in my living room, but I also needed a lighting source. I saw this coat tree and decided that I would make it into a lantern tree with some hand-built, simple wood lanterns. The result is an inexpensive standing "lamp" of sorts, using scrap wood and 2x2s. I have plans for adding a punch of color to the tree, but for now, I love the clean lines and the unique simplicity of this piece of solid wood furniture.
Used some basic tips found online to draw out the cut lines. The runners are 2x12x12. Regular ole decking for the platform and 4x4 for the posts. Anchored in concrete. Lag bolts and hex bolts to secure to the posts.
Love the new desk we made. Very tall desk. Cannot use regular office chair for desk but drafting chair works great. Desk is at perfect height for standing up and working on projects.
We love the loft bed! She always wanted a bed with stairs and this one was the perfect height for me to still help make the bed.
I used the countersink drill bit and Elmer's wood filler, but the the wood filler didn't take the stain/poly well.
Due to a little plumbing mishap I found myself having to redo my son's room. One of the things he wanted was a desk so I found these plans for the Library Card Play Table and figured with just a tiny bit of tweaking this would be the perfect desk for my son. I opted not to go the library card route and stuck to a solid drawer face on each drawer and I cut the legs a little longer so that the desk sat at 30" tall. My son loves the desk and so do I.
So we we're expecting and we started to look at cribs. We wanted a 2-1 crib that will turn into a twin. My brother in law gave us the side pieces (rails) to his old crib, so I needed to build a headboard and footboard that would go with what he gave us. My wife started to browse online for cribs that she liked and she asked for something that would resemble the "Natart Rustico Moderno Crib". So I tried my best... more photos and tips on my blog.
http://www.woodworkingfourdummies.com/blog/diy-baby-crib
Cheers,
Ian
This was my first-ever woodworking project, which followed a pretty significant renovation of my attic. The built-ins were inspired by the plans and videos from this site. The renovation started with removal of the wall-to-wall carpeting (including 20k nails and staples), repairing the subfloor, replacing the stairs and landings, including the drywall. I used Home Depot’s Lifeproof floating vinyl flooring, which I’m really pleased with.
Mon, 03/15/2021 - 21:33
Wonderful choices, love the flooring and built-ins!
My 5 year old son wanted a "Lego Creation Display Thing" to exhibit all his hard work with his beloved Legos. I knew this plan was perfect.
After styling it for the photo, I didn't want to give it to him, but keep it for myself instead! I think I need to build another one. Or two.
The building only took a few hours, but I spent a LOT of time on sanding and painting it perfectly for a professional finish.
I bought 1x8s instead of 1x4s and ripped them on my table saw, becasue I was able to get straighter boards that way and it was a tad cheaper.
(Bonus Brag: I refinished and reupholstered that blue chair!)
The counter height farmhouse table plans were so helpful! Thank you Ana White! I replaced plywood on top with 2x8s and added a shelf underneath the table for some kitchen storage! I am in love thanks again😍 Follow me on Instagram @abbbclark_homeee for more home renovations, decor and DIY!
My husband made two of these star closets for our girls and all of their American Girl Doll clothes and accessories. He added a drawer to the bottom so that they could fold pants, shorts, and swim suits and keep them there. He also built three small boxes to hold the smaller accessories, like shoes, hair bows, and hats. It turned out beautiful!
This was very easy to make. Stained with minwax dark walnut. It's very sturdy too.
My first build in my new house I didn't think it would come out so well. Thanks for the plans. I love working with my hands
Sat, 04/24/2021 - 05:20
Lumber is quite expensive right now so I'm not sure what's next but once I figure it out I'll be sure to post it :)
I changed the this plan to make it into a puppet stage for my niece's birthday.
I added a curtain rod and made some curtains to fit. I put two shelves in the back, but I put dowels in along the shelves so she could put her puppets on them for easy storage. I used a piece of a sheet of wainscotting for the front of the bottom.
I also put chalkboard paint at the top to allow her to write the name of puppet show that she is performing.
I was able to use some scraps that I had around for quite a bit of it, so it was pretty inexpensive.
The pictures are not great and I wish I would've taken pictures of the back before I gave it as a gift, but the kids are having lots of fun with it. I'll have to take some better pictures the next time I visit.
Comments
spiceylg
Mon, 03/04/2013 - 05:30
Beautiful
Beautiful build. Looks fab! Love that you used oak.
bretamiller
Tue, 03/05/2013 - 04:48
Thank you.
Thank you.