Community Brag Posts

Little Mancave for Noah

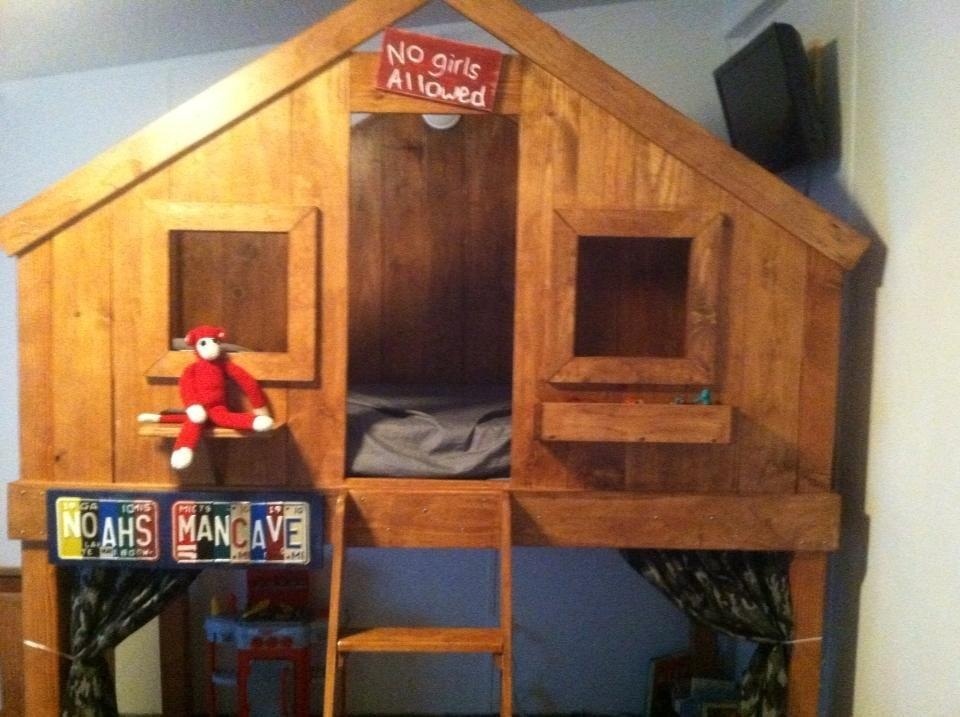
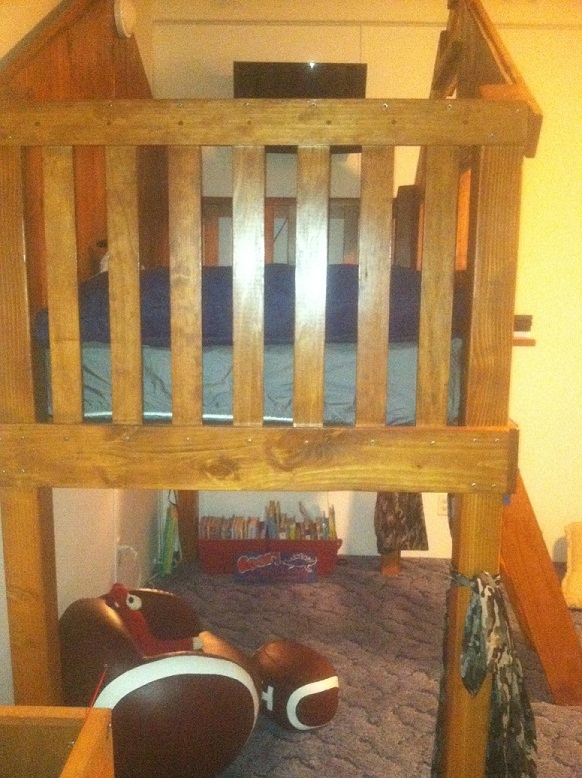
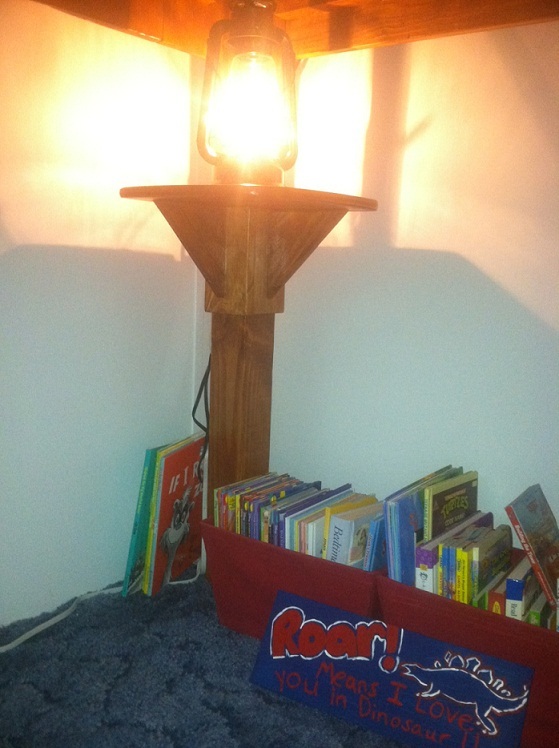
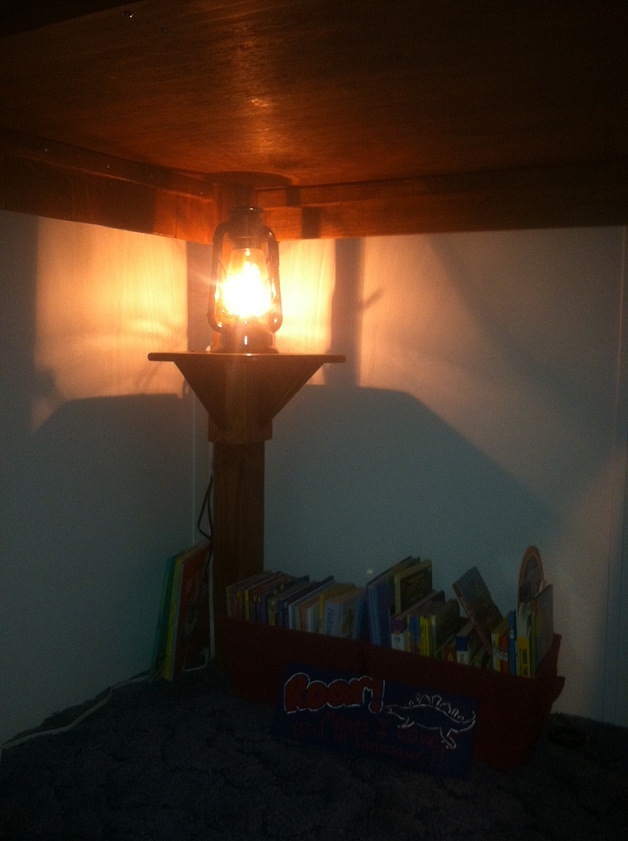
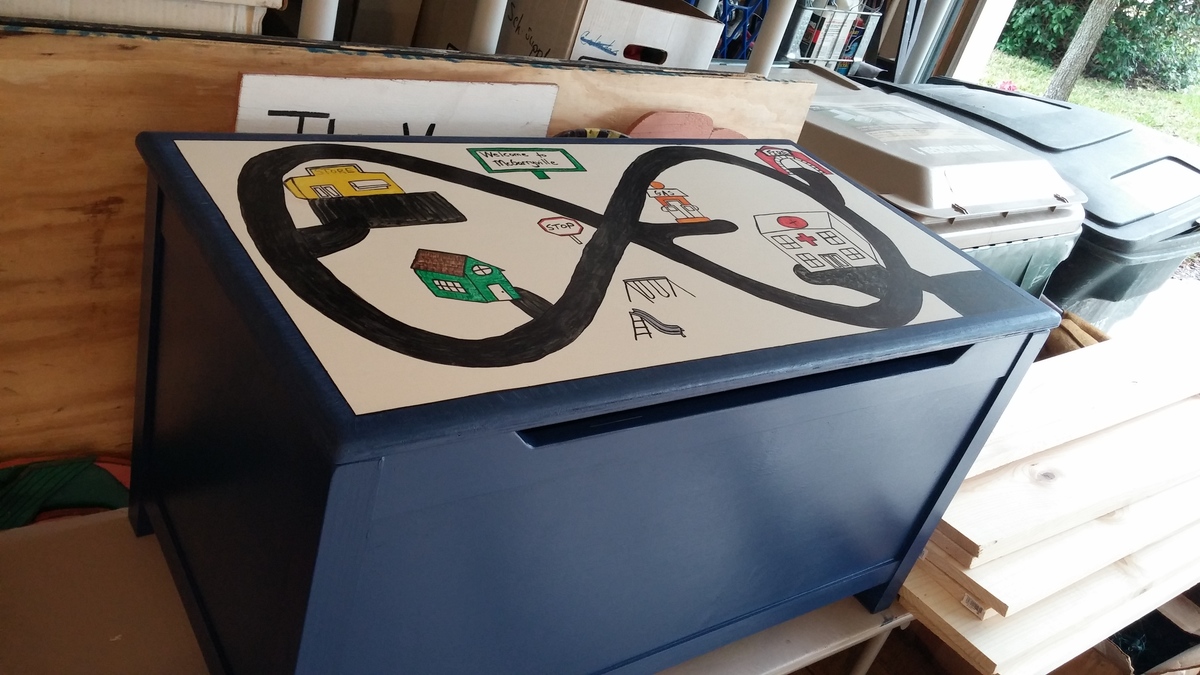
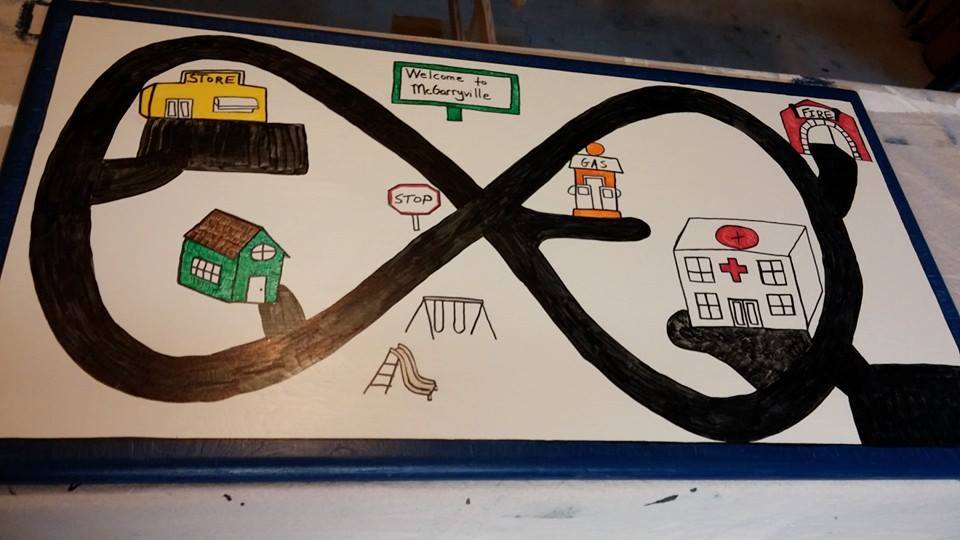
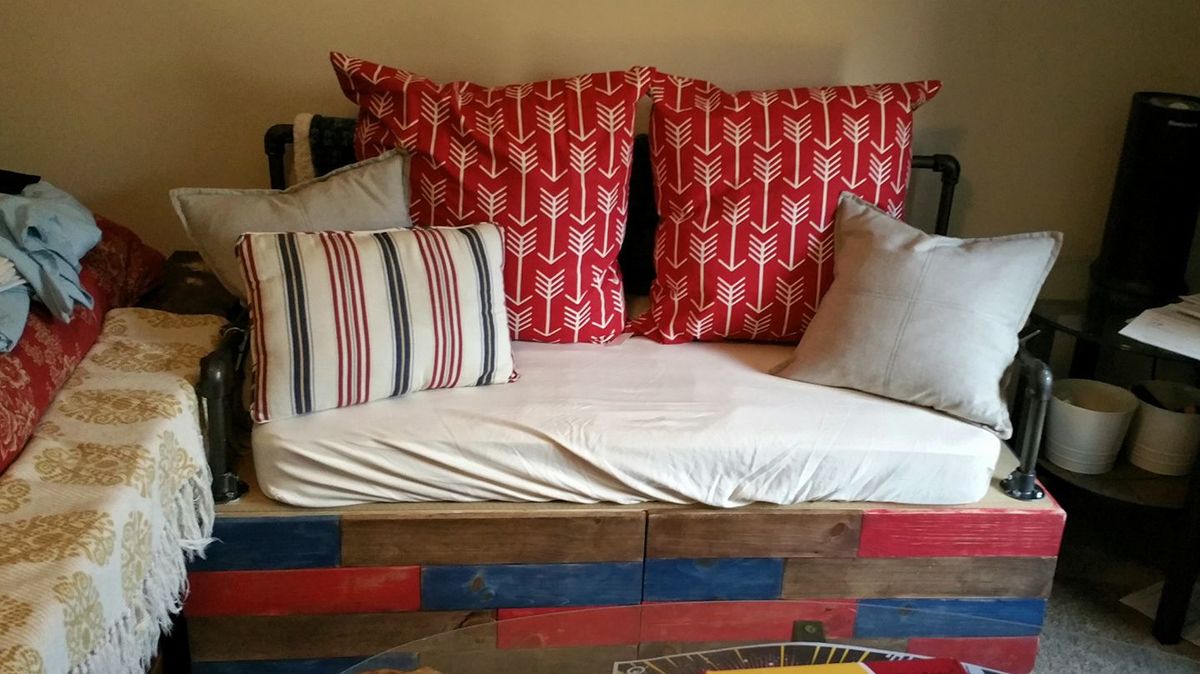
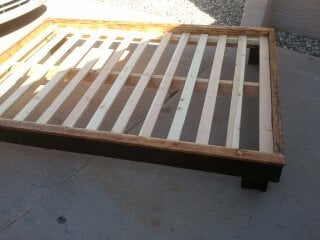
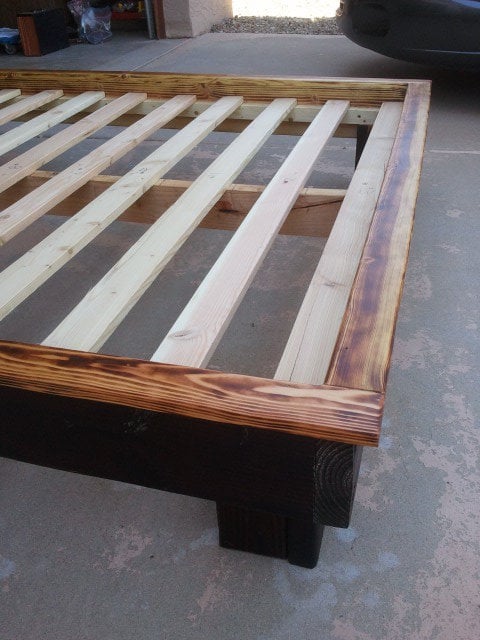
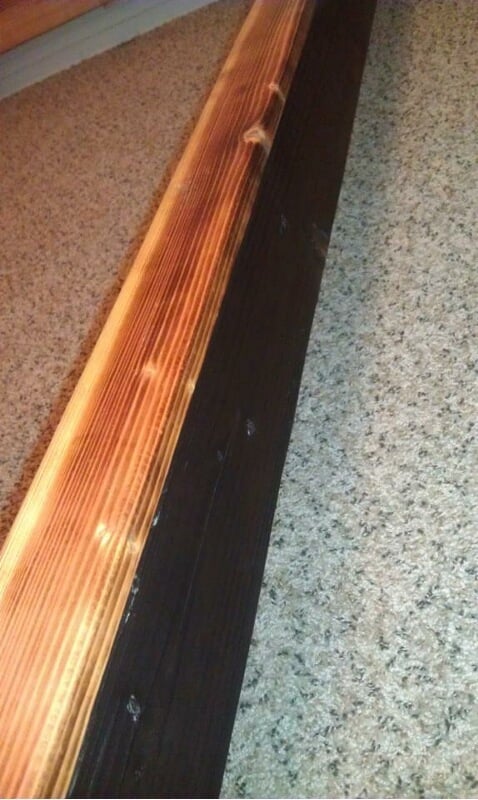
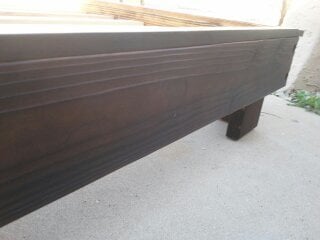
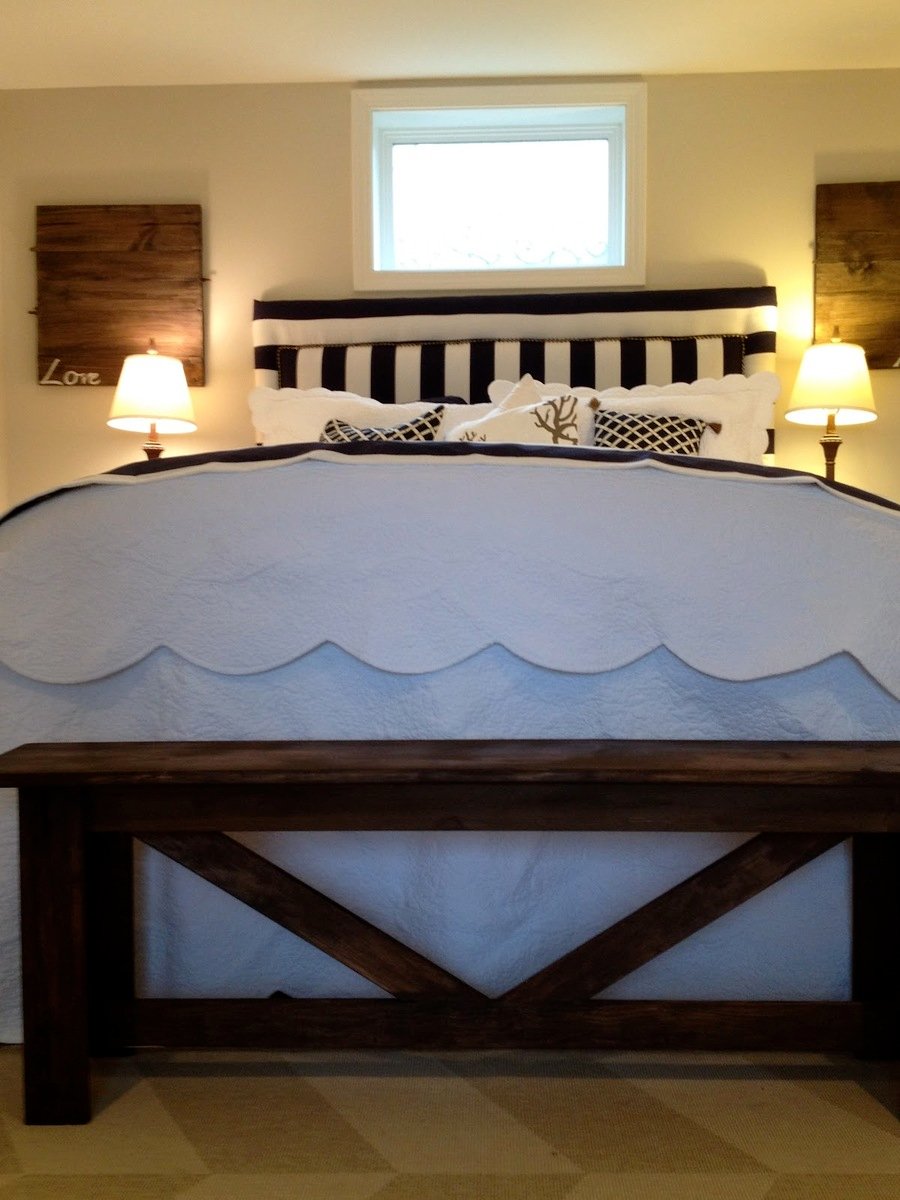
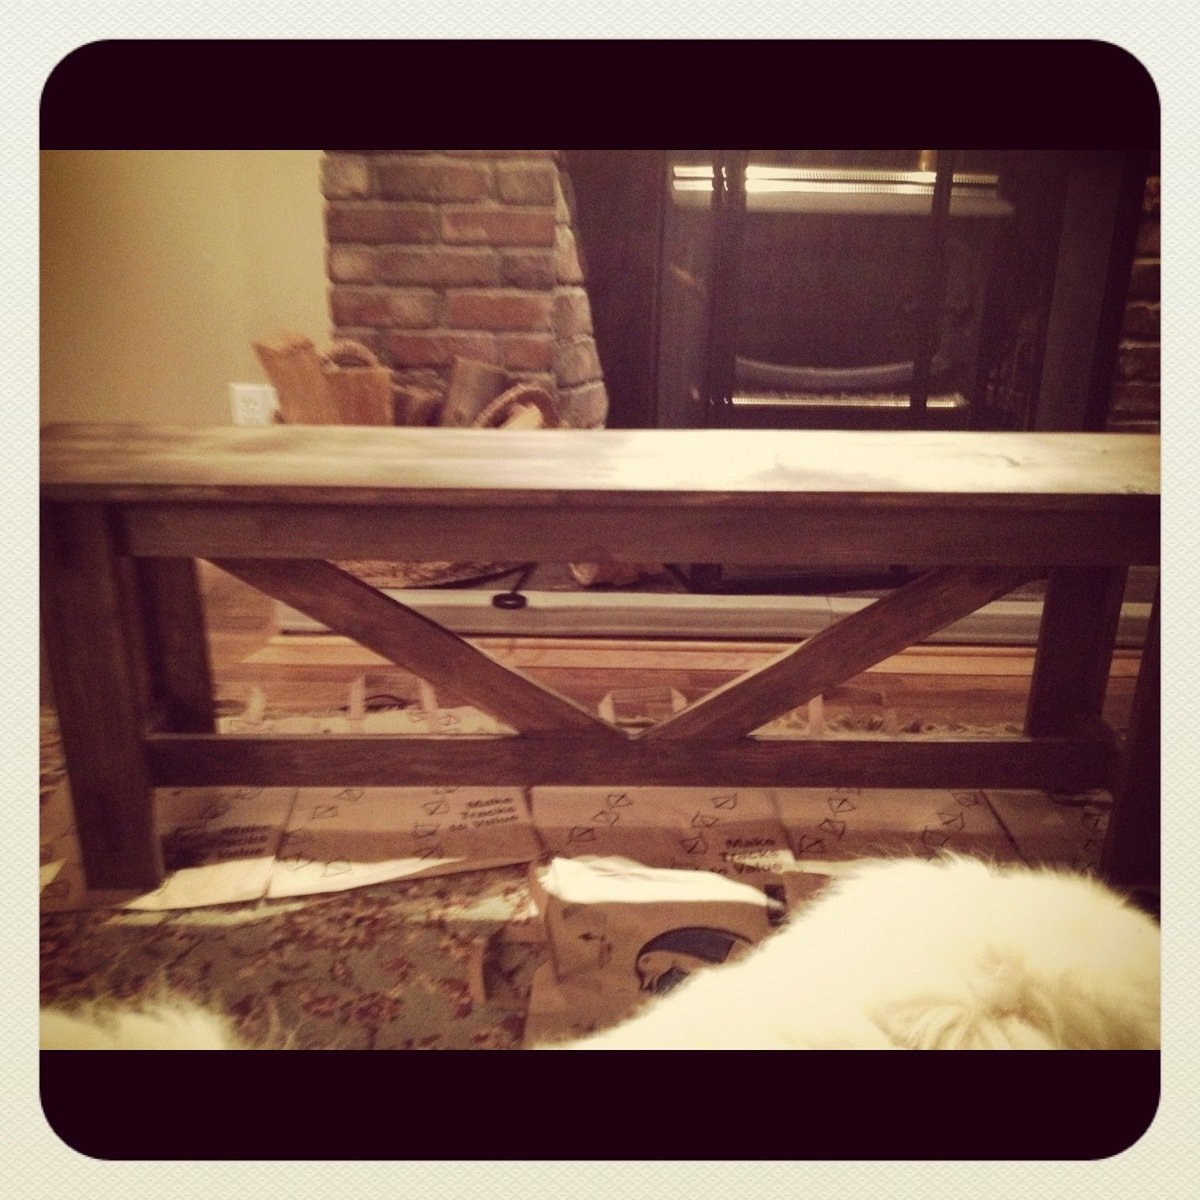
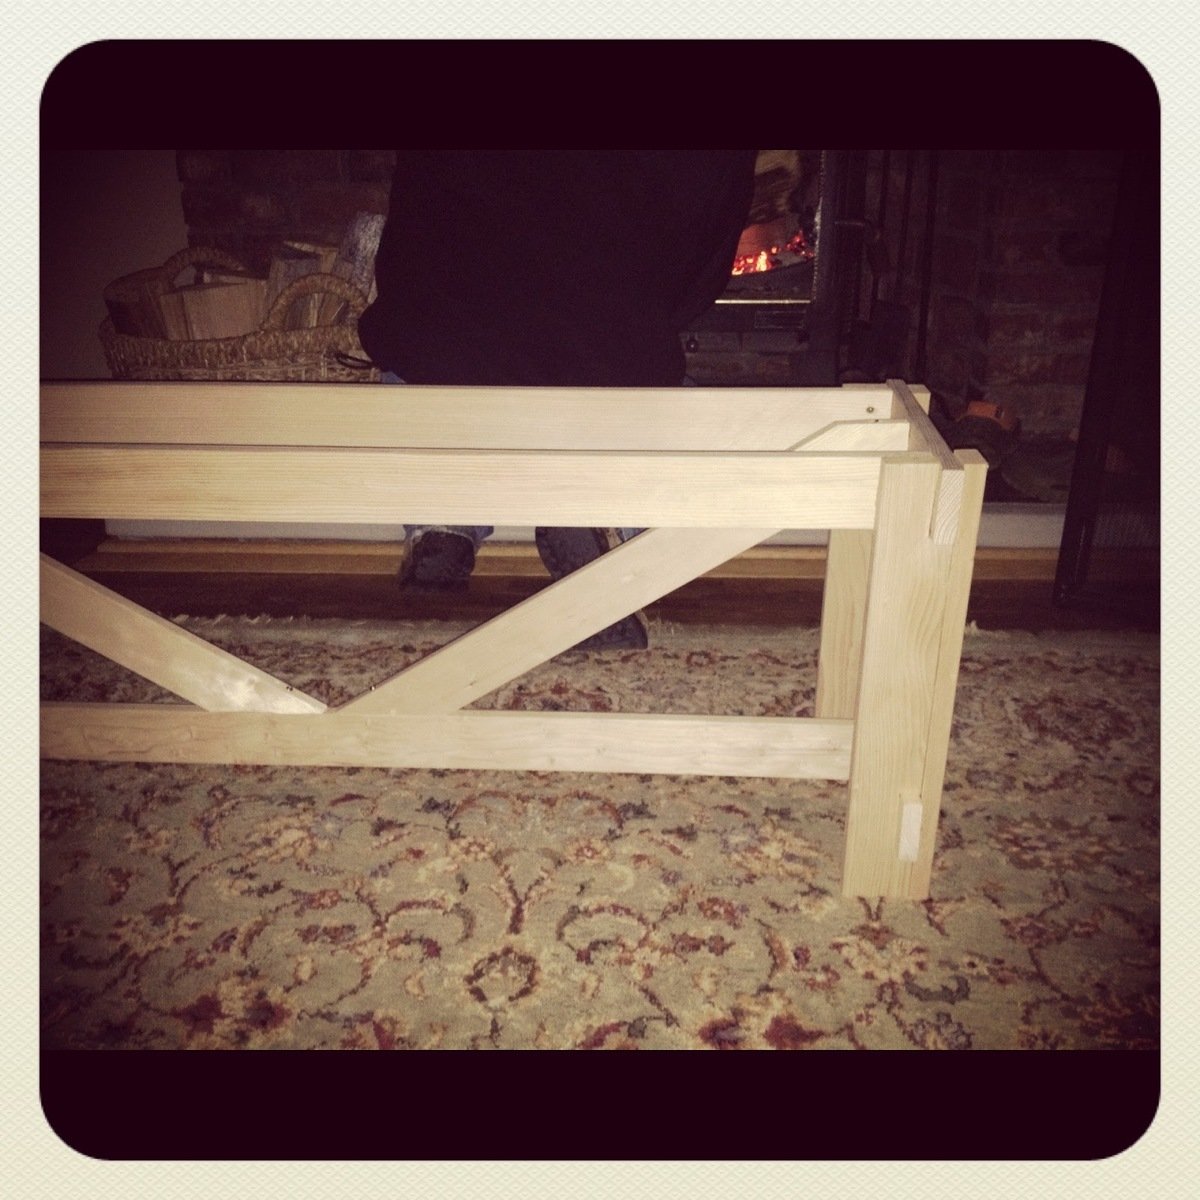
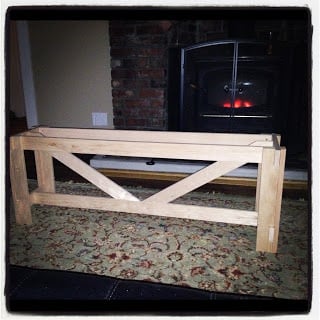
We absolutely LOVE this clubhouse bed. Not sure who loves it more, my litte boy or his parents! My husband has zero wood working skills, but his dad has a few wood working skills, so together they made this happen. We bought half of the lumber-cheapest whatever we could find, and my father -in-law bought the other half -the much more expensive stuff. We probably could have made this around $150-$200 using all the cheap stuff. We added a window box to hold little super heros and a shelf on the opposite window, we also added a shelf half way up on one of the post at the bottom to hold a lantern. We raised the bed 4 inches higher to give more room at the bottom. We used ply wood for the bottom of the bed rather than slats. We used a cherry 223 Minmax -1 coat and then put a clear coat on it.

Built from Plan(s)
Estimated Cost
$300
Estimated Time Investment
Weekend Project (10-20 Hours)
Finish Used
Minmax 223 Red
Recommended Skill Level
Intermediate

Comments

Julie's benchmark media console

Submitted by Timjuliek on Sun, 03/19/2017 - 16:42

My wife used the benchmark media console plans with her own idea for the doors

Built from Plan(s)
Estimated Cost
$200
Estimated Time Investment
Week Long Project (20 Hours or More)
Finish Used
Sherman Williams pro classic
Recommended Skill Level
Intermediate

Farmhouse table

Submitted by Anonymous (not verified) on Tue, 01/19/2021 - 13:40

Original plan was for 8ft...had to shorten to 7 to fit my space better. First try at making my own table top like this and first time using a joiner and planer. Didn't' get the seems on the 4 2x10s perfect, but again for my first try, not bad. Significant other is very happy with how this turned out and so am I! Lot's of fun to build. It's crazy that I see tables just like this online selling for $2000.

Built from Plan(s)
Estimated Cost
$150
Estimated Time Investment
Day Project (6-9 Hours)
Finish Used
Dark walnut, poly after.
Recommended Skill Level
Intermediate

Rustic X Console, minus the X

Submitted by birkmeyer on Sun, 12/21/2014 - 05:52

I did not like the way the X looked with our other furniture so I decide to replace it with 2 upright 2x2's.

Built from Plan(s)
Estimated Cost
$60
Estimated Time Investment
Weekend Project (10-20 Hours)
Finish Used
Minwax Dark Walnut
Recommended Skill Level
Beginner

Comments

My brand new $1500 kitchen

Submitted by Anonymous (not verified) on Wed, 03/22/2017 - 06:59

My brand new $1500 kitchen! New countertops, new peel & stick backsplash, new homemade diy real wood doors to cabinets, new self-closing hardware and pulls, painted old body of cabinets to match doors, painted accent wall and area behind fridge. With appliances, total cost was more like $3000. Also, pics do not show other side of kitchen, with sink, bar & dishwasher. Still looking for "before" pics of that. Will update as I find them.


LOVE my "new" kitchen! <3

Estimated Cost
$1500 (does not include appliance costs)
Estimated Time Investment
Weekend Project (10-20 Hours)
Finish Used
Wall color is Olympic Elemental. Cabinet color is Olympic Silver Feather.
Recommended Skill Level
Intermediate

kids' lounge bench

Submitted by JennyInGex on Sun, 02/17/2013 - 00:33

My first project besides some simple shelves. I wanted to use old sturdy wood I had from parts of a bed so I used the ana white plan but improvised quite a bit. I also accidentally made it much higher but like it this way. I am going to paint it a deep bright greek blue in the spring. I am happy with it!

Built from Plan(s)
Estimated Cost
60 euros
Estimated Time Investment
Day Project (6-9 Hours)
Recommended Skill Level
Beginner

Comments

Filing Storage Couch

Wanted a couch that could also fix my storage issue for all my paperwork.  I saw a plan for a filing cabinet bench and some plans for a storage couch and used them as inspiration to make my own.  The railings are made with PVC pipe because of my budget, they hold up under my weight, but probably wouldn't work for a heavier individual.  I'll eventually upgrade to iron pipe when it's in the budget.  Still trying to figure out what to do for the armrests.  

Estimated Time Investment
Weekend Project (10-20 Hours)
Finish Used
Walnut, red milk paint, blue stain
Recommended Skill Level
Intermediate

Large Entertainment Center

Submitted by rmseama on Sun, 01/24/2021 - 17:28

My Biggest build so far. We have a large living room and needed something large for that wall. I really had fun on this one. It took longer than I wanted but in the end, I’m really proud I finished. This was my first time to use the router and learned how build shaker style doors. -Instagram.com/theorthfam

Estimated Cost
1000
Estimated Time Investment
Week Long Project (20 Hours or More)
Recommended Skill Level
Intermediate

My family loves it and so do I!

Submitted by tonypilot7 on Mon, 02/18/2013 - 18:13

Easy Peasy!

Materials & cost: Framing grade pine and 1x3 furring strips. $110 including finish materials.

I used some of the excess 2 x 6 that I had left over to make the feet square instead of just using 2x4s like in the plans. just cut them to the same length as the 2x4 feet, then butt them up against the 2x4 feet and mount them to the frame.

Also, I made the support beam removable by using face-mount 2x4 joist hangars to hold it instead of bolts.

Total build time = less than one week

Next project will be a custom headboard for it..

Built from Plan(s)
Estimated Cost
110 including finish materials
Estimated Time Investment
Weekend Project (10-20 Hours)
Finish Used
( I didn't use any stain on this project!)
.
.
I torched the surface of the pine with a propane burner. Charred the base and feet heavily then brushed off the char with nylon bristle brush. You can't see it in these photos, but it brought out a lot of bronzes and amber in the wood grain. Plus it gave the wood a texture that reminds me of heavily weathered or aged wood.

For the 1 x 3 strips on top, I routed all the edges inside and out, then I used the propane burner, but just scared it a little. I kept the torch moving so that it didn't get too dark. I then coated the whole project with boiled linseed oil (2 coats, wipe on, let soak for 20 minutes, then wipe off. 24 hours between coats, and let dry 72 hours). Then, I used a citrus and beeswax paste wax on top. 2 coats of wax and a lot of buffing later, I like the results.
Recommended Skill Level
Starter Project

Rolling C-Table

Submitted by JessKrev on Sat, 12/27/2014 - 18:57

I built this for my sister in law this Christmas from Ana's plans.  I can't wait to make a second one for myself!  The overall build was easy and I would consider myself a beginner level.  Sadly, I didn't get a picture of the final product before I gifted it, but I distressed it to allow some forgiveness in the white paint detials and hand-painted decal on the top.  It turned out great and they loved it!  

Finish Used
Minwax Polyshades in Espresso. The details are simply acrylic paint in an off white.
Recommended Skill Level
Beginner

Comments

Scrappy armoire

Submitted by Triskelle on Sun, 03/26/2017 - 22:13

Made this out of a ton of scrap wood I had laying around. On the downside it made the project more difficult, but on the upside all I had to buy was hinges and handles...

Built from Plan(s)
Estimated Cost
$20
Estimated Time Investment
Day Project (6-9 Hours)
Finish Used
Some off white paint I had lying around
Recommended Skill Level
Beginner

Rolling Kitchen Island with tilt trashcan and Holy cutting board

Submitted by MBlack on Thu, 02/21/2013 - 16:27

I saw Ana's tilt trashcan plan and I knew that I had to tackle this bad boy. I didn't want anything stationary because my 1910 kitchen is big but also pushed against the walls. My stove is 7 steps from a counter top so prep is kind of a pain.

I modified Ana's original plan to be taller and even (well, close) with the stove's height for extra counter space. I also wanted a slide out cutting board with a hole so that while I'm chopping my ingredients, I can scoop it into the hole that drops directly into the trash.

I'm a very ambitious girl who doesn't like to be told that I can't do something. This is also my second built....my first is a huge craft supply cabinet made from old barn wood that is lovingly referred to as 'The Outhouse'. My tools are limited to a 7in circular saw, drill, and Kreg Gig. I knew this would be tough but after a few head scratches, I have a pretty cool island.

If you have questions about what I asked, please ask. There are all types of wicked little tricks/fixes in this beast.

Estimated Time Investment
Weekend Project (10-20 Hours)
Finish Used
Rust-oleum Kona Stain for the frame and an acrylic wash for the sides. You can use those little cheap bottles of acrylic paint. Dip your brush in water then a small dip in paint. Brush it on then treat it like stain. Depending on how much paint is on your brush and the longer you leave the wash on the wood, the more darker and opaque the color becomes. Definetly test before applying to a completed project. The whole thing is coated with 6 coates of matte poly since it's a piece of kitchen furniture.
Recommended Skill Level
Intermediate

Comments

nicolepitts

Sun, 09/21/2014 - 08:11

we are about to start building and island based off this plan as well and i love the holy cutting board idea. do you have pictures of that or advice on how to accomplish it? we plan to make it twice the width with two trash cans. ( we have 5 kids= lots of trash!) 

Balustrade Coffee Table

Submitted by Anonymous (not verified) on Tue, 03/28/2017 - 16:29

Balustrade Coffee  Table made of cedar and pine wood. Approximately 49.5 length. Stained in special walnut and white painted chalk paint base. Used dark wax to distress base and legs. 

Built from Plan(s)
Estimated Cost
$200.00
Estimated Time Investment
Weekend Project (10-20 Hours)
Finish Used
2 coats of special walnut stain for top. 2 coats of polyurethane for top. Base has white chalk paint base with dark wax to distress.
Recommended Skill Level
Intermediate

Bathroom tower shelf

Unfinished pine bathroom tower shelves. I assembled all pieces with kreg jig and pocket hole screws. It was a quick and easy project.

Estimated Time Investment
Afternoon Project (3-6 Hours)
Recommended Skill Level
Intermediate

Comments

Laundry Room Redo

I needed a new laundry system, and thank goodness I found Ana White's projects on Pinterest! I incorporated the laundry sorter and added casters to the bottom as well as a paper towel roll on the side since it is next to the sink. I also used a modified version of the washer/dryer platform into my space. It does not have the bottom platform and the 4x4's are inside the 2x4's and attached to the platform as well as the 2x4's. Sterilite makes organizer drawers that fit exactly in the opening of under the platform. And, voila! New colors, new organization, new light bulbs :0), new laundry room!

Estimated Cost
$170
Estimated Time Investment
Weekend Project (10-20 Hours)
Finish Used
Valspar from Lowe's
Recommended Skill Level
Beginner

Comments

Craft Table

Submitted by 3grlsmom on Thu, 01/01/2015 - 16:47

We modified the original plnas to convert one set of front shelves into thread storage.  We used  1/4" wooden dowel cut to fit 2 spools of thread on each.  

Built from Plan(s)
Estimated Time Investment
Weekend Project (10-20 Hours)
Finish Used
Paint (not finished in picture)
Recommended Skill Level
Beginner

Tennessee Titan themed helper with horn and wheel

Submitted by Anonymous (not verified) on Thu, 03/30/2017 - 18:16

Made this for my 14 month old, this was my first ever attempt at making/building anything! Hand painted and assembled with inspiration from the Tennessee Titans. My son loves standing in it by the window watching the trucks go by our house so I added his own jungle gym steering wheel and bike horn. 

Built from Plan(s)
Estimated Cost
~$150. The paint bumped up the cost and time
Estimated Time Investment
Week Long Project (20 Hours or More)
Finish Used
Gloss paint with a polyurethane finish
Recommended Skill Level
Beginner

Farmhouse Coffee Table

Submitted by Anonymous (not verified) on Sat, 02/13/2021 - 08:25

For my first solo project this table had enough challenges to keep it interesting but not overwhelming. I love how it looks in my home.

Estimated Time Investment
Weekend Project (10-20 Hours)
Recommended Skill Level
Beginner

Large Rustic X Bench

Here it is. Our first building project (not attached to a wall) that we used plans for:) I am so happy with the way it turned out. We had been looking for a bench for months. I was thinking that I would find something I like, refinish it and then upholster the top. But then I came across this post from a wonderful blog (that I will be using TONS more ideas from) and knew that this was going to be our bench:) I am happy to say that I think I have finally found a hobby that we can ALL get use to:) The kids have fun, we have fun...and we actually walk away with a finished piece! Love that!

Estimated Cost
$45
Estimated Time Investment
Week Long Project (20 Hours or More)
Finish Used
Minwax stain in Dark Walnut
Recommended Skill Level
Beginner