Community Brag Posts

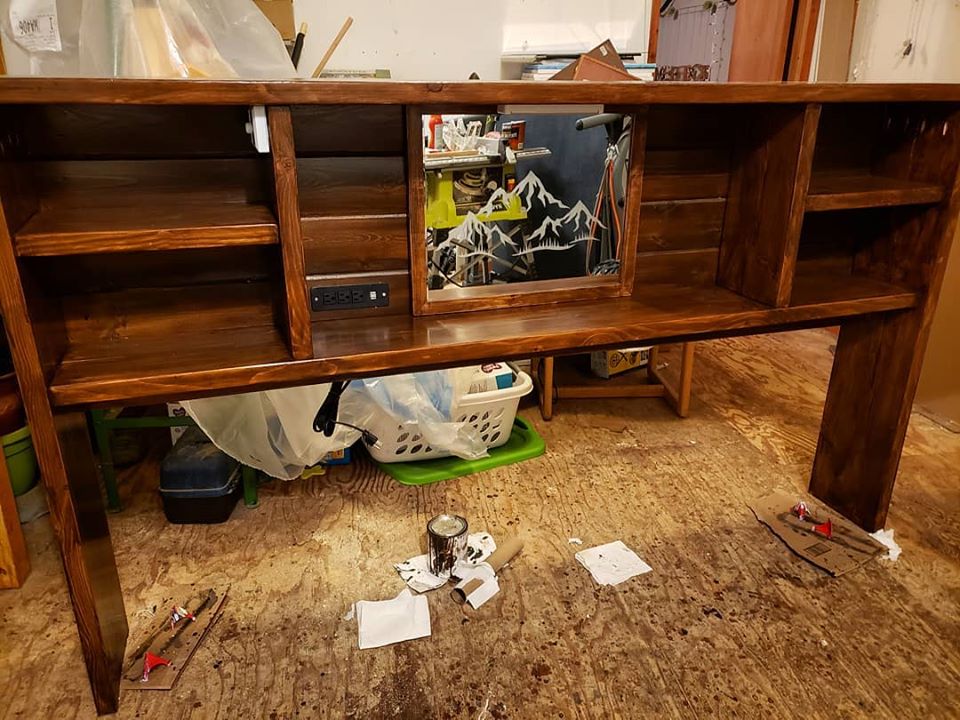
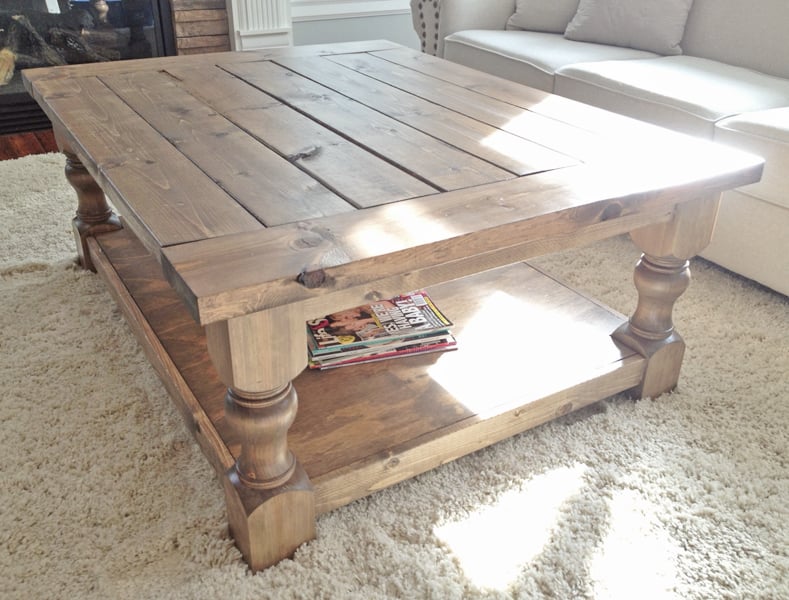
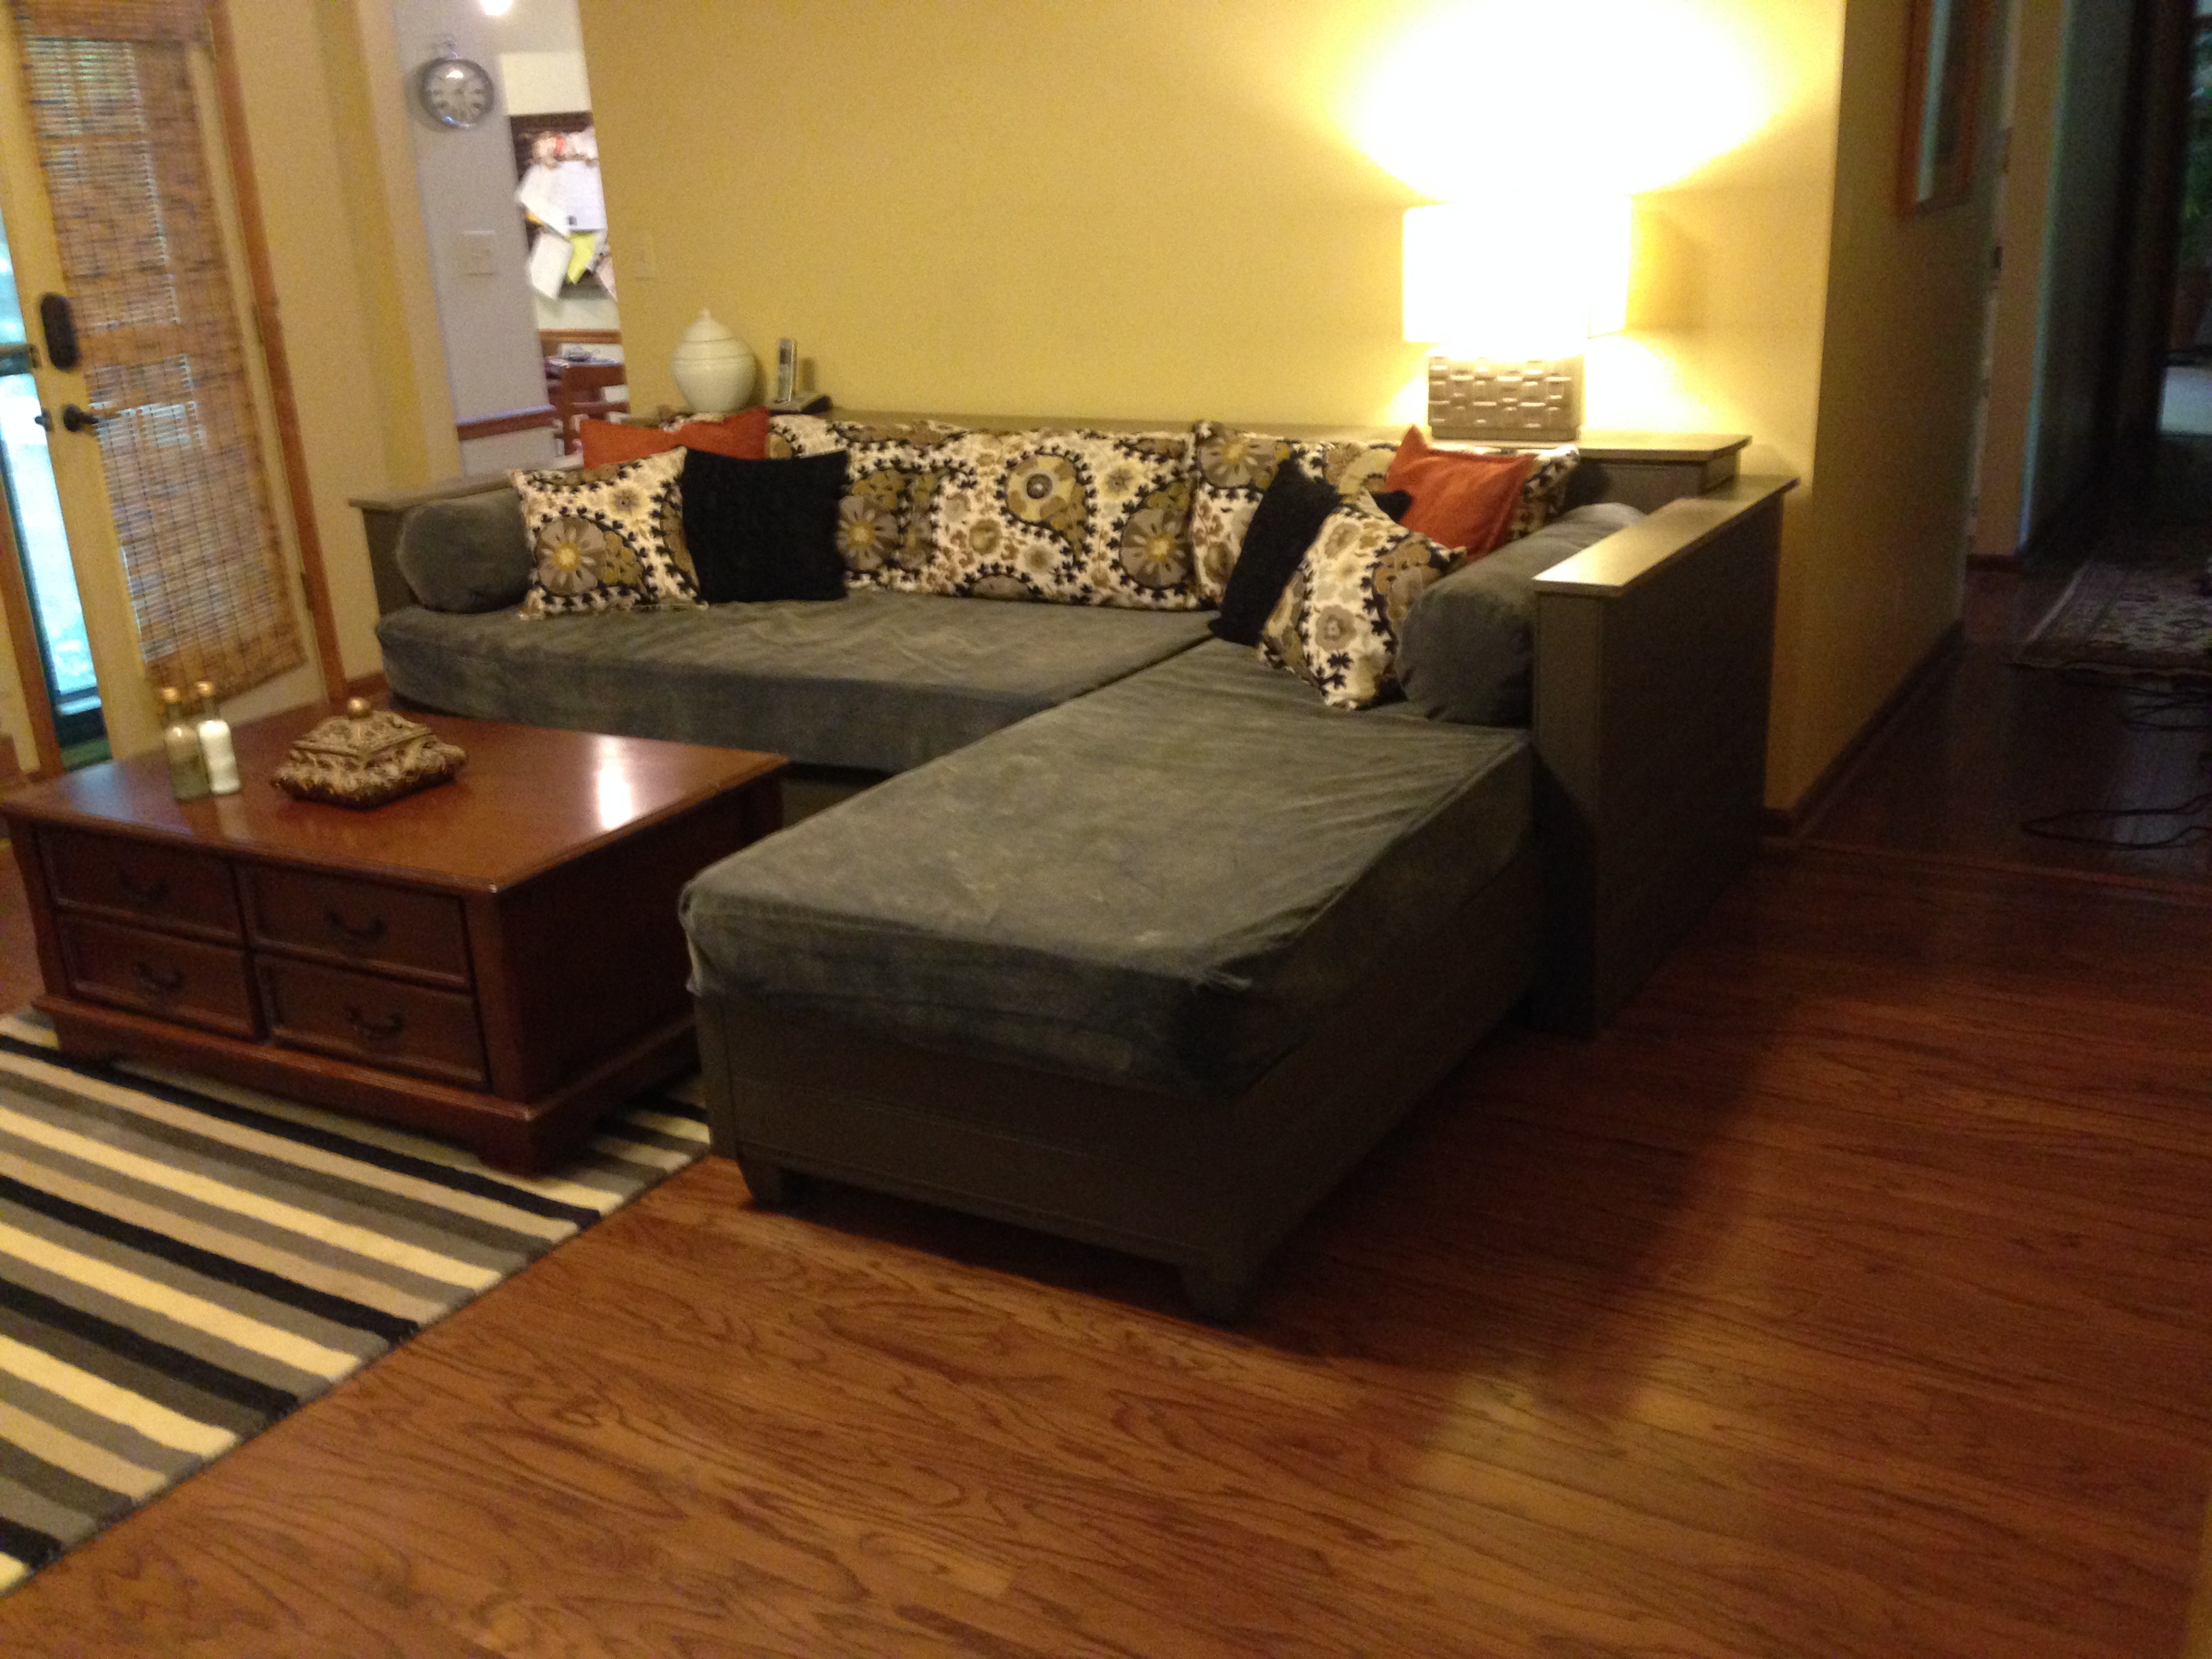
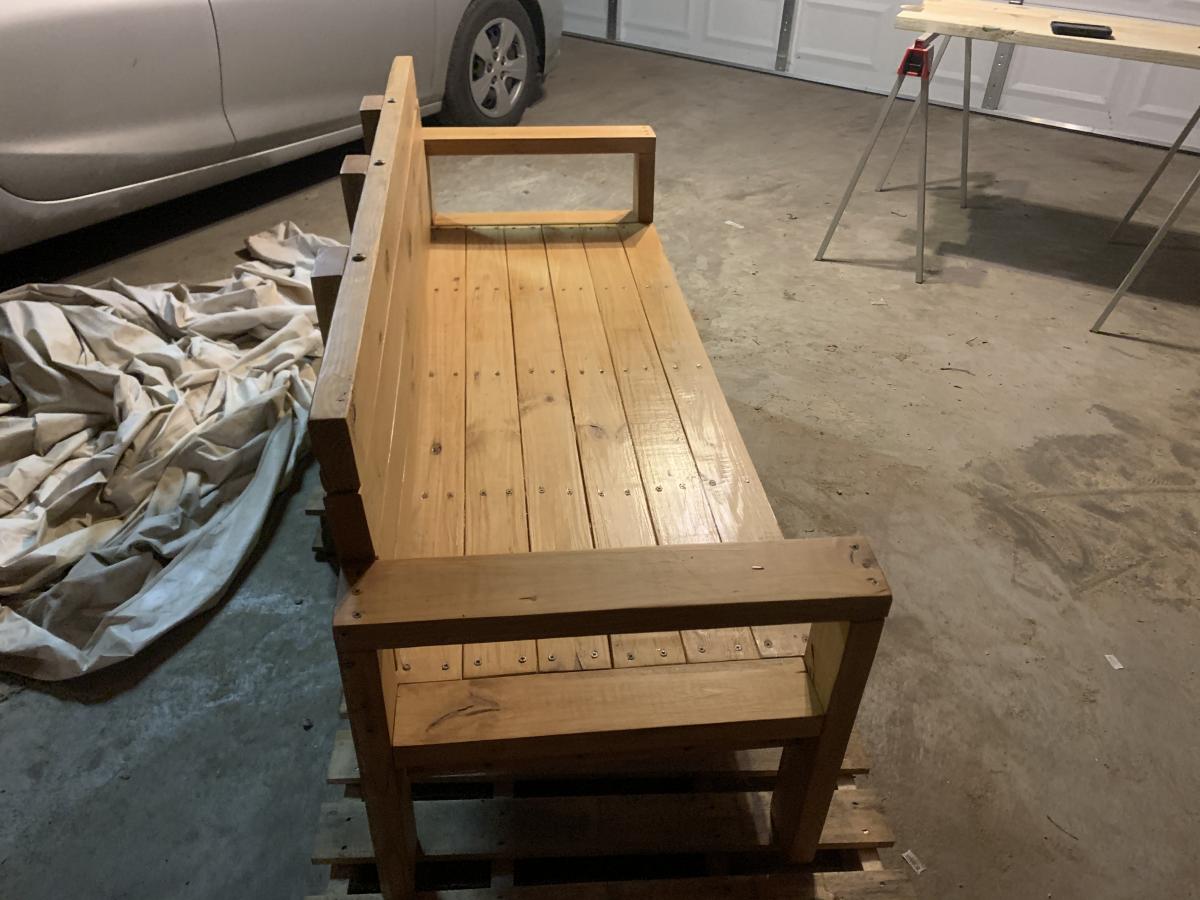
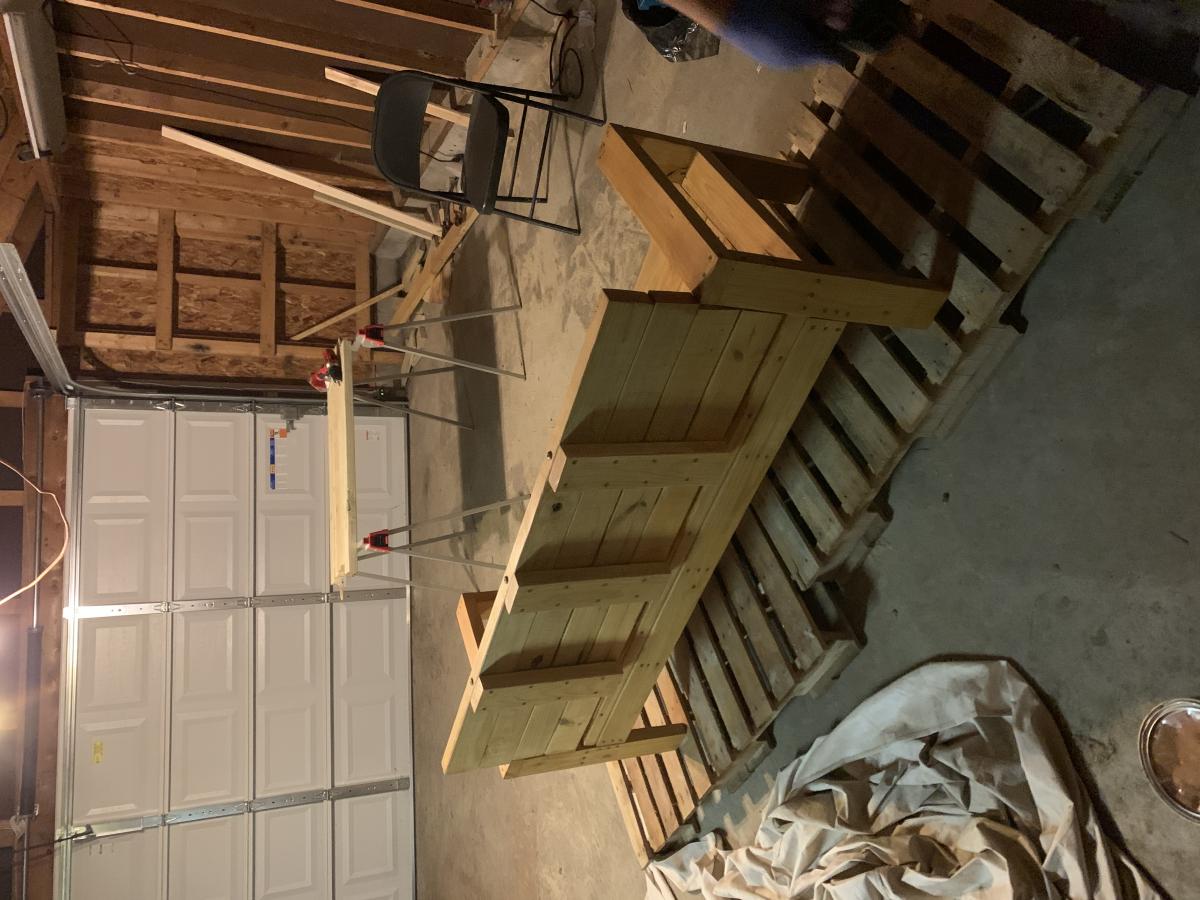
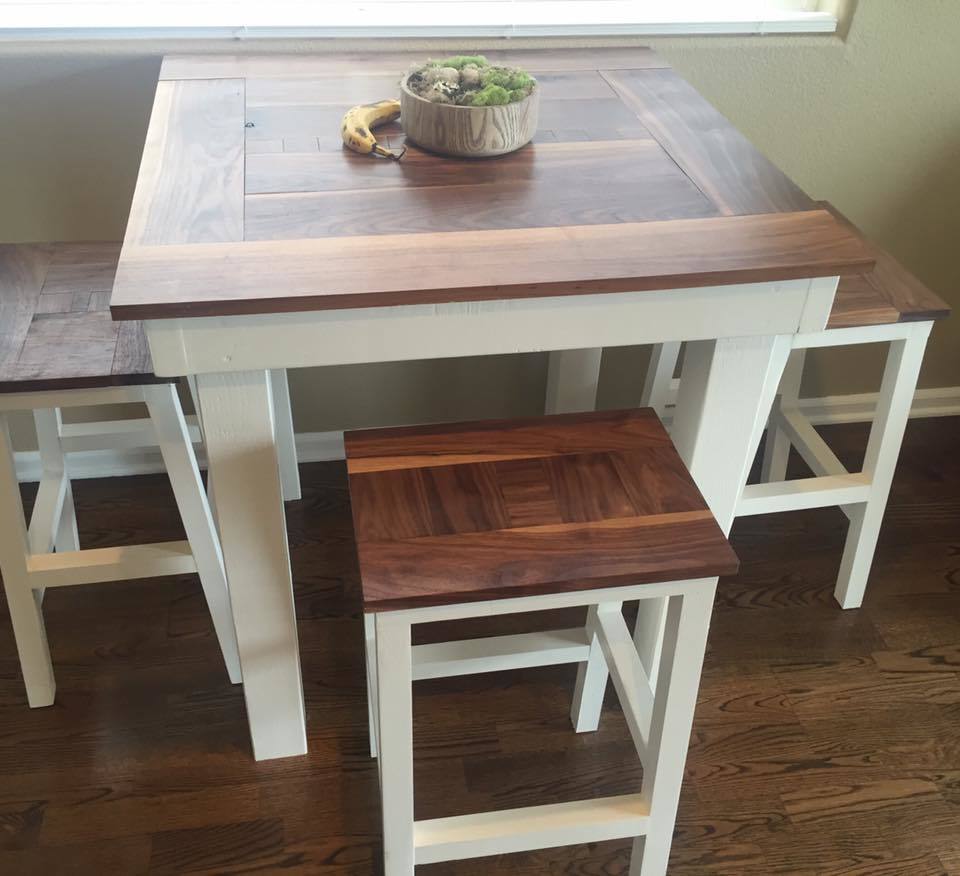
Farmhouse coffee table

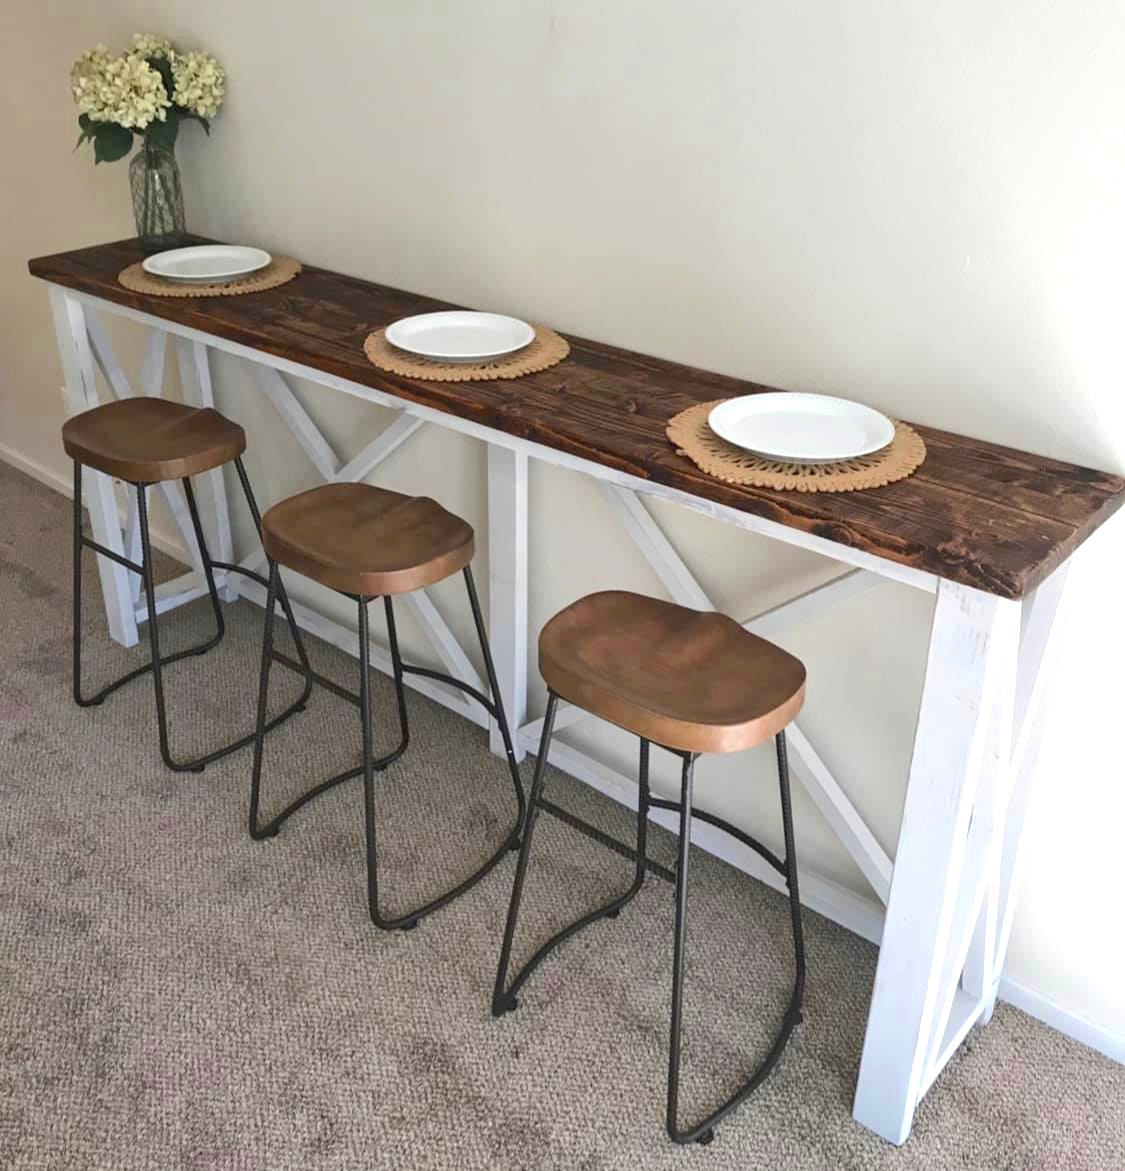
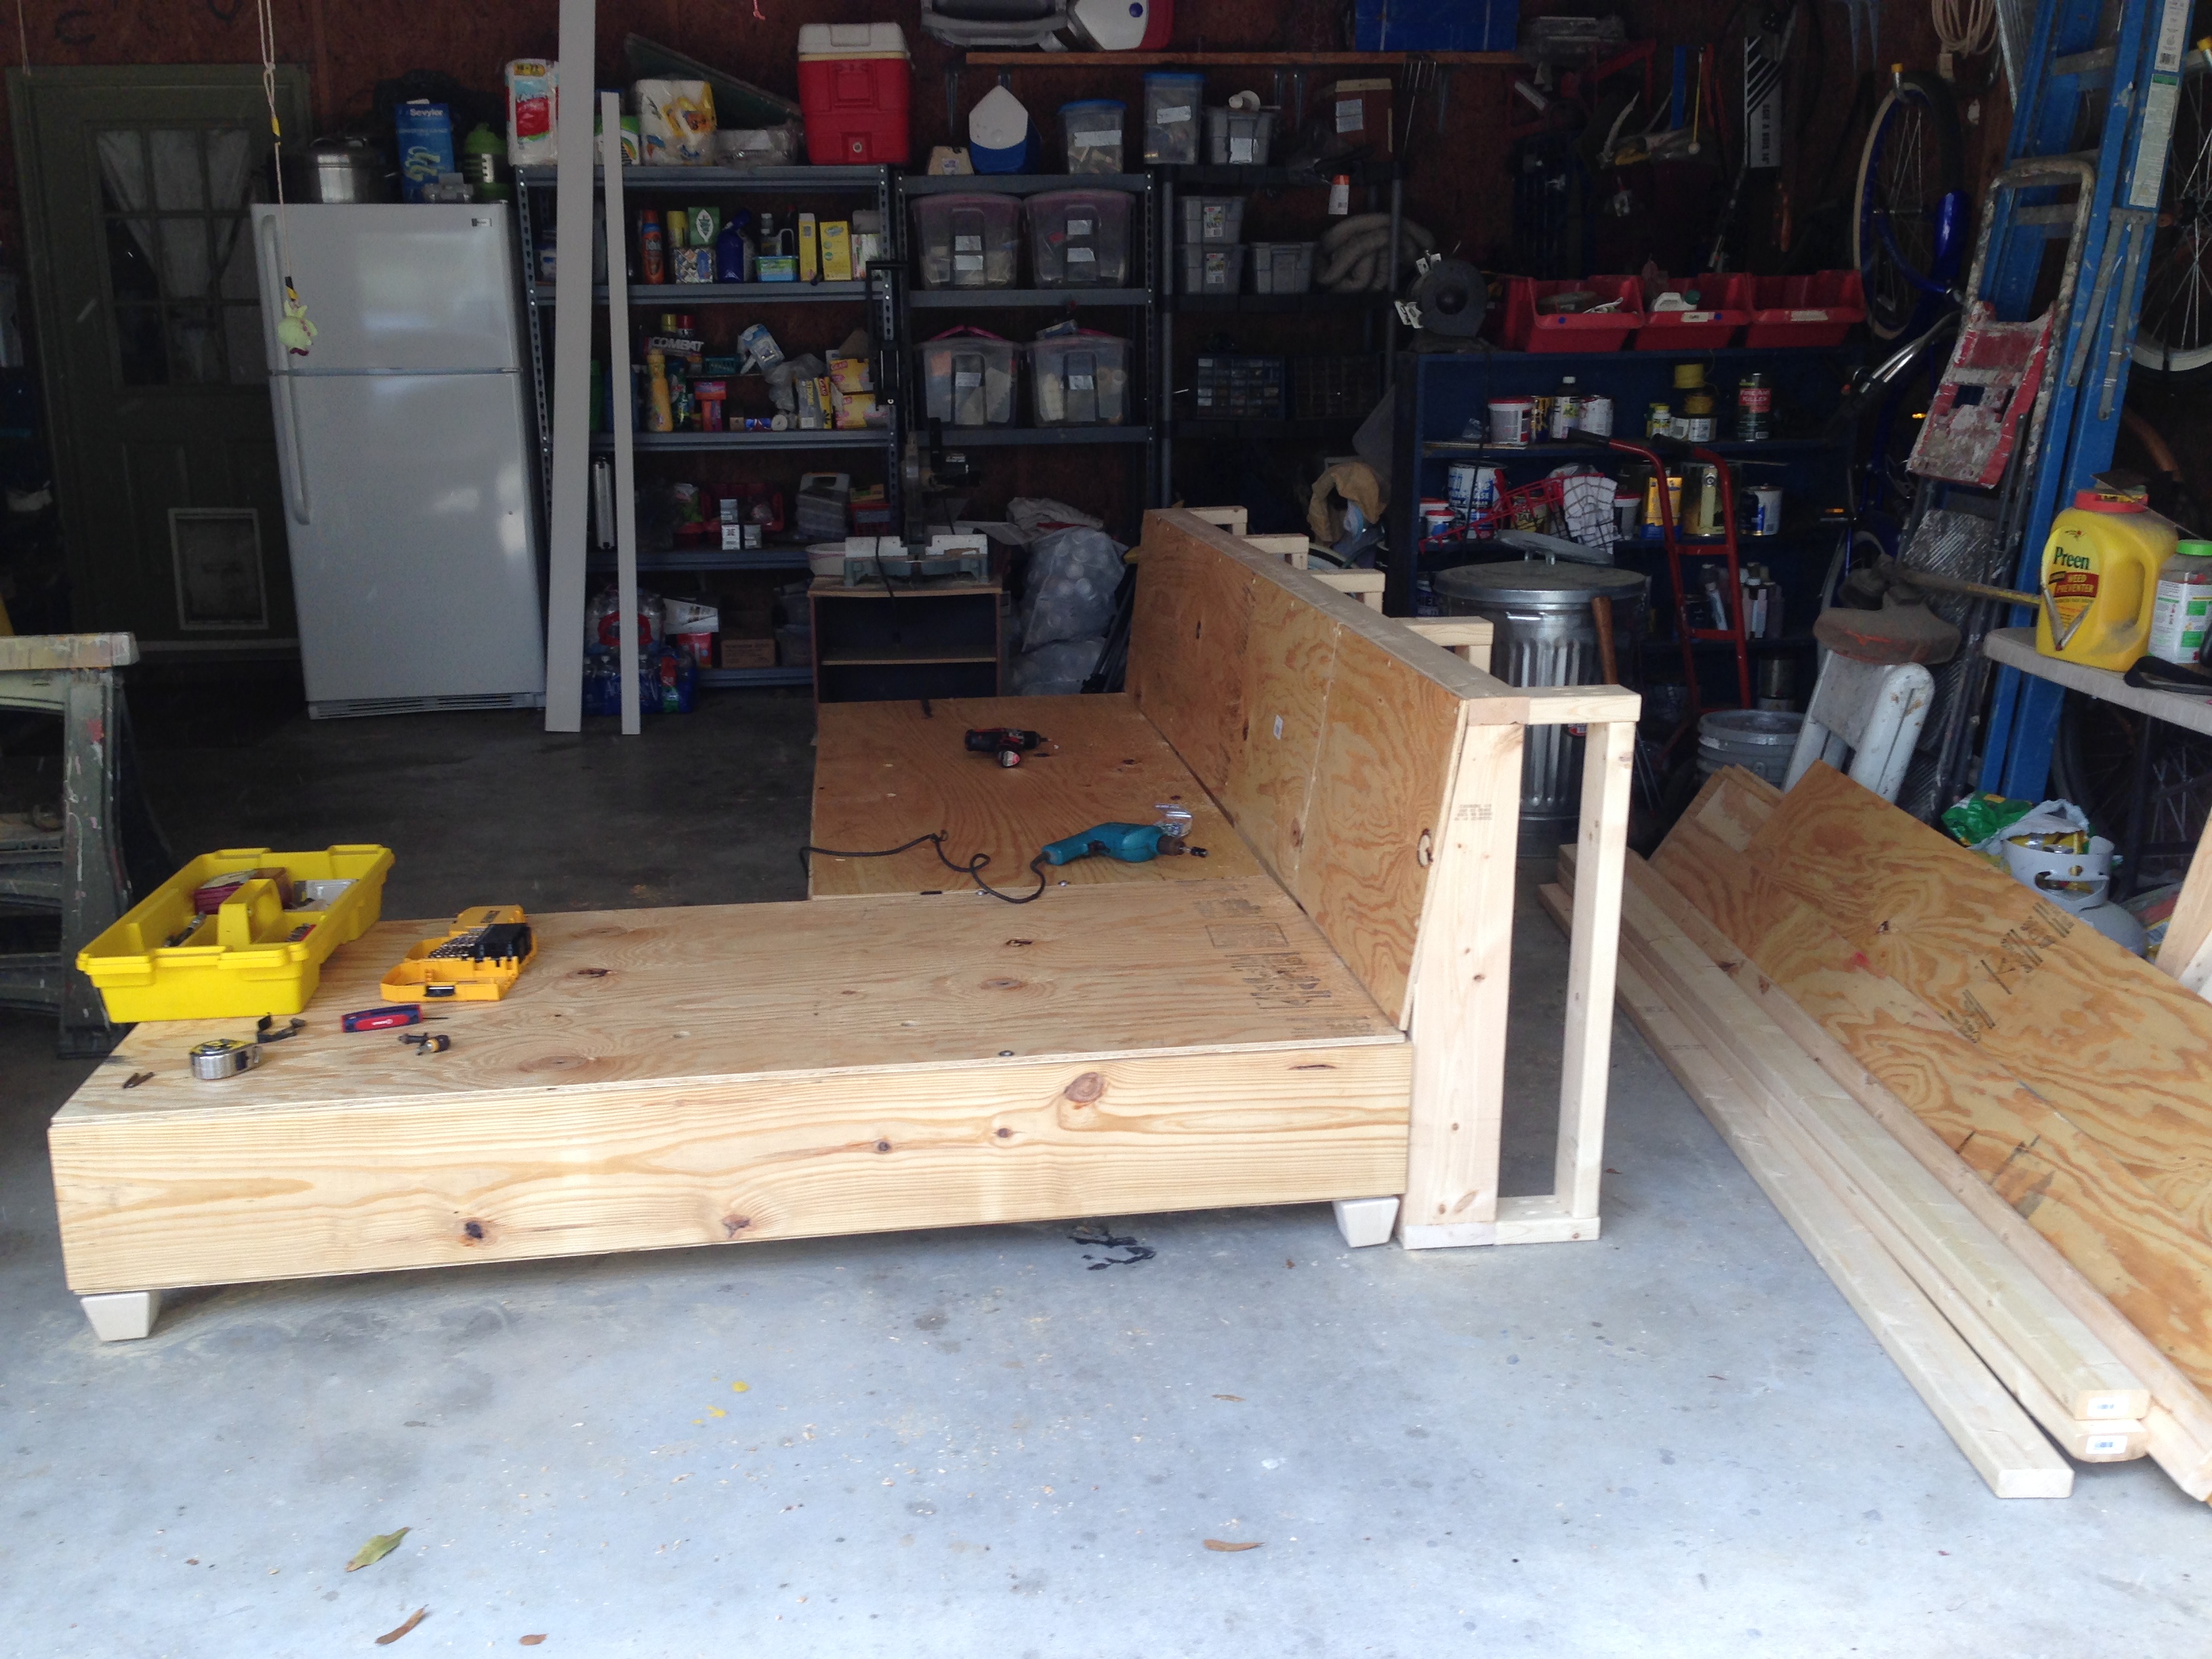
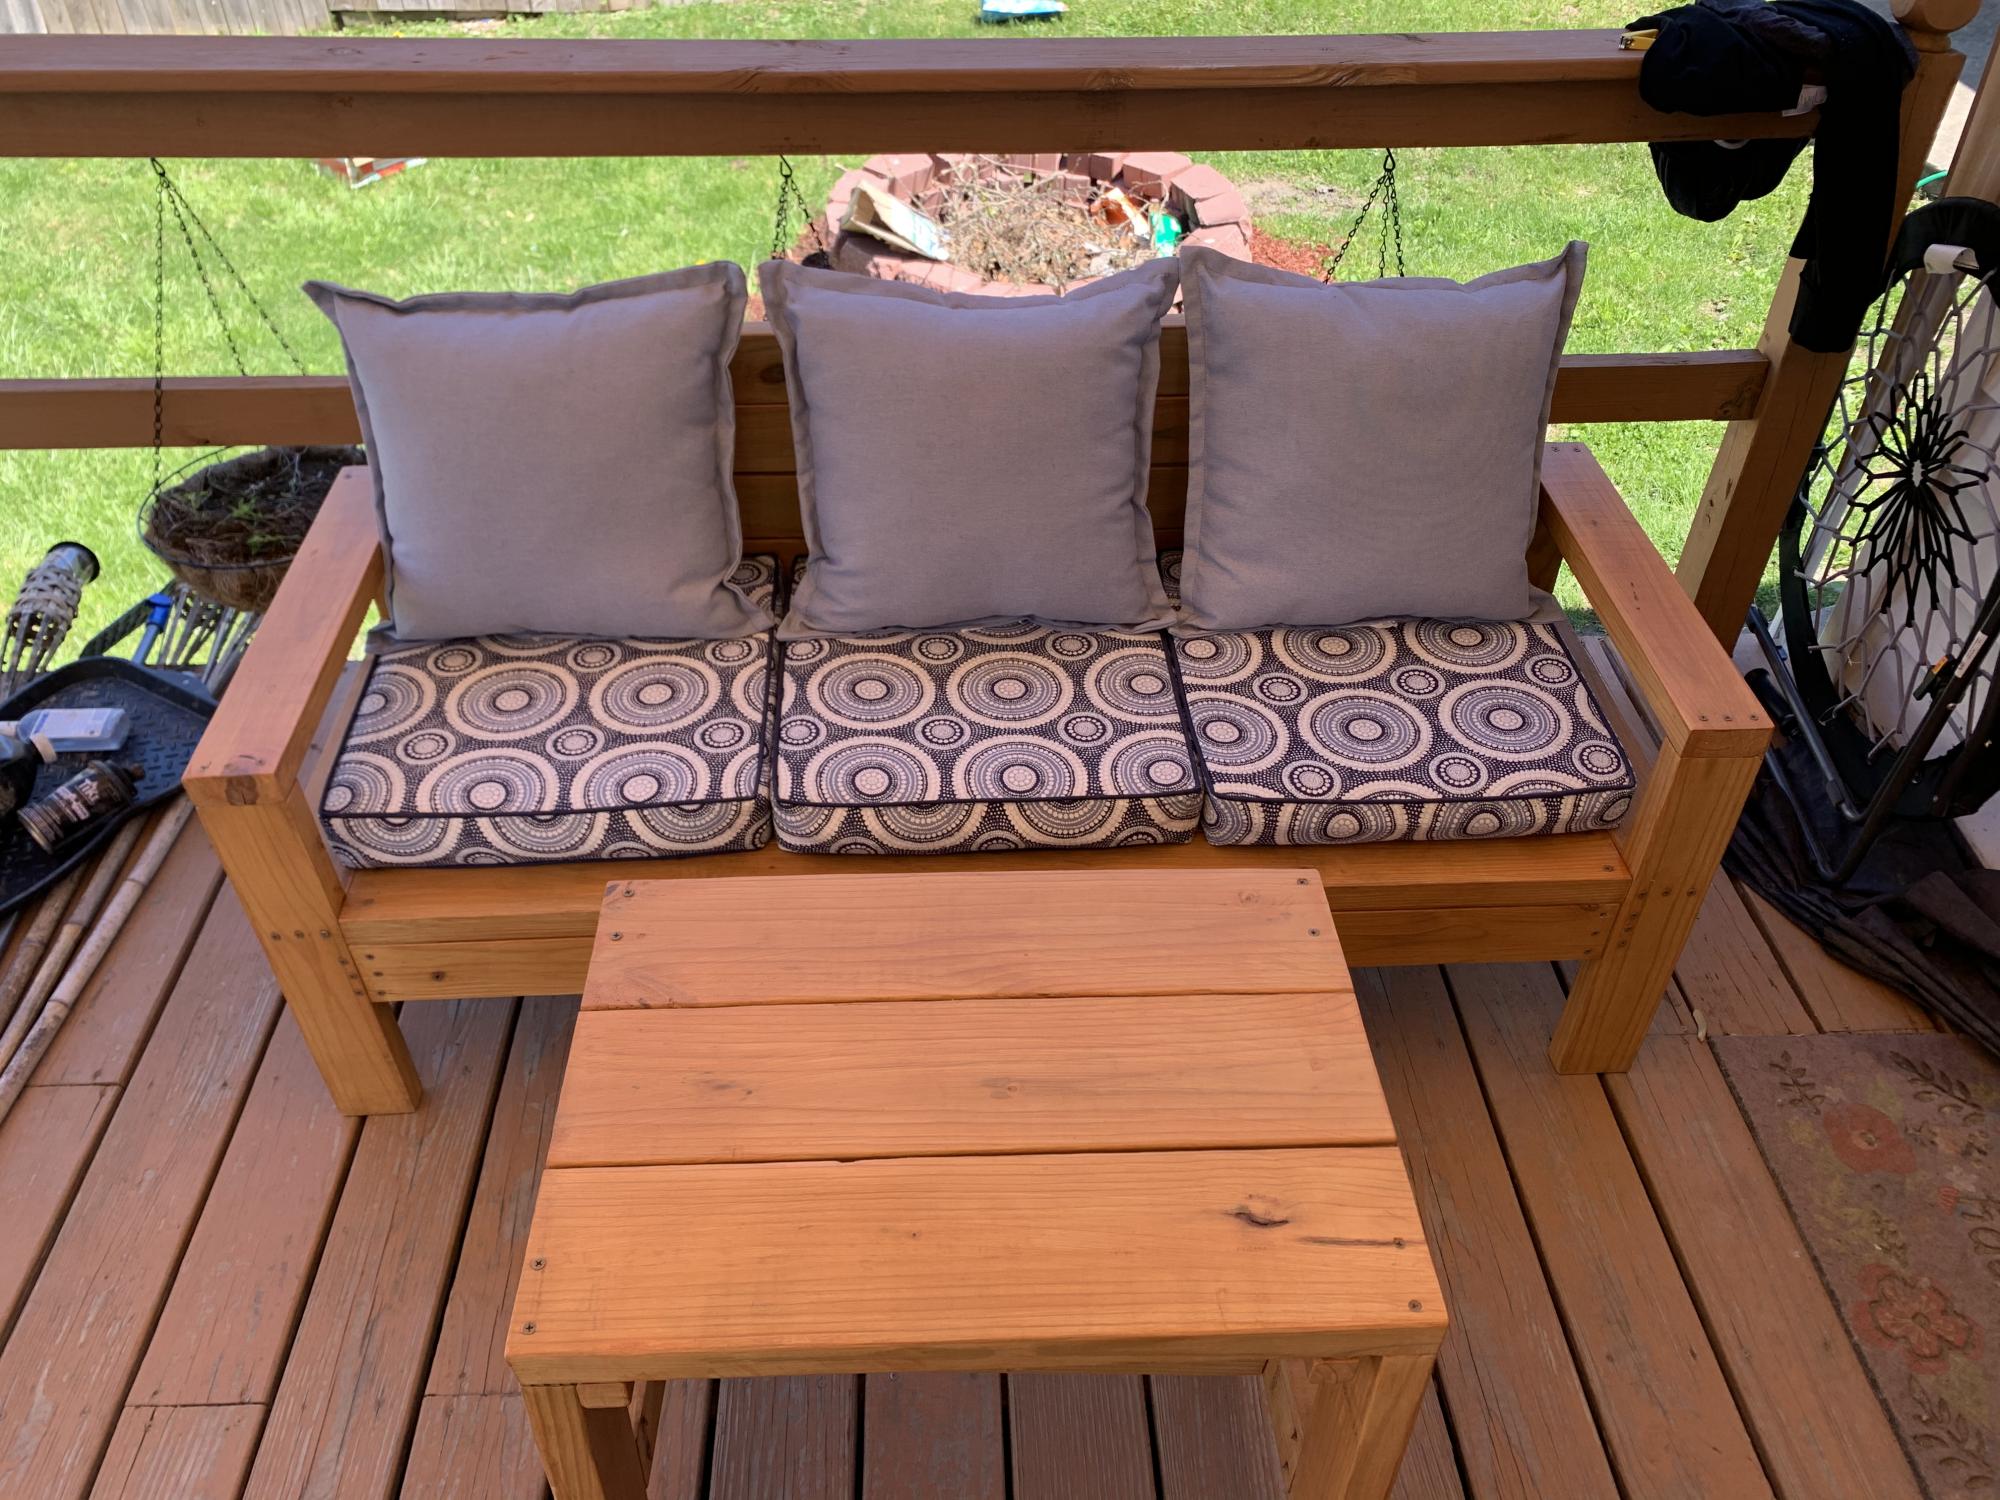
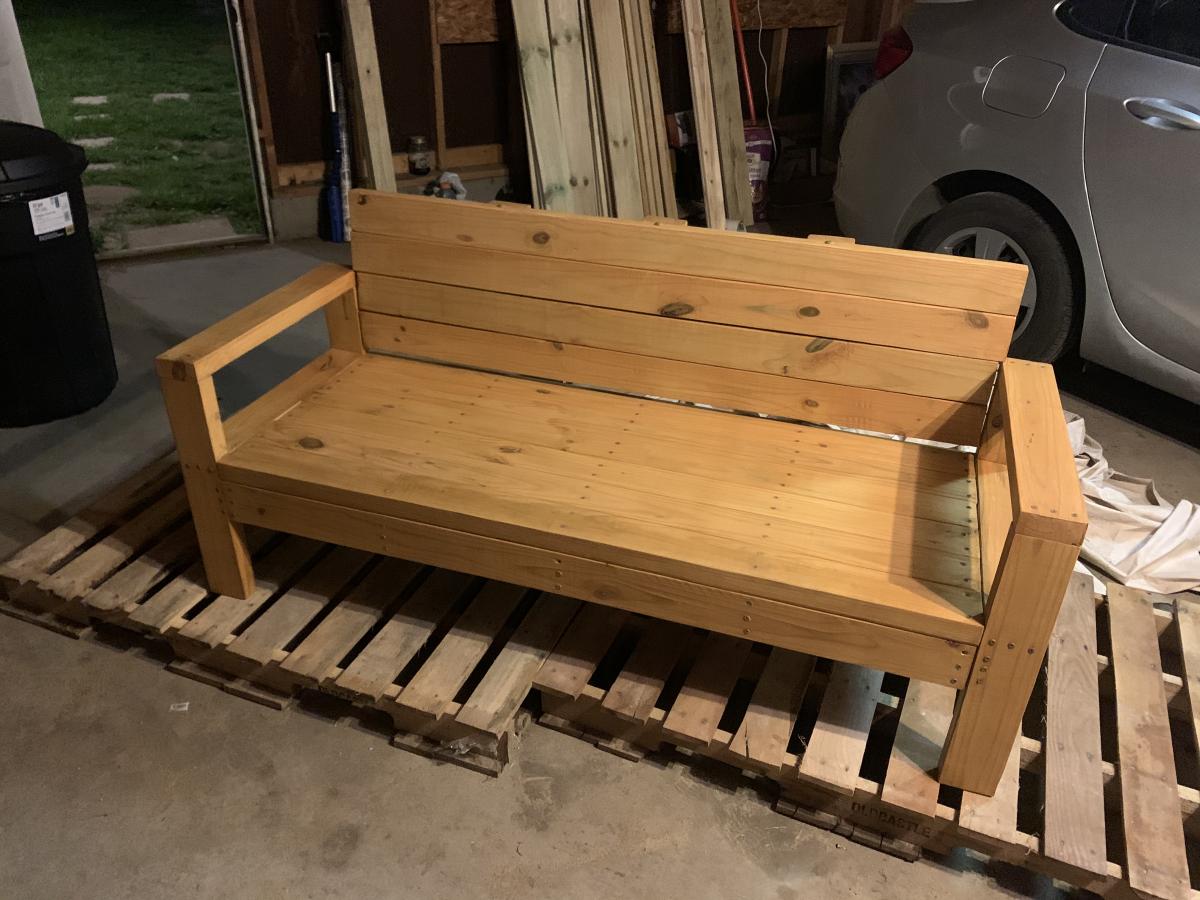
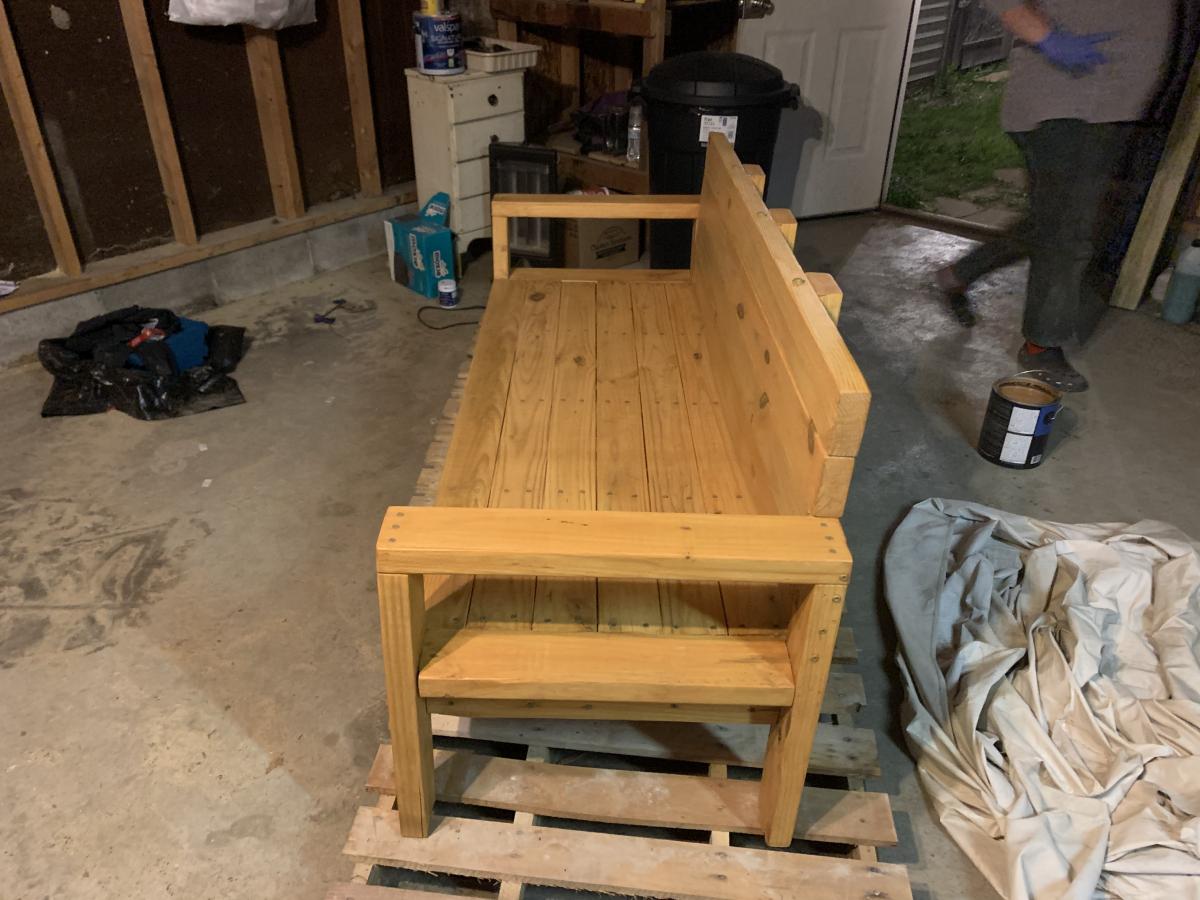
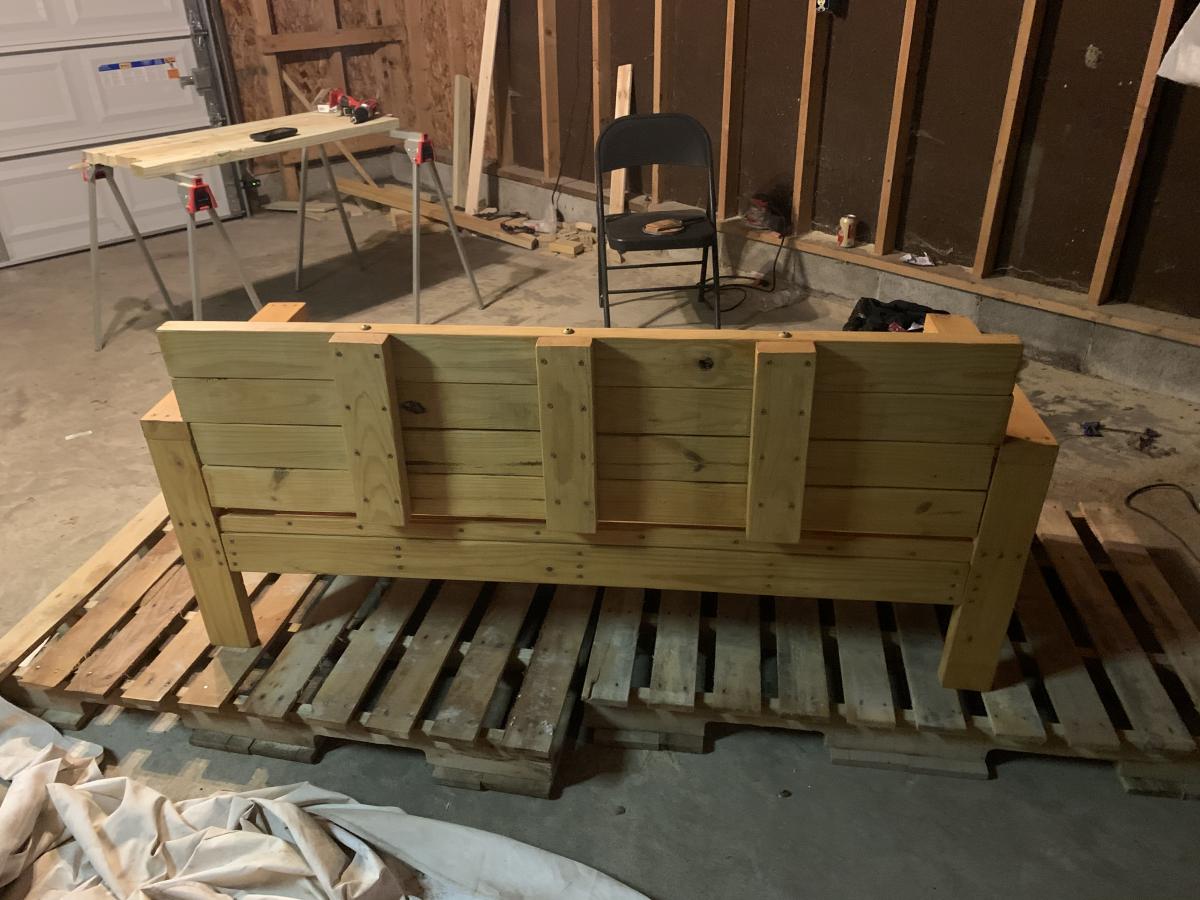
We wanted to create a table to fit perfectly within the space of our living room. It turned out great. Using the pocket holes definitely helped and gives it a more professional finish. We stained it with early american and then used pickling.

Estimated Cost
$75
Estimated Time Investment
Weekend Project (10-20 Hours)
Finish Used
early american and pickling
Recommended Skill Level
Beginner

Comments

King Headboard w/ Charger and Lighting

Submitted by Malka on Sat, 02/01/2020 - 15:21

I designed this headboard on the back of a napkin, after we couldn't find one at a box store that met our needs. I used Douglas fir 2x10 for the headboard/shelves and Pine T&G for the backing. My fiance etched a mountain range into an unframed mirror, which I then framed from the scrap fir wood, and stained to match. Also attached an LED Lightbar above the mirror, Dimmer switch LEDs on each bookshelf, and a recessed USB/Plug port. This wasn't the cheapest project with the electrical accessories added, but we now have a custom wooden headboard with bookshelves, lighting and chargers that will last us years and be far beyond anything we could have bought at a big box store for the same cost. 

Estimated Cost
250
Estimated Time Investment
Weekend Project (10-20 Hours)
Finish Used
Varathane Honey
Minwax Semi-Gloss
Recommended Skill Level
Intermediate

Magazine file turned shelf

Submitted by kari on Sat, 04/28/2012 - 10:20

A long time ago I saw a picture of an old magazine file turned on it's side and used as a shelf. I loved it. And it had a curve that I loved too. After waiting over a year for vintage magazine file to fall into my lap, I decided it was time for me to take action.

I have it attached in the corner by my son's bed. It is a perfect little spot to hold his glasses, water, pills, and of course Darth Vader.

A few changes I made-
After cutting the side panels I drew a curve on them. It was 12 inches tall, and I started the curve up 4 inches from the front. I used painters tape to hold the 2 side pieces together and cut them on my scroll saw, you could also use a jig saw.

The old one in the picture had a whole on the front, so I added one too.

Because I planned to turn this on it's side, I attached the front and back to the bottom first. Then attached the sides. That way the sides rest on the back and front for a little support. I had to adjust the width on all sides for that.

It was super quick and super easy.

Built from Plan(s)
Estimated Cost
all scraps - so free for me
Estimated Time Investment
An Hour or Two (0-2 Hours)
Finish Used
some blue oops paint I had
Recommended Skill Level
Starter Project

Comments

School Bus Stop Bench

Submitted by Anonymous (not verified) on Fri, 10/20/2023 - 08:36

My daughter asked me to make a bench for her daughter’s school bus stop. After looking at many different plans I chose your plans for a 2x4 bench with modifications. I made it 7’ wide with an additional support piece in the center. I used pressure treated wood for the base and cedar for the seat and back. I finished it with a gloss “school bus yellow” and gloss black. It was very well received by the children and parents.

Ken Shallcross


Seasonal And Holiday

Rolling Rustic Wood Dresser

Submitted by AmJoy37 on Tue, 02/25/2014 - 20:50

We need bedroom furniture desperately! So, I decided, for my second build I would start in our bedroom! The dresser first, because I was going crazy without a place to put my clothes!

Built from Plan(s)
Estimated Cost
$220
Estimated Time Investment
Weekend Project (10-20 Hours)
Finish Used
Homemade chalk paint
Recommended Skill Level
Beginner

Super Easy, Super Awesome! Thank you Ana & Ashley

Submitted by jhavinga on Tue, 03/18/2014 - 09:24

Loved this Coffee Table and wanted to suprise the wife for christmas, so being my first project I got started! had no idea what I was doing but they were great instructions, and the KREG JIG is AMAZING. altered the plans a bit to make it a rectangular coffee table (added 12 inches) instead of square to fit our living room better. Now to tackle the next project!

Built from Plan(s)
Estimated Cost
$200
Estimated Time Investment
Weekend Project (10-20 Hours)
Finish Used
Used 2 different stains to get a brown/gray finish. just one coat of each!
Minwax Weathered Oak & Minwax Special Oak.
Recommended Skill Level
Beginner

Comments

MichelleC

Wed, 03/19/2014 - 07:39

I absolutely LOVE the finish on this, thank for sharing!!! For the estimated cost you put $100, is that without including the cost of the turned legs? Did you get the legs through Osborne? I think I NEED to make this coffee table and use that finish!

jhavinga

Wed, 03/19/2014 - 09:02

Now that you brought it to my attention you are absolutely right, I completely forgot about the cost of the legs. including the cost of those, it does come to $200 dollars, ill change that. I also did get the legs from Osbourne. As for the finish yes do it! I am really happy with how it turned out :) thanks again and let me know when your coffee table is done so i can check it out!

Cheers,
Justin

Mandybeck

Wed, 08/27/2014 - 21:35

This is absolutely beautiful!!!! Quick question... You said you used weathered oak and special oak for the stain. Did you mean special walnut? I can't seem to find special oak! Thanks!!!

usmcjeff7489

Fri, 07/17/2015 - 12:59

Being as yours is much lighter (and i like it more than the darker). Did you use the wood conditioner and how long did you leave the stain on for? it almost looks like once it was on you were wiping it off. Love it well done :)

Also, do any of you guys use the paste wax when finished? I was thinking about following the stain with some poly to seal it. any suggestions?

Wardrobe closet

Submitted by jd4300 on Mon, 04/27/2020 - 04:58

Built this based off the french wardrobe closet. Thanks for the inspiration. Lots of sanding and painting

Estimated Cost
250
Estimated Time Investment
Week Long Project (20 Hours or More)
Finish Used
Interrior swiss coffe.
Recommended Skill Level
Intermediate

Garden Tool Storage Rack

Submitted by kwildman on Tue, 04/28/2020 - 20:45

This isn't an Ana White plan but I've learned so much from this site that I designed and built this garden tool rack. Its pine 2x4 construction. I love it!

It is 84" tall x 72" long x 26 wide (opening) and 48"wide for garden tool hangers.

Estimated Cost
100
Estimated Time Investment
Afternoon Project (3-6 Hours)
Finish Used
No finish
Recommended Skill Level
Beginner

Comments

Storage sofa on steroids!

Submitted by Imadeit on Wed, 07/20/2016 - 12:59

First furniture project, first Kreg jig use.

Heavily adapted storage sofa plans.  Used existing day bed mattresses.  Made all wood surfaces finished with nice cladding, and all fabric portions removable and washable.

Added arms, and a back ledge.  Ledge is hinged to allow access to wall behind so I can get to the outlets.

Lots of work, but it is AWESOME.  Thanks for the inspiration Ana!

Built from Plan(s)
Estimated Cost
$700 including the fabric
Estimated Time Investment
Week Long Project (20 Hours or More)
Finish Used
Dark gray latex paint, and gel stain for the shelf.
Recommended Skill Level
Intermediate

Comments

WackyPup

Sun, 01/22/2017 - 13:37

This is almost exactly what I want to do! I have a dog who loves to rub on furniture and I don't want upholstery. Why did you make the back thicker? Is it just for added shelf space along the back? Thanks for posting the pictures. Very inspiring!

Imadeit

Mon, 02/20/2017 - 07:18

Sorry for the delay in seeing your question.  I haven't signed on to this site for a while.  You are correct thinking that I wanted to have shelf space along the back.  The sectional is the entire width of the wall and I knew that I would not be able to have end tables.  I wanted a way to have a lamp and a place to put drinks, etc.  As it turns out the arms of the sectional are great for holding my beverage.  The shelf holds my lamp and some baskets with general stuff like the remotes inside.  Thank you for the compliment.

sahorn01

Wed, 01/18/2023 - 09:28

Hi! I know this is a very old post but I would love try to make something similar to what you did in your storage sofa modifications - especially the wider frame and armrests. Any chance you wrote down your plans or have more pictures of your build? I also would love to understand how you made your upholstery/fabric removable. Did you follow any plan for making the cushions? Thanks in advance!

Nice little sofa

Submitted by emilacious on Mon, 05/11/2020 - 17:32

Made from the 2x4 outdoor sofa plans. Needed to make some outside furniture for our deck. 2x4 treated wood bench with a valspar stain. Free handed the end table with 2x4s, 2x6s and 2x2s. Also added height to the back by an additional 2 2x4s and had added some 2x4s perpendicularly for support. Added 3 6inch wood screws in the additional 2x4s vertically so it all ties in together. Made the measurements to fit the cushions. And added some outside throw pillows I found for $6 each

Built from Plan(s)
Estimated Cost
$50
Estimated Time Investment
Day Project (6-9 Hours)
Finish Used
Valspar exterior semi stain
Recommended Skill Level
Beginner

Pacific Northwest Privy

We have a small rustic cabin that needed a clean, functional outhouse.  We followed Ana's plans, but with a few modifications to include a Solar gray polycarbonate roof to let in light.  We also decided on cedar board & batten for the siding.   We look forward to many years of use.

Estimated Cost
$800
Estimated Time Investment
Week Long Project (20 Hours or More)
Finish Used
#501 Cedar Naturaltone Transparent Weatherproofing Wood Finish
Recommended Skill Level
Advanced

Comments

Loft Over Single Bed

Submitted by Anonymous (not verified) on Mon, 01/15/2024 - 18:24

I decided to build a bunk bed for my grandson and his half sister when she came to visit. I enlisted the help of my 7 year old grandson to help with sanding and he was so excited! I was very pleased how it turned out and watching my grandson's excitement was an absolute joy! I can't wait to build more things together!

Norma Jasman

Sling Chairs

Submitted by natehu on Wed, 07/11/2012 - 08:26

I had some leftover wood from building my daughters loft bed and after coming across this plan realized i had all the right lumber on had already so after a trip to the store to buy a few bolts i was ready to build. I built one chair following Ana's plans exactly, using 1x2's for the outside frames, the chair turned out awesome and I wanted another. For the second one, i didn't have enough 1x2's left so I used 2x2s for the outside frame. I kept the inside width (24") of the back frame the same and adjusted the rest of the dimensions to fit. While the 1x2 chair was great and very sturdy, the 2x2 chair is rock solid. I rounded all the edges of the boards with a 1/4" roundover bit and spray painted everything dark chocolate brown. The fabric slings are made of cotton duck cloth. I added a 1" foam pillow sewn onto the top of the sling because my head rests right on the top boards and I wanted a little padding.

All said, including wood, hardware, fabric and the foam for the pillow I think this chair cost about $40 to build and finish.

As my 3 daughters piled on my lap to read on night the 2x2 chair has been load tested to about 300 lbs!

Estimated Cost
$45
Estimated Time Investment
Afternoon Project (3-6 Hours)
Recommended Skill Level
Beginner

Comments

dannibambi

Fri, 08/10/2012 - 14:22

What a great idea! I think I will sew together a wrap-around foam pillow with a velcro closure, so I could easily remove it if I decide to switch to a new fabric. Thank you for the inspiration! And thank you for mentioning how much sturdier the 2x2 wood is. I appreciate it!

Bar height table with stools

Submitted by jsutton78 on Wed, 08/03/2016 - 09:41

This is one of my favorite pieces because the white contrasts perfectly with the walnut hardwood.  The base of the table is all standard 2x4 and 4x4s, and the tabletop is 100% walnut.  

Built from Plan(s)
Estimated Cost
$400
Estimated Time Investment
Day Project (6-9 Hours)
Finish Used
Poly Gloss, white paint
Recommended Skill Level
Beginner

Comments

First furniture build

Submitted by sweasler on Sun, 05/24/2020 - 13:03

My first real furniture build. I think it came out great. Decided to use 1x5 instead of 1x10 for the seat and back. Really easy build. After I did the first one the second one went together quickly. I did sand and finish before assembly. Next time I’ll probably wait until after to finish it. I had to make several small adjustments durning assembly.

Estimated Cost
$110 for both
Estimated Time Investment
Day Project (6-9 Hours)
Finish Used
Valspar Pre-tinted Canyon Brown Transparent Stain and Sealer
Recommended Skill Level
Intermediate

Extra long 76" floating shelf

Submitted by Wisteria on Wed, 08/24/2016 - 16:46

I wanted a shelf to extend the entire length of our laundry room. It's 76 inches, so I had to modify the existing plan for one slightly longer shelf instead of three 72 inch ones.

Cut list for 76 inch floating shelf:

2 - 1/4 plywood strips @ 76" x 7 3/4" (top & bottom of shelf)

1 - 1 x 2 @ 76" (front of shelf)

2 - 1 x 2 @ 73" (shelf frame)

4 - 1 x 2 @ 7" (ends of shelf and shelf frame)

6 - 1 x 2 @ 5 1/2" (shelf frame studs)


I was able to build this using scrap 1x2 for the studs and ends. I bought two 8 ft 1x2 pieces and one piece of 1/4 plywood, which I still have a lot left of.

I have children and this was my first time building something on my own, so it took me any spare time I could manage over the course of a week.

I can't wait to build again! Thanks Ana!

Built from Plan(s)
Estimated Cost
$30-40
Estimated Time Investment
Afternoon Project (3-6 Hours)
Finish Used
Behr Ultra Pure White Paint & Primer in One
Recommended Skill Level
Intermediate
Back