Community Brag Posts

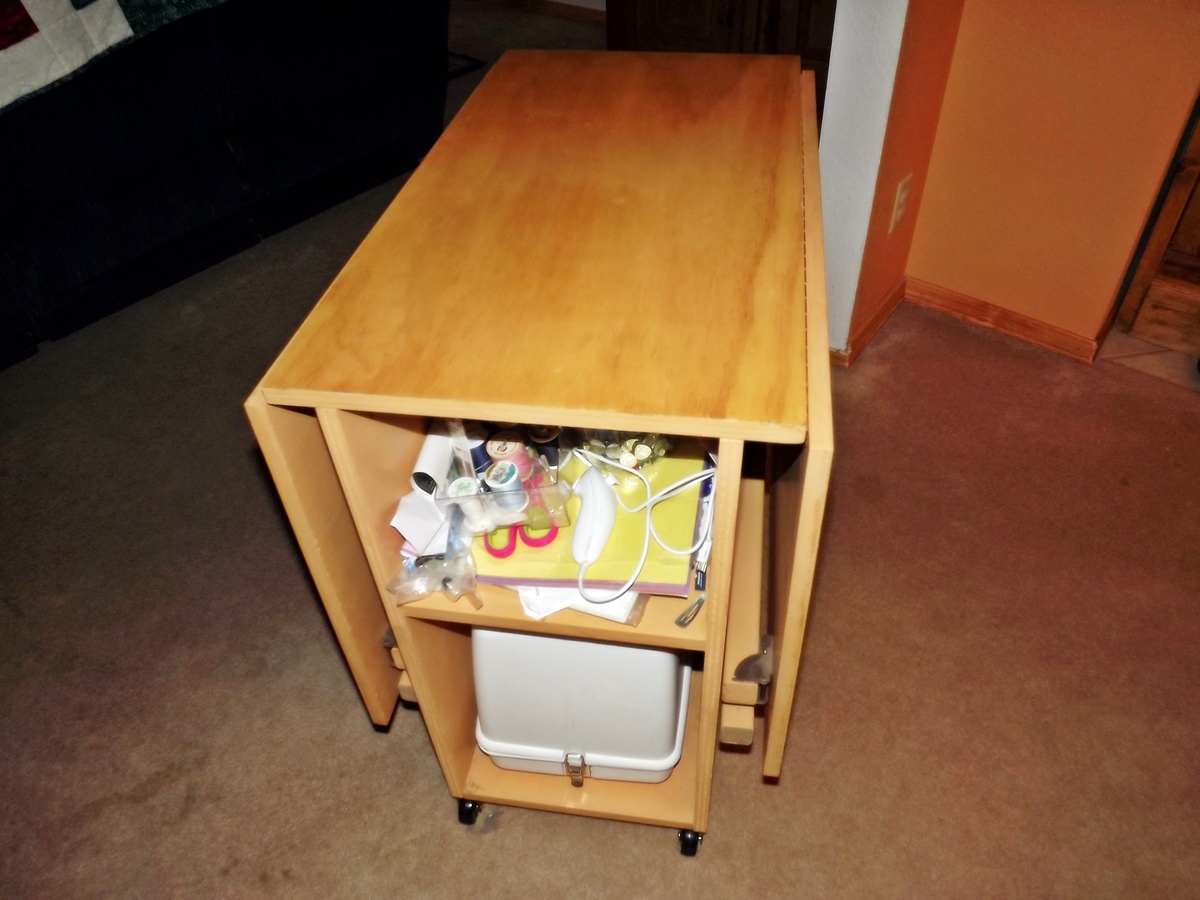
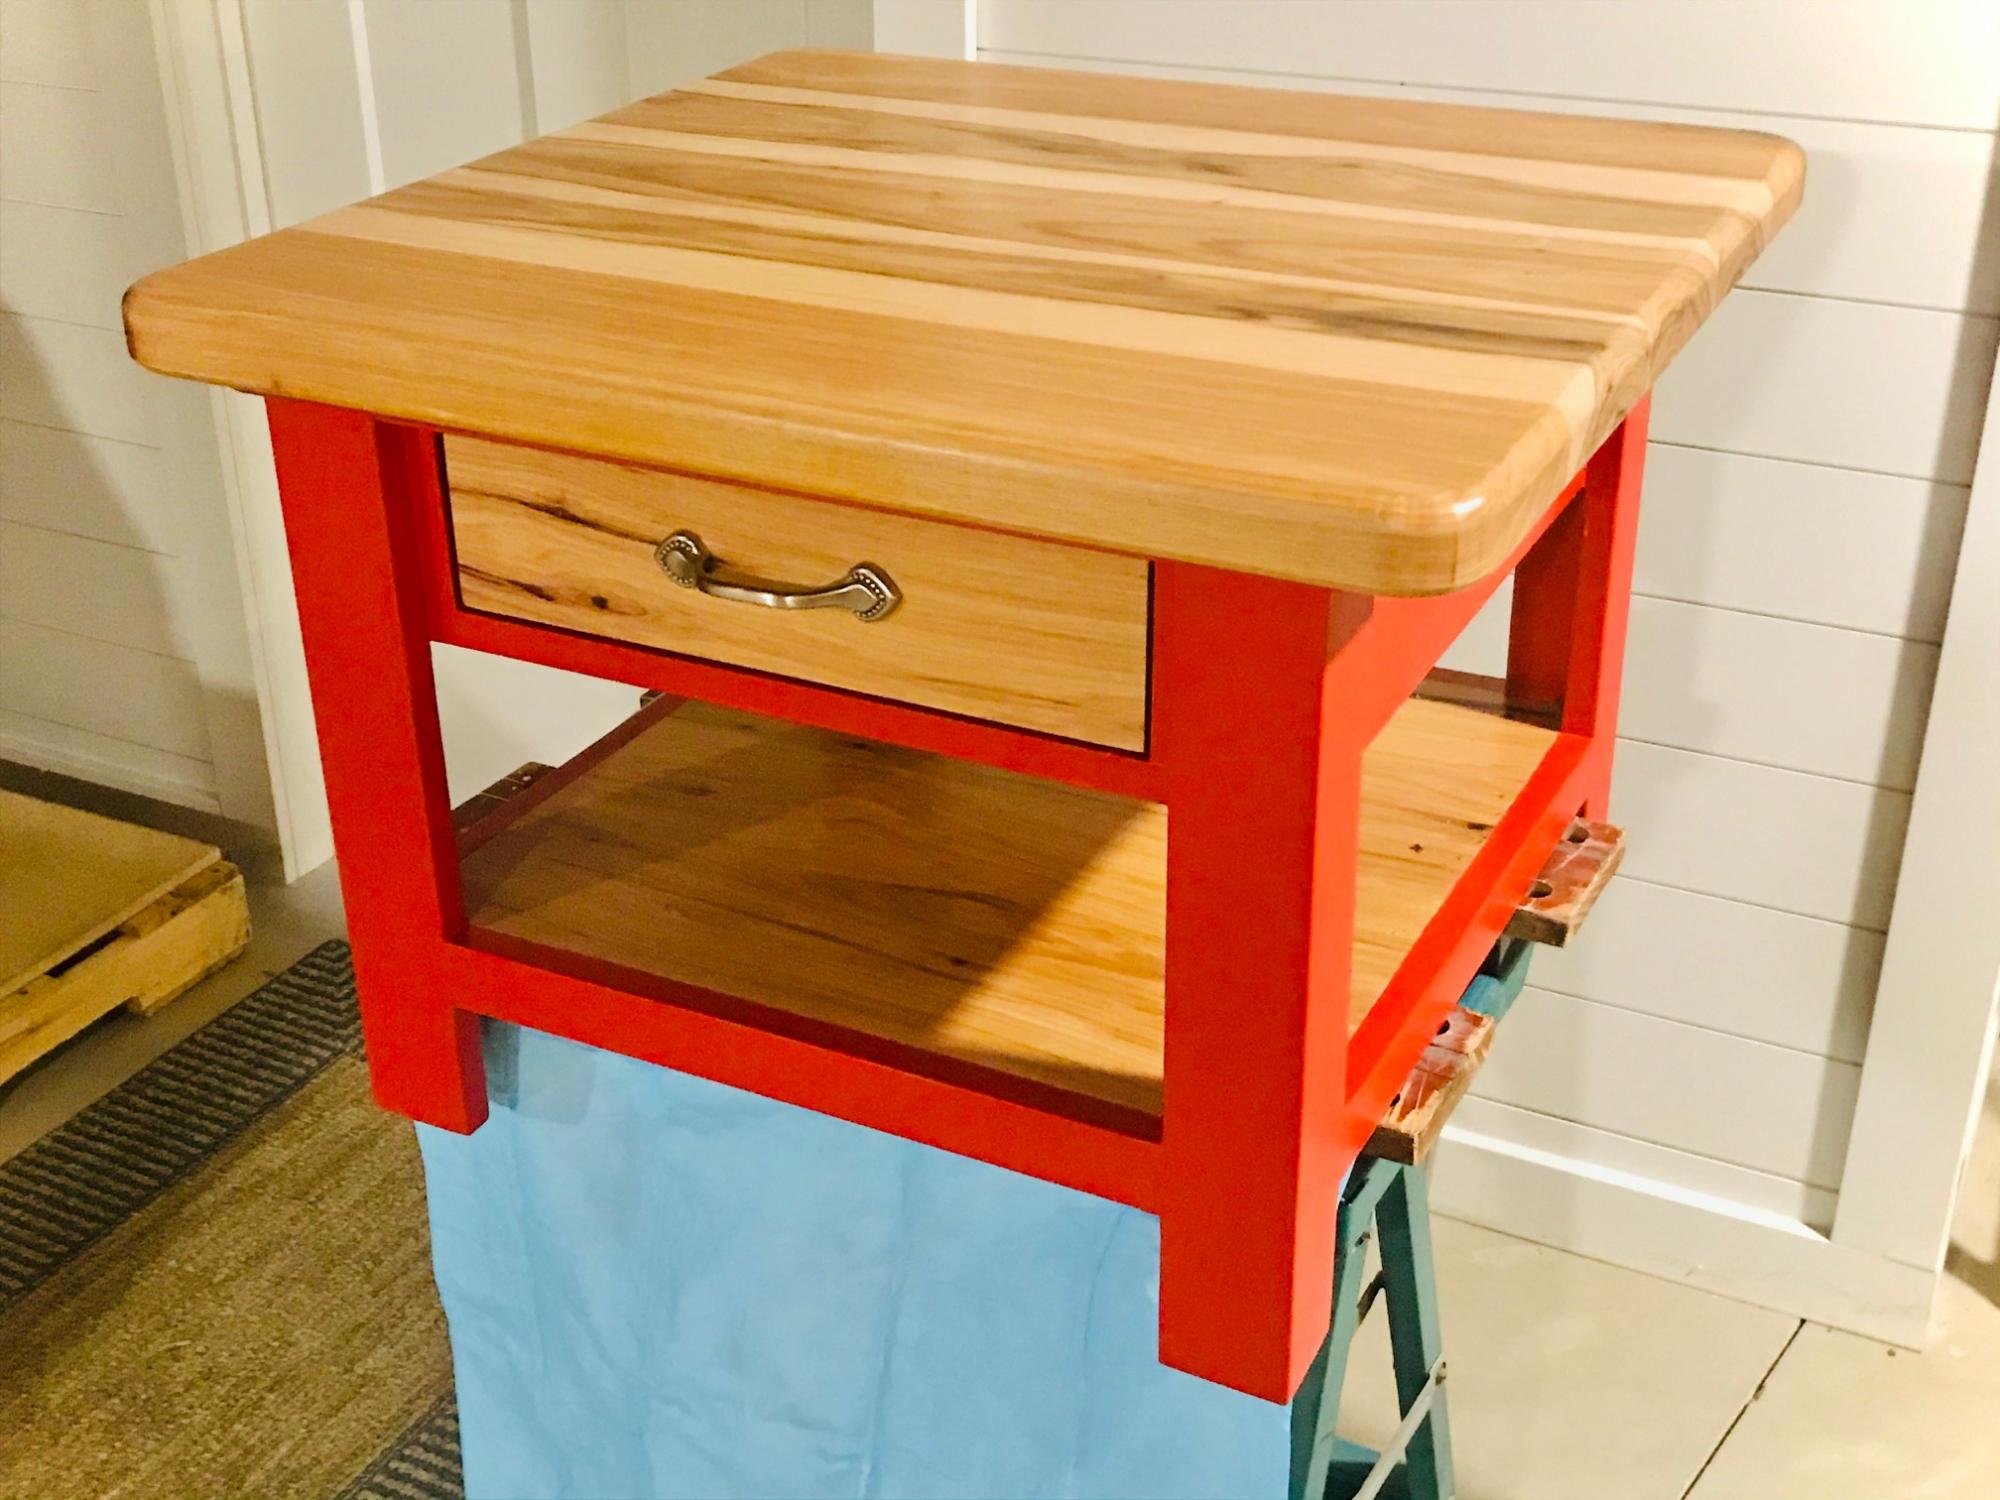
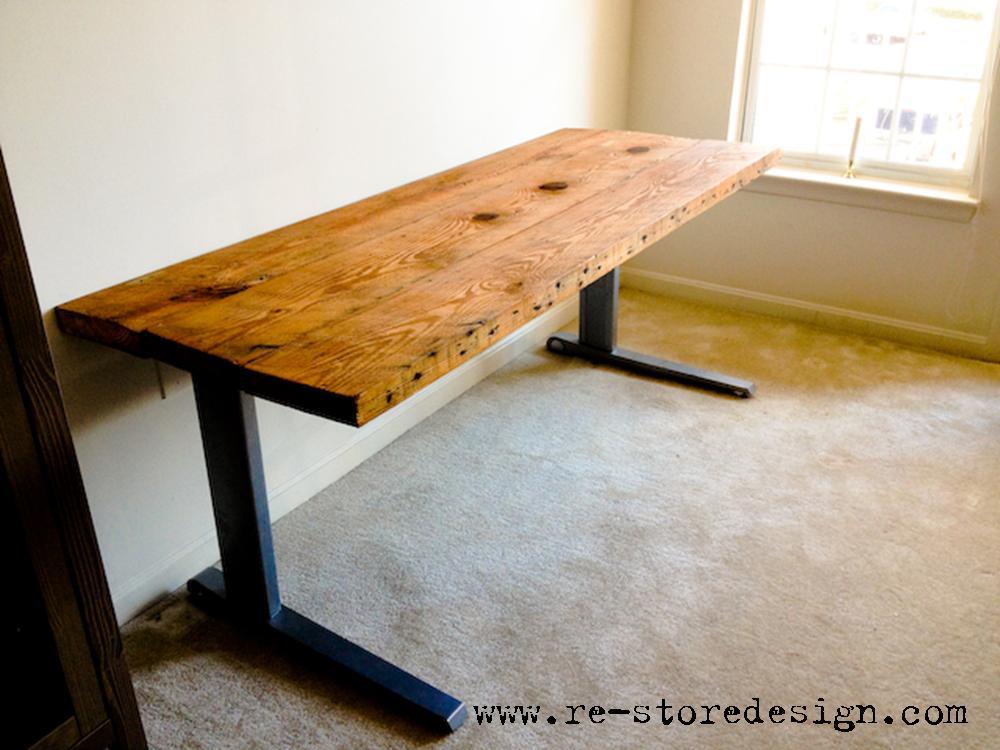
Sewing Table for Small Spaces

Submitted by Linda7 on Sun, 02/03/2013 - 16:51

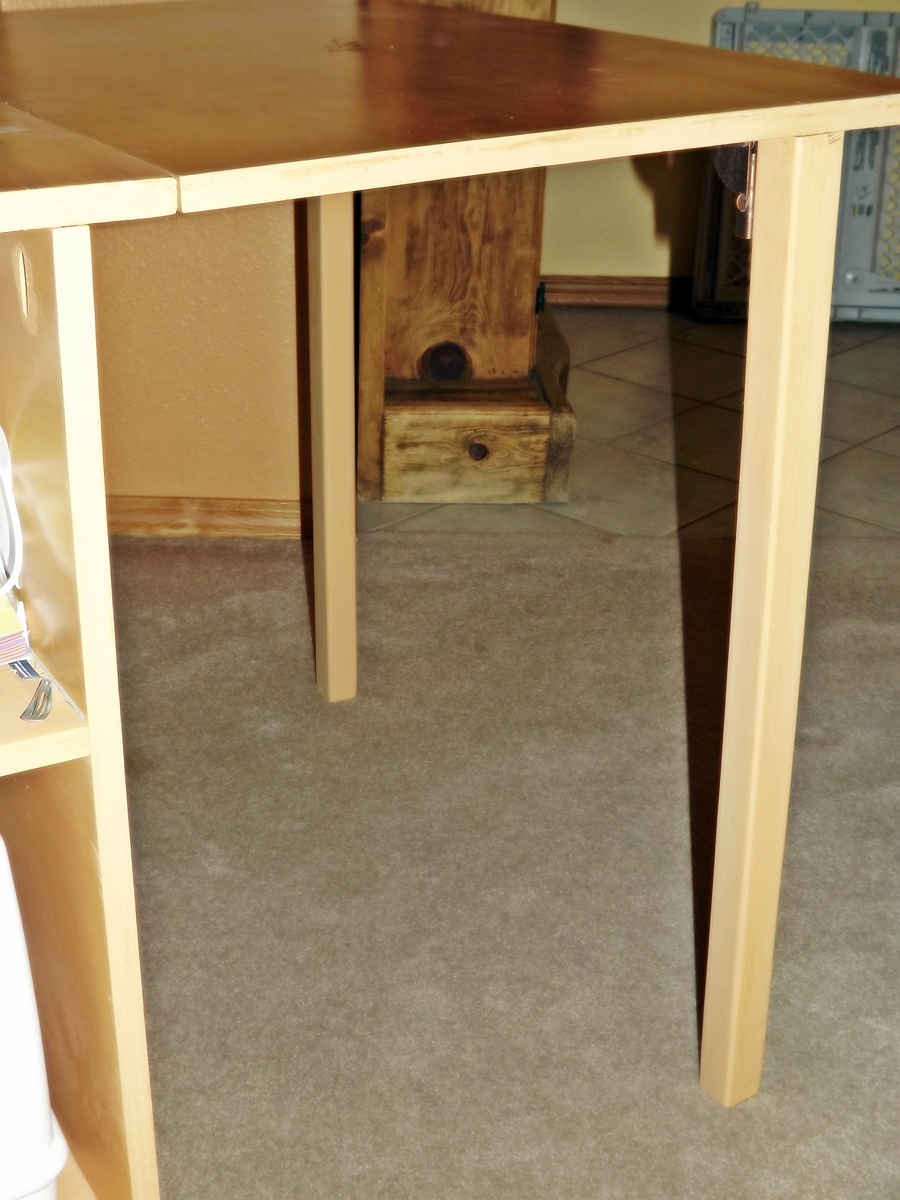
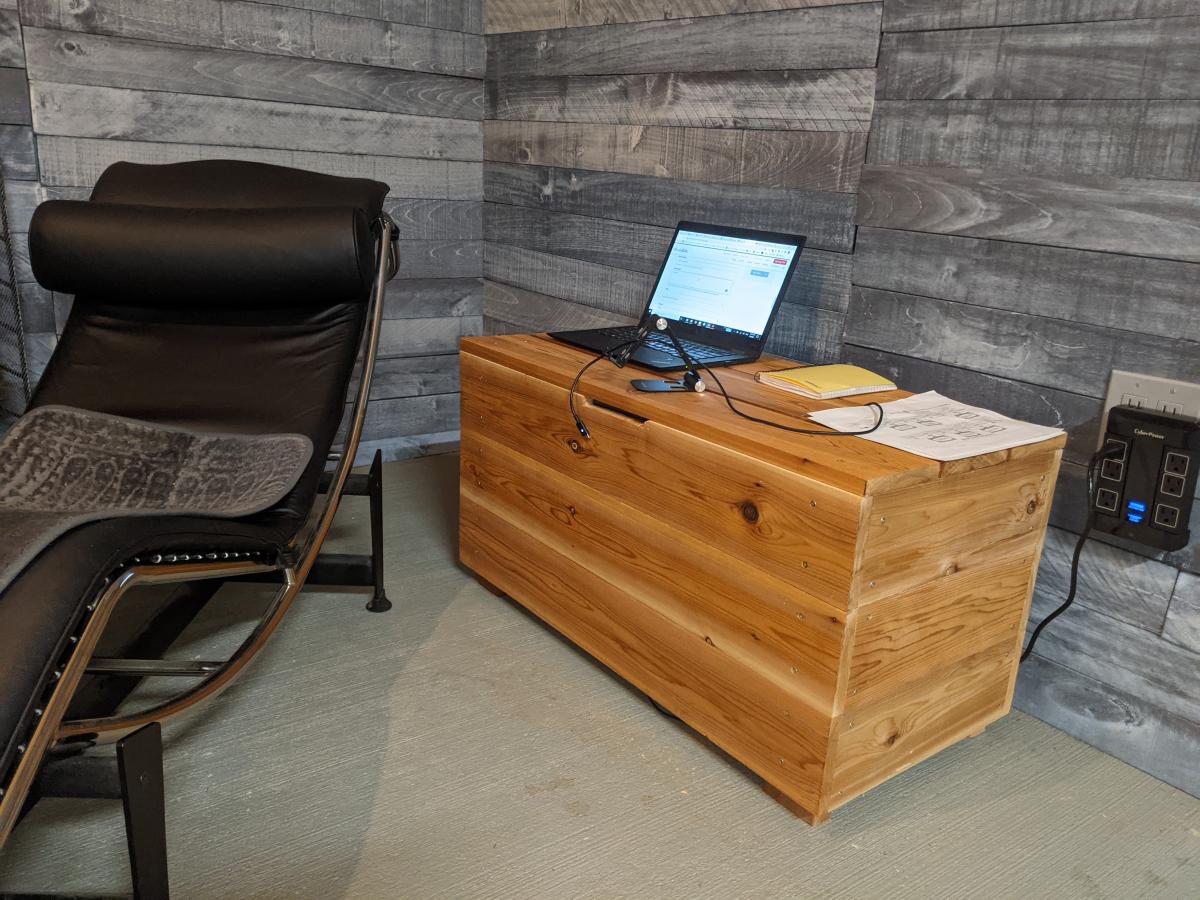
My daughter-in-law needed a compact sewing table, and this plan fit the bill perfectly! I did use 2 x 2 legs instead of 1 x 2s. This makes the table considerably more stable if you plan to use this table with your machine. If you do use the 2 x 2s for legs, you will need to widen your table top dimensions from 15 1/2" to 17" to accommodate the larger diameter of the legs. I also used a piano hinge for each drop leaf. They weren't much more expensive than the hinges listed in the plans, but again, they provide more stability (imho).

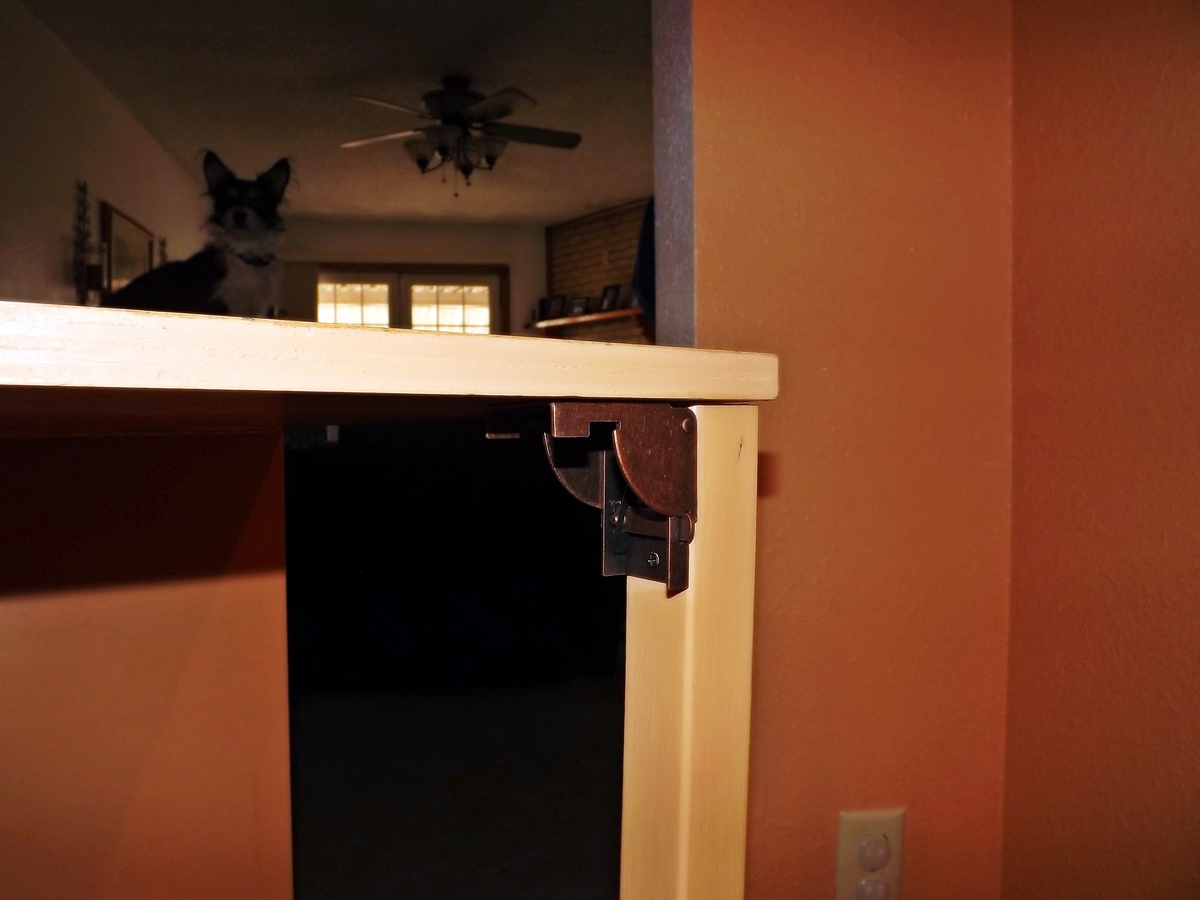
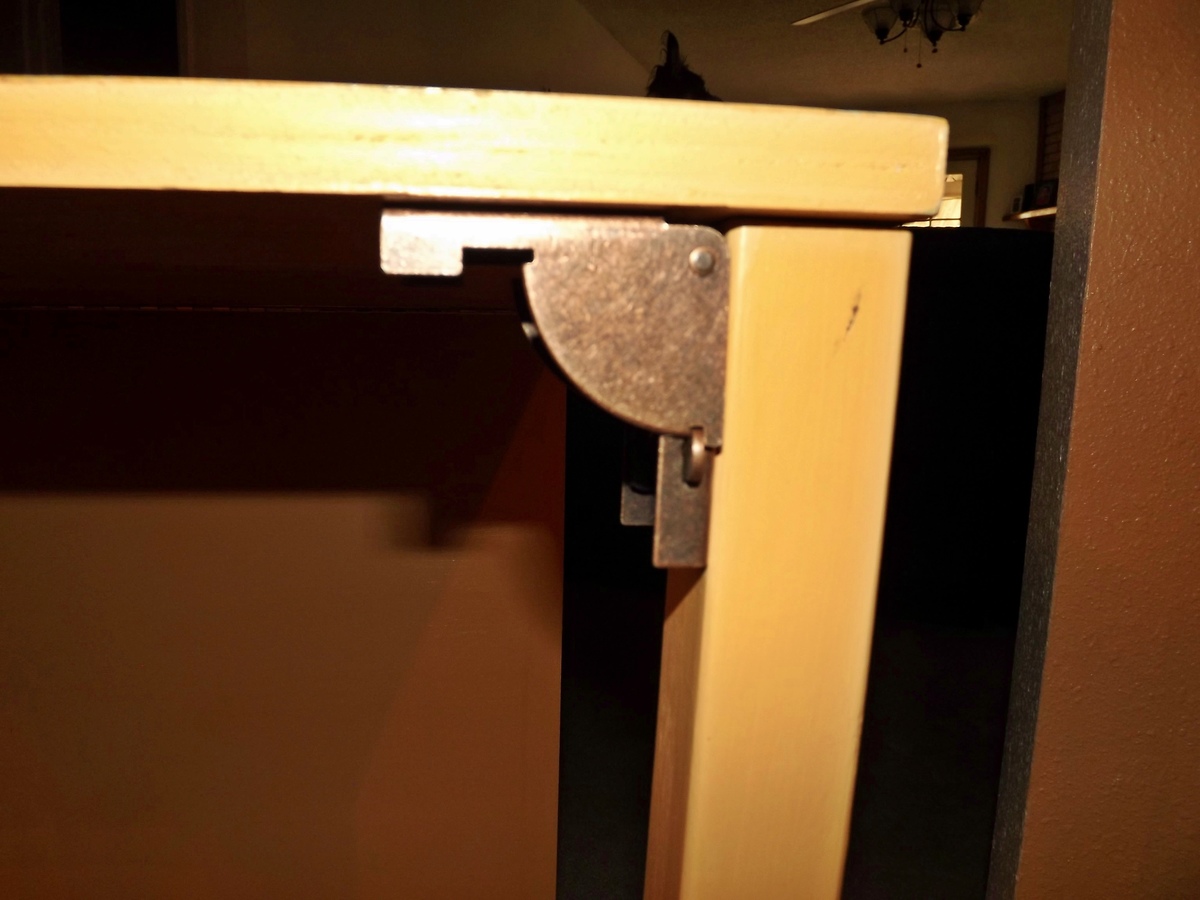
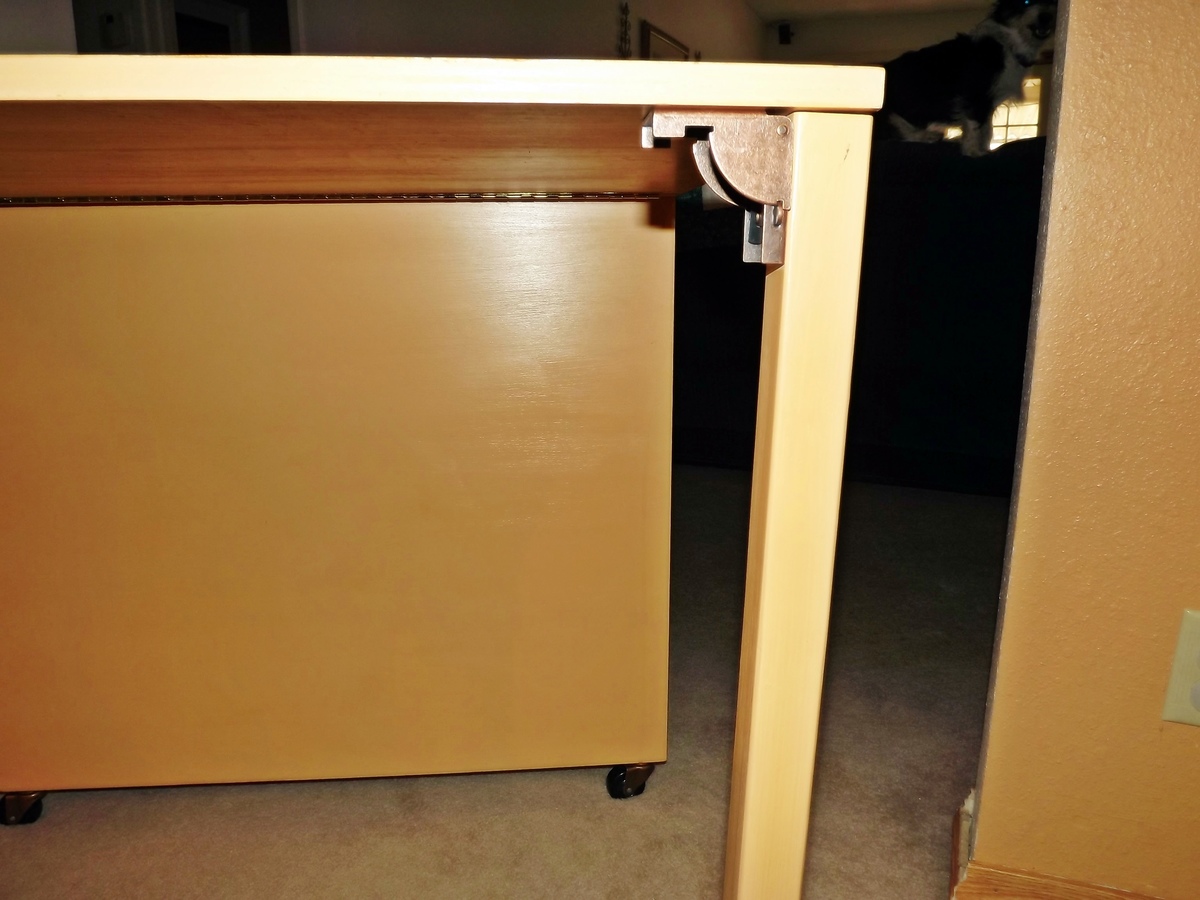
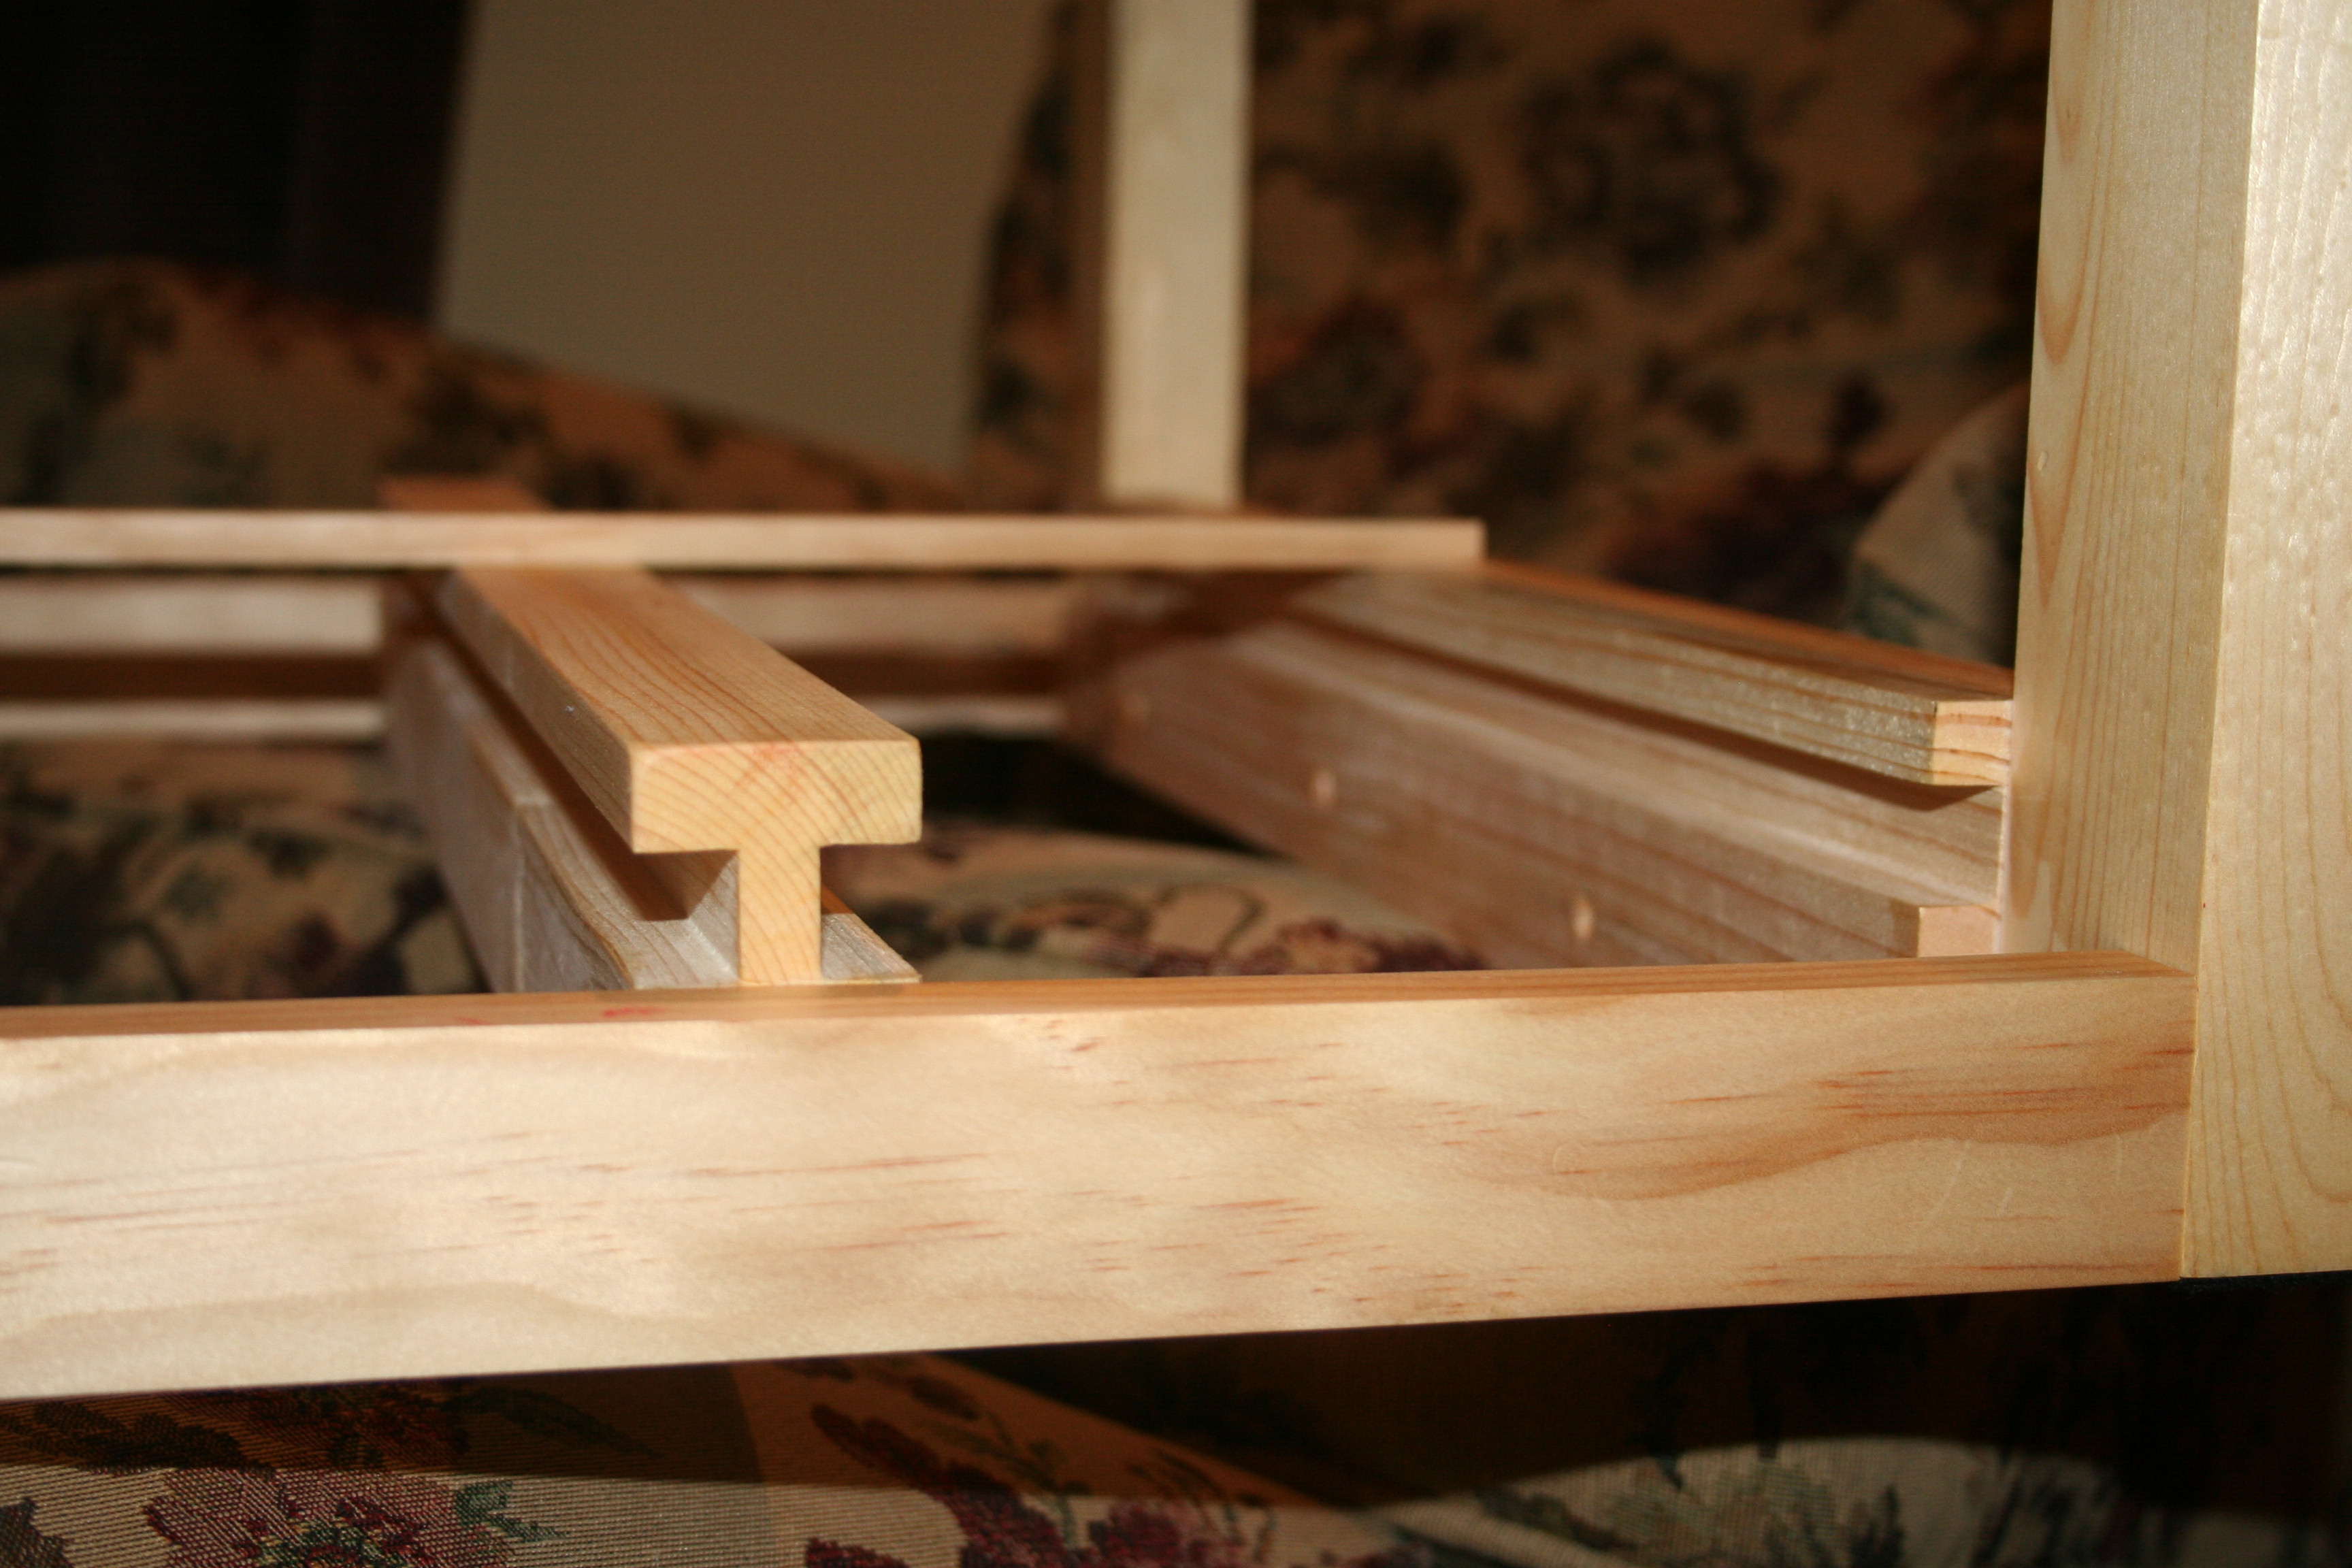
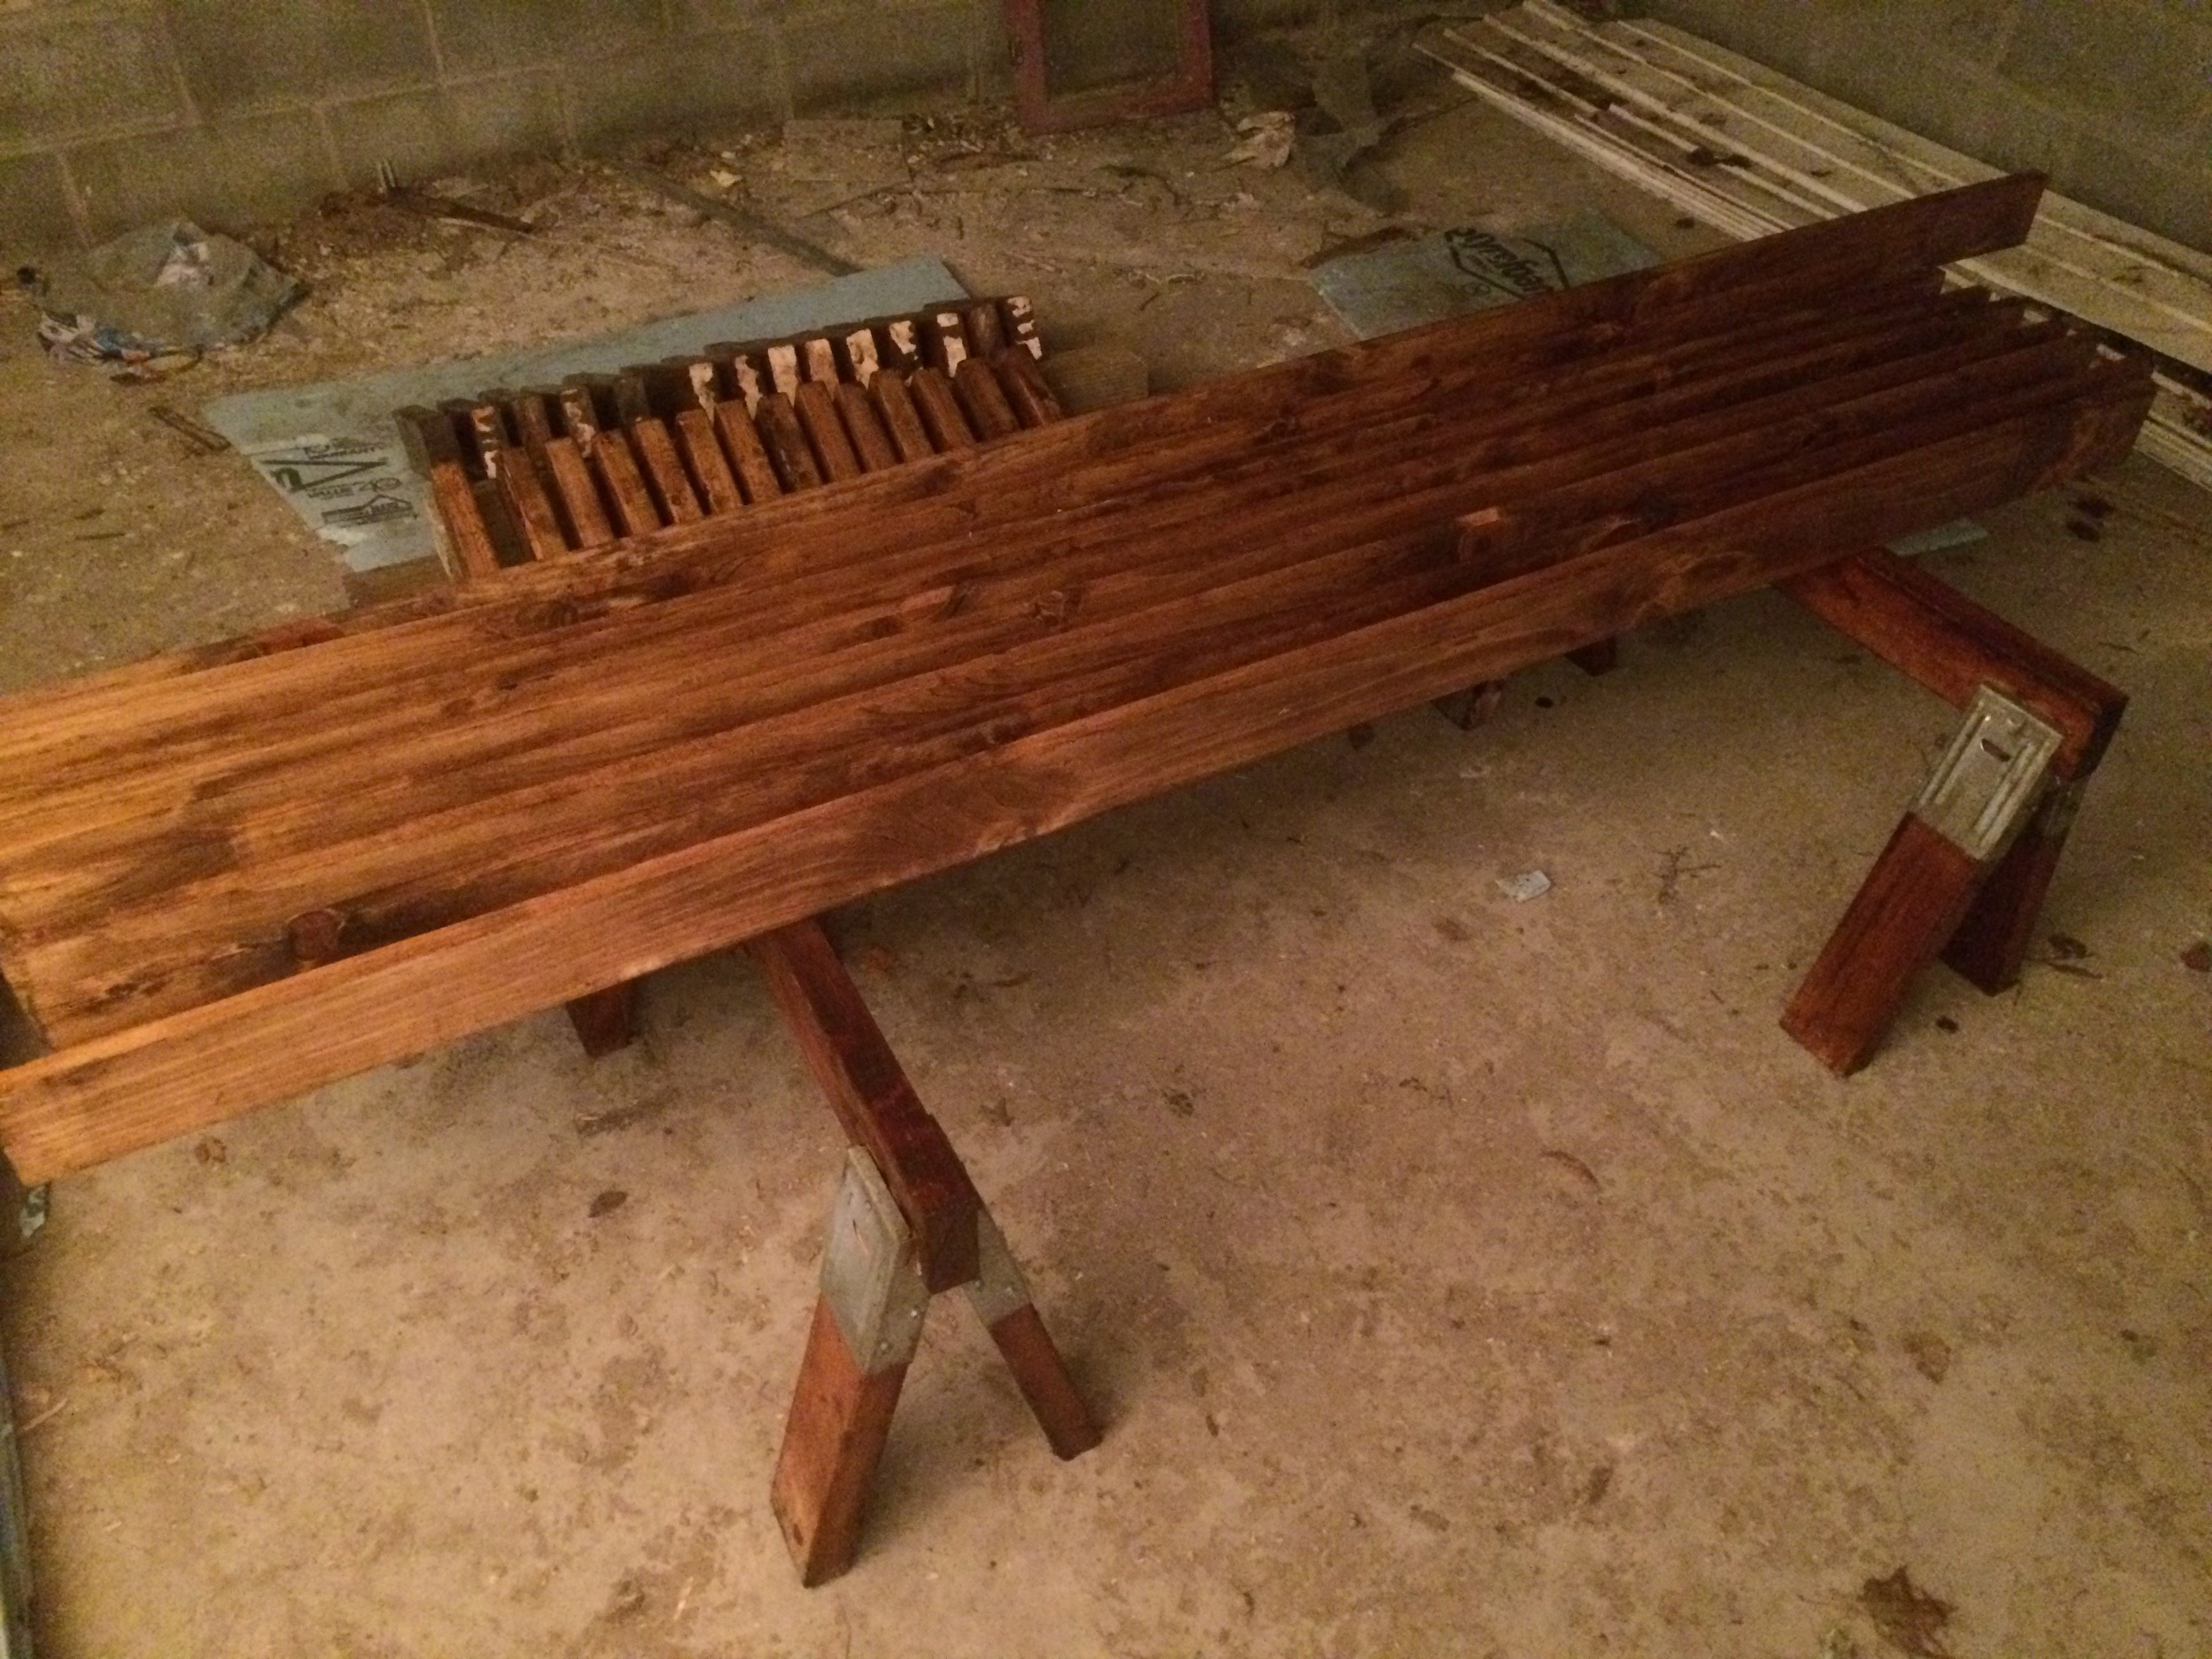
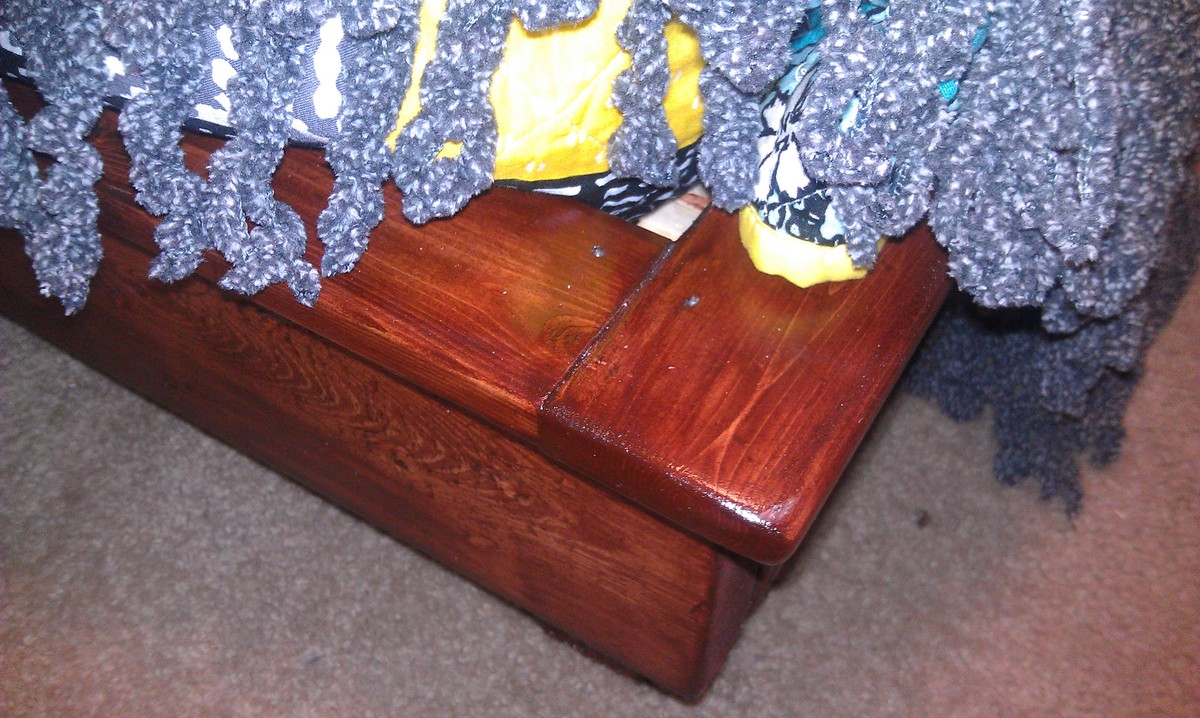
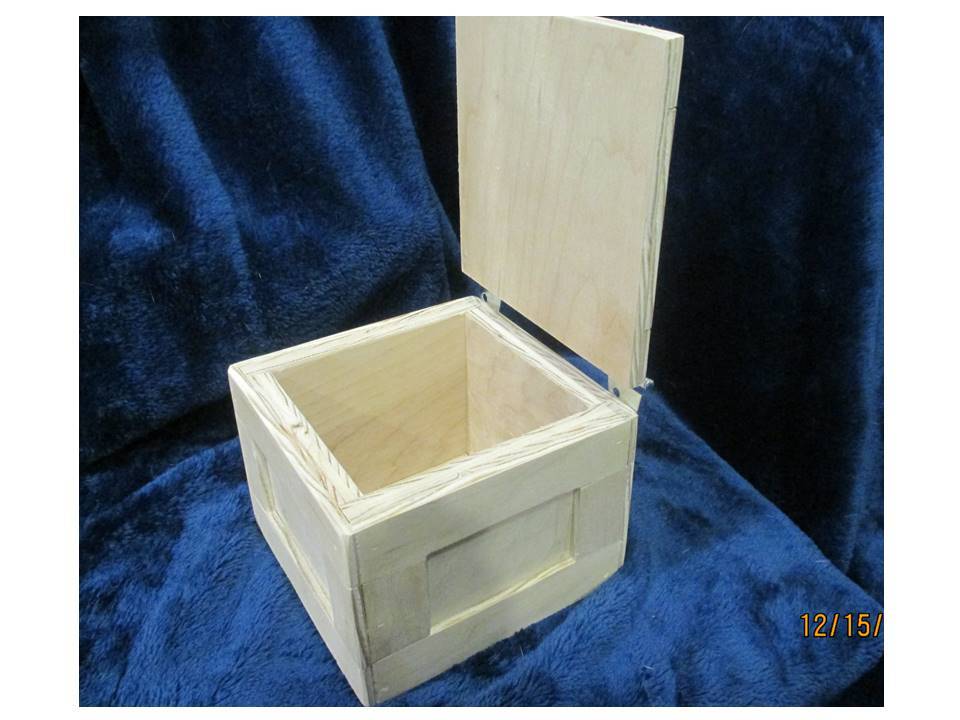
I wanted to show the locking mechanism for the legs in detail. I love these as they hold the legs in place when the drop leaf is down, and they pop into place when the leaf is in use. Called "folding leg fitting" it is part S-149L at $3.65 each at the following link:

http://www.hardwaretree.com/proddetail.php?prod=S-149L

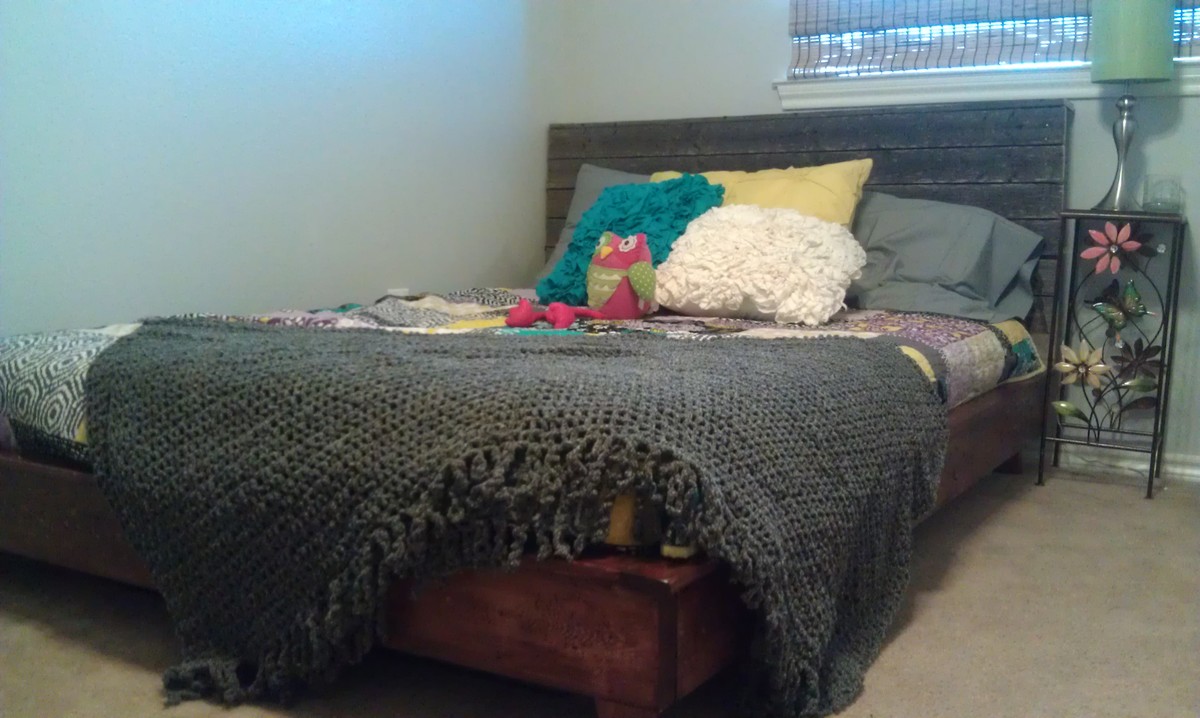
When my daughter-in-law received her gift on Christmas Eve, she wouldn't even let me keep it for another day or two so I could touch-uppaint some spots...she loves it.

Thank you, Ana, for the wonderful plans!!

Built from Plan(s)
Estimated Cost
Around $75.00 not including stain and paint, which I had on hand.
Estimated Time Investment
Weekend Project (10-20 Hours)
Finish Used
Top and leaves stained with pine; box and legs painted w/ semi-gloss wall paint from my daughter-in-law's house (can't tell you the color, but it's from the terracotta color family). Three coats of poly on stained top.
Recommended Skill Level
Beginner

Comments

ACM

Mon, 02/04/2013 - 07:49

The table for my sewing machine costs almost as much as the machine did! This is a wonderful build. You have a very luck daughter-in-law.

sksan

Mon, 02/23/2015 - 14:33

The hinges that hold the leaves look like they run the width of the table as opposed to separate hinges. What did you use? Thanks!

Linda7

Fri, 04/17/2015 - 18:58

I'm sorry. Just now seeing your question. Yes, I used piano hinges so that they would run the entire length. The worked well.

Lego Table/Stool

Submitted by charae22 on Sat, 12/06/2014 - 19:07

My grandson loves Lego's.  So for his birthday I built him a Lego table.  The top is reversible so it can be used for other activities when not playing with Lego's.  It also has 6 storage bin's that slide out.  I also built a stool that looks like a Lego.  It has storage and it's on wheels.

Estimated Time Investment
Weekend Project (10-20 Hours)
Finish Used
Polyurethane, Apple Red paint (Rustoleum)
Recommended Skill Level
Intermediate

Comments

Awesome and super sturdy bench

Submitted by Anonymous (not verified) on Fri, 03/10/2017 - 06:10

The plans are easy to follow and the result is a very sturdy pro looking bench that seats quite a few people. Great starter or beginner project

Estimated Cost
Around $35.
Estimated Time Investment
Day Project (6-9 Hours)
Finish Used
Miniwax espresso stain for indoor and outdoor
Recommended Skill Level
Beginner

Fancy X Farmhouse Table modification

Submitted by jade_kat on Tue, 02/05/2013 - 14:12

We used the plans for the Fancy X Farmhouse Table and made some modifications to fit our space. Our first mod was to make it only 65 in long ... which meant the angled pieces in the middle aren't there any longer as it would have been too busy. The second mod we made was anywhere it stated to put 2 2x4s together we replaced it with Douglas Fir 4x4 (found at our Orange store).

Built from Plan(s)
Estimated Cost
$90 - $100
Estimated Time Investment
Weekend Project (10-20 Hours)
Finish Used
I stained it with an equal part classic grey and Dark walnut by MinWax (got color and 4x4 idea from another lady on here who did a mod on this same table) and finished it with 4 coats of Satin polyurethane.
Recommended Skill Level
Beginner

Custom Industrial Style Closet

Submitted by slug on Tue, 12/09/2014 - 09:03

We remodeled our house and now had a new 9x6 master closet to fill. During construction I saw this design on ana-white.com and liked the style, but wanted to customize the layout. I found an online closet designer and played around until I found something my wife and I liked. We ended up with a 9 foot long his/hers double hanging on the ends and a long hanging section in the middle. And on the other side 8 feet of shelving (leaving about a foot for other storage).

I bought the pipe as a 10 foot pipe to be cut and threaded (for free by the store). I did have to change the design a little because the store cannot thread pipe less than 14 inches. So I ended up replacing the short pipes and T's with 2x4s. That made it a little cheaper and I still like the end result.

We stained all the wood using Minwax "Early American". This probably accounts for most of the build time.

Then I put together the supports and brought them into the closet to add all the pipes and slats. I started with the wall for hanging. And later did the shelving.


Here's another forum with more pictures of this project:

http://woodworking.formeremortals.net/me-mo-community/#/discussion/866/…

Built from Plan(s)
Estimated Cost
<$400 for whole closet.
Estimated Time Investment
Weekend Project (10-20 Hours)
Finish Used
Minwax "Early American"
Recommended Skill Level
Beginner

Comments

Cedar side table

Submitted by OlgaB on Sun, 01/03/2021 - 19:41

I decided it would make a nice simple side table for my home office and show off the beauty of cedar by using oil.

Estimated Cost
180.00
Estimated Time Investment
An Hour or Two (0-2 Hours)
Finish Used
Tung oil
Recommended Skill Level
Beginner

Comments

Hailey Bed with Reclaimed Fence Headboard

Submitted by madmo453 on Thu, 02/07/2013 - 19:48

I followed the plans exactly, and added the headboard at my daughter's request. My brother recently tore down an old fence, and I pulled this gate out from under a brush pile. I strengthened it with lots of screws and cut each side to bring it down to the same width as the bed. The whole project cost me somewhere around $150-160 because I literally had nothing but a drill. I had to buy everything from screws to nails to wood conditioner, etc. Not bad for a truly "from-scratch" project.

Built from Plan(s)
Estimated Cost
$160
Estimated Time Investment
Day Project (6-9 Hours)
Finish Used
Satin poly
Recommended Skill Level
Starter Project

Comments

Apothecary Media Console

Submitted by griffsci on Sat, 12/13/2014 - 14:24

This was my second-built project after finding Ana's wonderful site - the first being the Rustic-X coffee table.  After learning how to use a miter saw, jig saw and kreg pocket hole jig for the first time by watching Ana's video tutorials as well as several others available on the web, I built up the confidence to attempt a media console for my three video-gaming boys. 

I pieced together a design plan for the console using the general design of Ana's Apothecary Console Plan, together with the incredibly helpful plans and instructions detailed on 2Crafty4myskirt.blogspot.com.  Kind of like mixing together pieces of different recipes, I was able to create a design that had the length of Ana's console, plus 2Crafty's wonderfull side-storage doors for all of the boy's video games.

As set forth in detail below, I used Ralph Lauren's Carbon paint for the entire unit, and Minwax Red Chesnut Wood finish to distress the edges.  I used Pecan Minwax Polyshades Stain & Polurethane for the table top.  One of the most helpful pieces of advice from 2Crafty was to leave attachment of the back and top of the unit until they are separately painted and stained.

I finished the false fronts with antique copper (bronze) cabinet label holders (2 1/2") which I purchased online at D. Lawless Hardware online.

As a beginner, I had a steep learning curve in learning how the tools worked (safely), and so it took me about 40 hours all in to finish the project.  While my sons helped along the way, my husband didn't actually set eyes on the project until it was complete.   He was stunned at how beautiful it was - and that I had in fact created what he calls the "center-piece" of our family room from a pile of lumber purchased at Home Depot.  He is full of helpful suggestions of what I should make next!

Thank you Ana for providing me with the tools, skills and confidence to produce a piece of furniture that I am very proud to point to and say "I did that!"

Estimated Cost
$150-175.00
Estimated Time Investment
Week Long Project (20 Hours or More)
Finish Used
I painted the exterior of the entire console in two applications of Ralph Lauren's Carbon (semi-gloss), and then used a 220 sanding block to lightly sand all along the edges of the front of the unit and false-drawer faces. To created a softer, weathered look, I used a cloth to dab Minwax Red Chesnut (232) wood finish on the sanded areas, and wiped off the excess after 5 minutes. The pine top was stained in Minwax Polyshades Pecan Satin.

Recommended Skill Level
Beginner

Comments

DIY Faux Fireplace Mantle with Hidden Storage

Submitted by Anonymous (not verified) on Tue, 03/14/2017 - 15:06

We were given this fireplace insert and need something to house it. After searching the web, we decided that Ana's faux fireplace design was our best option. We modified the measurements to fit our needs and added a wood stained top to serve as our "mantle". We are thrilled with how it turned it!

Estimated Cost
Less than $100
Estimated Time Investment
Weekend Project (10-20 Hours)
Finish Used
Polyshades 'Espresso' stain on mantle top
Behr white paint
Recommended Skill Level
Intermediate

Loft bed

Submitted by scooper812 on Fri, 01/08/2021 - 23:52

My daughter had been asking for a loft bed that she could place a futon under. This plan was exactly what I needed! I made the bed taller so she would be able to stand under it (we have 10’ ceilings - old house). And, I replaced the ladder with a staircase with built-in cubbies.

This was our first project of 2020 and we started it during the first part of the quarantine, so it got named “Project COVID-19.”

Built from Plan(s)
Estimated Cost
$200
Estimated Time Investment
Week Long Project (20 Hours or More)
Finish Used
White latex paint
Recommended Skill Level
Intermediate

Comments

Hollman Ledge shelves

Ana's $10 ledges. In Colorado, they cost just a couple bucks more at $13. Thank you, Ana, for helping me see just how easy these shelfs really are!

Estimated Cost
$15
Estimated Time Investment
An Hour or Two (0-2 Hours)
Finish Used
Black tinted stain
Recommended Skill Level
Starter Project

Man Crate Mini

Submitted by JoanneS on Mon, 12/15/2014 - 18:48

This is a miniature version of the Man Crate, measuring 6” x 6” x 4 ¾” tall, made from 1/2" and 1/4" scrap birch plywood, with added hinges to make a lift-up top. 

This is going to be a gift - - I’m going to send it filled with candy.  

Built from Plan(s)
Estimated Cost
Wood: $0 (scrap), $5.08 for hinges and screws
Estimated Time Investment
Afternoon Project (3-6 Hours)
Finish Used
This one is unfinished (except for a little wood filler in the nail holes). Lettering was traced on with a pencil, and then filled in lightly with a ballpoint pen.
Recommended Skill Level
Beginner

Playhouse Loft Bed

The girls and I are all in! We just started our build for the Playhouse Loft Bed. Wish us luck!


AlphaPilot

Estimated Time Investment
Week Long Project (20 Hours or More)
Finish Used
Killz Primer
Valpraso Satin
Recommended Skill Level
Beginner

Comments

1/2 sized Benchwright Coffee Table

Submitted by Anonymous (not verified) on Wed, 01/13/2021 - 18:13

Redrew plans to accommodate an approx 1/2 sized Benchwright Coffee Table. Decided to make it slightly less farmhousey in style. Used poplar for the carcass and hickory for the shelf - 3/4 inch -and table top -1 1/2 inch. 1 1/2 inch was really too thick for the top, it looked too chunky so had to deceive the eye by making a 1/2 inch roundover on the top and a 45 degree bevel on the under edge. I do not recommend using hickory, it’s a heavy, difficult wood to work unless you are an experienced woodworker (I am not!) with good sharp tools and not to mention expensive! The table top caused me all sorts of grief.

Estimated Cost
$200+
Estimated Time Investment
Week Long Project (20 Hours or More)
Finish Used
Pittsburgh Trim & Woodwork Rum Punch satin paint + Minwax water based clear satin poly over a mild Minwax pecan stain.
Recommended Skill Level
Intermediate

Reclaimed Wood Desk

Reclaimed wood desk top for a Geek Desk stand.

Estimated Cost
50
Estimated Time Investment
Afternoon Project (3-6 Hours)
Finish Used
Teak Oil
Recommended Skill Level
Intermediate

Comments

MamaofThree

Sun, 06/08/2014 - 07:17

Hi. Can you tell me where you got the wood and the legs for this project? This is so beautiful! I'd love to make something like this!

Pub table

Submitted by Anonymous (not verified) on Tue, 01/19/2021 - 13:46

Easy weekend build. Turned out great. Needed a small table for my small space. Stain turned out fine, but I tried the poly/stain combo and don't like how it applies. Will go back to stain then poly in the future.

Estimated Cost
$60
Estimated Time Investment
Day Project (6-9 Hours)
Finish Used
Kona stain/poly combo.
Recommended Skill Level
Beginner

Necktie folding stool

I zigzag stitched vintage neckties to plain canvas and used these directions to construct the stool frame. I used 1 5/8" screws.

Built from Plan(s)
Estimated Cost
$15
Estimated Time Investment
Afternoon Project (3-6 Hours)
Finish Used
none
Recommended Skill Level
Intermediate

Comments

Wagon

Submitted by gbyrne on Sun, 12/21/2014 - 17:22

Based this wagon on plans found on Ana White's site. I built this for a 2 year old girl of a co-worker. She is right now using it to pull around her dolls.

Built from Plan(s)
Estimated Cost
$25
Estimated Time Investment
Day Project (6-9 Hours)
Recommended Skill Level
Beginner

Tv console

Submitted by Anonymous (not verified) on Wed, 03/22/2017 - 08:30

Sliding barn door tv console. Created the metal hardware from aluminum i bought from home depot ($80)

Estimated Cost
$350
Estimated Time Investment
Weekend Project (10-20 Hours)
Recommended Skill Level
Intermediate

Farmhouse Bed

Submitted by Anonymous (not verified) on Thu, 01/21/2021 - 08:57

Thank you Ana White! This is the first piece of furniture I built! Finding your plans opened up a whole new world for me!

Finish Used
Painted in Benjamin Moore dove white matte furniture paint.
Pine panels are wood conditioner, minwax special walnut, minwax weathered oak. Then a combination of wax mixed with a bit of the white paint used on the rest of the bed.

Comments