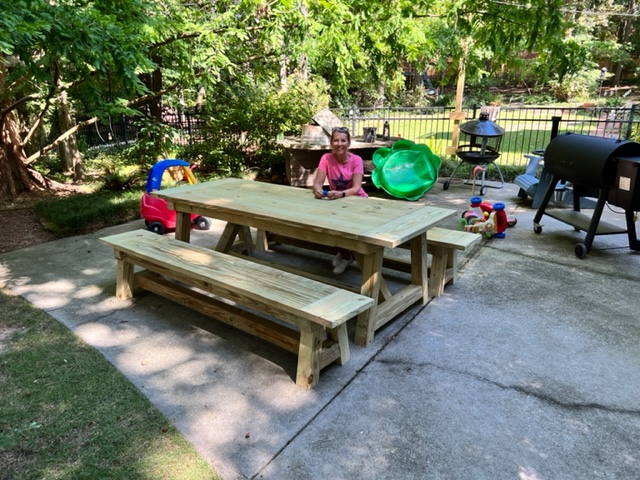
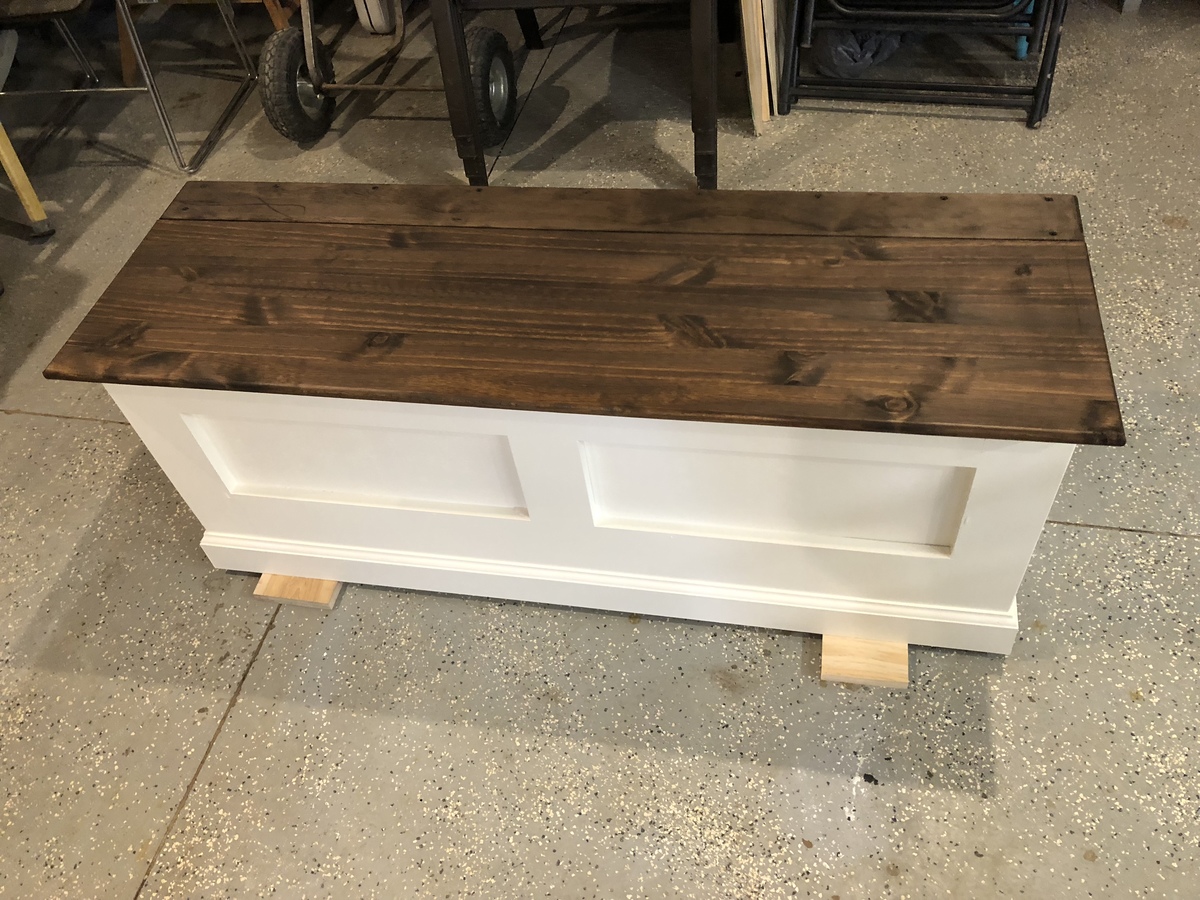
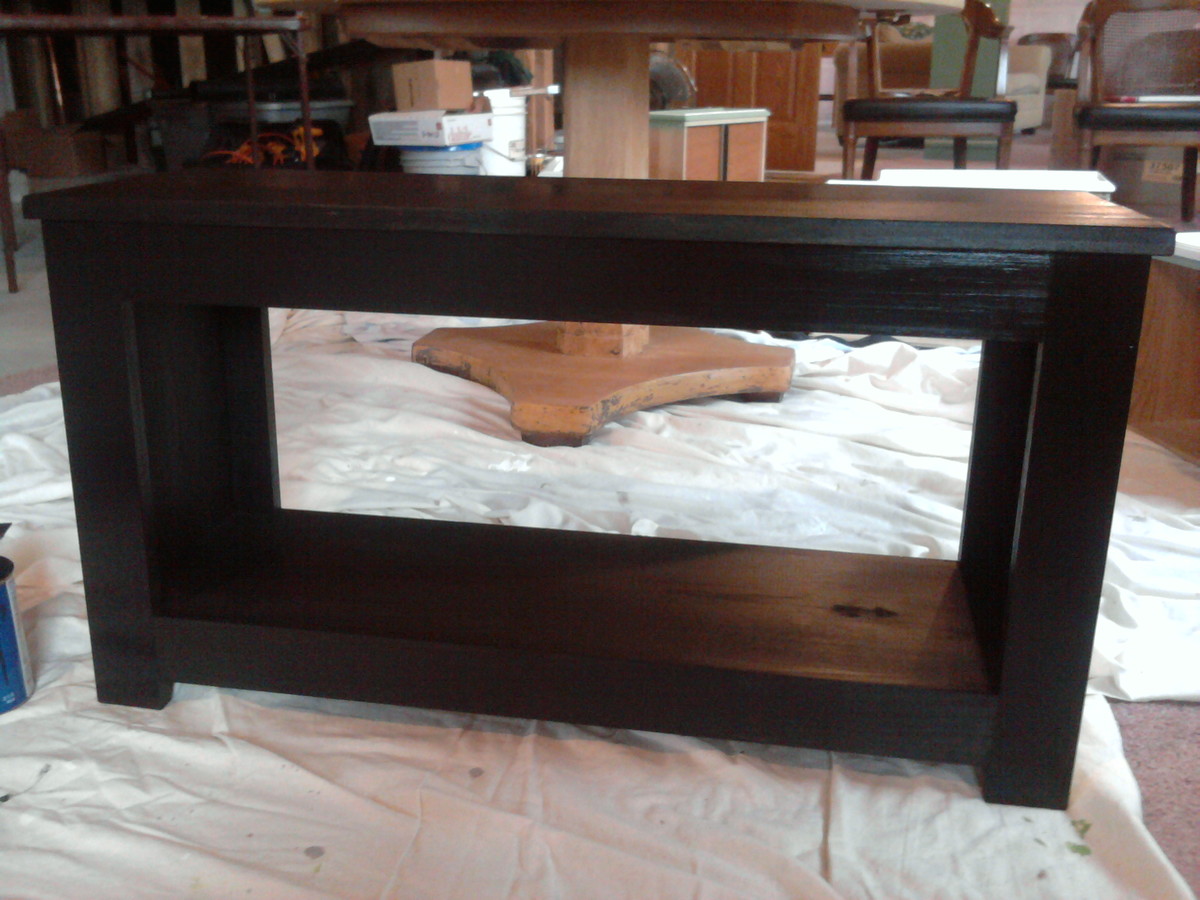
Table + farmhouse benches
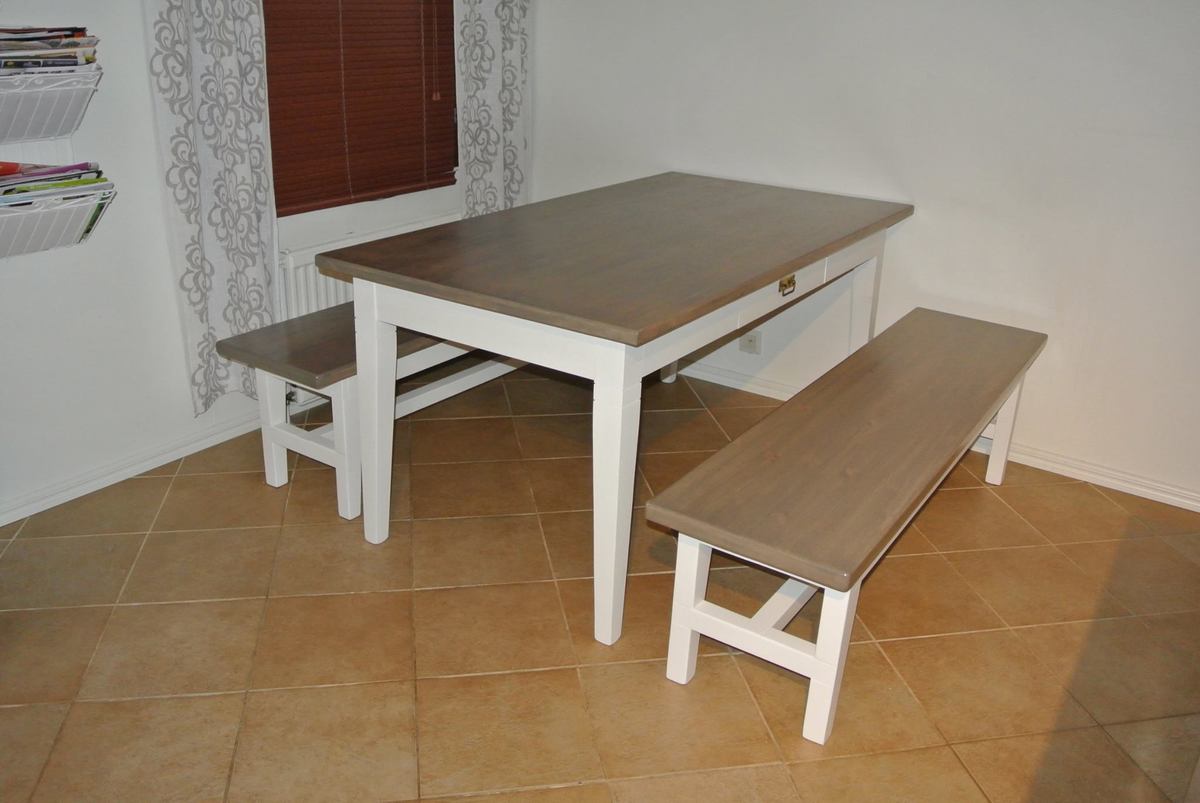
I've fixed up an old table and borrowed Ana's plans for farmhouse bench. I've modified them, and this is the outcome.

Built from Plan(s)
Estimated Cost
about 300-400€ (in Finland)
Estimated Time Investment
Week Long Project (20 Hours or More)
Finish Used
Legs "Kitchen white"
Tops "Raindeer"
Tops "Raindeer"
Recommended Skill Level
Beginner