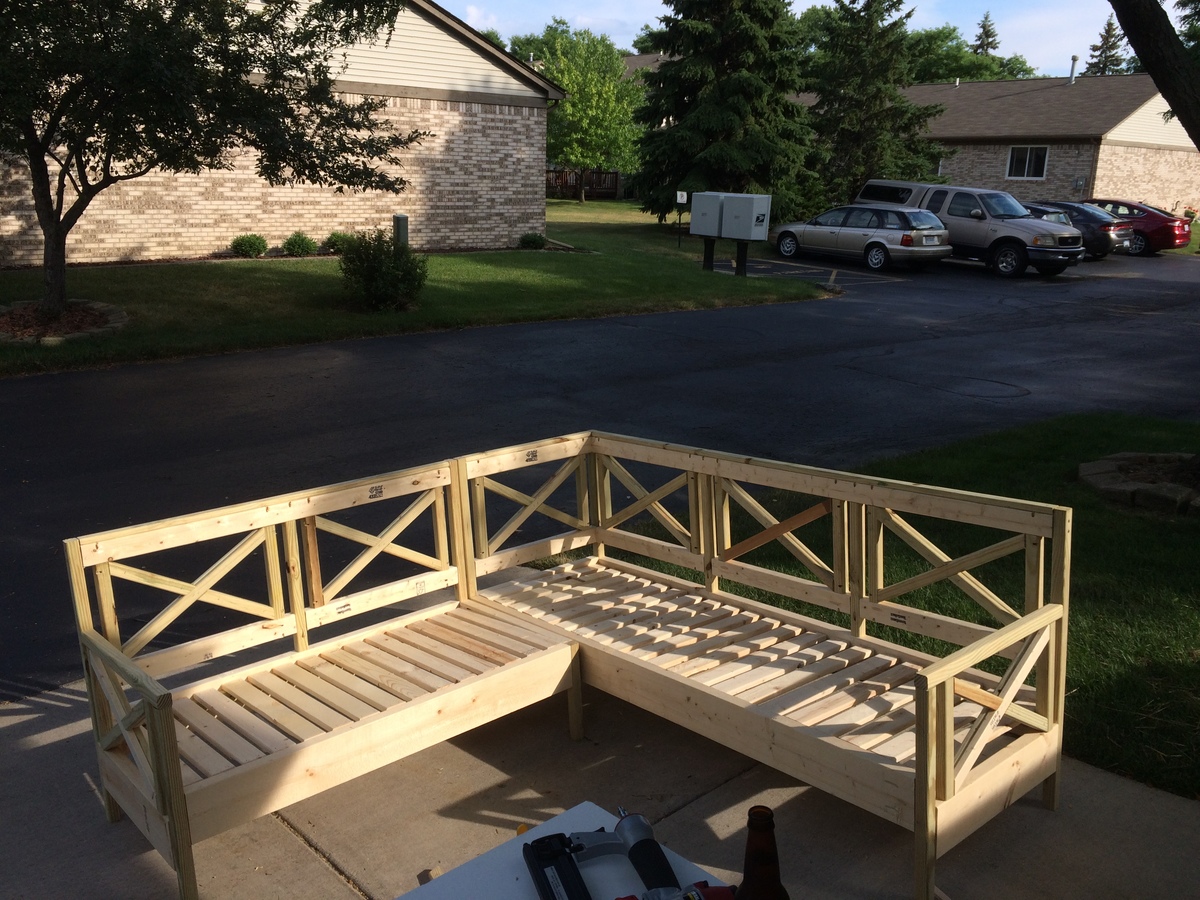
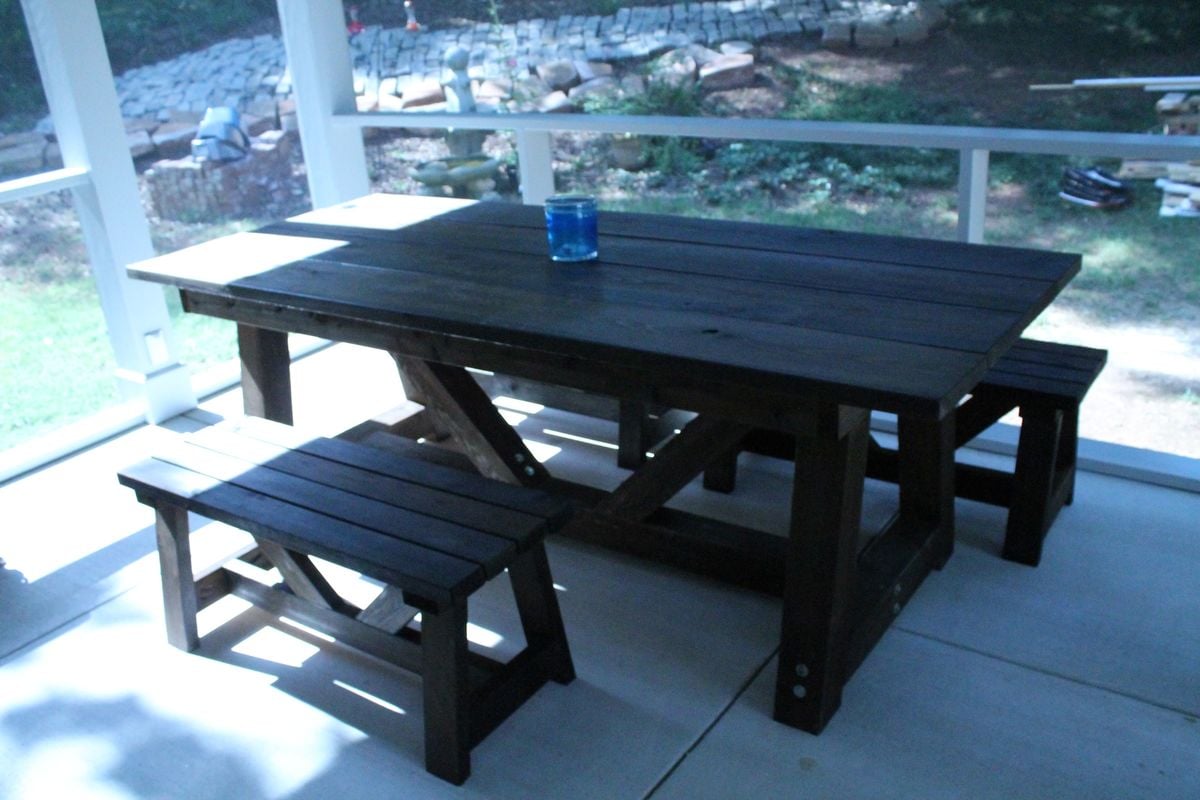
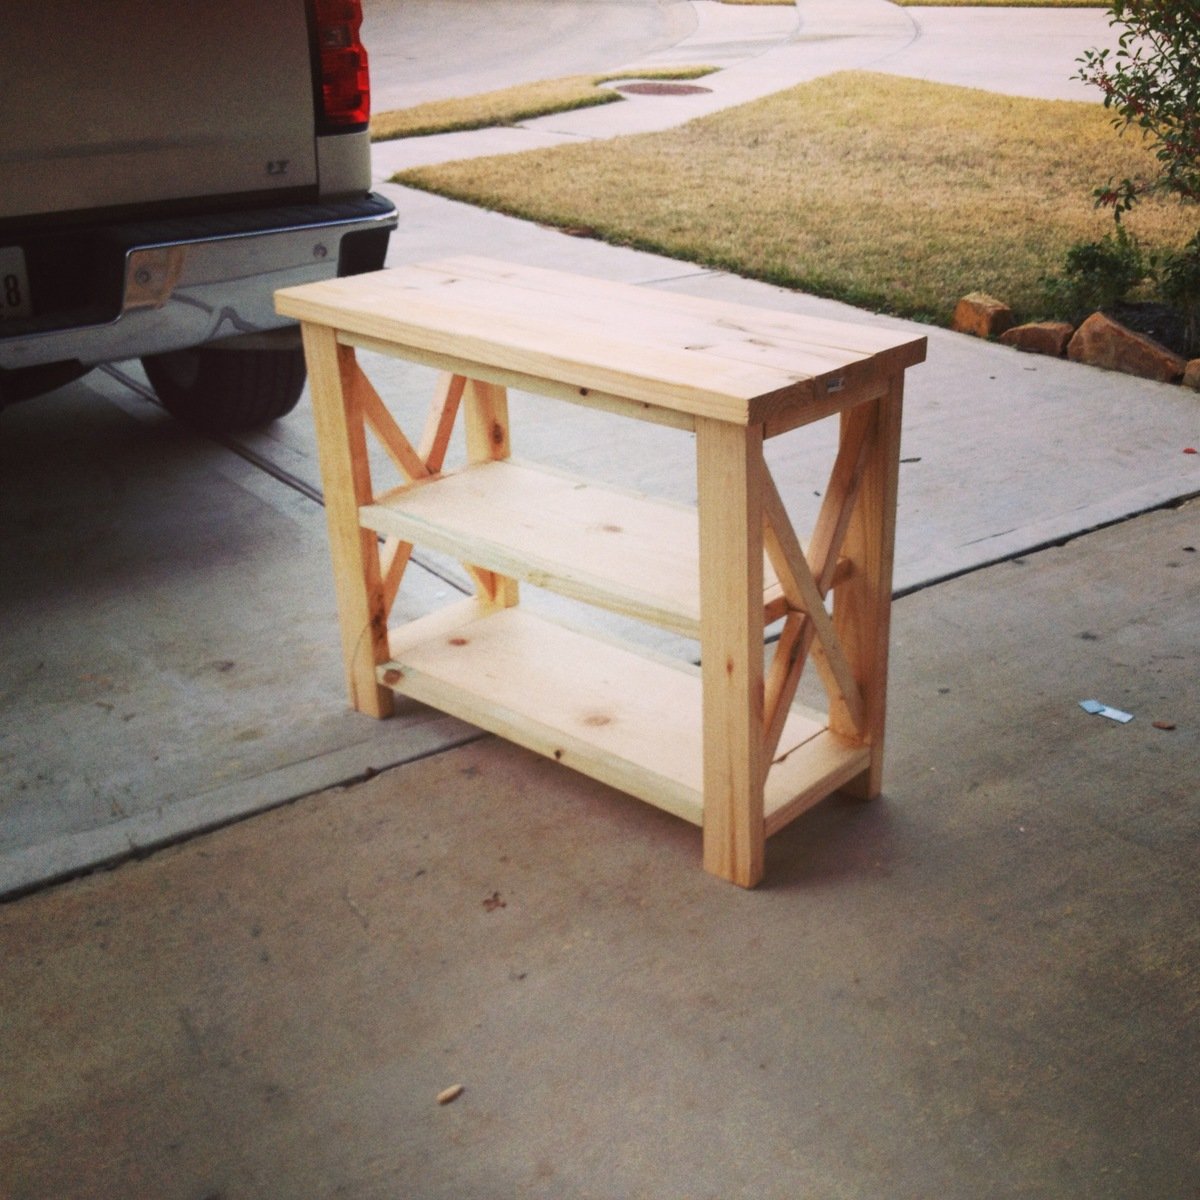
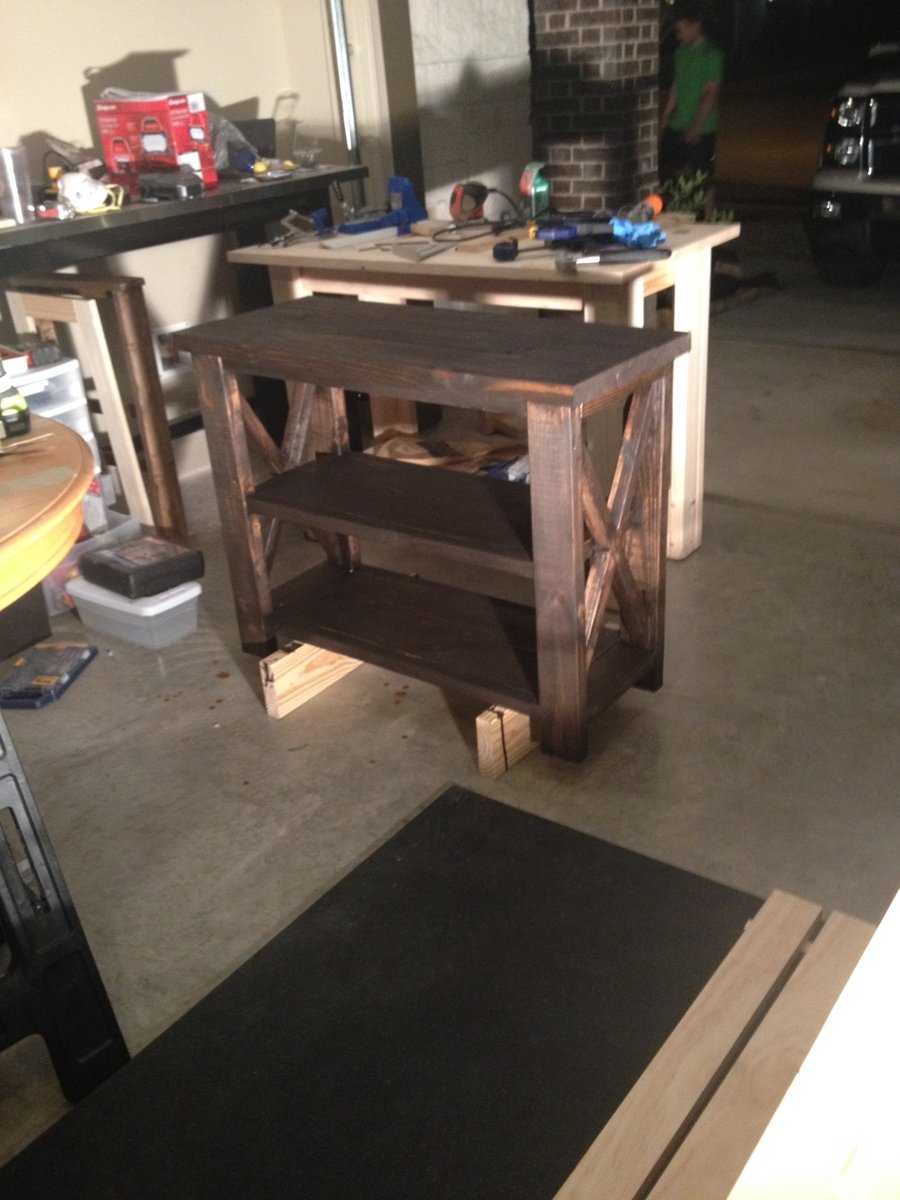
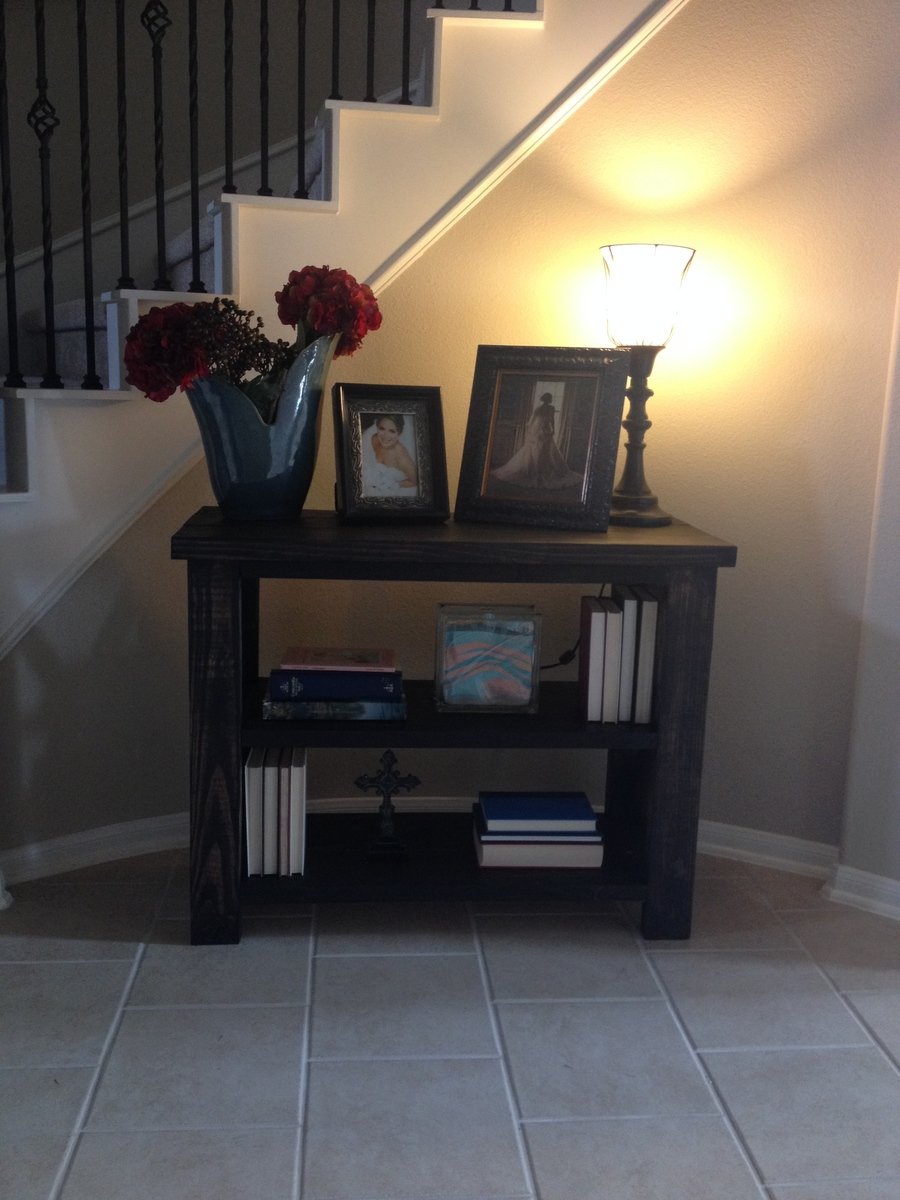
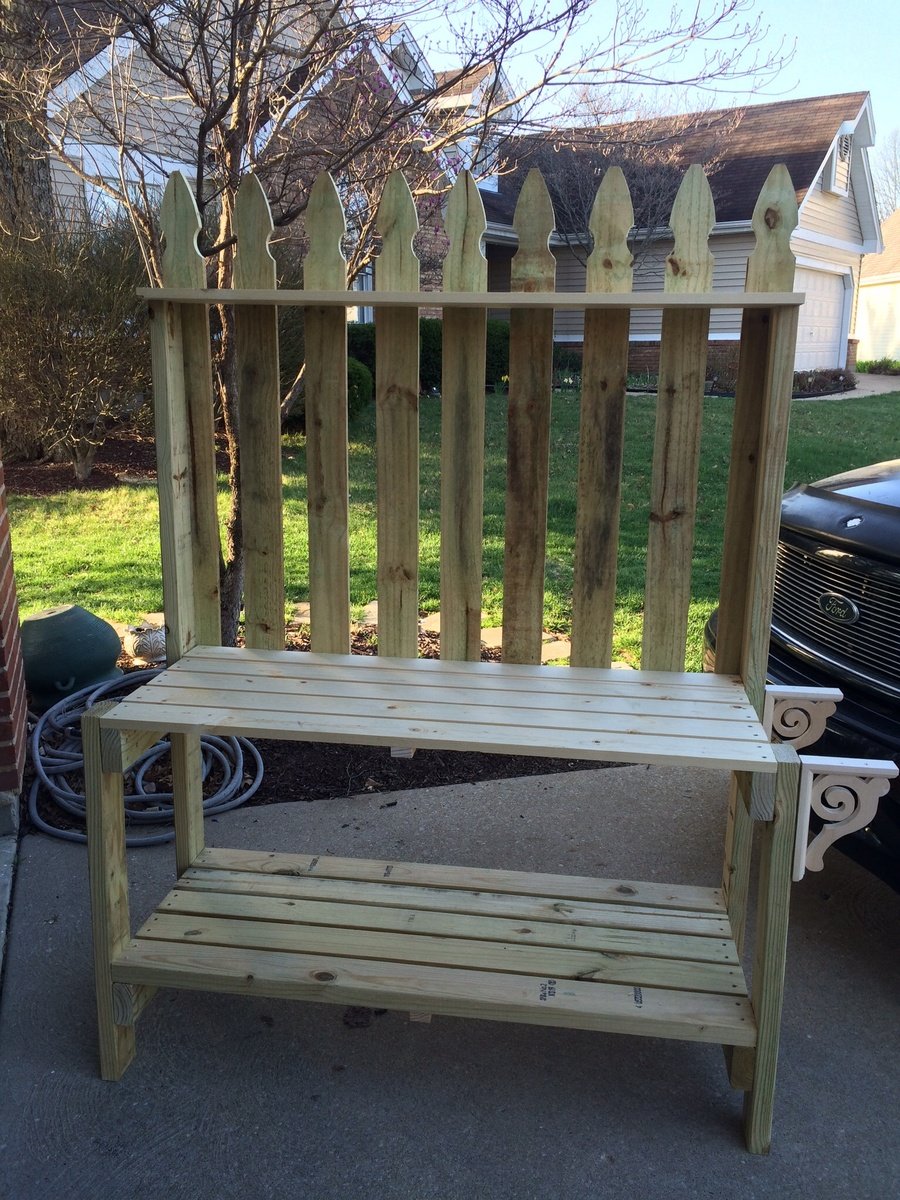
Simple Potting Bench, customized!
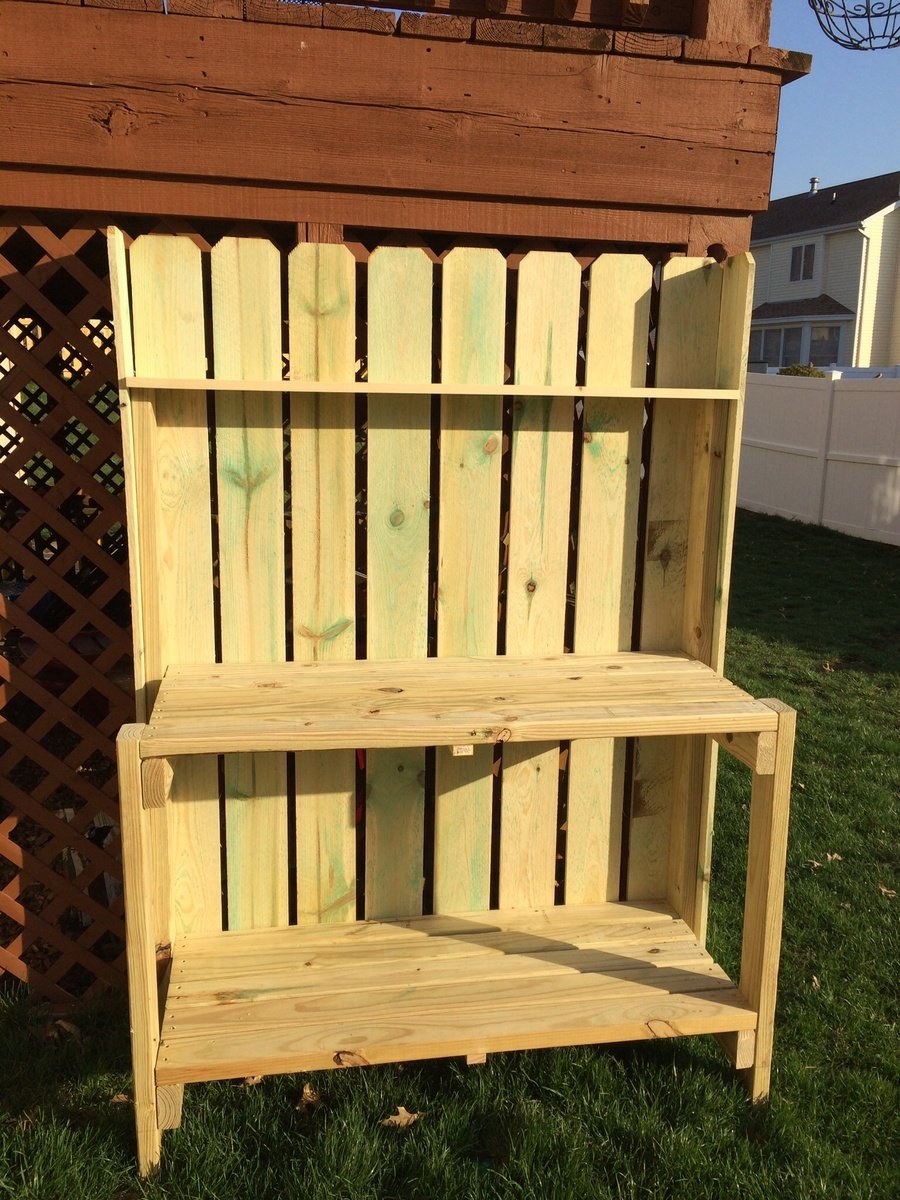
These potting benches were so fun to make! The plans are well-written and easy to follow. My friend and I had a blast!
Built from Plan(s)
Estimated Cost
$75
Estimated Time Investment
Afternoon Project (3-6 Hours)
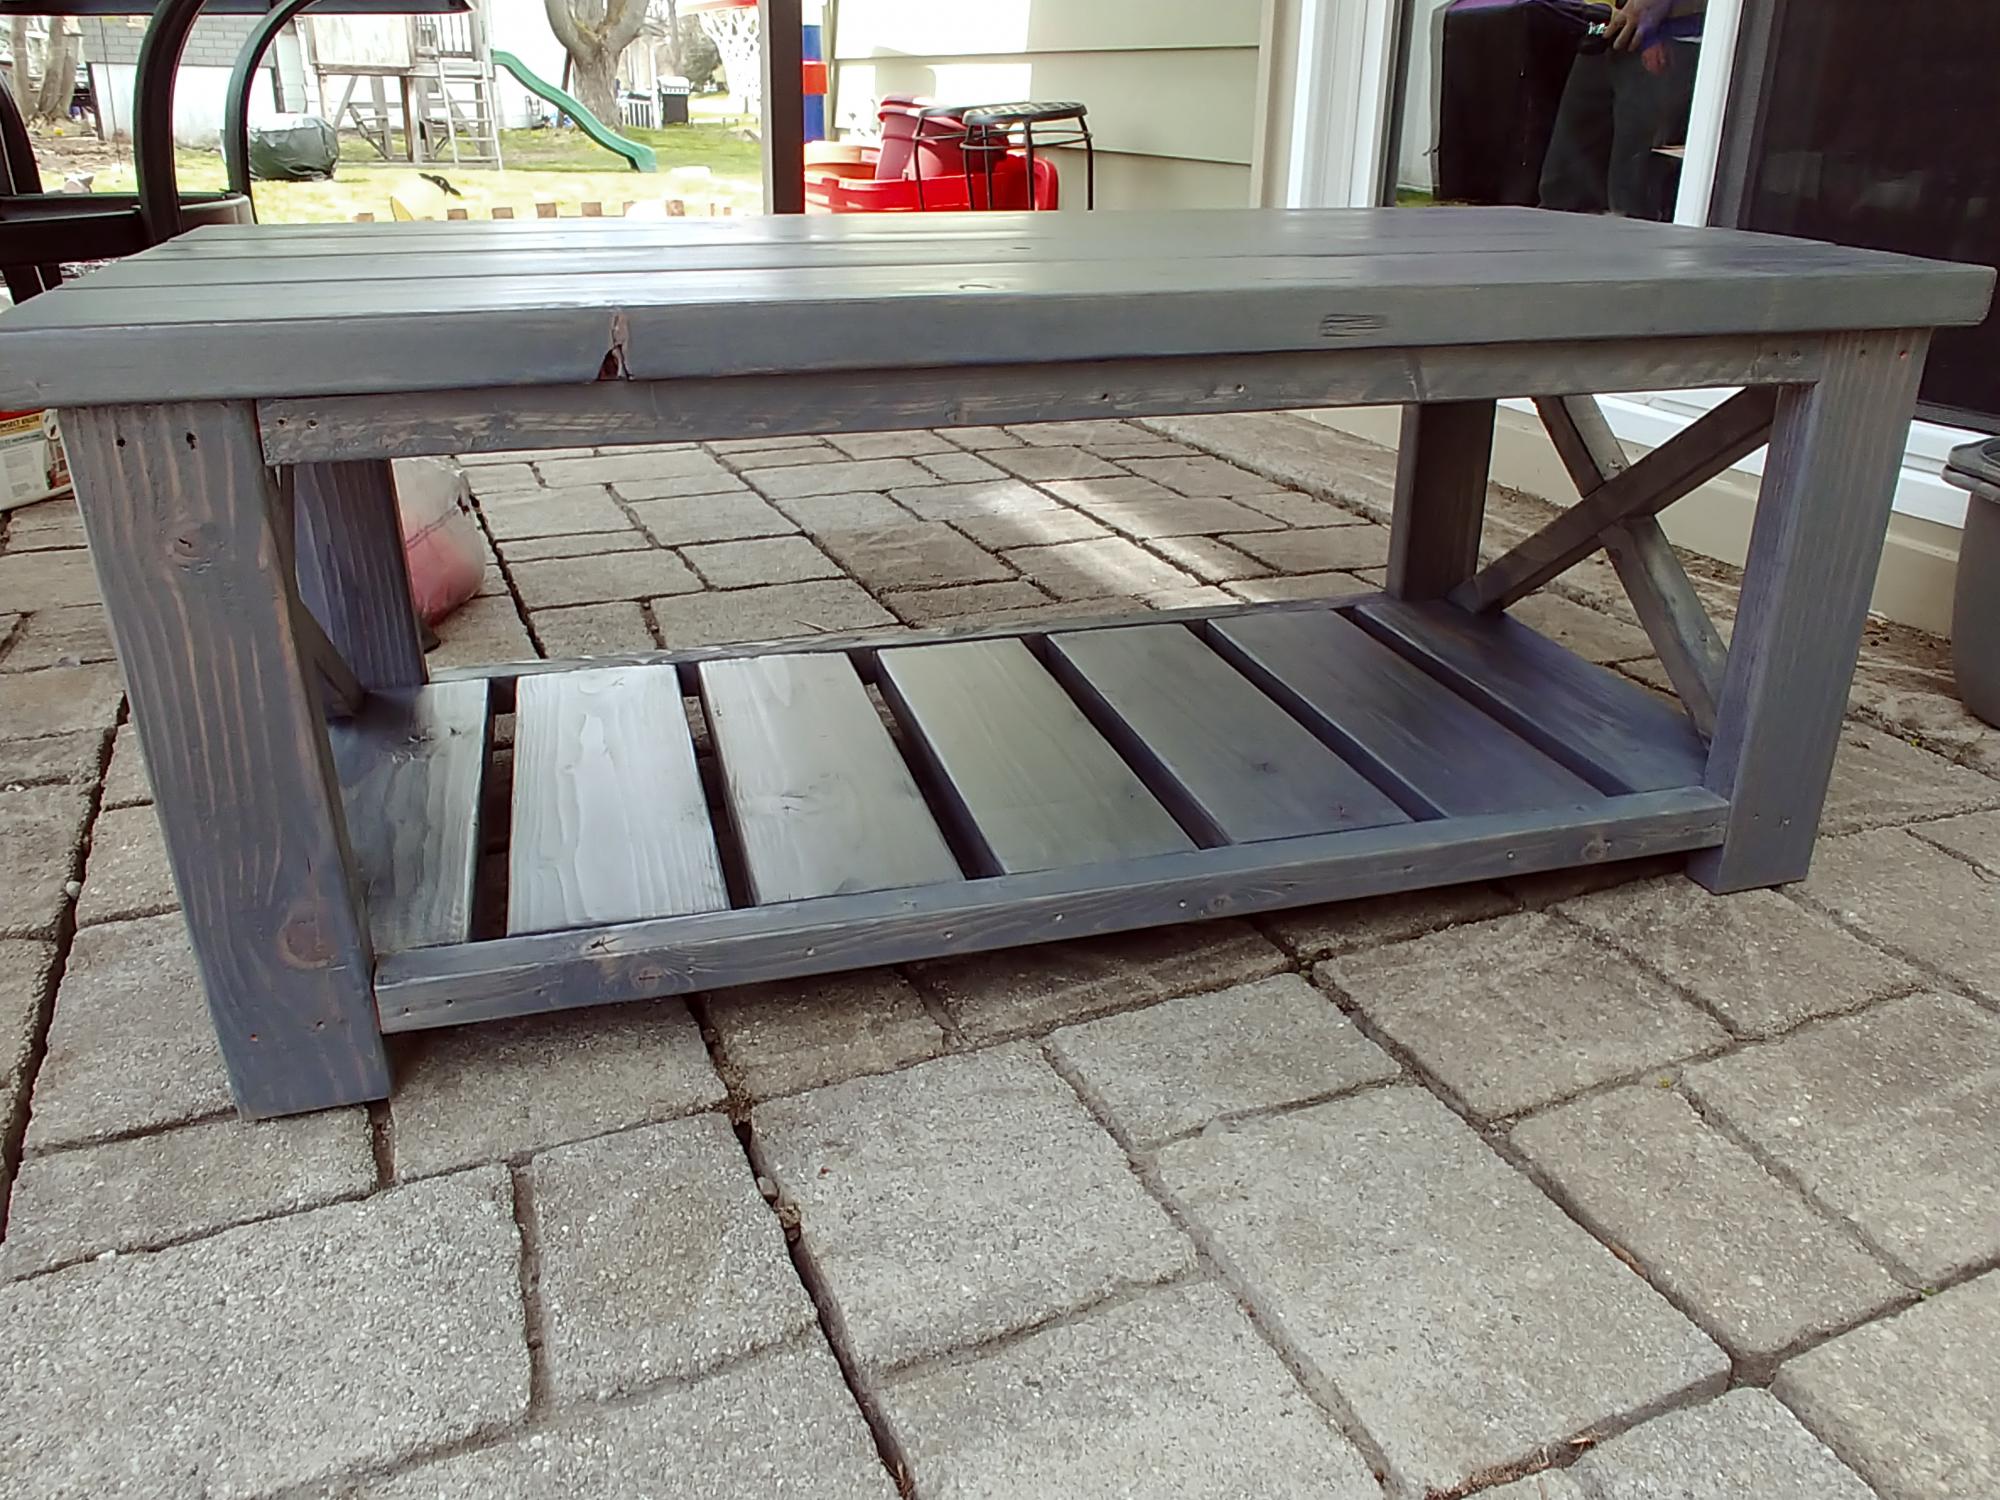
Finish Used
No finish plied as of yet, but probably will use a chalk paint in a bright fun color!
Recommended Skill Level
Intermediate