Modified rustic x console
Built by request. They wanted a couple modifications, so I improvised on a few areas. The piece will be stained/painted by the owner.
When we needed a new bed frame recently, I began my search online. They were all $1,000 plus, and nothing that really caught my eye. I found this plan from Ana White and immediately fell in love! While it wasn’t an “easy” project, it was fun to do and I’m absolutely in LOVE with the results! Thanks again Ana!
I am in love with this project. My husband built this for my birthday this afternoon. It was an easy project for his first time. We haven't finished it yet. I would like for him to put a 2x6 on the top to give it some visual weight. The only problem i am having is I don't know how to finish it. What would you suggest? We like the beachy distressed look so I am thinking whitewash. Anyway, I love it! I told my husband that he was in trouble now because now I am going to give hime tons of projects to build for me.
Sun, 10/30/2011 - 08:48
Looks great! I love the beachy look too. You could also do a yellowish stain (golden pine? it might be called) and then distress it and rub over with a darker stain for a different beach look.
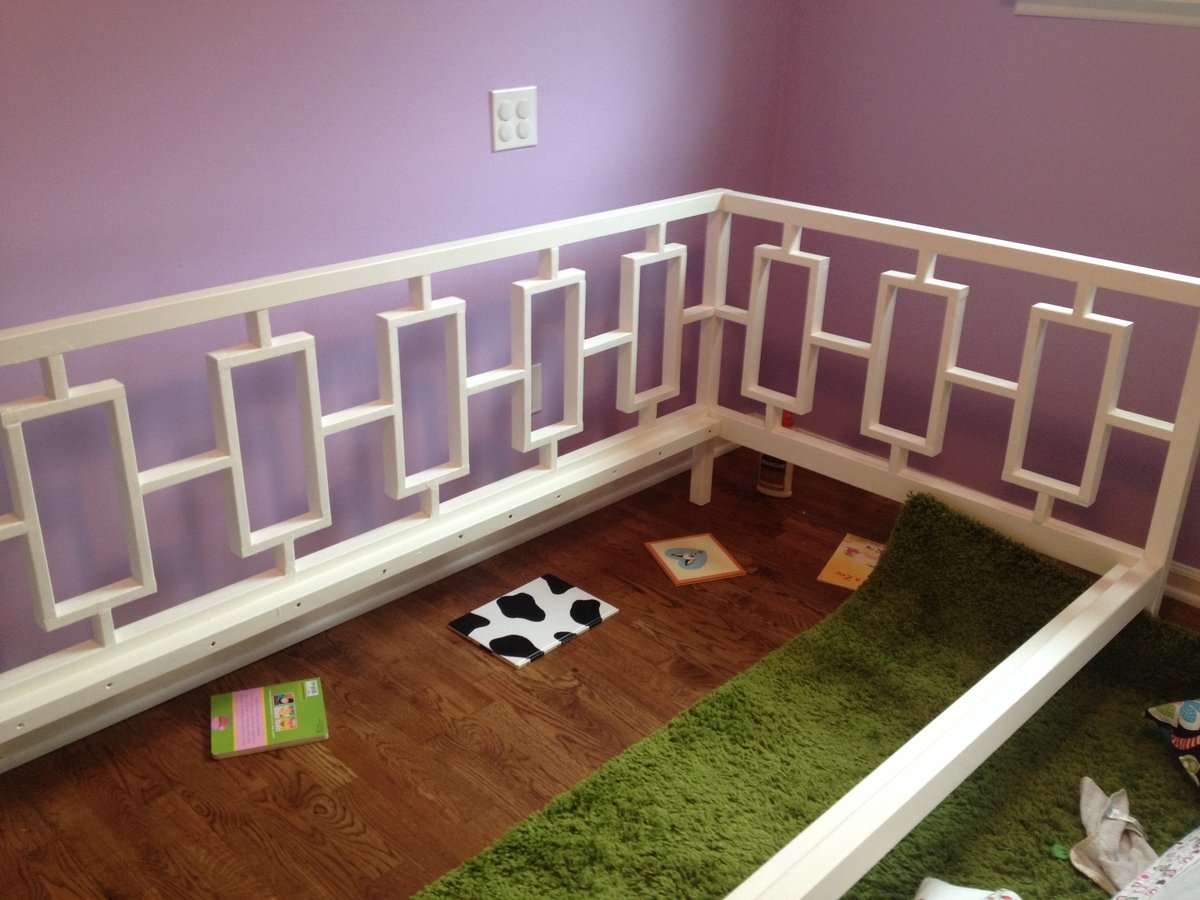
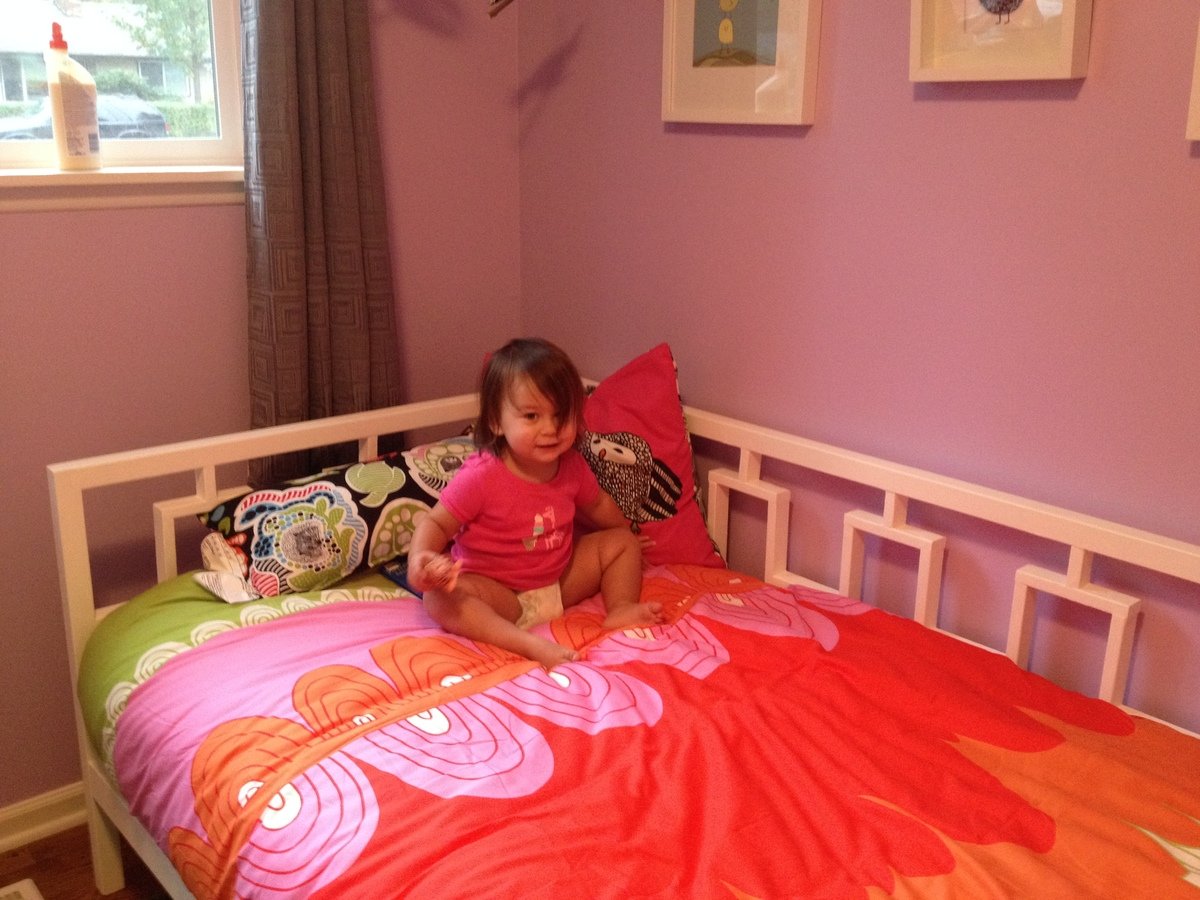
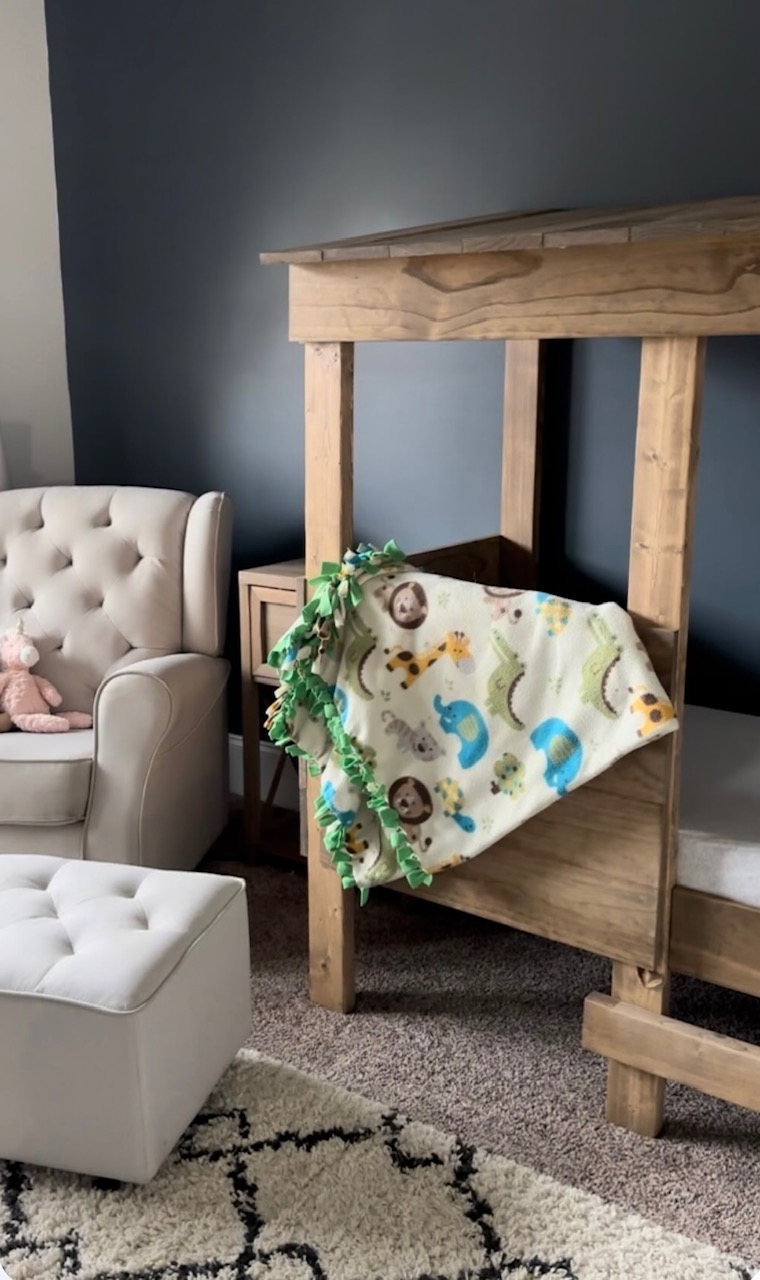
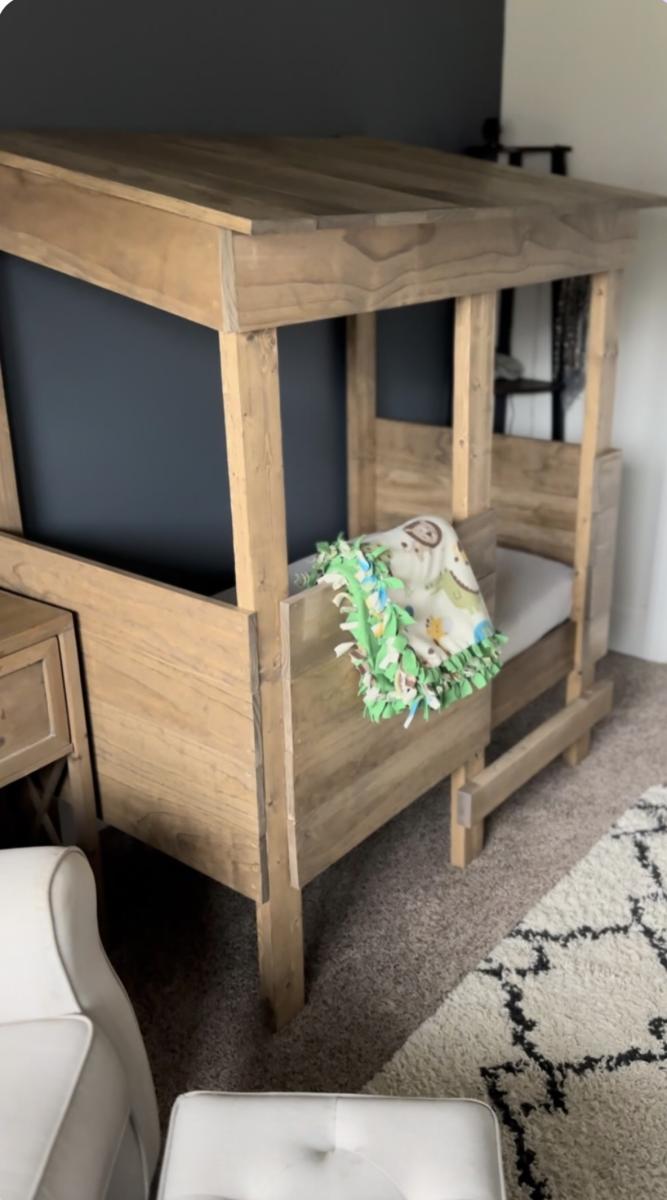
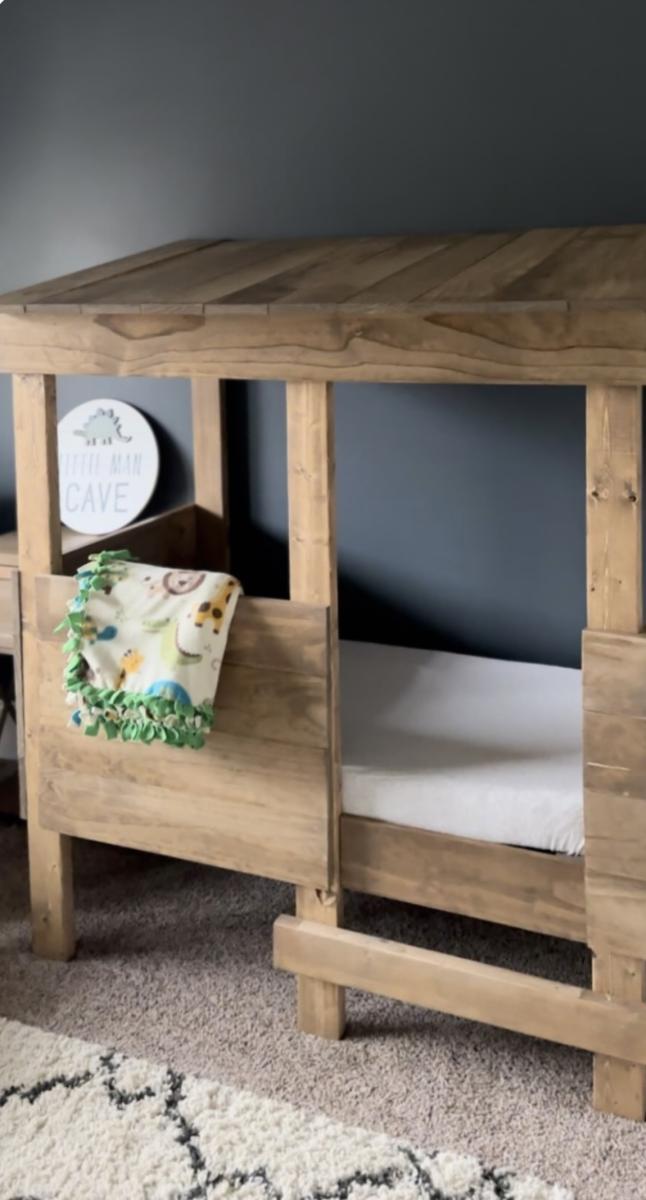
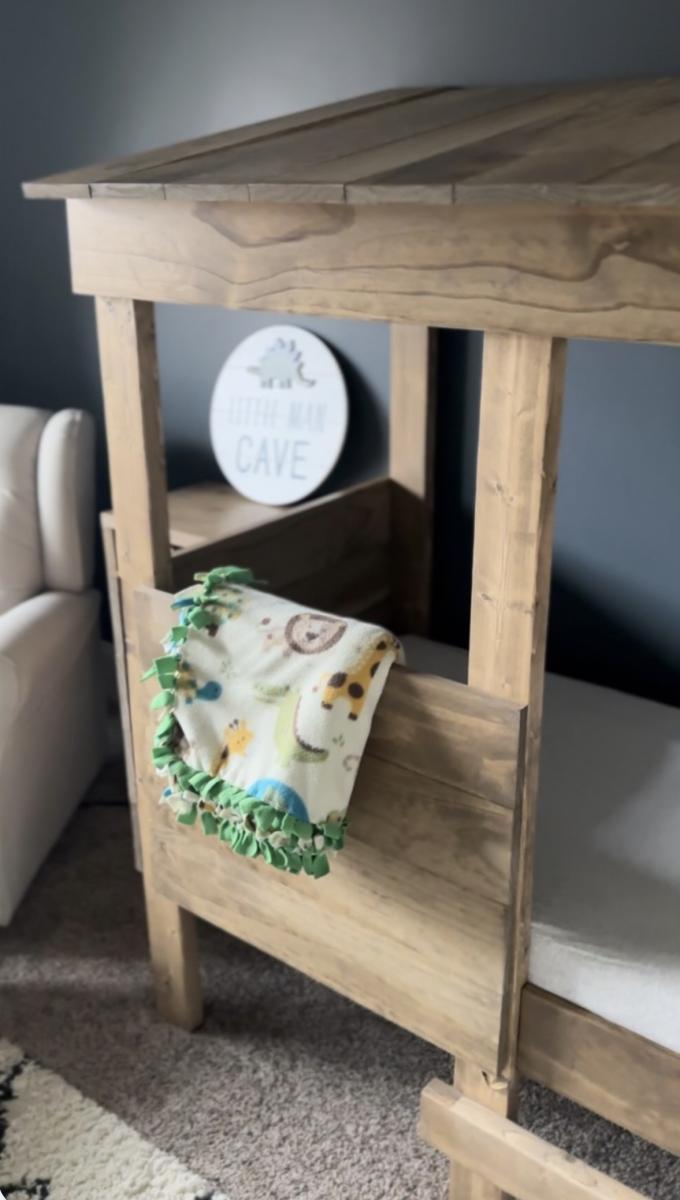
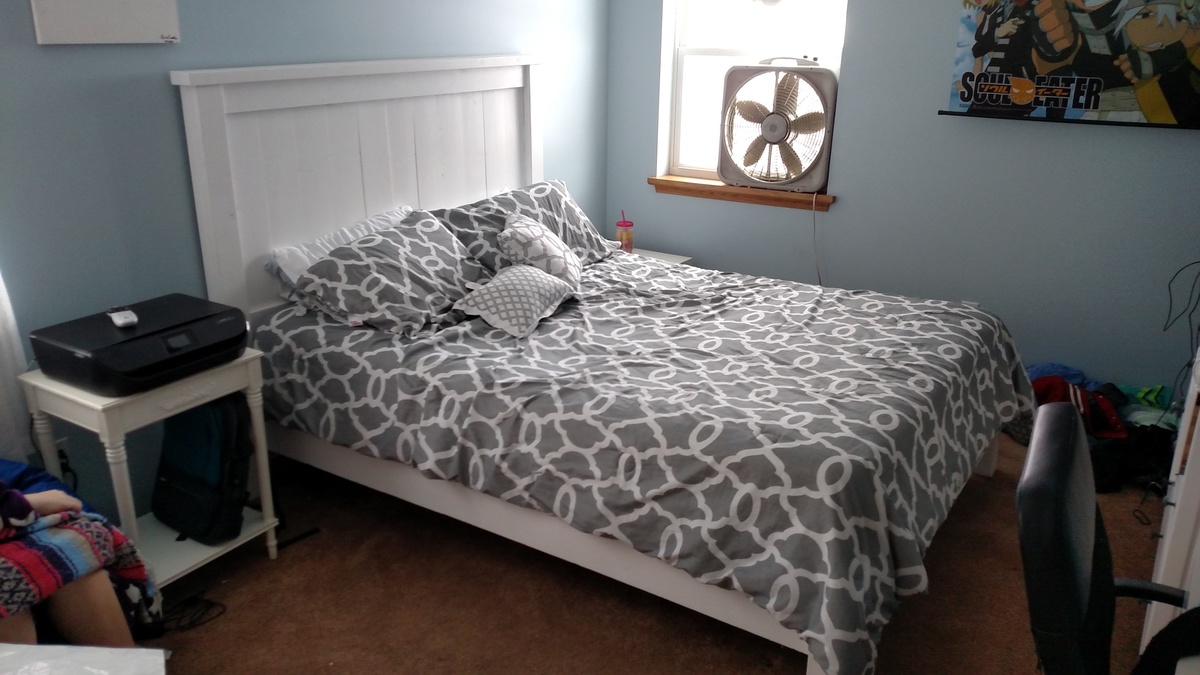
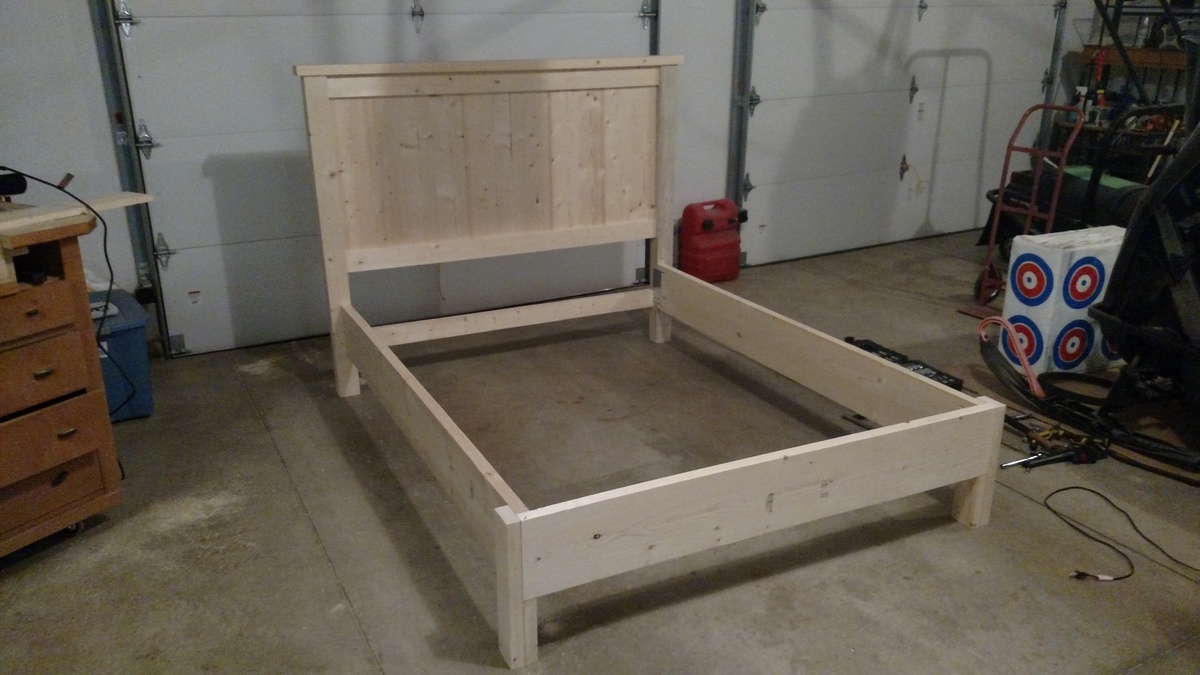
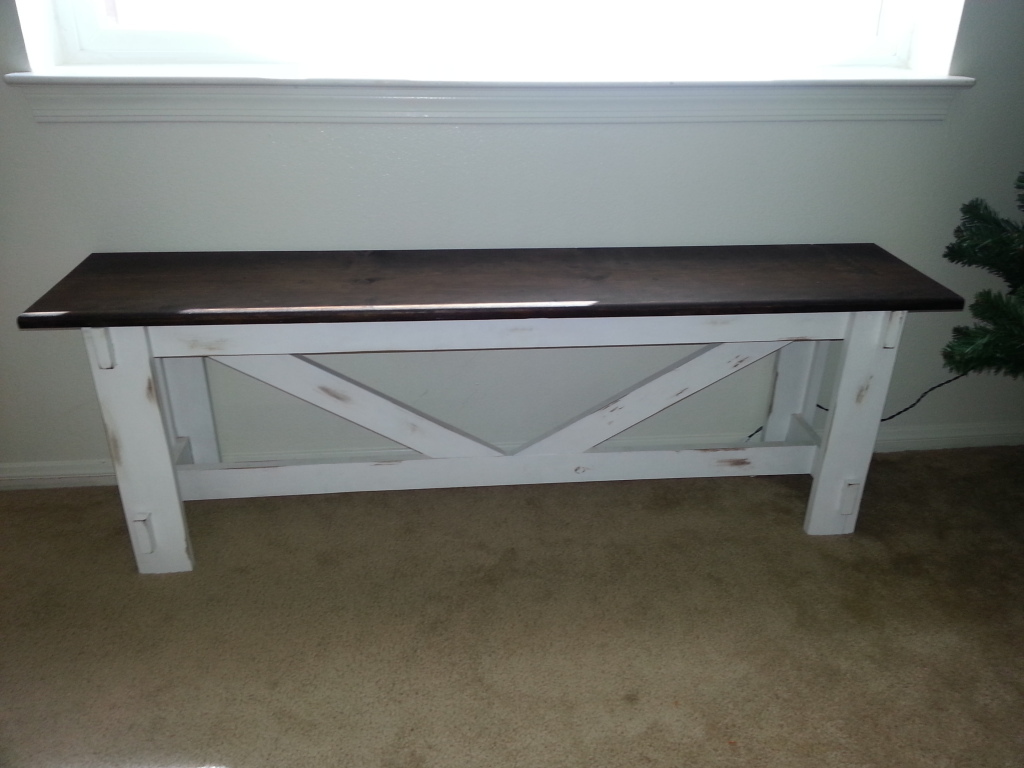
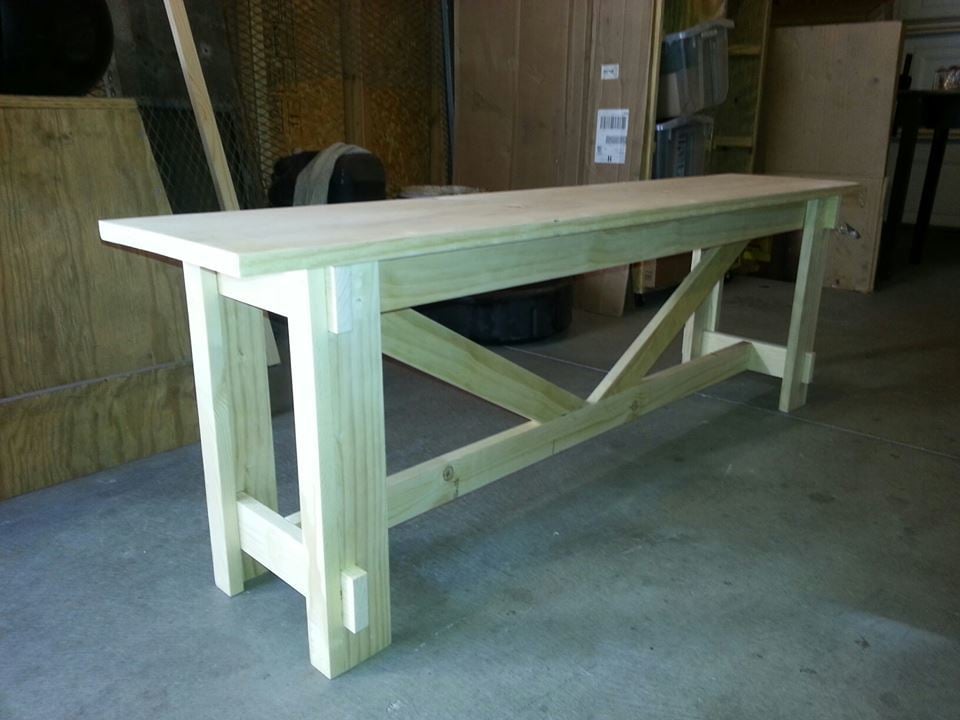
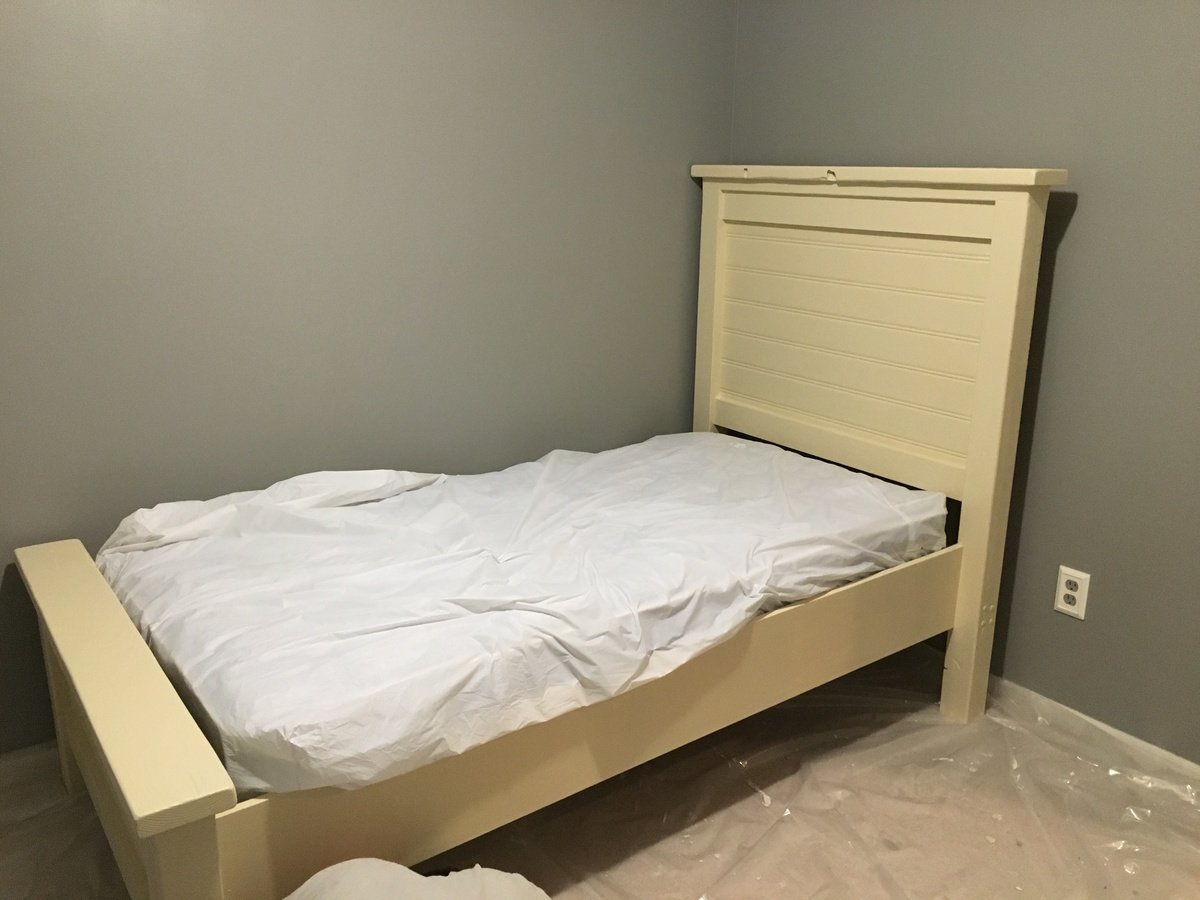
This was my first ever experience working with wood, circular saw, and a drill (other than hanging pictures in my house). After catching my toddler trying to climb out of her crib on three separate occasion, I started looking around for daybeds. I found one I loved, but it was no longer for sale. Luckily, this plan is the exact replica of the daybed on West Elm! It was a fun (and educational) first experience, and I think I'm hooked! It took me several weekends to put this together and paint it. The paint alone took nearly seven hours with three coats of paint to get the right color of white. I didn't add the extra support as mentioned at the bottom, but this coming weekend I'm going to add it for additional support. My toddler LOVES it!
Tue, 10/22/2013 - 19:07
What a perfect daybed for a little girl! I'm a big girl and I still love it! Cute.
I saw this table on Pinterest and knew that I needed to have one in my life. I then bought a saw for my husband, for his birthday, and you can guess what happened. We followed the directions, except we made the table and bench a little longer in order to accomodate more people (I wanted at least 12 people to be able to sit at the same table). This was our first wood-working project and we learned a LOT. It took more time than we anticipated but it was well worth it.
My first build! Yay! Easy for a newbie!
I love this even though I did not take the time to cut the dowels properly. I needed something for my sewing thread. Just a plain board and some dowels thin enough for the spools. Drill some holes in the board and glue in the dowels. I also made the picture holder for scrapbooking. I got the idea from the Ruler Clip Art Rails on this site. Thanks!
My husband and I built these chalkboard shelves today. We are very happy with the way they turned out! We are donating them to our son's cooperative preschool to be used in their upcoming auction, which is a big money maker for the school. Hopefully they make good money! We added some artistic touches to the tops of the shelves (polka dots and chevron stripes). A fun, easy build!
I built this console over about 2 months. I really wanted a barnwood look so I found this lumber place that sells pine that puts it through a machine and roughs it up on one side. I also added my own saw marks to it, screwdriver dents, rake dents, etc. to rough it up some more. Real barnwood is expensive and often isn't straight, etc. and since I was using this in my kitchen as a countertop I didn't want any spaces in my countertop. This was about a third of the price of barnwood. I wasn't sure how the look of it would turn out, but I think it comes pretty close to looking like the real deal! My husband helped me with the sliding door mechanism. We used pulleys for it and cut metal down to size. We discovered that using a nut and bolt on it didn't work, it just loosened and would come off so instead of using a nut and bolt to secure the pulley to the metal, we used a clevis pin and some washers. Works amazing! This was my first big build and I am very happy with how it turned out! Behind the sliding doors there is one shelf each. We have found there is so much room for storage!
I made this project for a co-worker who is expecting. I was a bit worried about just using nails and glue, so I used pocket holes except for on the front pieces. To add storage capacity on the top cubbies, I trimmed a 1x6 by an inch, as I thought that it would be a good balance. Overall, it turned out well and she loved it.
The desk was no longer functional once both of us were working from home and converted other spaces to full offices. We both enjoy fine whiskey and bourbon and wanted a space to entertain and display our collection. This was by far our most challenging but rewarding DIY build yet.
Fri, 03/03/2023 - 11:51
Stunning work! I love all the details and pull out shelf addition, wonderful!
This was my first project from Ana's web site. I modified the table by expanding the trim of the stretcher to the outsides and adding a shelf. I also added an additional shelf in the middle. I cut the apron for the top down to two inches, and an inch a half for the lower two shelves. I distressed each piece of wood individually by hitting it with a bag of nails and various other things.
Sat, 11/12/2011 - 07:31
I am literally I the middle of buildig the sectional and all of a sudden it says I
am not authorized to get into that page. Any information?
Sat, 11/12/2011 - 20:03
And what a fun project, whacking it with nails and such to distress. Did you feel de-stressed afterward?
It looks great.
Tue, 11/15/2011 - 09:25
I could have given the table a little bit more of my stress. Unfortunately I couldnt swing the bag too hard, because the nails would rip right through it and fly all over the place. Maybe next time i'll use a pillow cause and swing a little harder.
Thu, 11/17/2011 - 10:14
This has become me new favorite site to visit. My to do list is a mile long and covers almost every room in the house. My wife thanks you!
Used the parsons chair plans and finished it with a wood seat and back. Made them out of an old cedar hot tub and reclaimed wood from a house.
Mad a set of 6 chairs, holding up great over a year! Took me about 40 hours including milling the wood.
My bed frame dimensions were 60 wide by 80 length. So that is the inside demension after assembly. My headboard posts were cut to 54". Headboard panels are 31.5" (11- 6" boards). My posts were made from combining two 2x4s together. I plan on mounting the metal bed frame to the inside of the bed rails.
I created this work table by modifying the Beginner Farm Table. I made it counter height and added a shelf underneath. It is 5 feet long and the top is five 2x6 boards. The shelf is 1x6 boards.
I purchased 4@ 2x4s and 3 @ 2x6x10 - I got the store to cut those in half (5' lengths). I cut the 2x4s on a miter saw.
This is my first project. It probably took a bit more than 6 hours given I was learning to use the saw and trying to find the tools to do the job.
I wanted a table that would protect my puzzles from puzzle piece eating dogs, so I used this Ana White desk plan and built a frame on top to hold the cover panels. The drawer is perfect for holding puzzle pieces during a build.
Fri, 03/10/2023 - 13:28
This is so smart for puzzles, thank you so much for sharing!
Kids toy box with personalization.
This was my first build with minimal help from my husband. I'm unsure how long it took to build since I worked on it periodically and forget how much I spent on the wood since this took place several months ago. When I started this project, I did not have a pocket hole jig and since then have learned how invaluable that tool is. It's not perfectly square but it's not as noticeable sitting on carpet as it would be on hard flooring.
Probably a harder first-time project to start with but overall I'm happy with the outcome and looking forward to my next project.
My husband was able to build this no problem from the provided instructions! We used beadboard over plywood for the headboard and footboard.
Mud room bench
Fri, 04/17/2020 - 04:59
I always wanted to build several projects you developed, but never had the time. I do now... With nothing to do and nowhere to go I went to Lowe's and bought every Kreg tool they sell after watching your videos about how to use them/what they do. So far, very impressed with Kreg. My first project is the mud room bench (with cabinet and coat hangers). Live near a hardwood mill in a town where lumber and wood products are a main industry so materials are good, plentiful, and cheap.