Minnie Mouse Kids Chair
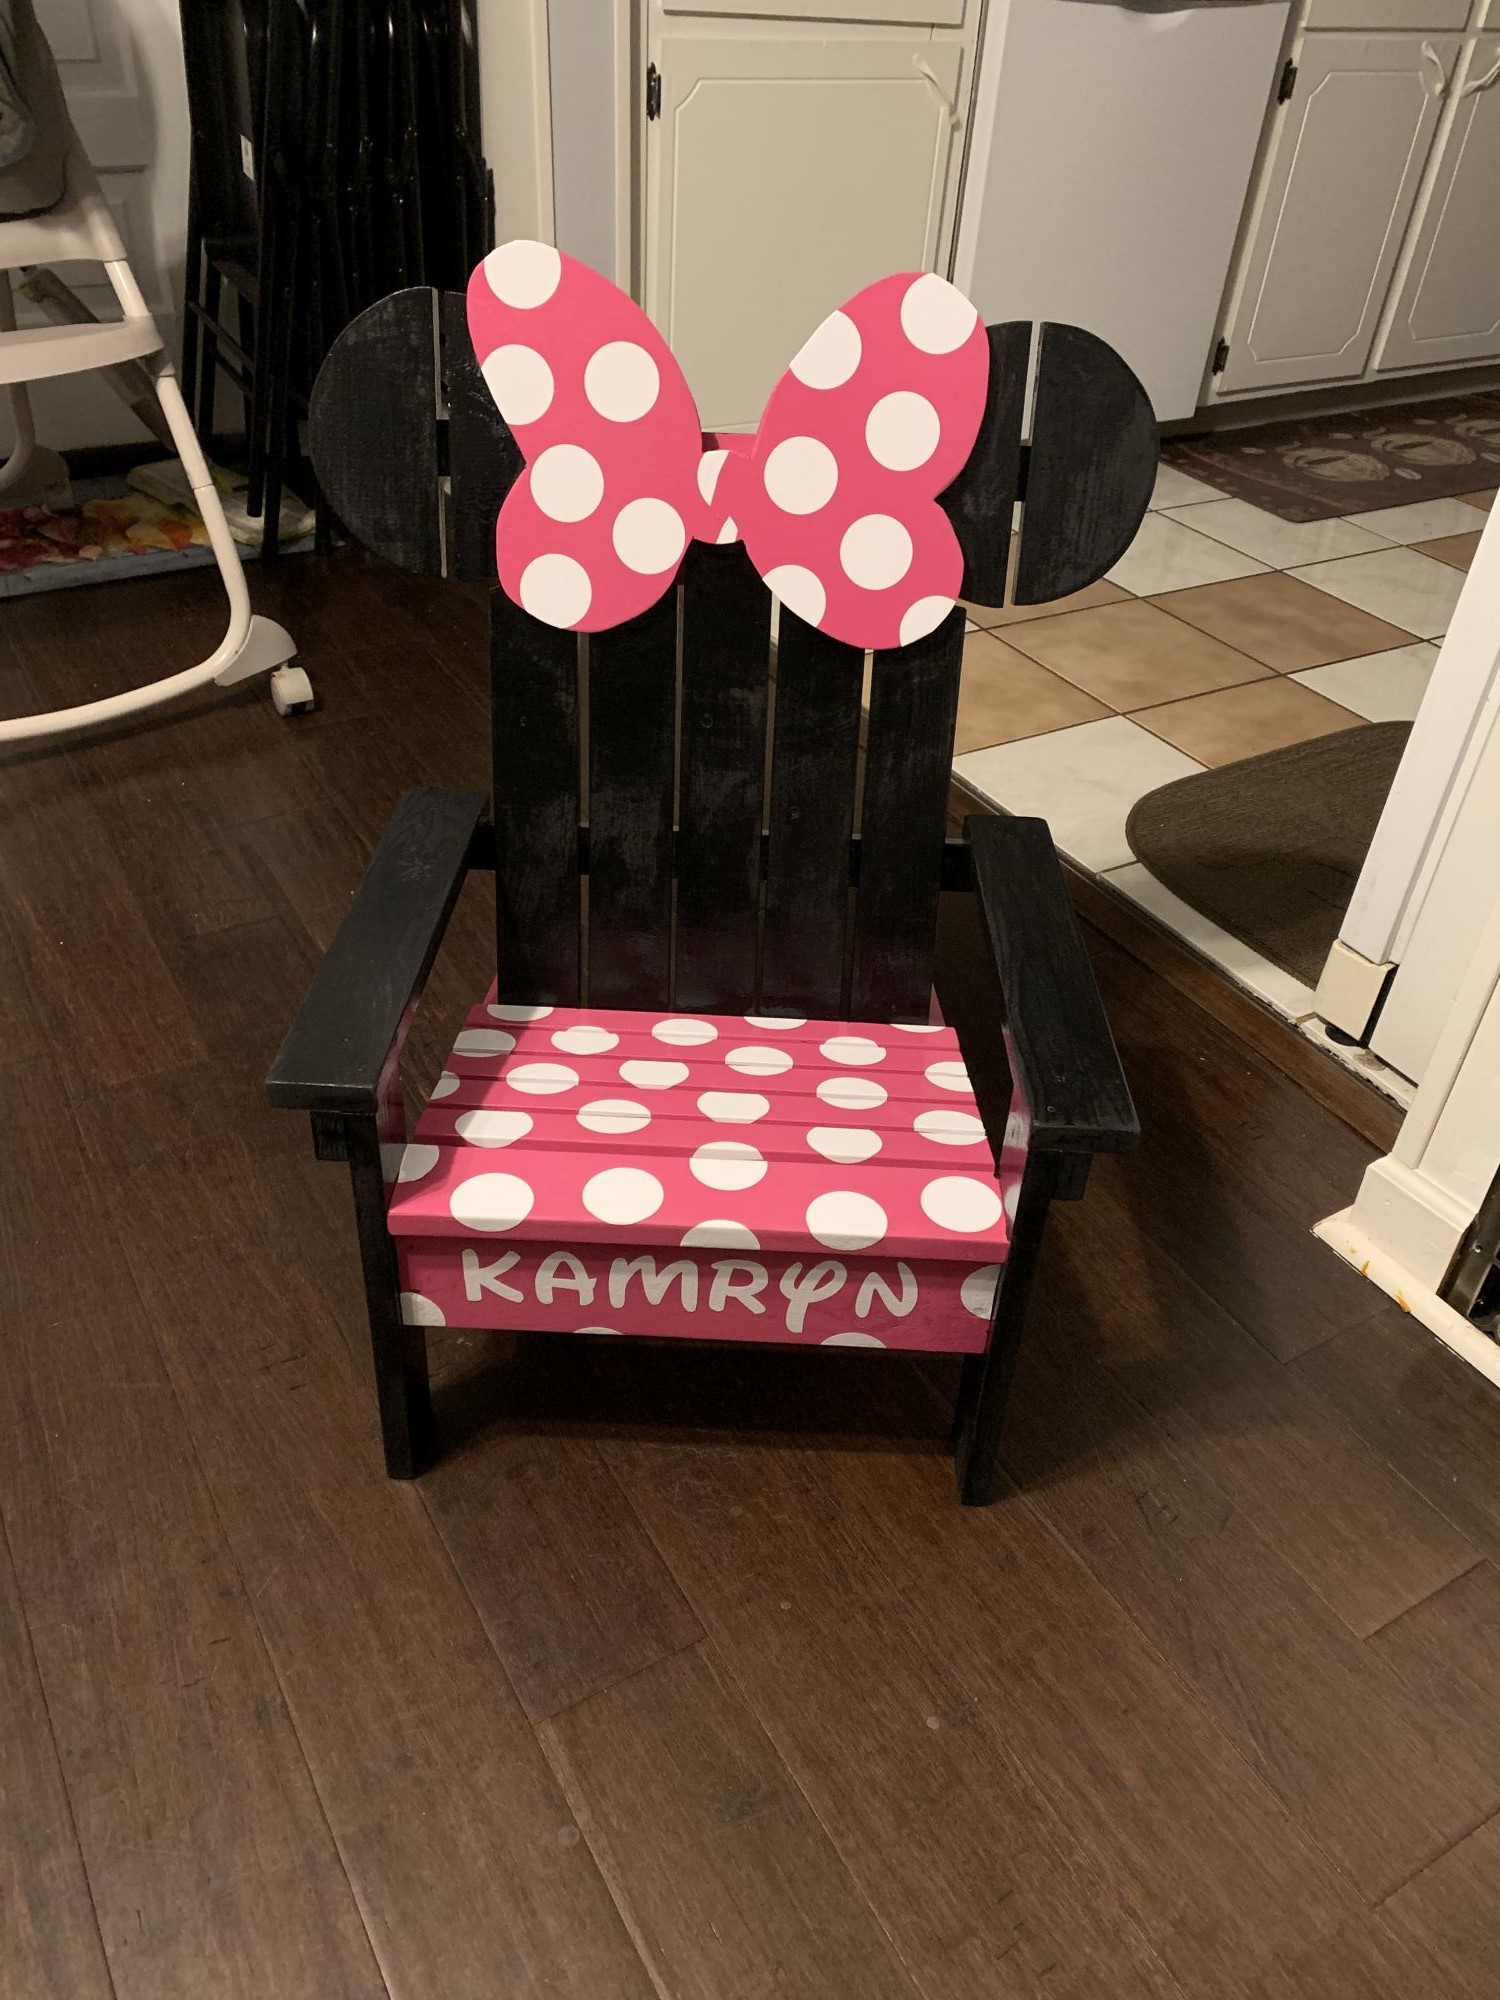
I took a shot at the Minnie Mouse Adirondack chair for a birthday present.
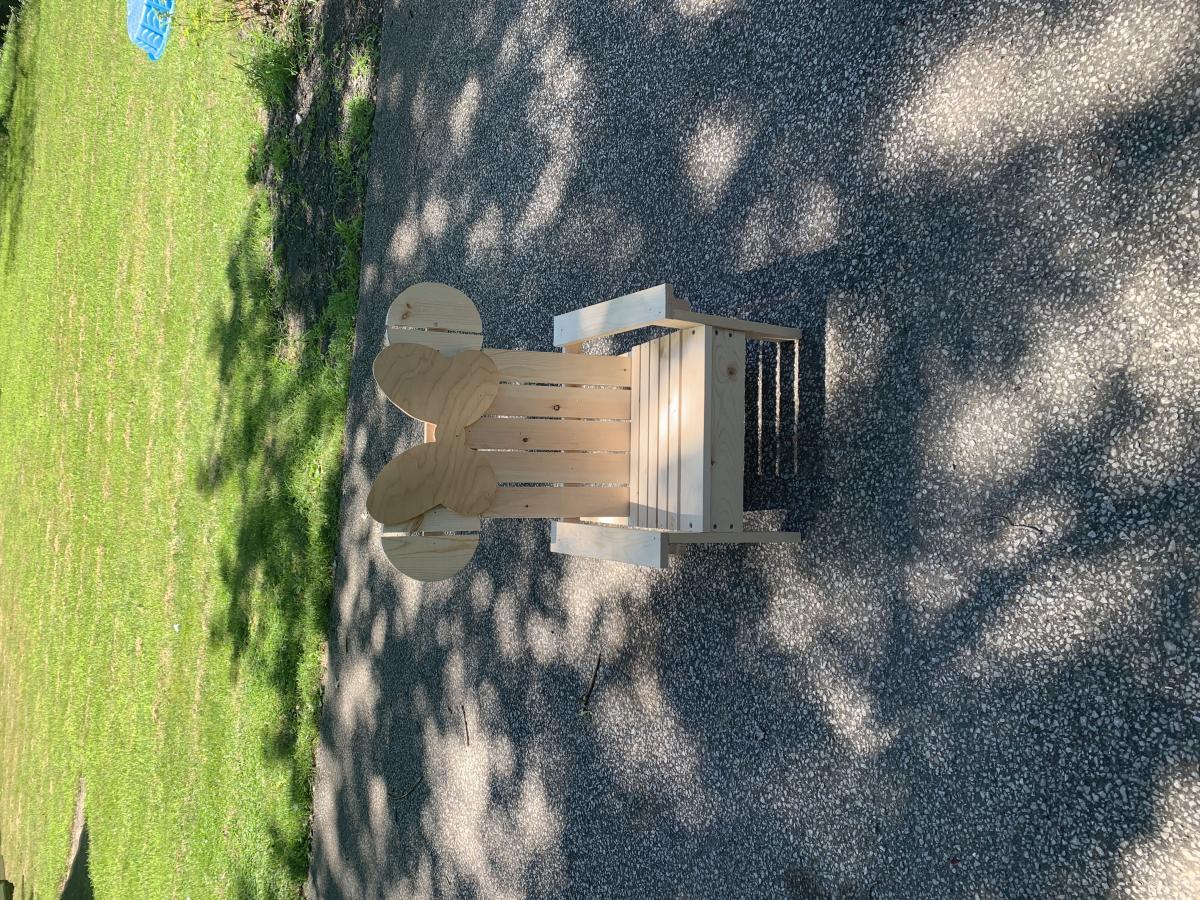
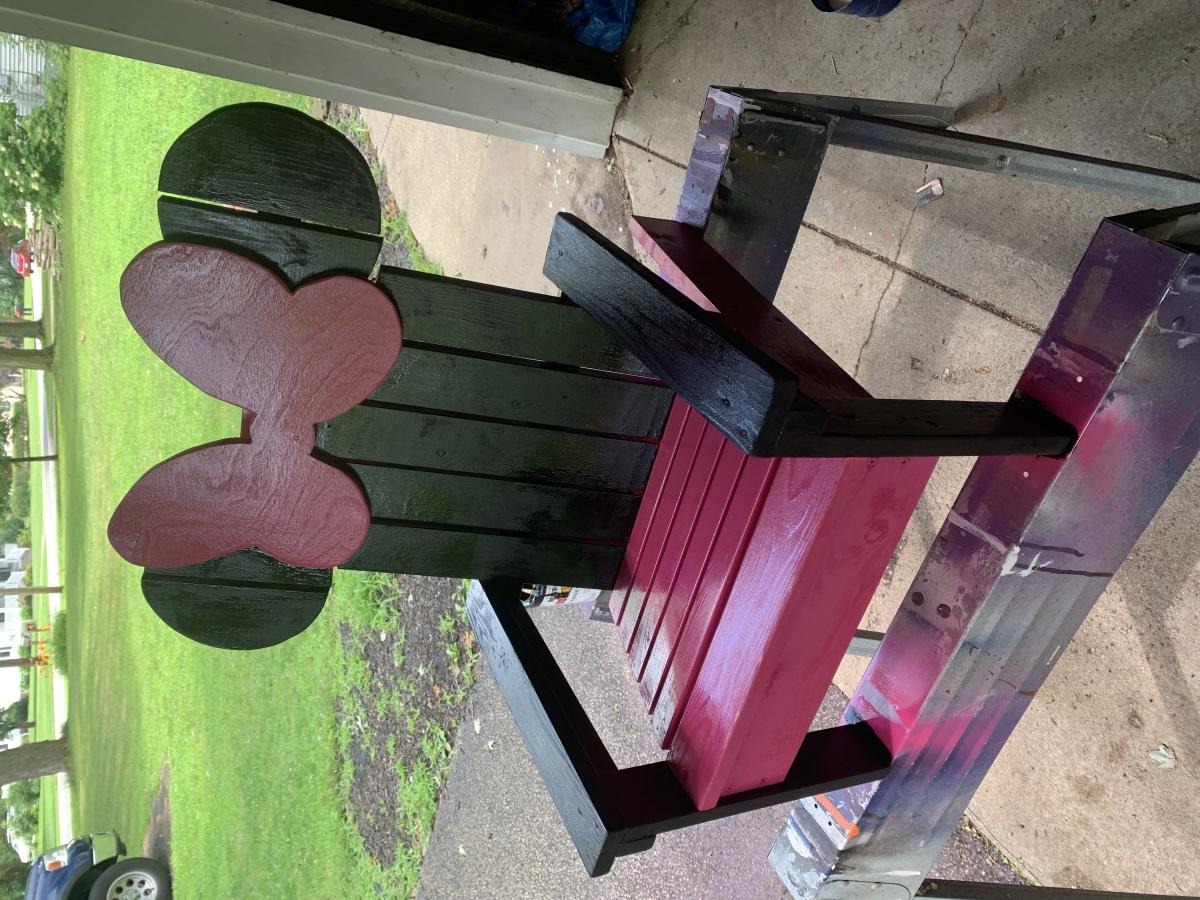
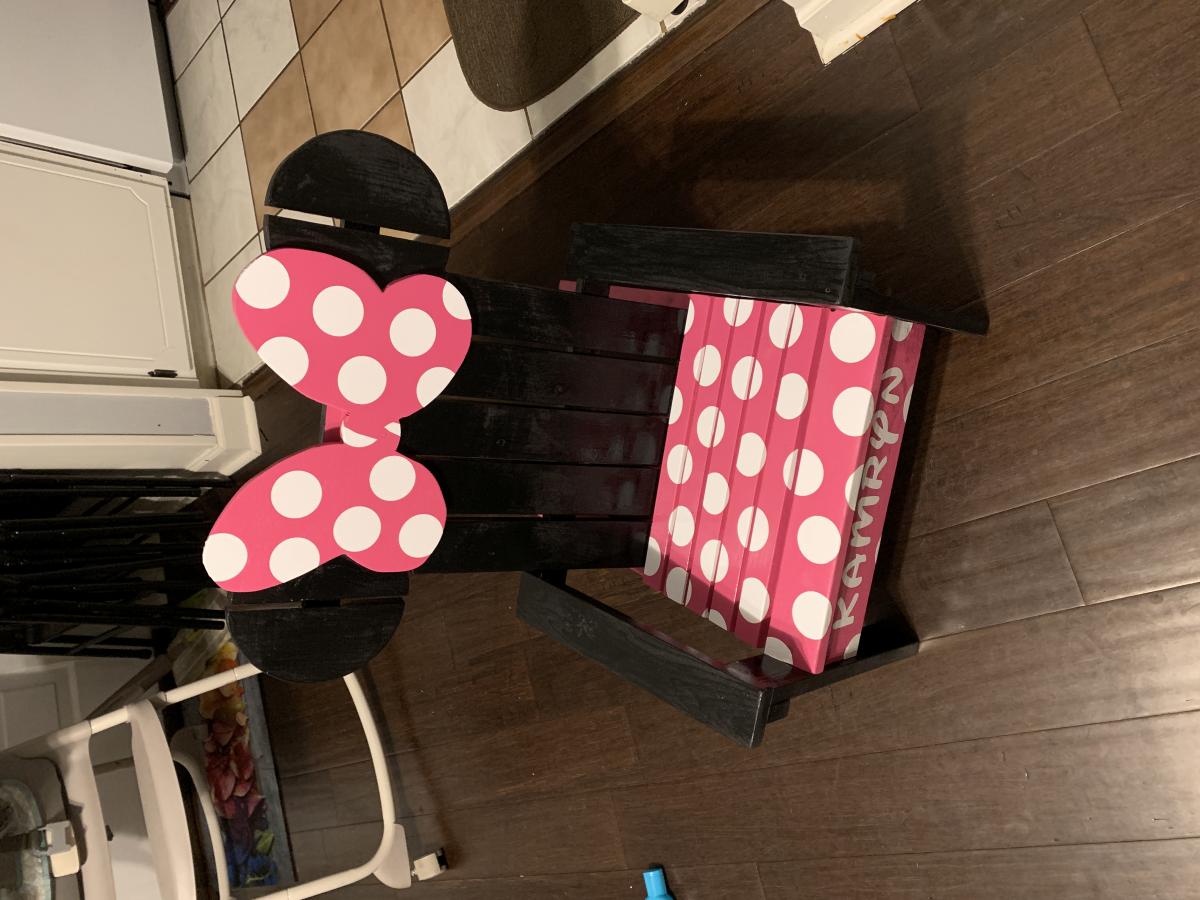

I took a shot at the Minnie Mouse Adirondack chair for a birthday present.


This project is all about using a Kreg Jig. My daughter asked for some shadowboxes to go around her chalkboard. 1 piece of 3/4" plywood and a few 1x2's later - here it is. It's really just an 8' x 2' box with the window panes inside - super simple, but does require a compact drill. Mounted to the wall using a ledger board underneath, then, pocket holes in the top shelf to join it to the studs. Quite sturdy. One day I'll learn Sketch-Up well enough to make this into a plan.
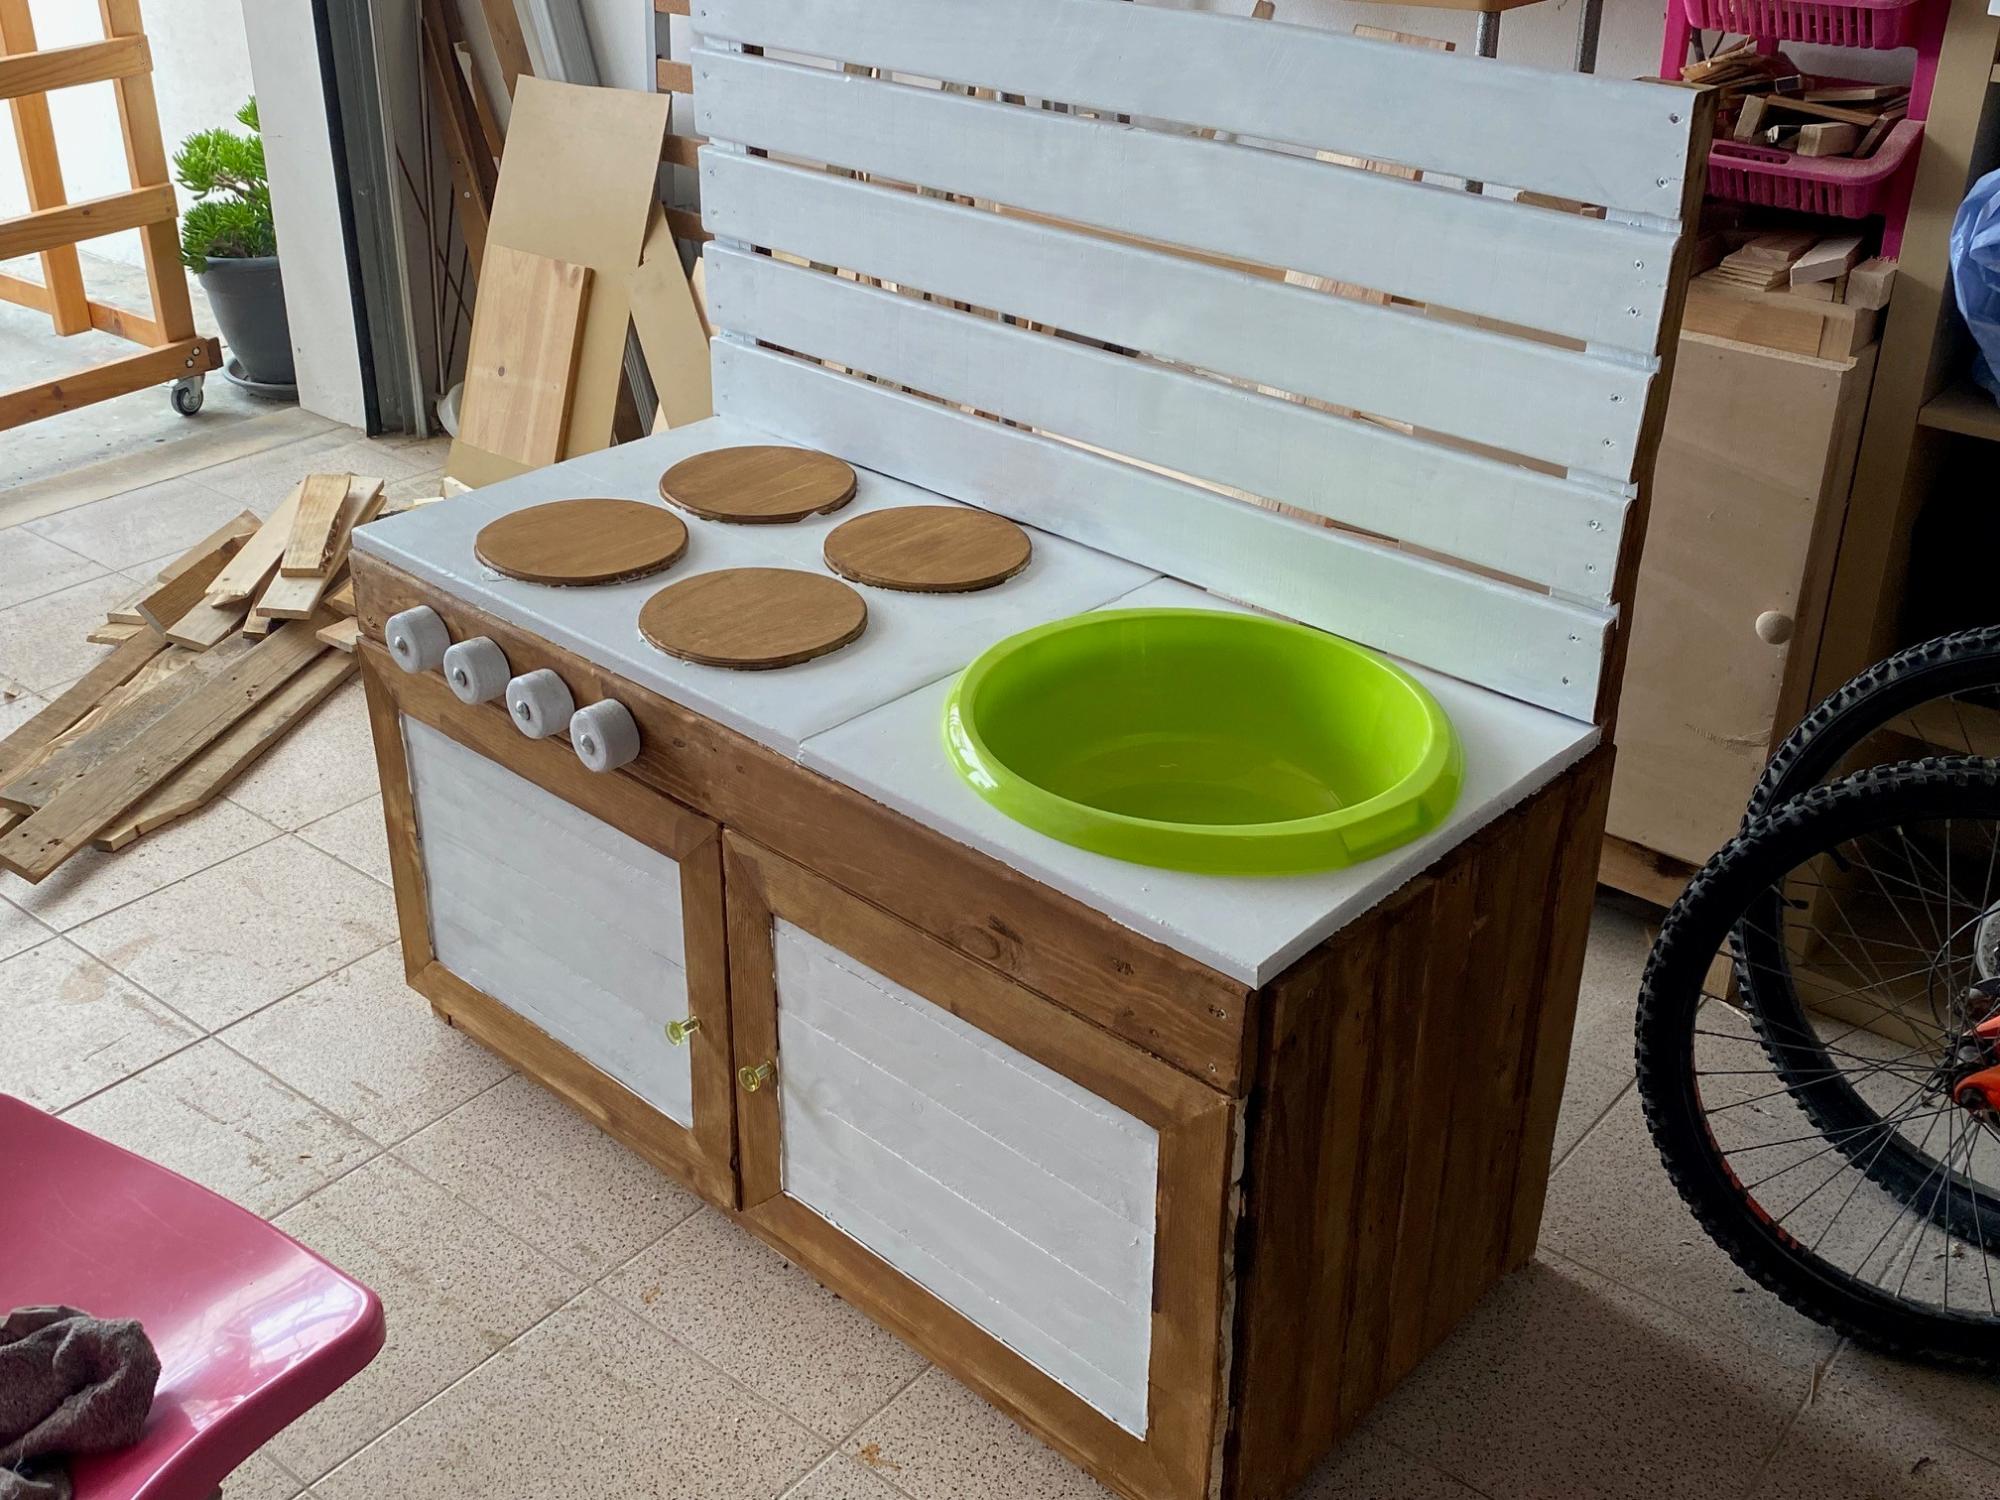
Here's the Mud Kitchen I made for my son's kindergarten. All made from palettes. Unfortunately your plans came out just too late
Fri, 05/05/2023 - 11:40
Thanks for sharing your version, it looks like a lot of fun!

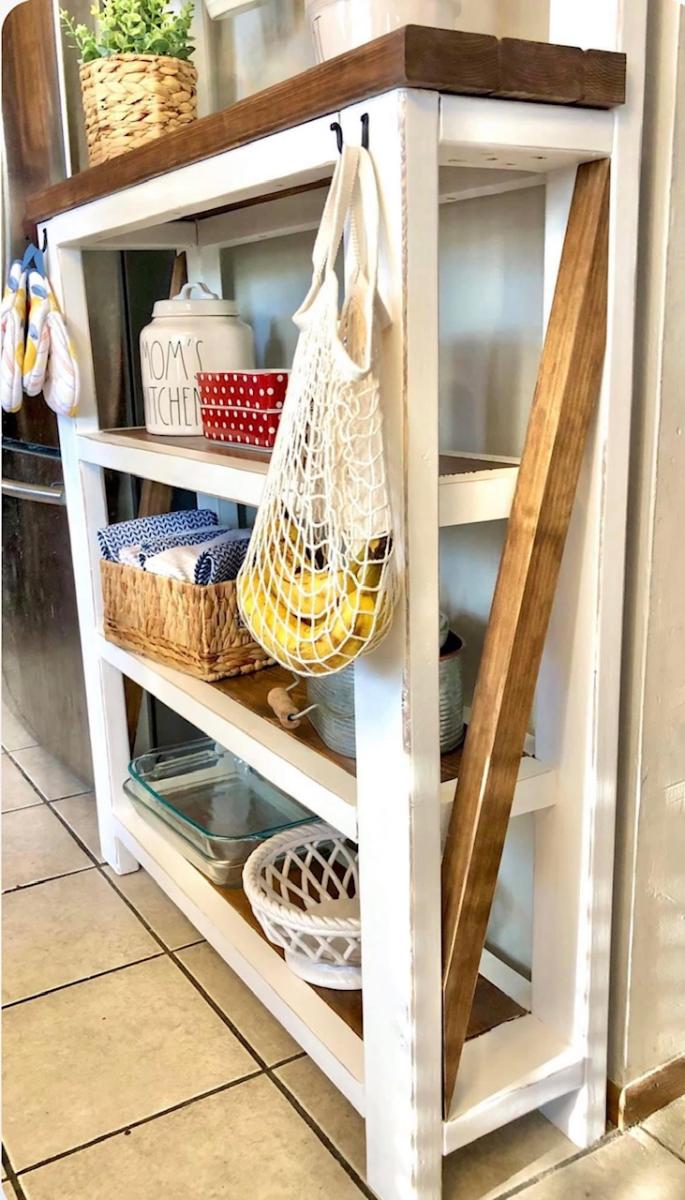
Thanks to you we were able to build my mom a shelf for her kitchen with a combination of two of your plans! My mom loved the top of the “Farmhouse Potting Bench” but also wanted shelves like the “Rustic X Console Table”. We combined the two and adjusted measurements to fit our wall space. We didn’t do a complete X on the side because we wanted it with one slant, but loved how it turned out over all!
Kayla


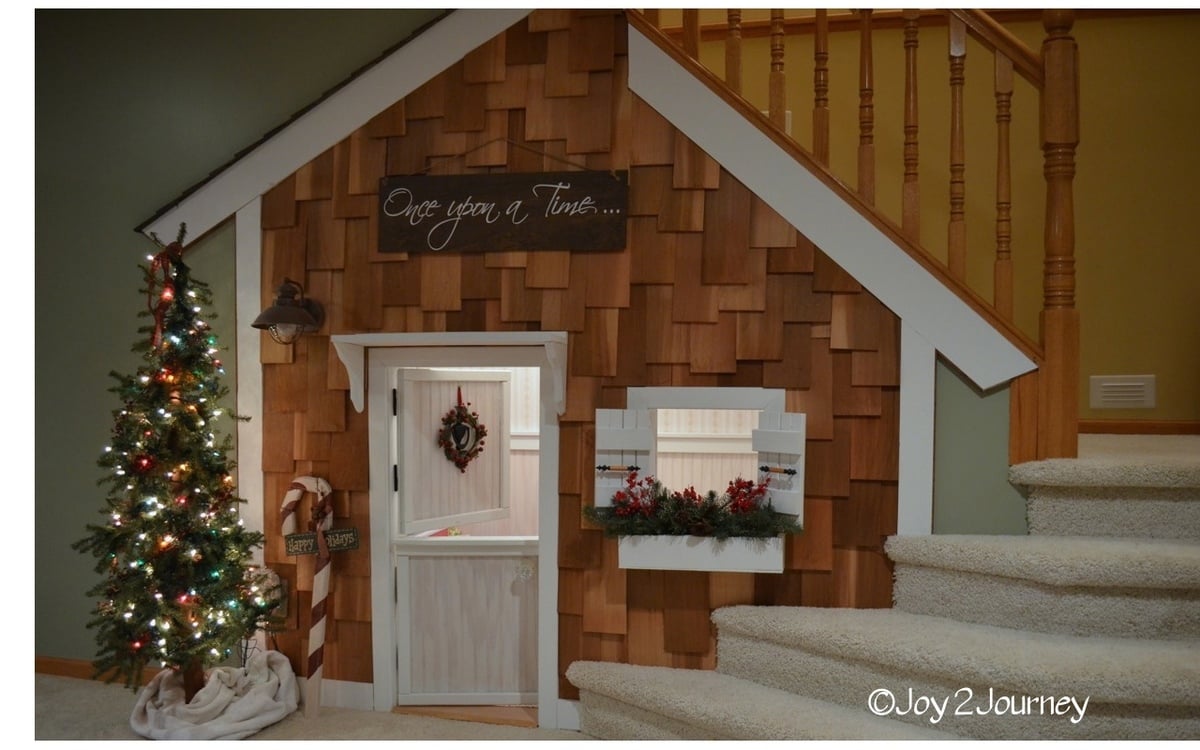
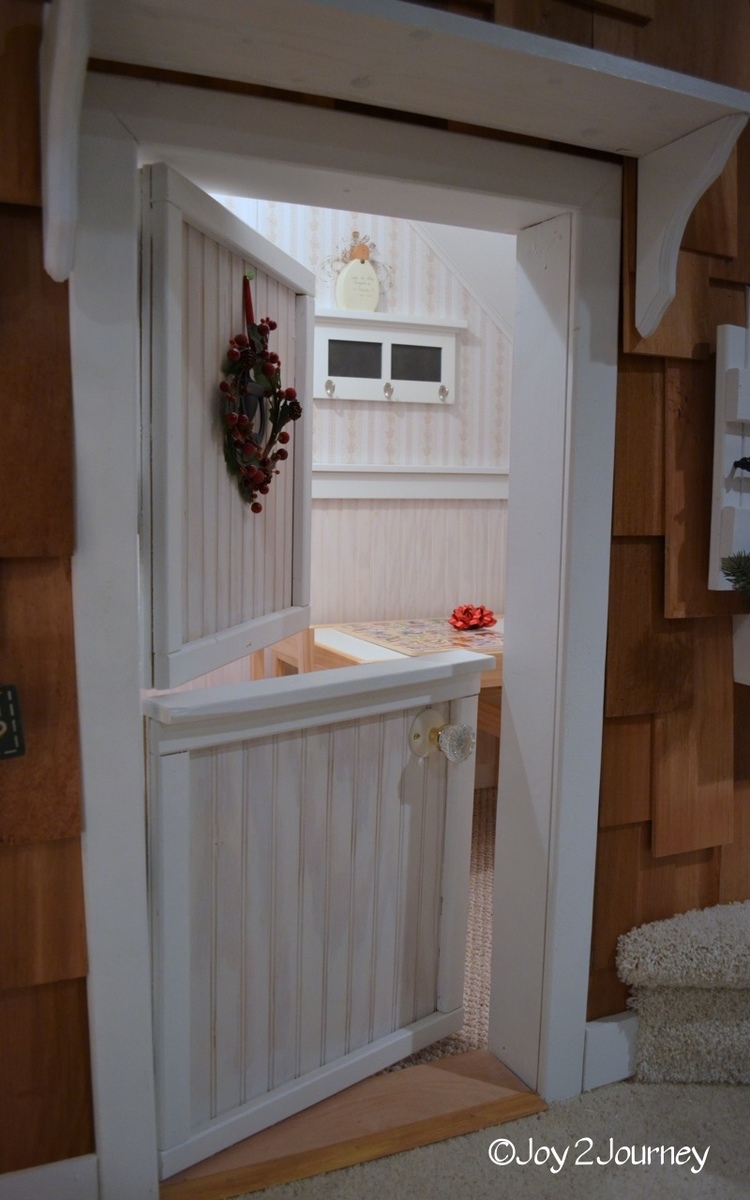
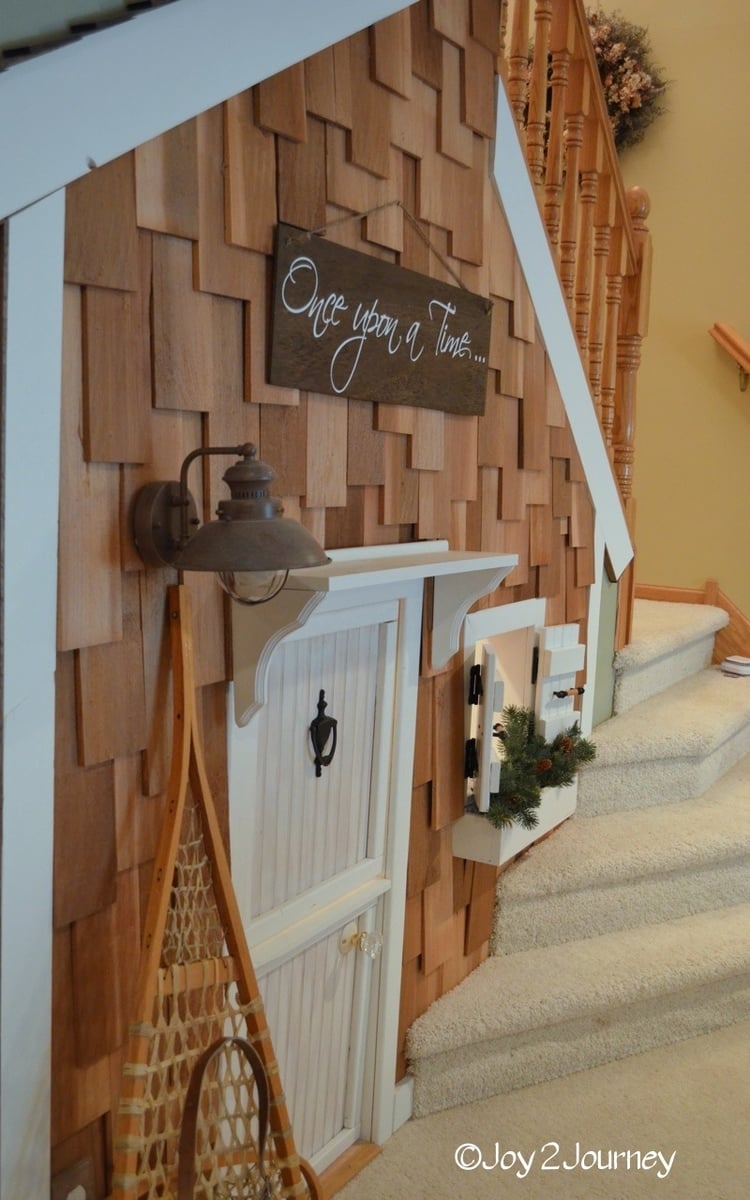
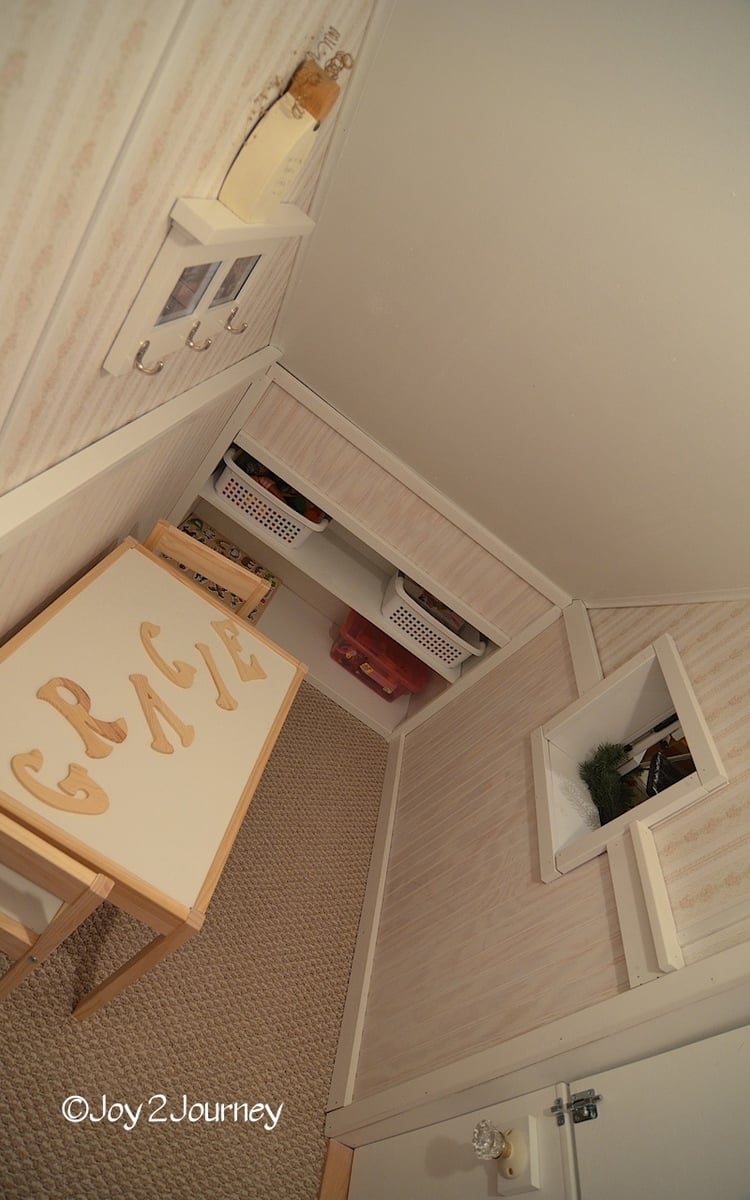
A Playhouse Under the Stairs for the Grand babies! A really fun space :) A fun project for me to build ... It lets the creative thoughts take shape. I had the perfect space for a playhouse under the stairs in the basement and thought that since we live in a cold climate it might be good to have an indoor play space. Inside I put down carpet to keep that area warmer since it is on the cement floor. I also installed bead board, chair rail and plywood with wall paper on it. I didn't use any plans from this amazing site but did see other plans that inspired me! I will be using some plans on this site soon. Look for a Murphy Bed soon from me :)
Sun, 01/22/2012 - 10:39
That is an amazing play space for your grand babies! Makes me wish I had stairs so I could build one for me! LOL
Mon, 01/23/2012 - 13:51
Not a single detail was overlooked. What a great use of the space! I'm sure the grandbabies are thrilled
Mon, 05/21/2012 - 00:42
Very cool, makes me wish that I had a house with stairs!! Just so I could build it for me!! LOL My kids are too old anyway right?! (13, 14 & 15)
In reply to How did I miss this one?!!! by tracysmith
Mon, 05/21/2012 - 07:12
We are never to old to enjoy girl stuff and imagination. I made this for my grand babies but had so much fun with it myself. I am so glad that you enjoyed it.
Hugs,
Bj
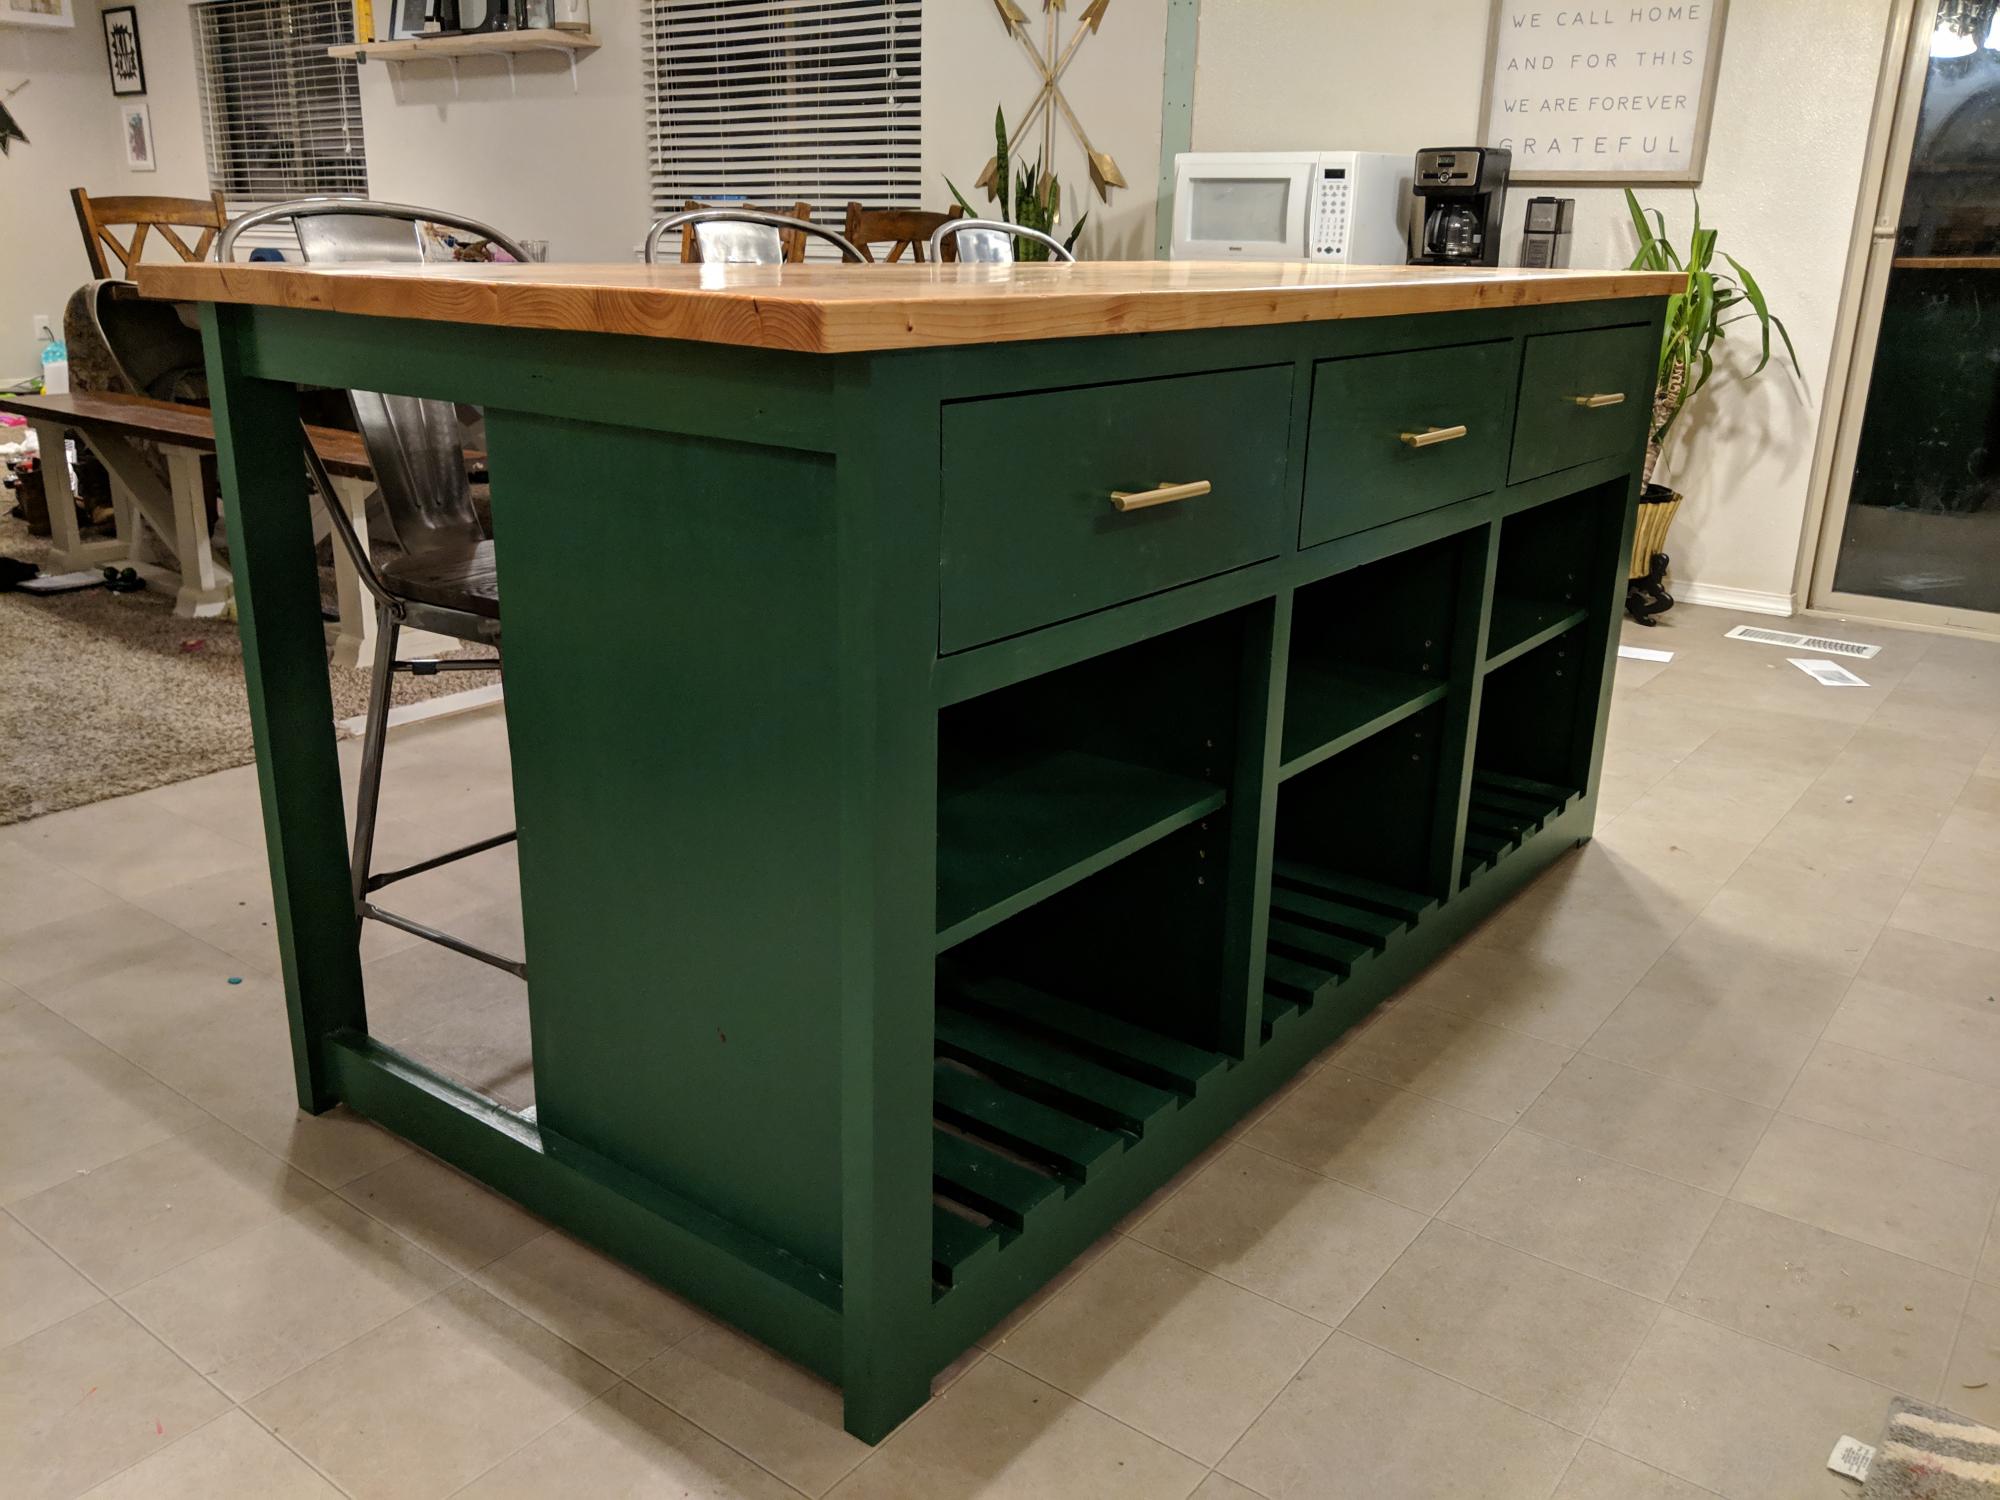
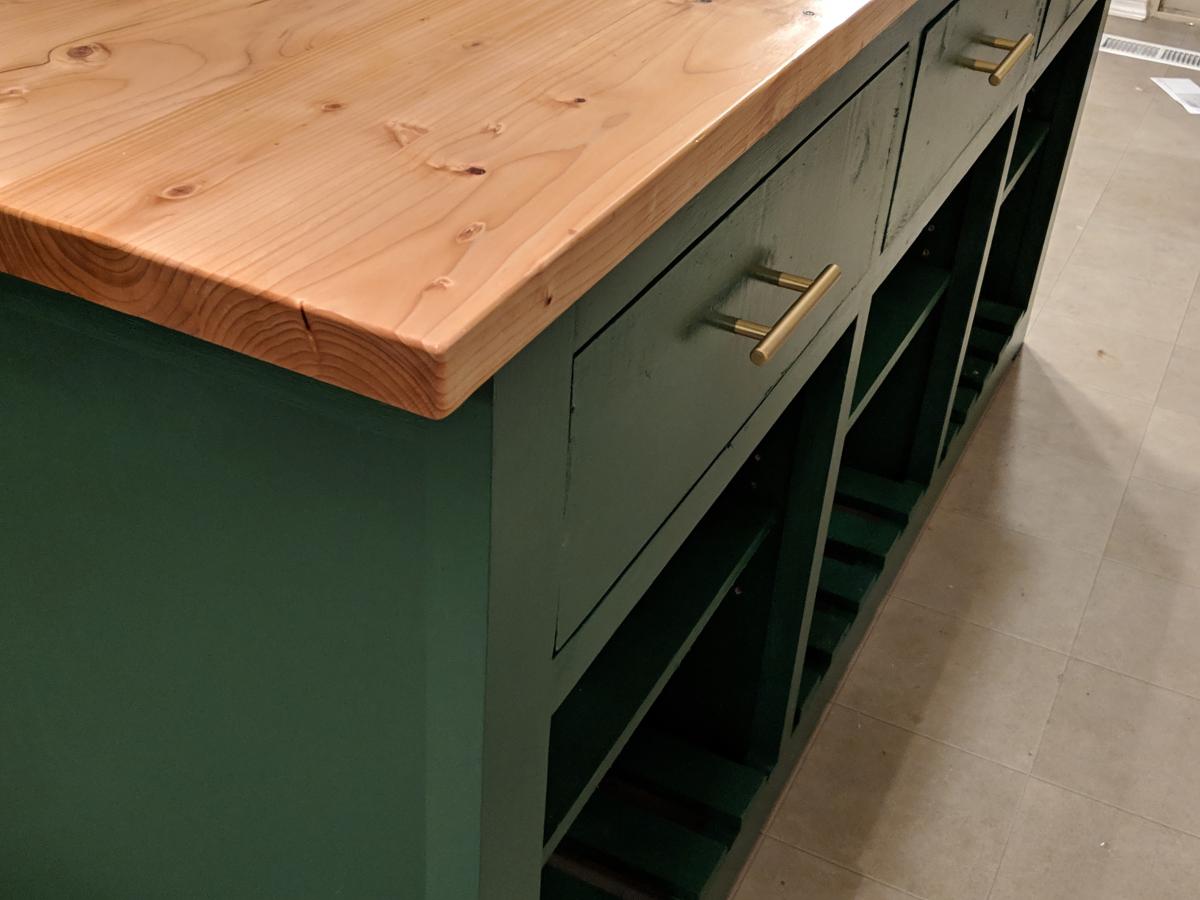
Our kitchen REALLY needed an island, and with a few modifications from Ana's plan, we had the perfect new piece for our home!
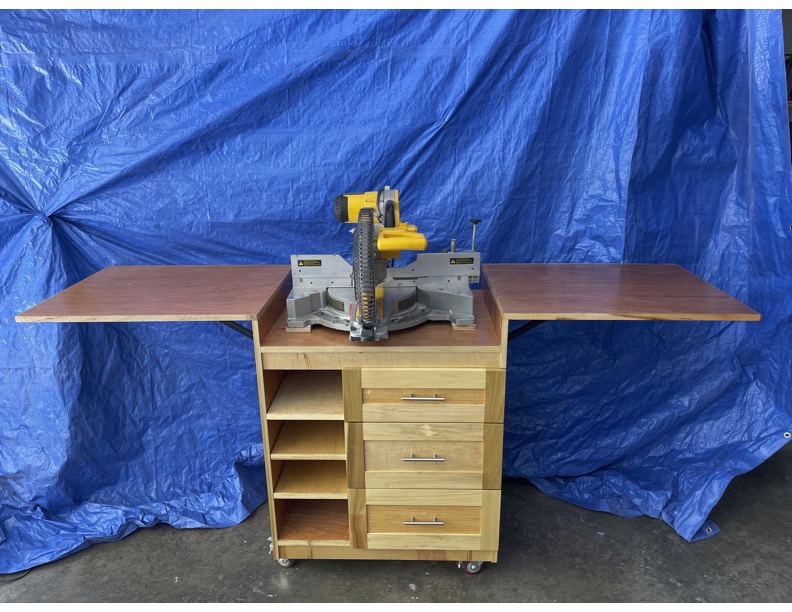
Great Miter saw cart plans! Absolutely love how mobile my miter saw is now. I added adjustable shelves and drawers for a ton of storage.
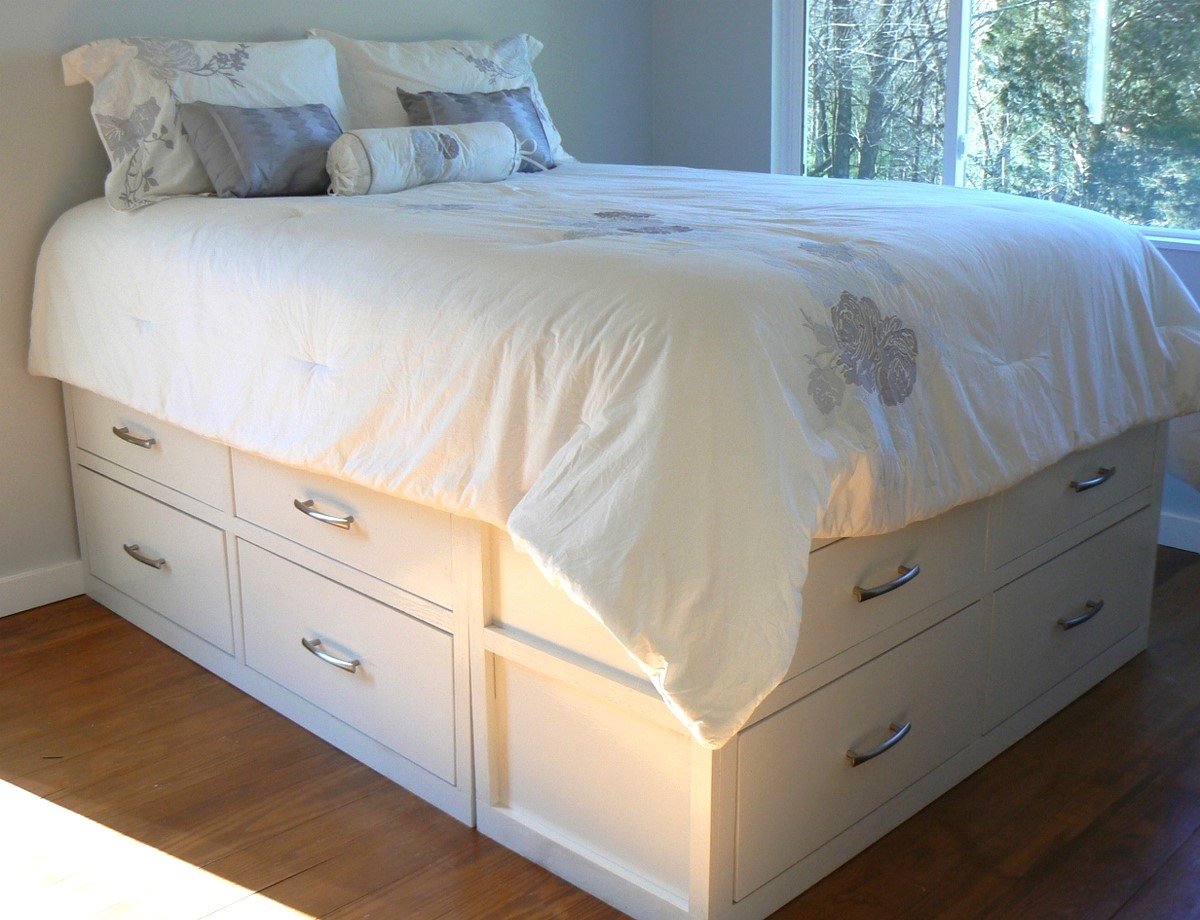
After we built the first level, we decided we didn't like how low to the ground the mattress was going to be, so we made another level. Our master bedroom is very small so this gives us plenty of storage space! The floor throughout the house is wavy, so theboxes do not meet perfectly ( you can see a slight gap at the bottom) which drives me crazy, but I will have to live with it for now. We kept the drawer face simple (less work, and we like the clean lines). Our mattress is quite thick, so I see myself building a step stool in my near future! This was our first project and very easy to follow. Already working on my next project. I am addicted! Thanks for the great site, Ana!
Wed, 02/22/2012 - 13:05
Total height is 25 inches. I love how tall it is, because the dogs cannot jump on the bed! I wish we would have thought about the double drawer height before we started as it would have brought the cost and time down significantly. We live and we learn. Enjoy your new bed!
Tue, 07/31/2012 - 19:48
Just wondering how you attached the double drawer layers together... Love the look of it...
Mon, 06/10/2013 - 17:41
Sorry for the delay in response. I haven't been on the site in awhile and I could not figure out my password! We used the Kreg Jig to attach the top level to the bottom. Looking back on it, we should have just built the walls as one piece, but since the top drawers were an addition, after the fact, we just had to deal. The 1x2 trim piece gave it a finished and less pieced together look. It has been so long since we built this, the details are fading!
Sat, 08/06/2016 - 20:37
I'm new to furniture making and was wondering if you had plans for your work since I like the height, queen and twin size? Also, I was wondering if any drawers are for storage purposes, as I would like them to be?
Mon, 10/08/2012 - 08:00
Hi this is exactly what I need to do!
we just bought a new bed and I new I'd be making this not thinking I decided not to buy the box spring, now I realize my bed will be on the floor...
I would love it if you could share everything you learned in making it double decker! please
thanks
Natasha
Mon, 06/10/2013 - 17:48
Better late than never, I hope...
First thing we learned, the bed is a little too high, so we should have made slightly smaller drawers. Still happy our dogs can't get up there, but I have to actually hop up on the bed every night, and still have yet to get around to making my step stool.
Second, cut the side pieces for the height needed for two drawers, then you have a cleaner look with no middle trim piece. I don't mind it, but I would like it more without, I think.
That is really all I would change. The plans were easy to follow and made it easy to alter for our needs.
Tue, 05/07/2013 - 23:52
I am flabbergasted by this AMAZING bed you MADE over the WEEKEND! This is simply unbelievable! I absolutely could never do something like this. Are you willing to make a King size one exactly like this and sell it to me??
Oh please?!
Renee
Mon, 06/10/2013 - 17:53
Thank you for those kind words! I was a little nervous about taking on such a big project, but we had a fun time building it { I can't say the same for sanding and painting :-) } and are very happy with the space it freed up in our very small bedroom! Just take your time, invest in a Kreg Jig, and you can do it too!
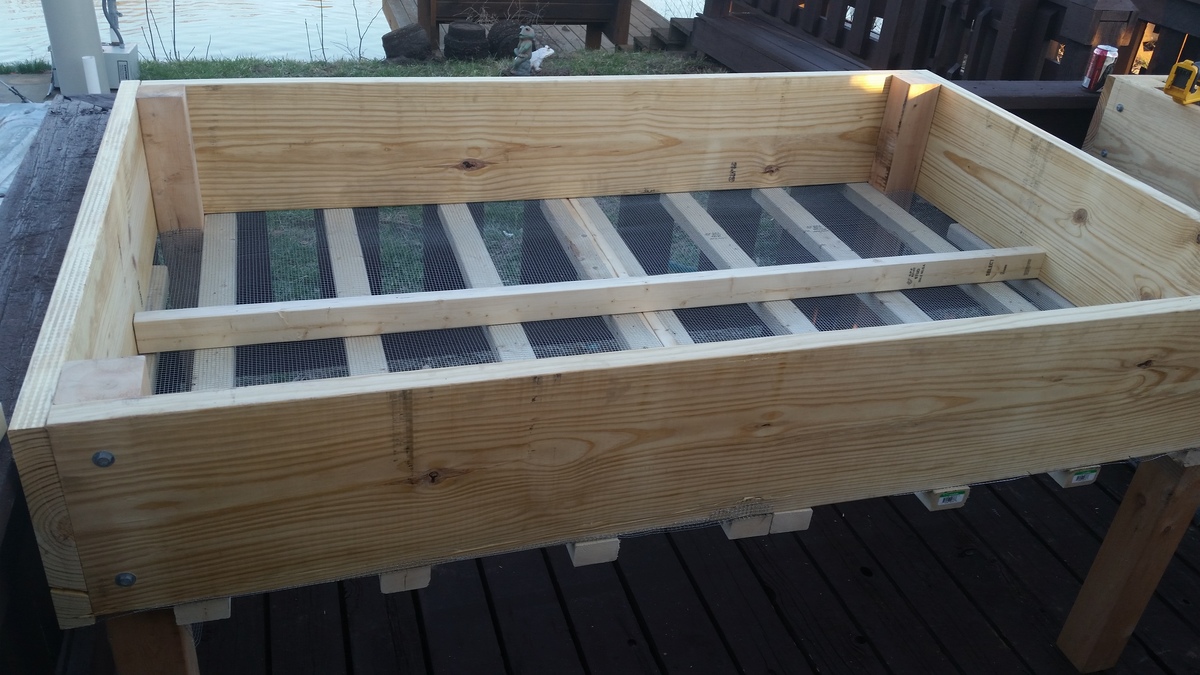
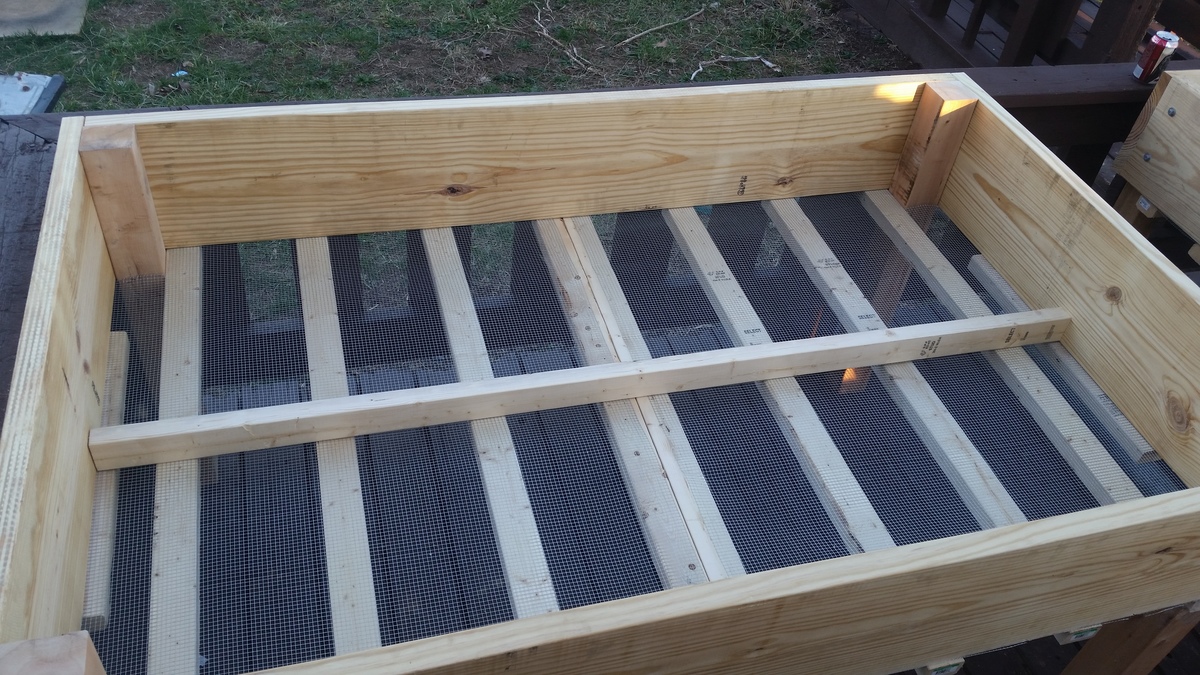
2 - 2x12x8
2 - 2x3x8
2 - 4x4x8 (cedar, fur is cheaper and will work fine also)
16 - 5/16x4 lag screws
16 - 5/16 washers
3x10 feet 1/4 hardware wire
20 - 3inch wood screws (outdoor rated, deck screws or the like)
you will have left overs if you buy extra lags you can make some other boxes depending on how high you want these, or set them on ground without legs. and use the wood screws
I gave my son's girlfriend a "gift certificate" for her birthday that said I would build her anything she'd like. There is a small patio outside my son's apartment that faces a lake. She decided to ask for some chairs so they could sit out on a warm night and watch the ducks swim by.
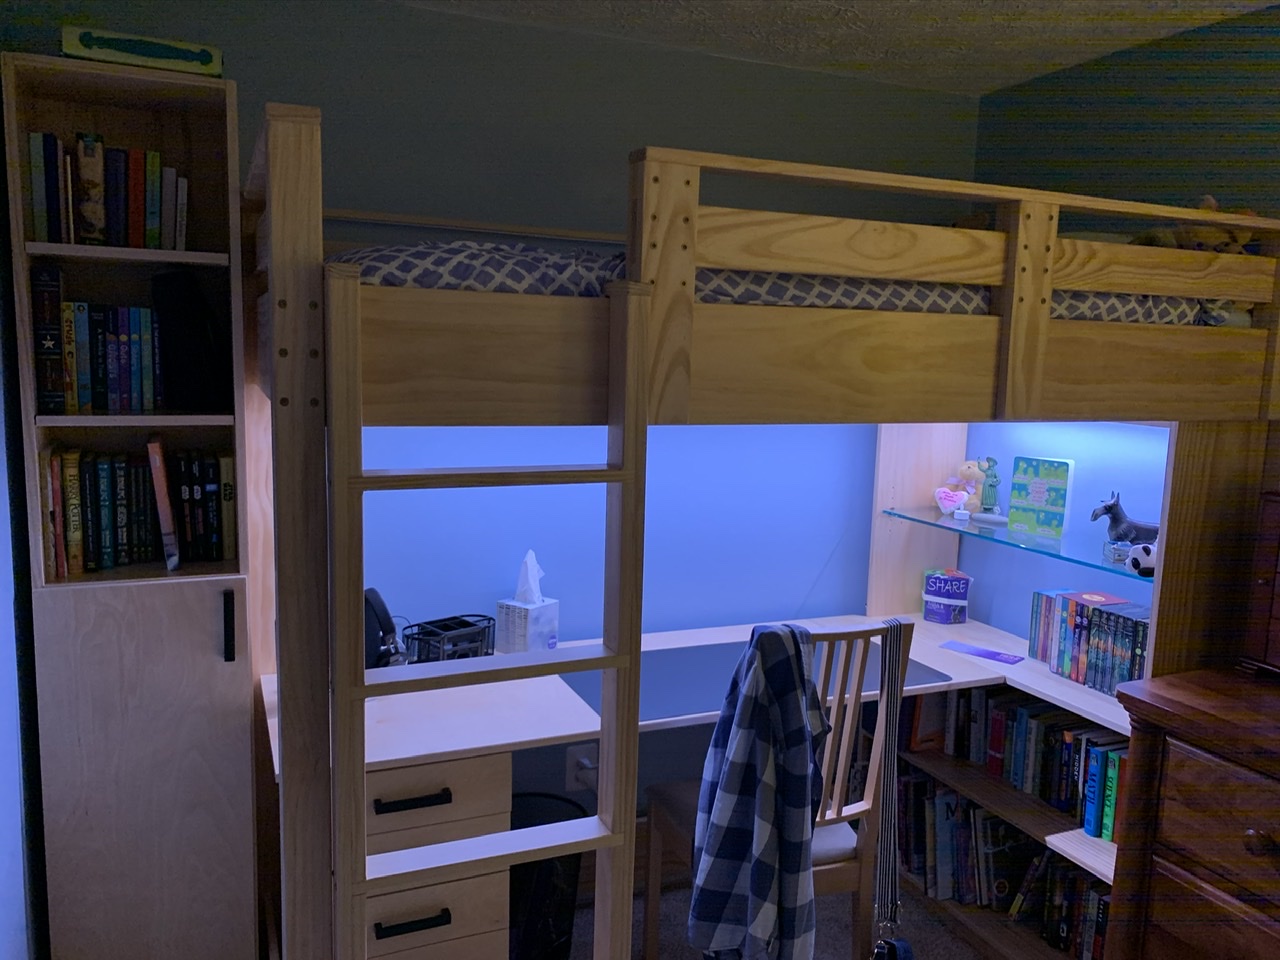
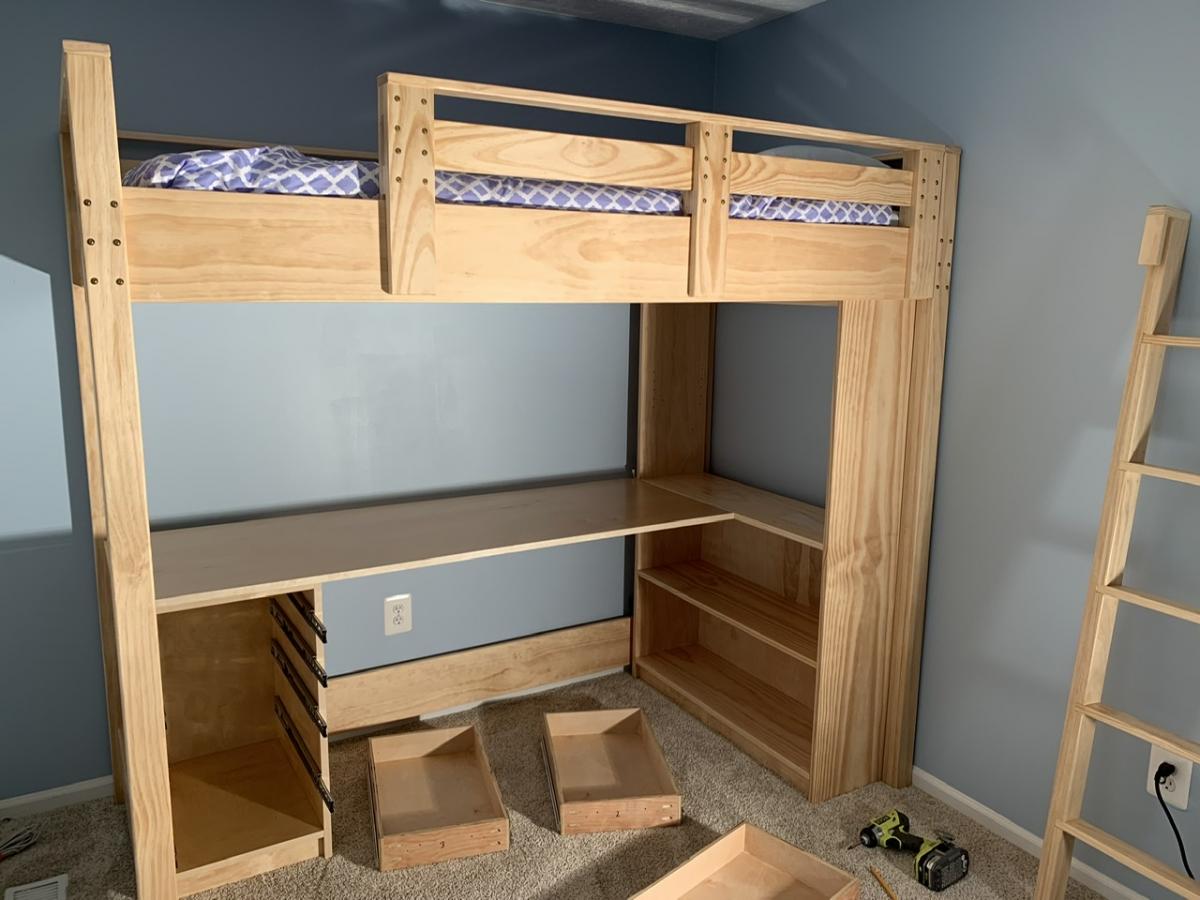
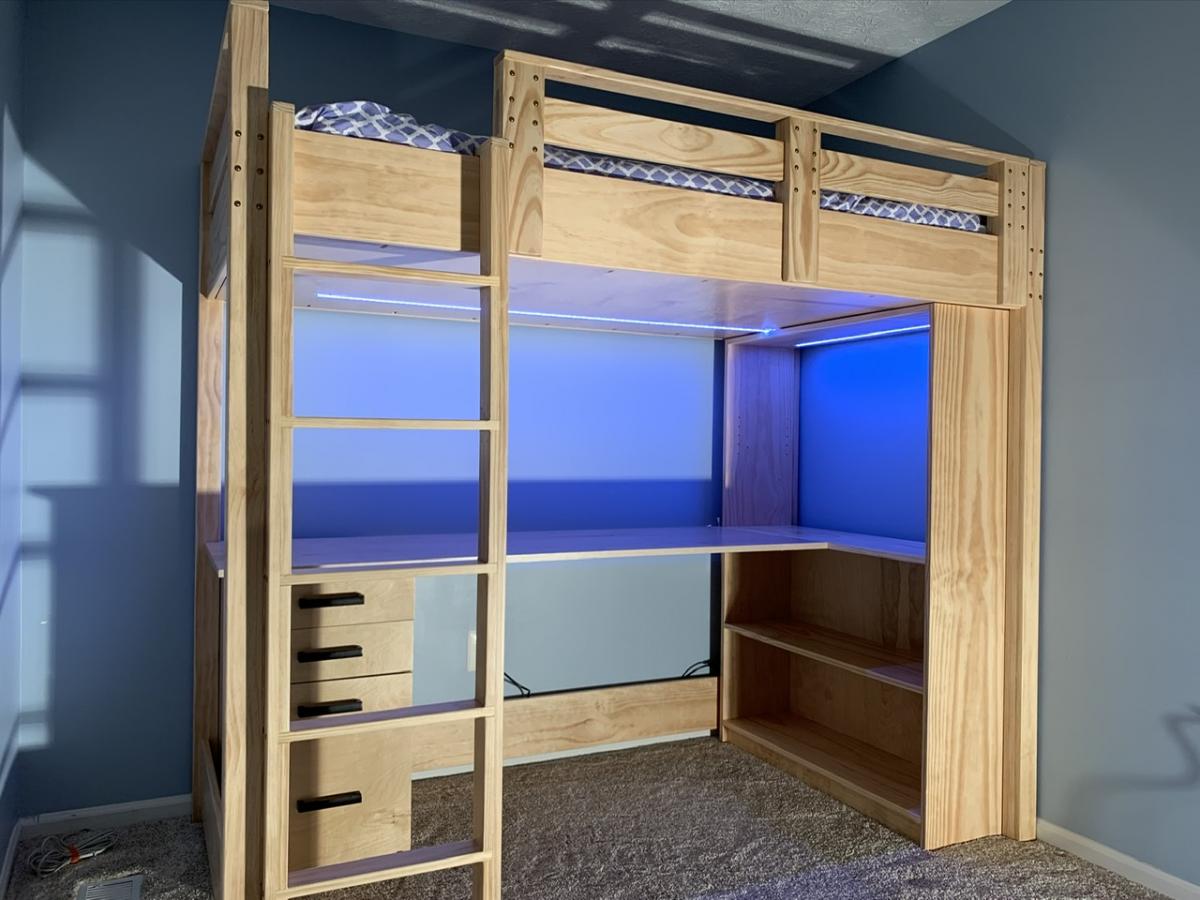
My daughter desperately needed a new loft bed for her small bedroom as she became a teenager. After looking a long time, I finally decided to take the plunge and make something custom after we couldn’t find a bed that met her needs (she’s VERY tall for her age). Thank you for posting the loft bed and bookshelf plans to this site, as they were great to work from and customize! This is my first woodworking project of any kind, and it came out great with these plans.
We followed the Loft Bed and Loft Bed Bookshelf plans pretty closely, but we did make some changes as we went...
First, we tweaked the guard rail design to make it removable by adding back vertical posts. This way, the front and back posts slide over the front rail and it no longer needs to be screwed in place. This is a nice tight grip for safety, but it’s much easier to make the bed by removing the guard rail and dealing with the mattress. If you do this, just make sure the back vertical posts are shorter than the front ones to make room for the cleats and slats on the inside of the rail! This also means the top of the rail is made with a 1x3 instead of the 1x2 in the instructions.
We also decided to use a vertical ladder design rather than an angled ladder. We did this for space considerations in the room; it’s a bit harder to get up the ladder, but not that much. This also helped avoid any weird angle cuts with my basic tools. We also made the ladder about 3” wider than the one called for in the plans.
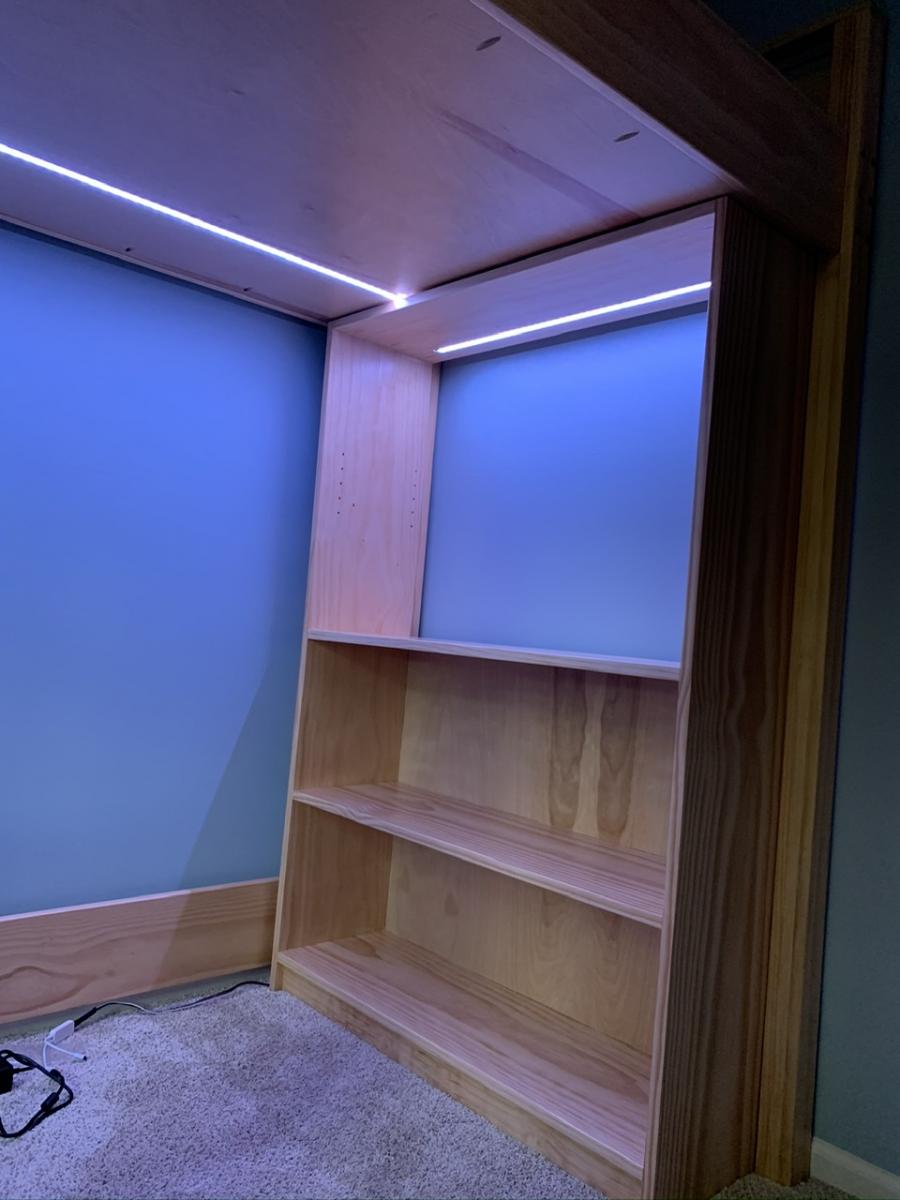
One of my favorite features was adding a 3/4” plywood “ceiling” above the desk. We did this by moving the long side cleats upward by 3/4” of an inch in the plans, and using pocket holes roughly every 10 inches around the perimeter of the plywood. We used this to hide the bottom of the mattress and all the bedding from view when sitting at the desk. It also provides for LED strip lighting above the desk, which is installed by routing out a pathway in the board and installing the lights within an aluminum channel for heat dissipation and to allow installation of a plastic diffuser over the lights. The wiring for the lights lives in the ~1.5” gap between the board and the slats thanks to the 1 x 2 cleats.
In the shelving, we made the upper shelf in the wide bookcase adjustable with the help of a Kreg shelf pin jig. We also ordered a 3/8” tempered glass shelf for this area to let more of the LED light strip we installed in the top of this shelf shine down as well. Again, this was installed in a routed-out pathway that holds an aluminum channel, and the wiring goes up through both the bookcase top and the plywood bed “ceiling” panel to join into the power. We got the strip lights, aluminum channel with diffusers, power supply, and controller from Amazon.
To get power to the LED lights, I routed out a channel for 5-conductor wire in the middle board of a rear leg assembly. Before gluing up the leg, I coated the wire with silicone spray to avoid the glue adhering to it so I could slide the wire around as needed. With a little bit of chiseling, this wire is able to come out of the slide-in joints for the upper and lower wide rails on the back of the bed. On the top, these wires go into a splitter and then to the two sets of LED light strips. On the bottom, the wires to into the LED controller which is mounted to a scrap board along with the power supply that stands on end in the 3/4” gap between the back side wall of the bookshelf and the bottom bed rail.
We created a custom-designed file drawer unit as the pedestal for the desk opposite the wide bookshelf. This was modeled roughly after Ikea Alex drawers with three narrow drawers and one file drawer. The carcass is about 14 1/2” wide by 21 3/4” deep by 29 1/4” tall and made of 3/4” plywood. The drawer boxes are approximately 12” wide by 20” long made of 1/2” plywood with 3/4” plywood fronts. We used full-extension soft-close drawer slides and positioned the cabinet so they have nearly full extension behind the ladder. Four wooden dowels are used on the top corners to align and secure this end of the desk surface.
Speaking of the desk, it is a piece of 3/4” plywood approximately 24” deep by 64” long. One end rests on the file drawer cabinet, and the other end is flush with the middle shelf of the bookcase and attached using two 6” by 5” 14-gauge galvanized T-straps usually used in framing applications. These are screwed upwards into the bottom of the desk and shelf from below, and are holding up quite well. This avoids the need for desk legs by the bookshelf.
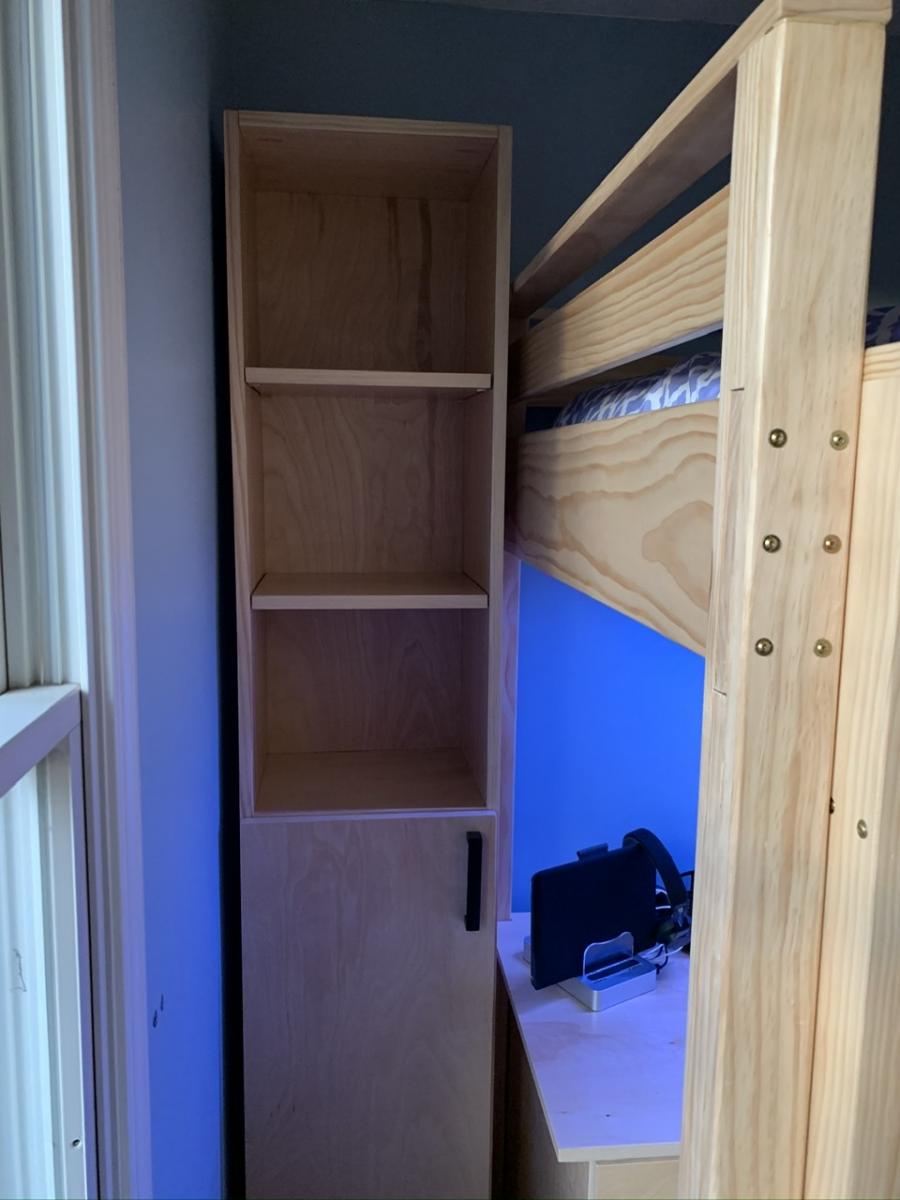
We then adapted the techniques used for the wide bookshelf to build a narrow bookcase (79” tall, 14 1/2” wide) out of two more 10-foot long 1x12 boards. This bookcase sits between the end of the bed and the corner of the room to finish out the look and provide more storage. The top, middle, and bottom shelves are fixed and there are a total of four adjustable shelves (two in the top half, two in the bottom half). We also cut a door and installed it using a pair of full-overlay euro hinges. With these dimensions, the tall bookcase is also capable of working with 11” x 11” x 11” storage cubes just like the wide bookshelf.
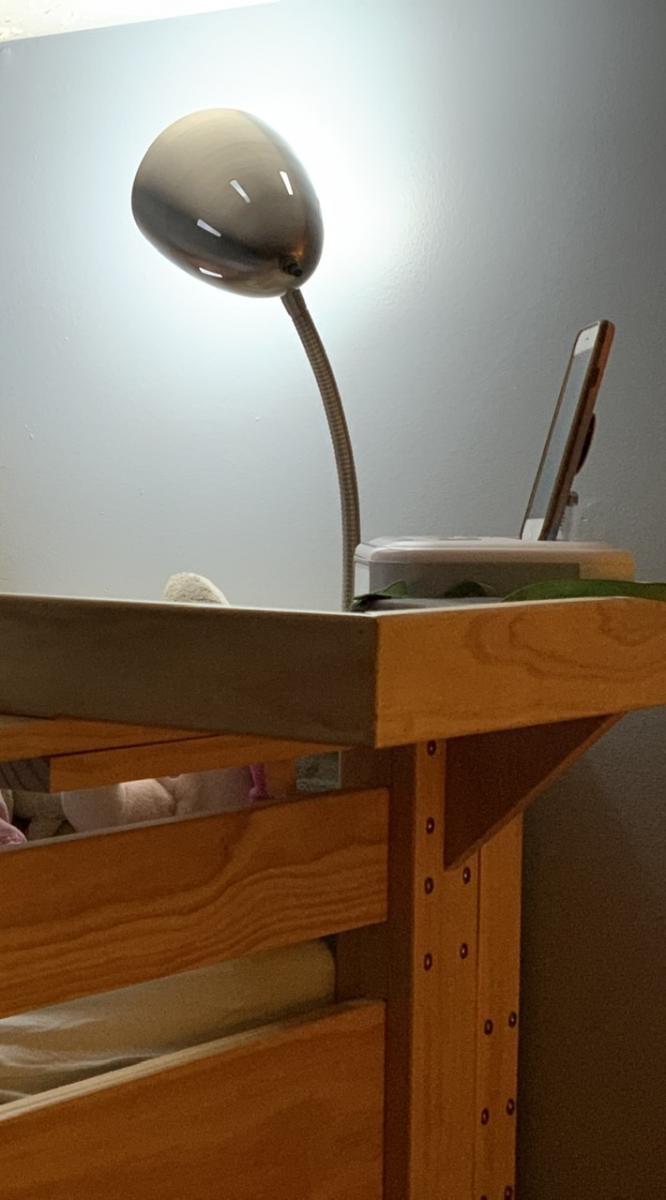
The finishing touch was to create a shelf that attaches to the guard rail and provides a place for my daughter’s alarm clock to sit and be within easy reach. This shelf is made around a piece of the scrap 3/4” plywood that is approximately 21” long and 9” deep. I used leftover 1x3 pine that I glued and nailed to the outside perimeter of the plywood flush with the bottom to hide the layers in the plywood while providing walls around the shelf. I also glued and screwed another 1x3 piece to the front of the plywood, this time flush with the top, as the first piece of a U-shaped grip to slide over the top of the guard rail. Another 1x3 scrap was then positioned, glued, and brad nailed to this front piece to finish the grip. I then cut a triangular piece of wood from a 1x6 to provide additional support under the shelf against one of the vertical pieces of the guard rail. This piece is held in place with counter-sunk screws that go through the top of the plywood shelf down into E-Z Lok threaded inserts in the top of the triangular wood support. The whole shelf assembly is only attached to the guard rail so that I can still easily remove the rail to change bedding on the mattress.
The whole project is constructed out of Home Depot select pine boards and birch plywood. Throughout construction, I used a 3/16” round-over bit in a router to eliminate sharp corners pretty much everywhere on the bed itself (legs, rails, ladder, etc.). I didn’t use this on the bookshelves, the file drawers, or the desk. Edge banding was used to hide any exposed plywood edges. I used 200-grit sanding discs and an orbital sander to sand the various pieces during construction and before finishing. The entire thing is finished with two or three coats of Minwax Polycrylic water-based polyurethane, sanding between coats, which gives this a nice smooth finish and lets the richness of the wood grain come through.
Hopefully the pictures I’ve posted can help understand the write-up on modifications to the project. I enjoyed building this a lot, and my daughter really loves what this did to her room to make it much more usable! That was worth all the effort and time right there.
Ana, thanks a million for the plans!!
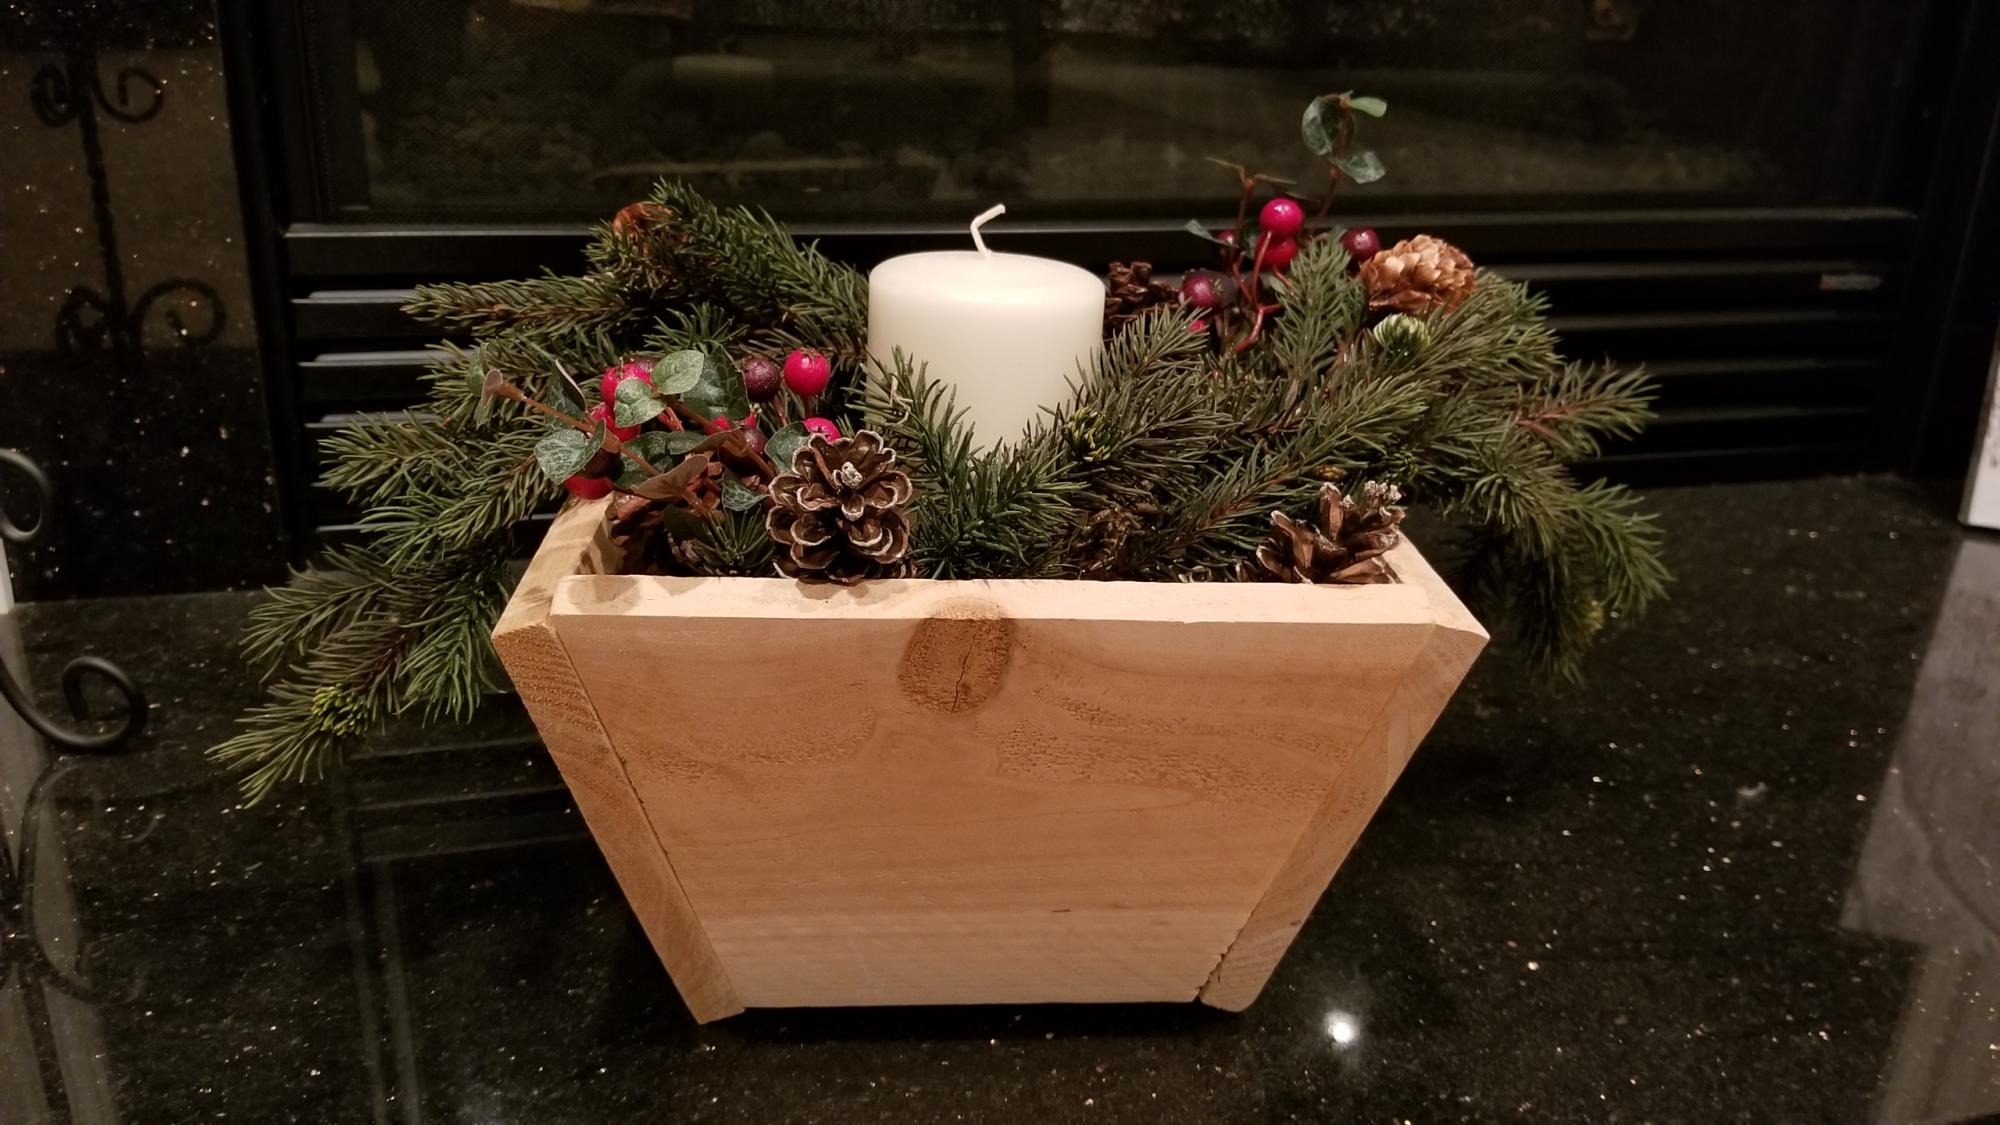
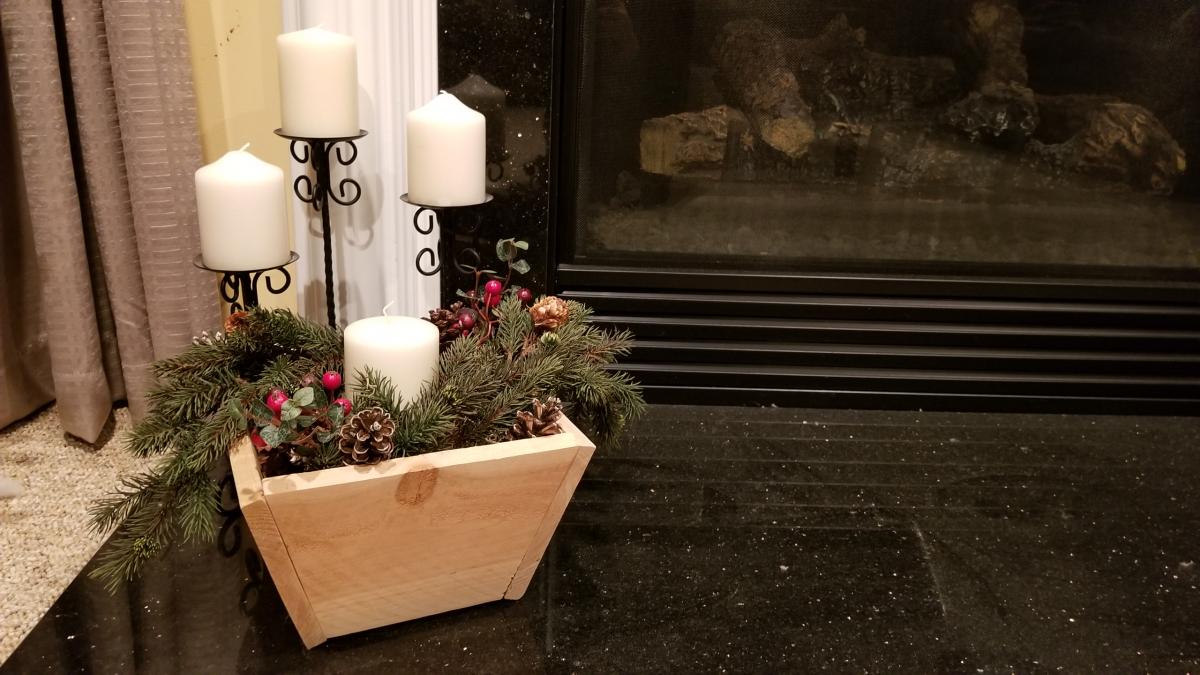
I loved the plans for the cedar planter. It was a quick build and it's such a versatile item. I left the wood natural to give it a more rustic look. I'm planning to make a longer planter to use as a gift basket for Christmas gifts.
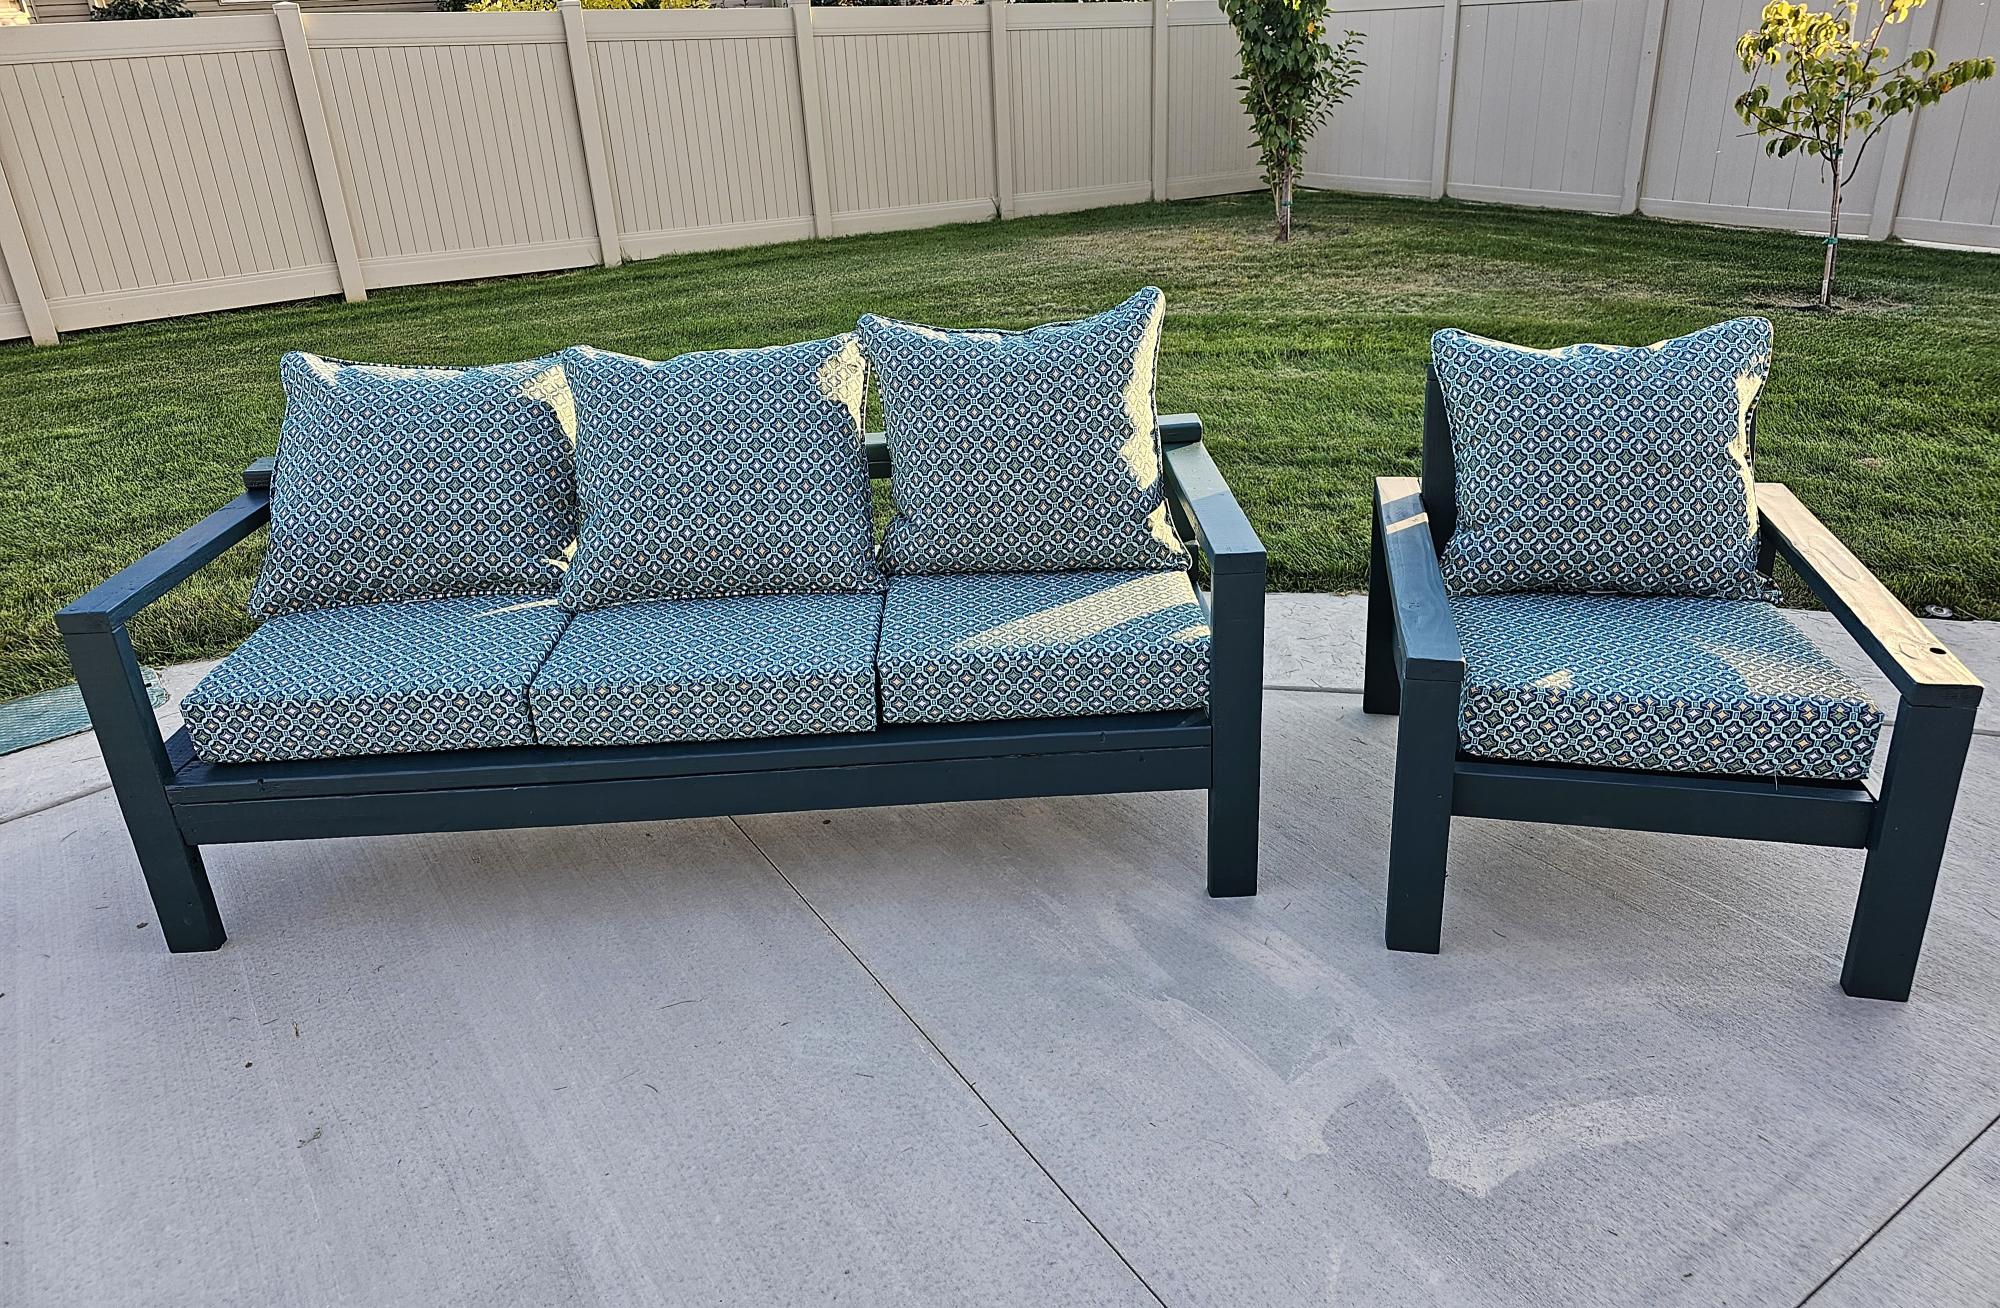
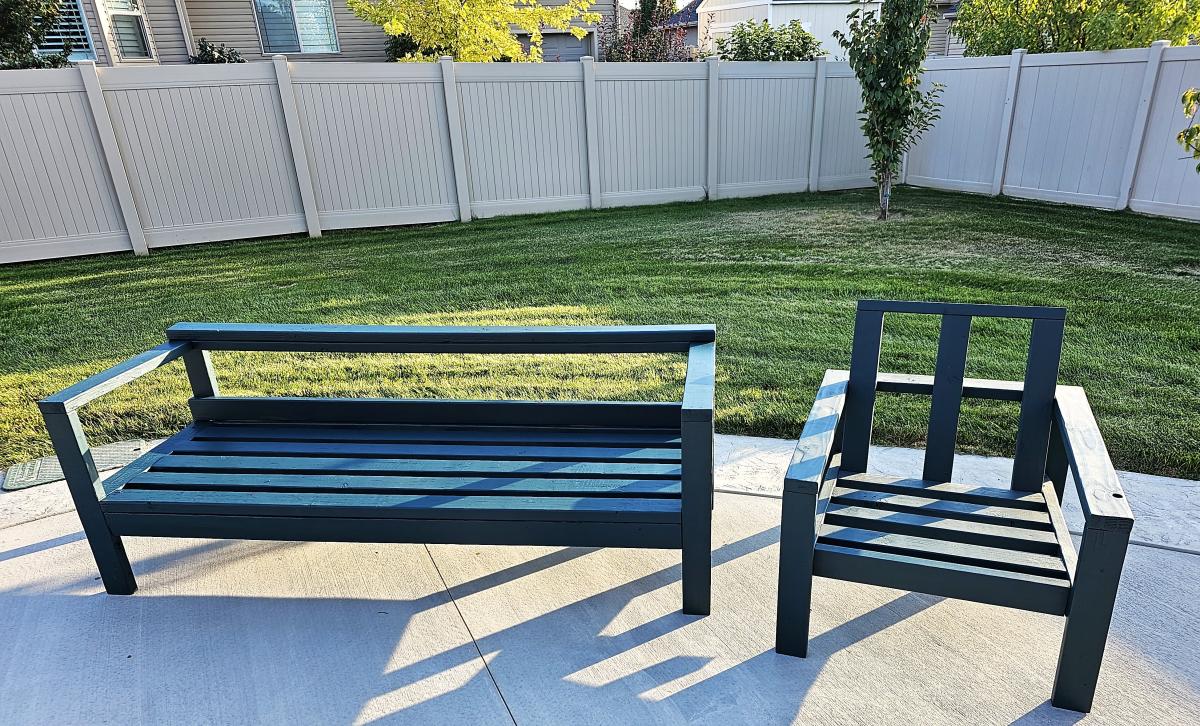
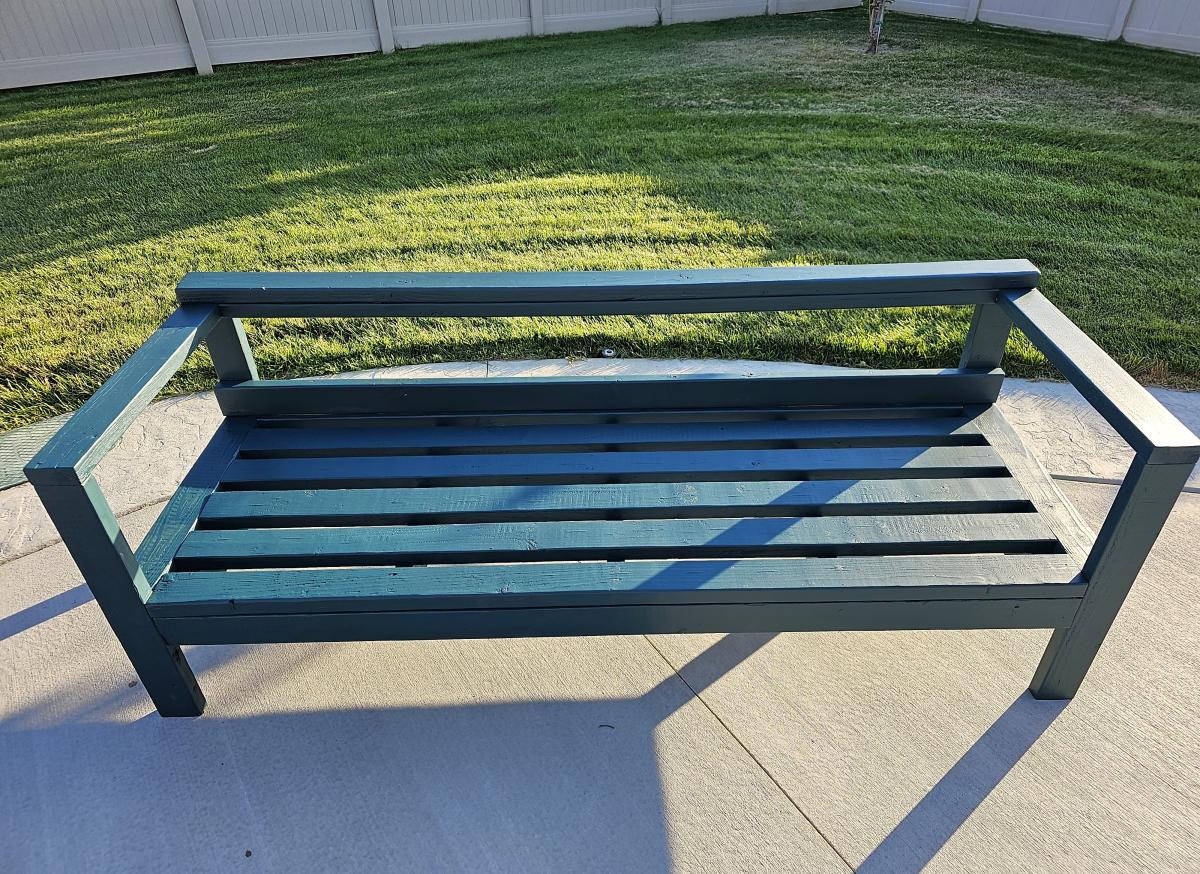
2x4 sofa and Chair. I added a couple pieces to the back of the sofa to stop the cushions from slipping through and another 2x4 to the top for a little more height. Stained a dark teal.
We made two $10 raised beds last weekend and can't wait to get them in the yard!
The cedar fence pickets ended up costing us about $15 per bed with another $15 for screws, so total cost was about $30 per bed.
We found it tricky to do the 1x2 pieces in the order recommended and when we make these again, will form the full box and then add on the 1x2s for support.
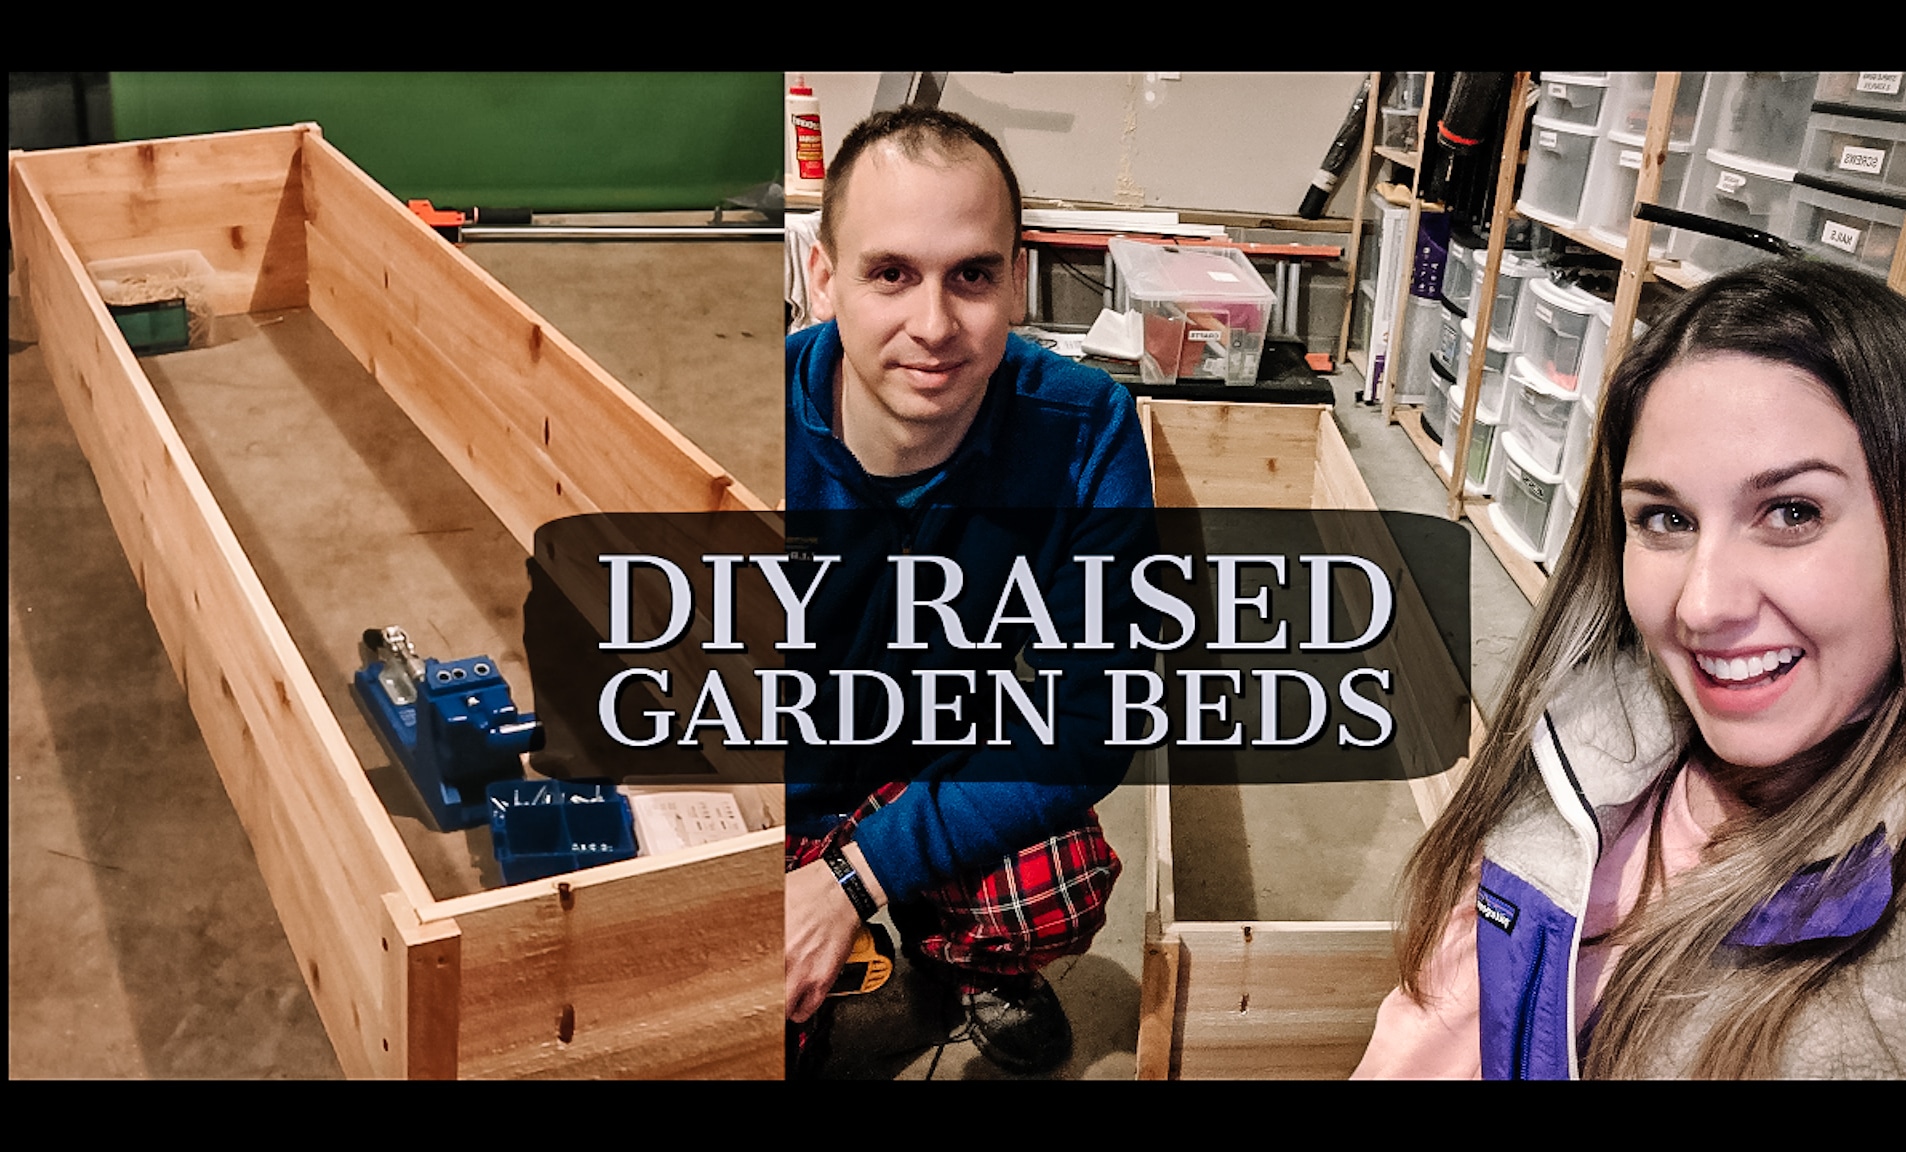
We made a YouTube video detailing the process - hope you'll check it out!
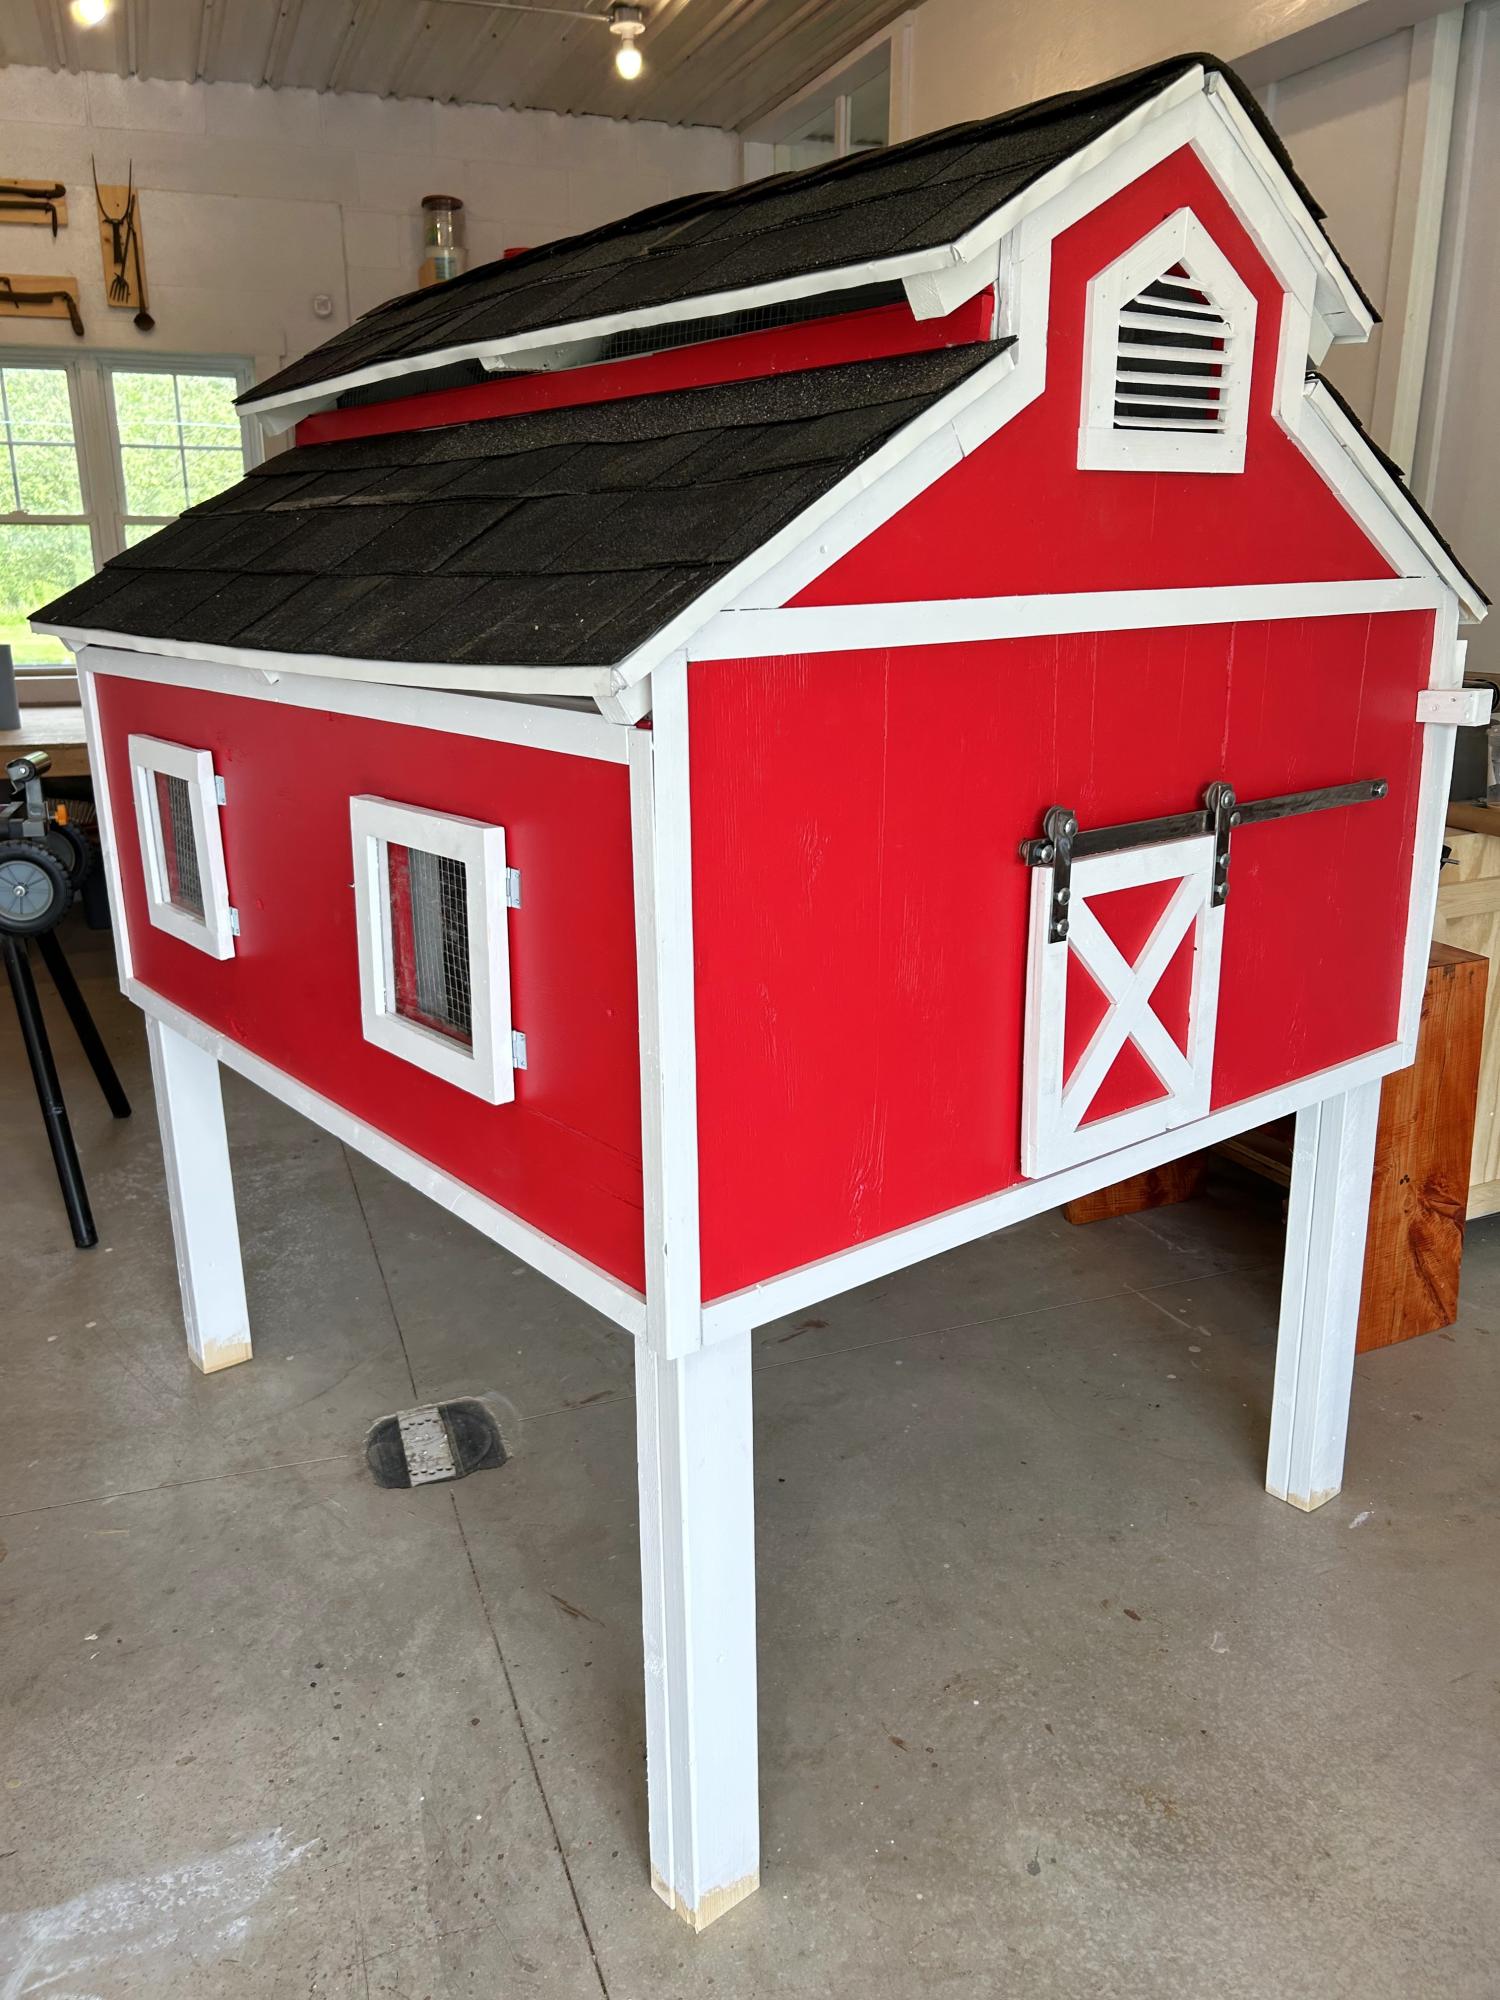
Chicken coop I made to look like a little red barn complete with a working barn door. We have seven girls and they love their lovely barn home.
Sue Laidacker
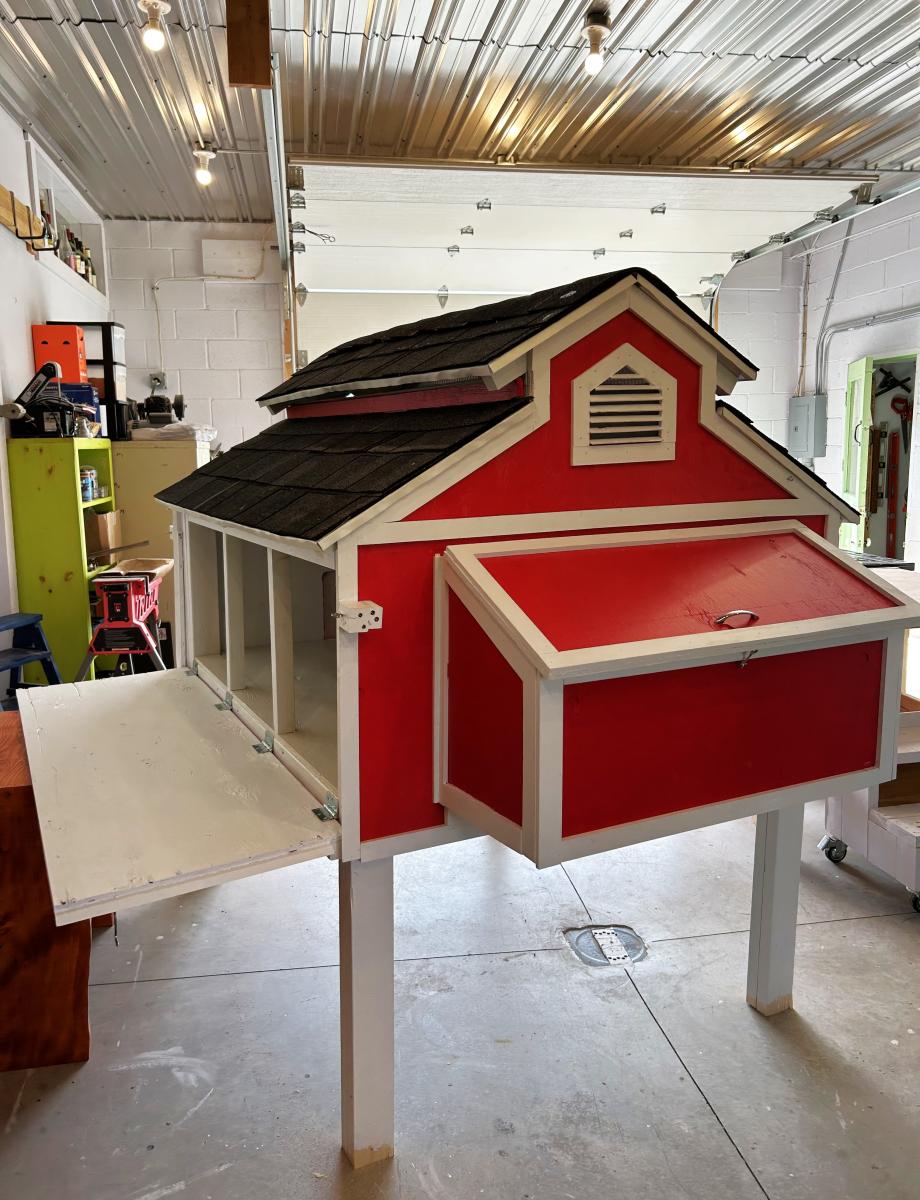
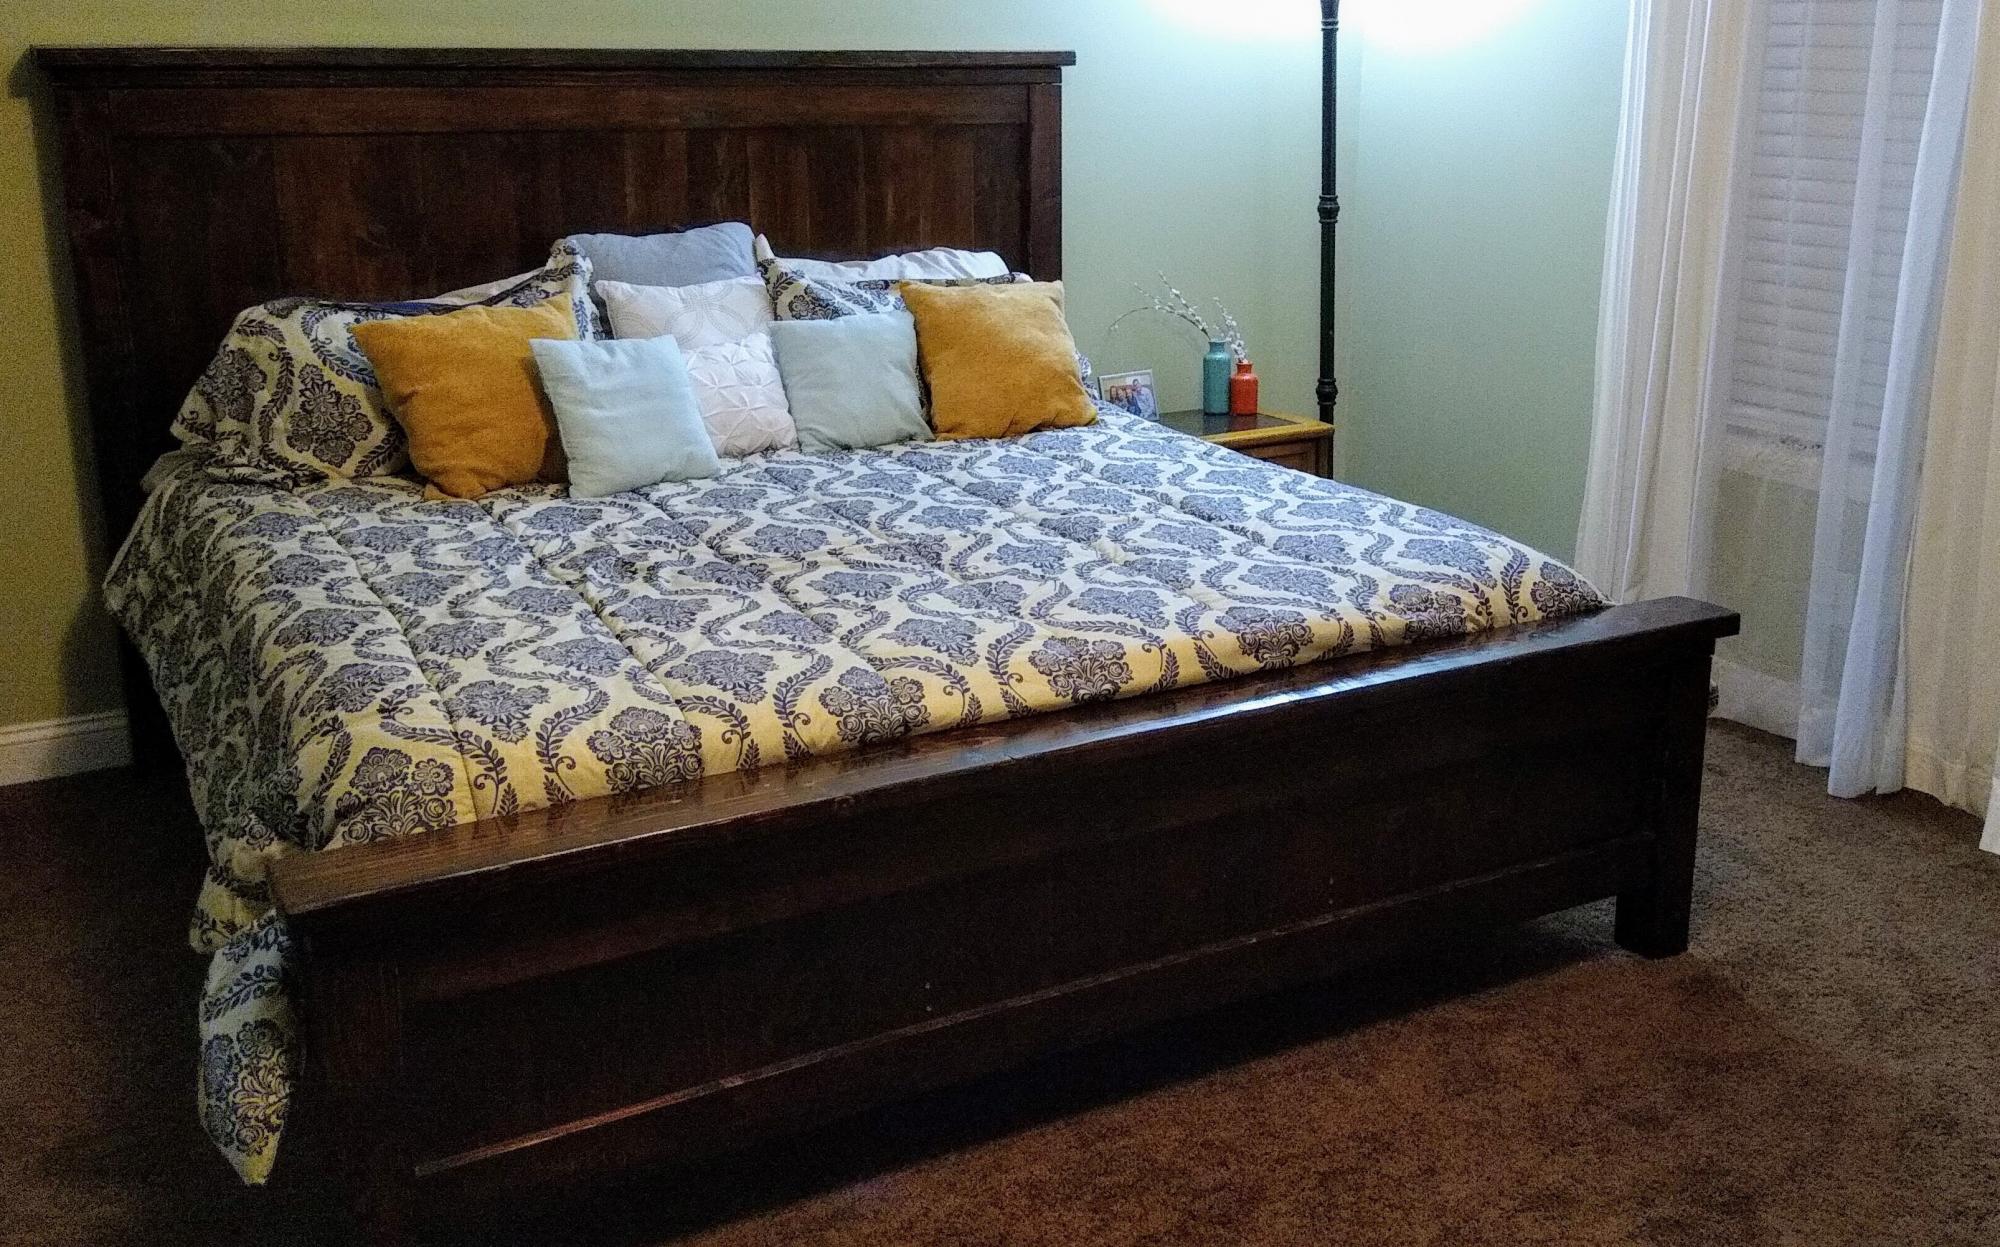
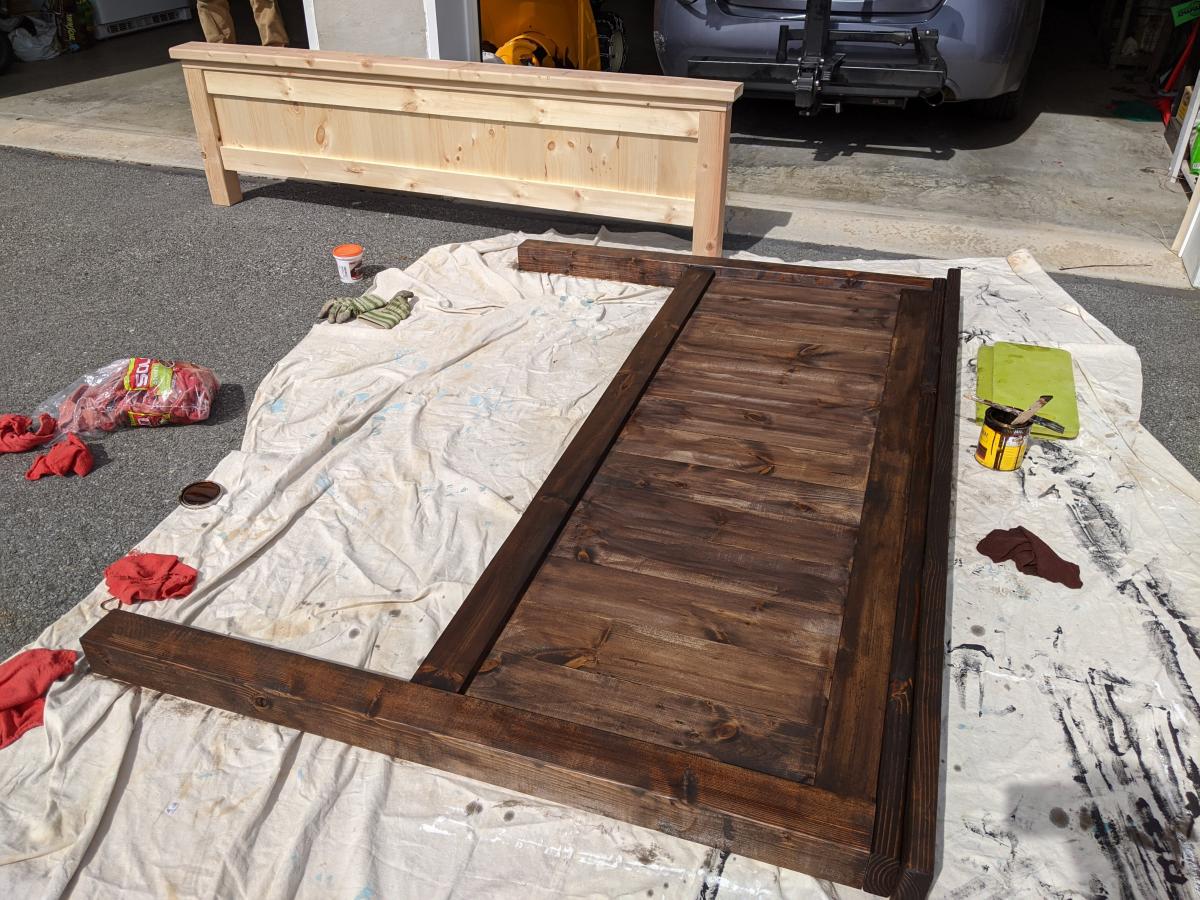
Really loved these plans and they produced a beautiful product. The only minor change I'd make is to double the number of support slats. Our Casper mattress requires gaps less than 3" between each slat. Thank you for the plans!
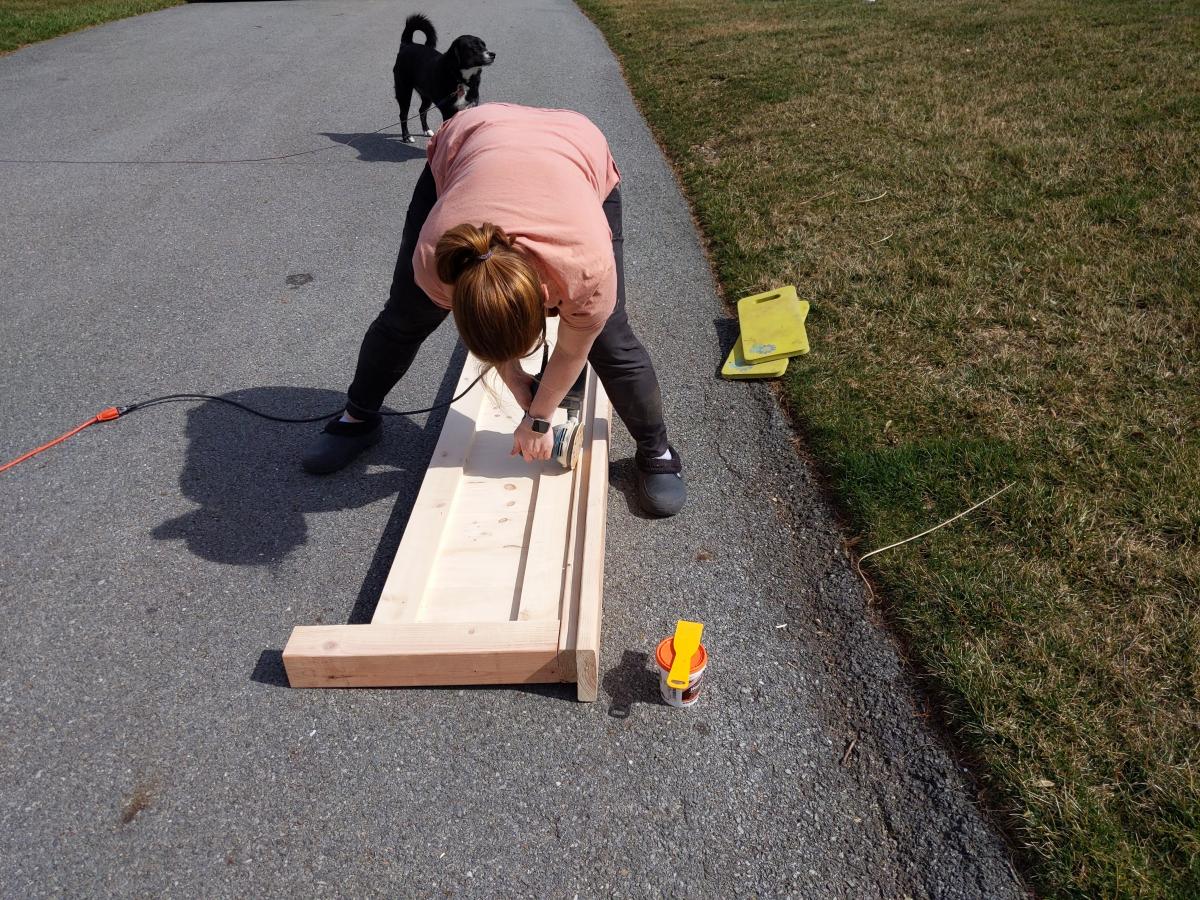
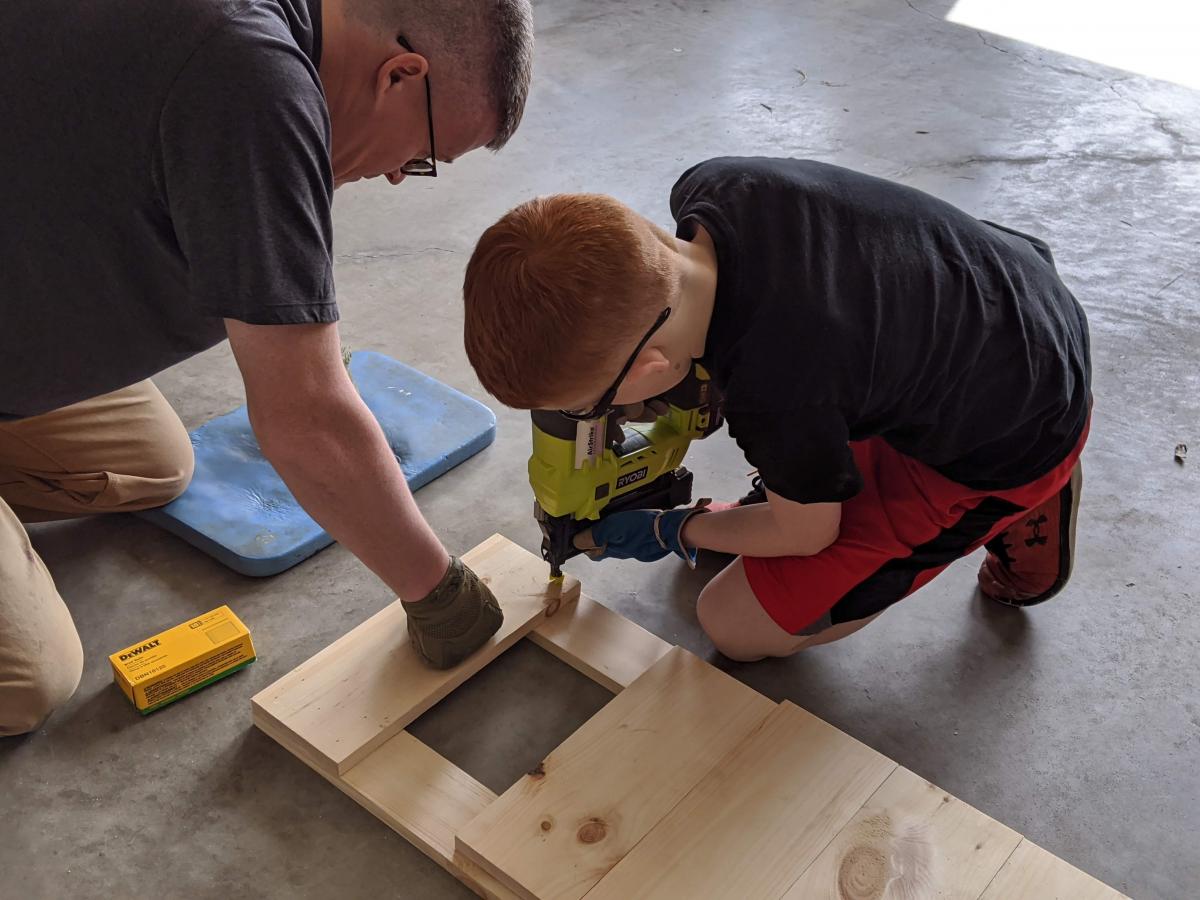
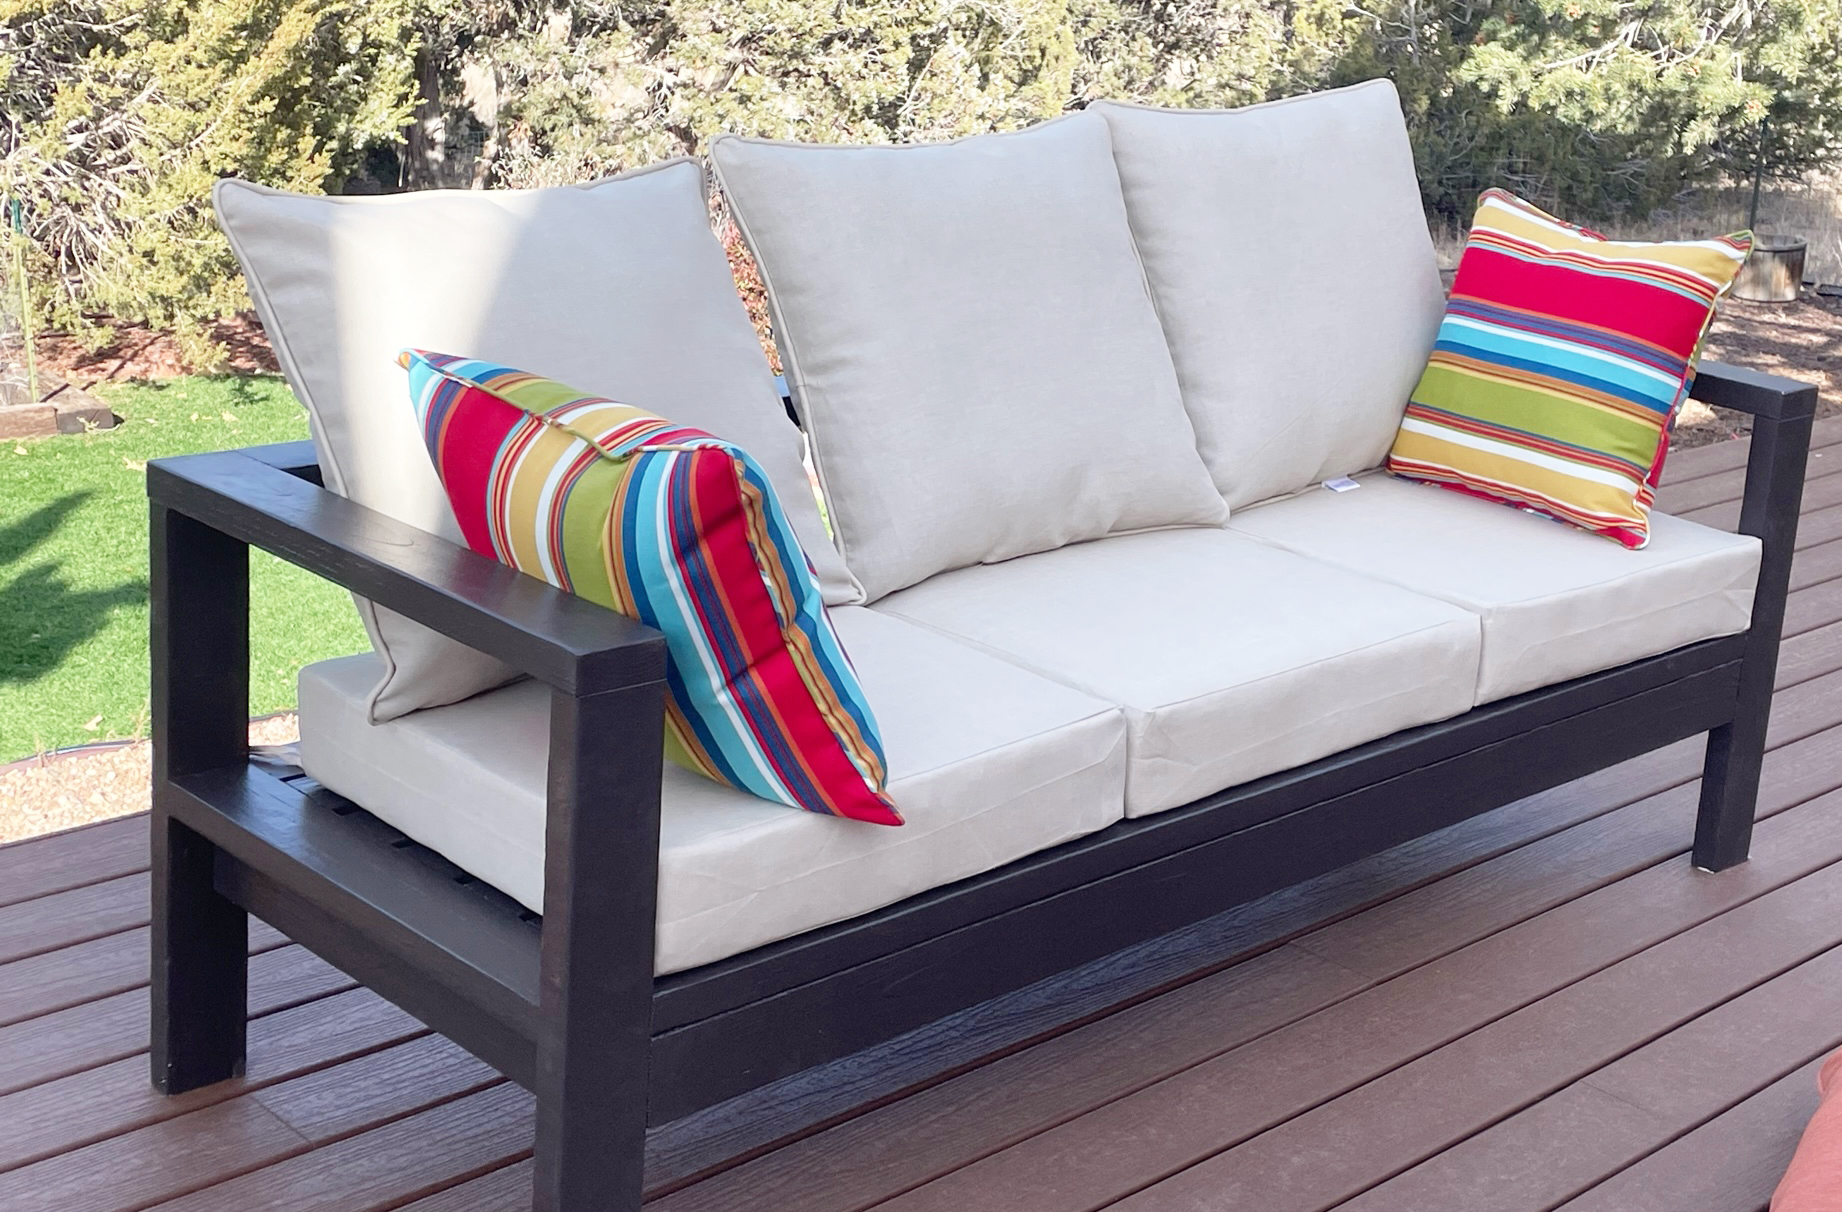
I'm a 65 year-old woman and proud to say I built this all by myself with leftover lumber from our deck project. I'm almost finished with a second sofa and plan on building the section piece and a dining table and benches.
Keren Weaver
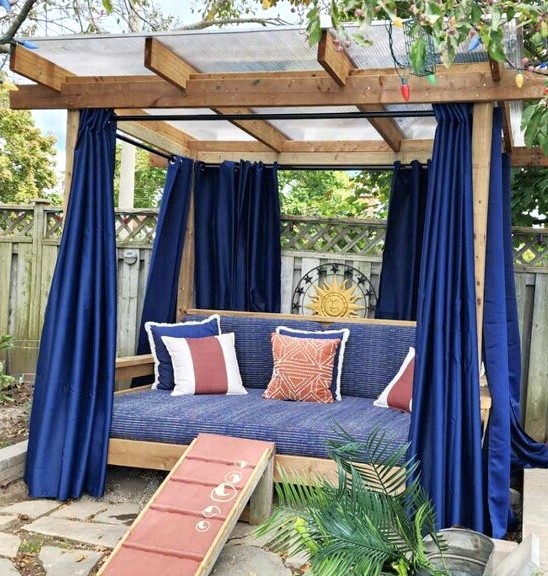
We fell in love with this daybed plan right out of the gate but had to modify the plan somewhat due to the rain and crazy weather we are experiencing during the warmer seasons. Rather than use a twin mattress we purchased the largest size outdoor cushion we could. We covered it in Dacron wrap and used an olefin material for the huge cover which maxed out at 54x96. It was one heck of a big zipper to sew! The material is mould and mildew resistant and has proven to be really resilient and I vacuum to keep it clean. It feels luxurious to slide into. We added a polycarbonate roof with a 6% slant, that projects 8-10 inches from the front and back, for rain and snow and because it sits under a crabapple tree which provides shade but will drop small projectiles on your head. We wanted to be able to manage the snow efficiently if we received a heavy fall. We hung the curtains using a chain link fence rail and are able to spend afternoons resting catching the breeze and reading so comfortably. It is situated in a southwest exposure so they are necessary to provide a little protection. The curtains are closed and secured with clamps for heavy rainfalls and so far so good! Everything has stayed dry despite high winds.
As you can see from the little ramp, we have four buddies that love the bed as much as we do! It is our little retreat. We love our magic space and the relaxation we experience the minute we slide in. Thanks for such great plans. It was so straightforward that modifications were simple and easy!
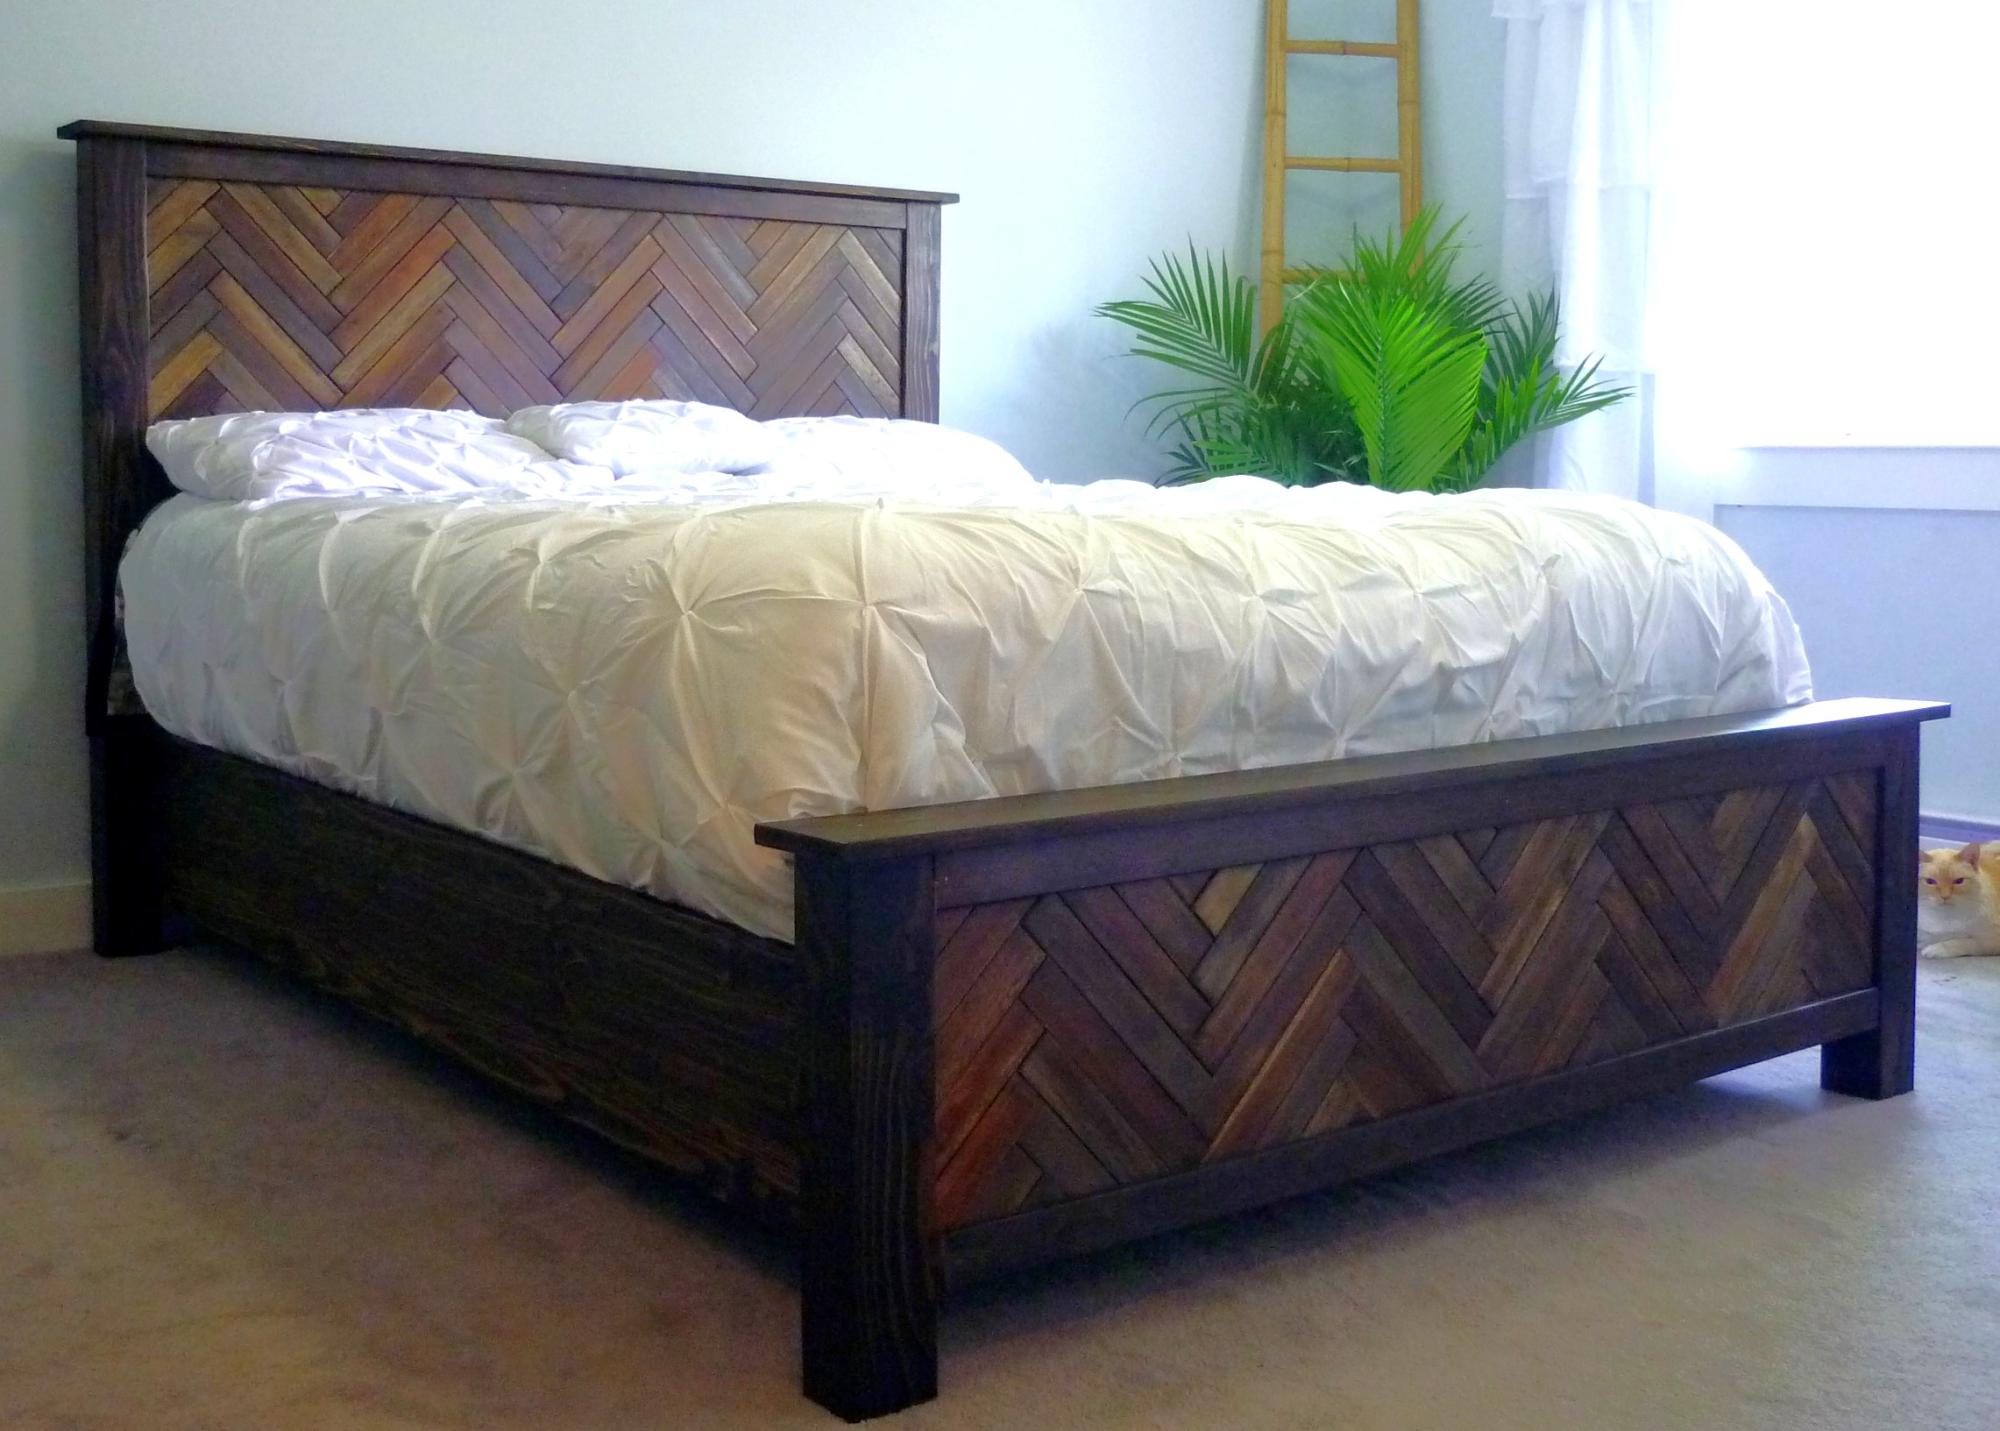
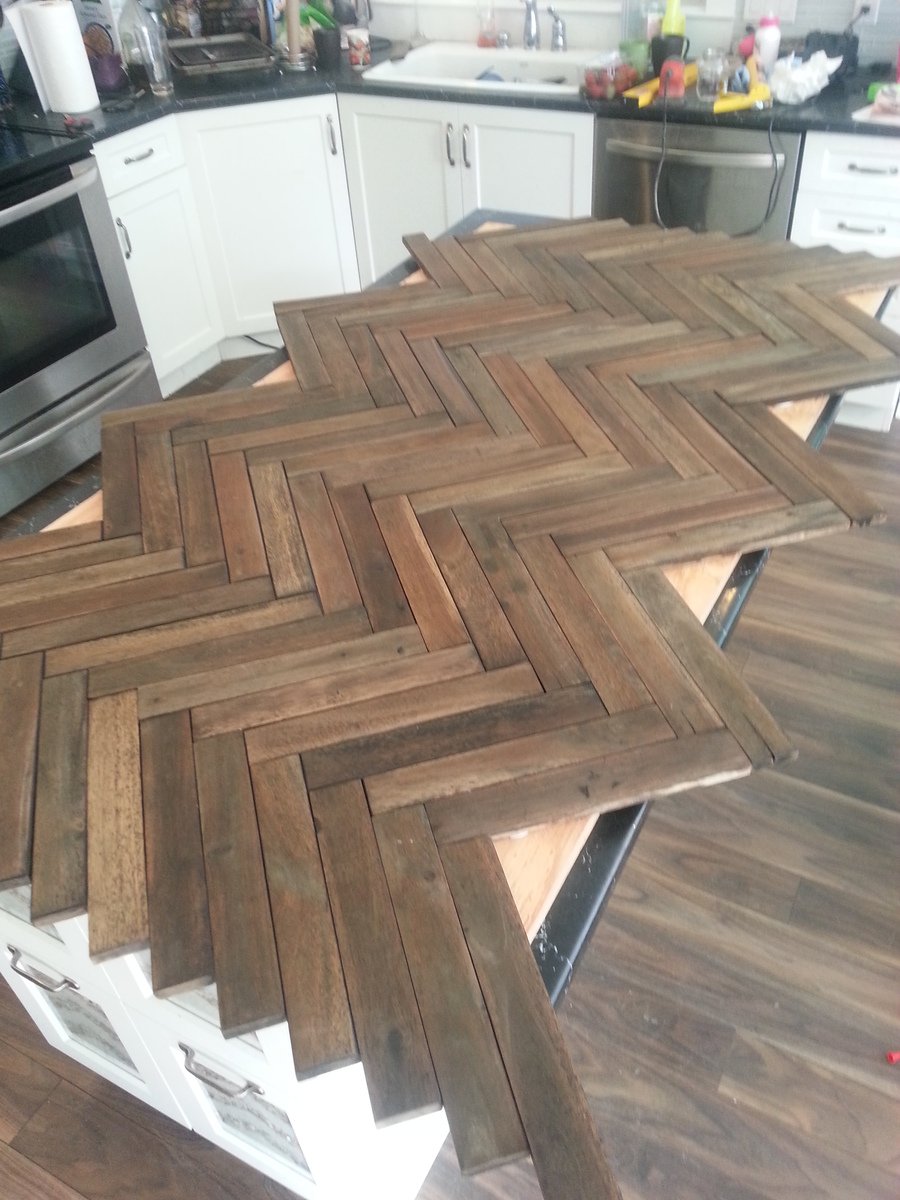
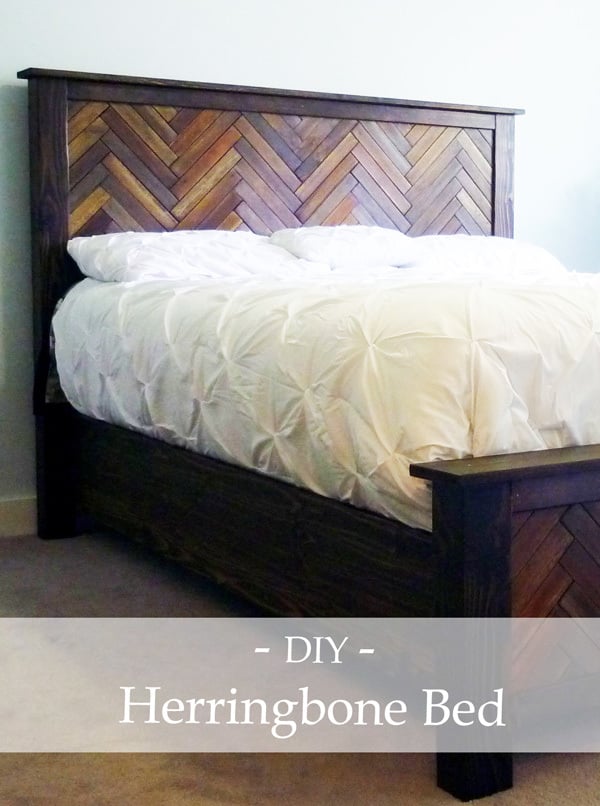
I have never made anything before, this was my very first project. I had a total blast! Our old bed was falling apart, so it as a great time to try out my hand at woodworking. I really wanted to use up some old wooden deck tiles I had in my garage. I didn't feel comfortable using a miter saw for a chevron pattern so herringbone it was! I am totally in love with this bed and seriously cant thank Ana White enough for making it so people like me can make things like this.
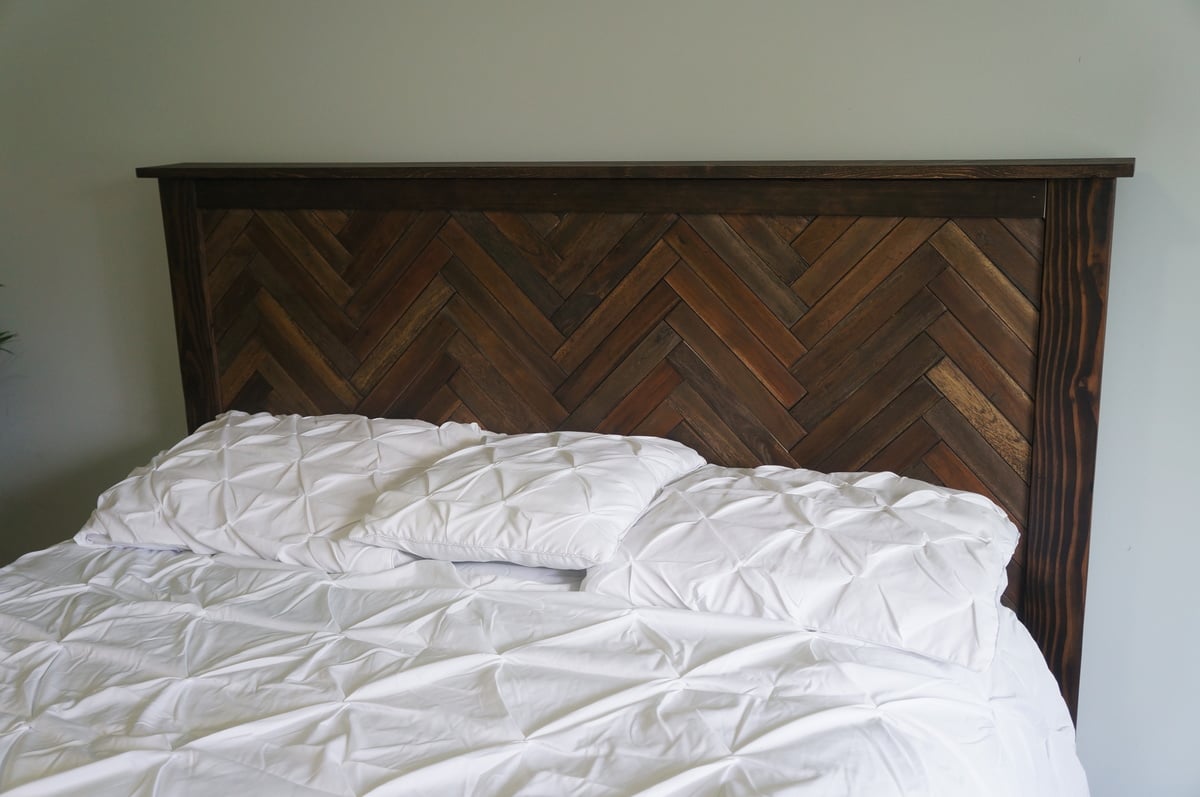
Sun, 04/20/2014 - 10:49
This looks really nice. Are you sure this is your first project? I like the idea of using the deck tiles. Where do you find these and what type of wood are they? This may sound a little cheesy but I don't know where my life would be like if it weren't for Ana White and her blog. I absolutely love woodworking.
Sun, 04/20/2014 - 11:25
Thank you so so much! 100% sure its my first project..lol. The deck tiles I bought at Capitol Iron, which is a home and garden store we have here in B.C. They were display pieces so I got them for VERY cheap, almost free hehe. I know you can buy them new online, but they are pricey. As for the type of wood, since they were a display it is a hodge podge of diff kinds. Teak, eucalyptus, acacia I know for sure. I seriously LOVE this site. I have looked and found nothing even close to it. By far an amazing resource for any aspiring builder. I see you have made some pretty impressive stuff yourself!
Mon, 04/21/2014 - 12:18
Thank you :) and thank you so much for this site. It is amazing how much you have to offer. I honestly can say I would never in my life would have tackled something like this if I had not stumbled across your page. The amount of joy I feel every time I walk by that silly bed is nuts..lol. Too cool. Still cant believe I made that myself (with no boy help..lol) Cant wait to make some tables next! You're awesome.
Fri, 05/29/2015 - 14:52
I just wanted to let you know how impressed I am by your finished product! I have been interested in building a bed, but since I have no experience I have been unsure where to start. But the fact that you did this as your first project has me very inspired! Well done!!!!!
Wed, 10/21/2015 - 13:21
Does anyone have the plans for this bed in California King size? I have a california king mattress and would really love to make this... I see this is for a queen size bed..
Thanks!
I had such a fun time on this shed coop/run build! My wife and I have 5 children and it was fun involving them in building everything about this coop and run. They have a wonderful sense of accomplishment in looking at what they helped build.
A few notes, while this what a fairly straightforward build, there are a lot of little intricacies to be aware of. Such as:
• Make sure your chicken coop is about a foot off the ground. It's best to do that so critters such as rats and snakes don't make their home under the shed and potentially eat their way through the floor.
• It is highly advisable to dig a trench about a foot to a foot and a half deep around the coop and the run and attach chicken cage fencing from the bottom of the coop/run into the trench, and then taper the cage fencing outward. This will prohibit critters such as raccoons from trying to dig under the coop.
• When you attach the poultry netting to the outside of the chicken run, staple one side really well, then move to the other side and pull the netting fairly hard to make the netting as tight as possible. (Also, be careful when putting the netting across the top of the run to not fall off the ladder as I did and dangle there until one of your kids comes to help you! Ha! :D )
Thank you, Ana, for posting these plans! We are so excited to get our little chickies out into their new home as soon as their feathers come in!
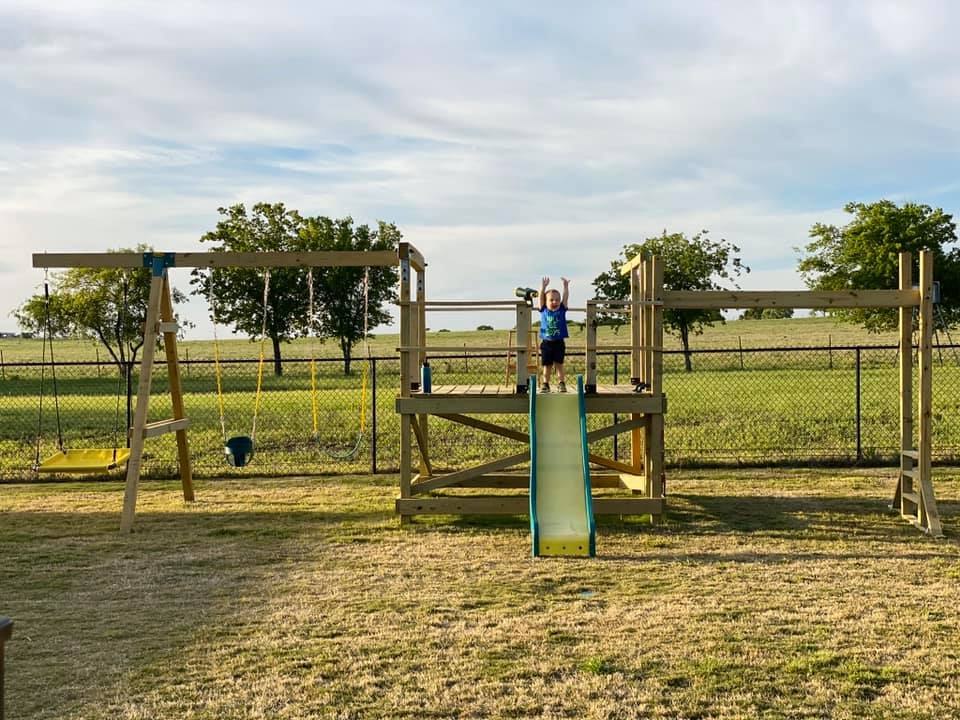
We are used to seeing our grandson every weekend but during the 2020 COVID quarantine we were unable to do so. Instead, we filled our time building him a swing set for our backyard. He loved it!! We are going to add more to the swing side but the hardware I want isn't available right now (apparently there is a lot of swing set building going on during this time). I look forward to many years of playing on this with our grandson and hopefully additional grandkids in the future... Our cost was pretty high mainly because our first round of lumber came from a local lumberyard that was willing to deliver within a few days (big box was going to take several weeks) and they had what is supposed to be higher end lumber (not sure I am convinced of that)....also, i chose some pretty expensive hardware (brackets) just for the added security.....


Comments
ladybug'13
Sat, 07/20/2019 - 21:10
Love this. Nice job!
Love this. Nice job!