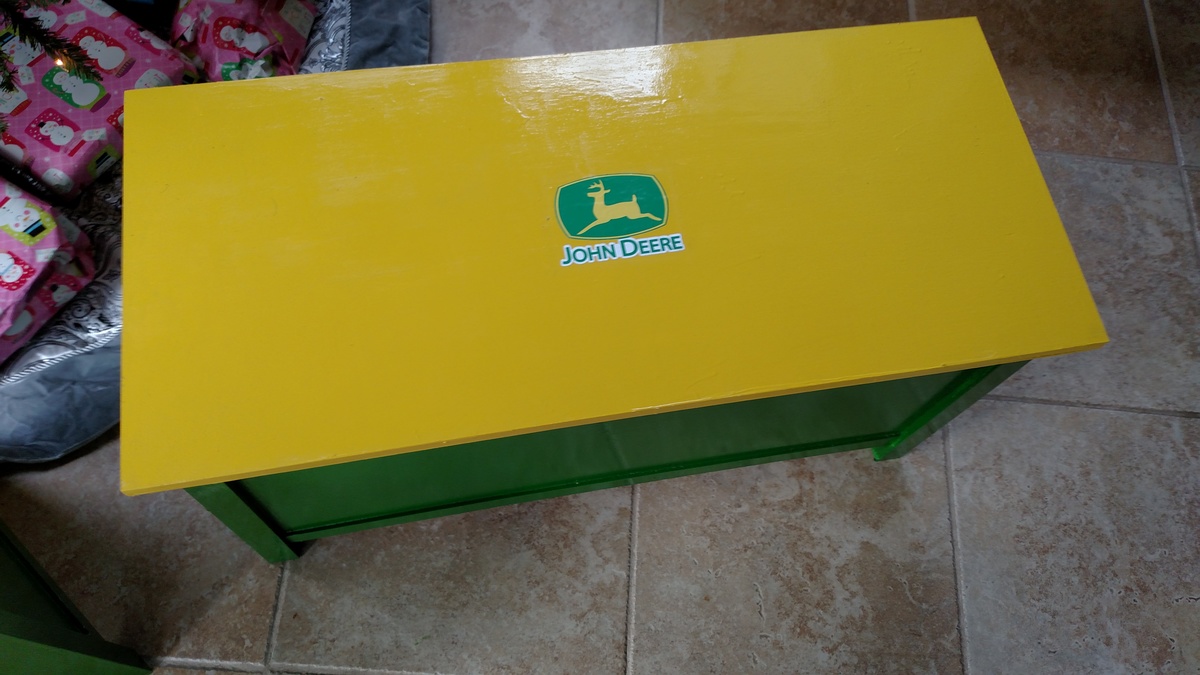
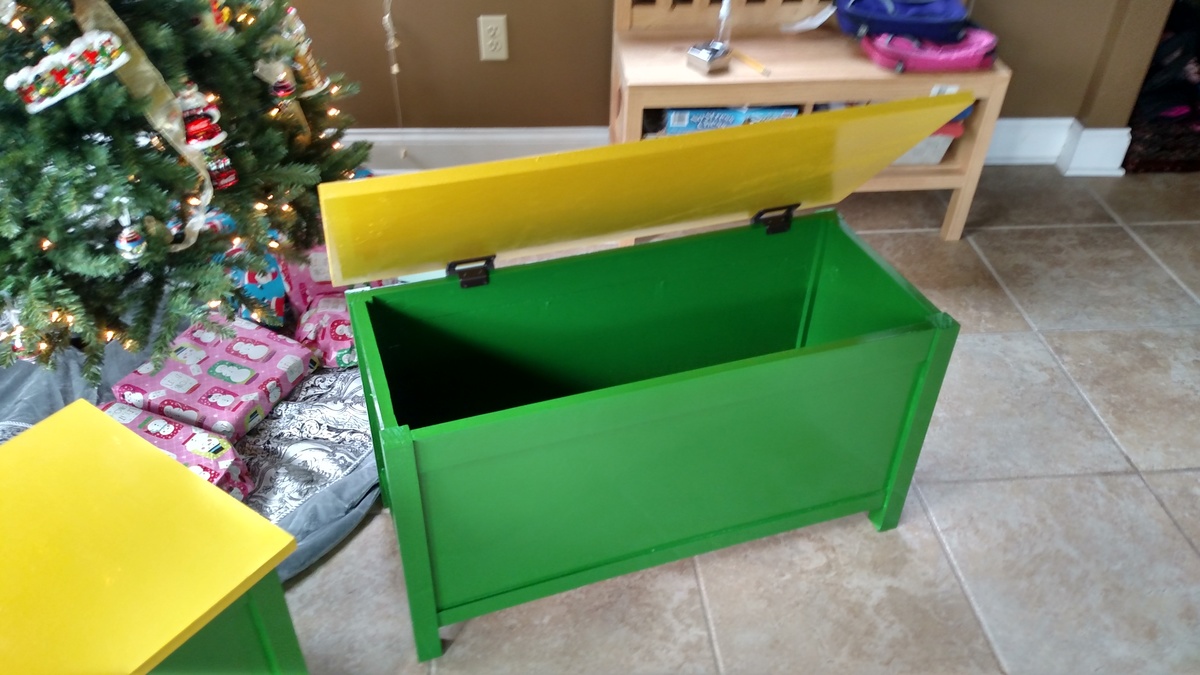
cubbies
Cubbies for kids bedroom.
2. two coats white semi gloss
Cubbies for kids bedroom.
My husband used your plans to make this for our pet chicken that we hatched in a homemade incubator. I painted it though!!!
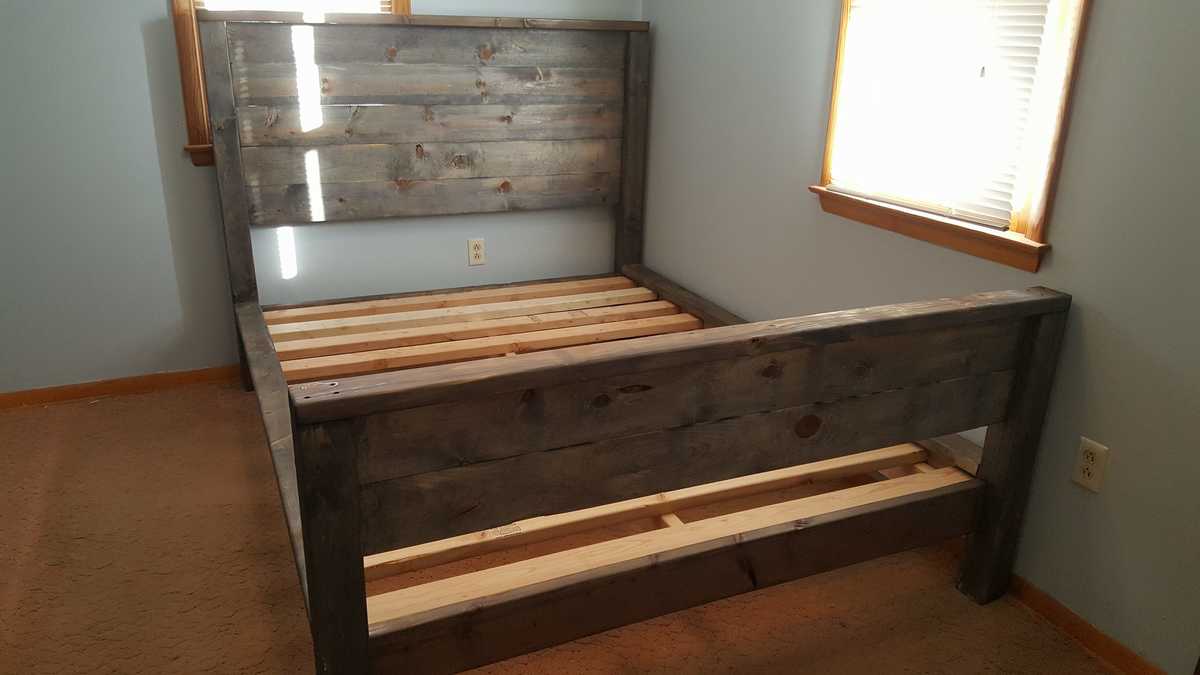
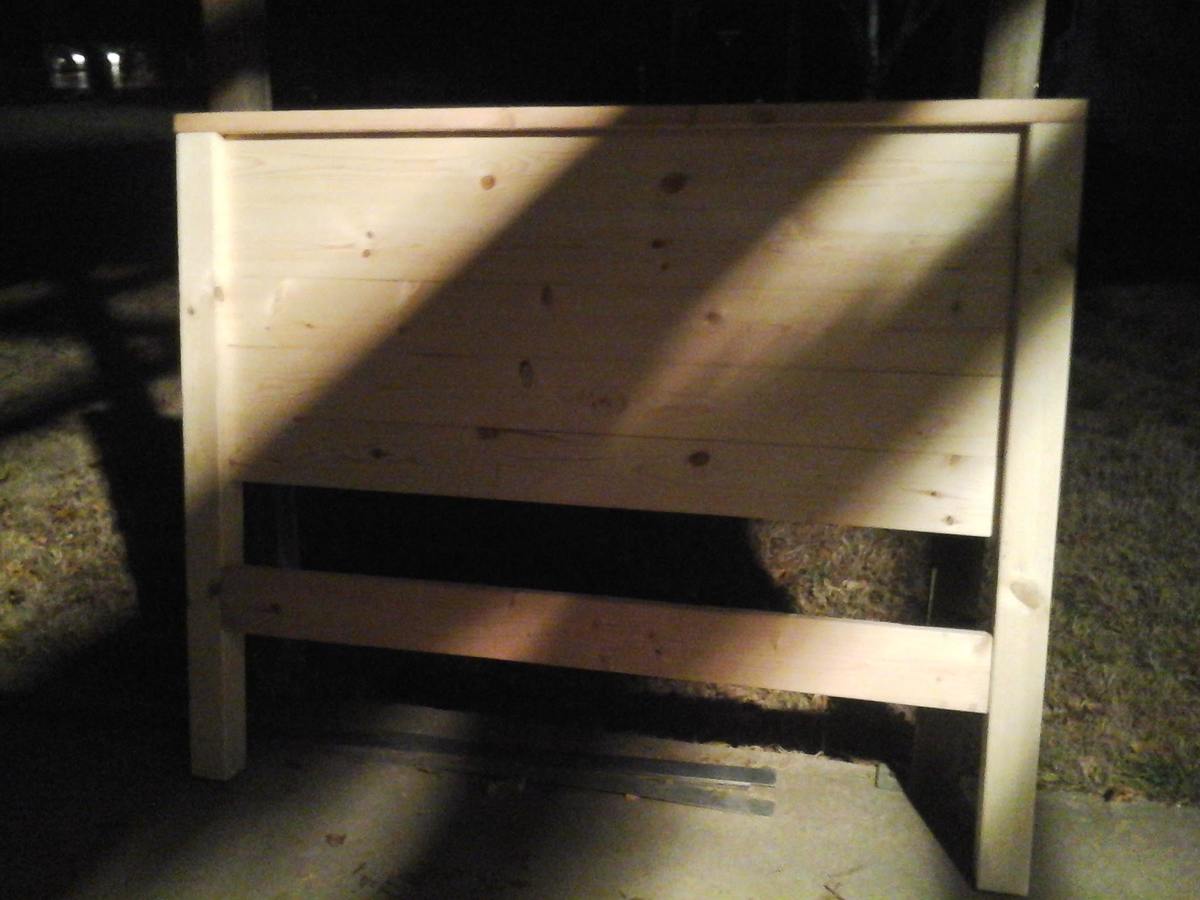
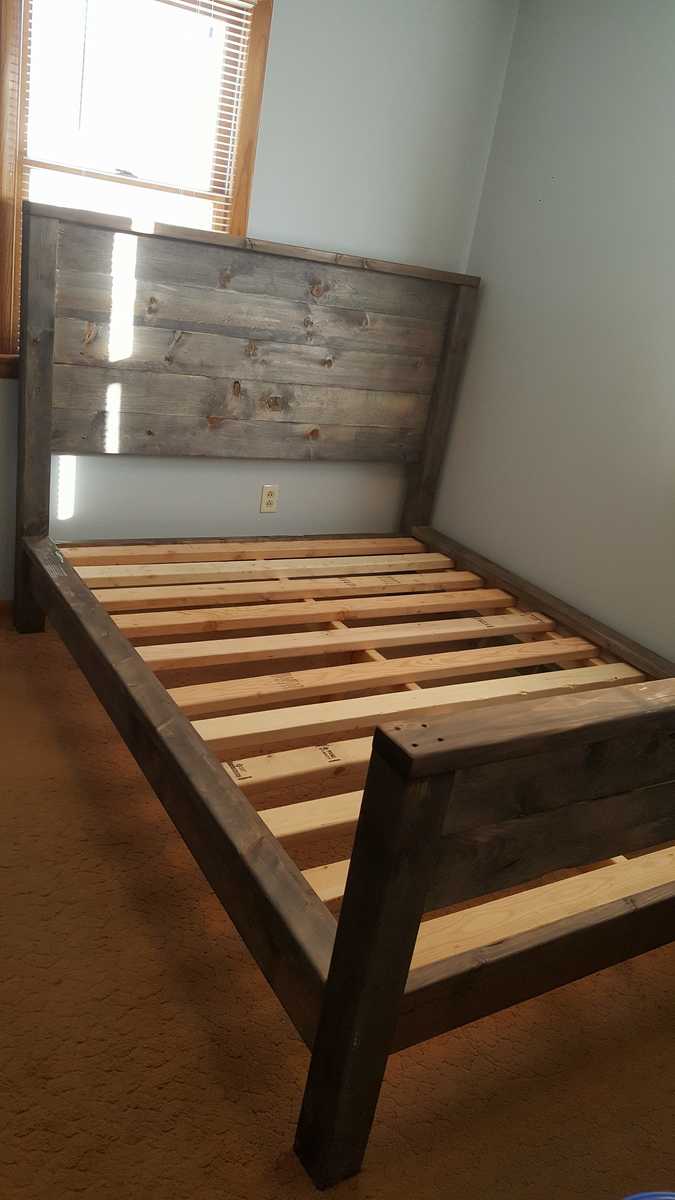
I had so much fun building this bed. I was able to bring home the wood and have it all built in one evening. It took the most time sanding. Once the entire bed was sanded smooth and stamp marks from the mill removed, I started the weathering process. I tried a spray bottle and wasted so much of the material. It ran and streaked. Once I figured it out, I took a foam brush and applied the aging liquid. It worked beautifully and came out perfectly even with the rough start.
Mon, 06/03/2019 - 15:26
This is really beautiful! I love the footboard.
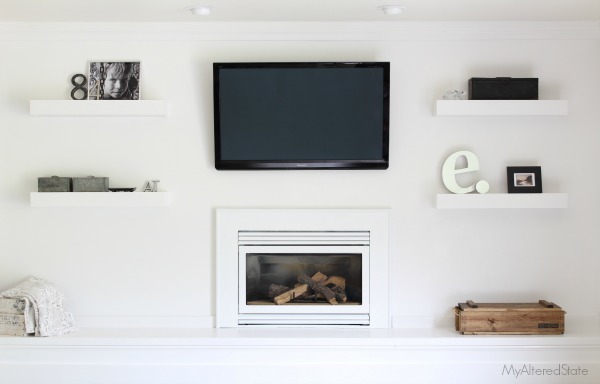
I needed a solution to my shelving problem. I wanted something clean looking, modern, and white to flank both sides of my fireplace. Count on Ana White to come up with a plan. Within seconds of sitting down to surf her site, I found that perfect plan to build four floating shelves.

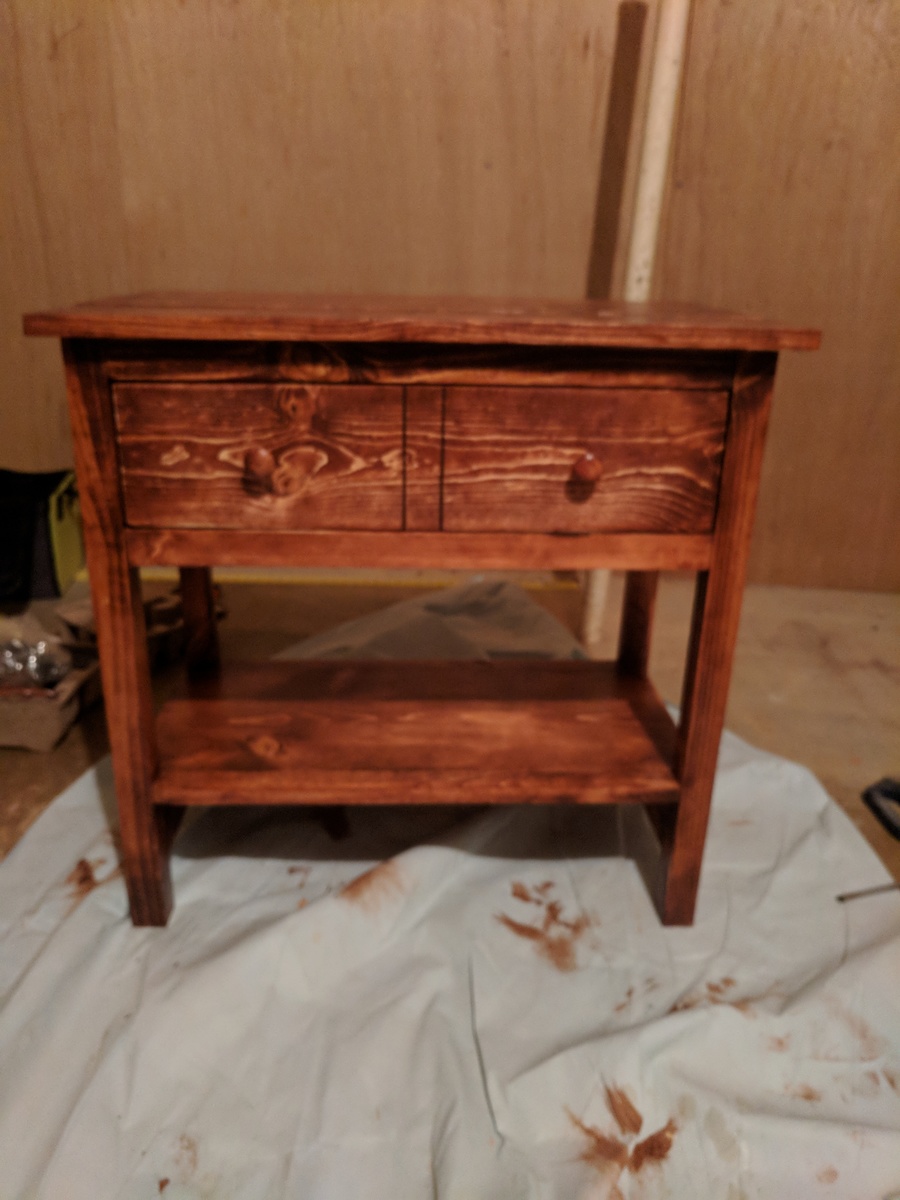
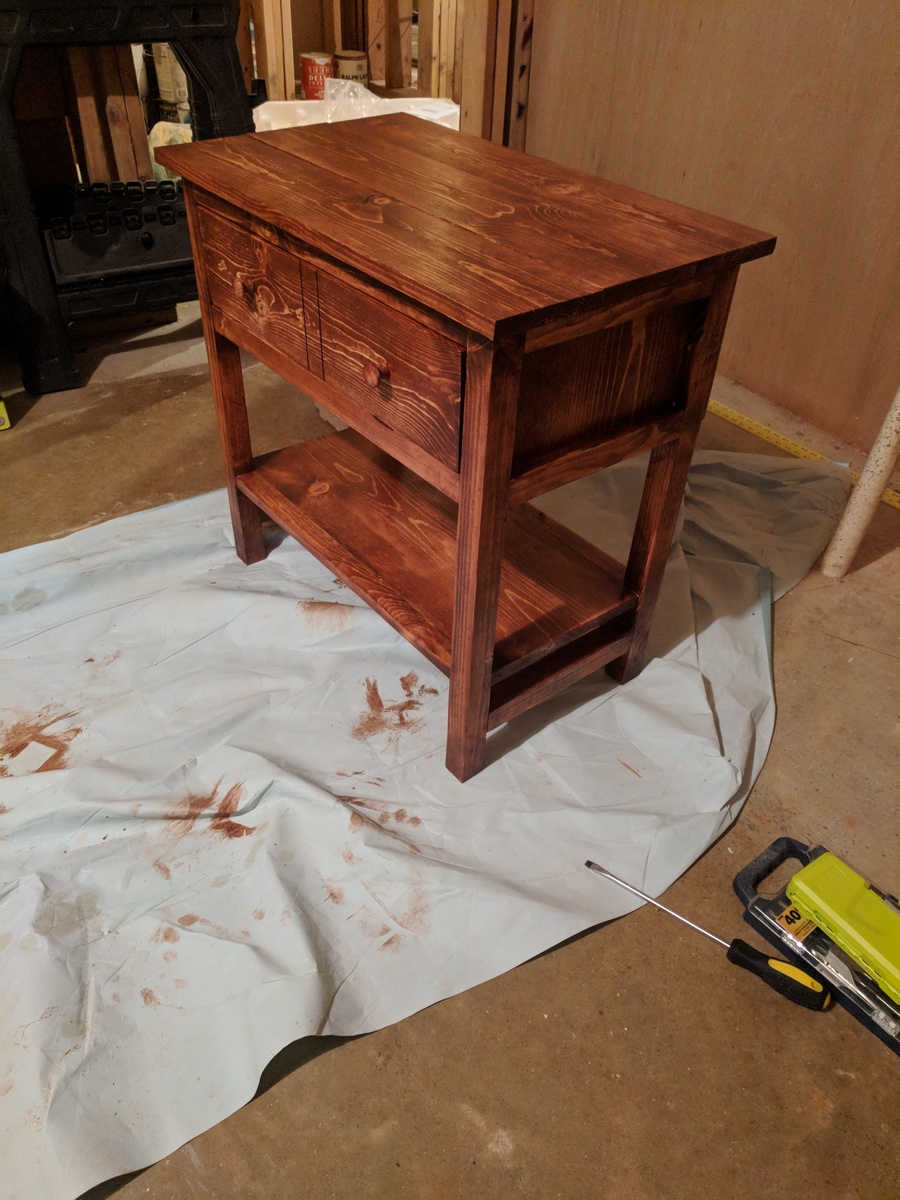
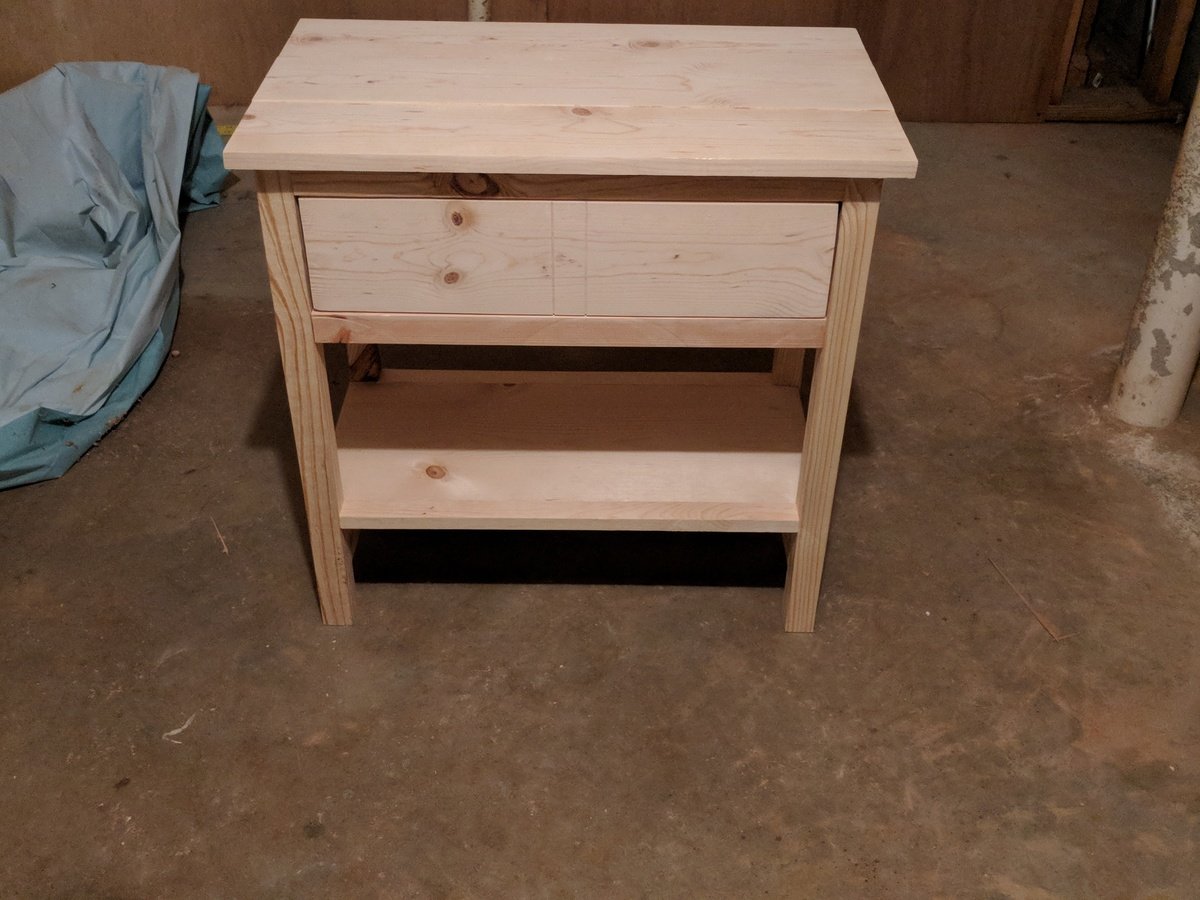
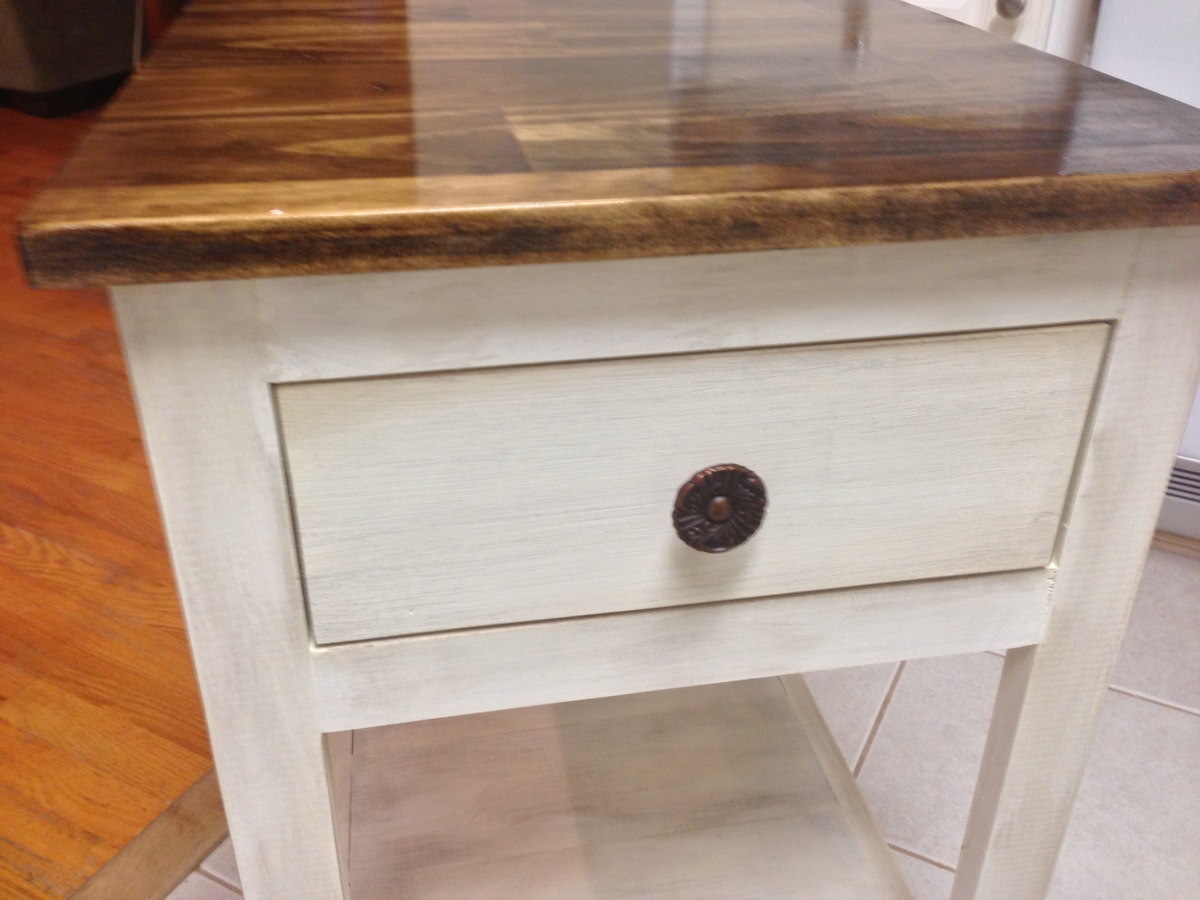
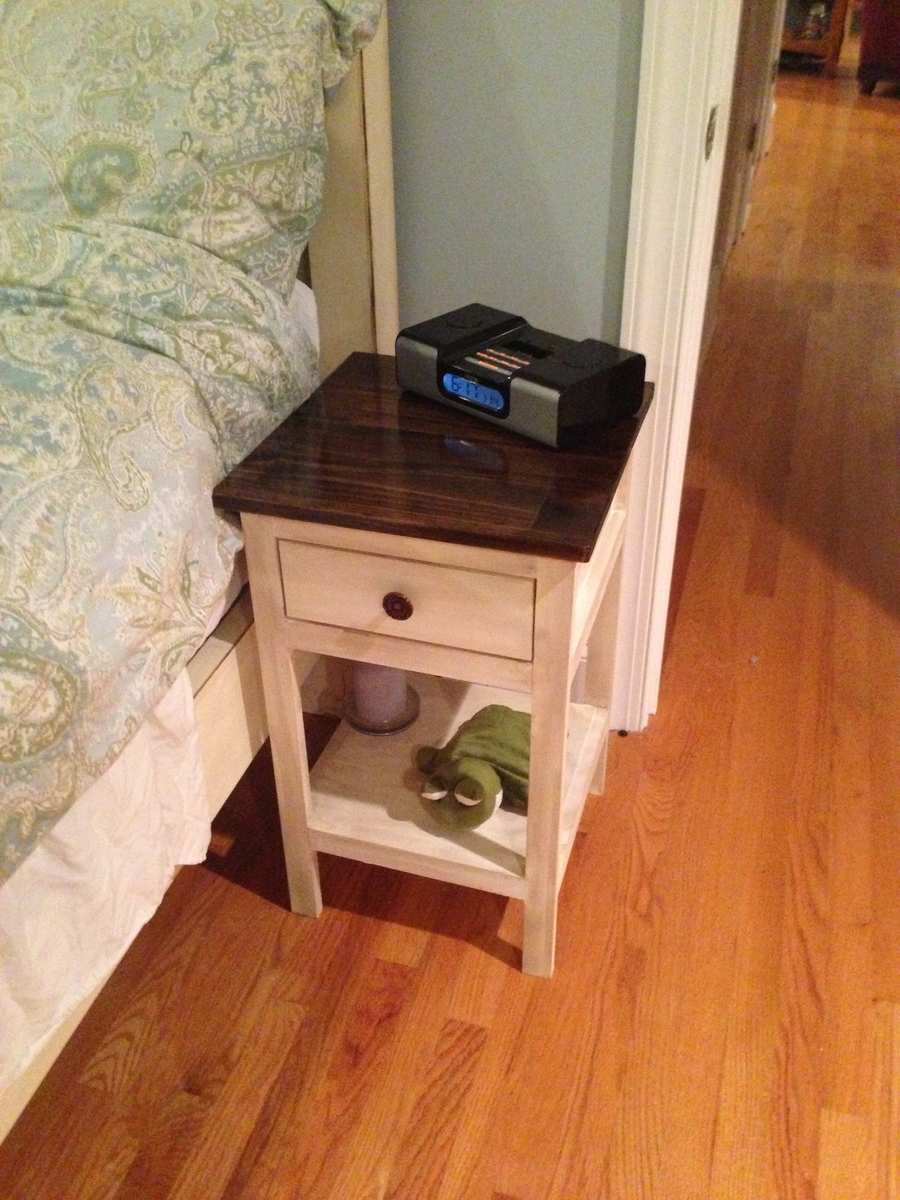
Building a pair with this one first for my wife. First time using the table saw to rip the 2x2s and 1x2s and I'll never use.anything without a square edge again! Arm-R-Seal from General Finishes is the best!
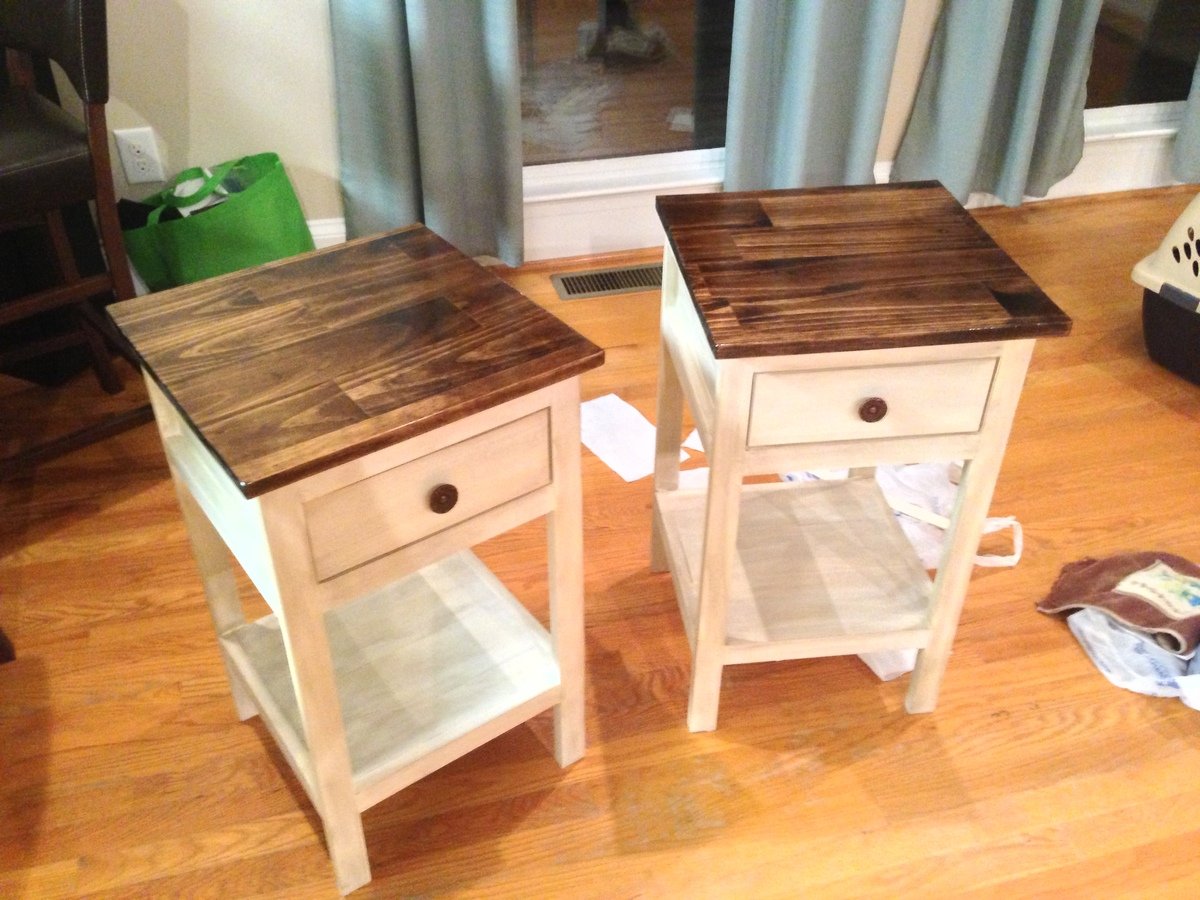
Use poplar because it takes paint so well. Ended up using a preambled worktop for the top. Pocket screws and glue.
I really really wanted a farmhouse table...but...we had a space that needed a square table AND I needed to fit 8-12 people (or more!) so we modified Ana's farmhouse table plans to not only be square, but really big as well. This table is 6 ft on each side. Since the table itself was so big, we reversed the breadboard ends and used a 2x4 on 2 ends just to even out the size a bit since is not rectangular...and the area is quite small but needed a big table. I didnt want it to be completely out of proportion. We did not use a stretcher because of the square factor, but each leg is a 4x4 post and reinforced underneath. It's HEAVY. It won't be moved anytime soon! I'm loving it:)

Wed, 01/13/2021 - 07:59
Can I ask how you reinforced the legs? Thanks for your response.
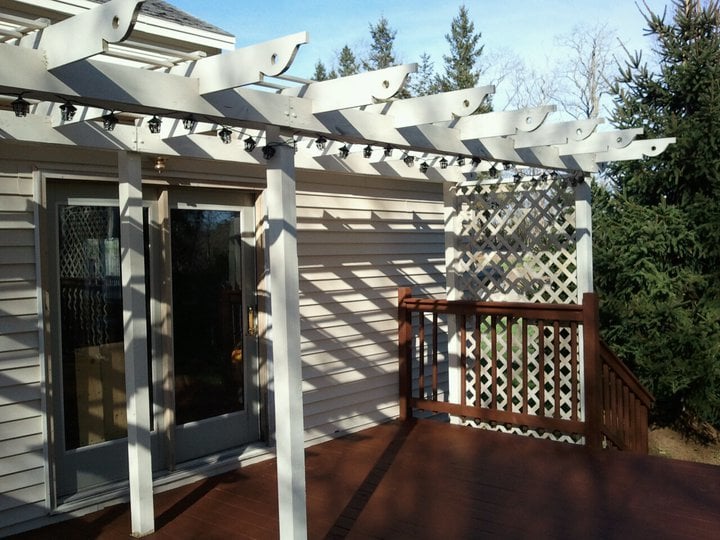
I've wanted a pergola for a long time. I liked some parts of the Weatherly Pergola, but needed some different aspects because of my deck, property and locale. I did some research, laid out a modified design and plan - and voila! Easy as pie - you just need 2 people (or more) because of the weight of the cross beams support. I did it myself using clamps, but I don't recommend it.
My current project is designing cabinets and a bar for an outdoor kitchen to go under the pergola! :D
Herb Garden Planter Project - Such a simple project that costs less than $5.00
I added L brackets to the corners for a different look. I spray painted the brackets with a copper finish. I did not need to use wood filler because I covered the nails with the L Brackets.
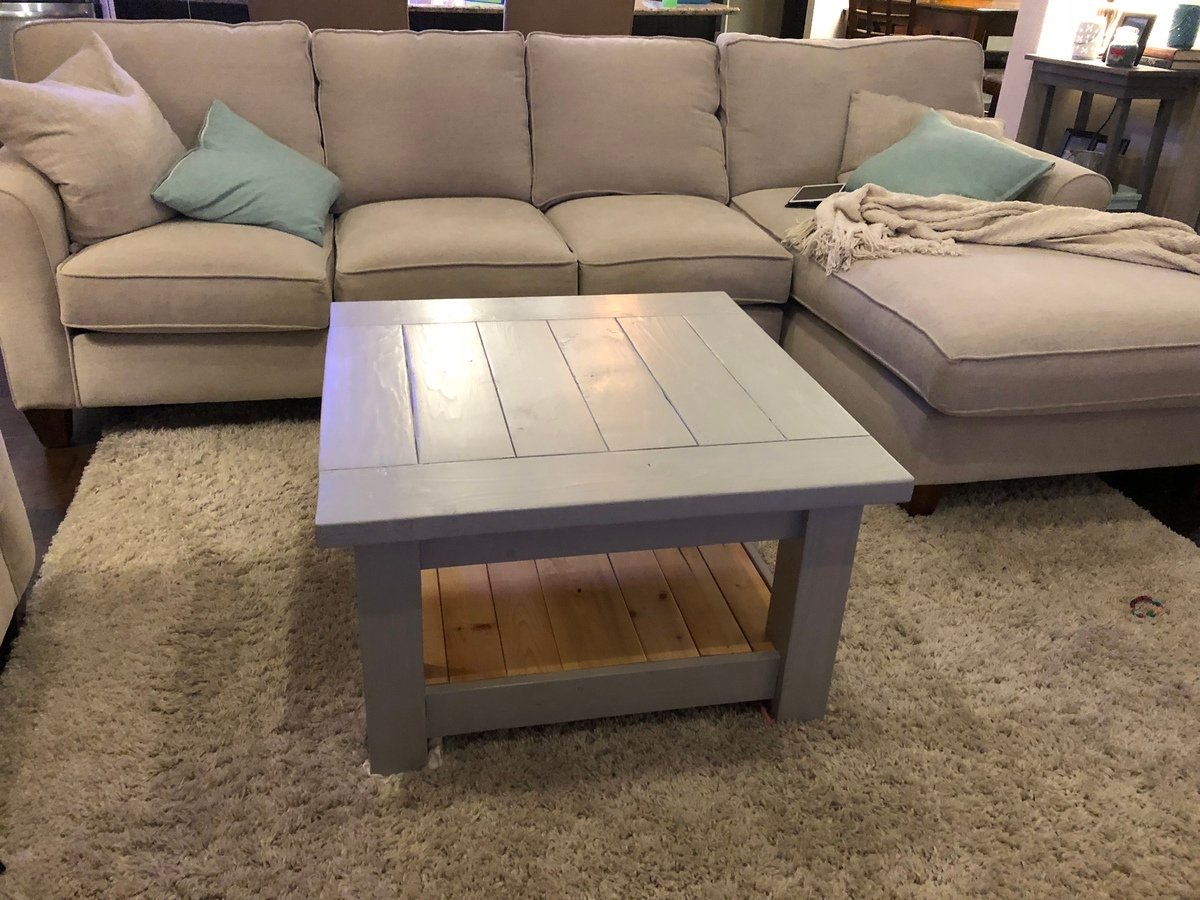
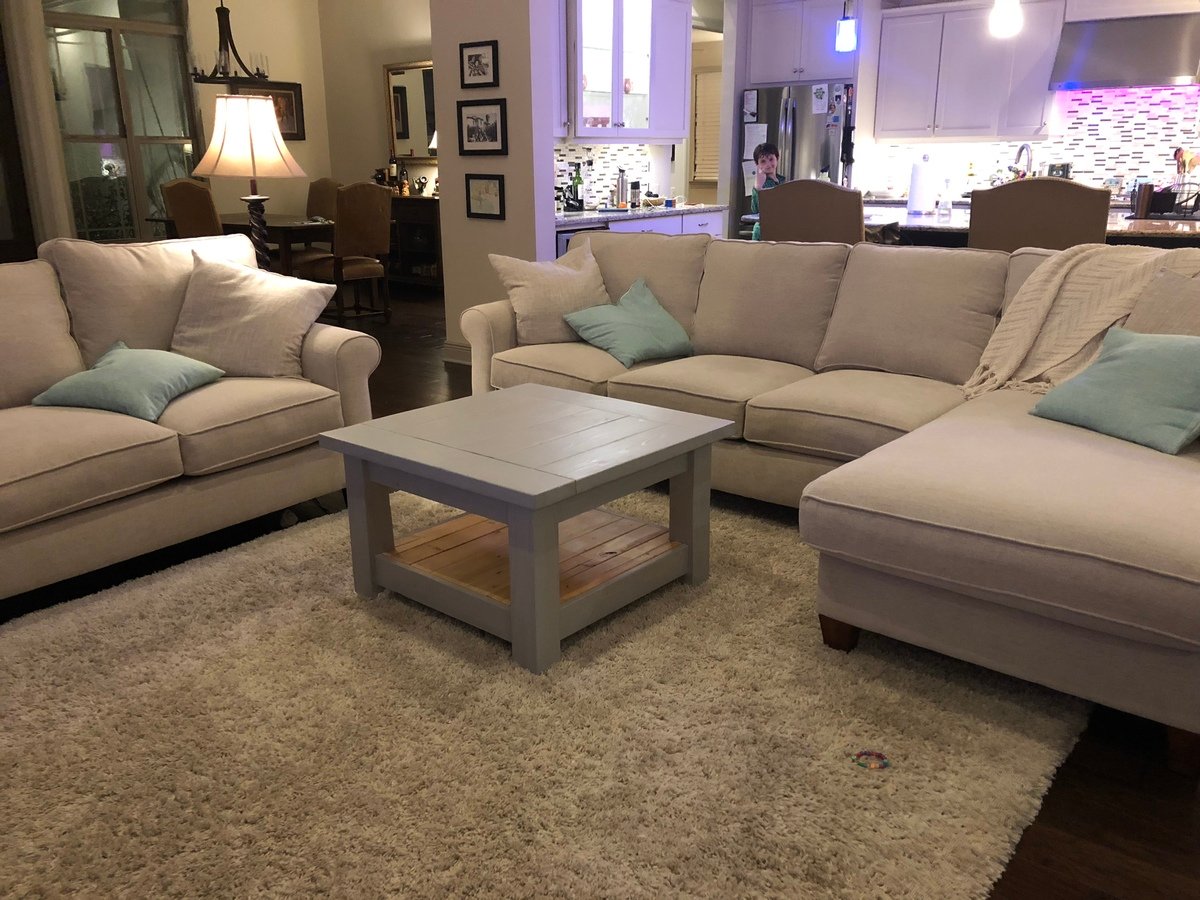
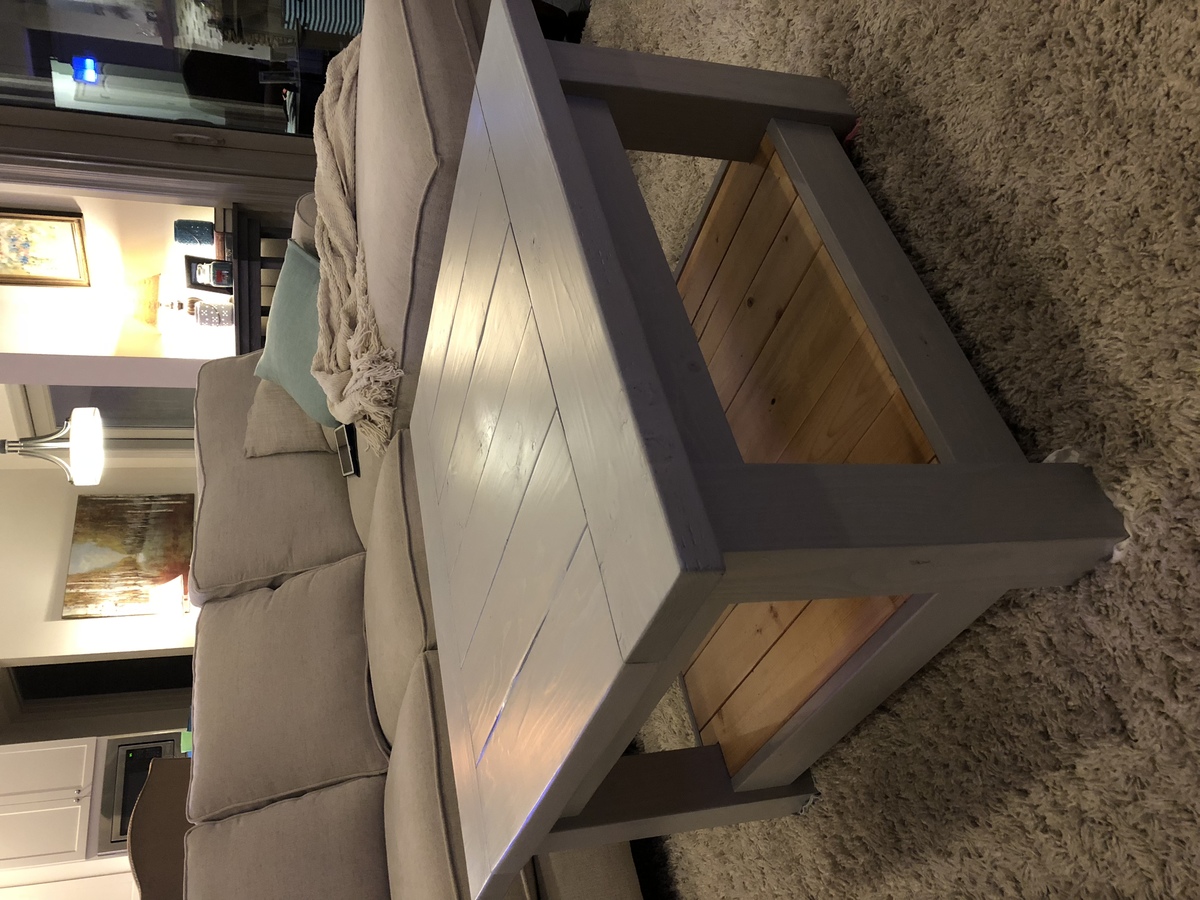
It was time to replace our 12 year old rectangular coffee table. I used the corona coffee table plans with a few modifications.
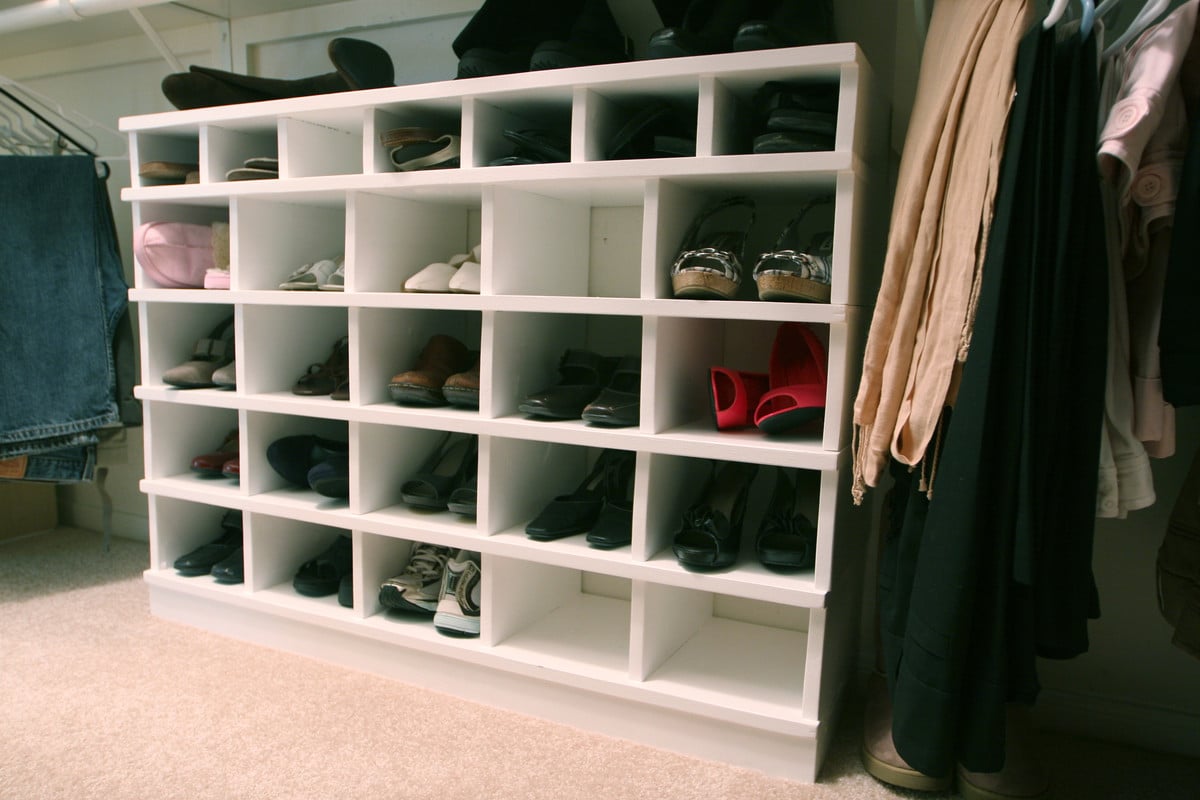
I took the 25 cubbies plan and changed the dimensions to fit shoes. I made a simpler version for my husband too. This project went together quickly and was so fun to build.
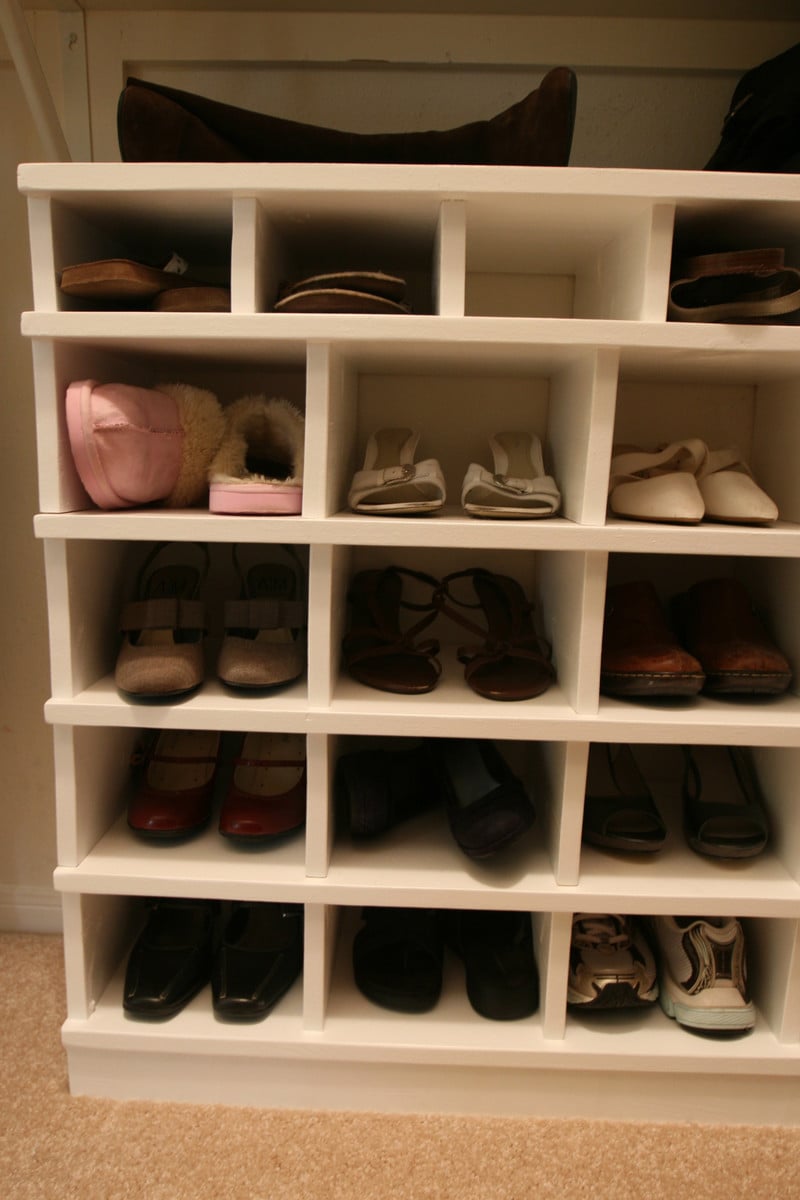
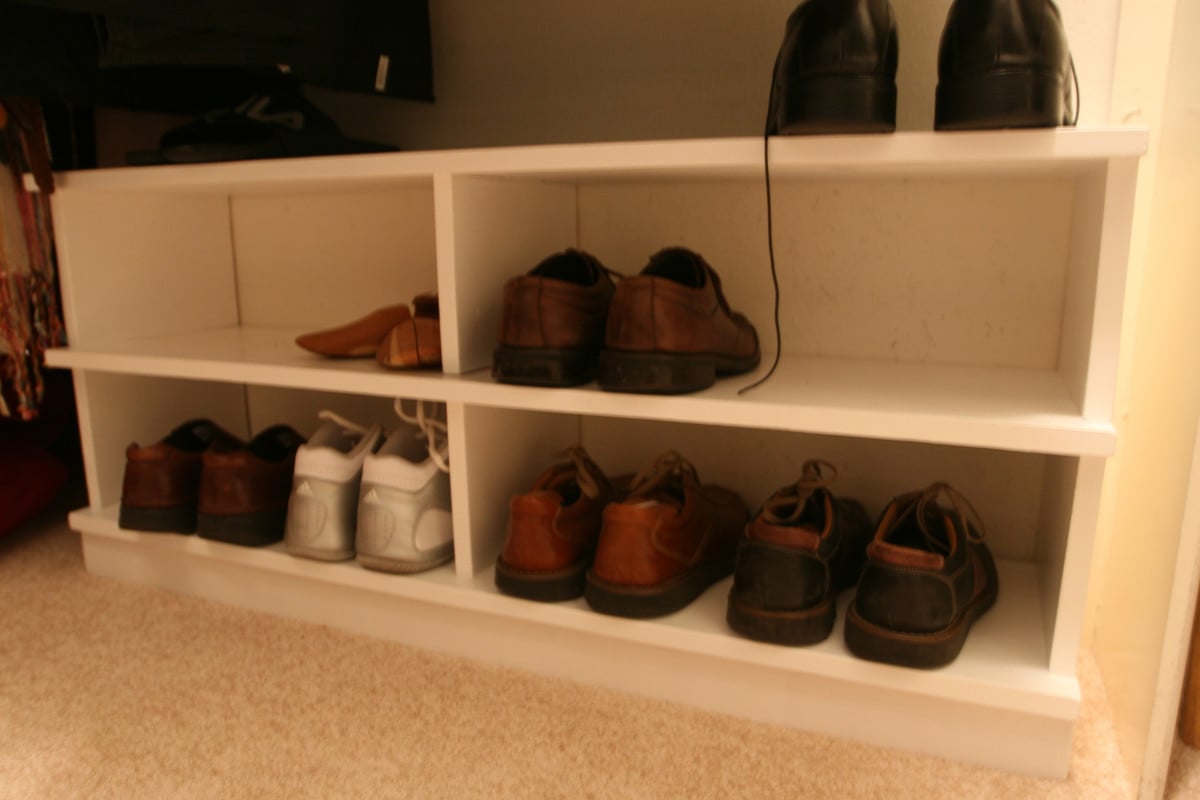
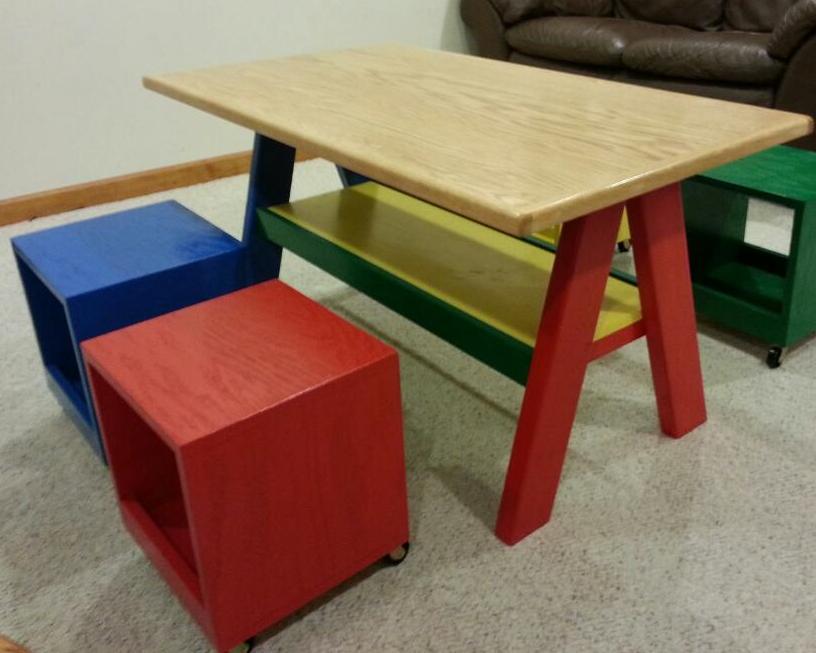
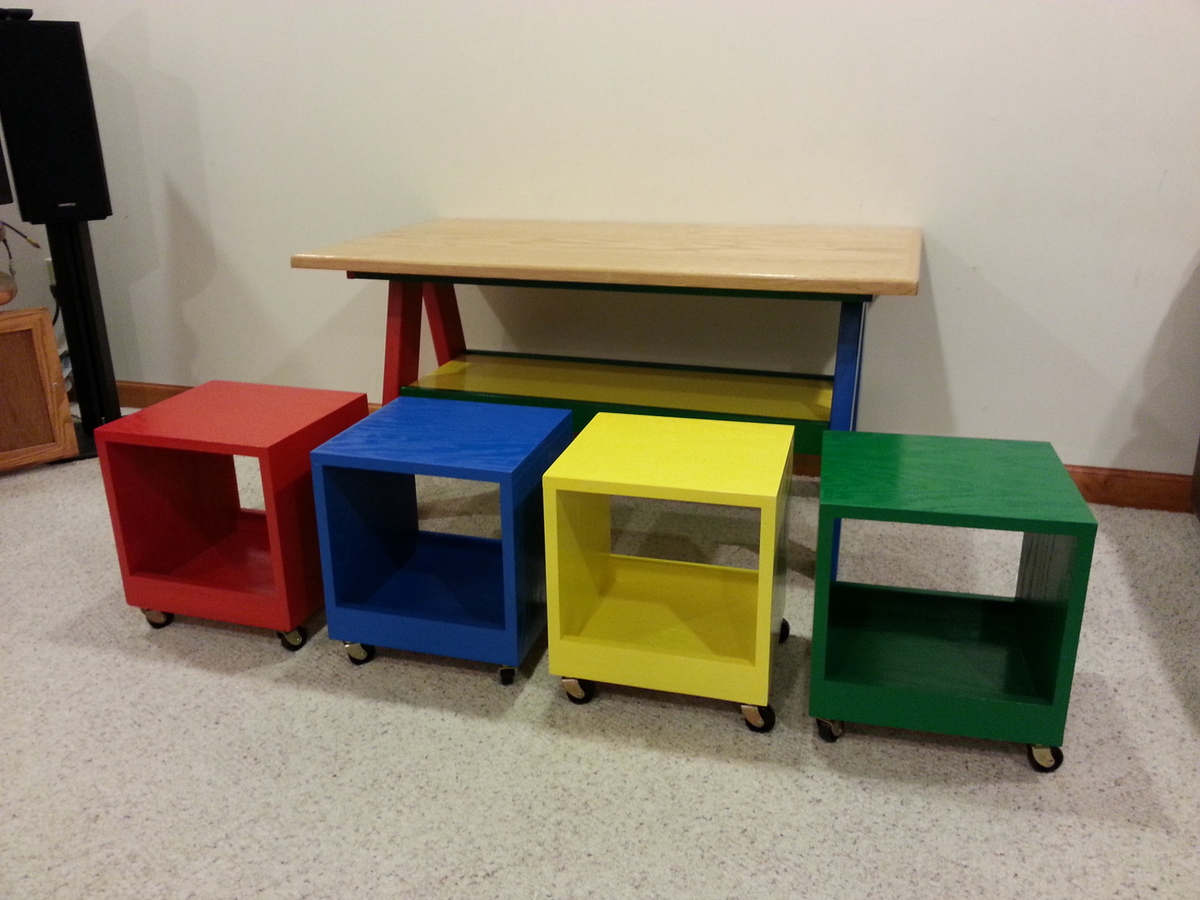
Table made for friends grand-kids using left over oak plywood. Storage cube seats from Shanty2chic plans. http://www.shanty-2-chic.com/2012/07/rolling-storage-cube-stools.html
Tue, 07/23/2013 - 19:01
I built this as one of my first projects...it was a great confidence builder!! I love the way yours turned out and your colors are so cheerful and fun! Great job!!
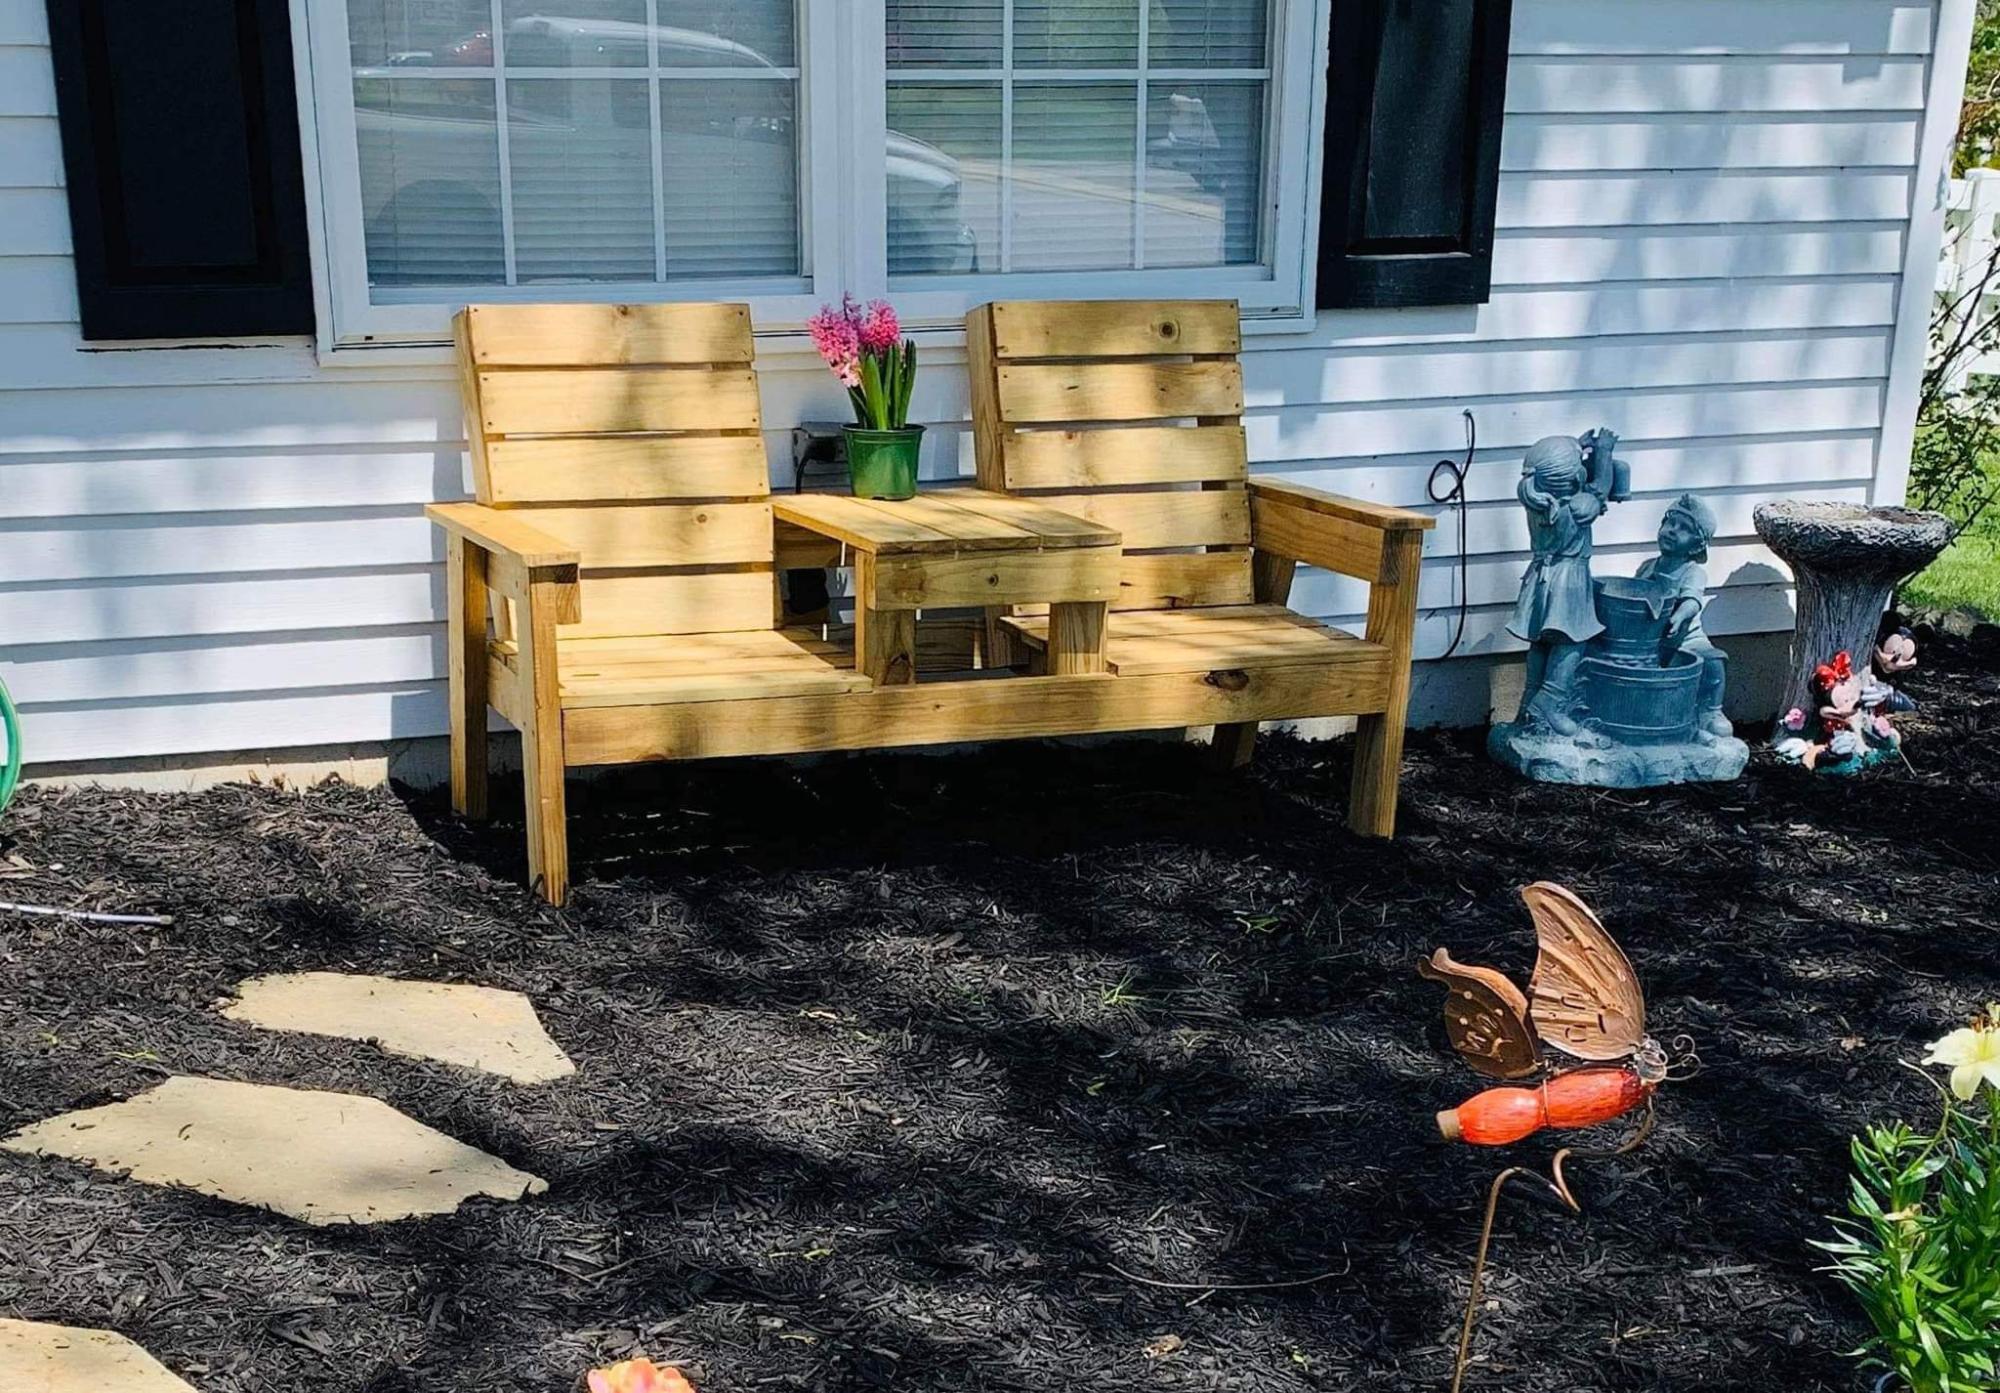
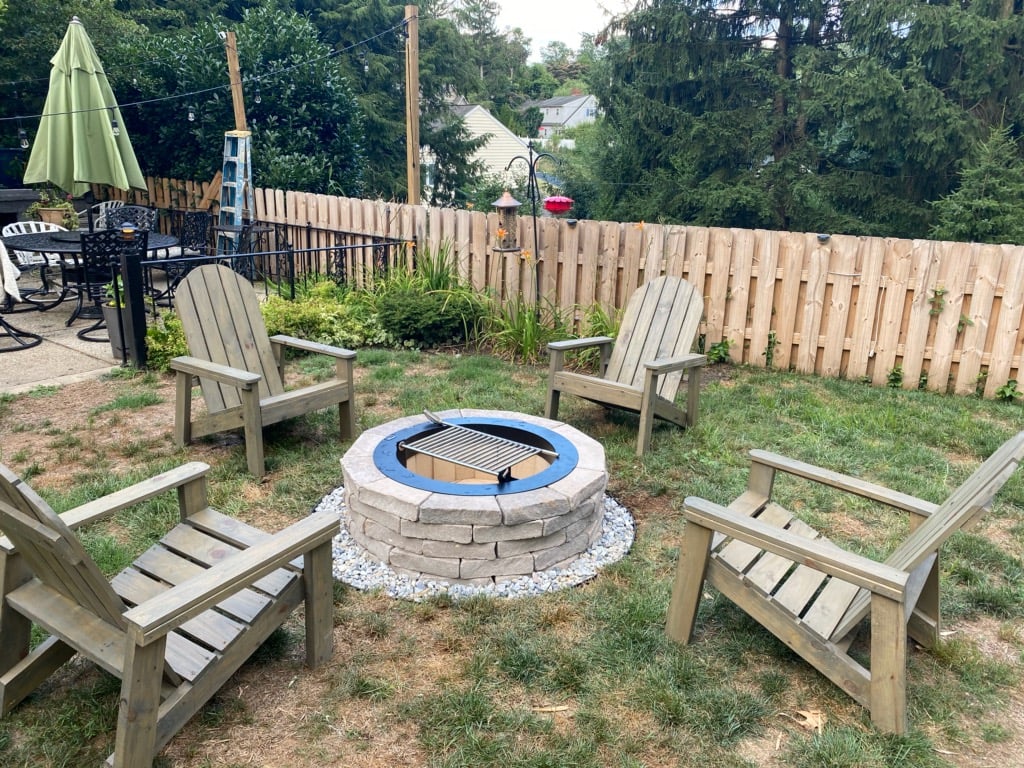
Nice outdoor bench and adirondack chairs by Nick!
Been a while since I had time to actually build anything worth posting about! My wife wanted some items for her Kindergarten classroom this year, so built several items, most inspired by the Farmhouse family.
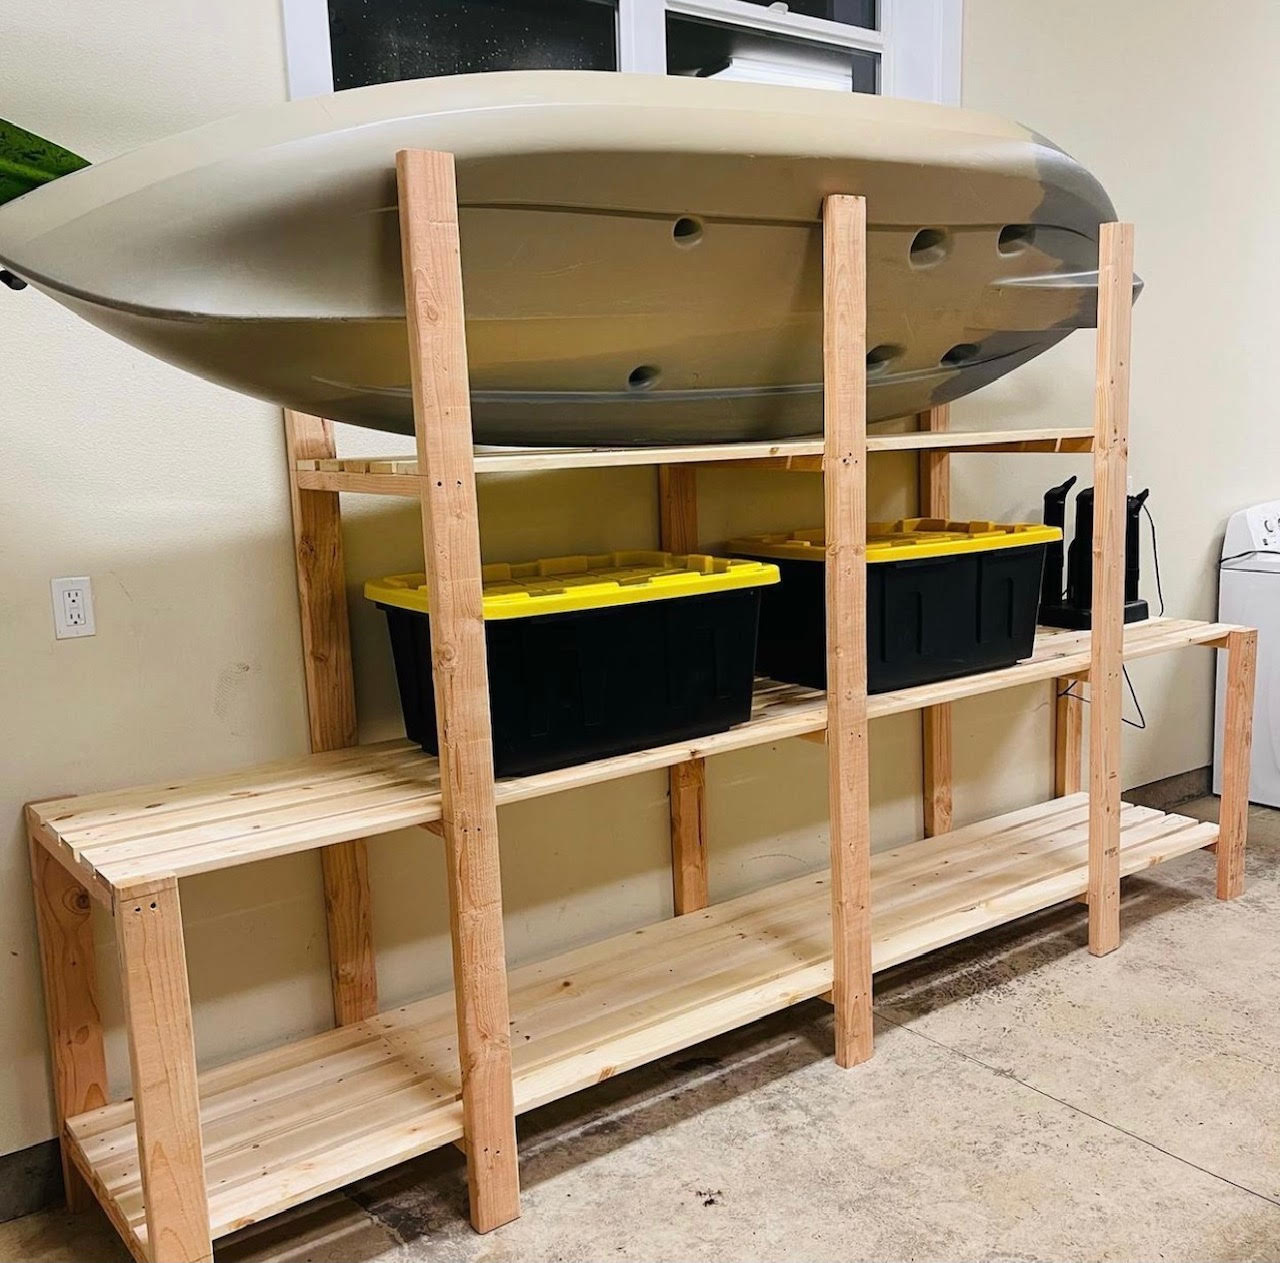
I used Ana's simple freestanding garage shelves plan. I made a couple modifications and left the top open to also store a kayak, it works great!
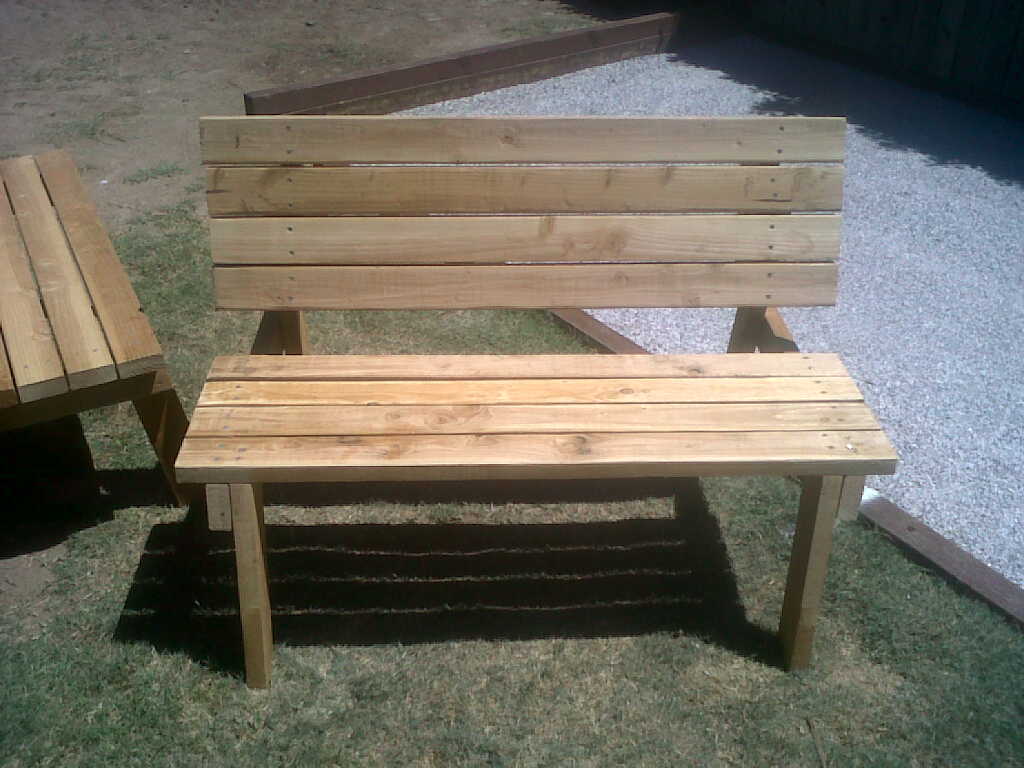
I found out what the rack in the drive up area of my local Lowes was!
I often see piles of wood and sheets or plywood and such sitting there, but I never paid it much mind-turns out its a clearance rack of sorts they call it the "cull" rack, because they are culling the items from inventory that may be cut, chipped marked etc.
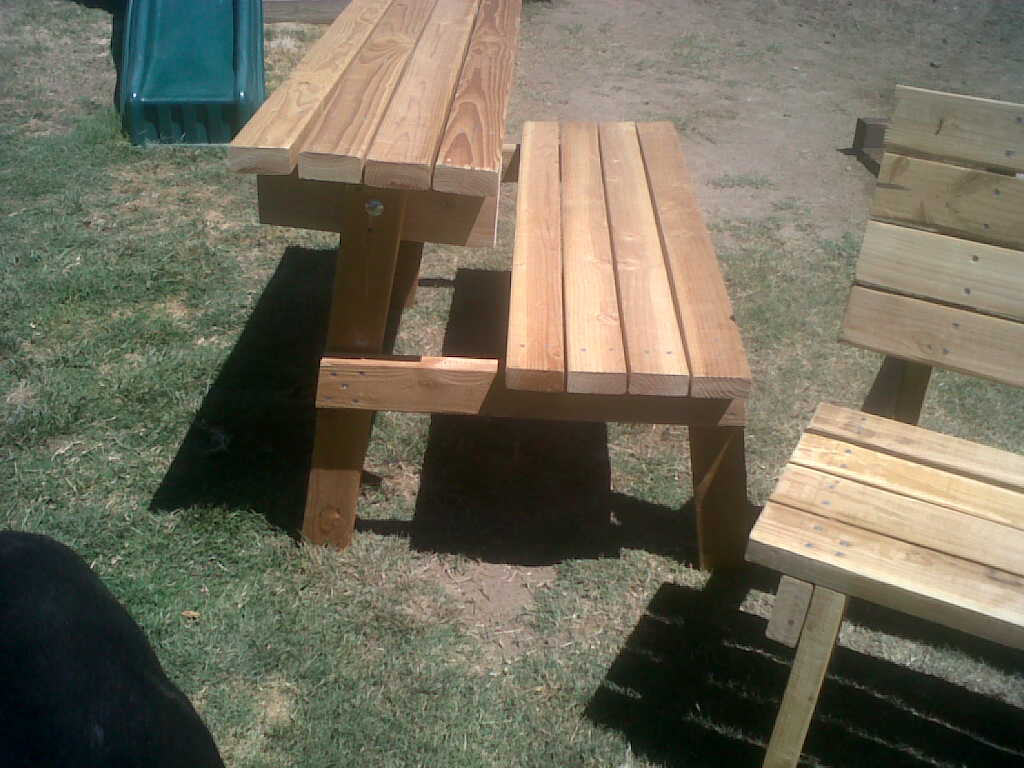
So I was at the store buying something for my Bocce Court and saw this pile of 16ft 2x4's and saw they were only $20 and there was 8 of them- so I picked em up for a "future project".
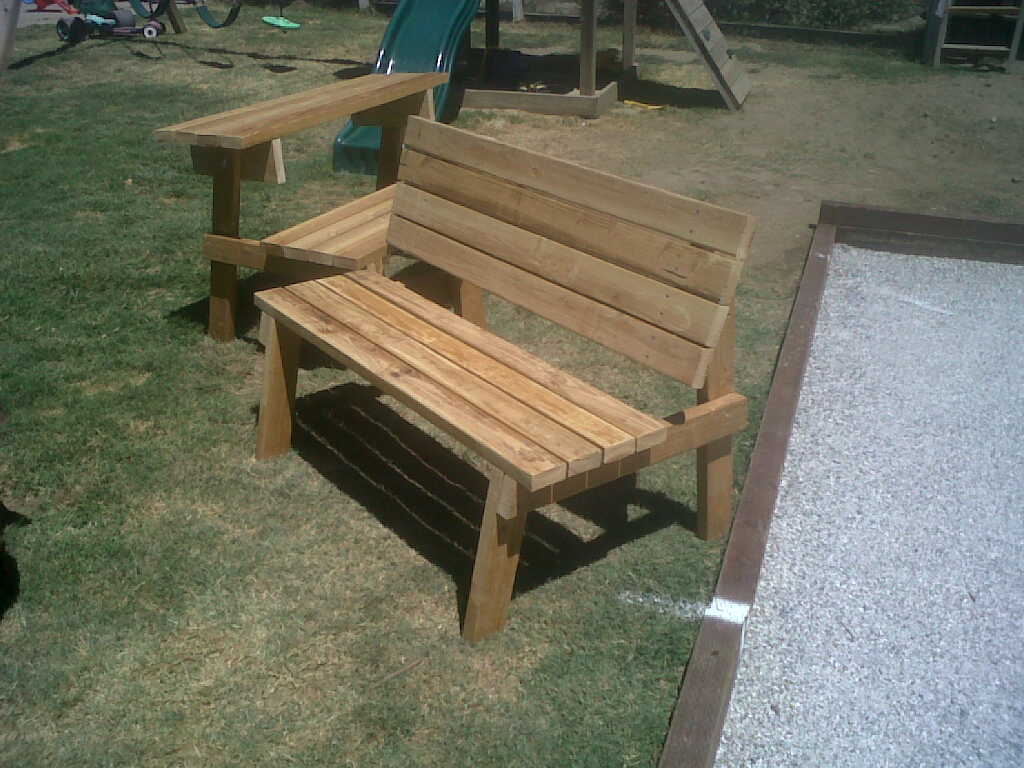
Needless to say they weren't the truest boards but they worked well enough for something like this. I had to buy a 2x6 to attach the top to because 2x4's aren't wide enough to give proper clearance as the plans showed(and I really didn't want to reinvent the wheel on this) so i bit the bullet and bought a $3 2"x6"x8'
Now if you notice I used all 2x4's for this instead of 2x6 so I adjusted the top to 14 1/8 to accommodate 4 2x4 pieces separated by spacers I use when installing wood floors. I made no change to the seat dimensions, but there is 4- 2x4's vice 3- 2x6's.
Great plan- perfect for more seating on my weekly bocce nights and they hold in excess of 600 lbs easily for those concerned about load limits.
(Note for those curious, that is my Bocce court in the background, it is 10'x60' and built with pressure treated 4x6's and 2x4's and a whole bunch of DG and crushed oyster shells.)
Thu, 02/23/2012 - 11:14
I plan to build several of these for my daughter's family. They stand around a fire most nights in the spring. Those nights often end up with roasted hot dog dinners with the friends who have dropped by. The dual purpose of these would be perfect!
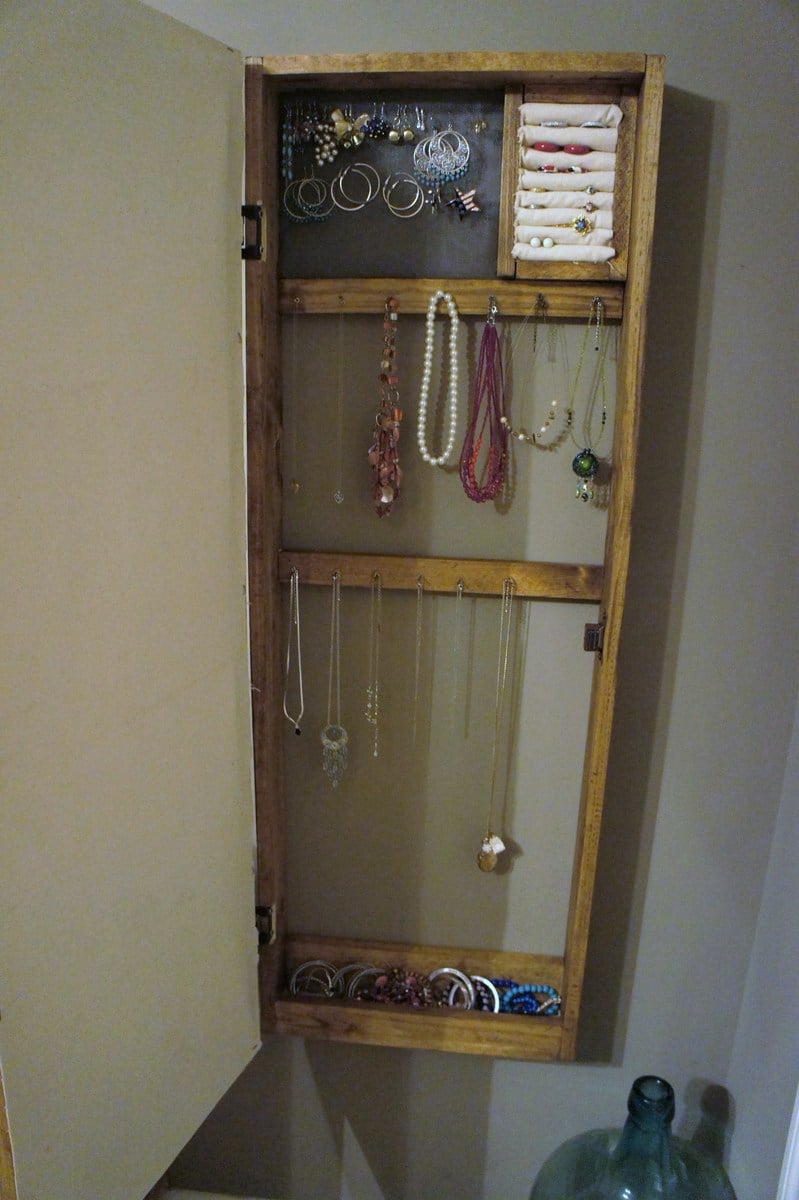
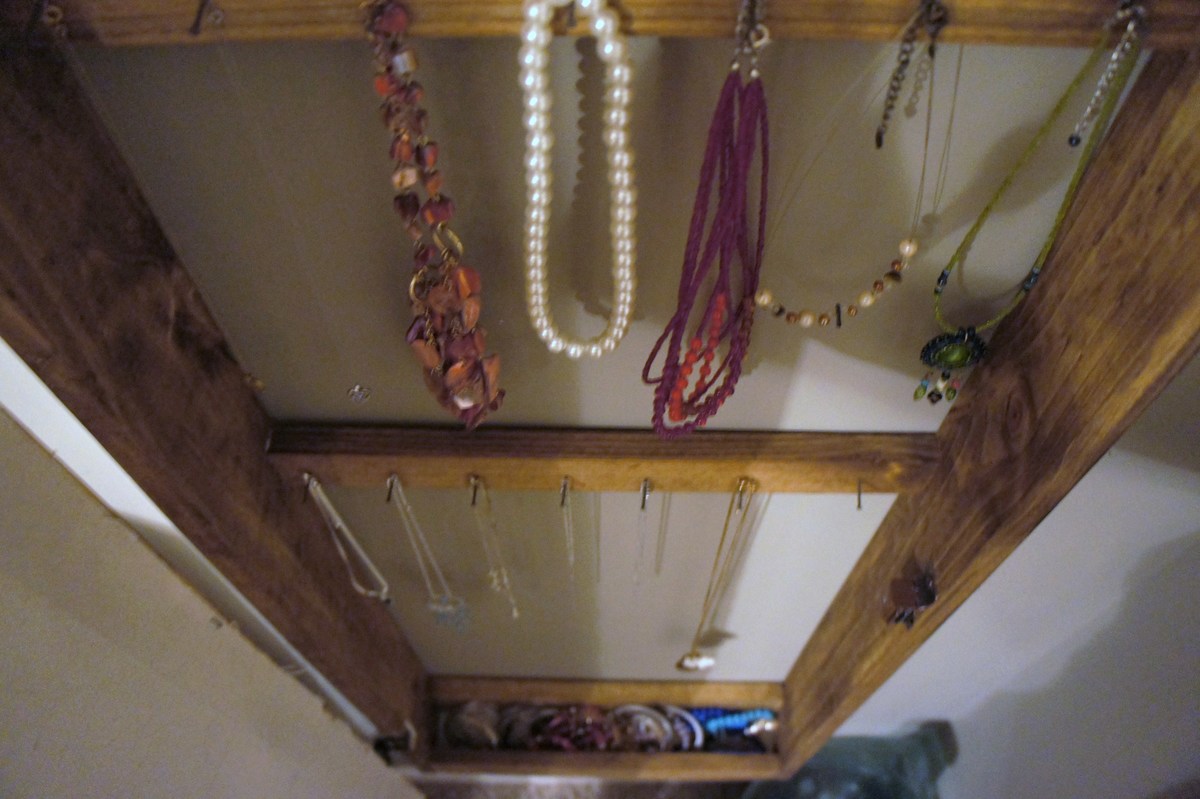
My bedroom was missing a mirror so I decided to make this jewelry armoire with a mirror front.
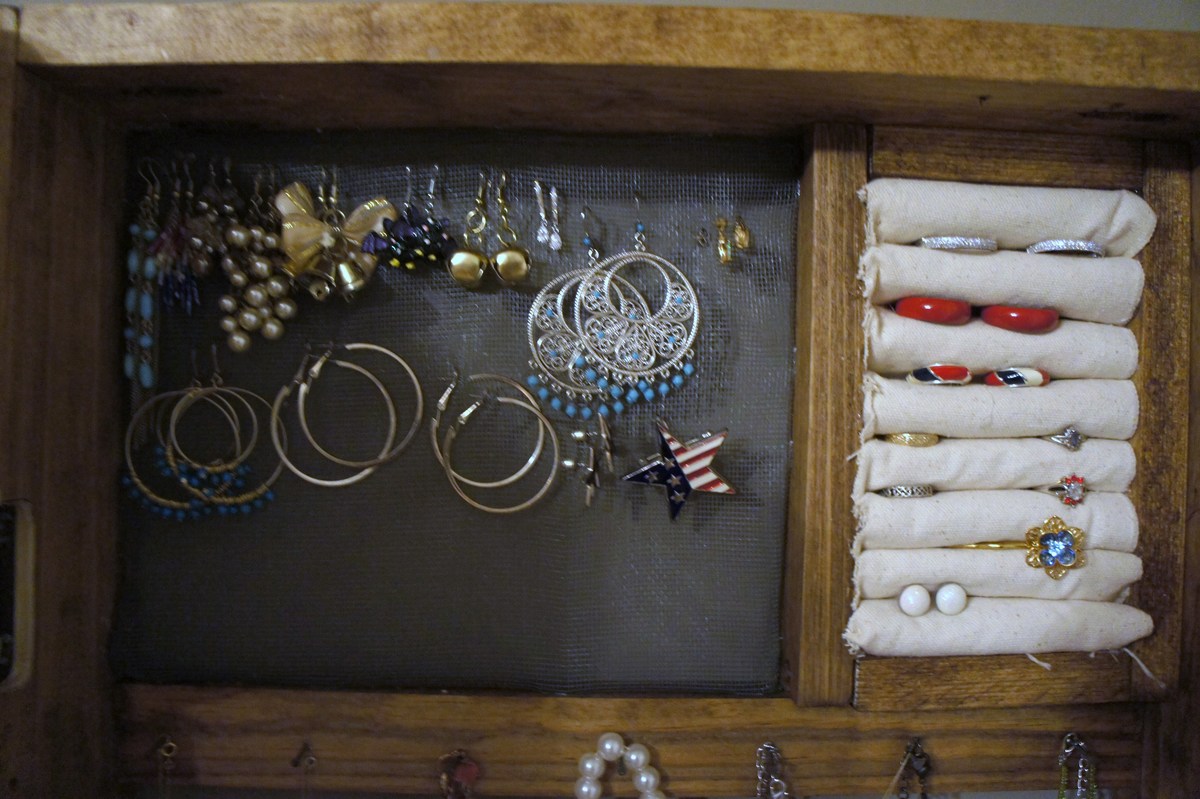
I followed the plans very closely, but had to adjust the measurements to accommodate my mirror. I used a piece of screen for the earring holder and rolled up pieces of felt that I covered with fabric on the ring holder. I decided against using a handle since the cabinet is so long.
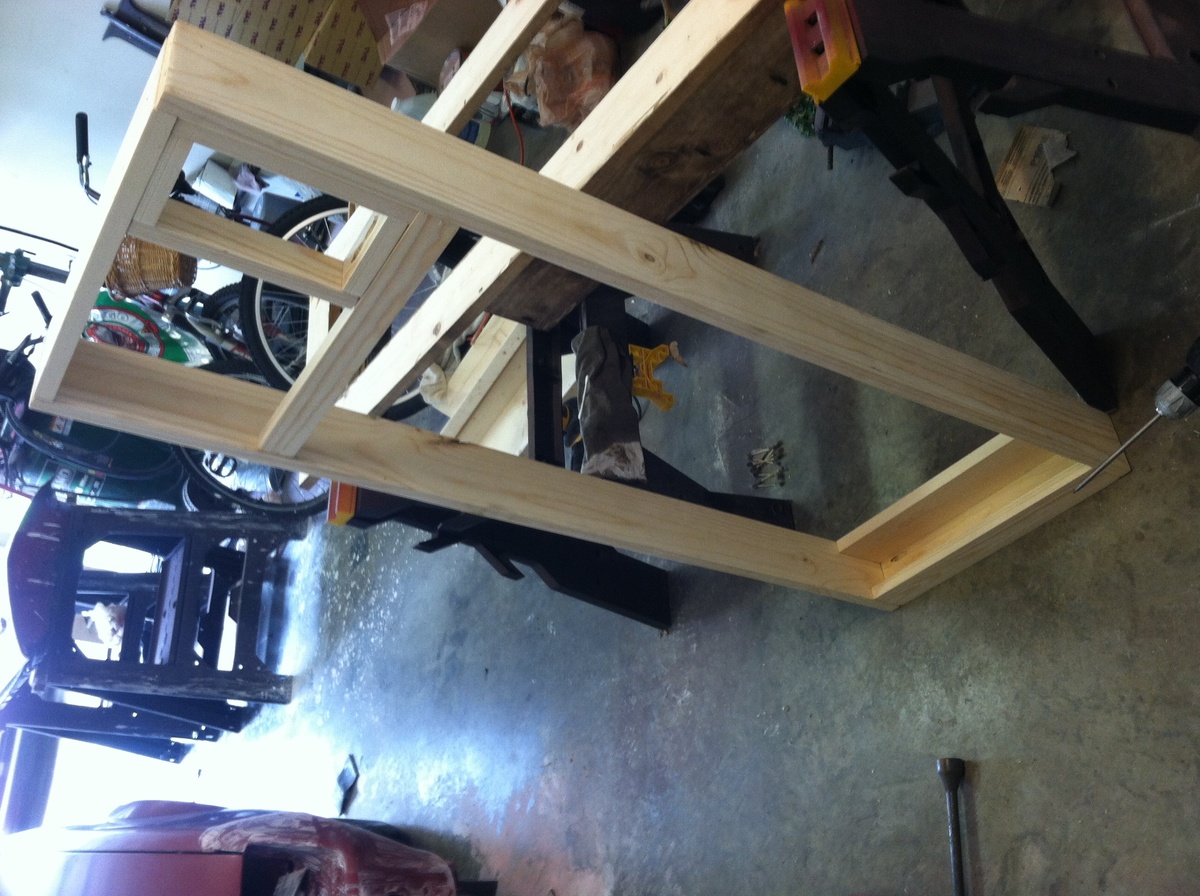
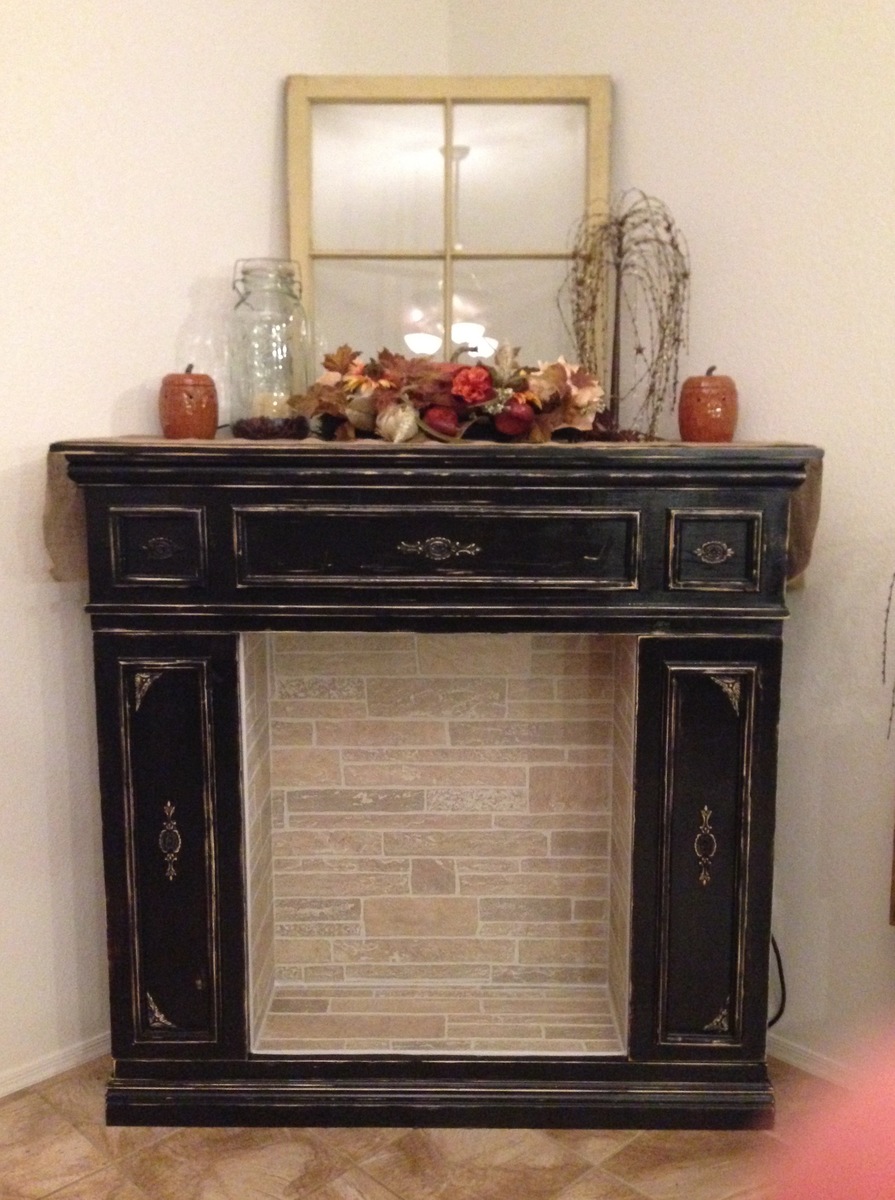
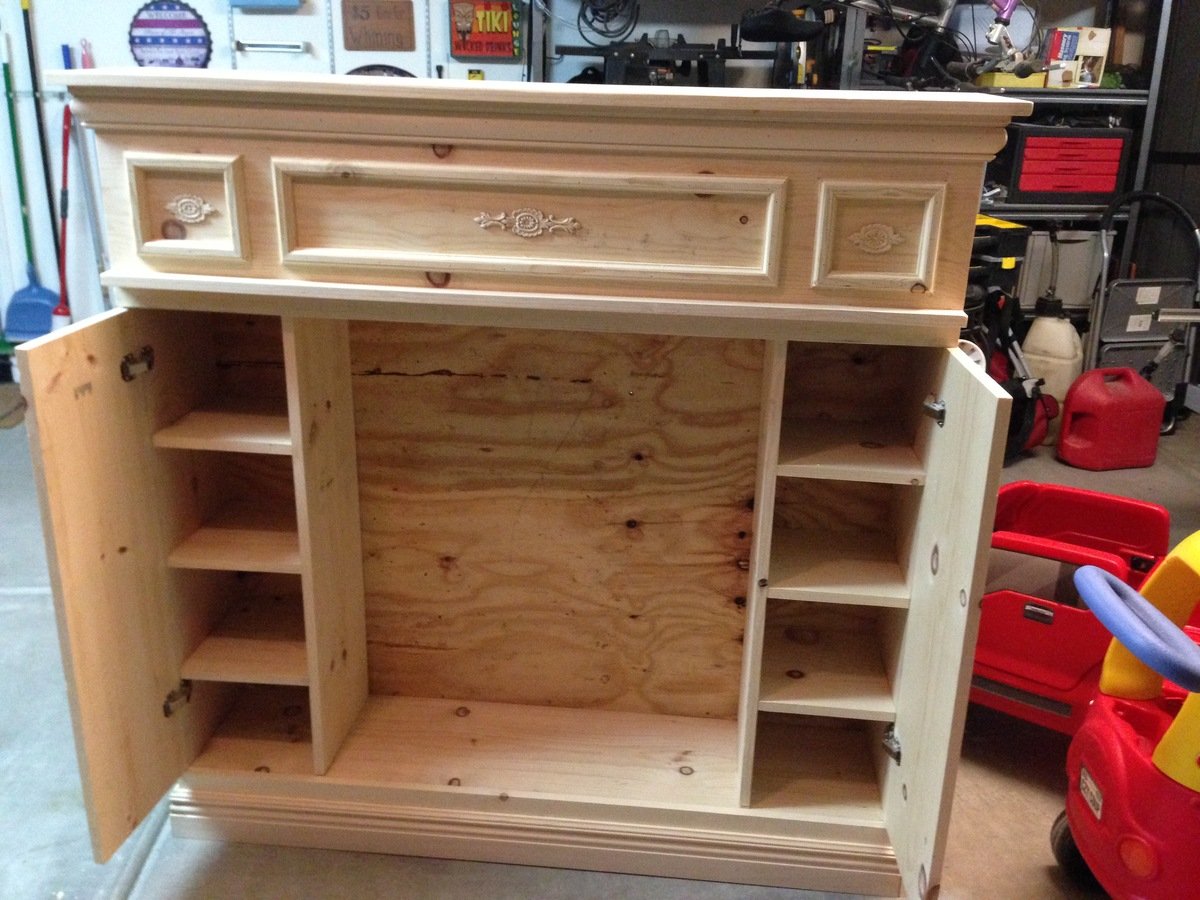
Very nice project built in a day.
My sister-in-law wanted a kid-sized dining table for all her nieces and nephews, so I made one for her by combining a couple of Ana's plans. The little seats are just a scaled down version of the Easiest Upholstered Bench plans. My kiddos love it so much, it looks like I'll be making another for us.
Thu, 09/01/2011 - 21:12
These are adorable, i want to make one for my kids! so classy and nice!!!
Thu, 09/08/2011 - 11:18
I'm looking for ideas for a round kid-table to go with a window seat I plan on making. This looks great! What're the dimensions of the table-top? It looks like it'd fit a lot of kiddos, well!
Fri, 09/09/2011 - 17:25
It's a 36 inch top. It easily seats four kids, and a few more could squeeze in if needed.
Sun, 12/04/2011 - 16:47
Great job, it looks so classy! Where did you buy the table top? Thanks.
Mon, 12/05/2011 - 09:59
I bought the top at Lowes. It was next to the stain-grade wood panels.
Mon, 03/26/2012 - 08:10
They are 5 years and 2 years. The older one is pretty tall for her age...about 46 inches at the time the photo was taken.
Mon, 03/26/2012 - 08:11
They are 2 years and 5 years. The older one is tall for her age...about 46 inches at the time the photo was taken.
Sat, 10/20/2012 - 10:32
Love it, beautiful job. Built this just from the kid's storage table plans. She references a 32" top but I don't believe they sell that size. Just wanted to make sure the 36" isn't top heavy?
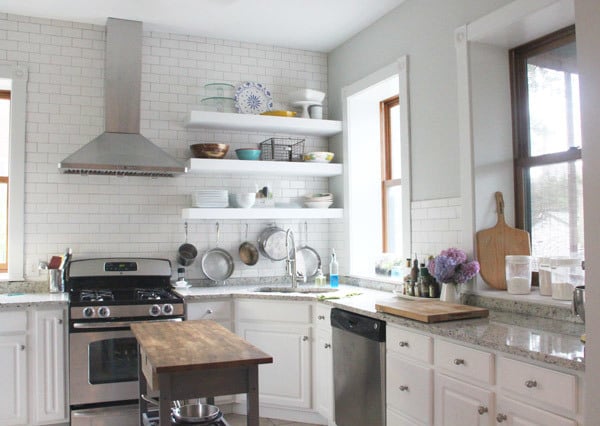
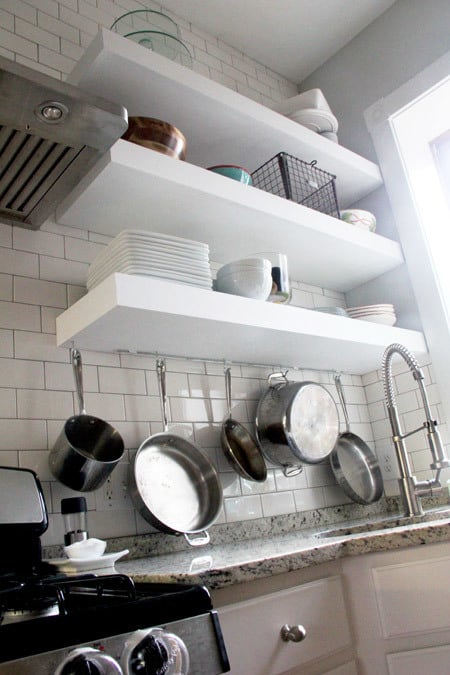
When we recently bought our 150+ year old house, we were pretty happy with just about everything (not stopping us from coming up with projects!) except the kitchen. This kitchen hadn't been updated in about 15 years, had dark brown walls, boring square white tiles with white grout, and TONS of cabinets. Everywhere. I felt like the walls were closing in!
So before we ever signed a piece of paper I had a vision of open shelving. Wide, white floating shelves to put our every day items at arms reach and display the few items we rarely use but think are beautiful.
I loved Ana's plans, but I needed these shelves to hold 12 dinner plates, 12 bowls, 12 salad plates, 4 pasta bowls, and...well, right there that about 40 pounds of stuff. And the basic plans just didn't seem heavy-duty enough.
Enter our contractor, John, who I asked for help because, while they were my vision, they were his handy-work. My husband and I didn’t even attempt to build them on our own. John is a perfectionist and we knew he’d make this plan work…perfectly.
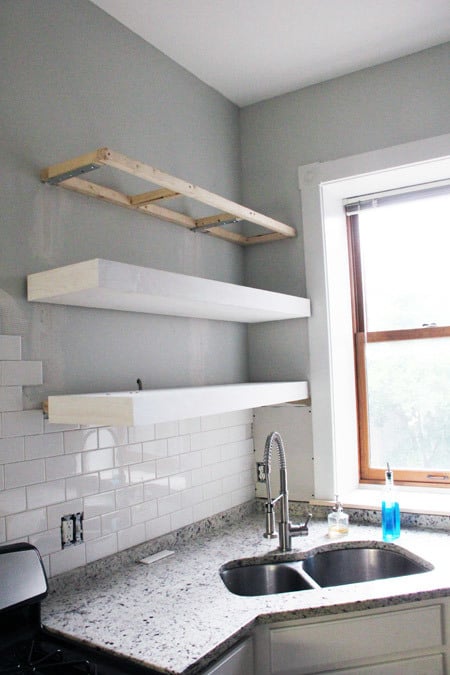
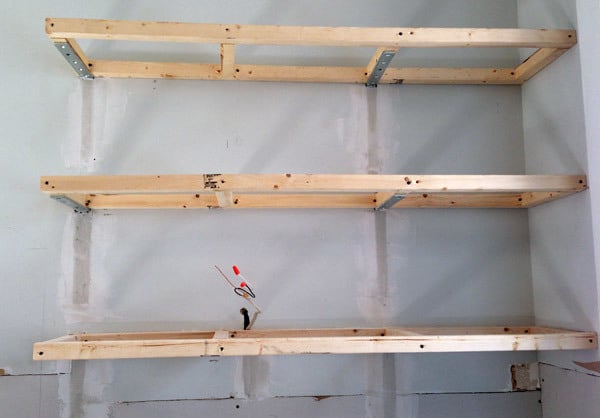
As usual, this was no sweat for John. To build the frames he used 2 x 2′s and secured them with 10 x 1 1/4″ angle brackets. During assembly, John made sure to position the center supports to match the wall studs in front of which the frame would hang. Once assembled, he removed some dry wall and attached the brackets directly to the studs.
We could store baby elephants on these shelfs, they wouldn’t budge.
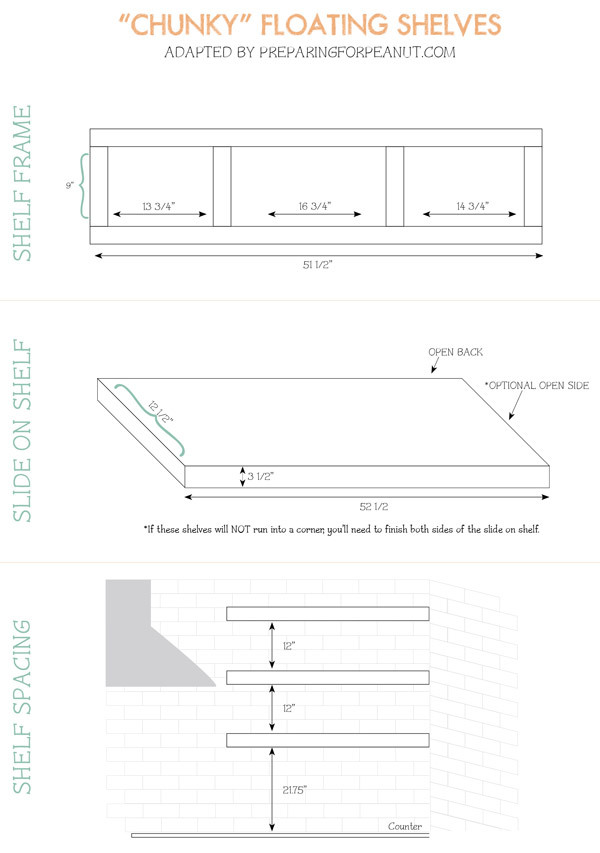
Since I knew what needed to be stored on that first shelf (our every day items), we used the measurements to equally distance the three shelves (not including the first shelf of course—it needed more space above the counter top). Then we sealed up the dry wall. Another help with support was butting the shelves right up to the corner, putting another screw in another stud.
We moved the lighting electric up for new under cabinet lighting—so easy pre-tiling.
For the actual shelves—I like to think of them as “sleeves”—John used 3/4″ sanded plywood for the tops and bottoms of each shelf, then 1 x 6 clear pine ripped down to desired thickness for the fronts and one side (the other side is against the wall, so was left open). The primed sleeves spent a few days on the screened in porch while I tiled around the frames, they were pretty heavy and very solid.
I’ve made an attempt to lay out the measurements involving our floating shelf project. These are to scale and give a good idea of how our plans differed from Ana’s.
We LOVE our shelves and get so so many compliments. The seemingly small and simple changes (tile, shelves, new window trim, paint, and soon flooring) made a HUGE impact and not that huge of a cost. And we don't miss the upper cabinets at all.
Thanks for the head-start and inspiration Ana!

Sun, 10/20/2013 - 09:42
Where did you get the heavy duty angle brackets? Having a hard time finding them. If you have the link, that would be great! Thanks!!
Mon, 10/21/2013 - 08:41
I'm not sure where to get big angle brackets like that, but you might want to try a local lumberyard instead of a home center. Even when they don't have a product they often know who does. The angle brackets embedded in the drywall is a clever idea I never thought of using.
Tue, 11/25/2014 - 20:08
What city was this work done in? I live in Seattle and I am looking for a contractor.
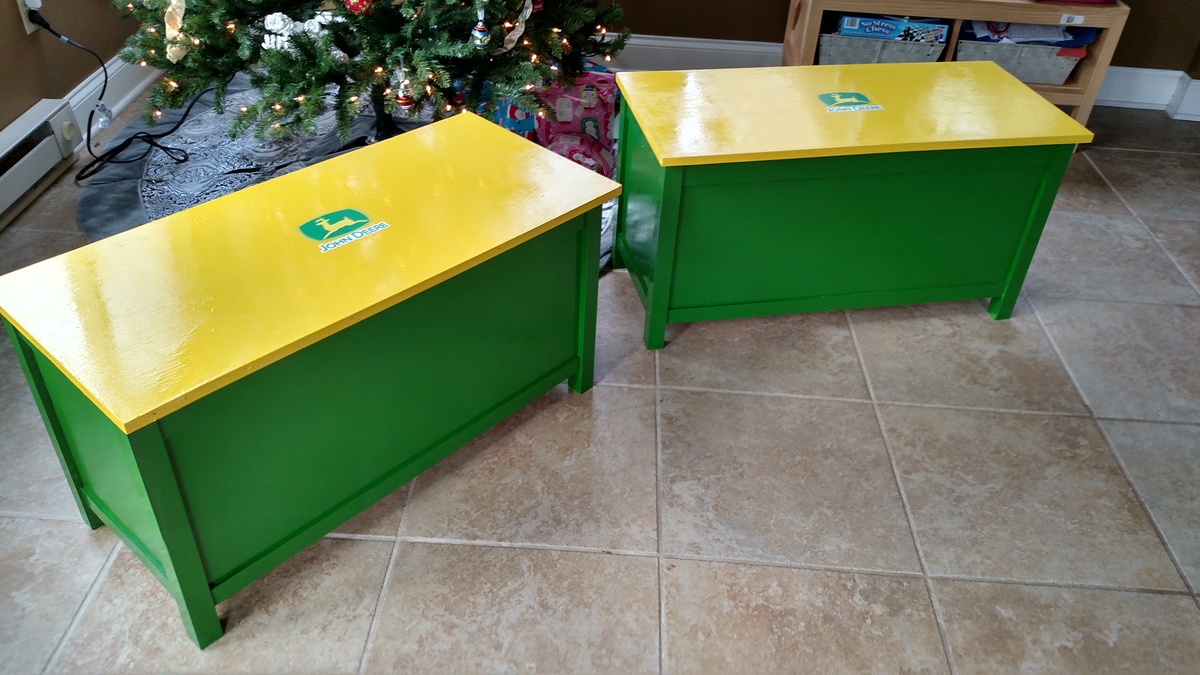
Made these for my nephews for Christmas. Only issue I had was the screws stuck out a little bit of the 1/2" pocket holes. I even tried the pan head type that were designed for the 1/2" holes.
